
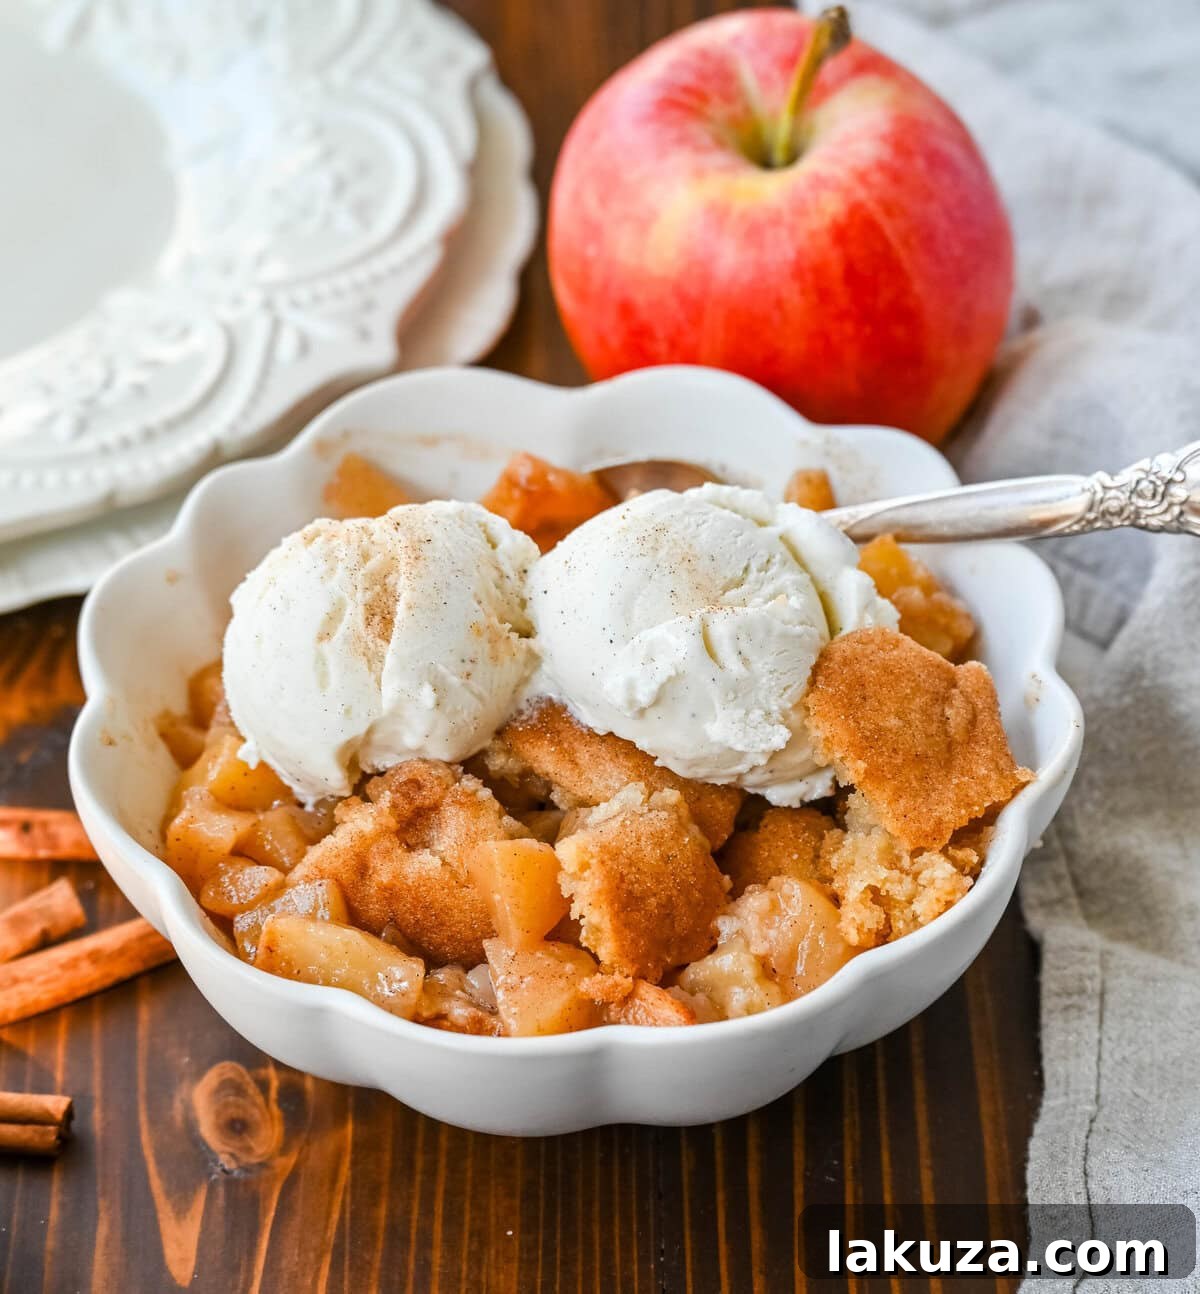
The Ultimate Homemade Apple Cobbler Recipe: A Sweet & Simple Comfort Food
There’s nothing quite like the comforting aroma of a warm apple dessert baking in the oven. This homemade apple cobbler recipe brings together the timeless flavors of fresh apples, butter, cinnamon, and brown sugar, all topped with a perfectly sweet, crisp, and tender topping. It’s a delightful alternative to traditional apple pie, offering all the joy with less fuss. This truly is the best apple cobbler recipe you’ll ever make, designed for both ease and exceptional flavor!
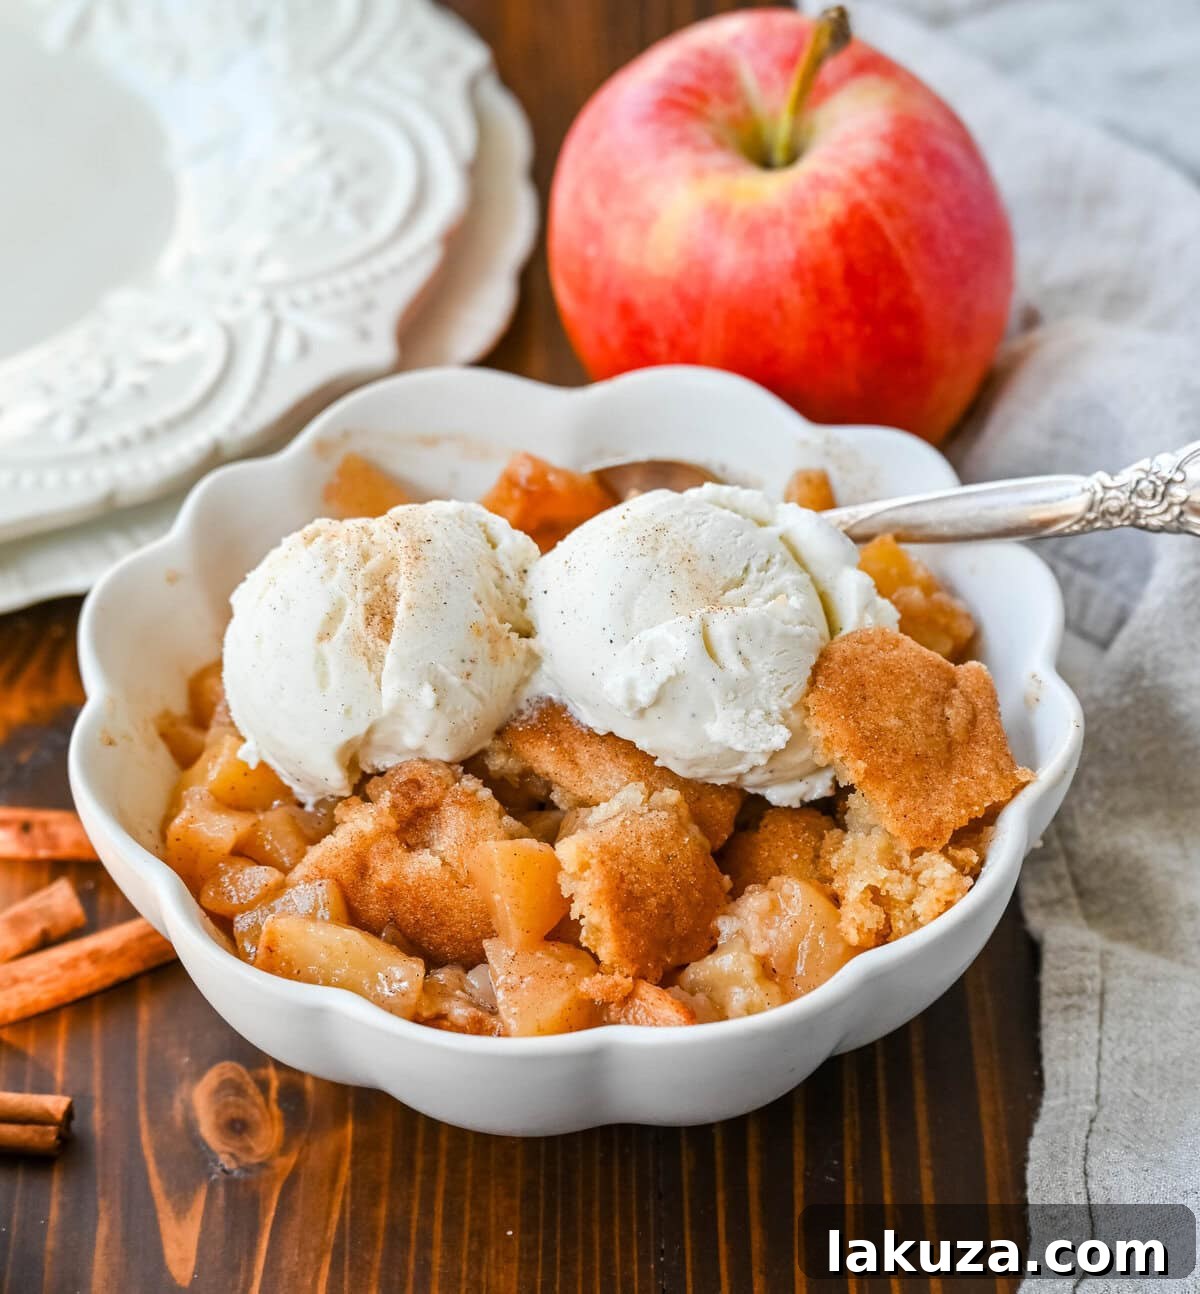
Hello, fellow dessert enthusiasts! I am absolutely thrilled to share this easy homemade apple cobbler recipe with you. For those moments when you’re craving a classic apple pie but don’t want to commit to the intricate process of making a full pastry, this cobbler steps in as the perfect solution. It delivers that same warm, spiced apple goodness wrapped in a delightfully simple package.
Crafting this classic apple cobbler recipe took considerable time and many rounds of meticulous recipe testing. I explored countless variations, from different apple types to varying spice blends and topping textures, all in pursuit of perfection. The goal was to create an apple cobbler that was not only incredibly delicious but also consistently foolproof. The final result is a perfectly sweet, aromatic, and tender apple filling, crowned with a topping that ingeniously combines the best qualities of a soft cookie, a flaky biscuit, and a moist cake. It’s truly a game-changer, solidifying its place as the ultimate apple cobbler.
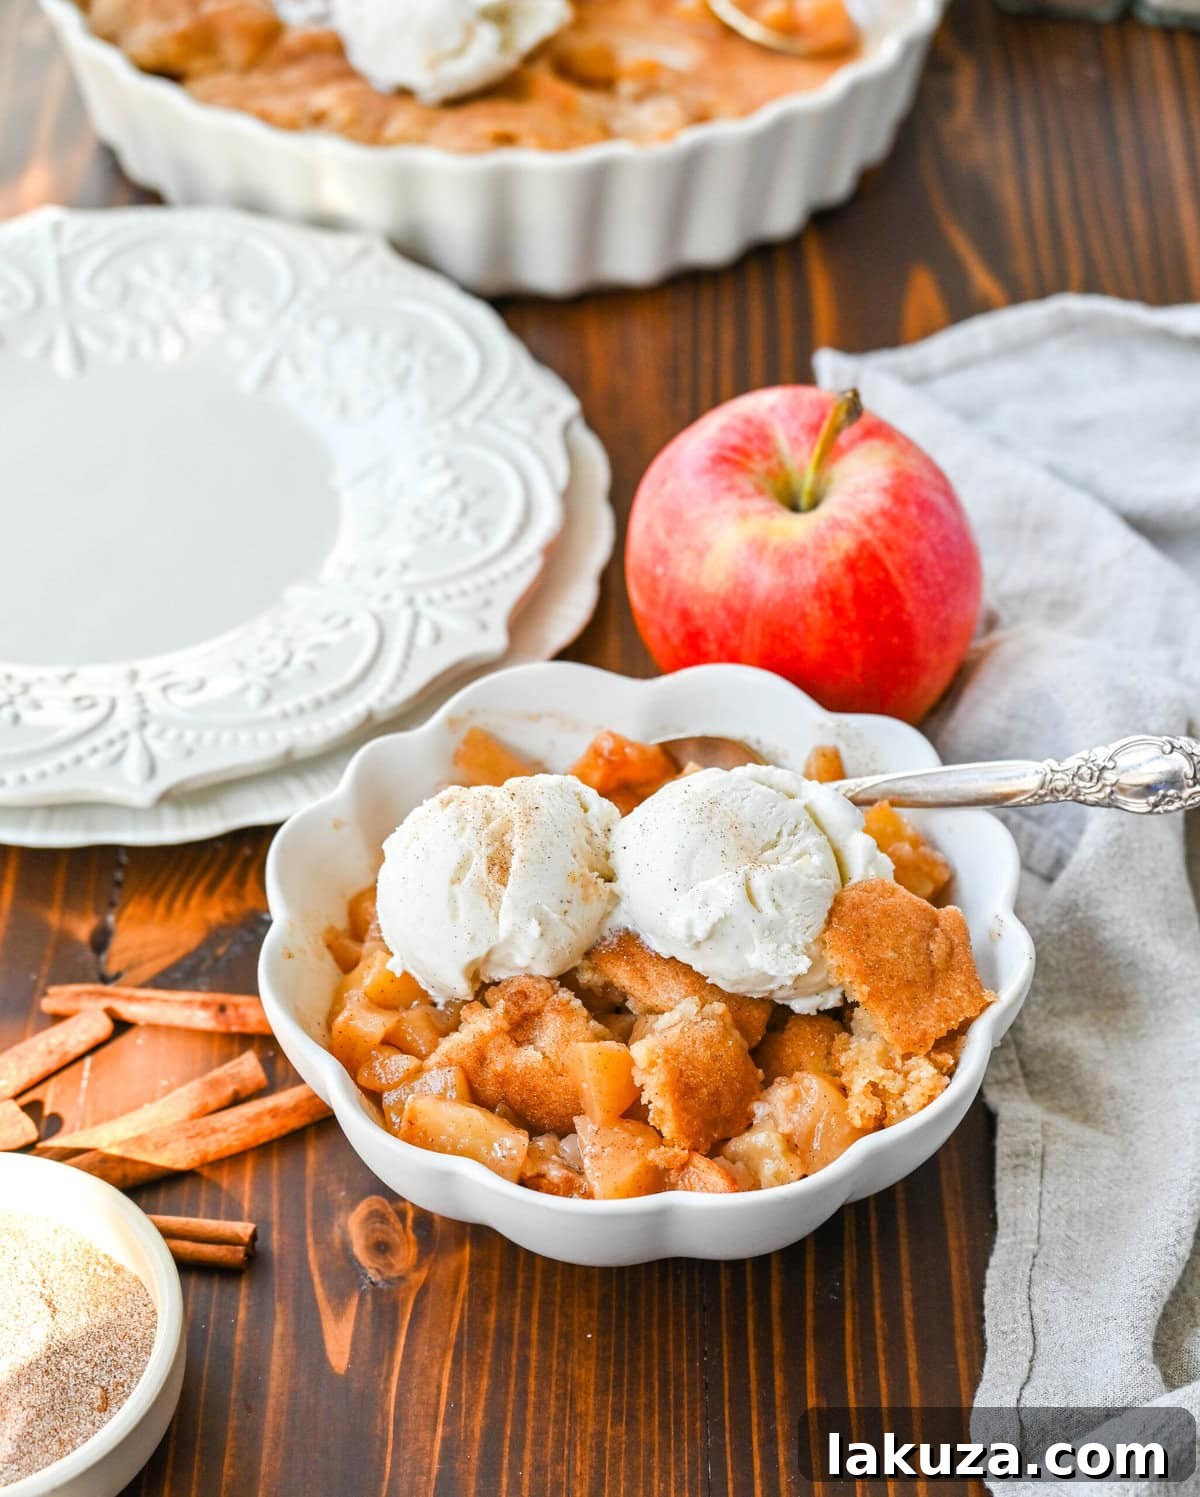
Crafting the Perfect Cobbler Topping
One of my primary goals was to move beyond the traditional, often dry, biscuit-style cobbler topping. I envisioned a topping that was sweet, beautifully crisp, richly buttery, and had a delicate texture that almost melted into the warm apples, yet remained firm enough to hold its own. Achieving this ideal balance of texture and flavor meant a deep dive into the science of baking ratios and ingredient interactions.
Through extensive experimentation, I tried using softened butter versus melted butter, adjusting sugar levels, incorporating apple cider versus omitting it, and experimenting with heavy cream versus buttermilk. Each small tweak significantly impacted the final outcome. My inspiration stemmed from the cherished “Back in the Day Cookbook,” which provided a fantastic foundation. From there, I meticulously tweaked and refined until this easy apple cobbler recipe, with its unparalleled topping, was born. It’s a testament to how small adjustments can lead to extraordinary results in baking.
If you love apple desserts as much as I do, you’ll find a treasure trove of recipes on my site. From my highly acclaimed Best Apple Pie Recipe, boasting a flaky crust and perfectly spiced filling, to my comforting Apple Crumble Recipe, complete with a buttery pecan topping, and the ever-popular Apple Crisp Recipe, there’s an apple creation for every craving. Each recipe is crafted with the same passion for flavor and simplicity.
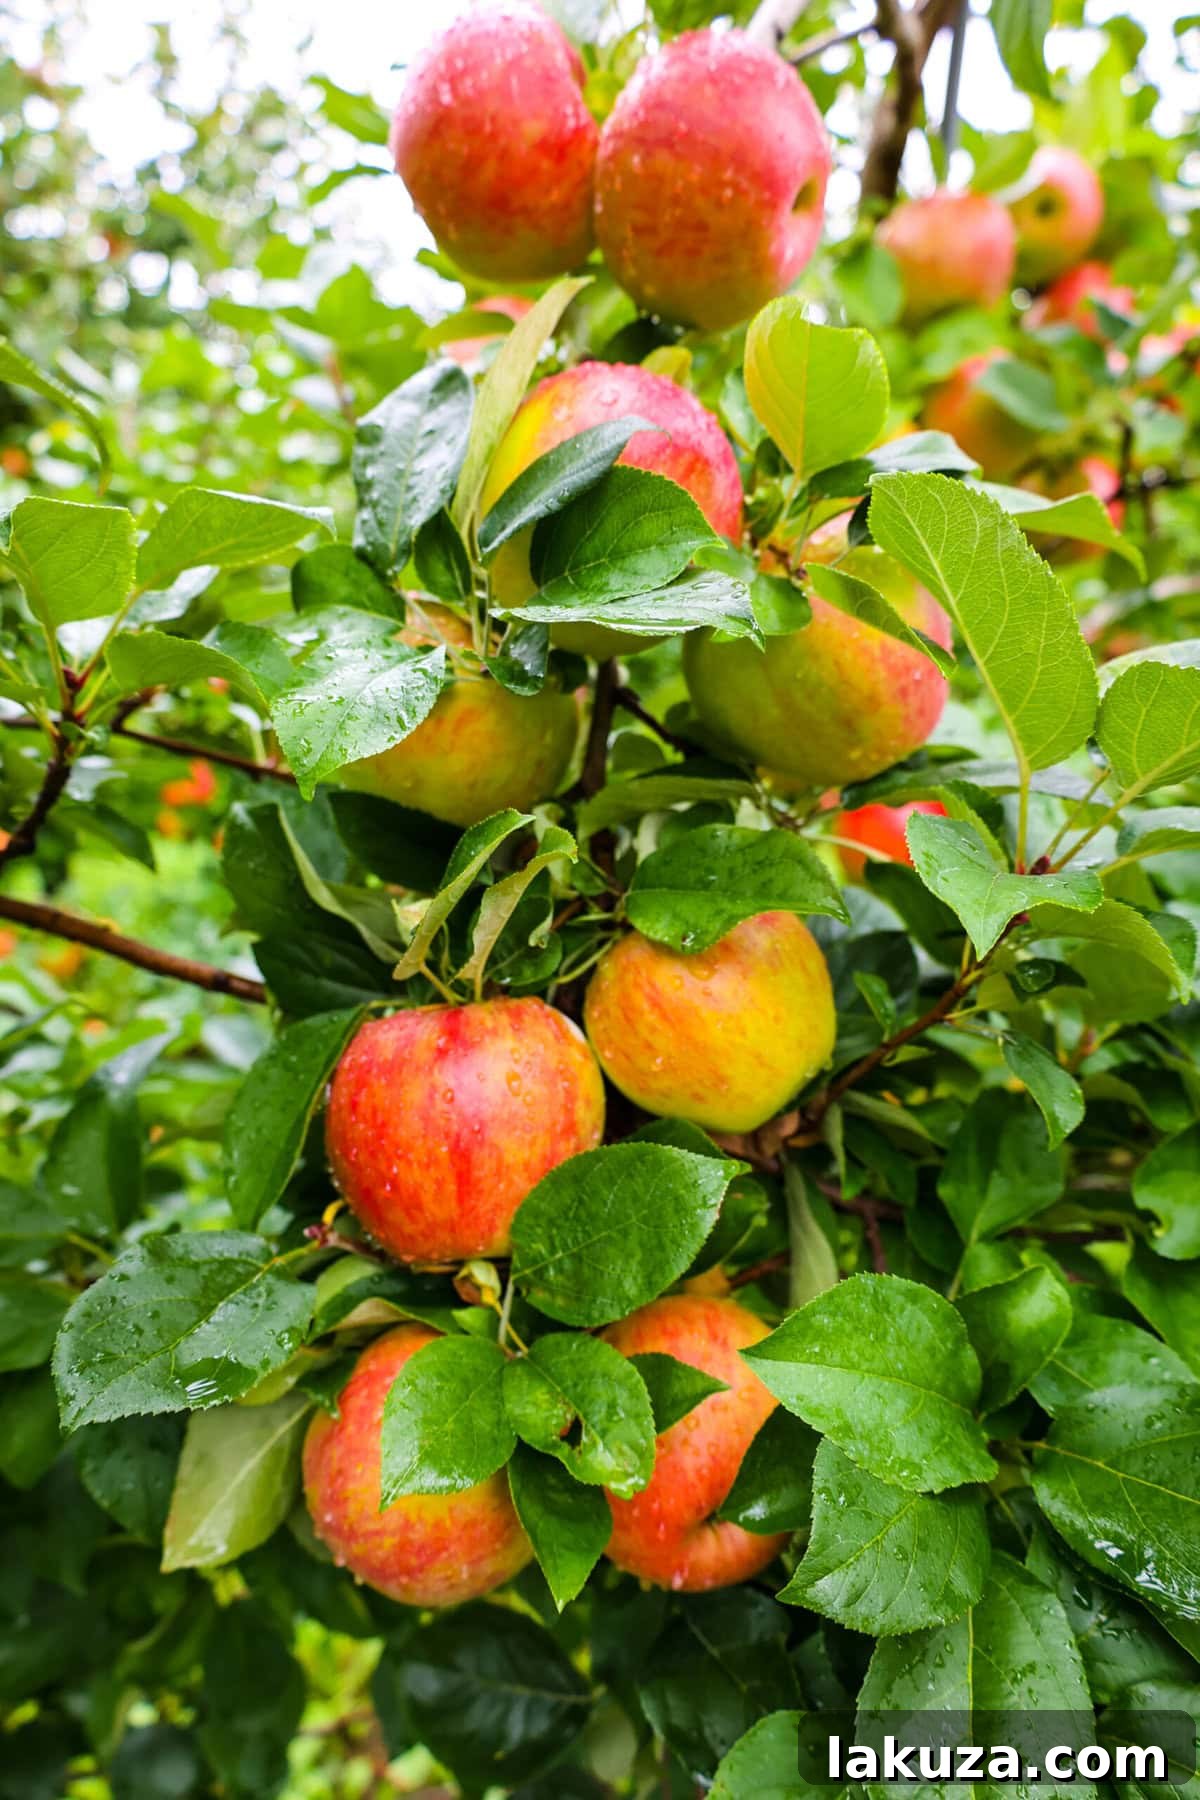
Key Ingredients for an Exceptional Apple Cobbler
This recipe is divided into two main components: the luscious apple filling and the irresistible cobbler topping. Each ingredient is chosen for its specific role in creating a harmonious and unforgettable dessert experience.
For the Delectable Apple Filling:
- Large Apples (approximately 8 cups, peeled, cored, and cut into 1/2-inch pieces): The foundation of our cobbler! The type of apple you choose significantly impacts the flavor and texture. See our guide below for recommendations.
- Butter: I highly recommend using salted butter here. It adds a subtle depth and richness as the apples sauté, perfectly complementing their natural sweetness.
- Brown Sugar: Light, golden brown sugar is preferred. Make sure to pack it down in your measuring cup to ensure the correct amount, as it contributes to both sweetness and a beautiful caramelization.
- Apple Cider: This is a secret ingredient that infuses the filling with an extra layer of apple flavor. While apple juice can be a substitute, apple cider offers a more concentrated and authentic taste.
- Fresh Lemon Zest and Juice: Don’t skip this! The lemon zest provides bright, aromatic notes, while the juice cuts through the sweetness, balancing the flavors and preventing the filling from becoming overly cloying. Always zest the lemon before juicing it for maximum yield.
- Spices: Cinnamon and Nutmeg: These classic warming spices are essential for that signature apple pie flavor. They elevate the natural taste of the apples and contribute to the comforting aroma of the cobbler.
Choosing the Best Apples for Your Cobbler
Selecting the right apple variety is crucial for a successful cobbler. Granny Smith apples are a popular choice due to their tartness, which provides a lovely contrast to the sweet filling, and their firm texture, ensuring they hold their shape beautifully during baking. However, if you prefer a sweeter filling, Honeycrisp, Fuji, or Gala apples are excellent alternatives. I personally lean towards these sweeter varieties for a more indulgent profile. It’s important to steer clear of softer apples like Red Delicious, as they tend to break down and become mushy when baked, leading to a less appealing texture.
For the Irresistible Apple Cobbler Topping:
- Butter: For ease of mixing and to achieve the desired consistency, use melted butter in this topping recipe.
- Granulated Sugar: This provides the perfect level of sweetness and contributes to the crisp exterior of the topping.
- Vanilla Extract: A high-quality vanilla extract or vanilla bean paste is a must. Vanilla enhances all the other flavors, adding a warm, fragrant dimension to the topping.
- Heavy Cream or Buttermilk: This is where the magic happens! I extensively tested versions with no cream, just heavy cream, and just buttermilk. Both heavy cream and buttermilk yield fantastic results. Buttermilk will introduce a slight tang, adding complexity to the topping, while heavy cream offers a richer, softer texture. Choose based on your preference.
- All-Purpose Flour: The structural backbone of our topping, providing body and texture.
- Baking Powder: This leavening agent is vital for giving the topping its characteristic rise and light, airy texture.
- Salt: A pinch of salt balances the sweetness and enhances the overall flavor. If you’re using salted butter in the topping, reduce the added salt to 1/4 teaspoon.
- Cinnamon Sugar Mixture: A final flourish! This mixture is generously sprinkled on top before baking, creating a beautiful golden crust and an extra burst of cinnamon spice.
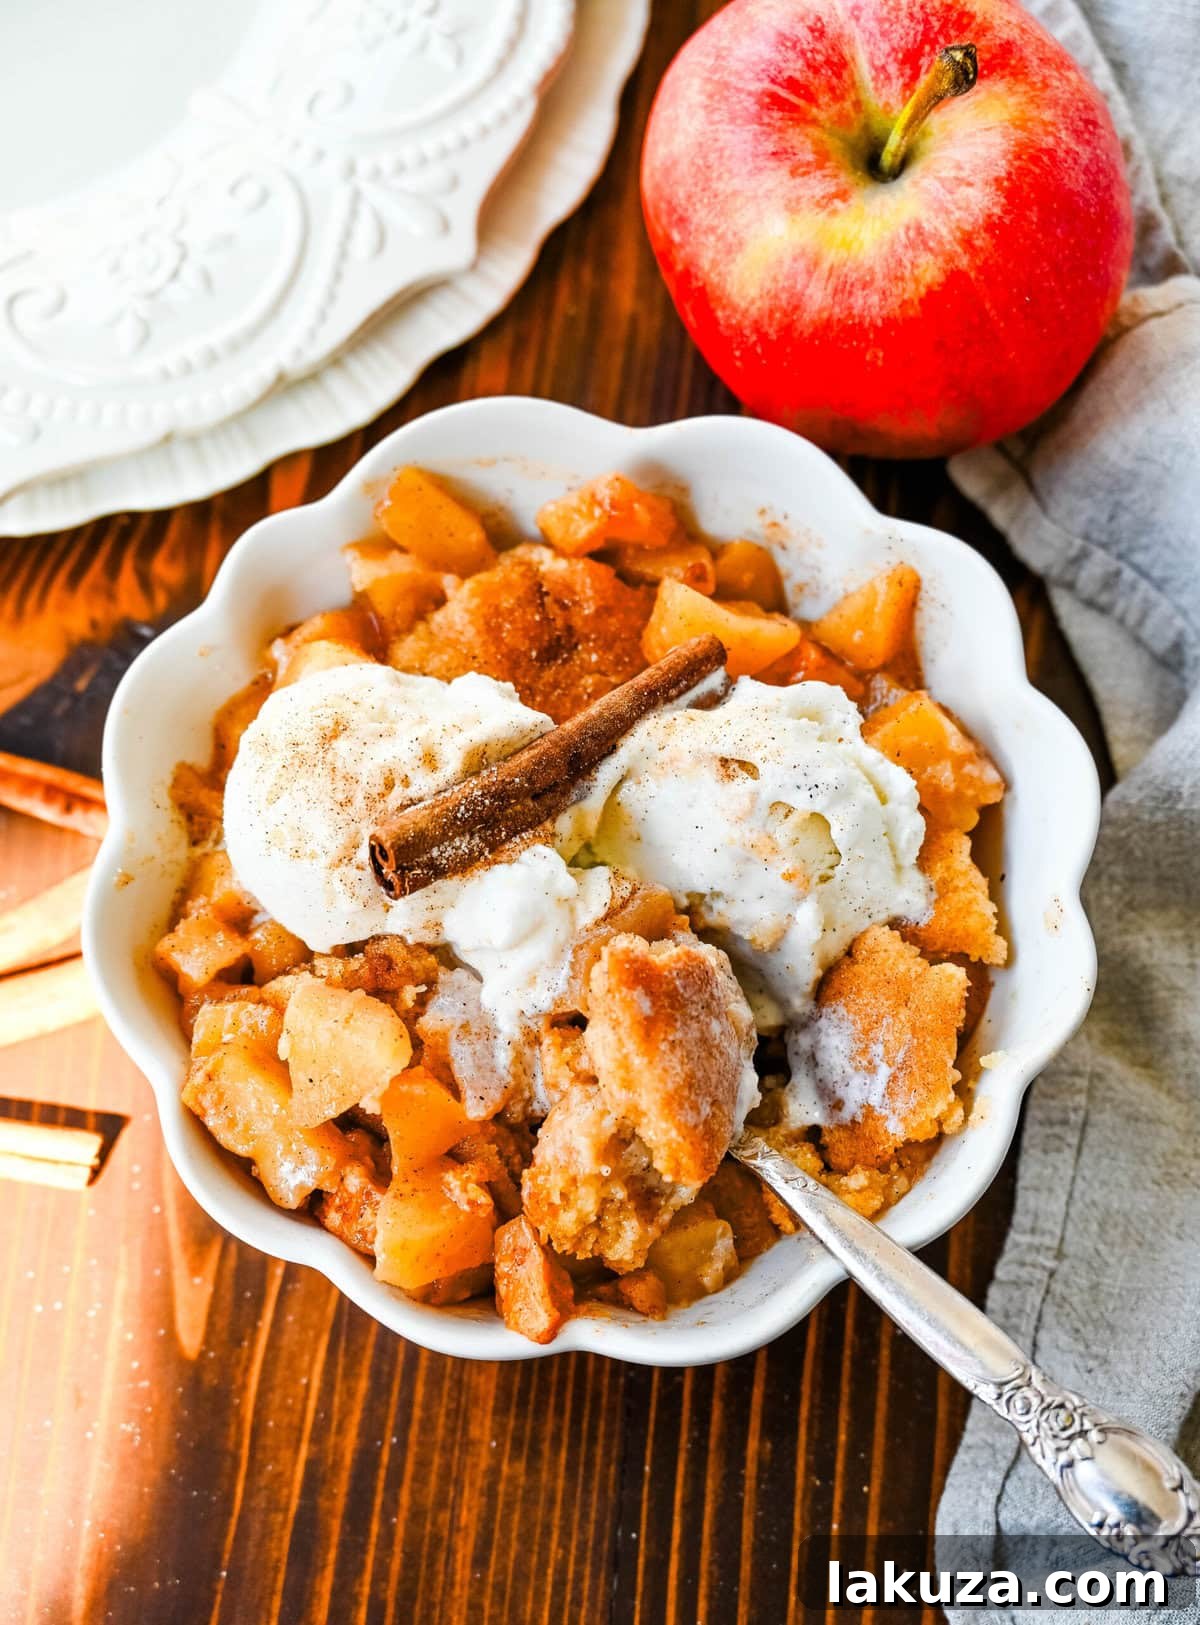
How to Make the Best Homemade Apple Cobbler: A Step-by-Step Guide
Creating this delicious apple cobbler is a straightforward process, broken down into simple steps that ensure a perfect outcome every time. Follow these instructions for a truly remarkable dessert.
- Prepare Your Oven and Baking Dish: Begin by preheating your oven to 350°F (175°C). Lightly spray a 9×13 inch baking pan or a tart pan with non-stick cooking spray, or simply butter it thoroughly. This prevents sticking and ensures easy serving.
- Craft the Aromatic Apple Filling: First, prepare your apples by peeling, coring, and cutting them into uniform 1/2-inch pieces. In a large saucepan, melt 4 tablespoons of butter over medium heat. Add the prepared apples, brown sugar, apple cider, fresh lemon zest, lemon juice, cinnamon, and nutmeg. It’s crucial to pre-cook the apples before baking the cobbler; this step allows the apple filling to soften, release its natural liquids, and begin to thicken, preventing a watery final product. Cook, stirring frequently, for approximately 12-14 minutes, or until the apples are slightly tender but still hold their shape. If the filling doesn’t seem to thicken enough, you can whisk in 2 teaspoons of cornstarch dissolved in a tablespoon of water during the last few minutes of cooking. Remove the pan from the heat and stir in the vanilla extract or vanilla bean paste. Pour the warm apple filling evenly into your prepared baking dish.
- Prepare the Signature Cobbler Topping: In a medium mixing bowl, melt the butter. Add the granulated sugar and vanilla extract, stirring until the mixture is smooth and well combined. Next, incorporate the all-purpose flour, baking powder, and salt. Finally, stir in the heavy cream or buttermilk until the mixture is just smooth and resembles a soft, slightly sticky cookie dough. Be careful not to overmix.
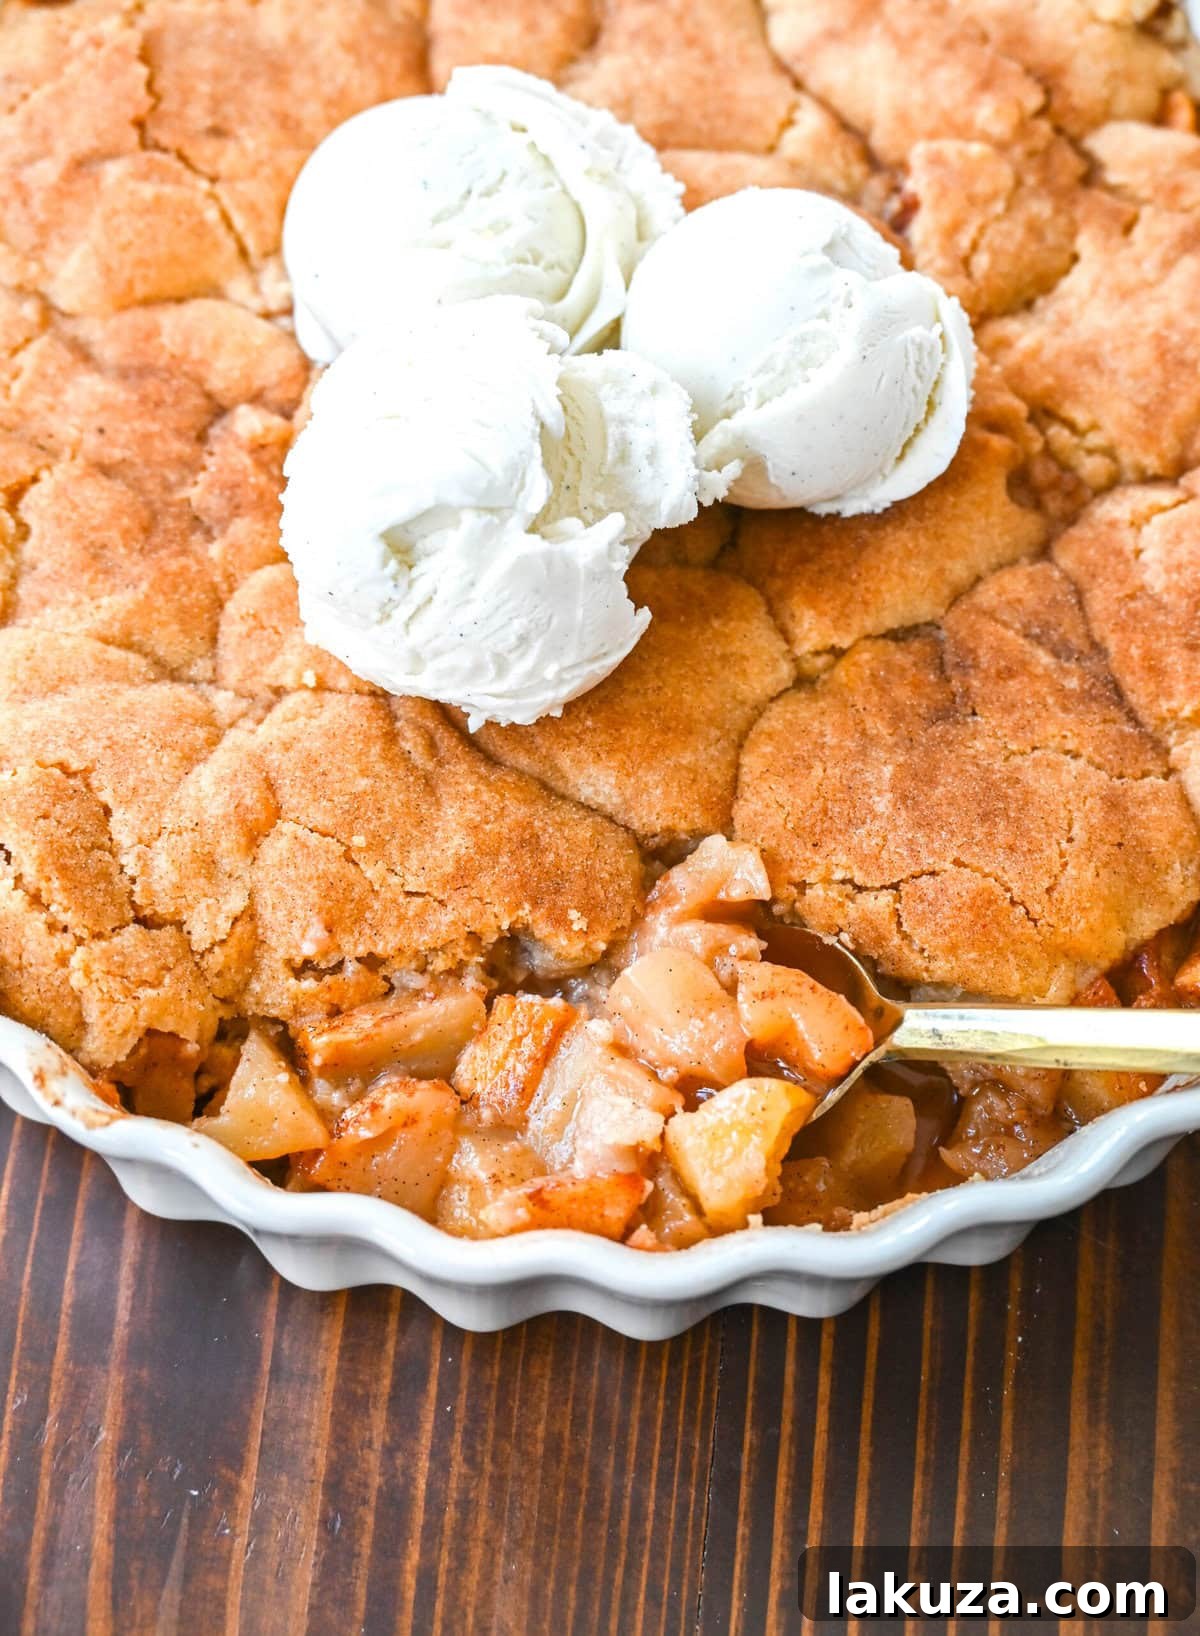
- Assemble the Cobbler: Spoon large dollops of the prepared dough generously over the apple filling. You can leave them as distinct dollops for a rustic look where the apples peek through, or gently flatten them slightly, depending on your aesthetic preference. Whichever method you choose, ensure the apples are well covered. Finish by sprinkling a generous amount of the cinnamon sugar mixture over the entire topping.
- Bake to Golden Perfection: Place the assembled cobbler in your preheated oven and bake for 33-40 minutes. The cobbler is ready when the topping is beautifully golden brown, and the juices from the apples are visibly bubbling around the edges. This bubbling indicates that the filling is hot and fully set.
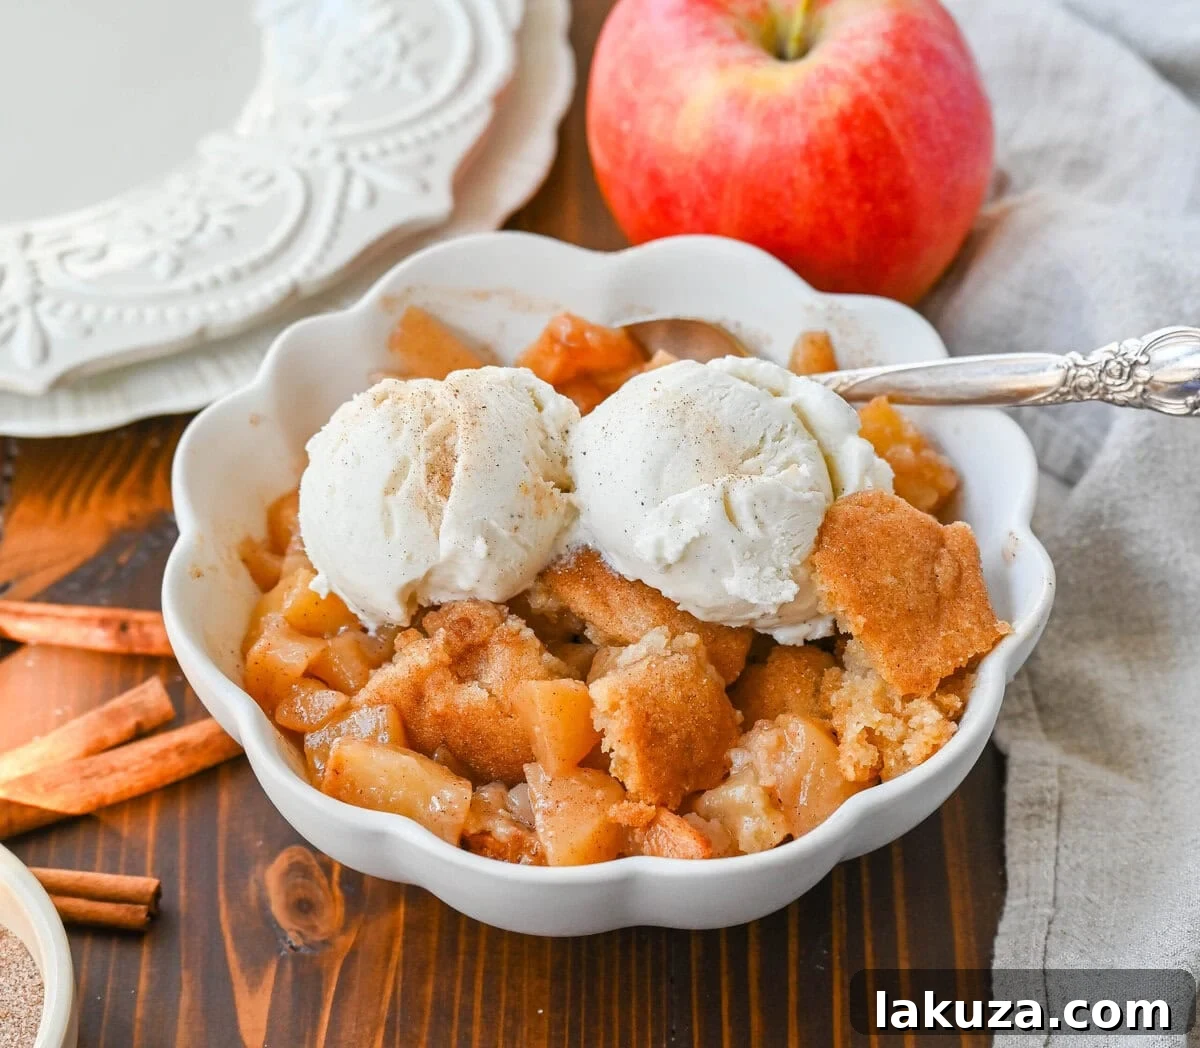
- Serve and Savor: Allow the apple cobbler to cool slightly for about 10-15 minutes after baking; this helps the filling set further. Serve warm for the ultimate comfort food experience. It’s absolutely divine on its own, but even better with a scoop of premium vanilla ice cream or a generous dollop of freshly whipped cream.
Storing Your Delicious Apple Cobbler
To maintain its freshness and flavor, store leftover apple cobbler covered at room temperature for up to two days. For longer storage, transfer it to the refrigerator, where it will keep well for up to four days. To reheat, simply place the entire dish in an oven preheated to 350°F (175°C) for 10-15 minutes, or warm individual portions in the microwave until heated through. Reheating in the oven will help restore some crispness to the topping.
Frequently Asked Questions About Easy Apple Cobbler
Here are some common questions about making and enjoying this delightful apple cobbler, providing you with all the insights you need for a perfect bake.
What is the difference between apple cobbler and apple crisp?
The primary distinction lies in their toppings. Apple cobbler features a soft, sweet biscuit-like or cake-like topping, which is typically spooned or dropped onto the fruit filling. In contrast, apple crisp is characterized by a crunchy, streusel-like topping made from a mixture of oats, sugar, butter, and sometimes flour, creating a crumbly texture.
Can I make apple cobbler ahead of time?
Absolutely! Apple cobbler is a fantastic make-ahead dessert. You can prepare both the apple filling and the cobbler topping components separately. Store the apple filling in an airtight container in the refrigerator for up to 2-3 days, and keep the topping dough chilled, also covered, in the refrigerator. When you’re ready to bake, simply assemble and proceed with the baking instructions. This makes it perfect for entertaining or busy weeknights.
How do I know when apple cobbler is done baking?
You’ll know your apple cobbler is perfectly baked when the topping achieves a beautiful golden-brown color and the fruit filling is visibly bubbling around the edges of the pan. This bubbling indicates that the apples are tender and the sauce has thickened. You can also insert a toothpick into a dollop of the topping; if it comes out clean, the topping is cooked through.
Why is my apple cobbler runny?
A runny cobbler usually indicates that the apple filling wasn’t cooked long enough before baking, meaning the apples didn’t release enough liquid, or the liquid didn’t have enough time to reduce and thicken. Ensure you cook the apples for at least 10-12 minutes on the stovetop to soften them and allow the sauce to thicken. Another tip is to let the baked cobbler rest for at least 10-15 minutes after removing it from the oven. This crucial resting period allows the filling to set further as it cools.
Can I make apple cobbler in a cast iron skillet?
Yes, a cast iron skillet is an excellent vessel for baking apple cobbler! Cast iron is renowned for its ability to distribute heat incredibly evenly, which helps achieve a wonderfully crisp and golden crust on the topping, while also ensuring the apple filling cooks perfectly. Just make sure your skillet is adequately sized (a 10-inch or 12-inch skillet typically works well for this recipe).
Can I freeze apple cobbler?
Yes, you can! To freeze, allow the baked cobbler to cool completely. Then, cover it tightly with plastic wrap and then aluminum foil. It can be frozen for up to 3 months. Thaw overnight in the refrigerator before reheating in the oven until warmed through.
Can this recipe be made gluten-free?
While this specific recipe uses all-purpose flour, you can often adapt cobbler recipes to be gluten-free by substituting a high-quality gluten-free all-purpose flour blend (one that contains xanthan gum) for the regular flour in the topping. Ensure any other ingredients used are also gluten-free.
The Best Pairings: What to Serve with Apple Cobbler
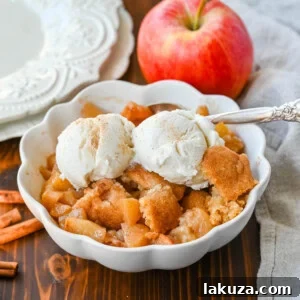
While apple cobbler is undeniably delicious on its own, it transforms into an extraordinary dessert when paired with the right accompaniments. A generous scoop of rich, creamy vanilla ice cream is a classic choice, creating a delightful hot-and-cold contrast. Alternatively, a dollop of light and airy fresh homemade whipped cream adds a touch of elegance and balances the sweetness. For an even more indulgent experience, consider drizzling your warm cobbler with a luscious caramel sauce or serving it alongside a smooth, warm vanilla custard. Any of these additions will elevate your apple cobbler to new heights of dessert perfection.
Explore More Favorite Cobbler Creations
My love for cobblers runs deep, and I’ve developed many cherished homemade cobbler recipes that I’m excited for you to try. If you’ve enjoyed this apple cobbler, you’ll surely adore these other fruit-filled delights:
Peach Cobbler: A quintessential summer dessert featuring juicy, sweet peaches under a tender topping.
Blueberry Cobbler: Bursting with vibrant blueberries, this Texas-style cobbler is a true crowd-pleaser.
Cherry Cobbler: Tart cherries meet sweet topping in this perfectly balanced dessert.
Blackberry Cobbler: A rustic and flavorful cobbler showcasing the rich taste of fresh blackberries.
Nectarine Cobbler: A delightful twist with tender, sweet nectarines that’s equally satisfying.
Popular Apple Dessert Recipes:
Dutch Apple Pie
Best Apple Pie
Apple Crumble Recipe
Apple Crisp
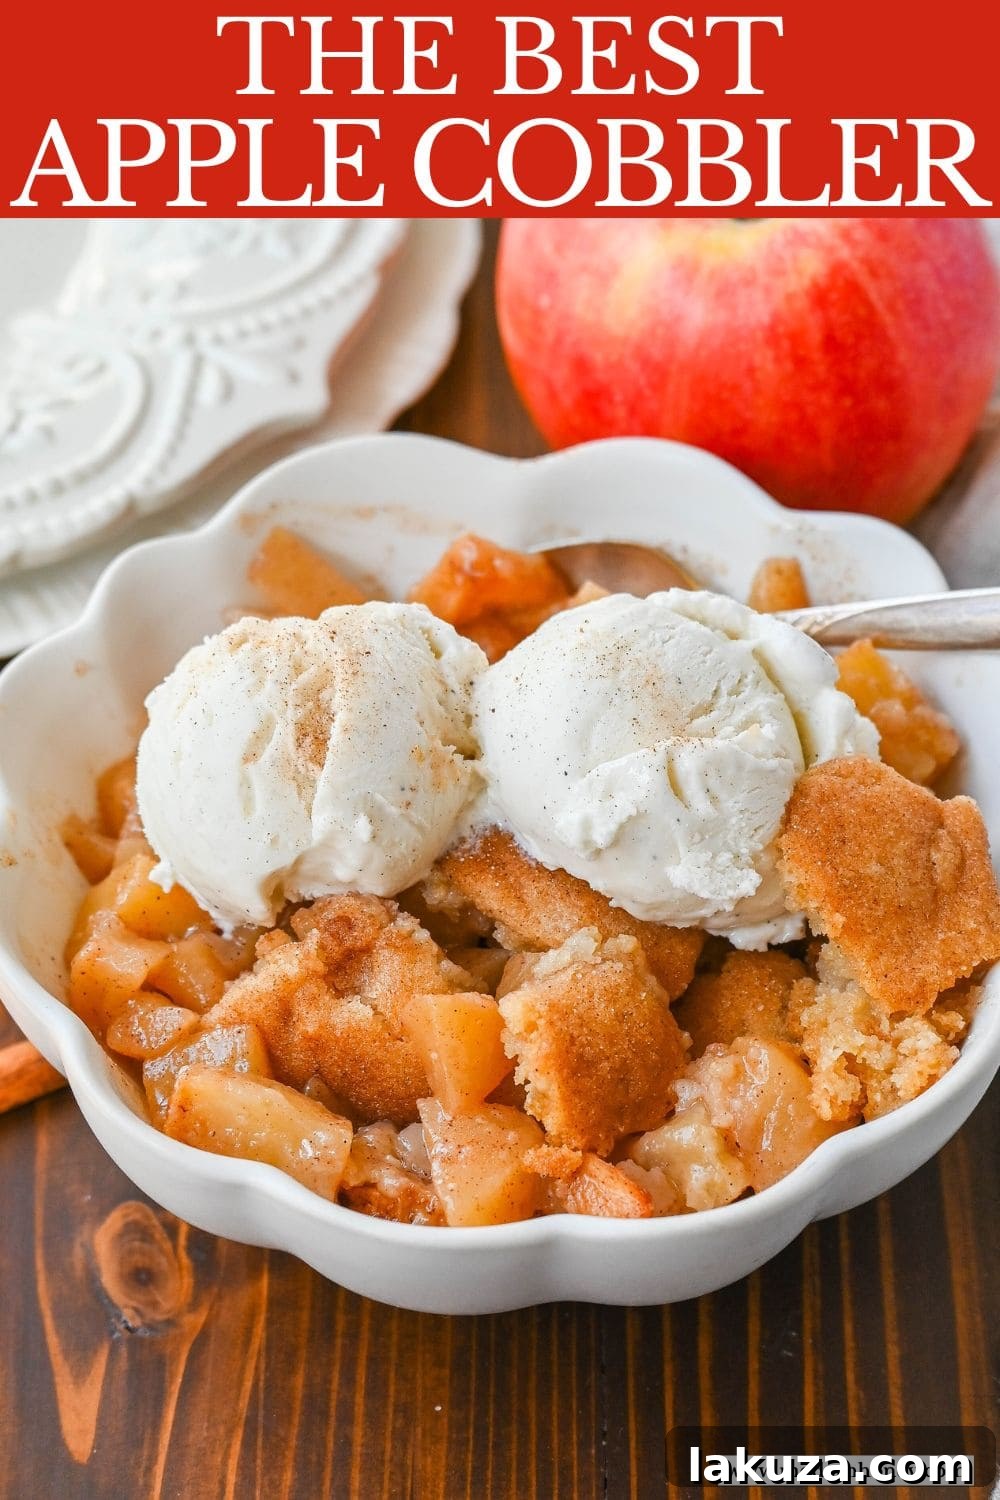
Apple Cobbler
Modern Honey® – www.modernhoney.com
20
35
12
Ingredients
Apple Filling:
- 7 large Apples (peeled, cored, and cut into 1/2″ pieces)
- 4 Tablespoons Butter
- 1/4 cup Brown Sugar
- 1/2 cup Apple Cider
- 1 teaspoon Cinnamon
- 1/4 teaspoon Nutmeg
- 1 teaspoon Vanilla Extract
- 1 Lemon (zested and juiced)
Cobbler Topping:
- 1/2 cup Butter (8 Tablespoons, melted)
- 3/4 cup Sugar
- 1 teaspoon Vanilla Extract
- 1 cup + 2 Tablespoons Flour
- 1 teaspoon Baking Powder
- 1/2 teaspoon Salt (only use 1/4 teaspoon if using salted butter)
- 2 Tablespoons Heavy Cream or Buttermilk
Garnish:
- Cinnamon Sugar Mixture (1 Tablespoon sugar + 1/2 teaspoon cinnamon)
Instructions
-
Preheat oven to 350 degrees F (175 C). Spray a 9 x 13 baking pan or tart pan with non-stick cooking spray or butter it.
-
To make the apple filling: Peel, core, and cut the apples into 1/2 inch pieces. In a large saucepan, melt butter over medium heat. Add the apples, brown sugar, apple cider, lemon zest, lemon juice, cinnamon, and nutmeg. This recipe requires pre-cooking the apples before baking the apple cobbler to allow the apple filling to thicken and release the liquid from the apples. If the filling doesn’t thicken enough after cooking for 12-14 minutes, you can whisk in 2 teaspoons of cornstarch dissolved in a tablespoon of water. Cook, stirring often, for about 12-14 minutes or until the apples are slightly softened. Remove from heat and stir in vanilla extract or vanilla bean paste. Pour apples into the baking dish.
-
To make the topping: In a medium bowl, melt the butter. Add the sugar and vanilla and stir until smooth. Add the flour, baking powder, and salt. Stir in the heavy cream or buttermilk until smooth. It should resemble soft cookie dough.
-
Place big dollops of dough over the apples. You can keep them as dollops or flatten them, depending on preference. If you want the apples to show through, leave as dollops. Sprinkle generously with cinnamon sugar.
-
Bake for 33-40 minutes or until the topping is golden and the juices from the apples are bubbling.
-
Serve the apple cobbler warm with vanilla ice cream or fresh whipped cream.
Notes
What type of apples should I use in the Best Apple Cobbler?
Granny Smith apples are the most popular because of their tartness and ability to hold their shape during baking. However, Honeycrisp, Fuji, or Gala apples can be used for a sweeter filling. I prefer to use the sweeter apples. Avoid softer apples like Red Delicious, as they tend to become mushy when baked.
See the recipe post above for more answers to frequently asked questions and detailed tips for success.
My recipe inspiration for the topping came from the Back in the Day Cookbook, which I then meticulously tweaked and adapted to create this unique and perfect texture.
Nutrition information is automatically calculated, so should only be used as an approximation.
Additional Info
Dessert
American
12
apple cobbler, homemade apple cobbler, easy apple cobbler, best apple cobbler
Love this recipe? Share your thoughts below!
Jump to Comments
I hope this comprehensive guide inspires you to create the most delicious homemade apple cobbler. It’s more than just a recipe; it’s an invitation to bring warmth, comfort, and incredible flavor into your home. Happy baking!