
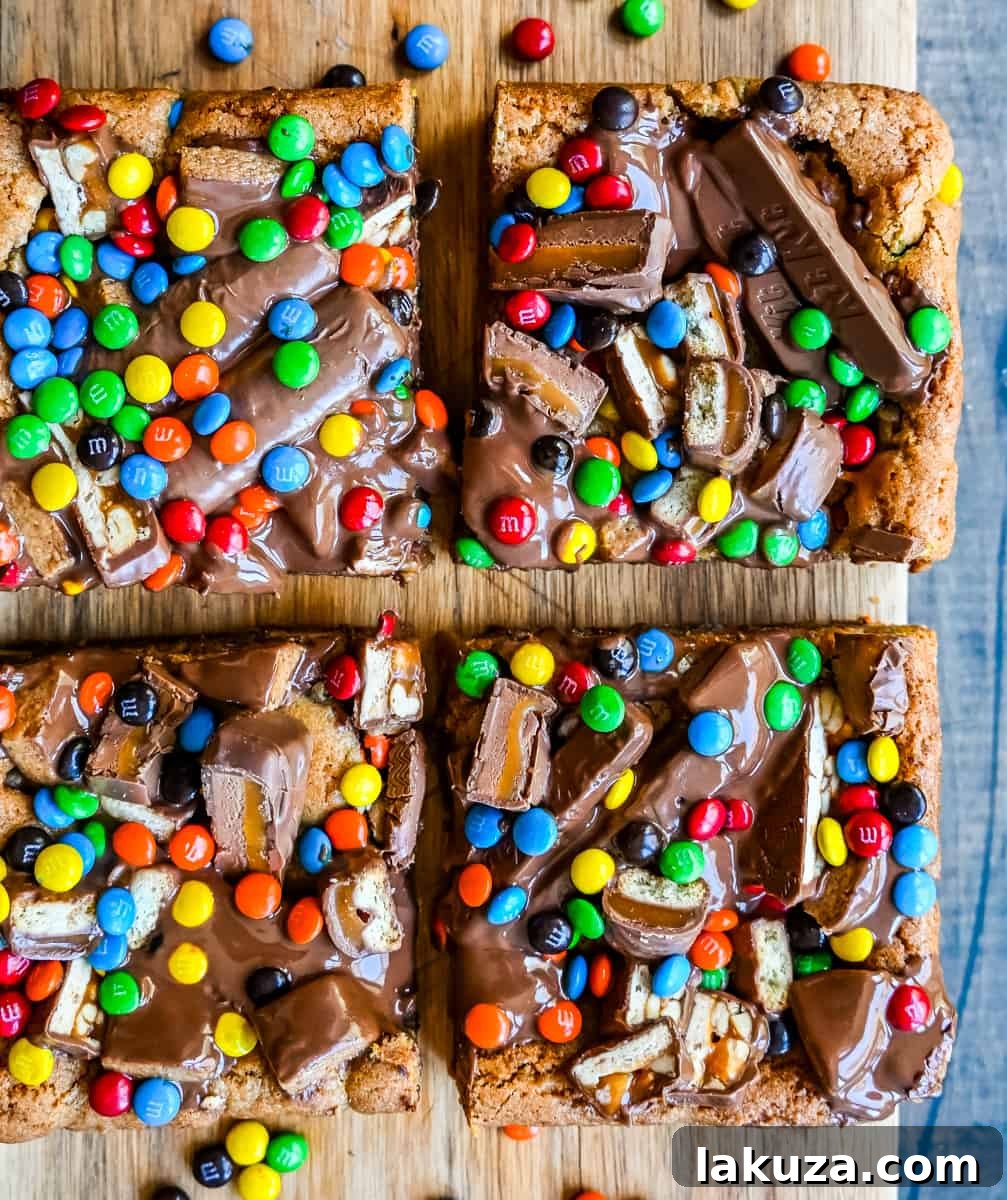
Get ready for the ultimate dessert mashup! Imagine a wonderfully soft, chewy, and gooey cookie bar, generously studded with and topped by an exciting assortment of your favorite chocolate candy bars. This isn’t just any treat; it’s the perfect solution for that mountain of leftover Halloween candy, transforming it into a spectacular candy bar blondie dessert that will impress everyone. Forget plain cookies – these Candy Bar Cookie Bars are an irresistible, decadent indulgence that brings pure joy with every bite.
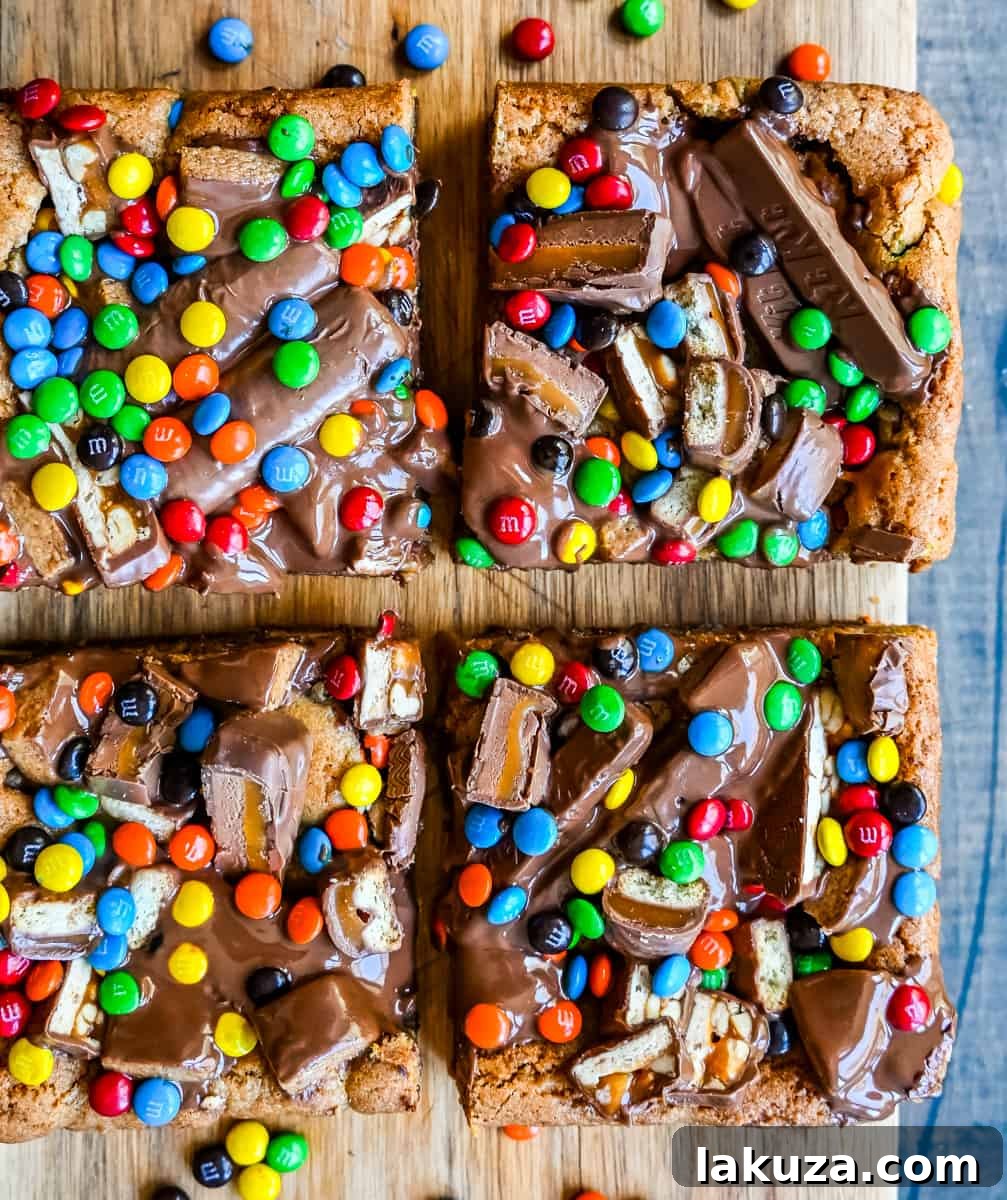
Ultimate Candy Bar Cookie Bars: A Decadent Treat for Any Occasion
Do you have a secret stash of Halloween candy lurking in your kitchen cabinets? Or perhaps a collection of miniature chocolate bars from a party that never quite got finished? If so, you’re in for a treat! We’ve all been there – a surplus of delightful chocolate candy bars just waiting for a creative purpose. My kitchen often finds itself overflowing with bags of various chocolatey delights, and one day, a brilliant idea struck: why not combine two of the very best comfort foods into one glorious dessert? The result? These unbelievably delicious Candy Bar Cookie Bars, a creation born from the desire for pure, unadulterated perfection.
These aren’t just any cookie bars; they are a celebration of all things sweet and chocolatey. The beauty of these leftover Halloween candy cookie bars – or really, any-occasion candy cookie bars – is their incredible versatility. You are empowered to use any chocolate candy bar your heart desires! Picture this: a rich, buttery blondie base, studded with chopped candy, then crowned with an impressive array of your favorite full-sized or bite-sized candy pieces. The possibilities are truly endless, limited only by your imagination and the contents of your candy drawer.
I’ve experimented with a delightful mix of Twix, mini M&M’s, Reese’s Peanut Butter Cups, Milky Way bars, Snickers, and Kit Kat to create a symphony of textures and flavors. But don’t let my choices constrain you; feel free to dive into your personal favorites. Whether you prefer the crunch of a Butterfinger, the chewiness of a 3 Musketeers, or the nutty goodness of an Almond Joy, this recipe is designed to accommodate your cravings. For those who enjoy seasonal twists, you might even consider my Candy Corn Blondies Recipe, a vibrant and fun option inspired by a Williams-Sonoma discovery, perfect for candy corn enthusiasts!
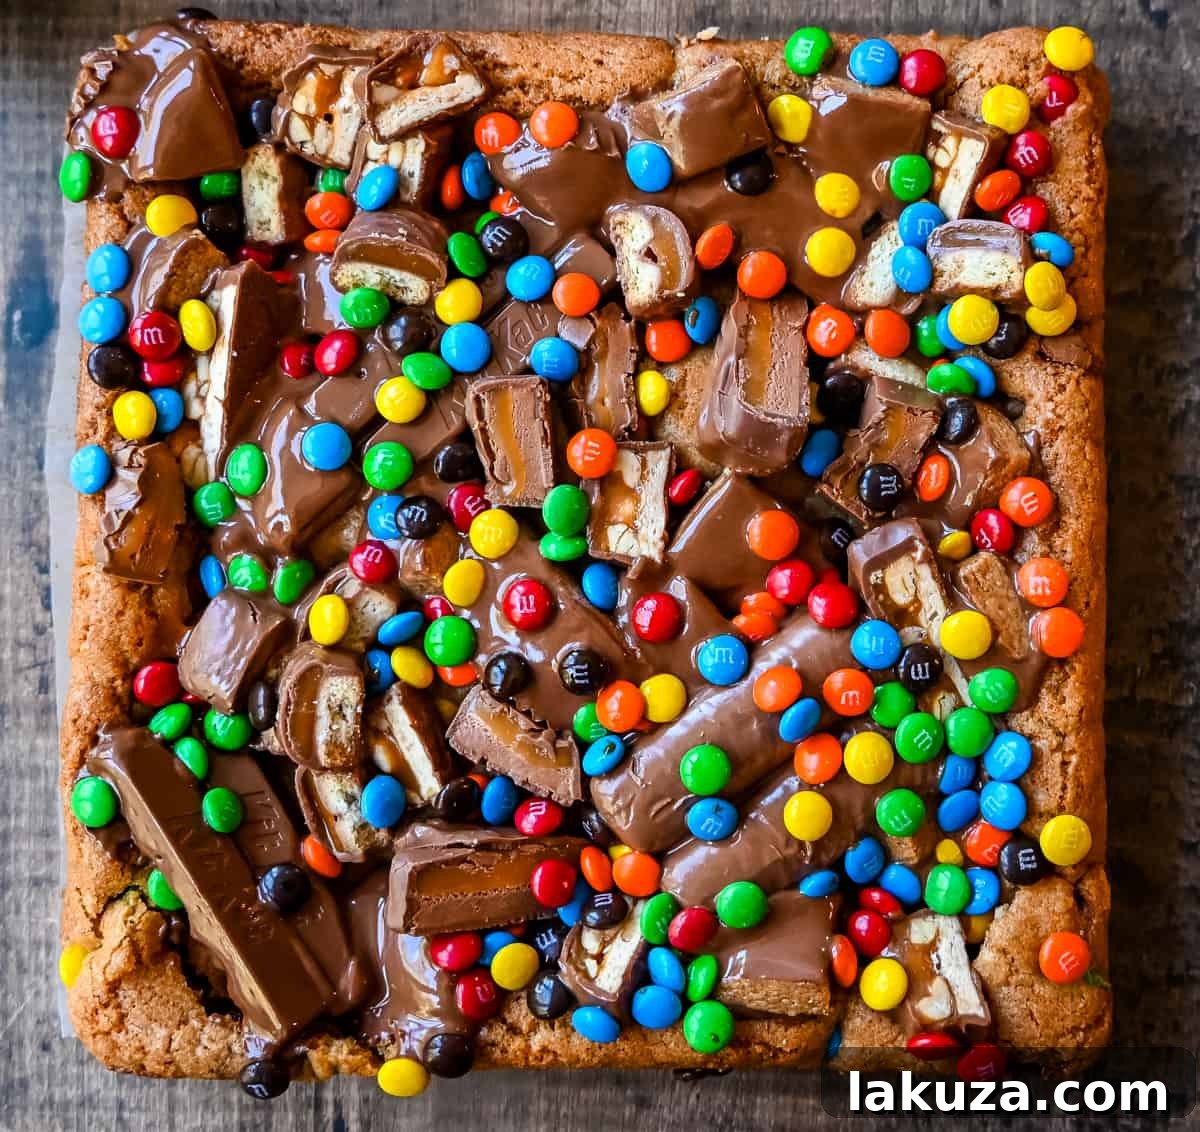
Why You Will Absolutely Love These Candy Bar Cookie Bars:
- Irresistible Texture & Flavor Profile: These candy bar cookie bars are a masterclass in texture. Each bite offers an exquisite combination of ooey, gooey, and wonderfully chewy, melting in your mouth with every mouthful. The blondie base itself is pure bliss, but when you crown it with an assortment of your favorite chocolate candy bars, you elevate it to an unparalleled level of decadence. From the creamy chocolate to the crunchy nuts and gooey caramel, every element comes together for a truly sensational dessert experience.
- Remarkably Easy to Make (One Bowl Wonder!): Don’t let the gourmet taste fool you – these Halloween Candy Bar Cookie Bars are incredibly straightforward to prepare, making them perfect for both novice bakers and seasoned pros. The entire recipe comes together in just one bowl, meaning no stand mixer or hand mixer is needed! This drastically cuts down on prep time and, perhaps even more importantly, makes cleanup a breeze. Spend less time washing dishes and more time enjoying your incredible creation. It’s the ultimate fuss-free dessert for those busy days or spontaneous cravings.
- Perfect for Any Occasion: While they are a fantastic way to utilize post-Halloween candy, these cookie bars are suitable for any celebration. They’re a hit at potlucks, birthday parties, holiday gatherings, or simply as a special weekend treat for your family. Their impressive appearance and customizable nature make them a versatile crowd-pleaser that everyone will ask you to make again and again.
- Customizable & Fun: The ability to choose your own candy bars means endless possibilities for personalization. Get creative and mix and match flavors and textures. Kids will especially love helping to pick out and even chop their favorite candies, making it a fun baking activity for the whole family.
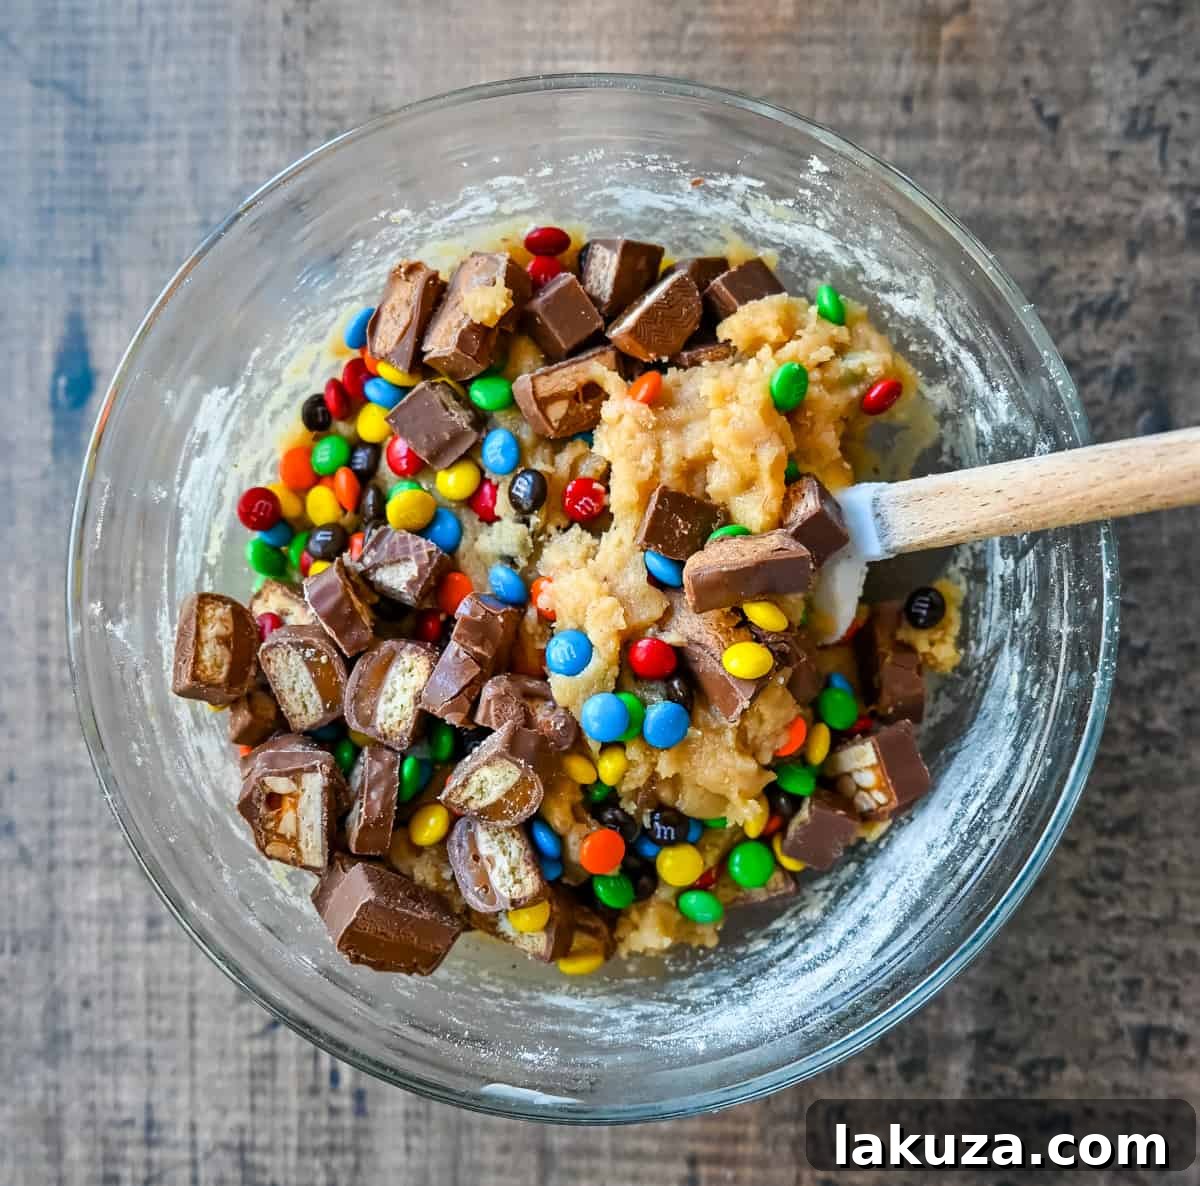
Simple Ingredients for an Extraordinary Treat:
Crafting these delectable chocolate candy bar-topped cookie bars requires only a handful of common pantry staples. This recipe proves that you don’t need an extensive list of exotic items to create something truly extraordinary. Let’s break down the essential components that contribute to their incredible flavor and texture:
- Butter: The foundation of any great blondie, melted butter provides richness and contributes significantly to that signature chewy texture. Using melted butter also simplifies the mixing process, as there’s no need to cream it with sugar.
- Brown Sugar: This is a key player for moisture and chewiness. Packed brown sugar (light or dark) adds a deep, molasses-like flavor that pairs beautifully with chocolate and ensures a wonderfully soft, dense crumb.
- Granulated Sugar: While brown sugar brings chew, granulated sugar adds a touch of crispness to the edges and balances the overall sweetness, ensuring the blondies aren’t overly rich.
- Egg: Acts as a binder, helping to hold all the ingredients together and providing structure to the cookie bars, while also contributing to their moistness.
- Vanilla Extract: A crucial flavor enhancer, good quality vanilla extract brightens all the other flavors and adds warmth and depth to the blondie base. Don’t skip it!
- All-Purpose Flour: The primary dry ingredient that gives the cookie bars their body and structure. Measure it correctly (spoon and level) to avoid dry or dense bars.
- Baking Soda and Salt: Baking soda helps the bars rise slightly and contributes to their tender crumb. Salt is essential for balancing the sweetness and enhancing all the other flavors, making the chocolate truly pop.
- Chocolate Candy Bar Assortment: The star of the show! This is where you bring in all your favorite chocolate bars to create a custom blend of flavors and textures within and on top of your cookie bars.
Choosing Your Candy Bar Superstars: What Candy Bars Should I Use?
The beauty of this recipe lies in its adaptability. You can truly use any of your favorite chocolate candy bars to create a unique and personalized treat. Don’t be afraid to mix and match different varieties to achieve a dynamic range of textures and flavors in every bite. Here’s an expanded list of fantastic options, and what they might bring to your cookie bars:
- Twix: Offers a delightful crunch from the shortbread and a gooey caramel chew.
- Kit Kat: Provides a light, crispy wafer texture coated in chocolate.
- Plain or Mini M&M’s: Adds a classic chocolate flavor with a colorful, candy-coated crunch.
- Reese’s Peanut Butter Cups: Brings that irresistible salty-sweet combination of chocolate and creamy peanut butter.
- Milky Way: Introduces a soft, chewy nougat and caramel layer.
- Snickers: A powerhouse of peanuts, caramel, nougat, and chocolate for a substantial bite.
- Hershey Bars: Classic milk chocolate goodness that melts beautifully.
- 3 Musketeers: Light, fluffy, whipped nougat covered in chocolate.
- Almond Joy/Mounds: For coconut lovers, these add a tropical chew and nutty crunch (Almond Joy).
- Butterfinger: Distinctive crispy, crunchy peanut butter brittle texture.
- Dove: Smooth, rich, and luxurious chocolate that melts wonderfully.
- Baby Ruth: Peanuts, caramel, and nougat – similar to Snickers but with its own unique twist.
- 100 Grand Bar: Crispy rice and caramel for an amazing textural contrast.
- Take 5: A complex mix of pretzels, peanut butter, caramel, and peanuts for a salty-sweet, crunchy, and chewy experience.
- Kinder Bueno: Hazelnut cream-filled wafers, offering a sophisticated sweetness and delicate crunch.
- Heath Bars/Skor Bars: Delightful toffee crunch that becomes wonderfully chewy when baked.
Feel free to get creative and chop some into smaller pieces for integrating into the dough, while reserving larger chunks or whole mini bars for an impressive topping! The more variety, the more exciting each bite becomes.
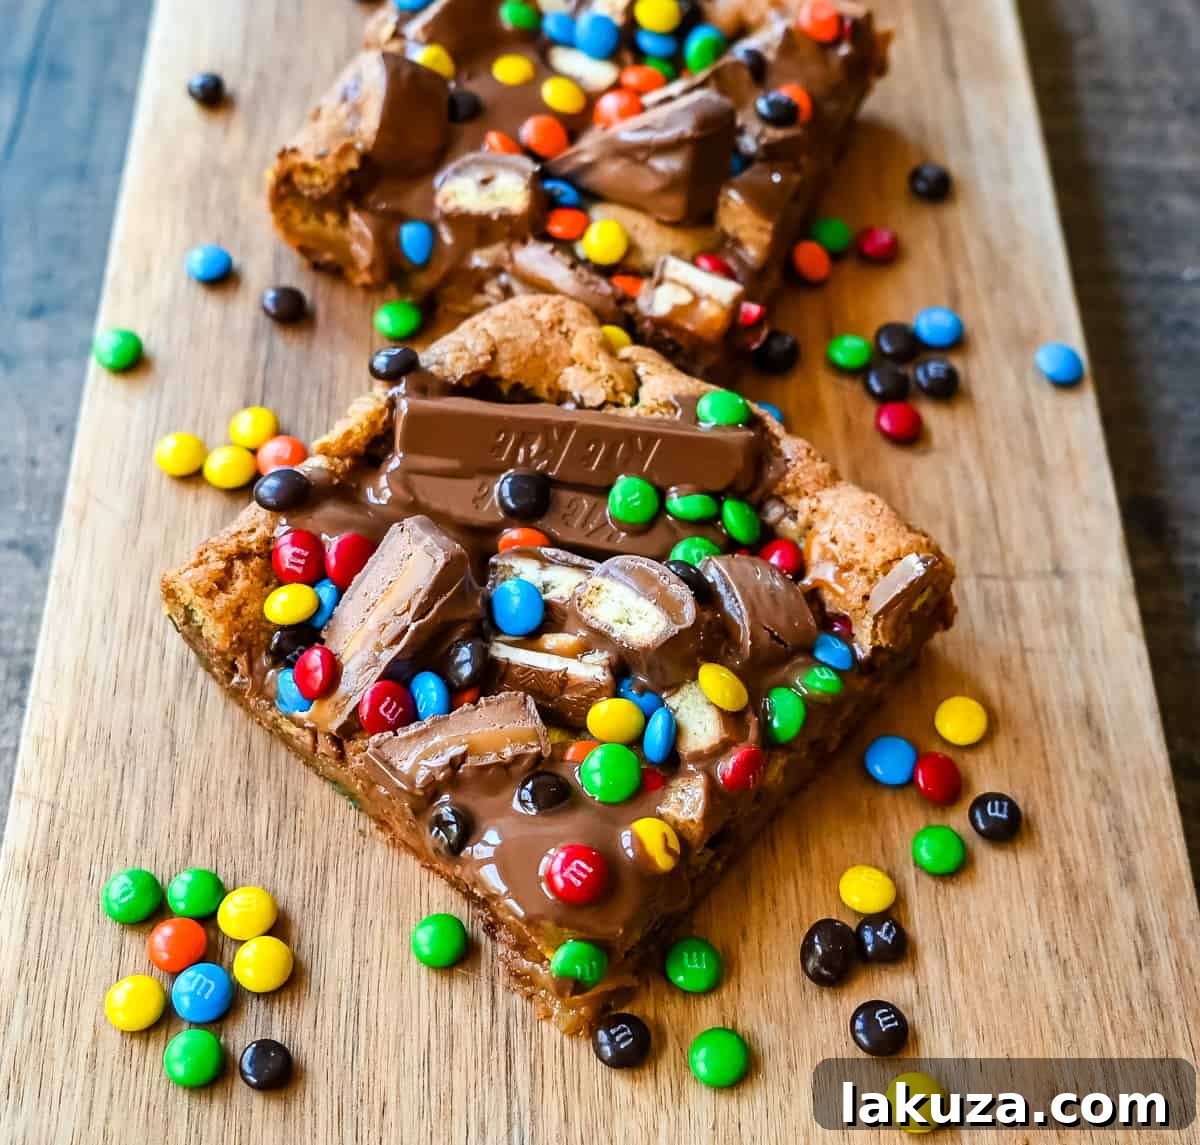
Step-by-Step Candy Bar Blondies Instructions:
Prepare for a delightfully simple baking experience! This is truly a one-bowl cookie bar recipe, eliminating the need for any fancy equipment like a stand mixer or even a hand mixer. It’s designed for maximum deliciousness with minimal effort. Follow these straightforward steps to create your perfect batch of candy bar blondies:
- Prepare Your Pan & Melt the Butter: First, preheat your oven to 350°F (175°C). Line an 8×8 inch baking pan with parchment paper, leaving an overhang on the sides. This simple step is a game-changer as it makes removing and cleanly cutting your candy bar cookie bars incredibly easy after baking. In a large, microwave-safe bowl, gently melt the butter in the microwave. To prevent sputtering and ensure even melting, I recommend reducing the microwave power to 50-70% and microwaving in 15-20 second intervals, stirring in between. Alternatively, you can melt the butter slowly in a small saucepan on the stovetop over low heat until completely liquid.
- Combine Wet Ingredients: Once the butter is melted and slightly cooled (so it doesn’t cook the egg), add the brown sugar and granulated sugar directly into the bowl. Using a whisk or a sturdy spoon, stir vigorously for about 2-3 minutes until the mixture is completely smooth, glossy, and well combined. This energetic stirring helps dissolve the sugars and creates that signature chewy blondie texture. Next, beat in the large egg and the vanilla extract. Continue whisking until the mixture is lightened in color and fully smooth and homogenous.
- Incorporate Dry Ingredients: Now it’s time to add the dry ingredients. Stir in the all-purpose flour, baking soda, and salt. Mix until just combined and no streaks of dry flour remain. Be careful not to overmix at this stage, as overmixing can lead to tougher cookie bars. A few gentle folds are all it takes.
- Fold in the First Batch of Candy Bars: Take 1 cup of your pre-chopped candy bars and gently fold them into the cookie dough. Distribute them evenly throughout the dough. Remember to reserve the majority of your chocolate candy bars for the grand finale – placing them artfully on top once the blondies are finished baking.
- Bake to Perfection: Spread the prepared cookie dough evenly into your parchment-lined 8×8 inch baking pan. Use an offset spatula or the back of a spoon to ensure an even layer from edge to edge. Transfer the pan to your preheated oven and bake for approximately 20-28 minutes. You’re looking for the edges to be a light golden brown and the center to be just set, with a slight wobble. The key here is to DO NOT OVERBAKE! Overbaking will result in dry, crumbly bars instead of the desired ooey, gooey texture. The bars will continue to set as they cool.
- Prepare and Add the Topping: While your cookie bars are baking, take this time to prepare your remaining chocolate candy bars for the topping. You can decide to keep some of the mini candy bars whole for visual appeal, while others can be chopped or sliced into attractive bite-size pieces. The variety adds to the aesthetic and the eating experience.
- The Grand Finale: Topping & Cooling: As soon as you remove the baked cookie bars from the oven, immediately arrange your prepared candy bars all over the warm surface. The residual heat from the blondies will gently soften the chocolate, helping it adhere and create that irresistible melty top. If you prefer the candy bars not to melt significantly and retain their distinct shapes and textures, wait about 5 minutes after baking before placing them on the cookie bars. For an even firmer set on the toppings, immediately place the pan in the freezer for 10-15 minutes after adding the candy, or until cool.
- Slice and Serve: Allow the cookie bars to cool completely in the pan on a wire rack before attempting to cut them. For the cleanest cuts, refer to our special tips below. Once cooled and cut, serve these sensational candy bar cookie bars to a chorus of delighted murmurs!
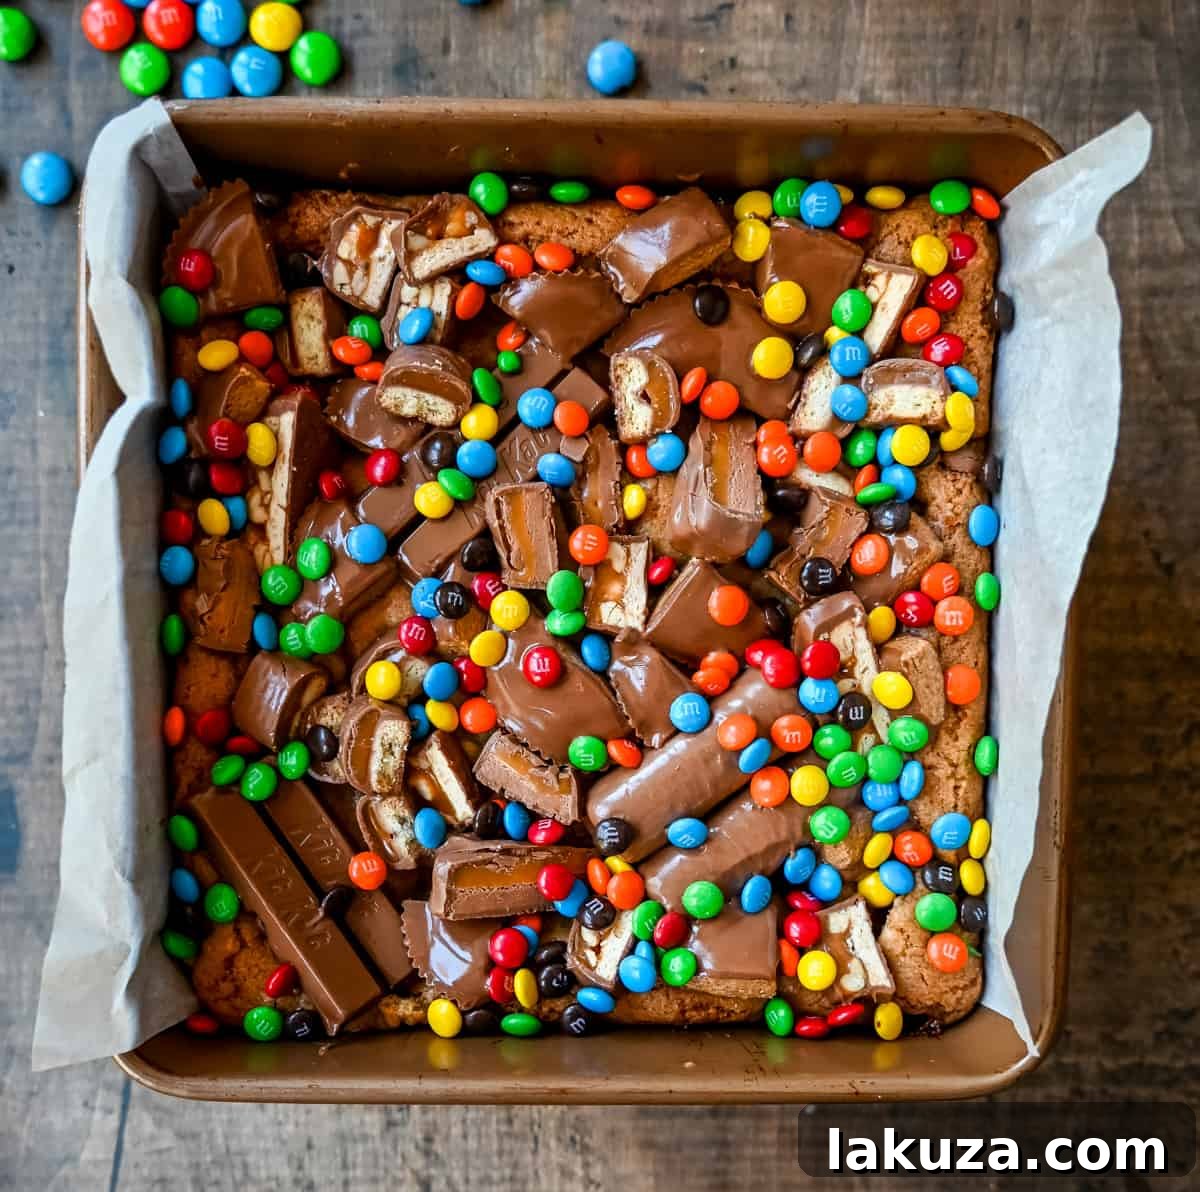
Expert Tips for Perfectly Cut and Stored Dessert Bars:
Achieving clean, professional-looking slices and keeping your cookie bars fresh is easier than you think with these simple tricks:
- Chill for Pristine Cuts: For beautifully neat and clean slices, patience is key! After the candy bar cookie bars have cooled on a wire rack for at least 30 minutes, place the entire pan of bars (still in the parchment paper lining) into the freezer for about 20-25 minutes before slicing. This chilling period firms up both the blondie base and the chocolate toppings, making them much easier to cut without crumbling or squishing.
- The Magic of a Plastic Knife: This might sound unconventional, but for cutting dessert bars, especially those with gooey or sticky toppings like melted chocolate or caramel, use a plastic knife! A simple plastic knife glides through the bars effortlessly, preventing sticking and making exceptionally clean cuts. Alternatively, a sharp, ungreased metal knife wiped clean after each cut can also work wonders.
- Room Temperature for Softness: If you prefer your bars extra soft and gooey, allow them to come back to room temperature for about 15-20 minutes after chilling and before serving.
How to Store Your Delicious Candy Bar Blondie Bars:
Proper storage ensures your candy bar cookie bars remain fresh, moist, and delicious for as long as possible. Luckily, these bars are very forgiving and store wonderfully:
Keep your candy bar blondie bars in an airtight container at room temperature for up to 3-4 days. For longer storage or to prepare them ahead of time, place the completely cooled bars in a freezer-safe Ziploc bag or an airtight freezer-safe container. When stored in the freezer, these delightful treats will maintain their quality for several months (up to 2-3 months). To enjoy from frozen, simply let them thaw at room temperature for an hour or two, or pop them in the microwave for a few seconds for a warm, gooey experience.
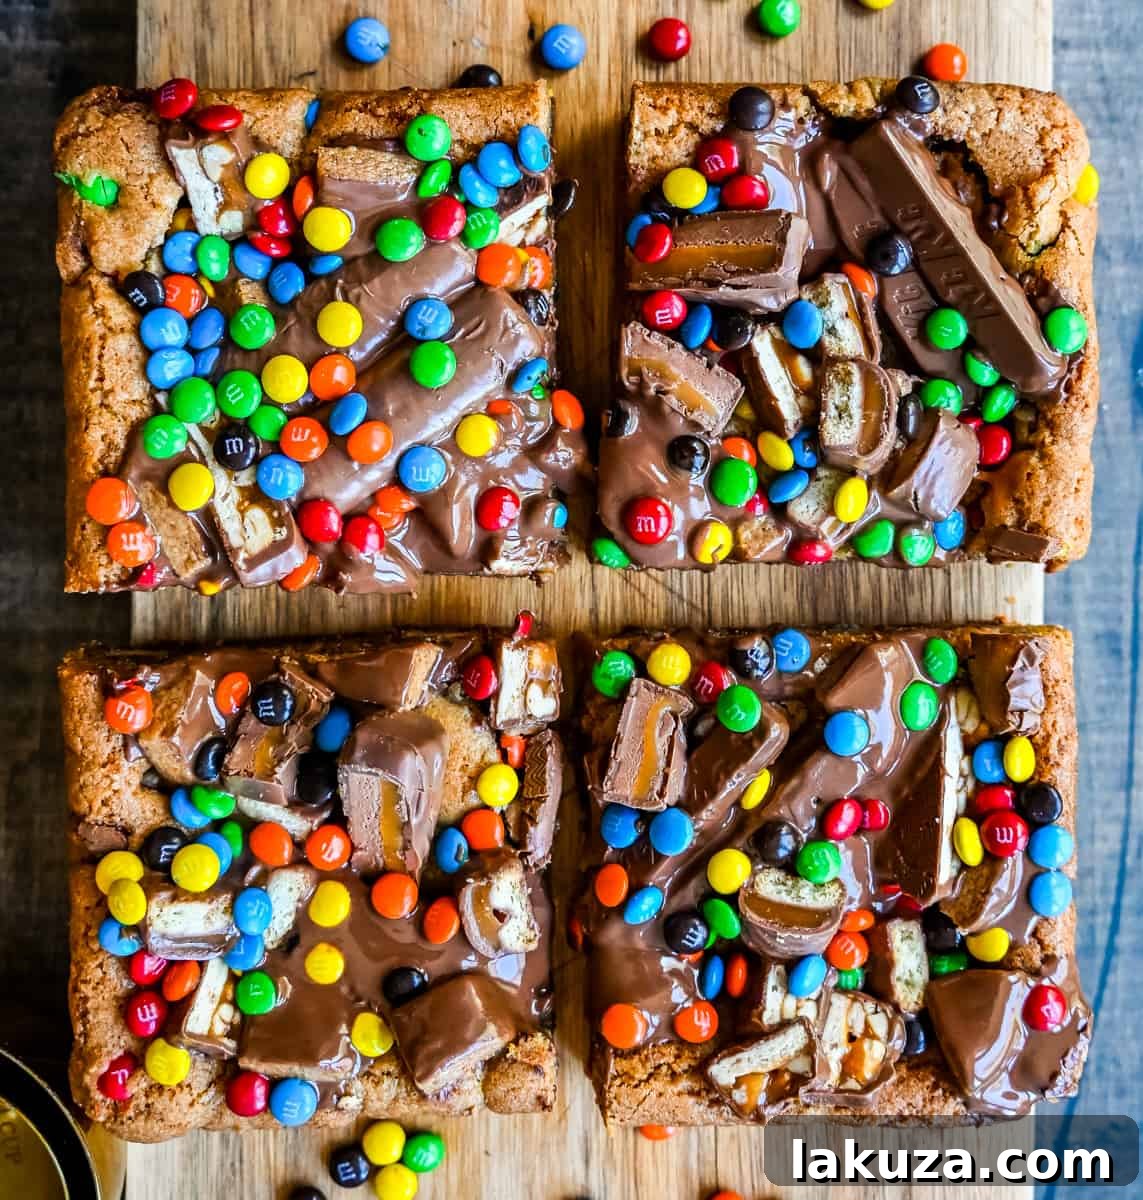
Frequently Asked Questions About Candy Bar Cookie Bars:
For the best distribution of chocolatey goodness and varied texture, you’ll add the candy bars at two different stages. First, fold 1 cup of chopped chocolate candy bars into the cookie dough before baking. This ensures that every bite of the blondie base has pockets of melted, chewy candy. Second, once you remove the hot bars from the oven, immediately place the remaining candy bars (chopped or whole, as desired) on top. The residual heat will soften them beautifully. If you prefer the candy bars on top to retain their distinct shape and not melt significantly, wait about 5 minutes after removing the bars from the oven before adding them, then quickly transfer the pan to the freezer for a few minutes to set them.
Absolutely! For an extra layer of chocolately goodness and to boost the overall chocolate content, you can certainly add 1/2 cup of semi-sweet chocolate chips (or milk chocolate, dark chocolate, or even white chocolate chips) to the cookie dough along with the chopped candy bars. This will create an even richer and more indulgent cookie bar experience, perfect for true chocolate lovers.
Yes, you can! This recipe is designed for an 8×8 inch baking pan. If you use a 9×9 inch pan, the bars will be slightly thinner, and the baking time might be reduced by a few minutes. Conversely, if you use a smaller pan, like a 7×7 inch, the bars will be thicker, and the baking time will likely increase. Always keep a close eye on them and perform the “light golden brown edges, slightly wobbly center” test to ensure they are perfectly baked and not overdone.
While parchment paper is highly recommended for easy removal and clean cuts, you can still make these bars without it. Heavily grease and flour your baking pan, or spray it thoroughly with a non-stick baking spray containing flour. You might need to run a knife around the edges to loosen the bars before attempting to remove them from the pan, and cutting might be a bit trickier.
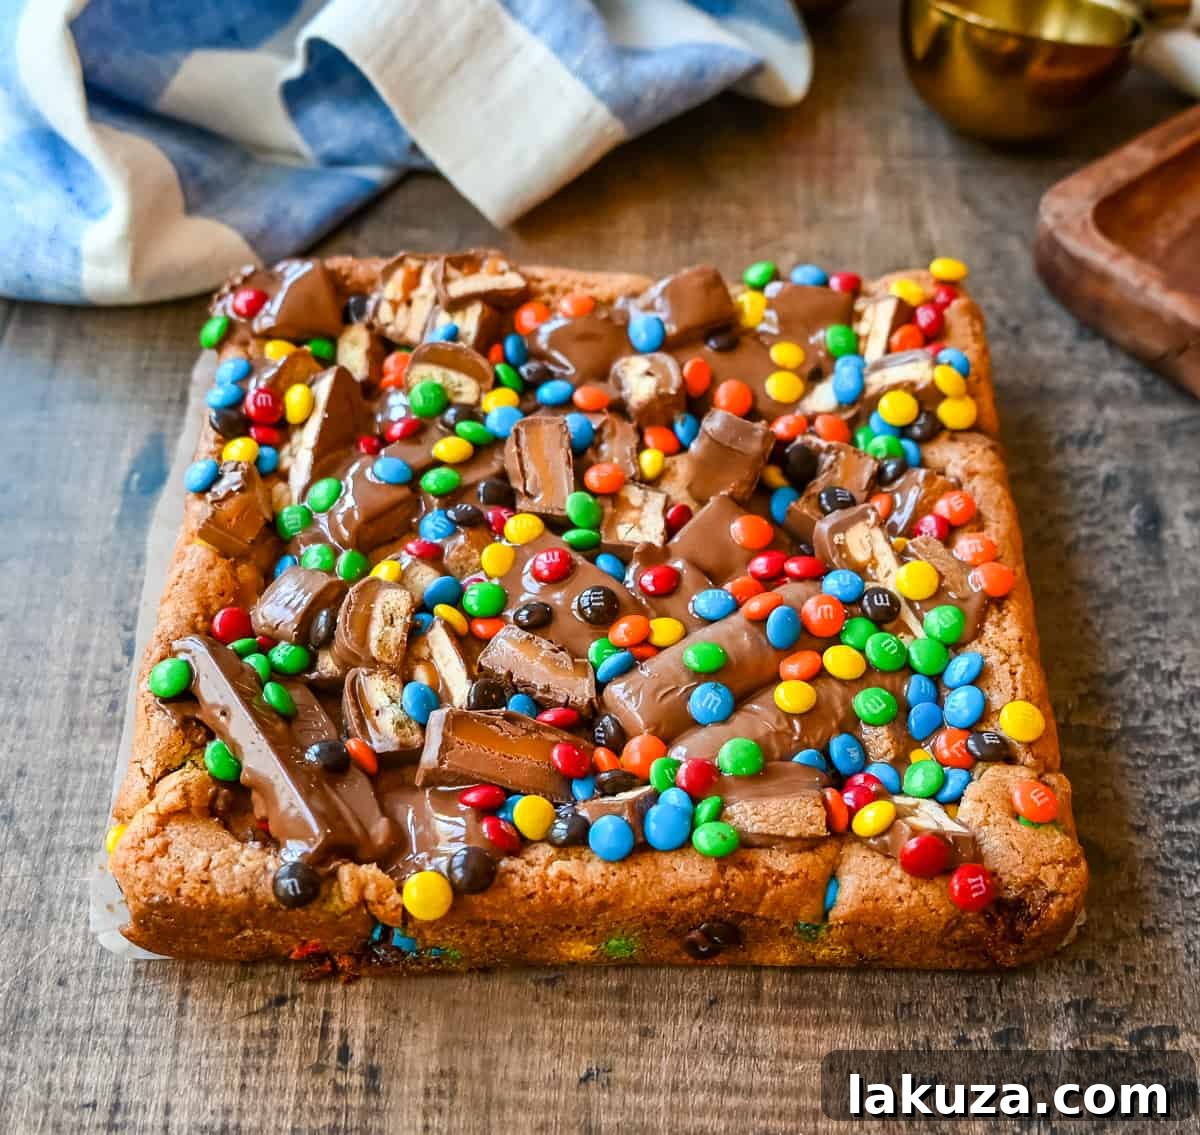
More Irresistible Dessert Bar Recipes to Try:
If you’re a fan of easy-to-make, shareable, and utterly delicious dessert bars, you’re in luck! Here are some other popular dessert bars from our collection that you’re sure to love, perfect for any occasion:
Classic Chocolate Chip Cookie Bars
Brookie (Chocolate Chip Cookie and Brownie Bars)
Bake Sale Trifecta Bars
7-Layer Magic Bars
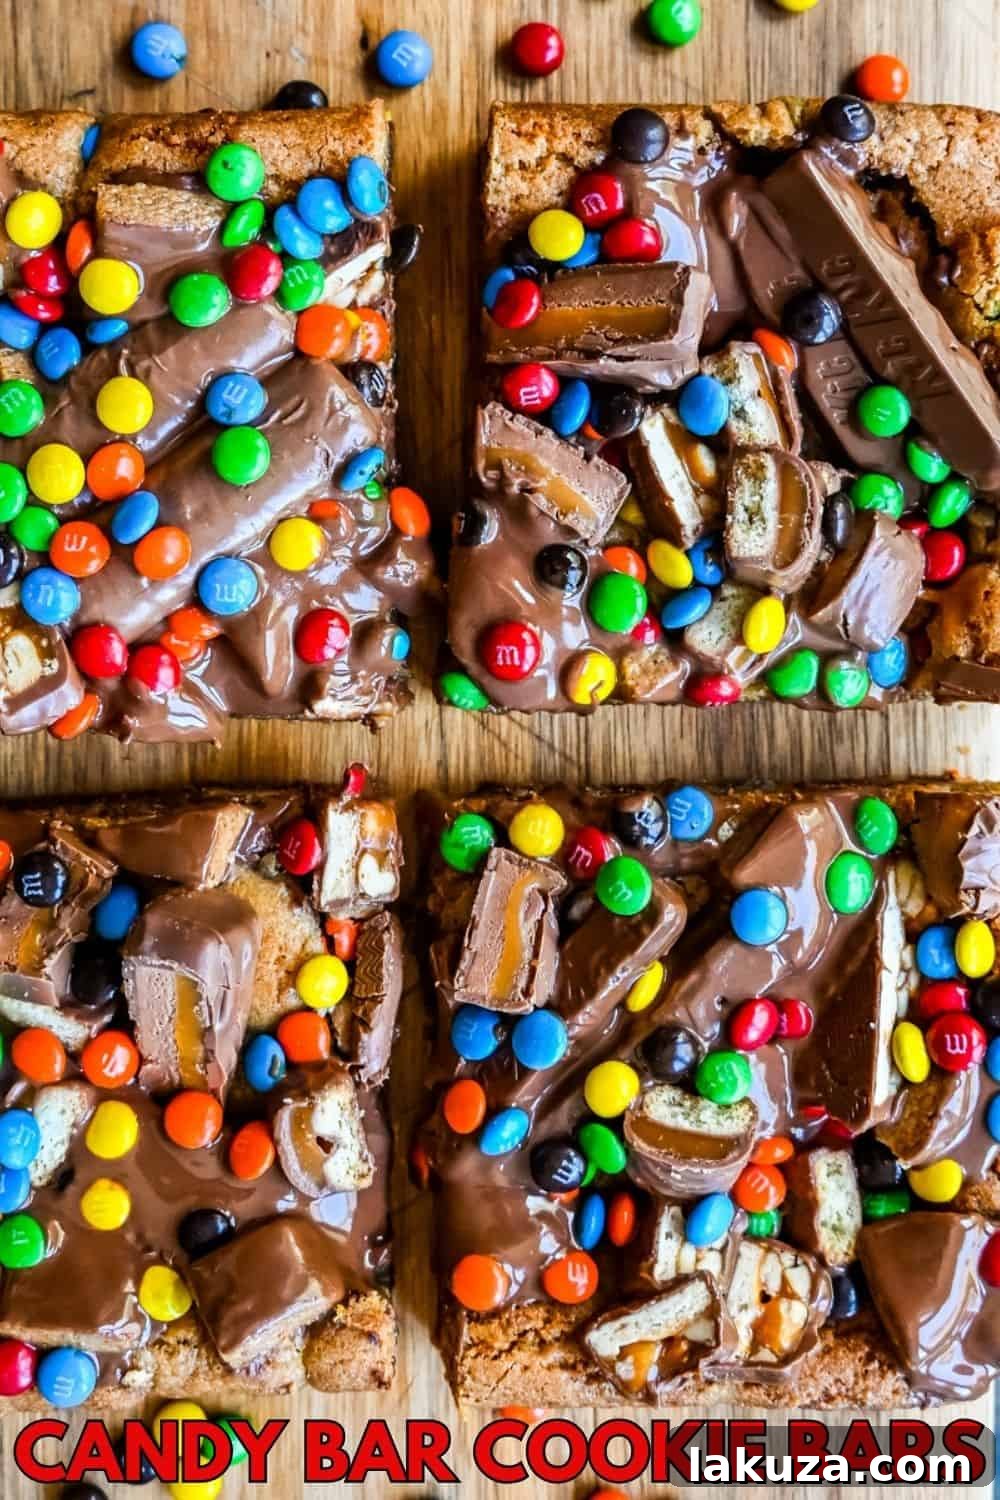

Candy Bar Cookie Bars
Ingredients
- 1/2 cup Butter
- 1/2 cup Brown Sugar (packed)
- 1/2 cup Sugar
- 1 large Egg
- 2 teaspoons Vanilla Extract
- 1 1/4 cups Flour
- 1/2 teaspoon Baking Soda
- 1/4 teaspoon Salt
- 1 cup Chocolate Candy Bars (chopped plus more for the top)
Topping:
- 1 to 1 1/2 cups Chocolate Candy Bars
Instructions
- Preheat oven to 350 degrees F (175 C). In a microwave safe bowl, melt butter in the microwave until melted. I suggest reducing the microwave power so the butter doesn’t splatter, microwaving in 15-20 second intervals, stirring between each. You may also melt the butter in a saucepan over low heat.
- Add brown sugar and granulated sugar to the melted butter. Whisk or stir vigorously for about 2-3 minutes until smooth and well combined. Add egg and vanilla extract and whisk until the mixture is smooth and lightened. Stir in flour, baking soda, and salt until just combined, being careful not to overmix.
- Fold in 1 cup of chopped candy bars, distributing them evenly throughout the dough. Reserve most of the chocolate candy bars to place on the top when the blondies are finished baking.
- Line an 8×8 inch baking pan with parchment paper, leaving an overhang on the sides. Spread the cookie dough evenly in the prepared pan. Bake for 20-28 minutes, just until the edges are a light golden brown color and the center is set with a slight wobble. DO NOT OVERBAKE, as this will result in dry bars.
- While the cookie bars are baking, prepare your additional chocolate candy bars for the topping. You may keep some of the candy bars whole (especially mini ones) and some you can chop or slice into bite-size pieces for variety.
- As soon as the cookie bars are removed from the oven, arrange the prepared candy bars all over the warm top. If you don’t want the chocolate candy bars to melt too much, wait 5 minutes before placing them on the cookie bars, and then immediately place the pan in the freezer for 10-15 minutes to help set them.
- Allow the bars to cool completely in the pan on a wire rack. For the cleanest cuts, chill the bars in the freezer for 20-25 minutes before slicing with a plastic knife or a sharp, ungreased metal knife. Cut into bars and serve.
Notes
What candy bars should I use?
You can use any of your favorite chocolate candy bars. Some of my favorites are…Twix, Kit Kat, plain or mini M & M’s, Reese’s Peanut Butter Cups, Milky Way, Snickers, Hershey Bars, 3 Musketeers, Almond Joy, Butterfinger, Dove, Baby Ruth, 100 Grand Bar, Take 5, Kinder Bueno, Heath Bars, and more! Mixing different types adds a wonderful variety of textures and flavors. Two tips for easy cutting dessert bars:- Place the candy bar cookie bars in the freezer for about 20-25 minutes before slicing. This helps them firm up and prevents crumbling.
- Use a plastic knife! A simple plastic knife glides well through gooey bars and makes remarkably clean cuts without sticking.
Nutrition information is automatically calculated and should only be used as an approximation. Individual results may vary based on exact ingredients used and preparation method.