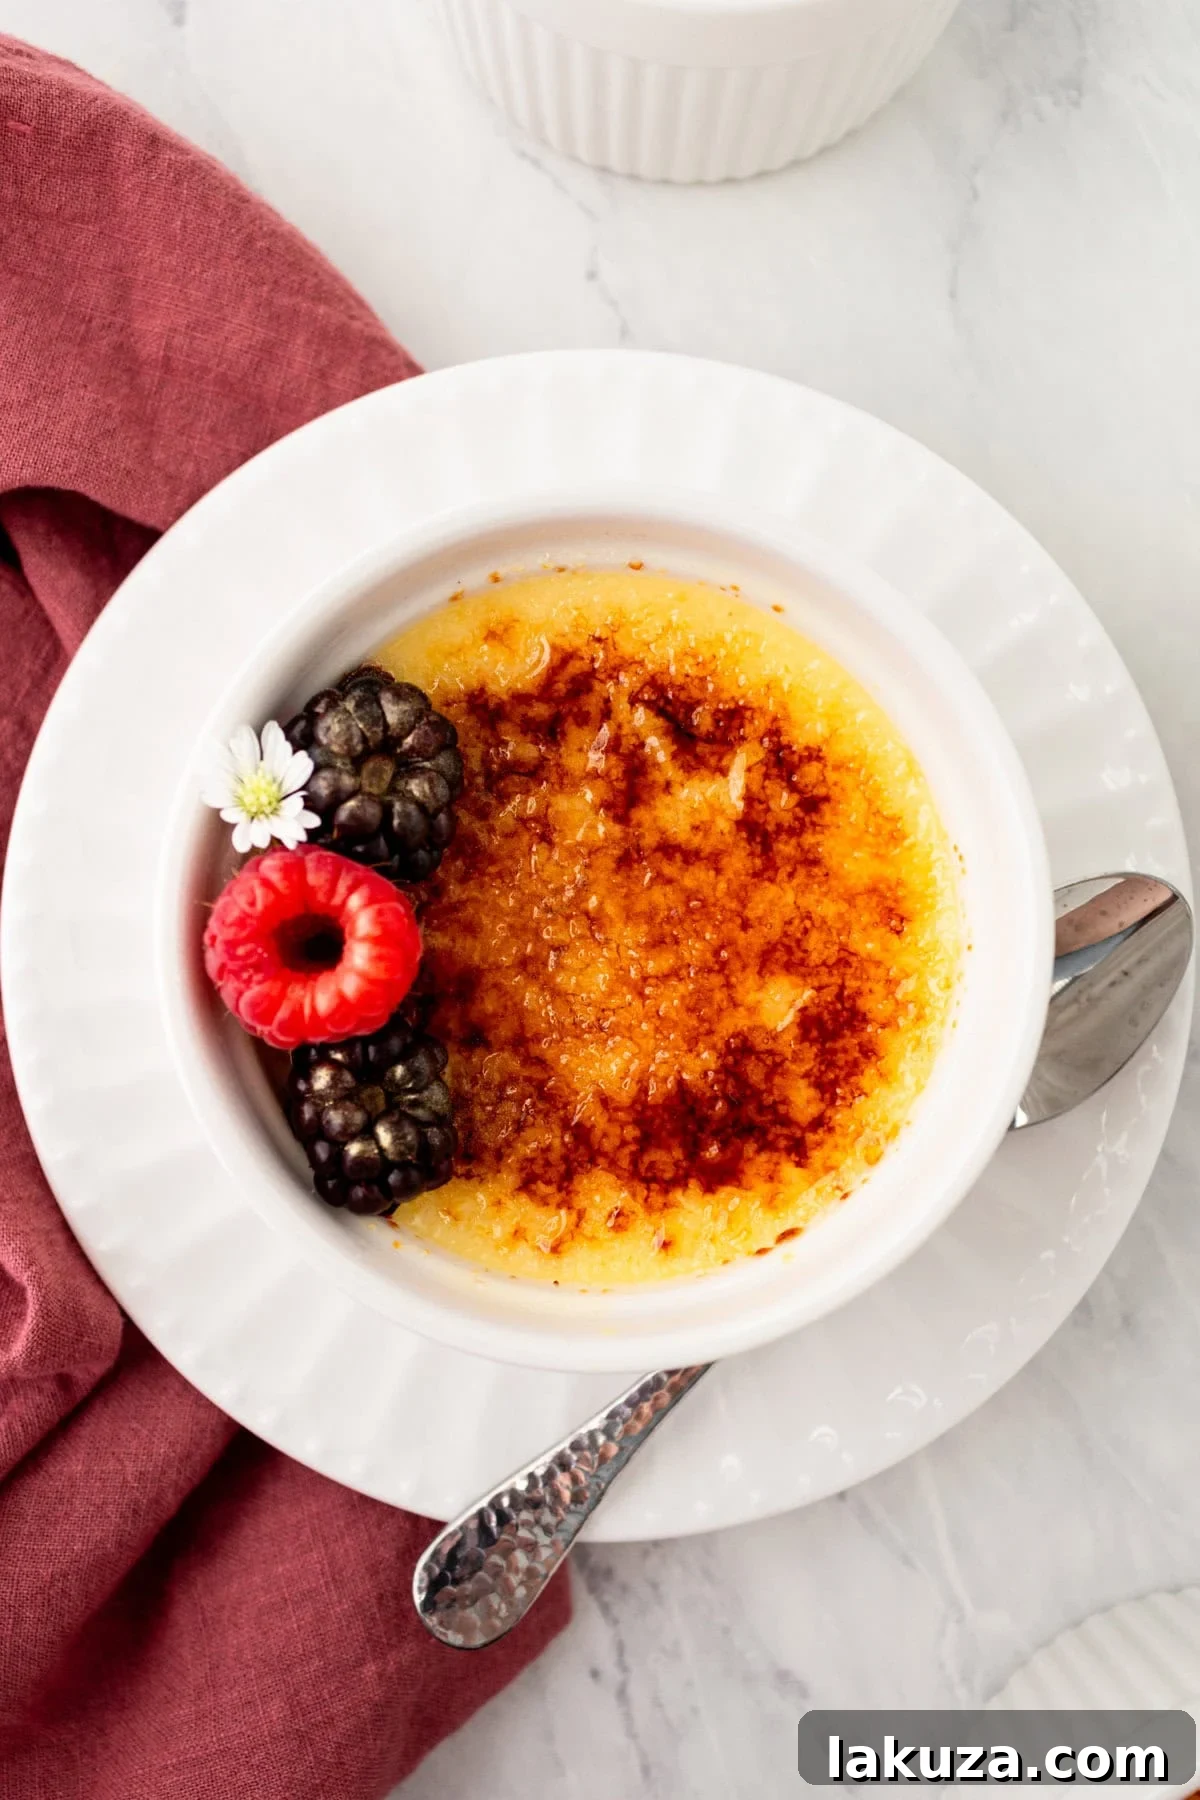
Indulge in the exquisite pleasure of a perfectly crafted Crème Brûlée, a timeless dessert that promises a symphony of textures and flavors. With its impeccably smooth, vanilla-infused custard base and a signature crackly caramelized sugar topping, this French classic isn’t just a treat for the palate—it’s a captivating culinary experience. Often considered a restaurant-exclusive delicacy, the truth is, this showstopper is surprisingly straightforward to create in your own kitchen, bringing a touch of gourmet elegance to any occasion.
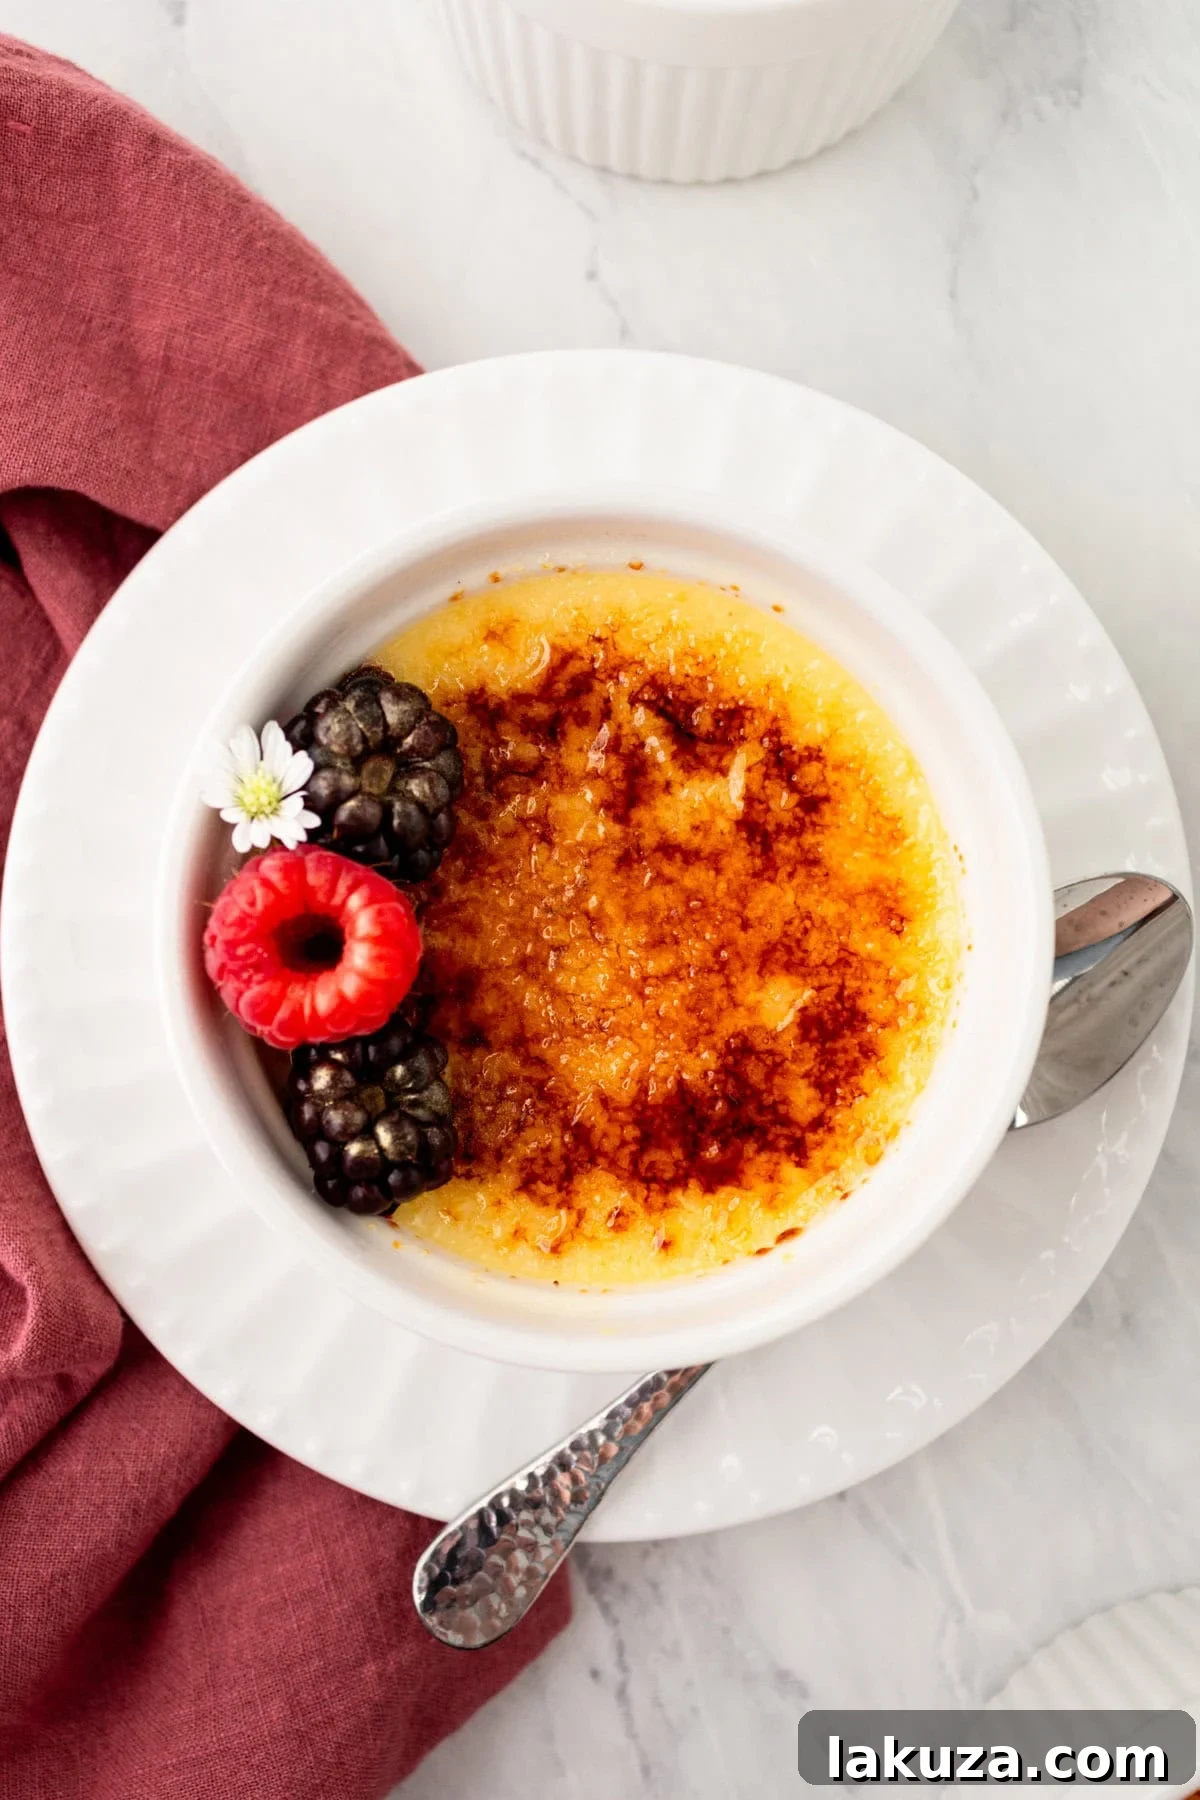
Mastering Homemade Crème Brûlée: A Guide to Vanilla Perfection
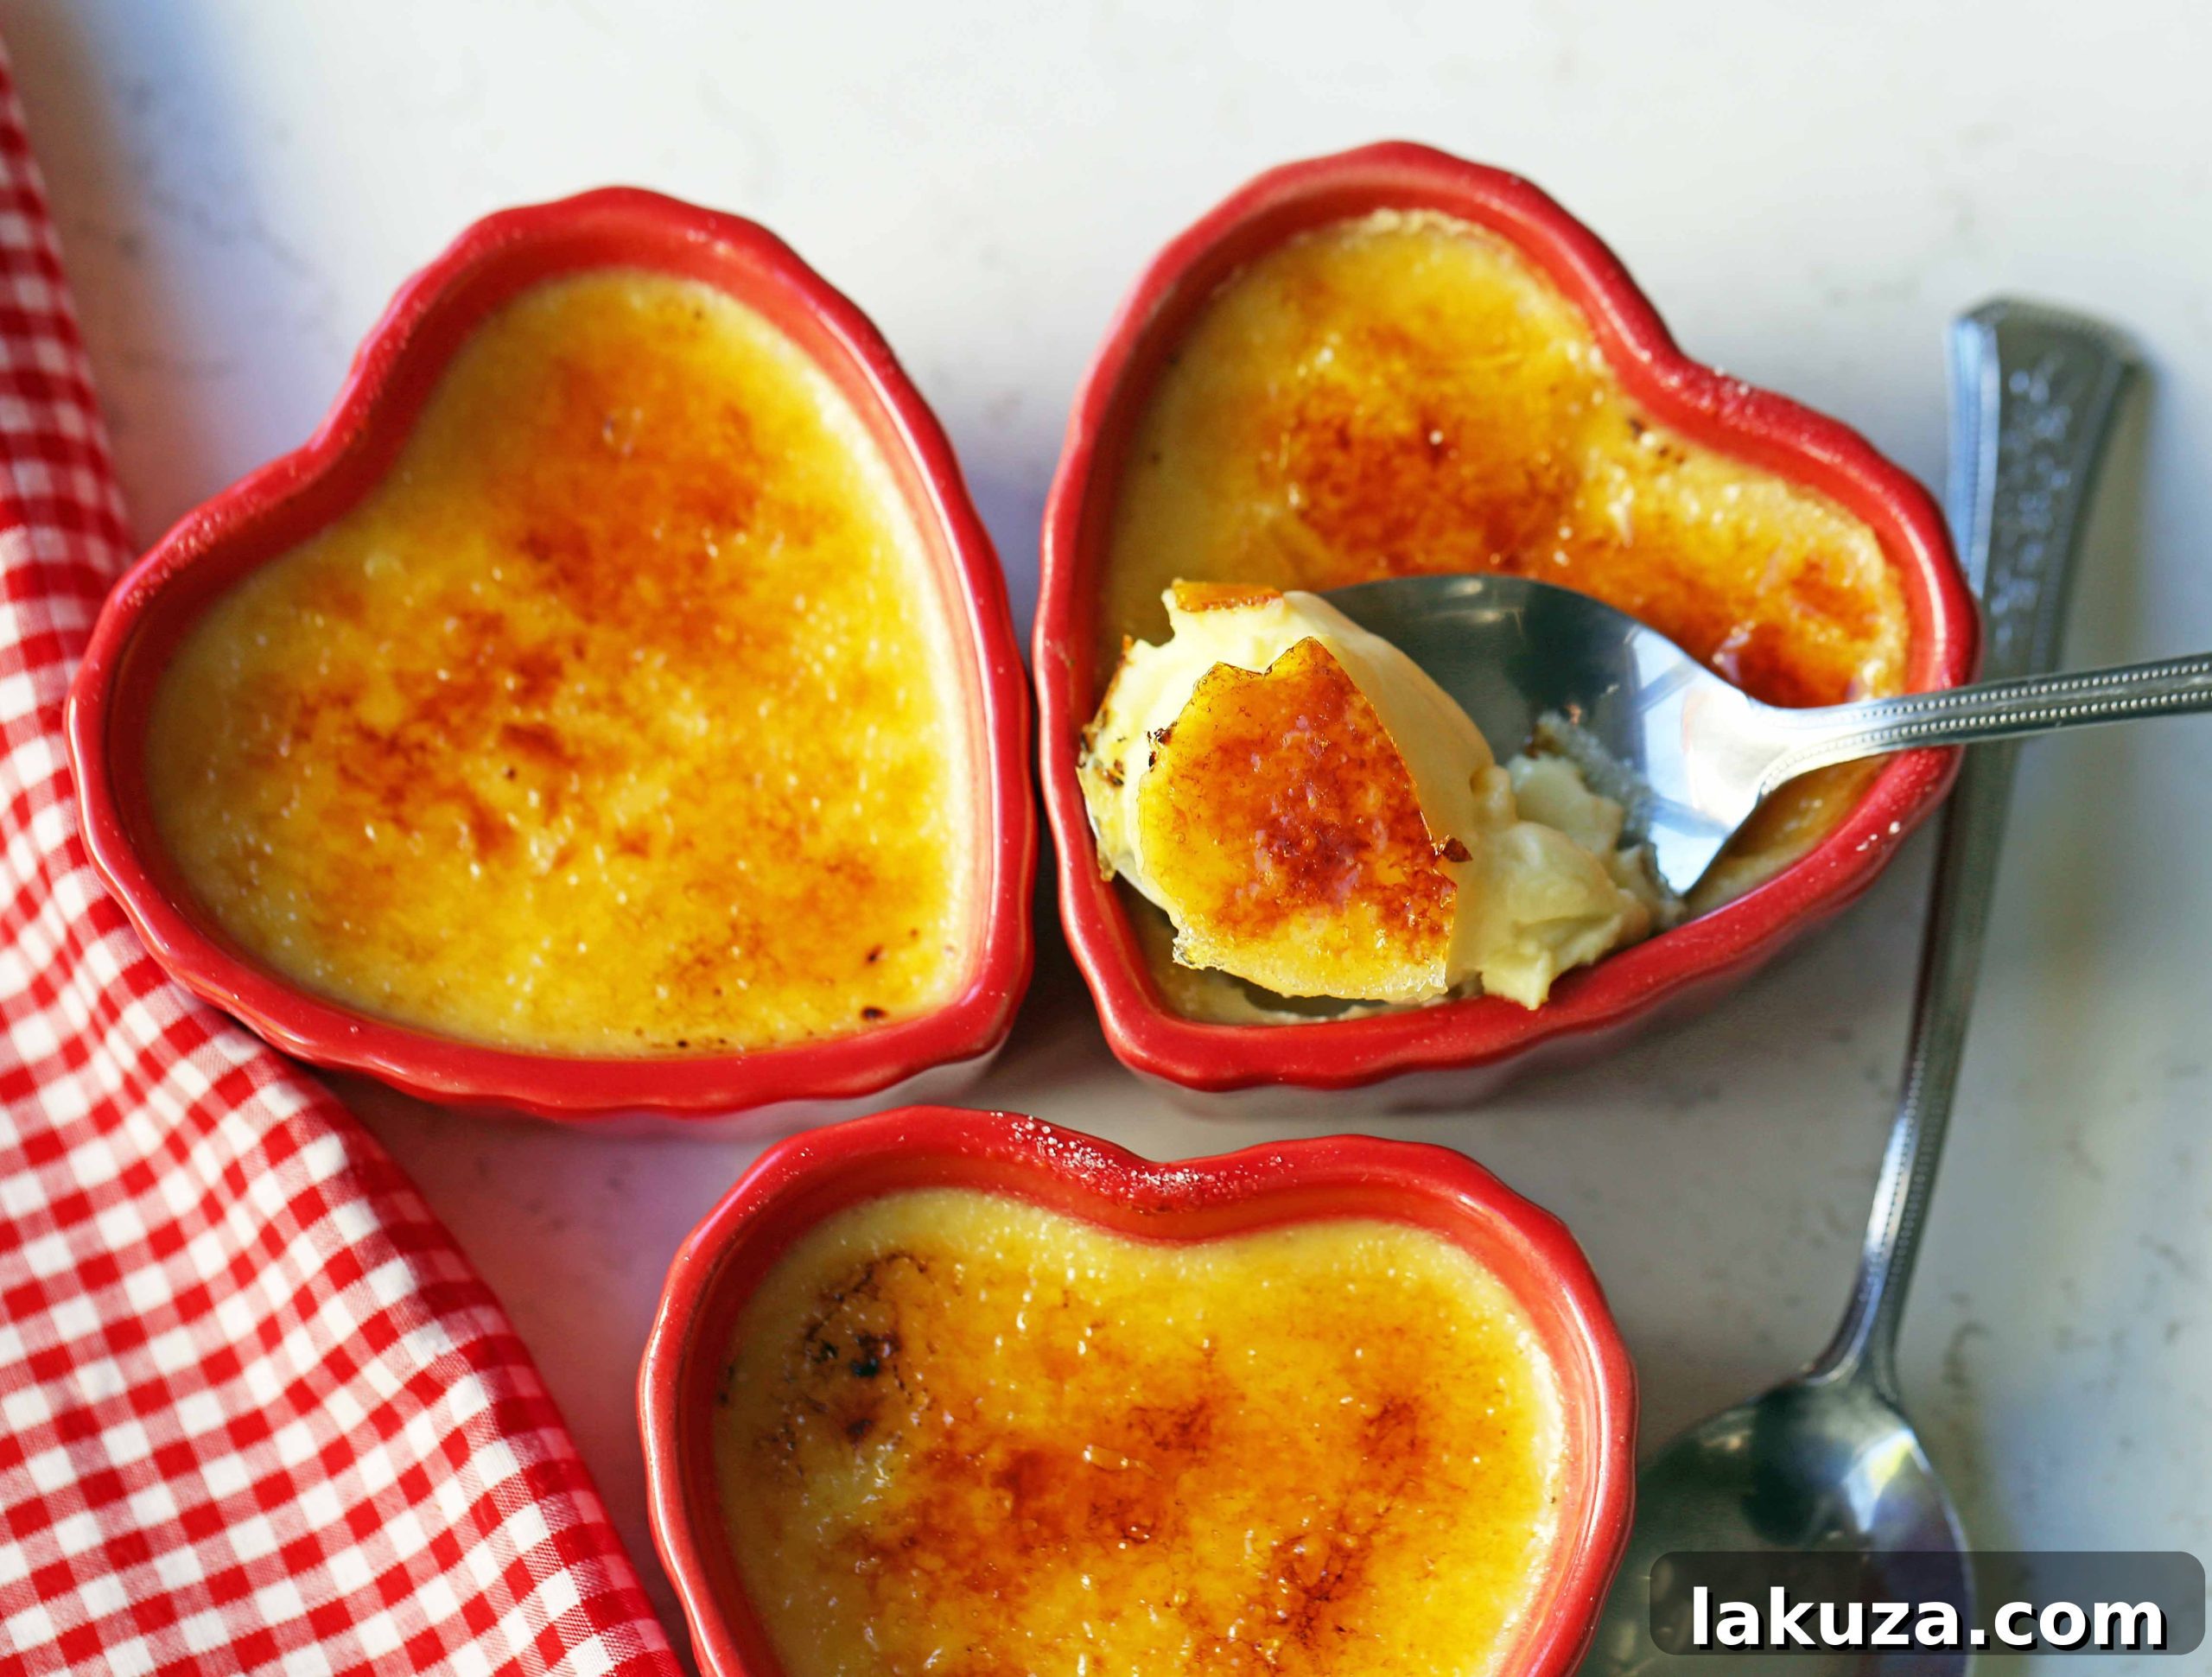
As special occasions like Valentine’s Day approach, the desire to impress with a truly remarkable dessert often arises. Look no further than homemade Crème Brûlée. This guide will equip you with all the knowledge to create a dessert so luxurious, so silky-smooth, and so perfectly balanced with a crisp sugar crust that it will undoubtedly “wow” your special someone. Forget preconceived notions of difficulty; while it boasts an air of sophistication, crafting this restaurant-quality dessert at home is far more accessible than you might imagine.
Many home cooks express intimidation at the thought of making Crème Brûlée from scratch. However, the process is remarkably simple, requiring just a few staple ingredients and a bit of patience for the essential chilling time—which, honestly, might be the hardest part! My step-by-step breakdown is designed to ensure your success in the kitchen, turning you into a Crème Brûlée connoisseur. Prepare to fall head over heels for this rich, creamy, and undeniably luxurious dessert.
What Exactly is Crème Brûlée? A Dive into this Classic French Dessert
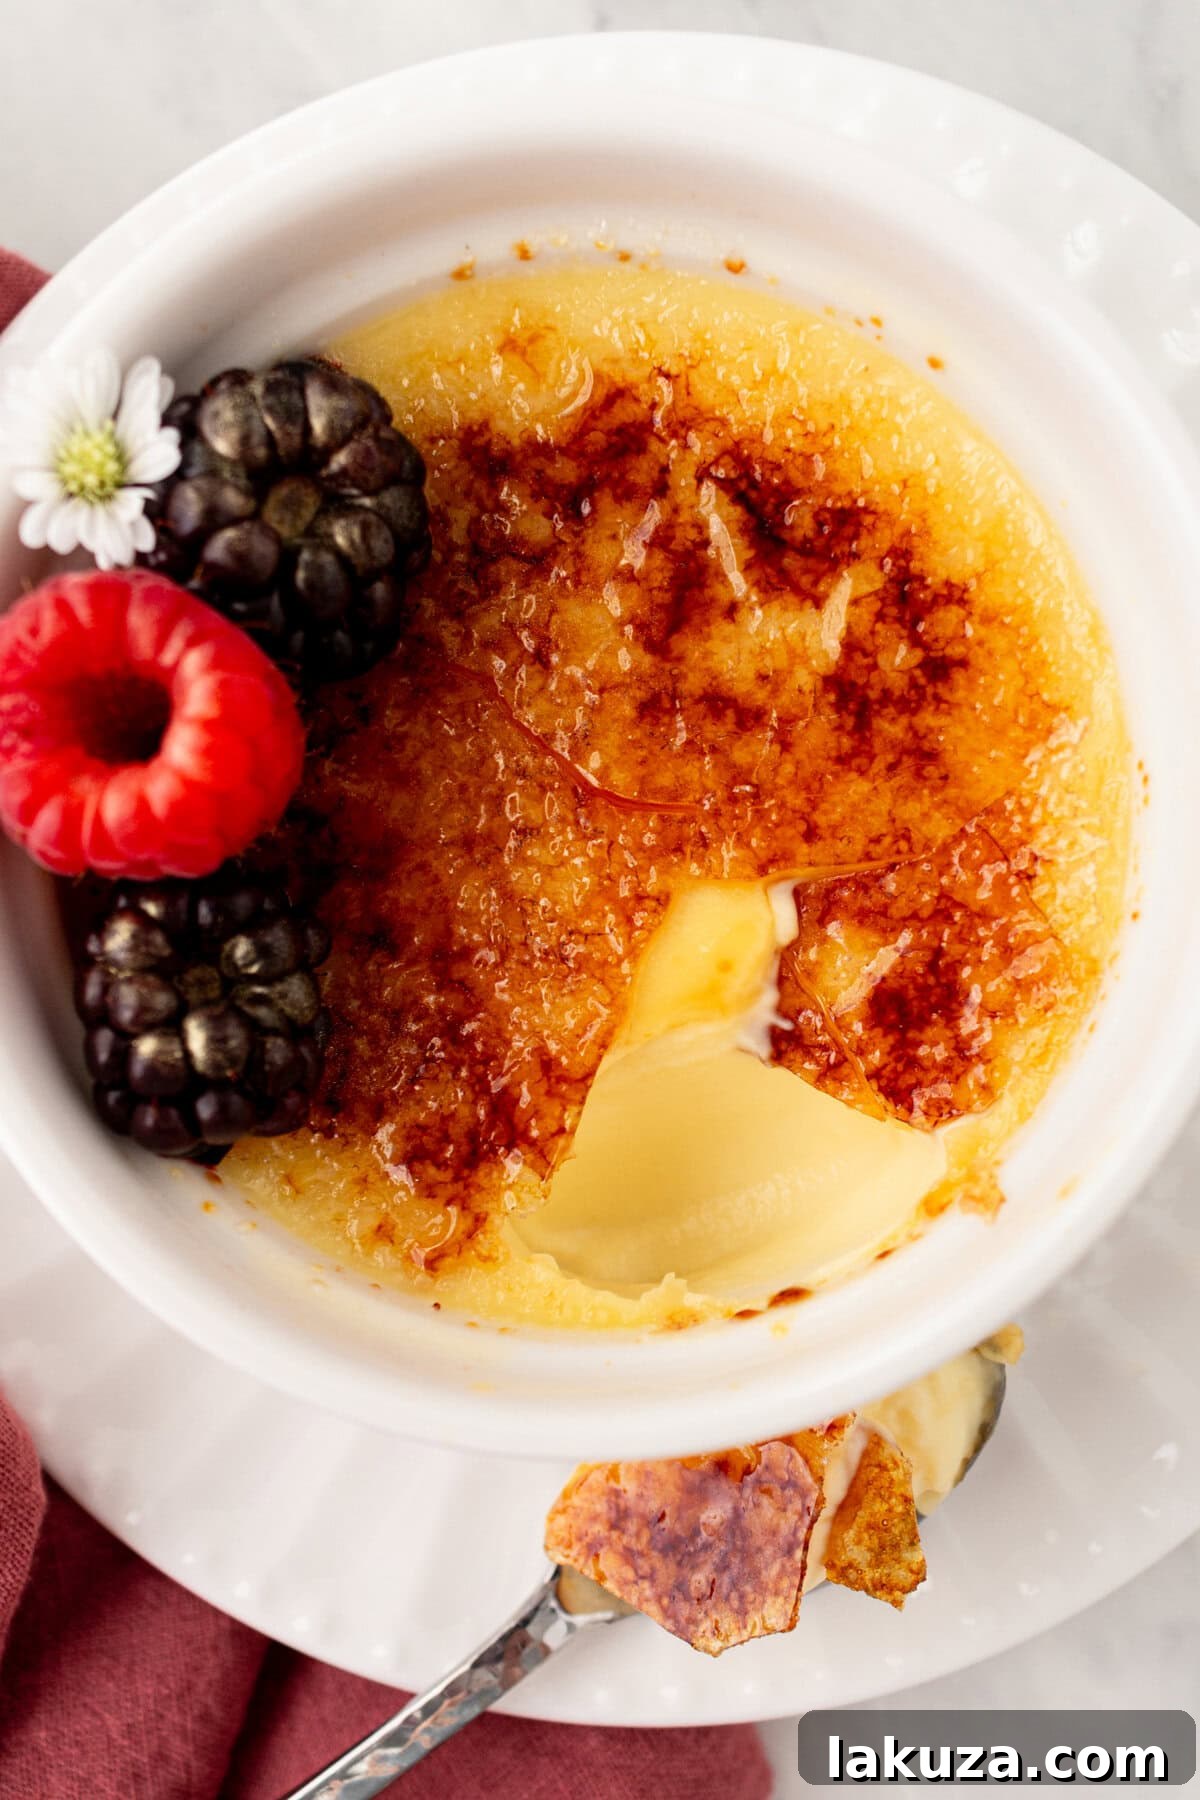
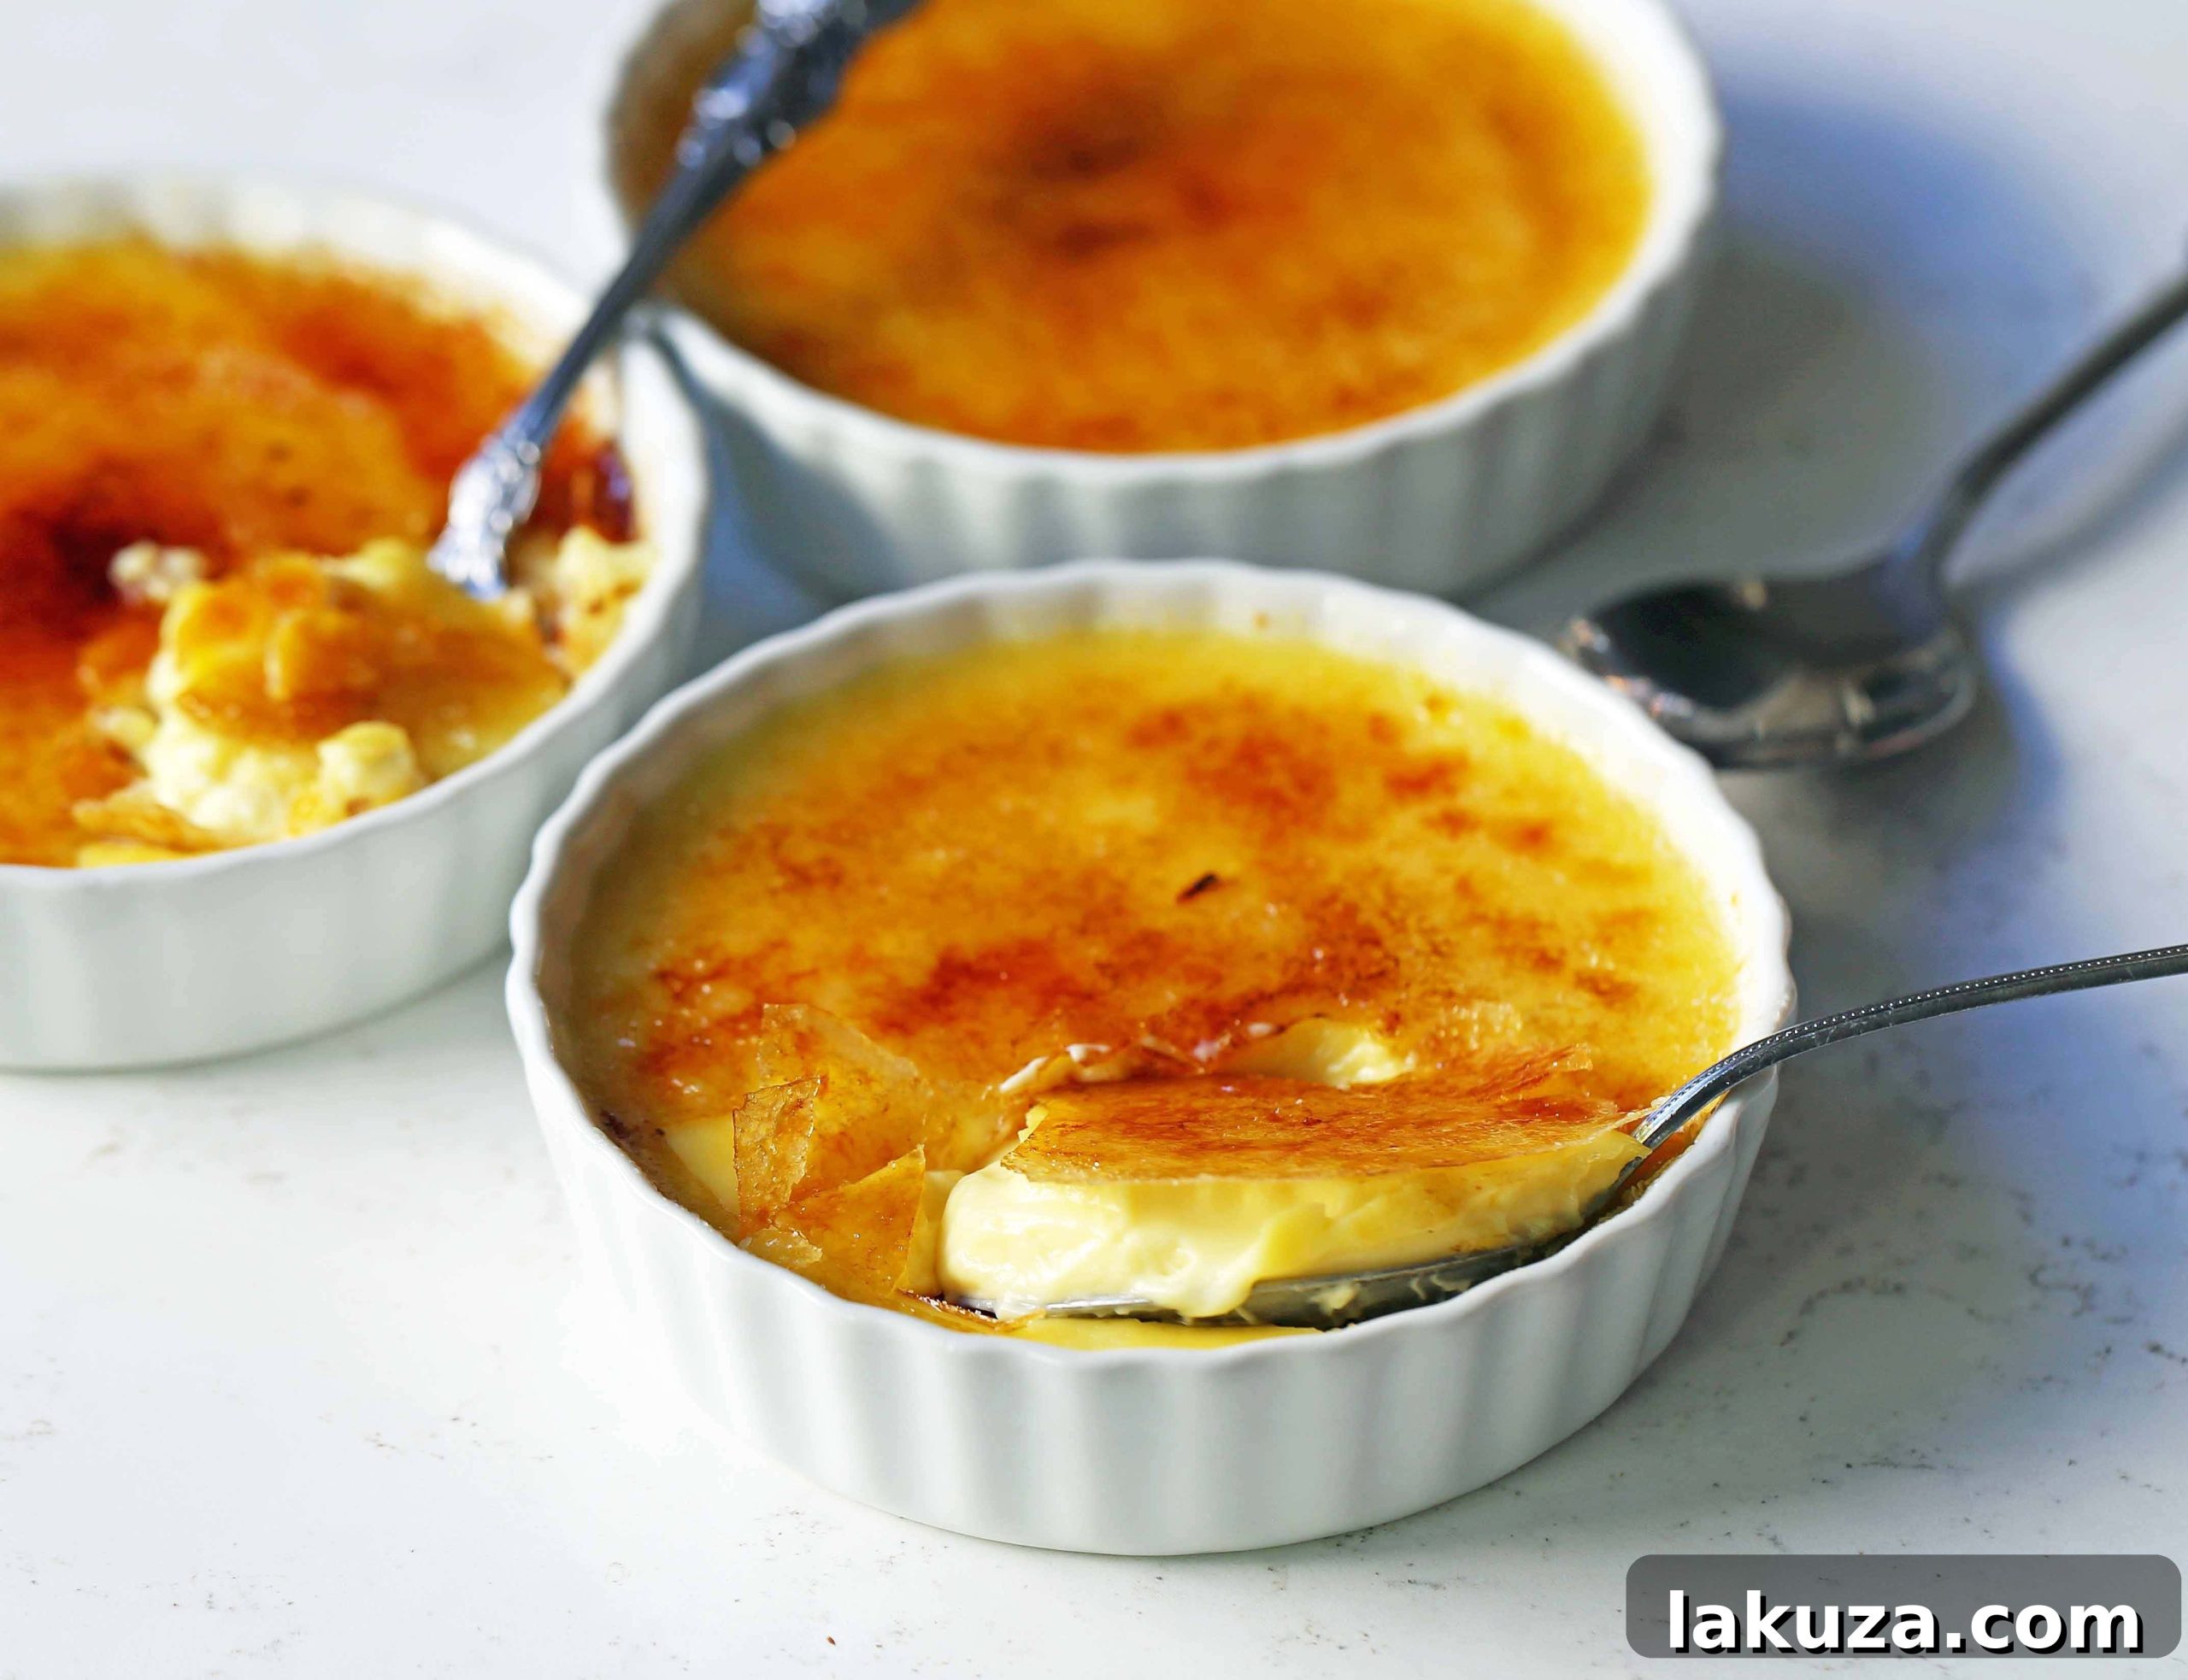
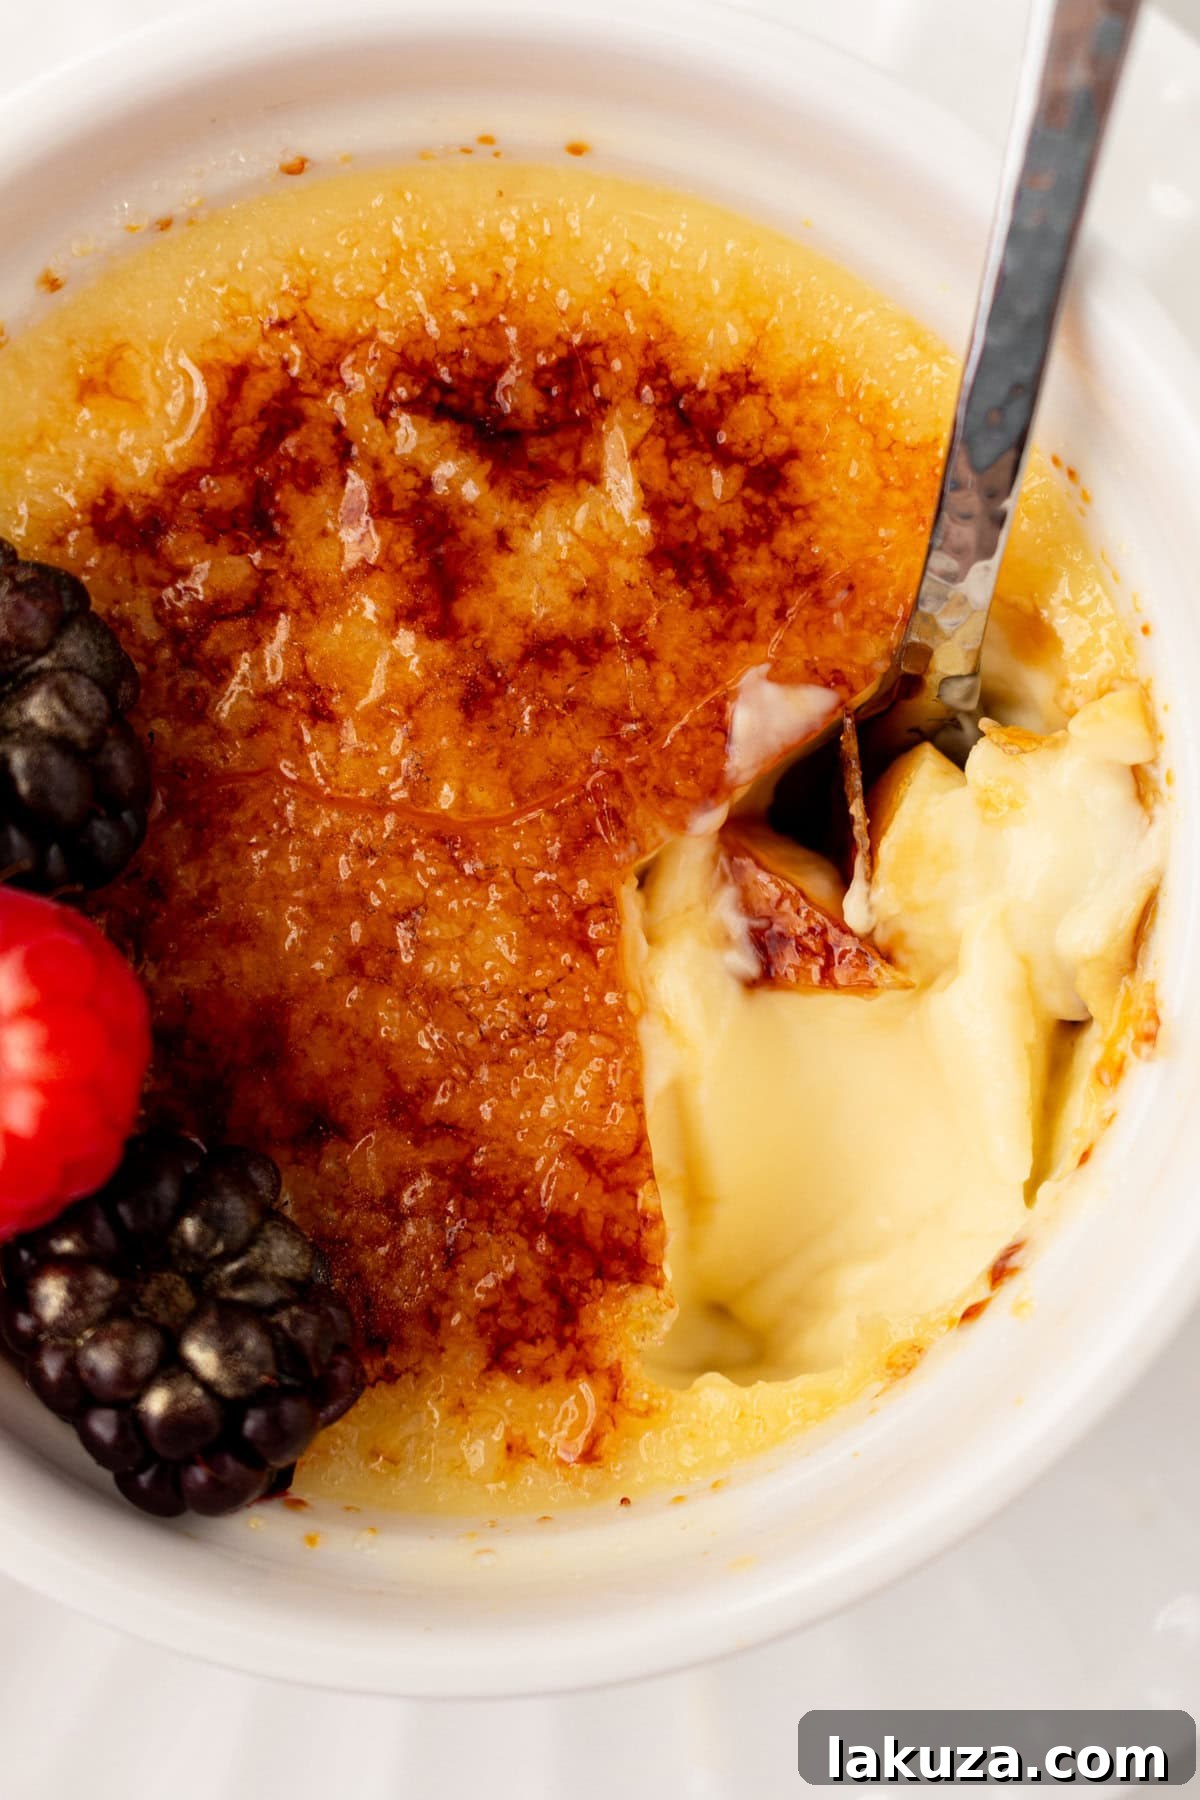
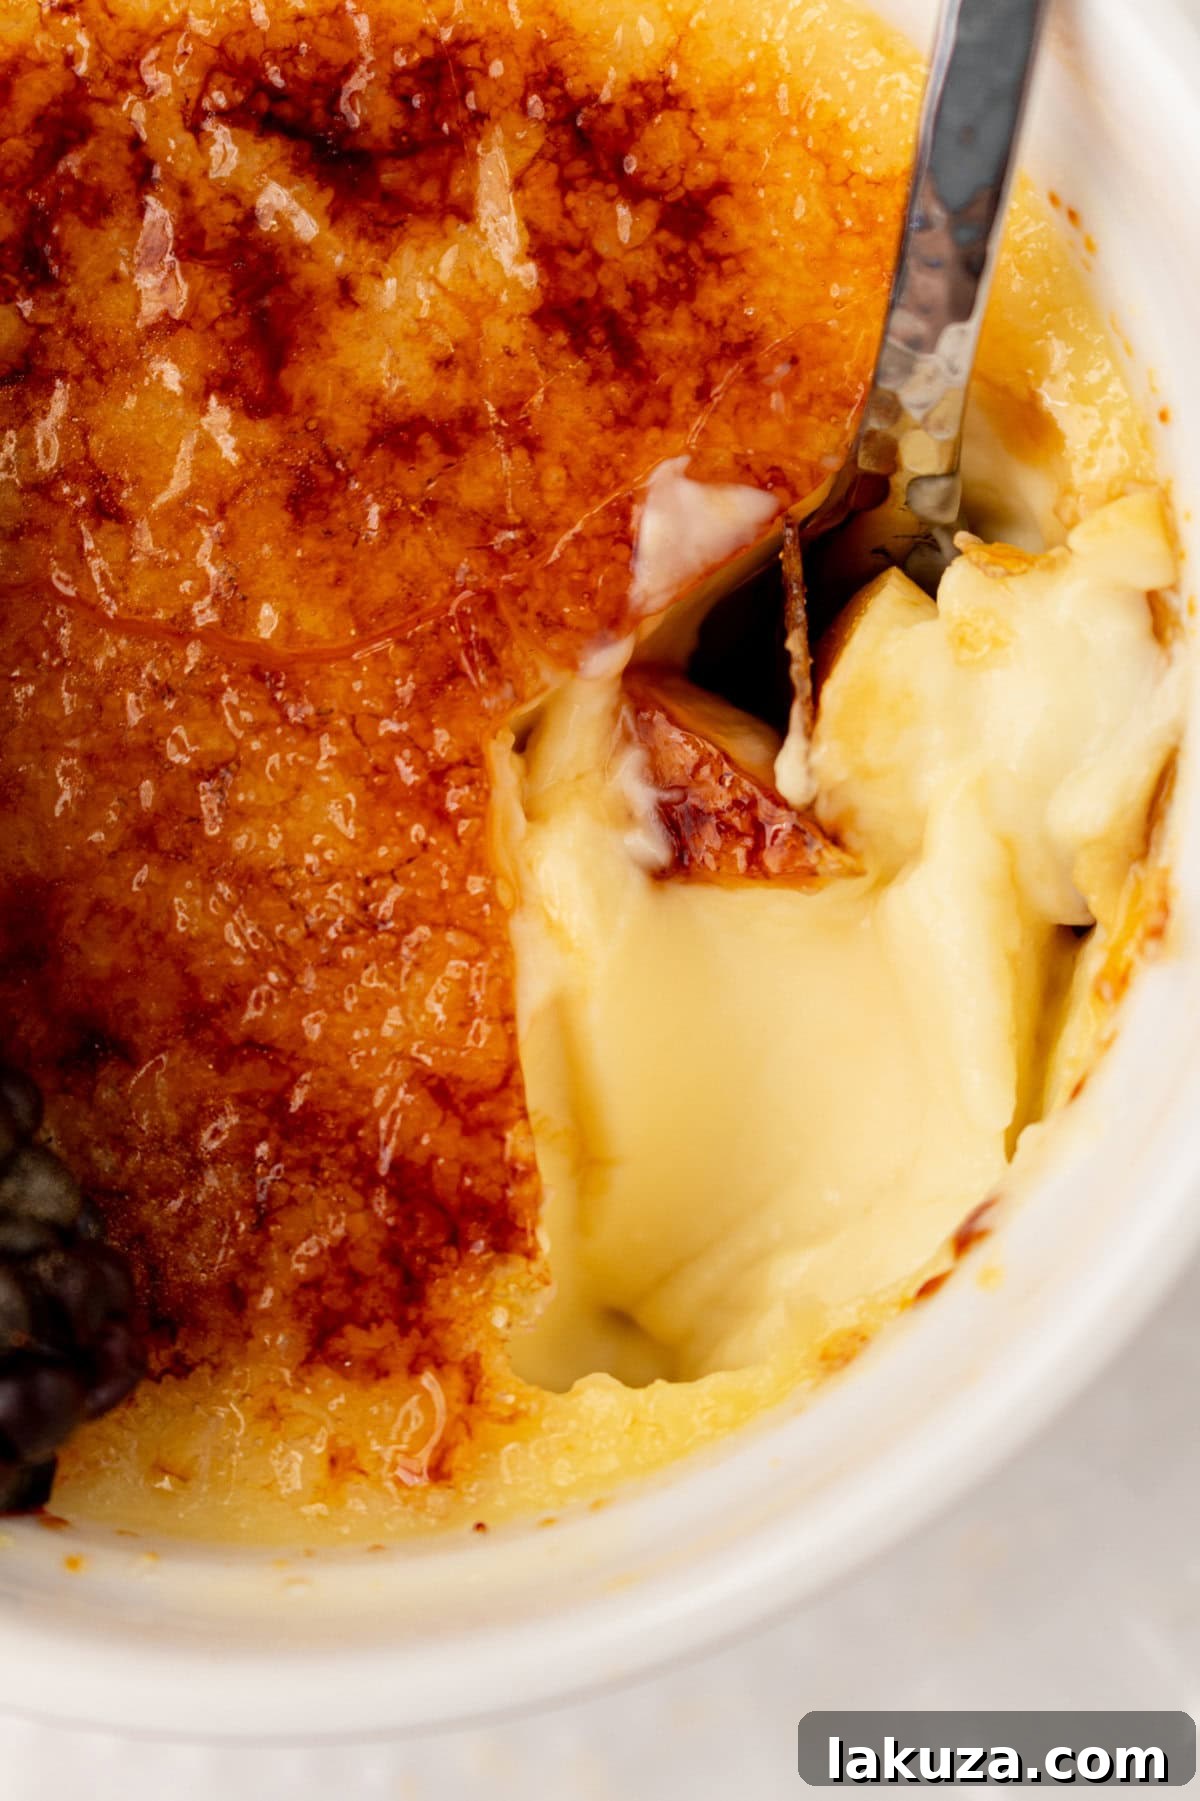
Crème Brûlée, a name that elegantly translates from French to “burnt cream,” is a quintessential dessert renowned worldwide for its captivating simplicity and profound indulgence. At its heart, it consists of a velvety smooth, rich custard base, traditionally flavored with vanilla. This luscious custard is then crowned with a delicate layer of granulated sugar, which is expertly caramelized just before serving. The magic happens as the heat transforms the sugar into a brittle, amber-hued crust. The true delight of Crème Brûlée lies in the contrast: the satisfying crack as your spoon breaks through the caramelized shell, revealing the cool, creamy custard beneath. This interplay of crunchy and smooth, warm and cool, makes it an unforgettable culinary experience.
The origins of Crème Brûlée are somewhat debated, with claims from France, Spain (where it’s known as “crema catalana”), and England. However, it was firmly established as a French classic, especially popularized in the 17th century. Its enduring appeal stems from this elegant duality – a dessert that feels both rustic and refined, humble in its ingredients yet grand in its presentation and taste. Understanding this rich heritage only adds to the enjoyment of making and savoring your own homemade version.
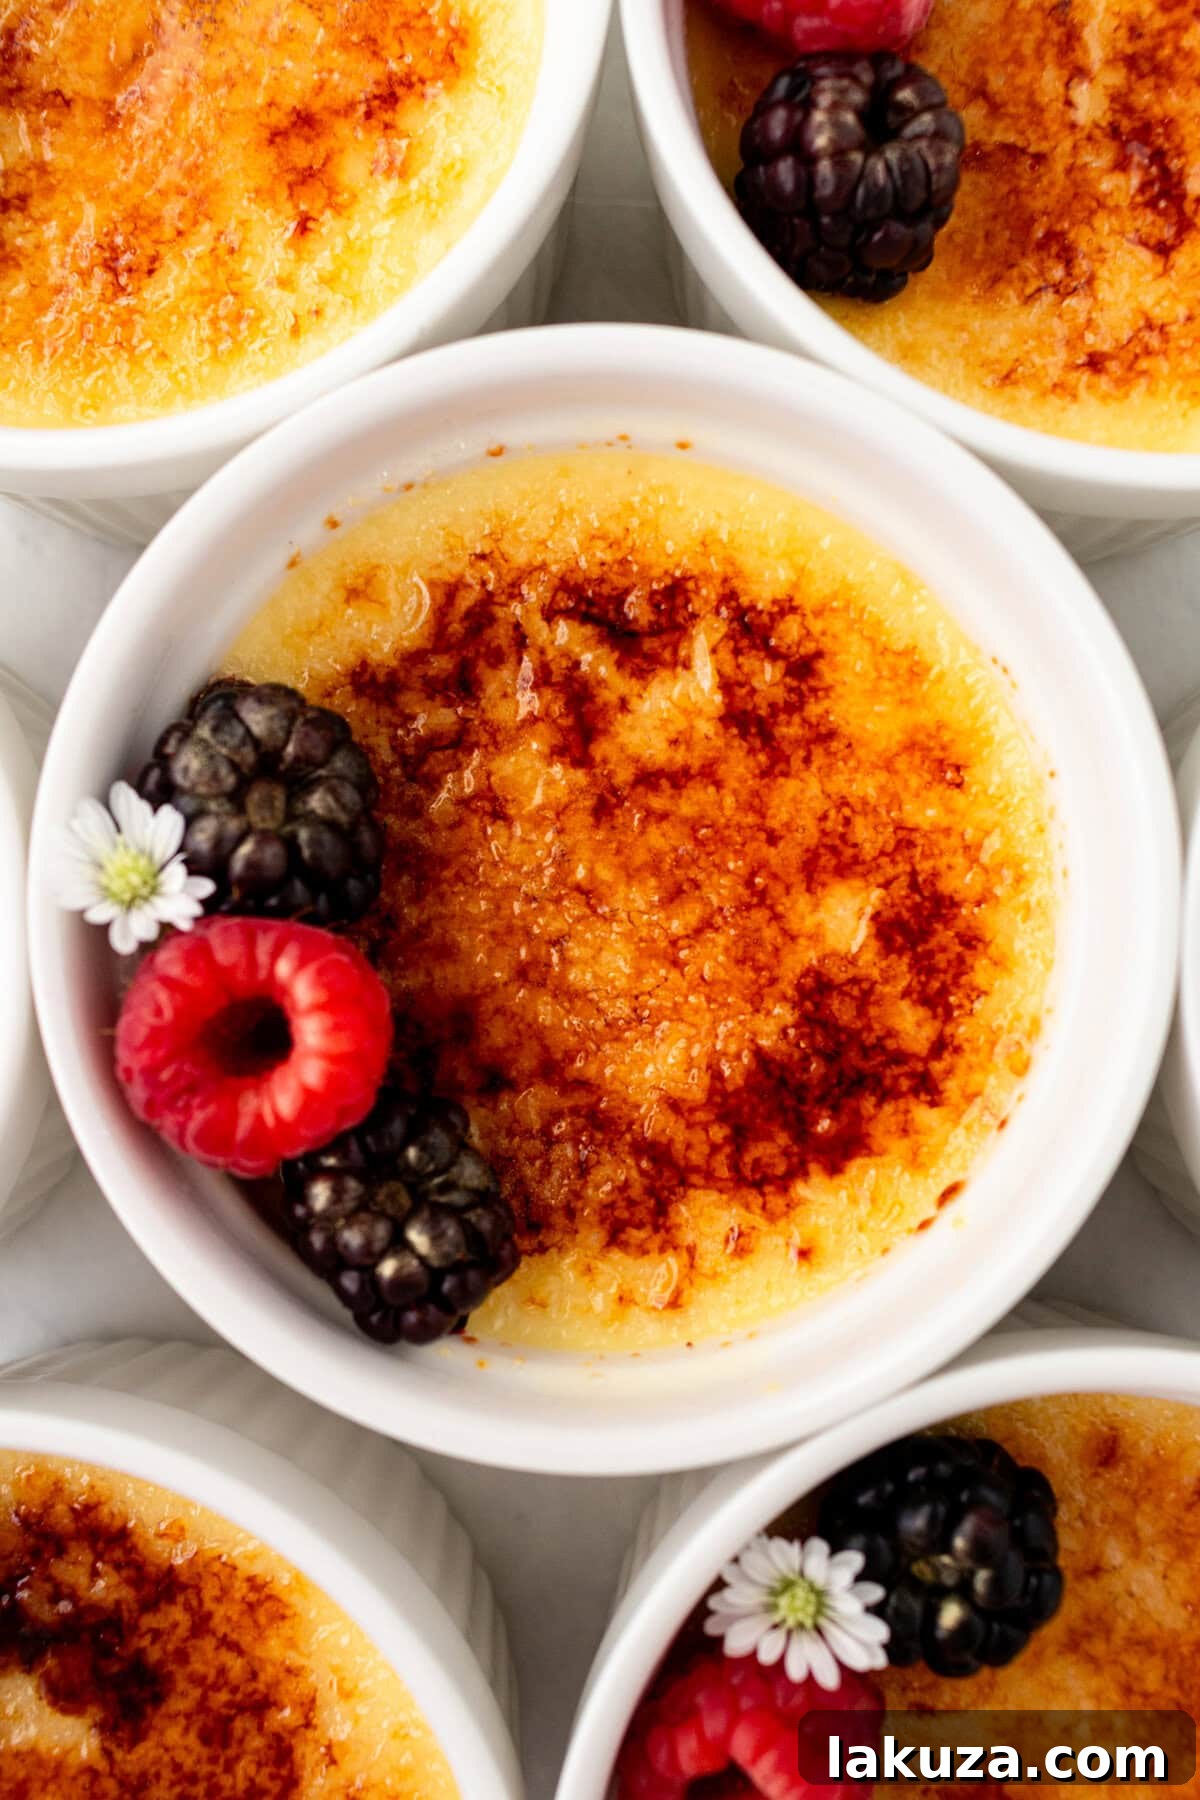
Essential Crème Brûlée Ingredients: Simplicity Meets Flavor
One of the many charms of Crème Brûlée is its reliance on a handful of basic, high-quality ingredients. The magic happens when these simple components are combined with care and precision, transforming them into something truly extraordinary. For the silkiest custard and the most satisfying crunch, you’ll need just heavy cream, sugar, vanilla, egg yolks, and a pinch of salt. The quality of each ingredient plays a vital role in achieving that perfect restaurant-quality finish.
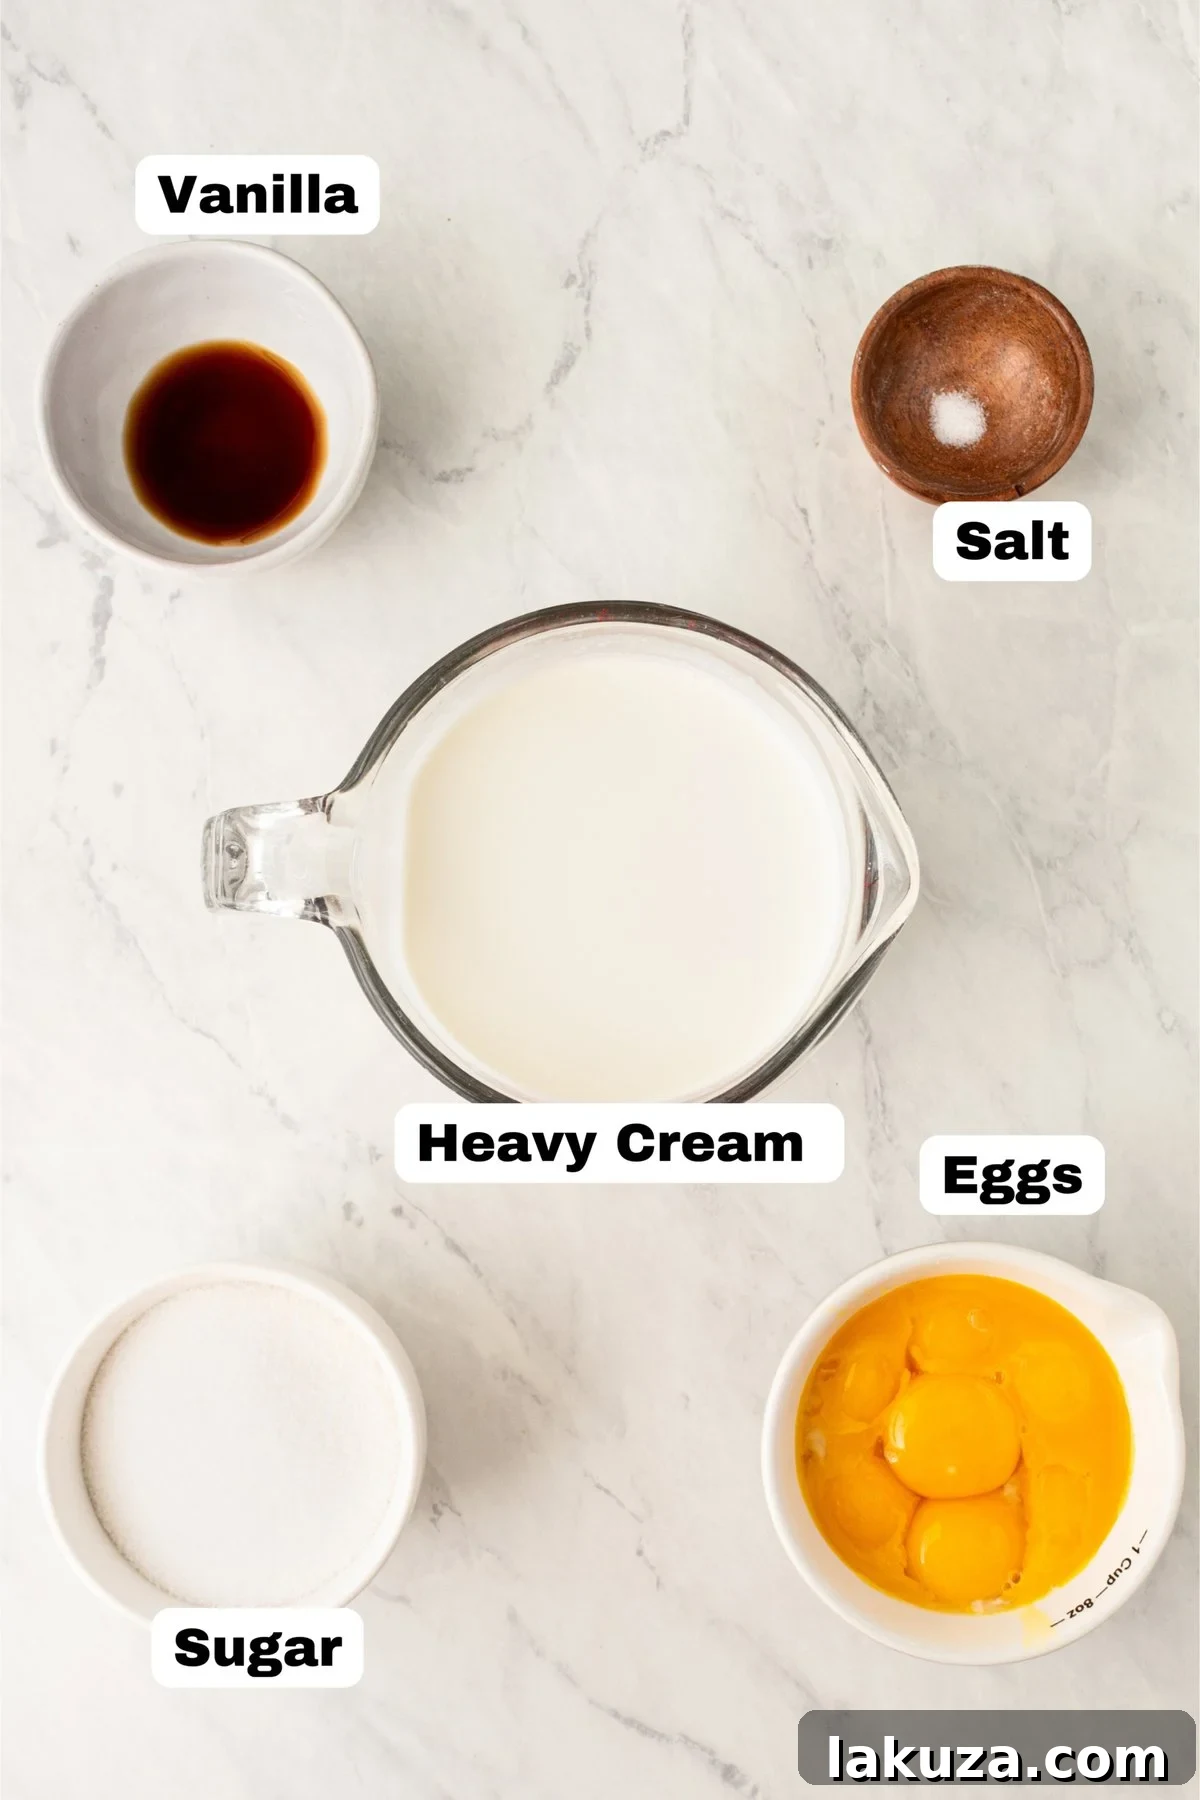
- Heavy Cream: This is the foundation of your rich, creamy custard. Its high-fat content is crucial for the luxurious texture Crème Brûlée is known for. Substituting with milk or half-and-half will result in a thinner, less decadent custard that won’t achieve the desired richness, so stick to heavy cream for the best outcome.
- Vanilla: The soul of a classic Crème Brûlée. You have a few options here:
- Vanilla Bean: For the most authentic and aromatic flavor, split a vanilla bean lengthwise and scrape out the tiny seeds. The specks of vanilla will also add visual appeal.
- Vanilla Extract: A good quality pure vanilla extract is an excellent and readily available alternative.
- Vanilla Bean Paste: Offers a concentrated vanilla flavor and the visual appeal of vanilla specks, similar to using a fresh bean.
- Granulated Sugar: Serves a dual purpose. It sweetens the custard to perfection and is the key ingredient for the iconic caramelized crust. A fine granulated sugar works best for both.
- Egg Yolks: These are the primary thickening agent for the custard, giving it body and richness without making it overly dense. Using only yolks (and no egg whites) is essential for that signature smooth, velvety texture. Too many yolks can make the custard heavy, while too few might leave it runny, so precise measurement is important.
- Salt: Just a pinch of salt is vital. It doesn’t make the dessert salty but rather enhances all the other flavors, balancing the sweetness and deepening the vanilla notes.
How to Make the Best Crème Brûlée: A Step-by-Step Guide
Creating a sublime Crème Brûlée involves a few critical steps, each contributing to the final silky texture and perfect caramelized crust. Follow these instructions carefully to ensure a truly magnificent dessert.
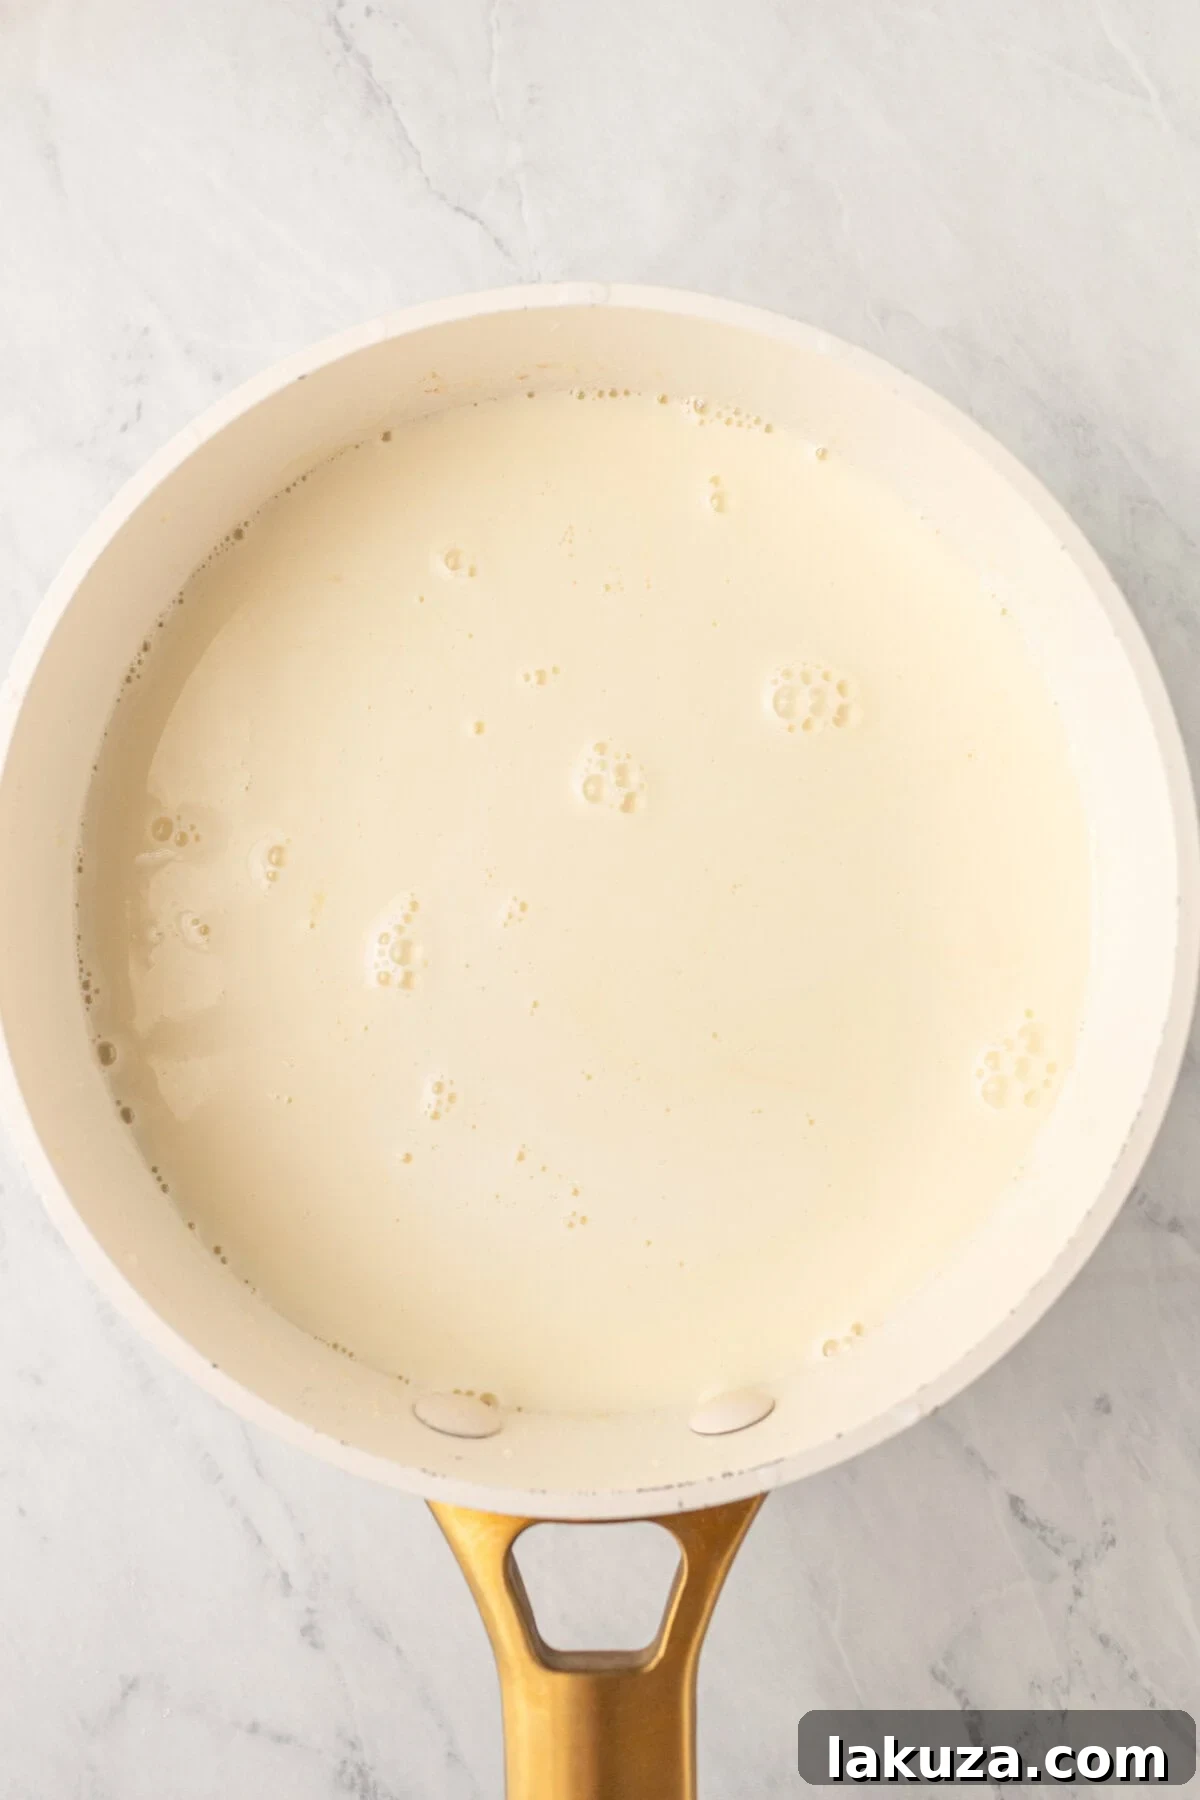
- Infuse the Cream Base: Begin by combining 2 cups of heavy cream, your chosen vanilla (vanilla bean, extract, or paste), granulated sugar, and a pinch of salt in a medium saucepan. Gently heat this mixture over medium heat, stirring frequently until it just reaches a boil and the sugar has completely dissolved. This crucial step ensures a smooth, non-grainy custard. Once boiling, remove the saucepan from the heat, cover it with a lid, and let it steep for about 15 minutes. This allows the vanilla to thoroughly infuse into the cream, enhancing the flavor depth.
- Prepare the Custard Base and Temper the Eggs: After the cream has steeped, stir in the remaining 2 cups of heavy cream. In a separate small bowl, whisk together the egg yolks until they are light yellow and slightly frothy. Tempering the egg yolks is a vital step to prevent them from scrambling when mixed with the warm cream. Slowly drizzle a small amount of the warm cream mixture into the whisked egg yolks while continuously whisking. This gradually raises the temperature of the yolks. Continue adding small amounts of cream, whisking constantly, until about a third of the warm cream has been incorporated. Then, you can slowly add the tempered egg yolk mixture back into the remaining cream in the saucepan, stirring until fully combined.
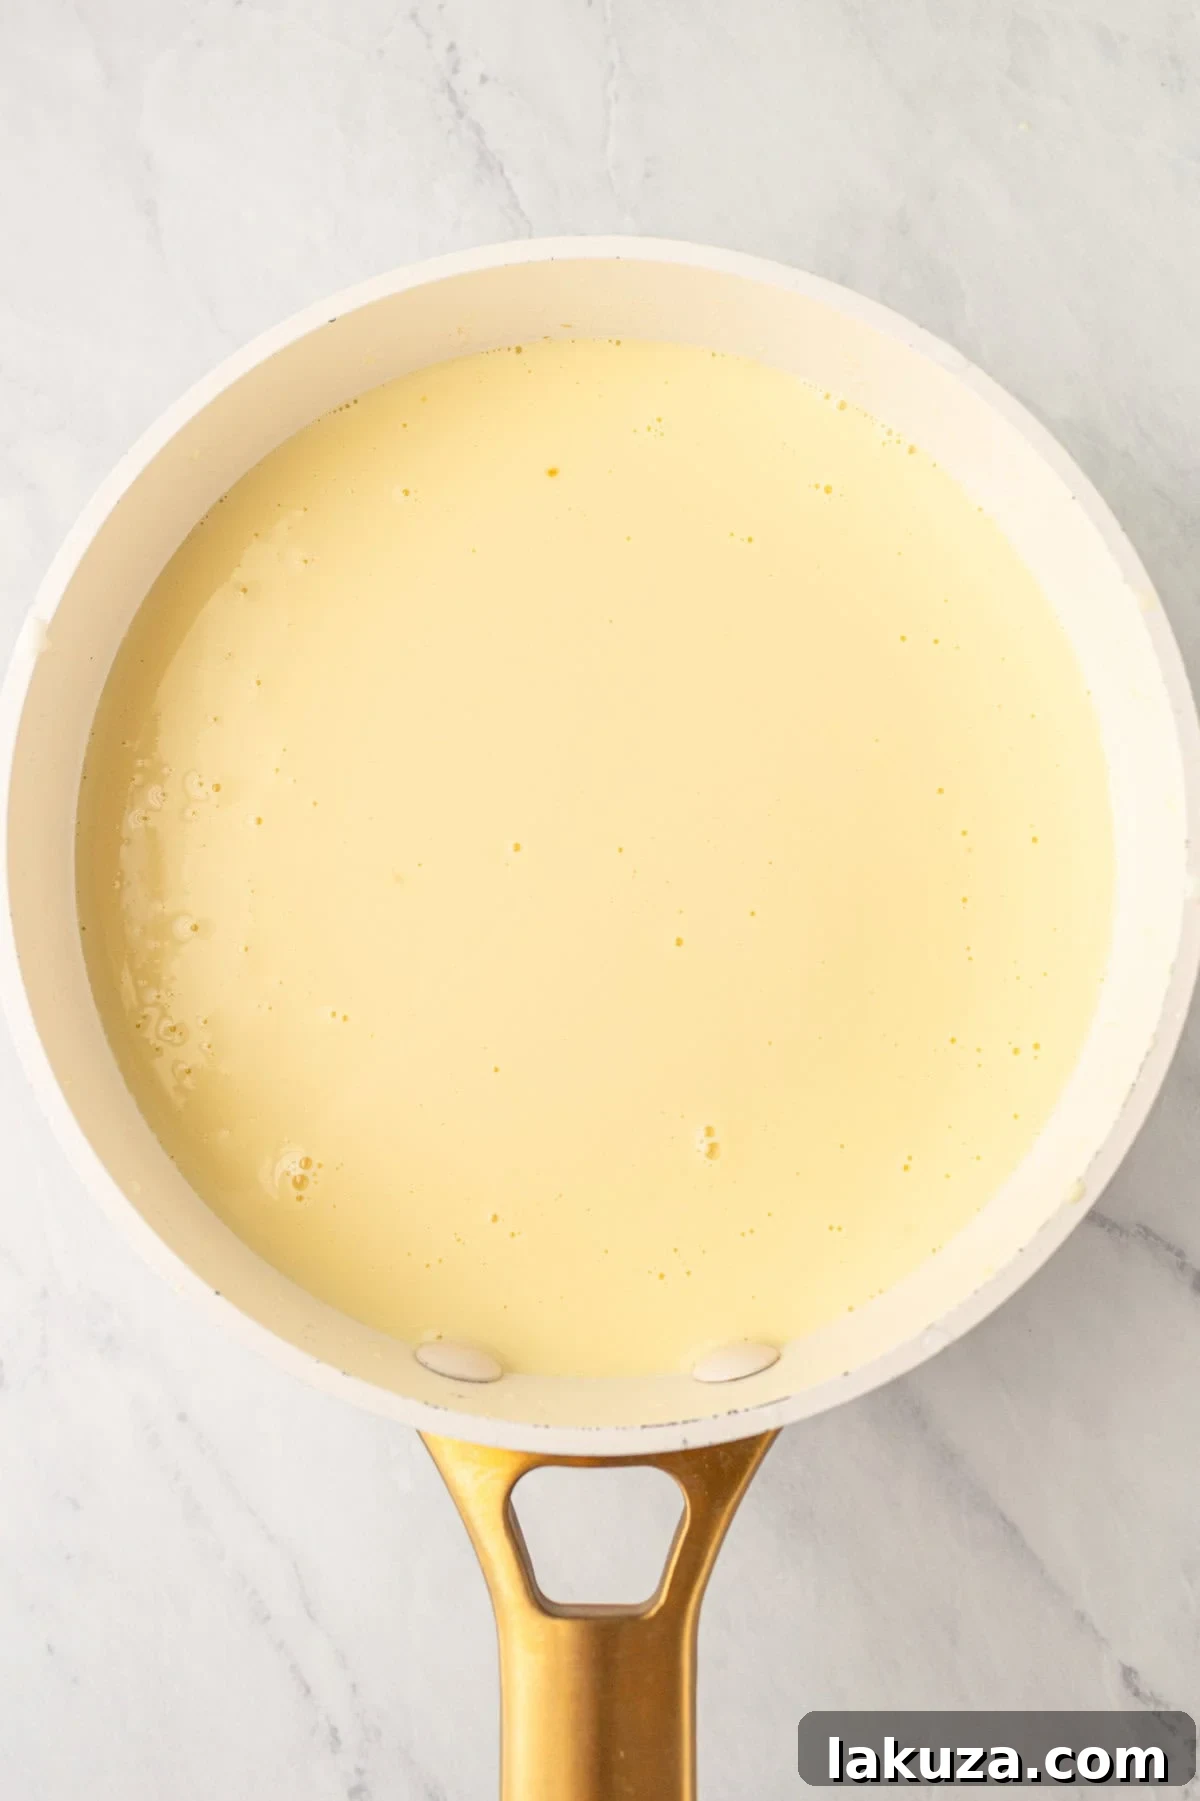
- Strain and Prepare for Baking: For an incredibly silky-smooth custard, strain the entire mixture through a fine-mesh sieve into a large measuring cup or pitcher. This removes any potential cooked egg bits or vanilla bean fragments. Arrange 8 individual 4 or 5-ounce ramekins in a large baking dish or roasting pan. Preheat your oven to 300°F (150°C). Carefully divide the strained custard mixture evenly among the ramekins.
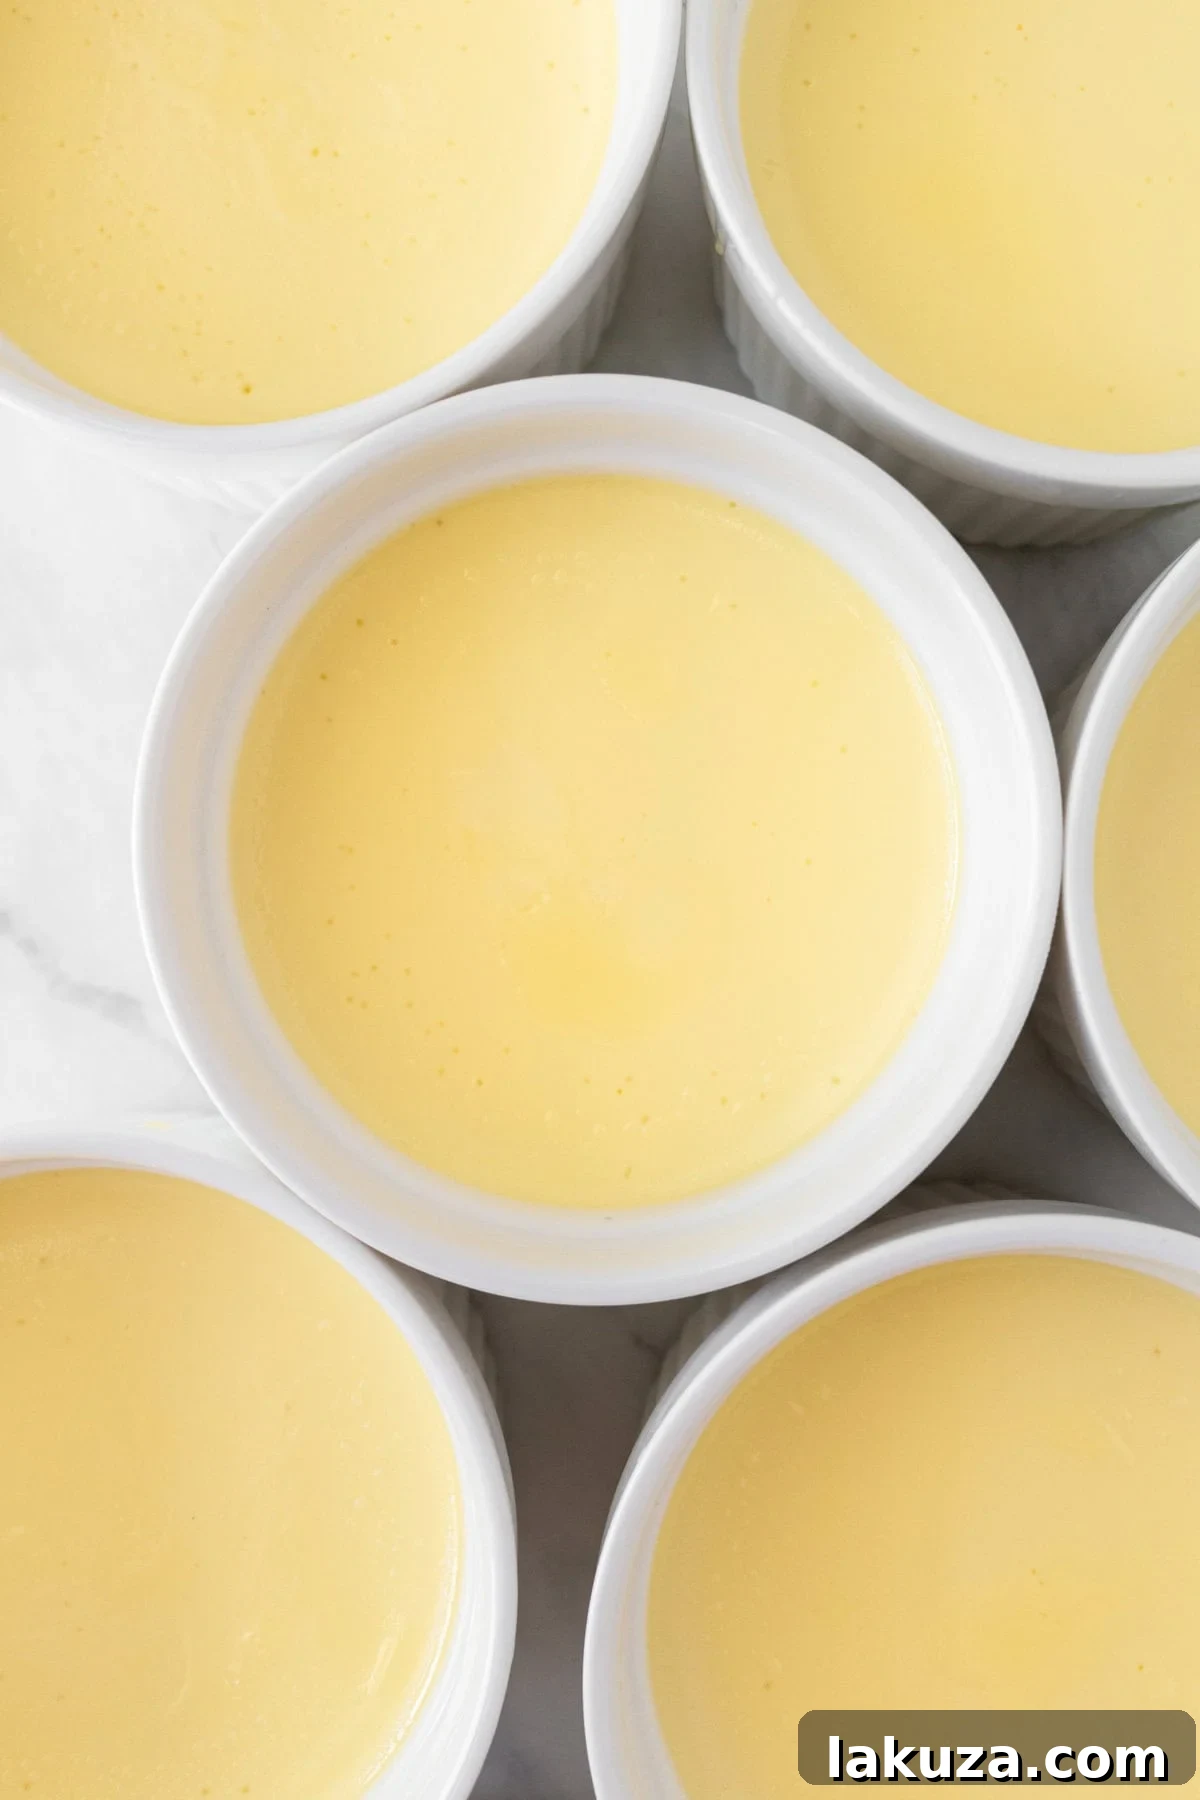
- Bake in a Water Bath: Bring a separate pot of water to a boil. Carefully pour the hot water into the large baking dish around the ramekins, ensuring no water splashes into the custards. The water should reach about two-thirds of the way up the sides of the ramekins. This water bath (bain-marie) is crucial for even, gentle cooking, preventing the custards from curdling or cracking. Bake for approximately 33-40 minutes, or until the centers of the custards are barely set and jiggle slightly when gently shaken. An instant-read thermometer inserted into the custard should register between 170-175°F (77-79°C).
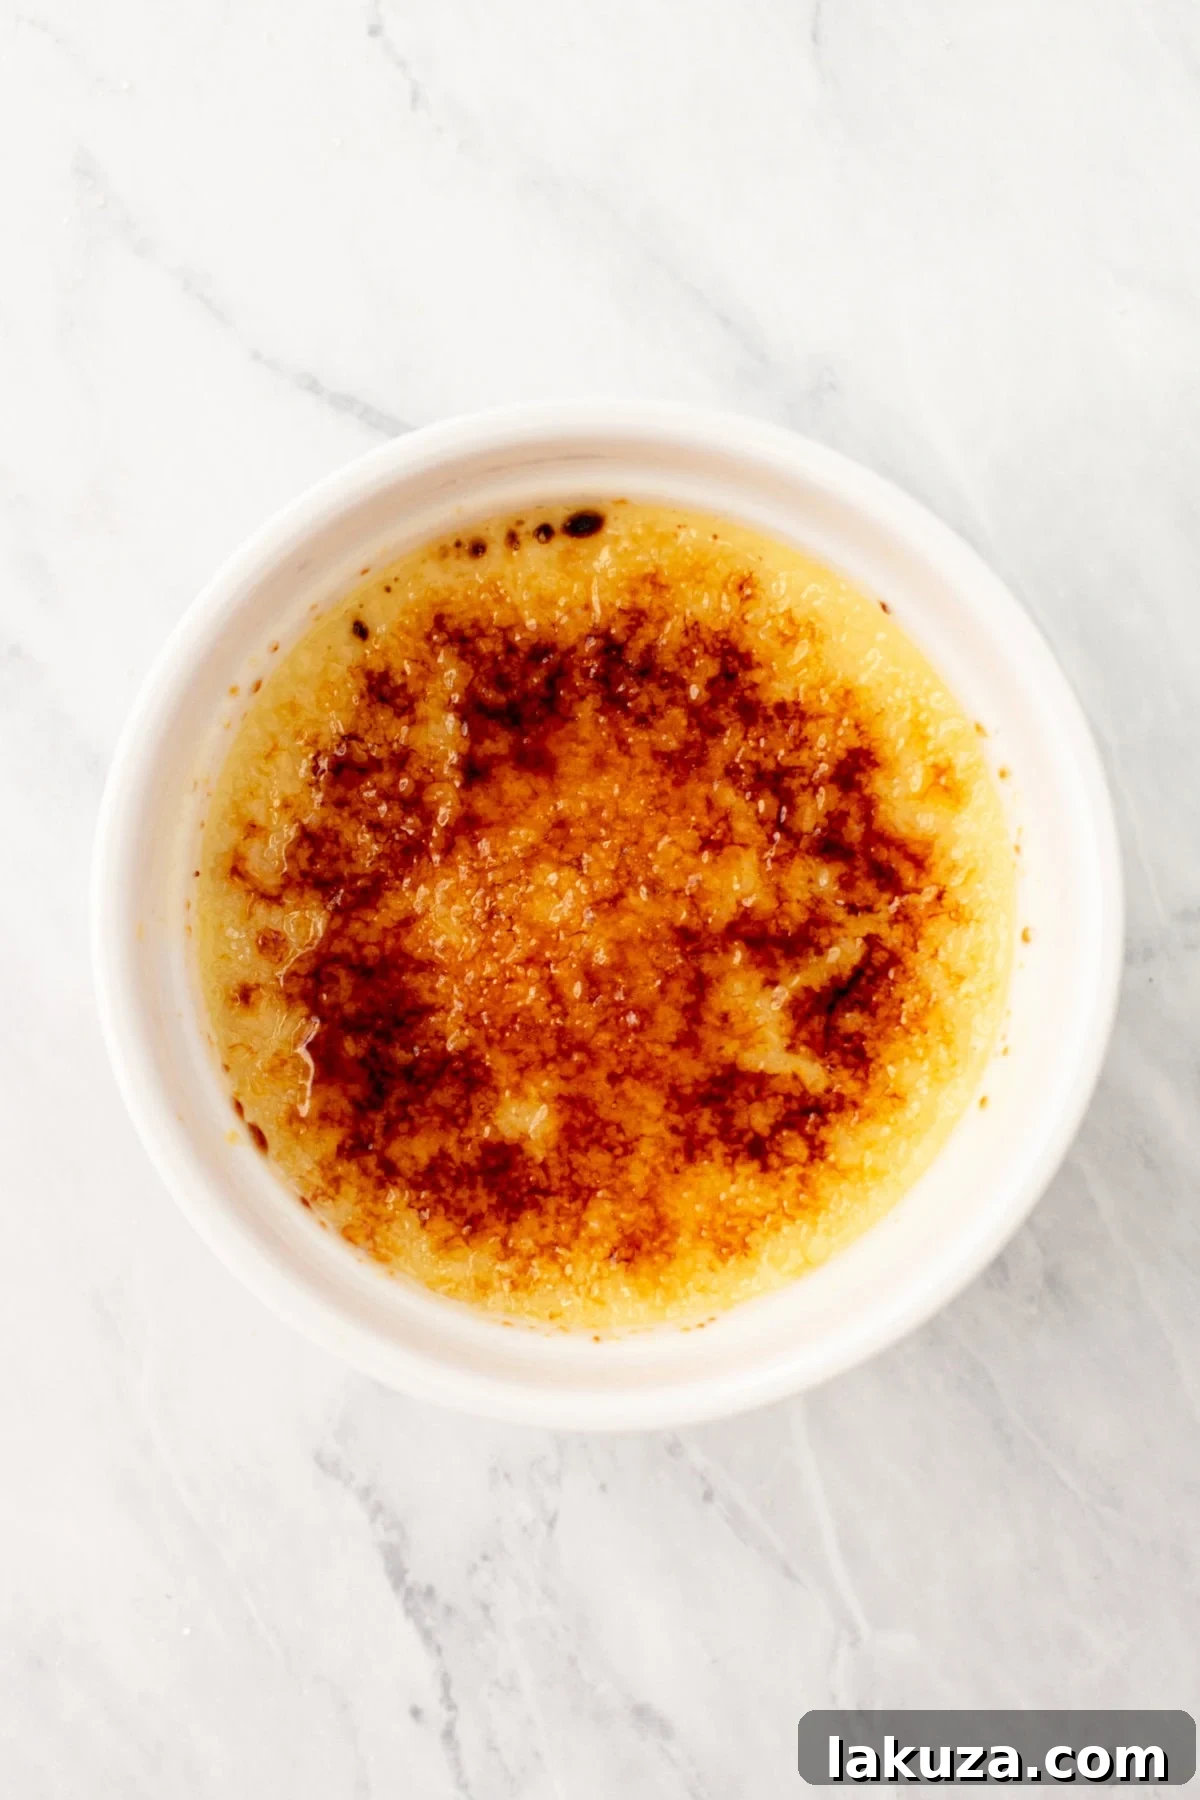
- Cool and Chill: Once baked, carefully remove the baking dish from the oven. Let the ramekins cool in the water bath for about 15-20 minutes, then remove them and let them cool completely on a wire rack at room temperature for about 2 hours. After they have cooled to room temperature, cover each ramekin tightly with plastic wrap and refrigerate for at least 4 hours, or preferably overnight, until thoroughly chilled and set.
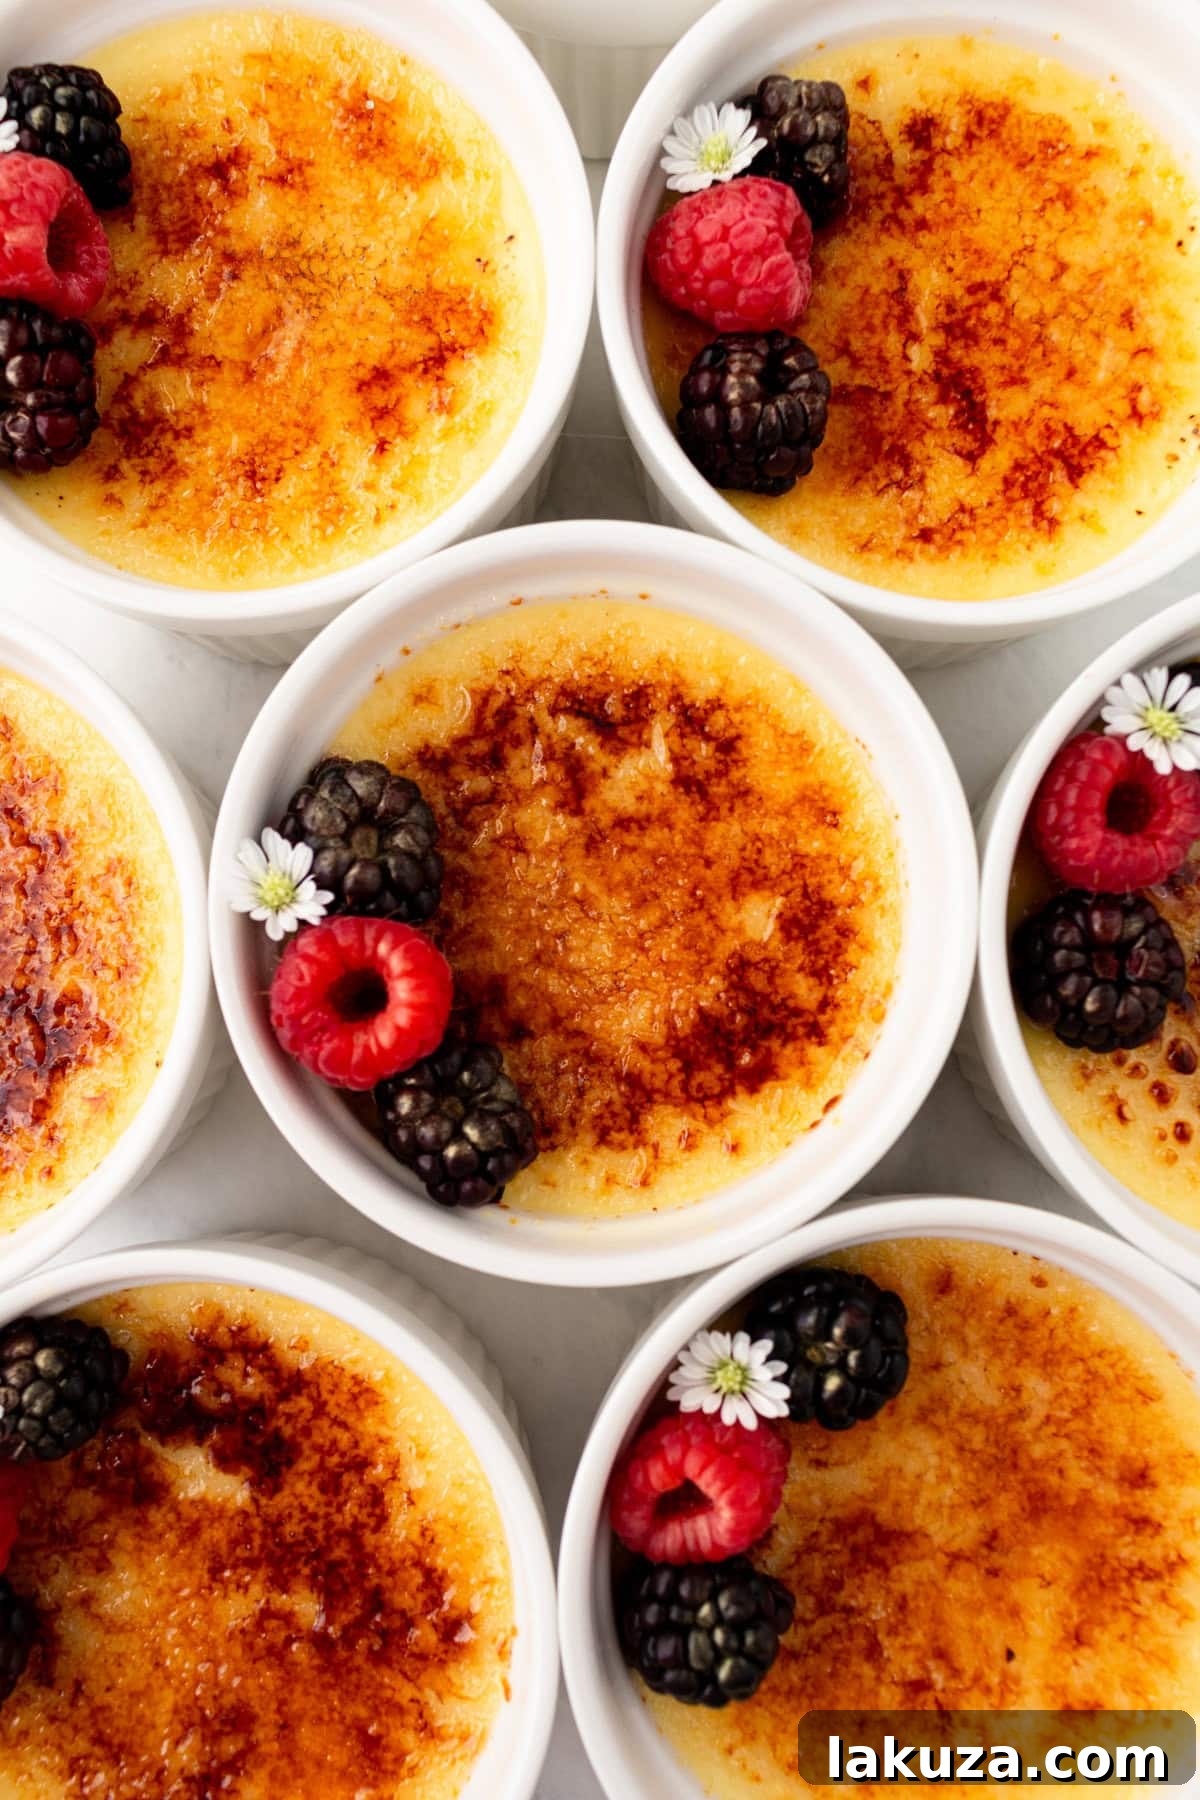
- Caramelize the Sugar Crust: When you’re ready to serve, remove the chilled Crème Brûlées from the refrigerator. Blot any condensation from the tops with a paper towel. Sprinkle about 2 teaspoons of granulated sugar evenly over the surface of each custard. Using a kitchen torch, caramelize the sugar. Keep the torch moving constantly in small circles to melt and brown the sugar evenly until it forms a crisp, amber-colored shell. Be careful not to burn it. Once caramelized, return the Crème Brûlées to the refrigerator for 30-40 minutes to allow the sugar crust to harden.
Crème Brûlée Expert Tips for Success:
Achieving the perfect Crème Brûlée is all about attention to detail. These expert tips will elevate your homemade dessert from good to absolutely phenomenal.
- Start with Room Temperature Custard for Torching: While the custard itself should be chilled, letting it sit at room temperature for 10-15 minutes before torching can help prevent the custard from cracking under the immediate heat of the torch.
- Strain the Custard Reliably: Do not skip straining the custard mixture through a fine-mesh sieve. This is the secret to an incredibly silky-smooth, lump-free texture.
- Avoid Overbaking at All Costs: Overbaked custard will be grainy and curdled. The custards are perfectly done when the edges are set, but the center still has a slight, delicate jiggle. They will continue to set as they cool.
- Master the Water Bath (Bain-Marie): The water bath is non-negotiable. It creates a gentle, moist cooking environment that prevents the edges from overcooking before the center is set, ensuring a uniformly smooth texture.
- Caramelize Gently and Evenly: When using the kitchen torch, keep it moving in slow, circular motions over the sugar. This ensures even caramelization and prevents burning. A deep amber color is ideal; black means burnt!
- Use Quality Ingredients: Since Crème Brûlée has so few ingredients, the quality of each shines through. Opt for good quality heavy cream, fresh vanilla, and fresh eggs.
- Chill Thoroughly: Adequate chilling time is essential for the custard to set properly and for the flavors to meld beautifully. Resist the urge to serve prematurely!
Frequently Asked Questions & Troubleshooting for Crème Brûlée
Even with a straightforward recipe, sometimes questions arise or small issues occur. Here are some common queries and troubleshooting tips to ensure your Crème Brûlée turns out perfectly every time.
1. Why is my custard grainy or curdled?
Graininess or curdling most often occurs if the eggs are overcooked or if the mixture was not properly tempered. Ensure you always bake in a water bath to provide gentle, even heat. Monitor the baking temperature closely and remove the custards when they still have a slight jiggle in the center. Tempering the egg yolks slowly prevents them from scrambling when mixed with the hot cream.
2. How can I prevent overcooking my Crème Brûlée?
The best way to prevent overcooking is to use an instant-read thermometer. The custard is perfectly done when it reaches an internal temperature of 170 – 175°F (77-79°C). At this point, the edges will be set, but the center will still look slightly wobbly. Remember, the custard will continue to set as it cools.
3. Can I make crème brûlée without a kitchen torch?
Yes, absolutely! While a kitchen torch provides the most consistent and easiest caramelization, you can use your oven broiler as an alternative. Place the sugared ramekins on a baking sheet and put them under a preheated broiler. Keep a very close eye on them, as sugar can burn very quickly under intense heat. Broil for just 1-3 minutes, rotating the tray if needed, until the sugar is melted and caramelized. This method requires constant vigilance to prevent burning.
4. How do I avoid burning the sugar crust?
- **Keep the torch moving:** Don’t hold the flame in one spot for too long. Move it continuously in small circles over the sugar.
- **Start with less sugar:** If you’re new to torching, you can start with a thinner layer of sugar. You can always add a bit more and torch again if needed.
- **Watch for the color:** Aim for a beautiful golden-amber color. Once it starts to bubble and turn amber, remove the heat. Black means burnt, which will taste bitter.
- **Ensure the custard is cold:** A cold custard base helps prevent the heat from penetrating too deeply and potentially warming up the custard too much.
5. Why did my custard crack during baking or cooling?
Cracking usually indicates that the custard was either overbaked or cooled too rapidly. Always use a water bath and avoid opening the oven door too frequently. After baking, allow the custards to cool gradually in the water bath before transferring them to a wire rack at room temperature. Avoid placing hot ramekins directly into the refrigerator.
Delicious Topping and Flavor Suggestions: Elevating Your Crème Brûlée
While the classic Crème Brûlée with its pure vanilla custard and caramelized sugar crust is perfect on its own, there are many ways to enhance and customize this delightful dessert. Consider these suggestions to add an extra layer of flavor and visual appeal:
- Fresh Berries: A vibrant and refreshing contrast to the rich custard. Raspberries, strawberries, blueberries, or a mixed berry compote add a touch of tartness and beautiful color.
- A Dollop of Whipped Cream: A light, unsweetened whipped cream can add another layer of creamy texture and subtle sweetness.
- Salted Caramel: A drizzle of homemade or store-bought salted caramel sauce brings a sophisticated sweet and salty note.
- Chocolate Sauce: For chocolate lovers, a light drizzle of dark chocolate sauce can be incredibly decadent.
- Citrus Zest: Grate a little orange or lemon zest over the custard before baking for a delicate citrus aroma.
- Liqueurs: Infuse the cream with a splash of Grand Marnier, Kahlúa, or rum for an adult twist.
- Spices: Add a pinch of cinnamon, nutmeg, or cardamom to the cream during the steeping process for a warm, spiced custard.
- Coffee Infusion: Add a teaspoon of instant espresso powder to the cream while heating for a rich coffee Crème Brûlée.
Storage Information for Crème Brûlée
Crème Brûlée is a fantastic make-ahead dessert, making it ideal for entertaining. Proper storage ensures its freshness and quality.
- Refrigeration (Un-torched): Un-torched custards can be covered tightly with plastic wrap and refrigerated for up to 3 days. It is crucial to caramelize the sugar topping just before serving to maintain its crispness.
- Refrigeration (Torched): If you have leftover torched Crème Brûlée, the caramelized crust will soften significantly in the refrigerator due to moisture. While still edible, it won’t have the signature crunch. For best results, only torch what you plan to serve immediately.
More Popular Dessert Recipes:
Vanilla Cheesecake
Best Bread Pudding
Love at First Sight Chocolate Cake
Chocolate Pot de Creme
Crafting homemade Crème Brûlée is a rewarding experience that yields an impressive and incredibly delicious result. With this comprehensive guide, you have everything you need to recreate this classic French dessert with confidence. So gather your ingredients, fire up that kitchen torch, and prepare to delight yourself and your guests with this silky, crunchy, vanilla-infused masterpiece.
I love to hear from you! If you make this recipe, please be sure to leave a comment and give this recipe a rating. Sign up for my newsletter below so you never miss a recipe. Thank you for following along! I truly do have the greatest readers. FOLLOW ME ON: INSTAGRAM — FACEBOOK — PINTEREST
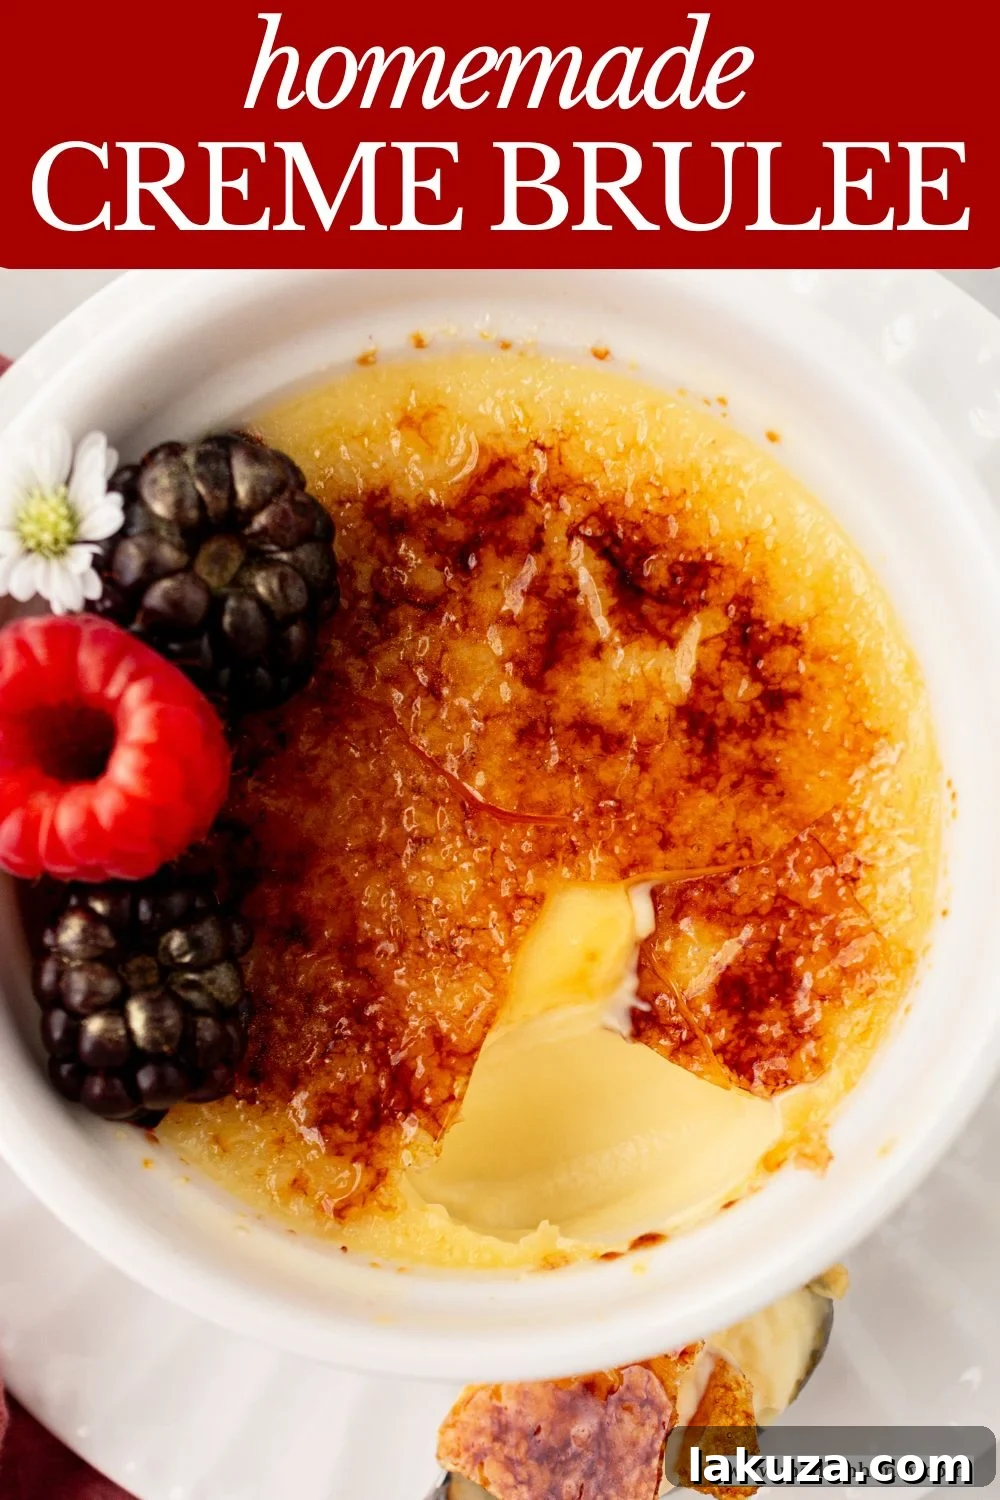

Classic Vanilla Crème Brûlée
Tips and tricks for making silky smooth, creamy crème brûlée with a perfect caramelized crust.
25
35
1
8 servings
Equipment
-
Ramekins (4 or 5-ounce capacity)
-
Large baking dish or roasting pan (9×13 inch recommended)
-
Measuring cups and spoons
-
Fine-mesh sieve
-
Whisk
-
Kitchen torch (or oven broiler)
Ingredients
- 4 cups Heavy Cream (divided)
- 1 Vanilla Bean (scraped, or 2 teaspoons pure vanilla extract, or vanilla bean paste)
- 3/4 cup Granulated Sugar (plus more for topping)
- 9 large Egg Yolks
- Pinch of Salt
Instructions
-
In a medium saucepan, combine 2 cups of heavy cream, vanilla bean (or extract/paste), 3/4 cup sugar, and a pinch of salt. Bring the mixture to a gentle boil over medium heat, stirring frequently to ensure the sugar fully dissolves. Remove from heat, cover with a lid, and let it steep for 15 minutes to infuse the vanilla flavor.
-
While the cream is steeping, arrange eight 4 or 5-ounce ramekins in a large baking dish or roasting pan. Begin to heat some water in a separate pot to a boil; this hot water will be used for the water bath later.
-
After the cream has steeped, stir in the remaining 2 cups of heavy cream. In a small bowl, whisk the 9 large egg yolks until smooth. Slowly and gradually add small amounts of the warm cream mixture to the whisked egg yolks, whisking continuously to temper them. This prevents the yolks from cooking too quickly. Once about one-third of the cream is incorporated, add the tempered egg yolk mixture back into the remaining cream in the saucepan and stir until fully combined.
-
For an ultra-smooth custard, strain the entire mixture through a fine-mesh strainer into a large measuring cup or pitcher. Preheat your oven to 300°F (150°C).
-
Divide the strained custard mixture evenly among the prepared ramekins. Carefully pour the hot water (from step 2) into the large baking dish around the ramekins, ensuring that no water gets into the custards. Pour enough water to reach about two-thirds up the sides of the ramekins.
-
Bake for 33-40 minutes, or until the temperature reaches 170-175°F (77-79°C). The centers of the custards should be barely set and jiggle slightly when gently shaken.
-
Remove the baking dish from the oven and let the ramekins cool in the water bath for about 15-20 minutes. Then, carefully remove them and let them cool completely on a wire rack at room temperature for approximately 2 hours. Once cooled, cover each ramekin tightly with plastic wrap and refrigerate until thoroughly chilled and set, about 4 hours or preferably overnight.
-
When almost ready to serve, remove the chilled crème brûlées from the refrigerator. Blot any condensation from the tops with a paper towel. Sprinkle about 2 teaspoons of granulated sugar evenly over the top of each custard, forming an even layer. Using a kitchen torch, caramelize the sugar. Keep the torch moving constantly in small circles until the sugar melts, bubbles, and turns a beautiful golden-amber color. Once caramelized, return the crème brûlées to the refrigerator for an additional 30-40 minutes to allow the sugar shell to harden and become crisp. Serve immediately and enjoy the satisfying crack!
Notes
- This recipe is adapted from a classic America’s Test Kitchen method, with minor adjustments including reducing egg yolks from 10 to 9 for a slightly less dense custard, offering vanilla bean paste as an option, slightly increasing sugar, and refining baking times for optimal results.
Nutrition
Calories:
540kcal
,
Carbohydrates:
23g
,
Protein:
6g
,
Fat:
48g
,
Saturated Fat:
29g
,
Polyunsaturated Fat:
3g
,
Monounsaturated Fat:
13g
,
Cholesterol:
341mg
,
Sodium:
41mg
,
Potassium:
134mg
,
Sugar:
22g
,
Vitamin A:
2025IU
,
Vitamin C:
1mg
,
Calcium:
103mg
,
Iron:
1mg
Nutrition information is automatically calculated and should only be used as an approximation.
Additional Info
Dessert
French
creme brulee, vanilla custard, French dessert
If you want to find ideas on how to make Valentine’s Day special for kids click HERE.