
Mastering the Viral Milk Bar Pumpkin Caramel Pie: A Decadent Thanksgiving Delight
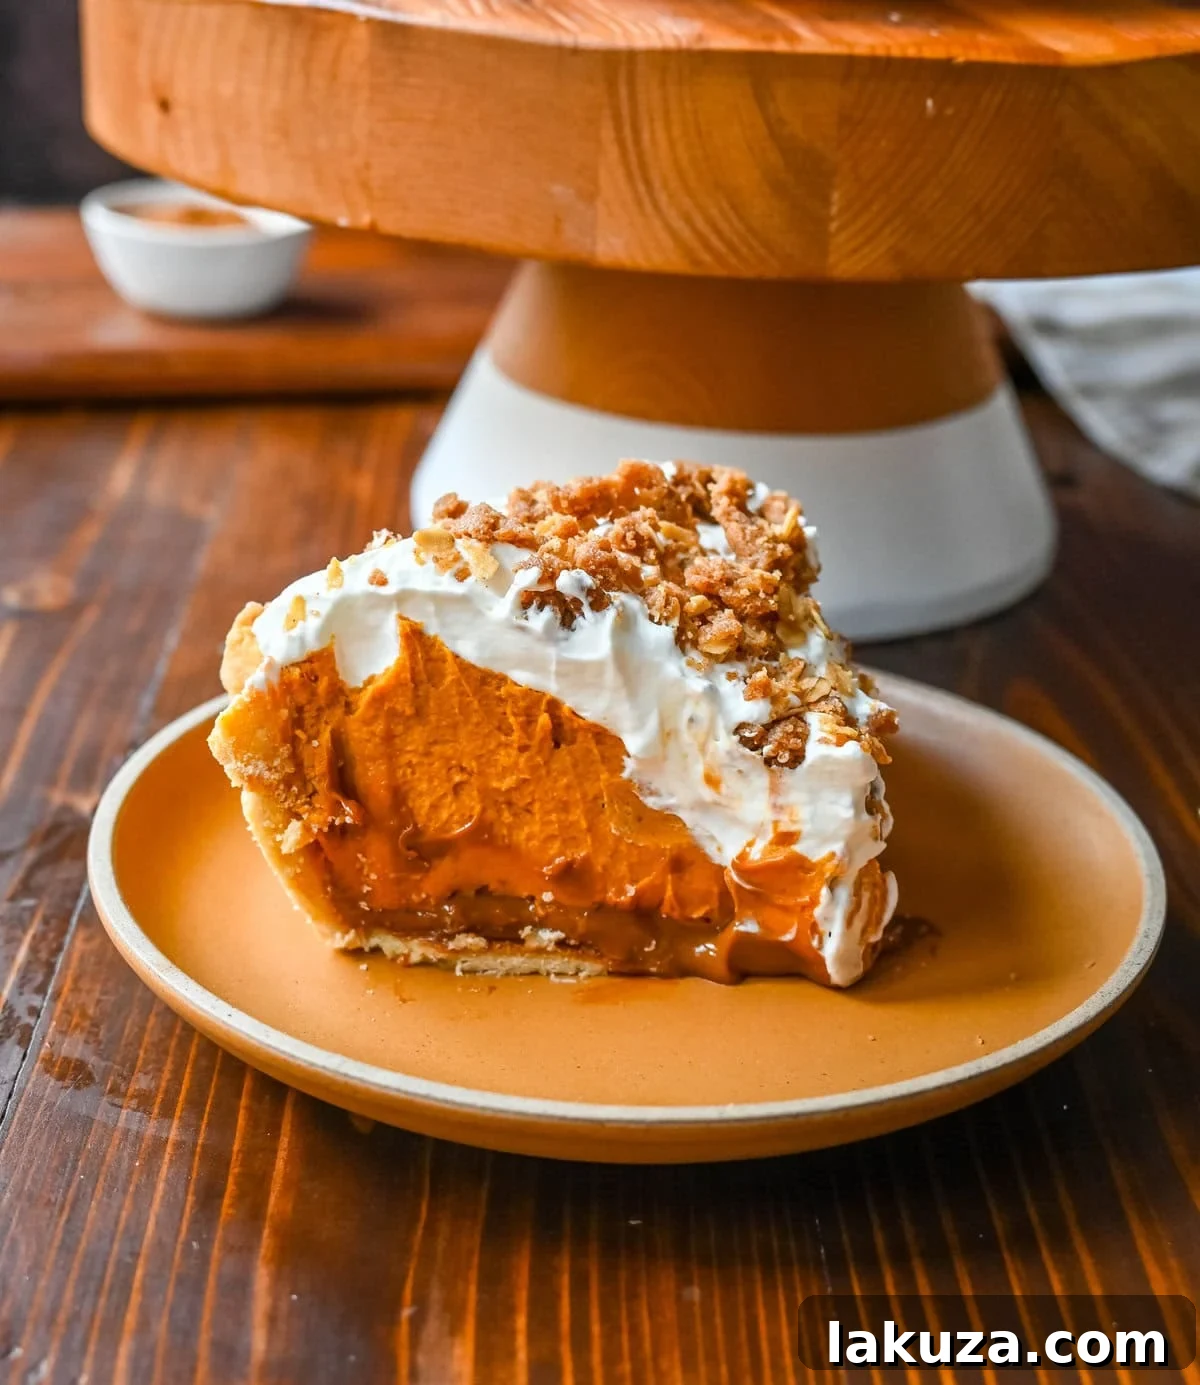
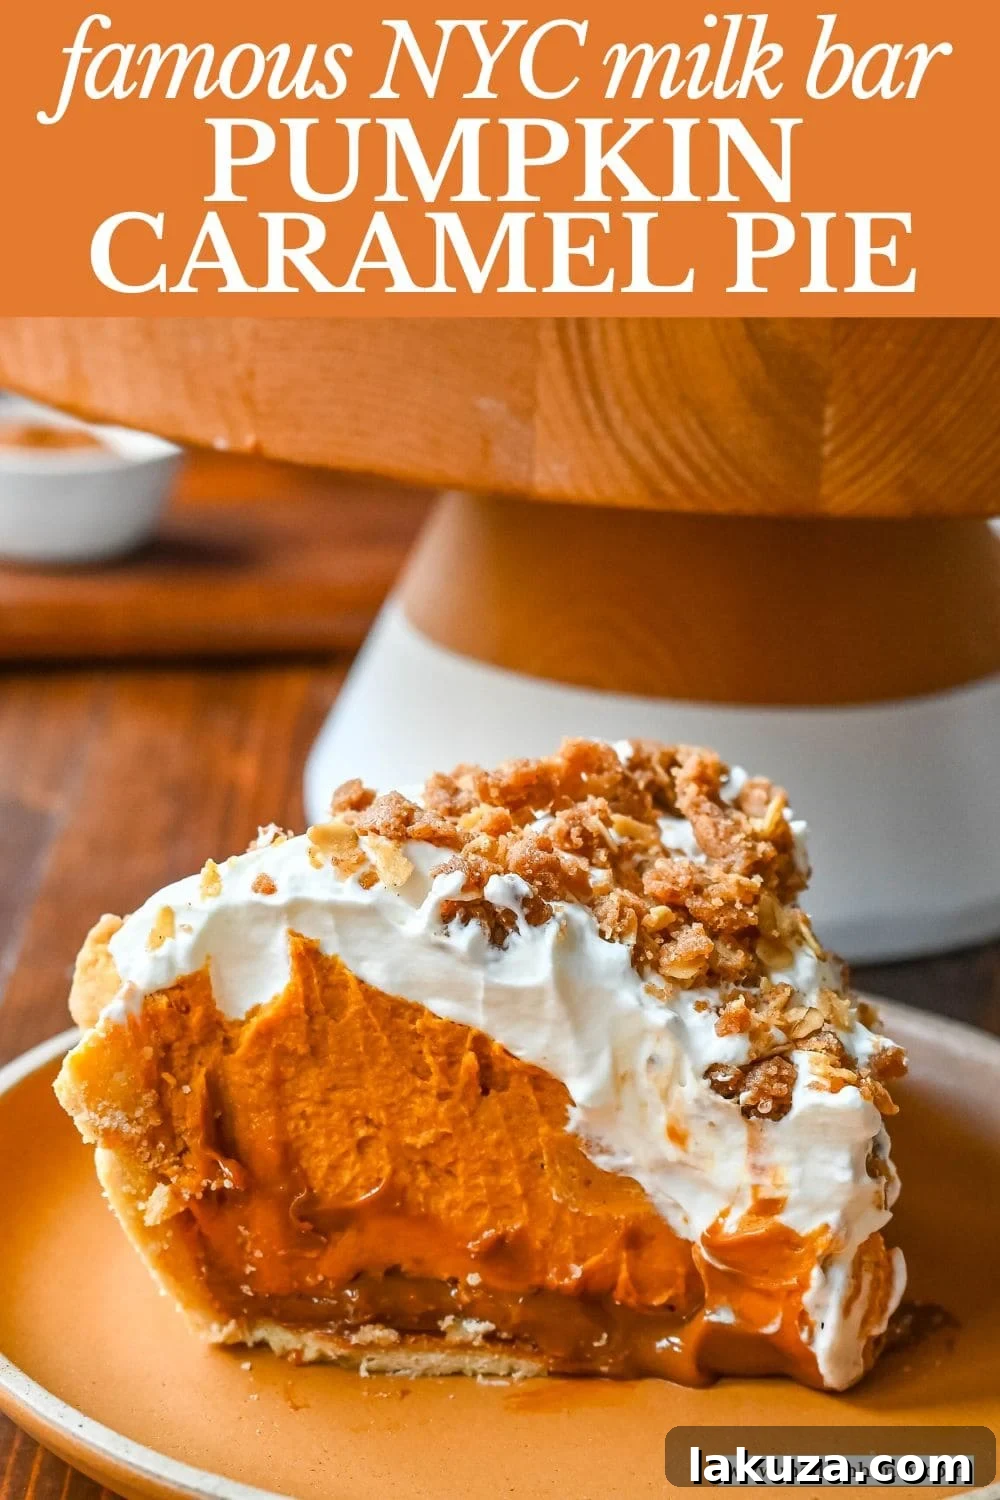
Prepare to create a show-stopping dessert that has taken New York City by storm: the famous Milk Bar Pumpkin Caramel Pie. This viral sensation is a symphony of flavors and textures, featuring a flaky homemade pie crust, a rich spiced pumpkin white chocolate ganache, luscious salted caramel, a cloud of fresh sweetened whipped cream, and a delightful homemade streusel topping. Get ready to impress everyone with this truly unforgettable Pumpkin Caramel Pie Recipe!
Thanksgiving has always held a special place in my heart, a time when my large family gathers from far and wide to celebrate together. Our holiday tradition wouldn’t be complete without our legendary “pie table,” a grand display literally overflowing with an array of homemade pies. Every year, we strive to elevate our dessert game, introducing specialty creations that push the boundaries of classic flavors.
I thrive on a good culinary challenge, constantly seeking out unique pie recipes to add to our festive spread. Some of my most cherished triumphs include my Award-Winning Pumpkin Pie, the sophisticated Creme Brulee Pie, a rich Nutella Pie, the delightfully sweet Cannoli Pie, a vibrant Raspberry Cream Pie, and the ever-popular Chocolate Peanut Butter Pie. Each one brings its own magic to the table.
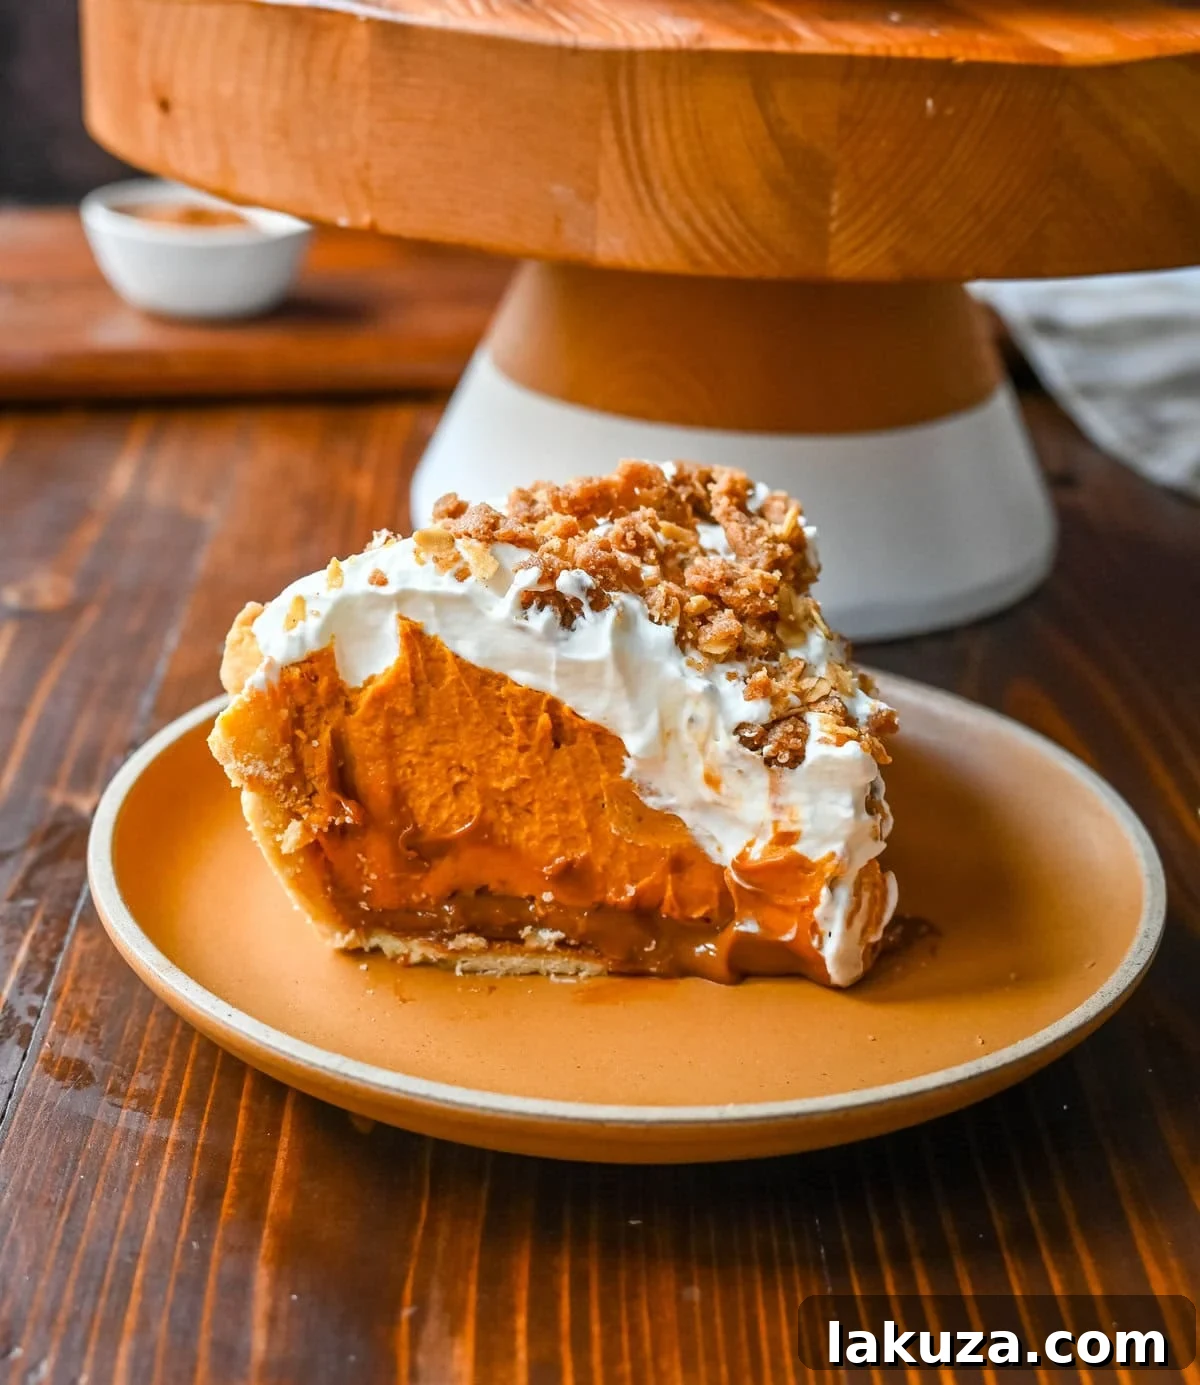
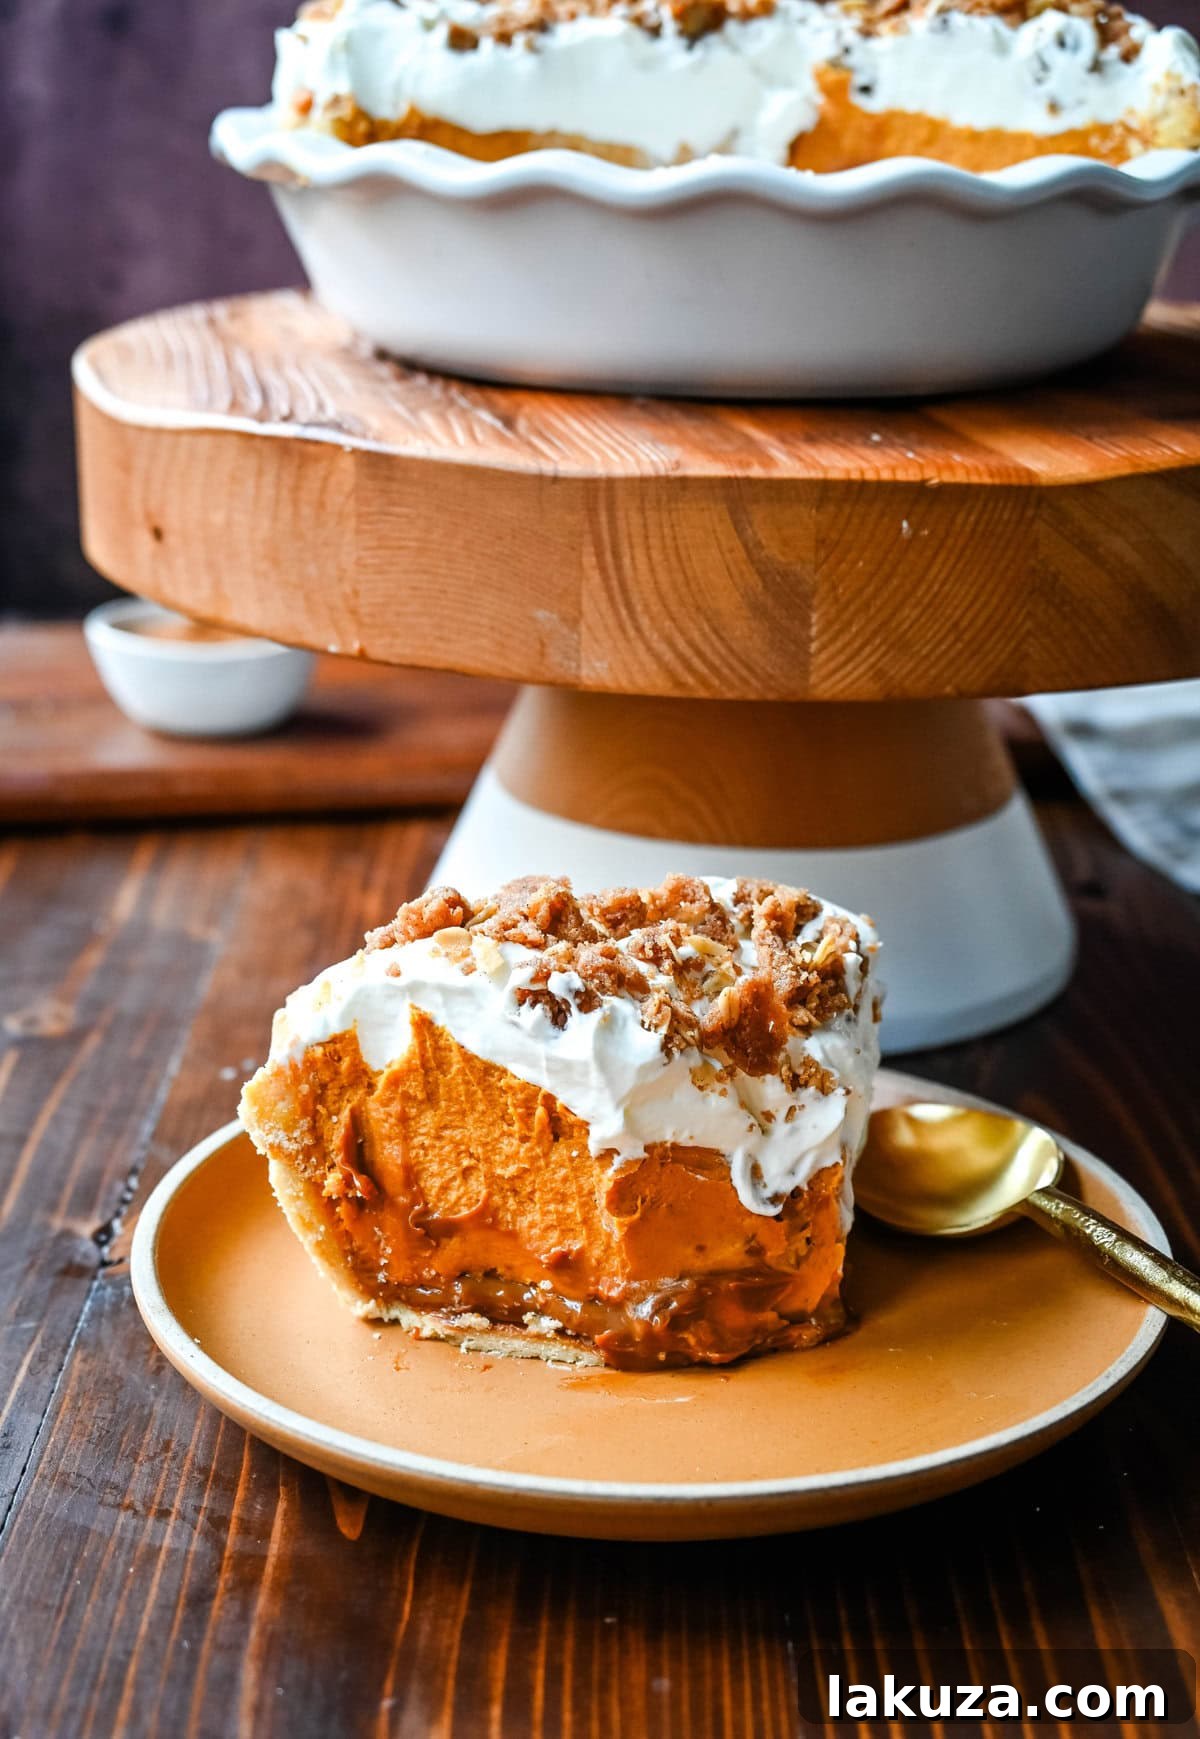
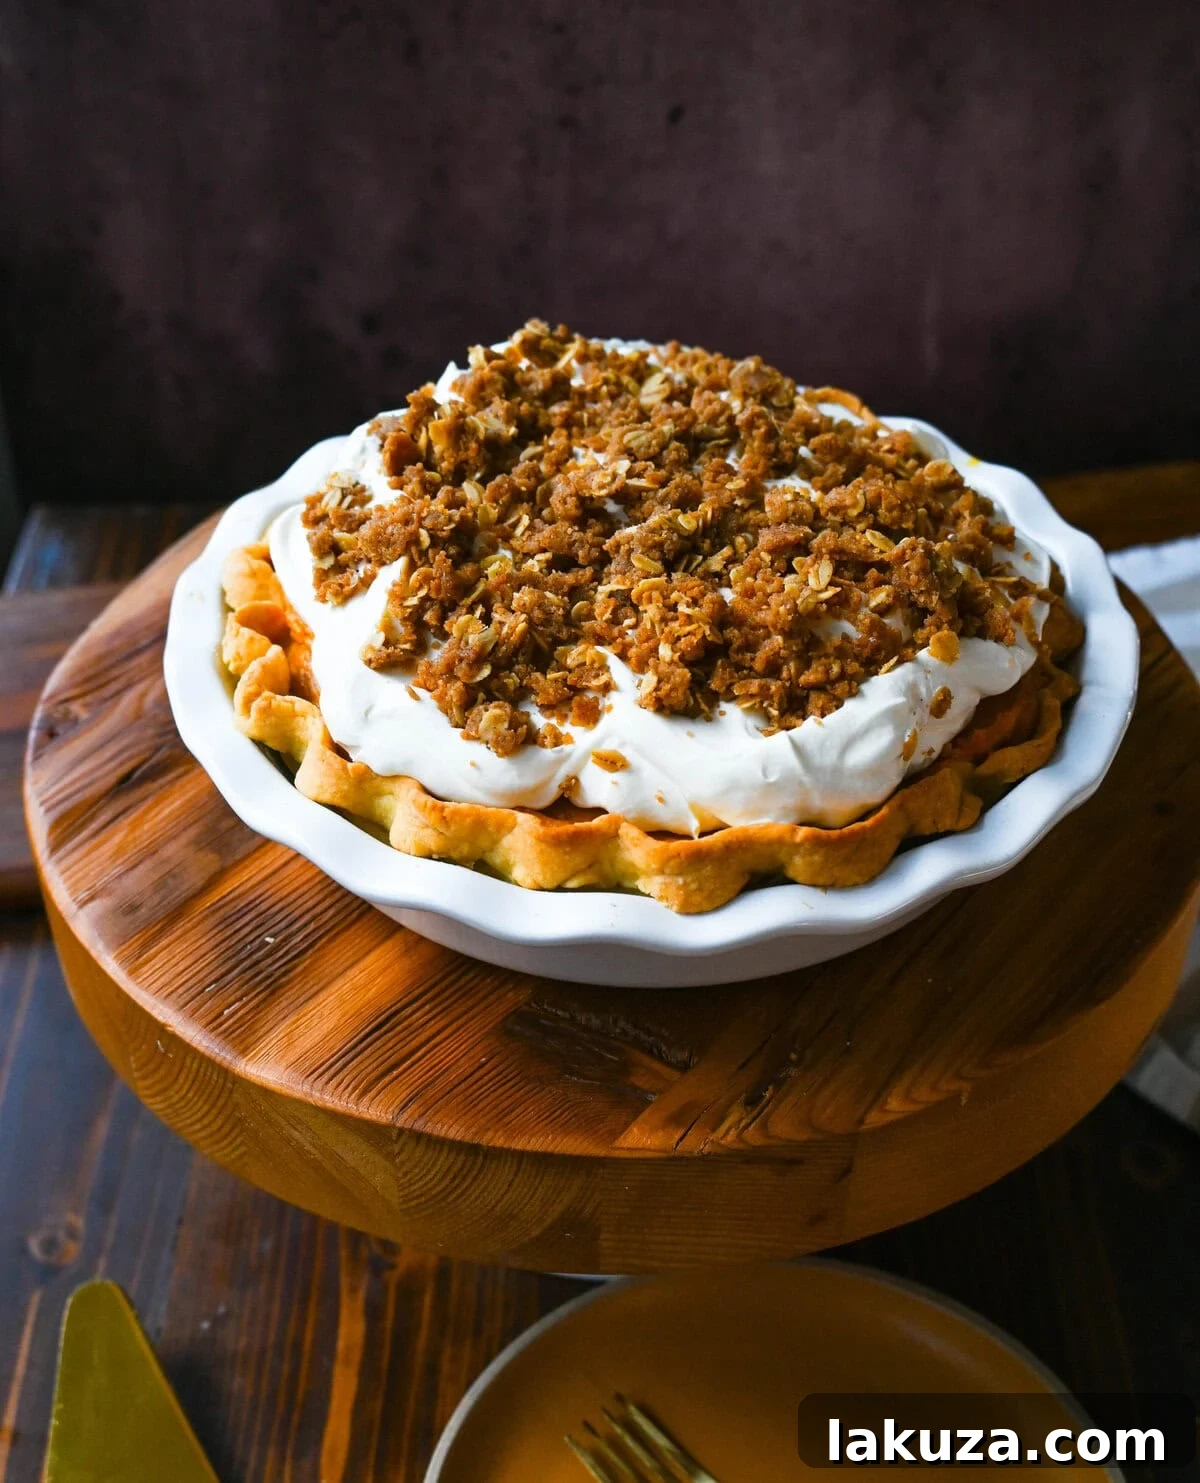
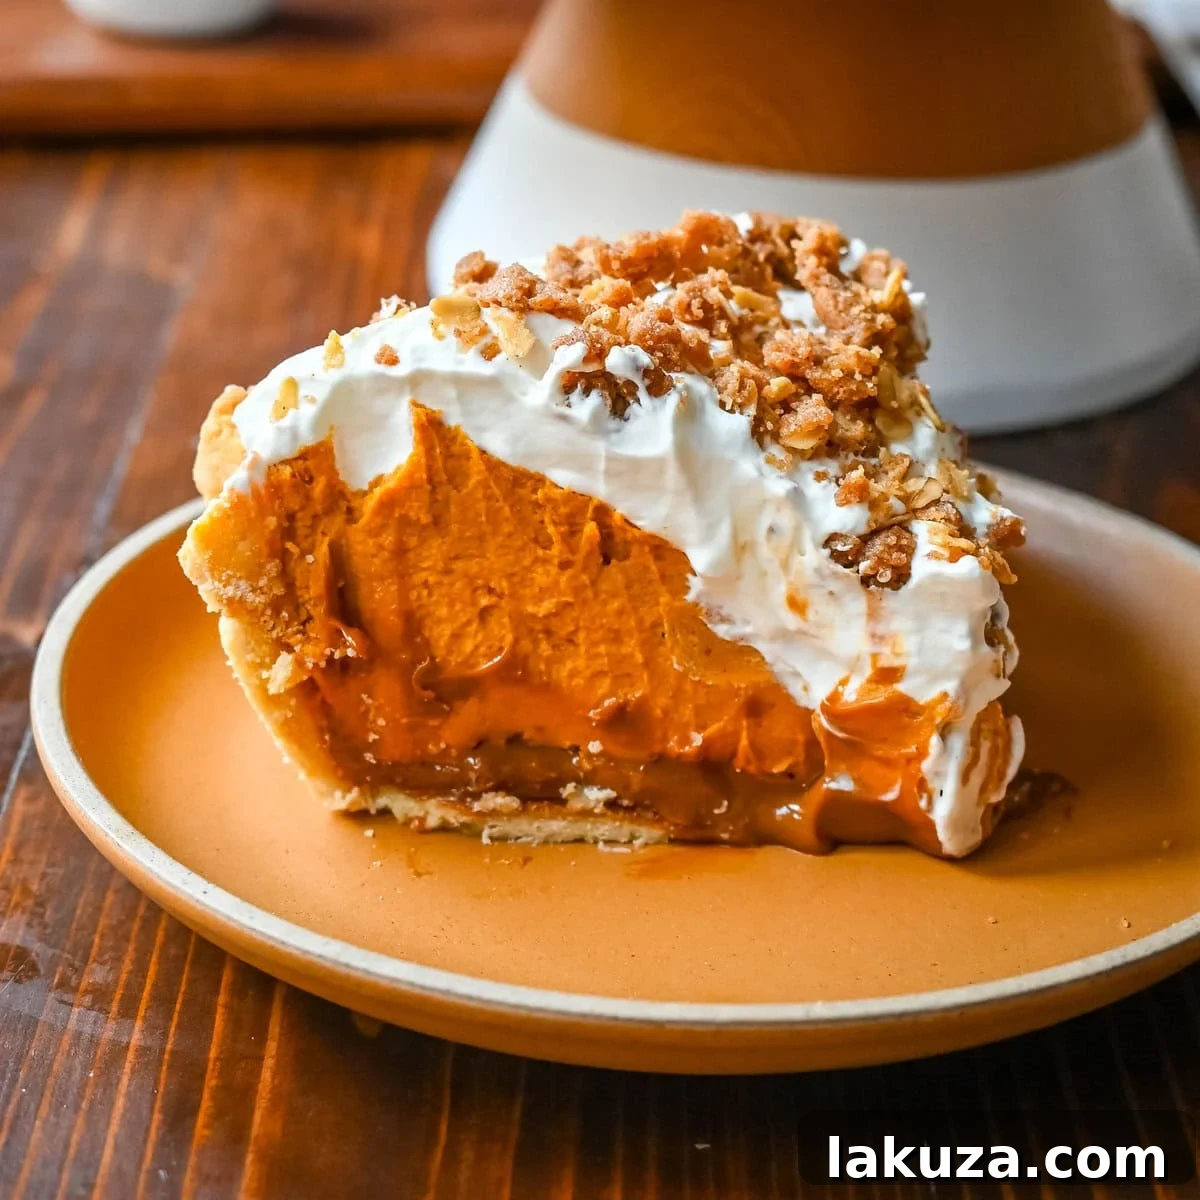
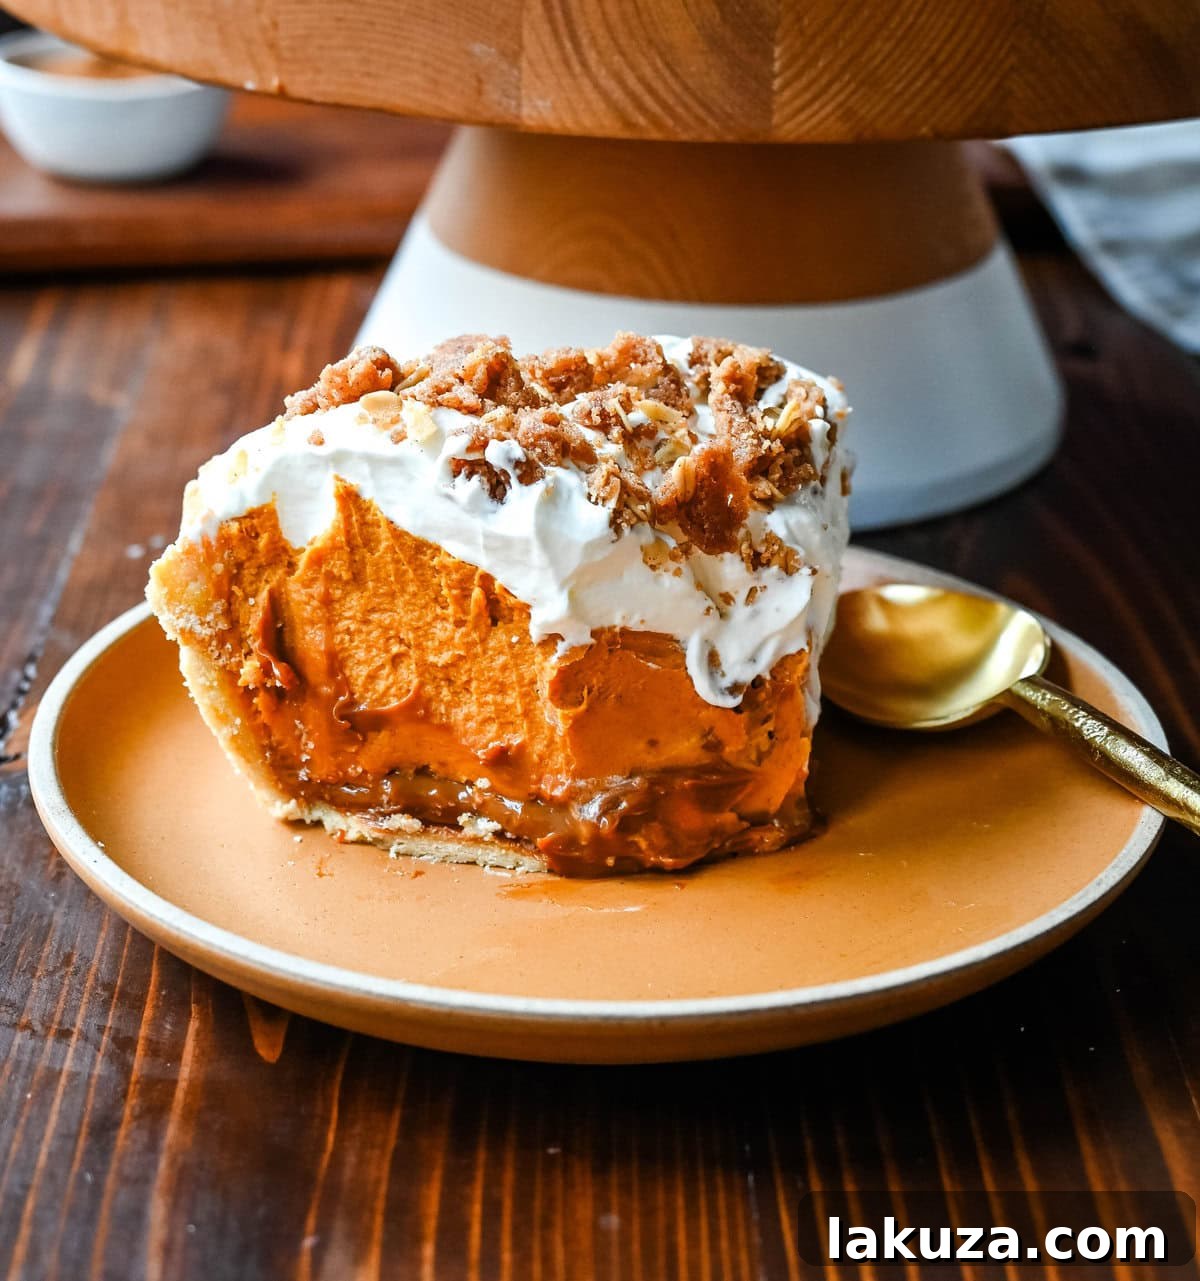
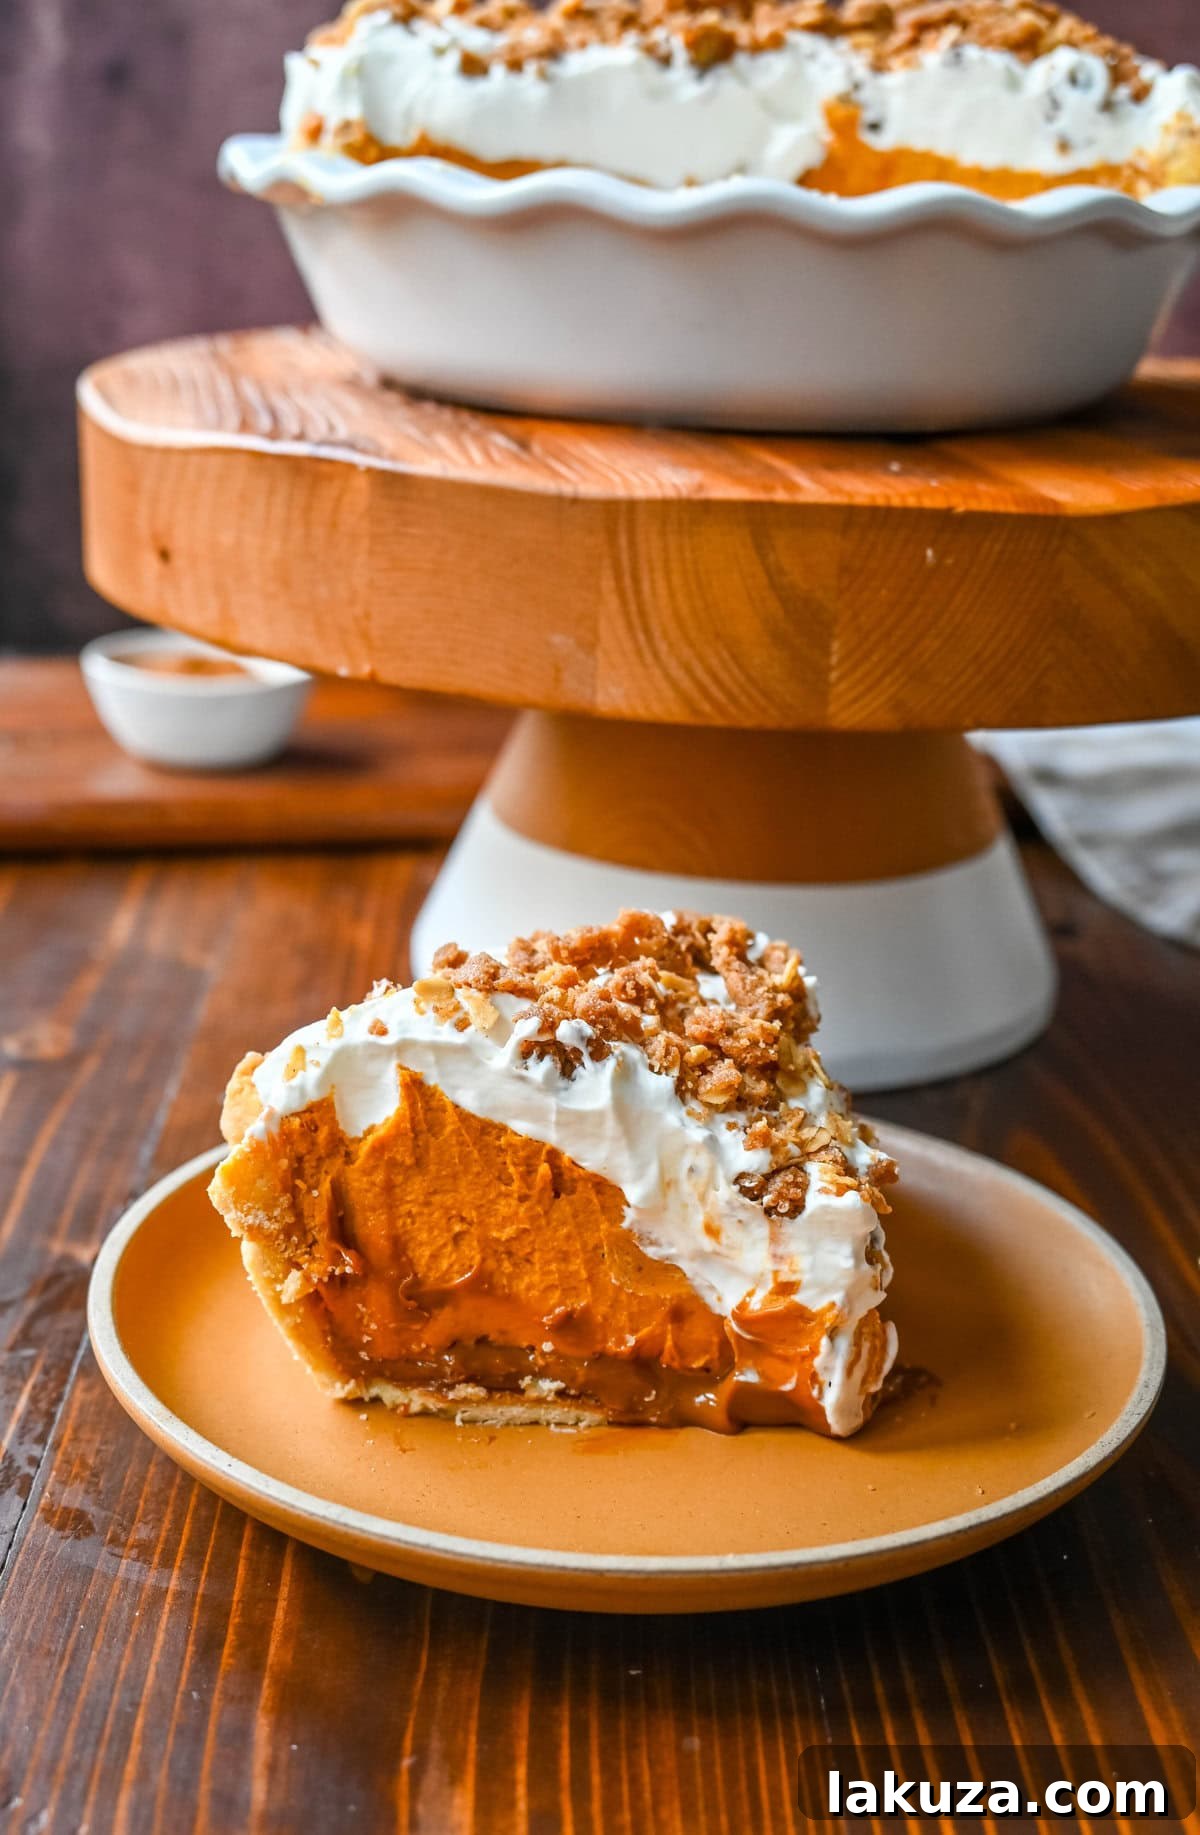
This year, I am thrilled to introduce you to the renowned Milk Bar Pumpkin Caramel Pie, a masterpiece of layered indulgence. Imagine: a buttery crust, a generous slather of salted caramel, a creamy pumpkin white chocolate ganache filling, topped with airy whipped cream, and a sprinkle of irresistible streusel. It’s truly layer upon layer of pure goodness, promising an unparalleled dessert experience.
Perhaps you’ve already heard whispers of its fame? Milk Bar, a beloved institution in New York City, saw its pumpkin caramel pie achieve viral status last year, captivating dessert enthusiasts everywhere. While this recipe is indeed a labor of love and not for the faint of heart (you’ll see what I mean when you glance at the full recipe card), I’m here to guide you with clever shortcuts and essential tips. Be sure to read through all the notes in this post and in the recipe card for advice on making the process smoother. I’ll also share my final analysis and simplified suggestions right before the detailed recipe.
Why You’ll Fall in Love with Milk Bar’s Pumpkin Caramel Pie
Forget everything you thought you knew about traditional pumpkin pie. This isn’t a one-note dessert; it’s a dynamic culinary creation that engages all your senses. This Thanksgiving pumpkin pie truly has it all, a harmonious blend of contrasting elements:
- Salty: Thanks to the rich, gooey salted caramel layer that beautifully cuts through the sweetness.
- Sweet: Delivered by the luxurious pumpkin white chocolate ganache, offering a comforting and decadent sweetness.
- Crunchy: Provided by the textural contrast of the homemade streusel topping, adding an irresistible crumble.
- Rich and Decadent: Elevated by the pillowy, fresh whipped cream that crowns each slice, making every bite feel utterly indulgent.
The secret to the pie’s incredible texture and profound flavor lies in its creamy pumpkin filling. The key step is roasting the pumpkin puree. This crucial technique removes excess water, intensifying the pumpkin flavor and resulting in an exceptionally creamy, well-set filling. Furthermore, the melted white chocolate introduces a luxurious richness and helps to stabilize the ganache, ensuring a perfect consistency.
This Milk Bar Pumpkin Caramel Pie is more than just a dessert; it’s an experience. Everyone who tastes it will be utterly blown away and thoroughly impressed. Beyond its mind-blowingly delicious taste, its visual appeal is captivating, with distinct layers of buttery pie crust, shimmering salted caramel, smooth pumpkin ganache, billowy fresh whipped cream, and a generous sprinkle of golden streusel. It’s a feast for the eyes as much as it is for the palate.
Essential Ingredients for Hilly’s Pumpkin Caramel Pie
Crafting this iconic pie requires a thoughtful selection of quality ingredients. Below, you’ll find a breakdown of the key components and tips on choosing the best products for optimal results. Refer to the full recipe card below for precise measurements and detailed instructions.
PUMPKIN GANACHE:
- Pumpkin Puree (not pumpkin pie filling or mix): For the truest pumpkin flavor and ideal consistency, I highly recommend using a trusted brand like Libby’s pumpkin puree. Store brands can also work effectively, just ensure it’s pure pumpkin.
- Heavy Cream: Essential for the creamy base of the ganache.
- Corn Syrup: Helps achieve that glossy, smooth ganache texture.
- Unsalted Butter: Adds richness and a velvety mouthfeel.
- White Chocolate: This is where quality truly matters. Opt for real white chocolate, which lists sugar and cocoa butter as primary ingredients. Avoid products labeled “white morsels” or “white pieces,” as these often contain very little cocoa butter and can negatively impact the ganache’s flavor and setting ability. Ghirardelli or Guittard are excellent choices.
- Pumpkin Pie Spice: A convenient blend of warm, inviting spices that defines the pumpkin flavor.
- Salt: A touch of salt balances the sweetness and enhances the overall flavor.
CHEWY SALTED CARAMEL:
- Sugar: The foundation of your homemade caramel.
- Heavy Cream: Added at the end to create a rich, creamy caramel.
- Unsalted Butter: Contributes to the chewy texture and buttery flavor.
- Water: Used in the “wet” caramel method to help dissolve sugar and prevent crystallization.
- Corn Syrup: Acts as an anti-crystallization agent, ensuring a smooth caramel.
- Salt: Crucial for achieving the “salted caramel” distinction, balancing the sweetness.
- Vanilla Extract: Enhances the depth of flavor in the caramel.
PIE CRUST:
- All-Purpose Flour: The main structural component of the crust.
- Unsalted Butter: Kept very cold, it creates the flaky layers.
- Fine Ground Cornmeal: A signature Milk Bar ingredient that adds a unique subtle texture and flavor to the crust.
- Sugar: For a hint of sweetness in the crust.
- Salt: Enhances the butter flavor.
- Ice Cold Water: Vital for preventing the butter from melting and ensuring a flaky crust.
- Apple Cider Vinegar: Helps to tenderize the dough, making it easier to roll and more pliable.
STREUSEL TOPPING:
- All-Purpose Flour: The base for the crumbly streusel.
- Light Brown Sugar: Adds moisture and a molasses-rich sweetness.
- Rolled Oats: Provides a pleasant chewiness and texture.
- Unsalted Butter: Binds the streusel ingredients and creates golden crumbs.
- Cinnamon: A warm spice that complements the pumpkin flavors.
- Cardamom: Adds a sophisticated, aromatic note.
- Salt: Balances the sweetness and brings out the spice flavors.
Crafting the Milk Bar Pumpkin Caramel Pie: A Step-by-Step Guide
Creating Hilly’s Pumpkin Caramel Pie is a multi-step process, but the beauty of it is that each component can be prepared in advance, breaking down the task into manageable stages. You’ll be making the pumpkin ganache, salted caramel, pie crust, sweet whipped cream, and streusel topping. Below, you’ll find detailed instructions for each part, culminating in a spectacular finished pie.
How to Make the Creamy Pumpkin Ganache:
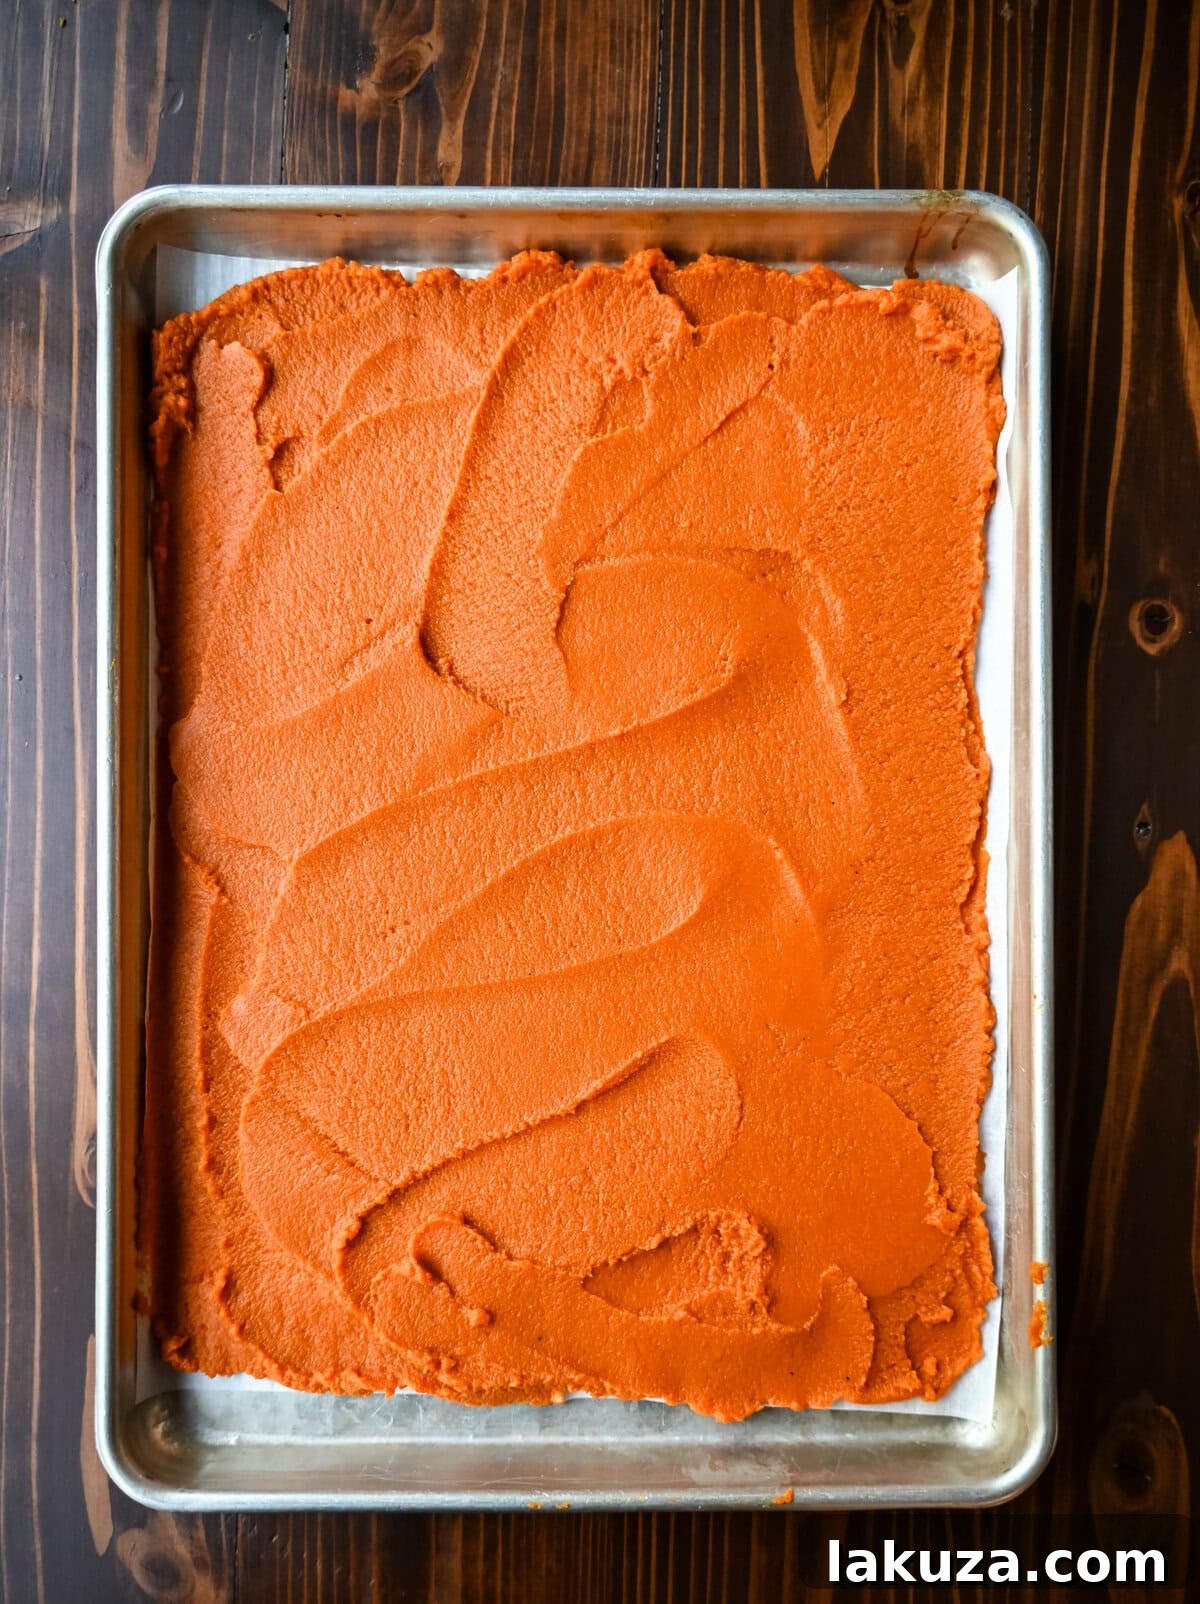
- Roast the Pumpkin Puree: This is a critical step for flavor and texture. Spread two 15-ounce cans of pumpkin puree evenly onto a parchment-lined baking sheet. Roast in a preheated oven at 325°F (160°C) for 20-30 minutes. The goal is for the puree to darken by two shades and reduce significantly, yielding approximately 2 cups (500g) of concentrated pumpkin. If it hasn’t reached this amount, continue roasting. Allow the roasted pumpkin to cool completely before proceeding.
- Prepare the Ganache Base: Place your high-quality white chocolate in a large, heat-safe bowl. In a separate small saucepan, combine the heavy cream, corn syrup, and unsalted butter. Bring this mixture to a rolling boil over medium heat. Once boiling, immediately pour the hot cream mixture over the white chocolate, ensuring all the chocolate is submerged. Let it sit undisturbed for 1 minute to allow the chocolate to melt.
- Combine and Blend: To the melted white chocolate mixture, add the cooled roasted pumpkin, pumpkin pie spice, and salt. Stir gently to combine. For an ultra-smooth and silky ganache, use an immersion blender directly in the bowl, or carefully transfer all ingredients to a regular blender and process until no lumps remain.
- Storage: The pumpkin ganache can be prepared 1-2 days ahead of time. Store it covered in the refrigerator. When you’re ready to assemble the pie, gently reheat the ganache in 20-second intervals in the microwave, stirring after each interval, until it reaches a pourable consistency.
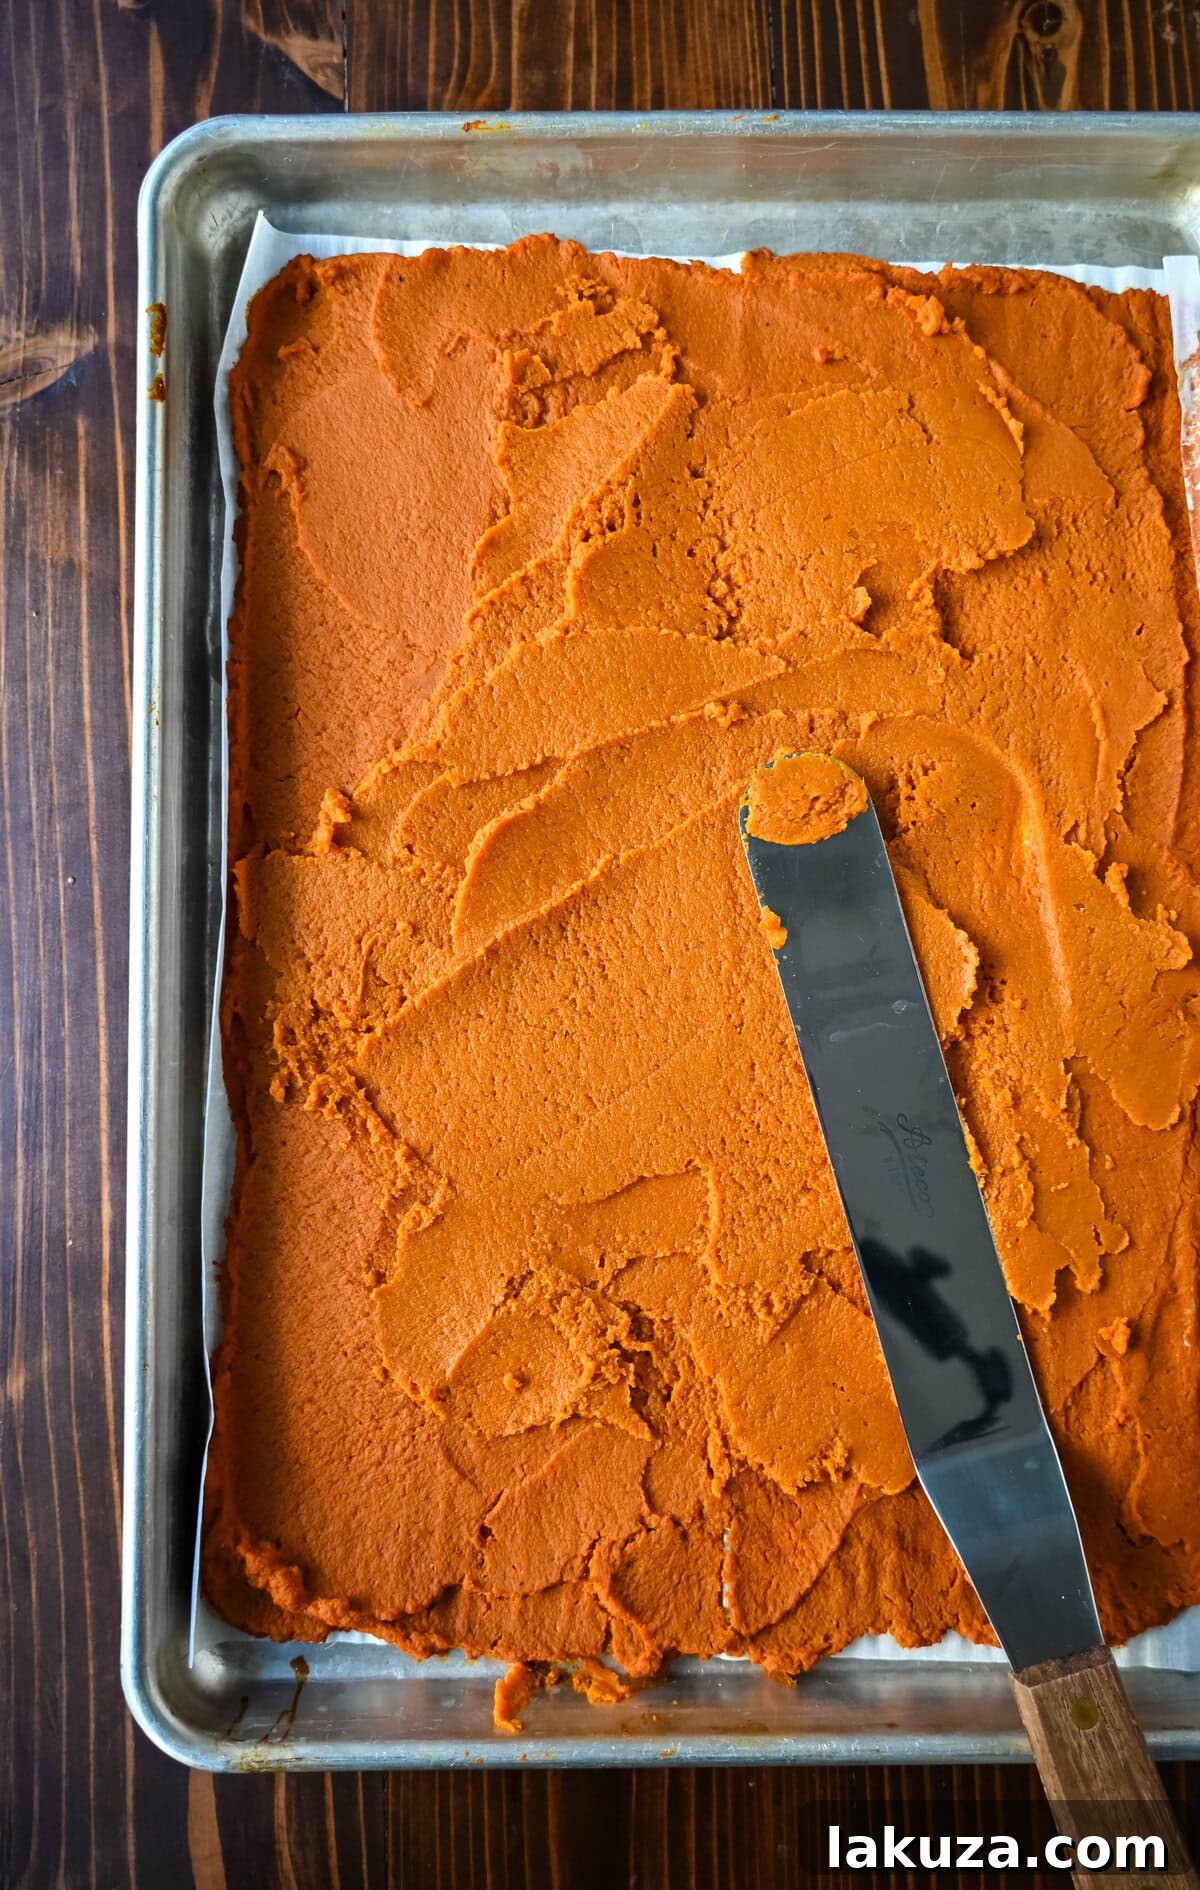
After roasting, combine melted white chocolate with the concentrated pumpkin puree, spices, and salt. Blend until perfectly smooth and silky.
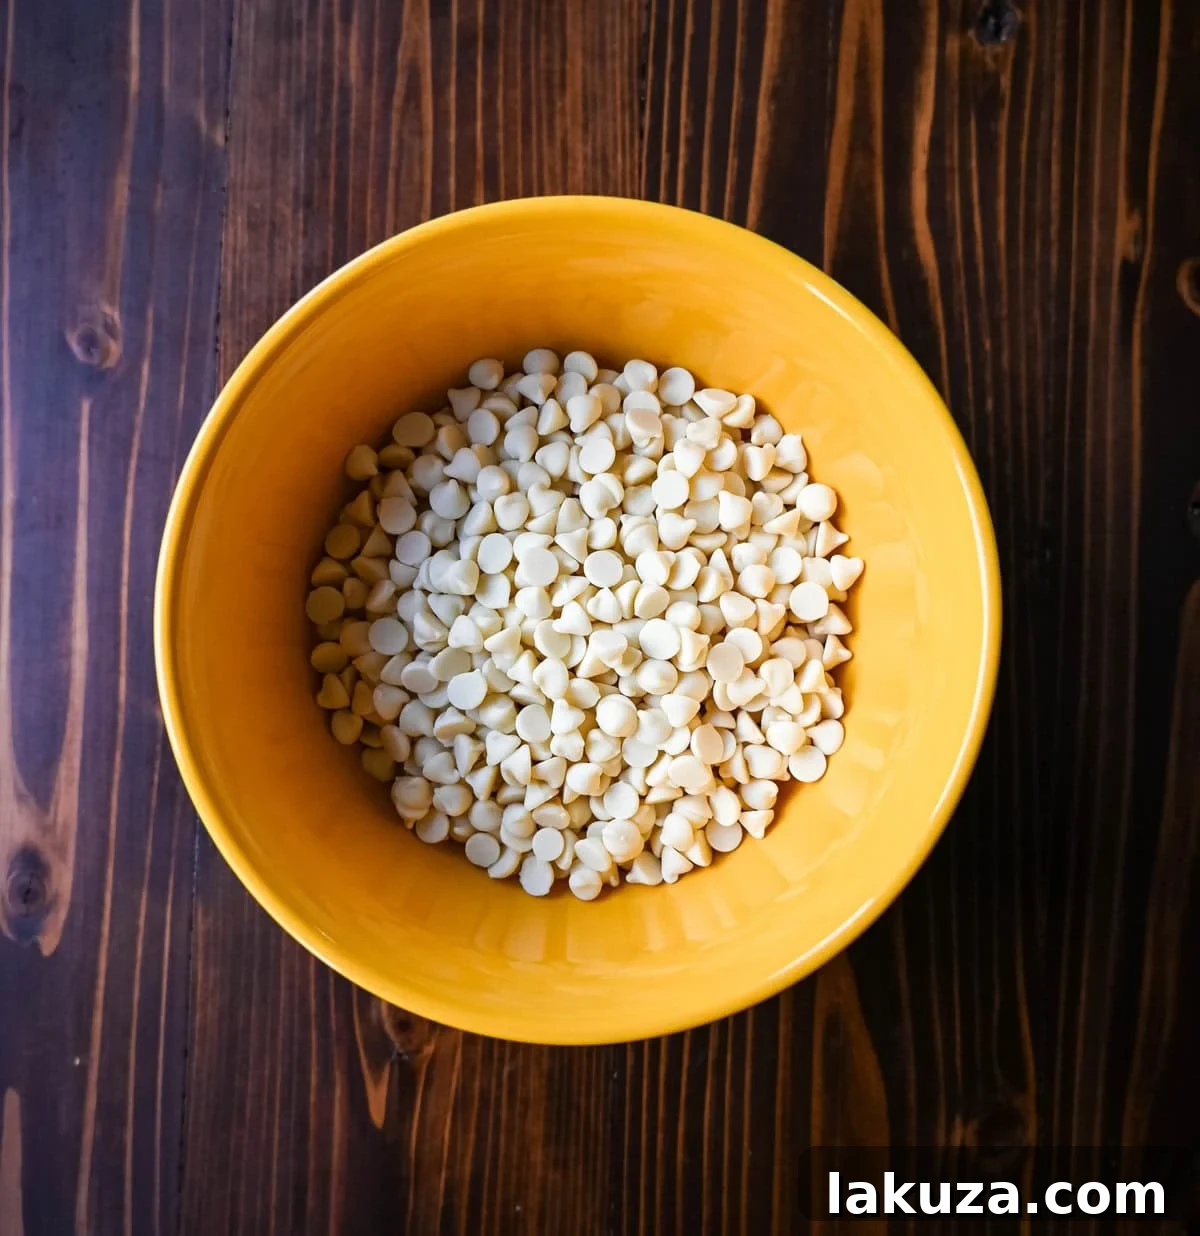
The white chocolate is essential for both flavor and structure, providing a creamy richness that complements the pumpkin beautifully.
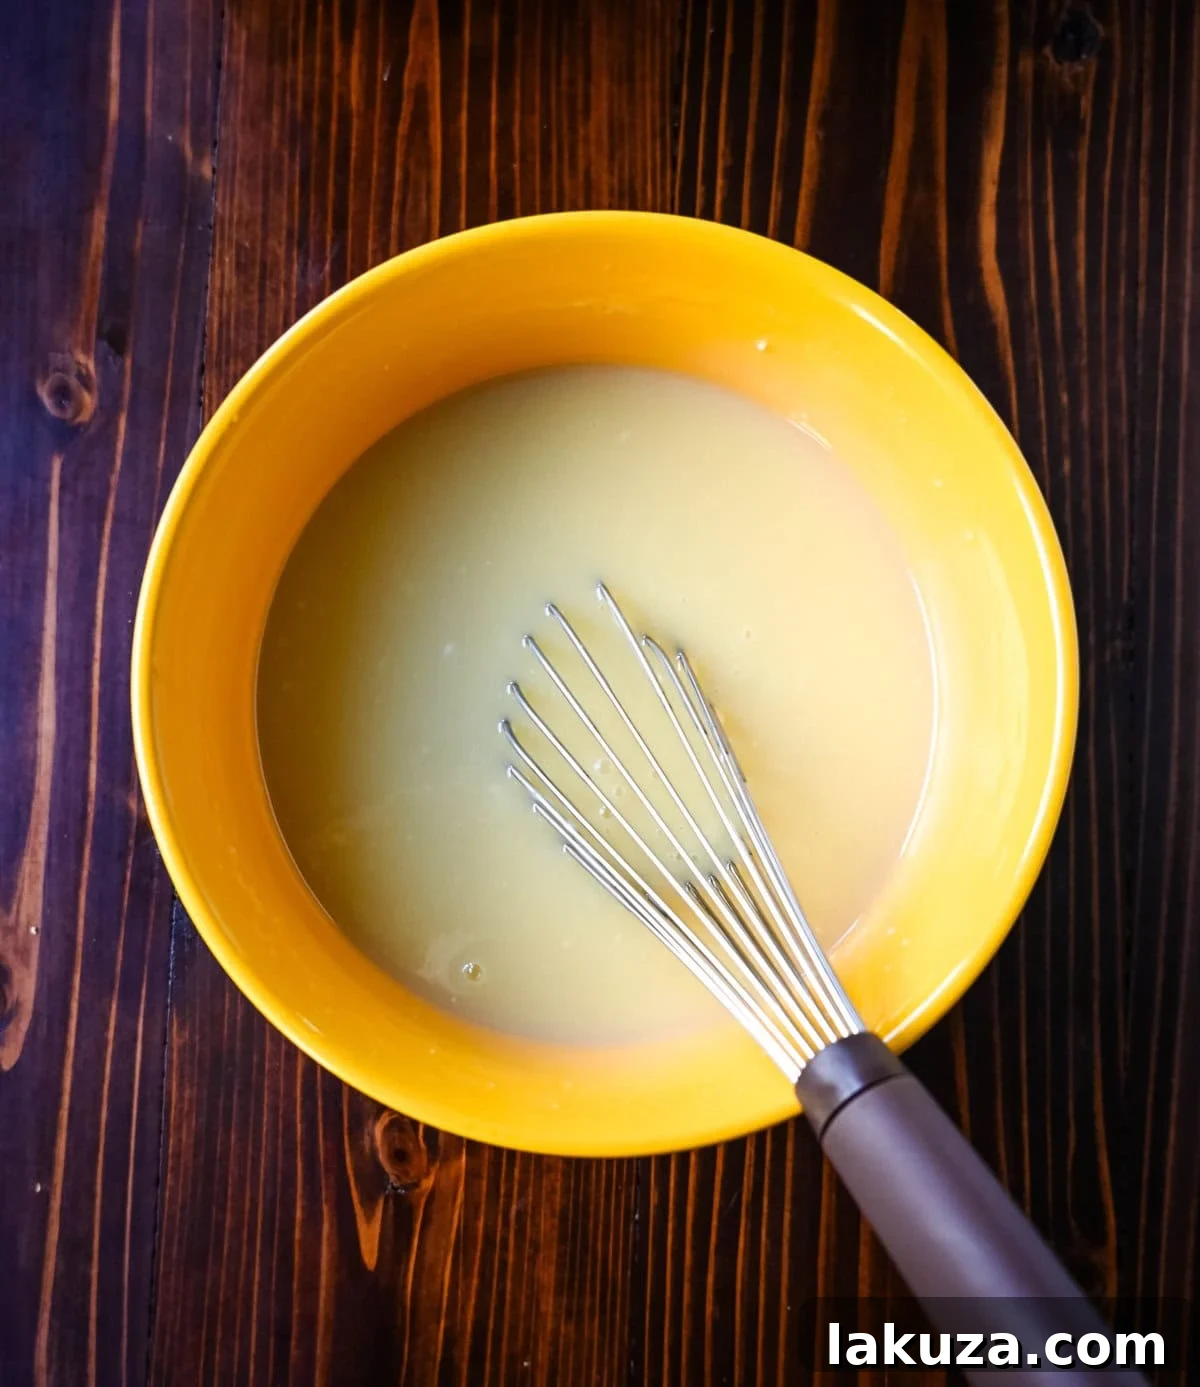
Once blended, the ganache will be a vibrant, smooth consistency. If making ahead, store it chilled and reheat gently before assembly.
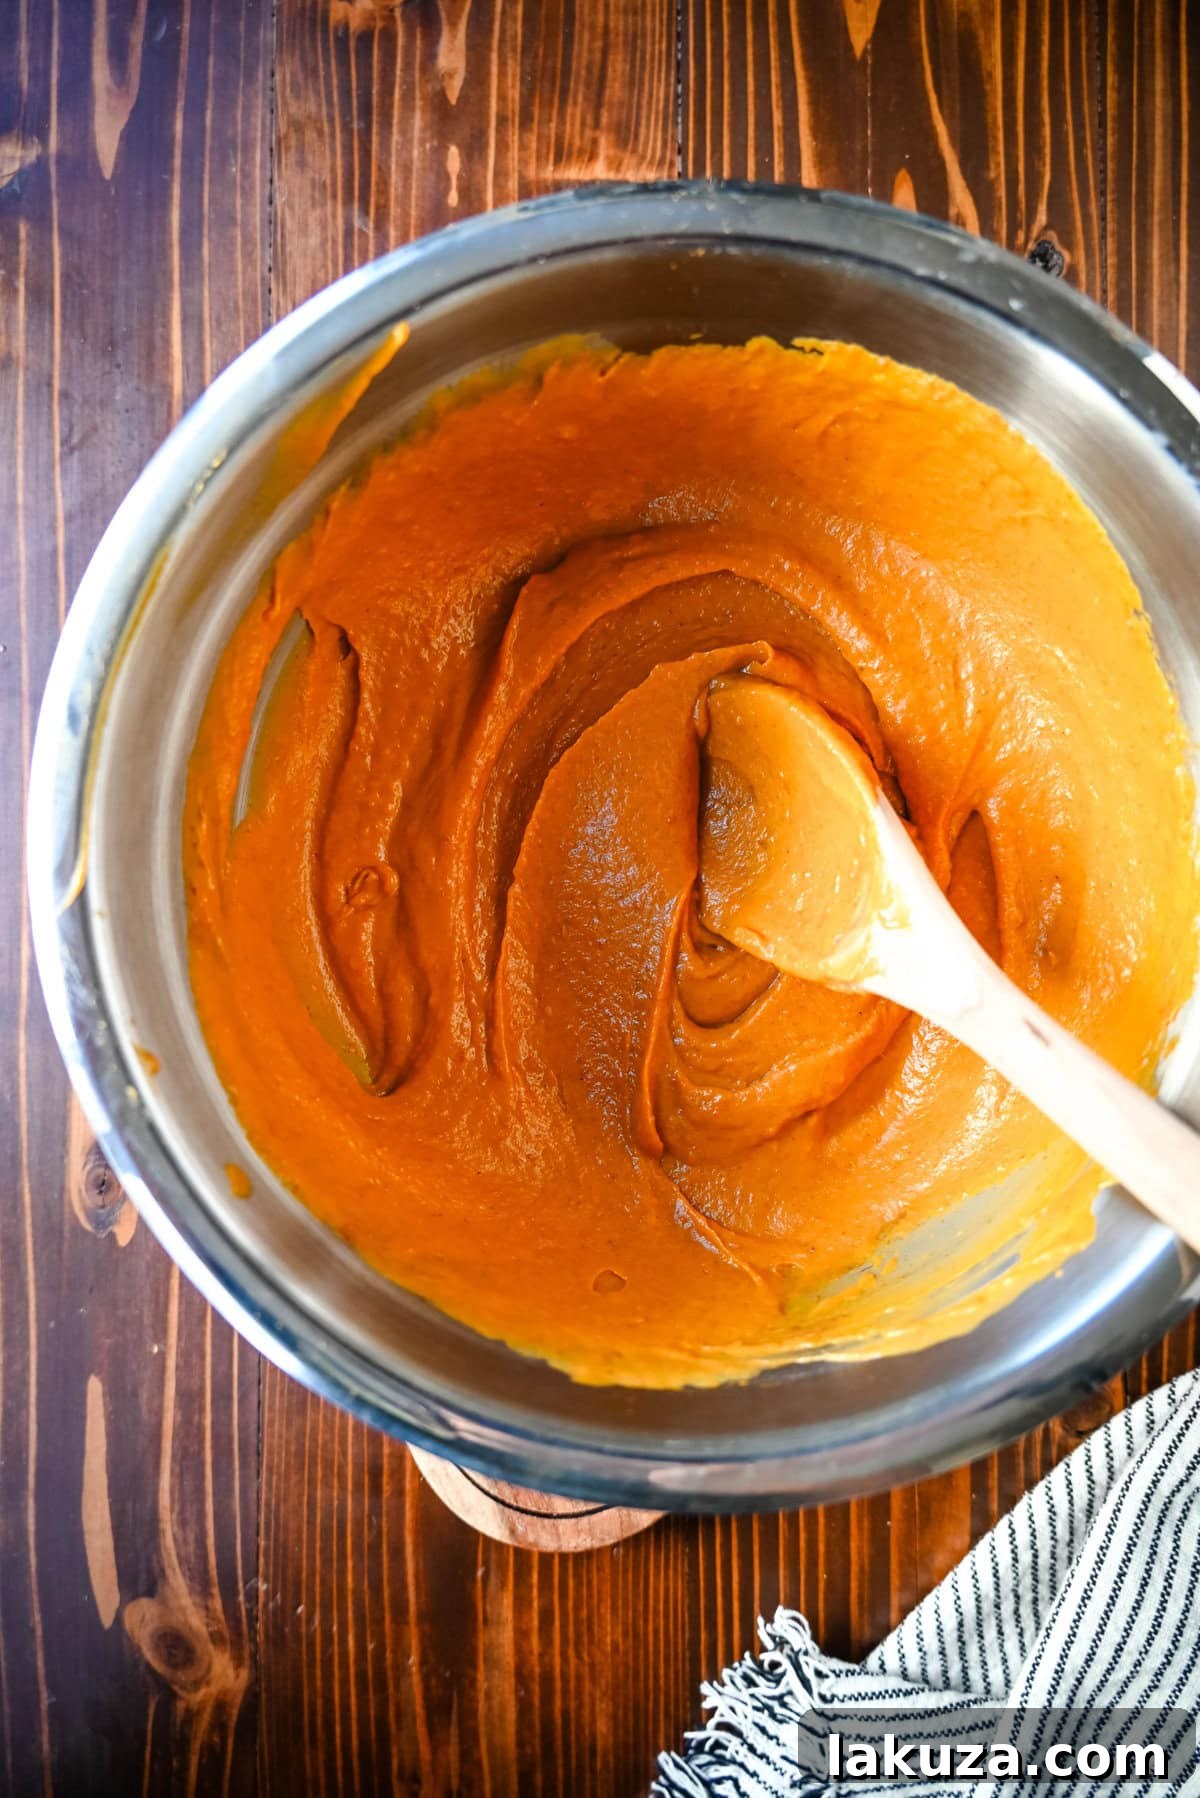
Making the Salted Chewy Caramel:
- Mise en Place: Before you begin, measure out your heavy cream and cut the unsalted butter into individual tablespoons, ensuring both are kept cold. Have your salt and vanilla extract ready and within easy reach. This “mise en place” is crucial when making caramel, as the process moves quickly.
- Cook the Sugar Mixture: In a medium-sized, heavy-bottomed saucepan, combine the water, white sugar, and corn syrup. Stir gently with a heat-proof spatula until the sugar is fully dissolved and the mixture is clear. Place the saucepan over medium heat. Once it starts bubbling, resist the urge to stir; instead, gently swirl the pan occasionally to prevent crystallization. You can also use a wet pastry brush to wash down any sugar crystals forming on the sides of the pan. Cook until the mixture turns a rich golden-amber color, which should take approximately 8-10 minutes. Watch closely at this stage to prevent burning.
- Incorporate Butter and Cream: As soon as the sugar mixture reaches that deep golden hue, remove the pan from the heat. Carefully add the cold butter, one tablespoon at a time, whisking vigorously after each addition until it’s fully incorporated. Be cautious, as the mixture will bubble up and release steam. Next, slowly stream in the cold heavy cream while continuously whisking. Finally, stir in the vanilla extract and salt.
- Cool and Store: Pour the hot caramel into a heat-safe container and allow it to cool completely to room temperature. Once cooled, transfer it to the refrigerator to fully set and thicken. This salted caramel can be made 1-2 days in advance. Before assembling your pie, reheat it in 20-second increments in the microwave until it reaches a pourable yet still slightly thick consistency.
Crafting the Flaky Pie Crust:
- Prepare the Dough: In your largest mixing bowl, combine the flour, fine ground cornmeal, sugar, and salt. Whisk them together until thoroughly incorporated. Add the cold unsalted butter, cut into tablespoons, to the dry ingredients. Toss with your hands until each piece of butter is coated in the flour mixture. Using your fingertips, smash, squeeze, and break the cold butter chunks until the mixture resembles coarse crumbs with some pea-sized pieces of butter still visible. If the butter starts to soften, refrigerate the bowl for 15 minutes before continuing.
- Hydrate and Chill: In a separate small bowl, mix the ice-cold water and apple cider vinegar. Add this liquid to the flour-butter mixture one tablespoon at a time, tossing gently with your hands after each addition. The exact amount of water needed can vary; stop adding when the dough just comes together when pressed into a ball, but still feels slightly crumbly and not sticky. Form the dough into a disc, wrap it tightly in plastic wrap, and refrigerate for at least 30 minutes. If the dough is too hard to roll after chilling, let it sit at room temperature for 5-10 minutes.
- Roll and Blind Bake: Lightly dust your work surface, rolling pin, and both sides of the chilled dough with flour. Roll the dough into a rough rectangle, with the short side facing you. Don’t worry if the edges crack slightly – that’s normal. Fold the dough like a letter: fold the far side down towards you, then fold the side closest to you on top. Press it together, rotate 90 degrees, and repeat the roll and fold, dusting with more flour as needed, until the dough is cohesive and smooth. Finally, roll the dough into a circle at least two inches wider than your pie tin. Carefully transfer the dough to your pie tin, draping it gently rather than stretching. Fold any excess dough under itself to create a sturdy lip and crimp the edges as desired.
- Blind Baking: Return the prepared pie crust to the fridge to firm up. Preheat your oven to 350°F (175°C). Place the pie tin on a baking sheet. Line the inside of the crust with aluminum foil or parchment paper and fill it with pie weights (dried beans or rice also work). To prevent the edges from burning, you can tent them with foil. Bake for 30-35 minutes, checking occasionally and re-tenting edges if they brown too quickly. Remove the weights, prick the bottom of the crust with a fork to prevent bubbling, and continue baking for another 15-20 minutes, or until the crust is beautifully golden brown. Cool the baked crust for at least 1 hour before filling. The baked crust can be made several days in advance and stored in the refrigerator, or unbaked dough can be frozen for up to a month.
Preparing the Irresistible Streusel Topping:
- Combine Ingredients: In a medium bowl, combine all the streusel ingredients: flour, light brown sugar, rolled oats, unsalted butter, cinnamon, cardamom, and a pinch of salt. Using your fingertips or a pastry blender, mash and mix until a loose, crumbly texture forms, ensuring there are no dry spots or large chunks of butter.
- Bake to Golden Perfection: Spread the streusel mixture evenly onto a parchment-lined baking sheet. Bake in a preheated oven at 325°F (160°C) for approximately 15 minutes, stirring the crumbs every five minutes to ensure even browning. It should be golden brown and fragrant.
- Storage: Once baked and cooled, the streusel can be stored for up to one week at room temperature in an airtight container, ready to be sprinkled over your finished pie.
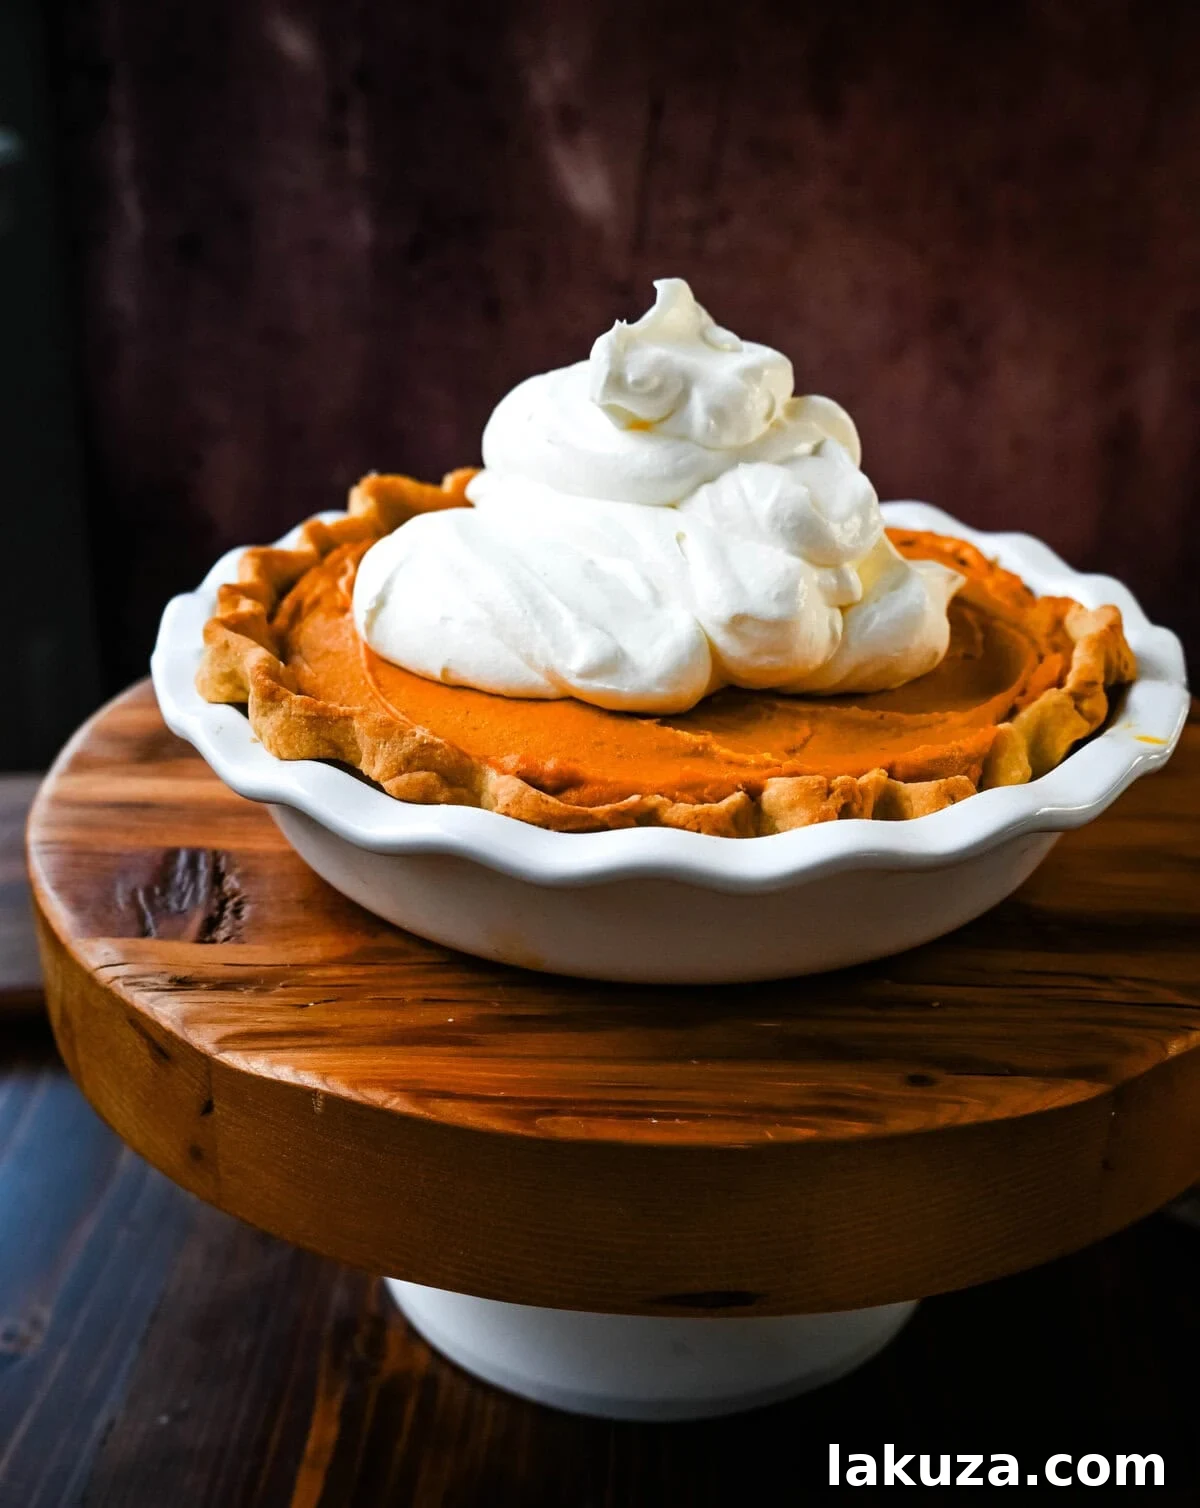
Assembling Hilly’s Pumpkin Caramel Pie: The Grand Finale
Once all your components are prepared and cooled, it’s time to bring them together into this magnificent pie. Precision in assembly ensures perfect layers and optimal setting.
- Caramel Base: Pour the room-temperature salted caramel into the base of your pre-baked pie shell. Using an offset spatula or the back of a spoon, spread it evenly to fully cover and level the base. Immediately transfer the filled shell to the refrigerator to allow the caramel to firm up for 20-25 minutes. This prevents the caramel and ganache from mixing.
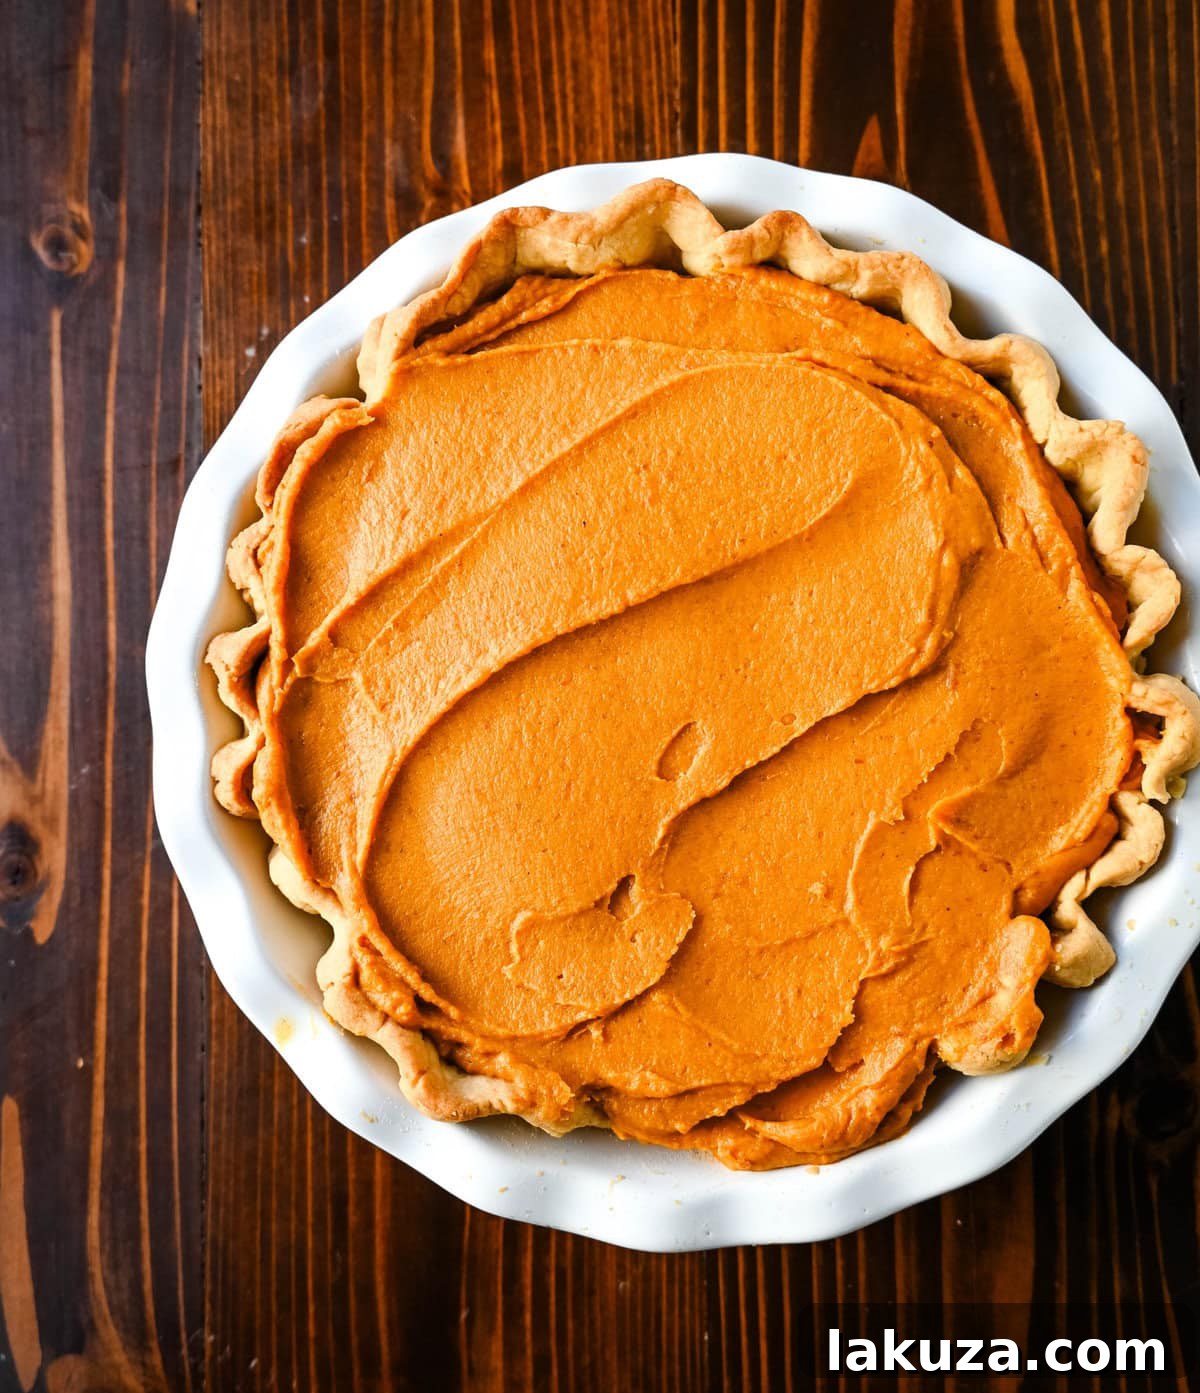
- Pumpkin Ganache Layer: Gently pour the pourable pumpkin ganache over the chilled caramel layer. Work quickly to spread it evenly with an offset spatula or spoon, ensuring the entire caramel layer is completely covered.
- Chill Overnight: Place the assembled pie in the refrigerator as soon as possible, ensuring it is covered to prevent any odors from permeating. It absolutely requires an overnight chill, with a minimum of 8 hours. This prolonged refrigeration allows the ganache to set properly. The ganache should feel firm to the touch, should not stick to your fingers, and should feel solid all the way through before serving.
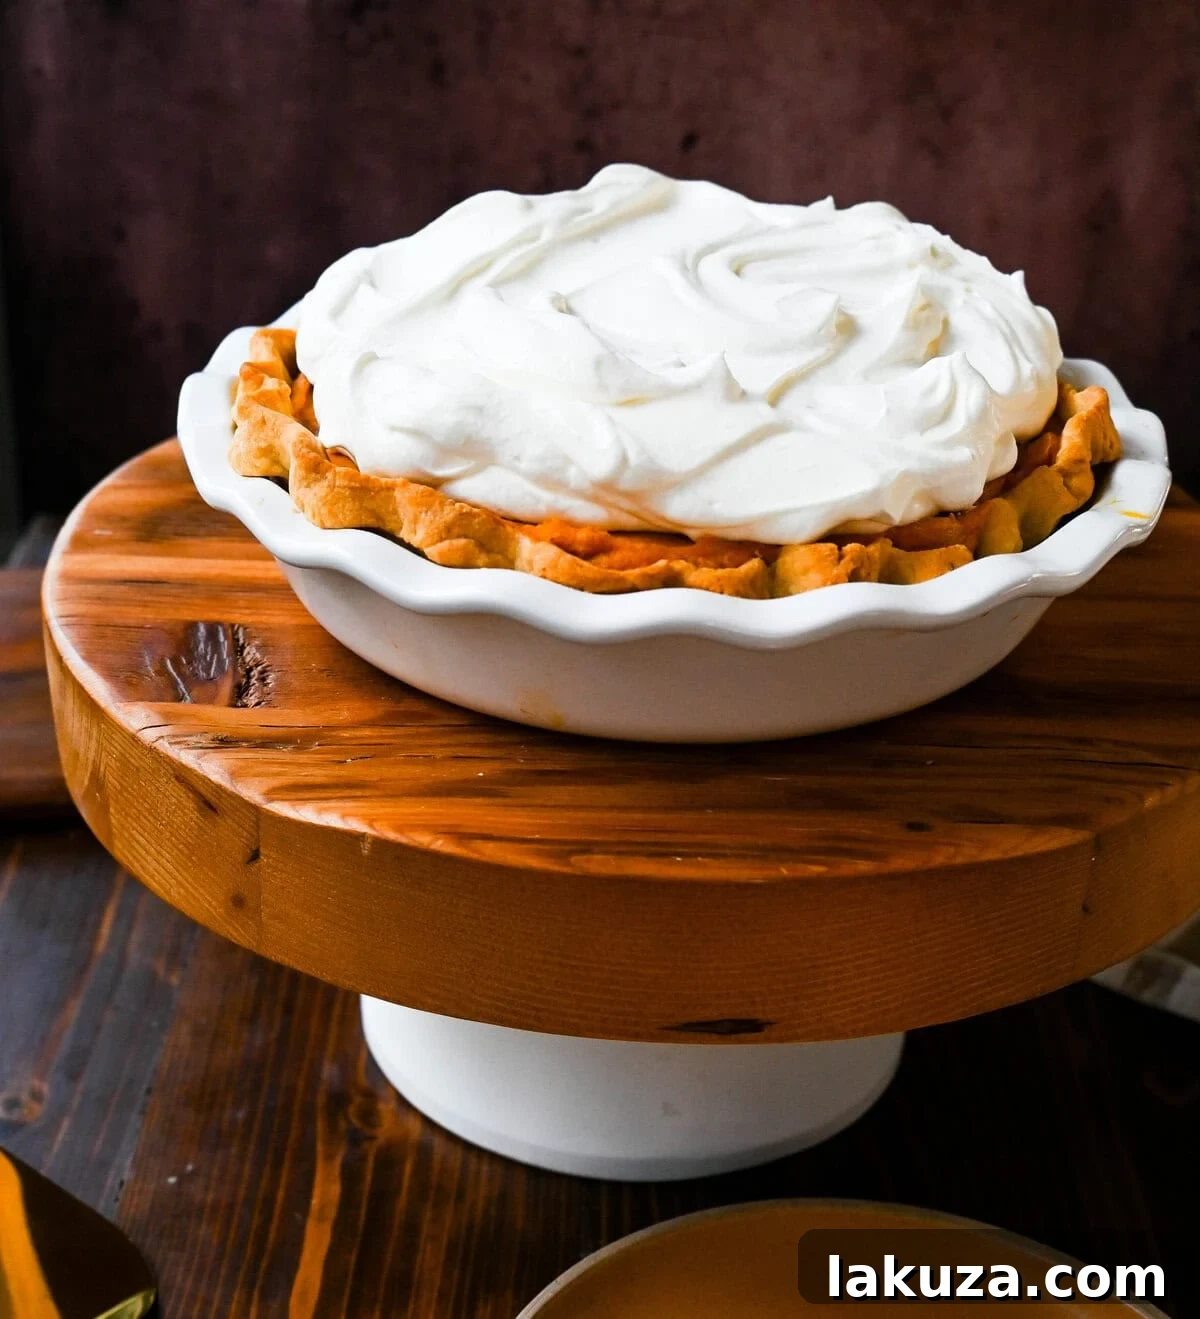
- Serve and Garnish: Serve the pie cold, directly from the refrigerator. Just before serving, prepare your fresh whipped cream. In a mixing bowl, whip 2 cups of heavy cream with 3 tablespoons of powdered sugar until soft peaks form. Dollop or pipe generous amounts of fresh whipped cream over each slice, and then sprinkle generously with the prepared streusel topping.
Smart Shortcuts & Substitutions for an Easier Pie
While the full Milk Bar recipe is a rewarding endeavor, there are definitely ways to streamline the process without sacrificing too much on flavor or quality. Here are my top suggestions for making this pumpkin caramel pie a tad easier:
- Opt for Store-Bought Caramel: Crafting homemade caramel can be intimidating for beginners. If you’re short on time or confidence, a high-quality jarred caramel sauce is an excellent substitute. I highly recommend brands like Trader Joe’s Fleur de Sel caramel sauce or Mrs. Richardson’s caramel sauce for their rich flavor. If you desire a thicker, more substantial caramel layer, canned dulce de leche is another fantastic option. Remember that Milk Bar’s caramel is notably salted, so if your store-bought choice isn’t, consider sprinkling a small pinch of sea salt over the caramel layer in your pie crust to achieve that signature salty-sweet balance.
- Utilize a Store-Bought Pie Crust: While a homemade crust adds an undeniable touch, a pre-made pie crust can significantly cut down on prep time. When choosing, look for a deep-dish pie crust, as this recipe has a substantial amount of filling. Standard pie crusts might not be deep enough, leading to overfilling. If you do use a shallower crust, you might need to slightly reduce the amount of ganache filling. My homemade pie crust recipe is a great option if you still want to make one from scratch without using the Milk Bar specific recipe.
Pumpkin Caramel Pie Frequently Asked Questions (FAQ’s)
To ensure your success in recreating this celebrated pumpkin caramel pie, I’ve compiled answers to some of the most common questions, drawing insights directly from Milk Bar’s own expertise.
Should I use regular or quick oats for the streusel?
For the best texture in your streusel topping, regular rolled oats are strongly recommended. They provide a delightful chewiness that instant or steel-cut oats simply cannot replicate. Instant oats become mushy, while steel-cut oats remain too hard, neither providing the desired effect in this recipe.
This is my first time making caramel. What essential tips should I know?
Don’t be intimidated! This recipe employs a “wet” caramel method, meaning water is added at the beginning. This technique makes the caramel more forgiving and slows down the cooking process, giving you more time to achieve that perfect golden color. Initially, the sugar mixture will appear clear and bubbly, but then it will suddenly begin to turn golden. This is your cue to watch it very closely to prevent burning. The transition can take 8-10 minutes or even longer, so ensure all your other ingredients (cold butter and cream) are pre-measured and within arm’s reach to avoid distractions. Aim for a deep, rich amber color for the most profound caramel flavor. If you opt for store-bought caramel, choose a thick variety, like dulce de leche or a gourmet sauce (such as Trader Joe’s Fleur de Sel caramel), rather than thin sundae sauce, which won’t set properly. Remember to add a pinch of salt to your store-bought caramel to capture that signature salted flavor.
Can I make pumpkin puree at home for this recipe?
While making homemade pumpkin puree is certainly an option, it generally yields a more watery and less smooth consistency compared to canned varieties. For optimal texture and reliability in this specific recipe, Libby’s canned pumpkin puree is often the preferred choice due to its consistent quality and thickness. If you do use homemade, you may need to roast it for longer to achieve the required dryness.
Is roasting the pumpkin puree truly a necessary step?
Yes, absolutely! Roasting the pumpkin puree is a non-negotiable step for this pie. It’s essential for removing excess water, which results in a significantly richer, more intensely flavored pumpkin filling and a superior texture. Skipping this step would introduce too much moisture into the ganache, making it very difficult for the pie to set properly, resulting in a runny filling.
How far in advance can I prepare this pie?
One of the fantastic aspects of this pie is its make-ahead friendly nature. Most components can be prepared well in advance, easing your holiday baking stress:
- Ganache: Can be made 2-3 days ahead and stored, covered, in the refrigerator.
- Streusel: Prepare up to a week in advance and store in an airtight container at room temperature.
- Caramel: Make 3-4 days ahead and store in the refrigerator.
- Pie Dough: Can be prepared up to a month in advance and frozen.
For Thanksgiving, a smart strategy is to prepare the ganache, streusel, and caramel by Monday or Tuesday. Bake the pie crust on Wednesday morning, then assemble the pie with the caramel and ganache layers that same day. Refrigerate it overnight. Add the fresh whipped cream and streusel just before serving on Thanksgiving Day.
What if I’m not a fan of white chocolate – will I still enjoy this pie?
Even if you typically dislike white chocolate, it’s highly likely you’ll still love this pie. The white chocolate in the ganache serves primarily to add incredible creaminess and to provide structure, helping the ganache set beautifully. Its flavor is subtle and not distinctly pronounced; it doesn’t overpower the rich pumpkin and spice notes. The key is to use a high-quality white chocolate – avoid anything labeled “white morsels” or “white pieces,” as these are often not true chocolate and lack sufficient cocoa butter. Look for “chocolate” on the label and ensure sugar and cocoa butter are among the first ingredients. Brands like Ghirardelli or Guittard are excellent choices for their superior quality.
My filling didn’t set properly. What could have gone wrong?
Ensuring your pie sets correctly is crucial. This particular pie absolutely requires overnight refrigeration (a minimum of 8 hours) to achieve its desired firm consistency. Beyond inadequate chilling, several factors can affect the set:
- Insufficient roasting of the pumpkin puree: If the pumpkin still contains too much excess water, it will prevent the ganache from firming up.
- Using too much corn syrup: While corn syrup is vital, an excessive amount can alter the texture and prevent proper setting.
- Using imitation white chocolate: Real white chocolate, with its cocoa butter content, is essential for structure. Imitation versions may not perform as reliably.
It’s also important to note that the caramel filling is designed to be intentionally gooey and slightly chewy, so a little bit of softness in that layer is expected and part of its charm.
Can I use a store-bought pie crust for this recipe?
Yes, using a good quality store-bought pie crust is a perfectly acceptable shortcut to save time. However, this is a deep-dish pie with substantial filling, so standard, shallower store-bought crusts might not have the necessary depth. If you opt for a shallower crust, you might need to consider halving the ganache recipe to avoid overfilling and ensure everything fits neatly within the crust.
Store-bought vs. homemade whipped cream – which is better for this pie?
For this rich and sweet pie, homemade whipped cream is highly recommended. It offers a fresh, balanced creaminess that perfectly complements the decadent flavors. Store-bought whipped cream often contains more sugar, which can make the overall pie overly sweet for some palates. The homemade version provides a fresher, more harmonious finish.
Why is there streusel on this pie? Can I skip it?
The streusel topping is not just for decoration; it adds a wonderful, delightful texture contrast to the otherwise creamy and gooey interior of the pie. Its crunch provides a much-needed counterpoint to the soft layers. While it greatly enhances the experience, if you are truly pressed for time, the streusel can be omitted without significantly altering the core flavor profile of the pie. However, for the full Milk Bar experience, I highly recommend including it!
FINAL ANALYSIS: Insights and Simplification Suggestions
Having made and perfected this famous pumpkin pie recipe, I want to share my concluding thoughts and offer some practical changes that can make the process more approachable without compromising its deliciousness:
- Consider Skipping Homemade Caramel: While the homemade salted caramel is exquisite, it is the most time-consuming and potentially challenging component for many home bakers. Milk Bar’s original recipe uses a very assertive salted caramel to balance the sweetness of the pumpkin ganache. If you choose a store-bought caramel, I strongly suggest sprinkling a generous pinch of sea salt over the caramel layer once it’s in the pie crust. Another approach is to make only a half batch of the homemade caramel or simply apply a very thin, even layer to the bottom of the pie crust to ensure enough is available.
- Adjust White Chocolate Quantity for Sweetness: Most quality white chocolate chips come in 12-ounce bags. To potentially reduce the overall sweetness of the pie, you can easily lessen the amount of white chocolate from the original 16 ounces down to 12 ounces (reducing from 2 1/2 cups to 2 cups). Just be extra diligent in roasting the pumpkin puree to remove as much moisture as possible; this will help ensure the ganache still sets perfectly even with slightly less white chocolate.
- Simplify Spices with Pumpkin Pie Spice: The original recipe might call for individual spices, but for ease, I found that using a pre-blended pumpkin pie spice works wonderfully and streamlines the ingredient list significantly. It provides all the classic, warm flavors you expect in a pumpkin pie without the need to measure multiple individual spices.
Popular Pumpkin Recipes: Discover More Delights!
The Best Pumpkin Pie Recipe
Perfect Pumpkin Pie
Mini Pumpkin Pie Bites
Pumpkin Praline Butter Dump Cake
This comprehensive recipe for the Milk Bar Pumpkin Caramel Pie, originally shared by Milk Bar itself, is a testament to inventive dessert making. Enjoy the process of creating this truly extraordinary holiday treat!
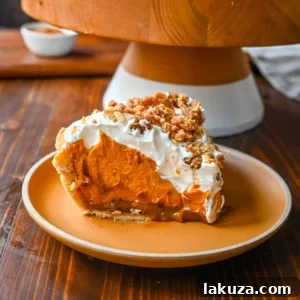
Milk Bar Hilly’s Pumpkin Caramel Pie Recipe
Ingredients
PUMPKIN GANACHE:
- (2) 15-ounce cans Pumpkin Puree (NOT pumpkin pie filling or mix)
- 1 1/4 cups Heavy Cream
- 1/3 cup Corn Syrup (scant)
- 5 Tablespoons Unsalted Butter
- 12 to 16 ounces White Chocolate (2 to 2 1/2 cups high-quality white chocolate, see notes)
- 3 teaspoons Pumpkin Pie Spice
- 1/2 teaspoon Salt
CHEWY SALTED CARAMEL:
- 1 cup White Sugar
- 1/3 cup Heavy Cream
- 6 Tablespoons Unsalted Butter
- 1/4 cup Water
- 2 Tablespoons Corn Syrup
- 1 teaspoon Salt (up to 2 teaspoons of salt to taste)
- 2 teaspoons Vanilla Extract
PIE CRUST: (may use my pie crust recipe linked in the notes section)
- 1 1/2 cups Flour
- 12 Tablespoons Unsalted Butter
- 1/2 cup Fine Ground Cornmeal
- 1 Tablespoon White Sugar (heaping)
- 1/2 teaspoon Salt
- 1/4 to 1/3 cup Ice Cold Water
- 1 Tablespoon Apple Cider Vinegar
STREUSEL TOPPING:
- 1/2 cup Flour
- 1/3 cup Light Brown Sugar
- 1/3 cup Rolled Oats
- 6 Tablespoons Unsalted Butter
- 1 teaspoon Cinnamon
- 1/2 teaspoon Cardamom
- pinch of salt
FRESH WHIPPED CREAM:
- 2 cups Heavy Cream
- 3 Tablespoons Powdered Sugar
Instructions
PUMPKIN GANACHE:
-
Spread both cans of pumpkin on a parchment lined baking sheet and roast at 325 for about 20 – 30 minutes. Color should darken by two shades and be well reduced. The puree should reduce to about 2 cups or 500g — if your puree is not at this amount, keep roasting! Let cool before use.
-
Add white chocolate to a large heat safe bowl, set aside. Add cream, corn syrup, and butter to a small pot, and bring to boil. Once boiling, pour hot cream mixture over white chocolate, making sure all the chocolate is covered. Let sit for 1 minute.
-
Add roasted pumpkin, spices, and salt to the white chocolate mixture, stir.
Using an immersion blender or place all ingredients in a blender, blend all ingredients until completely smooth and silky. -
Ganache can be made 1 – 2 days ahead, stored in the fridge. Reheat 20 seconds at a time in the microwave to achieve pourable consistency before filling your pie.
SALTED CARAMEL:
-
Measure out the heavy cream and butter (cut into tablespoons). It is best to keep these cold before use. Measure the salt and vanilla into small vessels and keep close by. Keep a whisk nearby.
-
Add the following to a medium saucepan: water, white sugar, and corn syrup. Mix well with heat proof spatula so all the sugar is hydrated, then set over medium heat.
You can stir this mixture until the sugar dissolves. Once it turns clear and is bubbling all over, only swirl the pan (this will help prevent crystallization of the sugar.) You can also begin brushing down the sides of the pan with a wet pastry brush to prevent crystallization along the edges, if you wish. -
Once the mixture begins to take on a golden color, make sure to gently swirl the pan often, so the sugar does not caramelize all in one place. At this point, bring your butter and cream out of the fridge and keep nearby.
Watch the caramel closely, keep cooking to bring it to a rich golden brown color. Be careful not to burn the caramel. It is better to pull it from the heat early then to pull it too late and risk burning it. Turn off the heat, and remove the pan from the heat. -
Carefully add the butter one tablespoon at a time, whisking well in between each Tbsp until fully incorporated — be careful as this will foam up and produce a lot of steam.
Slowly stream in your cream, whisking well and quickly. Add the vanilla, whisk. Add the salt, whisk.
Pour into a heat safe container and allow to come to room temperature, then place in the refrigerator to fully cool. -
Caramel can be made 1-2 days ahead, stored in the fridge. Reheat in 20 second increments in the microwave to achieve pourable consistency to fill the pie.
PIE CRUST:
-
Measure out all dry ingredients into your largest bowl. Mix together until well incorporated.
Cut cold butter into tablespoons and add to your bowl. Toss with hands until all the butter is coated in flour mixture.
Smash, squeeze, and break cold butter chunks with your fingers until some of the mixture resembles a coarse meal but there are still plenty of pieces of butter about the size of blueberries in the mix. If butter has gone soft and melty, place the entire bowl into the fridge for 15 minutes to firm up, otherwise, proceed. -
Mix vinegar and ice water together, then add to the flour mixture one tablespoon at a time, tossing with hands in between additions. The amount of water you will need varies — so add water until the mixture holds together when pressed into a ball, but is still a little crumbly, and isn’t sticky to the touch.
-
Form into a disc, wrap tightly in plastic wrap and refrigerate for at least 30 minutes. Once firmed up, proceed. If your dough is too hard to roll out, allow it to sit at room temp for 5 – 10 minutes.
-
Dust the surface, rolling pin, and both sides of the pie crust lightly with flour. Roll out the dough into a long rectangle-ish shape — short side facing you. The sides of the dough may have cracked a little, and the dough might be a little crumbly, that is totally fine at this stage.
Fold the dough like a letter: fold the far side down towards you, then the side closest to you on top of that folded down side. Press it all back together, rotate the dough 90 degrees, then repeat the roll and fold, making sure to dust the surface and rolling pin with more flour as needed.
Once folded and dough has become cohesive and not shaggy, roll out dough into a circle that is at least two inches wider than the base of your pie tin. Carefully transfer your rolled out dough to your tin, draping, rather than stretching it into place. Fold excess dough underneath itself to create a lip, and crimp as desired. -
Return to the fridge to firm up. Preheat the oven to 350 degrees. To blind bake the pie crust: place the tin on a baking sheet and line the inside of the pie with foil or parchment. Fill with your chosen weights. I like to tent the edges of my crust with foil to prevent burning.
Place in the oven and allow to bake for about 30-35 minutes, checking occasionally to ensure the edges of your crust have not taken on too much color (tent with foil if needed.)
When the edges of your pie are lightly browned, remove weights from inside of the pie to properly cook the center — prick the bottom of the pie crust with a fork to prevent ballooning.
Continue to cook for an additional 15 – 20 minutes, until your pie is golden brown in color. -
Cool for at least 1 hour before filling. Pie crust can be made several days ahead of time, pre-baked, and stored in the fridge. Or, store unbaked pie crust in the freezer for up to a month.
STREUSEL:
-
Add all ingredients to a medium bowl. Mash and mix with hands until a loose crumb forms, and there are no dry spots or chunks of butter.
-
Spread on a parchment lined sheet pan. Bake at 325 for 15 minutes, agitating every five minutes or so until golden brown.
Streusel can be made up to a week ahead, stored at room temp in an airtight container.
FRESH WHIPPED CREAM:
-
When ready to serve the pie, in a mixing bowl, whip heavy cream and powdered sugar until soft peaks form.
ASSEMBLING:
-
Pour room temperature caramel into the base of the pre-baked pie crust so the base is fully covered and level. Place the filled shell into the fridge to firm up for 20 – 25 minutes.
Pour pumpkin ganache over caramel and quickly spread using offset spatula or spoon to make sure all caramel is covered with ganache. -
Place pie in the refrigerator as soon as possible, covered, and overnight (8 hours minimum). Ganache should feel firm to the touch, should not stick to your fingers, and feel solid all the way through.
-
Serve pie cold, directly out of the fridge. Top with fresh whipped cream and streusel to serve.
-
Store in the refrigerator.
Notes
What Substitutions can I make?
There are some ways that you can make this Milk Bar Pumpkin Bar easier. Here’s what I would suggest:
- Use store-bought caramel. If you don’t want to make the homemade caramel sauce, I would suggest buying jarred caramel. I like to use Trader Joe’s caramel or Mrs. Richardson’s caramel sauce. If you want a thicker caramel, you can use canned dulce de leche.
- Use a store-bought pie crust. I like to make my homemade pie crust recipe or use the Milk Bar pie crust recipe but if you are in a pinch, you can use a store-bought pie crust. Try to find a deep dish pie crust since this has a lot of filling. You can even use my homemade pie crust recipe.
- May REDUCE sweetness by reducing the amount of white chocolate from 16 ounces to 12 ounces (2 1/2 cups to 2 cups of white chocolate). Just make sure to roast the pumpkin puree long enough to remove a lot of the moisture so the pie will set up well.
This recipe is thanks to NYC Milk Bar. They share their recipes on their blog — Milk Bar Blog
For another special and unique pumpkin pie recipe, check out my BEST PUMPKIN PIE RECIPE.
Nutrition information is automatically calculated, so should only be used as an approximation.