
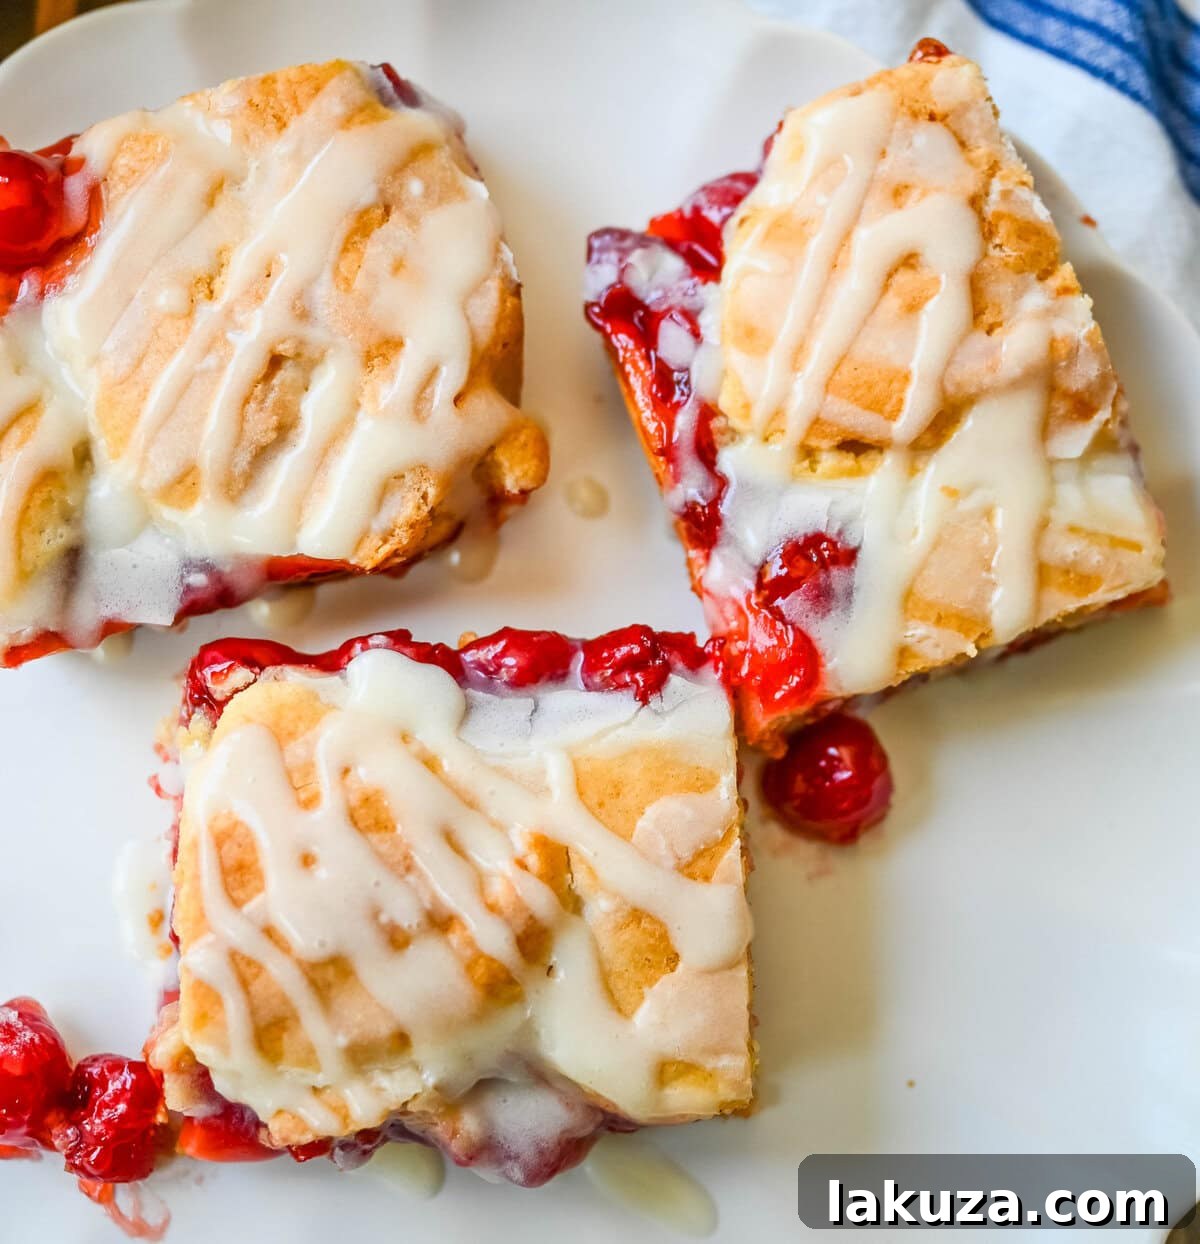
Irresistible Cherry Pie Bars with a Cookie Crust: Your Easiest Cherry Dessert Yet!
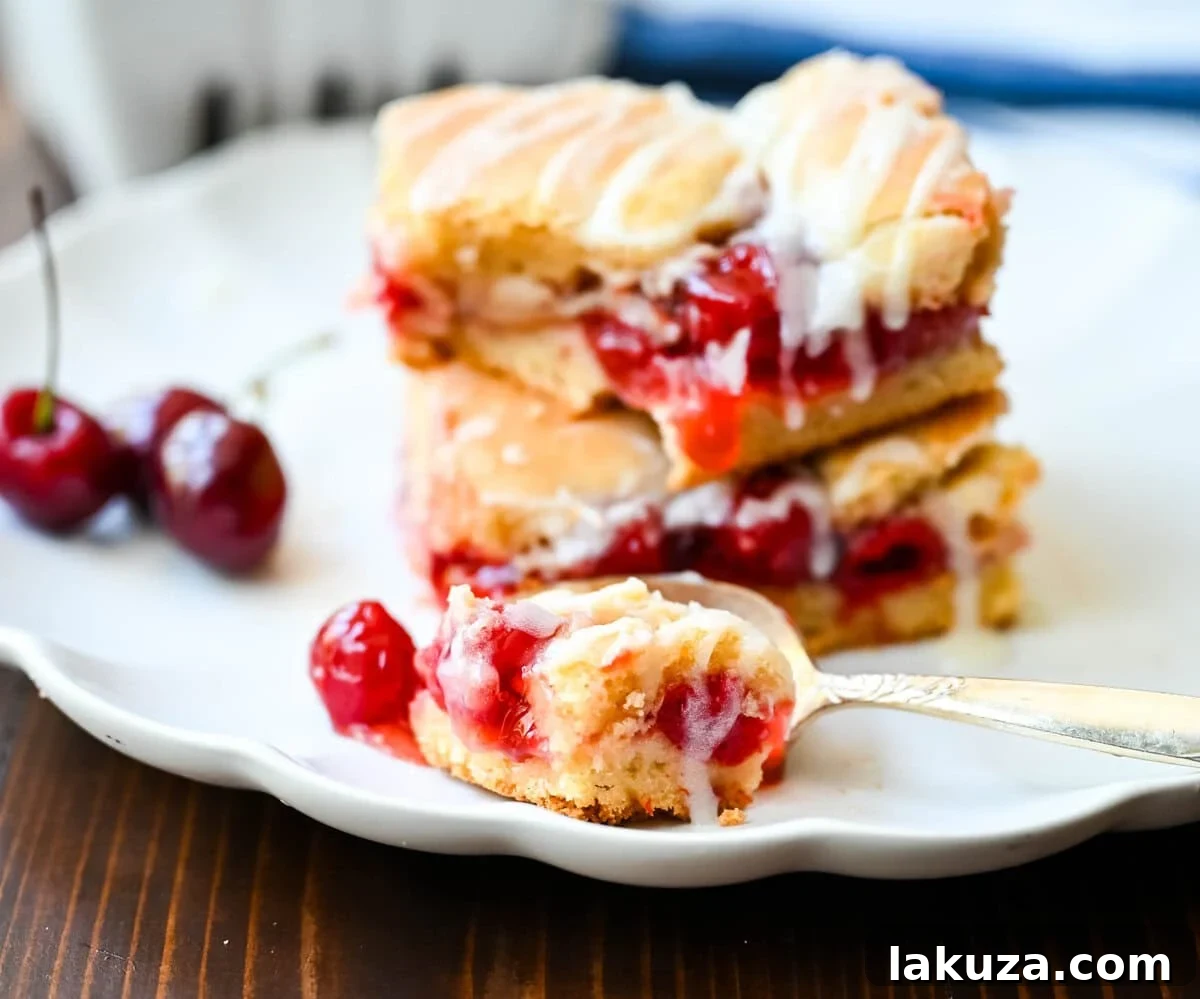
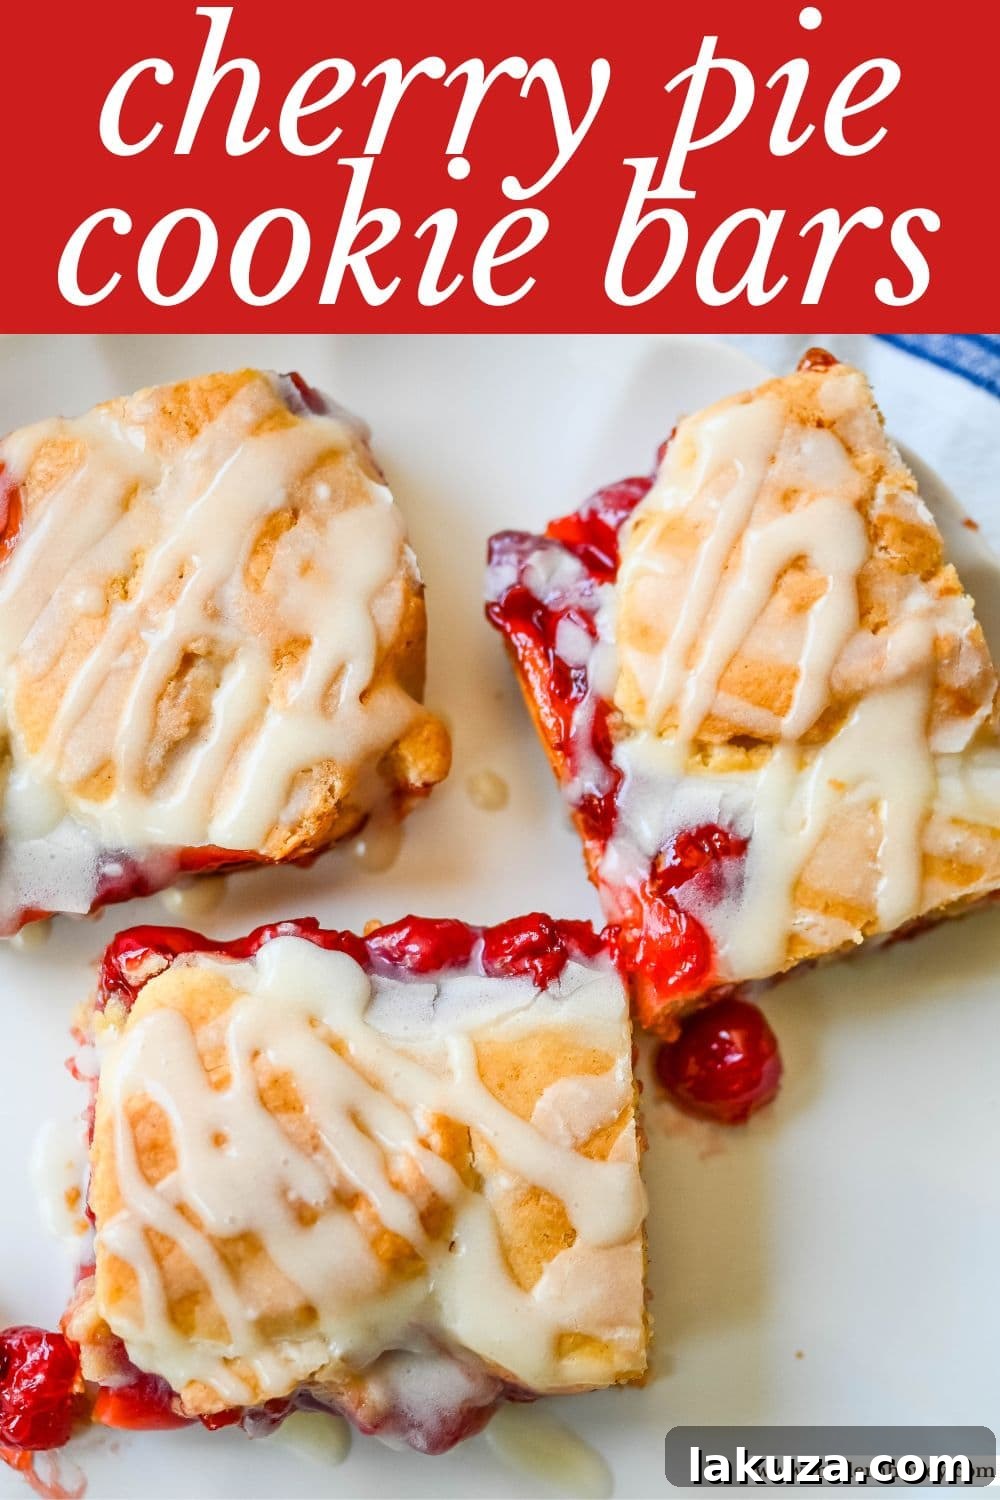
Craving the classic taste of cherry pie but short on time? These incredibly delicious Cherry Pie Bars with a Cookie Crust are your ultimate dessert solution. Imagine a soft, buttery cookie crust foundation, generously topped with luscious, sweet-tart cherry pie filling, then crowned with golden cookie crumbles and a delicate drizzle of vanilla icing. These bars capture all the beloved flavors of traditional cherry pie without the fuss, making them a perfect, portable treat for any occasion.
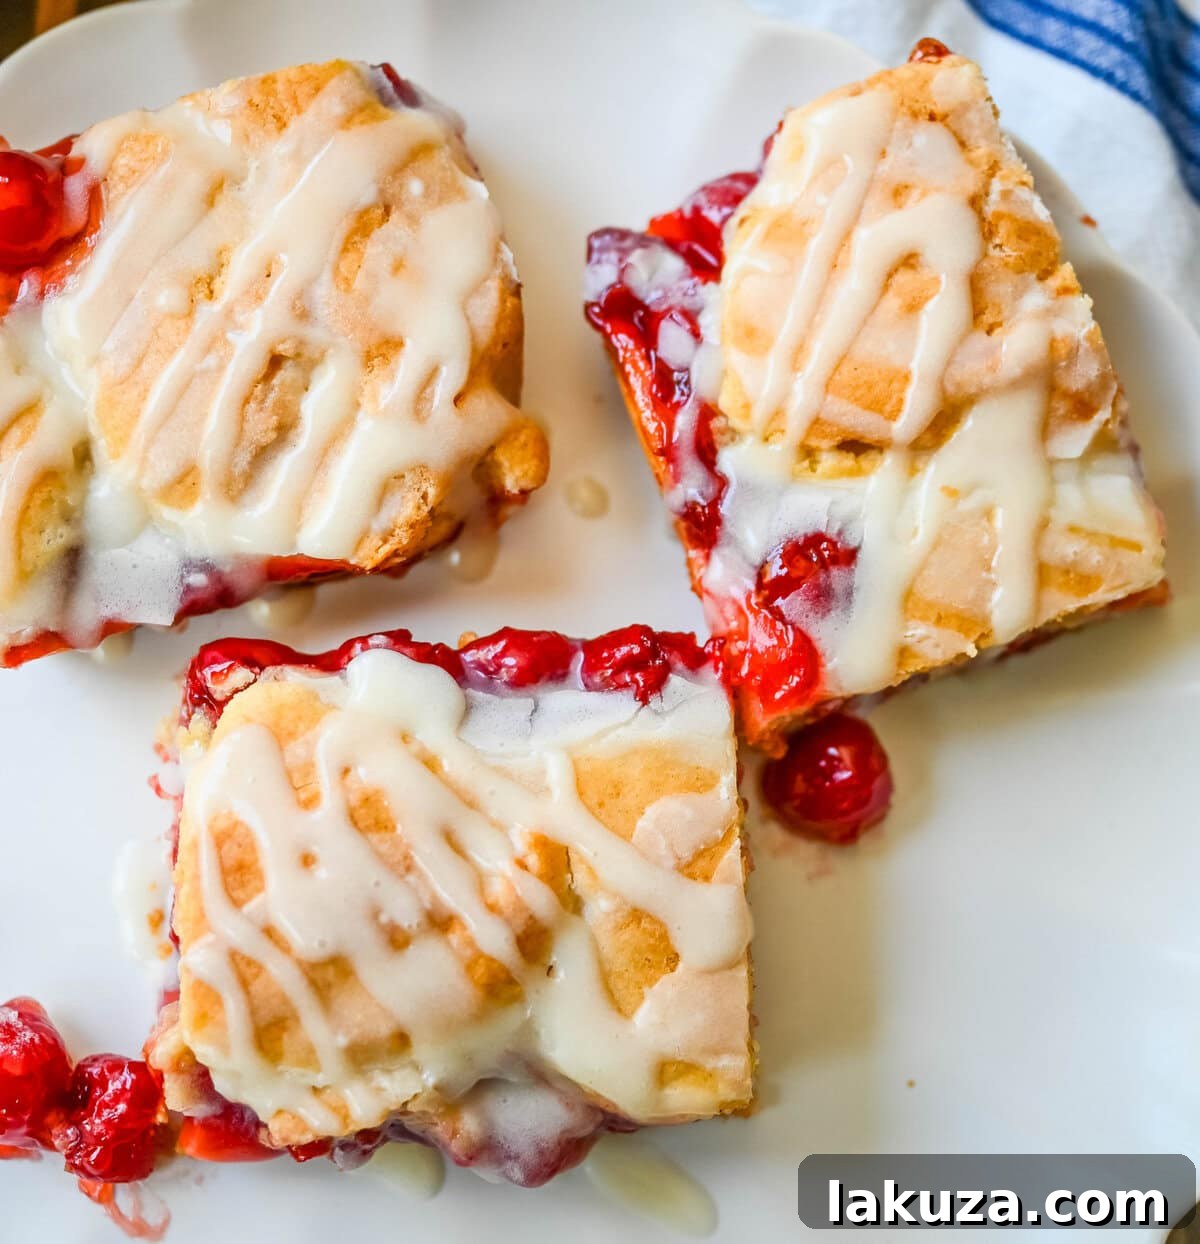
I’m always on the lookout for exciting and convenient desserts to share at our summer gatherings, especially for holidays like the 4th of July. While traditional cherry pie holds a special place in our hearts, the truth is, making a full pie can be quite time-consuming. That’s why these Cherry Pie Cookie Bars have become my go-to shortcut. They deliver all the vibrant, sweet cherry flavor in an approachable bar form, and dare I say, they might even surpass the original pie in ease and sheer delight!
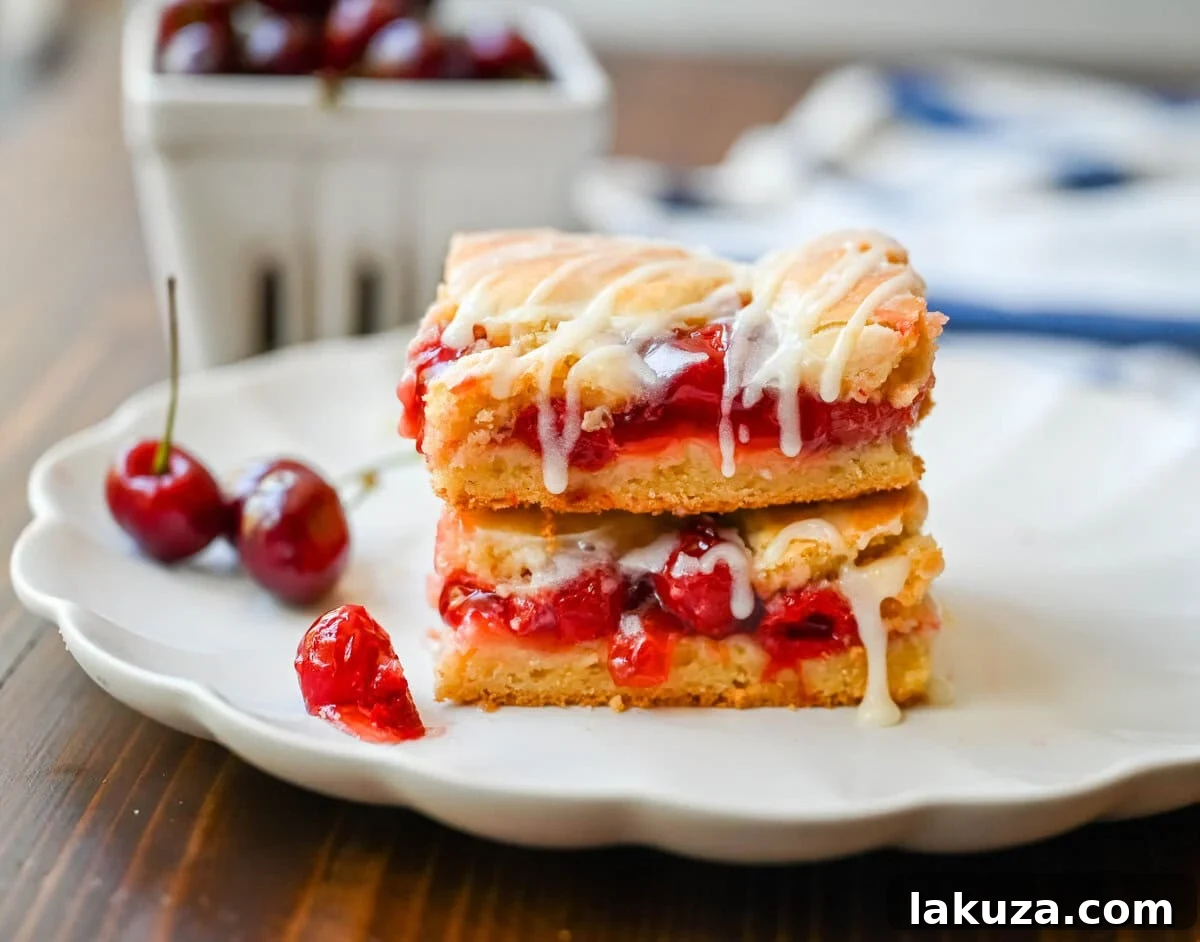
These exquisite Cherry Pie Bars encapsulate the sweet, nostalgic essence of cherry pie, transformed into a convenient, handheld cookie-style bar. The tender sugar cookie dough forms both the delightful base and the crumbled topping, sandwiching a generous layer of glistening cherry pie filling. Each bite promises a burst of rich cherry flavor, complemented by the comforting texture of the cookie. For an extra special indulgence, serve them warm with a generous scoop of creamy vanilla ice cream – a combination that’s simply heavenly.
If you’re planning other festive treats for your 4th of July celebration, be sure to explore my Sugar Cookie Flag Fruit Pizza Recipe for another crowd-pleasing dessert that’s as beautiful as it is delicious.
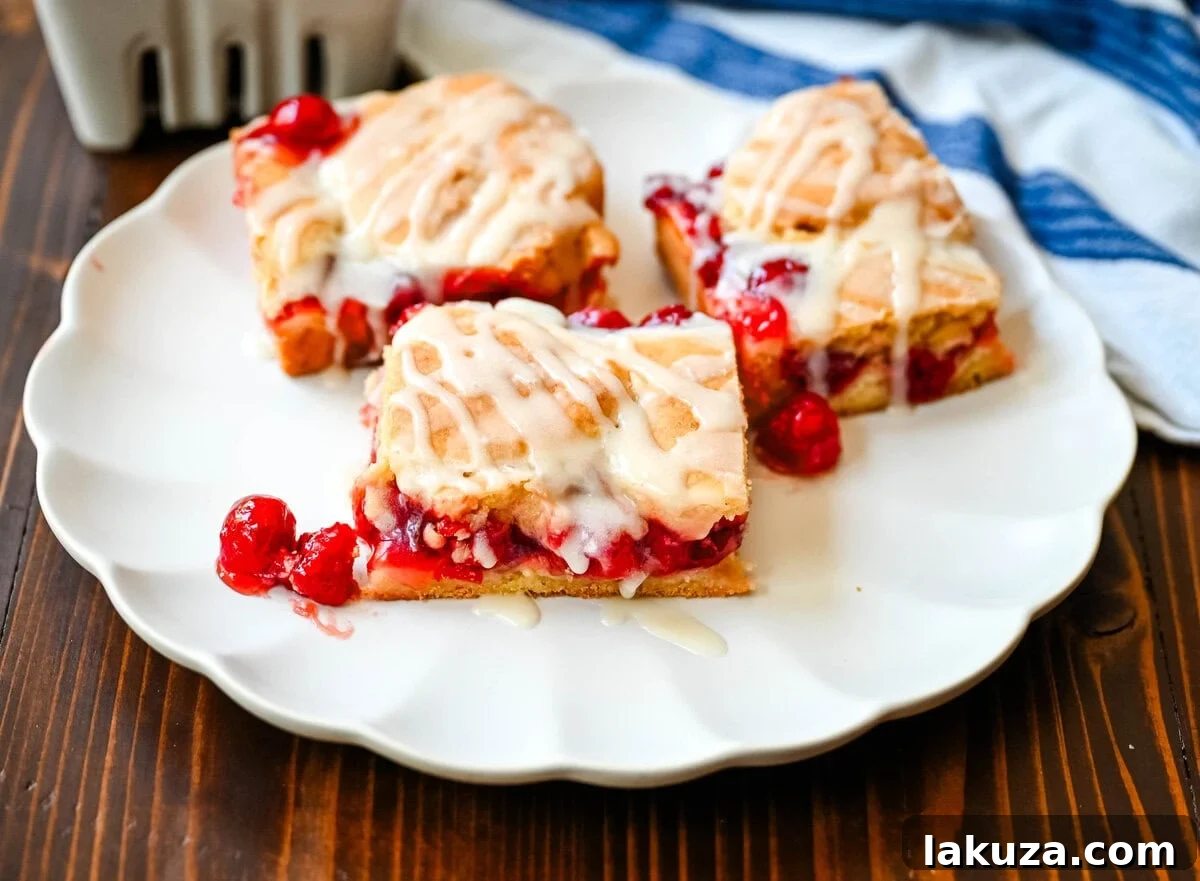
Why You’ll Love These Easy Cherry Pie Bars
There are countless reasons why these cookie crust cherry pie bars will become a staple in your dessert rotation. Not only are they incredibly simple to prepare, but they also offer a symphony of flavors and textures that will impress everyone. Here’s why these bars are a winner:
- Effortless Elegance: Forget the complexities of pie dough and lattice tops. This recipe uses a single cookie dough for both the base and crumble, simplifying the process dramatically.
- Perfectly Portable: Cut into convenient squares, these bars are ideal for potlucks, picnics, school lunches, or any gathering where handheld desserts are preferred.
- Irresistible Flavor: The combination of buttery cookie and sweet-tart cherry filling is a timeless classic, elevated by a hint of almond extract for depth.
- Customizable: While cherry is traditional, you can easily swap in other fruit fillings to suit your taste or the season.
- Crowd-Pleaser: Everyone loves a good cookie and a good pie. These bars bring the best of both worlds, guaranteeing rave reviews.
- Make Ahead Friendly: These bars store beautifully, making them an excellent option for preparing in advance for parties or meal prepping sweet treats.
Essential Ingredients for Cherry Pie Cookie Bars:
Crafting these delectable cherry pie bars requires a few simple, readily available ingredients. The quality of each component contributes to the overall deliciousness, especially the cherry pie filling which truly shines in this recipe.
- Butter: Use unsalted butter, softened to room temperature, for a truly rich and tender cookie crust. This is the foundation of our amazing bars.
- Granulated Sugar & Brown Sugar: A blend of both sugars provides the perfect sweetness and contributes to the cookie’s soft, chewy texture. Brown sugar adds a lovely hint of caramel.
- Eggs: Large eggs bind the dough together, adding moisture and structure.
- Vanilla Extract & Almond Extract: These extracts are crucial! Vanilla provides warmth, while almond extract perfectly complements the cherry flavor, enhancing it with a subtle, sophisticated note. Don’t skip the almond extract for that authentic pie flavor!
- Milk: A touch of milk helps achieve the ideal dough consistency.
- All-Purpose Flour: The primary structural component of our cookie crust.
- Baking Powder: Our leavening agent, ensuring a light and tender crumb for the cookie layers.
- Salt: Balances the sweetness and enhances all the other flavors.
- Cherry Pie Filling: This is the star of the show! My personal recommendation is Lucky Leaf Premium Cherry Pie Filling. It stands out because it’s vibrantly colored, has a perfect consistency that isn’t overly thick, and is packed with real, flavorful cherries. Using a high-quality filling makes all the difference.
- Icing/Glaze: A simple mixture of powdered sugar and milk creates a smooth, sweet glaze that adds a professional finish and an extra layer of sweetness. A tiny dash of almond extract in the glaze can further amplify the cherry experience.
How to Make Delicious Cherry Pie Bars: Step-by-Step Guide
Creating these delightful cherry pie bars is surprisingly straightforward. Follow these simple steps for a truly rewarding baking experience:
Step 1: Prepare Your Baking Dish
Begin by preheating your oven to 350°F (175°C). Prepare a 9×13-inch baking dish by greasing it thoroughly or, for super easy removal, lining it with parchment paper. I highly recommend using parchment paper, allowing you to lift the entire batch of cooled bars out of the pan for clean cuts. If you prefer a smaller batch, I’ve also included ingredient measurements for halving the recipe, which fits perfectly in an 8×8-inch baking pan.
Step 2: Craft the Cookie Dough
In a large mixing bowl, using an electric mixer, cream together the softened butter and both sugars (granulated and brown) until the mixture is light, fluffy, and pale in color. This usually takes about 3-4 minutes, so be patient and let the mixer do its work. Next, beat in the eggs one at a time, ensuring each is fully incorporated before adding the next. Finally, stir in the milk, vanilla extract, and almond extract. In a separate bowl, whisk together the flour, baking powder, and salt. Gradually add the dry ingredients to the wet ingredients, mixing on low speed just until they are combined. Be careful not to overmix the dough, as this can lead to tough bars.
Step 3: Assemble Your Cherry Pie Bars
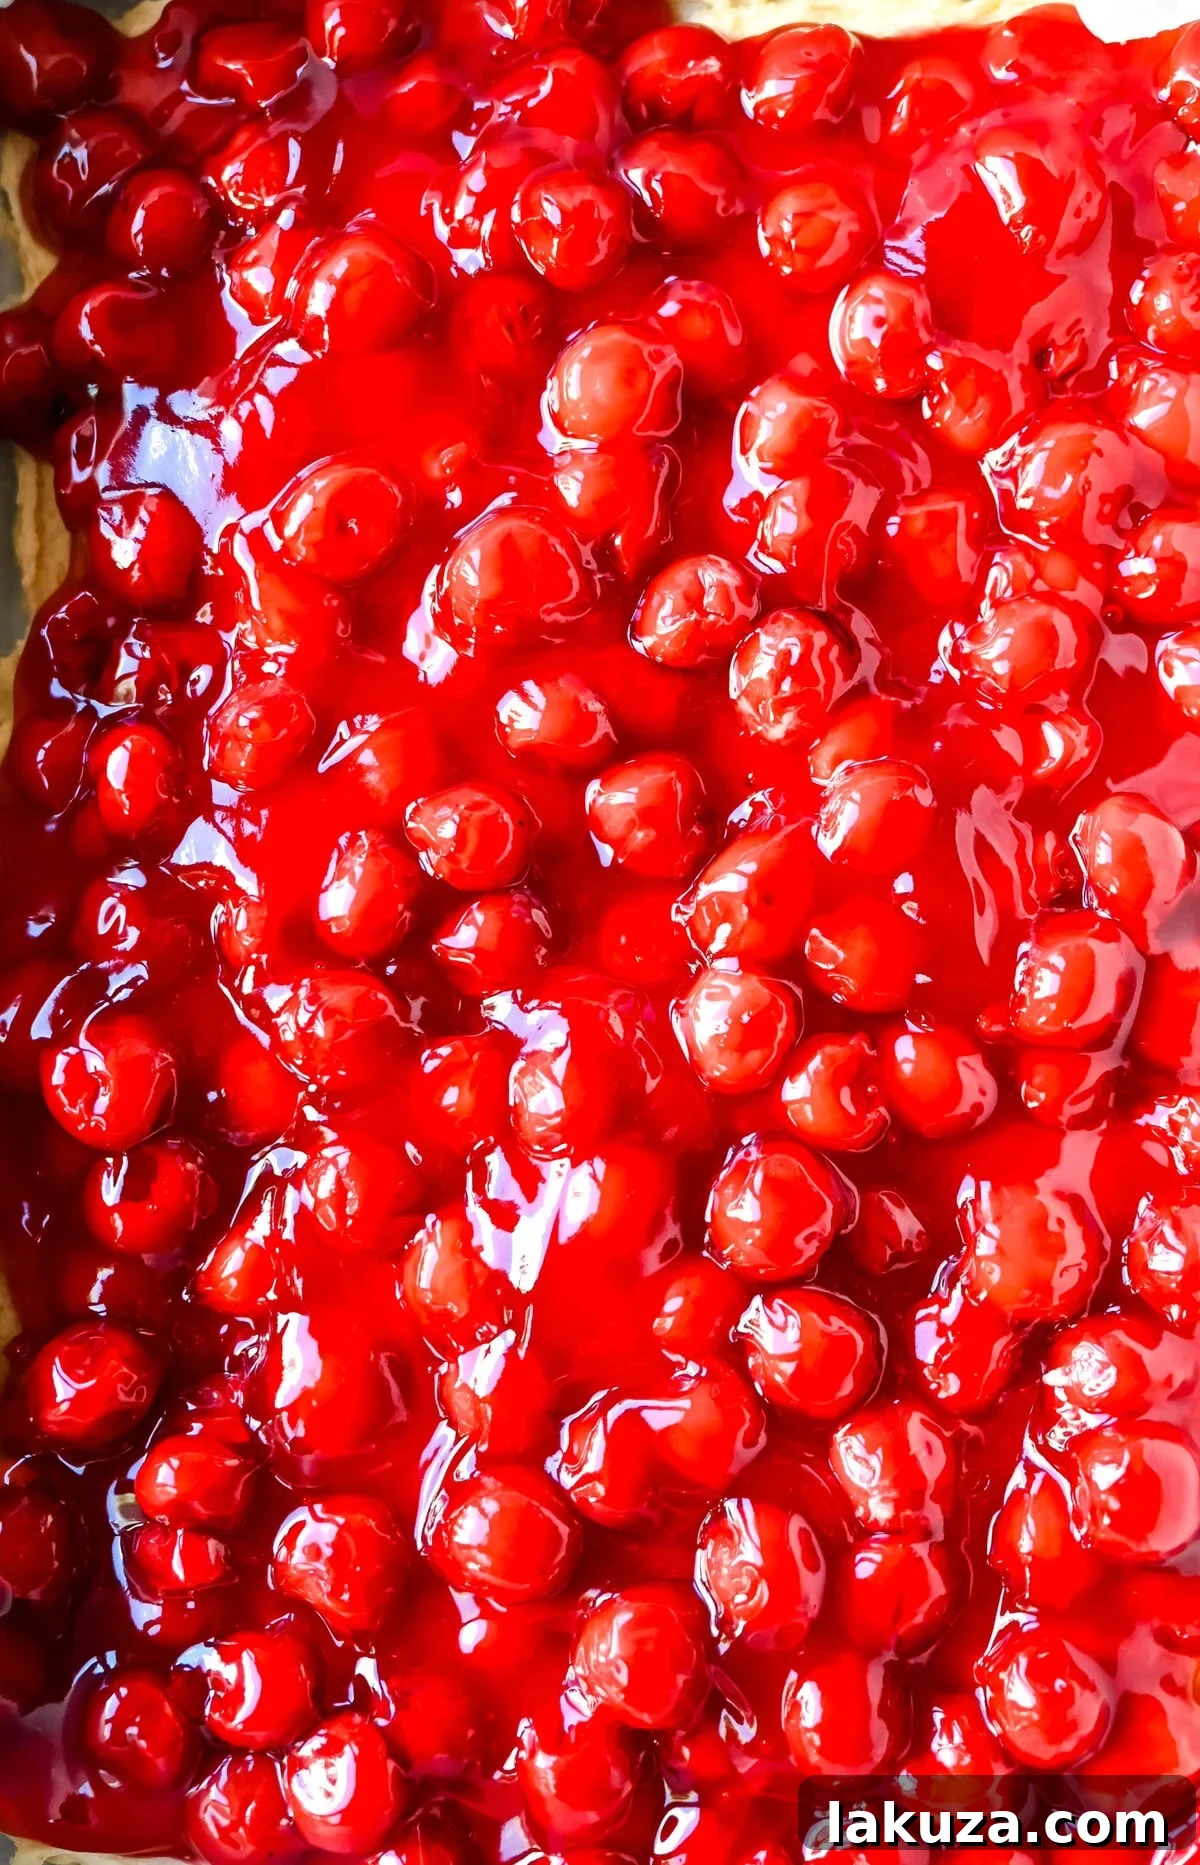
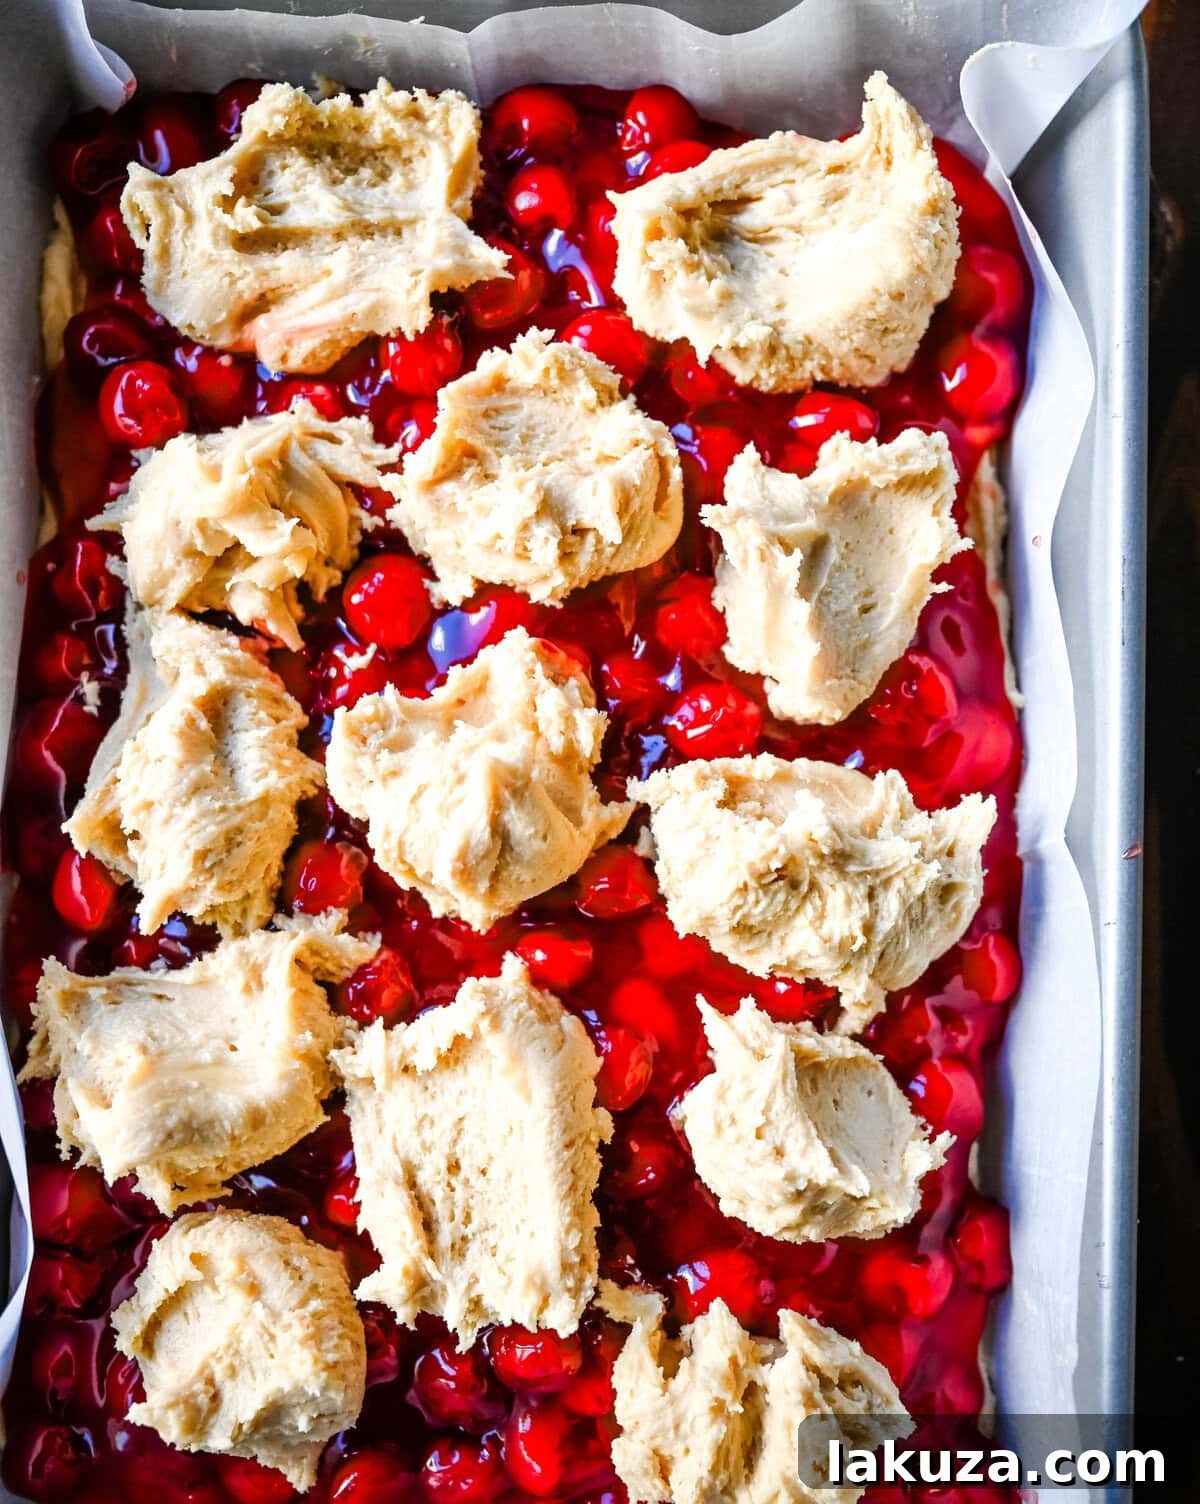
Now for the fun part! Take about two-thirds of the prepared cookie dough and press it evenly into the bottom of your parchment-lined or greased baking pan. You might find it helpful to lightly dampen your fingers or use an offset spatula to spread the dough smoothly from edge to edge. Once your base is ready, carefully spoon the entire contents of the cherry pie filling over the cookie dough crust, spreading it into an even layer. Don’t worry if it looks like a lot – that’s what makes these bars so deliciously cherry-packed! Finally, drop the remaining one-third of the cookie dough by spoonfuls over the cherry filling. It’s perfectly fine if the dough doesn’t completely cover the filling; you want those vibrant red cherries to peek through and create an appealing, rustic look.
Step 4: Bake to Golden Perfection
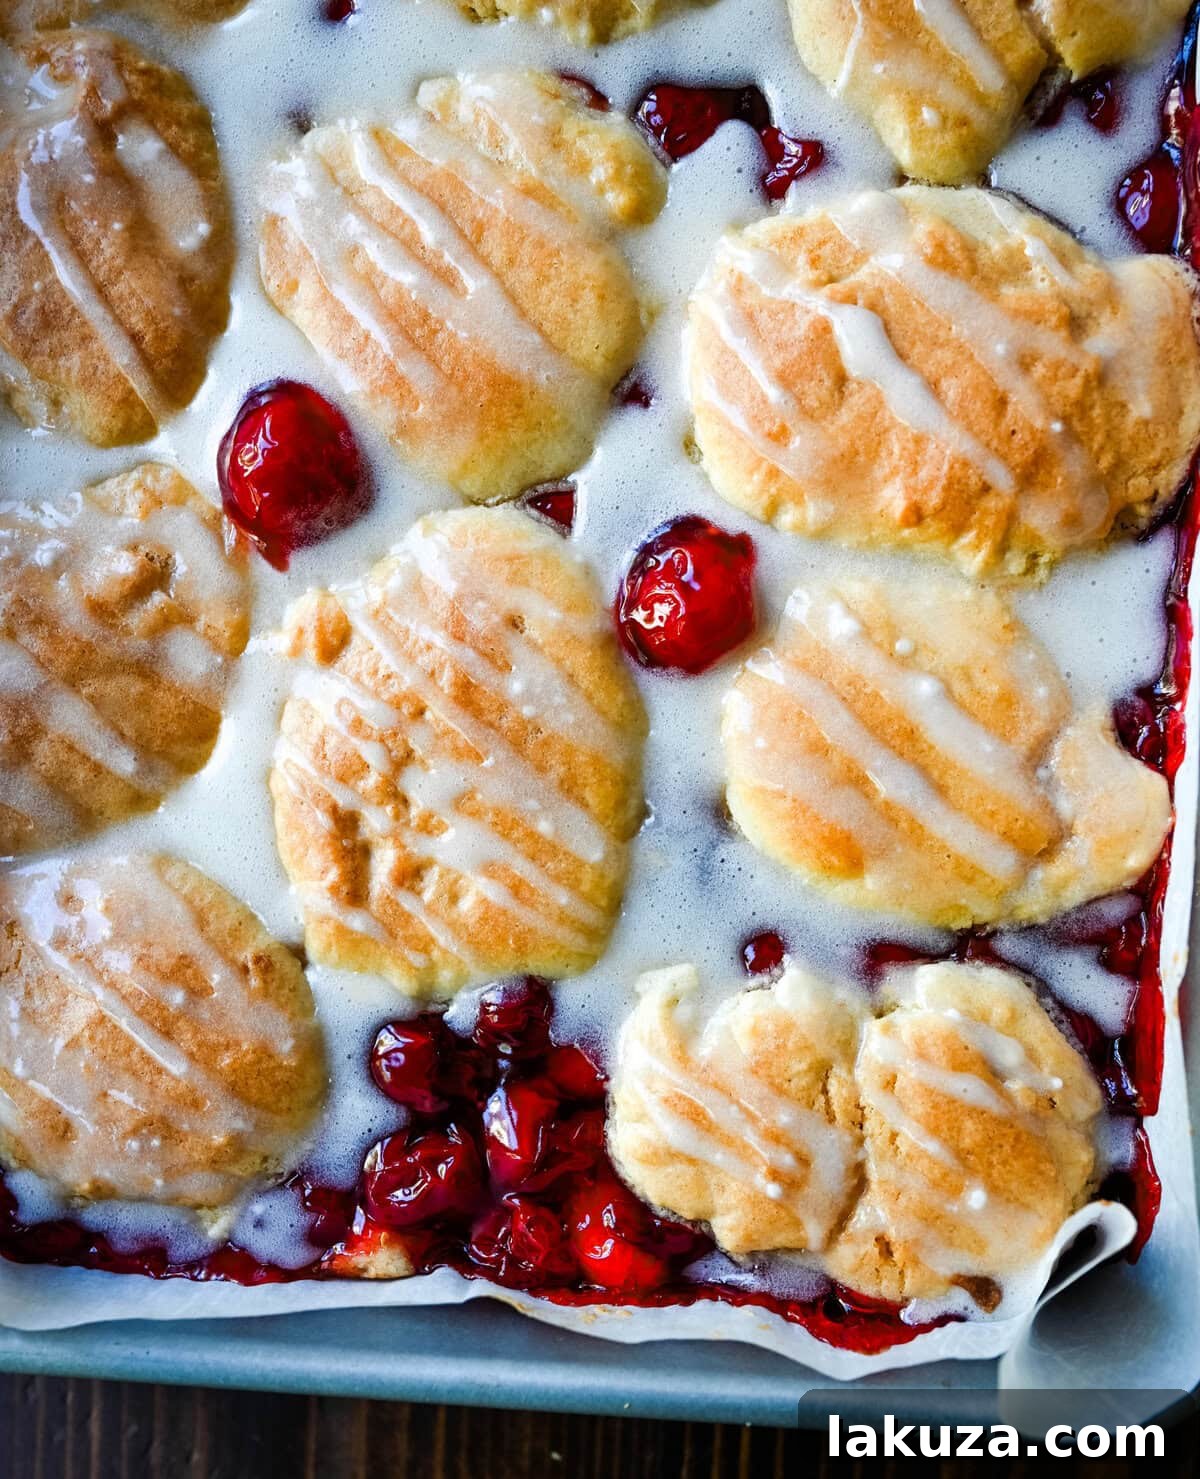
Place your assembled cherry pie bars in the preheated oven and bake for 35–45 minutes. The baking time can vary slightly depending on your oven, so keep an eye on them. The bars are ready when the cookie topping is lightly golden brown and the filling is bubbly and set. A toothpick inserted into the cookie portion (avoiding the filling) should come out with moist crumbs, not wet batter. Once baked, remove the pan from the oven and allow the bars to cool completely in the pan on a wire rack. This is a crucial step for clean cuts and for the bars to properly set.
Step 5: Glaze and Serve
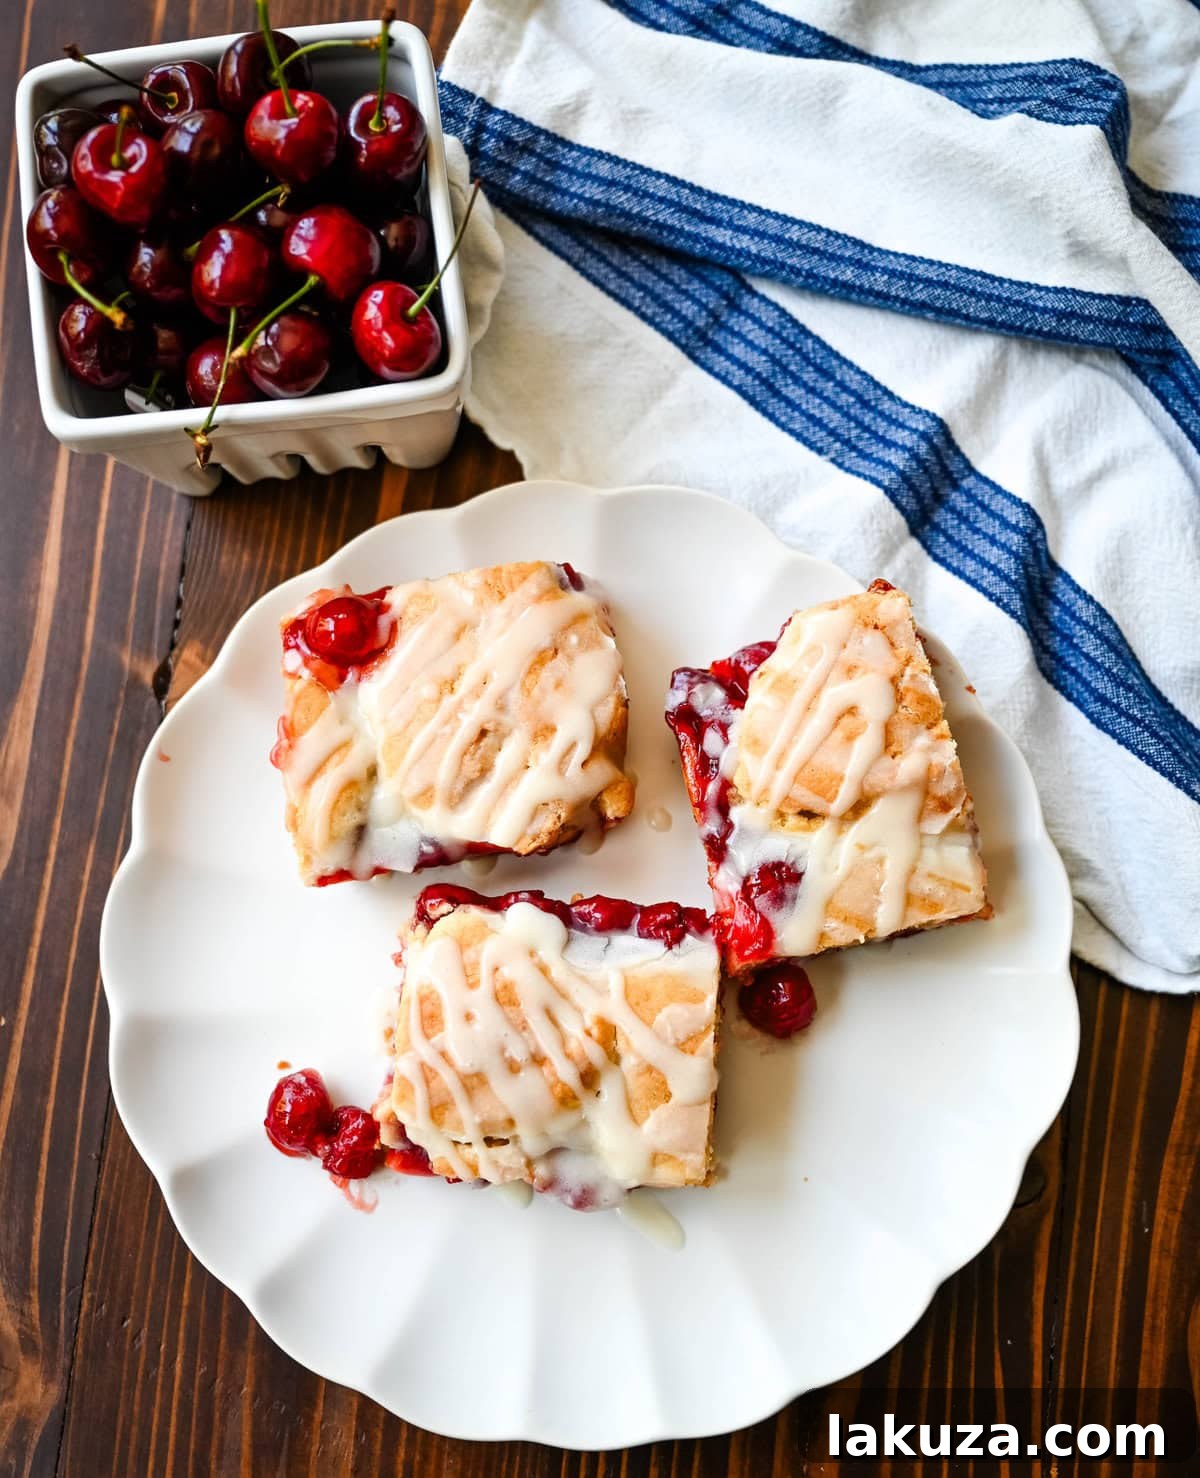
Once the cherry pie bars are completely cooled (this might take an hour or two), prepare the optional icing. In a small bowl, whisk together the powdered sugar and milk until smooth and drizzly. If desired, stir in 1/4 teaspoon of almond extract for an extra boost of flavor. Drizzle the icing generously over the cooled bars. To ensure the cleanest cuts, you can refrigerate the iced bars for 30-60 minutes before slicing. Use a sharp knife and wipe it clean between cuts to get perfect squares or rectangles. Serve them chilled, at room temperature, or even slightly warmed with a dollop of whipped cream or a scoop of vanilla ice cream. Enjoy your homemade cherry pie bars!
Tips for Perfect Cherry Pie Bars:
For the best possible Cherry Pie Bars, consider these helpful tips:
- Don’t Overmix the Dough: Once the flour is added, mix just until combined. Overmixing develops the gluten, which can make the cookie crust tough instead of tender.
- Room Temperature Ingredients: Ensure your butter and eggs are at room temperature. This allows them to cream together properly, creating a smooth, emulsified dough that results in a lighter, fluffier texture.
- Parchment Paper is Your Friend: While not strictly necessary, using parchment paper to line your baking dish makes lifting the cooled bars out incredibly easy, ensuring perfectly cut squares.
- Cool Completely: Resist the urge to cut into the bars while they are still warm. Cooling completely allows the filling to set and the cookie crust to firm up, preventing a messy experience. Refrigerating them for an extra 30-60 minutes after cooling will make for even cleaner slices.
- Quality Cherry Filling: As mentioned, a good quality cherry pie filling (like Lucky Leaf) makes a significant difference in flavor and texture. If using homemade, ensure it’s thick enough to hold its shape.
Storage & Serving Suggestions:
Proper storage ensures your delicious Cherry Pie Bars remain fresh and enjoyable.
Store: Keep your cherry pie bars in an airtight container at room temperature for 2-3 days. For extended freshness, especially in warmer climates or if made with homemade filling, refrigerate them for up to 5 days. Layer parchment paper between bars if stacking.
Serve: These versatile bars are delightful served chilled straight from the refrigerator, or at room temperature. For an extra special treat, warm a bar slightly in the microwave for a few seconds and top with a generous scoop of vanilla ice cream or a dollop of freshly whipped cream. The warm cherry filling and cool ice cream create an exquisite contrast!
Do you have more questions about making these simple yet satisfying homemade cherry pie bars with store-bought or homemade cherry pie filling? Here are answers to some frequently asked questions:
Frequently Asked Questions (FAQ’s):
Can I use homemade cherry pie filling?
Absolutely! If you prefer to use homemade cherry pie filling, you’ll need approximately 3-4 cups of cooked filling. Ensure your homemade filling is sufficiently thickened with cornstarch or another thickener, and adjust the sweetness to your taste preference. The key is for the filling to be spoonable but not overly runny.
How do I cut clean squares?
For perfectly neat and clean squares, patience is key! Allow the bars to cool completely in the pan, which can take an hour or two. Then, transfer the pan to the refrigerator for an additional 30-60 minutes. Once chilled, use a sharp, non-serrated knife. For the cleanest cuts, wipe your knife clean with a damp cloth between each slice. You can cut them into 24 smaller squares for a party or 18 larger, more indulgent bars.
Can I freeze these cherry pie bars?
Yes, these cherry pie bars freeze beautifully! Once completely cooled and (optionally) iced, wrap them tightly individually or in a single layer with plastic wrap, then aluminum foil. Place them in an airtight freezer-safe container or bag. They can be frozen for up to 2 months. To thaw, simply transfer them to the refrigerator overnight, then bring them to room temperature before serving for the best texture and flavor.
Can I double or half the recipe?
Indeed! If you’re feeding a large crowd, you can easily double the recipe. Simply double all the ingredients and bake them in a larger 13×18-inch half-sheet pan. Be aware that the baking time may increase by an additional 5-10 minutes. Conversely, if you’re making a smaller batch for a cozy treat, you can half the recipe and bake it in an 8×8-inch baking pan, adjusting baking time as needed (usually 25-35 minutes).
More Delicious Cherry Recipes to Try:
Homemade Cherry Pie
Cherry Cobbler
Cherry Galette
No Bake Cheesecake
Cherry Pie Bars
Modern Honey® – www.modernhoney.com
15
35
24
Ingredients
9×13 Pan Recipe (Full Recipe):
- 1 cup Butter (softened)
- 1 1/2 cups Sugar
- 1/4 cup Brown Sugar
- 3 large Eggs
- 1 Tablespoon Milk
- 1 teaspoon Vanilla Extract
- 1/2 teaspoon Almond Extract
- 2 3/4 cups Flour
- 3/4 teaspoon Baking Powder
- 3/4 teaspoon Salt
- (2) 21-ounce cans Cherry Pie Filling
Glaze:
- 1 cup Powdered Sugar
- 2 to 3 Tablespoons Milk
- 1/4 teaspoon Almond Extract (optional)
8×8 Pan Recipe (Half Recipe)
- 1/2 cup Butter (softened)
- 3/4 cup Sugar
- 2 Tablespoons Brown Sugar
- 1 large Egg
- 1 large Egg Yolk
- 1 1/2 teaspoons Milk
- 3/4 teaspoon Vanilla Extract
- 1/4 teaspoon Almond Extract
- 1 1/3 cup + 1 Tablespoon Flour
- 1/2 teaspoon Baking Powder
- 1/2 teaspoon Salt
- (1) 21-ounce can Cherry Pie Filling
Glaze:
- 1/2 cup Powdered Sugar
- 1 to 1 1/2 Tablespoons Milk
- 1/8 to 1/4 teaspoon Almond Extract (optional)
Instructions
-
Preheat oven to 350°F (175°C). Grease or line a 9×13-inch baking dish with parchment paper for easy lifting. Using parchment paper allows you to remove the entire baked sheet from the pan effortlessly.
-
Make the dough: In a large bowl, cream the softened butter and sugars (granulated and brown) until light and fluffy, about 3-4 minutes. Beat in the eggs one at a time, then add the milk, vanilla, and almond extracts. In a separate bowl, whisk together the flour, baking powder, and salt. Gradually add the dry ingredients to the wet ingredients and mix just until combined. Be careful not to overmix.
-
Assemble: Press 2/3 of the cookie dough evenly into the bottom of the prepared pan. You can use damp fingers or a spatula to ensure a smooth, uniform crust. Spoon the entire can of cherry pie filling over the cookie crust, spreading it into an even layer. Drop the remaining cookie dough by spoonfuls across the top of the cherry filling. It’s perfectly fine if the dough doesn’t cover the entire surface; some cherry filling peeking through adds to its rustic charm.
-
Bake for 35–45 minutes, or until the top is lightly golden brown and the filling is bubbly and set. Cool completely in the pan on a wire rack before attempting to cut into bars. This is crucial for the bars to set properly and for clean slices. Once cooled, prepare the icing by whisking together the powdered sugar and milk. You may add 1/4 teaspoon of almond extract to the icing for enhanced almond flavor. Drizzle the icing generously over the cooled bars.
-
To make them easier to cut into perfect squares, cool the bars completely, then refrigerate for an additional 30–60 minutes. Use a sharp knife, wiping it clean between cuts. Slice into 24 squares for smaller servings or 18 larger bars. These bars are delicious served plain, or topped with vanilla ice cream or whipped cream.
Notes
Nutrition information is automatically calculated, so should only be used as an approximation.
Additional Info
Dessert
American
24
cherry pie bars, cherry pie cookie bars, easy cherry dessert
Love this recipe? Leave a comment below!
Jump to Comments