
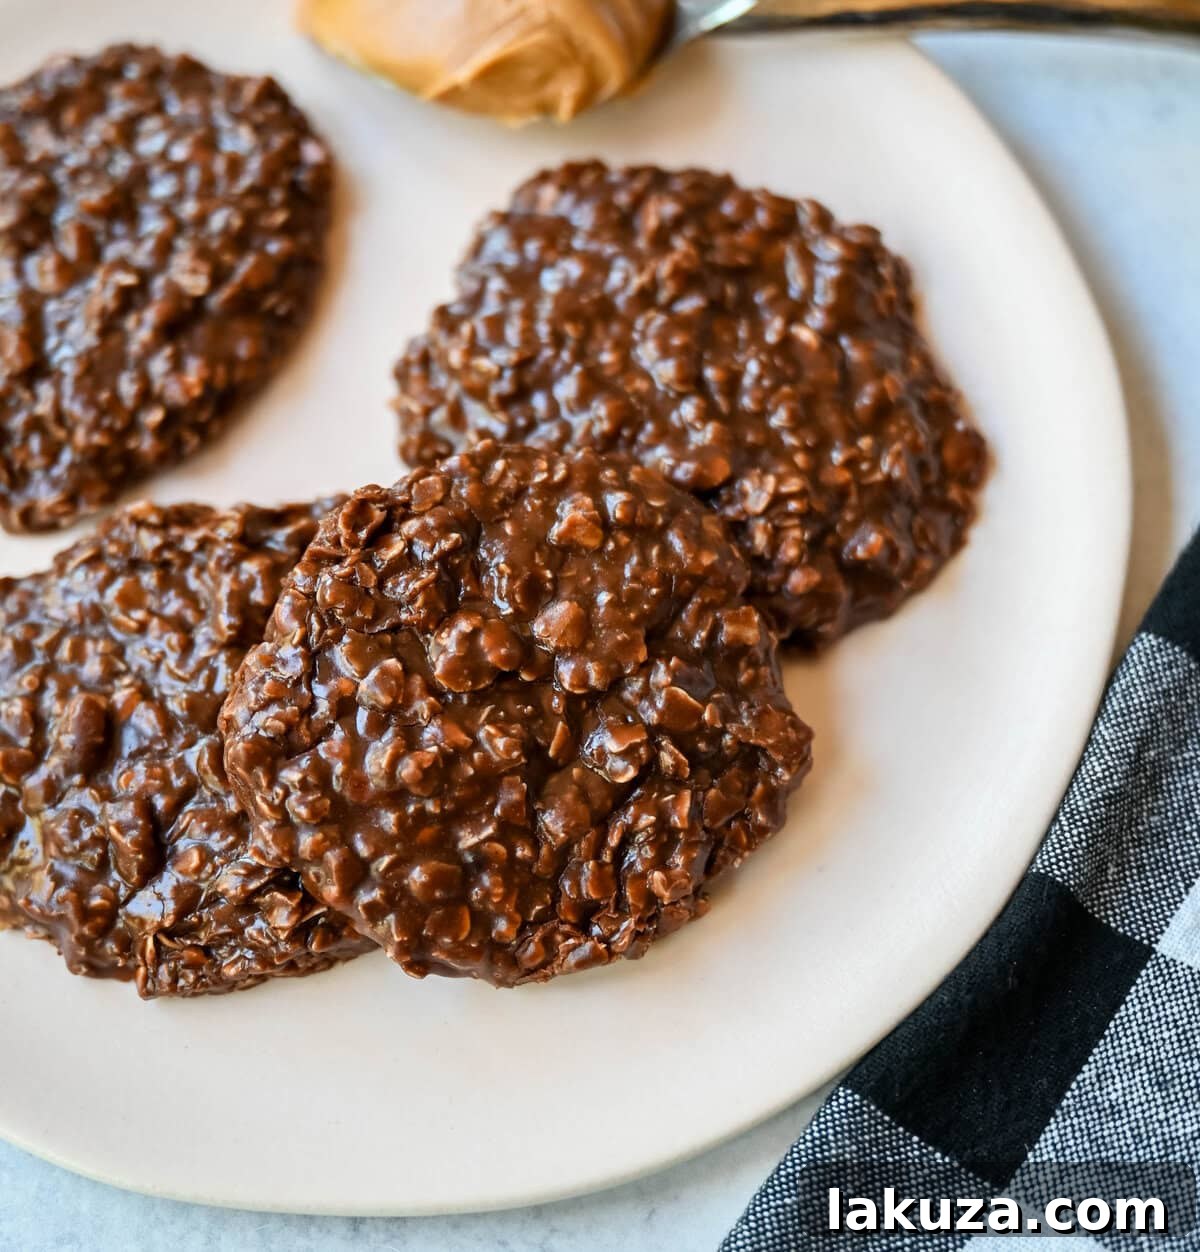
Indulge in Nostalgia: The Ultimate No-Bake Chocolate Peanut Butter Oatmeal Cookies
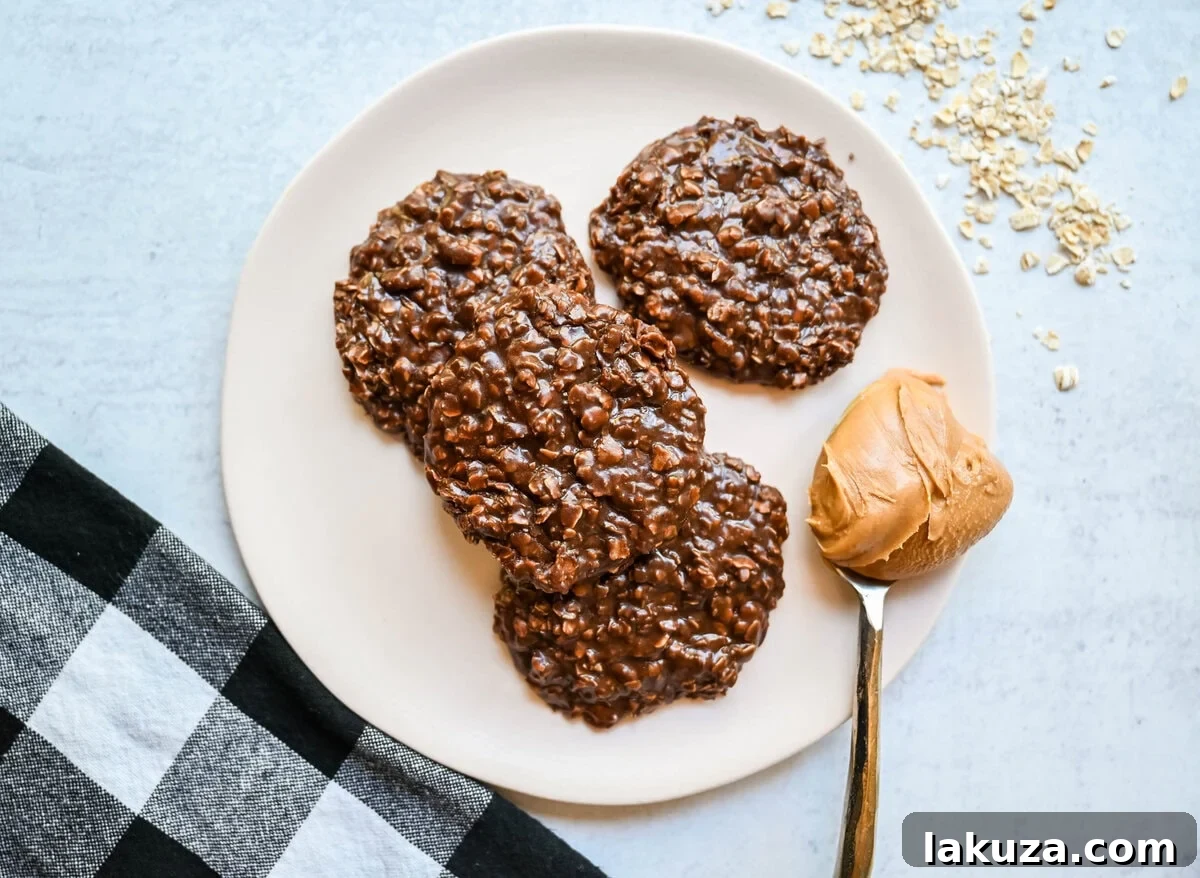
Step back in time to a simpler era with these classic No-Bake Cookies. A beloved, nostalgic treat, these cookies deliver pure chocolate-peanut butter bliss without the need for an oven. Imagine rich, fudgy, and delightfully chewy cookies that come together in mere minutes, requiring just a handful of ingredients, a trusty saucepan, and a spoon. Perfect for satisfying those sudden sweet cravings, this recipe for the Best No-Bake Cookies promises an effortless path to homemade deliciousness.
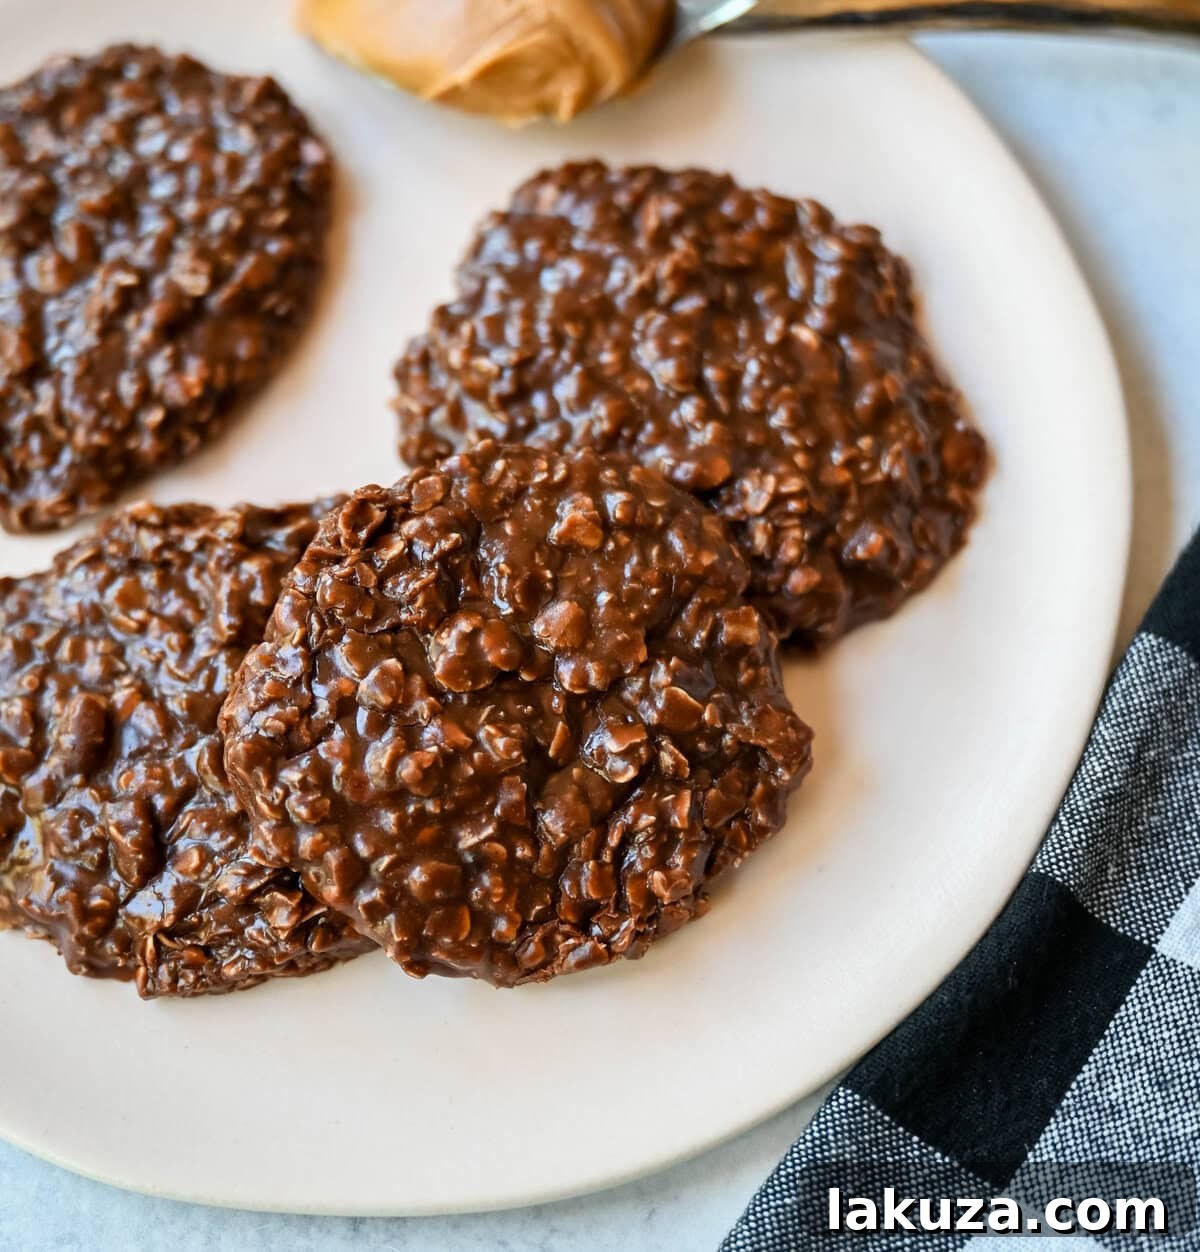
Growing up, my kitchen was a bustling hub of activity, often centered around my insatiable desire for homemade cookies. I’d frequently ask my Mom if I could bake, a question she’d typically answer with a fond smile. Our deep, overflowing cookbook drawer was my treasure chest, and I swear I had the entire cookie section committed to memory. While I adored the ritual of traditional baking, there were days when the mixer stayed put, and my culinary adventures turned to the stovetop.
That’s where the magic of no-bake cookies truly shined. They were incredibly simple, requiring no oven, which meant fresh, warm, homemade cookies in what felt like no time at all. The instant gratification these chocolate and peanut butter wonders provided made them an undeniable favorite, a quick fix for any sweet tooth, young or old.
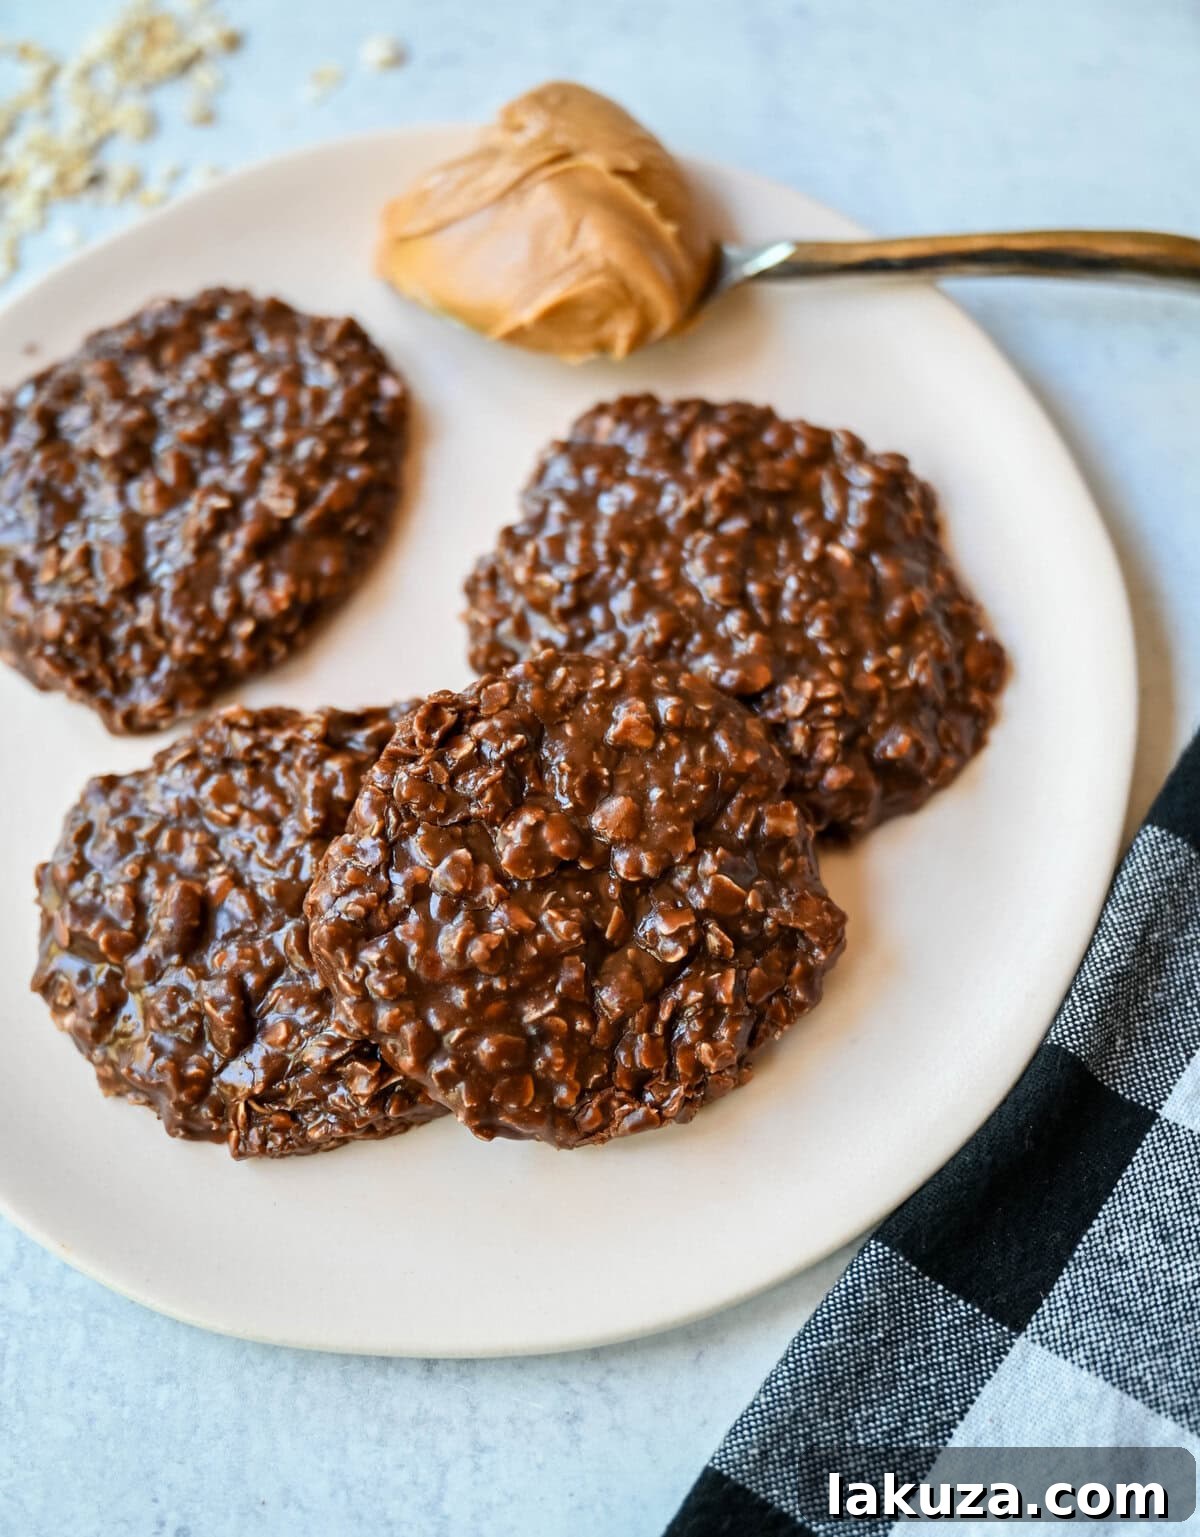
The Quest for Perfection: Our No-Bake Cookie Bake-Off
While my childhood recipe for no-bake cookies was cherished, a part of me always wondered: could they be even better? Could I achieve the absolute smoothest, fudgiest, chewiest cookie imaginable, completely free of any dry or grainy textures? This burning question led to the ultimate No-Bake Cookies Recipe Bake-Off. My mission was clear: analyze my classic recipe, identify potential areas for improvement, and meticulously test variations to discover the truly best version.
I embarked on a culinary experiment, developing and preparing four distinct no-bake cookie recipes. Each batch was subjected to rigorous taste-testing by a panel of discerning cookie enthusiasts (my family and friends, of course!). Their feedback was crucial in ranking each recipe and ultimately crowning the champion. Here’s a glimpse into the different formulations we explored:
COOKIE #1: The Leaner Option
This variation featured slightly less sugar, the highest proportion of peanut butter among all recipes, and the smallest amount of oats. The aim was a very peanut-forward cookie with a less sweet profile.
COOKIE #2: The Balanced Sweetness
Here, we increased the sugar content, incorporating both granulated and brown sugar. It had less peanut butter than Cookie #1 but more oats, seeking a harmonious blend of sweetness, chewiness, and classic texture.
COOKIE #3: The Peanut Butter Lover’s Dream
Matching the sugar blend of #2, this recipe boasted a slightly higher peanut butter content than #2, coupled with a reduced amount of oats. This was designed for those who crave an extra rich peanut butter flavor.
COOKIE #4: The Chocolate-Forward Choice
With the same sugar levels as #2 and #3, this version had the least amount of peanut butter compared to all other recipes. The oat quantity was positioned midway between recipe #1 and #2, aiming for a more pronounced chocolate presence.
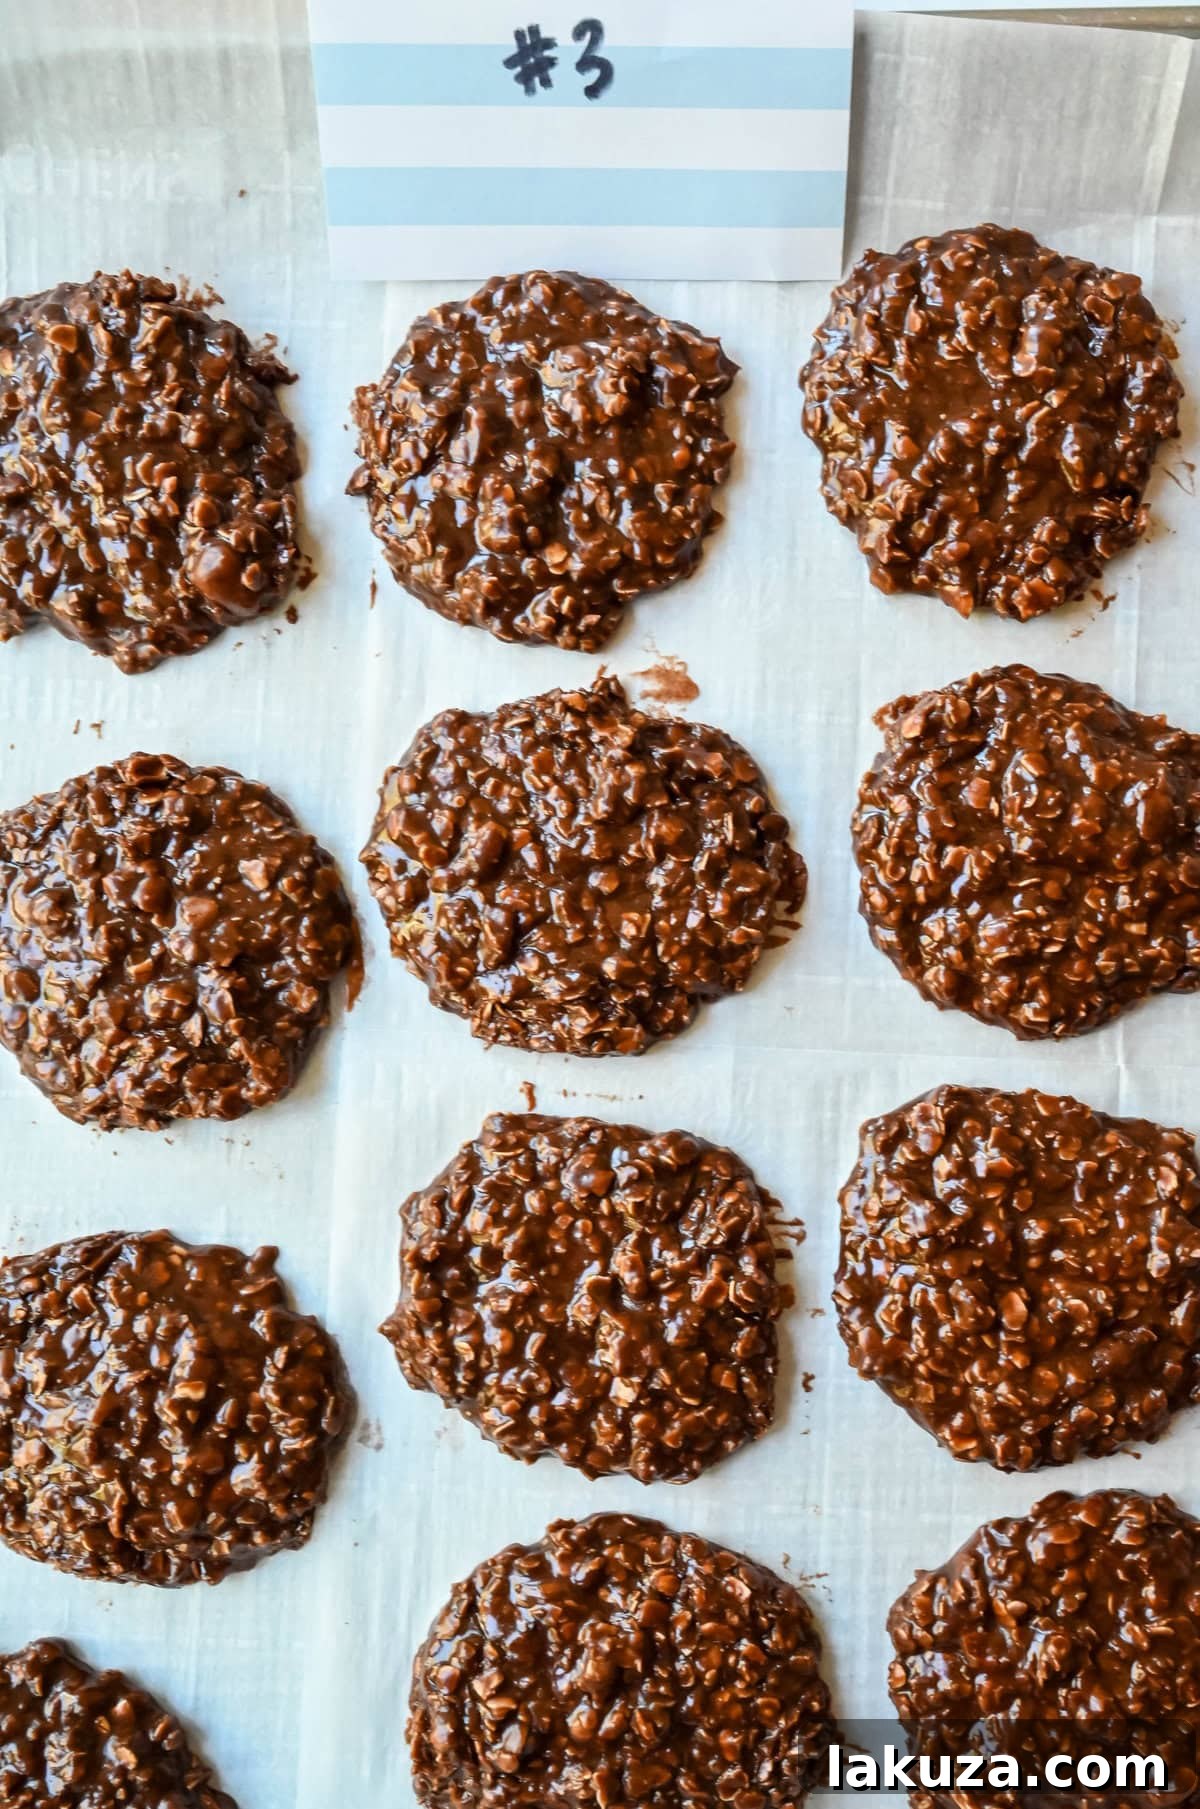
The good news from our extensive taste test? There wasn’t a single “bad” cookie in the bunch! All four no-bake cookie recipes turned out beautifully, devoid of any undesirable dryness or graininess. This affirmed the inherent robustness of the classic no-bake cookie method.
The hard part, however, was unequivocally choosing the best one. Cookie #1, despite its unique ratios, garnered no votes and was the least popular. The real competition boiled down to recipes #2, #3, and #4. This is where personal preference truly came into play. If you’re a devout peanut butter aficionado, you might gravitate towards #3, with its generous peanut butter infusion. Conversely, if you prefer a slightly less intense peanut butter flavor and a stronger chocolate note, #4 would likely be your top pick.
Ultimately, the contest was incredibly tight between recipes #2 and #3. They were remarkably similar in their appeal, making the final decision challenging. Since both offered distinct, yet equally delicious, profiles, I’ve decided to share both variations in spirit. The primary differences between these two winning recipes lie in their precise peanut butter and oat ratios. For those seeking an exceptionally fudgy cookie, a slightly reduced amount of oats typically yields the desired result, allowing the chocolate and peanut butter to shine even more.
Now, let’s dive into the core of these delightful treats: the ingredients and the techniques that elevate them from good to truly exceptional. While easy no-bake cookies are generally forgiving, understanding the role of each component and mastering a few key steps will ensure consistent, perfect results every time.
If you’re a fan of the simplicity and speed of saucepan or one-bowl cookie recipes, be sure to explore these other fantastic options:
- One Bowl Chocolate Chip Cookies
- Brown Butter Chocolate Chip Cookies
- I Want to Marry You Cookies (Marry Me Cookies)
- MJ’s Saucepan Chocolate Chip Cookies
Browned Butter Toffee Chocolate Chip Cookies
The Essential Ingredients for Perfect No-Bake Cookies
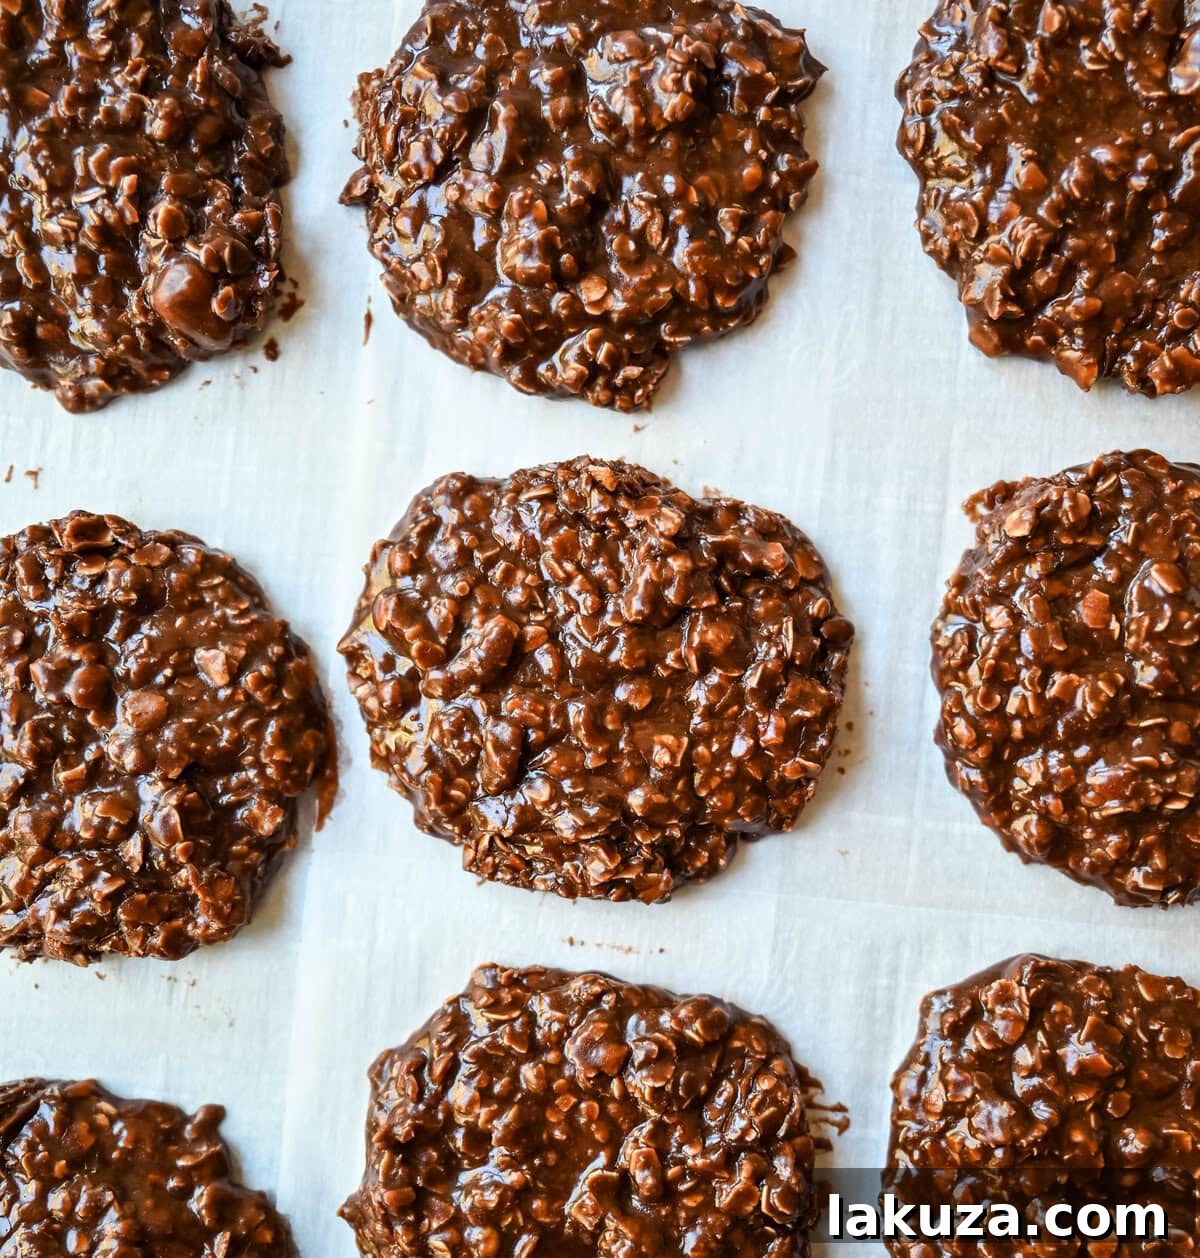
Crafting these homemade chocolate peanut butter oatmeal no-bake cookies requires just 8 fundamental ingredients. Each plays a crucial role in achieving that irresistible fudgy, chewy texture and rich flavor profile:
Unsweetened Cocoa Powder:
This is the heart of the cookie’s deep chocolate flavor. For truly exceptional results, invest in a high-quality unsweetened cocoa powder. Dutch-process cocoa offers a darker, smoother, and less acidic chocolate taste, while natural cocoa will lend a brighter, more classic chocolate note. The quality of your cocoa significantly impacts the final flavor, so choose wisely!
Butter:
Butter not only imparts a rich, luxurious flavor but also acts as a crucial binder, helping to hold the entire mixture together and contributing to the overall decadent texture. Using salted butter can also help balance the sweetness, though unsalted works fine if you prefer to control the salt content separately.
Brown Sugar:
Brown sugar is a secret weapon in no-bake cookies. Its molasses content adds a wonderful depth of flavor and is key to achieving that desirable chewy texture. Crucially, it also helps prevent the cookies from becoming overly brittle or dry, ensuring a soft, moist bite.
Granulated Sugar:
Granulated sugar provides the primary sweetness and contributes significantly to the cookie’s final texture. As it dissolves during the cooking process, it helps create that characteristic glossy, fudge-like finish that makes these cookies so appealing.
Milk:
A modest splash of milk serves to smooth out the mixture and aids in the complete dissolution of the sugars, preventing a grainy texture. While whole milk offers the richest flavor, 2% milk works perfectly fine. Through extensive recipe testing, I’ve even found that skim milk can yield excellent results, proving the recipe’s versatility.
Creamy Peanut Butter:
Peanut butter is indispensable, delivering luscious creaminess, its signature flavor, and essential structure that allows the cookies to set properly. It’s vital to use creamy, no-stir peanut butter (brands like Jif or Skippy are ideal) for consistent results. Natural peanut butters, which often separate, can introduce excess oiliness or lead to crumbly, difficult-to-set cookies.
Vanilla Extract:
A touch of pure vanilla extract is like the finishing flourish on a masterpiece. It beautifully rounds out and balances the intense chocolate and peanut butter flavors, adding an aromatic complexity that elevates the entire cookie. Always opt for pure vanilla extract if possible for the best taste.
Quick Oats:
Quick oats are the structural backbone of these cookies. Their finer cut allows them to absorb the hot liquid mixture much more effectively and quickly than old-fashioned rolled oats. This absorption creates a wonderfully tender chew, forming the satisfying base of these no-bake delights.
ESSENTIAL BAKING TIPS FOR NO-BAKE COOKIES:
Preparation is Key: Measure all ingredients precisely and have them ready before you begin. This recipe moves very quickly once you start heating!
Choose the Right Pot: Use a sturdy, medium-sized saucepan with ample room. This prevents boil-overs and ensures even heating and stirring.
Stir Constantly: To prevent the mixture from scorching on the bottom of the pan and to ensure even sugar dissolution, stir continuously, especially while it’s heating.
Master the 1-Minute Boil: This is perhaps the most critical step. Always time the boil precisely. Boiling for exactly one minute is the undisputed key to successful, perfectly set no-bake cookies.
Crafting Perfection: How to Make the Best No-Bake Cookies
Creating these sensational no-bake cookies is a straightforward process, but attention to detail in each step ensures a truly outstanding result. Follow these instructions carefully to achieve fudgy, chewy perfection:
- Prepare Your Work Surface
Before you even turn on the stove, ensure your landing zone is ready. Line a large baking sheet or a clean countertop space with either parchment paper or wax paper. This is where you will quickly drop your cookies to cool and set. I highly recommend parchment paper, as it guarantees a completely non-stick surface, making removal effortless. - Combine the Base Ingredients
Place a medium saucepan over LOW HEAT. Add the butter, granulated sugar, brown sugar, cocoa powder, and milk to the pan. Begin stirring gently, allowing the butter to melt slowly and the sugars to begin dissolving. A whisk is your best friend here, as it helps smooth out any lumps of cocoa powder, ensuring a uniform, creamy base. - Melt and Bring to a Gentle Boil
Once the butter has fully melted and the ingredients are well combined, increase the heat to MEDIUM. Continue to stir constantly. You’ll need to watch vigilantly for the mixture to begin bubbling. Sometimes, you might need to stop stirring for a few seconds to clearly see the initial bubbles forming around the edges of the pan. The goal is a gentle, rolling boil, not a vigorous one. - Boil Exactly for 1 Minute – This is Critical!
As soon as the mixture reaches a boil (you see those steady bubbles), immediately set a timer for precisely 1 minute. Continue to stir throughout this minute of boiling. This timing is absolutely crucial for the success of your cookies. Boiling for less than 1 minute may result in cookies that fail to set properly and remain gooey. Conversely, boiling for longer than 1 minute will cause too much liquid to evaporate, leading to dry, crumbly, and sometimes grainy cookies. Stick to that 60-second rule! - Remove from Heat and Stir in Flavorings
Promptly remove the saucepan from the heat once the 1-minute boil is complete. Immediately stir in the vanilla extract and the creamy peanut butter. Stir vigorously until both ingredients are thoroughly incorporated, and the mixture is completely smooth and glossy. - Add the Oats
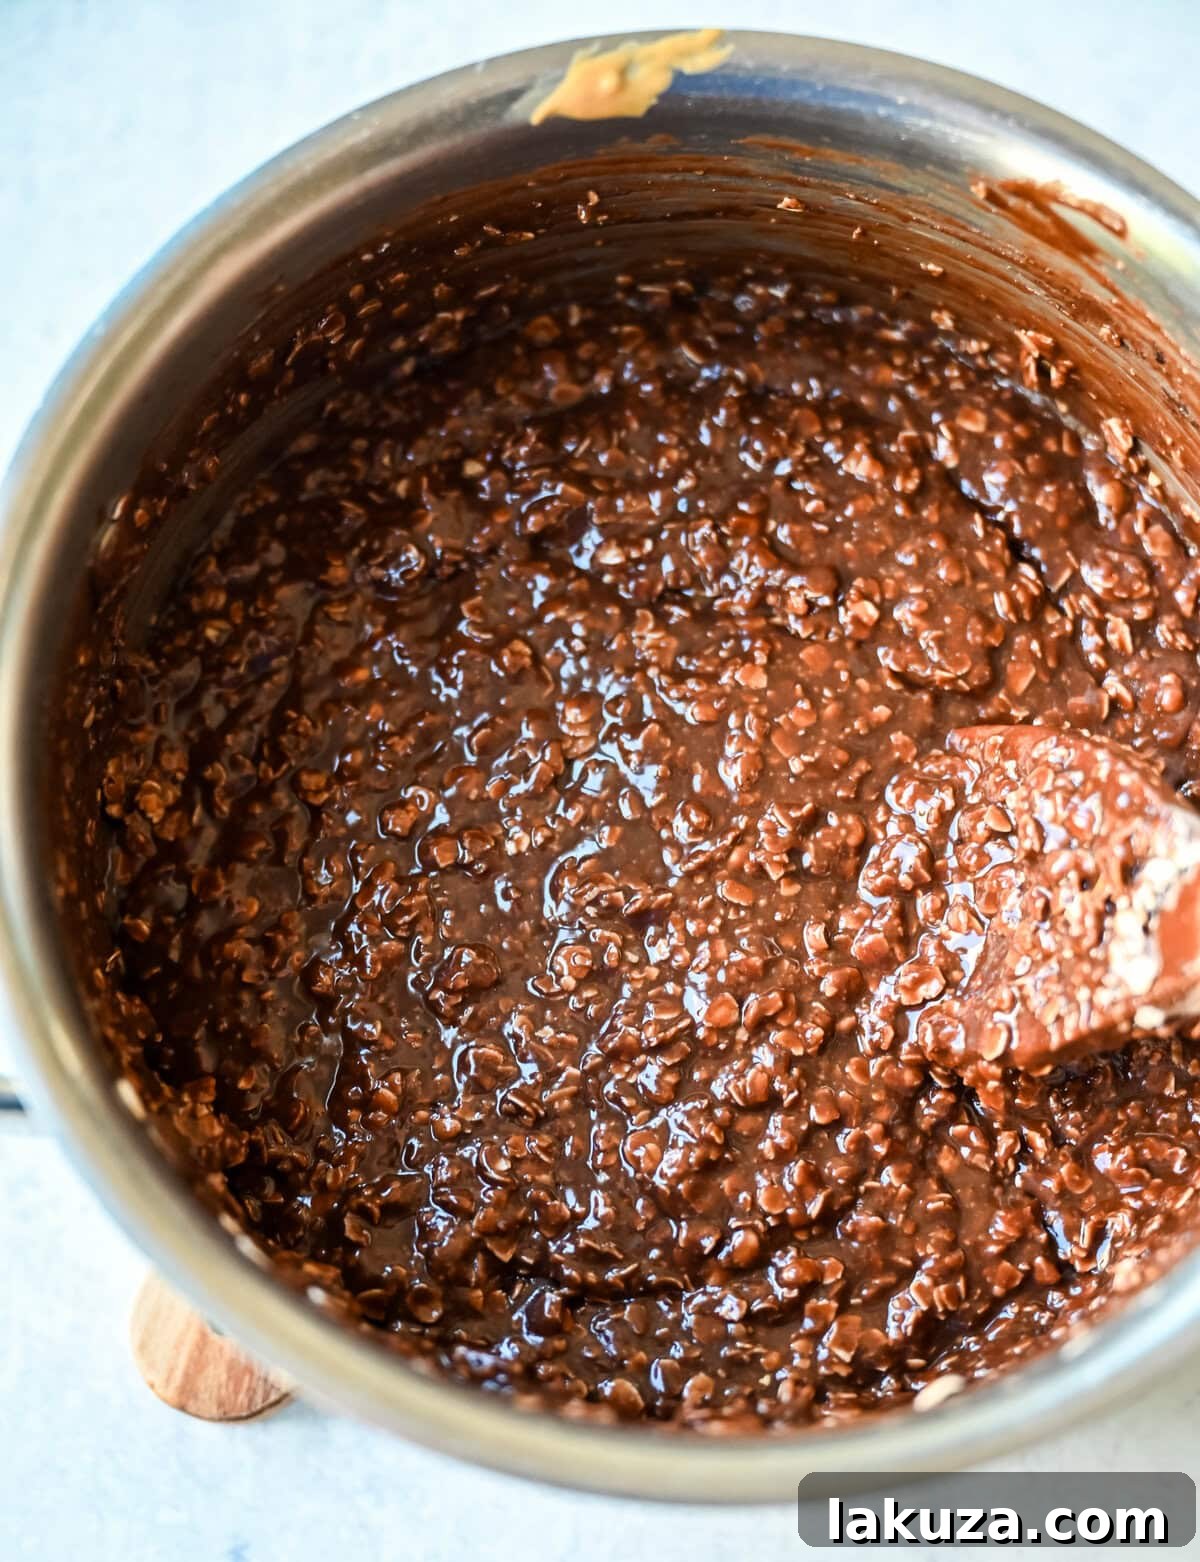
Finally, stir in the quick oats until they are evenly coated by the warm, fudgy mixture. At this stage, the mixture should be thick, but it should still retain a beautiful, glossy sheen. Work quickly, as the mixture will begin to thicken and set as it cools. - Drop the Cookies Quickly
Using a spoon or a small cookie scoop, swiftly drop individual spoonfuls of the mixture onto your prepared parchment paper. Aim for consistent sizes. It’s important to work somewhat fast here, as the mixture will continue to set and become harder to work with as it cools down. - Allow Them to Set
Let the dropped cookies sit undisturbed at room temperature for approximately 20–30 minutes, or until they are firm to the touch. For an even quicker set, especially if you’re eager to enjoy them, you can carefully transfer the baking sheet to the refrigerator for about 15 minutes.
Expert Tips for Perfect No-Bake Cookies Every Time:
Prevent Graininess: The key to a smooth texture is ensuring all the sugar fully dissolves before the mixture comes to a boil. Constant stirring throughout the initial heating phase is essential to achieve this.
Avoid Dryness and Crumbly Texture: The 1-minute boil is non-negotiable. Do not boil for a second longer! Overcooking evaporates too much liquid, which is the primary cause of dry, crumbly cookies.
Achieve a Beautiful Glossy Finish: Stir in the peanut butter and oats while the mixture is still piping hot and perfectly smooth. This allows them to integrate seamlessly, contributing to that desirable sheen.
Storage Solutions for Your No-Bake Cookie Stash
Once your delectable no-bake cookies have fully set, proper storage is key to maintaining their freshness and irresistible texture:
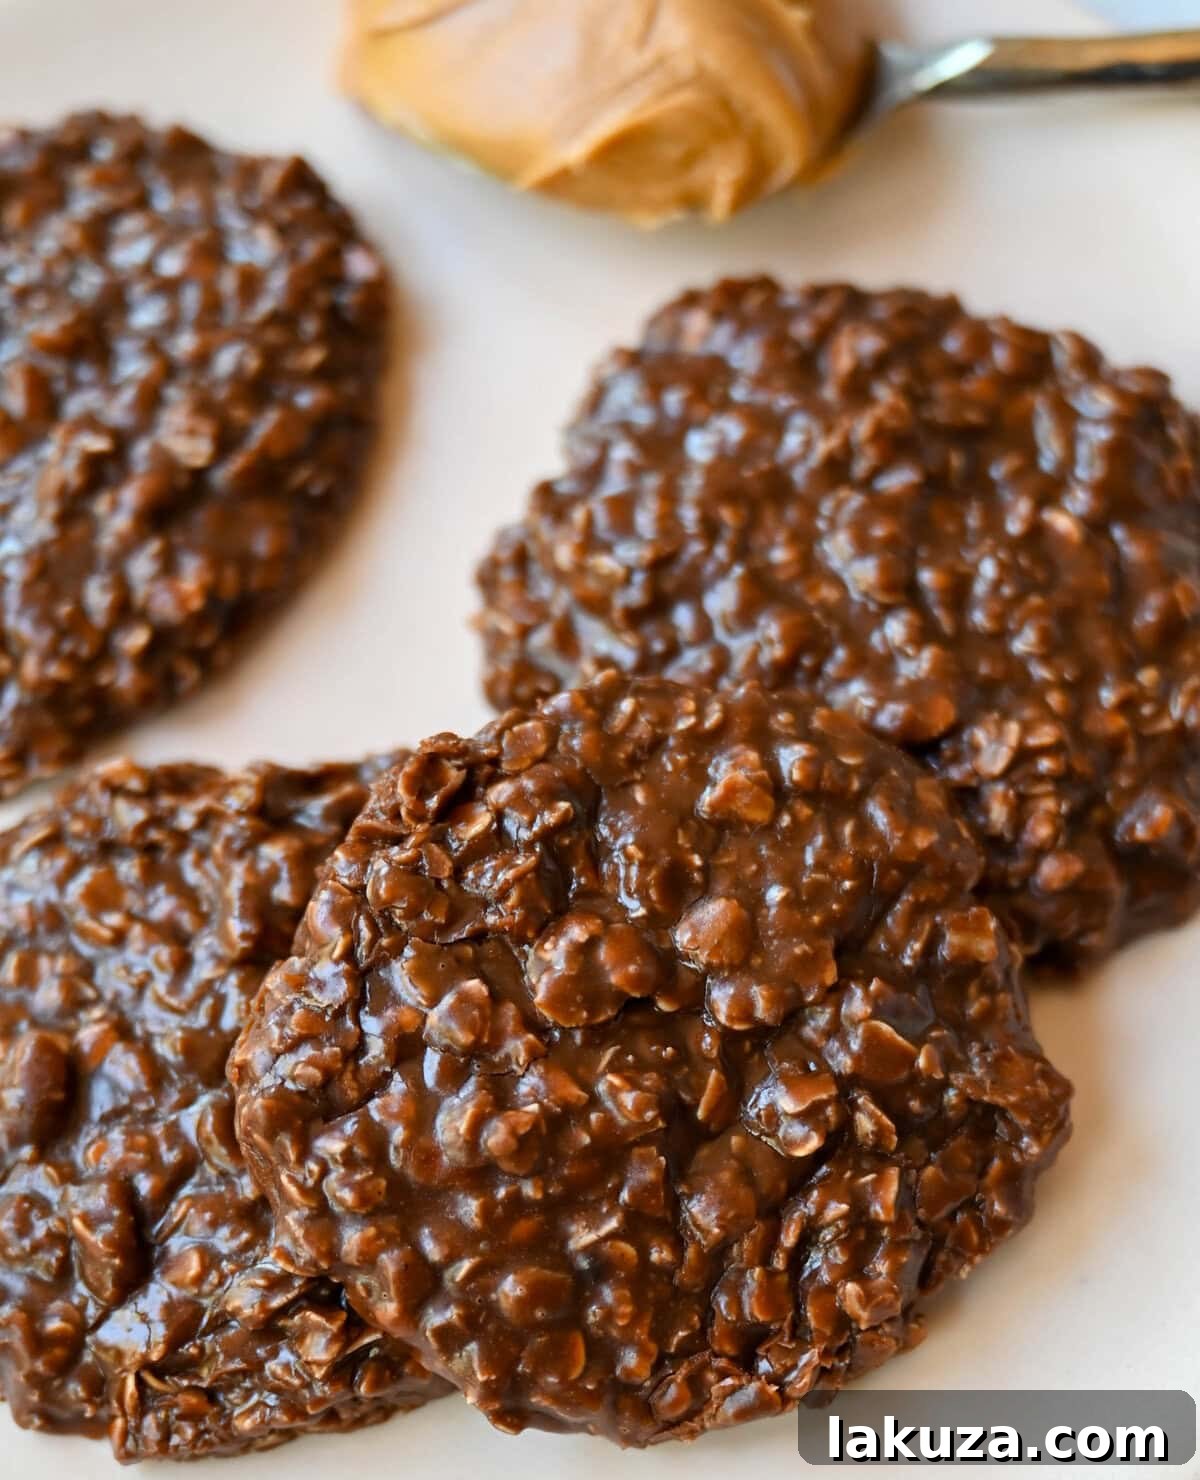
For short-term enjoyment, store your cookies in an airtight container at room temperature. They will retain their best quality for up to 4 days. While they are always wonderful, they are truly at their peak the day they are made.
For extended freshness, refrigerate the cookies in an airtight container for up to 2 weeks. If you’re planning for even longer enjoyment, these cookies freeze beautifully. Arrange them in layers separated by parchment paper in an airtight, freezer-safe container, and they will stay fresh for up to 3 months. Thaw at room temperature for a few minutes before serving.
Creative No-Bake Cookie Mix-Ins & Variations:
Elevate your no-bake cookies with exciting additions! After stirring in the oats, you can fold in shredded coconut for a tropical twist, chopped nuts (like pecans or walnuts) for added crunch, or mini chocolate chips for an extra burst of chocolatey goodness. If using mini chocolate chips, ensure the mixture has cooled slightly before adding them to prevent them from completely melting into the batch. Another delightful option is to simply sprinkle mini chocolate chips over the top of the cookies immediately after dropping them onto the pan, allowing them to gently melt into the warm surface.
More Irresistible Chocolate Peanut Butter Recipes:
Levain Bakery Dark Chocolate Peanut Butter Chip Cookies
Chocolate Peanut Butter Cookie Bars
Reese’s Chocolate Peanut Butter Cup Cookies
Chocolate Peanut Butter Pie
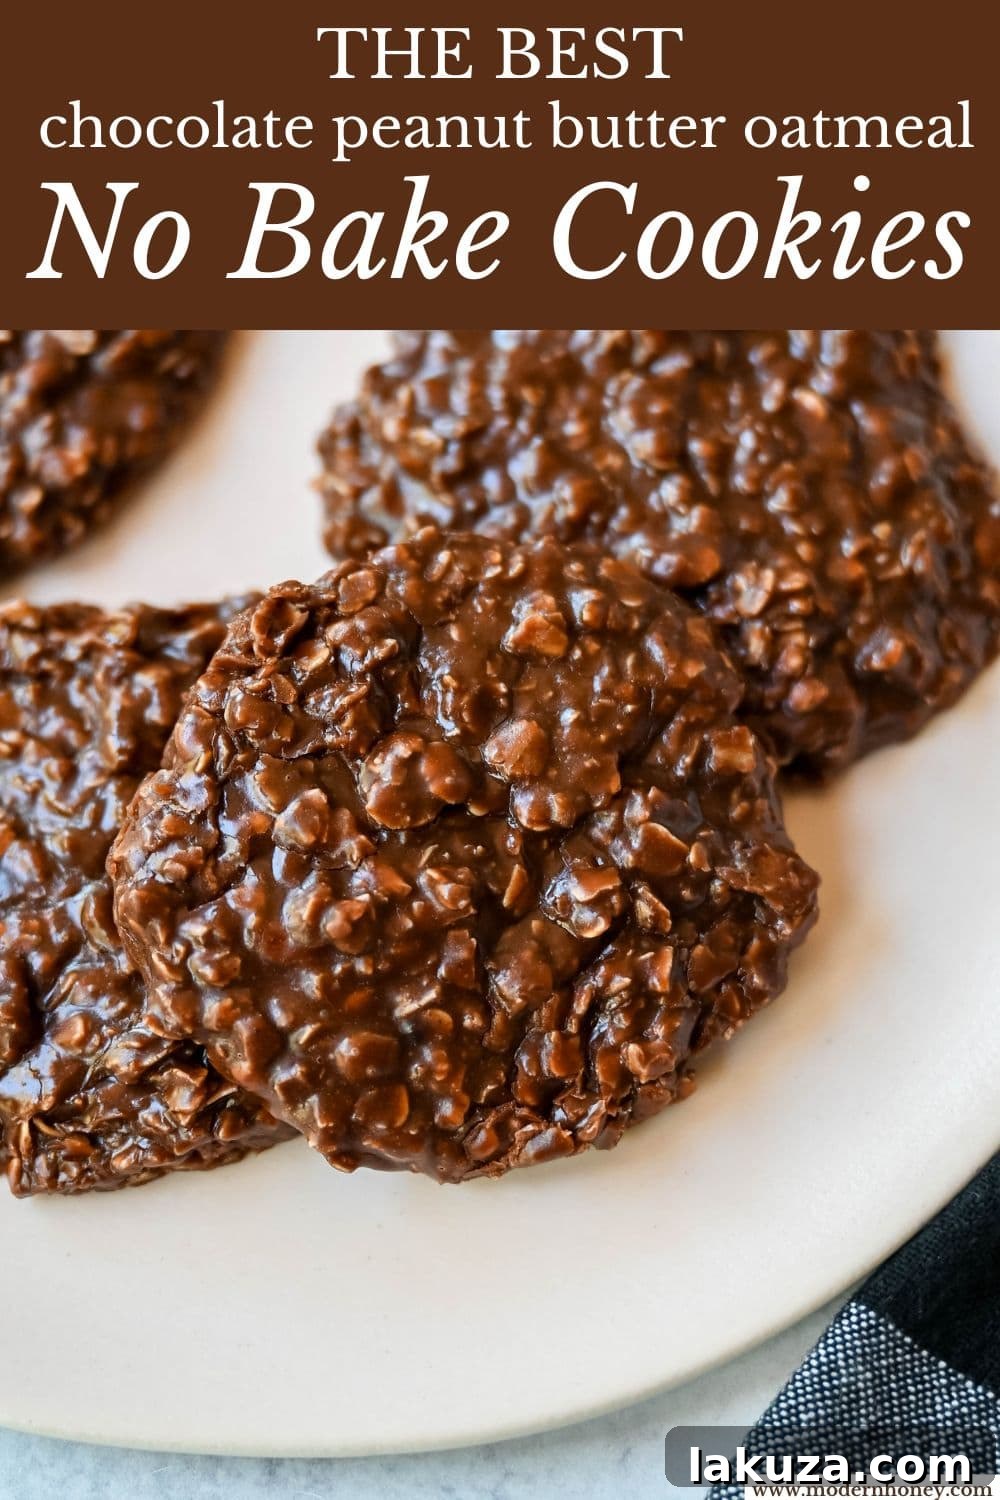
No Bake Cookies
Ingredients
- 1/2 cup Butter (salted)
- 1 cup Granulated Sugar
- 1 cup Brown Sugar (packed)
- 1/2 cup Milk (whole or 2% preferred)
- 1/4 cup Unsweetened Cocoa Powder
- 2 teaspoons Vanilla Extract
- 3/4 cup Creamy Peanut Butter * (Jif or Skippy’s)
- 2 3/4 cups Quick Oats * (up to 3 cups)
Instructions
-
Gather all ingredients, measure them precisely, and set them aside. It’s advisable to read all instructions before starting. Line a large baking sheet or a clean countertop space with parchment paper or wax paper. This will be your designated area for dropping the cookies to cool. Parchment paper is highly recommended as it prevents any sticking.
-
In a medium saucepan, combine the butter, granulated sugar, brown sugar, cocoa powder, and milk over LOW HEAT. Stir continuously to allow the butter to melt slowly and the sugars to dissolve. Use a whisk to ensure there are no cocoa powder lumps, creating a smooth mixture.
-
Once the butter is fully melted, increase the heat to MEDIUM and continue to stir constantly. Watch carefully for the mixture to begin bubbling. You might need to pause stirring briefly to observe the formation of small bubbles around the edges of the pan, indicating it’s starting to boil.
-
Boil exactly 1 minute. As soon as the mixture reaches a boil, set a timer for precisely 1 minute. Continue stirring throughout this minute. Accurate timing is critical: boiling for less than 1 minute may prevent the cookies from setting, while boiling longer than 1 minute can lead to dry and crumbly results.
-
Remove from heat and stir in flavorings. Immediately take the saucepan off the stove. Stir in the vanilla extract and peanut butter until the mixture is smooth and all ingredients are fully incorporated.
-
Add the quick oats to the mixture and stir until they are evenly coated. The mixture should appear thick but still maintain a glossy sheen.
-
Using a spoon or a cookie scoop, quickly drop spoonfuls of the mixture into rounded cookie shapes onto your prepared parchment paper. Work swiftly, as the mixture will begin to set and thicken as it cools. Let them set.
-
Allow the cookies to cool and set at room temperature for approximately 20–30 minutes until they are firm. For a quicker set, you can place them in the refrigerator for about 15 minutes.
Notes
Always use creamy, no-stir peanut butter (such as Jif or Skippy) to achieve the most consistent and desired texture.
Opt for Quick Oats. Their fine texture allows for superior absorption of the hot mixture compared to old-fashioned rolled oats, resulting in a perfectly tender chew.
The quality of your cocoa matters. Use a high-quality unsweetened cocoa powder for the best flavor. Dutch-process cocoa will deliver a darker, smoother chocolate taste.
If you prefer a heartier cookie with more substance, you may increase the quick oats up to 3 cups. For a slightly milder peanut butter flavor, you can reduce the creamy peanut butter to 2/3 cup.
Nutrition
Nutrition information is automatically calculated, so should only be used as an approximation.