
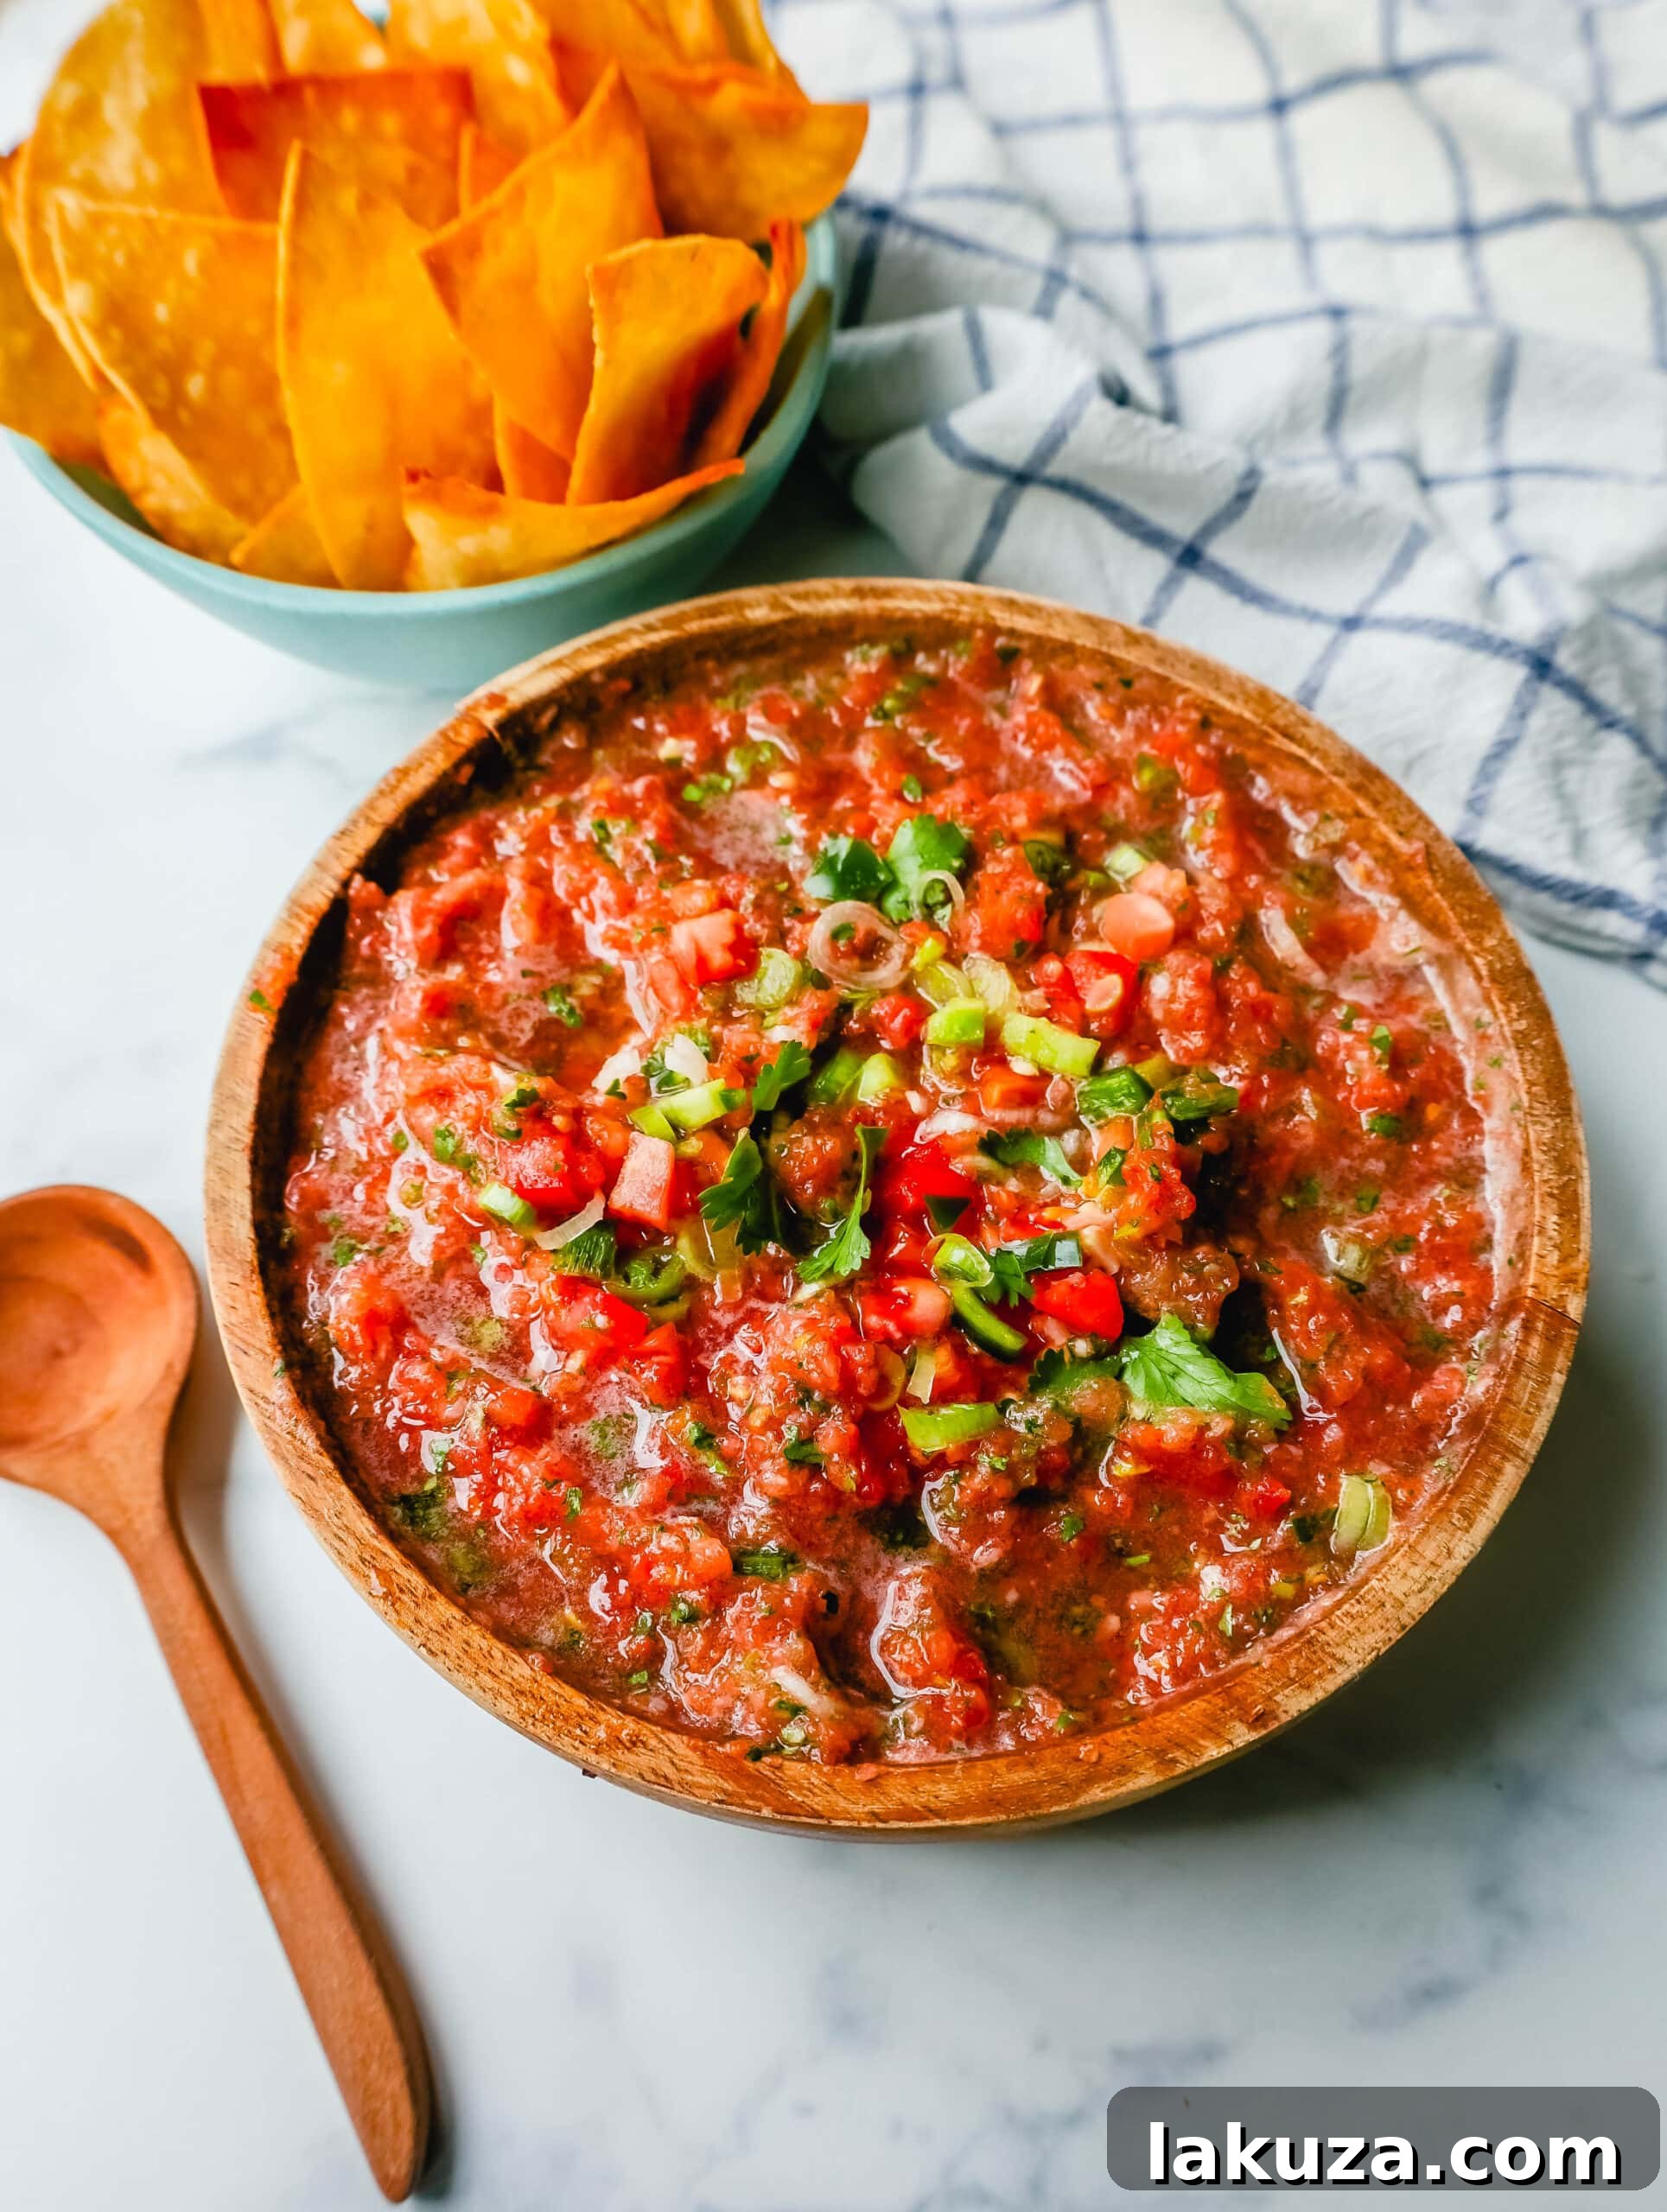
Discover the ultimate homemade salsa recipe that rivals your favorite Mexican restaurant! Bursting with fresh flavors from ripe tomatoes, aromatic cilantro, vibrant jalapeno, crisp green onions, and a secret ingredient, this salsa is incredibly easy to make and guaranteed to become a family favorite.
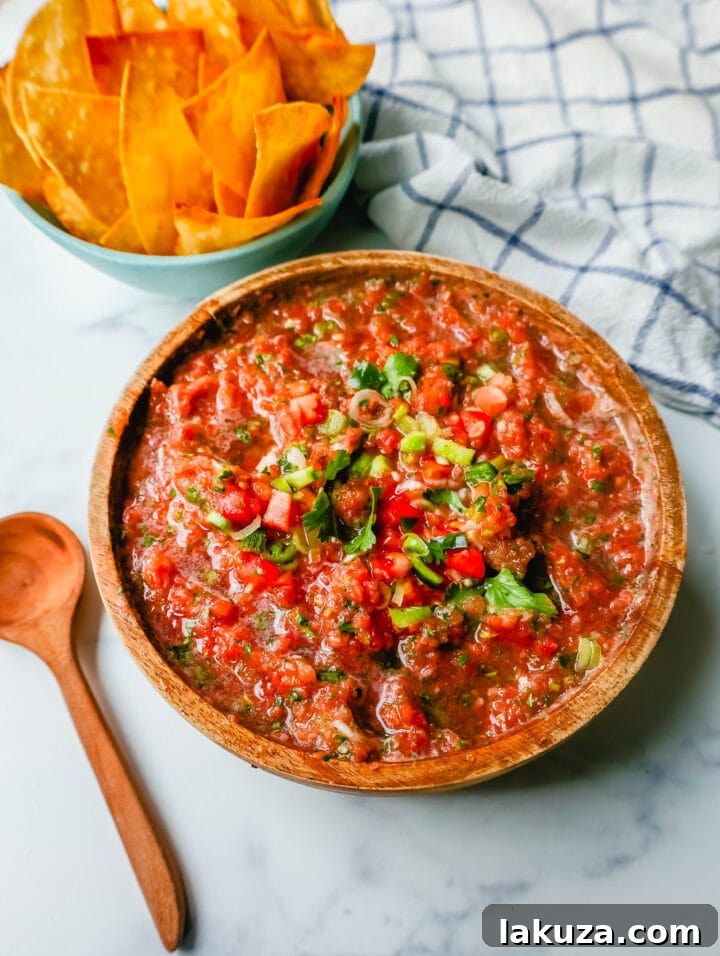
Crafting the Perfect Homemade Restaurant-Style Salsa
There’s nothing quite like the vibrant, fresh taste of authentic Mexican restaurant-style salsa. It’s the ultimate crowd-pleaser, perfect for dipping, topping, or simply enjoying by the spoonful. For years, friends and family have raved about my husband’s incredible homemade salsa, often mistaking it for a gourmet offering from a high-end eatery. Today, I’m thrilled to finally share his legendary recipe with you, including the special ingredient that elevates it from good to absolutely unforgettable.
This recipe isn’t just about deliciousness; it’s about simplicity, freshness, and customization. You’ll learn the secrets to achieving that perfect balance of tang, spice, and herbaceous notes. Whether you prefer a mild salsa for casual snacking or a fiery kick to awaken your palate, this recipe can be easily adjusted to suit your taste. Say goodbye to store-bought salsa and get ready to impress everyone with your very own homemade masterpiece.
Why Homemade Salsa is Always the Best Choice
While convenience often leads us to store-bought options, the difference in flavor and quality when you make salsa from scratch is monumental. Homemade salsa offers:
- Unmatched Freshness: You control every ingredient, ensuring only the ripest, most vibrant produce makes it into your bowl. This results in a taste that’s bright, lively, and far superior to anything from a jar.
- Customizable Flavor Profile: Crave more heat? Add an extra jalapeño. Prefer a brighter taste? A squeeze of fresh lime juice will do the trick. You have the freedom to tweak seasonings and ingredients to your exact preference.
- Healthier Option: Store-bought salsas often contain added sugars, preservatives, and excessive sodium. Our homemade version uses whole, natural ingredients, making it a healthy and delicious snack. It’s packed with vitamins from fresh vegetables and herbs, making it a guilt-free indulgence.
- Impressive & Economical: Whipping up a batch of incredible salsa is surprisingly cost-effective, especially when tomatoes are in season. Plus, it’s a fantastic way to impress guests and share a truly special dish.
Mastering the Art of Fresh Salsa Ingredients
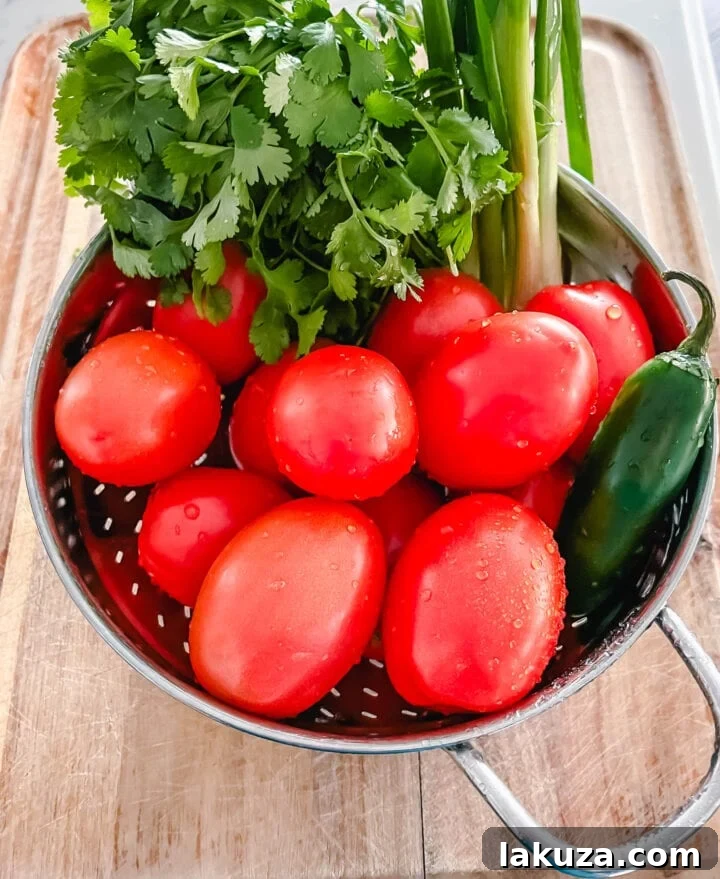
The foundation of any outstanding salsa lies in the quality and freshness of its ingredients. Forget bland, watery imposters; we’re talking about a symphony of textures and flavors that will transport your taste buds straight to a bustling taqueria. Here’s a deeper dive into the essential components that make this homemade salsa extraordinary:
- Roma Tomatoes: These are the workhorses of our salsa. Their firm flesh and lower water content make them ideal for a chunky, flavorful salsa that won’t become too soupy. When selecting, look for deeply red, ripe tomatoes that are firm to the touch. Avoid any with blemishes or soft spots. While Roma tomatoes are preferred, other vine-ripened varieties like beefsteak or even cherry tomatoes can work in a pinch, though they might result in a slightly wetter salsa. For an extra layer of flavor, consider roasting a few tomatoes before blending – it adds a smoky depth that is truly remarkable.
- Fresh Cilantro: This aromatic herb is non-negotiable for authentic Mexican salsa. Its bright, citrusy, and slightly peppery notes are what define its distinctive flavor. Use a generous, fresh bunch of cilantro. The key is to remove most of the thick stems, as they can be fibrous and slightly bitter. Focus on the tender leaves for the best flavor and texture. If you’re one of those who find cilantro tastes like soap, parsley can be a mild substitute, but be aware the flavor profile will significantly change.
- Jalapeno: The heat source! Jalapeños offer a versatile spice level. For a milder salsa, meticulously remove all seeds and the white inner membrane (pith), as this is where the majority of the capsaicin (the compound responsible for heat) resides. For a medium heat, leave some seeds and membrane. If you’re a true spice enthusiast, toss in the entire jalapeño, stem removed. Always wear gloves when handling chilies to avoid skin irritation, and wash your hands thoroughly afterward. For even more heat, a serrano pepper can be substituted, but proceed with caution!
- White or Green Onions: Green onions (scallions) are my preferred choice for this recipe. They offer a milder, fresher onion flavor that complements the other ingredients without overpowering them. They contribute a subtle sweetness and a beautiful green fleck to the salsa. If green onions aren’t available, a small amount of finely minced white onion can be used, but soak it in cold water for 10 minutes beforehand to reduce its harshness.
- Garlic Salt: This is a simple yet powerful seasoning that combines the savory depth of garlic with the essential salinity needed to bring all the flavors forward. It simplifies the seasoning process. If you don’t have garlic salt, a combination of granulated garlic (or garlic powder) and fine sea salt can be used. Start with a smaller amount and adjust to taste, remembering that fresh tomatoes tend to absorb salt.
- El Pato Salsa de Chile Fresco (optional, but highly recommended): This is our secret ingredient! This canned taco sauce, typically found in the Mexican food aisle of your grocery store, adds a subtle layer of spiced depth and umami that sets this salsa apart. It’s a game-changer, lending an authentic restaurant-quality taste. If you can’t find it, don’t worry, the salsa will still be delicious with fresh ingredients and a little extra seasoning.
For an extra burst of freshness and a zesty tang, a squeeze of freshly squeezed lime juice is a fantastic addition, especially if your tomatoes aren’t as ripe as you’d like. It brightens the entire profile of the salsa.
Step-by-Step Guide to Crafting Perfect Salsa
Making this incredible fresh homemade salsa is surprisingly quick and simple, especially with the right tools. Here’s a detailed breakdown of how to achieve restaurant-quality results in your own kitchen:
- Prepare Your Ingredients: Begin by roughly chopping your Roma tomatoes. Remember to set aside about one tomato and a small amount of cilantro and green onions for a fresh garnish later. Remove the stems from your fresh cilantro bunch. For the jalapeño, decide on your preferred spice level and either deseed and remove the membrane for mild, or leave some in for more heat. Slice your green onions. The rough chop is key here; we don’t need precise cuts since the food processor will do most of the work.
- Process with Precision: Transfer the roughly chopped tomatoes (except the reserved garnish), cilantro, jalapeño, and sliced green onions to a food processor. Add the initial amount of garlic salt. The trick here is to use the pulse function. Pulsing allows you to control the texture, creating a chunky salsa rather than a smooth puree. Pulse in short bursts, scraping down the sides as needed, until the salsa reaches your desired consistency. Avoid over-pulsing, as this can lead to a foamy, watery salsa that lacks character. We’re aiming for a rustic, chunky texture, not baby food!
- Season and Taste: This is arguably the most crucial step. After initial processing, taste the salsa. Now is the time to adjust the seasoning. Add more garlic salt, a squeeze of fresh lime juice for brightness, or even a pinch of sugar if your tomatoes are a bit tart. If you’re using the optional El Pato Salsa de Chile Fresco, stir it in now. Remember, the flavors will meld and deepen as the salsa chills, so don’t over-salt initially. Taste, adjust, taste again – repeat until it’s just right for your palate. Fresh ingredients often require more seasoning than you might expect.
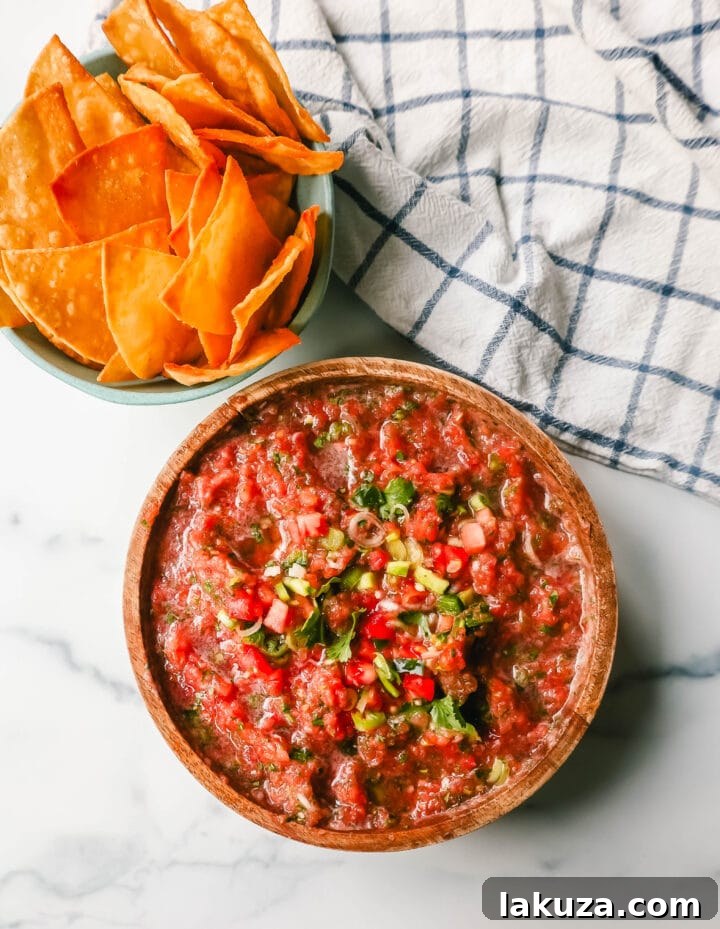
- The Finishing Touch and Chill: Once seasoned to perfection, transfer the salsa to a serving bowl. Take your reserved tomato, cilantro, and green onions, and hand-chop them into a slightly larger dice. Sprinkle these fresh, chunky pieces over the top of the salsa. This adds a beautiful visual appeal and provides wonderful texture contrast. Finally, and this is a non-negotiable step for optimal flavor, cover the salsa and refrigerate it for at least an hour. Chilling allows all the vibrant flavors to meld and deepen, transforming a good salsa into a truly exceptional one.
Tips for Salsa Success: Elevate Your Homemade Creation
Beyond the basic steps, a few expert tips can take your homemade salsa from good to absolutely sensational. Follow these guidelines for a consistent, restaurant-quality experience every time:
- Prioritize Freshness: This cannot be stressed enough. The quality of your produce directly impacts the final taste. Seek out peak-season, ripe tomatoes, vibrant green cilantro, and firm jalapeños. A trip to your local farmer’s market can make all the difference.
- Master the Pulse: When using a food processor, resistance is key! Do not simply turn it on and walk away. Use short, controlled pulses to achieve a chunky, rustic texture. Over-mixing will release too much water from the tomatoes, resulting in a watery, less appealing salsa. You want some discernible chunks of vegetables, not a smooth soup.
- Garnish for Texture and Appeal: The visual appeal of food is just as important as its taste. Hand-chopping extra tomato, cilantro, and green onions to garnish the top of your salsa adds a burst of fresh color and, more importantly, creates varying textures that make each bite more interesting. This simple step elevates the presentation and the eating experience.
- The Magic of Chilling: Patience is a virtue, especially with salsa. Allowing your homemade salsa to chill in the refrigerator for at least an hour (or even better, several hours) is crucial. This “resting” period enables all the individual flavors to fully integrate and meld together, creating a harmonious and more complex taste. Resist the urge to dive in immediately!
- Taste, Taste, Taste: Your palate is your best guide. Seasoning is not an exact science, especially with fresh produce whose flavor intensity can vary. Always taste your salsa after initial blending and adjust salt, lime juice, or spice as needed. A pinch more salt can brighten all the other flavors, while a bit more lime can add essential tang.
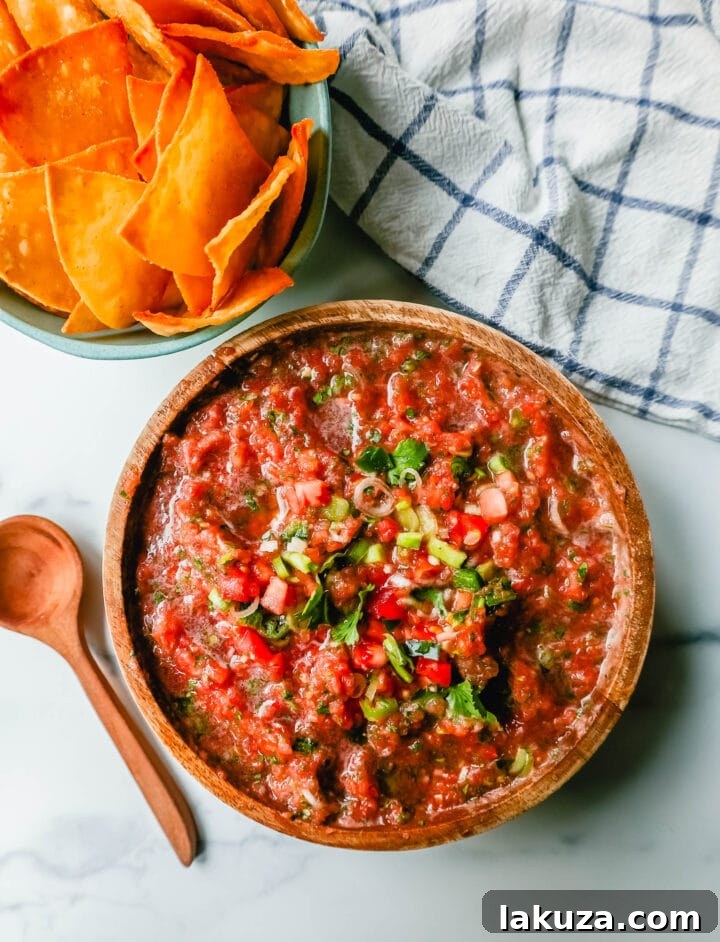
Serving Suggestions & Creative Variations
While fresh tortilla chips are the classic pairing, homemade salsa is incredibly versatile. Here are some ideas to expand your salsa enjoyment:
- Classic Dipping: Serve with your favorite corn or tortilla chips for an unbeatable snack or appetizer.
- Taco & Burrito Topping: Elevate any taco night, whether it’s beef, chicken, fish, or vegetarian, with a generous dollop of fresh salsa. It’s also fantastic inside burritos and burrito bowls.
- Breakfast Booster: Spoon over scrambled eggs, omelets, or huevos rancheros for a vibrant start to your day.
- Grilled Meats & Fish: The fresh, zesty flavors of this salsa are a perfect complement to grilled chicken, steak, pork chops, or flaky white fish.
- Salad Enhancement: Use it as a vibrant dressing for a simple green salad or a hearty bean salad.
- Creative Variations: Don’t be afraid to experiment! Add diced avocado for a creamy texture, a handful of black beans or corn for extra heartiness, or even a sprinkle of crumbled cotija cheese. For a different flavor profile, consider adding a roasted red pepper or a pinch of smoked paprika.
Frequently Asked Questions About Homemade Salsa
When stored properly in a tightly sealed container in the refrigerator, this homemade salsa will maintain its freshness and flavor for approximately 5-7 days. Beyond that, the quality will start to decline, and it’s best to discard it.
Always store your homemade salsa in an airtight container in the refrigerator. This prevents oxidation, which can cause the salsa to lose its vibrant color and flavor, and also keeps it fresh for longer.
While a food processor makes this salsa incredibly quick (about 30 seconds!), it’s not strictly necessary. You have a few other excellent options:
- Blender: A blender can be used, but be very careful not to over-blend. Use short pulses to achieve a chunky texture, as many blenders lack a precise pulse function and can quickly turn ingredients into a smooth liquid.
- Hand Chopping: For the most rustic texture, you can hand chop all the ingredients. Finely dice the tomatoes, cilantro, jalapeño, and onions, then combine them in a bowl and stir well. This method requires a bit more time and effort but yields a beautifully textured salsa.
Technically, yes, you can freeze salsa, but the texture will change significantly upon thawing. Tomatoes have high water content, so when frozen and thawed, they tend to become softer and more watery. If you plan to freeze it, it might be best used in cooked dishes like chili or enchiladas, rather than as a fresh dipping salsa. Freeze in airtight, freezer-safe containers for up to 3 months.
Roma tomatoes are highly recommended for their firm flesh and lower moisture content, which prevents the salsa from becoming too watery. Other vine-ripened tomatoes can work, but avoid overly juicy varieties or those that are too soft. The key is ripeness combined with a good, firm structure.
Explore More Delicious Salsa Recipes:
Easy 5-Minute Blender Salsa
Sweet Salsa Verde (Green Salsa)
Fresh Mango Salsa
Peach Salsa
Print Recipe
Homemade Restaurant Style Salsa
Equipment
- Vitamix Blender
- Food Processor
Ingredients
- 10 Roma Tomatoes
- 1 cup Fresh Cilantro Leaves (about 1 bunch of cilantro, tightly packed)
- 1 Jalapeno deseeded*
- 1 to 2 teaspoons Garlic Salt * (or to taste, start with 1 teaspoon if using the el pato salsa)
- 4 Green Onions sliced
- (1) 7.75 ounce can El Pato Salsa de Chile Fresco (optional)
Instructions
- Combine the roughly chopped tomatoes (set aside 1 tomato for garnish), cilantro, jalapeño, and garlic salt in a blender or food processor. Pulse in short bursts until desired chunky consistency is reached.
- Stir in the sliced green onions and the optional El Pato sauce.
- Taste and season accordingly. Start with 1 teaspoon of garlic salt and keep adding to taste. Remember, fresh ingredients absorb salt, so don’t be shy but season gradually. If you omit the canned El Pato salsa, you will likely need to add more garlic salt.
- Sprinkle the top with the hand-chopped reserved tomatoes, green onions, and cilantro to make it more chunky and visually appealing. Refrigerate the salsa for at least an hour to allow the flavors to fully develop and meld.
- *For a mild salsa, use only 1/2 jalapeño and ensure all seeds and the inner membrane are removed. For more heat, include the entire jalapeño with seeds.
Notes
- The amount of garlic salt is flexible. If you choose not to use the El Pato sauce, you will need to increase the garlic salt significantly to achieve the desired flavor depth. Always taste and adjust seasoning until it’s perfect for you.
Nutrition
Nutrition information is automatically calculated and should be used as an approximation.
Additional Info
Like this recipe? Leave a comment below!
Jump to Comments
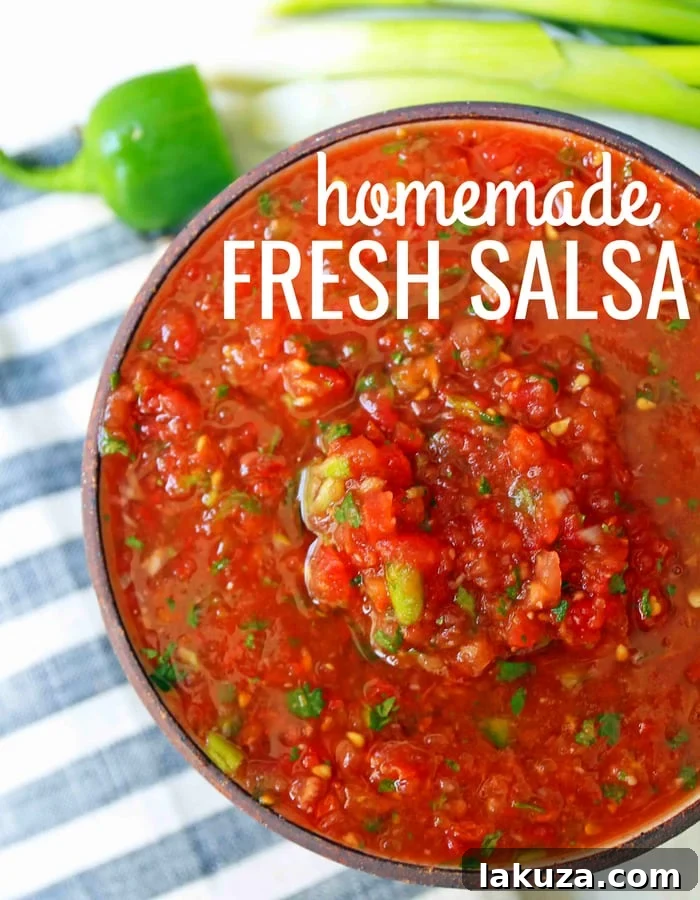
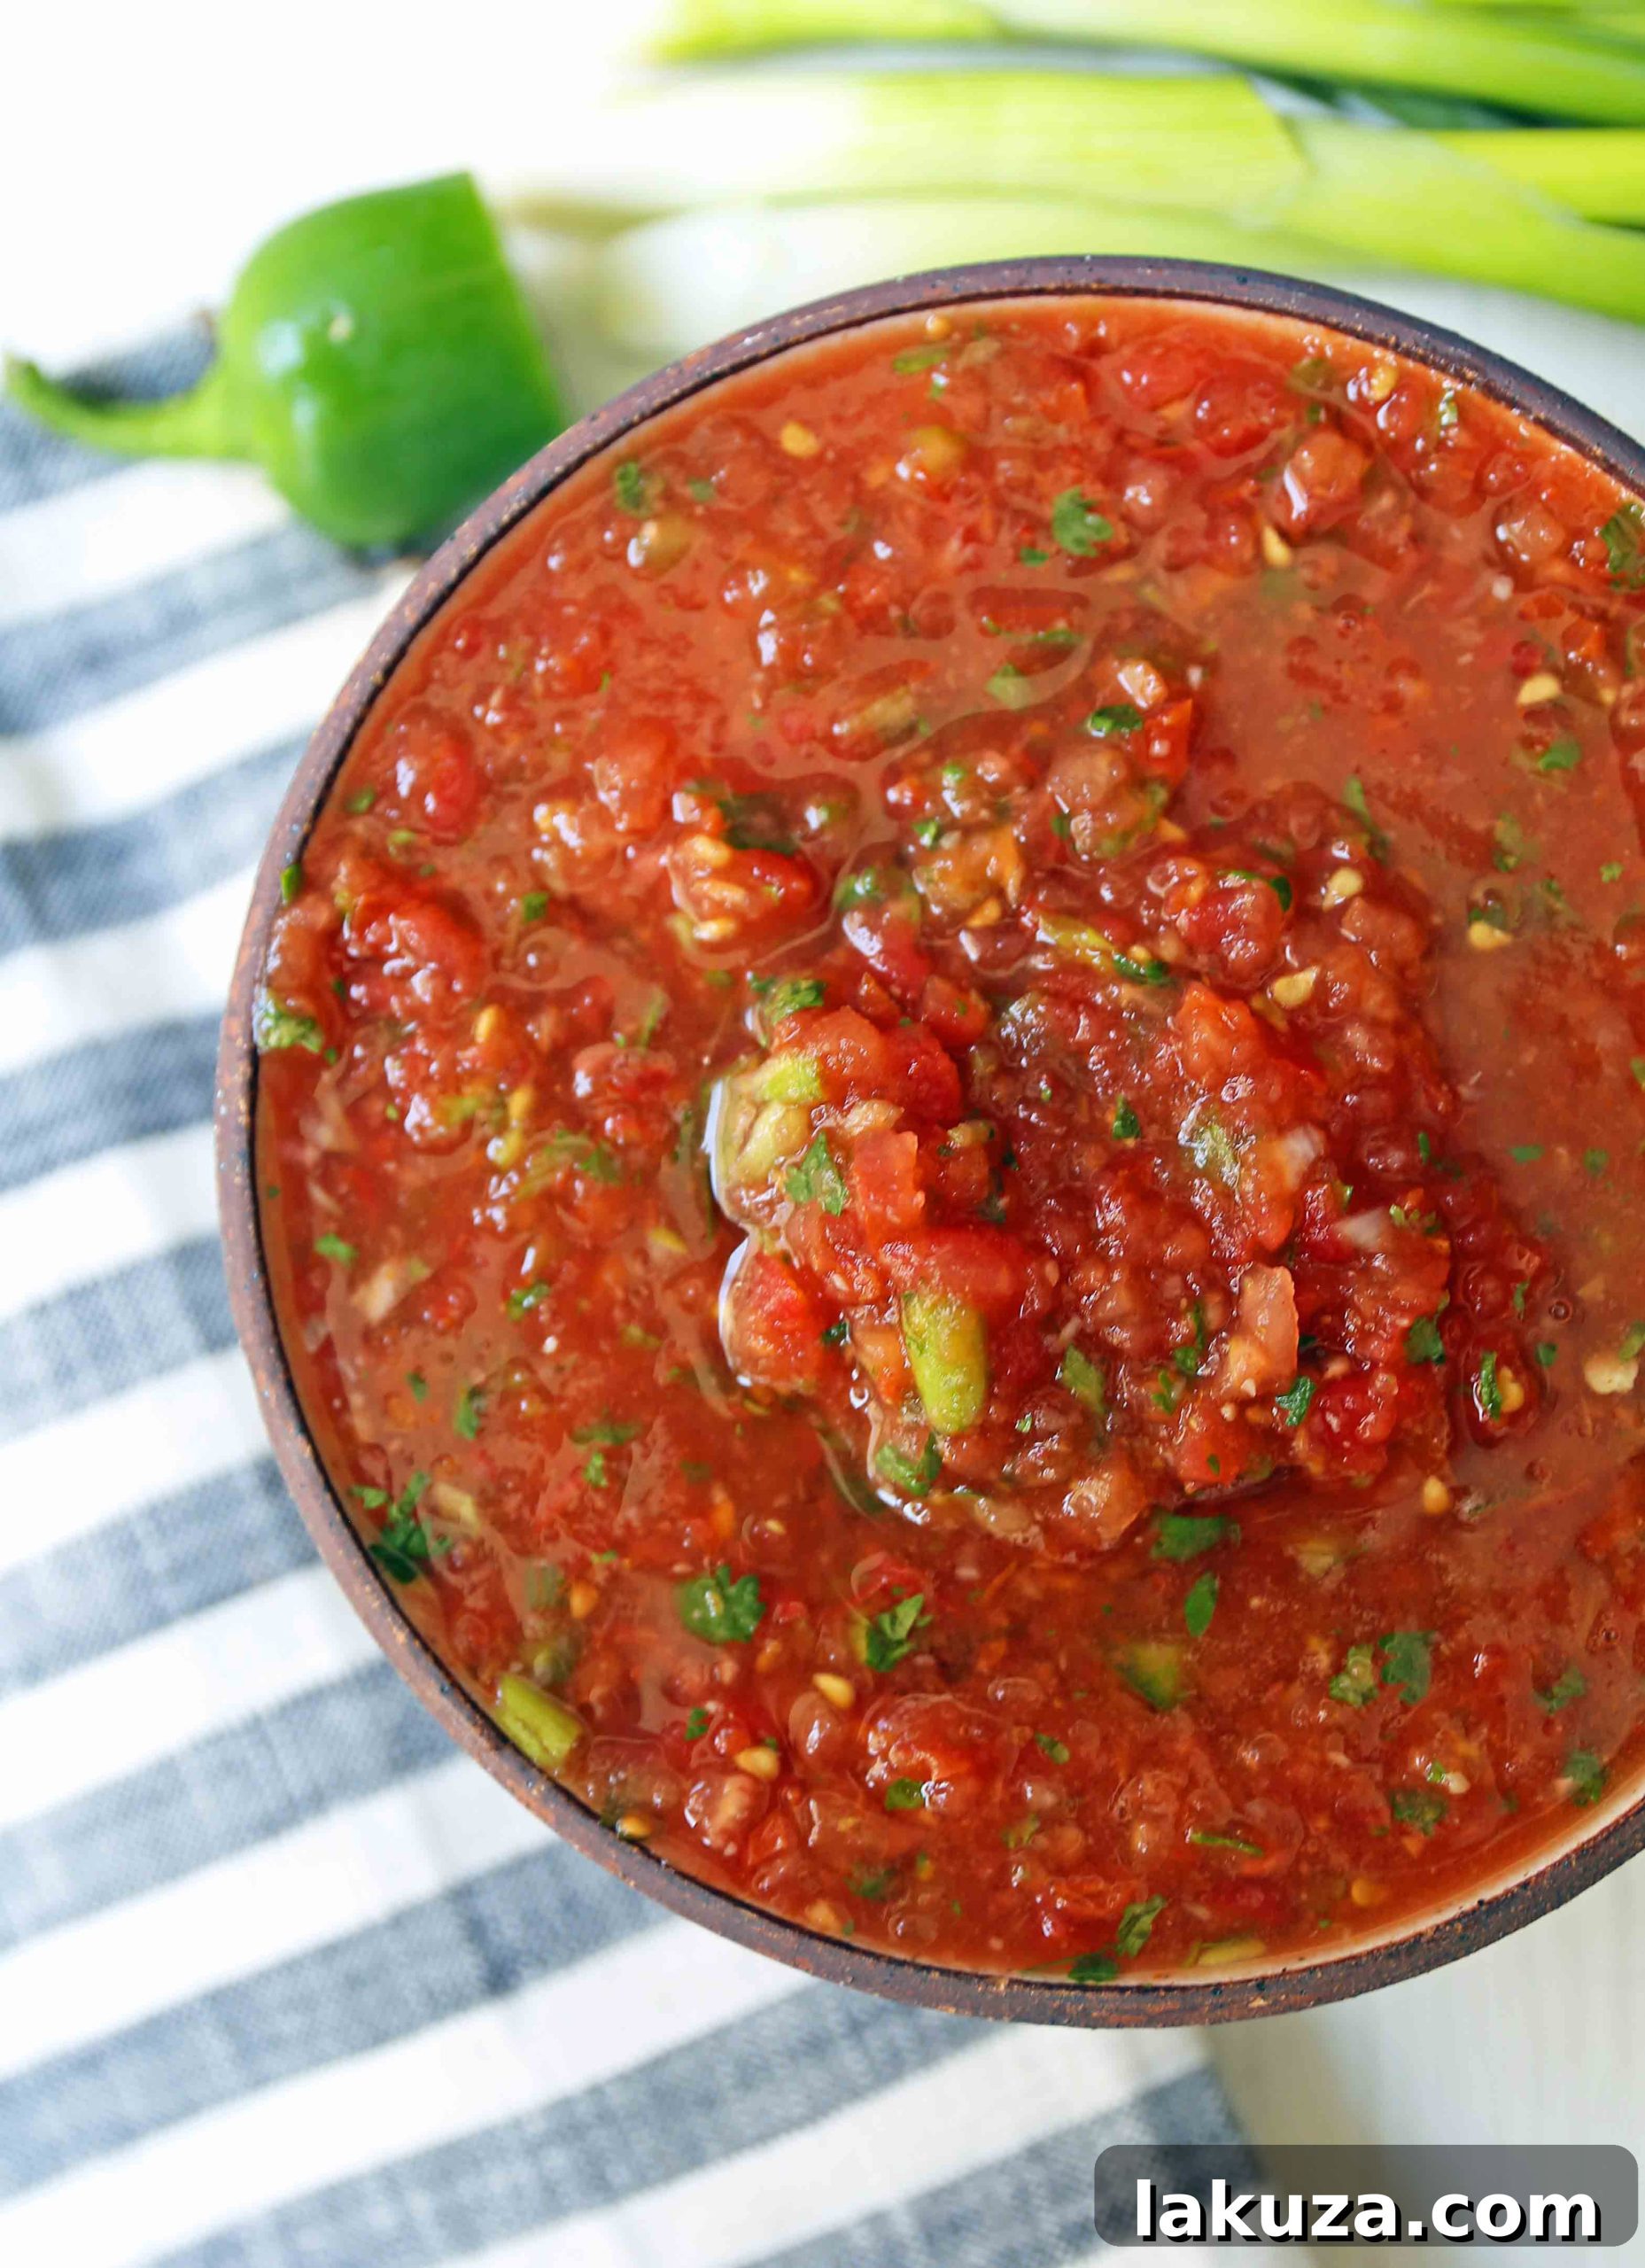
I genuinely hope you love this Homemade Restaurant Style Salsa as much as we do! It’s more than just a recipe; it’s an experience of fresh, vibrant flavors that brings people together. Don’t hesitate to experiment with the spice level and enjoy the incredible taste of your own homemade creation. Happy cooking, and thank you for your continued support!