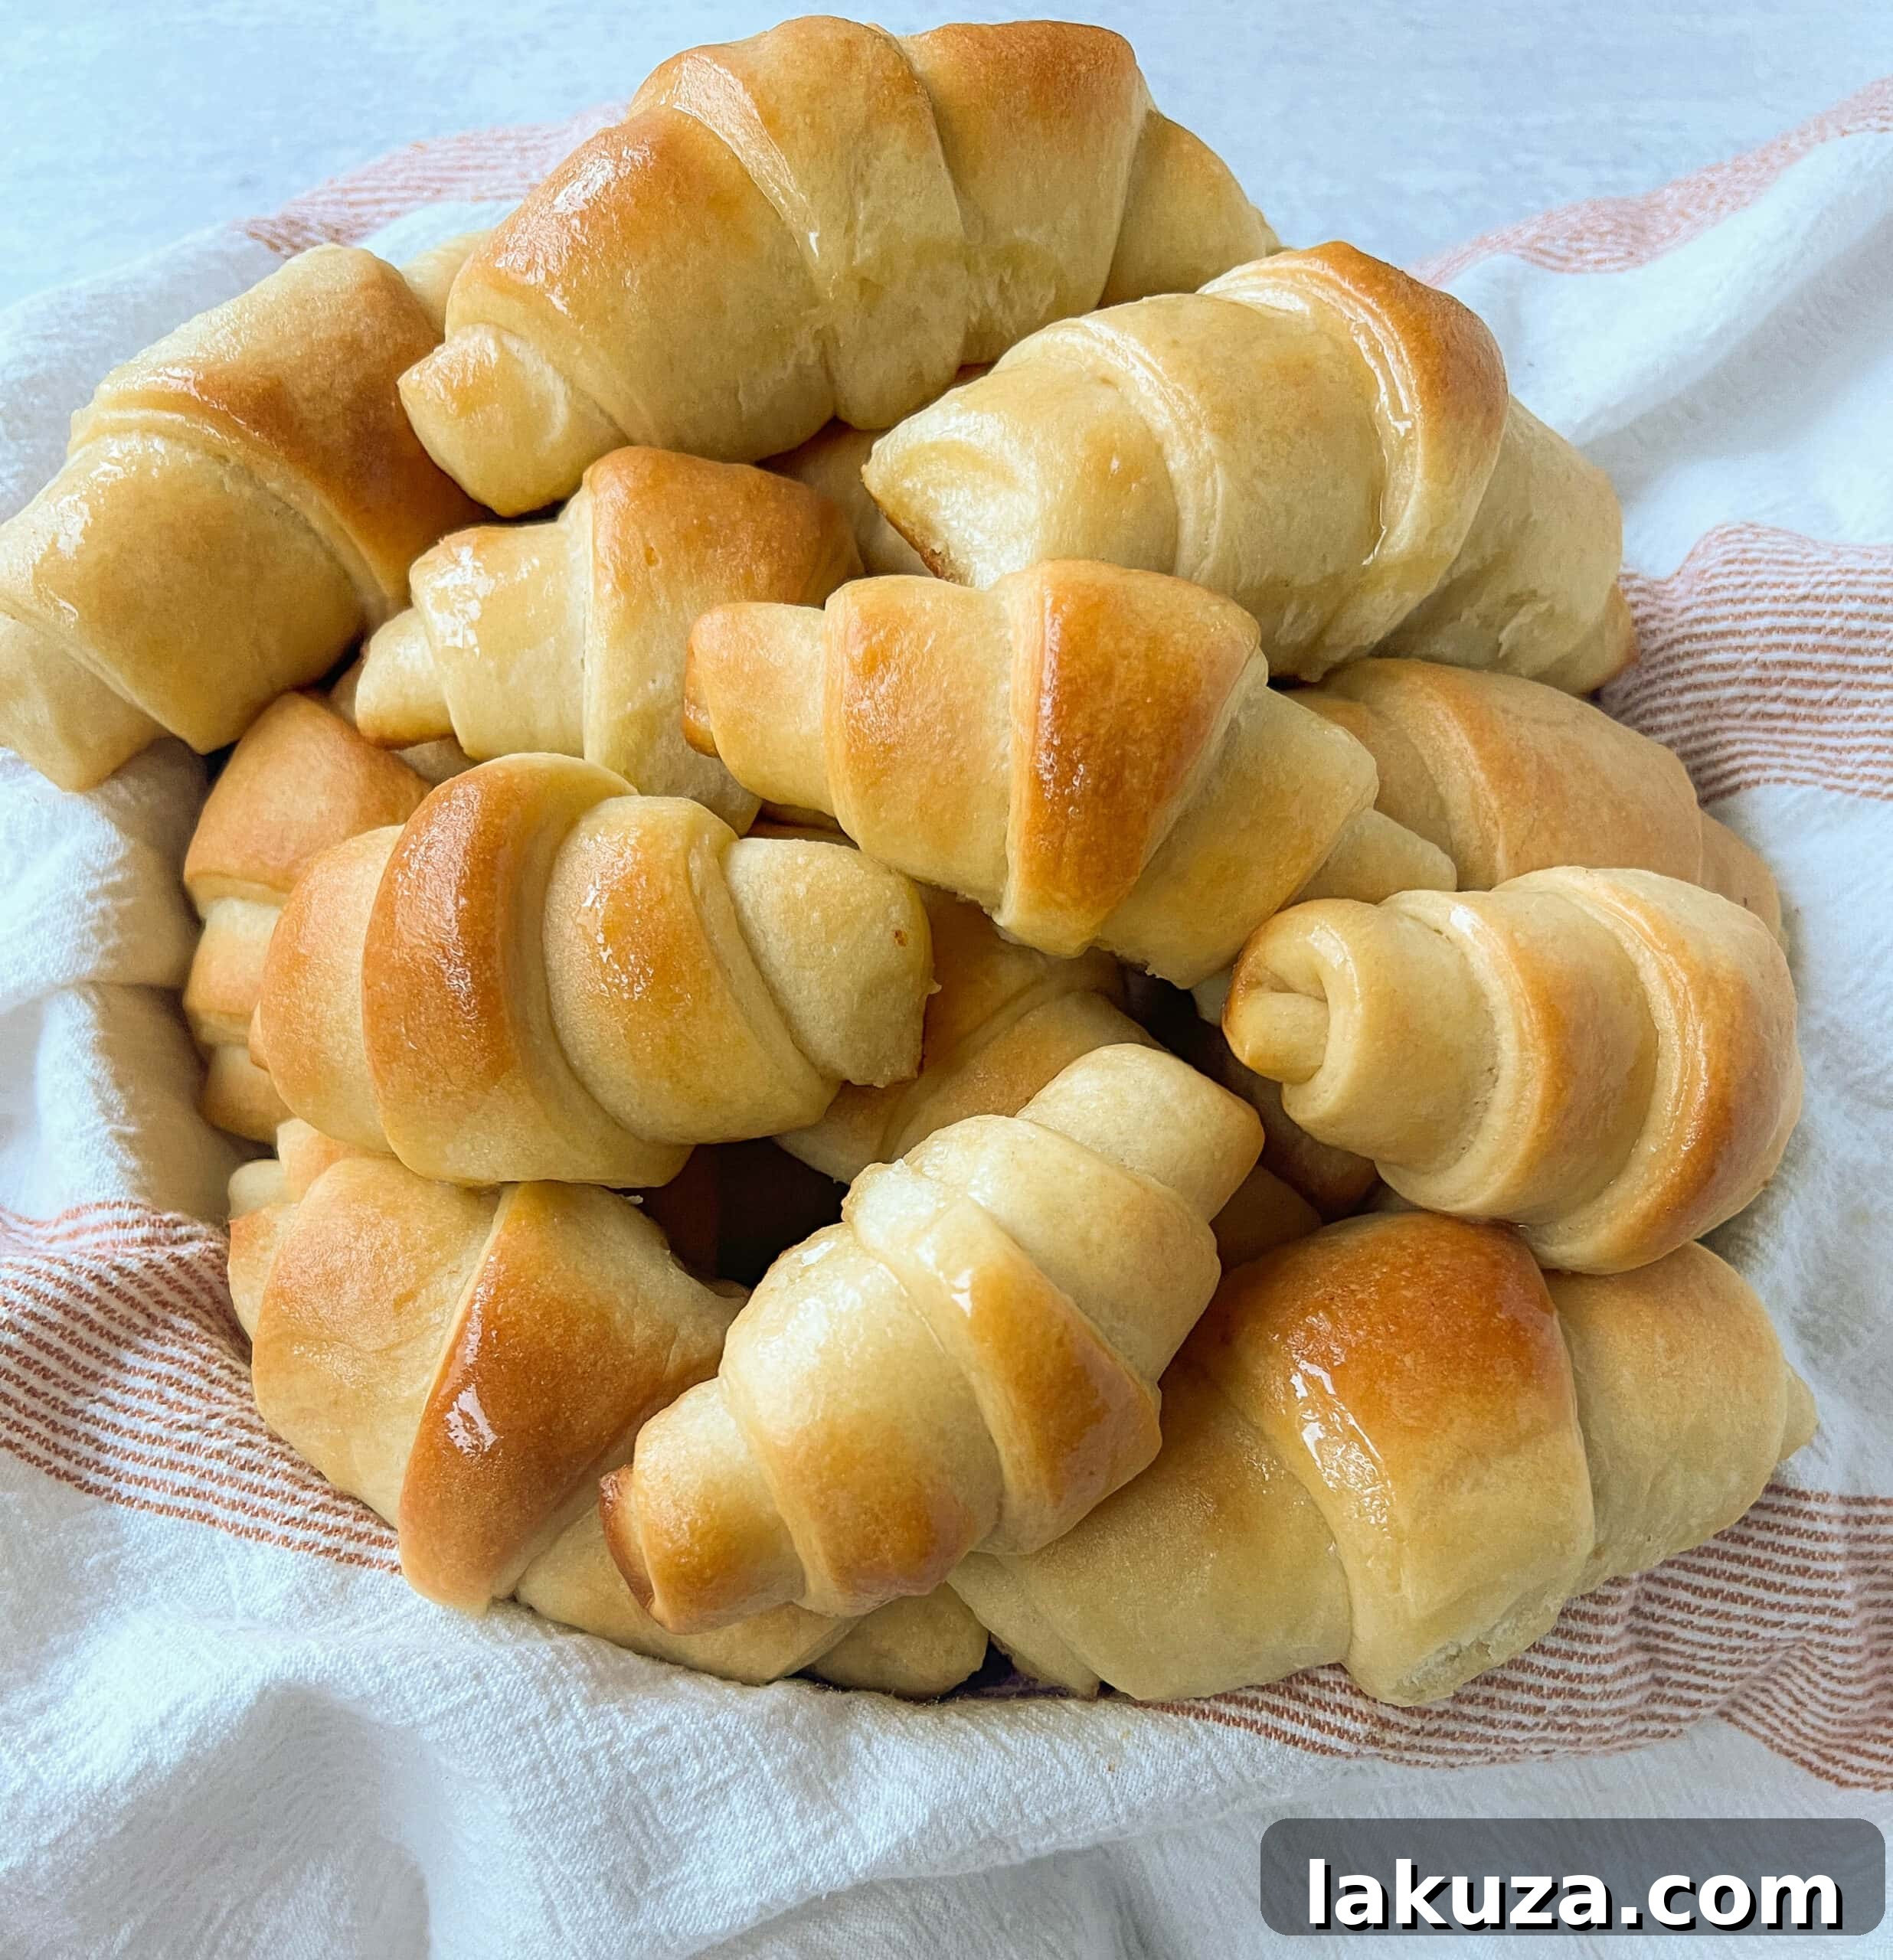
Homemade Crescent Rolls: Your Ultimate Guide to Buttery, Fluffy Perfection
Discover the secret to making the most perfect buttery, light, and fluffy homemade crescent rolls from scratch. This easy-to-follow recipe brings warm, comforting perfection straight from your oven to your table!

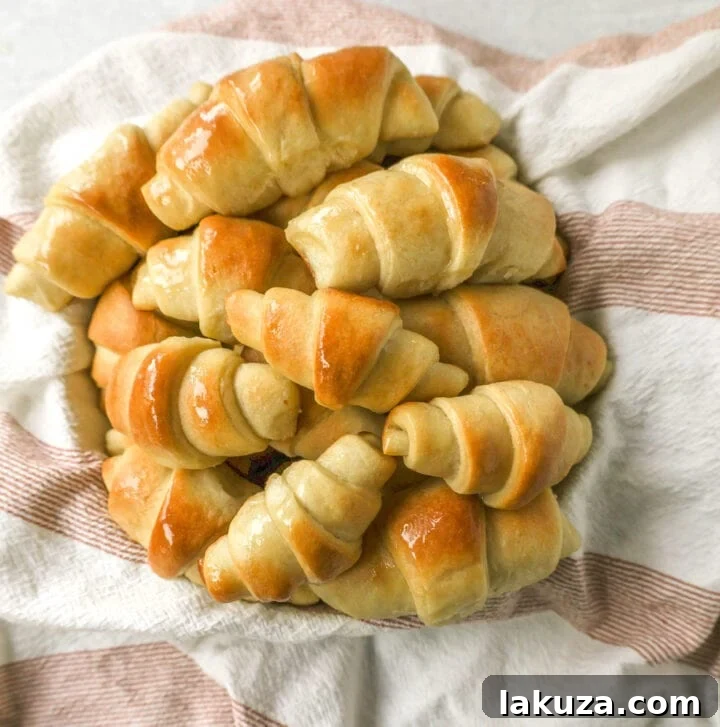
There’s nothing quite like the aroma of freshly baked bread filling your home. For me, that scent instantly transports me back to my childhood kitchen, where my mom, a true artisan of baked goods, would craft homemade bread and rolls almost daily. Among her repertoire, her special crescent rolls held a sacred place, especially on Sundays. These weren’t just any rolls; they were tender, melt-in-your-mouth wonders, essentially homemade dinner rolls beautifully shaped into elegant crescents.
As the holiday season, particularly Thanksgiving, approaches, the desire for comforting, home-baked goodness becomes even stronger. This year, I’m thrilled to share a cherished family recipe with you: my Mom’s spectacular homemade crescent rolls. We’ve refined this recipe over the years, making a few tweaks (because, let’s be honest, more butter always makes everything better!) to ensure they are absolutely perfect. Get ready to impress your family and friends with these irresistible, buttery, and incredibly fluffy rolls. I’ll guide you through every step, sharing all my tips and tricks to guarantee your success in baking the best crescent rolls you’ve ever tasted.
While my Homemade Dinner Rolls Recipe is a fantastic choice for any occasion, if you’re looking for an even richer, more buttery experience with that distinct crescent shape, this is the recipe for you. These truly are the best homemade crescent rolls!
Essential Ingredients for Perfect Crescent Rolls
Crafting these delectable crescent rolls begins with a selection of common pantry staples. Each ingredient plays a crucial role in achieving that signature buttery flavor and light, airy texture. Here’s what you’ll need:
- Warm Water: Crucial for activating the yeast.
- Active Dry Yeast: The leavening agent that gives the rolls their rise and fluffiness.
- Granulated Sugar: Feeds the yeast, promoting its activity, and adds a touch of sweetness.
- Salted Butter: Key to the rich, buttery flavor and tender crumb.
- Egg: Adds richness, moisture, and helps with structure and color.
- Milk: Contributes to a softer, more tender dough than water alone.
- All-Purpose Flour: The primary structural component of the dough.
- Salt: Enhances the flavor of all the other ingredients and regulates yeast activity.
Choosing the Right Yeast: Active Dry vs. Instant Yeast
When it comes to baking, especially with yeast, understanding your ingredients is paramount. The two most common types of yeast you’ll find in the baking aisle are traditional active dry yeast and instant fast-rising yeast. For this particular crescent roll recipe, we recommend using **active dry yeast**. This classic yeast variety has been a baker’s staple for generations and is typically sold in small packets or larger jars.
Active dry yeast requires a “proofing” or activation step with warm water and a touch of sugar before being combined with other ingredients. This process allows you to confirm the yeast is alive and active, ensuring your rolls will rise beautifully. While instant yeast can often be mixed directly with dry ingredients without prior proofing, active dry yeast, with its slightly slower action, often contributes to a more developed flavor in baked goods, which is ideal for our buttery crescent rolls.
Ensuring Your Yeast is Active and Thriving
The success of any homemade roll recipe, including these incredible crescent rolls, hinges entirely on the activity of your yeast. An inactive yeast will result in dense, flat rolls, which is definitely not what we’re aiming for! Here’s a foolproof method to ensure your yeast is vibrant and ready to work its magic:
- Combine Yeast, Water, and Sugar: In a small bowl, gently mix your active dry yeast with the warm water (ideally around 110 degrees Fahrenheit). Add a spoonful of sugar; this acts as food for the yeast, helping to kickstart its activation process. Yeast absolutely loves sugar!
- Observe for Activity: Within 5 to 10 minutes, you should notice the mixture begin to bubble and develop a foamy layer on top. This is a fantastic sign that your yeast is alive and well, actively consuming the sugar and producing carbon dioxide – the gas that will make your rolls rise. If you don’t see any foam or bubbles, your yeast may be old or the water might have been too hot or too cold, rendering it inactive. In this case, it’s best to start over with fresh yeast.
- Temperature Control is Key: Pay close attention to the water temperature. If the water or milk is too hot (above 120°F / 49°C), it can kill the delicate yeast organisms. Conversely, if it’s too cold (below 100°F / 38°C), the yeast won’t activate properly. Aim for a temperature that feels comfortably warm to the touch, like a baby’s bath.
This simple proofing step is your guarantee for light, airy, and perfectly risen crescent rolls.
Salted vs. Unsalted Butter: A Flavorful Decision
For this crescent roll recipe, I wholeheartedly recommend using **salted butter**. While many baking recipes call for unsalted butter to give the baker complete control over the salt content, for these rolls, the added salt in salted butter truly enhances the overall flavor profile, giving them a richer, more profound taste. The subtle saltiness perfectly complements the slight sweetness of the dough and the inherent richness of the butter, elevating each bite. If you only have unsalted butter on hand, you can certainly use it, but you might want to increase the amount of salt in the recipe by a pinch or two to achieve a similar depth of flavor.
Crafting Your Homemade Crescent Rolls: A Step-by-Step Guide
Embark on your baking journey with confidence! This detailed guide will walk you through each stage of making these phenomenal homemade crescent rolls, ensuring a delightful experience and even more delicious results.
- Activate the Yeast (Proofing): Begin by combining the warm water (about 110°F or 43°C) and a tablespoon of sugar in your mixing bowl. Sprinkle the active dry yeast over the surface. Allow this mixture to sit for 5 to 10 minutes. You’re looking for a foamy, bubbly top layer – this confirms your yeast is active and ready to make your rolls rise beautifully!
- Prepare Wet Ingredients: While the yeast is proofing, gently warm the milk and melt 1/3 of the salted butter in a microwave-safe bowl. Heat just until the butter is mostly melted and the milk is warm, but not hot (again, around 110°F). It’s crucial that this mixture isn’t too hot, as excessive heat can kill the activated yeast. Warm ingredients incorporate more easily into the dough and promote a better rise. Once cooled slightly, add this mixture to your mixing bowl along with the large egg.
- Combine Dry Ingredients and Knead the Dough: Add the all-purpose flour and salt to the wet mixture in your bowl. Using a stand mixer with a dough hook (I personally love my Bosch mixer for its incredible kneading power!), mix on low speed for several minutes until the dough comes together. Increase the speed slightly and continue kneading until the dough is smooth, elastic, and pulls away cleanly from the sides of the bowl. If the dough seems too sticky, add flour one tablespoon at a time until the desired consistency is reached. Conversely, if it’s too stiff, add a tiny bit of warm milk or water.
- First Rise (Bulk Fermentation): Lightly spray a large, clean bowl with non-stick cooking spray, or grease it with a bit of softened butter or oil. Transfer the kneaded dough to this bowl, turning it once to coat lightly. Cover the bowl with plastic wrap or a clean kitchen towel and place it in a warm, draft-free spot. Allow the dough to rise until it has doubled in size, which typically takes between 1 to 2 hours, depending on the warmth of your environment.
- Divide, Roll, and Butter: Once the dough has proudly doubled in size, gently punch it down to release the air. Turn it out onto a lightly floured surface and divide it into two equal balls. Take one ball and, using a rolling pin, roll it into a large circle, approximately 14 inches in diameter. Soften another 1/3 of the salted butter and generously brush it over the entire surface of the rolled-out dough circle. Save the remaining 1/3 butter for brushing the baked rolls.
- Shape the Crescent Rolls: With a pizza cutter, carefully cut the buttered dough circle into quarters. Then, take each quarter and slice it lengthwise into three equal triangles. You should now have 12 triangles from each dough ball. Starting from the widest part of each triangle, gently roll it up towards the pointed tip, creating the classic crescent shape.
- Second Rise (Proofing the Shaped Rolls): Arrange the shaped crescent rolls onto a greased baking sheet, leaving some space between each roll for expansion. Lightly brush the tops of the rolls with a little more softened butter. This prevents them from drying out during their second rise and promotes a beautiful golden crust. Cover the baking sheet loosely and let the rolls rise again in a warm place until they have nearly doubled in size, usually about 30-45 minutes. During the last 15 minutes of this rise, preheat your oven to 350°F (175°C).
- Bake to Golden Perfection: Place the risen crescent rolls in the preheated oven and bake for 15-20 minutes, or until they achieve a beautiful light golden-brown color on top and bottom. Keep a close eye on them, as they can brown quite quickly.
- Final Touch and Serve: As soon as you remove the golden rolls from the oven, brush them generously with the remaining melted butter. This adds an extra layer of flavor and creates an irresistible shine. Serve your homemade crescent rolls warm, straight out of the oven, and prepare for rave reviews!
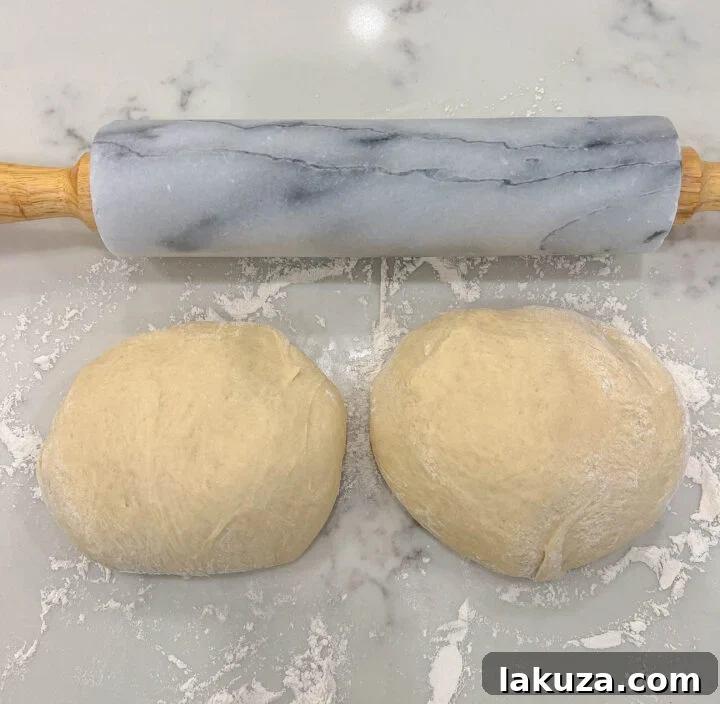
After the first rise, gently divide the beautifully risen dough into two equal halves. Each half will then be rolled out into a large, approximately 14-inch diameter circle, forming the foundation for your delicious crescent rolls.
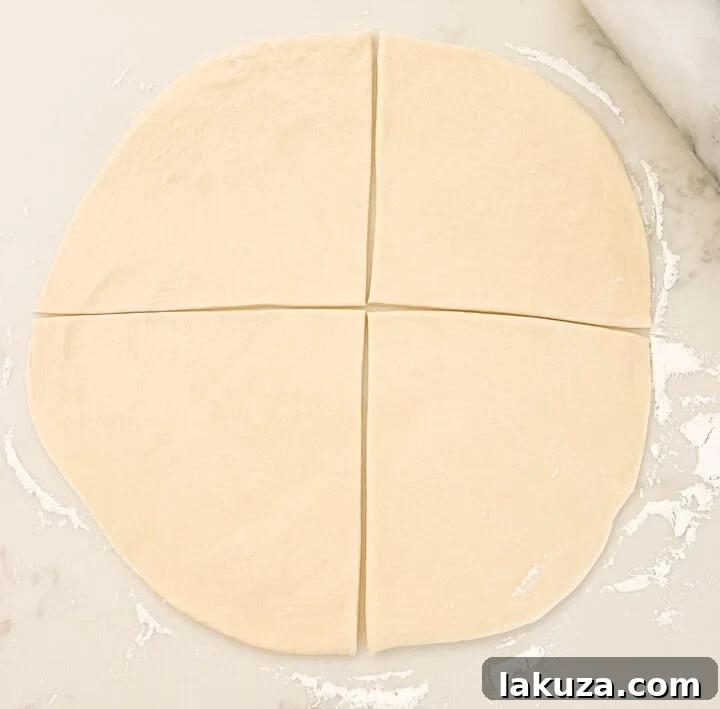
Using a sharp pizza cutter makes quick work of dividing each large dough circle into four perfectly equal parts. This methodical cutting ensures consistent roll sizes.
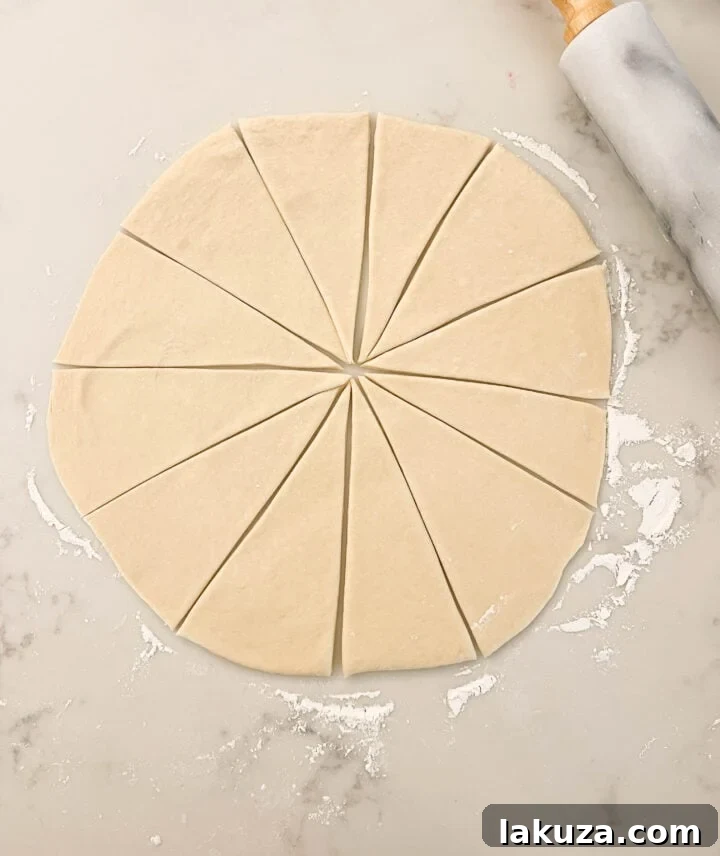
Each quarter of dough is then further sliced into three smaller, elongated triangles. This technique yields a total of 12 pieces from each dough circle, allowing for the perfect crescent shape when rolled.
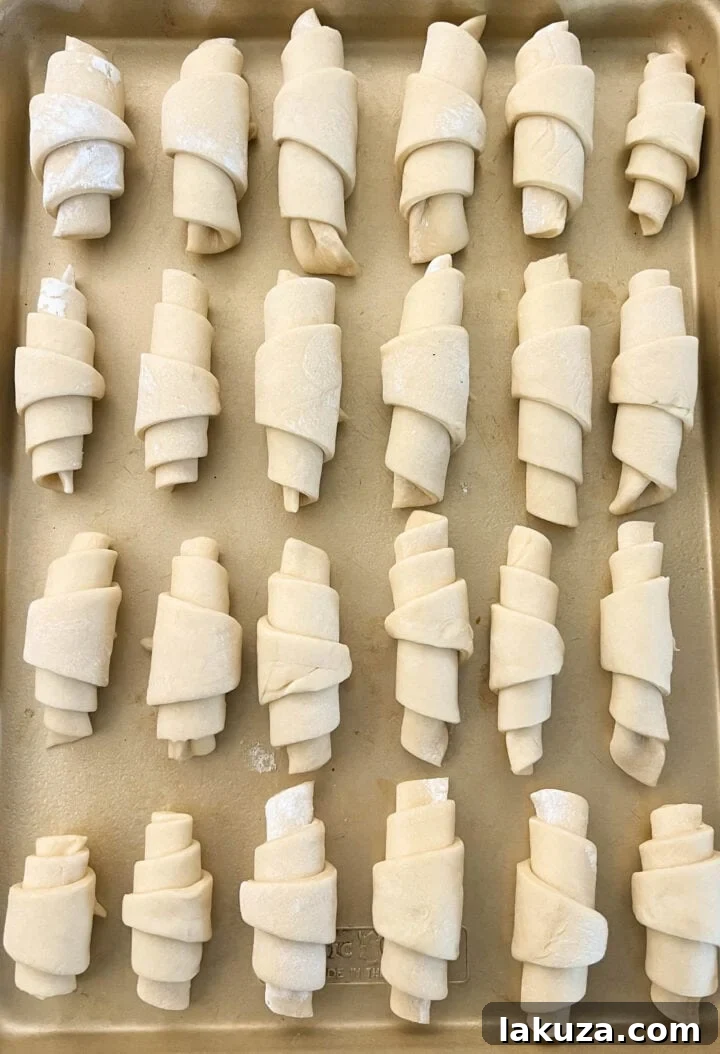
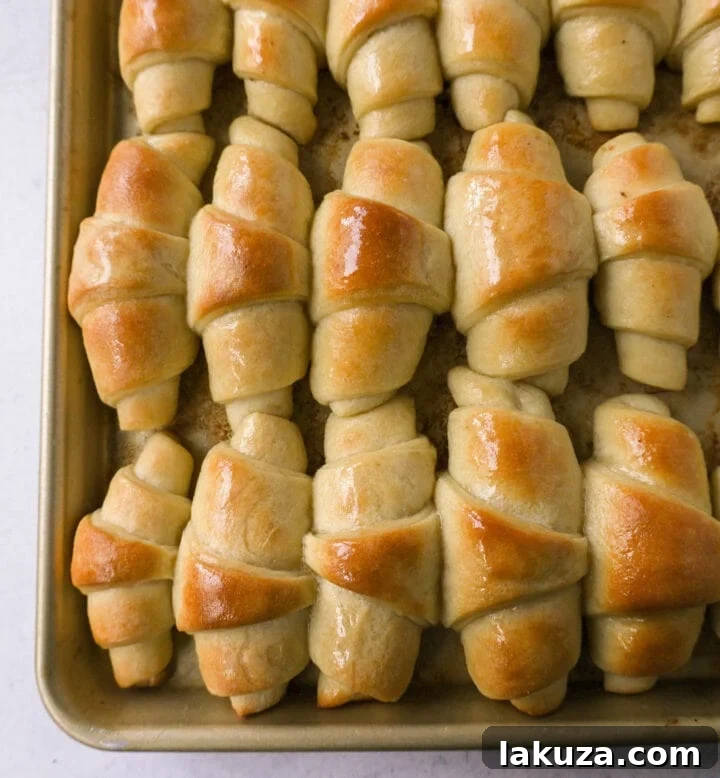
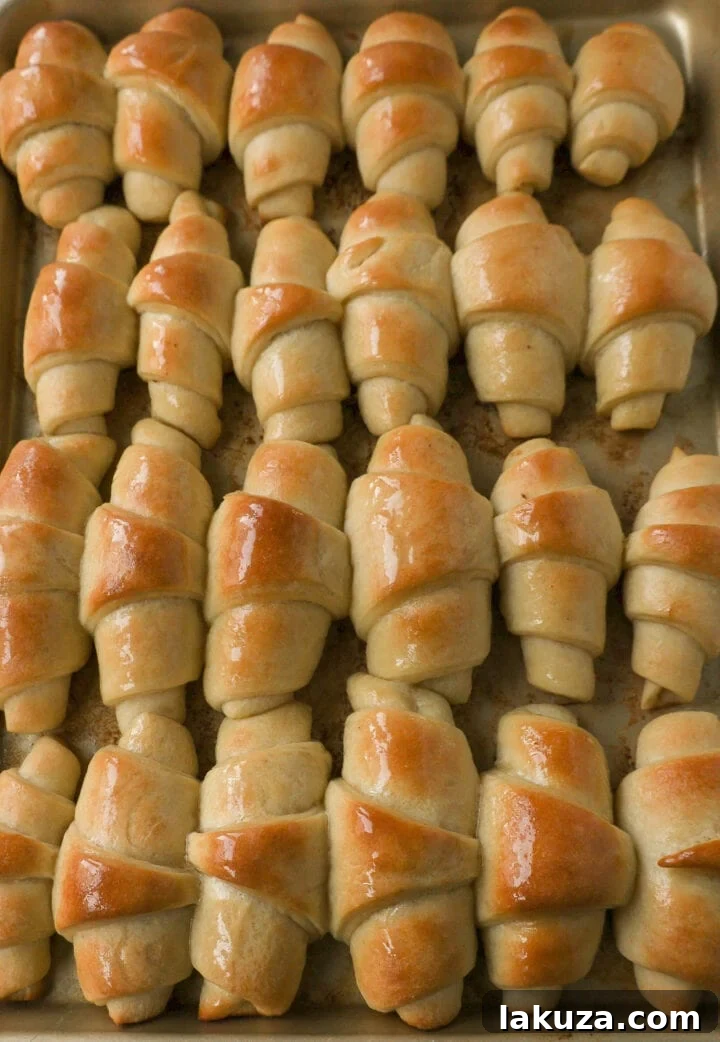
From one batch of dough, you’ll be able to create a generous total of 24 beautiful crescent rolls. These will fit comfortably on a standard baking sheet, ready for their final rise before baking.
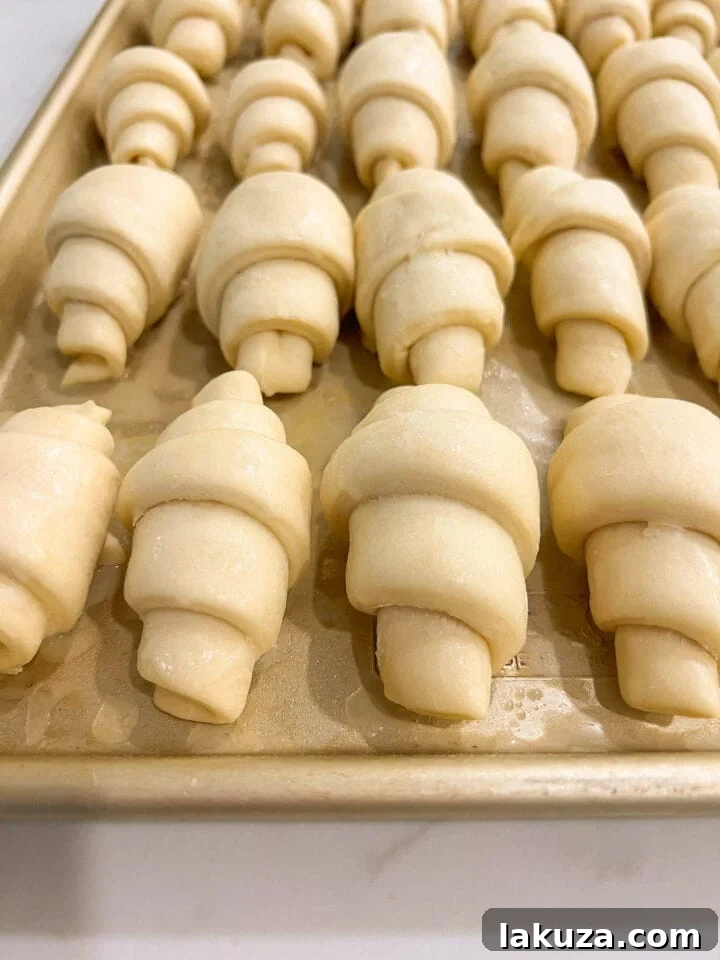
After their second rise, the crescent rolls have puffed up considerably, nearly doubling in size. Having been brushed with a little butter, they are perfectly conditioned to bake, ensuring a moist interior and a beautifully golden, slightly crisp exterior.

Tips for Baking the Best Homemade Crescent Rolls
Achieving consistently perfect crescent rolls is easier than you think with these expert tips:
- Measure Flour Correctly: Too much flour can lead to dense, dry rolls. Use the spoon and level method: spoon flour into your measuring cup and then level it off with a straight edge, rather than scooping directly from the bag.
- Don’t Rush the Rise: Yeast doughs thrive on patience. The rising times are estimates; always go by the visual cue of the dough doubling in size, not strictly by the clock. A warmer environment will speed up the rise, while a cooler one will slow it down.
- Keep it Warm: For optimal rising, place your dough in a warm, draft-free spot. A slightly warm oven (turned off!) or a sunny windowsill can work wonders.
- Don’t Overbake: Overbaking will result in dry rolls. Keep a close eye on them during the last few minutes of baking. They should be just lightly golden brown.
- Generous Buttering: Don’t skimp on the butter! Brushing the dough before shaping and again after baking is key to their irresistible flavor and tender texture.
- Use a Good Quality Mixer: While not strictly necessary, a stand mixer with a dough hook makes the kneading process incredibly easy and ensures the dough is perfectly developed.
Serving Suggestions for Your Homemade Crescent Rolls
These versatile homemade crescent rolls are much more than just a side dish. Their light, buttery nature makes them perfect for a variety of occasions:
- Holiday Feasts: They are an absolute must-have for Thanksgiving, Christmas, or Easter dinners, perfectly complementing roasted meats and gravies.
- Dinner Side: Pair them with hearty soups, stews, or a simple weeknight meal to elevate the dining experience.
- Breakfast or Brunch: Serve them warm with jam, honey, or even a savory egg dish.
- Mini Sandwiches: Slice them horizontally and fill with deli meats, cheese, or chicken salad for delightful mini sliders.
- Garlic Butter Variation: Before the second rise, brush with a mixture of melted butter, minced garlic, and fresh parsley for a savory twist.
Storage and Reheating Homemade Crescent Rolls
Freshly baked crescent rolls are best enjoyed warm from the oven, but leftovers can be stored and reheated to maintain their deliciousness:
- At Room Temperature: Store cooled crescent rolls in an airtight container or a large zip-top bag at room temperature for up to 2-3 days.
- Freezing: For longer storage, freeze the baked and cooled rolls. Wrap them tightly in plastic wrap, then place them in a freezer-safe bag or container. They can be frozen for up to 2 months. Thaw at room temperature before reheating.
- Reheating: To reheat, place rolls on a baking sheet and warm in a preheated oven at 300°F (150°C) for about 5-10 minutes, or until heated through. You can also briefly warm them in the microwave, though this might make them a little chewier.
Homemade Crescent Rolls Recipe

These Homemade Crescent Rolls are the most perfect buttery, light, and fluffy homemade roll recipe. Easy homemade rolls made from scratch!
Cook Time: 18 minutes
Rise Time: 3 hours
Servings: 24 rolls
Equipment
- Bosch mixer or similar stand mixer
- KitchenAid mixer (alternative)
- Measuring cups and spoons
- Rolling pin
- Baking sheets
- Pizza cutter
Ingredients
- 3/4 cup Warm Water (about 110 degrees F)
- 1 Tablespoon Active Dry Yeast
- 4 Tablespoons Granulated Sugar
- 3/4 cup Salted Butter (divided into three 1/4 cup portions)
- 3/4 cup Milk
- 1 large Egg
- 4 cups All-Purpose Flour (plus more for dusting if needed)
- 1 teaspoon Salt
Instructions
- Proof the Yeast: In a large mixing bowl (or the bowl of your stand mixer), combine the warm water, 1 tablespoon of sugar, and sprinkle the active dry yeast over the top. Let sit for 5-10 minutes until foamy, indicating the yeast is active.
- Warm Milk and Butter: In a microwave-safe bowl, combine the milk and 1/4 cup of the salted butter. Microwave for about 45 seconds, or until the butter is mostly melted and the mixture is warm (around 110°F/43°C). Let it cool slightly if too hot. Add this warmed mixture and the egg to the proofed yeast in the mixing bowl.
- Mix and Knead the Dough: Add the flour and salt to the bowl. Attach the dough hook to your stand mixer and mix on low speed for 2-3 minutes, until the dough comes together. Increase speed to medium-low and knead for another 5-7 minutes, until the dough is smooth, elastic, and pulls away cleanly from the sides of the bowl. If needed, add more flour (1 tablespoon at a time) to prevent excessive stickiness.
- First Rise: Lightly grease a clean bowl with non-stick spray or softened butter. Transfer the dough to the bowl, turning it once to coat. Cover with plastic wrap or a clean kitchen towel and let rise in a warm, draft-free place for 1-2 hours, or until doubled in size.
- Shape the Rolls: Gently punch down the risen dough and turn it out onto a lightly floured surface. Divide the dough into two equal portions. Roll each portion into a 14-inch diameter circle. Soften another 1/4 cup of salted butter and brush it evenly over each dough circle.
- Cut and Roll: Using a pizza cutter, cut each 14-inch dough circle into quarters, then slice each quarter into three equal triangles, yielding 12 triangles per circle (24 total). Starting from the wide end of each triangle, roll it up towards the pointed tip to form a crescent shape.
- Second Rise: Place the shaped crescent rolls onto a greased baking sheet, leaving space between them. Brush the tops lightly with a small amount of the remaining softened butter. Cover loosely and let rise for another 30-45 minutes, or until nearly doubled in size. Preheat your oven to 350°F (175°C) during the last 15 minutes of the rise.
- Bake: Bake the rolls for 15-20 minutes, or until they are light golden brown. Watch them carefully, as they can brown quickly.
- Finish and Serve: Remove from the oven and immediately brush the tops of the hot rolls with the last 1/4 cup of melted salted butter. Serve warm and enjoy!
Notes
Understanding Yeast Activity
The key to making any type of homemade rolls recipe is to ensure the yeast is working and activated. I suggest mixing the yeast, warm water (about 110 degrees), and a touch of sugar into a bowl. The sugar will help to “feed” the yeast and help it to activate quicker. Yeast loves sugar! The warm water also helps to activate the yeast. If the water or milk is too hot, it can kill the yeast so make sure it is warm to the touch but not too hot. The yeast should start to become foamy or bubbles will begin to surface. This is a great sign that the yeast is working. Let it work for at least 5-10 minutes.
Nutrition Information (Approximate per serving)
Calories: 141kcal, Carbohydrates: 18g, Protein: 3g, Fat: 6g, Saturated Fat: 4g, Polyunsaturated Fat: 1g, Monounsaturated Fat: 2g, Trans Fat: 1g, Cholesterol: 23mg, Sodium: 149mg, Potassium: 41mg, Fiber: 1g, Sugar: 2g, Vitamin A: 204IU, Vitamin C: 1mg, Calcium: 16mg, Iron: 1mg
Nutrition information is automatically calculated, so should only be used as an approximation and can vary based on ingredients used.
Discover More Delicious Bread Recipes
If you loved these homemade crescent rolls, you might want to explore other delightful bread recipes to expand your baking repertoire. Each of these recipes offers its own unique charm and is perfect for various occasions:
- Knotted Buttery Rolls: Another fantastic option for a soft, buttery roll, perfect for dinner parties.
- Homemade Garlic Butter Rolls: Infused with aromatic garlic and rich butter, these are a savory treat.
- One Hour Whole Wheat Bread Recipe: A quick and healthy option for a wholesome loaf.
- Miracle One Hour White Bread Recipe: Achieve a perfectly soft white bread loaf in record time.
- Easy Soft French Bread Recipe: Bring the bakery experience home with this wonderfully soft French bread.
For all your holiday baking needs, especially Thanksgiving, make sure to check out the Best Thanksgiving Recipes collection HERE.