
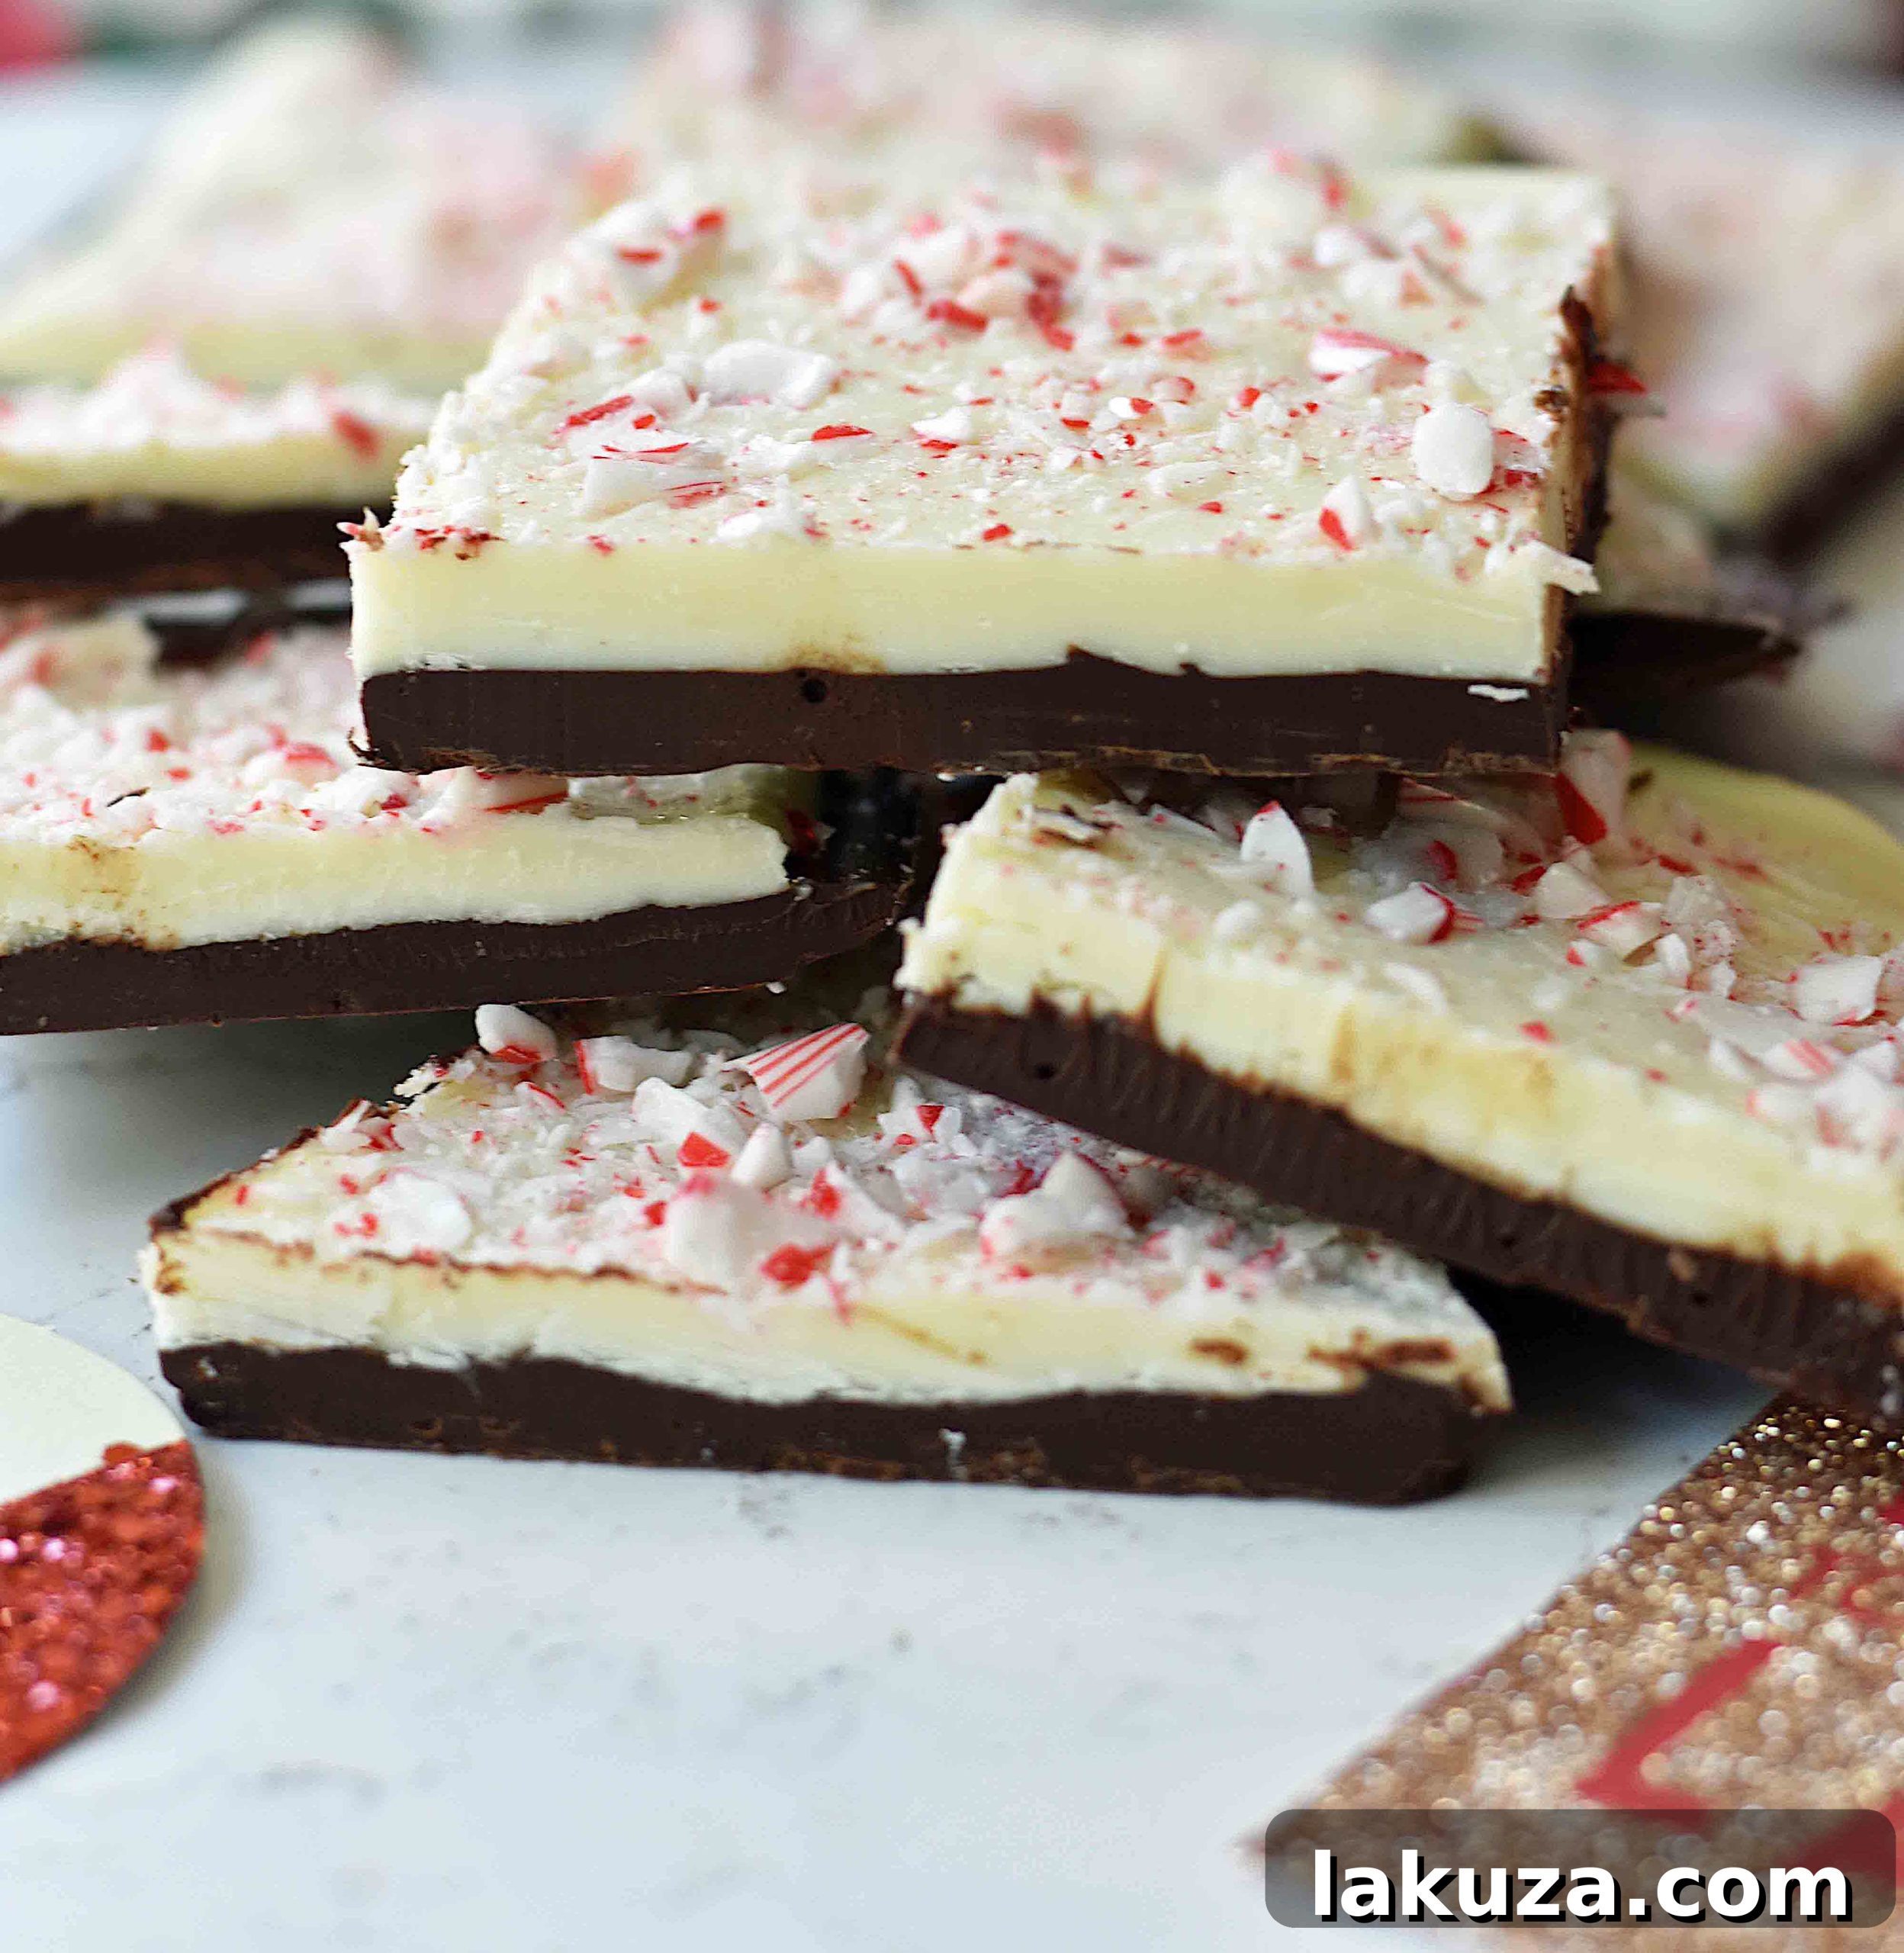
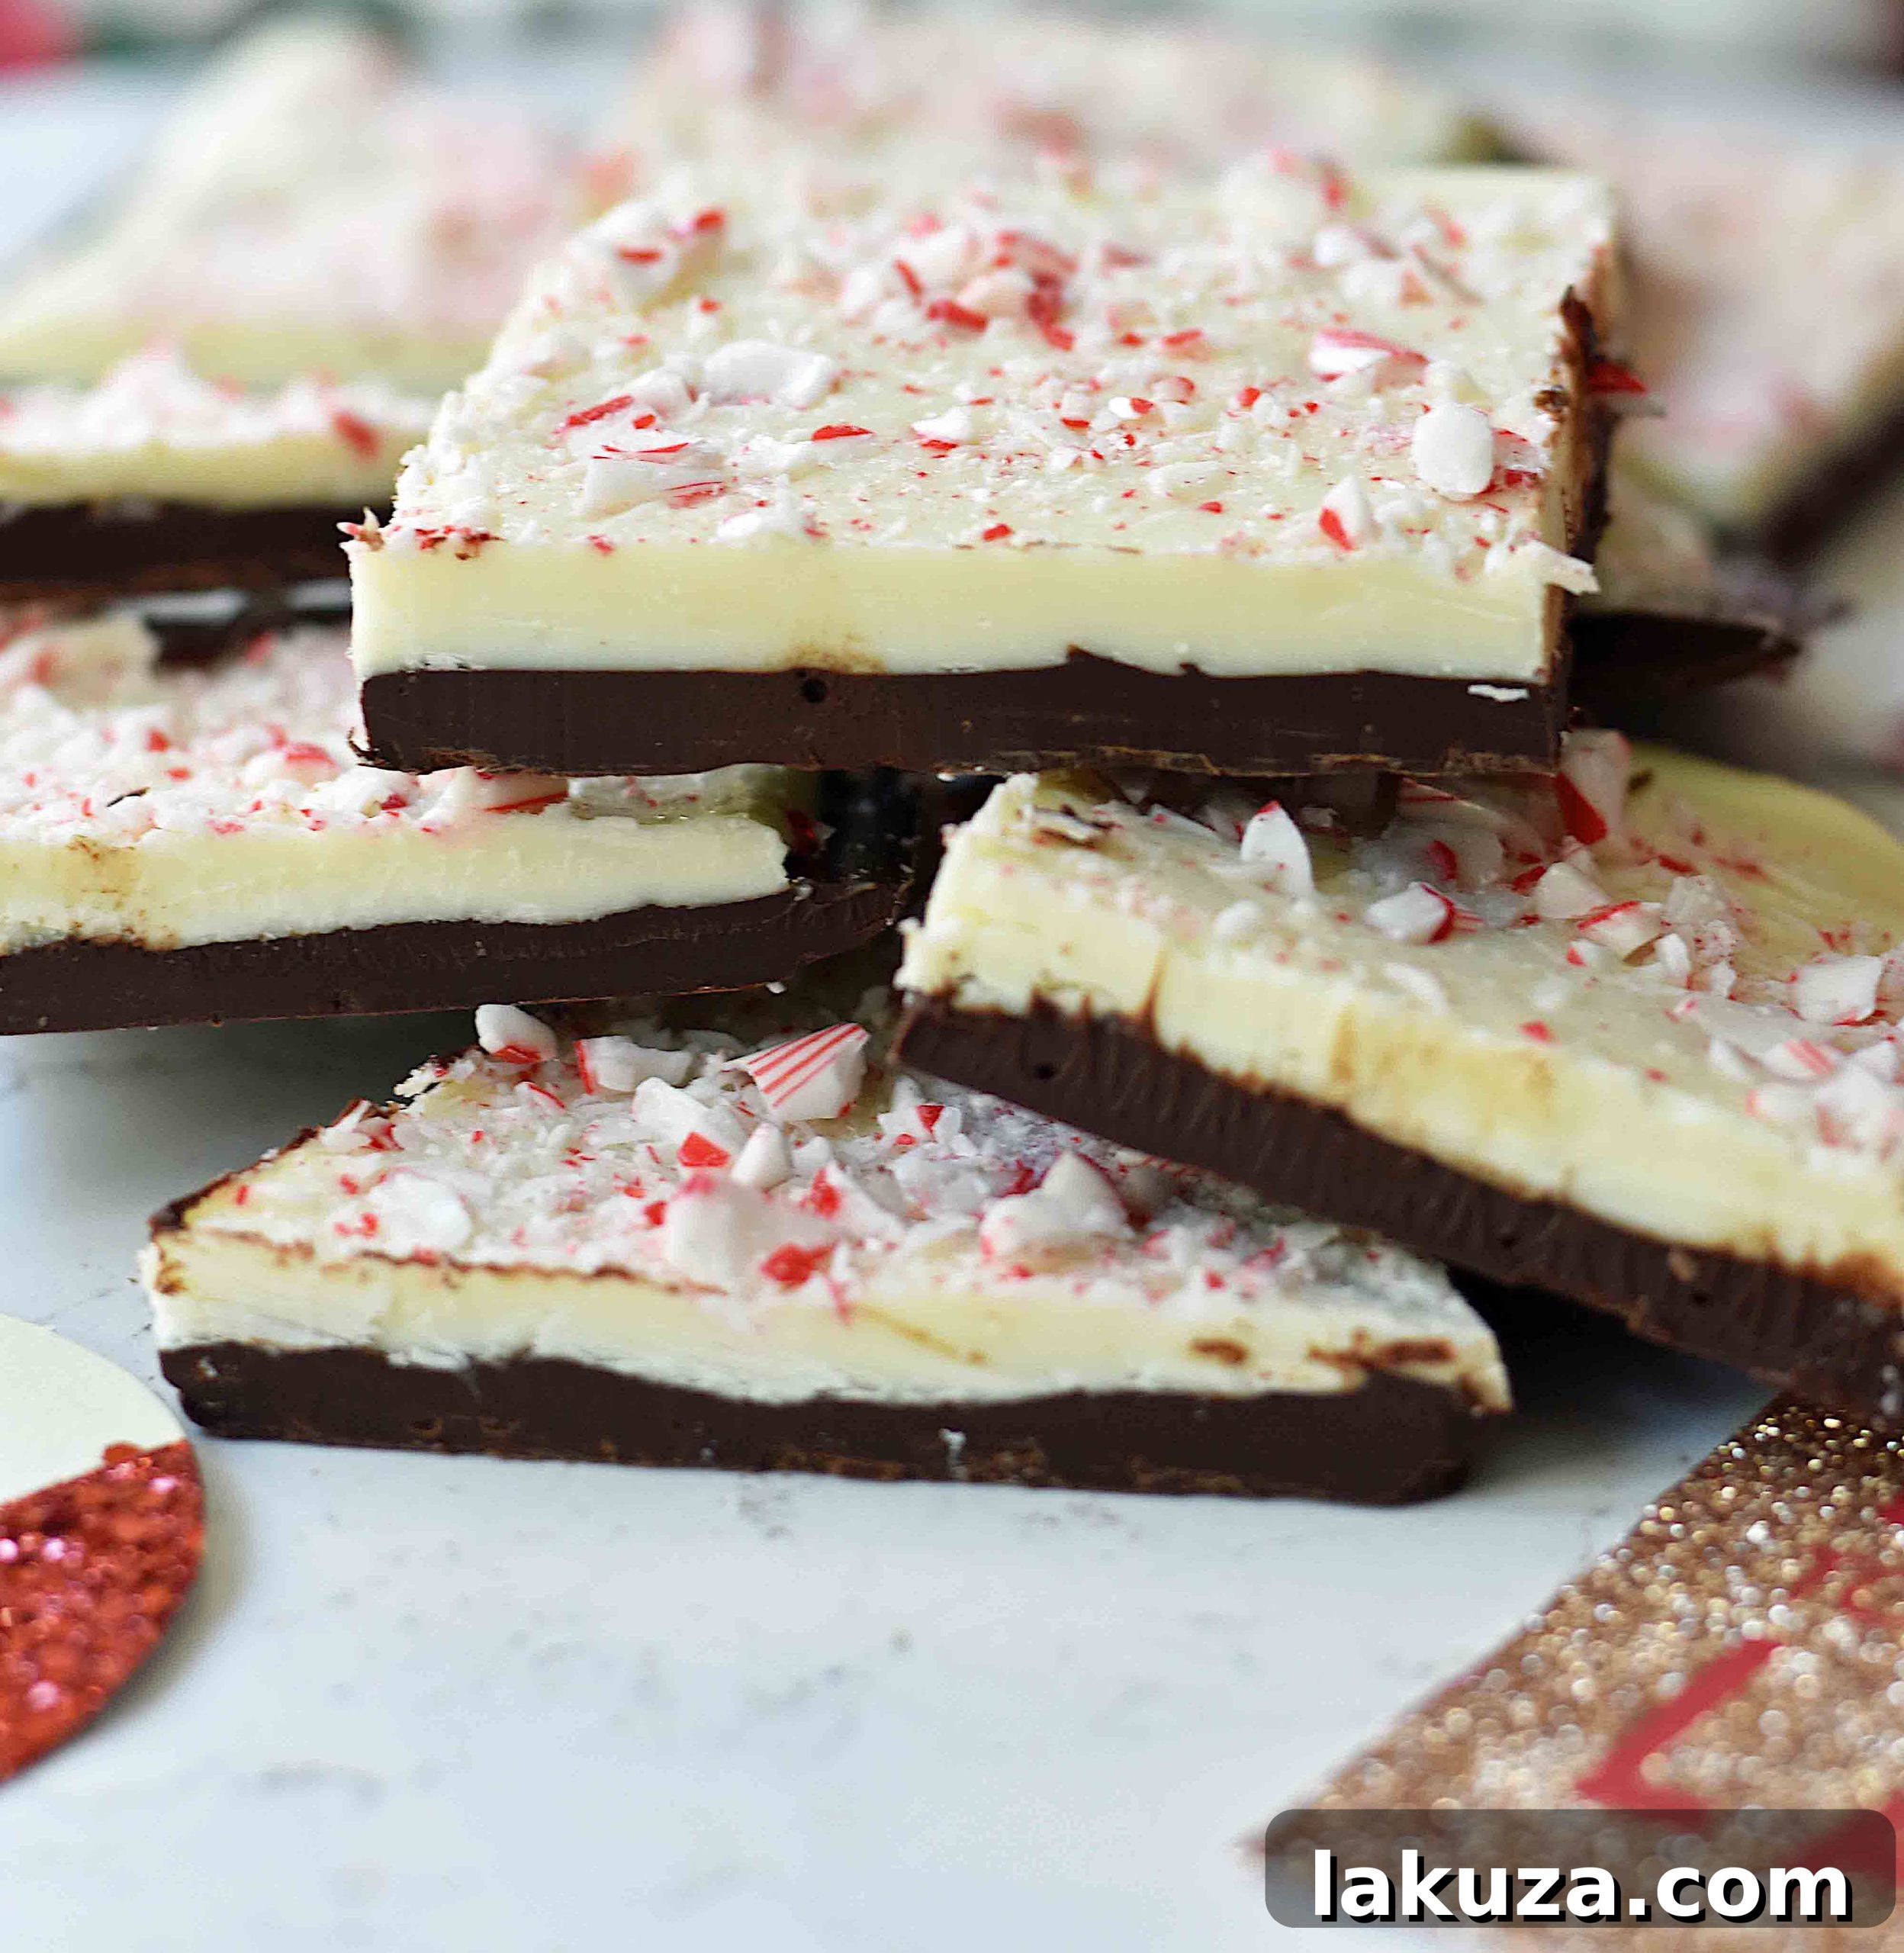
The Ultimate Homemade Chocolate Peppermint Bark Recipe: Your Guide to Festive Holiday Candy
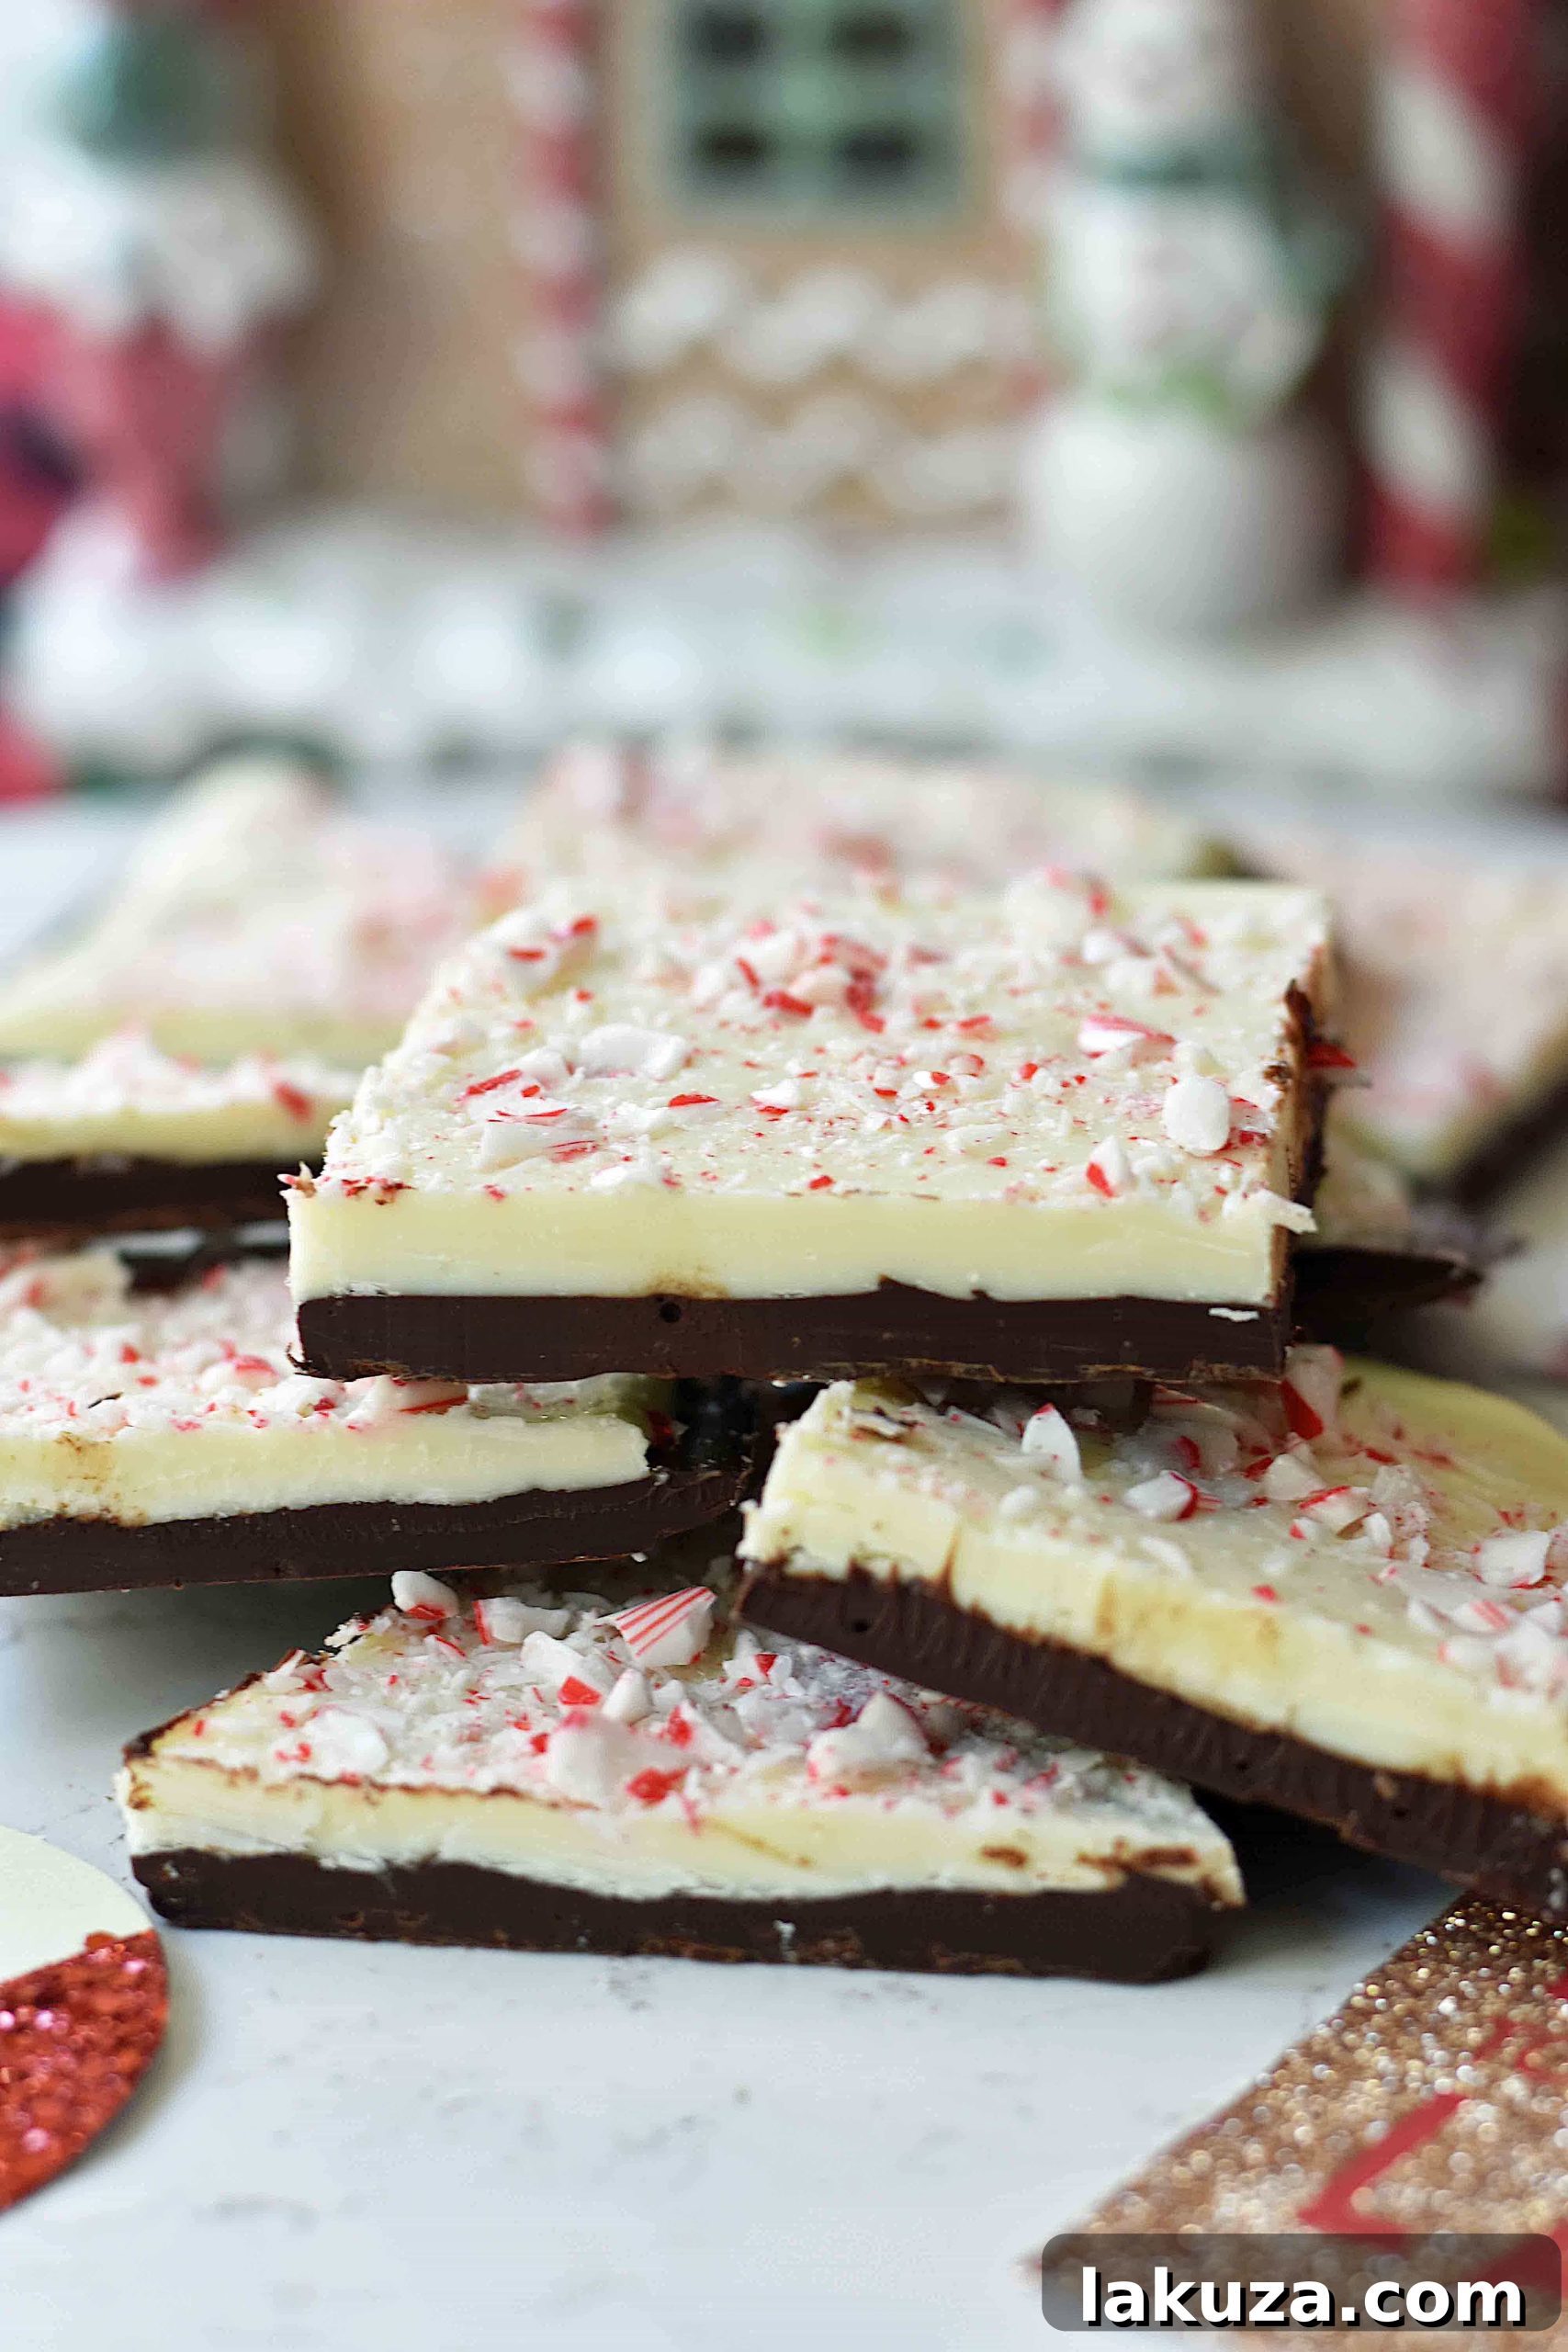
There’s an undeniable magic that peppermint bark brings to the holiday season. The satisfying crunch of candy canes, the cool rush of peppermint, and the comforting richness of chocolate all come together in one irresistible treat. While the iconic store-bought versions are a beloved indulgence, learning how to make homemade chocolate peppermint bark is a surprisingly simple and incredibly rewarding experience. Not only is it a fraction of the cost, but it also allows for customization, ensuring you get the exact flavor and texture you crave. Prepare to make the BEST Chocolate Peppermint Bark that will impress everyone on your holiday list!
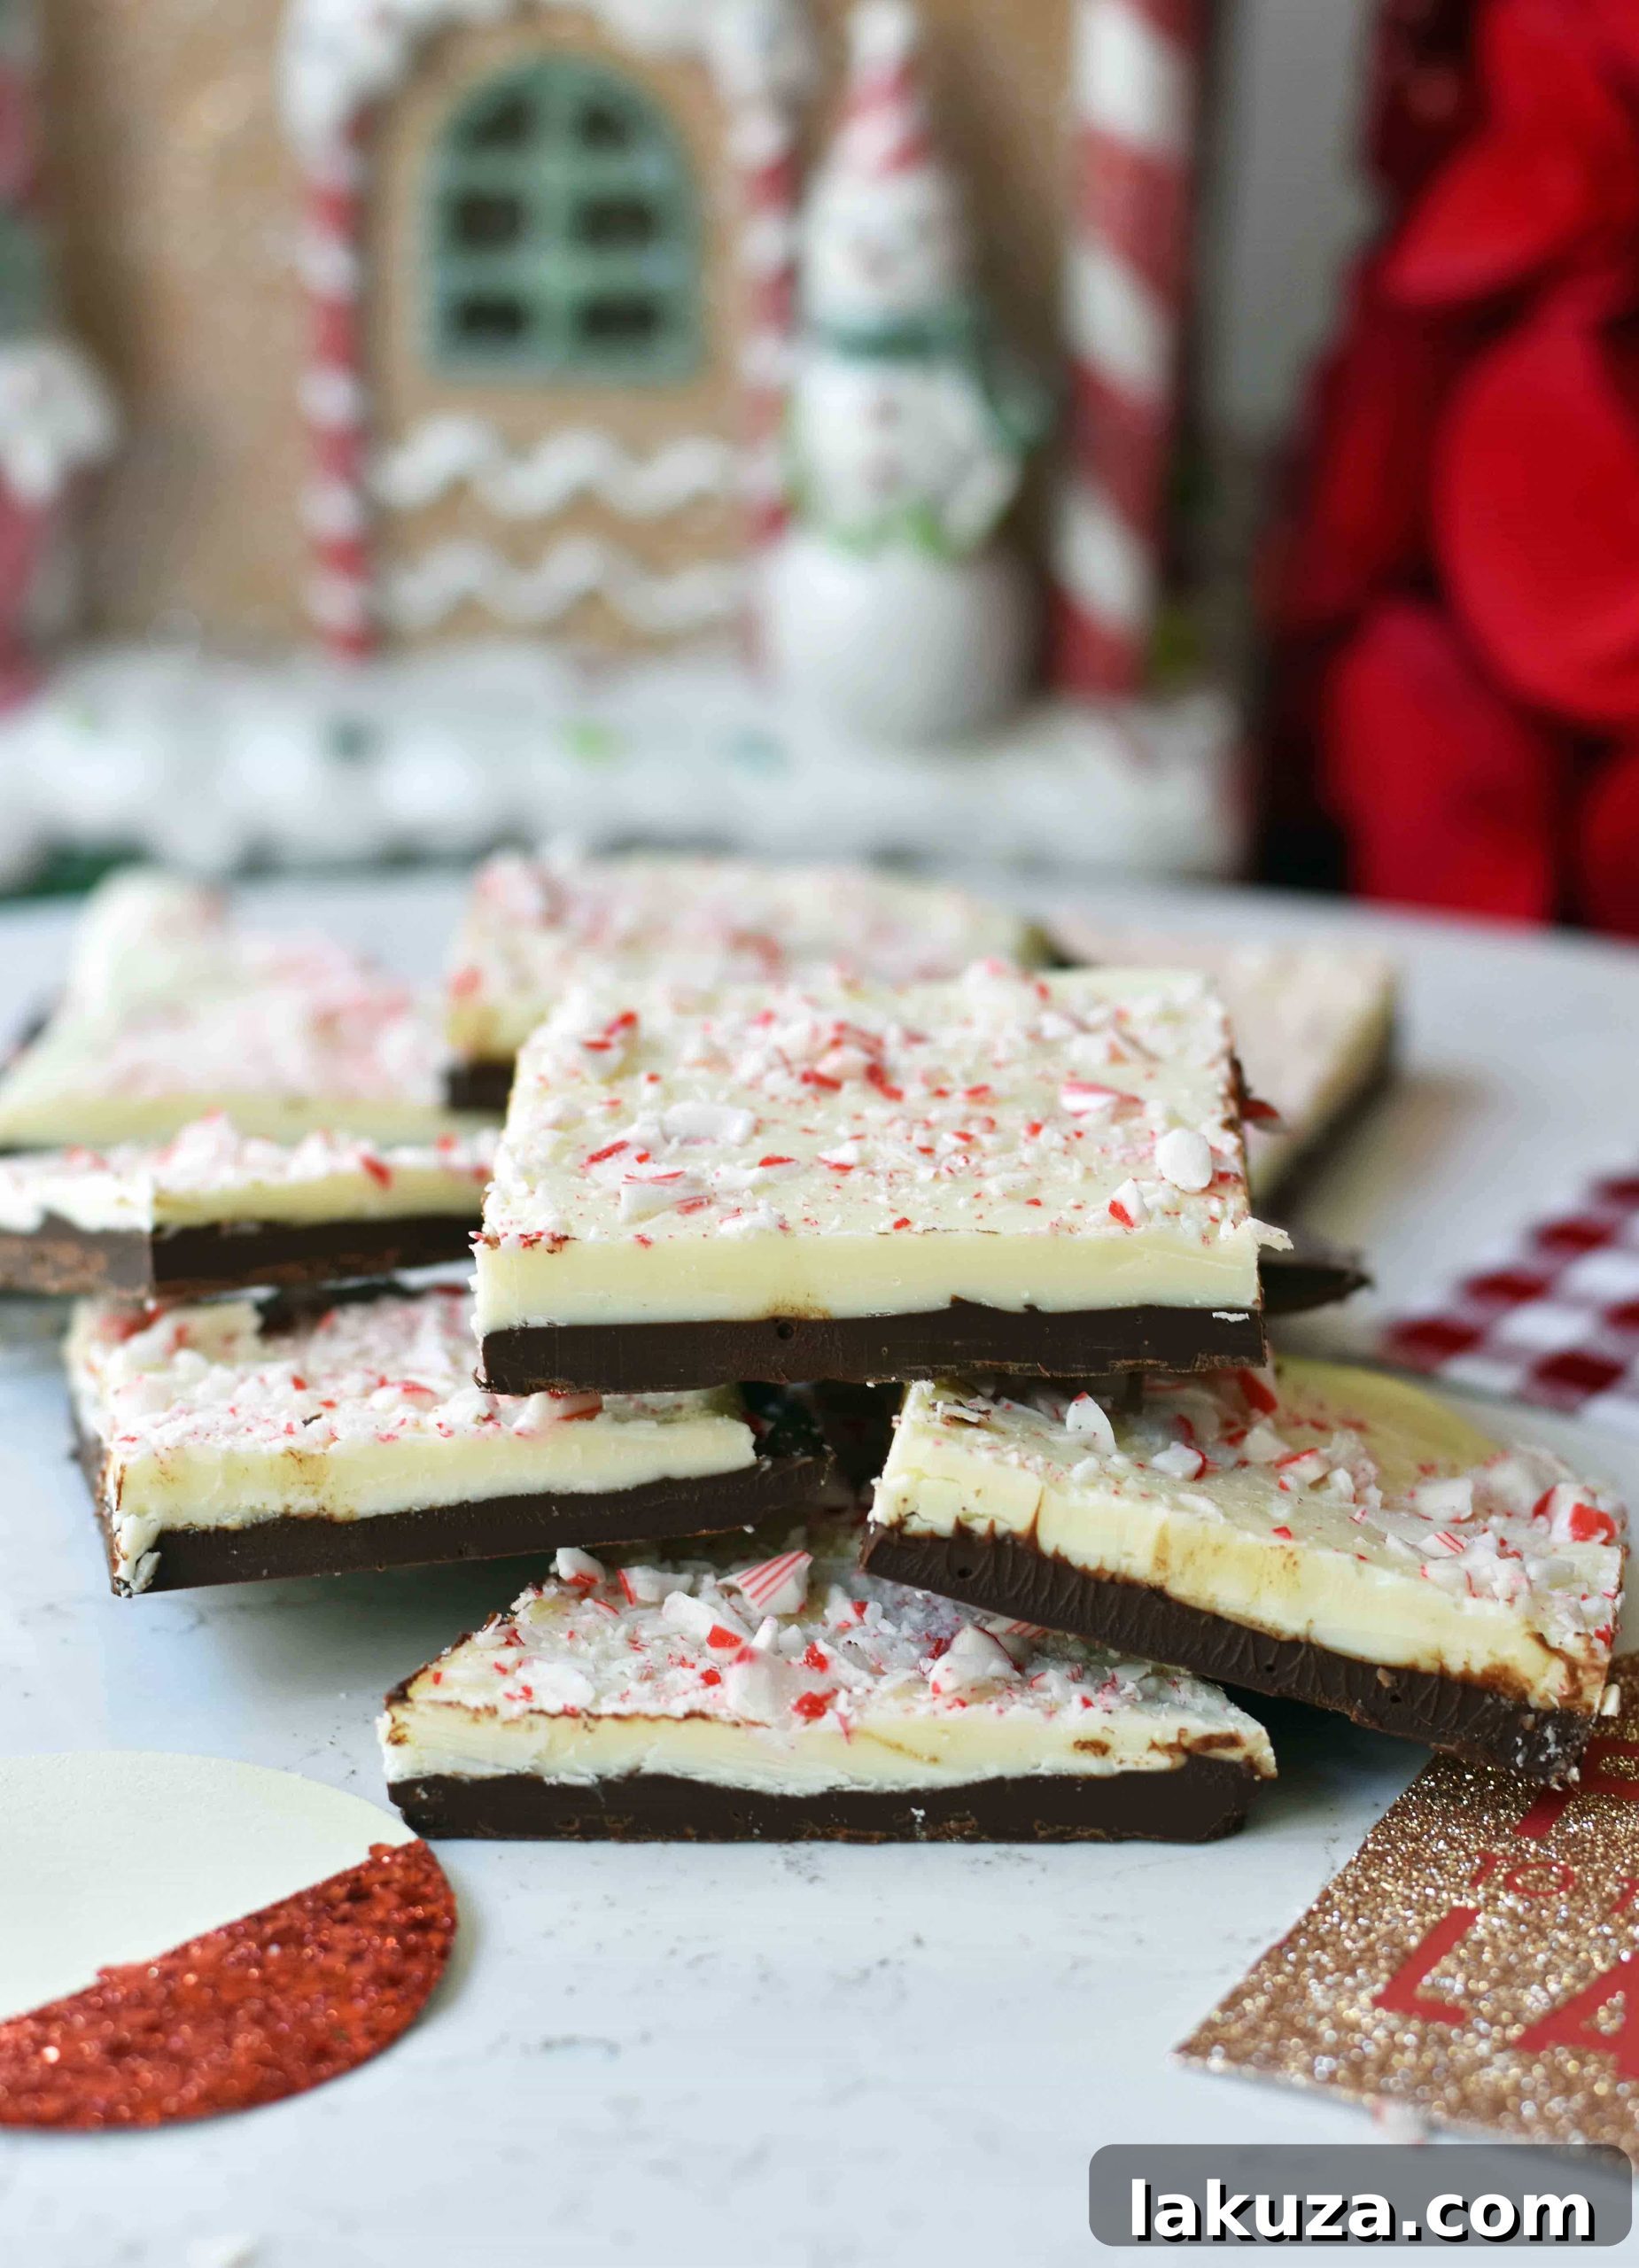
My passion for peppermint bark truly ignites during the Christmas season. Just recently, my husband and I embarked on a monumental nine-hour Christmas shopping spree. Amidst the cheerful holiday music, the bustling crowds, and the endless pursuit of perfect gifts for our kids, a familiar craving emerged. As we passed by the inviting displays at stores like Sur La Table, William-Sonoma, and even Pottery Barn, I couldn’t resist sneaking a sample or two of their famous peppermint bark. It was the perfect pick-me-up, a little burst of festive energy that kept my aching feet moving.
Those delectable samples, however, come with a hefty price tag. It got me thinking: why not recreate this holiday favorite at home? Not only would it be more economical, but it would also allow me to share this joyful treat with friends and neighbors as thoughtful homemade gifts. And let me tell you, what I discovered is that crafting homemade chocolate peppermint bark is incredibly straightforward! You don’t need to be a pastry chef to achieve professional-looking and tasting results. I’m excited to share my easy-to-follow steps, so you can master this copycat peppermint bark recipe and delight everyone on your holiday list.
Why Homemade Peppermint Bark is the Best Choice
Beyond the simple joy of creating something delicious in your own kitchen, there are several compelling reasons to embrace homemade peppermint bark this holiday season:
- Cost-Effectiveness: Store-bought gourmet bark can be surprisingly expensive, especially if you plan on gifting it to multiple people. Making it yourself significantly reduces the cost per serving, allowing you to create larger batches for less.
- Quality Control: You have complete control over the ingredients. Choose your favorite high-quality chocolates and ensure the peppermint flavor is just right for your palate. This means avoiding artificial flavors and ensuring pure, rich taste.
- Customization: Want more dark chocolate? Less white? A different type of crushed candy? Homemade allows you to tailor the bark to your exact preferences, or even experiment with various toppings like sprinkles, sea salt, or different kinds of crushed candies.
- Unmatched Freshness: There’s nothing quite like freshly made candy. Your homemade bark will have a superior snap, texture, and vibrant flavor compared to versions that have been sitting on a shelf for weeks or months.
- Thoughtful Gifting: A beautifully packaged box of homemade peppermint bark makes a deeply personal and cherished holiday gift. It shows care and effort that a store-bought item simply can’t match, making it a perfect present for teachers, neighbors, friends, and family.
- The Joy of Creation: There’s immense satisfaction in creating something delicious from scratch. The aroma of melting chocolate and peppermint filling your kitchen is a sensory delight that truly embodies the holiday spirit.
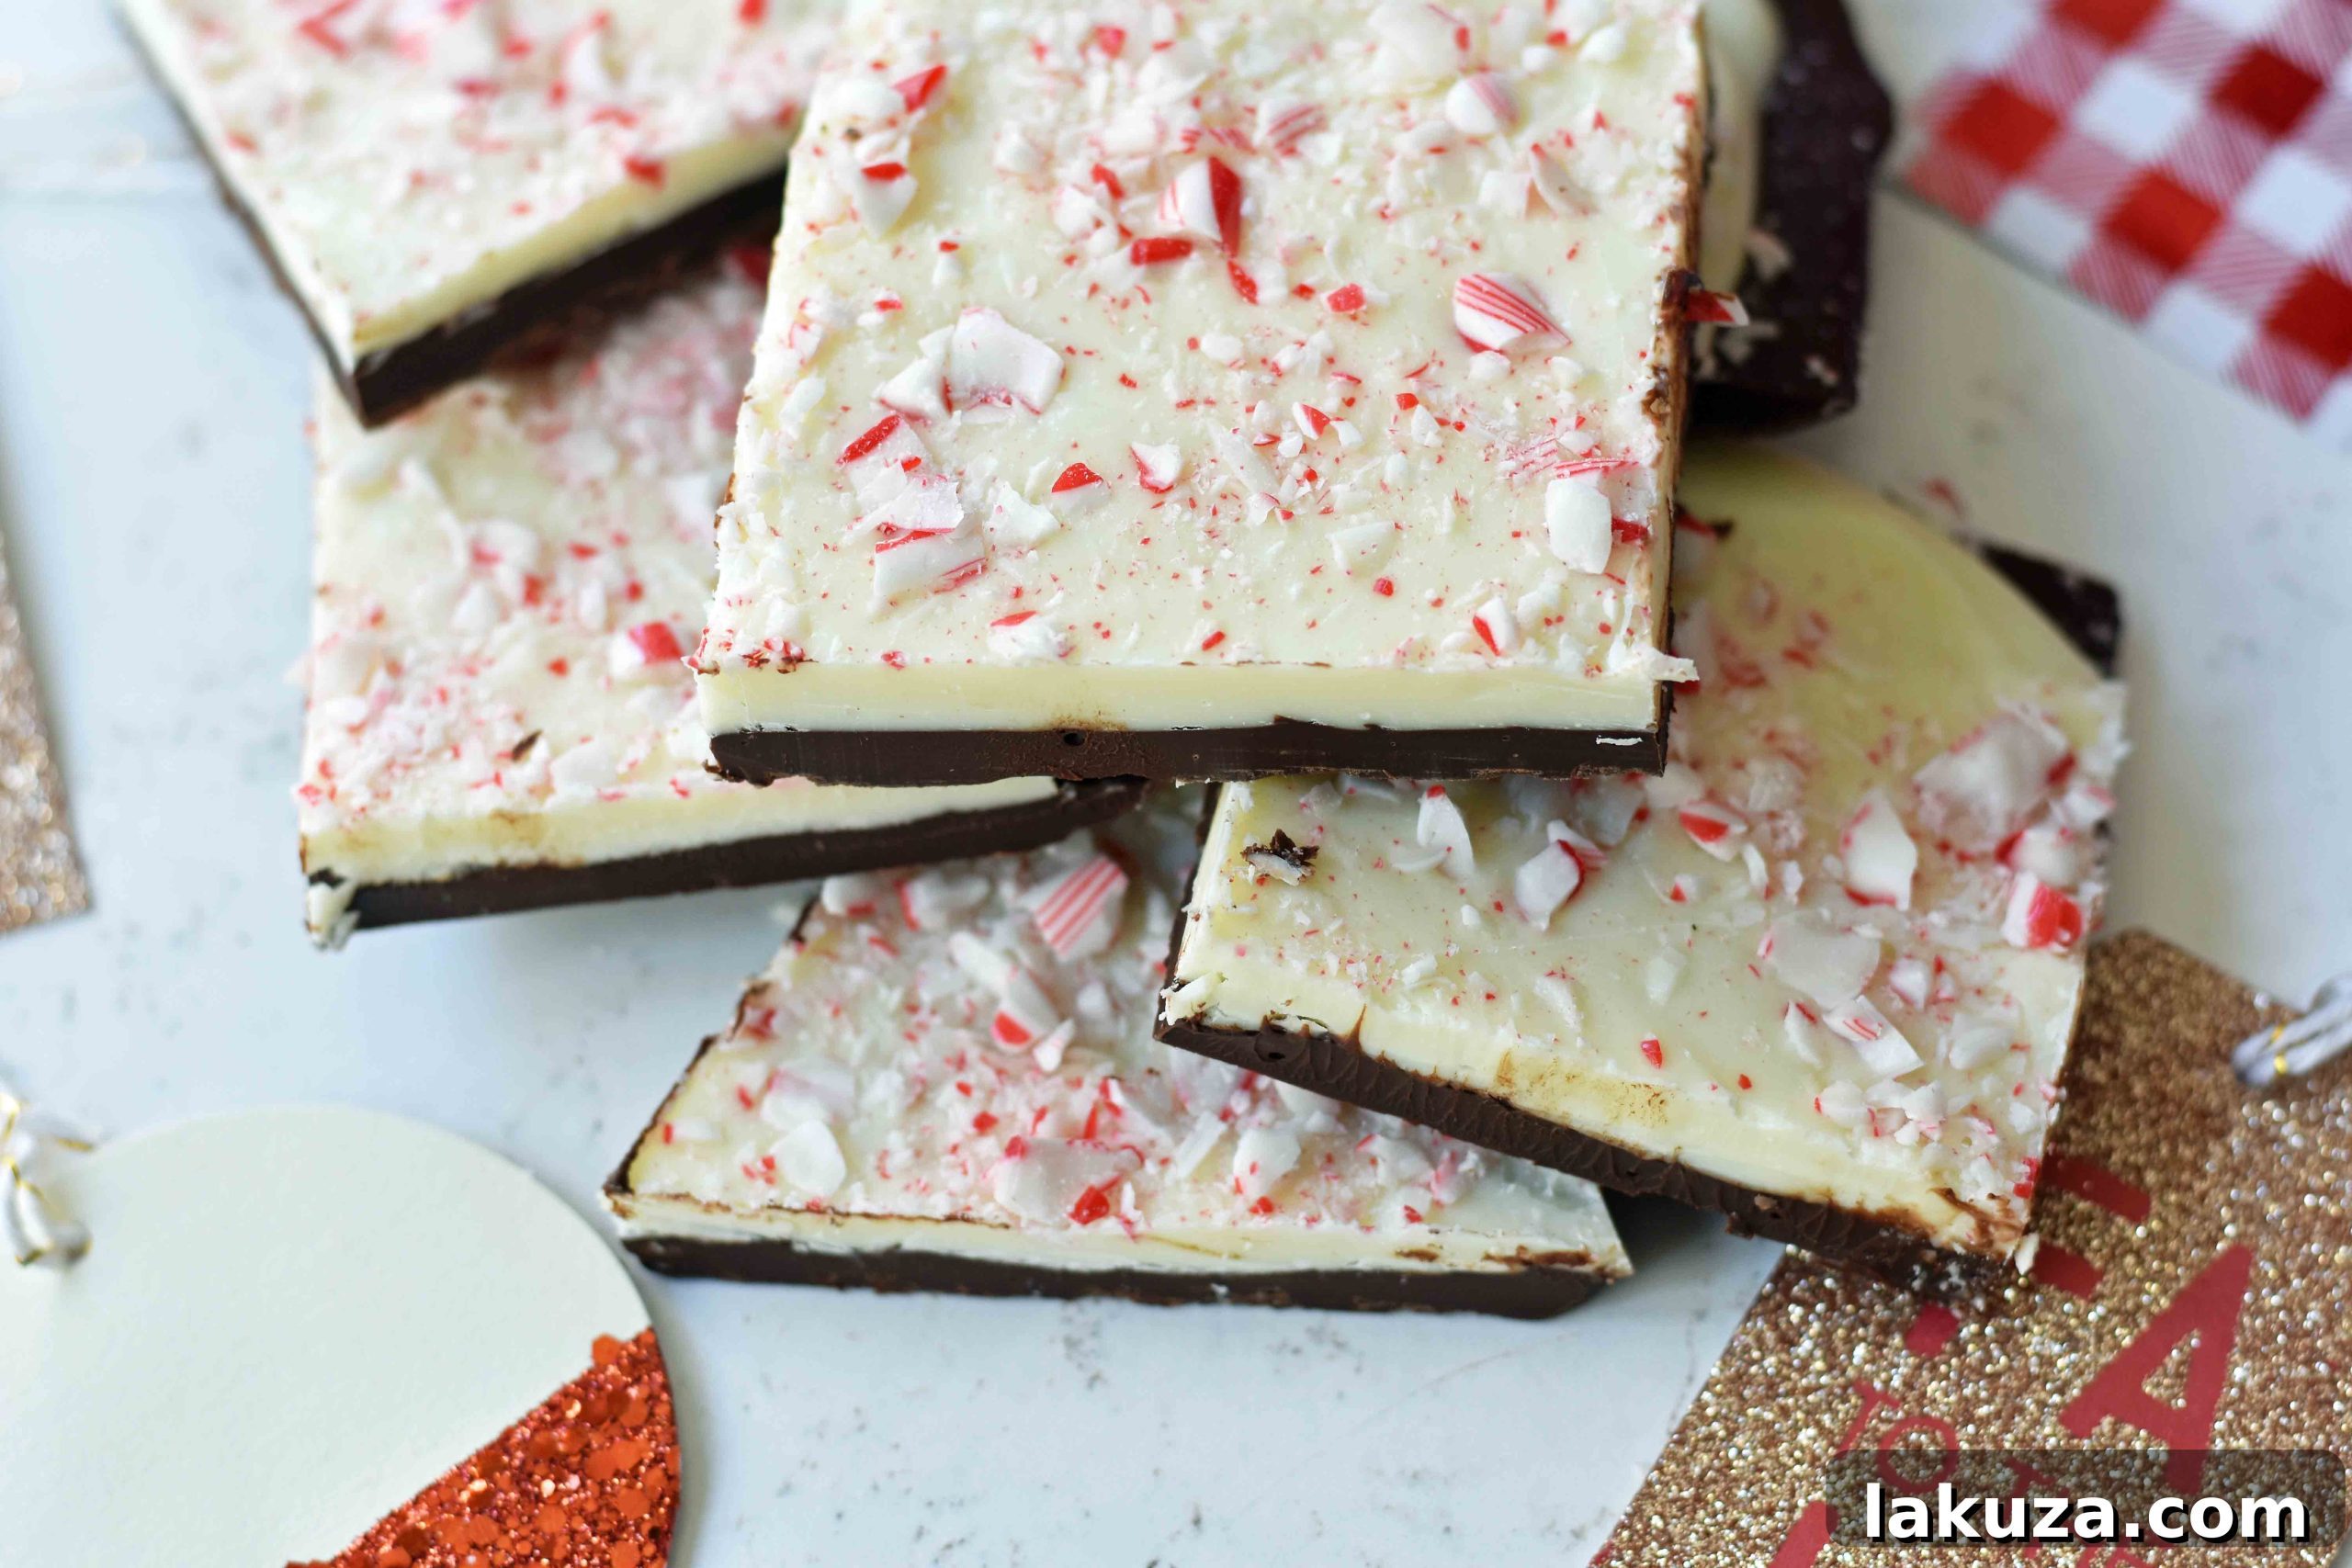
Crafting Your Peppermint Bark: A Detailed Step-by-Step Guide
Achieving perfect chocolate peppermint bark is all about quality ingredients and a gentle touch with melting. Here’s how to create the best chocolate peppermint bark that will impress everyone:
-
Start with Superior Chocolate Selection
The foundation of exceptional peppermint bark lies in high-quality chocolate. Since chocolate is truly the star here, investing a little extra in premium brands is well worth it. You can opt for high-quality chocolate bars, baking wafers, or even gourmet chocolate chips. For the rich dark or semi-sweet layer, brands like Callebaut, Guittard, Ghirardelli, or even Trader Joe’s Pound Plus Bars offer excellent flavor and melt beautifully. These brands provide a smooth, consistent melt that’s crucial for bark. For the white chocolate layer, Ghirardelli white melting wafers are a fantastic choice because they melt into an incredibly smooth, glistening finish, creating a perfect canvas for the peppermint. If using white chocolate chips, look for brands like Guittard or Ghirardelli for optimal results. It’s important to avoid using standard chocolate chips designed for cookies, as they contain stabilizers that prevent smooth melting and can result in a grainy or dull-looking bark.
-
Master the Art of Slow and Gentle Melting
This step is crucial for achieving silky-smooth chocolate without any burning or seizing. I often use a microwave for its convenience, but a double boiler method works equally well for more precise control and is often preferred by professional confectioners. If using a microwave, always use a microwave-safe, heat-proof bowl. Begin by heating the chocolate at only 50% power, or use your microwave’s defrost setting. This prevents overheating and burning, which is especially important for white chocolate due to its higher sugar content. Heat the chocolate in short bursts of 30 seconds, removing the bowl and stirring vigorously after each interval. Continue this process until the chocolate is mostly melted and smooth. The residual heat from the bowl and the already melted chocolate will melt any remaining lumps as you stir, ensuring a perfectly fluid consistency. Once your semi-sweet or dark chocolate is fully melted and smooth, stir in a tiny dash of peppermint extract (about 1/8 teaspoon for this layer) for a subtle background note of mint that complements the dominant white chocolate peppermint layer without overpowering it.
-
Prepare Your Baking Surface
To ensure your chocolate bark doesn’t stick and is easy to remove and break apart cleanly, line a baking sheet or pan with non-stick parchment paper or wax paper. A quarter-sized baking sheet (approximately 9×13 inches) is ideal for the quantities in this recipe, allowing for a good thickness. However, any flat baking pan or even a 9-inch square pan will work. Ensure the paper covers the entire surface and extends slightly up the sides to prevent chocolate from leaking underneath and sticking to the pan.
-
Lay the Foundation: Dark Chocolate Layer and First Chill
Once your dark or semi-sweet chocolate is perfectly melted and infused with that hint of peppermint, pour it evenly onto your prepared baking sheet. Use an offset spatula or the back of a spoon to spread it into an even layer, aiming for a thickness of about 1/8 to 1/4 inch. The key is consistency for an appealing final product. Immediately transfer the baking sheet to the freezer for about 10 minutes, or to the refrigerator for 15-20 minutes, until the chocolate is mostly set but still slightly tacky to the touch. This chilling step is essential to create distinct layers and prevent the white chocolate from blending with the dark chocolate when applied, giving you that beautiful two-tone effect.
-
Craft the Peppermint White Chocolate Layer
While the dark chocolate is chilling, prepare your white chocolate. Remember, white chocolate is more delicate and can scorch easily, so extra care with melting is needed. Use the same slow and gentle melting technique as with the dark chocolate (50% power, 30-second intervals, vigorous stirring). Pay close attention and remove it from the microwave just before it’s fully melted, relying on stirring to achieve complete smoothness. Once the white chocolate is completely smooth and melted, stir in the main portion of your peppermint extract (about 1/4 teaspoon). Ensure it’s fully incorporated, giving the white chocolate its signature bright, minty flavor. Taste a tiny bit to ensure the peppermint strength is to your liking.
-
Combine Layers and Add the Festive Topping
Carefully retrieve your chilled dark chocolate layer. Pour the melted peppermint white chocolate over the dark chocolate base. Quickly and evenly spread the white chocolate using an offset spatula, ensuring it covers the entire dark chocolate layer from edge to edge. Immediately after spreading the white chocolate, generously sprinkle the crushed candy canes over the surface. Work quickly, as the white chocolate will start to set relatively fast. The residual warmth and tackiness of the white chocolate will help the candy cane pieces adhere firmly, preventing them from falling off later. Once topped, place the entire baking sheet back into the freezer for another 15-20 minutes, or the refrigerator for 30-45 minutes, until both layers are completely firm and set through.
-
Perfecting the Cut and Storing for Freshness
Once the bark is fully set and firm, remove it from the refrigerator or freezer. To get clean, crisp cuts without cracking the chocolate, use a very sharp knife. For even cleaner lines, you can gently warm the knife under hot water and dry it thoroughly between each cut. Press down firmly and cut the bark into desired shapes – squares, elegant rectangles, or charming irregular triangles – whatever shape you prefer for serving or gifting! Store the finished Chocolate Peppermint Bark in an airtight container. While it can be kept at room temperature in a cool, dry place, I find it stays freshest and retains its satisfying snap best when stored in the refrigerator. Simply take it out 5-10 minutes before serving or gifting to allow it to temper slightly and prevent it from being too hard.
Pro Tips for Peppermint Bark Perfection
Elevate your homemade peppermint bark with these expert tips:
- Mind the Moisture: Chocolate and water do not mix! Even a tiny drop of water can cause your chocolate to seize and become thick and clumpy. Ensure all your bowls, spatulas, and utensils are completely dry before they come into contact with melted chocolate.
- Quality Over Quantity: As mentioned, using good quality chocolate makes a significant difference in both taste and texture. Don’t skimp here! The slight extra cost pays off in a superior end product.
- Don’t Overheat: Patience is key when melting chocolate. Overheating can burn it, especially white chocolate, leading to a grainy texture or a scorched, unpleasant taste. Low and slow, with constant stirring, is the golden rule.
- Even Layers: Aim for consistent thickness in both your dark and white chocolate layers. This ensures even setting, a visually appealing aesthetic, and a pleasant balance of flavors and textures in every bite.
- Crushing Candy Canes: For best results, place candy canes in a sturdy Ziploc bag and crush them with a rolling pin or the bottom of a heavy pan. Don’t over-crush them into a fine powder; you want nice crunchy bits that add texture and visual appeal.
- Alternative Toppings: While crushed candy canes are classic, feel free to get creative! A sprinkle of flaky sea salt can enhance the chocolate flavor beautifully, or you could add a few chocolate curls, mini chocolate chips, or even a dusting of edible glitter for extra holiday sparkle.
- Temperature is Key: Ensure your room isn’t too warm when working with chocolate, as it can make spreading difficult and cause premature melting. A cool kitchen is your friend!
Gifting and Serving Ideas for Your Homemade Bark
Chocolate Peppermint Bark is not just a treat; it’s a statement of holiday cheer and generosity. For gifting, consider layering different sized pieces in a beautiful holiday tin, a clear cellophane bag tied with festive ribbons, or small, elegant bakery boxes. Add a homemade label with the recipe name and a sweet message for a personal touch. These edible gifts are perfect for teachers, neighbors, co-workers, distant relatives, or as a thoughtful host/hostess gift during holiday gatherings. For serving, arrange the bark on a festive platter alongside other holiday cookies, brownies, and treats. It’s also a delightful accompaniment to a mug of hot cocoa or coffee, offering a cool, minty counterpoint to the warm beverage, making any cold winter evening feel extra cozy.
Chocolate Peppermint Bark
Delight in the layers of rich melted chocolate, creamy white chocolate infused with peppermint, and a festive topping of crushed peppermint candy canes. This is truly the best homemade peppermint bark recipe, perfect for holidays!
Equipment
- 9 inch square cake pan or similar baking sheet
- Baking sheet (quarter-size recommended)
- Parchment paper or wax paper baking sheets
- Heatproof, microwave-safe bowls
- Rubber spatula or offset spatula
- Sharp knife
Ingredients
- 2 cups Semi-Sweet or Dark Chocolate (high-quality)*
- 2 1/2 cups White Chocolate (high-quality)*
- 1/4 teaspoon Peppermint Extract (plus optional 1/8 tsp for dark chocolate layer)
- 1/2 cup Crushed Candy Canes
- *Notes on Chocolate:
- High-quality chocolate makes a significant difference in taste and texture. For white chocolate, Ghirardelli white melting wafers are recommended for a smooth, glossy finish. Guittard or Ghirardelli white chocolate chips are also good options. For semi-sweet/dark chocolate, consider Callebaut, Guittard, Ghirardelli, or Trader Joe’s Pound Plus Bars. Avoid using standard chocolate chips that contain stabilizers, as they don’t melt as smoothly for bark.
Instructions
- Prepare Dark Chocolate: To melt the semi-sweet or dark chocolate, use either a double-boiler method or a microwave. If using a microwave, place chocolate in a heatproof bowl and cook at 50% power (or defrost setting) in 30-second increments, stirring vigorously after each. Continue until smooth. For a subtle mint undertone, stir in 1/8 teaspoon of peppermint extract (optional) once melted.
- Set First Layer: Line a quarter-sized baking sheet or a 9-inch square pan with parchment paper. Pour the melted dark chocolate onto the paper and spread evenly to about 1/8-1/4 inch thick. Place in the freezer for 10 minutes or refrigerator for 15-20 minutes, until mostly set and firm.
- Prepare White Chocolate: While the dark chocolate chills, melt the white chocolate using the same slow and gentle microwave method (50% power, 30-second increments, vigorous stirring). White chocolate burns more easily, so be extra vigilant and stir consistently. Once fully melted and smooth, stir in the remaining 1/4 teaspoon of peppermint extract.
- Layer and Top: Pour the melted peppermint white chocolate over the chilled dark chocolate layer. Quickly spread it evenly with an offset spatula, ensuring it covers the entire dark chocolate base. Immediately sprinkle the 1/2 cup of crushed candy canes generously over the still-wet white chocolate, ensuring they adhere firmly.
- Final Chill: Return the bark to the freezer for 15-20 minutes or the refrigerator for 30-45 minutes, until both layers are completely firm and set through.
- Cut and Store: Once thoroughly chilled, remove the bark from the pan. Using a very sharp knife (you can warm it under hot water and dry it for cleaner cuts), cut the bark into desired squares, rectangles, or irregular pieces. Store the finished Chocolate Peppermint Bark in an airtight container in the refrigerator for optimal freshness and crunch, or at room temperature in a cool, dry place. Remove from the fridge a few minutes before serving or gifting.
Nutrition information is automatically calculated and should be used only as an approximation.
Additional Information
Like this recipe? We’d love to hear from you!
Jump to Comments and Share Your Thoughts!

More Festive Holiday Treat Recipes to Explore:
Toffee Pretzel Christmas Crack
Jingle Jangle Christmas Chocolate Snack Mix
Rocky Road Candy Clusters
Creamy White Vanilla Fudge
Happy Baking, and enjoy spreading holiday cheer with your magnificent homemade Chocolate Peppermint Bark!