
The holiday season brings with it a special kind of magic, often found in the warmth of a bustling kitchen and the delight of festive treats. For many of us, myself included, this time of year also means indulging in the unique pleasure of exploring gourmet kitchen stores. Places like Williams Sonoma, Sur La Table, and World Market transform into glittering showcases of culinary inspiration, filled with exquisite dishes, artisanal ingredients, and an array of charming cookie cutters that simply beg to be taken home. It’s an addiction I happily embrace!
Among the many seasonal delights these stores offer, one particular item stands out as a true holiday icon: peppermint bark. Its shimmering layers of creamy white chocolate, rich semisweet chocolate, and crunchy, vibrant peppermint candy canes make it an irresistible indulgence. It’s the kind of coveted treat that invariably becomes the star of any white elephant gift exchange, bringing smiles and festive cheer wherever it goes.
A few weeks ago, during one of my regular pilgrimages to Williams Sonoma, I stumbled upon their delightful Peppermint Bark Cups. These charming morsels were essentially miniature versions of the classic bark, presented in individual cup form. The idea struck me as utterly brilliant and incredibly cute! Naturally, I snapped a few photos, carefully studied the ingredients, and instantly knew I had to recreate these at home. Not only are the store-bought versions notoriously expensive, but the challenge of making a copycat recipe for a fraction of the cost, with all the love and care of a homemade treat, was too enticing to pass up.
My journey into the world of recipe creation began with a desire to innovate, to develop dishes that weren’t already flooding cookbooks or dominating the internet. It was a thrilling challenge to push the boundaries of conventional recipes and infuse them with a unique twist. As I contemplated my homemade Peppermint Bark Cups, I realized I needed to apply that same creative spirit. How could I elevate this already beloved holiday treat into something truly extraordinary?

Then, it hit me. What’s something almost universally adored, a comfort food that brings immediate joy? Cookie dough! I mean, who doesn’t absolutely adore cookie dough? My husband, for instance, has a standing request for at least two cookies’ worth of raw dough every time I bake. For him, it’s the absolute best part, often surpassing the baked cookie itself. There’s even a T-shirt that perfectly encapsulates this sentiment: “Eat Raw Food…By Raw I Mean Cookie Dough.” It’s pure genius, and it perfectly captured the essence of my next culinary adventure.
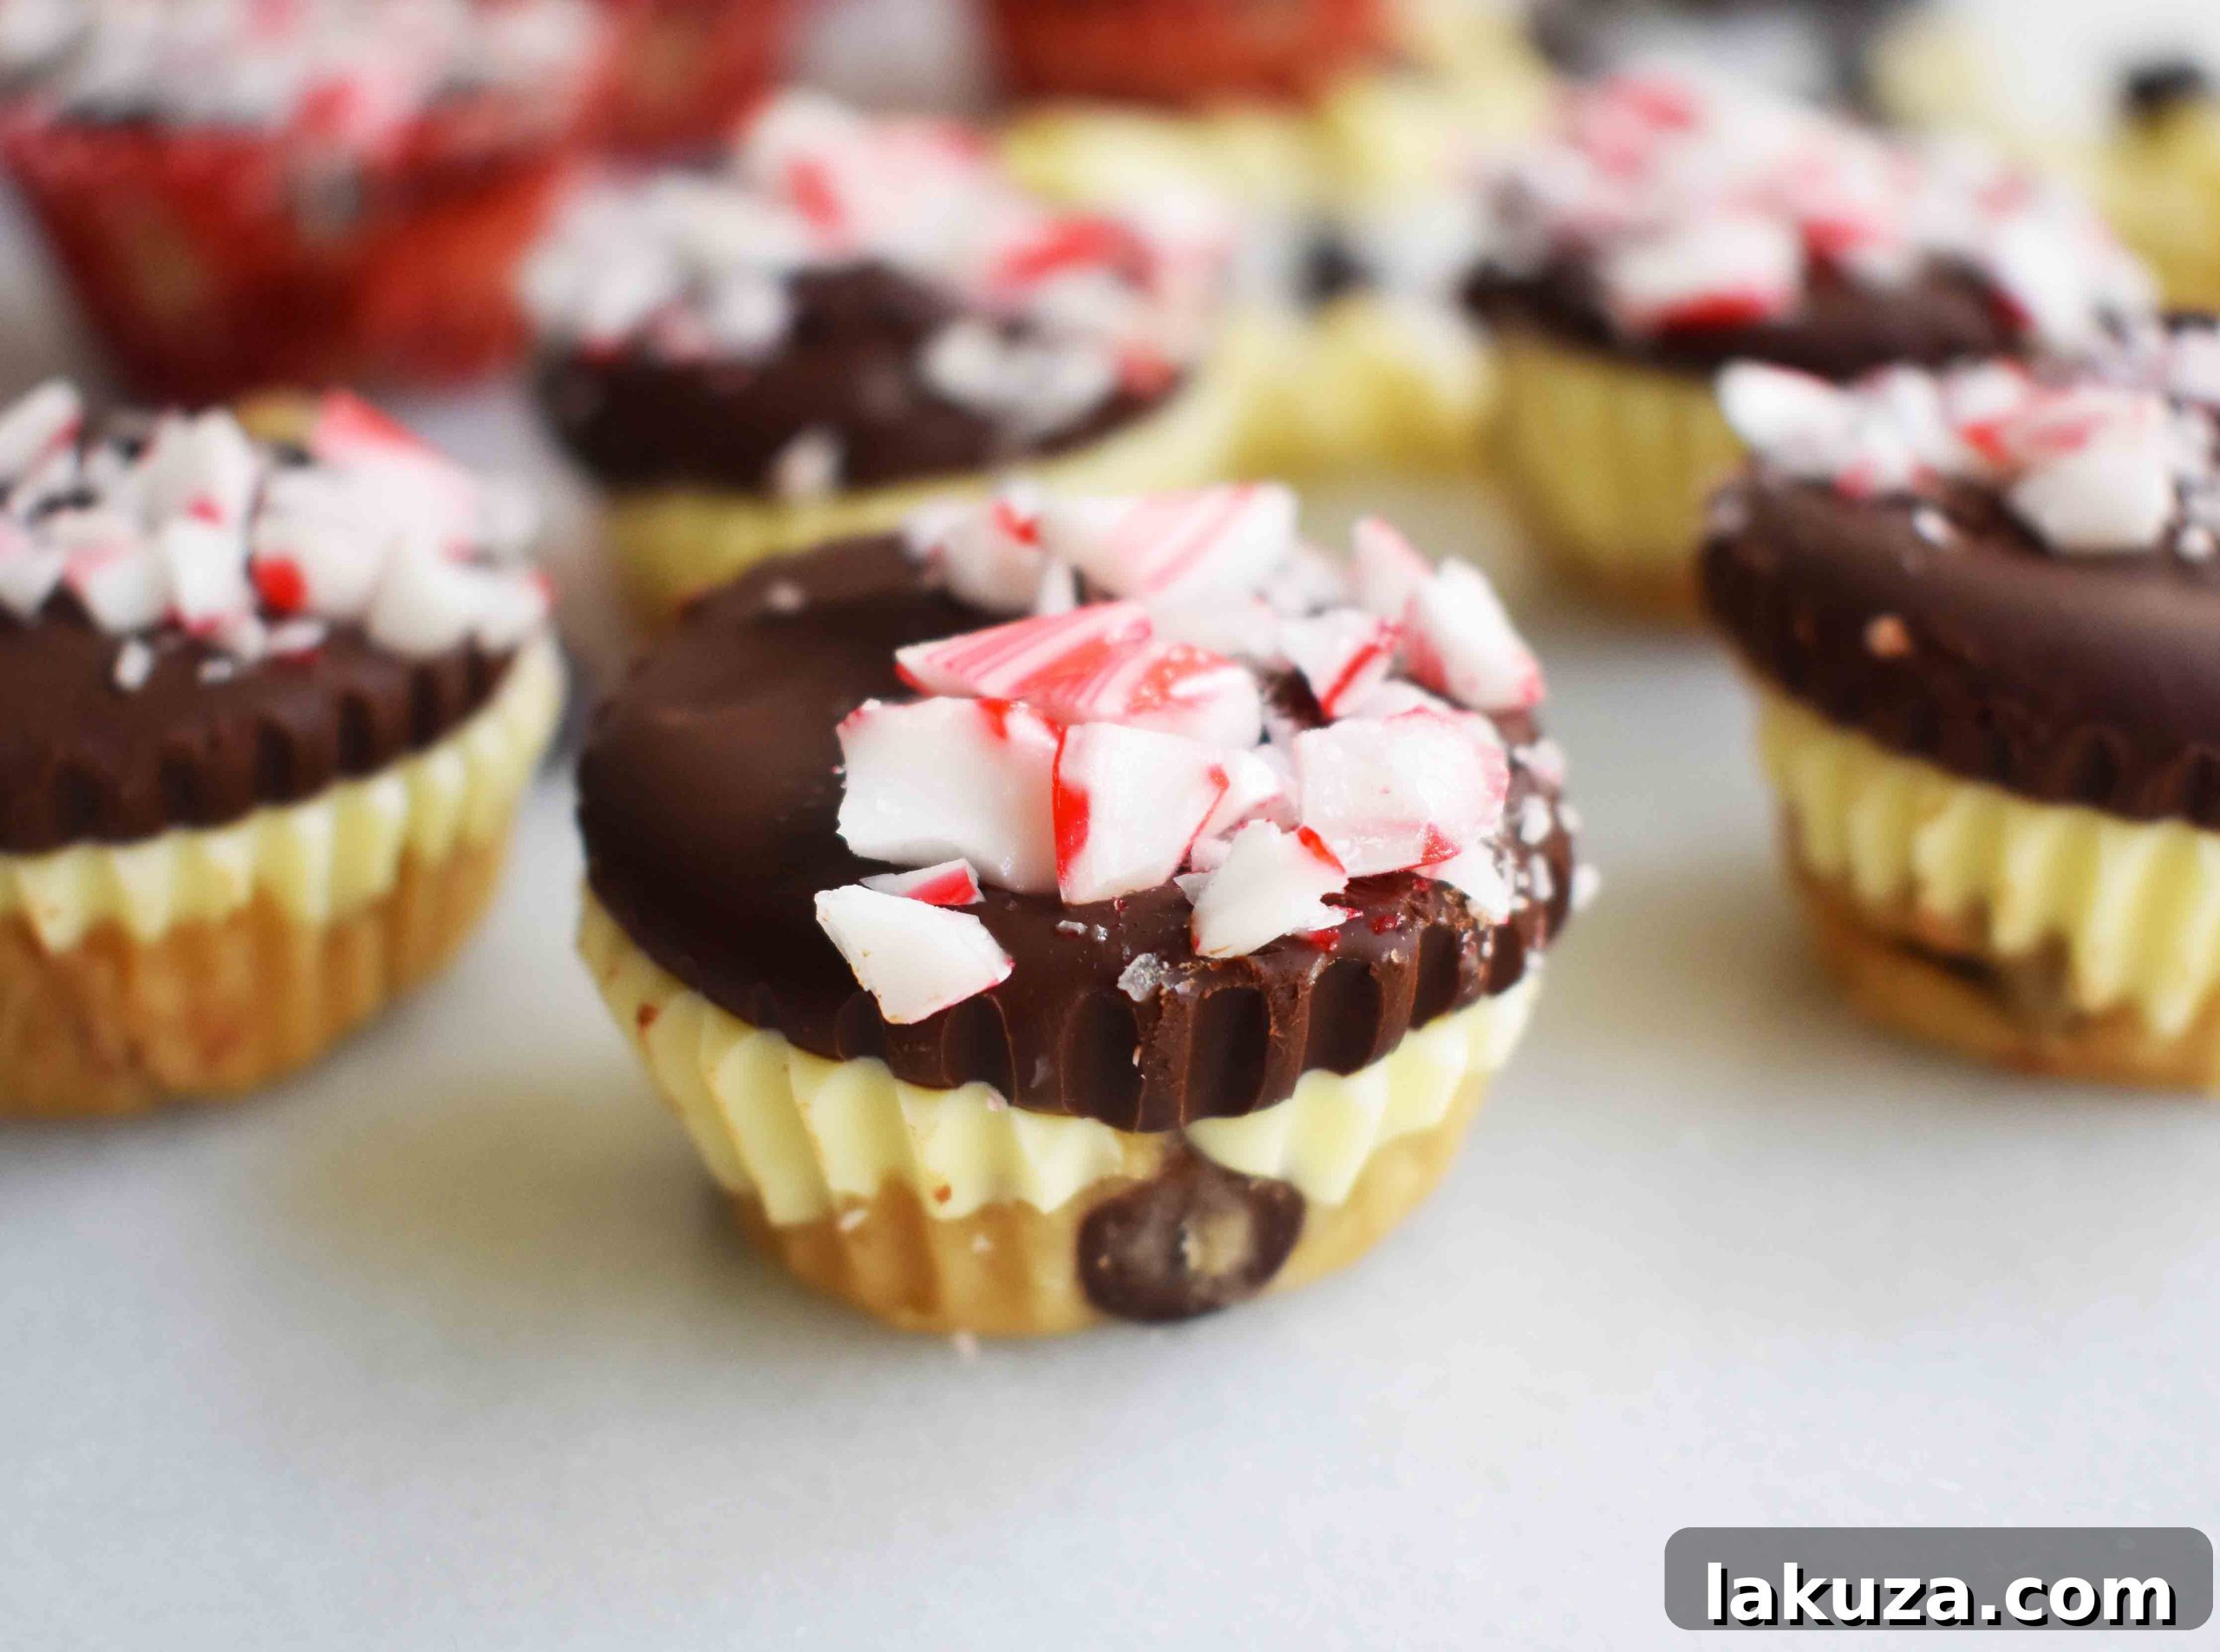
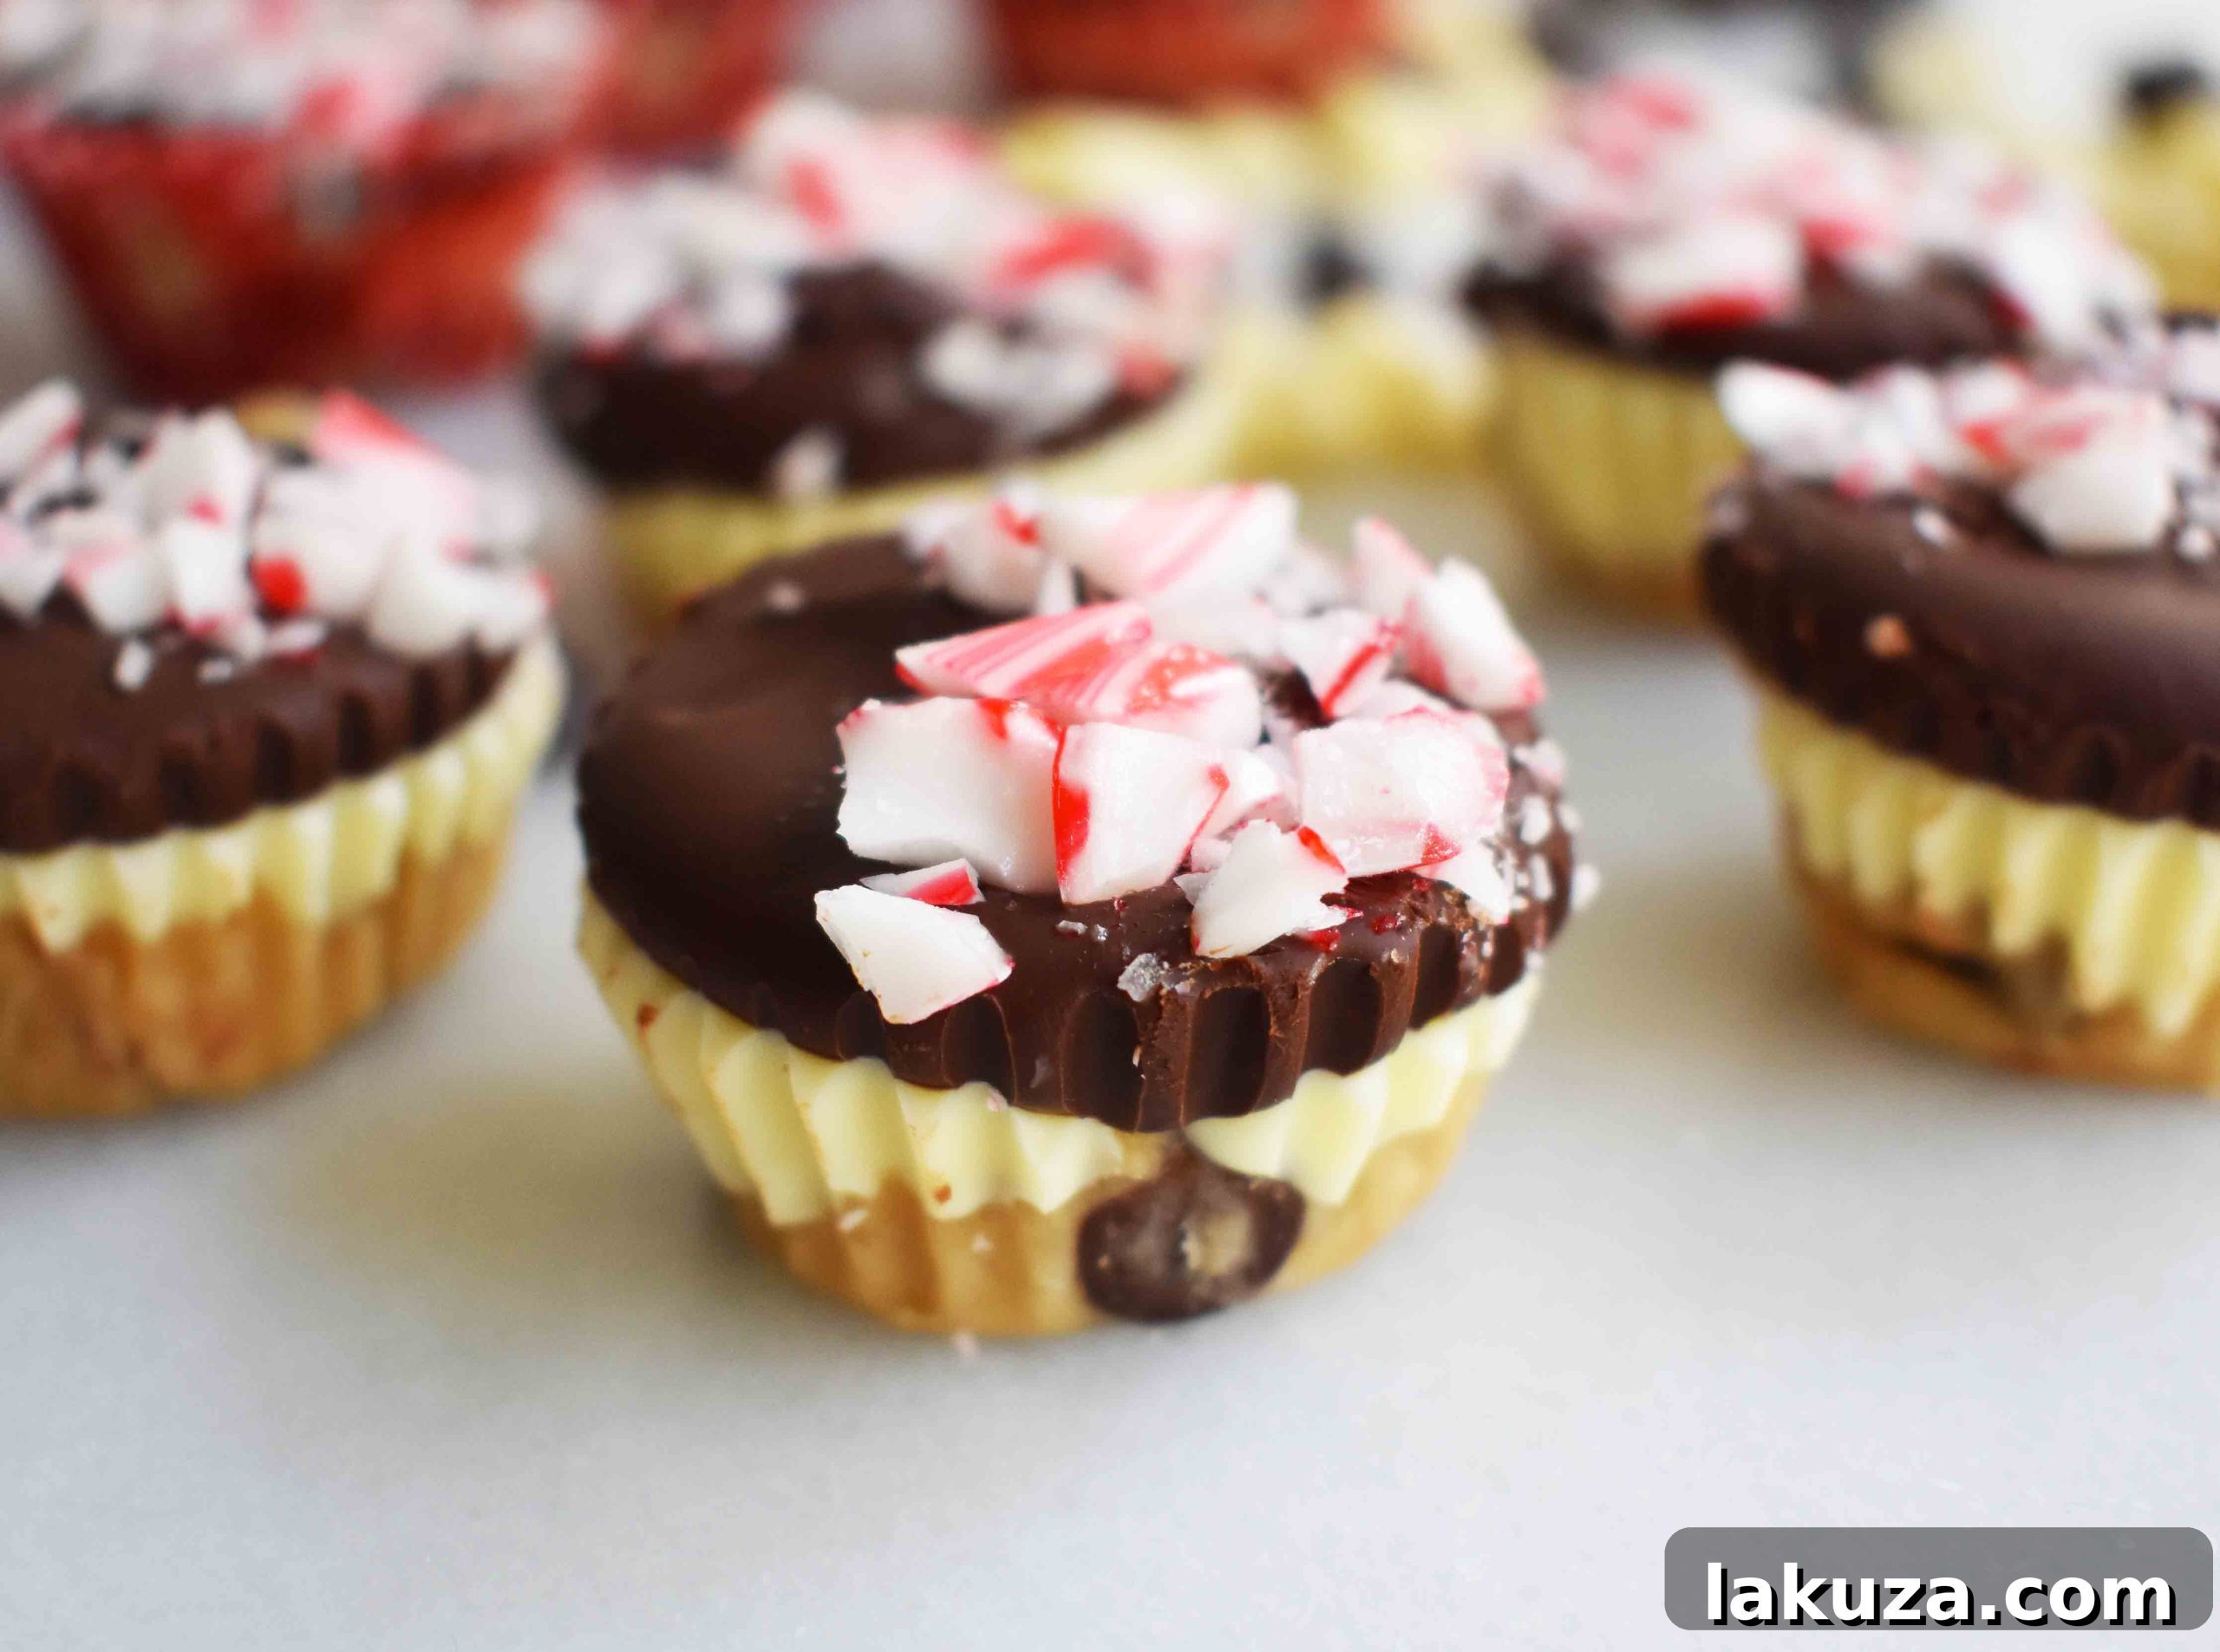
The idea was simple yet revolutionary: combine the festive appeal of peppermint bark with the irresistible delight of chocolate chip cookie dough. But not just any cookie dough – it had to be egg-free, ensuring it was perfectly safe and utterly delicious to enjoy unbaked. This innovative fusion would create a dessert that was truly a dream come true. I envisioned a symphony of flavors and textures: a rich, chewy layer of egg-free chocolate chip cookie dough, embraced by creamy white chocolate, topped with decadent semisweet chocolate, and crowned with a generous sprinkle of crunchy candy canes. After some delightful experimentation in my kitchen, the results were nothing short of spectacular. The Peppermint Bark Cookie Dough Cups were officially born, and they were even more beautiful and delicious than I had imagined.

What makes these Peppermint Bark Cookie Dough Cups so extraordinary, beyond their heavenly taste, is their incredible simplicity. This is a no-bake dessert that can be whipped up in remarkably little time, making it a perfect candidate for holiday entertaining or a spontaneous sweet craving. The process begins with our star ingredient: the egg-free cookie dough. We start with fresh, softened butter, creamed together with a blend of brown sugar and granulated sugar, which provides both depth of flavor and that classic cookie chewiness. A splash of pure vanilla extract adds warmth and aroma, while a tablespoon of milk steps in as the perfect binder, replacing eggs and contributing to the dough’s rich, creamy texture without the need for baking. Once these wet ingredients are perfectly combined, we fold in the flour and a touch of salt, followed by a generous handful of delectable chocolate chips. And just like that, your irresistible cookie dough base is ready.
These delightful treats are incredibly versatile when it comes to presentation. You can choose to make them in standard medium-sized cupcake liners for a more substantial dessert, or opt for mini cupcake liners to create charming, bite-sized cookie cups – perfect for parties and easy snacking. I personally prefer the mini size; they’re just so adorable and make for a perfect little indulgence. You can easily find mini-sized liners in the baking aisle of any grocery store, or even at dollar stores during the festive season, often in a variety of holiday designs. To make working with mini cups even easier, a mini muffin pan is an absolute game-changer. It helps hold the liners in place and ensures your cookie dough cups maintain their perfect shape while chilling. If you don’t have one, they’re typically quite affordable. For example, the Wilton Recipe Right 24 Cup Mini Muffin Pan is a popular and budget-friendly option, often available for around $8 on Amazon, making it a worthwhile investment for any baking enthusiast.
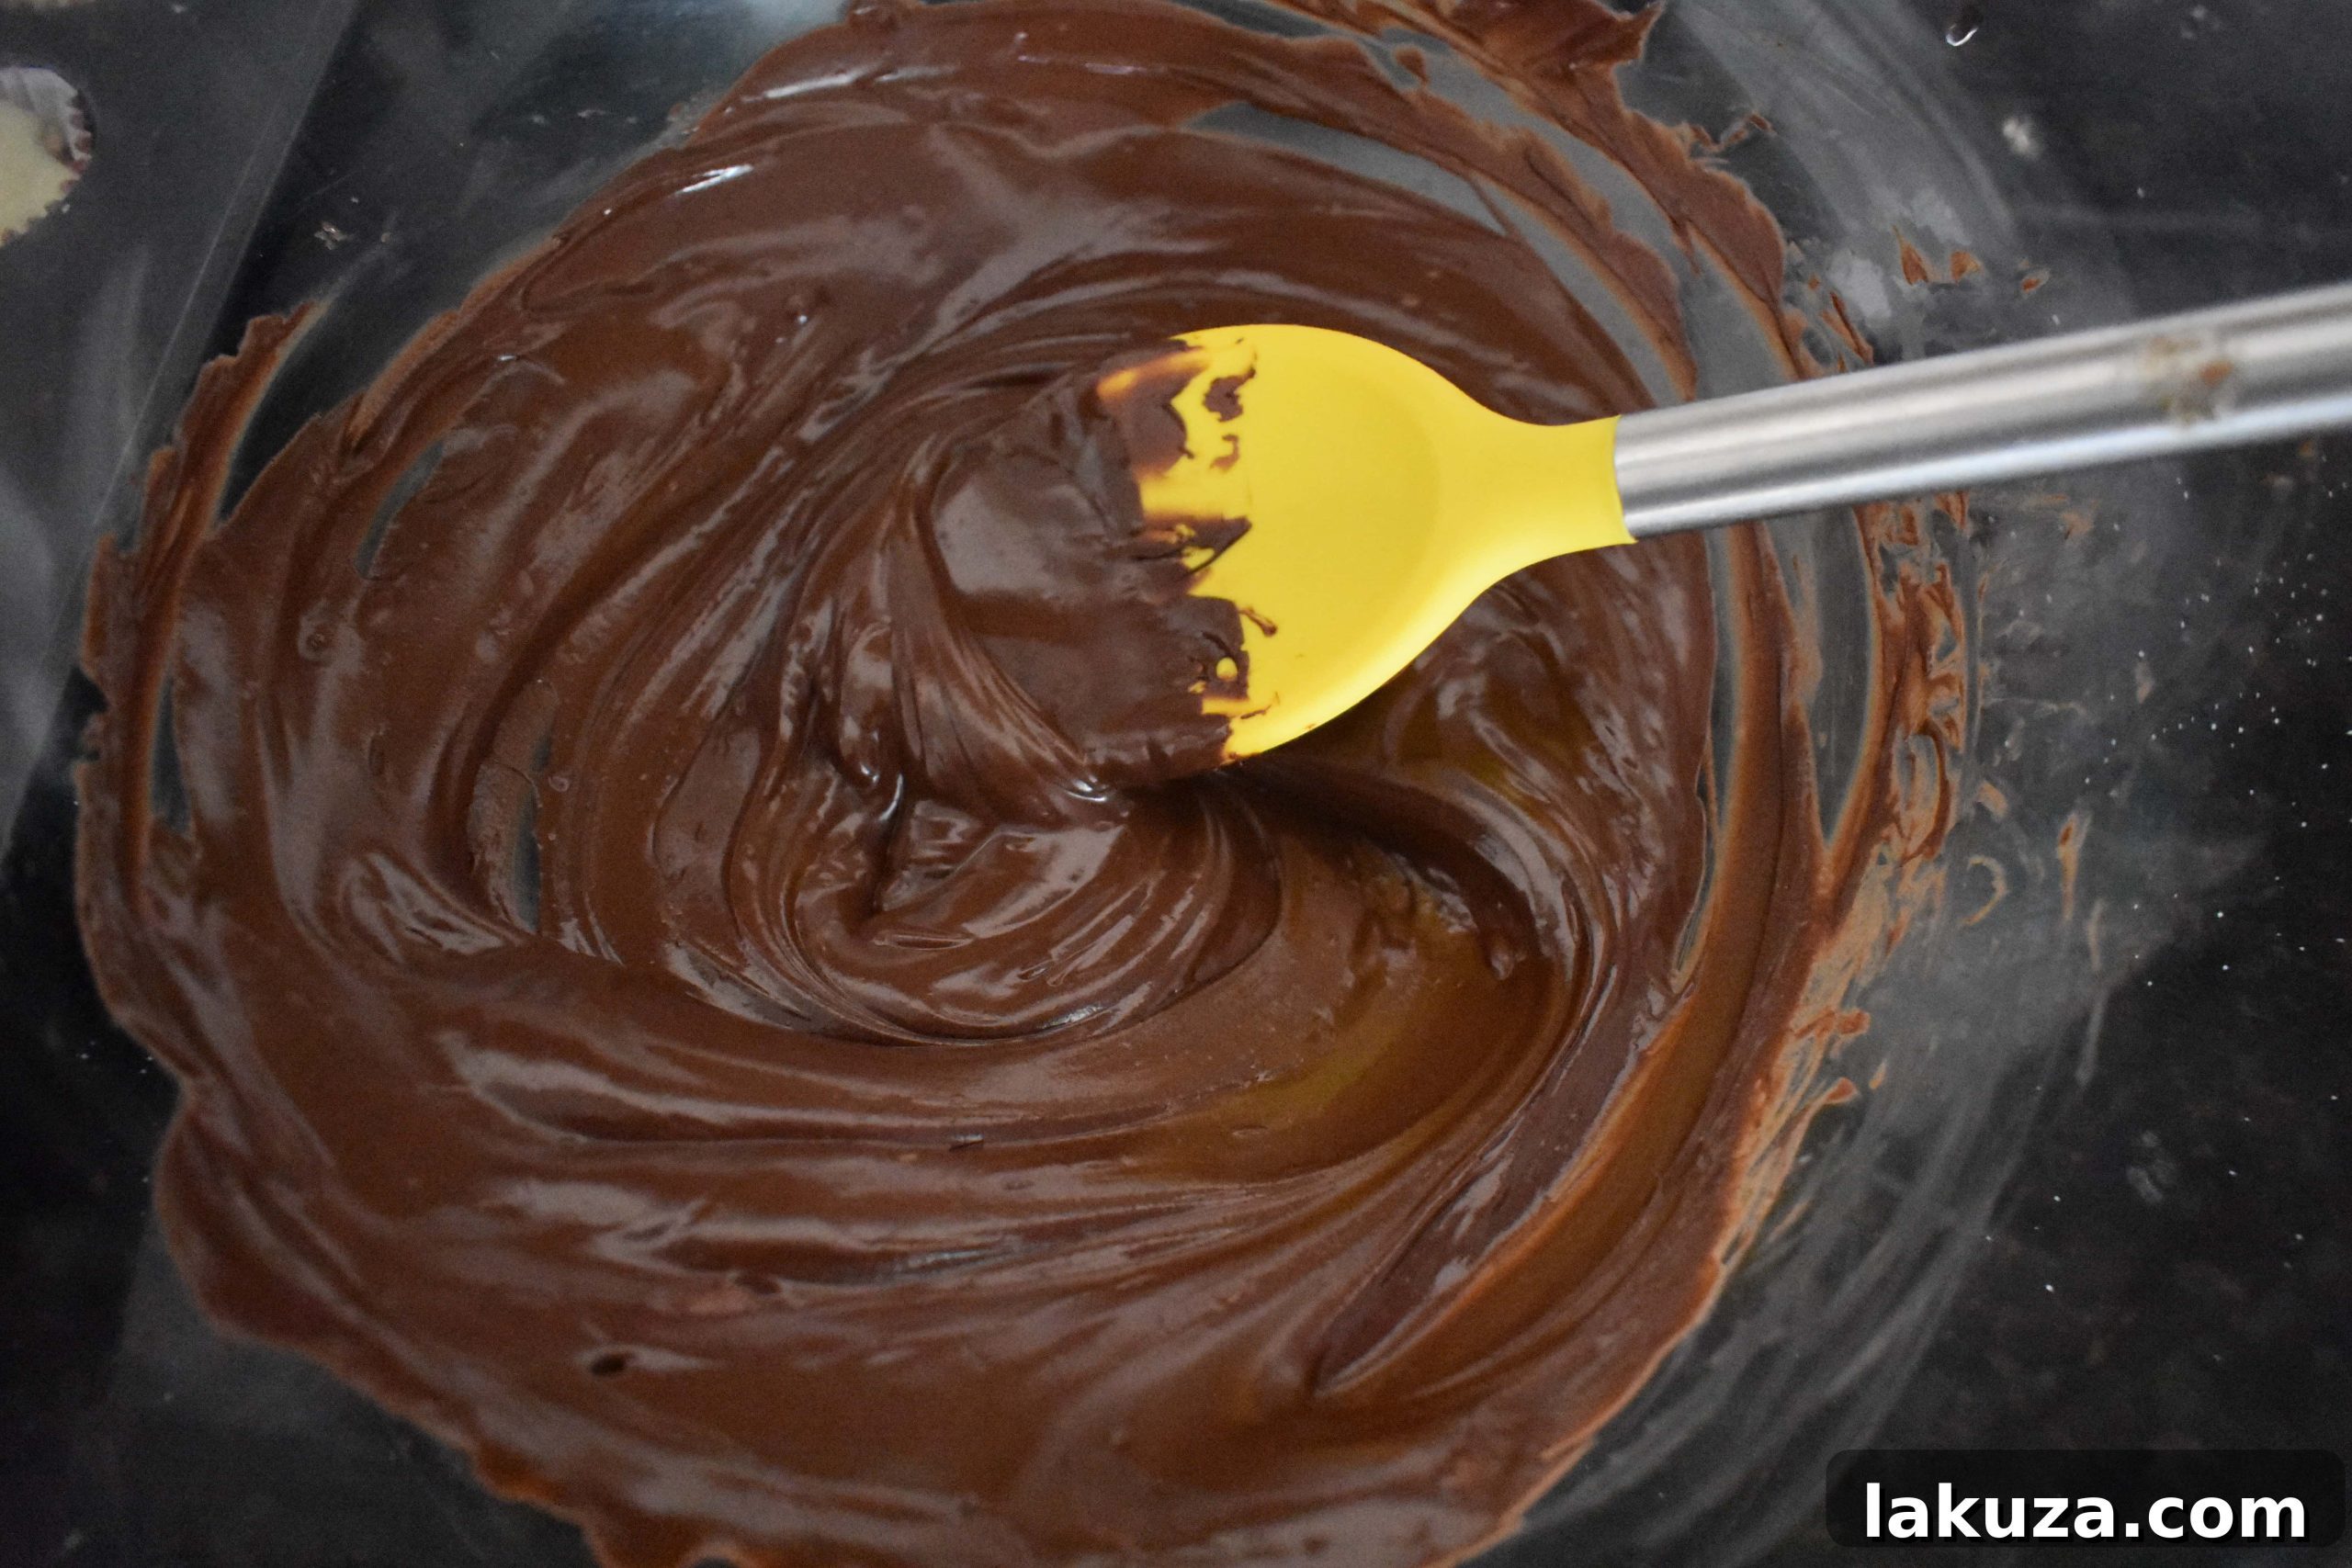
Melting the chocolate for these cups is surprisingly straightforward, and you don’t even need a fancy double boiler setup to achieve that perfectly smooth, glossy finish. Here’s a simple, foolproof method: Grab a saucepan and fill it with about 1/2 to 1 cup of water. Bring the water to a rolling boil, then reduce the heat to low and let it simmer gently. Next, place a large, heatproof bowl – a glass Pyrex bowl works wonderfully – directly on top of the saucepan. Ensure that the bottom of the bowl is not touching the simmering water; the steam is what will gently melt the chocolate. Add your white chocolate chips to the bowl, and let the rising heat work its magic. Stir the chocolate frequently with a spatula as it melts. This slow and steady approach ensures the chocolate melts evenly, becoming beautifully silky smooth and free of any lumps, creating the ideal canvas for your cookie dough cups. This method prevents the chocolate from overheating and seizing, which can often happen with direct heat or improper microwaving.
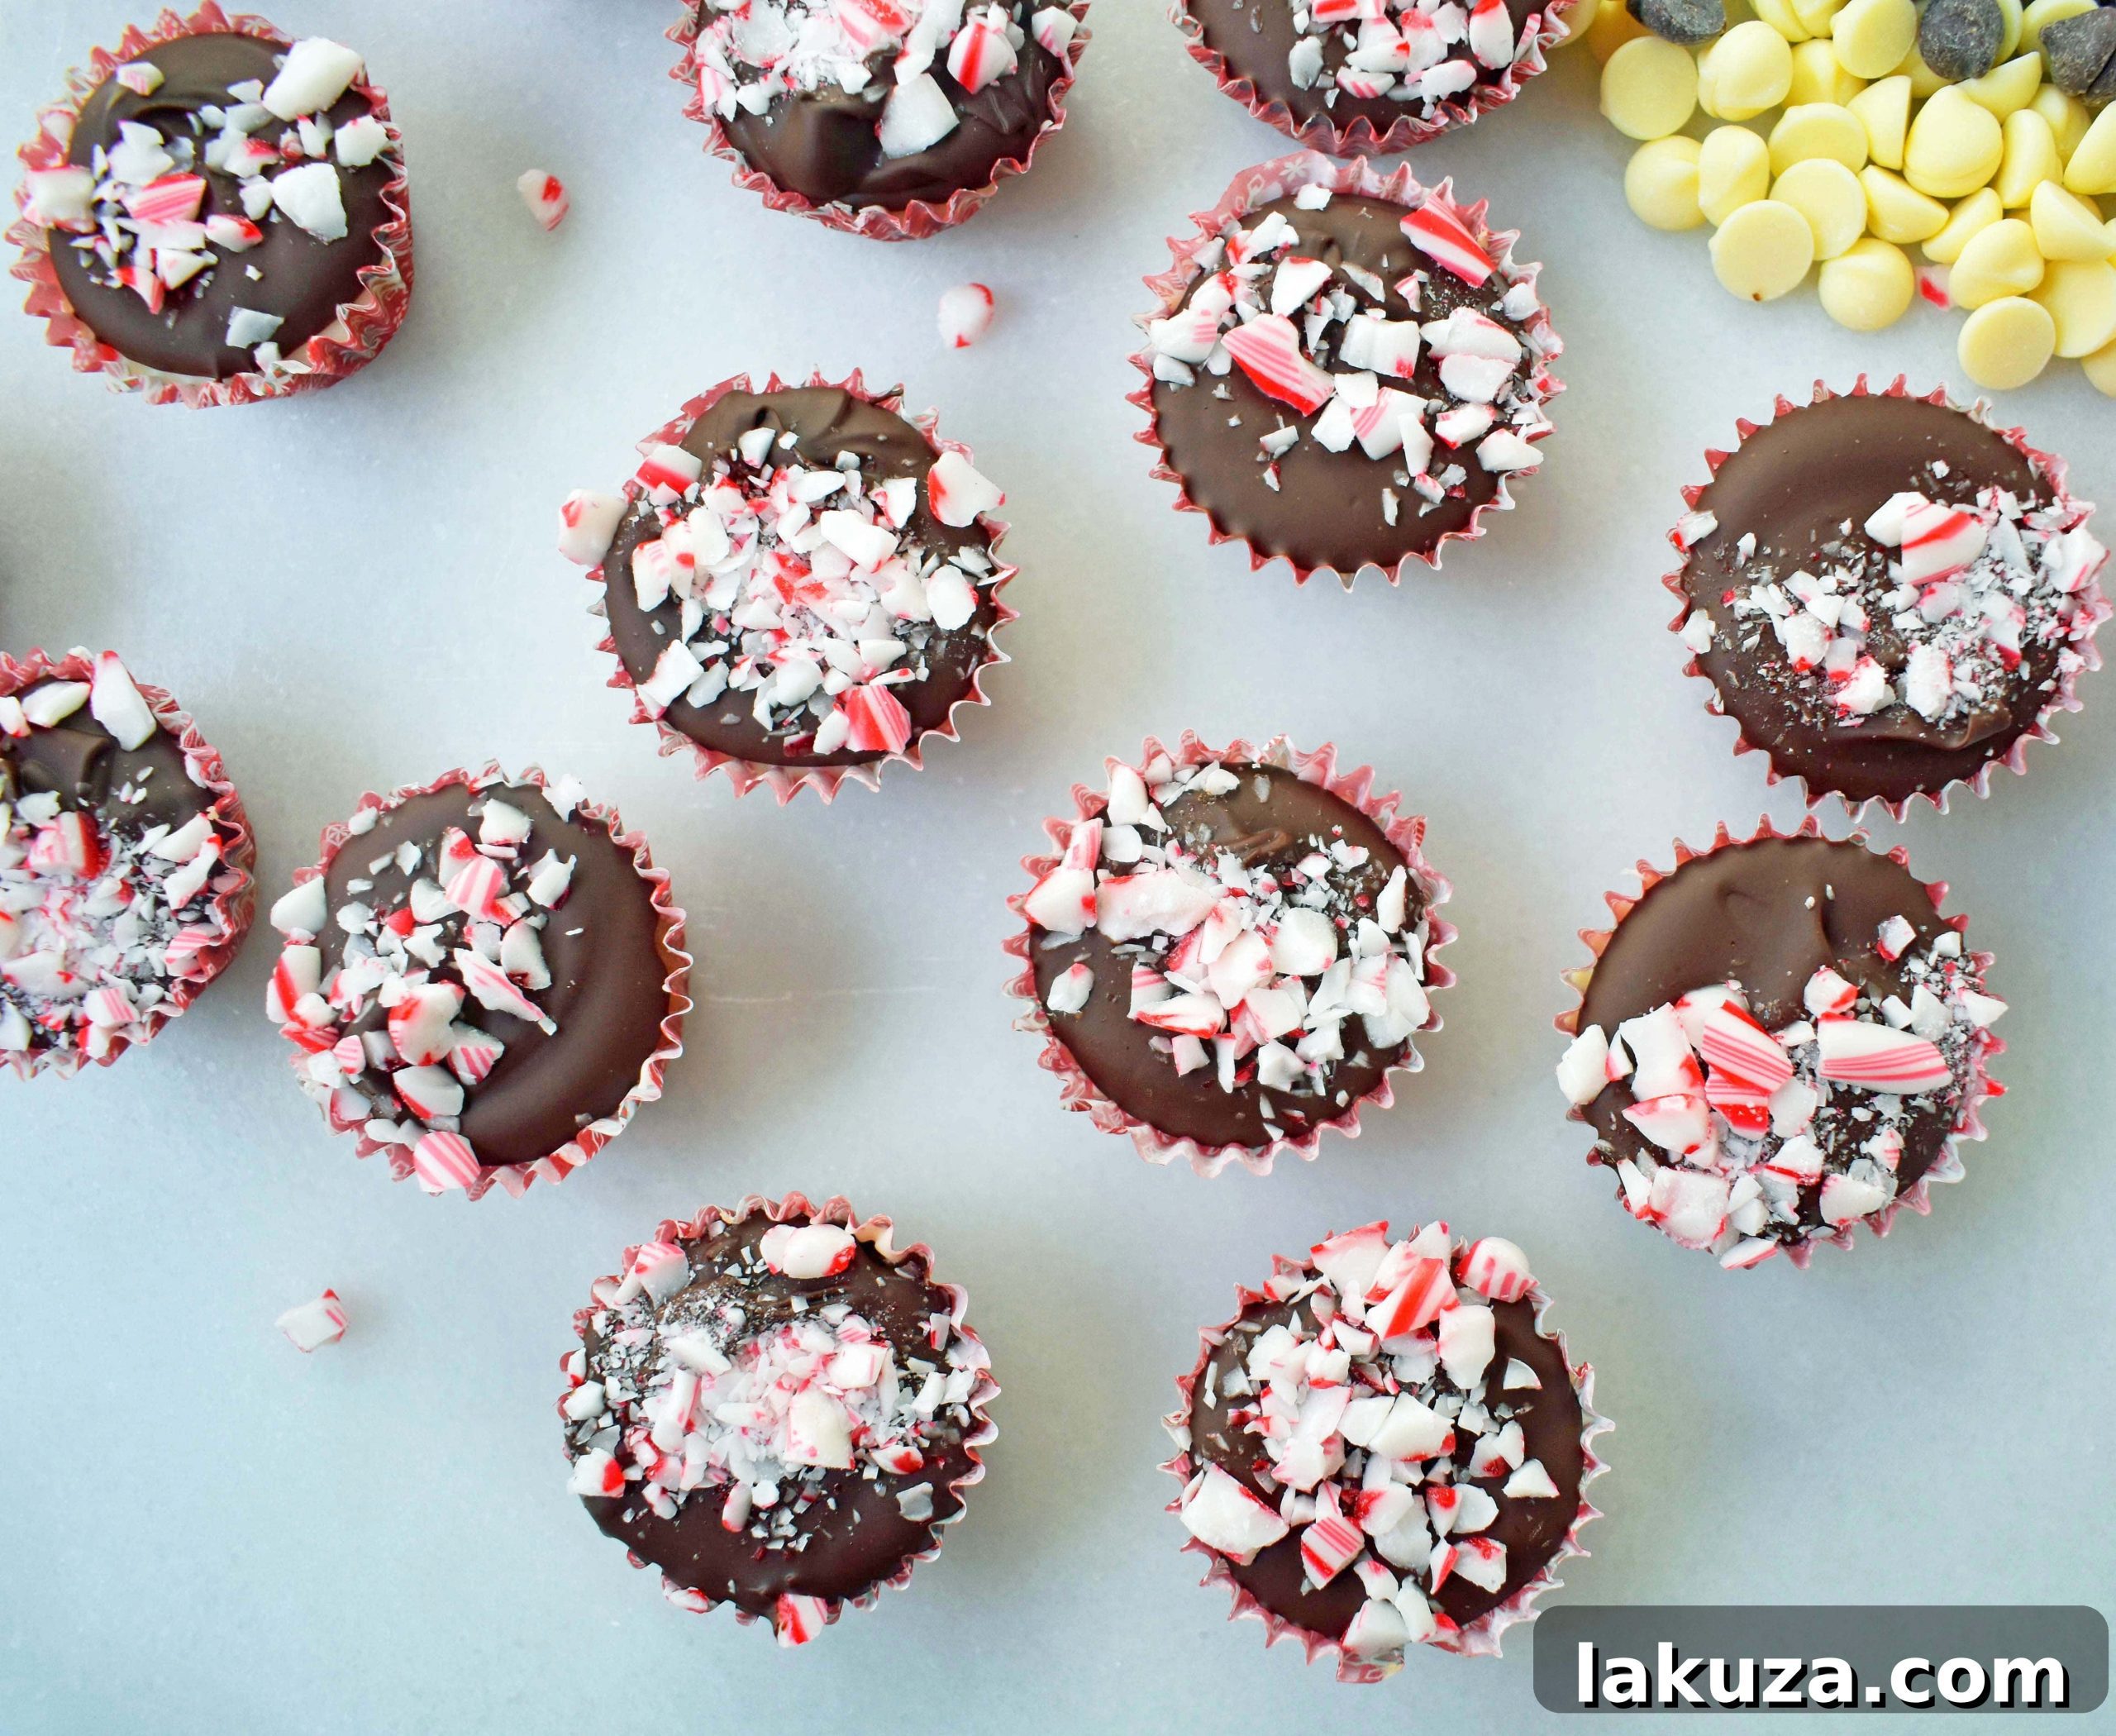
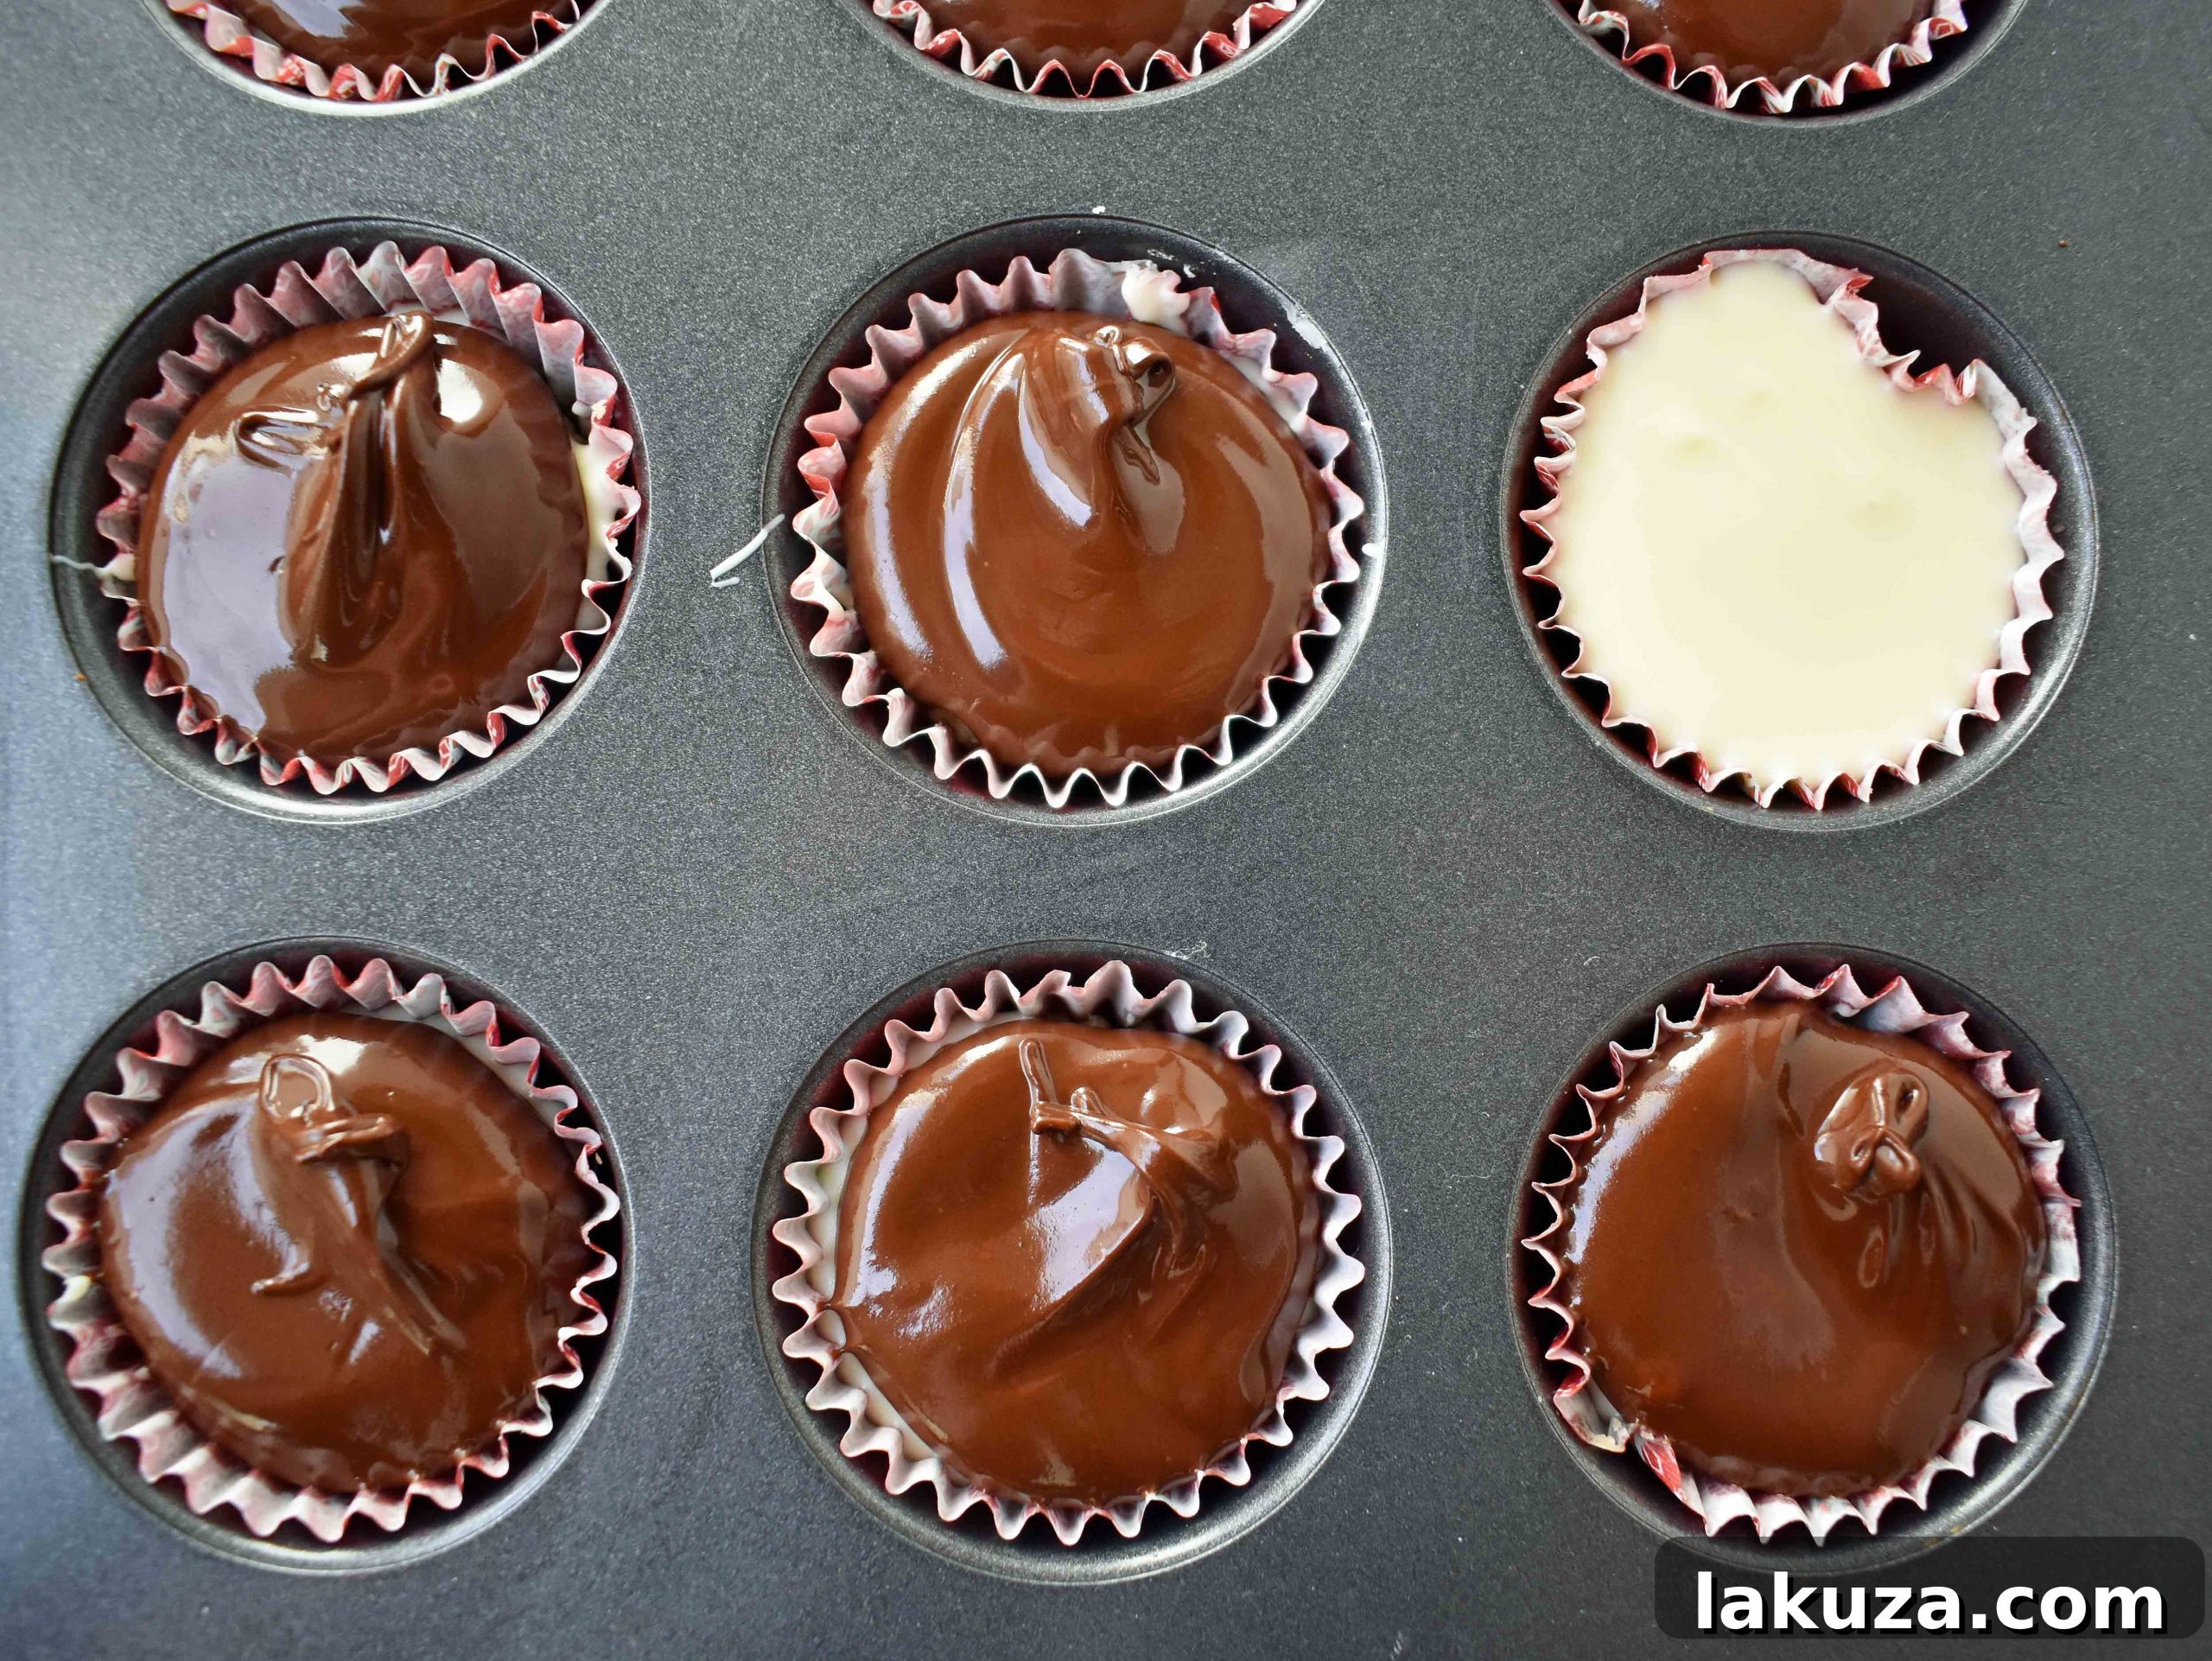
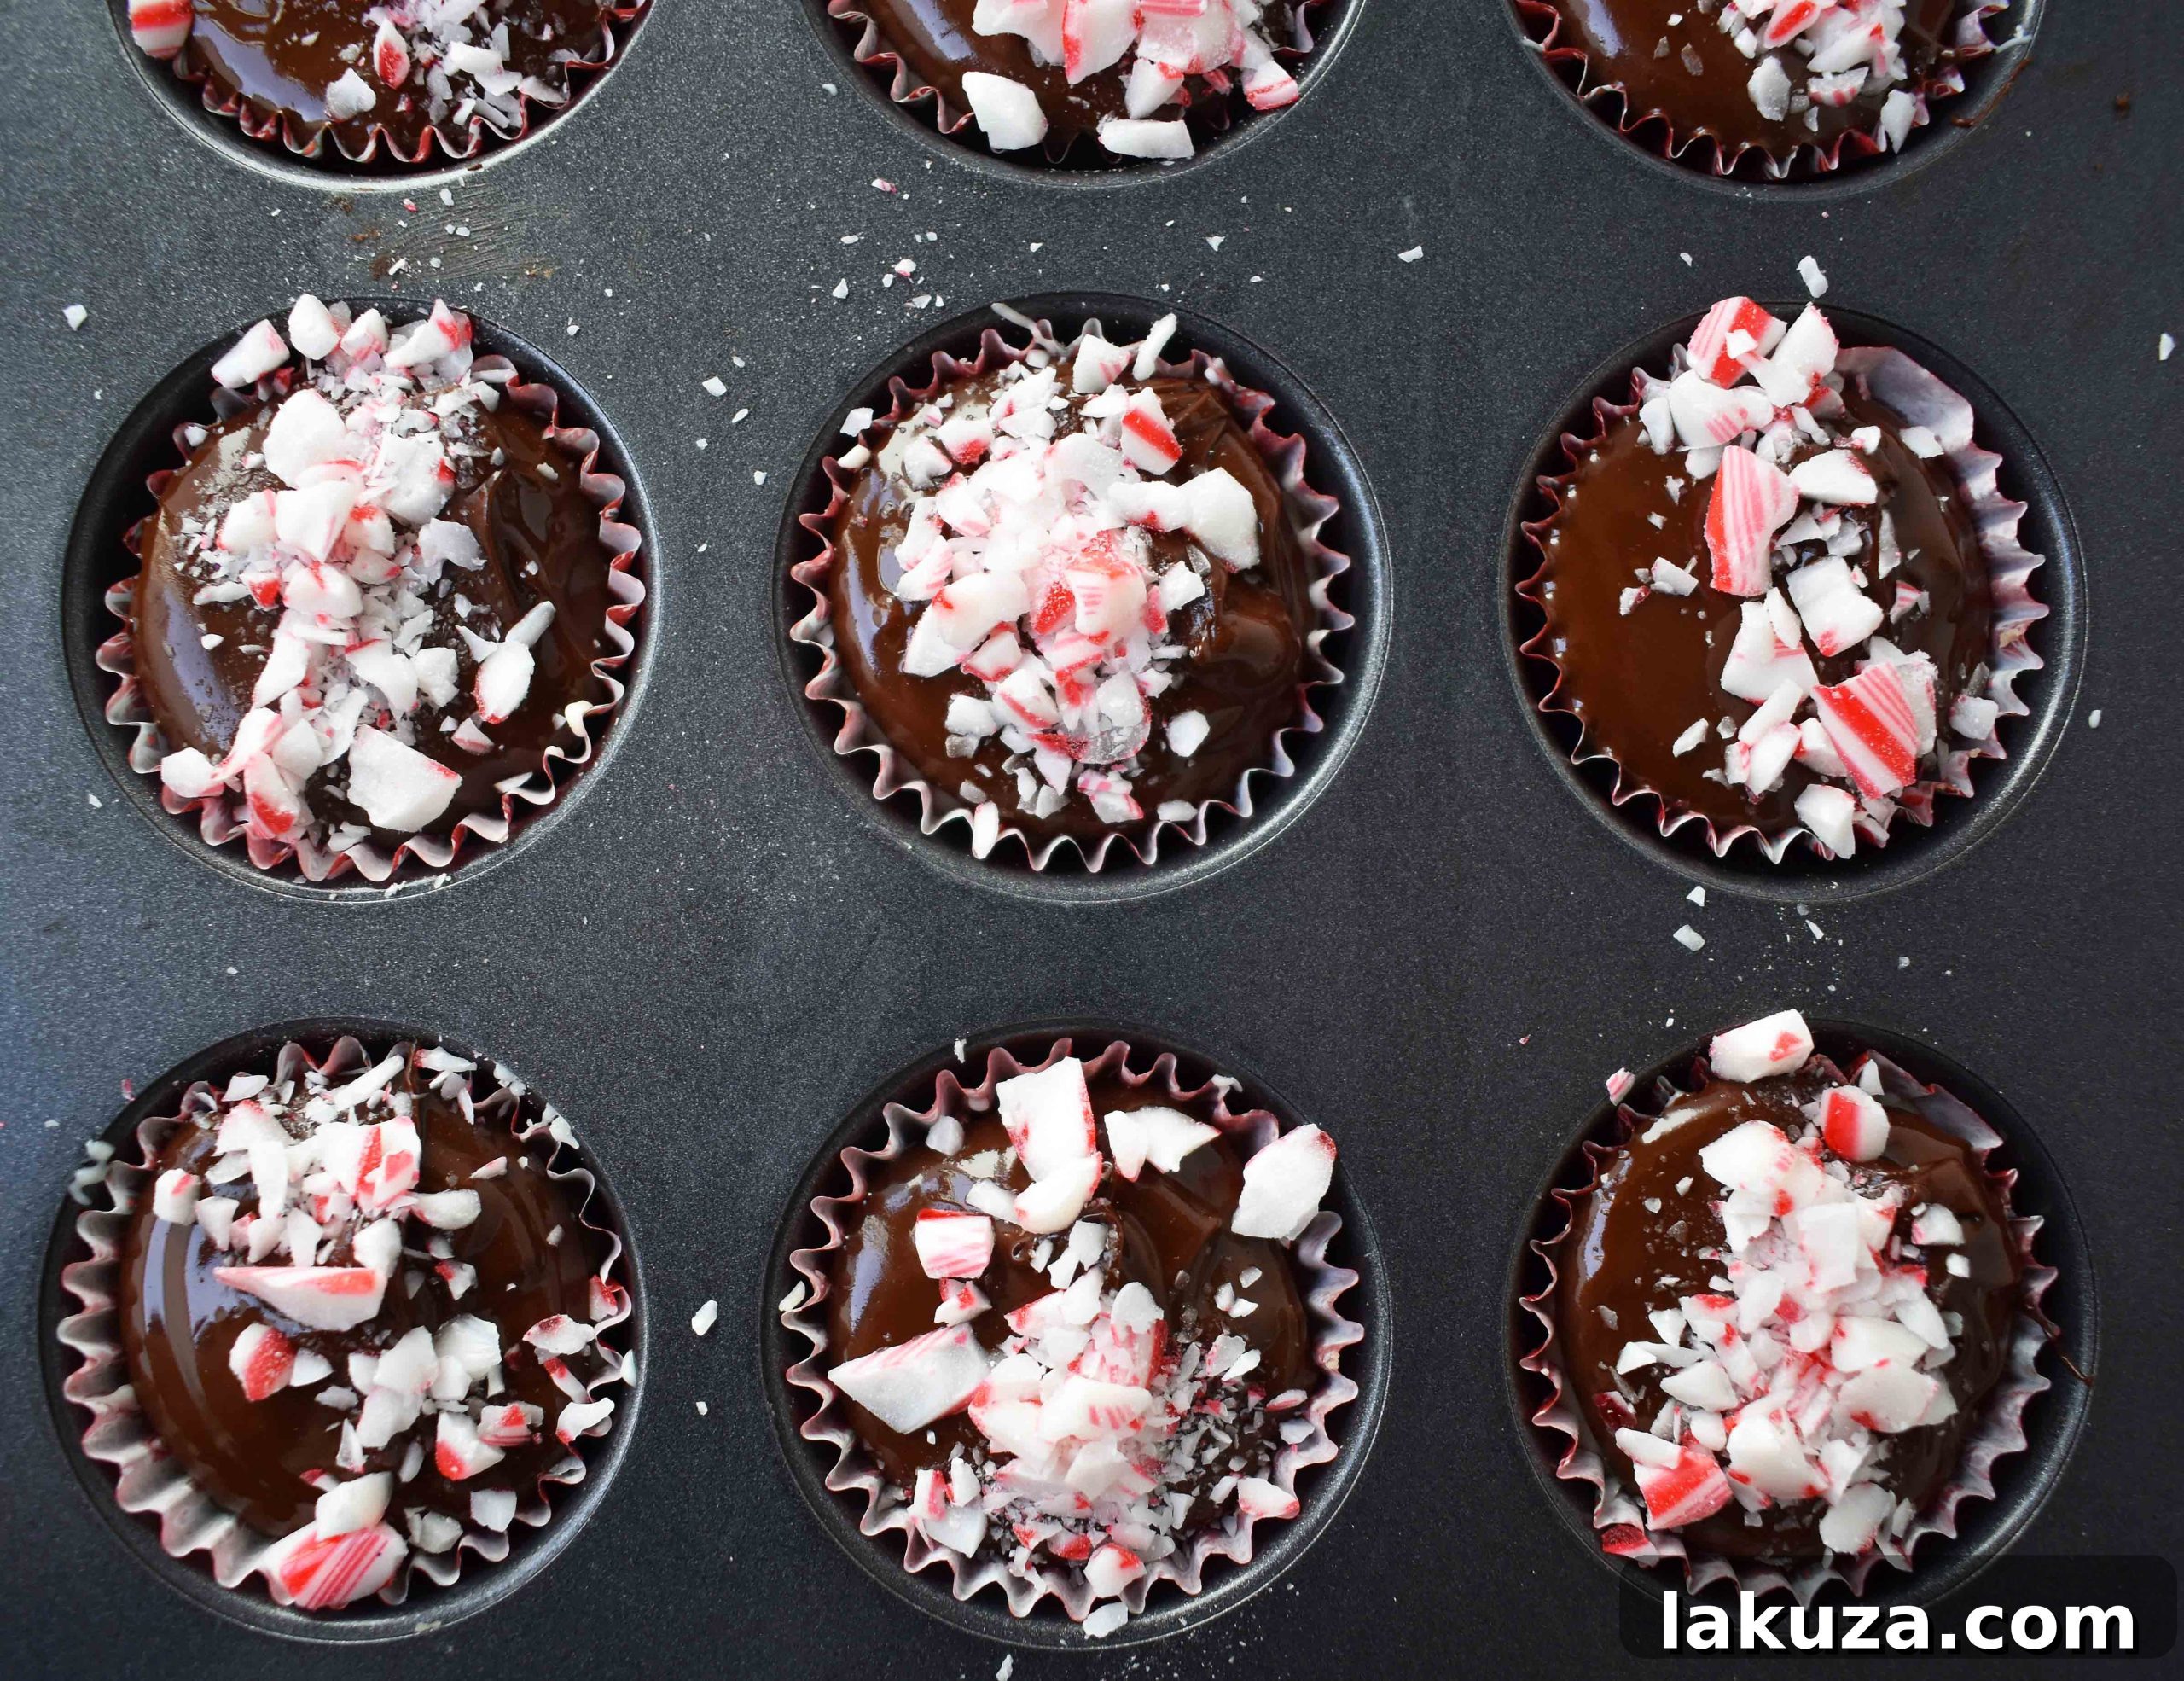
Once your rich, egg-free chocolate chip cookie dough is pressed into the muffin liners, the layering magic truly begins. First, a generous layer of melted white chocolate is poured over the cookie dough. This not only adds a beautiful visual contrast but also a creamy sweetness that perfectly complements the cookie base. After this first layer, the cups are placed in the refrigerator for at least 5-10 minutes. This crucial chilling period allows the white chocolate to set firmly, creating a distinct and stable layer that won’t meld with the next. Once the white chocolate is fully set, it’s time for the second chocolate layer: melted semisweet or milk chocolate. This adds a deeper, richer chocolate note, completing the classic peppermint bark flavor profile. Finally, the cups are adorned with their signature festive topping: crushed candy canes. You have two excellent options for this: you can take whole candy canes, place them in a sturdy plastic bag, and crush them with a rolling pin for a truly homemade touch, or, for ultimate convenience, you can purchase pre-crushed candy canes from specialty stores like World Market during the holiday season. For an extra gourmet touch and to enhance the chocolate flavors, a tiny sprinkle of sea salt over the finished cups is highly recommended (though entirely optional).

Pin
Peppermint Bark Cookie Dough Cups
Equipment
- KitchenAid Mixer
- Measuring Cups and Spoons
- Spatula Set
- Mini Muffin Pan (optional, but recommended for mini cups)
- Heatproof Bowls
- Saucepan
Ingredients
Cookie Dough:
- 1/4 cup Butter, softened
- 1/4 cup Brown Sugar
- 2 Tablespoons Sugar
- 1 teaspoon Vanilla Extract
- 1 Tablespoon Milk
- 1/2 cup All-Purpose Flour
- 1/4 teaspoon Salt
- 1/2 cup Chocolate Chips
Chocolate Fillings:
- 1 1/2 cups White Chocolate (chips or chopped)
- 1 1/2 cups Semisweet or Milk Chocolate (chips or chopped)
- 3 Candy Canes, crushed
- Sea Salt (optional)
Instructions
- In a large mixing bowl, cream together the softened butter and sugars for 4 minutes, or until the mixture is light and fluffy. Add the vanilla extract and milk, then stir until well combined.
- Gradually stir in the flour and salt until just combined, being careful not to overmix. Fold in the chocolate chips.
- Prepare your mini muffin pan by lining each slot with mini cupcake liners. Press an even amount of cookie dough into the bottom of each cupcake liner, forming a firm base.
- To Melt Chocolate (Double Boiler Method): Add about 1/2 to 1 cup of water to a saucepan and bring it to a rolling boil. Reduce the heat to low, allowing it to simmer gently. Place a heat-safe bowl (like a glass Pyrex bowl) on top of the pot, ensuring the bottom of the bowl does not touch the simmering water. Add your desired chocolate chips (white or semisweet) to the bowl and stir occasionally with a spatula until the chocolate is smooth and completely melted.
- To Melt Chocolate (Microwave Method): Alternatively, place your chocolate in a small, heatproof bowl. Microwave on medium power (50%) for 30-second intervals, stirring thoroughly after each interval, until the chocolate is smooth and fully melted. Be cautious not to overheat to prevent seizing.
- Pour a layer of melted white chocolate over the cookie dough in each liner. Place the muffin pan in the refrigerator to chill for at least 5-10 minutes, allowing the white chocolate to set firmly.
- Once the white chocolate layer is set, add a layer of melted semisweet or milk chocolate over it. Immediately sprinkle generously with crushed candy canes. If desired, lightly sprinkle with sea salt for an enhanced flavor.
- Return the cups to the refrigerator and chill for at least 30 minutes to 1 hour, or until all layers are completely firm. Store in an airtight container in the refrigerator.
Nutrition information is automatically calculated, so should only be used as an approximation.
Additional Info
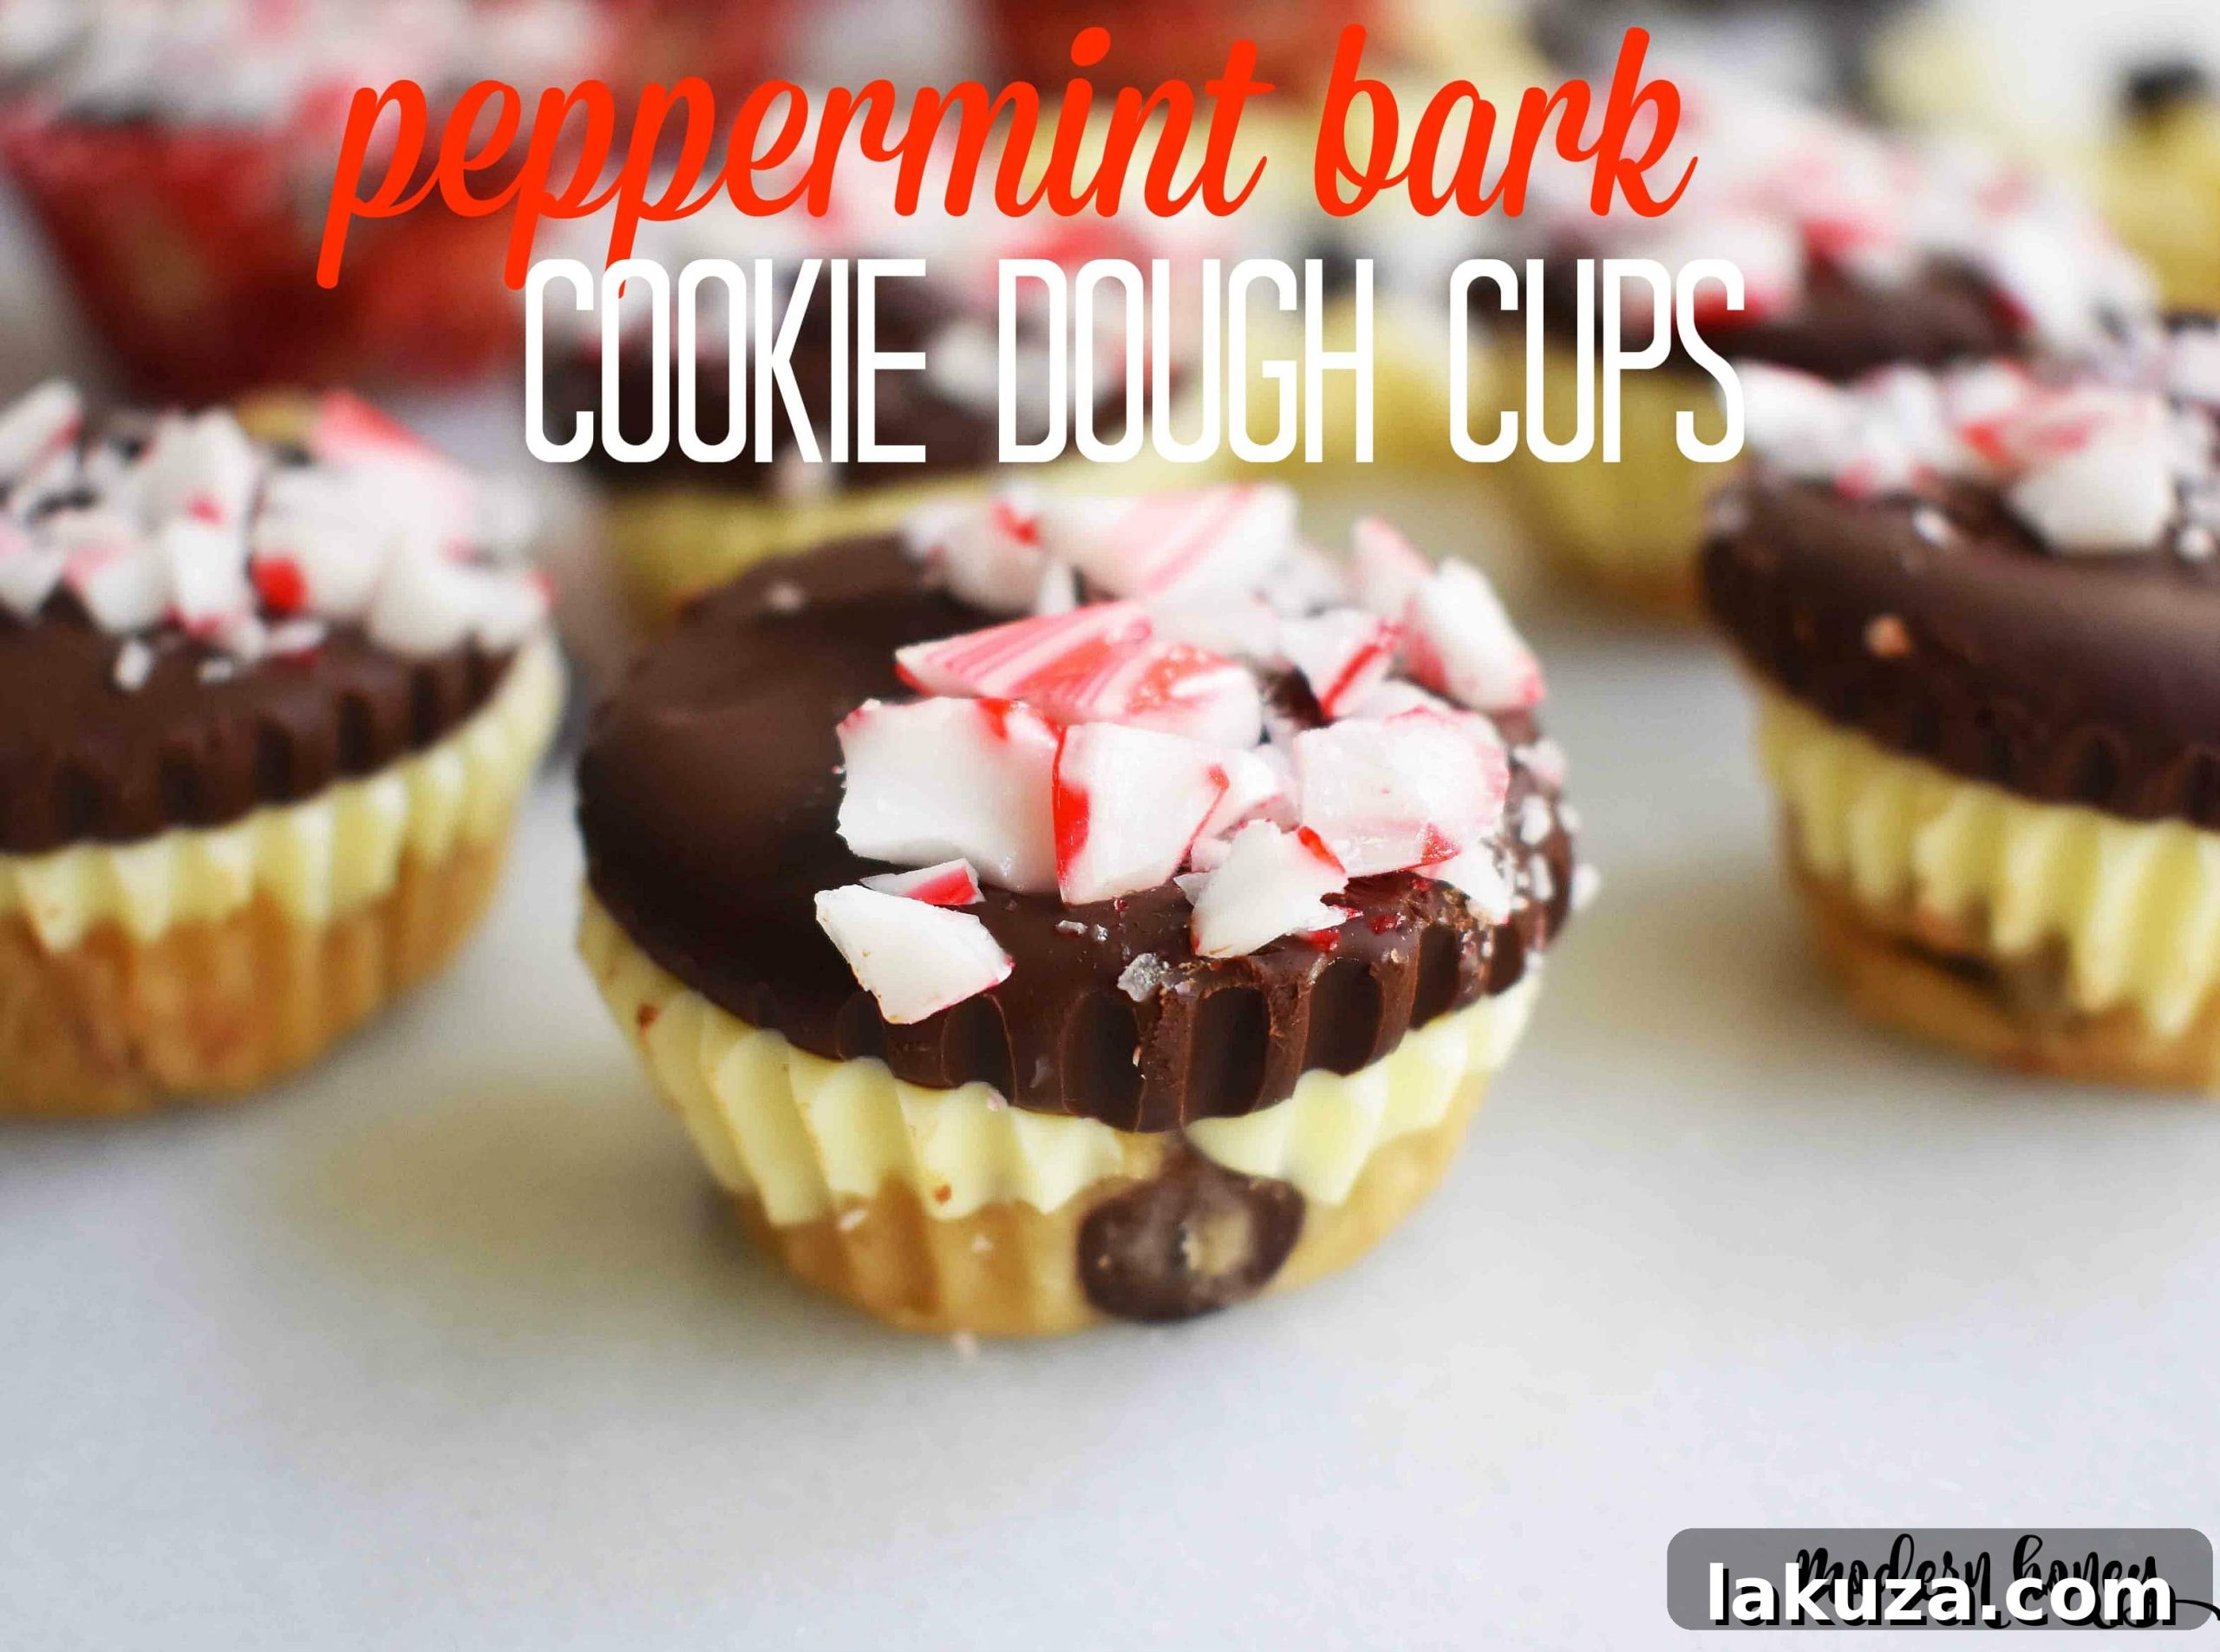
These Peppermint Bark Cookie Dough Cups are more than just a dessert; they are a delightful celebration of holiday flavors and textures, promising to be an absolute sensation at your next gathering. Whether you’re hosting a festive party, looking for a unique homemade gift, or simply craving a sweet escape, these no-bake wonders are guaranteed to impress. Their vibrant appearance, coupled with the irresistible combination of egg-free chocolate chip cookie dough and layers of peppermint-infused chocolate, makes them an unforgettable treat that everyone will adore. Be sure to share this incredible recipe with your friends and family, and spread the holiday cheer. Your friends on Pinterest will surely thank you for discovering such a creative and delicious dessert idea!
Happy baking (or in this case, happy no-baking)! xo