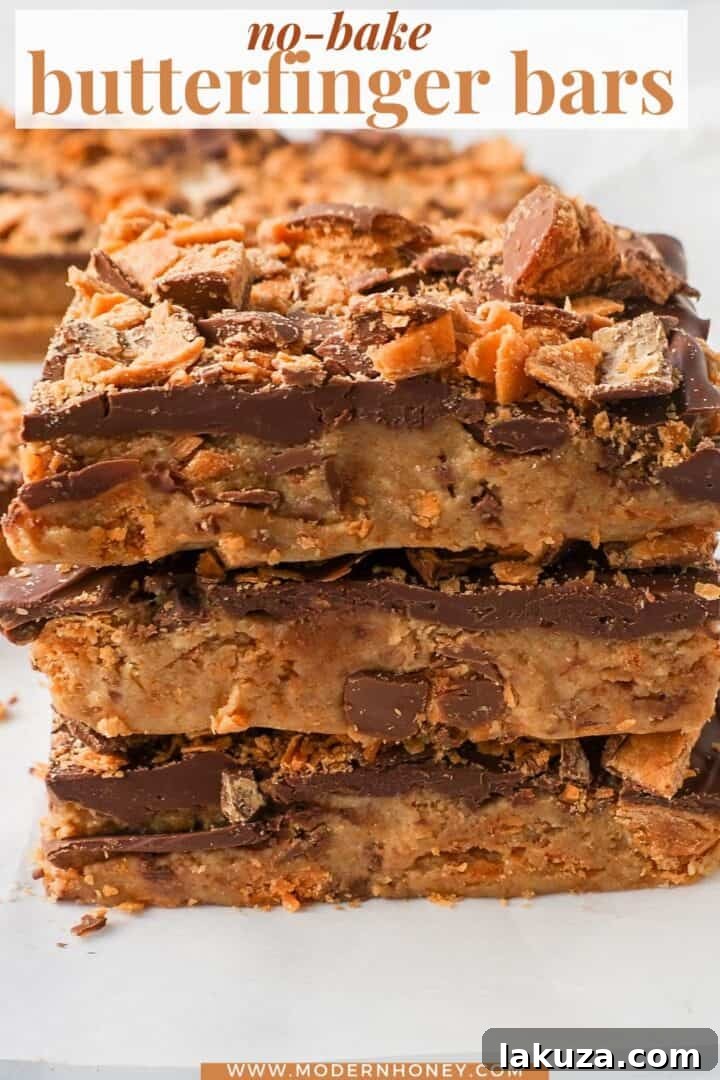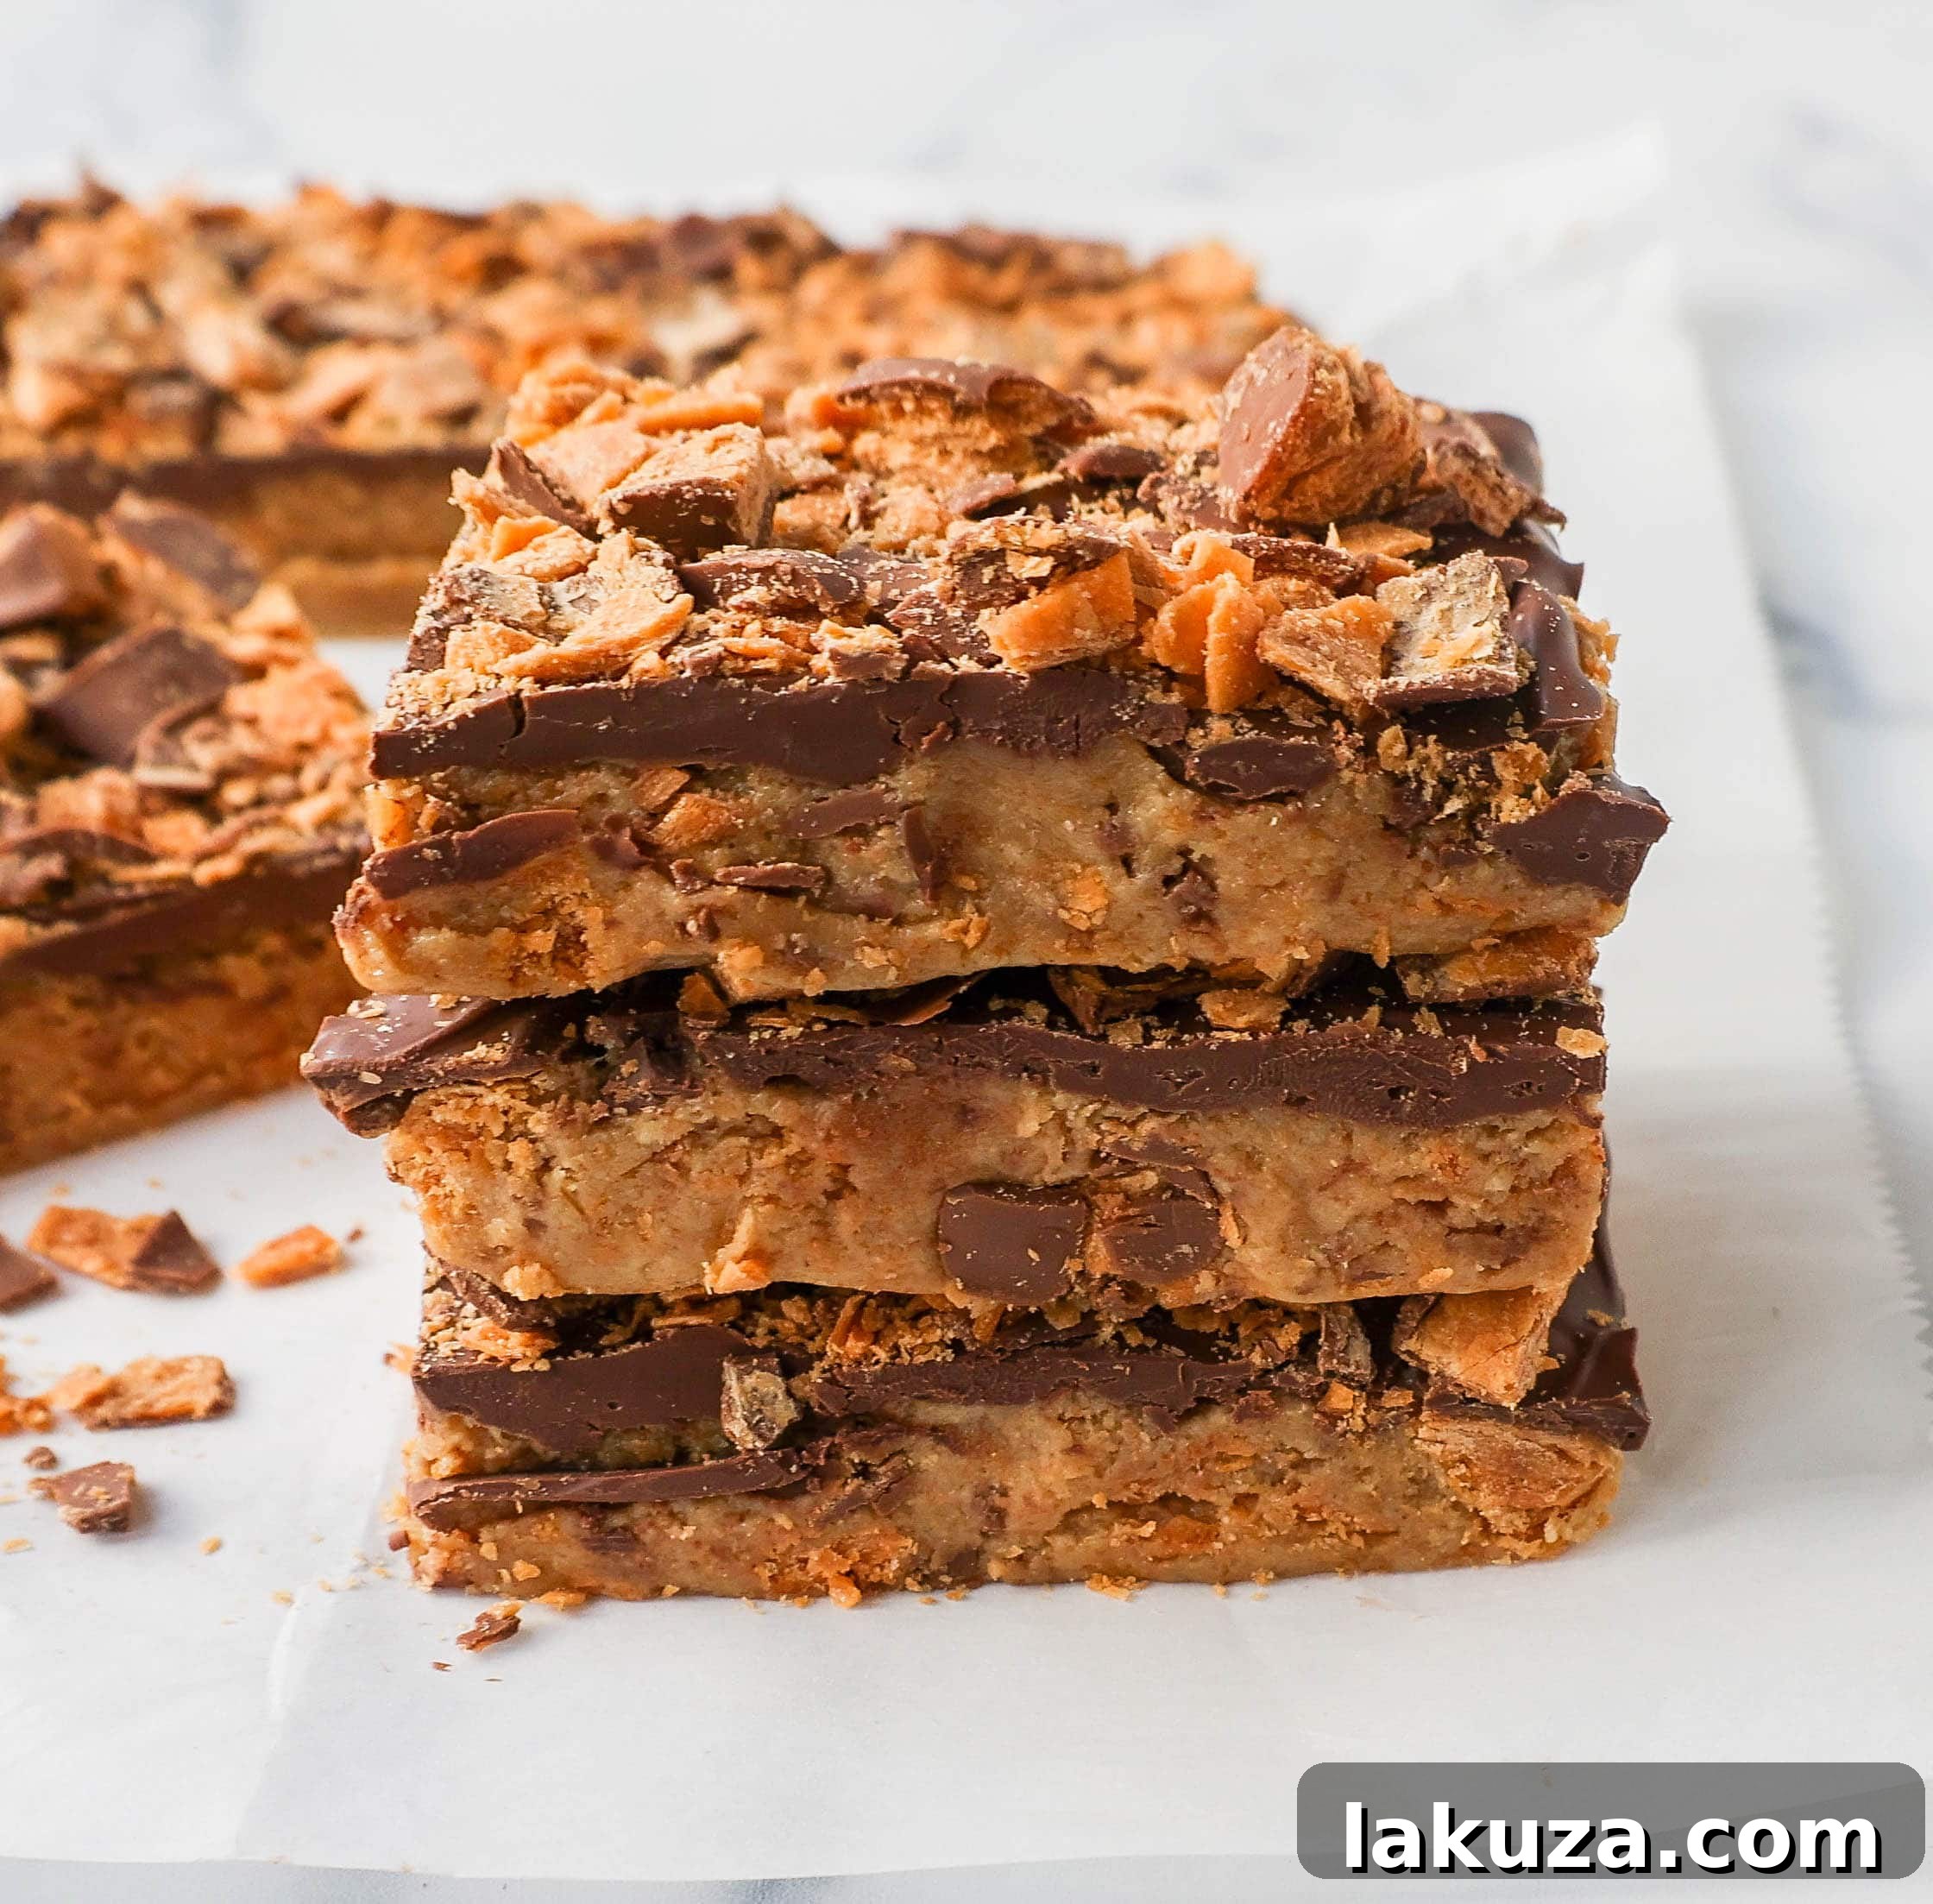
Irresistible No-Bake Crunchy Butterfinger Bars: Your New Favorite Peanut Butter Chocolate Treat!
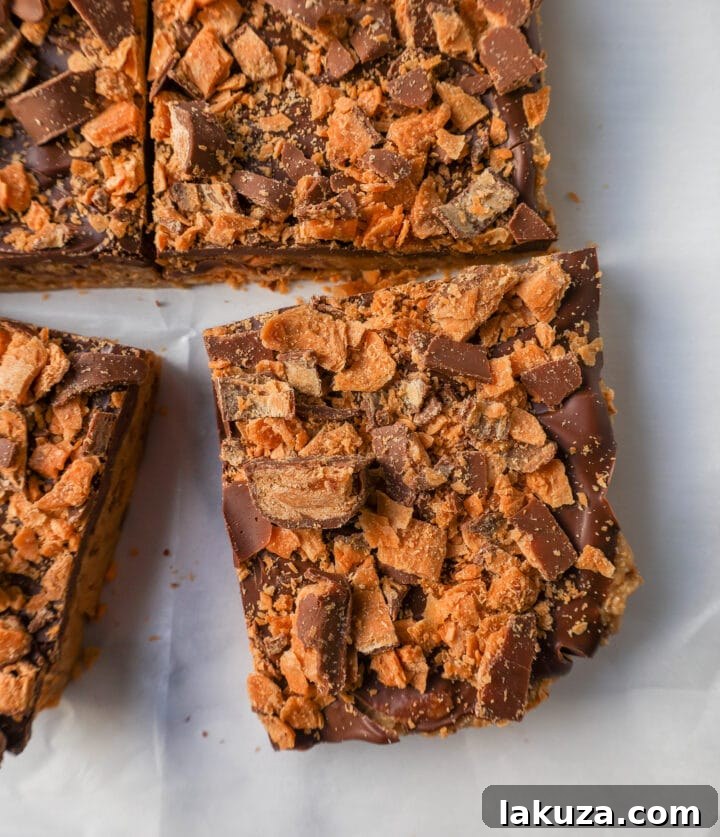
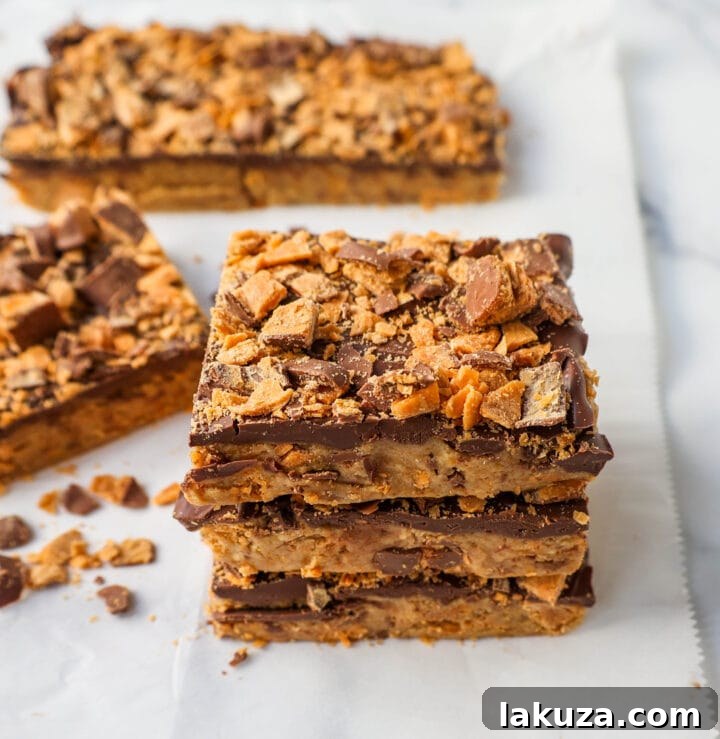
Craving a dessert that delivers on both crunch and creamy indulgence? Look no further than these spectacular No-Bake Crunchy Butterfinger Bars! Featuring a delightful blend of graham crackers, luscious sweetened condensed milk, rich melted butter, and generous chunks of iconic Butterfinger candy bars, all crowned with a smooth milk chocolate topping, these bars are a dream come true for any peanut butter and chocolate enthusiast. They perfectly marry sweet and salty, offering an incredibly satisfying textural experience that’s both creamy and wonderfully crisp.
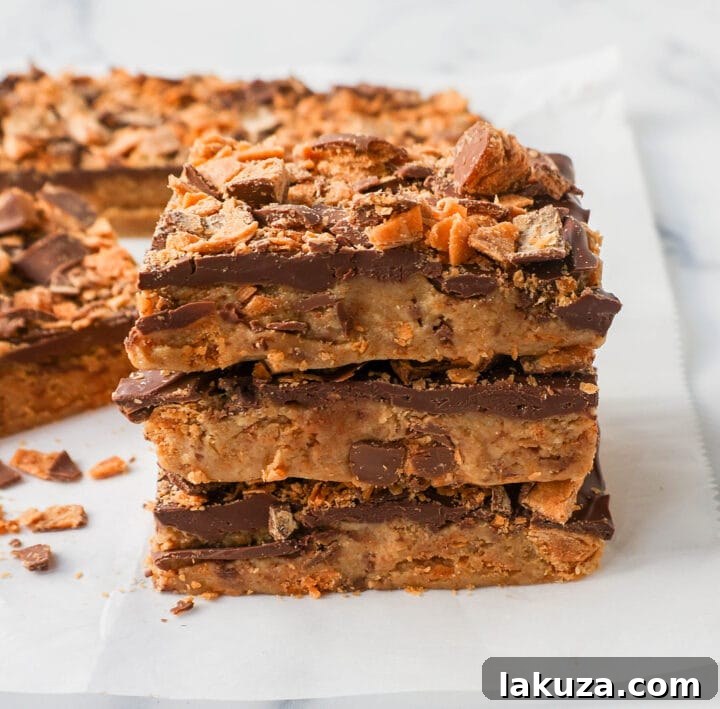
These truly remarkable dessert bars stand out for their incredible simplicity and speed. Imagine crafting a show-stopping treat with just five core ingredients and absolutely no oven time required! Whether you’re a seasoned baker or a complete beginner, these bars promise a fuss-free experience with maximum flavor impact. They’re ideal for impromptu gatherings, potlucks, lunchboxes, or simply satisfying that sudden sweet craving.
Why You’ll Fall in Love with This Recipe
- Effortlessly Delicious: Skip the baking! This no-bake recipe is perfect for hot days or when you simply want a quick dessert.
- Simple Ingredients: You only need five readily available ingredients to create these delightful bars.
- Perfect Texture Play: The unique combination of crunchy graham crackers and Butterfinger pieces against a smooth, creamy base and chocolate topping is simply irresistible.
- Salty-Sweet Harmony: Butterfinger’s signature peanut butter crunch perfectly complements the sweet condensed milk and chocolate, creating an exquisite balance of flavors.
- Crowd-Pleaser: Loved by all ages, these bars are guaranteed to be a hit at any party, family gathering, or casual get-together.
- Customizable: Easily adapt the recipe with different candy bars, cookies, or chocolates to suit your preferences.
Key Ingredients for Your Butterfinger Bars
Each ingredient plays a vital role in creating the iconic taste and texture of these no-bake bars. Here’s a closer look at what you’ll need and why:
- Graham Crackers: These form the foundational crust, providing a subtly sweet and slightly nutty flavor. The key here is to finely grind them into crumbs. A fine grind ensures a cohesive base that holds together beautifully and contributes to the bar’s overall smooth yet crunchy texture. Coarsely ground crackers might make the base too crumbly.
- Sweetened Condensed Milk: This magical ingredient acts as both a binder and a primary source of sweetness and creamy richness. It’s crucial for holding the graham cracker crust together without any baking. Make sure to grab the canned sweetened condensed milk from the baking aisle, and do not confuse it with evaporated milk, which is unsweetened and will not yield the same results.
- Butter: Melted butter binds the graham cracker crumbs and condensed milk into a pliable, pressable crust. You have a choice here: use salted butter if you prefer a more pronounced sweet and salty contrast, which truly enhances the Butterfinger flavor. For a slightly less intense salty note, unsalted butter works perfectly well. I personally opt for salted butter to maximize that irresistible flavor profile.
- Butterfinger Candy Bars: The star of the show! Butterfinger bars bring their signature crispy, crunchy, peanut-buttery goodness to every bite. You’ll want to roughly chop these into varying sizes – some smaller pieces to mix into the base for consistent flavor and texture, and some slightly larger chunks for sprinkling on top, adding visual appeal and an extra crunch.
- Milk Chocolate: This forms the smooth, decadent layer that caps off your bars. Using your favorite brand is important for taste. For an exceptionally smooth, glossy, and easy-to-melt topping, I highly recommend Ghirardelli milk chocolate melting wafers. They melt beautifully and set with a wonderful snap, but good quality milk chocolate chips or chopped milk chocolate bars will also work wonderfully.
Crafting Your Crunchy Butterfinger Bars: A Step-by-Step Guide
Making these no-bake bars is incredibly straightforward. Follow these simple steps for perfect results every time:
- Prepare the Graham Cracker Crust: Begin by transforming your graham crackers into fine crumbs. The easiest method is using a food processor: simply place the crackers in the bowl and pulse until you achieve a consistent, fine texture. If you don’t have a food processor, no worries! Place the graham crackers in a large, sturdy Ziploc bag, seal it, and use a rolling pin to crush them until they are uniformly fine crumbs. This step is crucial for a well-formed base.
- Assemble the Base Mixture: In a large mixing bowl, combine the finely ground graham cracker crumbs with one 14-ounce can of sweetened condensed milk and the melted butter. Stir these ingredients thoroughly until they are well combined and form a sticky, uniform mixture. Next, gently fold in about two-thirds of your chopped Butterfinger bars. Make sure to reserve the remaining chopped Butterfinger pieces for the topping. Press this mixture firmly and evenly into a pan lined with parchment paper. Using parchment paper with an overhang on two sides will make removing and cutting the bars much easier later. If the mixture is a bit sticky, lightly buttering your hands can help prevent it from sticking as you press it down.
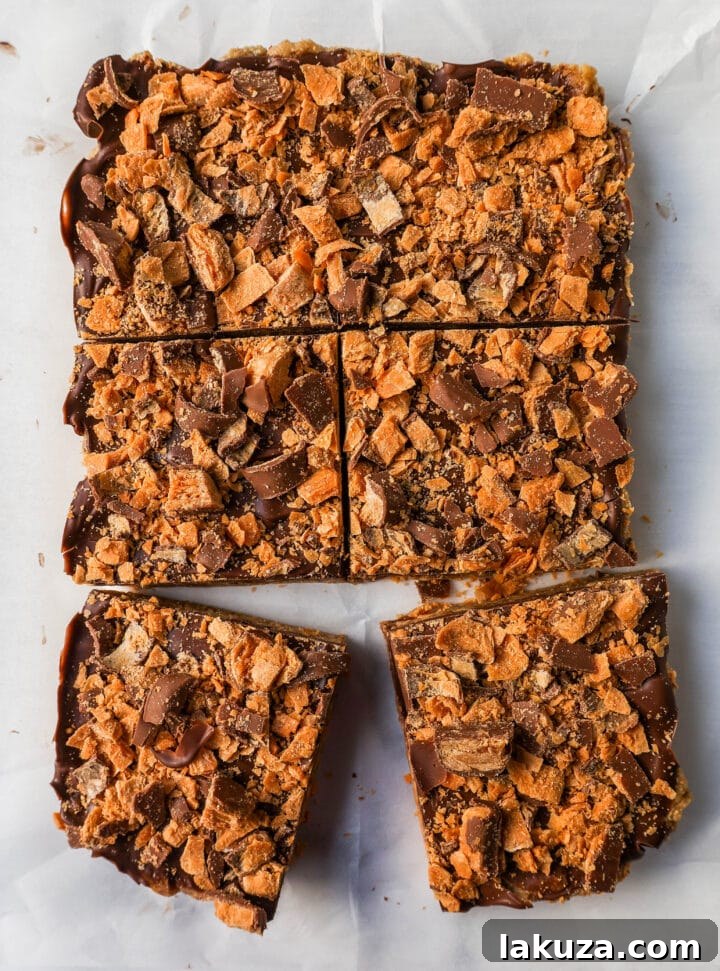
- Melt and Spread the Chocolate Topping: Place your milk chocolate (whether chips, chopped bars, or melting wafers) into a microwave-safe bowl. Heat in the microwave in 30-second intervals at 50% power, stirring well after each interval, until the chocolate is completely melted and smooth. Be careful not to overheat it, as chocolate can seize. Once melted, immediately pour the warm chocolate evenly over the pressed graham cracker crust. Use an offset spatula or the back of a spoon to spread it smoothly all the way to the corners of the pan. While the chocolate is still wet, generously sprinkle the reserved chopped Butterfinger candy bars over the entire surface.
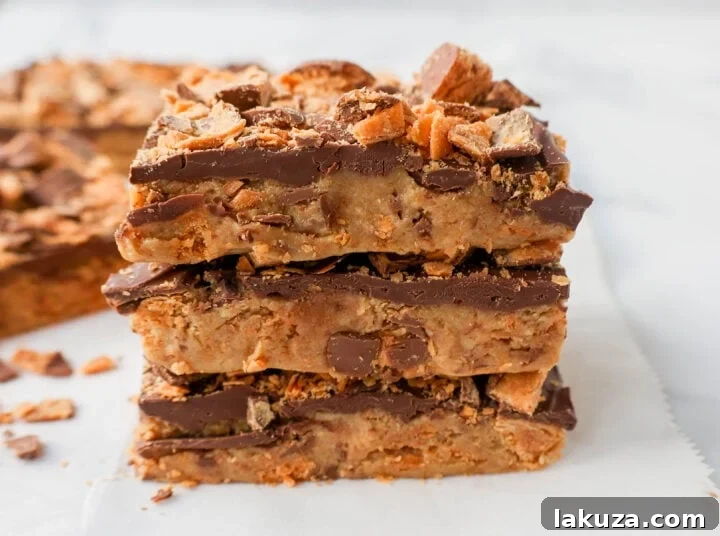
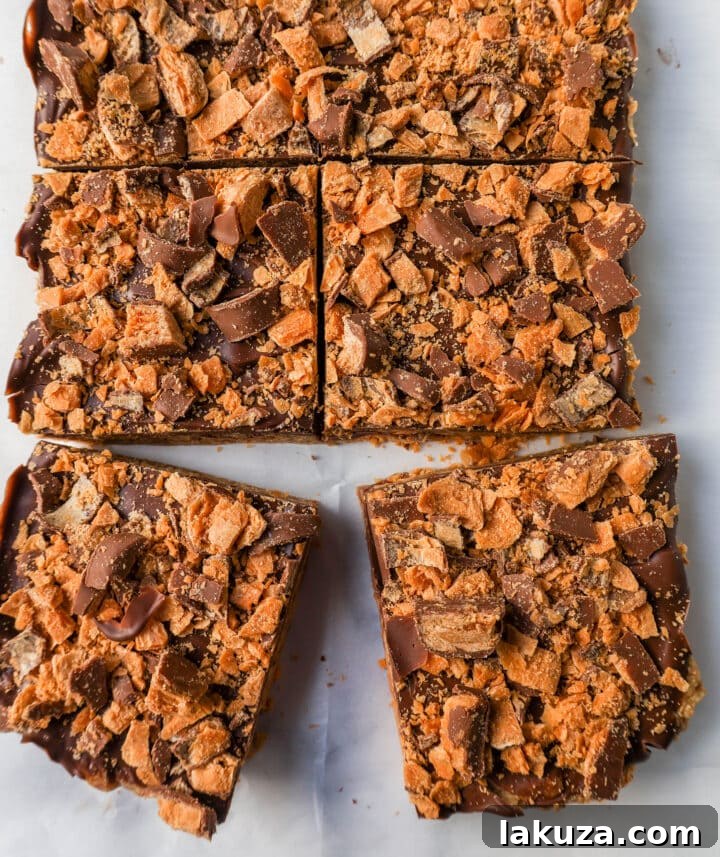
- Chill and Serve: The final step is to allow the bars to set. Place the pan in the refrigerator for at least 30 minutes, or in the freezer for about 15 minutes, until the chocolate topping is firm and set. Once completely chilled, lift the parchment paper to remove the entire block from the pan. Place it on a cutting board and use a sharp knife (warming the knife under hot water and wiping it dry between cuts can help achieve cleaner slices) to cut the bars into your desired squares or rectangles. Serve chilled and enjoy!
Tips for Perfect No-Bake Bars Every Time
- Fine Crumbs are Key: Ensure your graham crackers are ground very finely. This prevents a crumbly base and ensures a smooth, even texture.
- Press Firmly: When pressing the crust into the pan, apply firm, even pressure. This helps the base hold together and prevents crumbling when sliced.
- Don’t Overheat Chocolate: When melting the chocolate, use low power and stir frequently. Overheated chocolate can become grainy or seize, making it difficult to spread.
- Warm Knife for Clean Cuts: For perfectly neat squares, dip your knife in hot water, wipe it dry, and then make your cuts. Repeat for each slice.
- Parchment Paper is Your Friend: Always line your pan with parchment paper, leaving an overhang. This makes lifting the set bars out of the pan effortless.
Substitutions and Creative Variations
One of the best things about these Butterfinger bars is how adaptable they are. Feel free to get creative with substitutions to match your taste or what you have on hand:
- Crust Alternatives: Instead of traditional graham crackers, consider using Biscoff cookies for a spiced flavor, shortbread cookies for a buttery richness, or even pretzels for an extra salty kick. If opting for pretzels, I highly recommend using unsalted butter in the base to balance the saltiness. Vanilla wafers or digestive biscuits are also great options.
- Candy Bar Swaps: While Butterfinger is a star, these bars are fantastic with a variety of other candy bars. Try chopped Reese’s Peanut Butter Cups for more intense peanut butter flavor, Snickers for a caramel and nougat twist, Twix for shortbread and caramel, or even Heath bars for a toffee crunch. Kit Kats, Milky Way, or Take 5 are also excellent choices.
- Chocolate Topping Options: If milk chocolate isn’t your preference, you can easily substitute it with semi-sweet chocolate for a deeper cocoa flavor, dark chocolate for a more intense and less sweet topping, or even white chocolate for a different aesthetic and creamy sweetness. Peanut butter chips, swirled into the chocolate, also make a fantastic addition.
- Add-ins: For extra texture and flavor, consider folding in a handful of chopped nuts (peanuts, pecans, walnuts), mini chocolate chips, or even sprinkles into the base or on top of the chocolate.
Essential Equipment for Success
While this is a no-bake recipe, having the right tools can make the process even smoother:
- Food Processor: My top recommendation! A food processor makes quick work of finely grinding graham crackers, ensuring a perfectly uniform and smooth crust base.
- Baking Pan: A standard 9×13 inch baking pan is ideal for this recipe. You can also use a 7×11 inch pan for thicker bars. High-quality pans, like those from USA Pan or sturdy Pyrex glass pans, ensure even chilling.
- Parchment Paper: A must-have for easy removal! Keeping a good supply of parchment paper sheets ensures your bars lift out of the pan cleanly, making slicing a breeze.
- Large Mixing Bowl: For combining your crust ingredients.
- Microwave-Safe Bowl: For melting the chocolate topping.
- Offset Spatula: Great for evenly spreading the chocolate over the base.
Storage and Shelf Life
Proper storage ensures your homemade Butterfinger bars stay fresh and delicious:
These delightful chocolate Butterfinger bars can be stored in an airtight container to maintain their freshness and prevent them from drying out. They are quite versatile in terms of storage temperature: you can keep them at room temperature for up to 3-4 days, especially if your kitchen isn’t too warm. However, for a firmer texture and to prolong their freshness, chilling them in the refrigerator is recommended. When stored in the fridge, they will last for up to a week. For longer storage, these bars freeze beautifully! Wrap individual bars or a whole slab tightly in plastic wrap, then place in an airtight freezer-safe container for up to 2-3 months. Thaw at room temperature or in the refrigerator before serving.
Top Tip for Success:
For the best possible texture in your no-bake bars, always ensure the graham crackers are ground into very fine, consistent crumbs. This creates a cohesive base that holds together perfectly without being too crumbly.
Frequently Asked Questions (FAQ)
Can I use different types of candy bars?
Absolutely! This recipe is incredibly versatile. You can easily substitute Butterfinger with your favorite candy bars. Excellent choices include Twix, Snickers, Reese’s Peanut Butter Cups, Kit Kat, Milky Way, Take 5, Heath Bar, or even chopped M&M’s. Each will give the bars a unique flavor and texture profile, making them fun to experiment with!
Can I make these bars gluten-free?
Yes, you can! Simply use gluten-free graham crackers or a gluten-free cookie alternative like gluten-free shortbread cookies for the crust. Ensure all other ingredients, like candy bars, are also certified gluten-free.
What size pan should I use?
A 9×13 inch baking pan is typically used for this recipe, yielding thinner bars. If you prefer thicker bars, you can use a smaller 7×11 inch pan. Just note that chill time might be slightly longer for thicker bars.
How long do these no-bake bars last?
When stored properly in an airtight container, these bars will stay fresh at room temperature for 3-4 days, or up to a week in the refrigerator. They can also be frozen for up to 2-3 months.
Why are my bars crumbling when I cut them?
There are a few reasons this might happen:
1. The graham cracker crumbs might not have been fine enough.
2. The base wasn’t pressed firmly enough into the pan.
3. The bars weren’t chilled long enough before cutting. Ensure they are thoroughly set.
4. Use a sharp knife and, for best results, warm it under hot water and wipe dry between cuts.
Other Delightful Dessert Bar Recipes:
If you loved these Butterfinger bars, you might enjoy exploring other fantastic dessert bar recipes:
- Classic Chocolate Chip Cookie Bars
- Decadent 7-Layer Magic Cookie Bars
- The Best Brookie (Chocolate Chip Cookie and Brownie Bar)
- Rich Chocolate Peanut Butter Oatmeal Cookie Bars
No-Bake Crunchy Butterfinger Bars
These Crunchy Butterfinger Bars are a delightful no-bake treat featuring a graham cracker base, creamy sweetened condensed milk, crunchy Butterfinger candy, and a luscious milk chocolate topping. A perfect balance of sweet, salty, creamy, and crunchy!
Prep Time: 15 minutes
Chill Time: 30 minutes
Yields: 24 servings
Equipment
- Food processor (optional, for grinding graham crackers)
- 9 x 13 inch baking pan
- Large mixing bowl
- Microwave-safe bowl
- Offset spatula (optional, for spreading chocolate)
Ingredients
- 14.4 ounces Graham Crackers (about 1 full standard box), finely ground
- (1) 14-ounce can Sweetened Condensed Milk
- 1/2 cup Butter, melted (salted butter recommended for sweet & salty flavor)
- 10.2 ounces Butterfinger Candy Bars (about 1 bag of 16 fun-size bars), roughly chopped
- 1 1/4 cups Milk Chocolate (chips, chopped bar, or melting wafers)
Instructions
- Prepare the Graham Cracker Crumbs: Place the graham crackers in a food processor and pulse until they become fine, uniform crumbs. If you don’t have a food processor, put the crackers in a large Ziploc bag and crush them with a rolling pin until very fine.
- Form the Base: In a large mixing bowl, combine the finely ground graham cracker crumbs, the entire can of sweetened condensed milk, and the melted butter. Mix well until all ingredients are thoroughly combined and form a sticky dough. Fold in about 7 ounces of the chopped Butterfinger bars, reserving the remaining 3.2 ounces for the topping.
- Press into Pan: Line a 9×13 inch baking pan (or 7×11 inch for thicker bars) with parchment paper, leaving an overhang on two sides for easy removal. Pour the graham cracker mixture into the prepared pan and press it down firmly and evenly across the bottom, extending to all the edges. If the mixture is sticky, you can lightly butter your hands before pressing.
- Melt Chocolate Topping: Place the milk chocolate in a microwave-safe bowl. Melt the chocolate in the microwave in 30-second increments at 50% power, stirring well after each interval, until it is completely melted and smooth. Be careful not to overheat.
- Top and Decorate: Pour the melted chocolate evenly over the pressed crust, spreading it smoothly to the corners of the pan with an offset spatula or the back of a spoon. Immediately sprinkle the reserved chopped Butterfinger candy bars generously over the wet chocolate topping.
- Chill and Cut: Place the pan in the refrigerator for at least 30 minutes, or in the freezer for about 15 minutes, until the chocolate topping is fully set and firm. Once set, use the parchment paper overhangs to lift the entire slab of bars out of the pan. Place on a cutting board and cut into squares or rectangles of your desired size. For cleaner cuts, warm your knife under hot water and wipe it dry before each slice. Serve chilled.
Recipe Notes
- 14.4 ounces of graham crackers typically equals one full standard box.
- 10.2 ounces of Butterfinger candy bars is roughly equivalent to one full bag of 16 fun-size candy bars.
- Ingredient Tips:
- Graham Crackers: Grind finely for the best texture and a stable base.
- Sweetened Condensed Milk: Do not confuse with evaporated milk; ensure you use the sweetened variety.
- Butter: Salted butter enhances the sweet and salty flavor profile, but unsalted works too.
- Butterfinger Candy Bars: Chop roughly, reserving some for the aesthetic and added crunch on top.
- Milk Chocolate: Ghirardelli melting wafers are excellent for a smooth finish, but any quality milk chocolate will do.
- Storage: Store these homemade bars in an airtight container at room temperature for 3-4 days or in the refrigerator for up to a week. They can also be frozen for longer storage.