
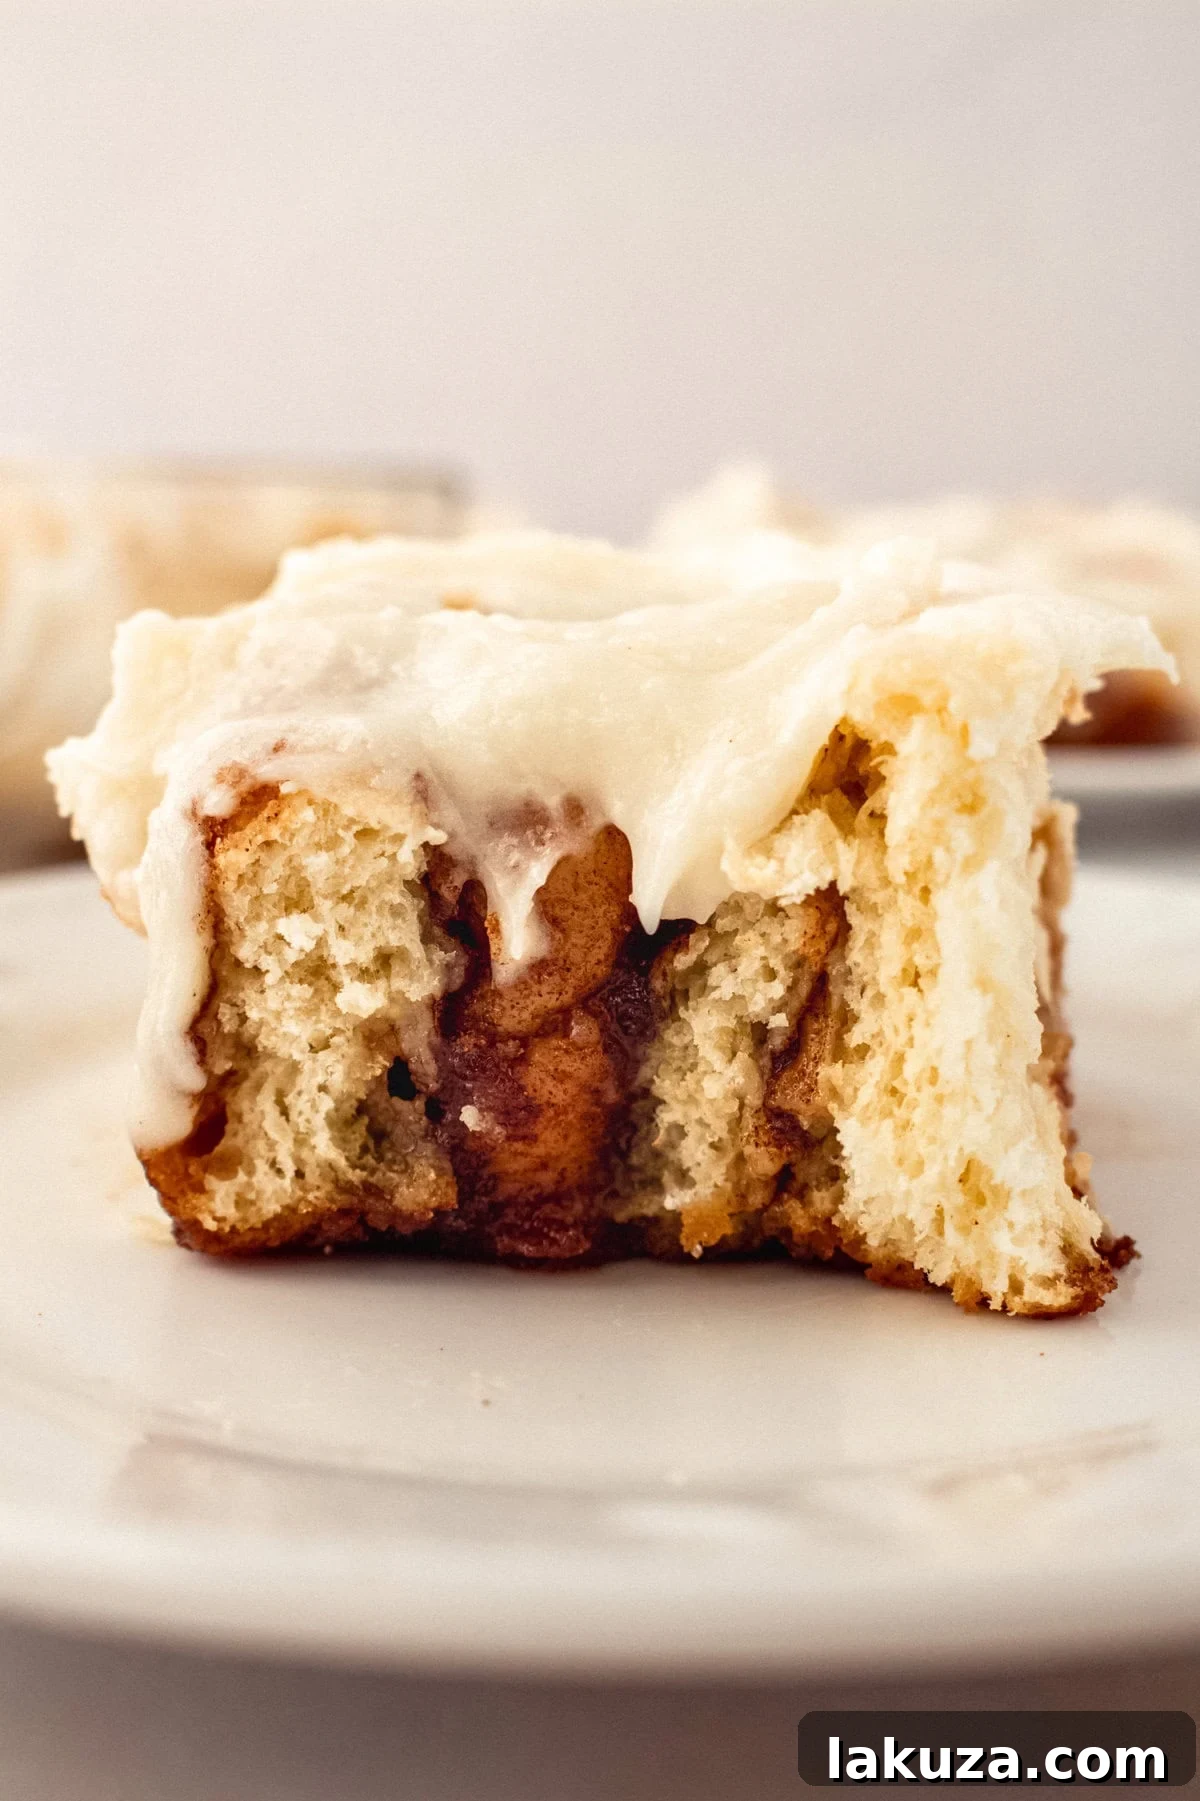
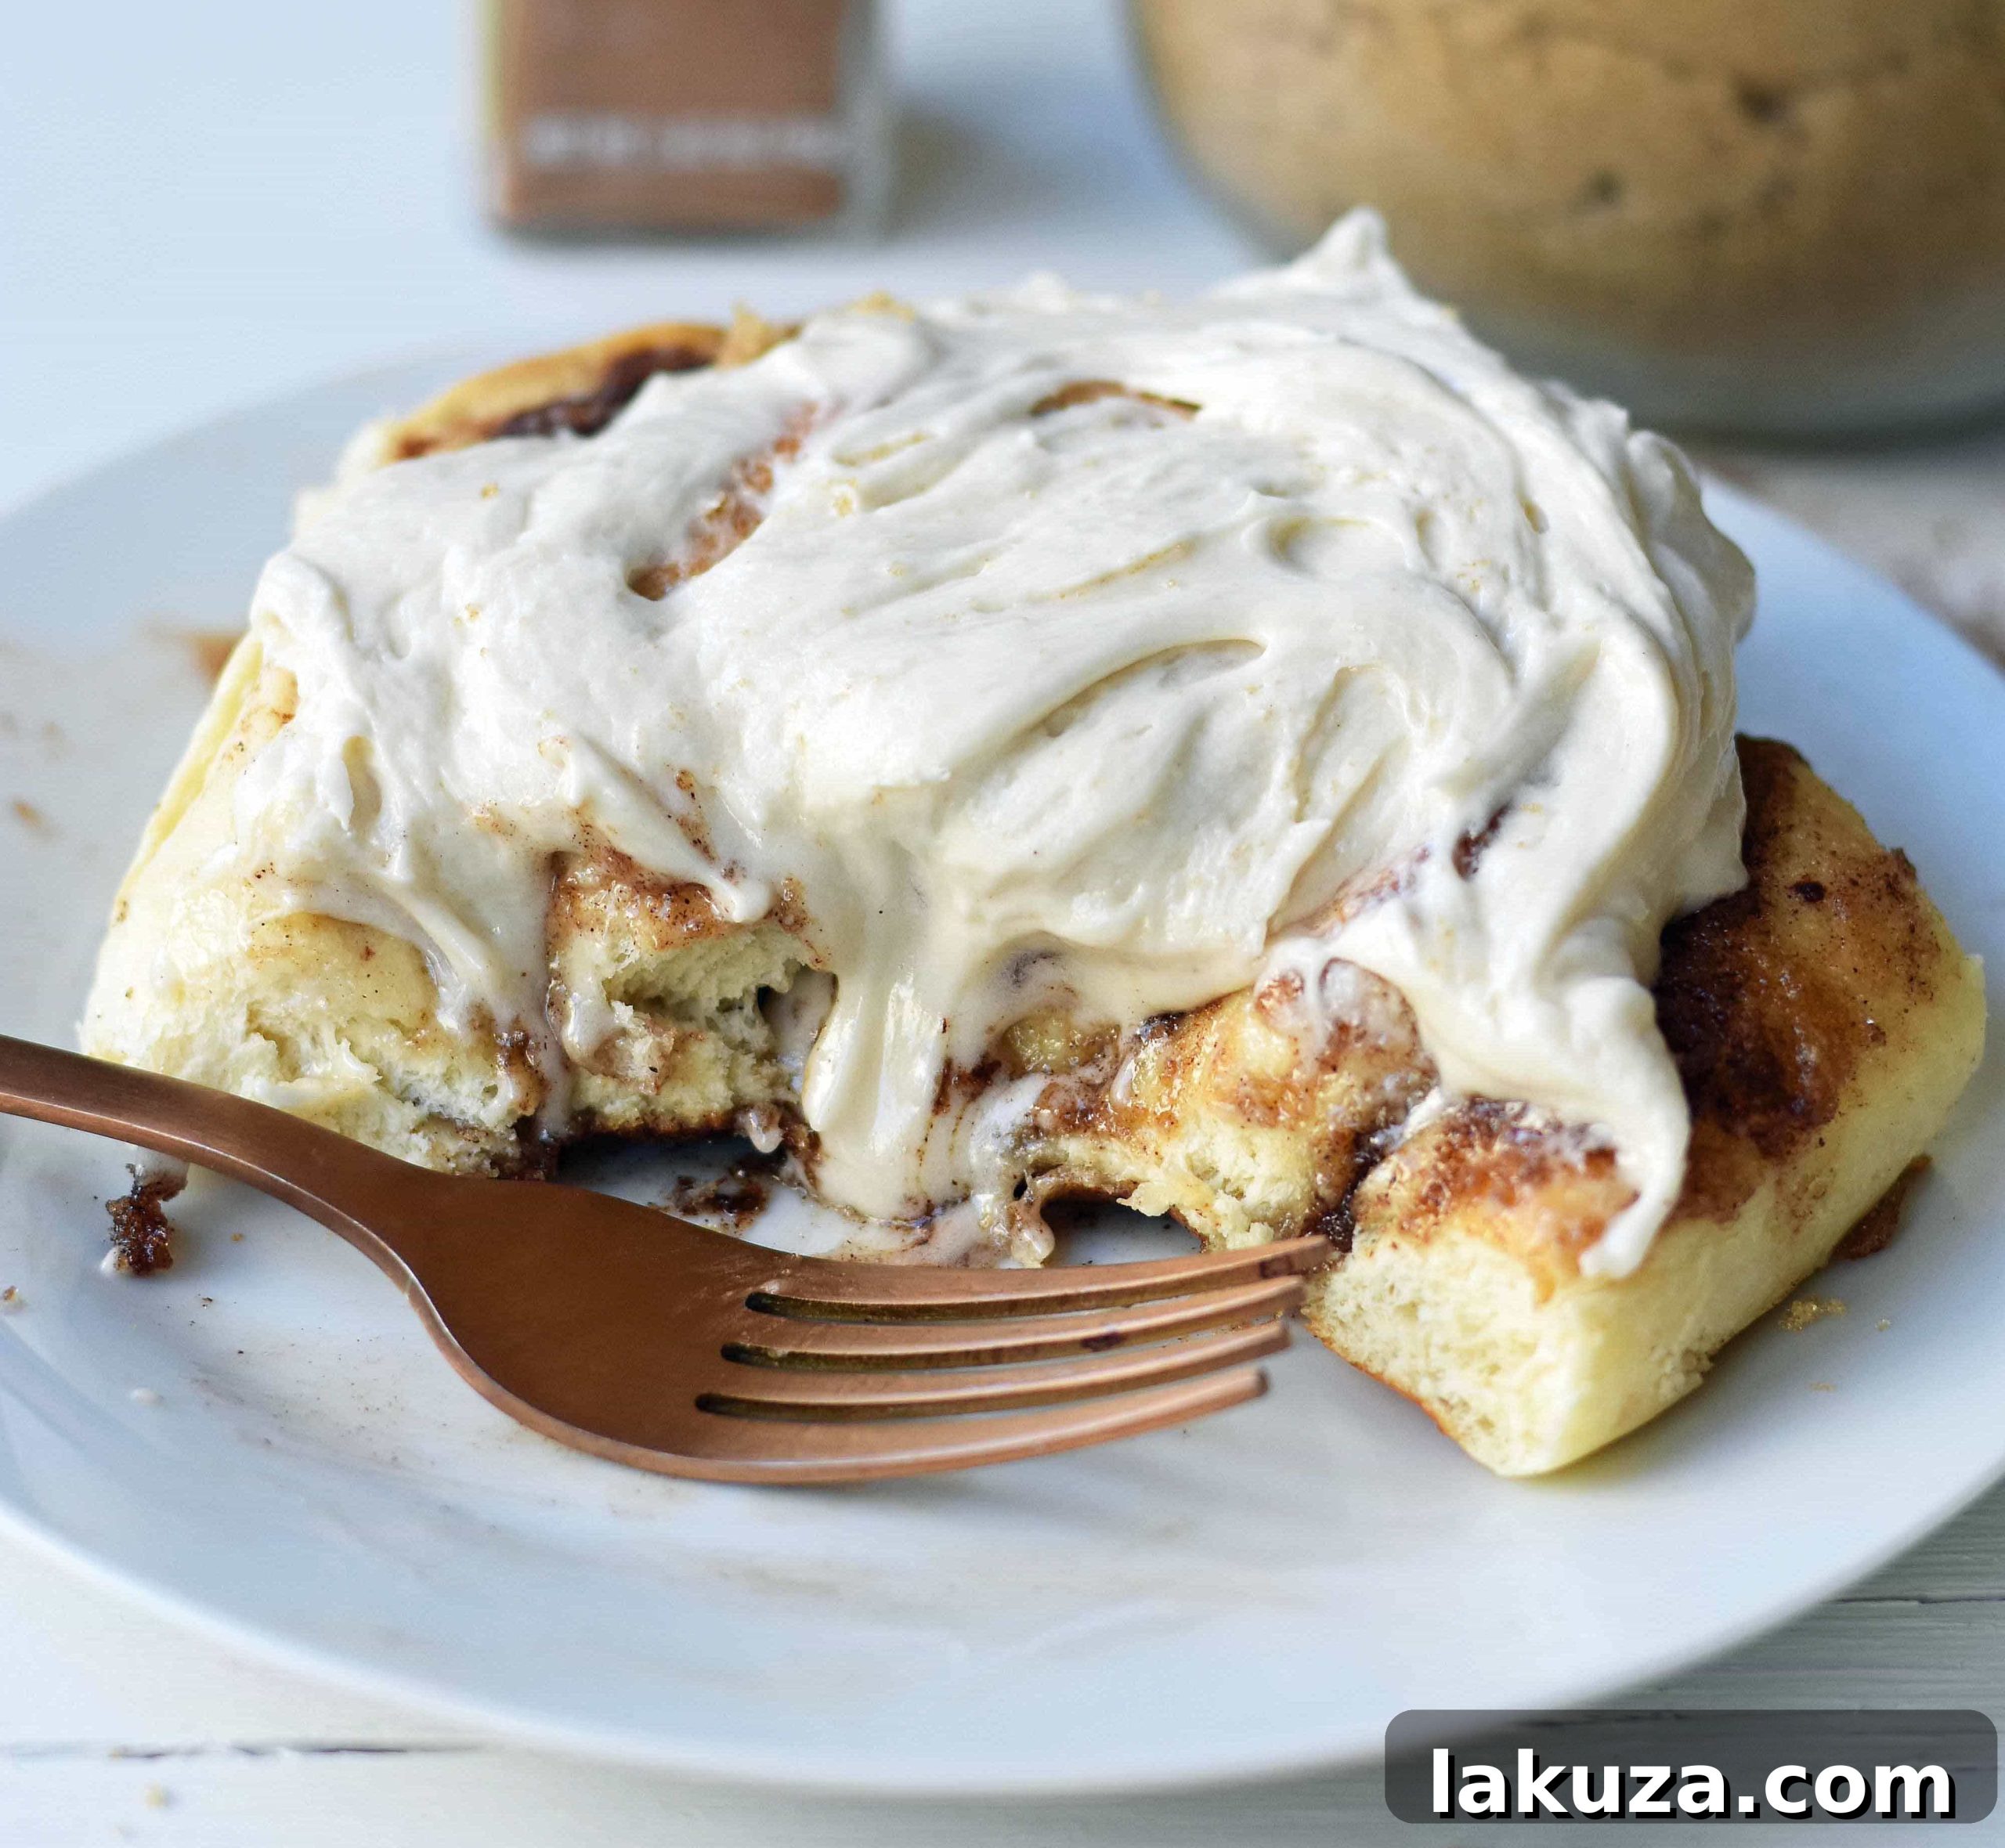
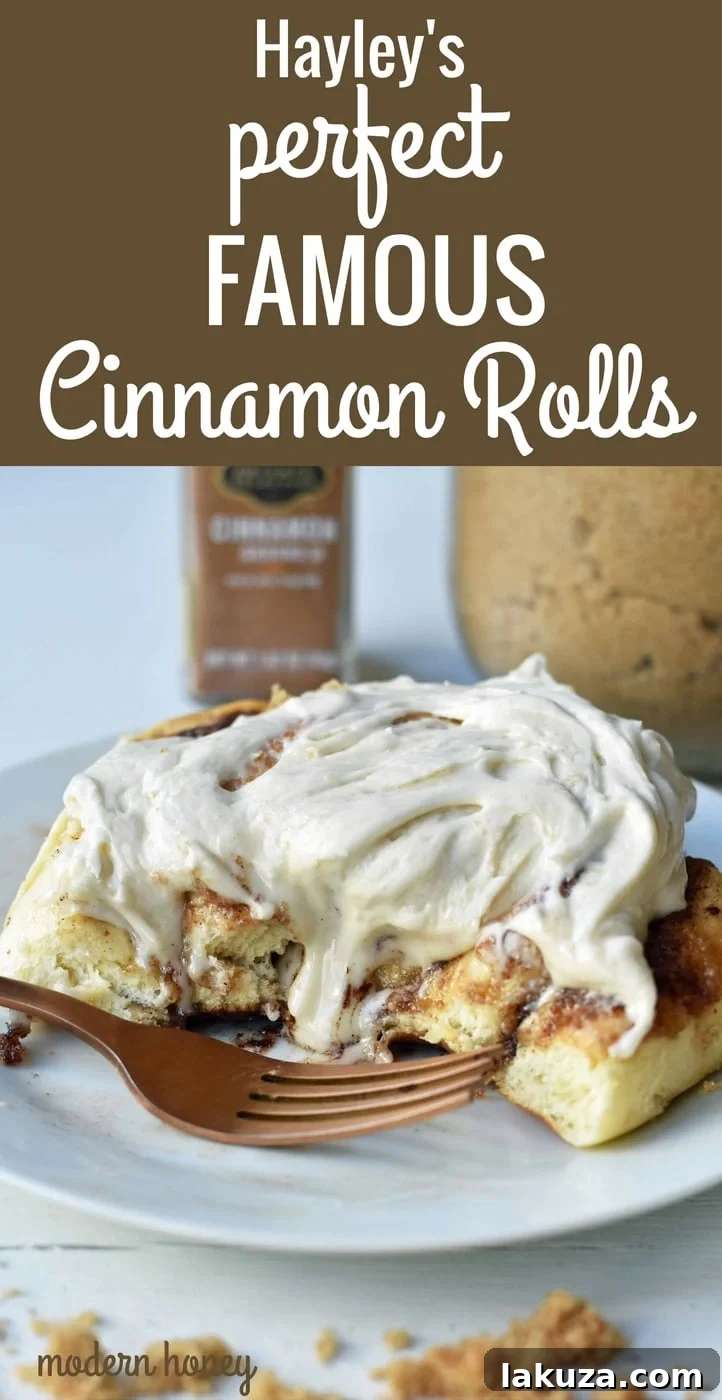
Hayley’s Famous Cinnamon Rolls have earned their legendary status for all the right reasons. Imagine sinking your teeth into a warm, utterly ooey-gooey, impossibly buttery brown sugar cinnamon roll, generously slathered with a rich, tangy cream cheese icing. These aren’t just cinnamon rolls; they are an experience, a symphony of flavors and textures that defines the ultimate homemade treat. This comprehensive guide will walk you through every step, ensuring you master the art of baking these phenomenal cinnamon rolls right in your own kitchen. Prepare to discover the secrets behind Hayley’s renowned recipe, transforming simple ingredients into pure edible magic.
Our community has always admired the Foster Family. They embody the spirit of generosity, consistently finding ways to serve and uplift others. Stephanie, the matriarch, has instilled an incredible work ethic in her children, teaching them to earn their own money for their desired camps and activities. We’ve seen her son diligently mowing lawns and selling his freshly baked bread. But it’s Hayley, with her truly exceptional cinnamon rolls, who has captured the hearts (and appetites) of everyone in these parts. The anticipation for her coveted cinnamon rolls is palpable, with eager customers clamoring to get their hands on a batch.
The Fosters serve as a remarkable example of nurturing a strong work ethic in children while simultaneously fostering valuable life skills. We are immensely grateful to Hayley for graciously sharing her flawless cinnamon roll recipe with us, allowing everyone to recreate this beloved classic at home. Her generosity means that more families can enjoy these perfect rolls and experience the joy of baking them.
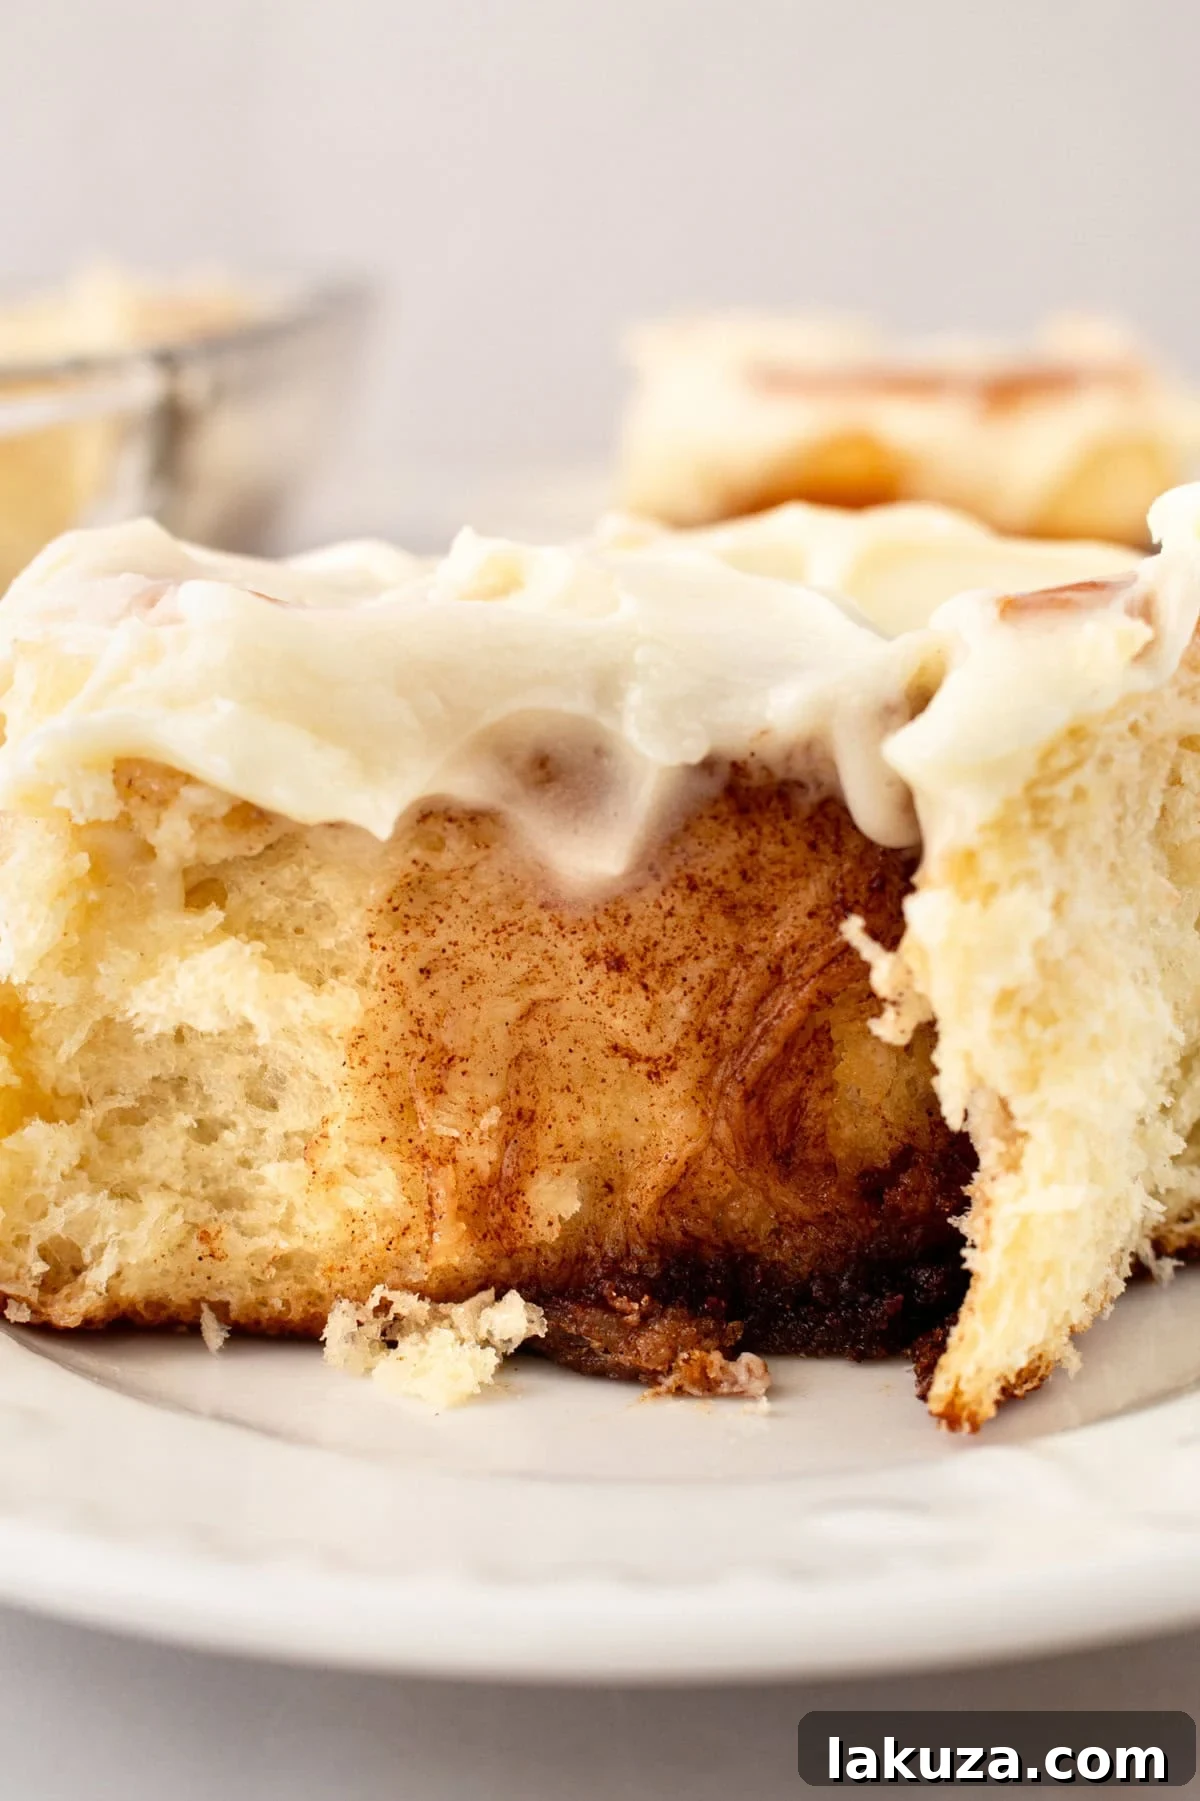
For my Mom, cinnamon rolls aren’t just a dessert; they’re her ultimate love language. Every birthday, without fail, her sole wish is a generous, enormous cinnamon roll, entirely for herself. She is, without a doubt, a true cinnamon roll connoisseur, having sampled countless varieties over the years. So, when she described Hayley’s Famous Cinnamon Rolls using words like “phenomenal” and “out-of-this-world,” I knew we had stumbled upon an undeniable winner. These are, quite simply, the best cinnamon rolls I have ever tasted. I’ve personally tested countless recipes, tweaking, experimenting, and refining, but Hayley’s recipe consistently triumphs, earning the coveted top prize for its unparalleled flavor and perfect texture.
This recipe yields a substantial batch of decadent cinnamon rolls – perfect for sharing with family, friends, or keeping a stash for yourself! If you’re looking to make a smaller quantity, perhaps around 7-8 rolls, feel free to effortlessly halve the recipe. The instructions remain the same, just adjust your ingredient quantities accordingly.
Crafting the Perfect Homemade Cinnamon Rolls: Essential Ingredients
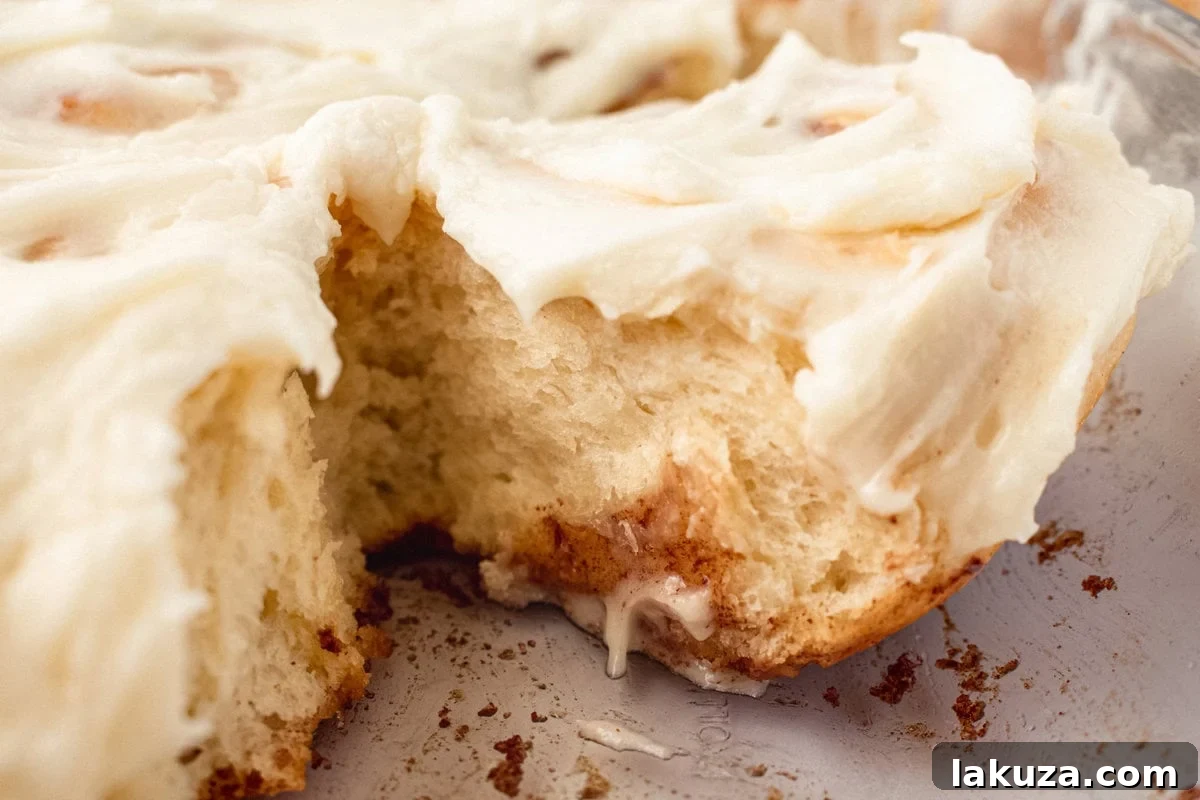
The magic of these homemade cinnamon rolls begins with a sweet, tender dough, meticulously rolled out and generously blanketed with a luscious mixture of butter, rich brown sugar, and aromatic cinnamon. Baked until golden, warm, and irresistibly gooey, each roll is then crowned with a silky-smooth, sweet cream cheese frosting that perfectly balances the spice. Understanding each component is key to achieving perfection.
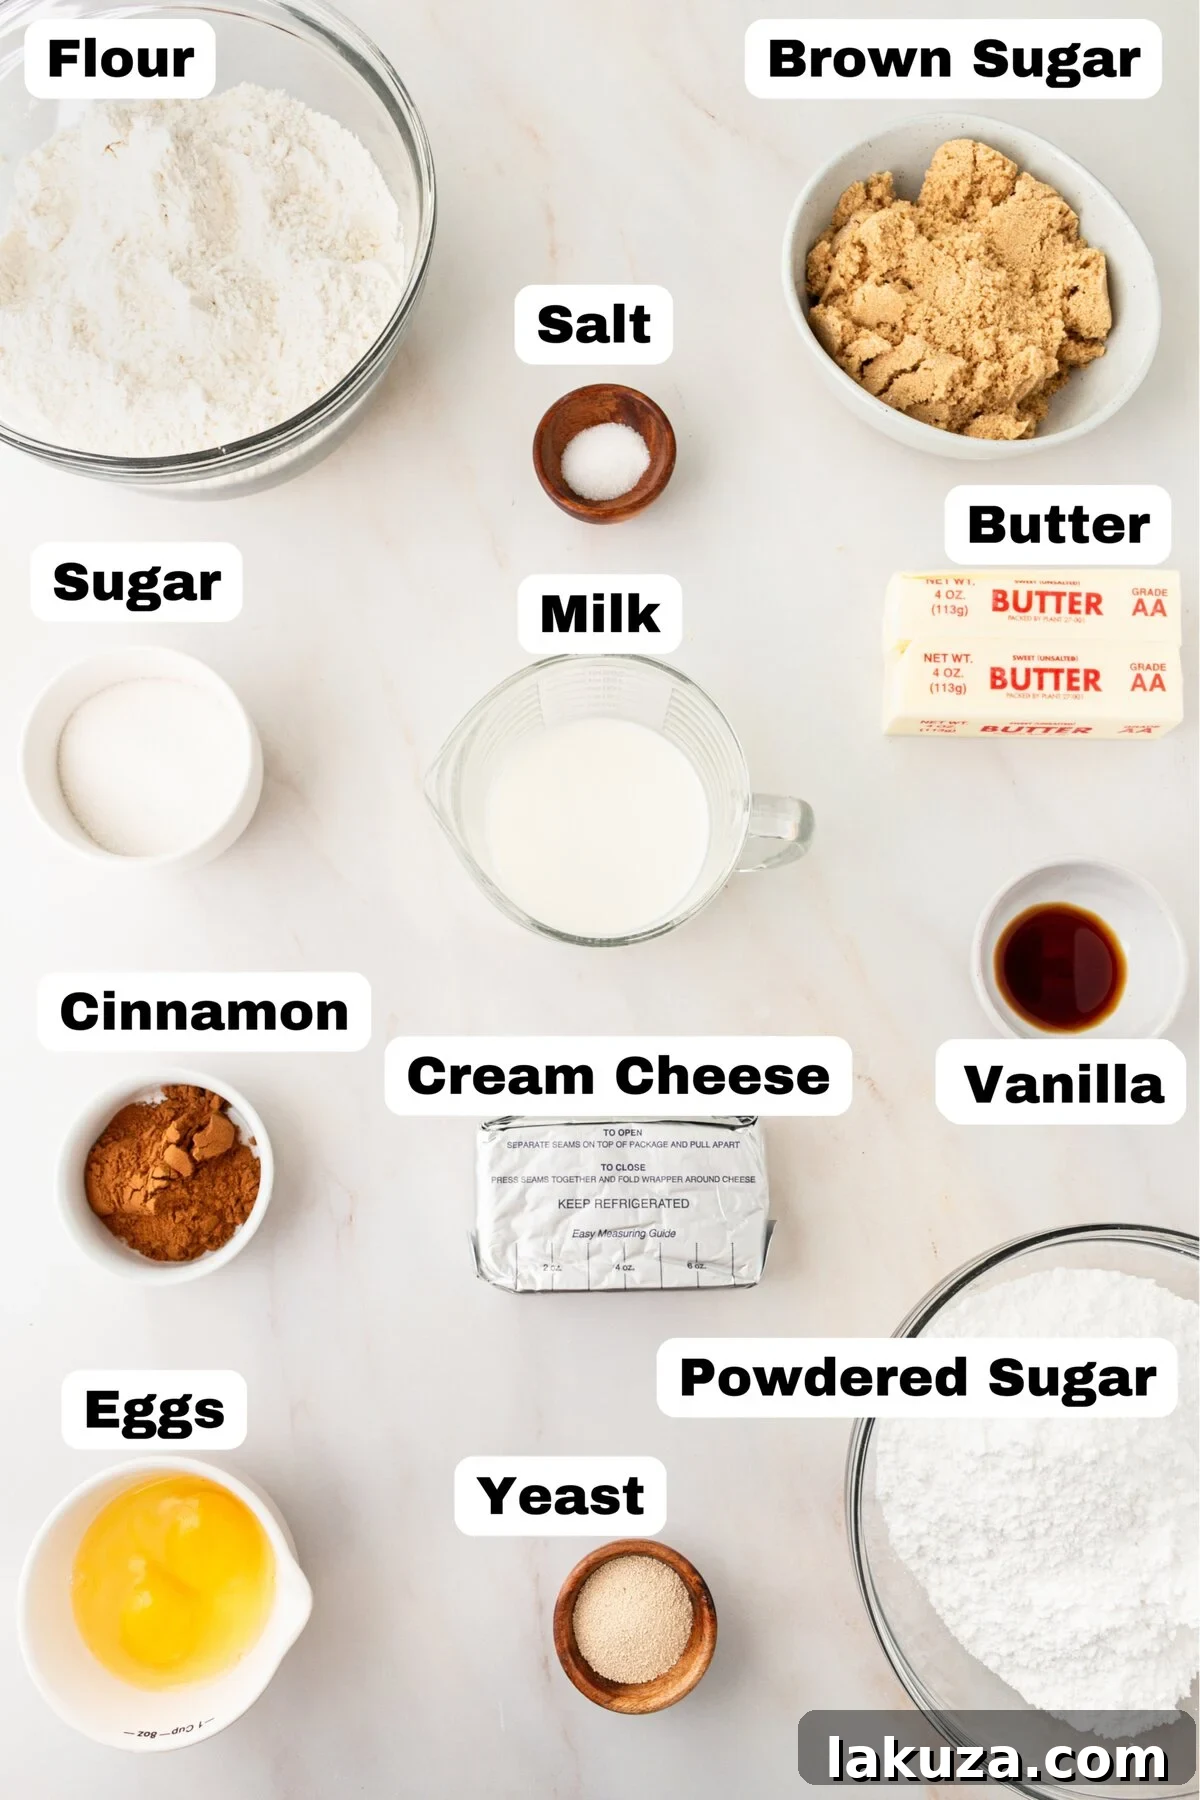
For the Irresistible Cinnamon Roll Dough:
- Warm Milk: Crucial for activating the yeast, aim for a temperature around 110 degrees Fahrenheit (43 degrees Celsius). It should feel pleasantly warm, not hot, to the touch.
- Instant Yeast: The leavening agent that gives our rolls their light, fluffy texture and helps them rise beautifully.
- Granulated Sugar: Not only sweetens the dough but also feeds the yeast, ensuring a robust rise.
- Eggs: Add richness, flavor, and contribute to the tender crumb of the dough. They also help bind the ingredients together.
- Melted Butter: Incorporates incredible flavor and moisture into the dough, making it soft and pliable.
- Salt: Essential for balancing the sweetness and enhancing all the other flavors in the dough.
- All-Purpose Flour: The structural foundation of our dough, providing the necessary gluten development for that perfect chew.
For the Decadent Brown Sugar Filling:
- Softened Butter: Acts as the binding agent for the sugar and cinnamon, creating that signature gooey layer. Ensure it’s at room temperature for easy spreading.
- Brown Sugar: Provides deep, molasses-rich sweetness and creates a wonderfully caramelized texture when baked.
- Ground Cinnamon: The star spice, delivering its characteristic warmth and aromatic fragrance. Don’t be shy with this!
For the Silky Cream Cheese Frosting:
- Softened Butter: Forms the rich, creamy base of the frosting.
- Cream Cheese: Adds a delightful tang and luxurious smoothness, cutting through the sweetness for a perfectly balanced flavor.
- Powdered Sugar: Provides sweetness and ensures a smooth, lump-free frosting texture.
- Vanilla Extract: Enhances the overall flavor profile, adding a warm, comforting note to the frosting.
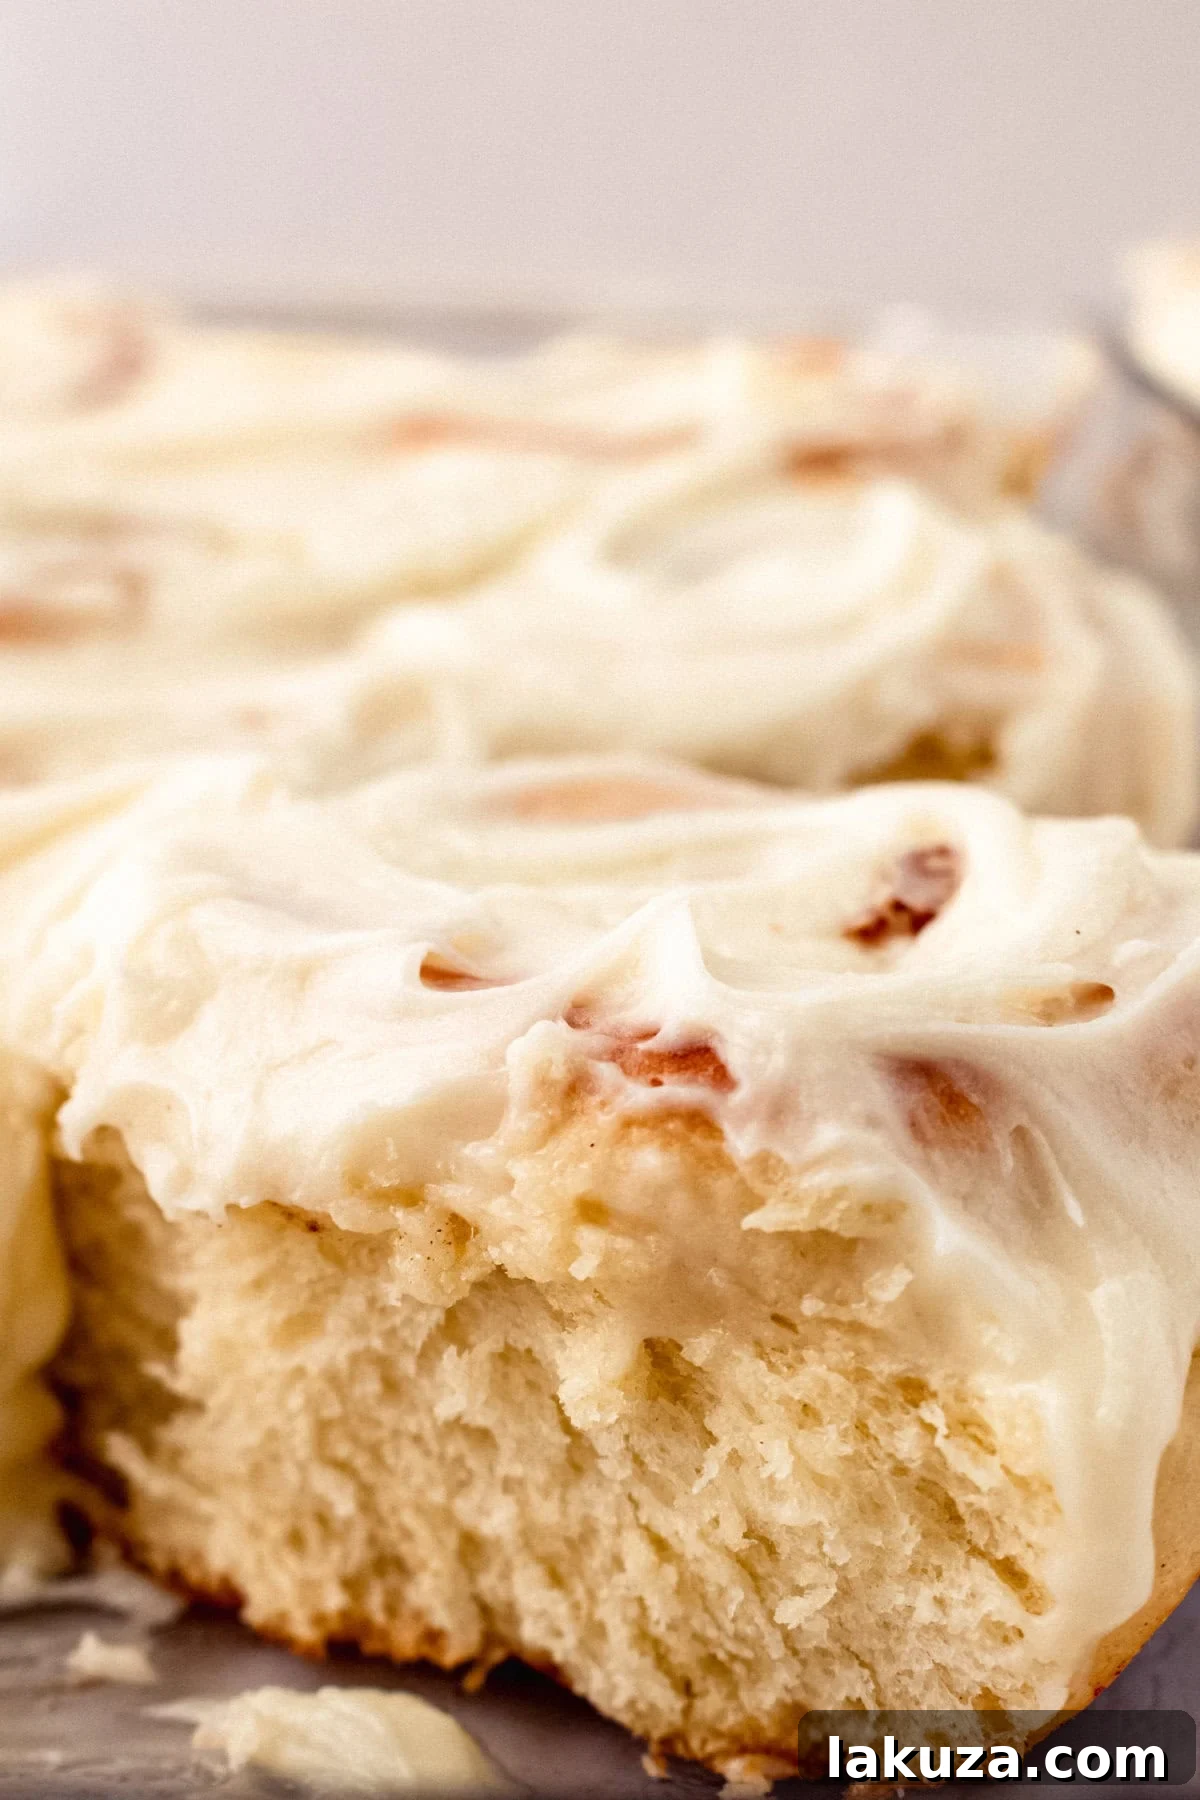
Step-by-Step Guide: How to Make the Best Cinnamon Rolls
Follow these detailed instructions carefully to ensure your homemade cinnamon rolls turn out perfectly soft, fluffy, and full of flavor every single time.
- Prepare for Baking: Begin by preheating your oven to 200 degrees Fahrenheit (95 degrees Celsius). This low temperature is crucial for creating the ideal warm environment for your dough’s first rise. While the oven preheats, warm your milk. Pour the milk into a microwave-safe bowl and microwave it for approximately 90 seconds, or until it reaches about 110 degrees Fahrenheit (43 degrees Celsius). It should be warm to the touch, but not hot enough to kill the yeast.
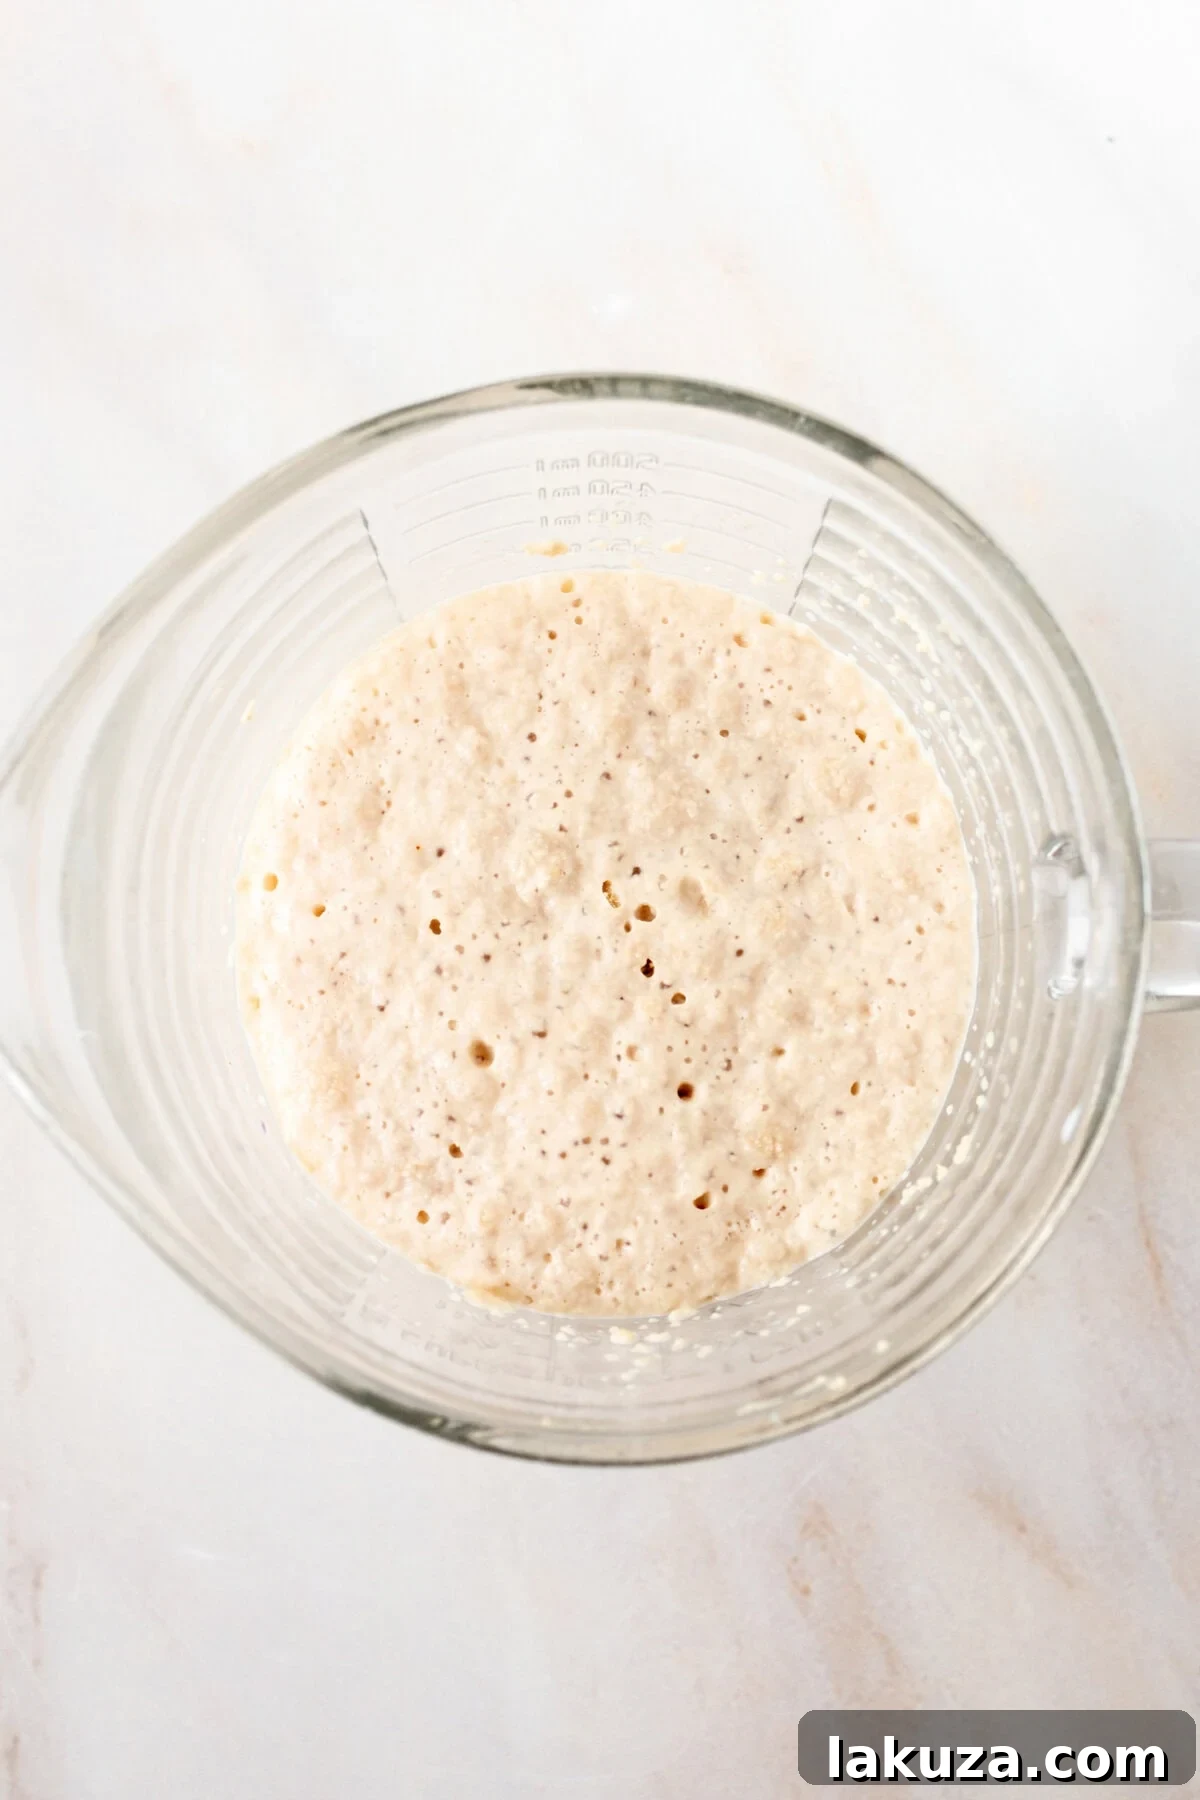
- Activating the Yeast (Proofing): To proof your yeast, add the instant yeast to the warmed milk and stir gently. In a separate measuring cup, measure out 1 cup of granulated sugar. From this, scoop out 2 tablespoons of sugar and add it to the milk and yeast mixture. Stir again. Allow this mixture to sit undisturbed for 5-10 minutes. During this time, the yeast will “proof” or activate, feeding on the sugar and milk. You should observe a foamy, bubbly layer forming on the surface, indicating active and healthy yeast. This step is vital for a good rise.
- Combine Wet Ingredients: While your yeast is proofing, add the remaining sugar (from your initial 1 cup measurement), eggs, melted butter, and salt into a large mixing bowl. Once the yeast mixture is actively bubbling and foamy, pour it into the large mixing bowl with the other wet ingredients.
- Mixing the Dough: Gradually add the flour, about 3 cups at a time, mixing thoroughly after each addition. Continue adding flour and mixing until the dough begins to pull away cleanly from the sides of the bowl and forms a cohesive ball in the center. This indicates the dough has developed enough gluten and is ready for its first rise. Avoid adding too much flour, as this can result in tough rolls.
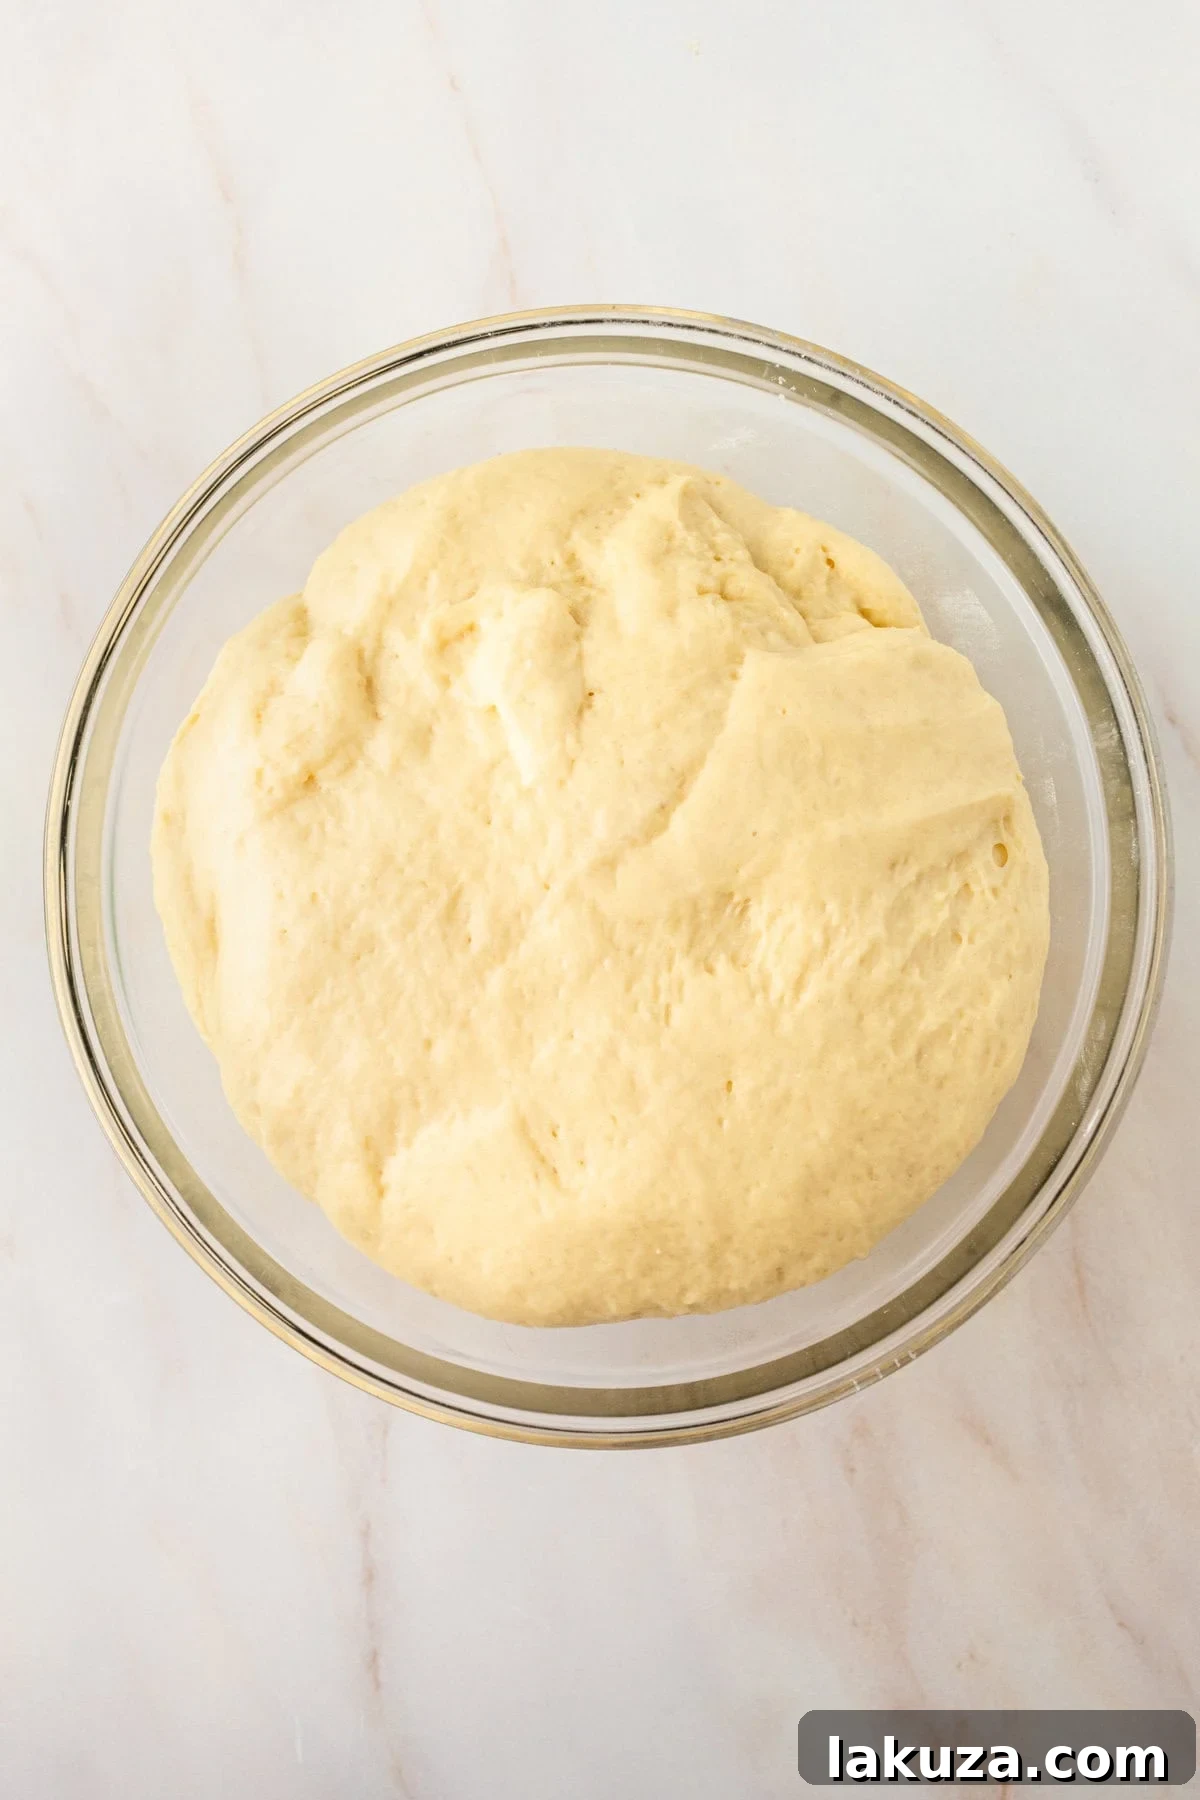
- First Rise: Once your oven has reached 200 degrees Fahrenheit, immediately turn it OFF. Place the dough into an oven-safe bowl, ensuring it has enough space to double in size. Cover the bowl loosely with a moist kitchen towel to prevent the dough from drying out. Place the covered bowl in the turned-off, warm oven to rise for approximately 1 hour, or until the dough has visibly doubled in size. This warm, draft-free environment is perfect for yeast activation.
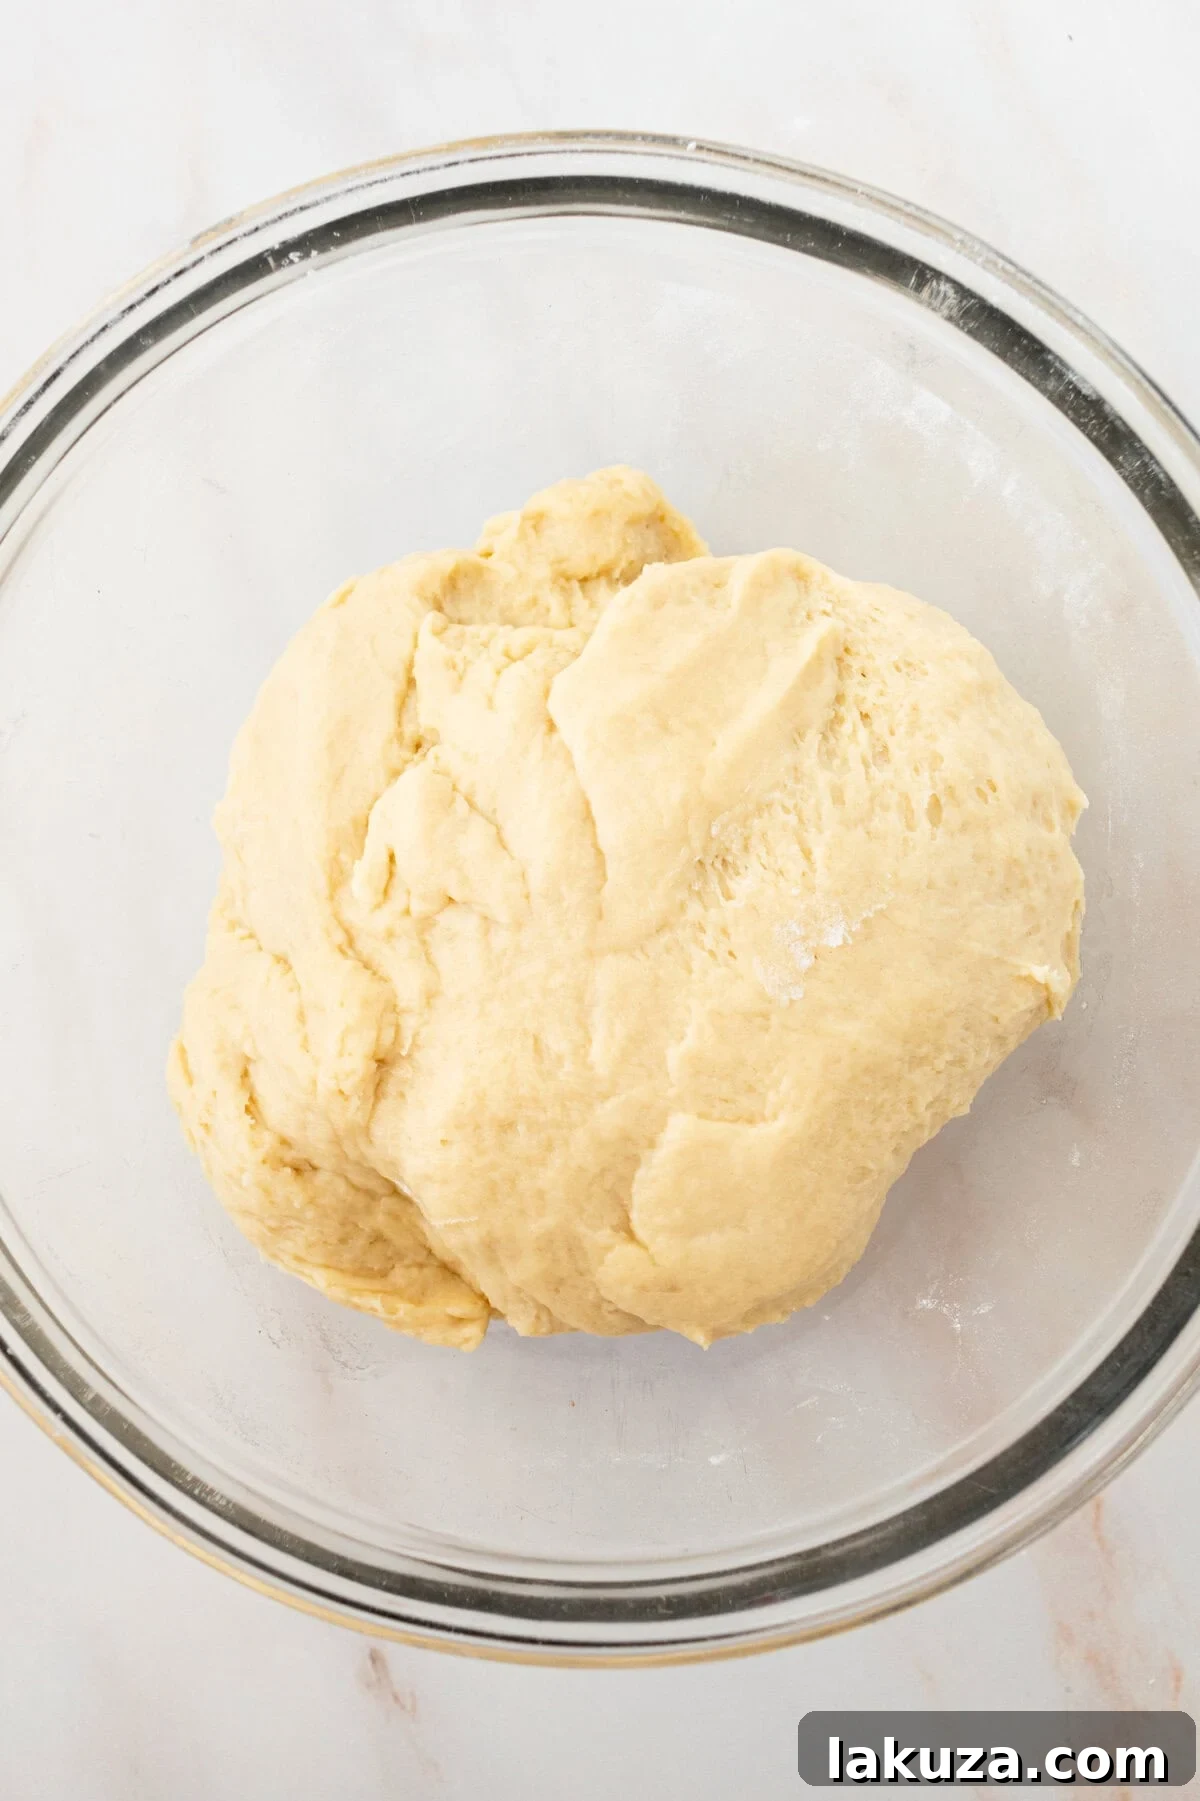
- Dough After First Rise: The dough should now be light, airy, and significantly larger, having doubled in volume. This indicates a successful first rise.
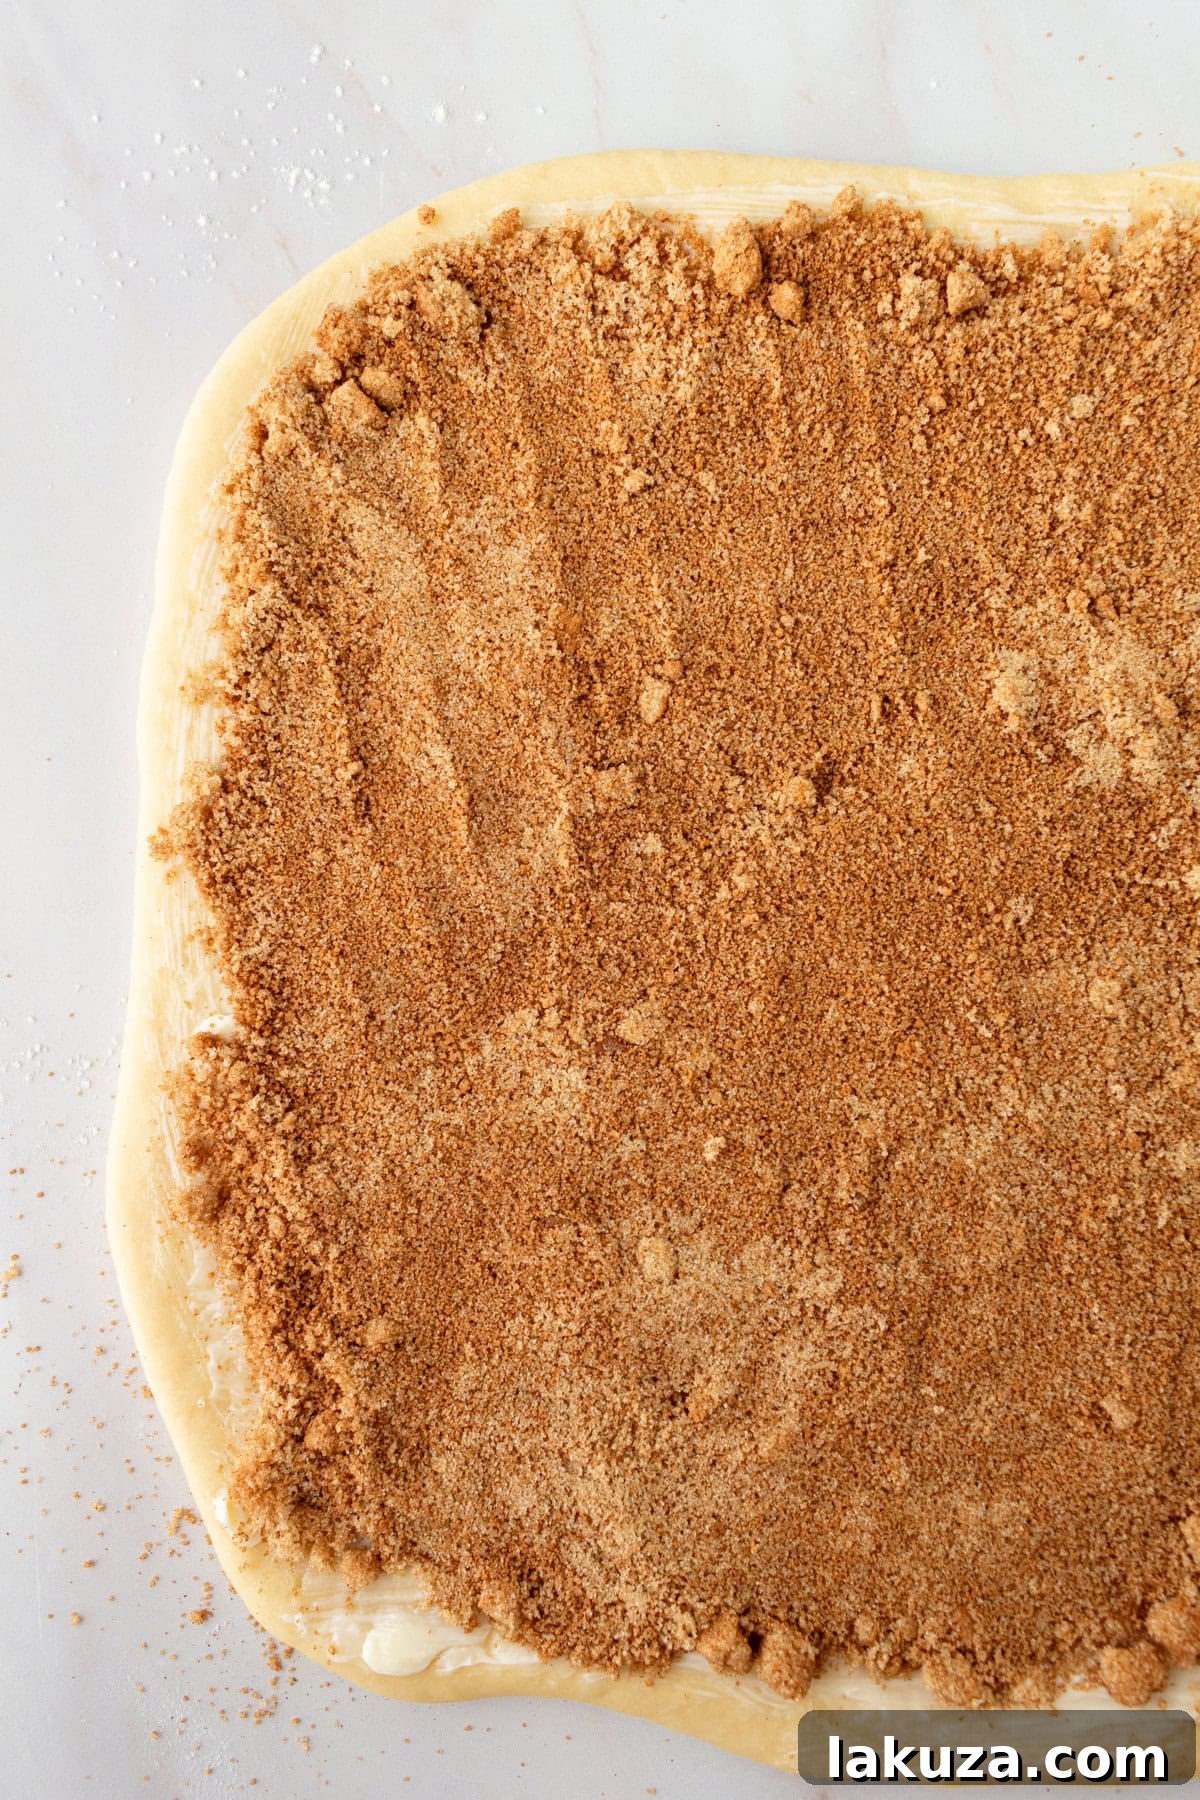
- Roll and Fill: Gently punch down the risen dough to release the air. Transfer the dough to a lightly floured surface. Using a rolling pin, roll the dough into a large, even rectangle. The thinner you roll it, the more spirals your cinnamon rolls will have. Evenly spread the softened butter all over the surface of the dough, leaving a small border at one edge. In a separate bowl, mix together the brown sugar and cinnamon. Generously sprinkle this aromatic filling mixture evenly over the buttered dough.
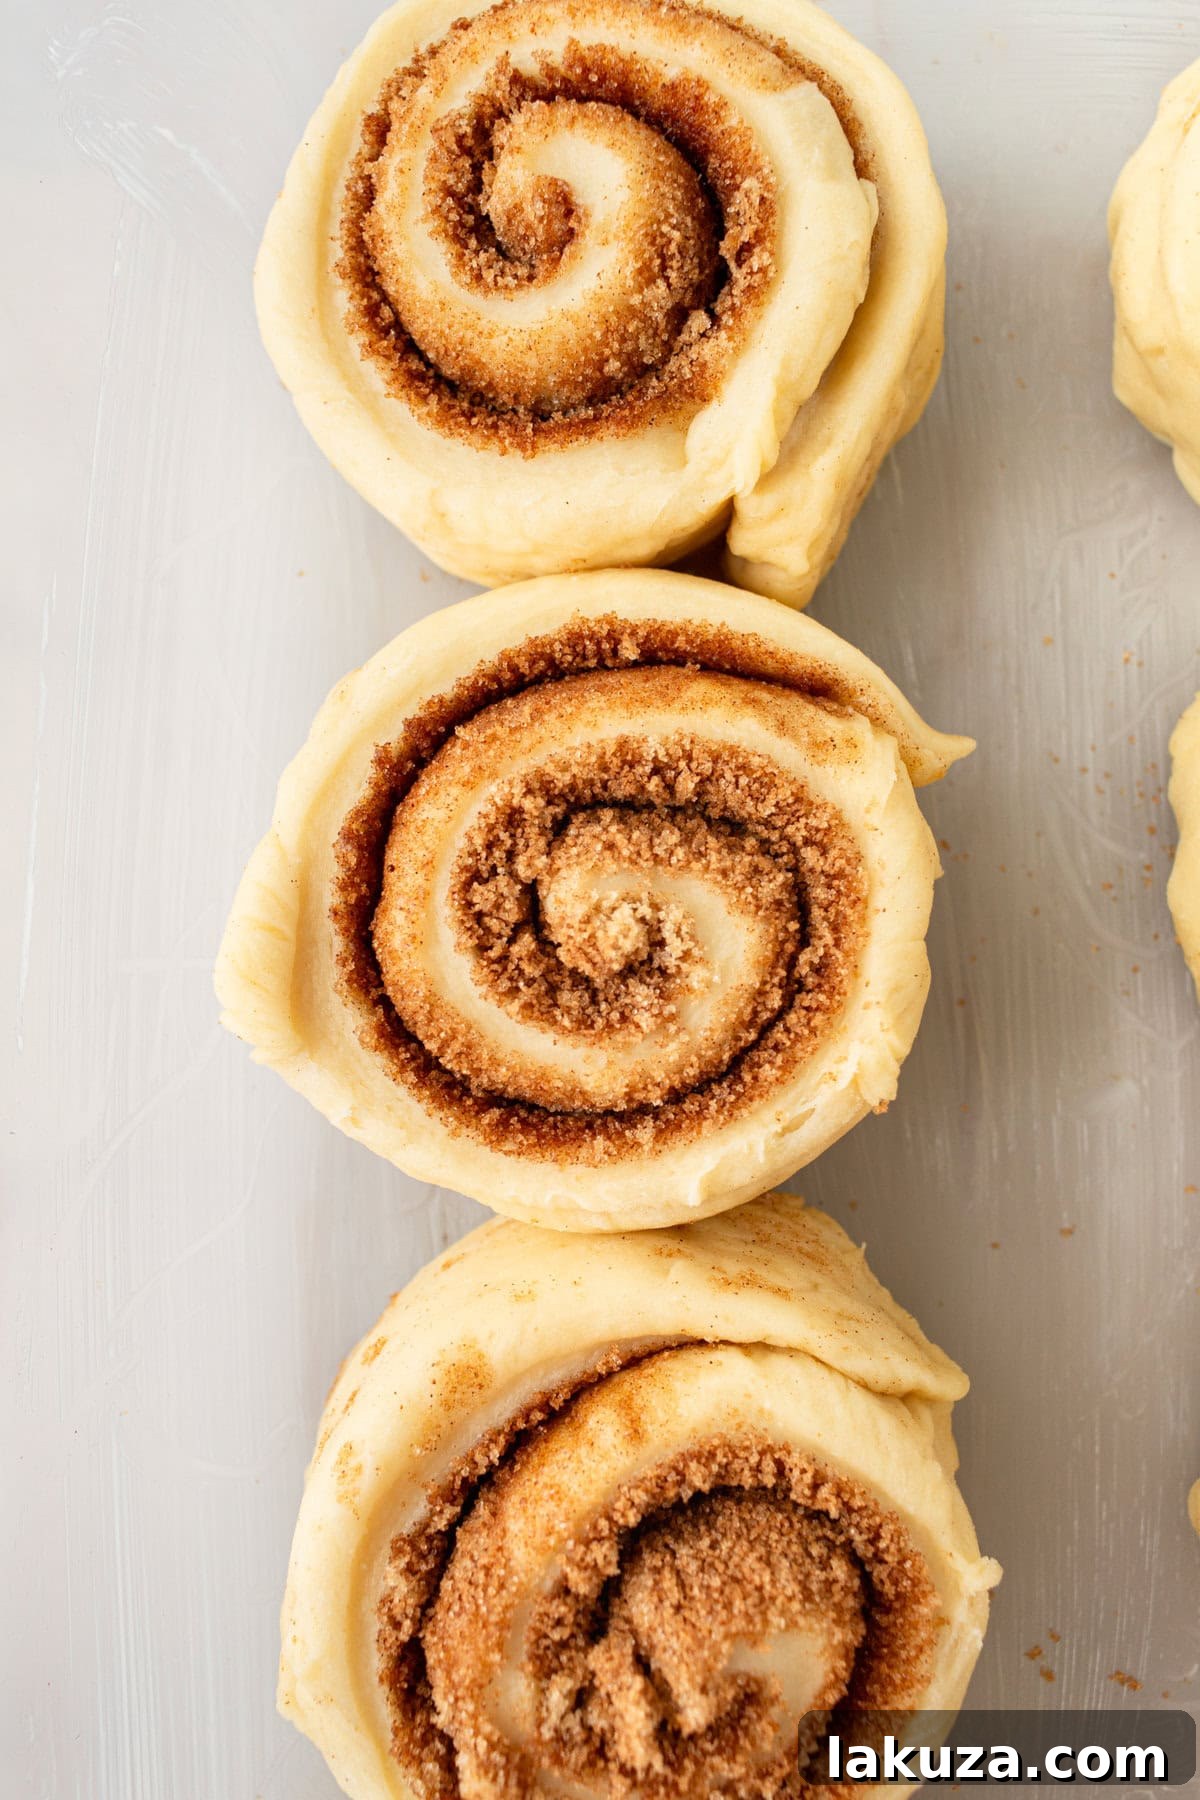
- Shape the Rolls: Starting from one long edge, tightly roll up the dough into a log. Aim for a snug roll to ensure beautiful, consistent spirals. Once rolled, use a sharp knife or unflavored dental floss to slice the log into individual cinnamon rolls, about 1 to 1.5 inches thick.
- Second Rise: Lightly grease your baking sheets. Arrange the sliced cinnamon rolls on the prepared sheets, leaving ample space between each roll as they will expand. Cover the baking sheets loosely with a moist towel or plastic wrap (saran wrap). Allow the rolls to rise for at least 1 hour in a warm, draft-free spot. They should visibly puff up and almost double in size again. This second rise is crucial for light and fluffy rolls.
- Bake to Golden Perfection: Preheat your oven to 400 degrees Fahrenheit (200 degrees Celsius). Bake the risen cinnamon rolls for 9-12 minutes. Keep a close eye on them; they should turn a beautiful light golden brown on top and be cooked through. Avoid overbaking, as this can dry out the rolls.
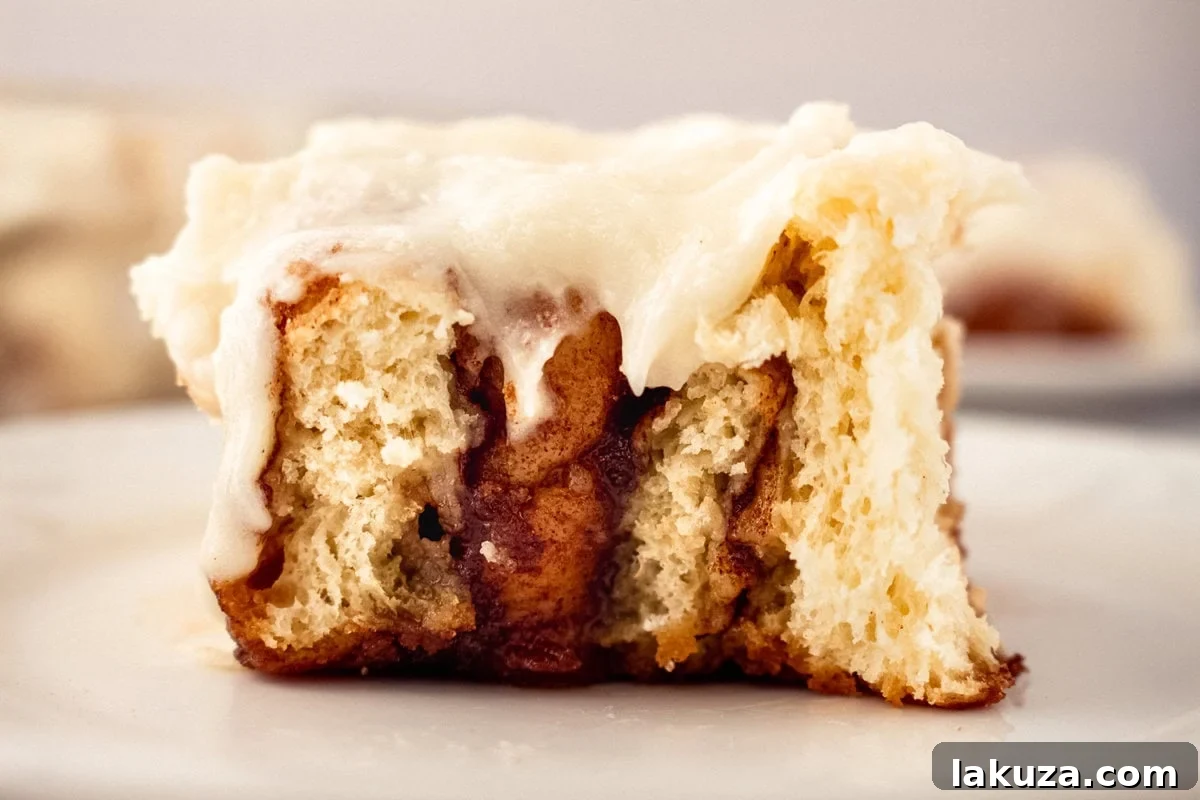
- Prepare the Cream Cheese Frosting: While the cinnamon rolls are cooling slightly, prepare your decadent cream cheese frosting. In a mixing bowl, cream together the softened butter and cream cheese for about 2 minutes until light and fluffy. Gradually add the powdered sugar, mixing until smooth, then stir in the vanilla extract. Beat until the frosting is wonderfully smooth and spreadable.
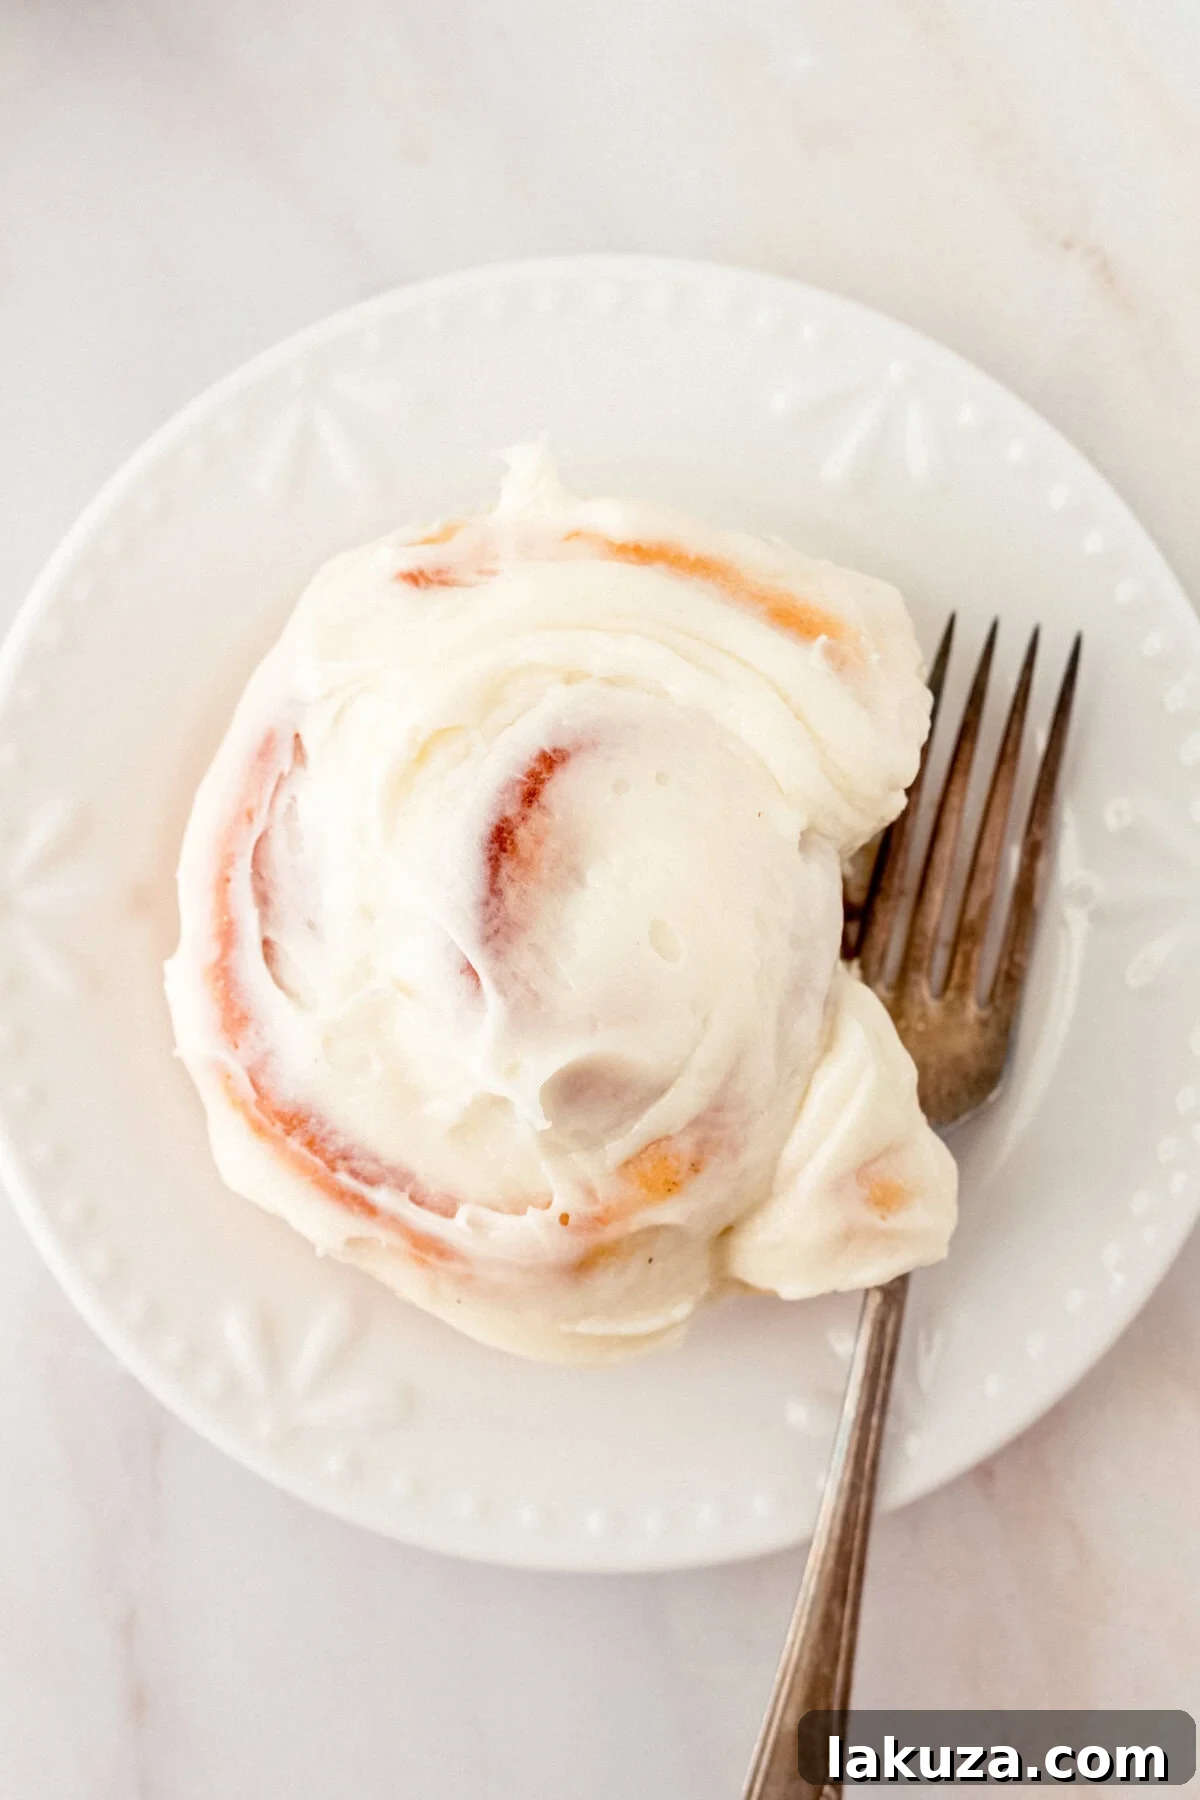
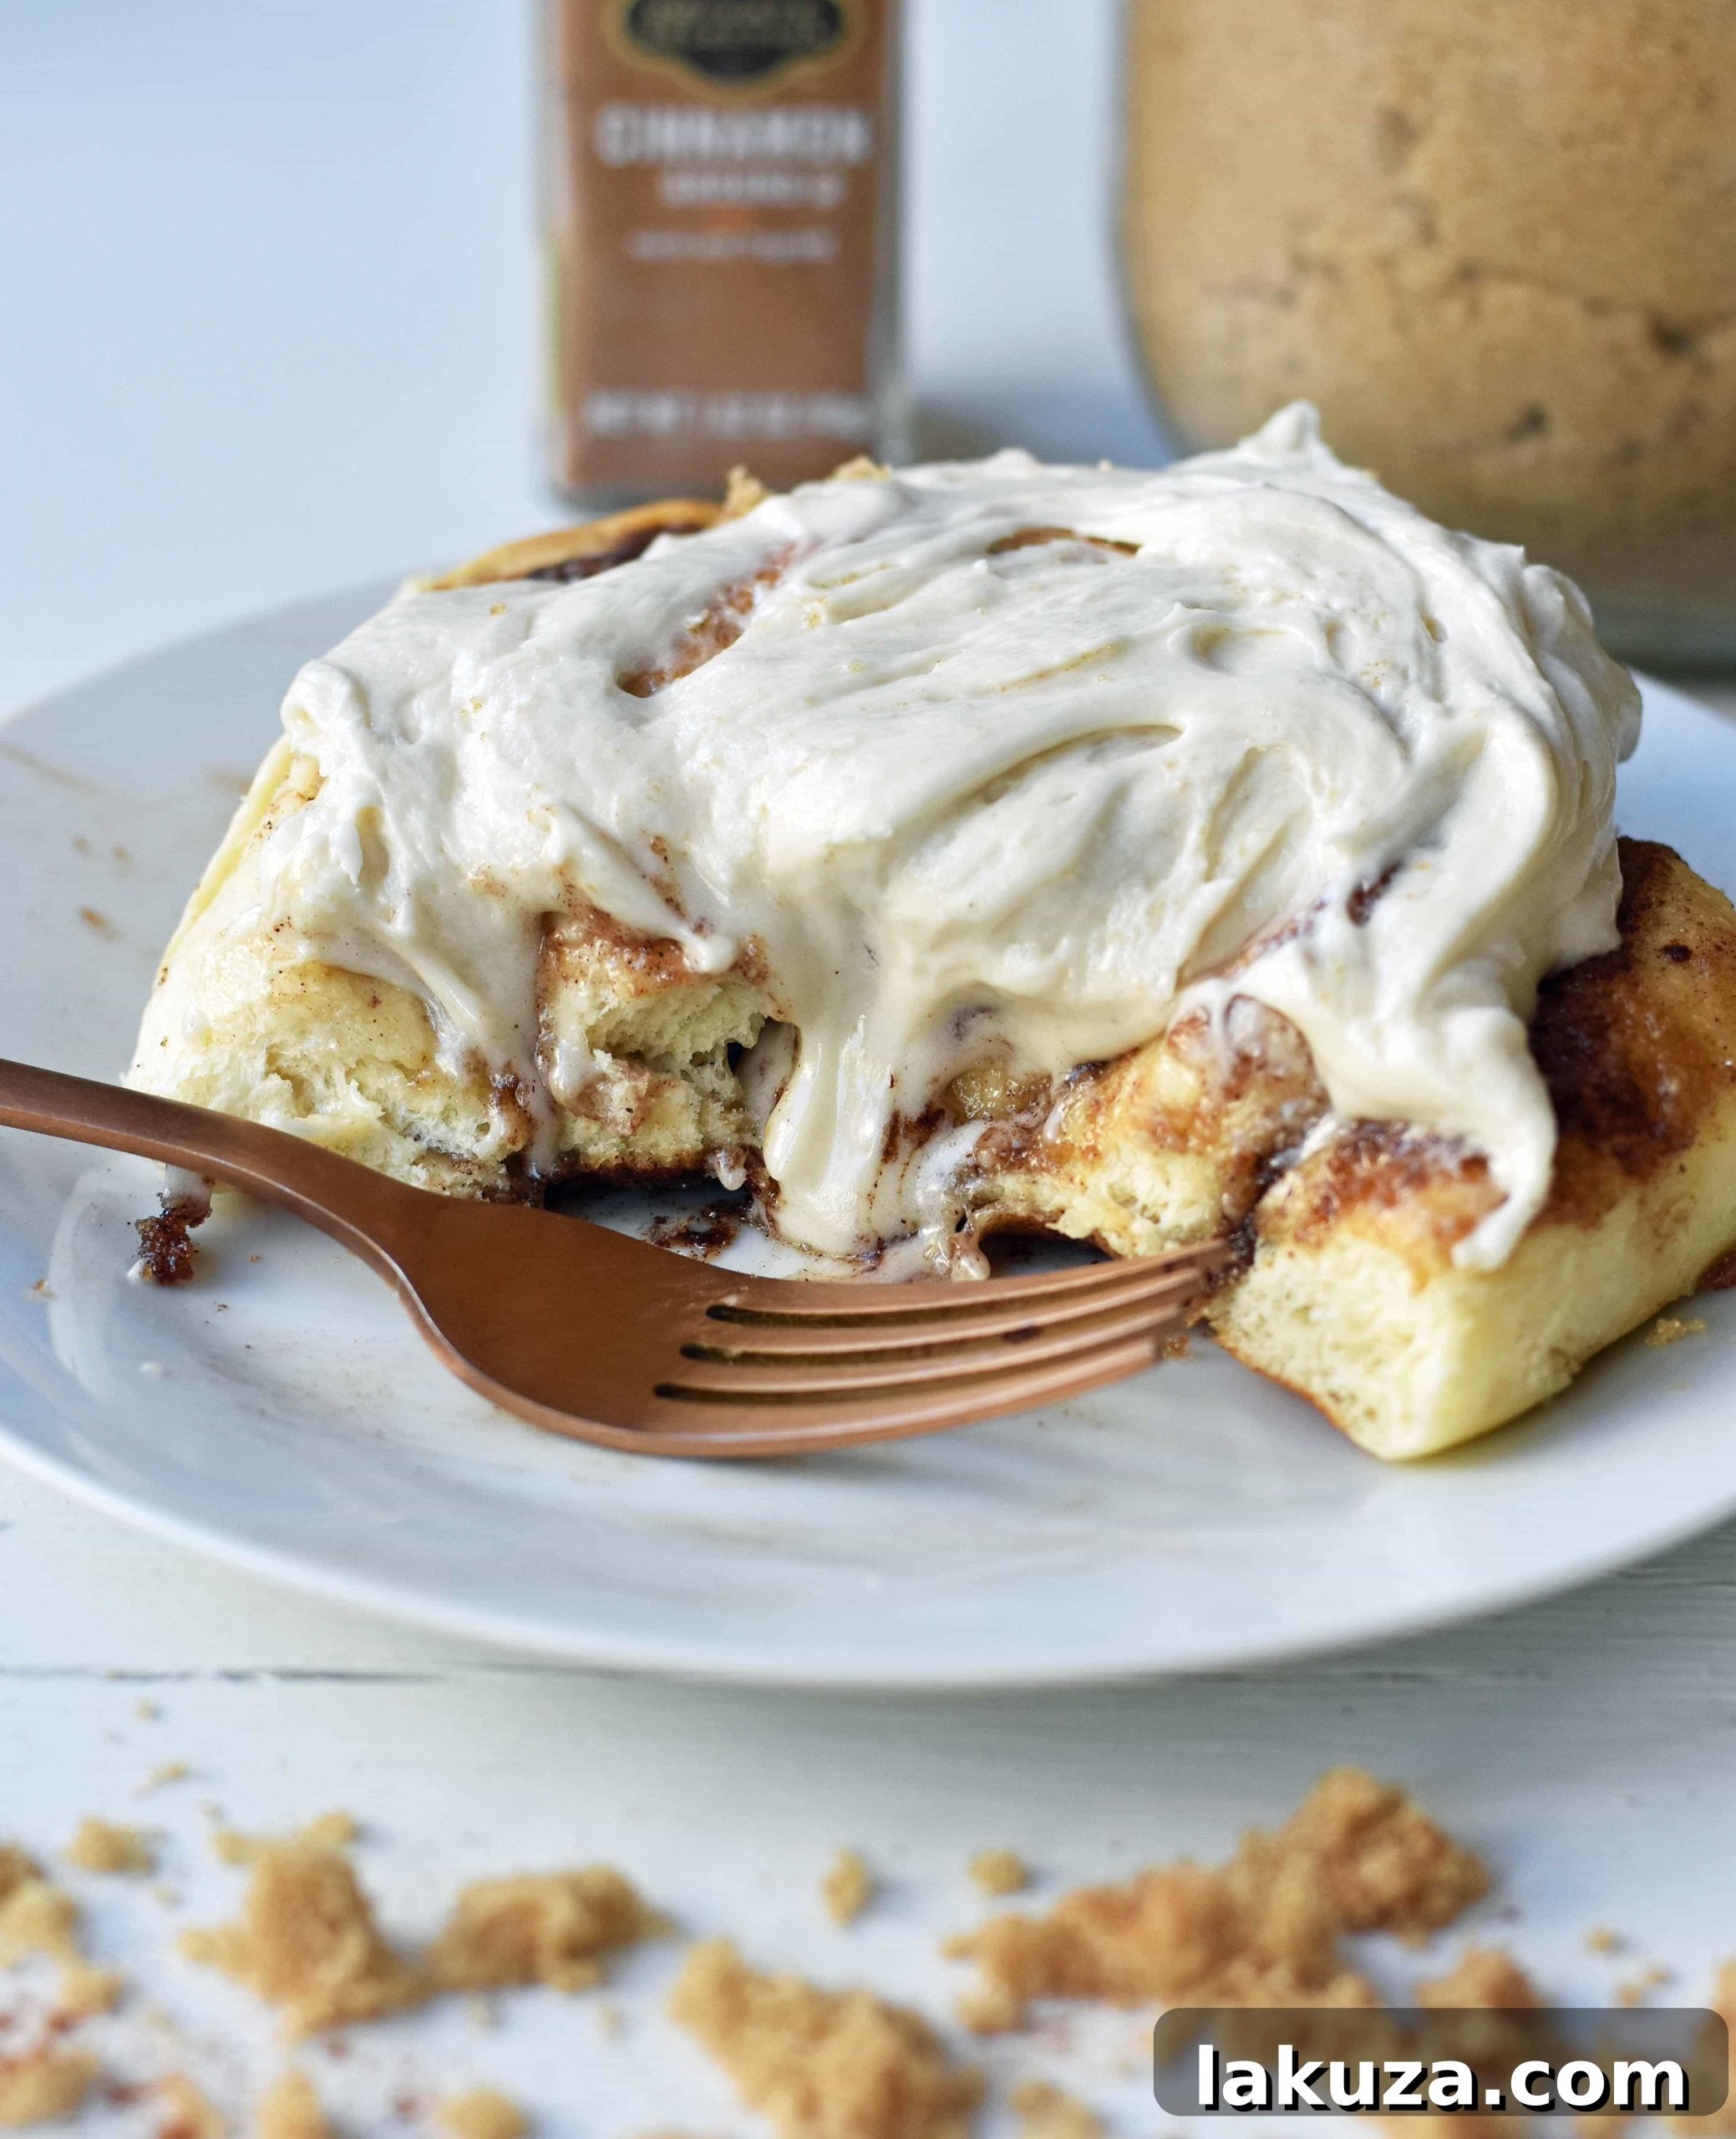
- Frost and Serve: Once the cinnamon rolls have cooled slightly (they should still be warm, but not piping hot, to prevent the frosting from melting completely), generously spread the homemade cream cheese frosting over each roll. Serve these delightful treats warm and enjoy every heavenly bite!
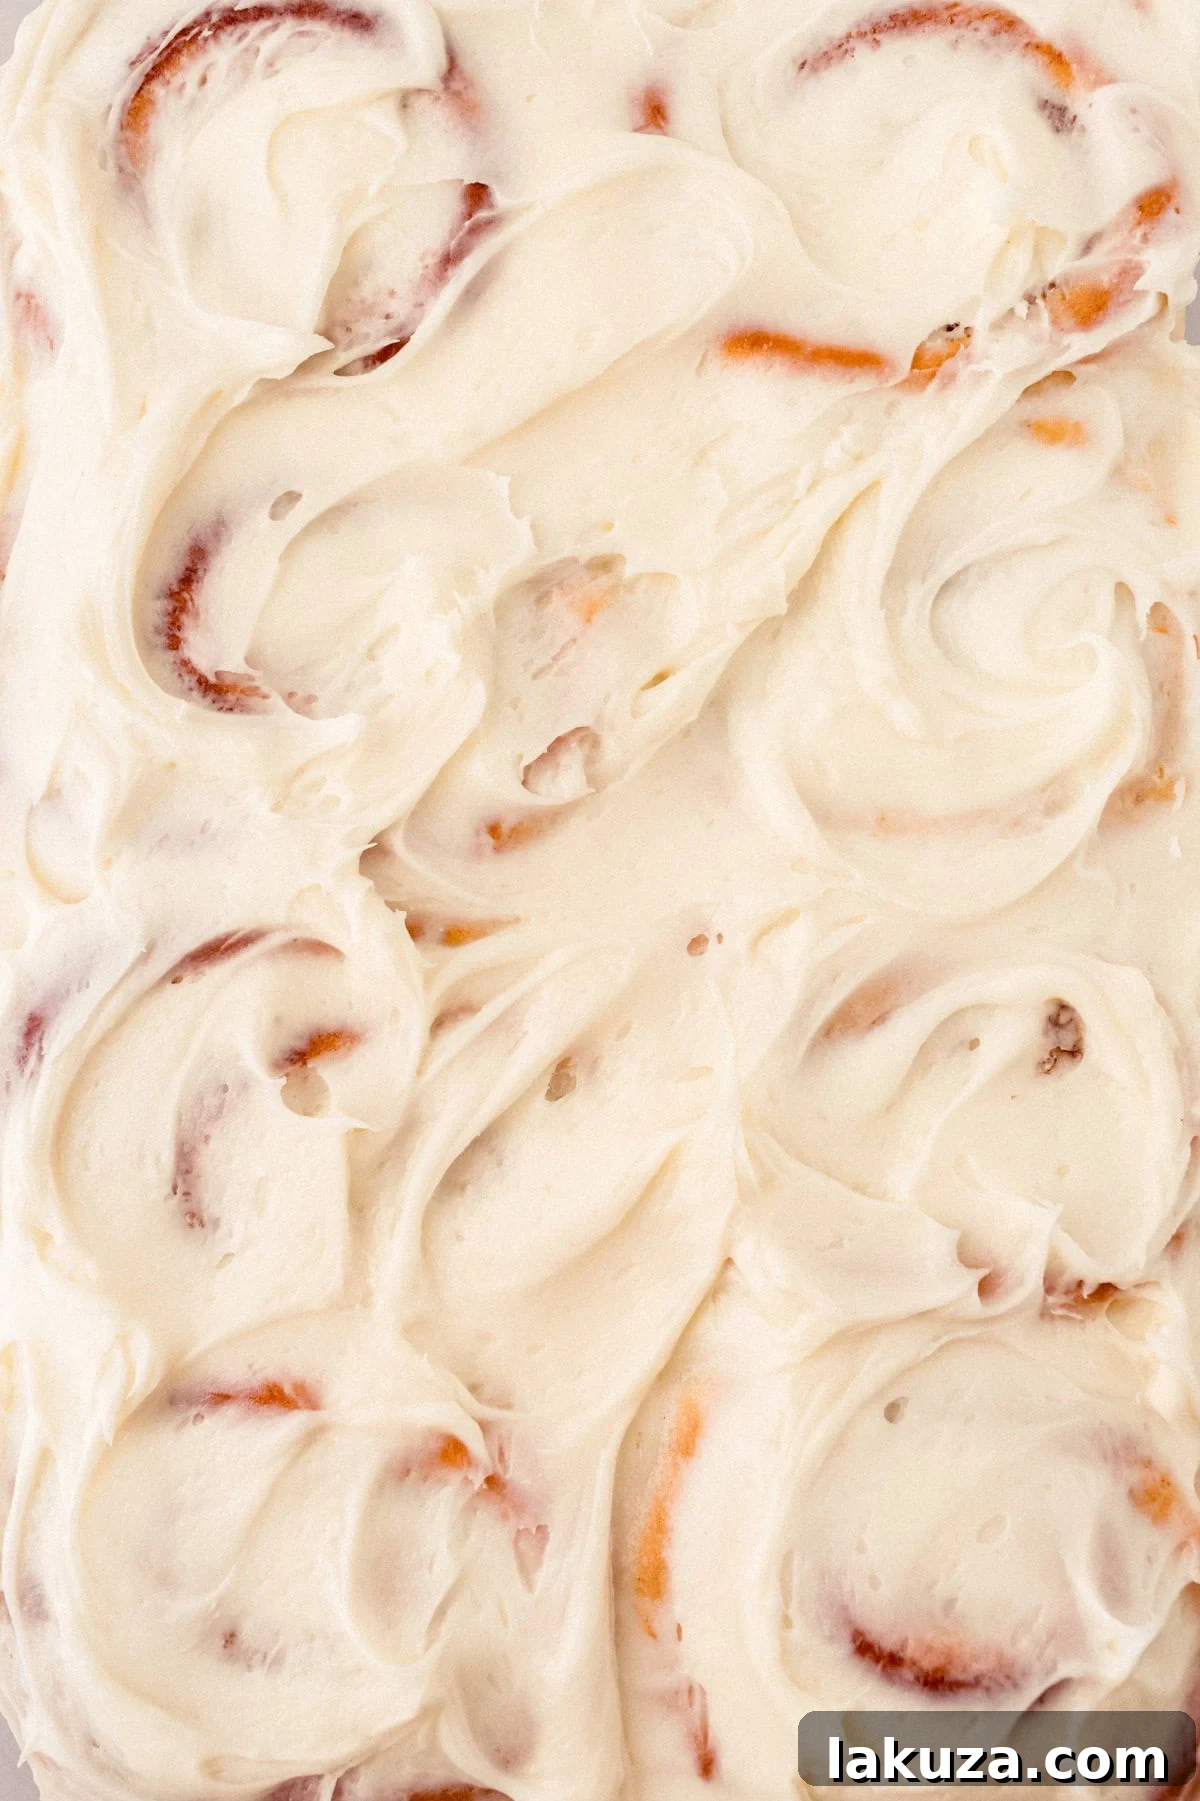
Expert Tips for Perfect Homemade Cinnamon Rolls Every Time
Achieving bakery-quality cinnamon rolls at home is entirely possible with a few insider tips. These techniques, honed through years of baking, will elevate your rolls from good to absolutely unforgettable.
- Ensure Your Yeast is Fresh and Active: The quality of your yeast is paramount to a successful rise. I highly recommend storing bulk yeast, like the large bags from Costco, in the freezer in an airtight freezer bag. This preserves its freshness and ensures it’s always ready to perform. Nothing is more frustrating than a dough that doesn’t rise due to inactive yeast! You can easily test its freshness by proofing it: add it to warm milk (around 105-115°F or 40-46°C) with a pinch of sugar. If it foams and bubbles within 5-10 minutes, your yeast is alive and well. Sugar is a key activator, so don’t skip adding a small amount to your proofing mixture; it kickstarts the yeast and expedites the process.
2. Utilize a Warm, Turned-Off Oven for Rising: This is a game-changing trick, especially if your kitchen tends to be cool or drafty. Yeast thrives in warm, consistent environments, and your oven can provide just that. Preheat your oven to a low 200 degrees Fahrenheit (95°C), then immediately turn it OFF once it reaches temperature. Place your covered dough bowl inside the warm, turned-off oven. This creates a perfectly controlled microclimate, significantly speeding up the rising process (often saving you an hour or more!). The consistent warmth encourages the yeast to work efficiently, resulting in a beautifully risen, light dough that doubles in size.
3. Master Flour Addition for Ideal Dough Consistency: When incorporating flour into any yeast dough, it’s crucial to add it gradually rather than all at once. This allows you to monitor the dough’s consistency and prevent it from becoming too stiff or dry. I typically add flour in 3-cup increments, mixing for about 30 seconds after each addition. The key indicator that you’ve added enough flour is when the dough begins to pull away cleanly from the sides of the mixing bowl and forms a cohesive ball in the center. For this particular recipe, I consistently find that 8 1/2 to 9 cups of flour achieve the perfect texture – tender yet manageable.
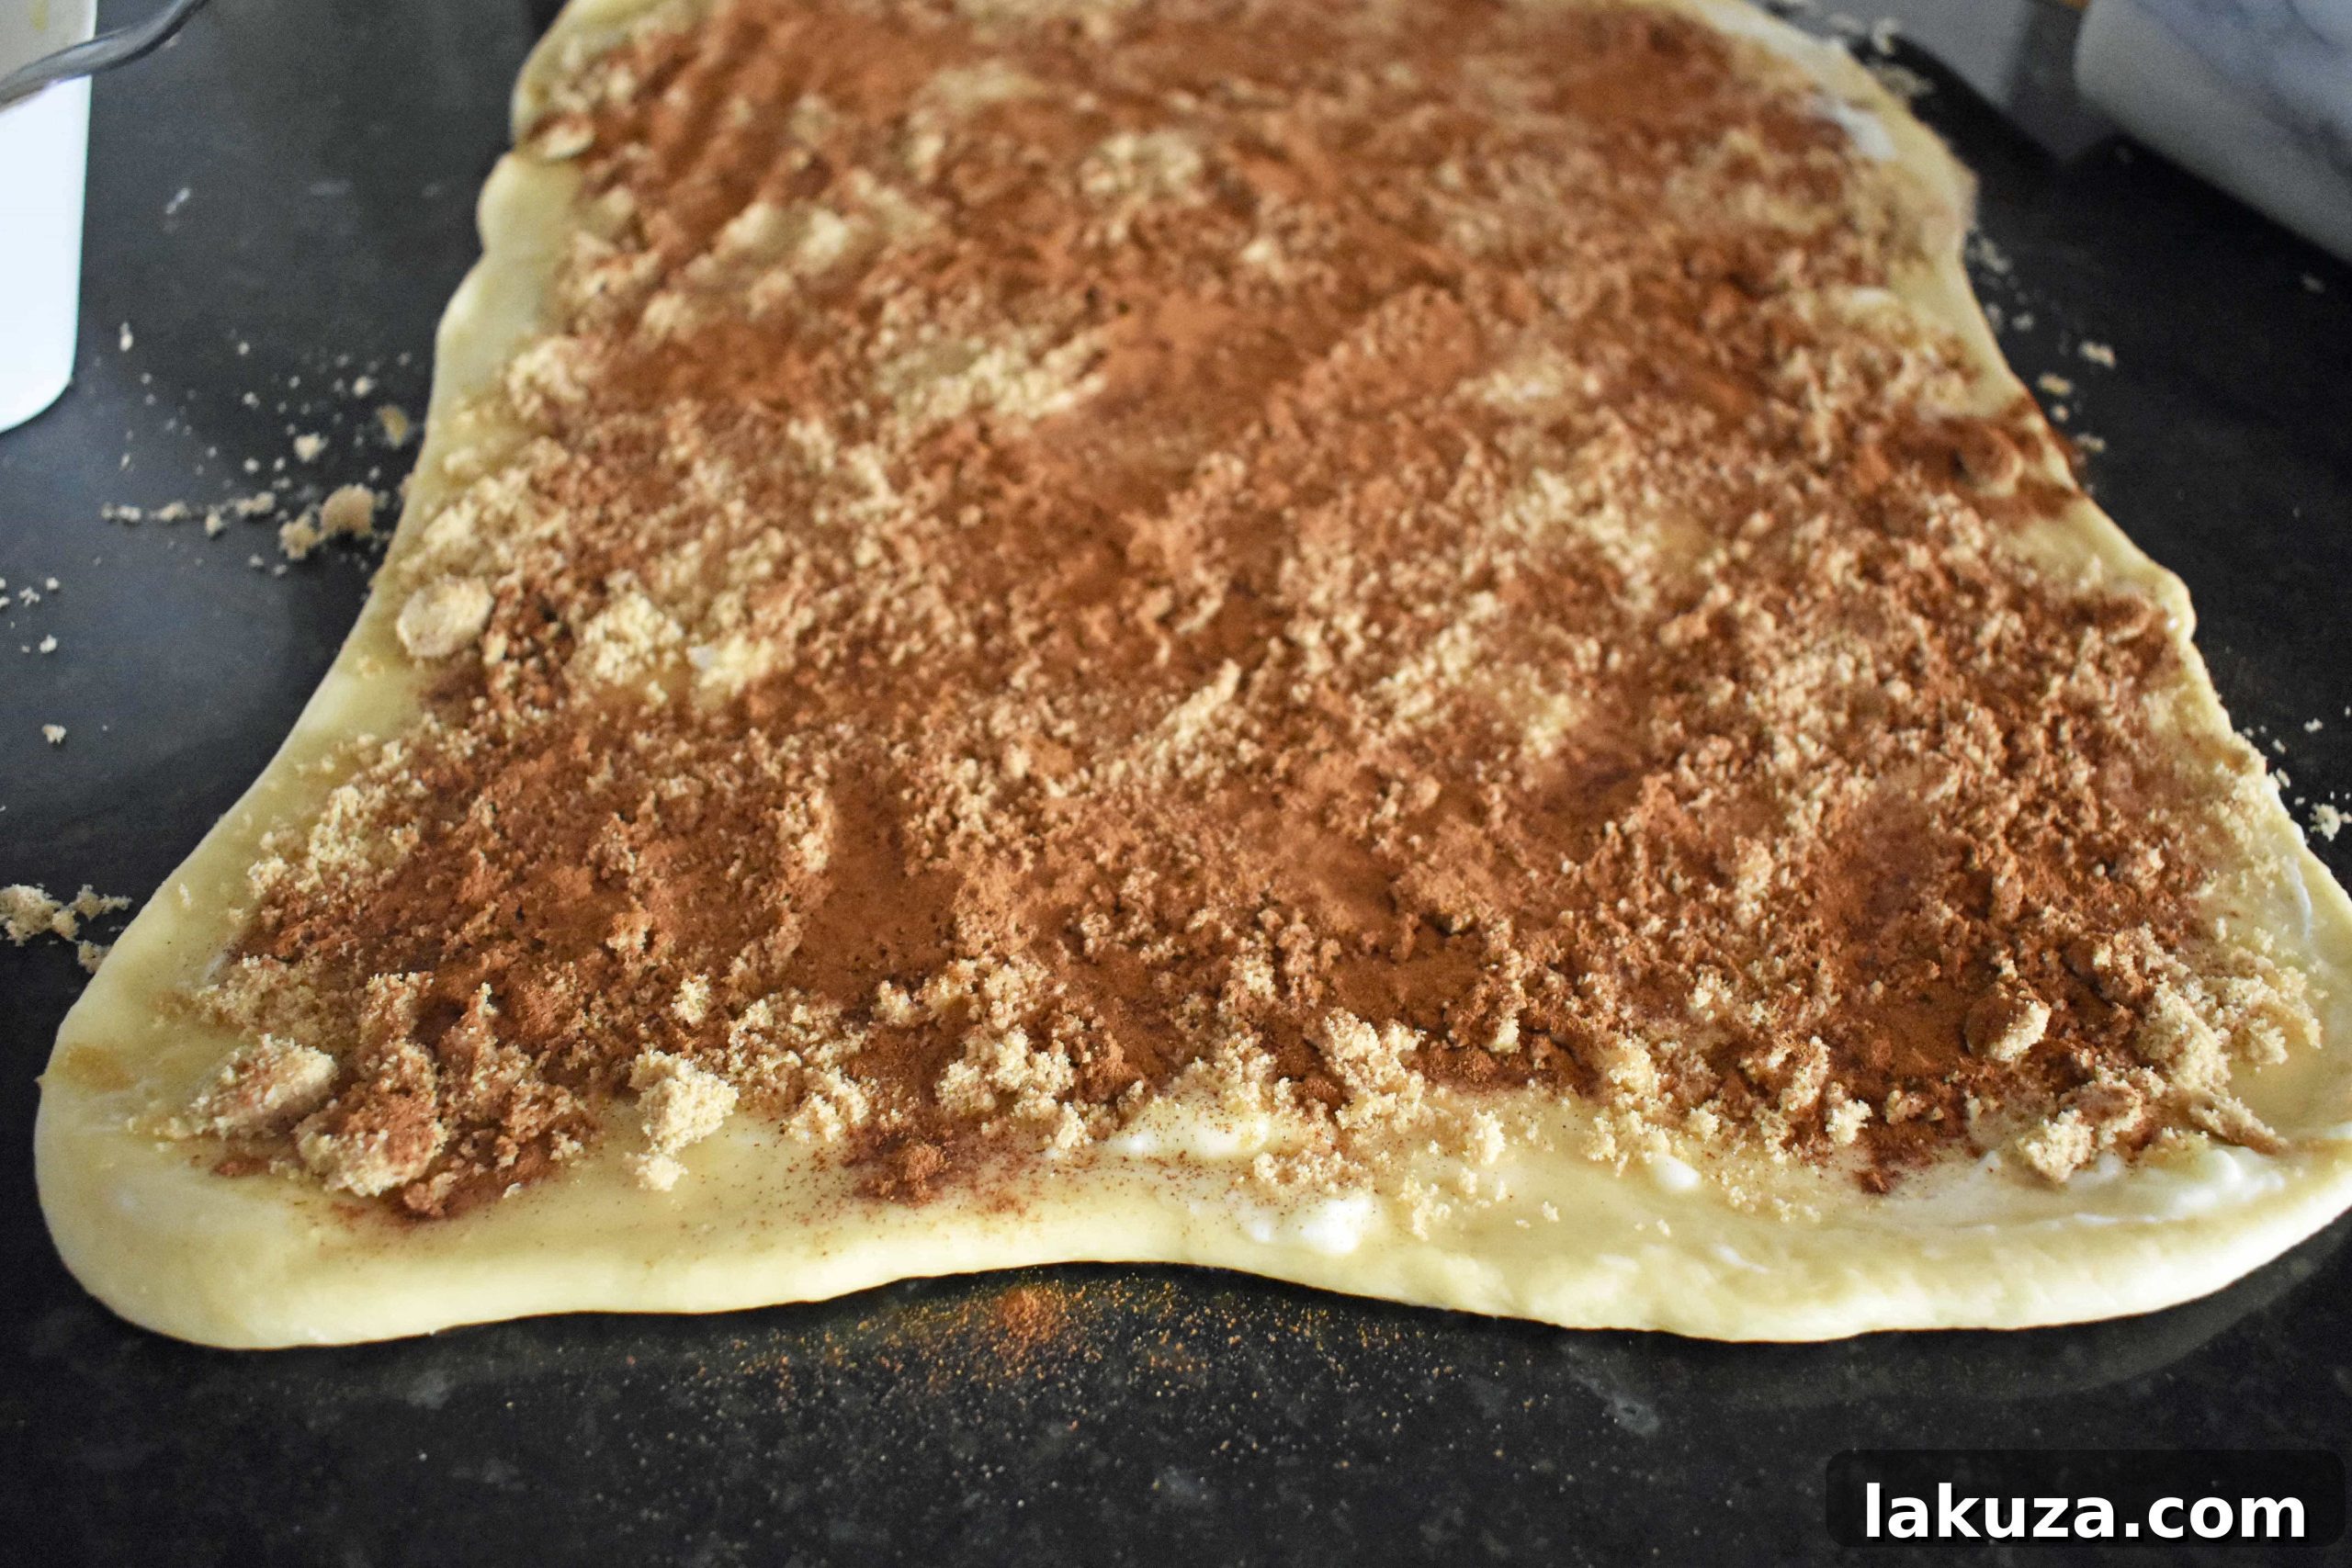
4. Be Generous with the Filling: The heart and soul of any great cinnamon roll lie in its rich, spiced filling. This is where those warm, aromatic, buttery brown sugar flavors truly shine. Do not be shy here! Ensure you spread a generous layer of softened butter evenly across the entire rolled-out dough rectangle, leaving only a tiny border if any. Then, liberally sprinkle the brown sugar and cinnamon mixture from edge to edge. If you’re a true filling enthusiast, feel empowered to add a little extra brown sugar or butter to create an even more decadent, gooey center. The goal is an ample, flavorful coating that caramelizes beautifully during baking.
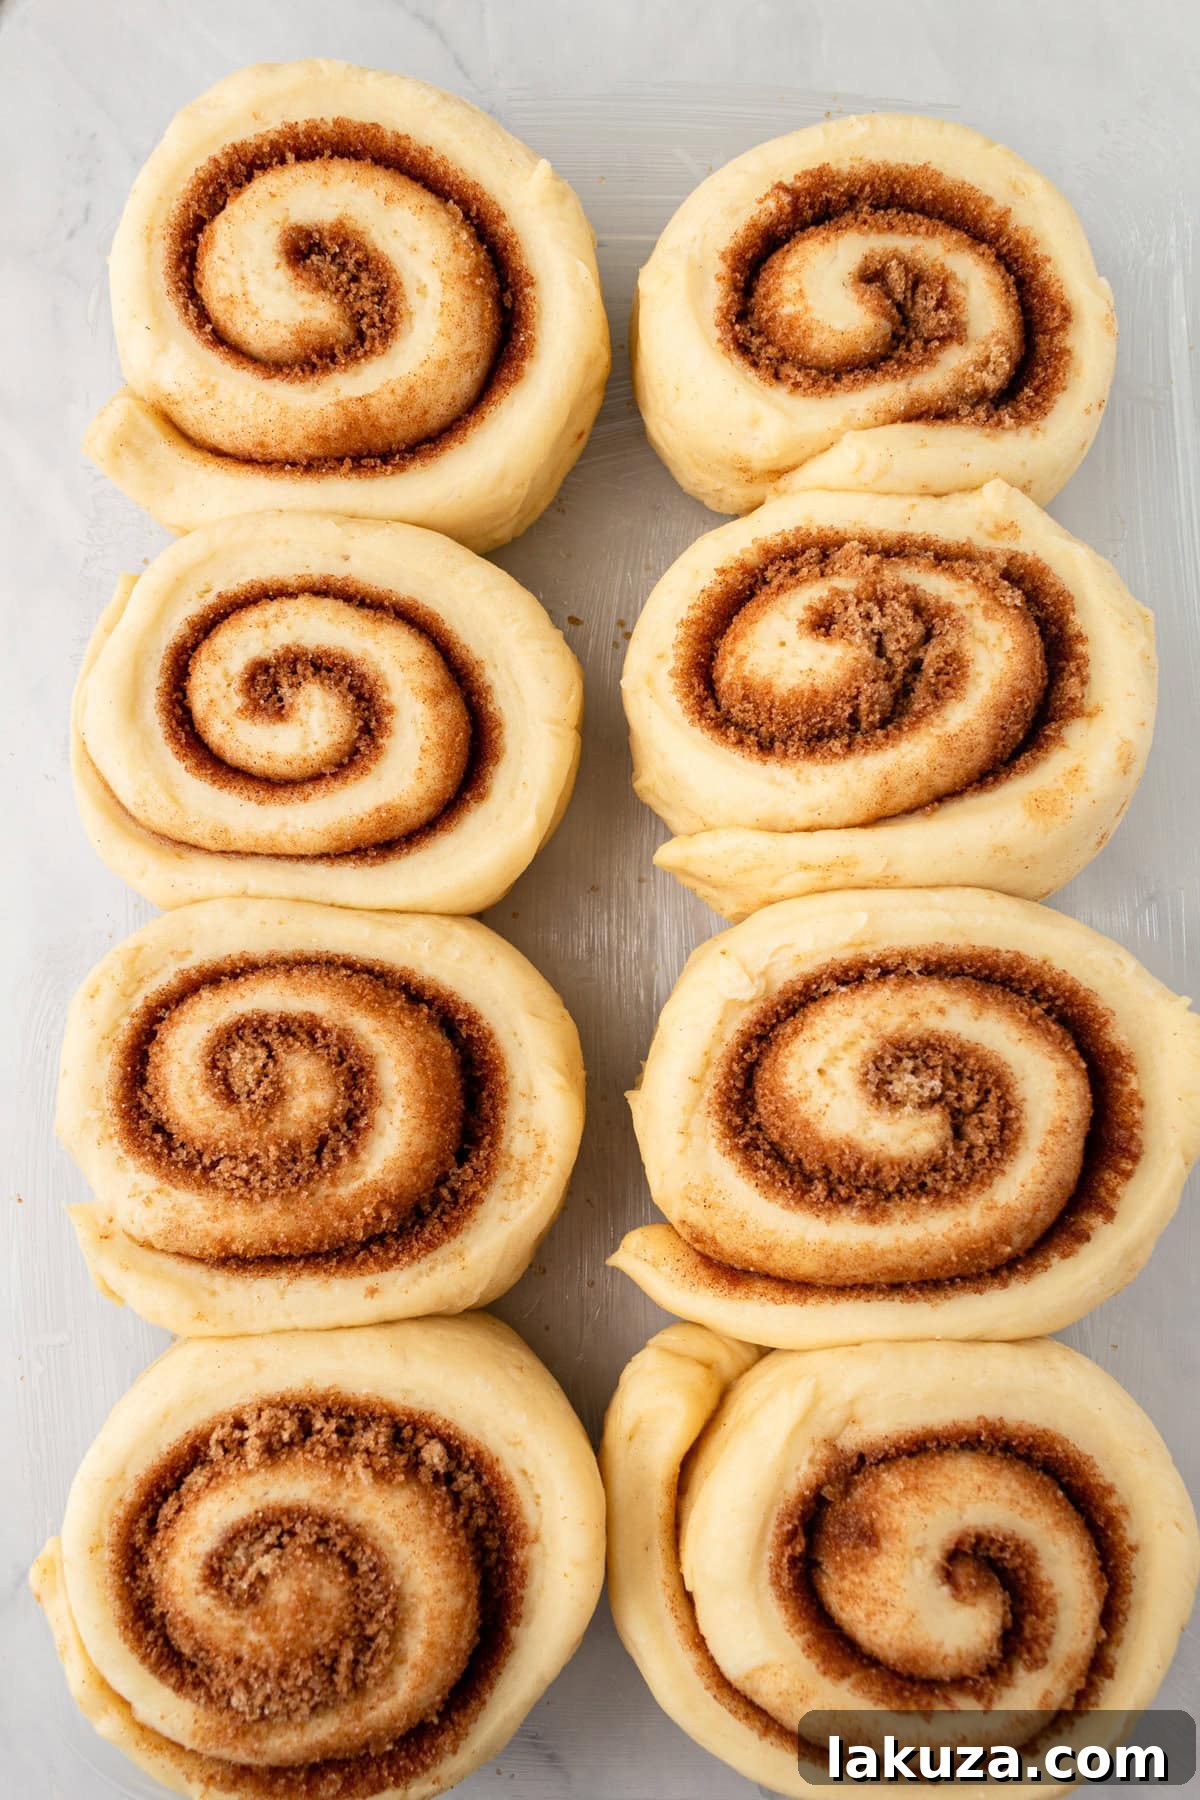
5. Allow for a Full Second Rise: After you’ve skillfully rolled out the dough, added the sumptuous filling, and carefully sliced your rolls, the journey isn’t over. The second rise is a crucial, satisfying stage where the magic truly unfolds. Arrange your raw cinnamon rolls on greased baking sheets, leaving enough space between them for expansion. Cover them loosely with a towel or plastic wrap and let them rise for at least one hour in a warm spot. During this time, you’ll witness them transform, puffing up significantly and becoming beautifully plump and amazing. This extended proofing ensures an incredibly light, airy, and tender crumb in the final baked rolls.
6. Bake to a Perfect Light Golden Brown: Knowing precisely when to pull your cinnamon rolls from the oven is an art. Overbaked rolls can be dry, while underbaked ones lack structure. Aim for a beautiful, light golden-brown color on top. If your oven has hot spots or bakes unevenly, rotate your baking sheet halfway through the baking time to ensure uniform browning. The rolls should feel set and lightly spring back when gently pressed. Remove them promptly once they reach this stage. Allowing them to cool slightly before frosting is important; they should still be warm to the touch, but not so hot that the frosting melts into a puddle.
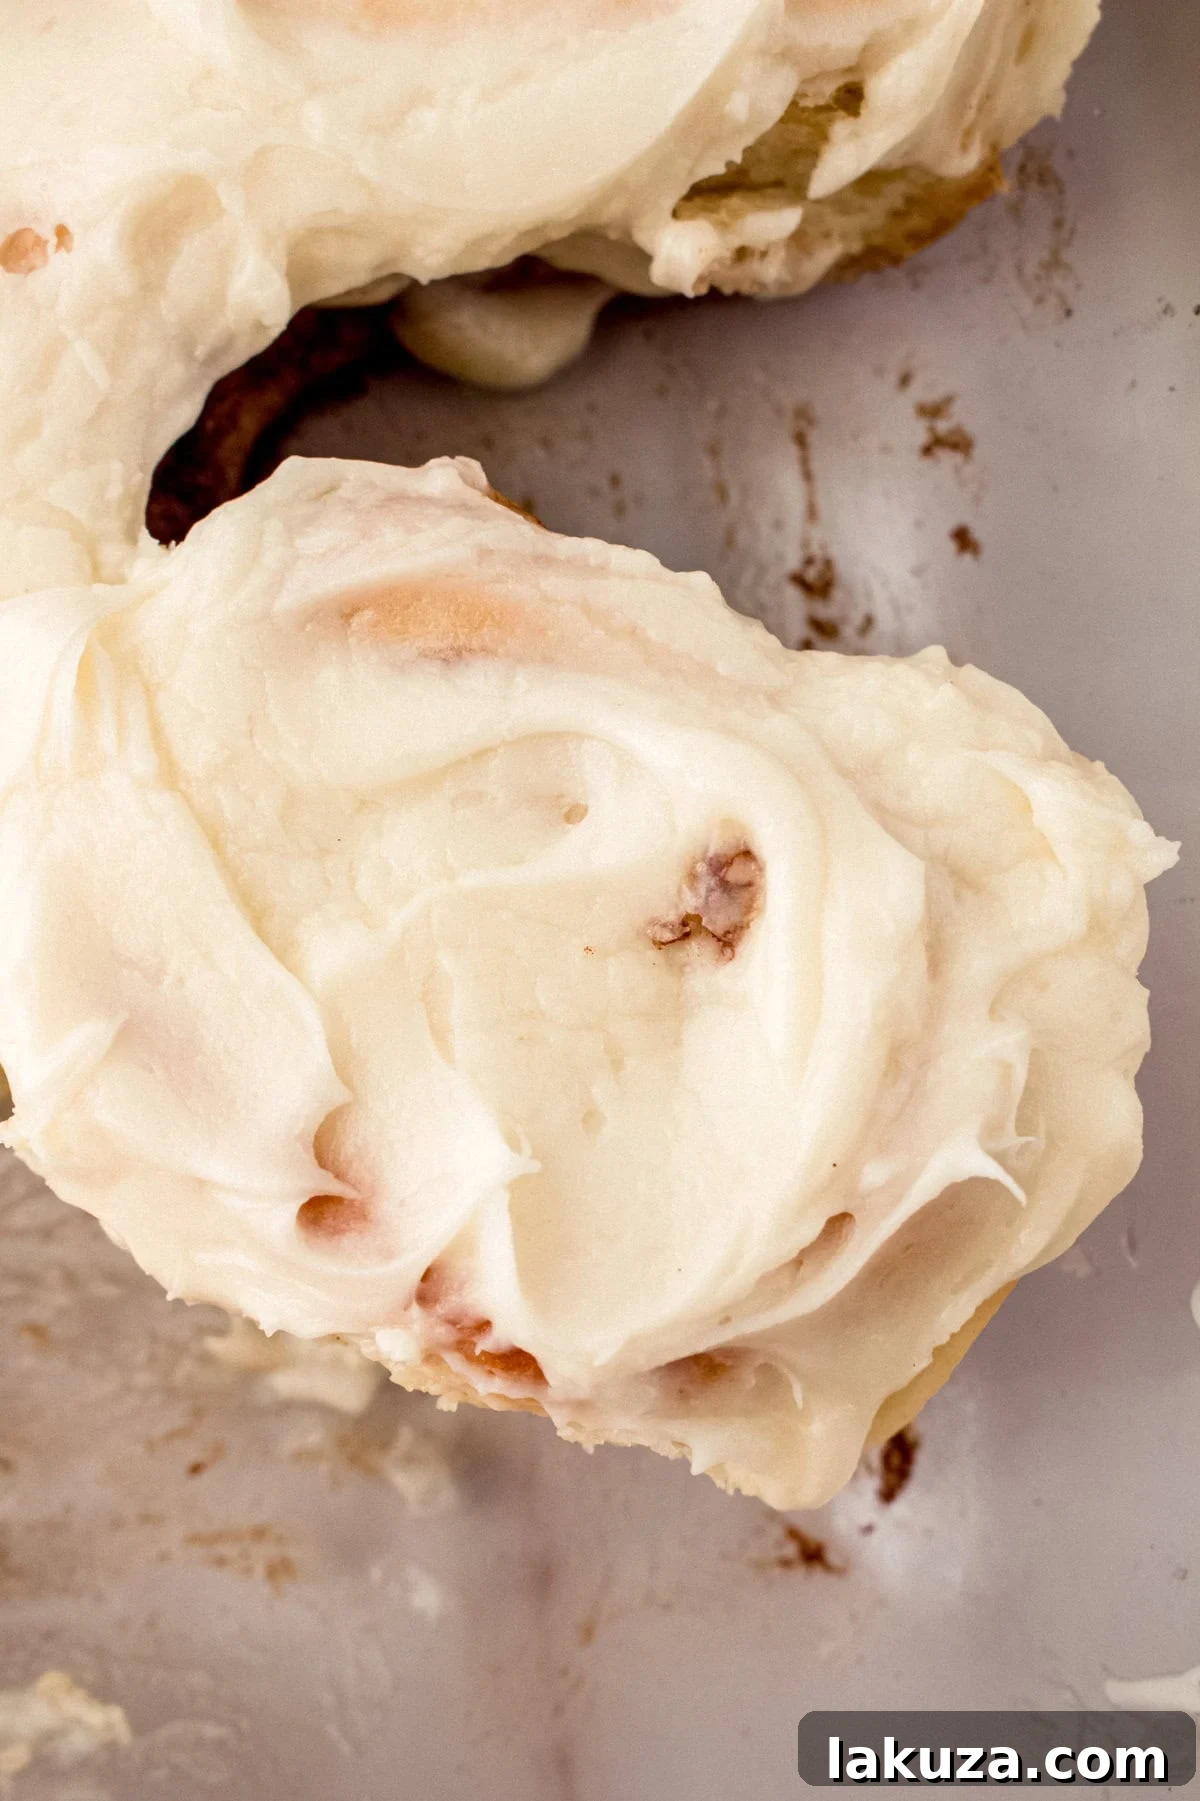
7. Indulge with a Generous Amount of Cream Cheese Frosting: Arguably the most anticipated element, the frosting truly completes the cinnamon roll experience. This isn’t the time to hold back! The rich, creamy, and slightly tangy cream cheese and butter frosting is the perfect counterpoint to the sweet, spiced rolls. Cover these delectable pastries with an exceptionally generous coating of frosting. The exquisite combination of softened butter, tangy cream cheese, sweet powdered sugar, and a hint of pure vanilla extract creates a phenomenal, velvety-smooth frosting that melts beautifully into the warm rolls, ensuring every bite is pure bliss.
Storage and Freezing Cinnamon Rolls:
To keep your delicious cinnamon rolls fresh and ready to enjoy, proper storage is key.
- Room Temperature: Once baked and cooled, unfrosted cinnamon rolls can be stored in an airtight container at room temperature for up to 2 days. If frosted, they are best kept in the refrigerator for up to a week to maintain freshness and prevent the cream cheese frosting from spoiling. For best results, gently reheat refrigerated rolls in the microwave for 15-20 seconds or until just warm, restoring their soft, gooey texture.
Can You Freeze Cinnamon Rolls? Absolutely!
Cinnamon rolls are wonderfully freezer-friendly, allowing you to enjoy fresh-baked goodness whenever a craving strikes.
Before Baking (Dough Freezing Method): This is a fantastic option for preparing ahead. After cutting the rolled dough into individual rolls and arranging them in a baking dish, cover the dish tightly with plastic wrap, followed by a layer of aluminum foil. Freeze for up to 1-2 months. When you’re ready to bake, transfer the frozen rolls to the refrigerator to thaw overnight. In the morning, let them come to room temperature and complete their second rise before baking as directed.
After Baking (Baked Roll Freezing Method): Allow the baked cinnamon rolls to cool completely (do not frost before freezing). You can freeze them individually on a baking sheet until solid, then transfer to an airtight freezer bag or container, or freeze them as a batch in a well-sealed container. They will keep well for up to 3 months. To reheat, simply place frozen, unfrosted rolls in an oven preheated to 350 degrees Fahrenheit (175°C) until warmed through, then frost and serve.
Explore More Delightful Sweet Roll Recipes:
Homemade Orange Rolls
Sticky Buns
Raspberry Sweet Rolls
TikTok Cinnamon Rolls
Caramel Apple Cinnamon Rolls
Print Recipe
Rating: 4.96 from 25 votes
Hayley’s Famous Cinnamon Rolls
Equipment
-
Stand Mixer (e.g., Bosch Mixer)
-
Stand Mixer (e.g., KitchenAid Mixer)
-
Baking Sheet
-
Rolling Pin (Marble Recommended)
-
Measuring Cups and Spoons
Ingredients
FULL RECIPE (Yields 16 Rolls):
- 2 cups Warm Milk (about 110°F, microwave for 90 seconds, then test)
- 2 1/2 Tablespoons Instant Yeast
- 1 cup Granulated Sugar (divided)
- 4 Large Eggs
- 3/4 cup Unsalted Butter (melted)
- 2 teaspoons Salt
- 8 1/2 – 9 cups All-Purpose Flour
Brown Sugar Filling:
- 1/2 cup Unsalted Butter (softened)
- 2 3/4 cups Light Brown Sugar
- 4-5 Tablespoons Ground Cinnamon
Cream Cheese Frosting:
- 1 cup Unsalted Butter (softened)
- 1 package (8-ounce) Cream Cheese (softened)
- 5 1/2 cups Powdered Sugar
- 1 teaspoon Vanilla Extract
HALF RECIPE (Yields 7-8 Rolls):
- 1 cup Warm Milk (about 110°F, microwave for 90 seconds and then test)
- 1 1/4 Tablespoons Instant Yeast
- 1/2 cup Granulated Sugar (divided)
- 2 Large Eggs
- 6 Tablespoons Unsalted Butter (melted)
- 1 teaspoon Salt
- 4 1/4 – 4 1/2 cups All-Purpose Flour
Brown Sugar Filling (Half Recipe):
- 1/4 cup Unsalted Butter (softened)
- 1 1/3 cups Light Brown Sugar
- 2-3 Tablespoons Ground Cinnamon
Cream Cheese Frosting (Half Recipe):
- 1/2 cup Unsalted Butter (softened)
- 4 ounces Cream Cheese (softened)
- 2 3/4 cups Powdered Sugar
- 1/2 teaspoon Vanilla Extract
Instructions
-
Preheat oven to 200 degrees F (95°C).
-
Place milk in a microwave-safe bowl. Microwave for about 90 seconds or until the milk is warmed to 110°F (43°C).
-
Add yeast to the warm milk and stir gently.
-
Measure 1 cup of sugar. Scoop out 2 tablespoons of sugar from this cup and add to the yeast mixture. Stir again. Let yeast proof for 5-10 minutes until foamy.
-
Meanwhile, in a large mixing bowl, combine the remaining sugar, eggs, melted butter, and salt. Once the yeast is activated, add the yeast mixture to this bowl. Gradually stir in the flour, 3 cups at a time, until the dough pulls away from the sides of the bowl.
-
Once the oven is preheated to 200 degrees F, turn OFF the oven.
-
Place the dough in an oven-safe bowl. Cover the bowl with a moist towel. Place in the turned-off oven to rise for 1 hour, or until doubled in size.
-
Once the dough has doubled in size, roll it out on a lightly floured surface into a large rectangle.
-
Evenly spread softened butter all over the dough. In a bowl, combine brown sugar and cinnamon. Sprinkle this mixture generously over the buttered dough.
-
Tightly roll up the dough from one long side and slice it into individual rolls, about 1 to 1.5 inches thick.
-
Place the rolls on greased baking sheets, leaving space between them. Cover loosely with a towel or plastic wrap.
-
Let the rolls rise for at least 1 hour, or until visibly puffed and almost doubled in size (second rise).
-
Preheat oven to 375 degrees F (190°C). Bake for 15-20 minutes, or until light golden brown on top.
-
To make frosting: In a mixing bowl, cream together softened butter and cream cheese for 2 minutes until light and fluffy. Gradually stir in powdered sugar and vanilla until smooth and creamy.
-
Generously spread the frosting over the slightly cooled (still warm) cinnamon rolls.
-
Serve warm and enjoy!
Video Tutorial
Notes
Nutrition information is automatically calculated and provided as an approximation only. Actual values may vary based on ingredients and preparation methods.
Additional Information
Loved this recipe? Share your thoughts!Jump to Comments
I genuinely can’t wait to hear your thoughts and experiences after you bake a batch of these truly famous cinnamon rolls. Once you taste their warm, buttery goodness, paired with that luscious cream cheese frosting, I promise you’ll forget all about commercial versions like Cinnabon. These homemade delights are not just better; they’re an entirely different league of deliciousness. So, gather your ingredients, follow these steps, and get ready to fill your home with the most incredible aroma. Happy baking, my friends! xo