
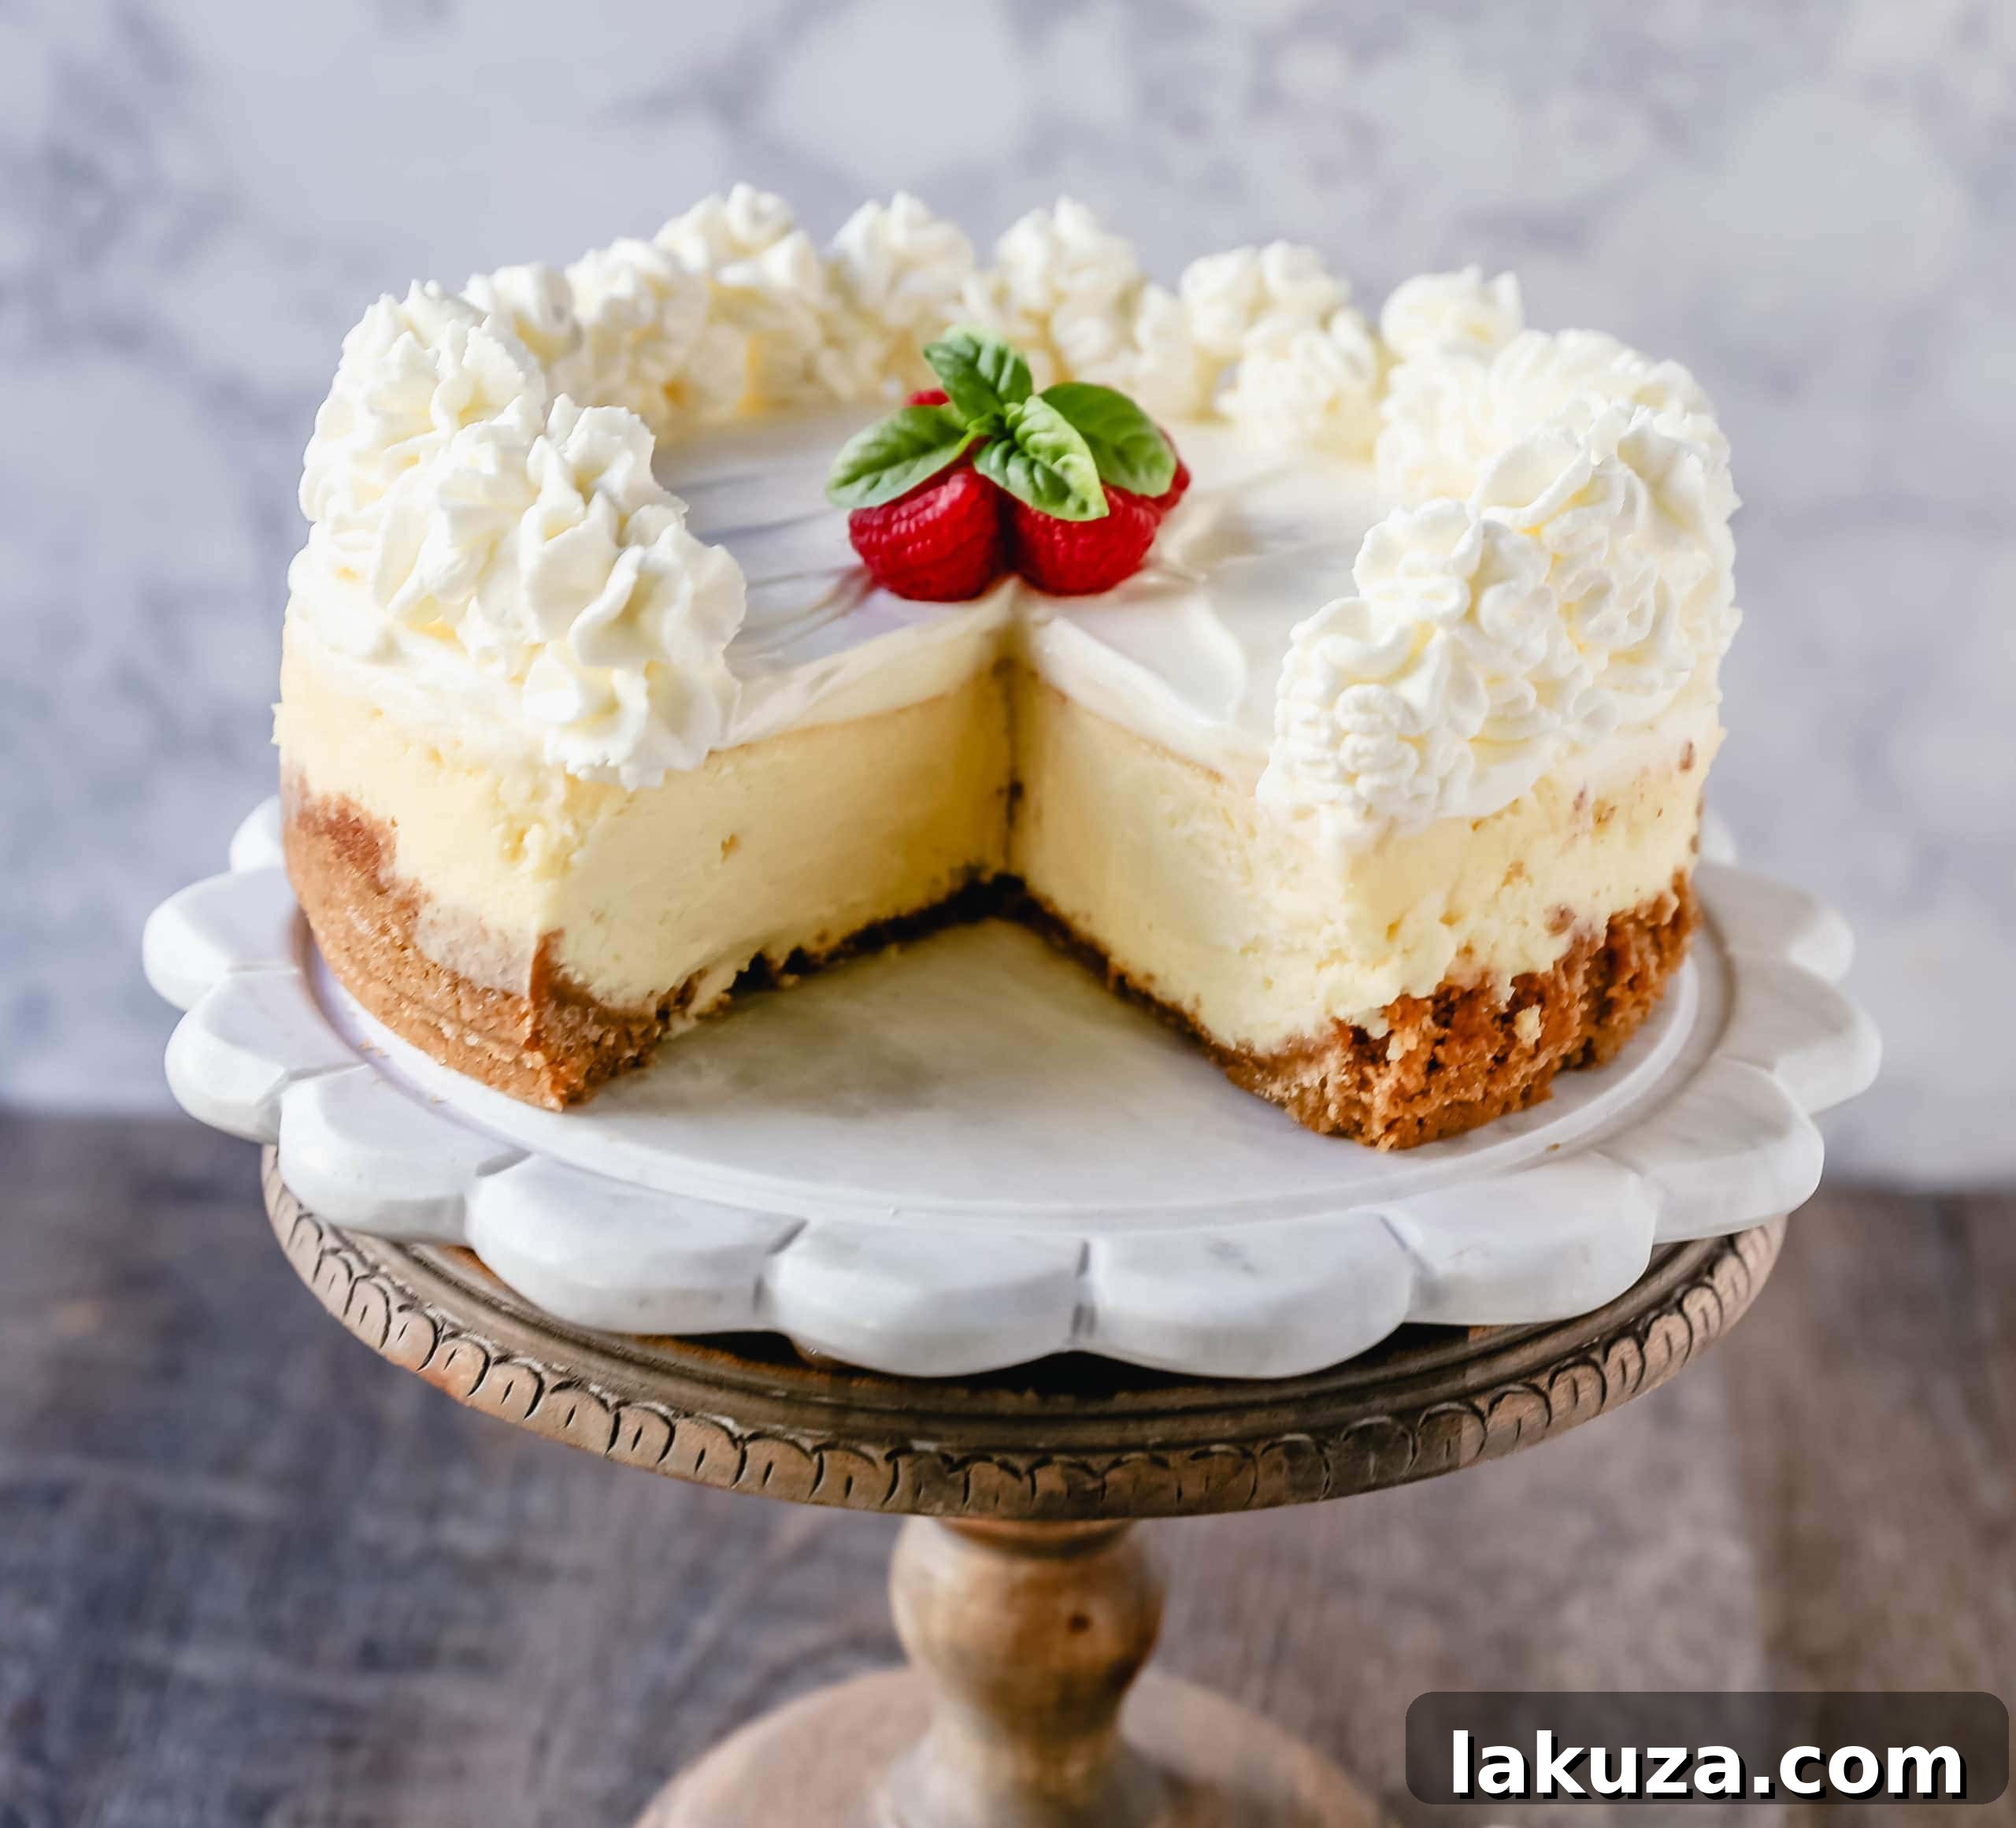
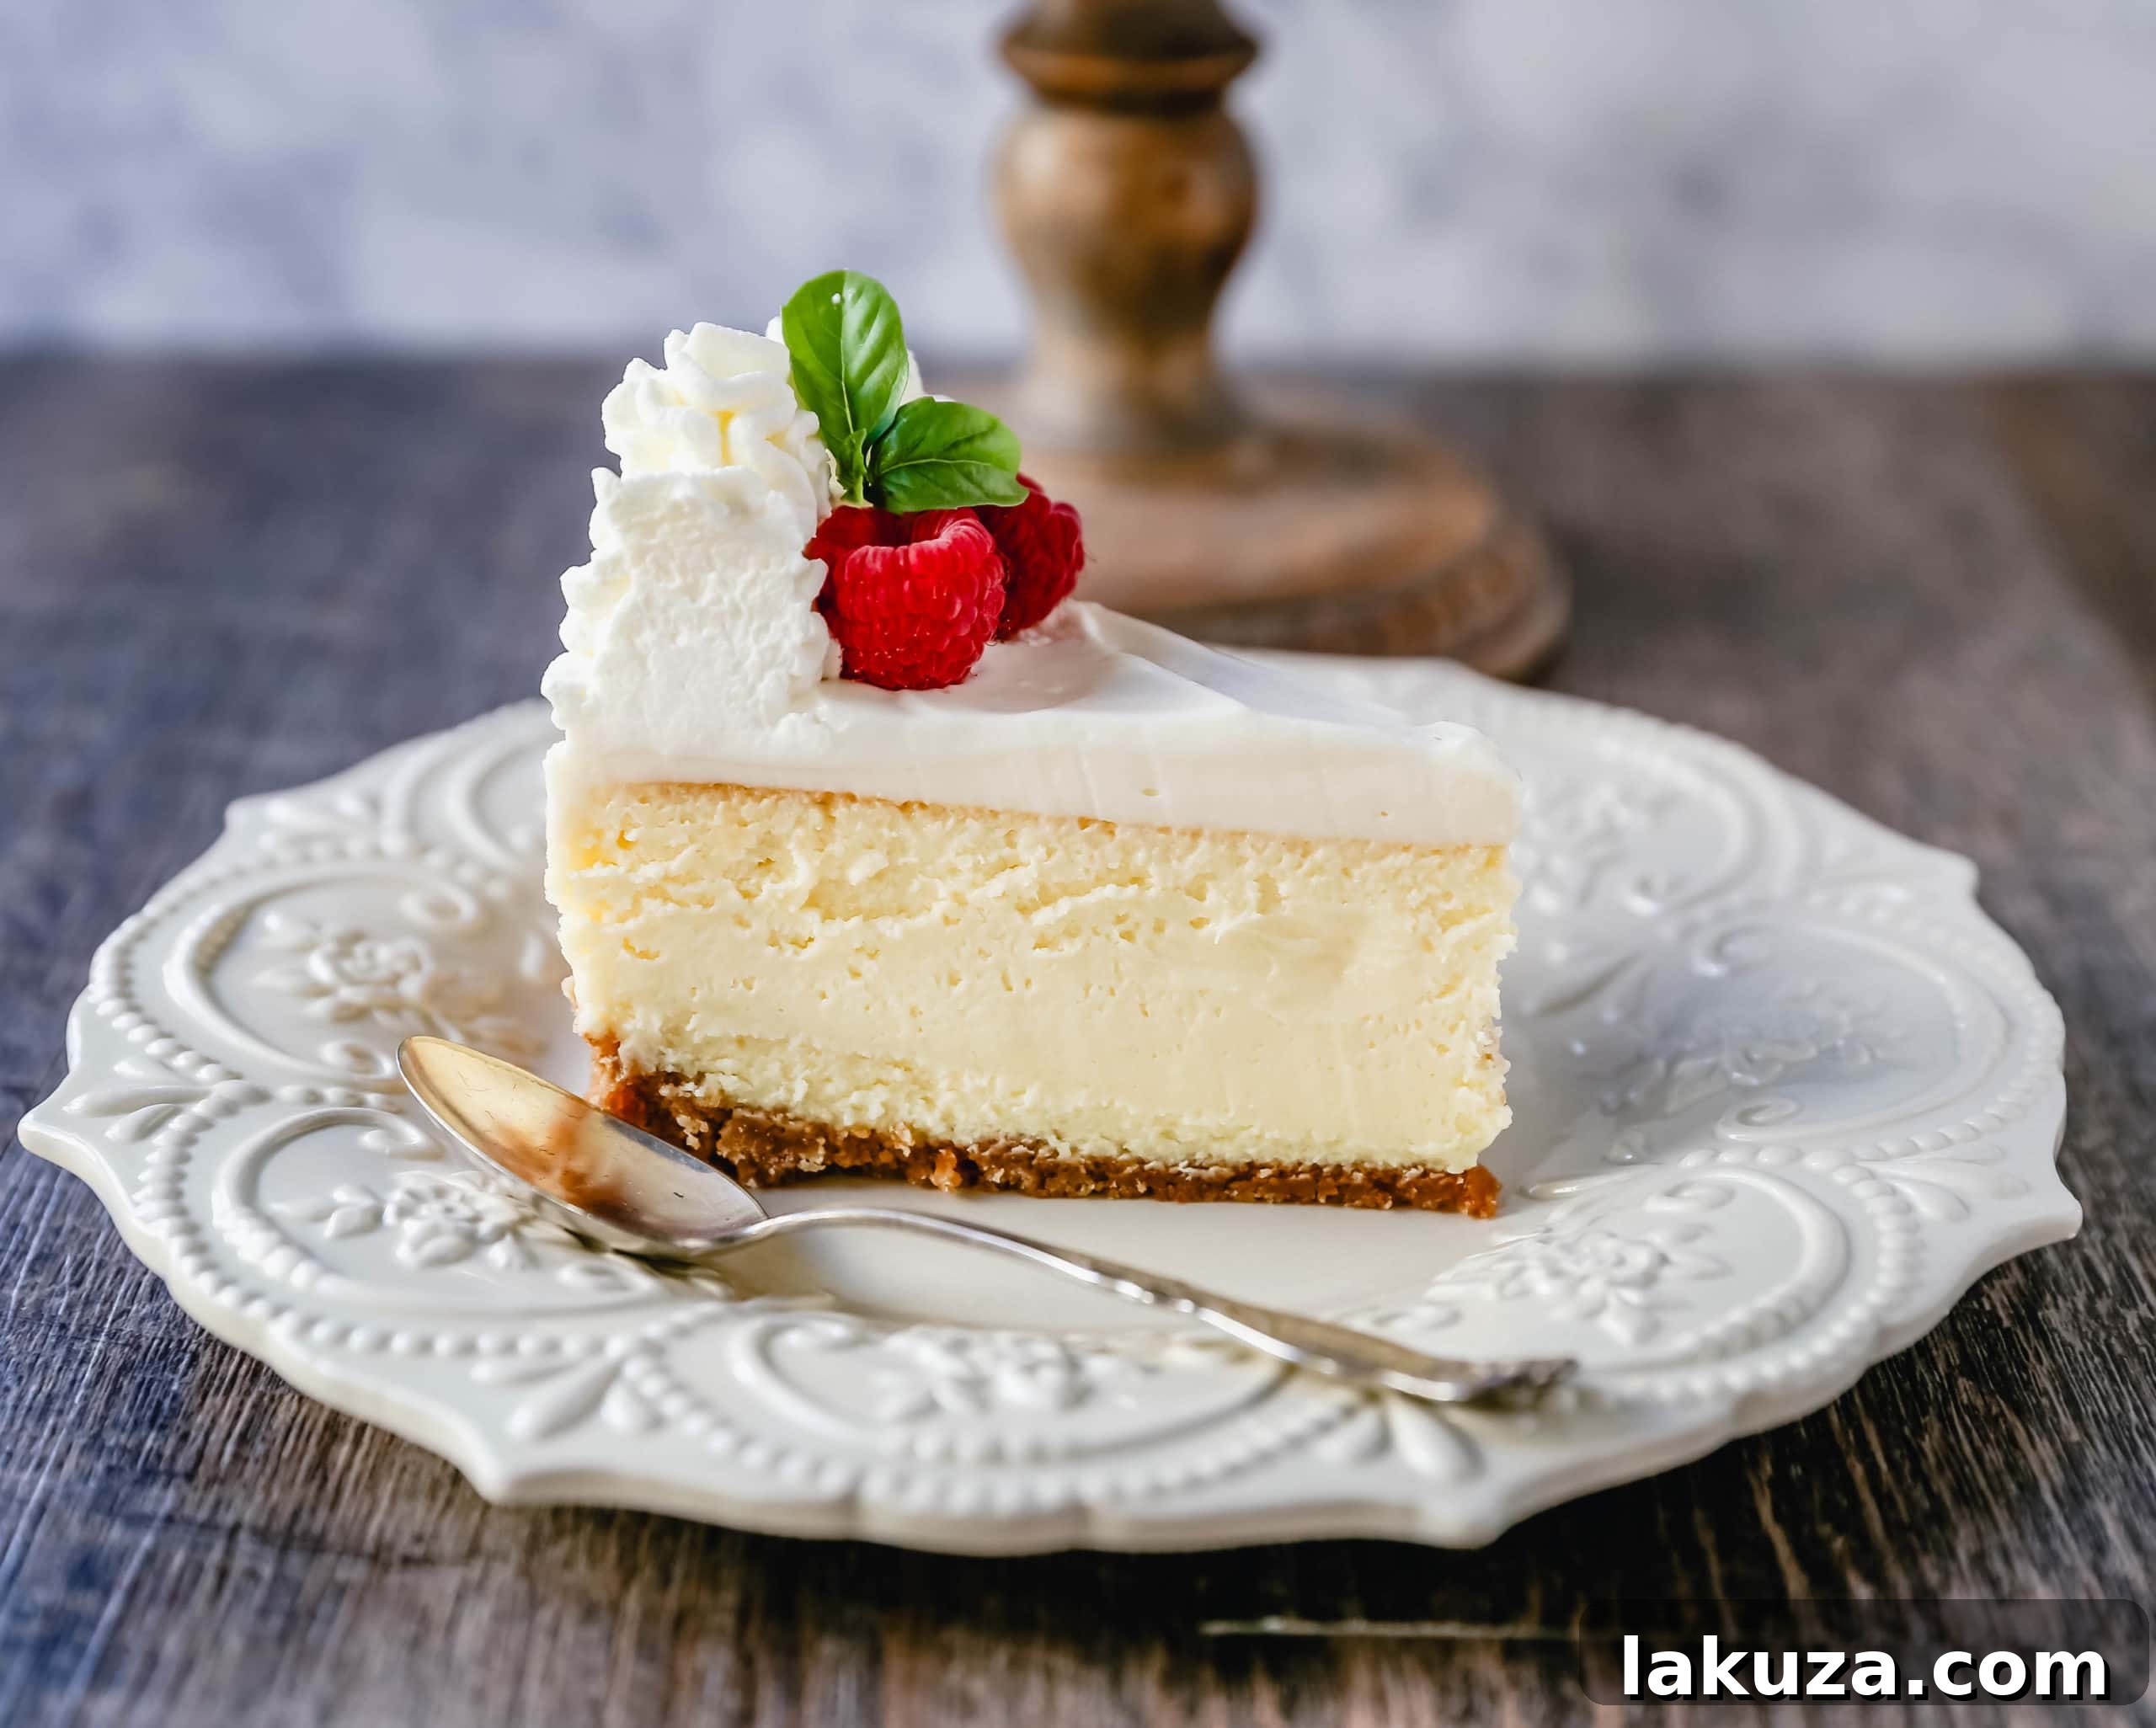
Discover the ultimate guide to crafting the creamiest, dreamiest, and richest vanilla cheesecake, complete with a buttery graham cracker crust. This comprehensive article provides all the essential tips and expert tricks for baking the perfect, no-crack cheesecake every single time!
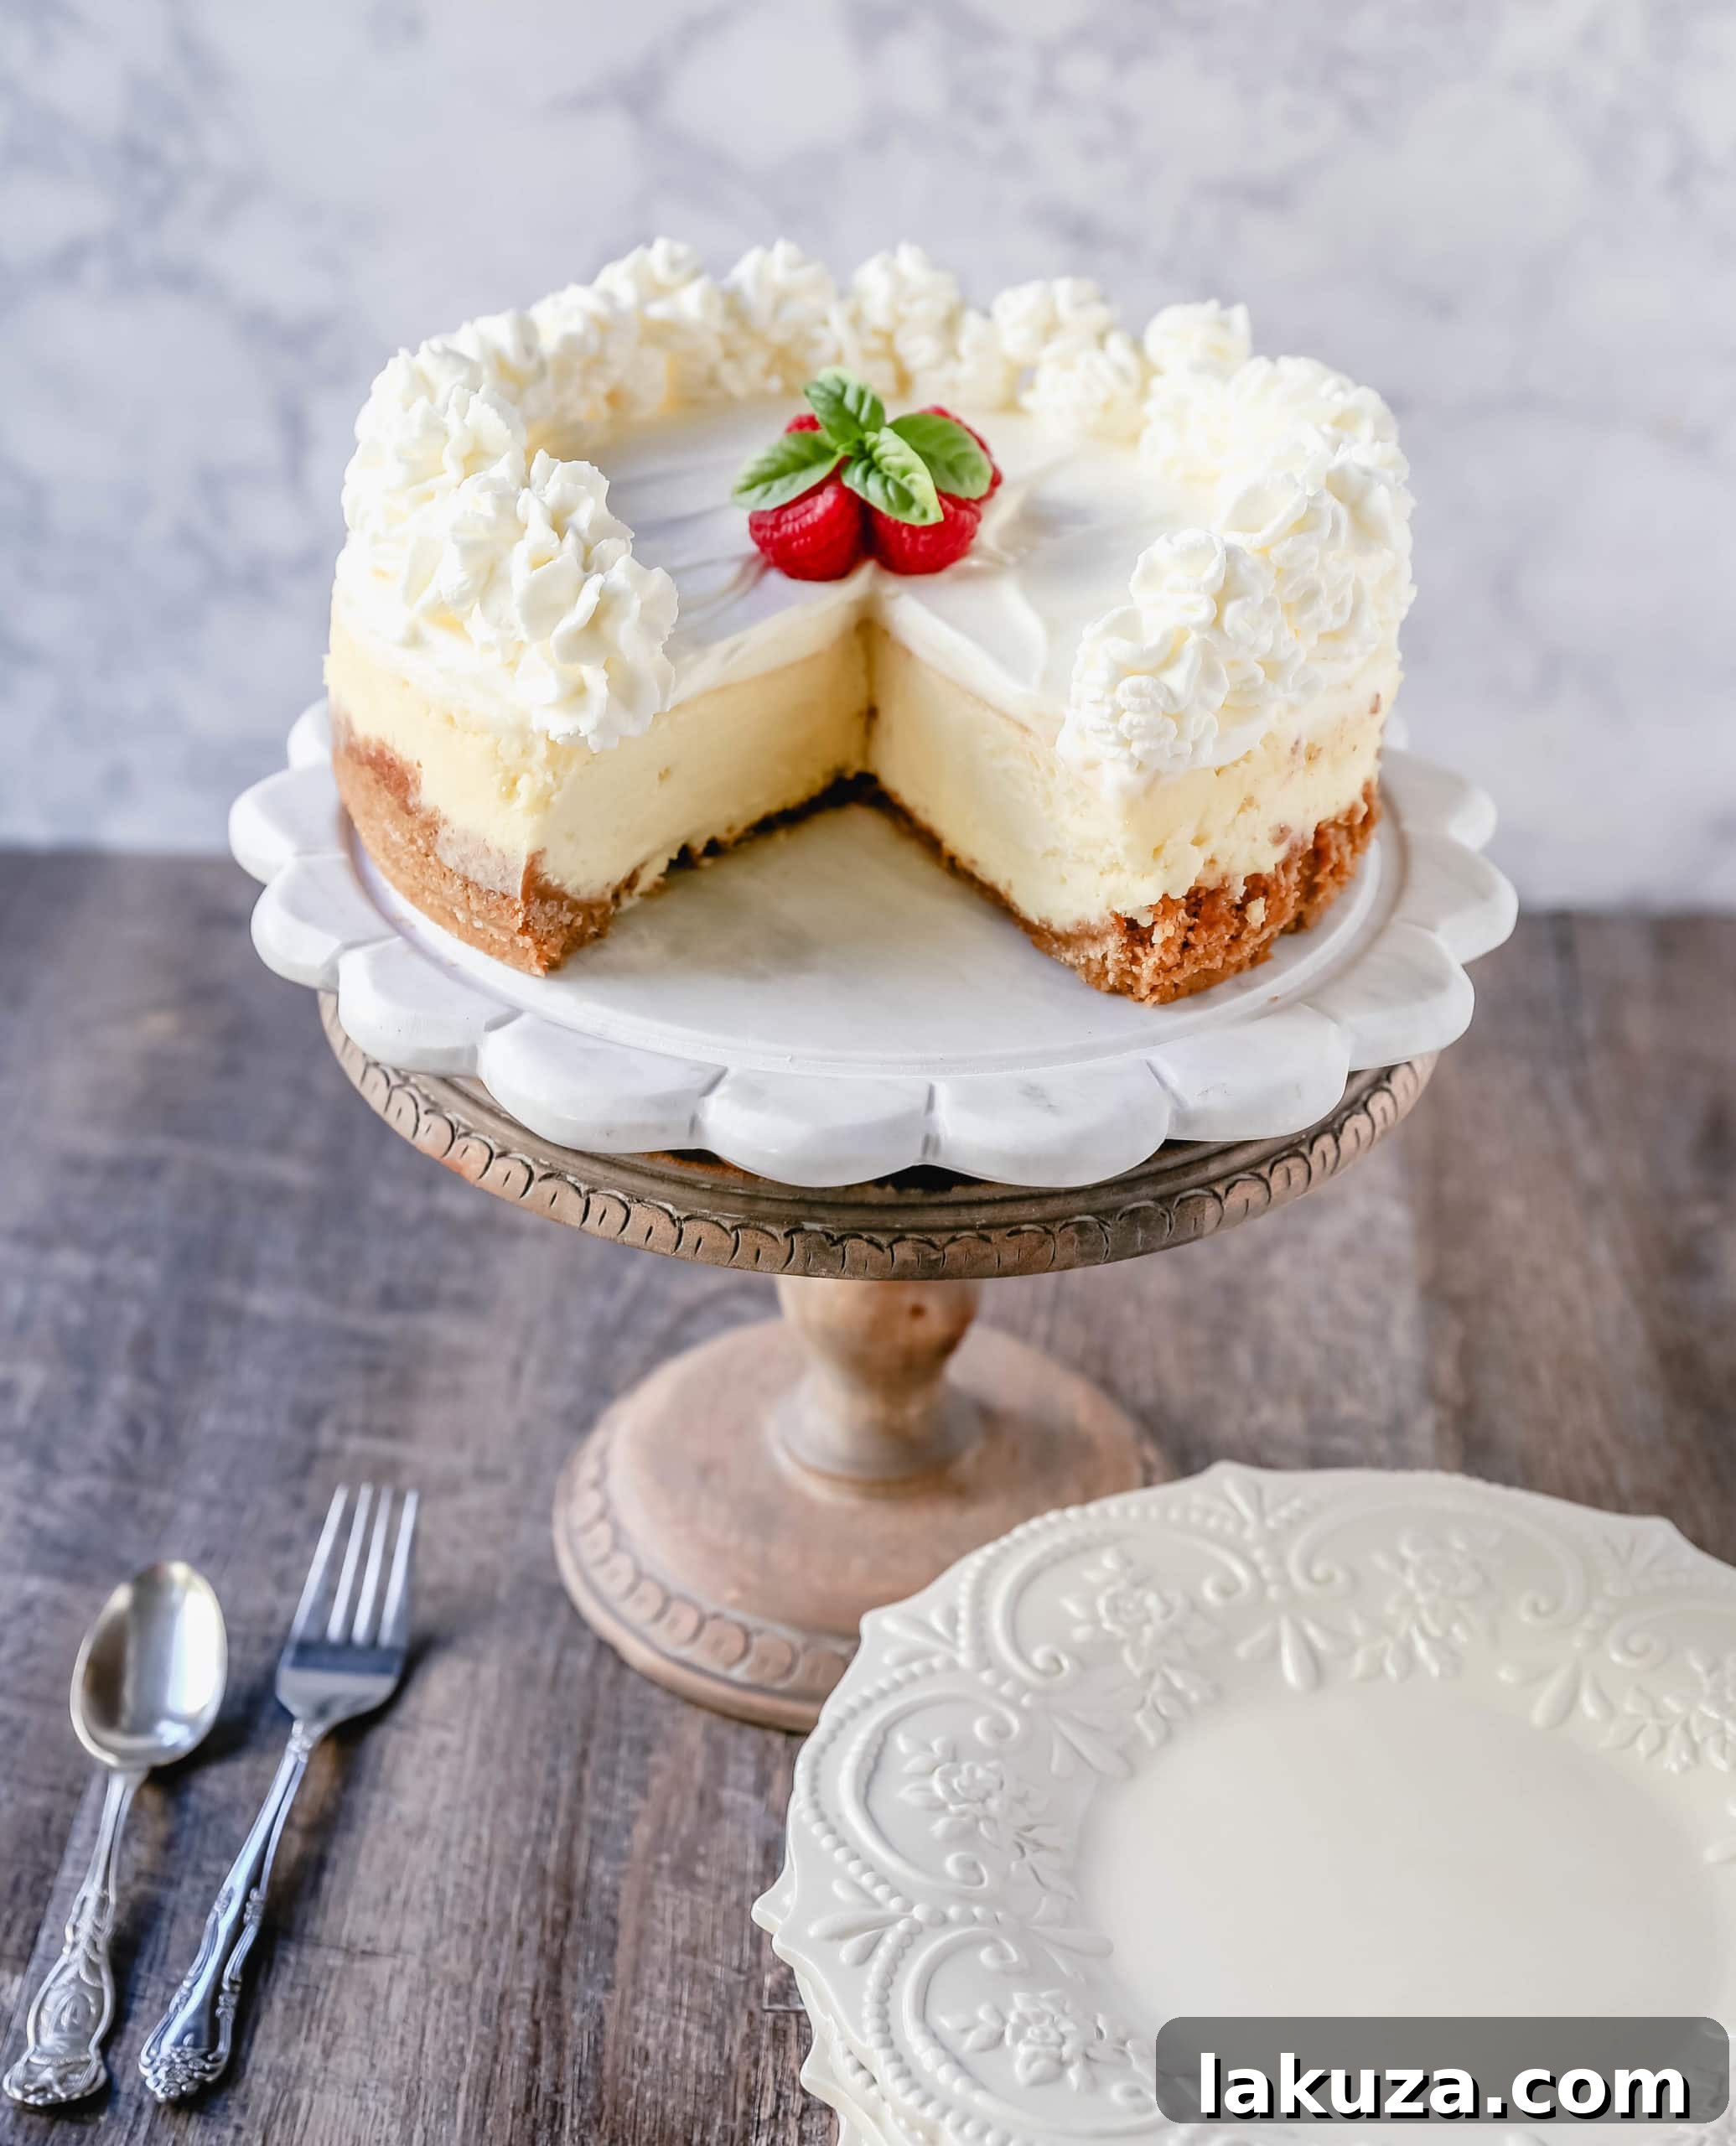
The pursuit of the truly perfect vanilla cheesecake has been a long and dedicated journey in my kitchen. For what feels like an eternity, I’ve tirelessly tested countless cheesecake variations, each batch bringing me closer, but never quite reaching that elusive ideal of absolute perfection. My goal wasn’t just to create a good cheesecake, but to bake the creamiest, most luscious vanilla cheesecake imaginable, a dessert that would earn rave reviews and become a timeless favorite.
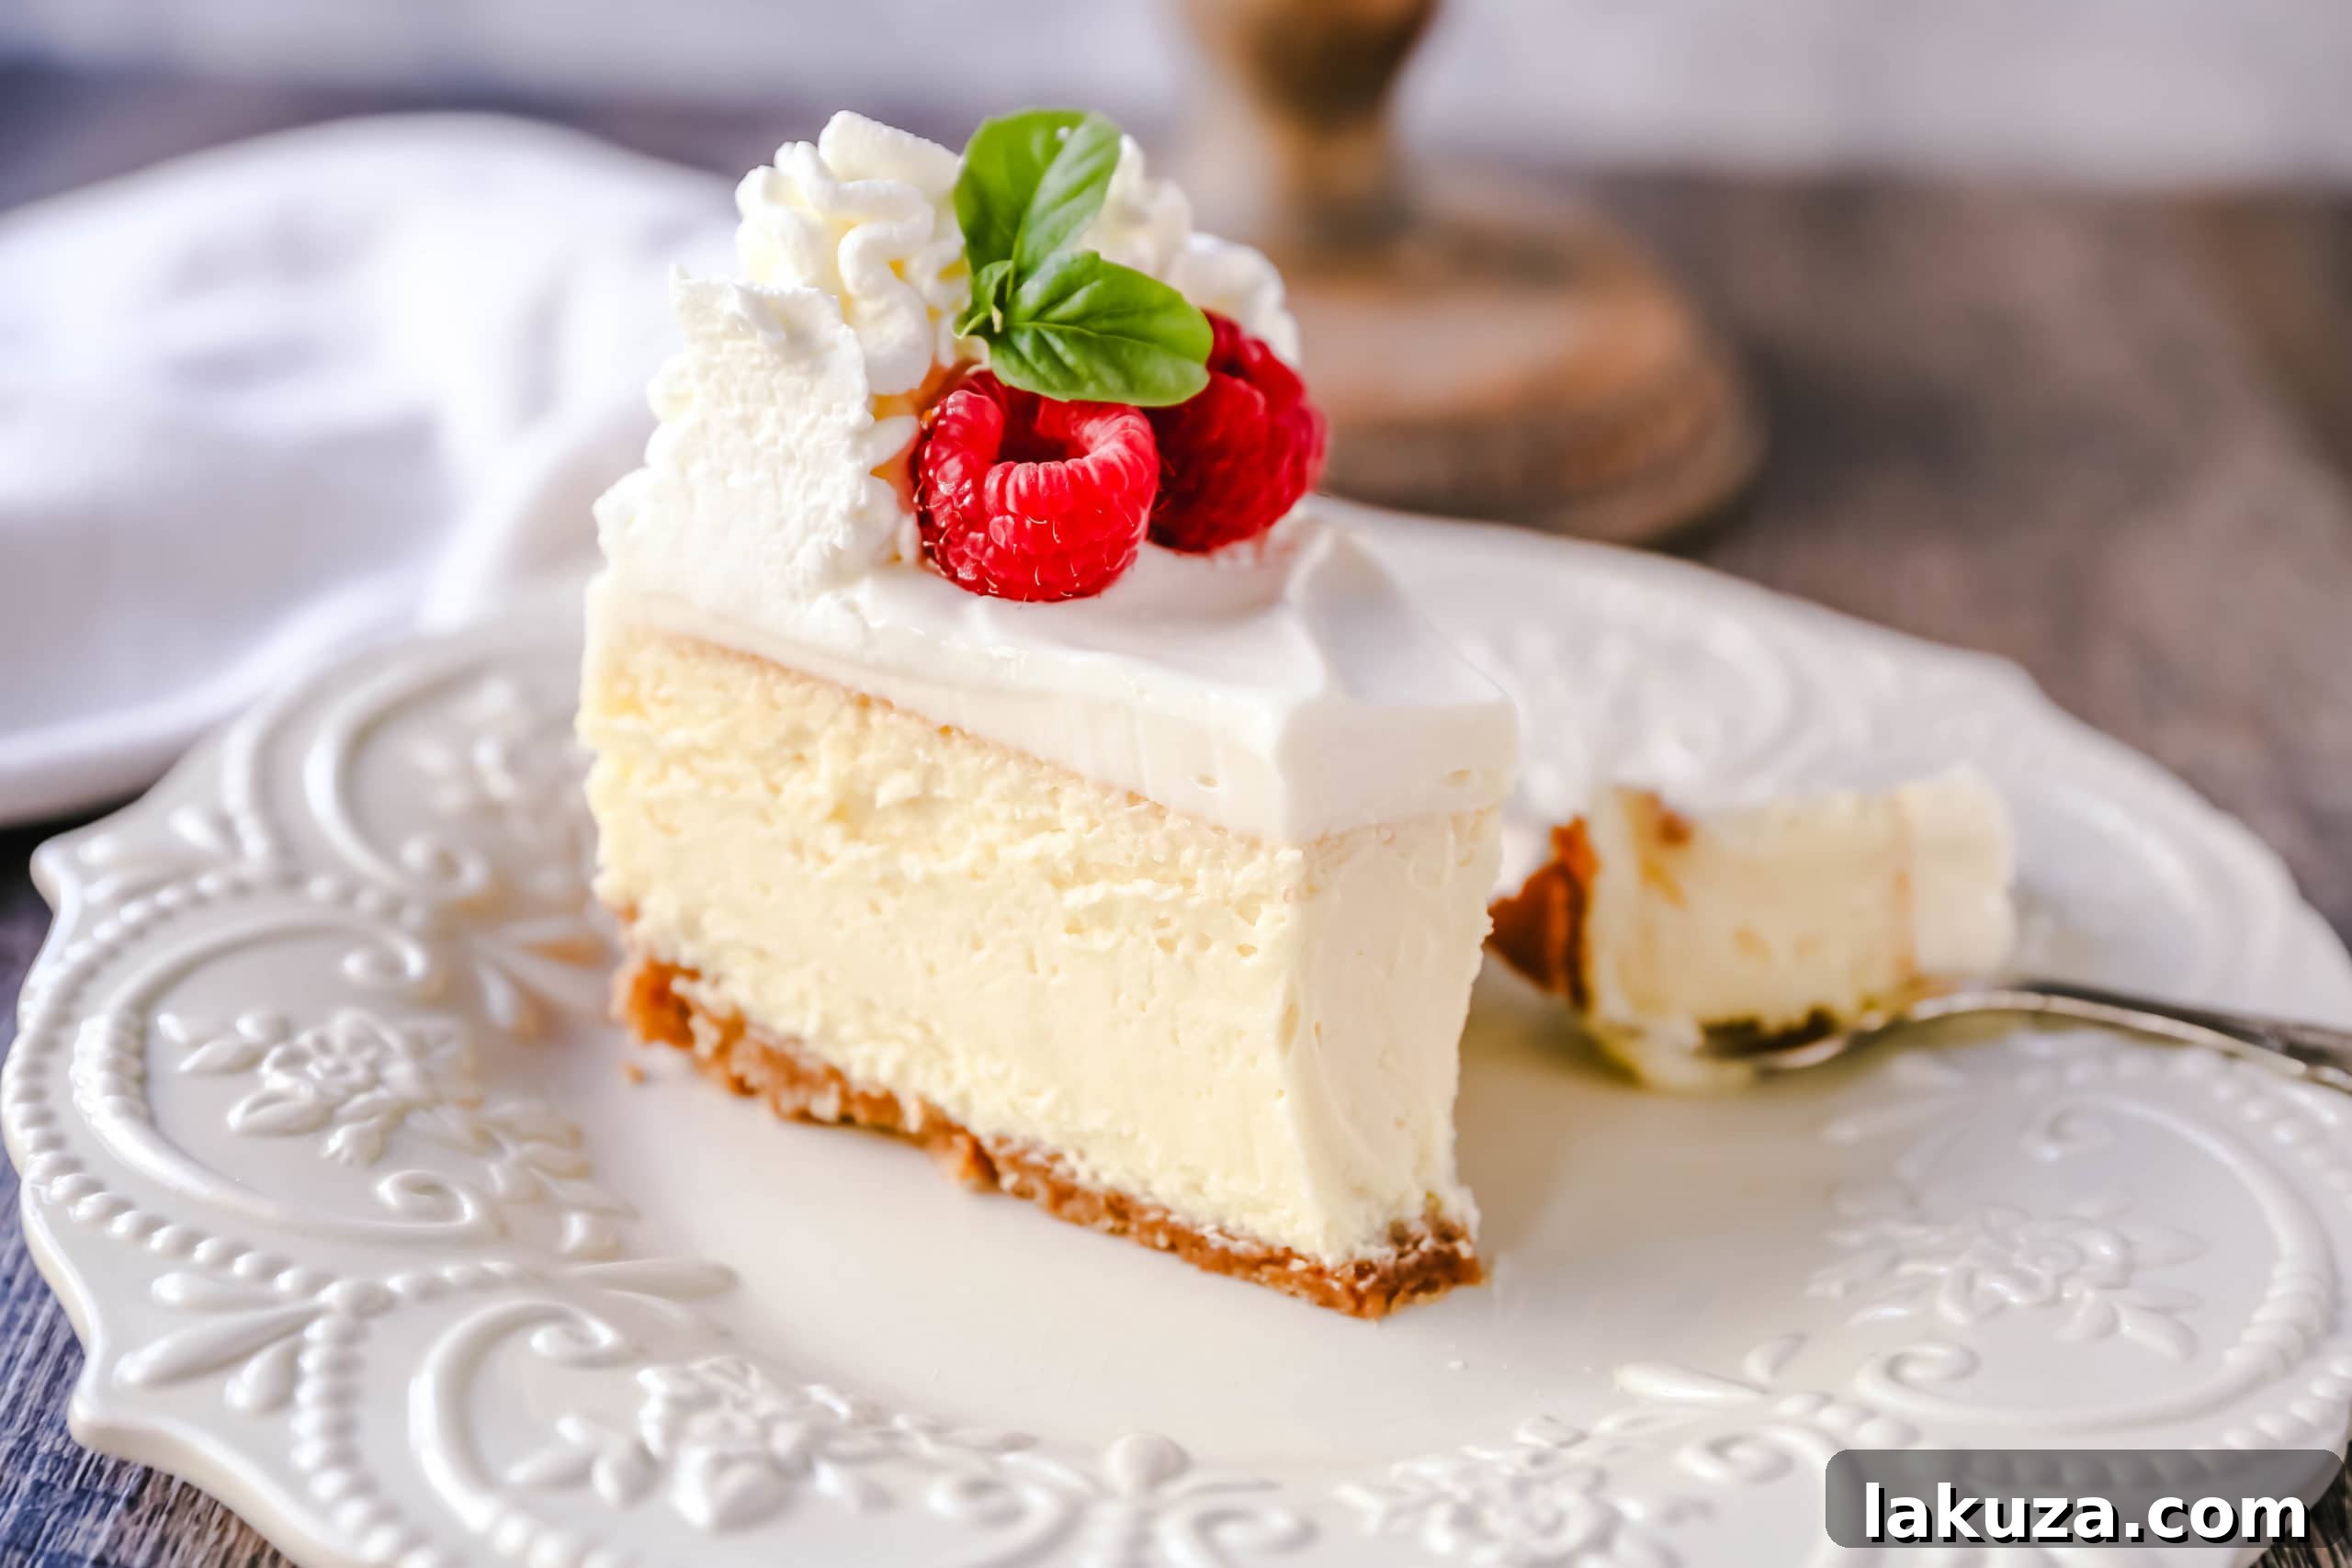
My experimentation left no stone unturned. I explored every technique, every ingredient ratio, and every baking method. From adjusting the amount of cream cheese to tweaking sugar levels, and from meticulously using a water bath to daringly baking without one, I meticulously documented the results. I even delved into the debate of sour cream toppings versus plain cheesecake. You name it, I tried it. This extensive journey was all driven by one singular vision: to develop the ultimate creamy vanilla cheesecake recipe, one that would consistently deliver sublime texture and exquisite flavor.
After countless trials and a dedicated commitment to culinary perfection, I am thrilled to share what I truly believe is the best cheesecake recipe you will ever encounter. It might seem intimidating, but I promise it’s not as difficult as it appears. The secret lies not in complexity, but in understanding and applying a few key techniques and high-quality ingredients. With these insights, you can confidently bake a show-stopping vanilla cheesecake that will impress everyone.
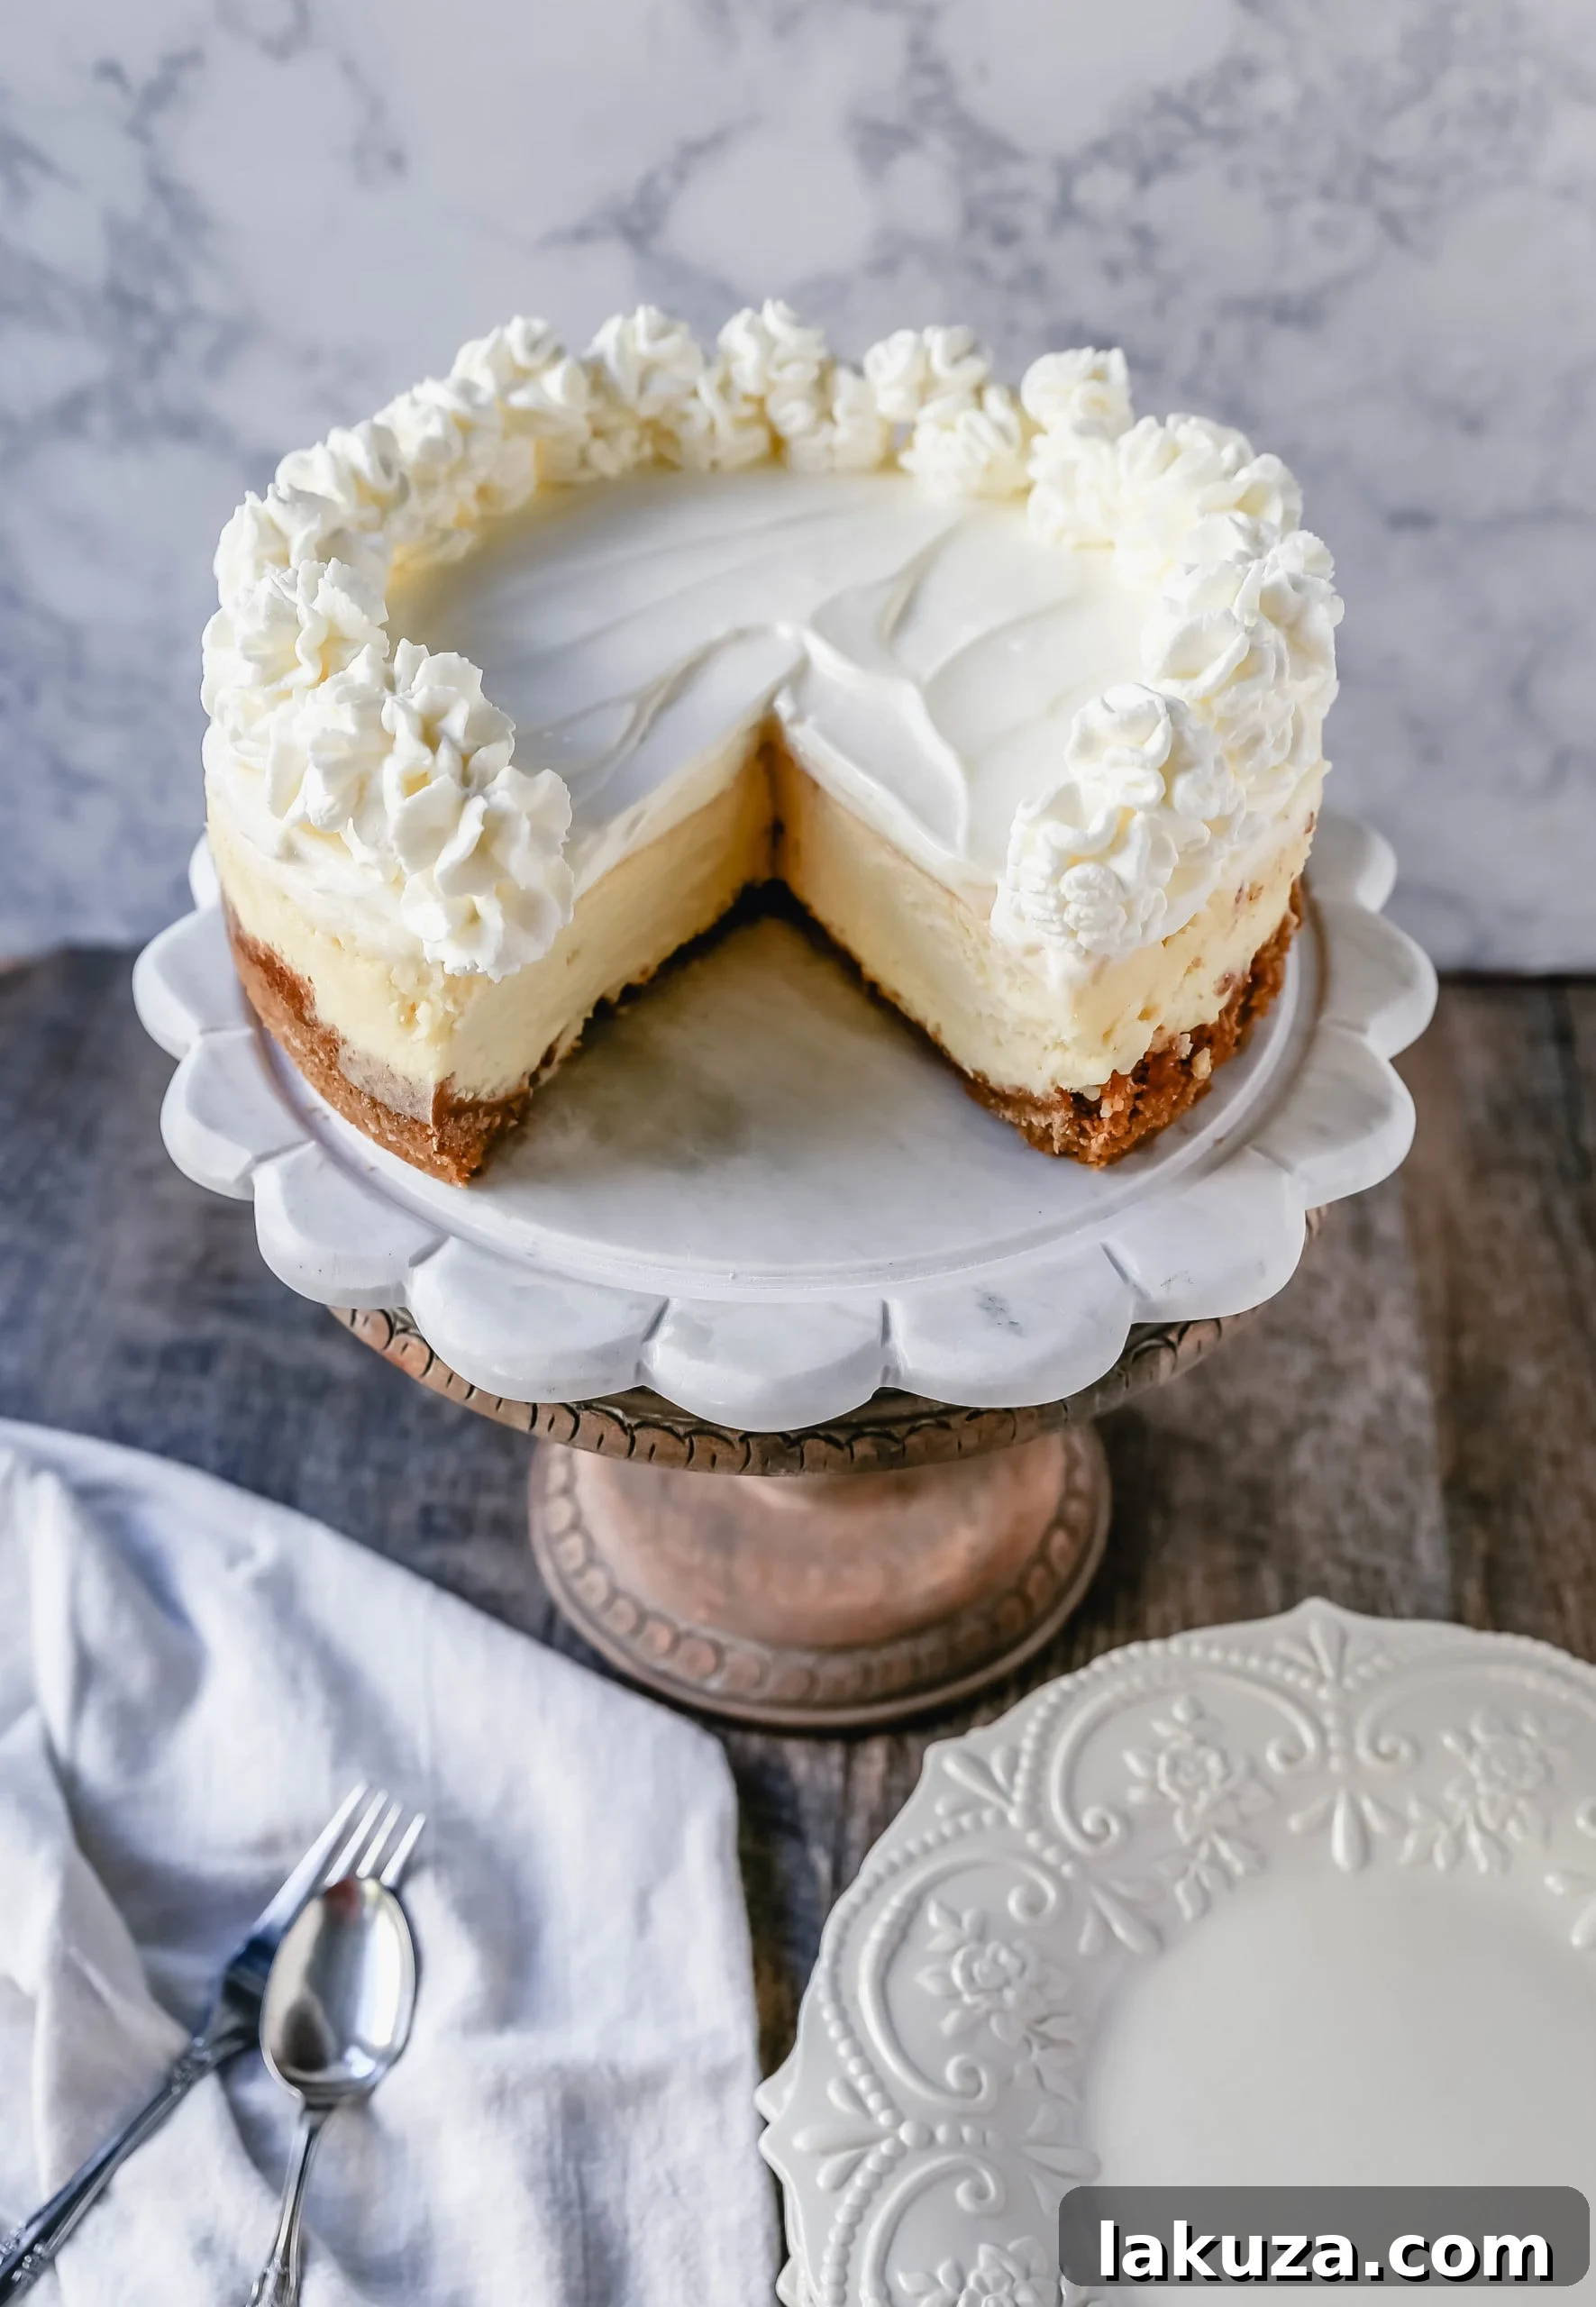
Essential Ingredients for a Heavenly Vanilla Cheesecake
Crafting a truly exceptional vanilla cheesecake begins with selecting the right ingredients. Each component plays a vital role in achieving that perfect balance of creamy texture, rich flavor, and subtle tang.
Cheesecake Filling Ingredients:
- Cream Cheese: This is the star of our vanilla cheesecake. High-quality, full-fat cream cheese is absolutely crucial for achieving the characteristic rich, tangy flavor and incredibly smooth, dense texture. Always ensure your cream cheese is softened to room temperature before mixing; this prevents lumps and ensures a uniform, airy batter.
- Granulated Sugar: Standard white granulated sugar provides the ideal sweetness, perfectly balancing the tang of the cream cheese and sour cream. If you desire an even silkier smooth cheesecake, consider using superfine sugar, which dissolves more readily. You can often find it online or easily make your own by pulsing regular granulated sugar in a food processor for about 10 seconds.
- Eggs and Egg Yolks: Eggs are vital for giving our cheesecake its structure and contributing to its luxurious, fluffy texture. However, precision is key; using too many eggs can lead to a cheesecake that sinks or cracks. For this recipe, stick to large eggs (not jumbo) and follow the measurements precisely for flawless results. The extra egg yolks add unparalleled richness and a deeper golden hue.
- Pure Vanilla Extract or Vanilla Bean Paste: The “vanilla” in vanilla cheesecake demands attention. Always opt for pure vanilla extract over imitation flavoring. A high-quality vanilla truly elevates the flavor profile of any baked good. My personal recommendations include Nielsen-Massey pure vanilla extract, Mexican Vanilla, or for an intense, visual vanilla experience, vanilla bean paste.
- Full-Fat Sour Cream: While some might question its inclusion, sour cream is a secret weapon in this vanilla cheesecake recipe. It not only introduces an additional layer of delicate tang that beautifully complements the sweetness but also works wonders in lightening the otherwise heavy texture of the cream cheese. The result is an incredibly smooth, milky, and perfectly soft cheesecake that melts in your mouth.
- Cornstarch: Just a small amount of cornstarch acts as a stabilizer and thickener, helping to prevent cracks and ensuring the cheesecake sets beautifully with a smooth consistency.
Sweet Sour Cream Topping Ingredients:
This optional, yet highly recommended, topping adds another dimension of flavor and creaminess to your vanilla cheesecake.
- Full-Fat Sour Cream: The light texture of sour cream creates an extra layer of lusciousness without overwhelming the cheesecake, providing a fresh contrast.
- Granulated Sugar: A touch of sugar is necessary to sweeten the sour cream topping, ensuring it complements rather than contrasts with the cheesecake’s sweetness.
- Vanilla Bean Paste (optional): For an extra boost of vanilla flavor in the topping.
Buttery Graham Cracker Crust Ingredients:
The foundation of a great cheesecake is its crust – a perfectly balanced base that offers a delightful crunch and sweet counterpoint to the creamy filling.
- Unsalted Butter: Melted butter is the binding agent that holds the graham cracker crumbs together, ensuring a firm, flavorful crust that isn’t too dry.
- Graham Cracker Crumbs: The sweet and mildly spiced flavor profile of graham crackers, with notes of honey, cinnamon, and vanilla, creates the ideal classic base for a tangy cheesecake. You can buy pre-crushed crumbs or crush whole graham cracker sheets yourself for optimal freshness.
- Granulated Sugar: A little sugar enhances the sweetness of the crust, ensuring it’s a delicious complement to the filling.
Mastering the Art of the Best Vanilla Cheesecake: Step-by-Step Guide
Creating this dream vanilla cheesecake involves precise steps and a little patience. Follow these instructions carefully to ensure a perfect outcome.
Preparing the Graham Cracker Crust:
- Preheat and Prepare: Begin by preheating your oven to 350°F (175°C). For the crust, I highly recommend using a 9-inch springform pan. Crush your graham cracker sheets into fine crumbs. A food processor makes this incredibly easy and yields consistent results. If you don’t have one, place graham crackers in a large zip-top bag and crush them with a rolling pin.
- Form the Crust: In a medium bowl, combine the graham cracker crumbs, granulated sugar, and melted butter. Mix thoroughly until the crumbs are evenly moistened. Press this mixture firmly into the bottom of the ungreased springform pan. Use the bottom of a glass or your knuckles to ensure an even, compact layer.
- Bake the Crust: Bake the prepared crust for about 8 minutes. This brief bake time helps set the crust and prevents it from becoming soggy. Once baked, remove it from the oven and let it cool completely to room temperature while you prepare the filling.
Crafting the Creamy Cheesecake Filling:
- Room Temperature is Key: Ensure your cream cheese is at true room temperature. This is perhaps the most crucial tip for a lump-free, silky-smooth cheesecake. In a large mixing bowl, using an electric mixer, beat the softened cream cheese and sugar together on medium speed for 2-3 minutes until the mixture is light, fluffy, and completely smooth. Stop frequently to scrape down the sides and bottom of the bowl to ensure everything is well incorporated.
- Gentle Mixing: Add the vanilla extract (or paste), cornstarch, and lemon zest (if using) to the cream cheese mixture. Beat on low speed just until combined. Avoid overmixing at this stage, as incorporating too much air can lead to cracks during baking.
- Incorporate Eggs Carefully: Add the large eggs one at a time, beating on low speed after each addition until just combined. Scrape the bowl once more. Then, gently fold in the full-fat sour cream. The goal here is to mix until barely combined, again, to minimize air incorporation.
Baking with a Water Bath (Bain-Marie Technique):
- Prepare the Pan for Water Bath: Pour the cheesecake batter into the cooled graham cracker crust. Gently tap the springform pan on the counter a few times to release any trapped air bubbles.
- Foil Protection is Crucial: This step is vital when using a water bath. Line the OUTSIDE of your springform pan with heavy-duty aluminum foil. Use at least two layers, wrapping it tightly around the sides and folding it securely underneath. This creates a waterproof barrier to prevent water from seeping into your cheesecake.
- Set up the Water Bath: Place the foil-wrapped springform pan inside a larger roasting pan. Carefully transfer the roasting pan to the center rack of your preheated oven. Then, and this is important for safety, carefully pour enough boiling water into the roasting pan to come halfway up the sides of the springform pan. This method is much safer than filling the pan outside the oven and then attempting to transfer it.
- Bake Low and Slow: Bake the cheesecake at 350°F (175°C) for 20 minutes. Then, reduce the oven temperature to 300°F (150°C) and continue baking for an additional 35 minutes.
- Gentle Cooling: After 35 minutes, turn off the oven, but leave the cheesecake inside with the oven door slightly ajar for 1 hour. This slow cooling process prevents drastic temperature changes that can lead to cracks.
Applying the Sweet Sour Cream Topping:
- Prepare the Topping: While the cheesecake is gently cooling in the oven, combine 1 cup of full-fat sour cream, 1/4 cup sugar, and 1 teaspoon vanilla bean paste (if desired) in a small bowl. Stir until smooth.
- Apply and Cool Further: Once the cheesecake has completed its hour of gentle cooling in the turned-off oven, remove it. Carefully spread the prepared sweet sour cream topping evenly over the warm cheesecake.
The Critical Chilling Period:
- Room Temperature Transition: Allow the cheesecake to cool completely to room temperature for about 1 hour on a wire rack.
- Refrigerate for Setting: Once at room temperature, transfer the cheesecake (still in its springform pan) to the refrigerator. Chill for a minimum of 6-8 hours, or preferably overnight. This extended chilling period is absolutely crucial for the cheesecake to fully set, develop its firm yet creamy texture, and allow its flavors to meld beautifully. Do not skip this step!
Serving Your Perfect Cheesecake:
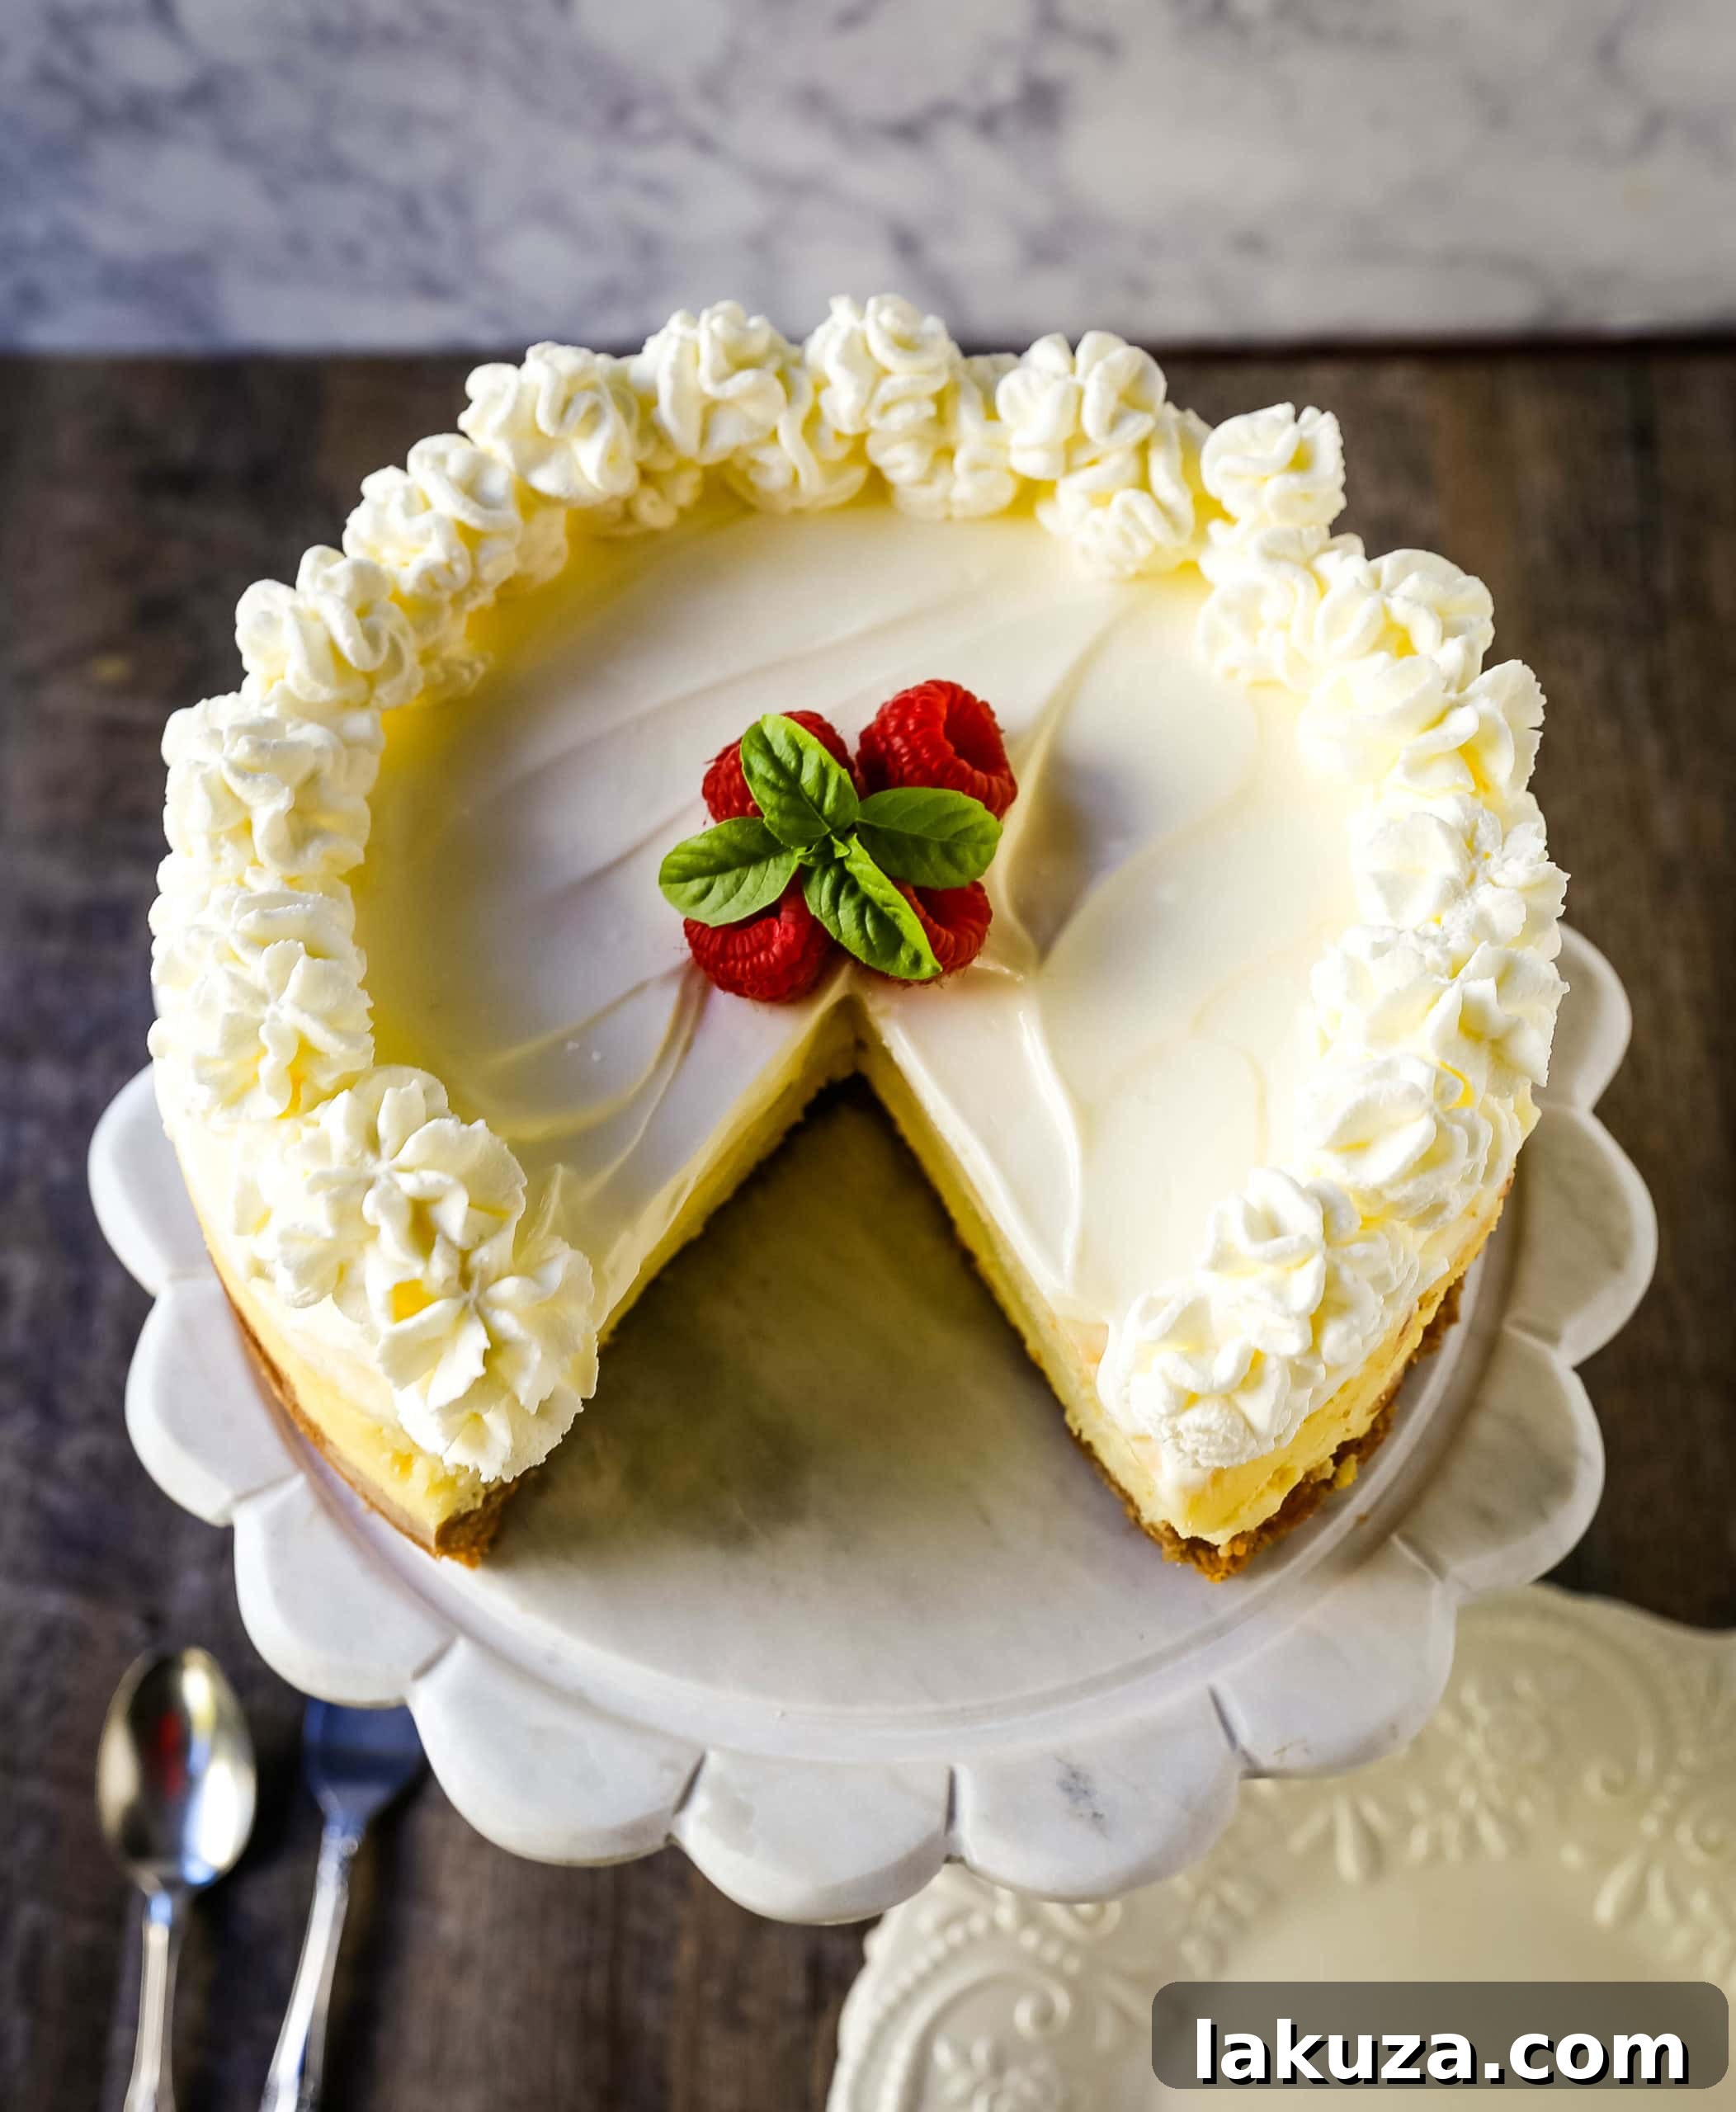
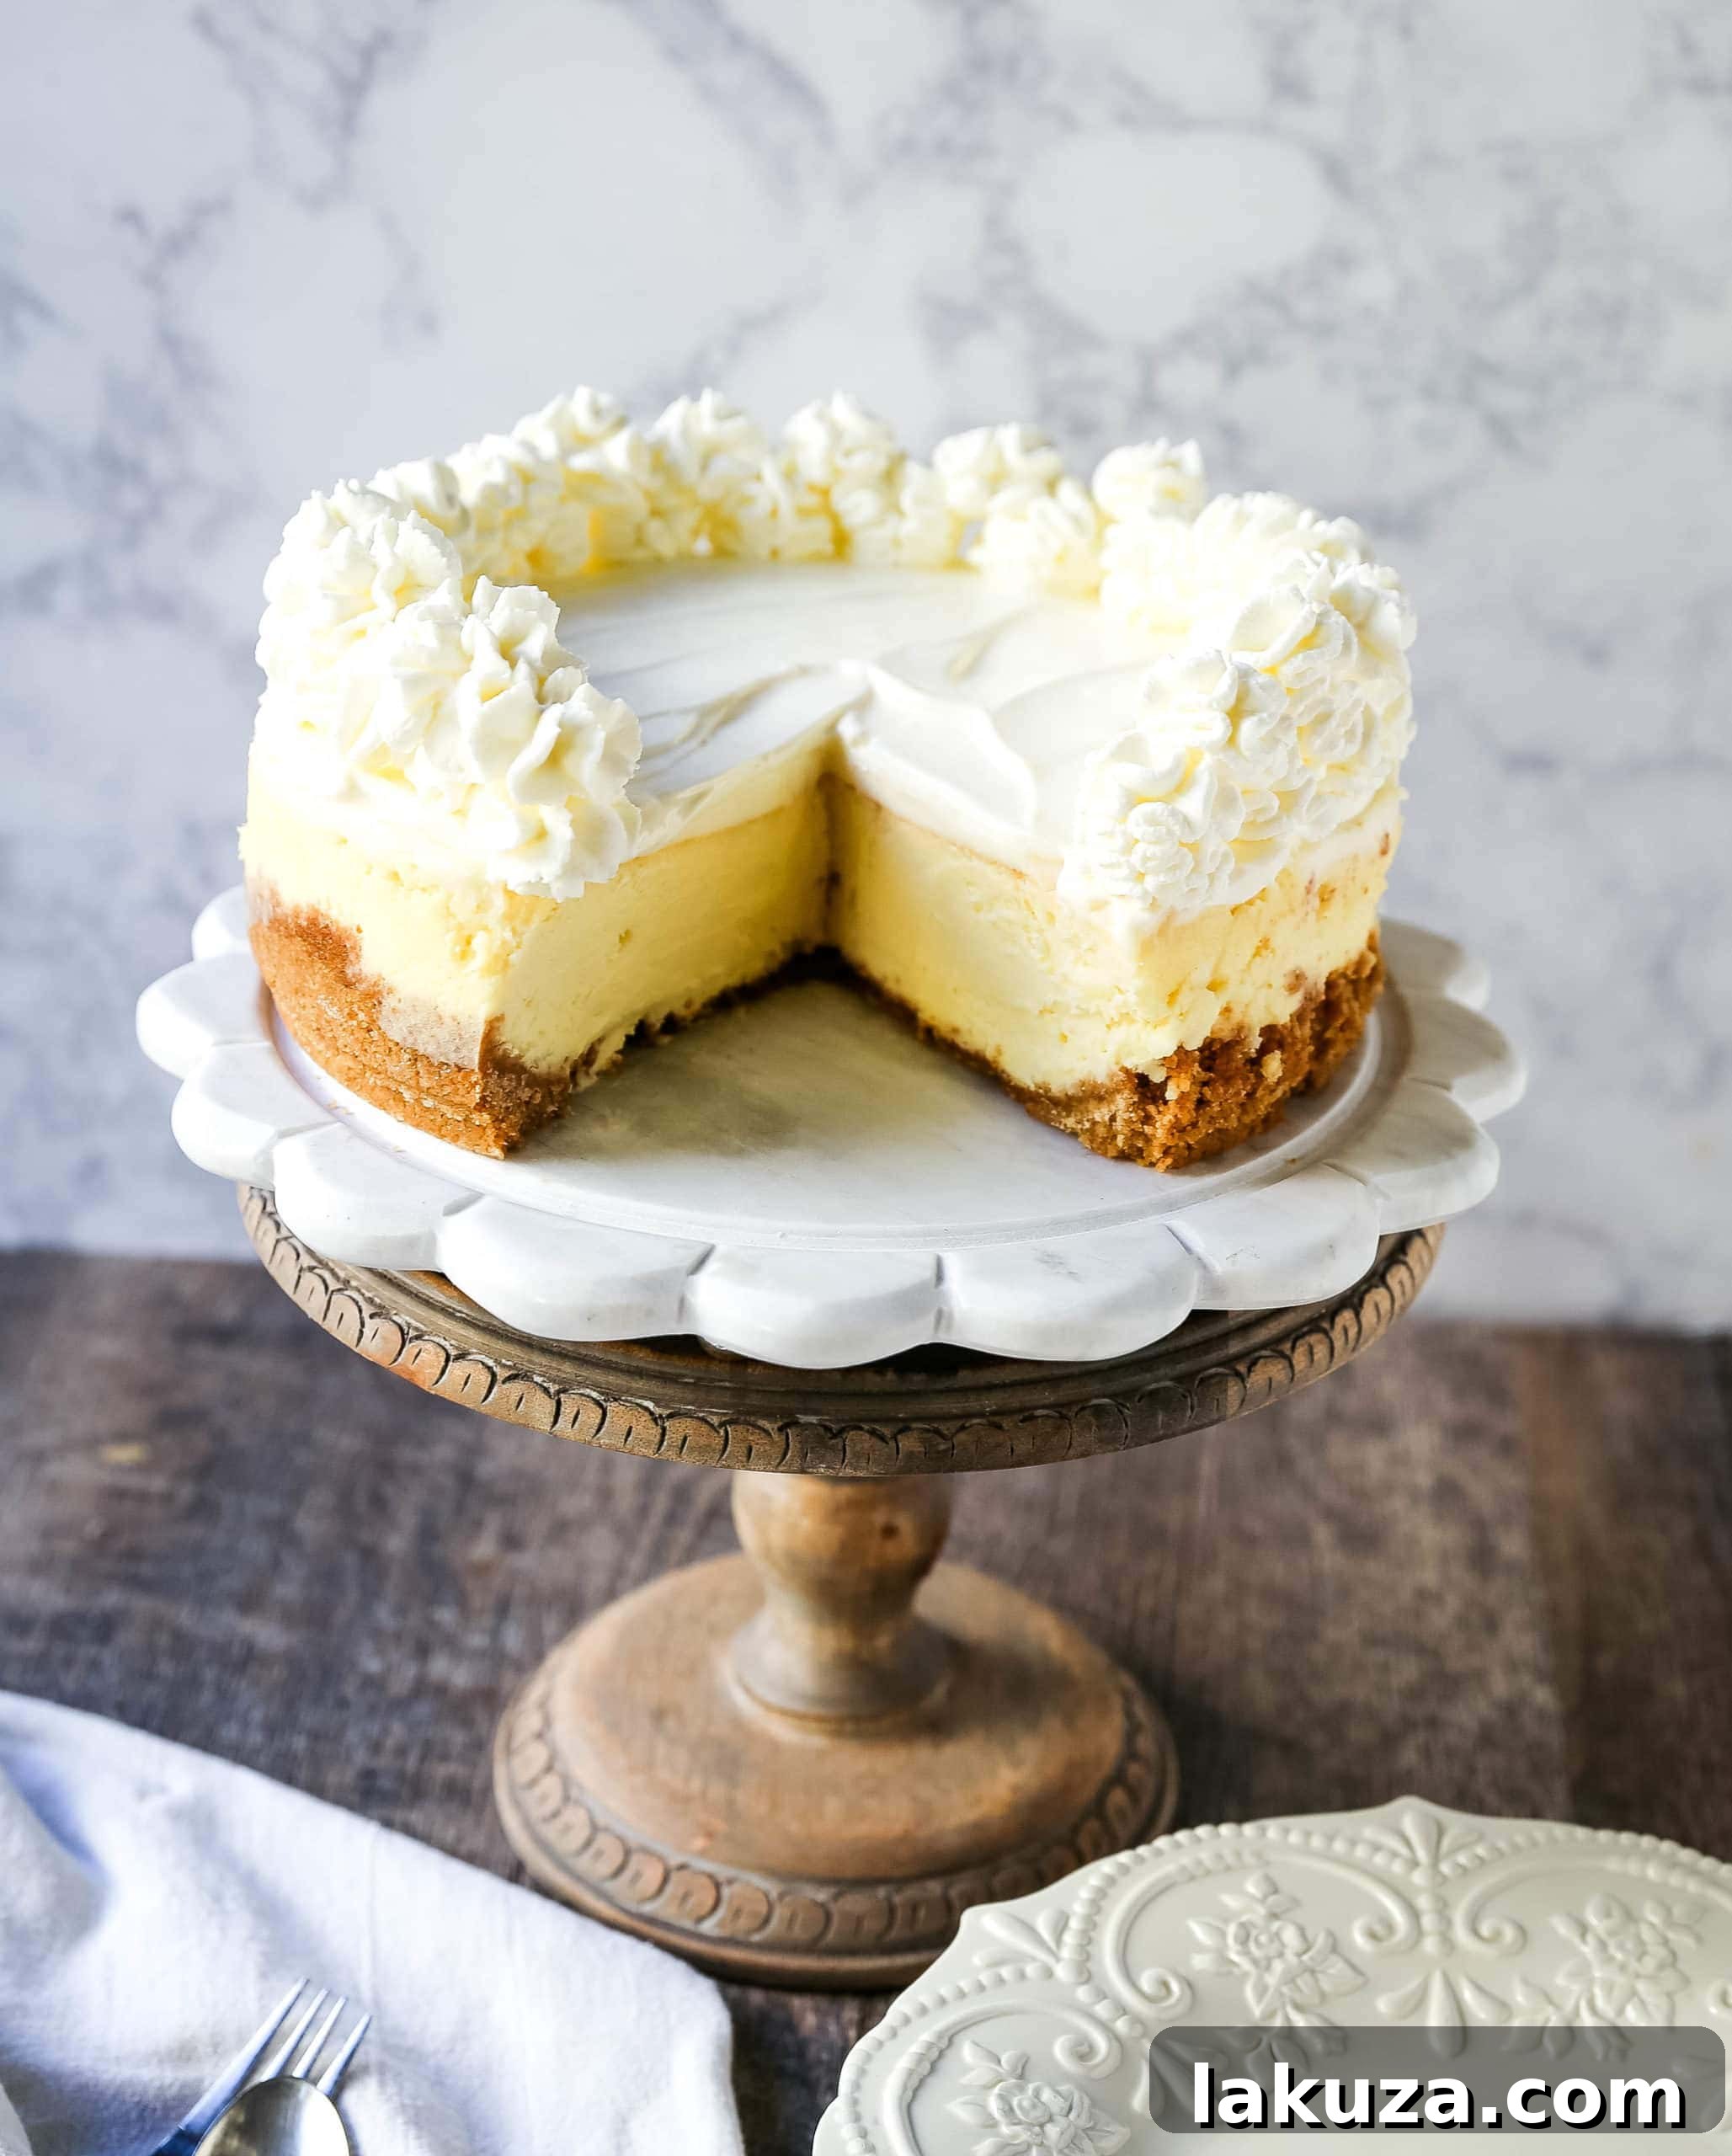
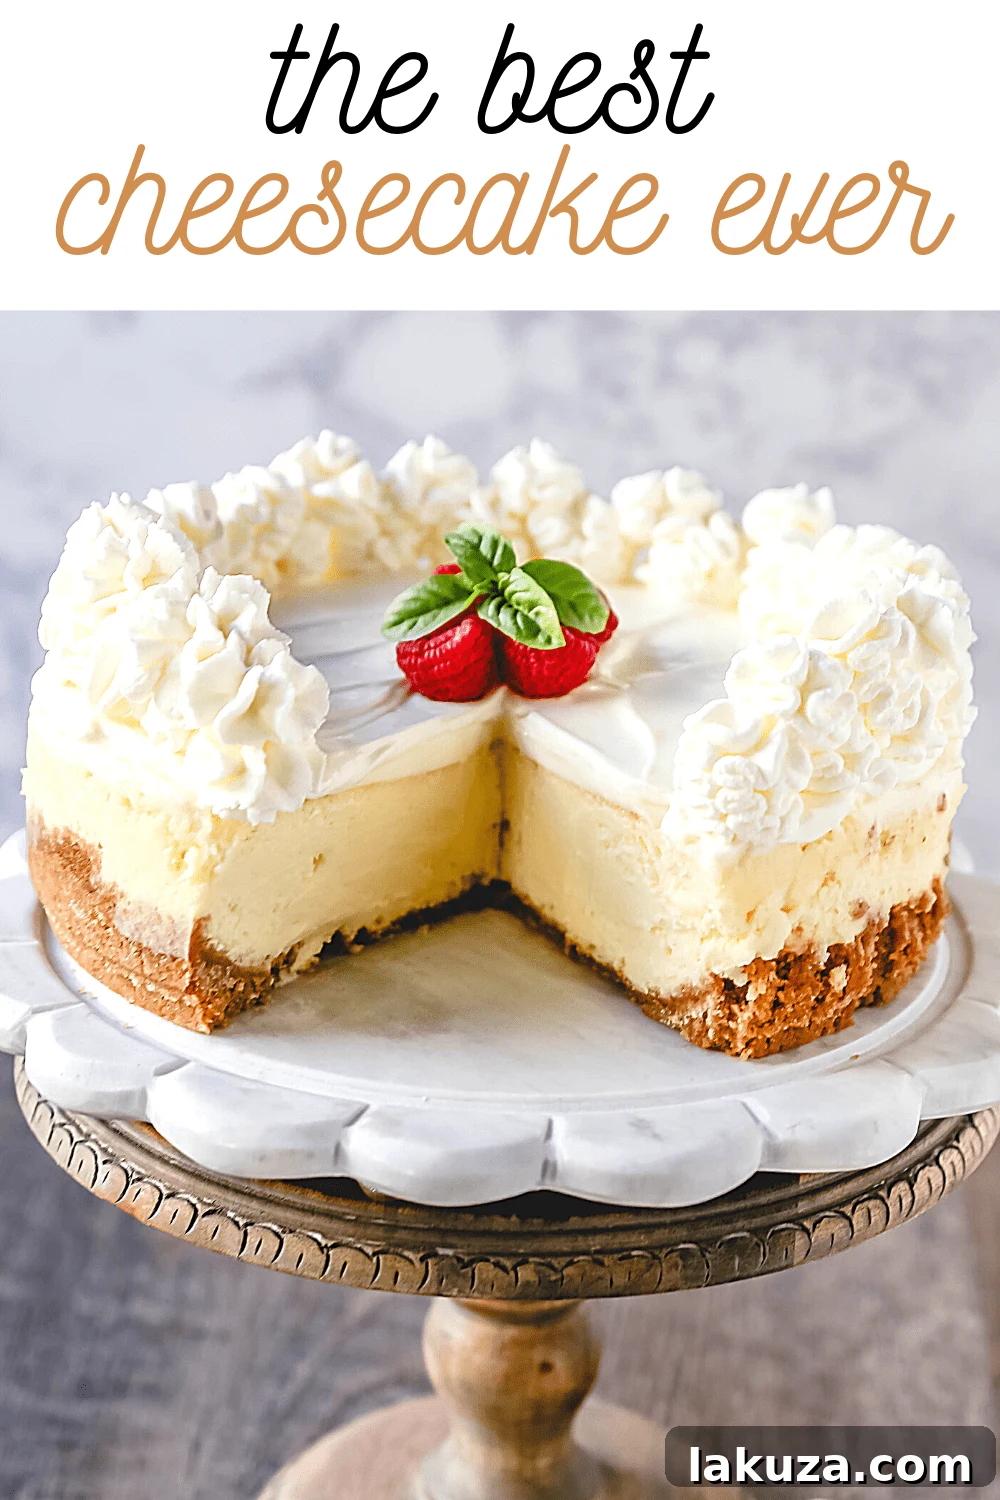
- Garnish and Enjoy: Once thoroughly chilled, carefully remove the sides of the springform pan. Serve slices of this dreamy vanilla cheesecake with a generous dollop of fresh whipped cream and a medley of vibrant fresh berries.
The Science Behind a Perfect Cheesecake: Understanding Key Techniques
Why is a Water Bath Indispensable for Cheesecake?
A water bath, also known as a bain-marie, is a pan of hot water that surrounds your springform pan during baking. Its importance for cheesecake cannot be overstated. Here’s why:
- Even, Gentle Baking: The water bath acts as a buffer against direct oven heat, ensuring that your cheesecake filling bakes slowly, gently, and evenly from all sides. This prevents the edges from overbaking and drying out while the center is still uncooked.
- Moisture and Crack Prevention: The steam generated by the hot water bath creates a humid environment within the oven. This humidity is key to keeping the cheesecake from drying out and helps prevent the dreaded cracks on the surface. Without a water bath, cheesecakes often develop a rubbery texture and a cracked top due to the dry, intense heat of the oven.
- Creamy Texture: The gentle, moist heat from the water bath yields a custard-like, incredibly creamy, and smooth texture that is the hallmark of a truly great cheesecake.
The Critical Role of Chilling Your Cheesecake
The waiting period after baking can be agonizing, but allowing your cheesecake to chill properly is just as important as the baking process itself. Here’s why patience is a virtue when it comes to cheesecake:
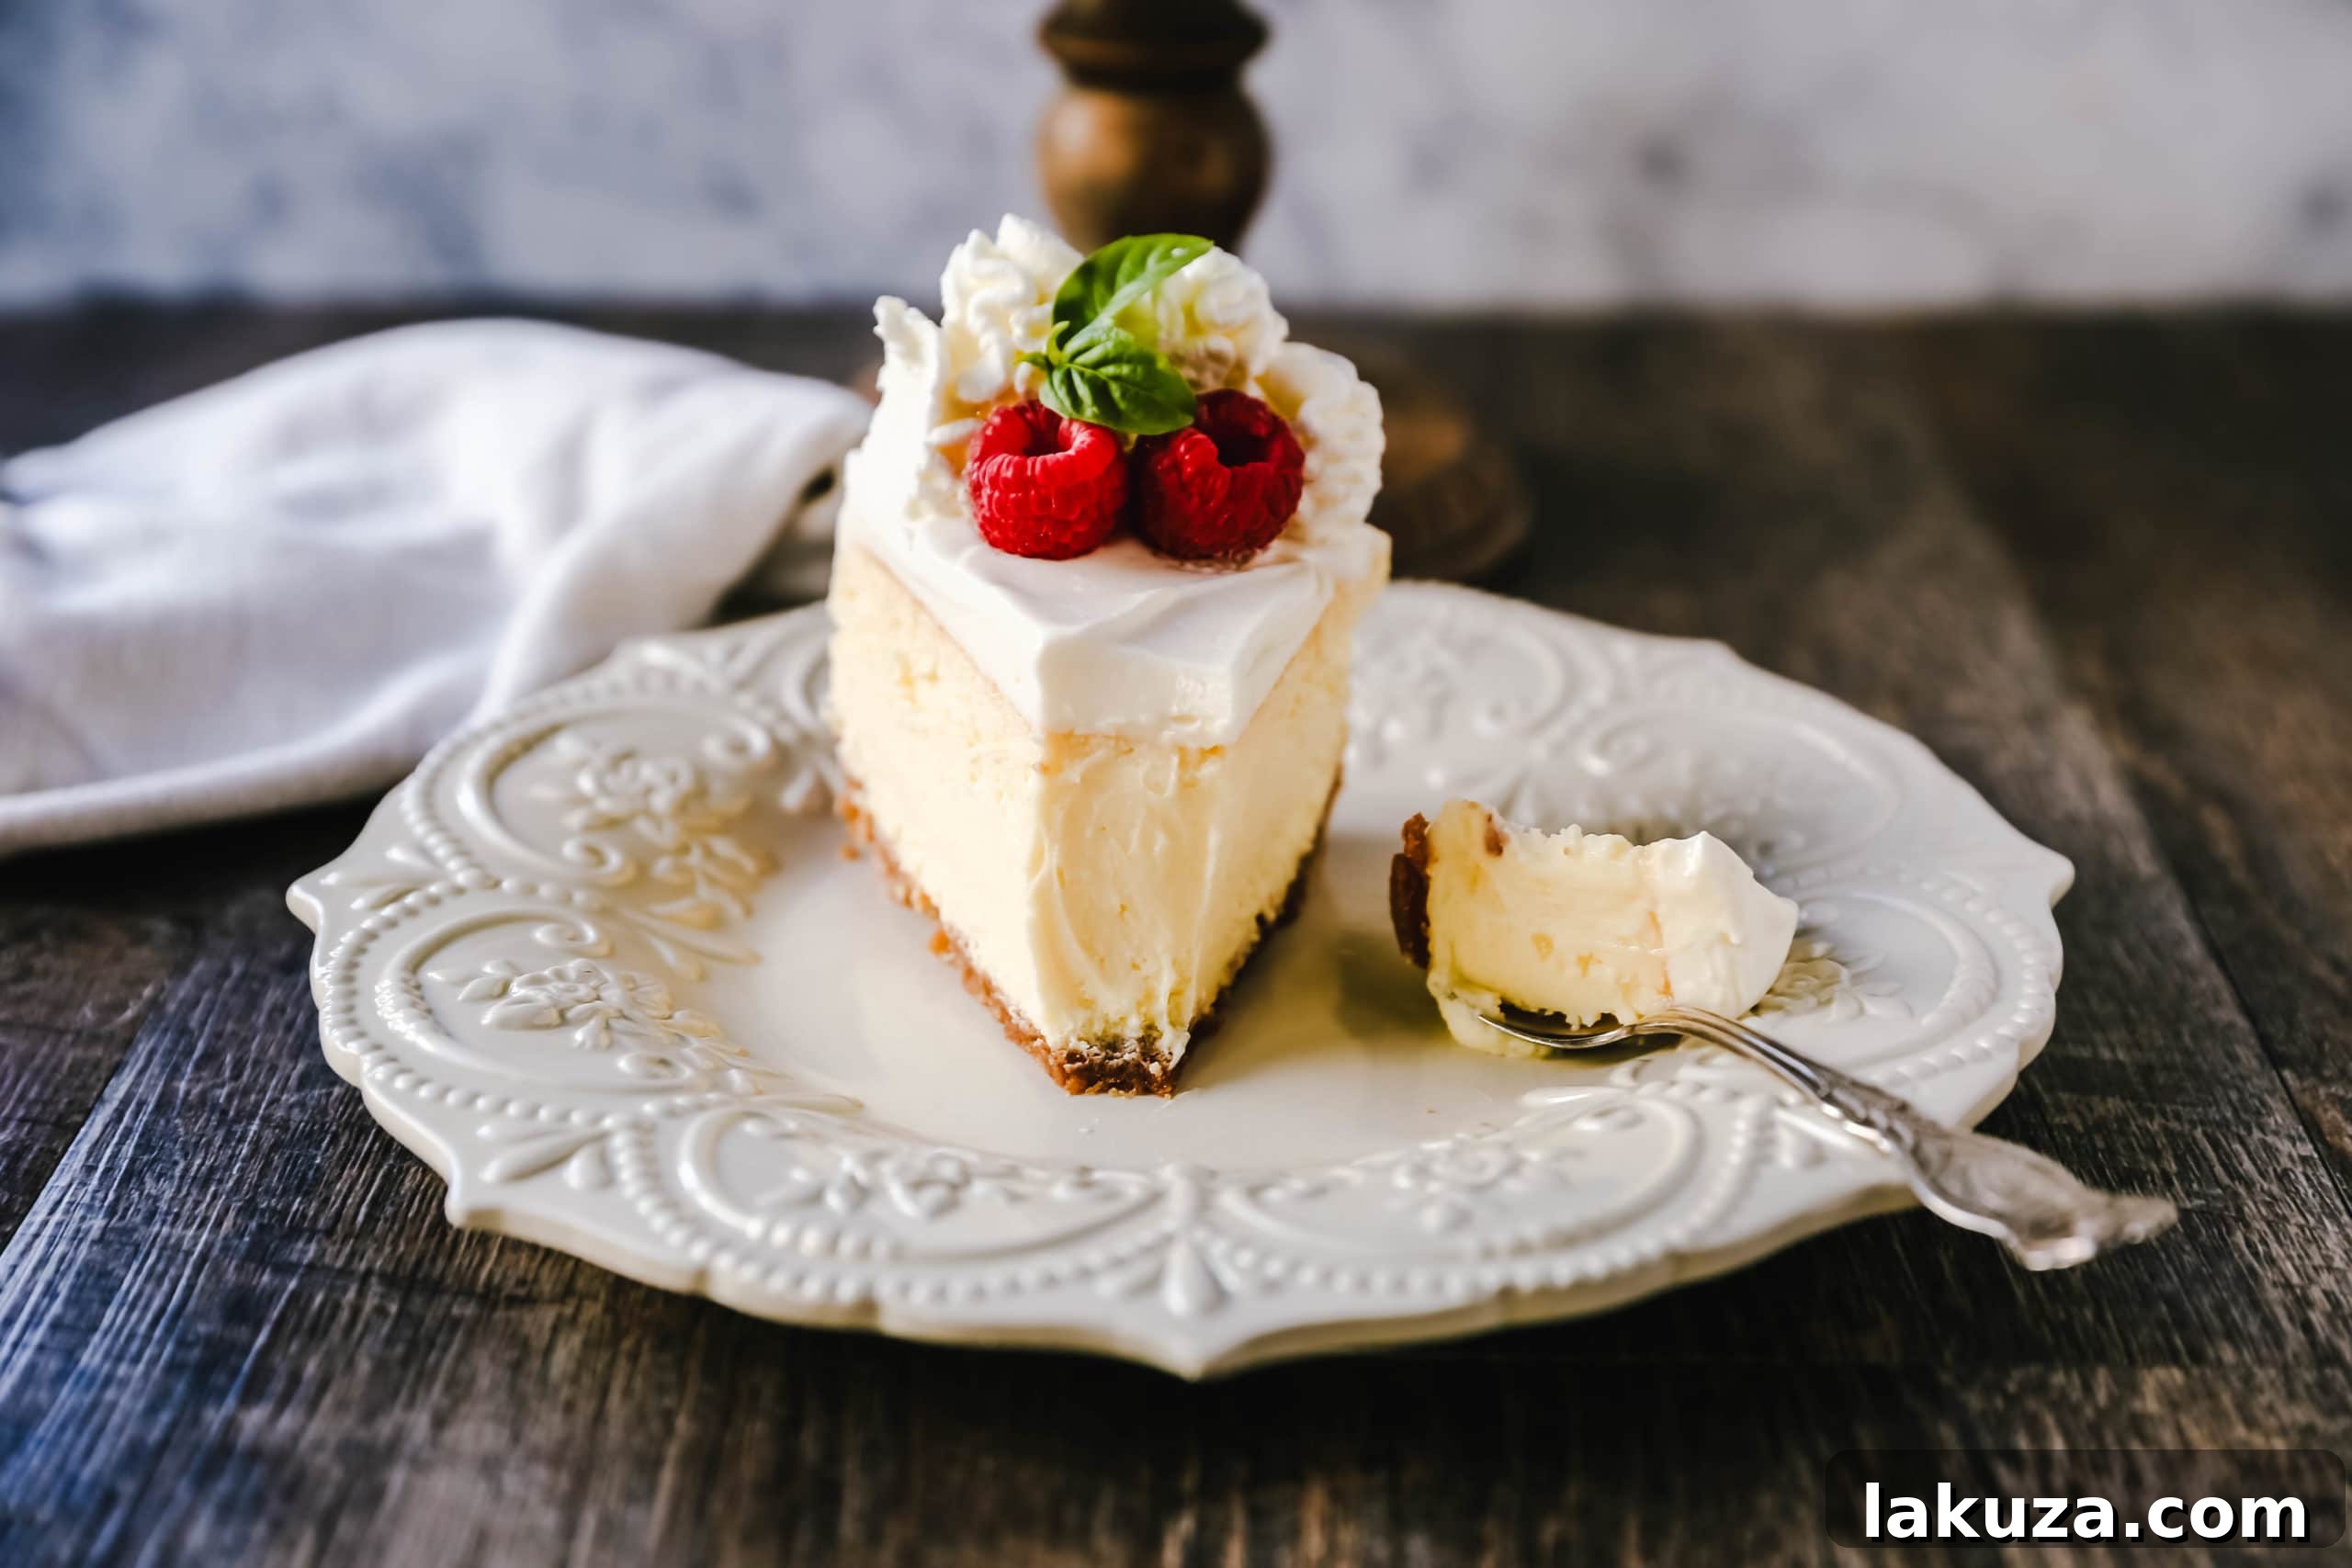
- Setting and Firming: As the cheesecake cools, its internal structure continues to set and firm up. Refrigeration accelerates this process, transforming the baked custard into the dense, sliceable texture we associate with cheesecake. Skipping this step will result in a soft, messy cheesecake that doesn’t hold its shape.
- Flavor Development: Chilling allows the flavors of the vanilla, cream cheese, and other ingredients to fully meld and deepen. The tang becomes more pronounced, and the vanilla notes become richer.
- Clean Slices: A well-chilled cheesecake is much easier to slice cleanly, giving you those perfect, elegant pieces.
Common Cheesecake Questions & Troubleshooting Tips
How do I avoid my cheesecake cracking in the center?
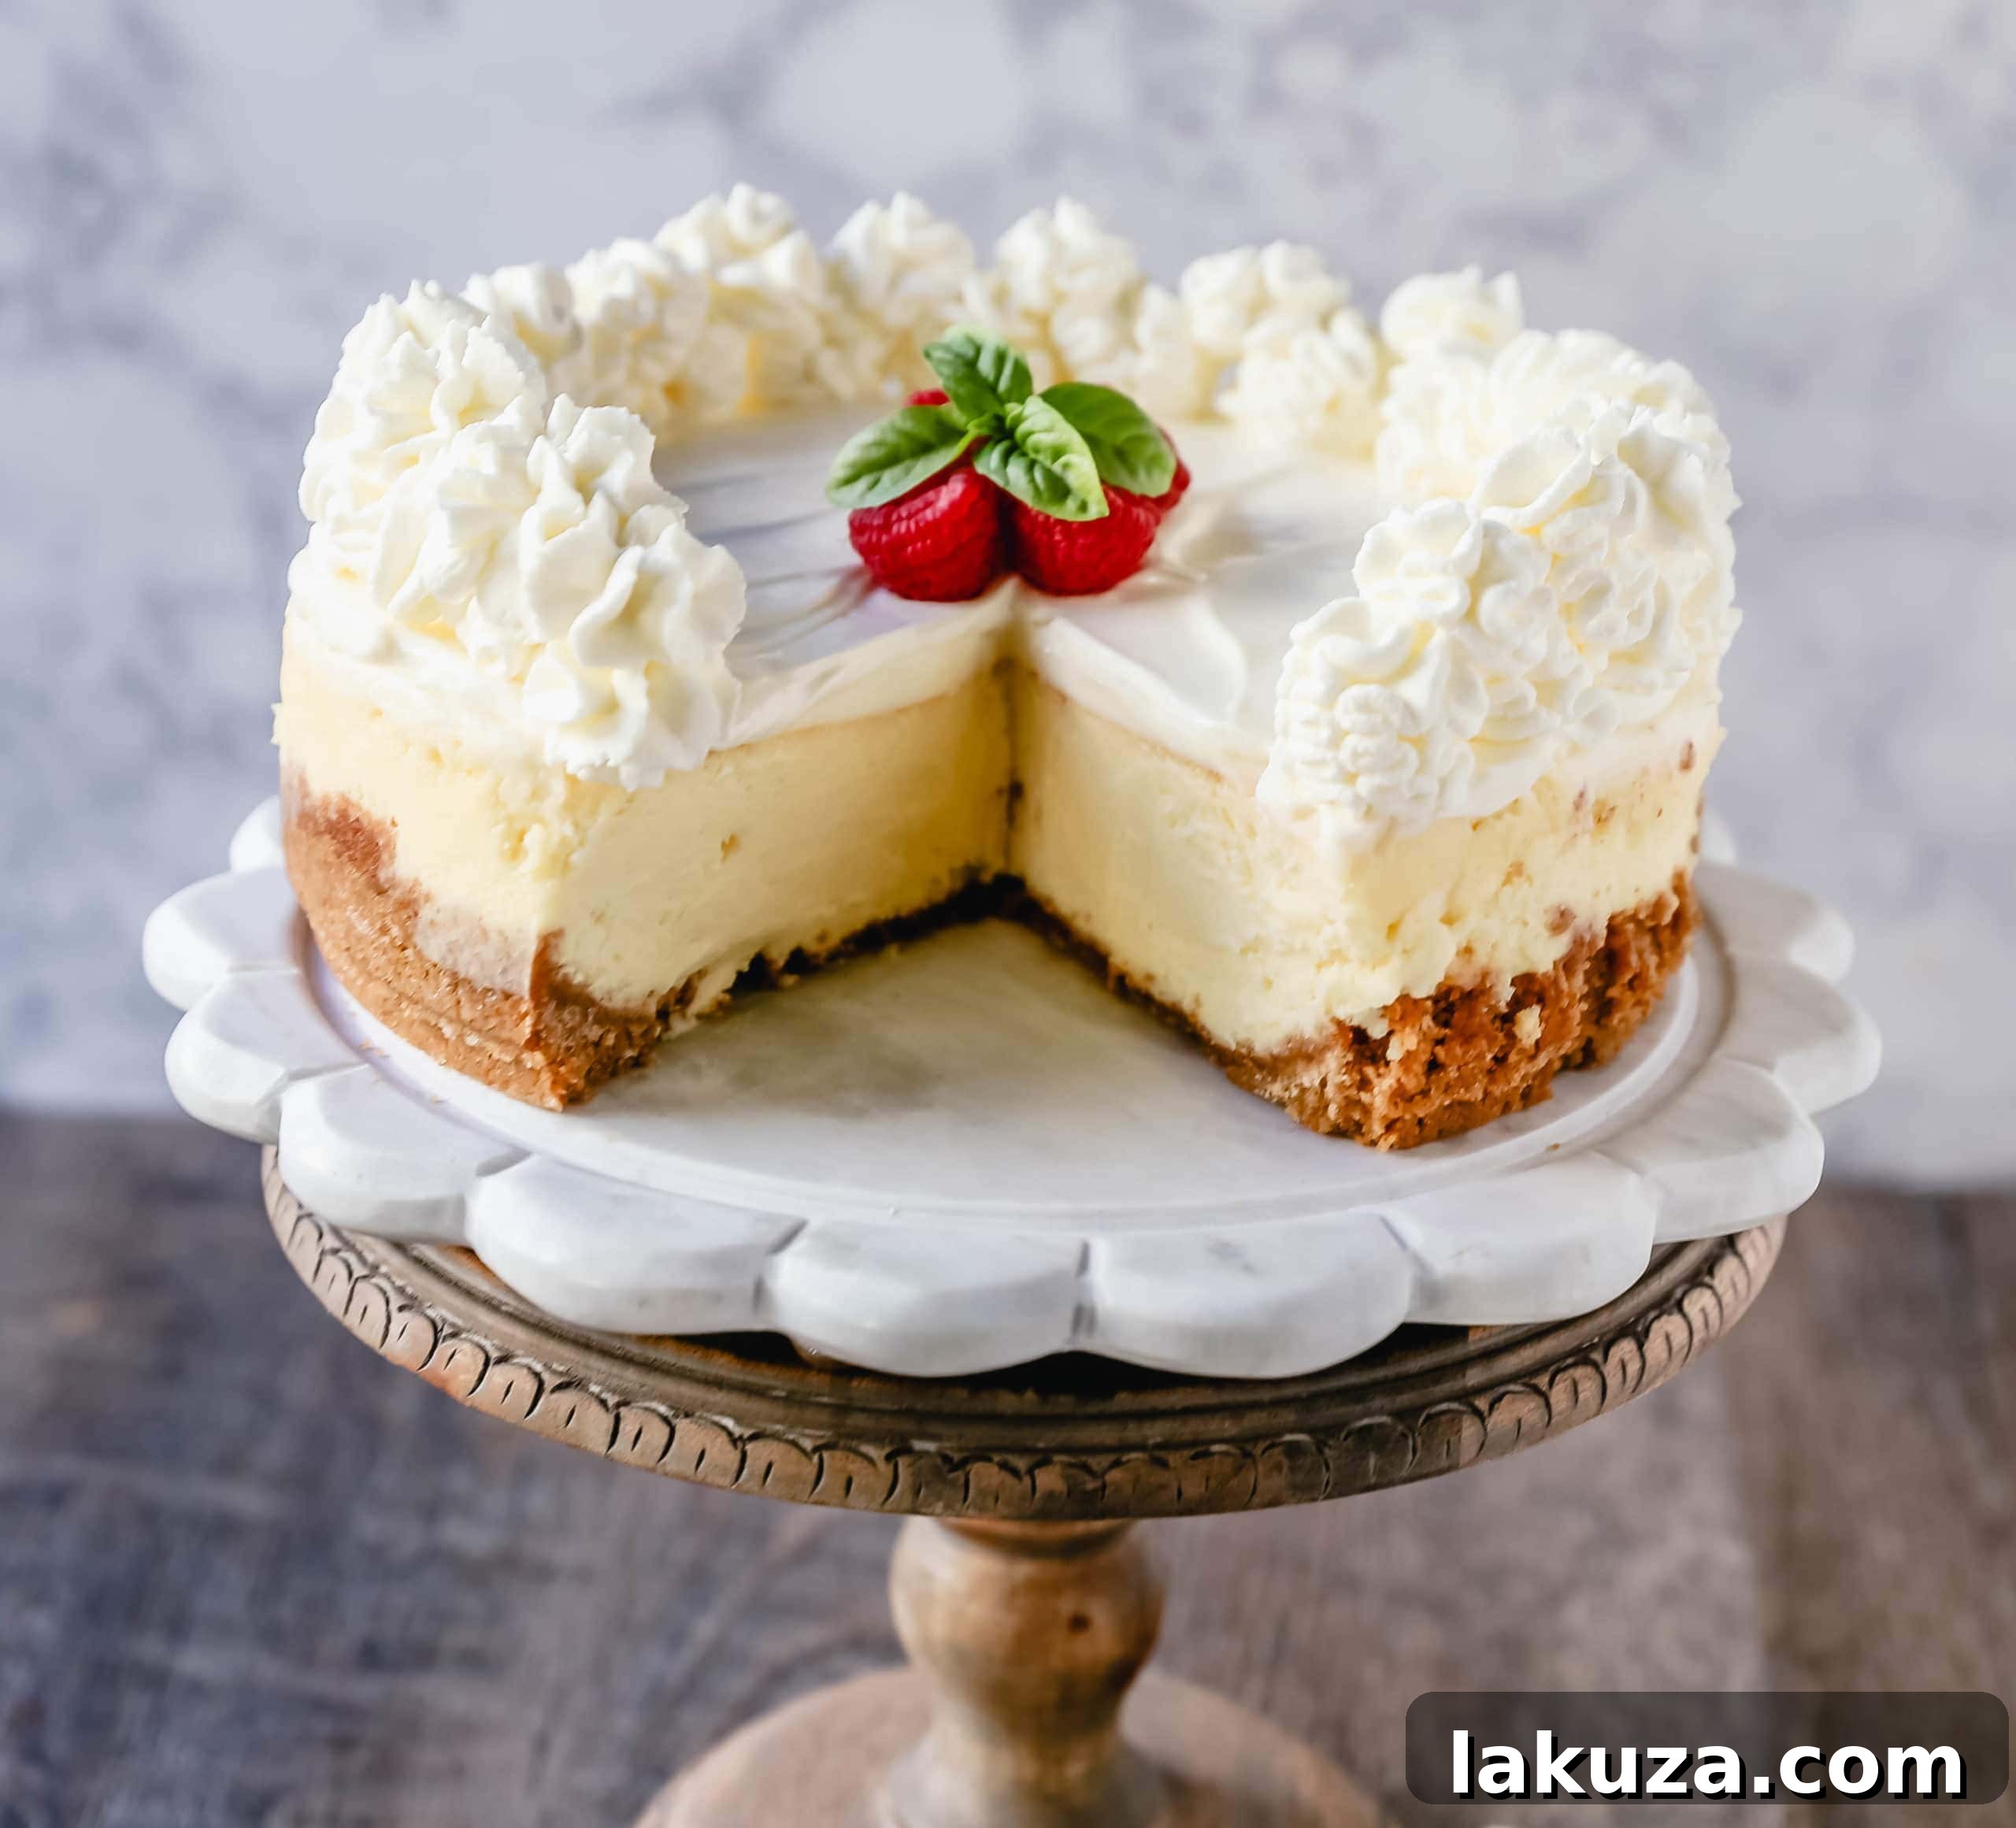
Cheesecake cracks are a common frustration, but entirely preventable! The primary reason for cracking is uneven baking or sudden temperature changes. To avoid this, bake your cheesecake low and slow in a water bath, as detailed in the recipe. The water bath ensures gentle, even cooking and a humid environment. Also, resist the urge to open the oven door during baking; drastic temperature shifts can cause the cheesecake to crack. If you absolutely must check, use the oven light.
How do I avoid bubbles in my cheesecake?
Excessive air bubbles can alter the texture of your cheesecake and sometimes contribute to cracking. The key is to avoid overwhipping the batter. Mix the cream cheese and sugar until just fluffy, and incorporate eggs one at a time on low speed until barely combined. After pouring the batter into the springform pan, gently tap the pan on the counter a few times. This simple action helps release any trapped air bubbles before baking, ensuring a smoother interior.
How do I know that my cheesecake is done?
Knowing when your cheesecake is perfectly baked takes a bit of practice. Crucially, do not open and close the oven door excessively, as this introduces dry air and disrupts the baking process. Towards the end of the specified baking time, you’ll want to look for edges that appear set and firm, while the very center (about a 2-inch circle) still has a slight, gentle jiggle to it when you lightly nudge the pan. It won’t look fully solid or browned in the middle, and that’s exactly what you want! The residual heat will continue to cook it as it cools, and it will firm up further during the chilling process. If it’s completely firm in the oven, it’s likely overbaked.
My cheesecake is sinking in the middle, what happened?
A sinking center usually indicates overmixing the batter, which incorporates too much air. When the air escapes during baking and cooling, the cheesecake collapses. Ensure you only beat the cream cheese and sugar until smooth and fluffy, then mix subsequent ingredients on low speed until just combined.
How do I store leftover cheesecake?
Leftover cheesecake should be stored in an airtight container in the refrigerator. It will stay fresh and delicious for 3-5 days. For longer storage, you can freeze slices or the entire cheesecake (without the sour cream topping) for up to 1-2 months. Wrap it tightly in plastic wrap, then a layer of aluminum foil. Thaw in the refrigerator overnight before serving.
Baking Essentials for Your Best Cheesecake Recipe:
- Springform Pan: An absolute must for cheesecakes, allowing for easy removal without damaging the delicate sides.
- Food Processor: Ideal for quickly and evenly crushing graham crackers for your crust.
- Spatula Set: Essential for scraping bowls and gently folding ingredients, ensuring thorough mixing without overworking the batter.
- Stand Mixer or Hand Mixer: For efficiently creaming the butter and sugar, and mixing the cheesecake batter.
- Measuring Cups and Spoons: Accurate measurements are vital for baking success.
Related Cheesecake Recipes to Explore:
Cheesecake Bars
Cheesecake Brownies
No-Bake Raspberry Cheesecake Squares
Southern Pecan Praline Cheesecake
I genuinely love hearing from you! If you try this incredible vanilla cheesecake recipe, please be sure to leave a comment below and share your experience. Your feedback and ratings are invaluable. Don’t forget to sign up for my newsletter to receive the latest recipes directly in your inbox. Thank you for following along and being part of this wonderful community of bakers! FOLLOW ME ON: INSTAGRAM — FACEBOOK — PINTEREST
Vanilla Cheesecake Recipe Card
The Best Vanilla Cheesecake
This recipe guides you to make the creamiest, dreamiest, richest vanilla cheesecake with a buttery graham cracker crust. All the tips and tricks for making the perfect cheesecake at home!
By: Modern Honey – www.modernhoney.com
Prep Time: 25 minutes
Cook Time: 2 hours
Chill Time: 6 hours (minimum)
Servings: 12 slices
Rating: 4.95 out of 5 stars (from 18 votes)
Equipment
- Springform Pan
- Measuring Cups and Spoons
- Food Processor
- KitchenAid Mixer (or other electric mixer)
- Spatula Set
- Large Roasting Pan (for water bath)
- Heavy-Duty Aluminum Foil
Ingredients
Graham Cracker Crust:
- 14 full Graham Cracker Sheets (about 1 ½ cups fine crumbs)
- 8 Tablespoons (1 stick) Unsalted Butter, melted
- 3 Tablespoons Granulated Sugar
Cheesecake Filling:
- (4) 8-ounce packages (32 oz total) Full-Fat Cream Cheese, softened to room temperature
- 1 ½ cups Granulated Sugar
- 2 Tablespoons Cornstarch
- 1 Tablespoon Pure Vanilla Bean Paste or high-quality Vanilla Extract
- 1 to 2 teaspoons Lemon Zest (optional, enhances tang)
- 3 large Eggs, at room temperature
- 2 large Egg Yolks, at room temperature
- ¾ cup Full-Fat Sour Cream, at room temperature
Sweet Sour Cream Topping:
- 1 cup Full-Fat Sour Cream
- ¼ cup Granulated Sugar
- 1 teaspoon Vanilla Bean Paste (optional)
Garnish (Optional):
- Fresh Whipped Cream
- Assorted Fresh Berries
Instructions
Graham Cracker Crust:
- Preheat oven to 350°F (175°C).
- Crush graham cracker sheets into fine crumbs using a food processor or by hand.
- In a medium bowl, combine graham cracker crumbs, 8 tablespoons melted butter, and 3 tablespoons sugar. Stir until evenly moistened.
- Press the mixture firmly into the bottom of a 9-inch springform pan.
- Bake for 8 minutes, then remove from oven and let cool completely to room temperature.
Cheesecake Filling:
- In a large mixing bowl, beat softened cream cheese and 1 ½ cups sugar on medium speed for 2-3 minutes, until light, fluffy, and completely smooth. Scrape down the sides of the bowl frequently.
- Add 1 tablespoon vanilla, 2 tablespoons cornstarch, and lemon zest (if using). Beat on low speed just until combined. Avoid overmixing.
- Add eggs one at a time, beating on low speed after each addition until just incorporated. Scrape the bowl.
- Gently fold in ¾ cup full-fat sour cream until just combined. Again, do not overmix.
- Pour the cheesecake batter into the cooled graham cracker crust. Lightly tap the pan on the counter a few times to release any air bubbles.
- Prepare for Water Bath: Line the OUTSIDE of the springform pan with at least two layers of heavy-duty aluminum foil, wrapping it tightly to create a waterproof seal.
- Place the foil-wrapped springform pan inside a larger roasting pan. Carefully transfer to the center rack of the oven.
- Pour enough boiling water into the roasting pan to come halfway up the sides of the springform pan (this is safer than filling it outside the oven).
- Bake at 350°F (175°C) for 20 minutes, then reduce oven temperature to 300°F (150°C) and bake for an additional 35 minutes.
- Turn off the oven, but leave the cheesecake inside with the oven door slightly ajar for 1 hour to cool gently.
Sweet Sour Cream Topping & Chilling:
- While the cheesecake is in the cooling oven, in a small bowl, stir together 1 cup full-fat sour cream, ¼ cup sugar, and 1 teaspoon vanilla bean paste (if using) until smooth.
- Remove the cheesecake from the oven. Carefully spread the prepared sweet sour cream topping evenly over the warm cheesecake.
- Let the cheesecake cool completely to room temperature for about 1 hour on a wire rack.
- Once at room temperature, transfer the cheesecake to the refrigerator and chill for at least 6-8 hours, or preferably overnight, to allow it to fully set and solidify.
Serve:
- Carefully remove the sides of the springform pan. Serve slices of vanilla cheesecake with fresh whipped cream and berries, if desired.
Additional Info
- Course: Dessert
- Cuisine: American
- Keywords: cheesecake, vanilla cheesecake, creamy cheesecake, homemade cheesecake
Nutrition information is automatically calculated and should only be used as an approximation.
Like this? Leave a comment below!
Jump to Comments