
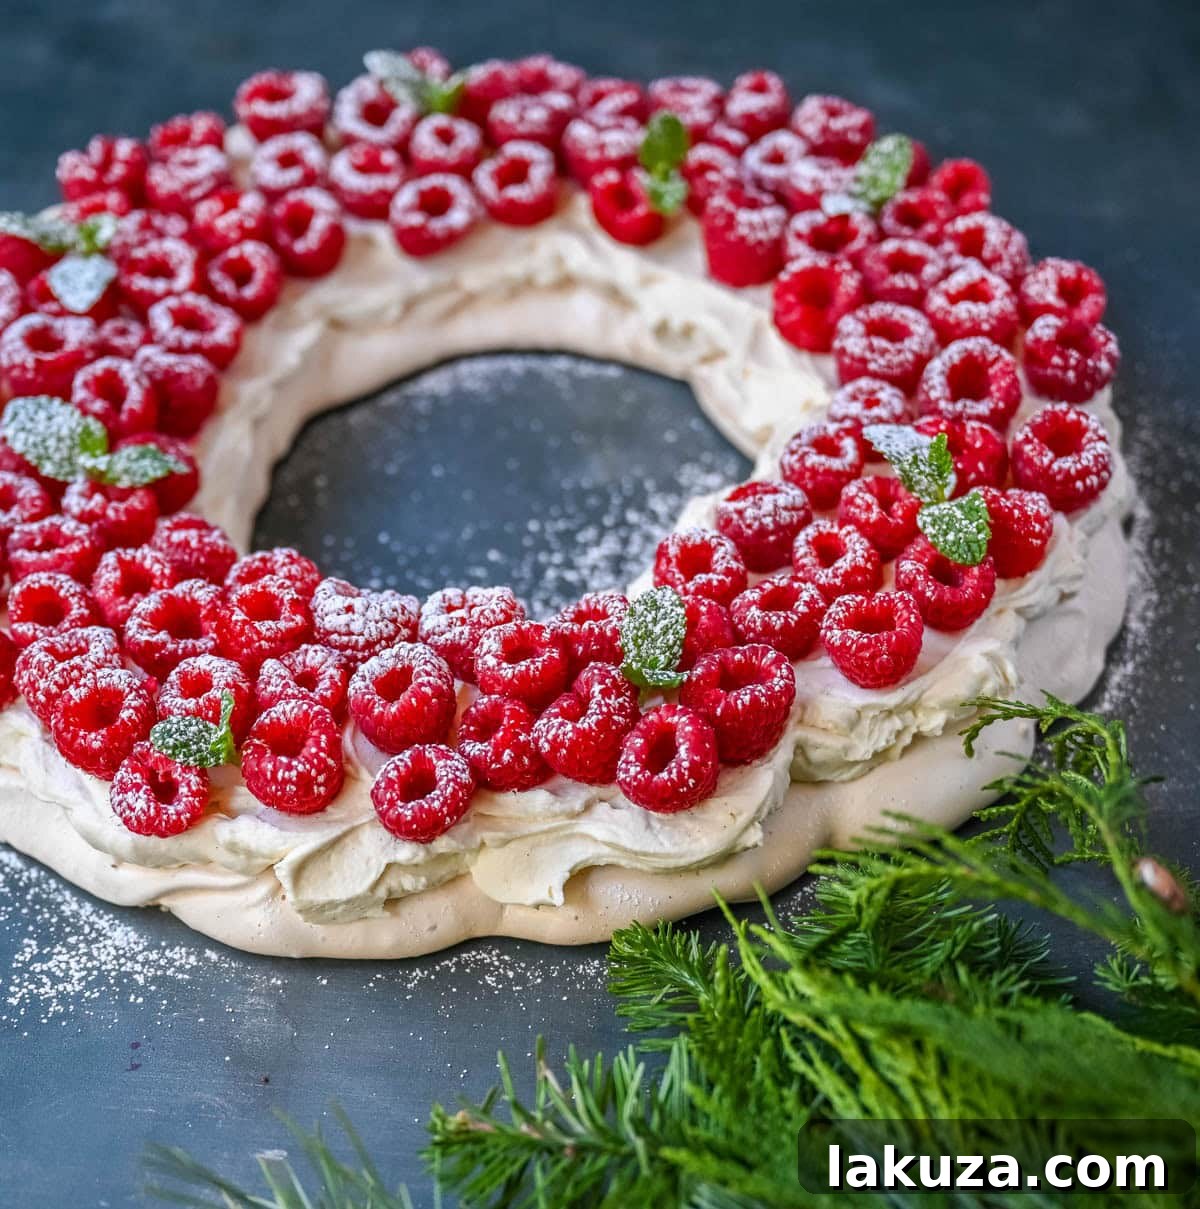
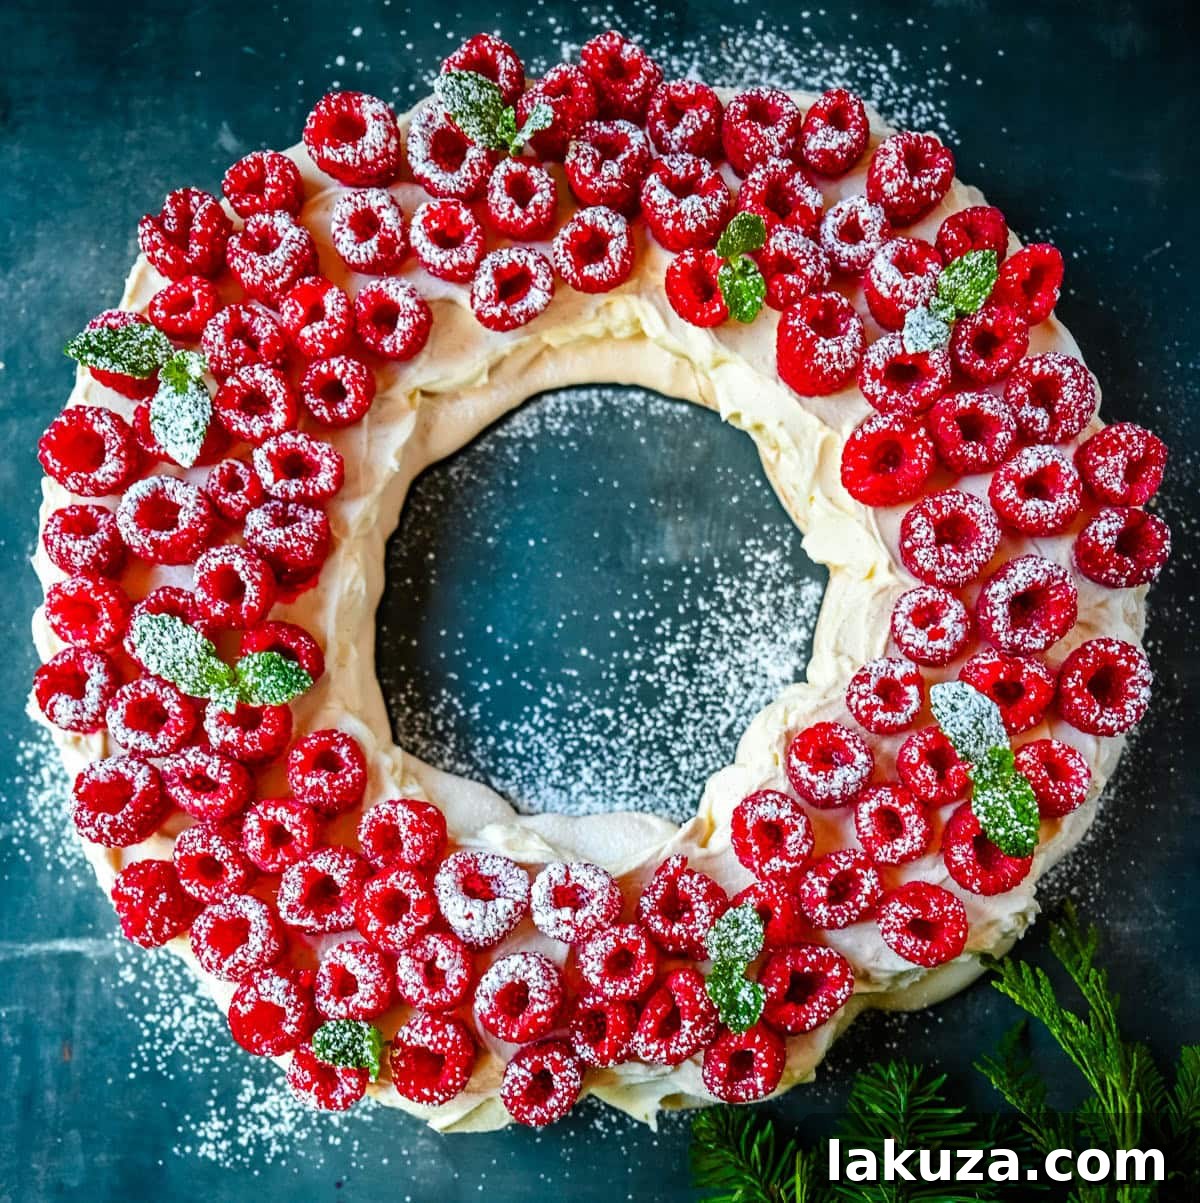
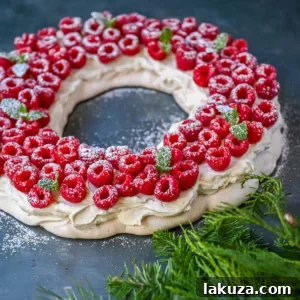
This Christmas Pavlova is more than just a dessert; it’s a breathtaking holiday centerpiece that promises to dazzle your guests. Featuring a delicate, crisp meringue shell giving way to a marshmallow-soft interior, it’s generously crowned with ethereal mascarpone whipped cream and piled high with fresh, glistening raspberries. Its elegant presentation belies its surprisingly simple preparation, making it a truly foolproof option for your festive celebrations. This stunning dessert transforms any holiday table into a wonderland of culinary delight.
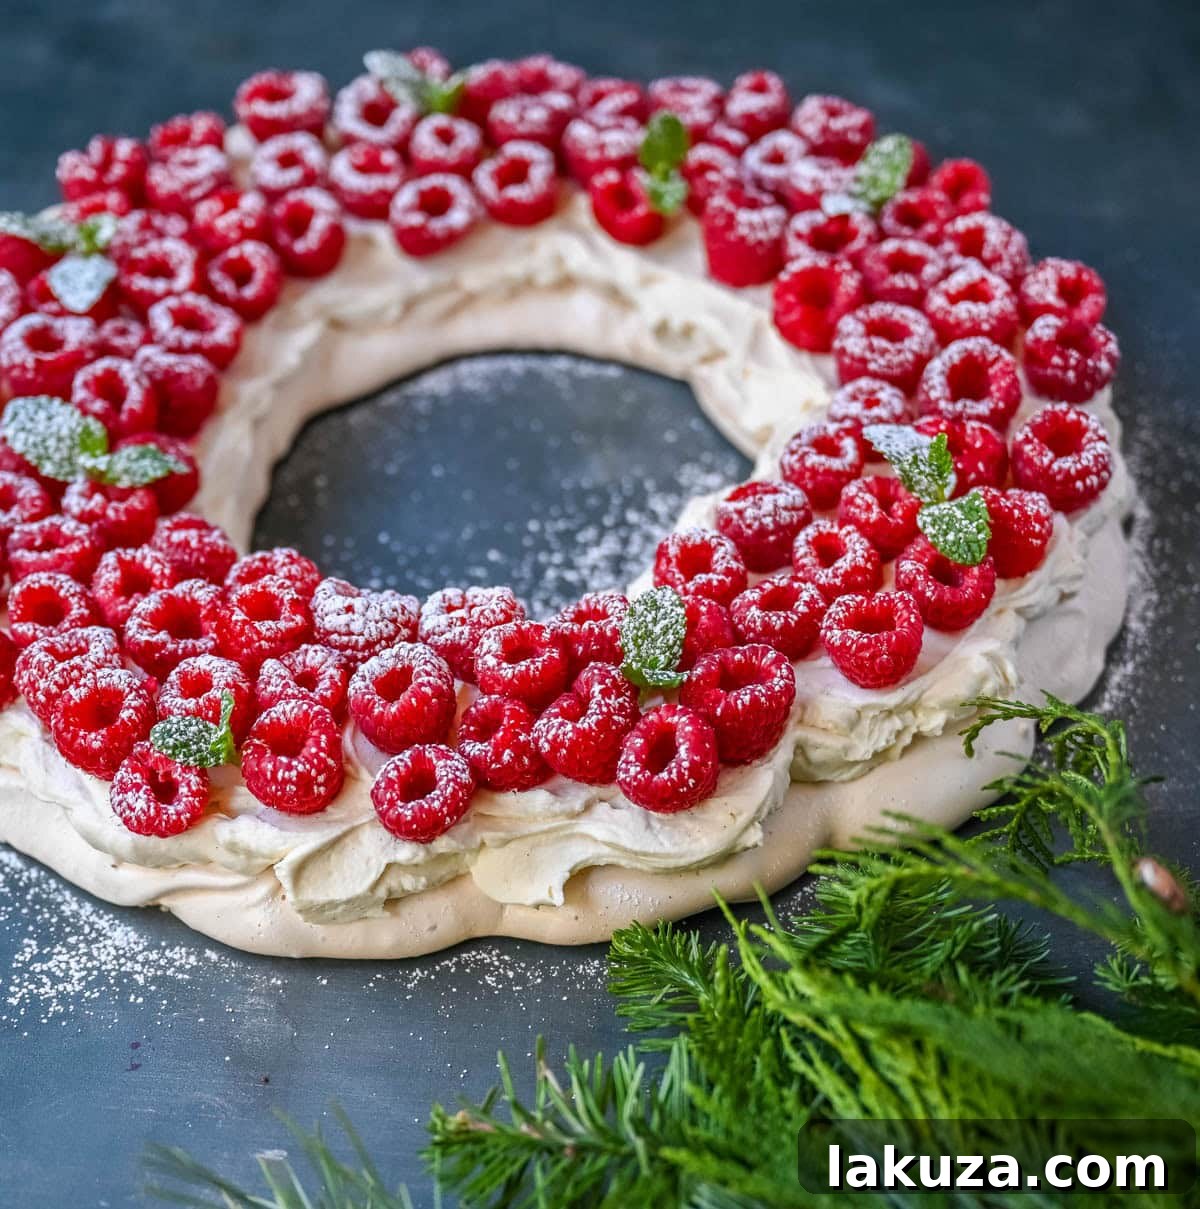
There’s an undeniable magic to a perfectly executed pavlova. As someone who loves to bring a show-stopping dessert to any gathering, a gorgeous pavlova adorned with rich mascarpone whipped cream and vibrant fresh fruit has always been my go-to. This festive season, I set out to craft a holiday-inspired pavlova, shaped like a beautiful wreath, designed specifically to be the star of your Christmas dessert spread. It’s a twist on a classic that embodies the spirit of the holidays.
When it comes to desserts that command attention during Christmas, pavlova stands in a league of its own. Its unique texture – a delicate crunch on the outside giving way to a cloud-like, marshmallowy soft center – makes it both sophisticated and incredibly impressive. When shaped into a magnificent Christmas wreath and adorned with luscious mascarpone whipped cream, a cascade of bright raspberries, fresh mint leaves, or sparkling sugared cranberries, it transcends a mere dessert. It becomes an edible masterpiece, a dazzling centerpiece that tastes every bit as spectacular as it looks. My classic Pavlova recipe has always been a crowd-pleaser, and this holiday rendition takes that adoration to new heights.
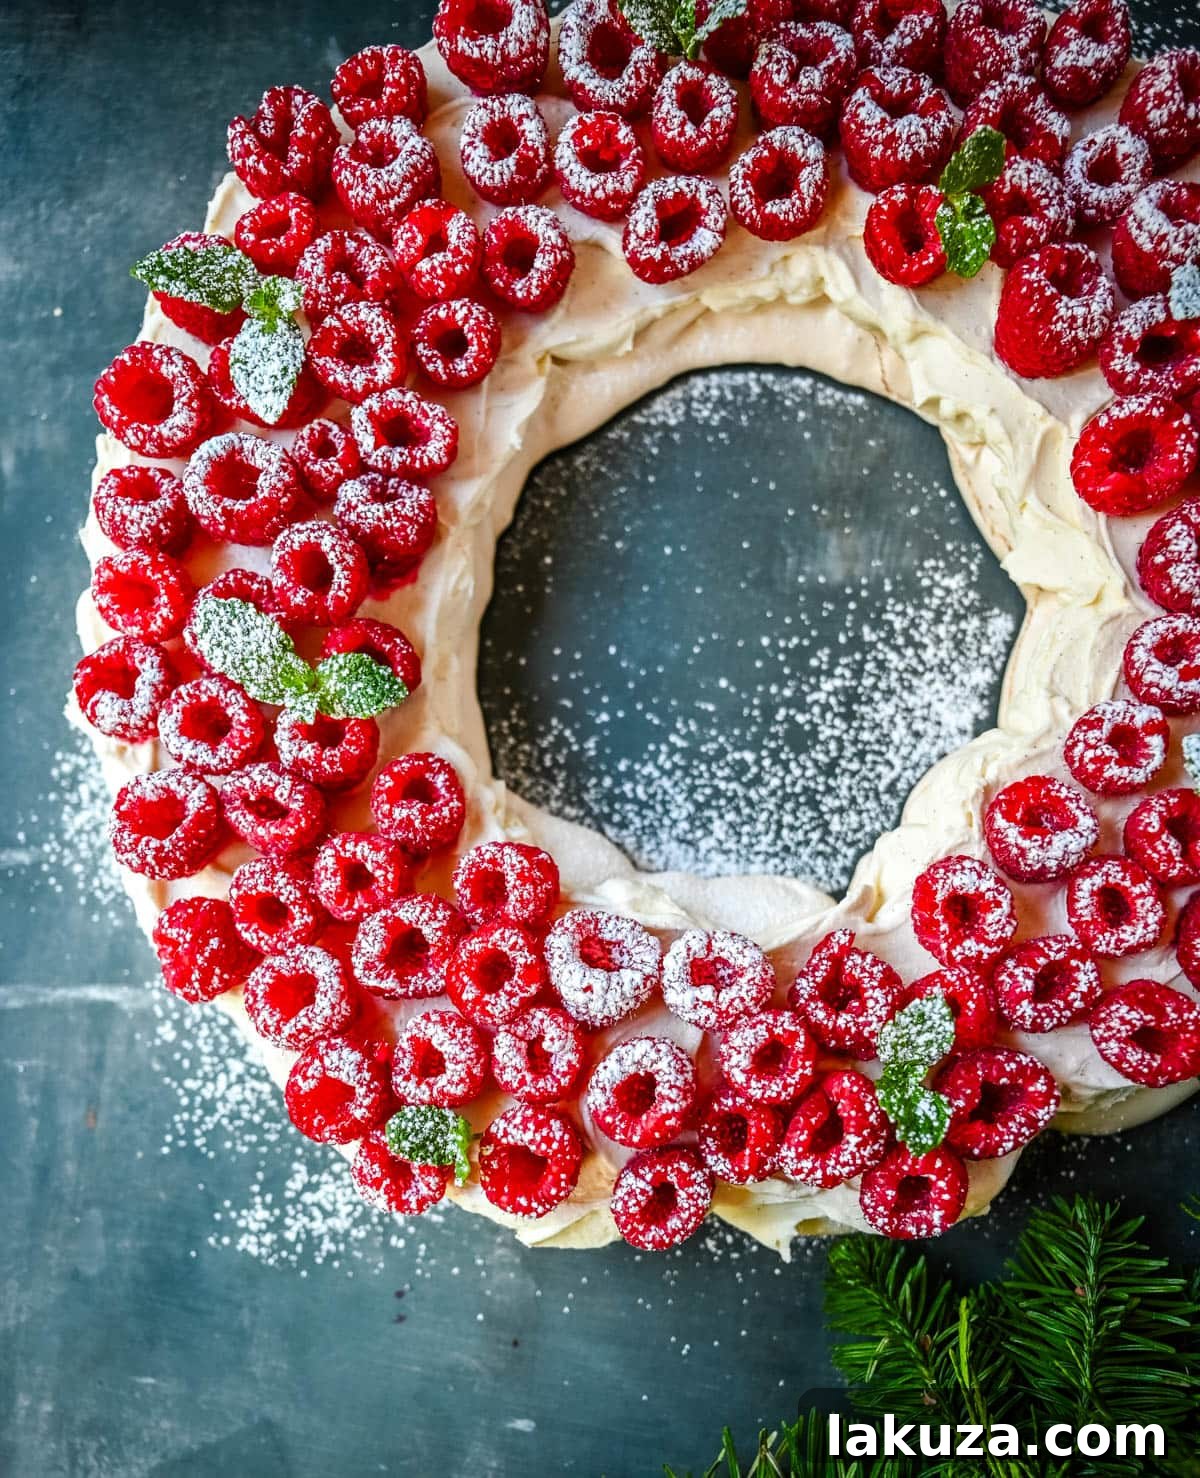
The rise in popularity of Christmas pavlova in recent years is no surprise; it effortlessly ticks every box for a holiday indulgence. It’s festive, inherently elegant, naturally gluten-free, and remarkably straightforward to prepare, making it accessible even for novice bakers. The secret to achieving pavlova perfection lies not in a lengthy ingredient list, but in meticulous attention to technique and a few crucial baking tips. For this reason, I always recommend a thorough read-through of the entire recipe instructions before you even crack your first egg.
This Christmas Wreath Pavlova offers a refreshing contrast to the rich and hearty dishes typical of holiday meals. Its lightness and bright flavors provide a delightful reprieve, ensuring every bite feels invigorating. The exquisite balance of sweetness from the meringue, the subtle tang from the fresh fruit, and the melt-in-your-mouth texture make it truly unforgettable. It’s no wonder this dessert is deeply cherished in countries like Australia and New Zealand, and is rapidly gaining global acclaim. This isn’t just a dessert; it’s the quintessential Christmas showstopper you’ve been searching for.
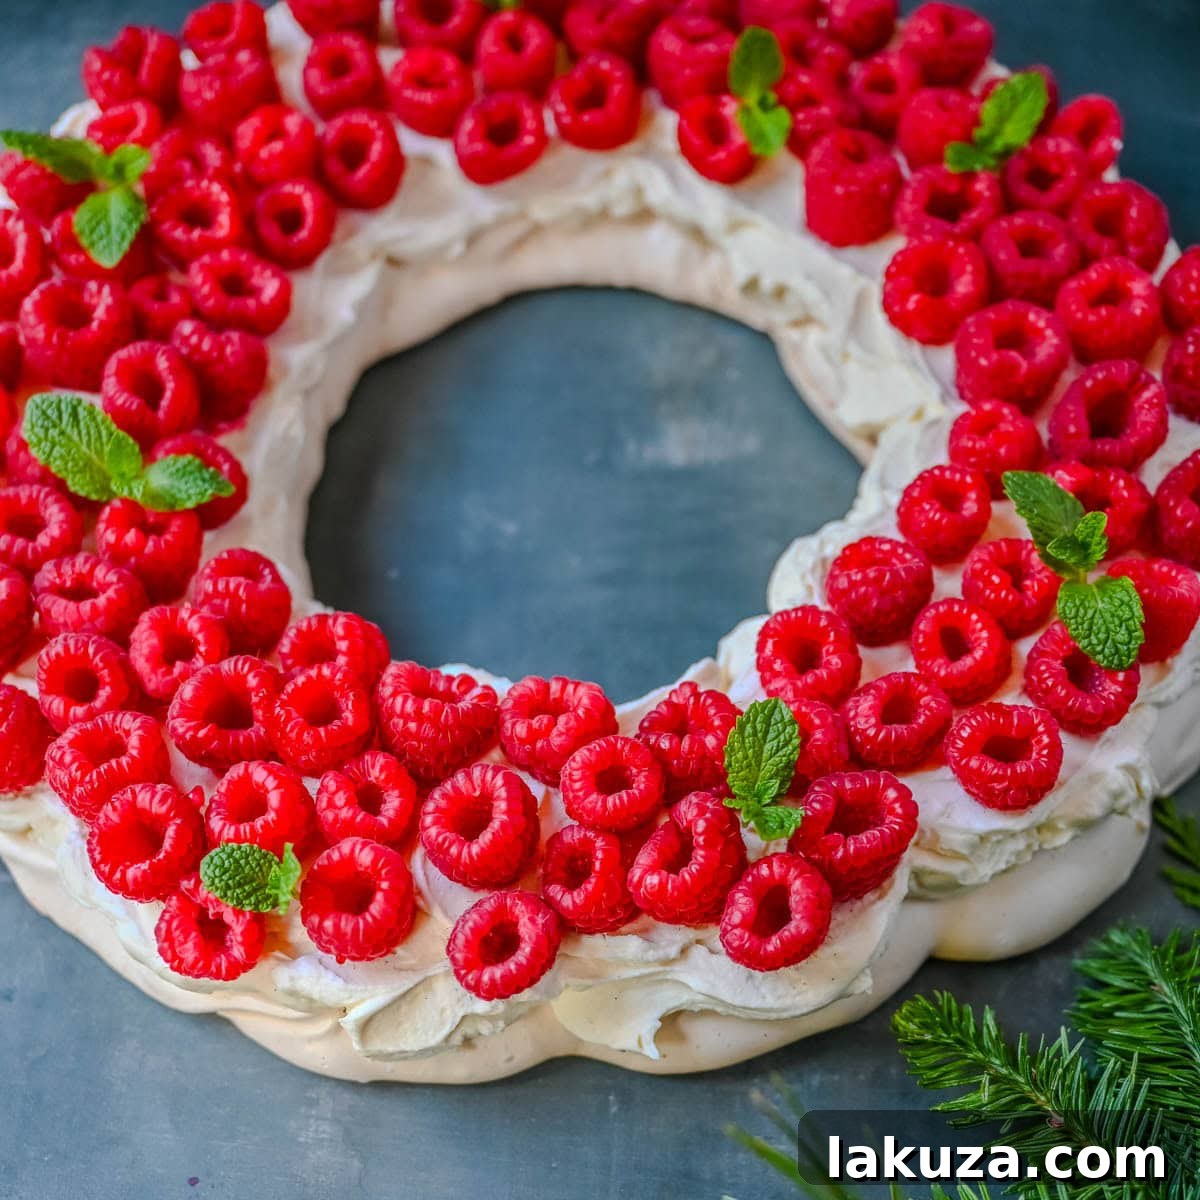
Key Ingredients for a Flawless Pavlova
Creating this festive Christmas Pavlova relies on a few high-quality ingredients, each playing a vital role in achieving its signature texture and flavor profile.
For the Pavlova Meringue:
- Egg whites: The foundation of any pavlova. Using room-temperature egg whites is crucial as they whip up to their maximum volume, creating a lighter, more stable meringue.
- Granulated Sugar: This provides both structure and that desirable crispness. A long beating time ensures the sugar fully dissolves, contributing to the meringue’s glossy finish and preventing “weeping.” Superfine caster sugar is ideal if available, as it dissolves more readily.
- Cornstarch: The secret ingredient for that unique marshmallowy center. It helps stabilize the meringue while maintaining its crisp exterior.
- Salt: A small pinch enhances the overall flavor and helps to balance the sweetness.
For the Dreamy Mascarpone Whipped Cream:
- Heavy cream: The base for our fluffy topping, whipping up beautifully to a soft and airy consistency.
- Mascarpone cheese: This Italian cream cheese is a game-changer. It adds incredible richness, a luxurious texture, and much-needed stability to the whipped cream, ensuring it holds its shape beautifully without becoming overly tangy like traditional cream cheese.
- Powdered sugar: Sweetens the cream without introducing any graininess, resulting in a perfectly smooth finish.
- Vanilla bean paste: For an exquisite depth of vanilla flavor and those beautiful specks. If you don’t have paste, high-quality vanilla extract is a suitable alternative.
For the Vibrant Topping:
- Fresh raspberries (12 oz): Their bright, tart flavor cuts through the sweetness of the meringue and cream, offering a delightful contrast.
- Fresh Mint Leaves: (Optional, but highly recommended) Adds a burst of color and a refreshing aroma, enhancing the festive feel.
- Powdered sugar: (Optional) A light dusting creates a charming “snowy” effect, perfect for a Christmas dessert.
- Sugared Cranberries: (Optional) For an extra festive touch, these add sparkle and a lovely tart-sweet flavor.
Step-by-Step Guide: Crafting Your Christmas Pavlova Masterpiece
Making this beautiful Christmas dessert is a rewarding process. Follow these detailed tips and tricks to ensure your holiday pavlova is nothing short of spectacular.
- Prepare Your Workspace: Preheat your oven to 310 degrees Fahrenheit (155°C). The cleanliness of your mixing bowl is paramount; ensure it is completely free of any water or grease, as even a speck can prevent the egg whites from whipping properly. Carefully separate your egg whites from the yolks, making sure no yolk whatsoever enters the bowl with the whites. Room temperature egg whites are crucial for achieving maximum volume and stability.
- Whip the Egg Whites to Soft Peaks: Begin whipping the room-temperature egg whites on high speed. Continue until they form soft, billowy peaks that hold their shape loosely.
- Gradually Add Sugar for Glossy Perfection: With the mixer still running on high, slowly add the granulated sugar, a tablespoon at a time, allowing it to fully incorporate after each addition. This gradual process is essential for dissolving the sugar and creating a stable, glossy meringue. Once all the sugar is added, continue beating for another 3-5 minutes until the mixture is thick, shiny, and forms stiff peaks. You should not feel any gritty sugar crystals when you rub a small amount between your fingers.
- Incorporate Cornstarch and Salt: Gently add the cornstarch and a pinch of salt to the meringue. Whip just until combined, typically about 5-10 seconds. Overmixing here can deflate your meringue.
- Prepare Your Wreath Template: Take a sheet of parchment paper large enough to cover your baking sheet. Place an 8–10 inch bowl or cake pan upside down onto the parchment. Lightly trace a circle with a pencil. Inside this circle, draw a smaller circle, about 4–5 inches wide, to define the inner edge of your wreath. Flip the parchment paper over so the pencil marks are on the underside but still visible through the paper. This prevents lead from transferring to your meringue and provides a clear guide for shaping.
- Pipe the Meringue Wreath: Transfer the meringue mixture to a large piping bag fitted with a star or round nozzle, or simply use a large spoon or spatula. Start by adding large dollops of meringue around the outer circle of your traced guide. Work your way around, gently pressing the meringue dollops together to form a continuous, stable wreath shape that is approximately 3 inches wide and evenly thick. For a more dramatic, cloud-like wreath, pipe another layer of meringue on top of the first ring. Use the back of a spoon or a small offset spatula to gently swirl or lift the meringue, creating soft, artistic peaks that add visual interest.
- Bake Low and Slow: Carefully place the baking sheet with your shaped pavlova into the preheated oven. Immediately reduce the oven temperature to 250 degrees Fahrenheit (120°C). Bake for 1 hour and 10 minutes. It is critically important to NOT open the oven door at any point during baking, as sudden temperature drops can cause the pavlova to crack or collapse. This dessert requires a gentle touch throughout the baking process.
- Cooling for Stability: After the baking time is complete, do NOT remove the pavlova from the oven. Instead, turn off the oven completely and let the pavlova remain inside for at least 2 hours, or even overnight. This gradual cooling process is key to preventing cracks and ensuring a stable, dry meringue shell. Once fully cooled in the oven, gently remove it.
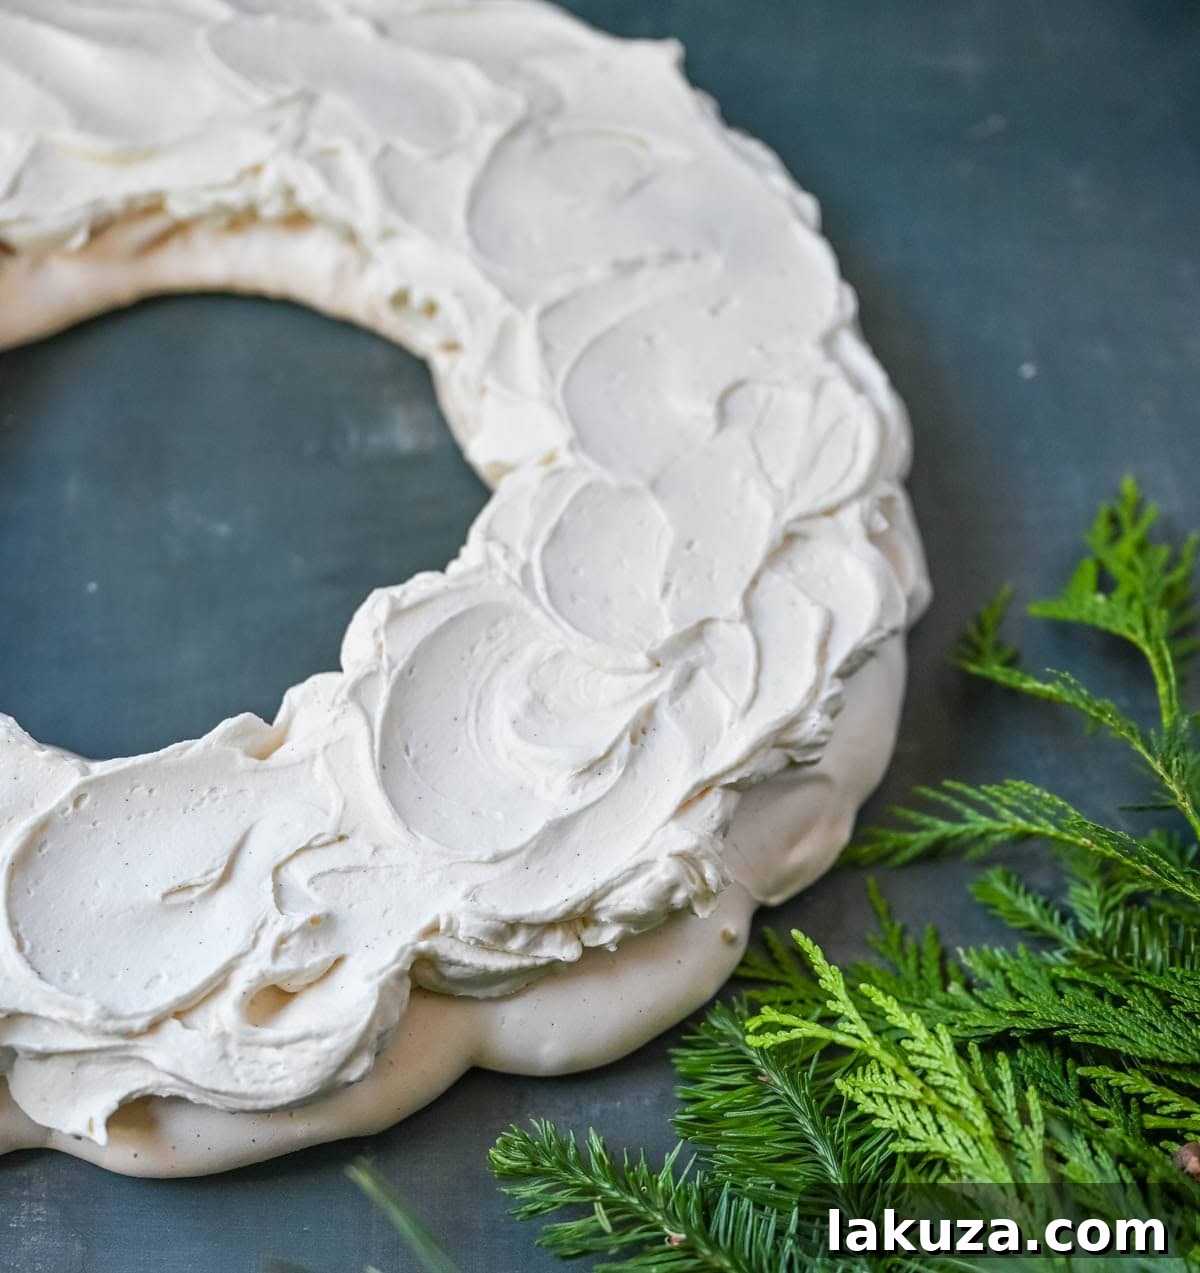
- Prepare the Mascarpone Whipped Cream: In a large, chilled bowl (preferably a metal bowl chilled beforehand), combine the heavy cream, mascarpone cheese, and powdered sugar. Whip on medium-high speed until soft, luxurious peaks form. Gently fold in the vanilla bean paste or extract until just combined. Be careful not to overbeat, or the cream can become grainy.
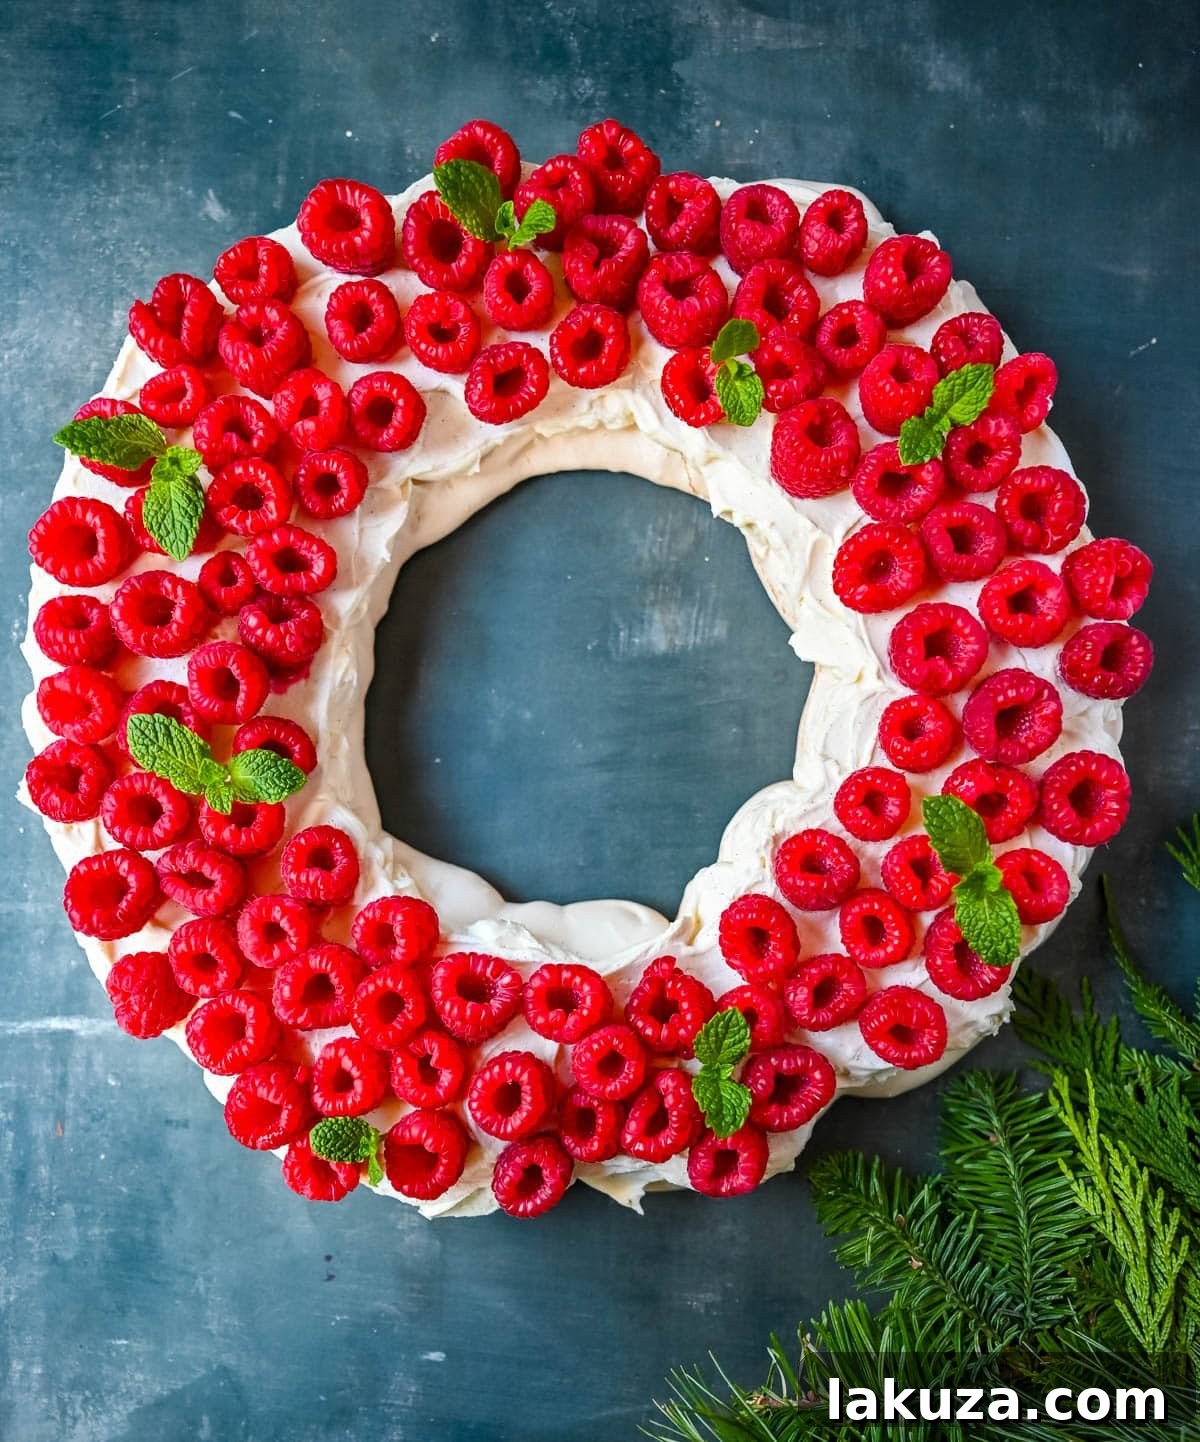
- Assemble and Serve Immediately: Carefully transfer the cooled pavlova base to your serving platter. Gently spread the mascarpone whipped cream mixture evenly over the pavlova wreath. Generously top with fresh raspberries, sprigs of mint, and/or sugared cranberries. For a festive “snowy” look, dust lightly with powdered sugar. Pavlova is always best enjoyed as soon as possible after assembly to maintain the perfect crispness of the meringue shell.
Essential Tips for Pavlova Perfection
Achieving a perfect pavlova is simpler than you might think, but it does require attention to a few critical details. Here are some expanded tips to guide you:
- The Importance of Cleanliness: Any trace of fat (from egg yolk, oily fingers, or a dirty bowl) will prevent your egg whites from whipping to their full potential. Ensure your mixing bowl and whisk attachments are immaculately clean and dry.
- Room Temperature Eggs are Key: Cold egg whites are more difficult to whip to a high volume and stable meringue. Allow your eggs to sit at room temperature for at least 30 minutes, or even an hour, before separating.
- Gradual Sugar Addition: Don’t dump all the sugar in at once. Adding it slowly, a tablespoon at a time, allows the sugar to fully dissolve into the egg whites, creating a more stable, glossy, and less prone-to-weeping meringue.
- The Role of Cornstarch: Cornstarch is crucial for the signature marshmallowy interior. It helps to stabilize the meringue and absorbs any excess moisture, contributing to that perfect balance of crisp exterior and soft interior.
- Patience with Baking and Cooling: The low and slow baking process, followed by an extended cool-down period inside the oven, is absolutely vital. This controlled environment prevents drastic temperature changes that can lead to cracking and ensures the meringue dries out properly, achieving its ideal crisp texture.
Frequently Asked Questions (FAQ’s):
- Why Does My Pavlova Crack?
Cracking is most often caused by sudden and significant temperature fluctuations. This can happen if the oven door is opened during baking or if the pavlova is removed from the oven too quickly. The key is to bake it low and slow, and then allow it to cool gradually inside the turned-off oven. While large cracks can be visually jarring, small cracks are completely normal and part of pavlova’s rustic charm! - Can I Use Frozen Raspberries?
It is generally not recommended to use frozen raspberries or other frozen fruits for topping a pavlova. As they thaw, frozen fruits release a significant amount of liquid, which will quickly make your delicate meringue soggy and compromise its crisp texture. Always opt for fresh berries for the best results. - Can I Replace Mascarpone with Cream Cheese?
While cream cheese can technically be used as a substitute, it will yield a slightly different result. Cream cheese typically has a tangier flavor and a firmer texture compared to mascarpone. Mascarpone cheese is renowned for its rich, buttery, and less tangy profile, which complements the sweetness of pavlova beautifully and results in a creamier, more traditional topping. - How Do I Keep My Pavlova From Weeping?
“Weeping” occurs when sugar doesn’t fully dissolve, leaving liquid on the surface. To prevent this, ensure you beat the egg whites and sugar for long enough until the sugar is completely dissolved and the meringue is thick and glossy. Additionally, avoid baking pavlova on very humid days, as excess moisture in the air can contribute to weeping. Slow cooling in the oven also helps dry out the meringue, reducing the likelihood of weeping. - Can I Make Pavlova Ahead of Time? Yes! The pavlova base itself can be baked 1–2 days in advance. Once fully cooled, store it undecorated in a dry, airtight container at room temperature. This helps maintain its crispness. However, the mascarpone whipped cream and fresh fruit should always be added right before serving to prevent the meringue from softening.
Storage Tips:
To enjoy your Christmas Pavlova at its best, proper storage is key:
- Unassembled Pavlova Base: Once baked and completely cooled, the meringue base can be stored in a dry, airtight container at room temperature for up to 2 days. Avoid refrigerating it, as moisture can make it sticky.
- Assembled Pavlova: For optimal crispness and flavor, an assembled pavlova is best enjoyed within 3–4 hours of adding the cream and fruit. Beyond this time, the moisture from the toppings will begin to soften the meringue, making it less crunchy.
- Leftovers: If you have any leftovers of an assembled pavlova, store them loosely covered in the refrigerator for up to 2 days. Be aware that the meringue will continue to soften, and the texture will become less crisp, but it will still be delicious.
More Holiday Desserts:
Cranberry Orange Cake
Red Velvet Cake
Vanilla Cheesecake
No-Bake Cranberry White Chocolate Cheesecake
If you’re eager to explore more delightful options for your holiday menu, be sure to check out my comprehensive guide to the Best Christmas Dessert Recipes, featuring an array of cookies, cakes, candies, pies, and much more!
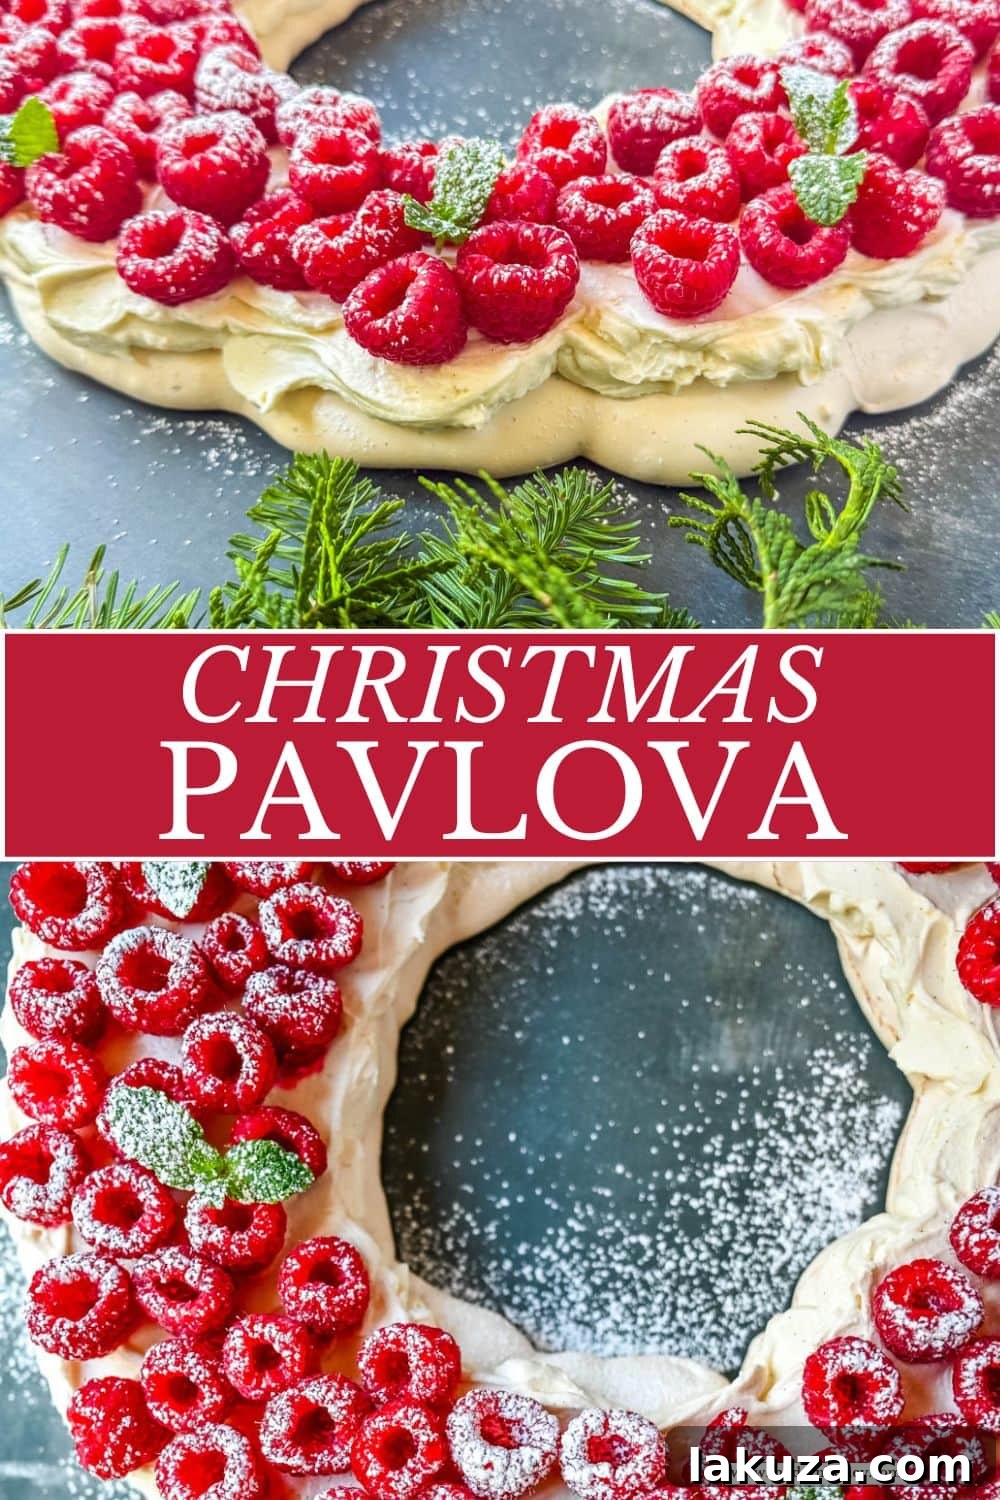
Christmas Pavlova
Ingredients
- 6 large Egg Whites
- 1 1/2 cups Granulated Sugar (super fine sugar, if possible)
- 2 Tablespoons Cornstarch
- pinch Salt
Mascarpone Whipped Cream:
- 1 cup Heavy Cream
- 8 ounces Mascarpone Cheese (or cream cheese)
- 1 1/4 cups Powdered Sugar
- 1 teaspoon Vanilla Bean Paste or Extract
Topping:
- 12 ounces Fresh Raspberries
- Fresh Mint Leaves (optional)
- Powdered Sugar (optional, for dusting)
Instructions
- Preheat oven to 310 degrees F (155°C). Ensure your mixing bowl is absolutely clean and grease-free. Carefully separate egg whites from yolks, ensuring no yolk contamination. Room temperature egg whites are best.
- Whip the egg whites on high speed until soft peaks form. Gradually add the granulated sugar, a little at a time, continuously whipping until all sugar is incorporated. Continue beating for another 3 minutes until the meringue is thick, glossy, and forms stiff peaks.
- Add in cornstarch and a pinch of salt. Whip for just about 5 seconds until combined.
- Prepare your parchment guide: Tear a sheet of parchment paper large enough for your baking sheet. Place an 8–10 inch bowl or cake pan upside down on the parchment and trace a circle. Draw a smaller circle inside (about 4–5 inches wide) to create the wreath shape. Flip the parchment over so the pencil marks are underneath but still visible.
- Pipe the meringue wreath: Add large dollops of meringue around the outer circle first, connecting them to form a continuous and stable ring about 3 inches wide.
- For a dramatic, cloud-like wreath, add another layer of meringue on top of the first ring. Gently swirl or lift the meringue with the back of a spoon or small spatula to create soft peaks.
- Bake and cool slowly: Carefully place in the oven and immediately reduce heat to 250 degrees F (120°C). Bake for 1 hour 10 minutes. Do NOT open the oven door during this time. After baking, turn off the oven but leave the pavlova inside for 2 hours to cool completely.
- Once completely cooled, gently remove the pavlova from the oven.
- Prepare the mascarpone whipped cream: In a large bowl, whip the heavy cream, mascarpone cheese, and powdered sugar until soft peaks form. Fold in vanilla bean paste.
- Assemble and serve: Carefully spread the whipped cream mixture over the pavlova base. Top generously with fresh raspberries, mint leaves, and a dusting of powdered sugar. Enjoy immediately!
Notes
Yes—cream cheese works, but it will taste slightly tangier and a bit firmer. Mascarpone is creamier and more traditional with pavlova.
Nutrition
Nutrition information is automatically calculated, so should only be used as an approximation.