
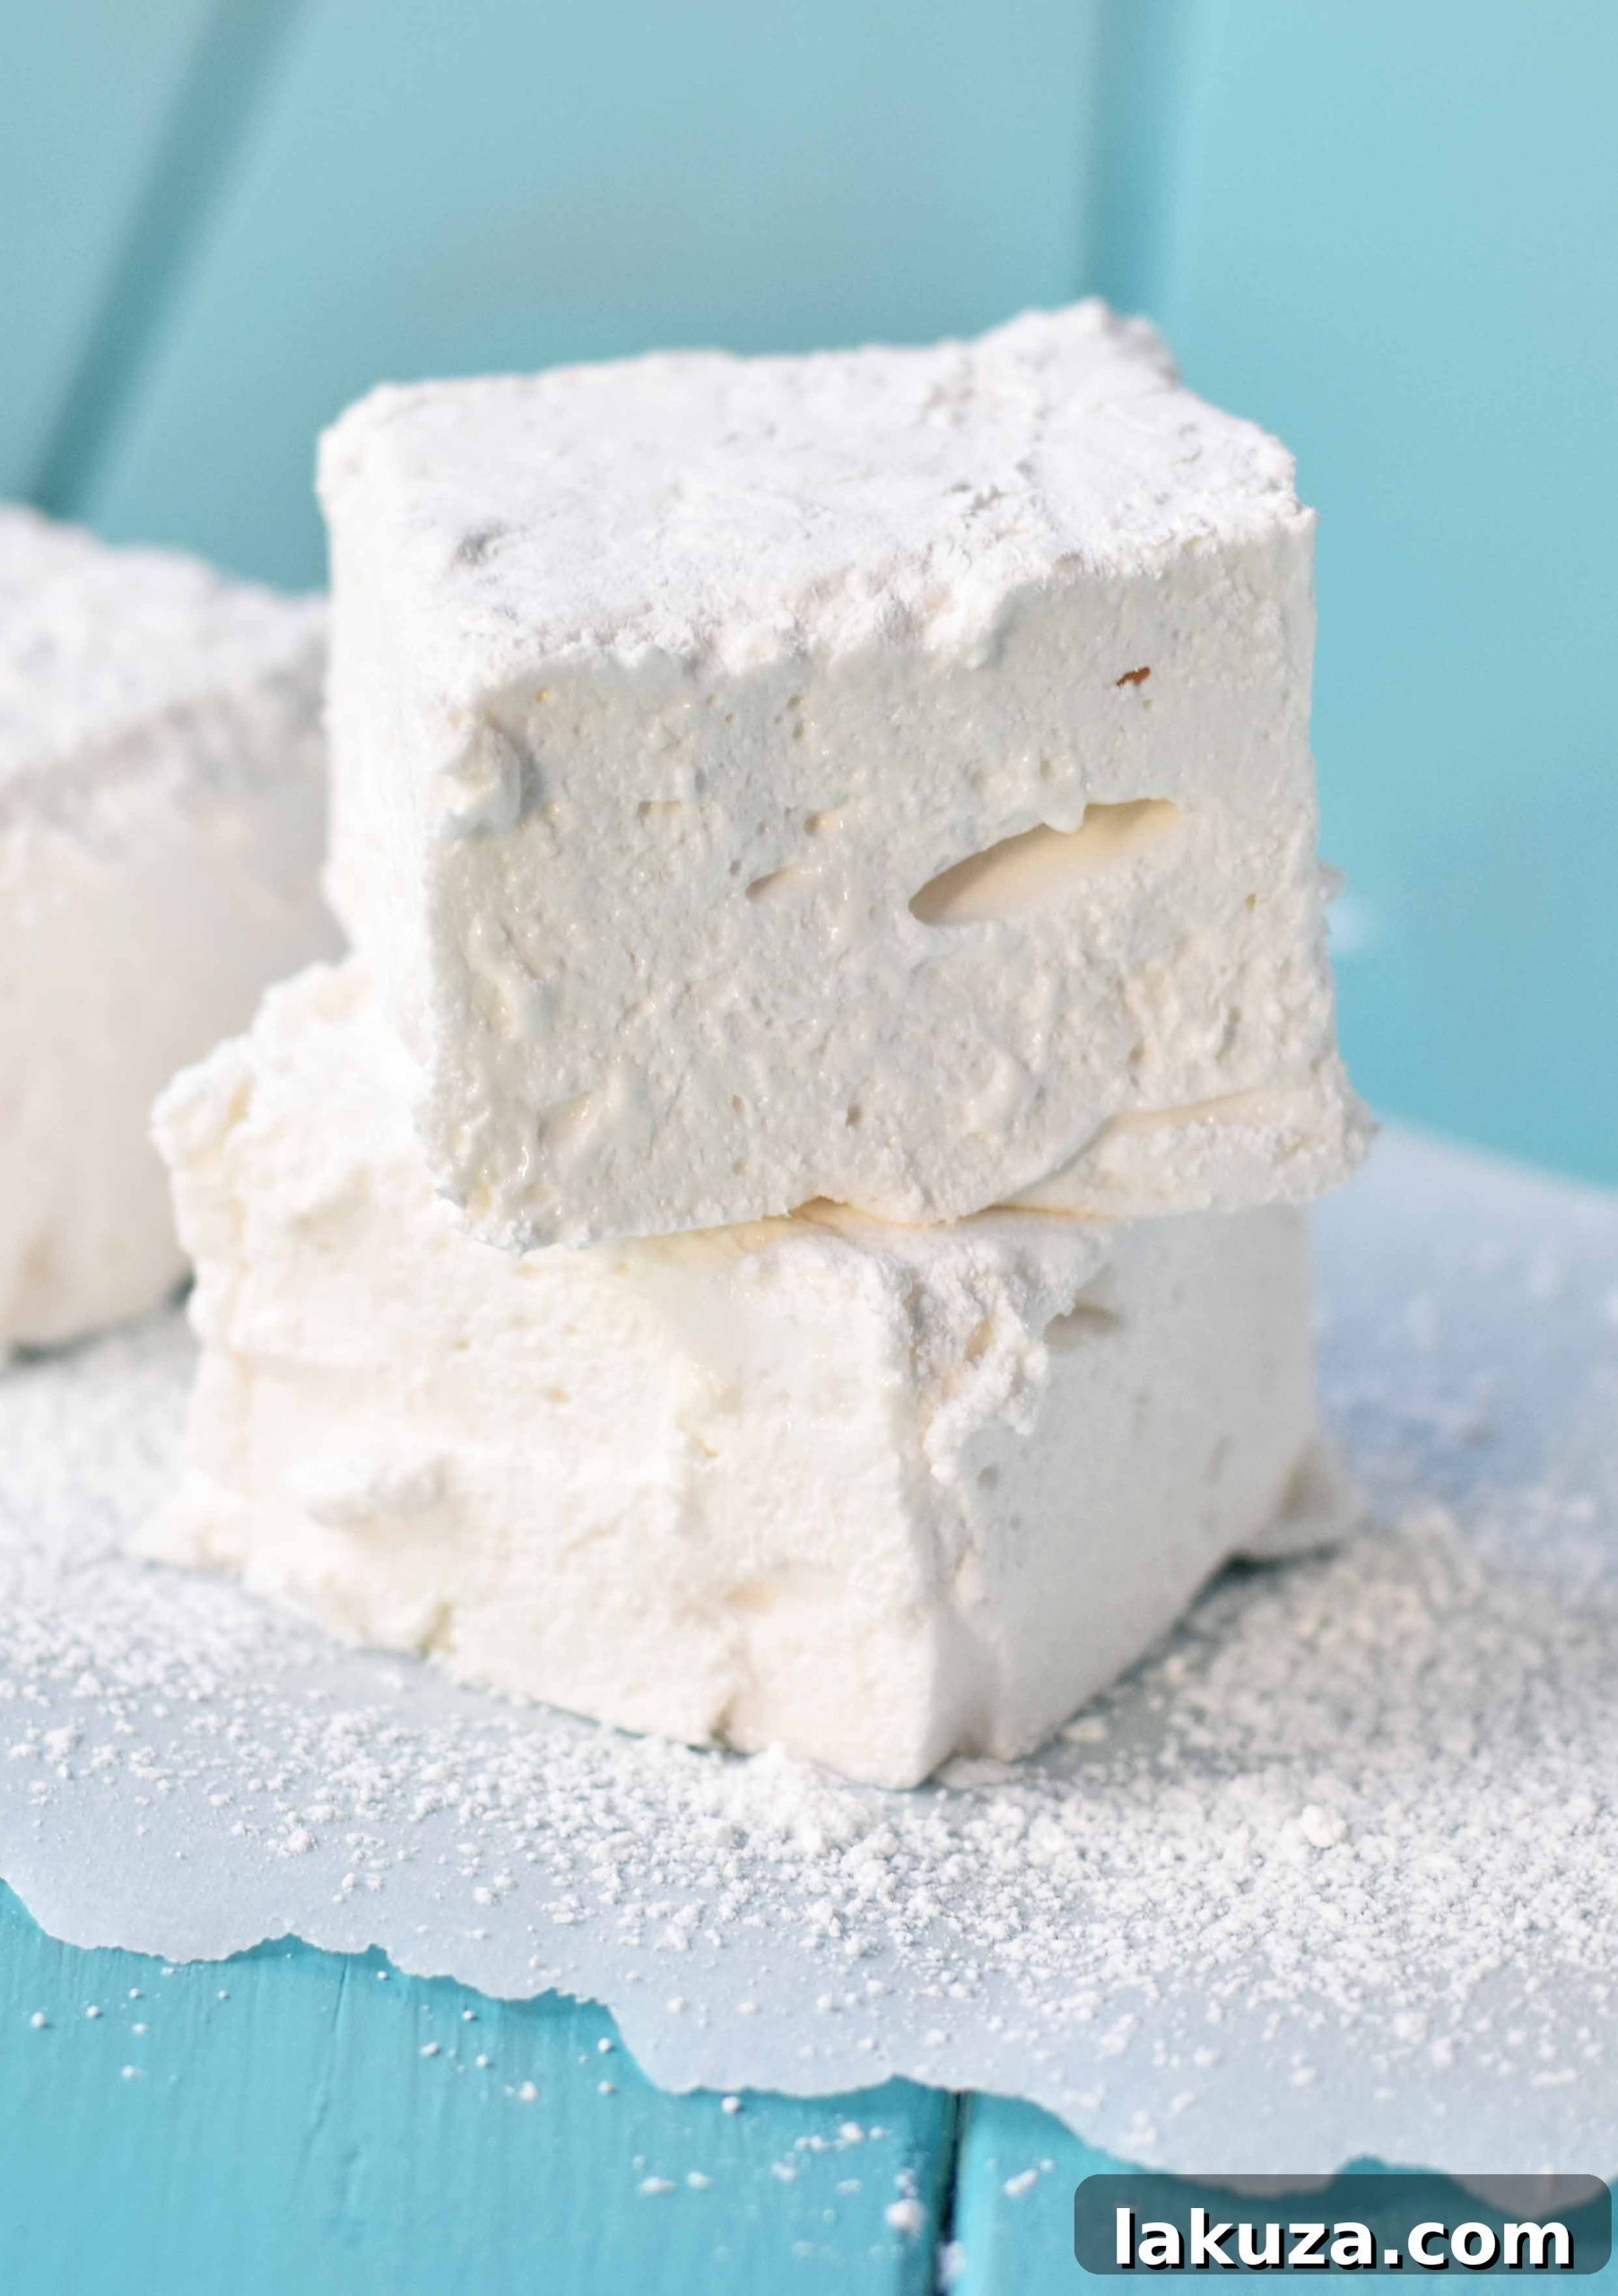
Master the Art of Homemade Marshmallows: Your Ultimate Guide to Pillowy Perfection
There’s a special kind of magic in a homemade marshmallow. I distinctly remember my early married days, indulging in hot chocolate topped with these delightful treats. Each bite was an experience – a moment where the pillow-soft, creamy, sweet marshmallow would gently melt in my mouth, leaving behind a blissful sweetness. For years, the idea of making them myself felt daunting, like a culinary challenge reserved for professional bakers. I was utterly intimidated, convinced they were far too complex for a home kitchen.
However, a few years ago, I decided it was time to confront my culinary apprehensions. I embarked on a journey to create homemade marshmallows from scratch, adapting a recipe from the renowned Butter Bakery’s cookbook. To my absolute surprise and delight, the process was infinitely easier than I had imagined, and the outcome? Absolutely worth every bit of effort. The transformation from simple ingredients into these ethereal clouds of sweetness was nothing short of revelatory.
Why Homemade Marshmallows Will Change Your Dessert Game
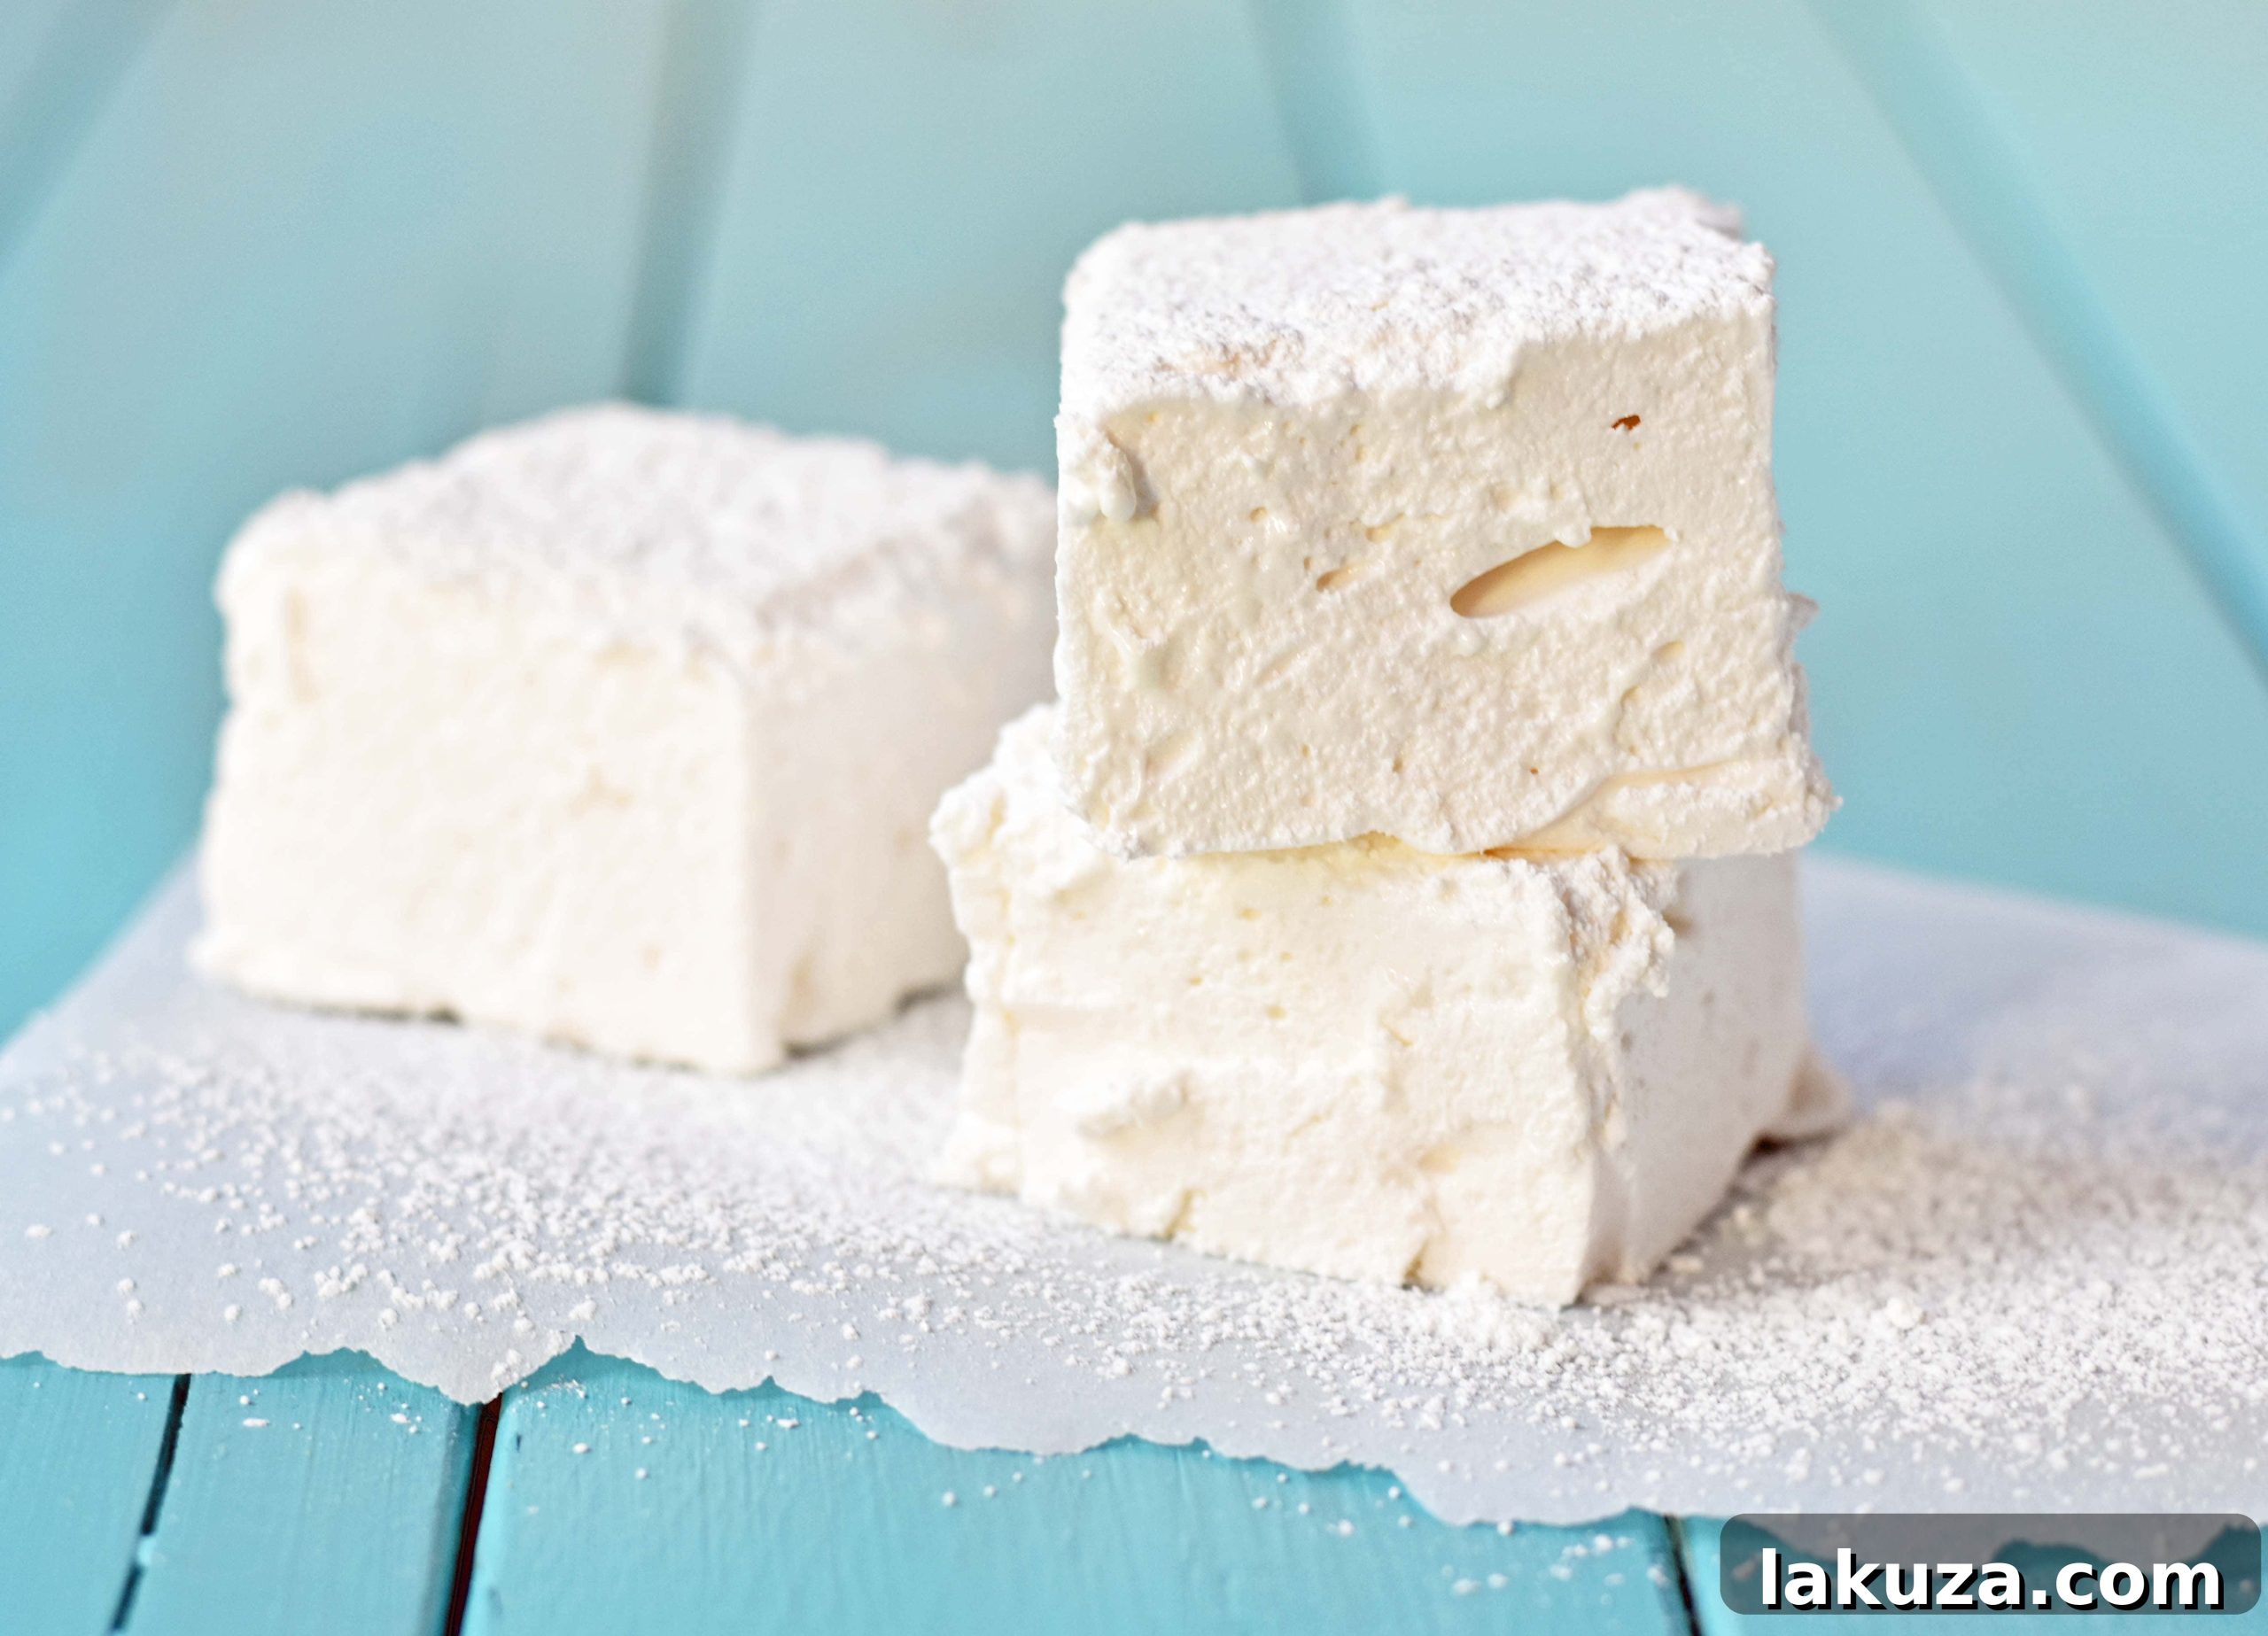
Forget everything you think you know about marshmallows if your only experience is with store-bought varieties. These homemade marshmallows are unequivocally superior to anything you can find on a supermarket shelf. The difference in texture, flavor, and overall experience is monumental. While commercial marshmallows often have a somewhat rubbery consistency and a generic sweetness, homemade versions boast an incredible lightness, a melt-in-your-mouth tenderness, and a rich, nuanced flavor that can be customized to your heart’s content.
Crafting your own marshmallows also gives you complete control over the ingredients, allowing you to avoid artificial flavors and preservatives often found in mass-produced options. Plus, there’s an immense sense of satisfaction and pride that comes with serving these exquisite treats, whether they’re floating in a steaming mug of hot chocolate, toasted over a campfire for gourmet s’mores, or simply enjoyed as a standalone confection. They elevate any dessert experience, transforming the ordinary into something truly extraordinary.
The Journey to Homemade Marshmallow Perfection
The process of making homemade marshmallows might seem intricate at first glance, but it’s fundamentally a simple kitchen chemistry experiment that yields incredibly delicious results. It involves a few key stages, each contributing to the final soft, airy texture.
Demystifying the Marshmallow Making Process:
- **The Sugar Syrup Base:** The foundation begins with combining sugar, corn syrup, water, and a touch of salt in a saucepan. This mixture is heated to a precise temperature, brought to a rolling boil, creating a concentrated sugar syrup essential for the marshmallow’s structure and sweetness. The corn syrup plays a critical role in preventing crystallization, ensuring a smooth texture.
- **Gelatin Activation and Whipping:** While the sugar syrup cooks, unflavored gelatin is bloomed in a stand mixer with a portion of water. Once the hot sugar syrup is ready, it’s carefully streamed into the bloomed gelatin mixture in the stand mixer. The magic truly happens during the whipping stage, where the mixture is beaten on high speed for a generous 10-12 minutes. This vigorous whipping incorporates air, transforming the liquid into a thick, glossy, and incredibly fluffy marshmallow cream. This is also the perfect time to introduce your favorite flavorings – be it classic vanilla, sophisticated almond, bright orange or lemon, or even refreshing mint.
- **Setting and Shaping:** The whipped marshmallow mixture is then swiftly poured into a prepared pan. Lining your baking pan with parchment paper is highly recommended, or you can generously butter and flour it, to prevent sticking and ensure easy removal. Parchment paper is particularly effective as it creates a non-stick surface that simplifies lifting the entire slab of marshmallow from the pan. For ideal results, consider using a 9 x 13 inch baking pan for thinner marshmallows or a 9 x 9 inch pan for thicker, more substantial pieces.
- **The Waiting Game:** Once the marshmallow mixture is spread evenly in the pan, it needs time to set. Covering the pan with plastic wrap and allowing it to rest at room temperature for a minimum of 3 hours, or ideally overnight, is crucial. This setting period allows the gelatin to fully firm up, giving the marshmallows their characteristic bounce and stability.
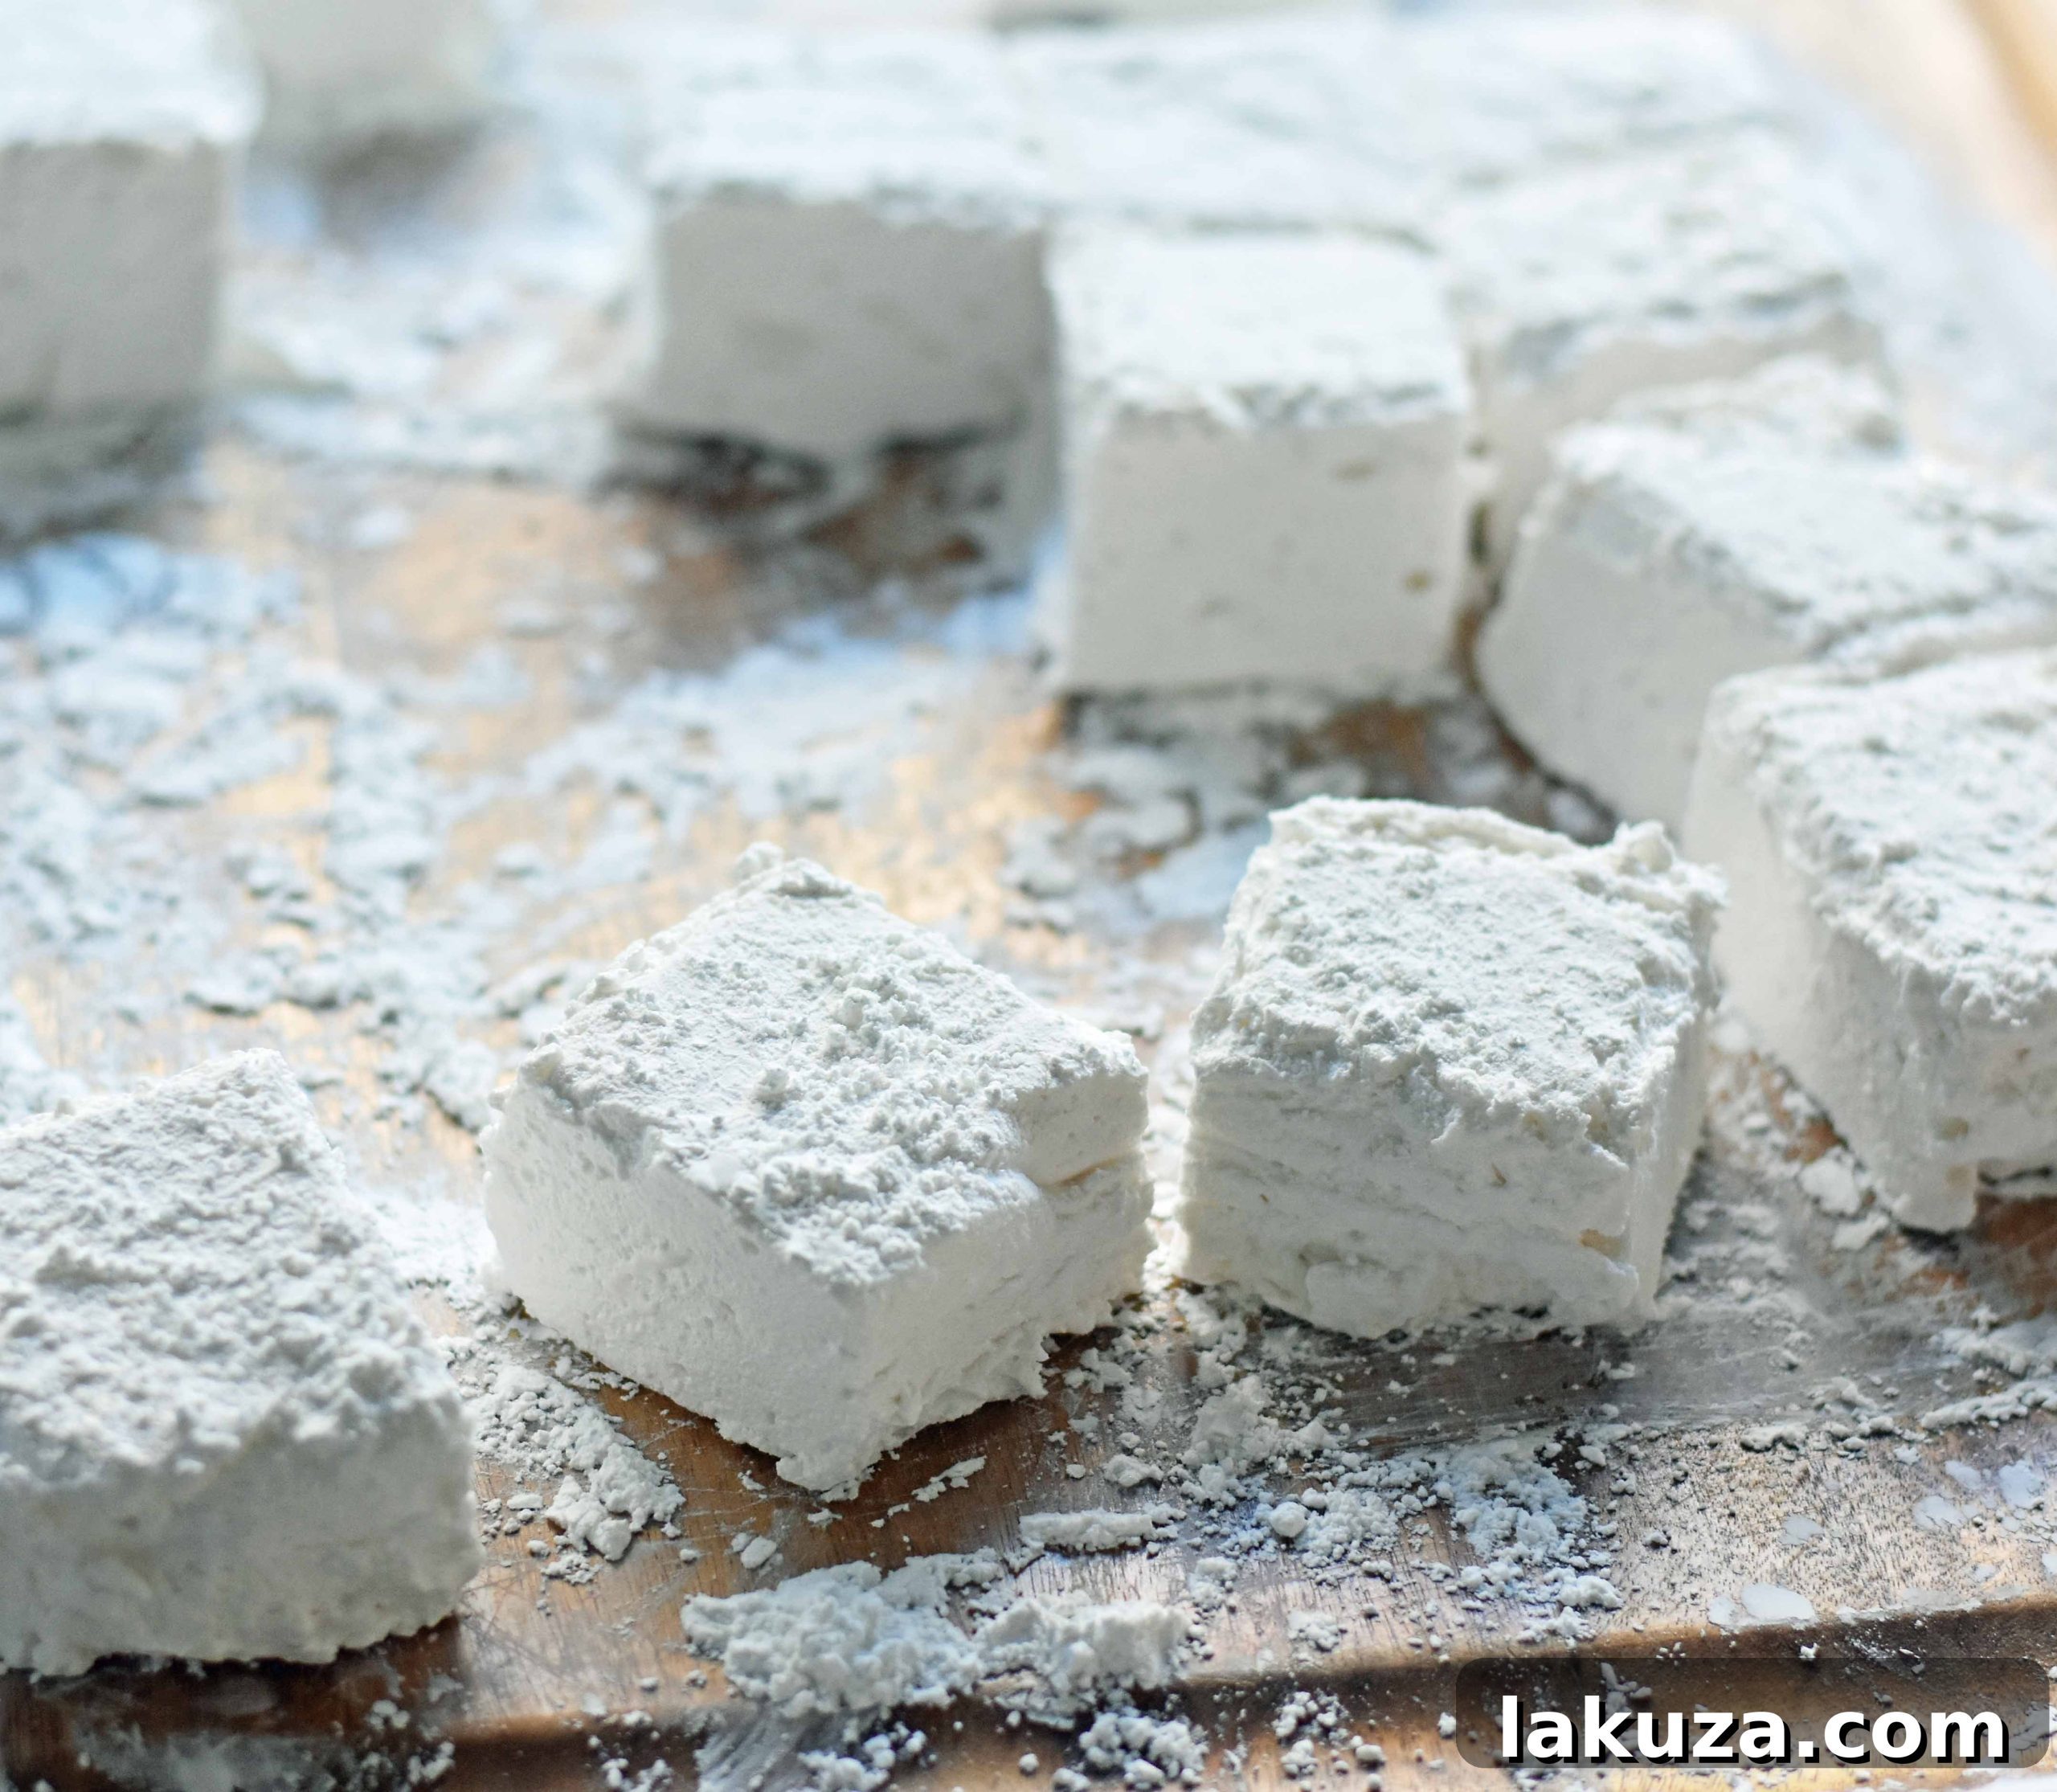
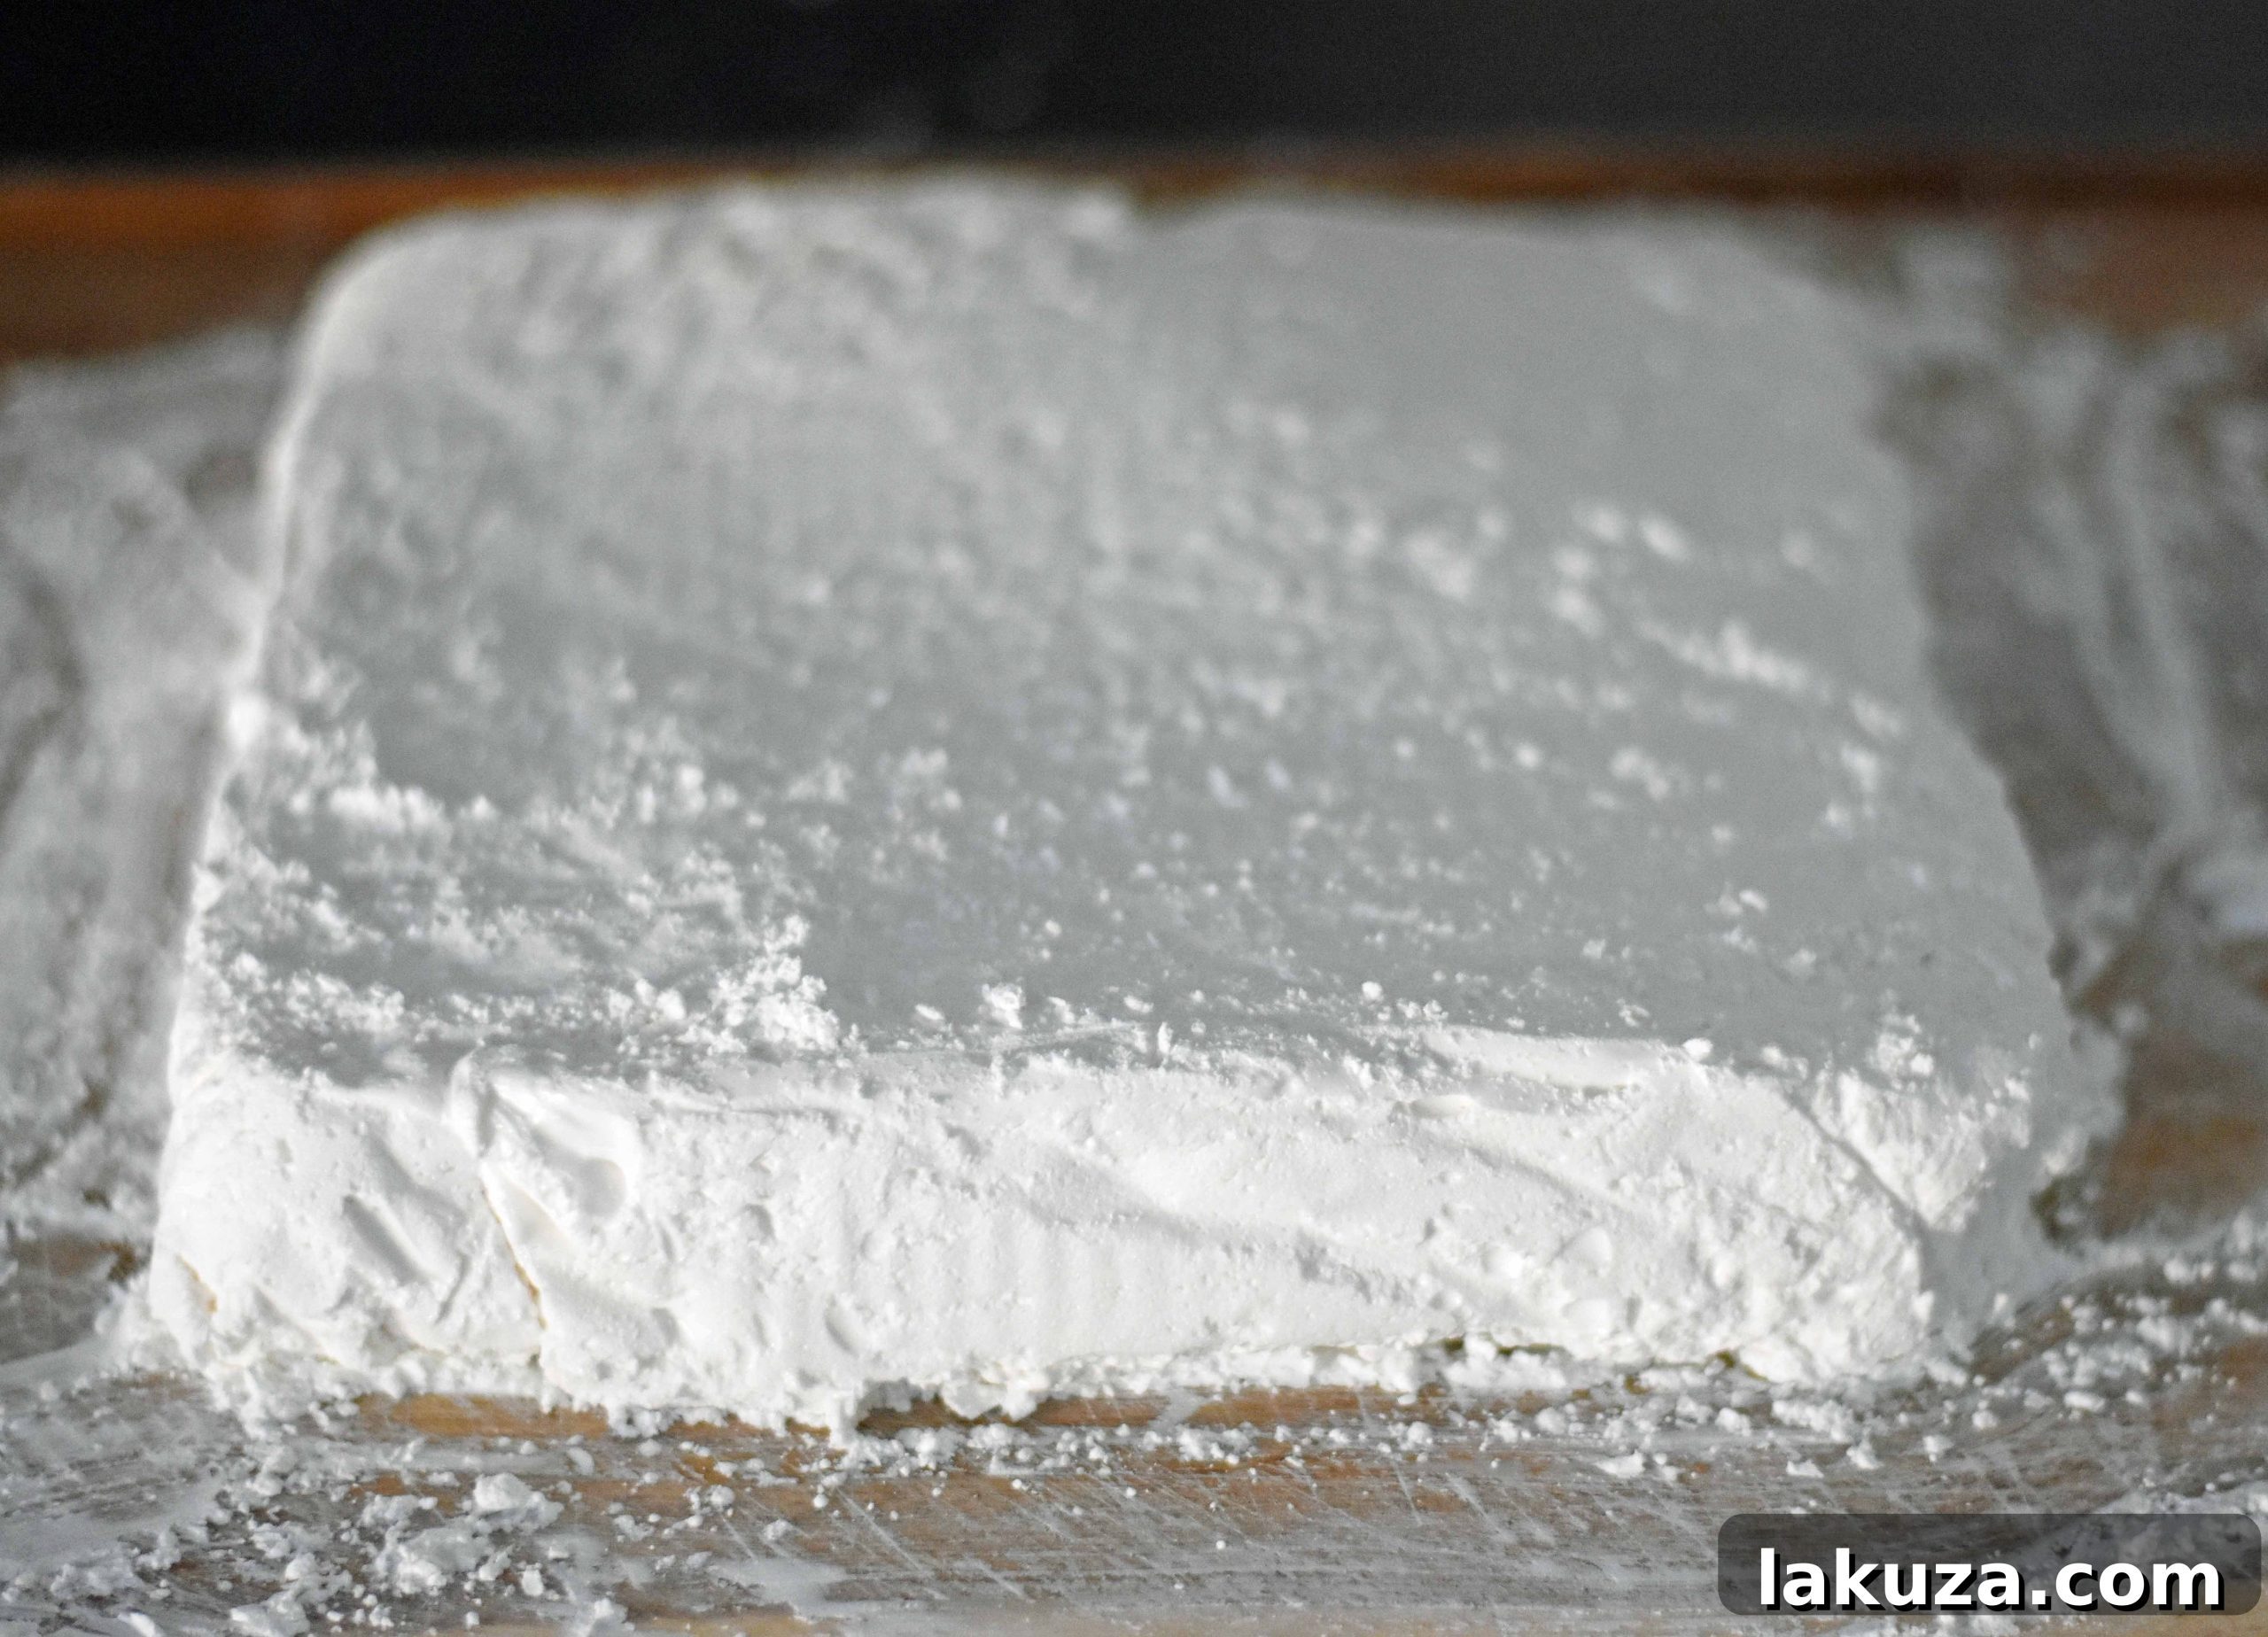
- **Cutting and Coating:** After the marshmallows have fully set, prepare your workspace by dusting it generously with a mixture of powdered sugar and a small amount of cornstarch. Invert the baking pan onto this prepared surface, then sprinkle more of the powdered sugar mixture over the top and sides of the marshmallow slab.
- **Finishing Touches:** Using a sharp, lightly oiled knife or a pizza cutter, slice the marshmallow slab into your desired square or rectangular shapes. Each individual marshmallow piece is then rolled thoroughly in the powdered sugar coating. This not only prevents them from sticking together but also adds another layer of delightful sweetness and a beautiful finish.
- **Optional Flavor Boost:** For an extra layer of texture and flavor, consider rolling your freshly cut marshmallows into toasted coconut flakes, finely chopped nuts, or even cocoa powder for a rich chocolate variation.
Essential Tips for Crafting Flawless Homemade Marshmallows
Achieving that perfect, pillowy texture isn’t difficult, especially when you keep a few key principles in mind. These tips will help you avoid common pitfalls and ensure your marshmallows turn out beautifully every time.
- **Bloom Your Gelatin:** Always allow the gelatin to soak into the water for several minutes before adding the hot sugar syrup. This process, known as “blooming,” hydrates the gelatin granules, ensuring they dissolve smoothly and create a stable structure for your marshmallows. Skipping this step can result in grainy or weak marshmallows.
- **Whip It Good:** The whipping stage is paramount. Mix the marshmallow batter for at least 10-12 minutes on high speed to incorporate enough air and develop that signature fluffy, thick consistency. While a large stand mixer with a whisk attachment is ideal for its power and endurance, a robust hand mixer can also be used, though it might require a bit more effort and attention to achieve the desired volume. Don’t cut this time short, as it directly impacts the marshmallow’s texture.
- **Patience is a Virtue (Setting Time):** Homemade marshmallows require ample time to set up properly. After pouring the mixture into the pan, ensure you allow at least 3 hours, or preferably overnight, for them to fully firm at room temperature. Rushing this step will result in sticky, gooey, and difficult-to-cut marshmallows. Always cover the pan with plastic wrap to prevent them from drying out while setting.
- **The Perfect Coating:** To prevent your delicious marshmallows from sticking to each other and everything else, a generous coating is essential. You can use plain powdered sugar, but for an even better anti-stick and slight chewiness, a mixture of powdered sugar and cornstarch works wonders. The cornstarch helps absorb moisture and gives the exterior a subtle, pleasant chew. Ensure all sides of each cut marshmallow are thoroughly coated.
- **Flavor Experimentation:** While vanilla extract is a classic choice, don’t hesitate to experiment with other flavorings. Almond extract adds a sophisticated touch, while lemon or orange zest can provide a bright, zesty note. Peppermint extract is perfect for holiday treats. You can even try infusing your sugar syrup with tea bags or spices like cinnamon sticks for unique flavor profiles.
- **Pan Preparation is Key:** Whether you opt for butter and a light dusting of powdered sugar/cornstarch, or parchment paper, ensure your baking pan is thoroughly prepared. Parchment paper, cut to fit the pan with an overhang, makes for the easiest removal of the marshmallow slab. A light spray of cooking oil on the parchment paper can provide extra insurance against sticking.
The Ultimate Homemade Marshmallows Recipe
Here’s the complete recipe to guide you through making your own batch of incredibly soft and fluffy homemade marshmallows. This recipe is adapted for ease and delicious results every time.
Homemade Marshmallows
By: Melissa Stadler, Modern Honey
Prep Time: 20 minutes
Total Time: 20 minutes (plus 3+ hours setting time)
Servings: 32 marshmallows
Equipment
- Stand Mixer with Whisk Attachment
- 9-inch Square Cake Pan (for thicker marshmallows)
- 9 x 13 inch Baking Pan (for thinner marshmallows)
- Medium Saucepan
- Parchment Paper
Ingredients
- 1 cup Water (divided)
- 3 Envelopes Unflavored Gelatin (about 3 tablespoons)
- 2 cups Granulated Sugar
- 1/2 cup Light Corn Syrup (e.g., Karo Syrup)
- 1/2 teaspoon Salt
- 2 Tablespoons Flavor Extract (Vanilla is classic; consider almond, lemon, orange, or mint)
- For Coating:
- 1 – 1 1/2 cups Powdered Sugar
- 2 Tablespoons Cornstarch (optional, for a less sticky coating)
Instructions
- In the bowl of a stand mixer fitted with the whisk attachment, pour in 1/2 cup of the cold water and sprinkle the gelatin over it. Let it sit for 5-10 minutes to allow the gelatin to bloom and absorb the water.
- Meanwhile, in a medium saucepan over medium-high heat, combine the granulated sugar, light corn syrup, the remaining 1/2 cup of water, and salt. Bring the mixture to a rolling boil, stirring occasionally to dissolve the sugar. Let it boil vigorously for exactly 1 minute, then remove from heat immediately.
- With the stand mixer on low speed, slowly and carefully pour the hot sugar syrup into the bloomed gelatin mixture. Be careful as the syrup is very hot.
- Increase the mixer speed to high and beat the mixture for 10-12 minutes. The mixture will gradually become very thick, white, glossy, and fluffy, almost like a thick meringue. During the last minute of mixing, add your chosen flavor extract (vanilla, almond, etc.) and continue to beat until fully incorporated.
- Prepare your chosen baking pan (9×9 or 9×13 inches) by lining it completely with parchment paper, leaving an overhang on all sides. Lightly spray the parchment paper with non-stick cooking spray or butter it.
- Pour the warm marshmallow mixture into the prepared pan and spread it evenly using a lightly oiled spatula or spoon.
- Cover the pan loosely with plastic wrap and let the marshmallows set at room temperature for at least 3 hours, or preferably overnight. Do not refrigerate.
- Once the marshmallows are firm, prepare your coating mixture. In a shallow dish or on a clean work surface, whisk together the powdered sugar and cornstarch (if using).
- Gently lift the marshmallow slab from the pan using the parchment paper overhang. Invert the slab onto the powdered sugar mixture, then generously sprinkle more of the coating mixture over the top and sides of the marshmallow.
- Using a sharp knife (lightly greased with cooking spray if it sticks), cut the marshmallow slab into squares or rectangles of your desired size.
- Roll each cut marshmallow piece thoroughly in the powdered sugar and cornstarch mixture to ensure all sides are coated and prevent sticking.
- For an extra touch, you can roll the coated marshmallows in toasted coconut flakes, cocoa powder, or finely crushed freeze-dried fruit for varied flavors and textures.
Nutrition information is automatically calculated and should only be used as an approximation.
Additional Info
Storage: Store homemade marshmallows in an airtight container at room temperature for up to 1-2 weeks. If stacking, lightly dust again with powdered sugar to prevent sticking.
Serving Ideas: Enjoy in hot chocolate, for gourmet s’mores, dipped in chocolate, or simply plain!
PIN this Recipe on PINTEREST!
Beyond the Basic Marshmallow: Creative Ways to Enjoy
The beauty of homemade marshmallows extends far beyond just their incredible taste; it lies in their versatility. Once you’ve mastered the basic recipe, a world of culinary possibilities opens up.
- **The Ultimate Hot Chocolate Companion:** Elevate your hot chocolate experience to a new level. Drop a few homemade marshmallows into a steaming mug of rich cocoa. Watch as they slowly melt, creating a creamy, sweet foam that infuses the drink with unparalleled flavor and luxurious texture. This is a must-try for cold evenings.
- **Gourmet S’mores Redefined:** Forget flimsy, mass-produced marshmallows for your campfire treats. With homemade marshmallows, s’mores become an indulgent, gourmet experience. Their superior melting quality and exquisite flavor perfectly complement graham crackers and high-quality chocolate, creating a dessert that is truly unforgettable. Imagine the crisp, caramelized exterior and the gooey, melt-in-your-mouth interior.
- **Dipped Delights:** Transform your marshmallows into elegant confections by dipping them in melted dark, milk, or white chocolate. Before the chocolate sets, sprinkle with sea salt, finely chopped nuts, sprinkles, or even a dusting of cocoa powder. These make fantastic edible gifts or impressive party treats.
- **Dessert Toppings and Inclusions:** Cube them and use them as a topping for ice cream sundaes, fruit salads, or puddings. They can also be gently folded into certain dessert recipes, adding pockets of soft sweetness. For instance, imagine them in a rocky road bark or as part of a sweet potato casserole topping.
- **Simply Irresistible on Their Own:** Honestly, these homemade marshmallows are so good, they need no adornment. Their pure, sweet, vanilla-infused flavor and delicate texture make them a perfect stand-alone treat for an afternoon pick-me-up or a light dessert.
- **Thoughtful Edible Gifts:** Pack a batch of your homemade marshmallows into a beautiful box or bag, tie with a ribbon, and you have a truly thoughtful and impressive gift for friends, family, or hosts. They are perfect for holidays, birthdays, or just a sweet “thank you.”
Conclusion: Embrace the Sweet Simplicity of Homemade
Making homemade marshmallows is an incredibly rewarding culinary adventure. What once seemed like a daunting task has proven to be an accessible and enjoyable process, yielding results that far surpass any store-bought equivalent. From the satisfying whisking in your stand mixer to the joy of cutting into that soft, cloud-like slab, every step is a testament to the magic of simple ingredients. So, shed any intimidation, gather your ingredients, and prepare to delight your senses and impress everyone who tastes these magnificent, pillowy homemade marshmallows. Your hot chocolate (and your taste buds) will thank you!