
Indulge in the simplest yet most decadent no-bake dessert imaginable: rich and creamy Oreo truffles, enveloped in a smooth, luxurious chocolate coating. These delightful treats, often called Oreo balls or Oreo cake pops, are incredibly easy to make with just four core ingredients, delivering an irresistible homemade chocolate truffle experience. Prepare to discover the ultimate Oreo dessert that will become a cherished favorite in your home!

The Best 4-Ingredient No-Bake Oreo Truffles Recipe
As the days grow warmer, the thought of turning on the oven often becomes less appealing. This is precisely why quick, easy, and refreshingly delicious no-bake treats like these Oreo truffles become absolute lifesavers. Whether you call them Oreo balls, Oreo cake pops, or simply the best chocolate truffles you’ve ever had, they are a perfect solution for satisfying your sweet tooth without breaking a sweat. They’re also an incredibly fun and straightforward project for families to make together, creating wonderful memories along with delicious snacks.
Honestly, I can’t recall making a dessert that was quite this effortless. This recipe requires absolutely no baking, no stovetop cooking, no boiling – just a microwave for melting chocolate and a baking sheet for chilling. The real magic? It uses only four common ingredients that you likely already have in your pantry or can easily find at any grocery store. It’s truly a testament to how simple yet spectacular homemade treats can be!

My husband has always had a profound love affair with OREO cookies. In our early days of marriage, I made sure our pantry was perpetually stocked with them. After I’d head to bed, he’d often settle in to watch sports, inevitably polishing off an entire sleeve of OREOS. So, naturally, these Oreo Truffle Balls were destined to be a massive hit in our household. They perfectly capture the classic flavor of his favorite cookie in an even more irresistible form. This recipe has quickly become a go-to for parties, potlucks, and everyday indulgences.

Key Ingredients for Perfect Oreo Balls
Crafting these heavenly no-bake Oreo truffles is surprisingly simple, thanks to a concise list of readily available ingredients. Each component plays a crucial role in achieving the desired rich flavor and smooth texture.
- Oreo Cookies: The star of our show! For this recipe, it’s essential to use regular, classic Oreo cookies. Varieties like “Double Stuffed” tend to have too much cream filling, which can alter the consistency of the truffle mixture, making it too soft. Conversely, “Oreo Thins” don’t provide enough cream or cookie bulk. The original Oreo cookie offers the perfect balance of chocolatey cookie and sweet cream, creating a delightfully smooth and creamy truffle texture that holds together beautifully.
- Cream Cheese: This magical ingredient is what elevates these treats beyond simple crushed cookies. Cream cheese binds the crushed Oreos together, imparting that signature smooth, velvety texture and a subtle, delightful tang that beautifully complements the sweetness of the Oreos. Think of it as a simplified Oreo cheesecake experience in a bite-sized ball! For the best results in terms of flavor and creaminess, I highly recommend using full-fat cream cheese. Low-fat alternatives may not provide the same richness and might affect the final texture. Ensure it’s softened to room temperature for easier mixing.
- Semi-Sweet Chocolate Chips: The luxurious outer shell of our truffles! You’ll be melting these down to create a glossy, firm coating for dipping the Oreo and cream cheese mixture. This chocolate layer not only holds everything together but also adds a satisfying snap and an extra layer of rich chocolate flavor. You have flexibility here; feel free to use your favorite brand of semi-sweet chocolate chips, melting wafers, or even a good quality chocolate bar chopped into pieces. Dark chocolate can also be used for a more intense flavor, or milk chocolate for a sweeter profile.
- Butter or Coconut Oil: A small but mighty addition! Incorporating a touch of butter or coconut oil when melting the chocolate is key to achieving a perfectly smooth, consistent, and dippable chocolate coating. It helps thin the chocolate slightly, preventing it from seizing and ensuring your truffles are evenly coated and easy to handle. Coconut oil also adds a subtle sheen to the finished truffles.
- Optional Toppings: This is where you can unleash your creativity! While perfectly delicious on their own, a sprinkle of toppings adds both visual appeal and extra flavor. Some popular ideas include more crushed Oreos, colorful chocolate sprinkles, chopped M&M’s, elegant shaved chocolate, sea salt flakes for a sweet-and-salty kick, or any other festive or delicious embellishment you can imagine.

How to Make Easy 4-Ingredient Oreo Truffles
Making these delightful Oreo truffles is a straightforward process, broken down into a few simple steps. Even novice bakers (or rather, no-bakers!) can achieve perfect results with this easy-to-follow guide.
- Crush the Oreos: The first step is to transform your whole Oreo cookies into fine crumbs. The easiest and most efficient way to do this is by using a food processor. Simply add the entire package of Oreos (cream filling included!) to the food processor and pulse until they form fine, even crumbs, almost like sand. If you don’t have a food processor, don’t worry! You can achieve the same result by placing the Oreos in a sturdy gallon-sized Ziploc bag, sealing it tightly, and crushing them with a rolling pin or the bottom of a heavy pot until finely crumbled. Ensure there are no large chunks left.
- Combine with Cream Cheese: Once your Oreos are perfectly crushed, it’s time to introduce the cream cheese. If you used a food processor, you can simply add the softened cream cheese directly to the crumbs and pulse again until the mixture is thoroughly combined and forms a thick, dough-like consistency. It should be firm enough to roll into balls. If you’re mixing by hand, transfer the crushed Oreos to a large bowl, add the softened cream cheese, and mix vigorously with a sturdy spoon or a hand mixer until everything is smoothly incorporated.
- Chill the Mixture: This is a crucial step for the best results! Once the Oreo and cream cheese mixture is ready, cover the bowl and place it in the refrigerator for at least 30 minutes. This chilling time allows the mixture to firm up properly, making it much easier to roll into neat balls and preventing it from becoming too crumbly or falling apart when dipped in chocolate. Don’t rush this step!
- Scoop, Roll, and Dip: After the mixture has thoroughly chilled, it’s time for the fun part! Scoop out small portions of the Oreo mixture (a small cookie scoop works perfectly for uniform sizes) and roll them between your palms to form smooth, bite-sized balls. Place these onto a cookie sheet lined with parchment paper. Next, prepare your chocolate coating. In a microwave-safe bowl, combine the semi-sweet chocolate chips and either butter or coconut oil. Microwave in short bursts (e.g., 20-30 seconds), stirring well after each interval, until the chocolate is completely melted and smooth. Be careful not to overheat the chocolate. Using a fork, a candy dipping tool, or even a toothpick, carefully dip each Oreo ball into the melted chocolate, ensuring it’s fully coated. Lift the truffle, allowing excess chocolate to drip off, then place it back onto the parchment-lined cookie sheet.
- Add Toppings and Set: While the chocolate coating is still wet and pliable, sprinkle your chosen toppings over the truffles. This is your chance to add a personal touch with crushed Oreos, sprinkles, chopped nuts, or candy pieces. Once topped, transfer the cookie sheet with the coated Oreo balls back into the refrigerator for another 30 minutes to an hour. This final chill will allow the chocolate coating to fully harden, giving your truffles a perfect firm exterior.

Oreo Truffle Variations to Try
While the classic Oreo truffle is undoubtedly delicious, these treats are incredibly versatile and can be customized to suit any palate, season, or occasion. Here are some exciting variations to inspire your next batch:
- Holiday Oreo Truffles: Transform your truffles into festive holiday delights! Add a drop or two of peppermint extract to your melted chocolate for a cool, minty flavor. Before the chocolate sets, sprinkle with crushed candy canes or festive red and green sprinkles. These are perfect for Christmas gatherings!
- Golden Oreo Cake Pops: For a delightful twist, swap the classic chocolate Oreos for Golden Oreos. Mix them with cream cheese as instructed, but instead of dipping them in semi-sweet chocolate, use melted white chocolate. You can even add a touch of lemon zest to the cream cheese mixture for a bright, refreshing flavor profile that pairs wonderfully with the vanilla-flavored Golden Oreos and white chocolate.
- Peanut Butter Oreo Balls: A match made in heaven for peanut butter lovers! Incorporate a tablespoon or two of creamy peanut butter into the cream cheese and Oreo mixture before rolling into balls. Once dipped in melted chocolate, drizzle a little extra melted peanut butter on top for an extra burst of flavor and a beautiful contrasting finish.
- Coconut Oreo Truffles: Add shredded coconut to your crushed Oreo and cream cheese mixture for a tropical twist. You can also toast some coconut flakes and sprinkle them on top of the chocolate coating.
- Espresso Oreo Truffles: For a sophisticated flavor, add half a teaspoon of instant espresso powder to the crushed Oreos before mixing with cream cheese. The coffee flavor enhances the chocolate notes beautifully.

Tips for Success and Storage
Achieving perfectly delicious and visually appealing Oreo truffles is easy, especially with these helpful tips:
- Room Temperature Cream Cheese: Ensure your cream cheese is truly softened to room temperature. This is vital for achieving a smooth, lump-free mixture that incorporates easily with the crushed Oreos.
- Don’t Over-Mix: Once the cream cheese and crushed Oreos are combined, mix just until a cohesive dough forms. Over-mixing can make the mixture oily or too soft.
- Chill Thoroughly: The chilling step is non-negotiable. A firm, cold mixture is much easier to roll into neat balls and prevents them from falling apart when dipped in warm chocolate. If the mixture becomes too soft while rolling, pop it back in the fridge for a few minutes.
- Melt Chocolate Carefully: When melting your chocolate, do so in short intervals (20-30 seconds) in the microwave, stirring well after each. Chocolate can seize and become grainy if overheated. Adding butter or coconut oil helps maintain a smooth consistency.
- Dipping Technique: Use a fork or a specialized dipping tool for easy coating. Gently submerge the truffle, tap the fork against the side of the bowl to remove excess chocolate, and then carefully slide it onto the parchment paper.
- Quick Topping Application: Add toppings immediately after dipping each truffle, while the chocolate is still wet. This ensures the toppings adhere properly.
How to Store Oreo Truffles
Oreo truffles are best stored in an airtight container. They can be kept in the refrigerator for up to 1-2 weeks. If you prefer, they also freeze beautifully for up to 2-3 months. Simply thaw them in the refrigerator before serving. Many people enjoy them straight from the freezer for a firmer, colder treat!
More Sweet Treats to Explore
If you’ve enjoyed making these delightful no-bake candies, you might be interested in trying other homemade confectioneries. The world of sweets offers endless possibilities for creativity in the kitchen. For instance, I’ve previously delved into making my own homemade OREO cookies, inspired by this recipe. I also had a blast experimenting with candy bar cream-filled OREOS, similar to this creative recipe.
You Might Also Love These Recipes
Rocky Road Candy Clusters
Homemade Chocolate Peanut Butter Cups
Strawberry Cheesecake Truffle Balls Cake Pops
Homemade Marshmallows
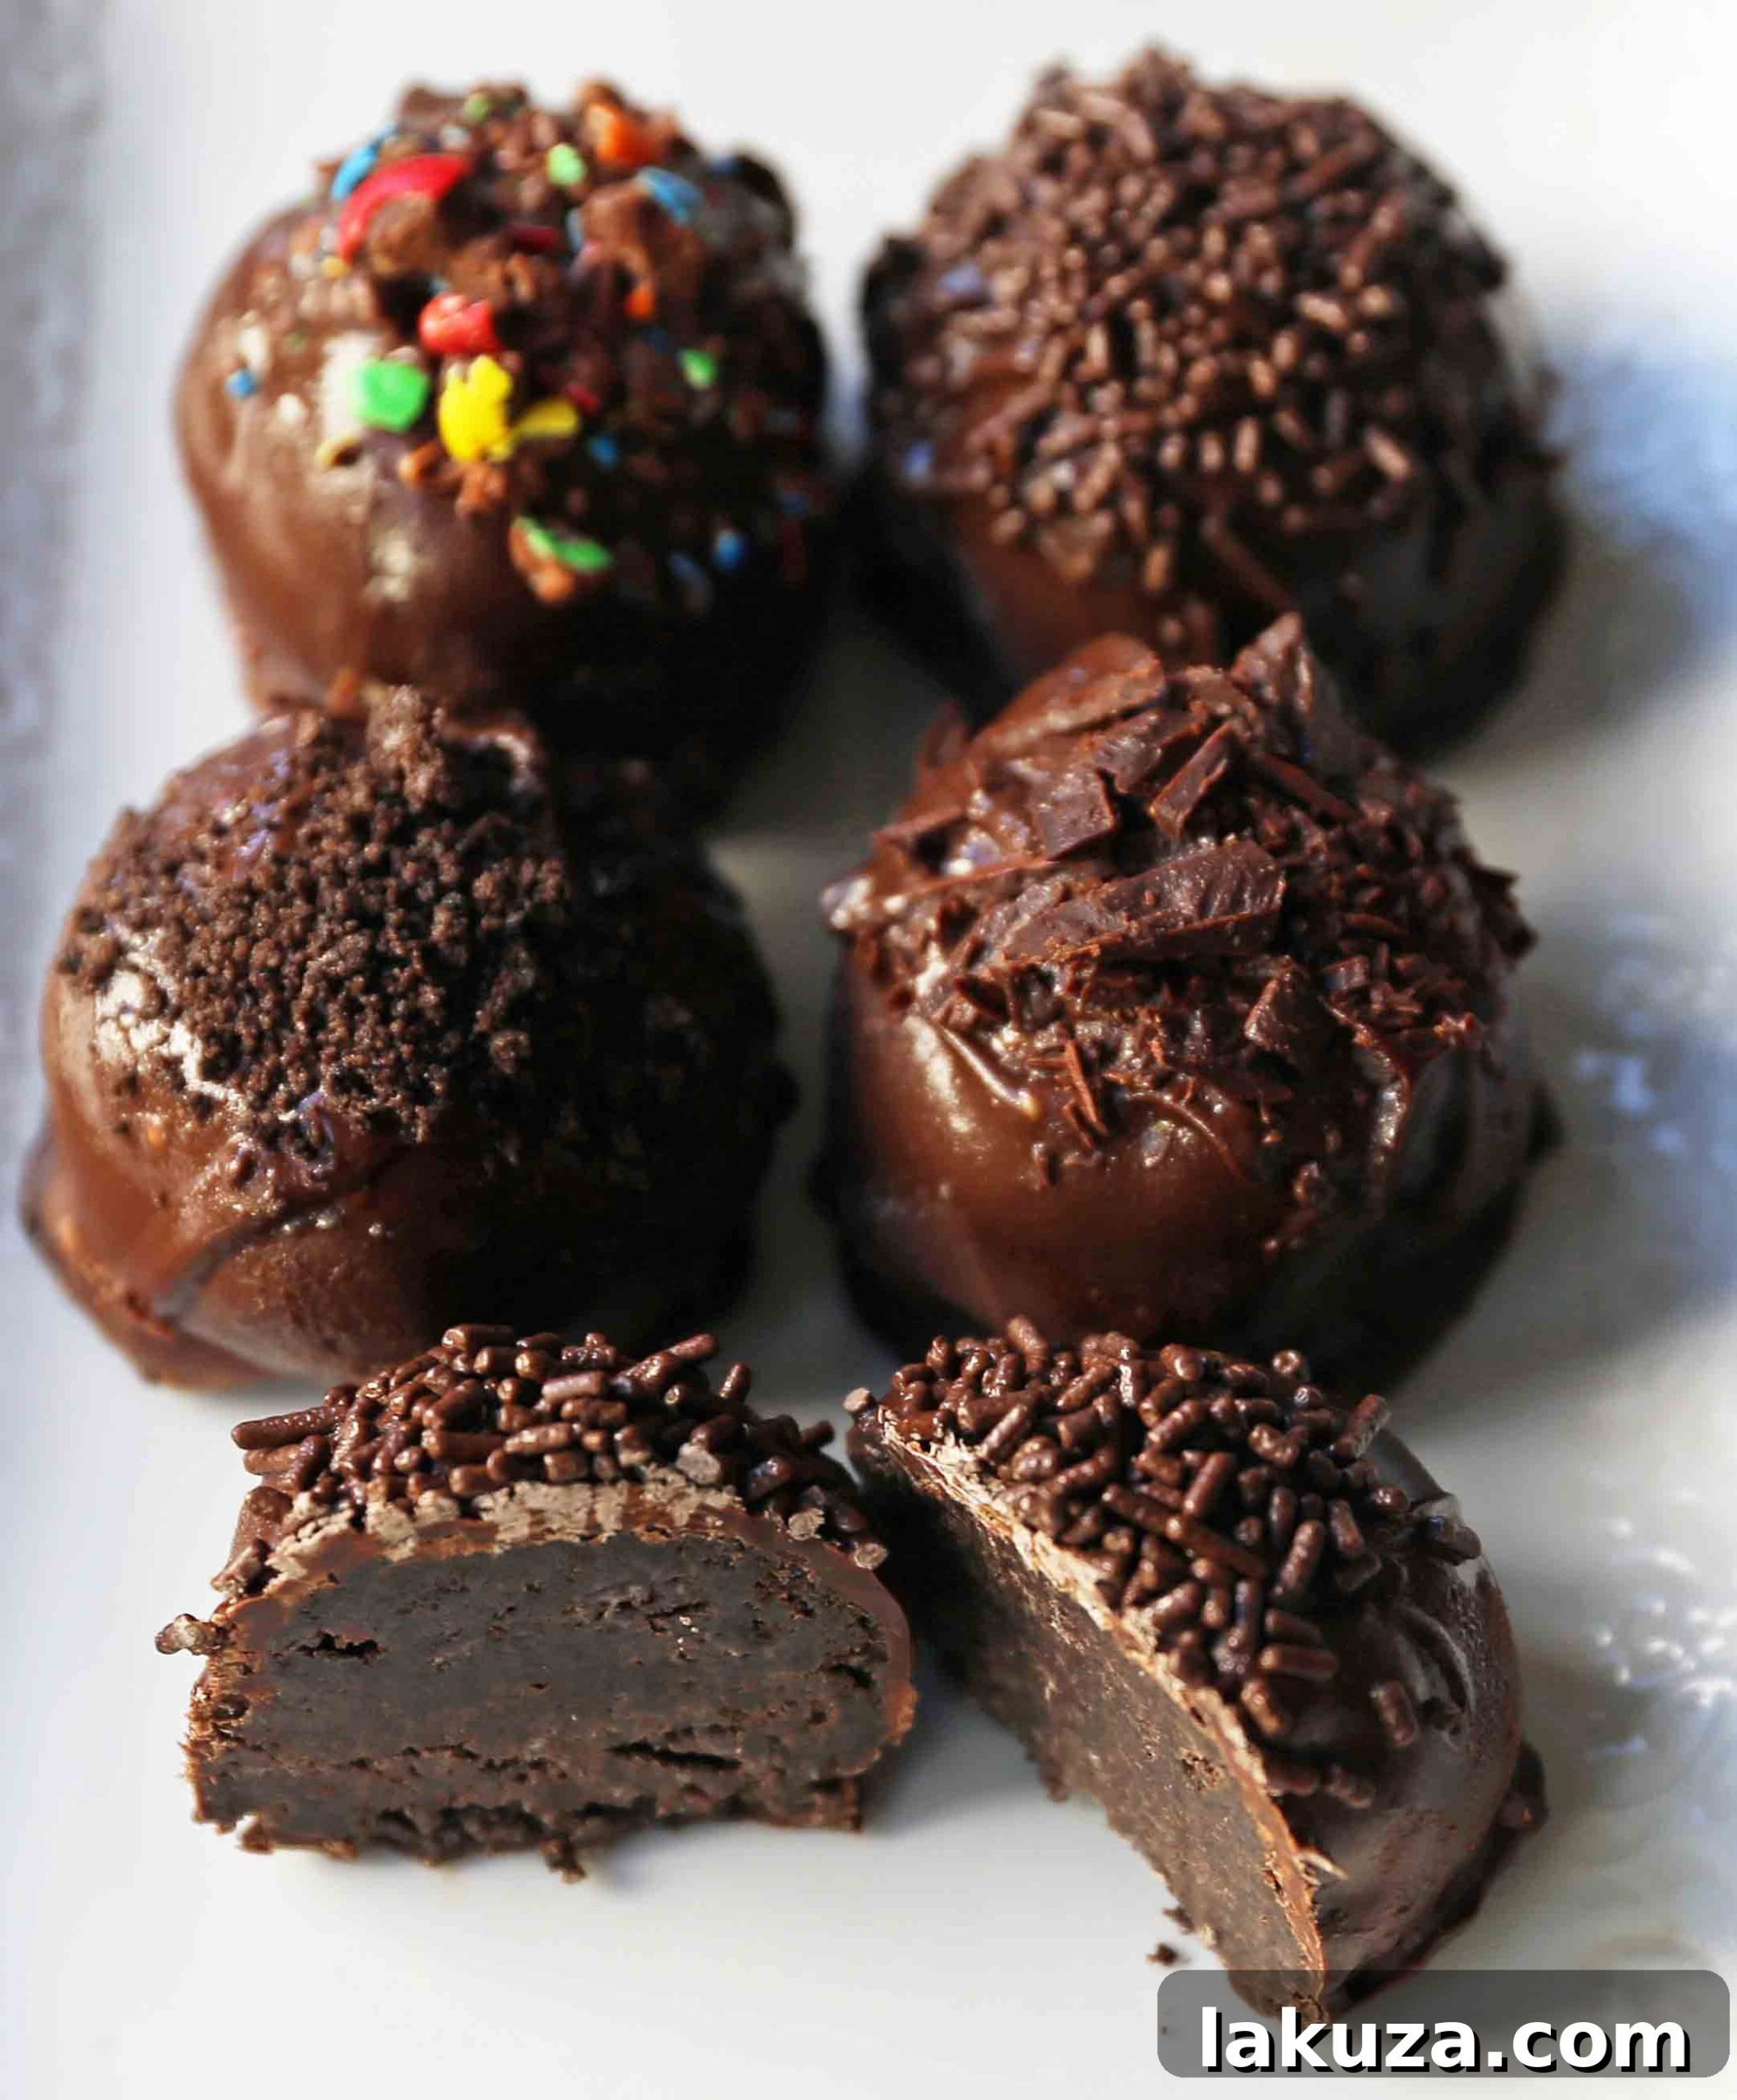
Easy Oreo Truffles Recipe Card
Here’s a concise recipe card for your convenience. These incredibly popular Oreo truffles are rich, creamy, and coated in smooth chocolate. This easy homemade chocolate truffle requires just 4 ingredients and is truly the BEST Oreo balls recipe you’ll ever find!
Oreo Balls
Rated 5 out of 5 stars from 3 votes
Prep Time: 10 minutes
Additional Time: 1 hour (Chilling)
Servings: 24 truffles
Equipment
- Food processor (optional, but highly recommended)
- Baking sheet
- Parchment paper or wax paper
- Microwave-safe bowl
Ingredients
- 36 Oreo Cookies (regular, not Double Stuffed or Thins)
- 8 ounces Cream Cheese (softened to room temperature)
- 12 ounces Semi-Sweet Chocolate Chips (or melting wafers, chopped chocolate bar)
- 1 Tablespoon Coconut Oil or Melted Butter
- Toppings of Choice (e.g., crushed M&M’s, extra crushed Oreos, chocolate sprinkles, crushed candy canes, shaved chocolate)
Instructions
- Start by crushing the OREO cookies. The easiest way is in a food processor until fine crumbs form (cream filling included). Alternatively, place Oreos in a large Ziploc bag and crush with a rolling pin. Transfer to a bowl.
- Add the softened cream cheese to the crushed Oreos. If using a food processor, pulse until completely combined and a thick, uniform mixture forms. If mixing by hand, use a sturdy spoon or hand mixer.
- Cover the mixture and chill in the refrigerator for at least 30 minutes. This is important to ensure the mixture firms up, making it easier to roll and preventing it from crumbling during dipping.
- Once chilled, scoop portions of the Oreo mixture and roll them into small, uniform balls. Place them on a baking sheet lined with parchment or wax paper.
- In a microwave-safe bowl, melt the chocolate chips and coconut oil (or butter) in 20-second increments, stirring well after each interval, until the chocolate is completely smooth and melted.
- Using a fork or a candy dipping tool, dip each Oreo truffle into the melted chocolate, ensuring it’s fully covered. Gently tap to remove excess chocolate, then place it back onto the parchment-lined baking sheet.
- Immediately sprinkle with your favorite toppings while the chocolate is still wet.
- Let the coated truffles chill in the refrigerator for another 30 minutes to 1 hour, or until the chocolate has completely set. They can be stored in the refrigerator for up to 2 weeks or at room temperature for a few days. I personally love to freeze them briefly to expedite the setting process and for a firmer texture.
Additional Information
- Course: Dessert
- Cuisine: American
- Keyword: oreo truffles, no-bake, easy dessert, chocolate
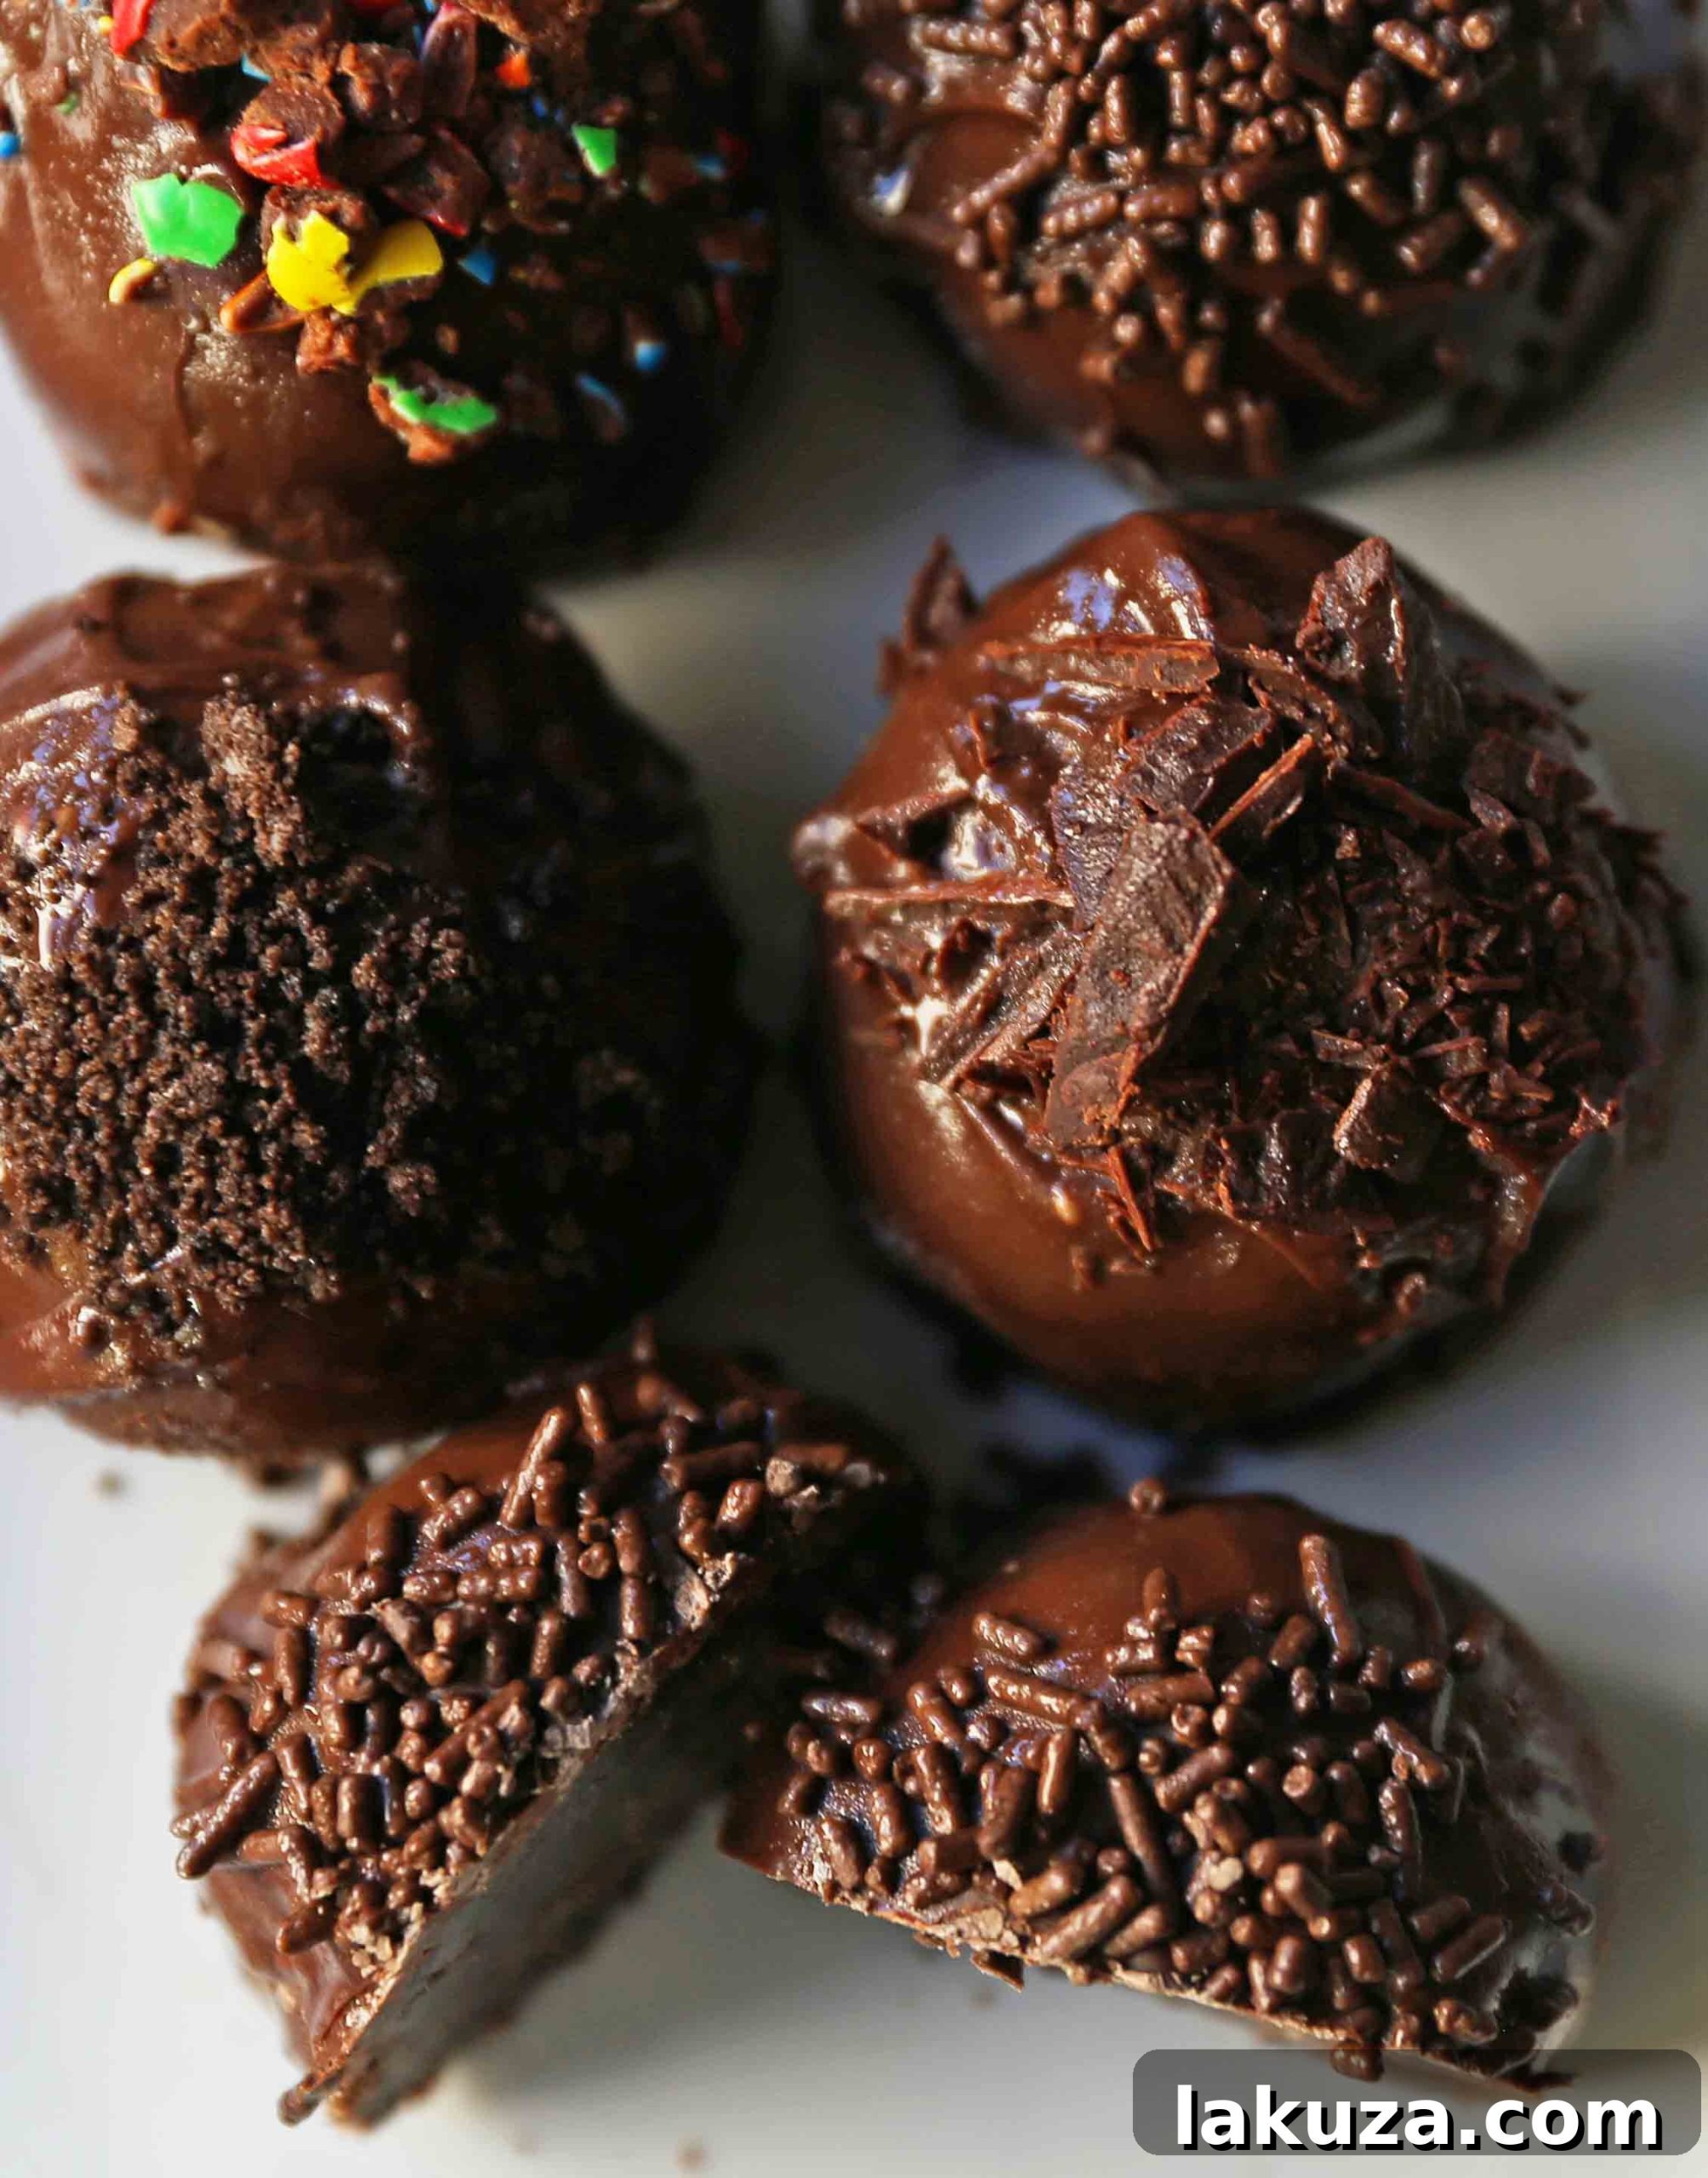

I sincerely hope you enjoy making and devouring this fantastic Oreo truffle recipe! It’s such a simple way to bring a smile to anyone’s face, whether for a special occasion or just a casual treat. If you make this recipe, please share your creations and feedback. I love seeing what you whip up in your own kitchen! Have a wonderful day, my friends!
Follow me on: INSTAGRAM — FACEBOOK — PINTEREST