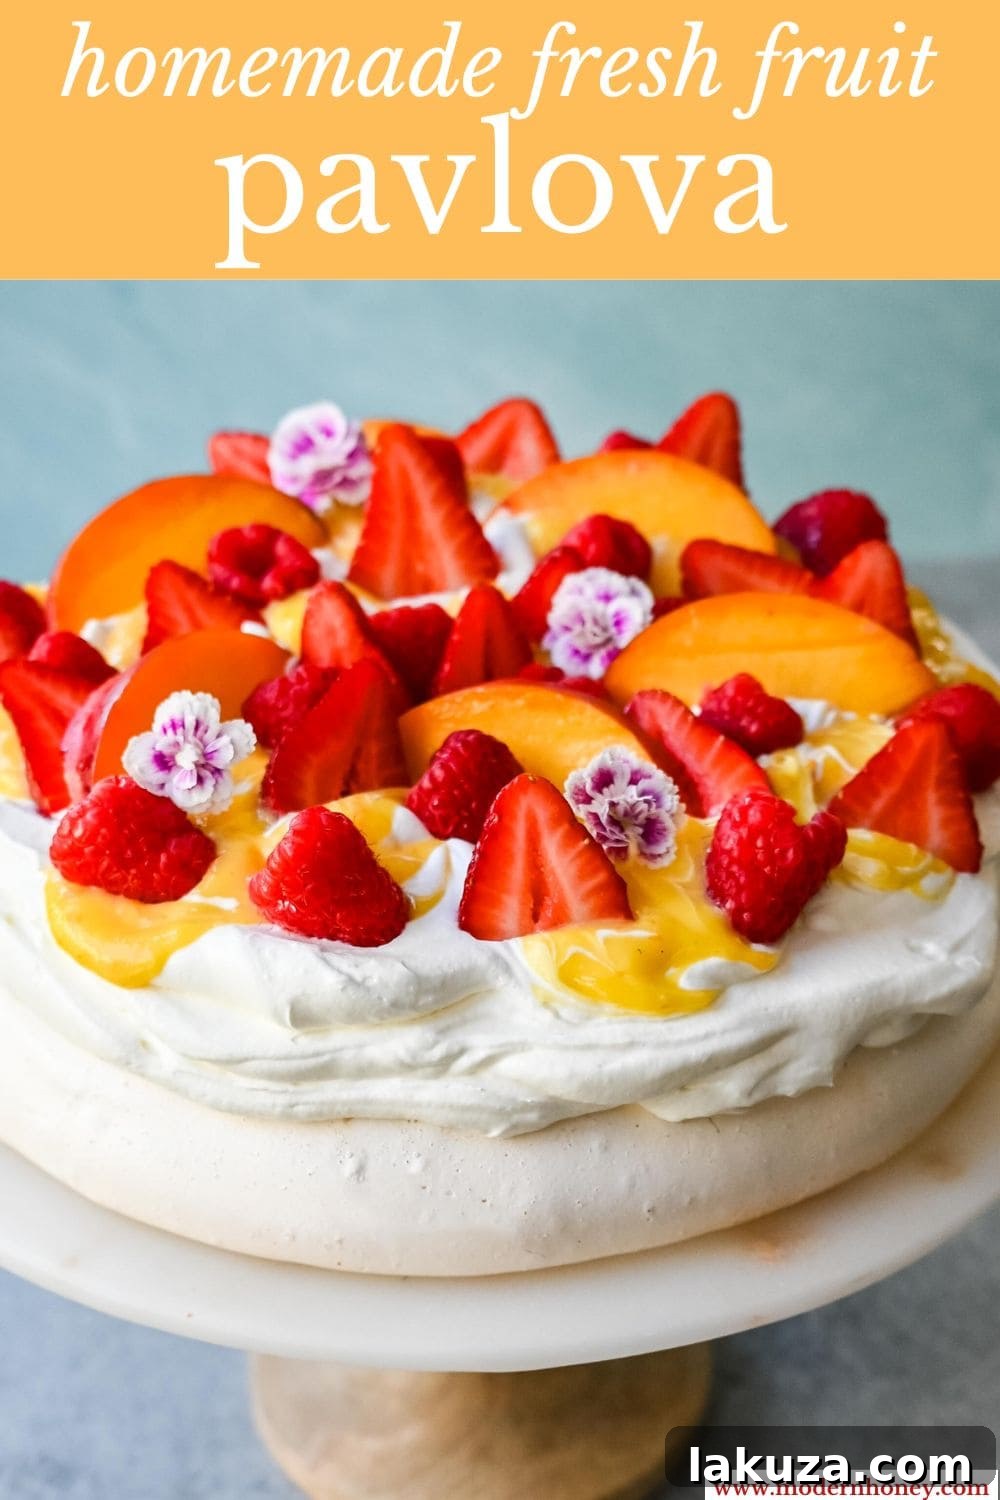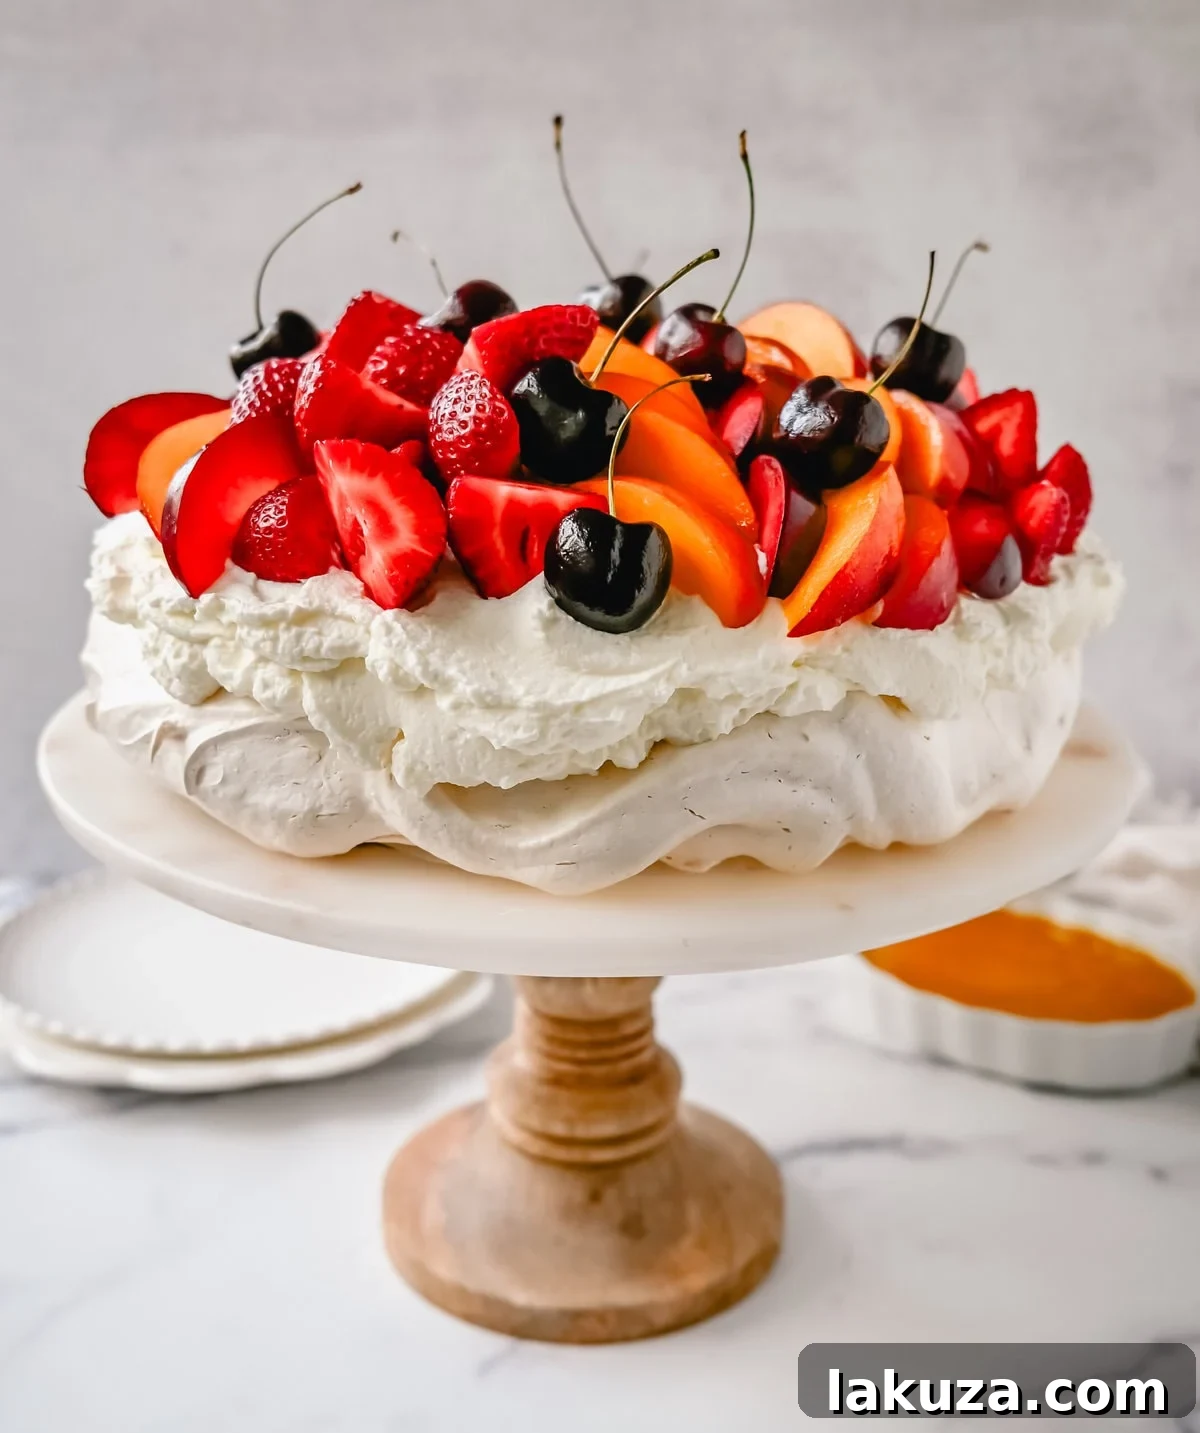
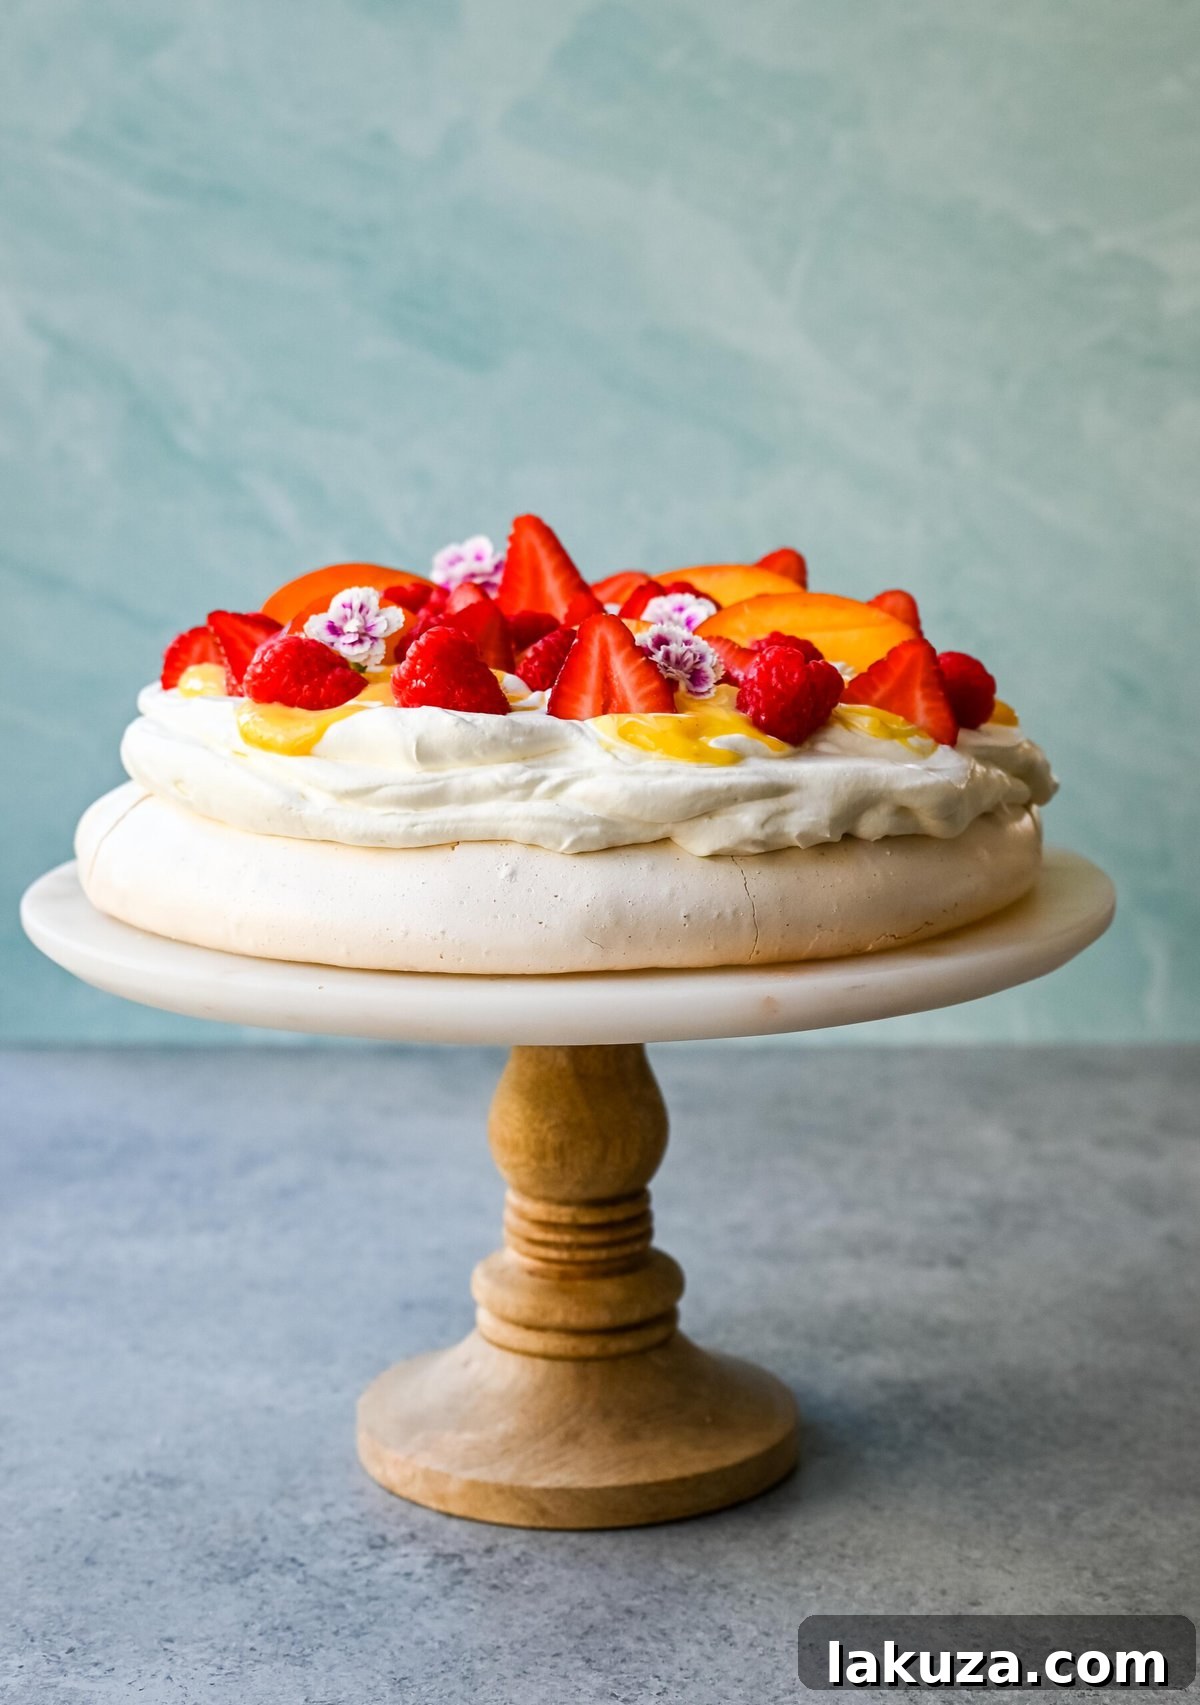
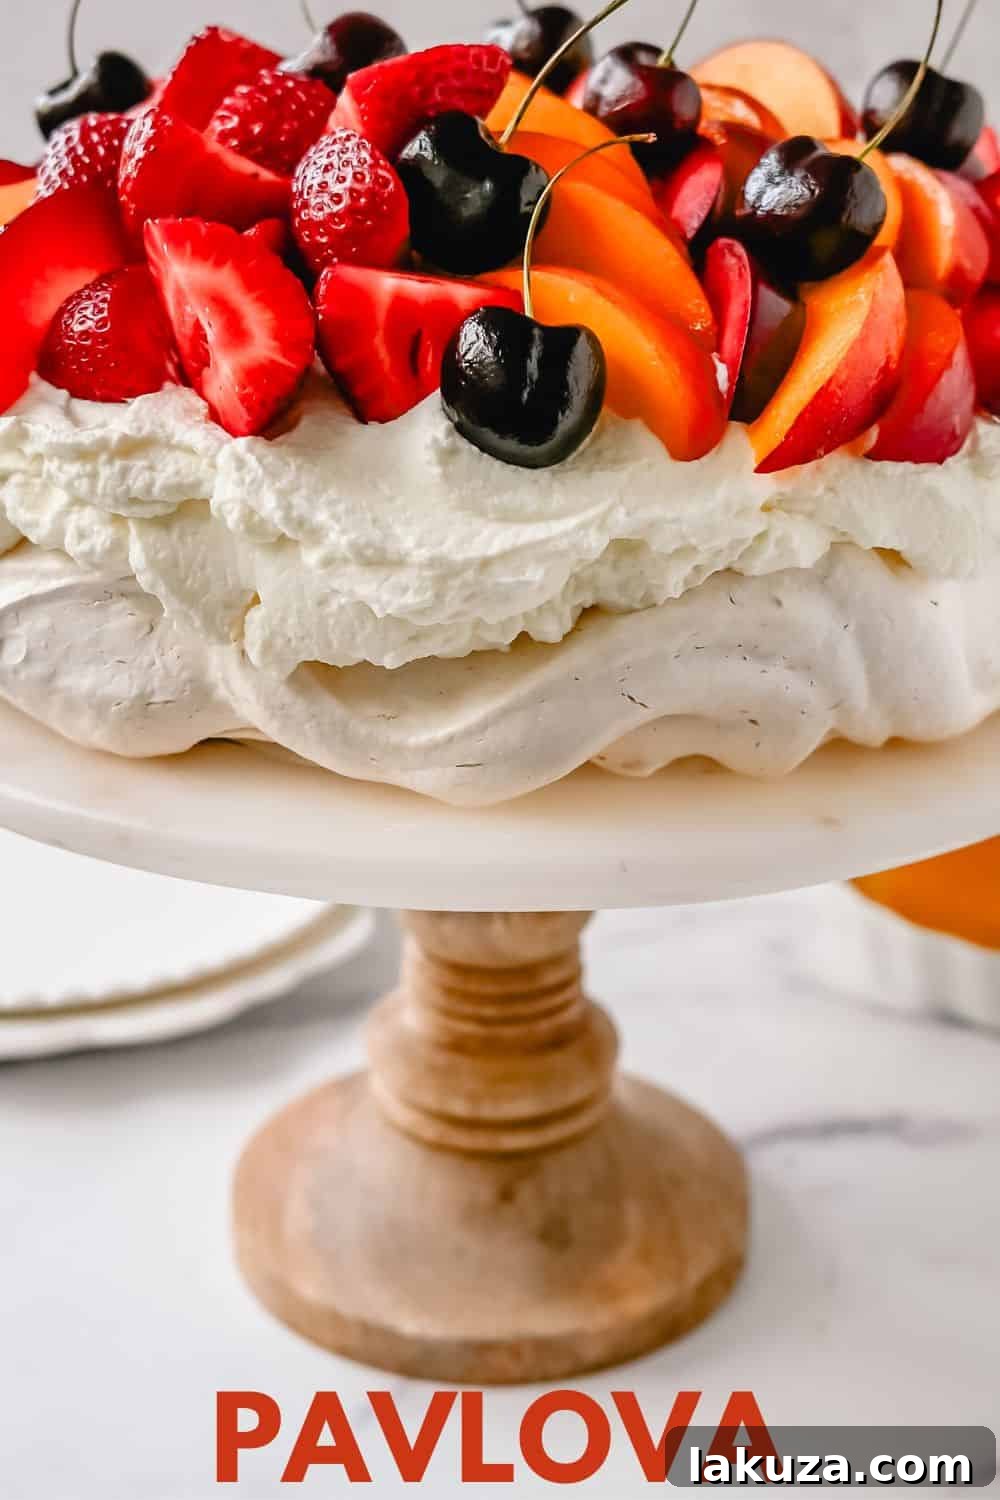
Pavlova is more than just a dessert; it’s a culinary spectacle, a delicate dance of textures and flavors that captivates both the eyes and the palate. This magnificent creation boasts a dramatically crisp, fragile outer shell that gives way to a surprisingly soft, airy, marshmallow-like center, all crowned with billows of fresh whipped cream and an abundance of vibrant, seasonal fresh fruits. Crafting a homemade pavlova transforms simple ingredients into an elegant masterpiece, making it a perfect showstopper for any gathering.
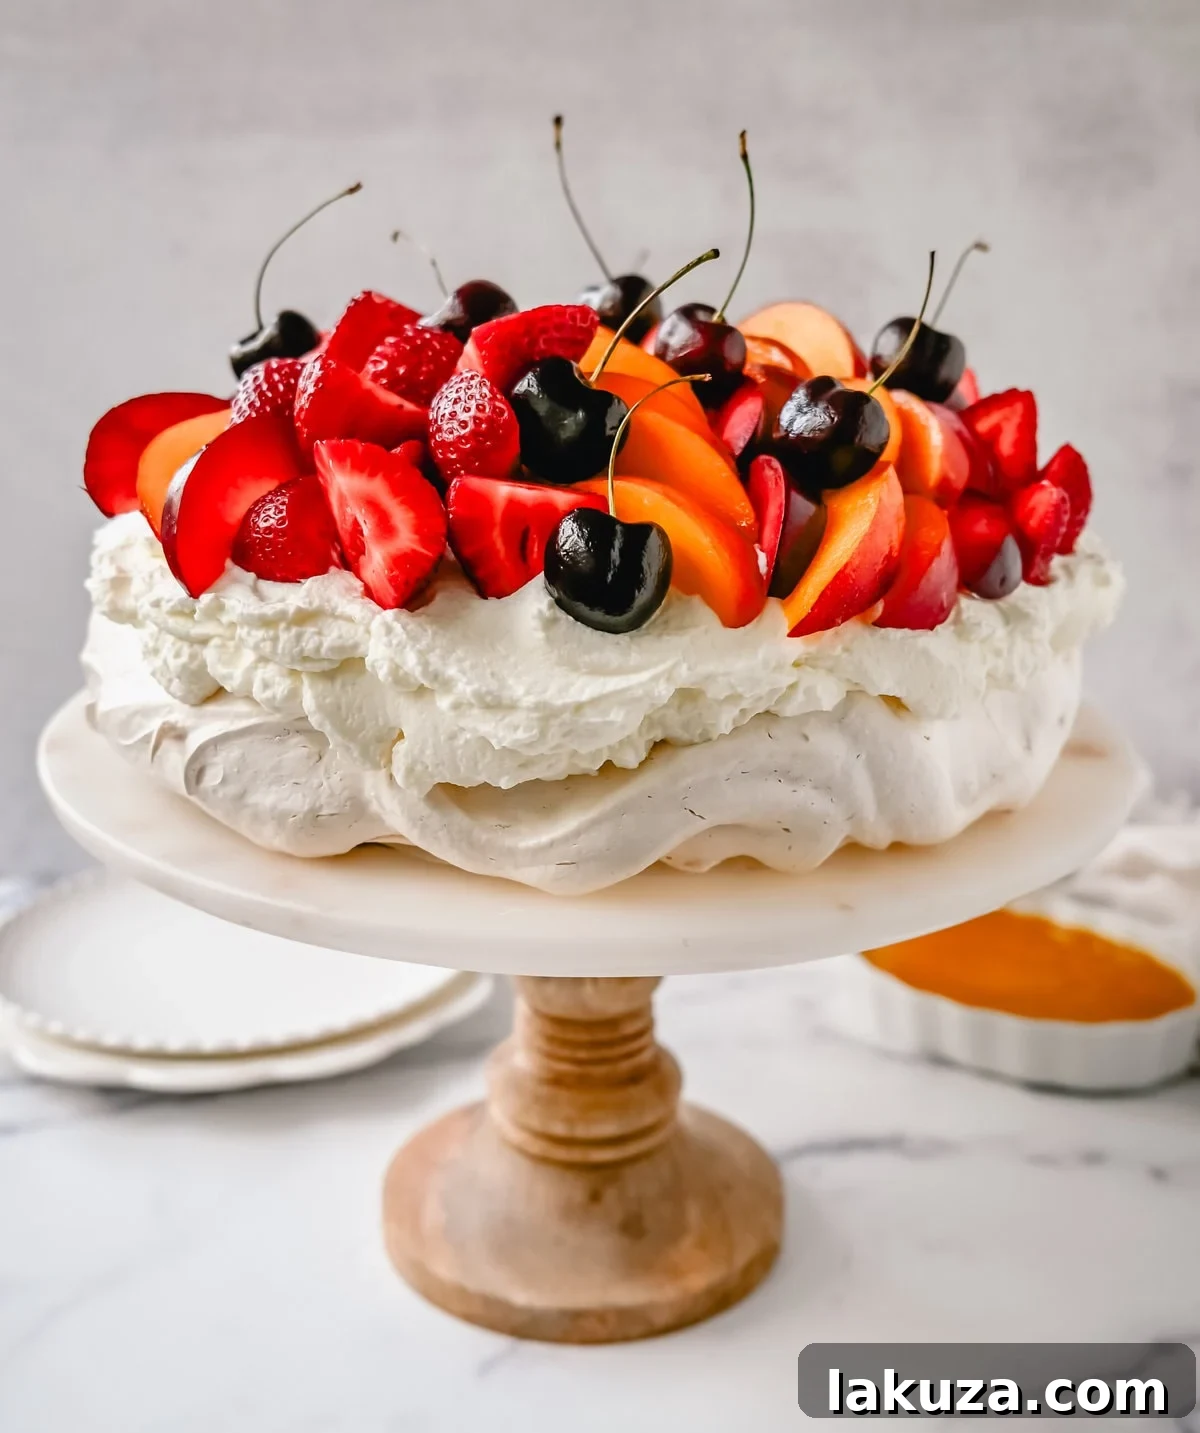
When you’re looking to truly impress guests, a pavlova stands out. Its unique construction and ethereal qualities set it apart from typical desserts, sparking intrigue and delight. Each bite offers a symphony of sensations – the satisfying crackle of the meringue, the melt-in-your-mouth cloud-like interior, the luxurious creaminess, and the refreshing tang of fresh fruit. It’s an artful dessert that perfectly balances sweetness with a zesty freshness, making it incredibly versatile and universally loved.
The origins of pavlova are famously debated between Australia and New Zealand, both claiming its invention in honor of the Russian ballerina Anna Pavlova during her tours in the 1920s. Regardless of its exact birthplace, this meringue-based dessert has enchanted diners worldwide for generations. Its elegance and relative simplicity in ingredients belie the impressive result, a true testament to the magic of baking.
At its heart, pavlova is a sophisticated meringue. It begins with egg whites whipped to stiff peaks, into which sugar is gradually incorporated, creating a stable, glossy structure. A touch of cornstarch ensures that signature marshmallowy center, while a pinch of salt balances the sweetness. While the process requires attention to detail, the reward of a perfectly crafted pavlova is immeasurable. This guide will walk you through every step to achieve pavlova perfection in your own kitchen.
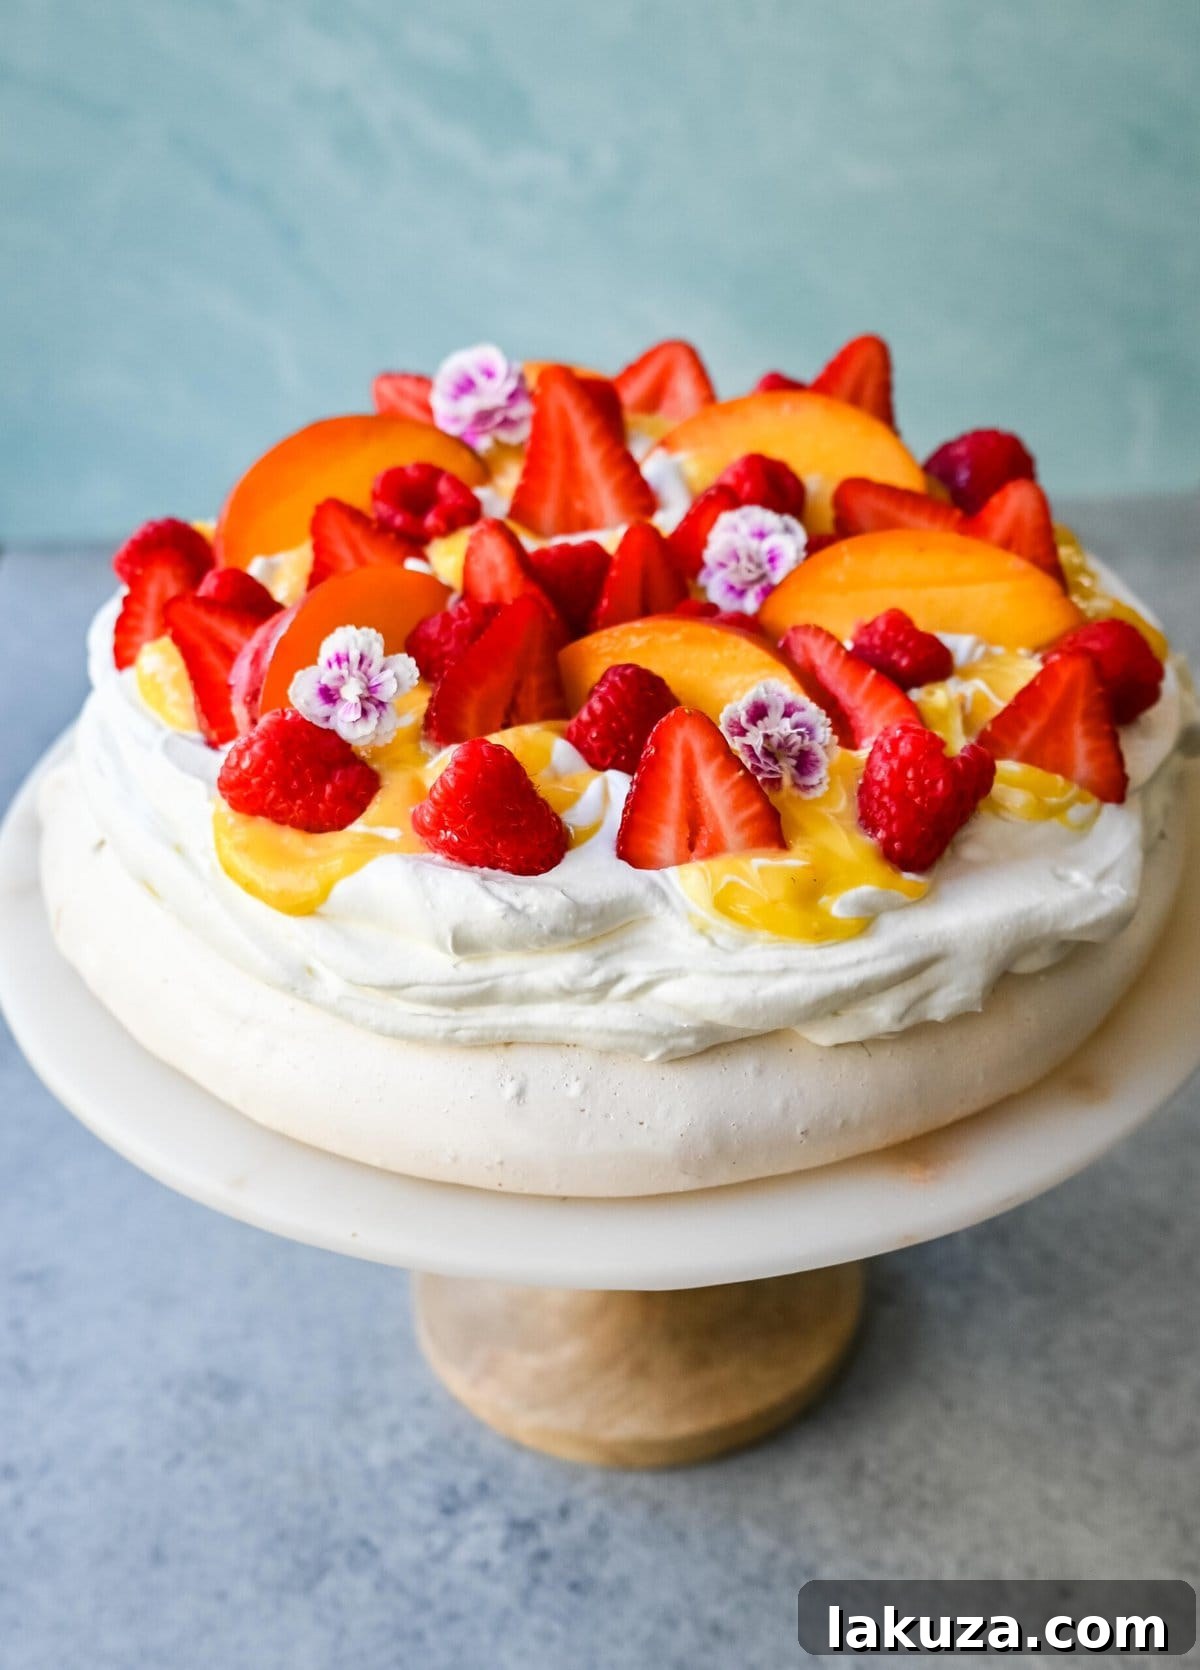
Why You’ll Fall in Love with Pavlova:
- Irresistible Texture Contrast: The delicate, crunchy shell paired with the unbelievably soft, marshmallowy core creates a textural dream that simply melts in your mouth. This unique contrast is what truly defines an exceptional pavlova.
- A Guaranteed Showstopper: With its magnificent height, pristine white meringue, and colorful fruit toppings, pavlova is an undeniable center-piece. It consistently garners admiration and is incredibly fun to customize with various fruits, curds, and sauces to suit any occasion or season.
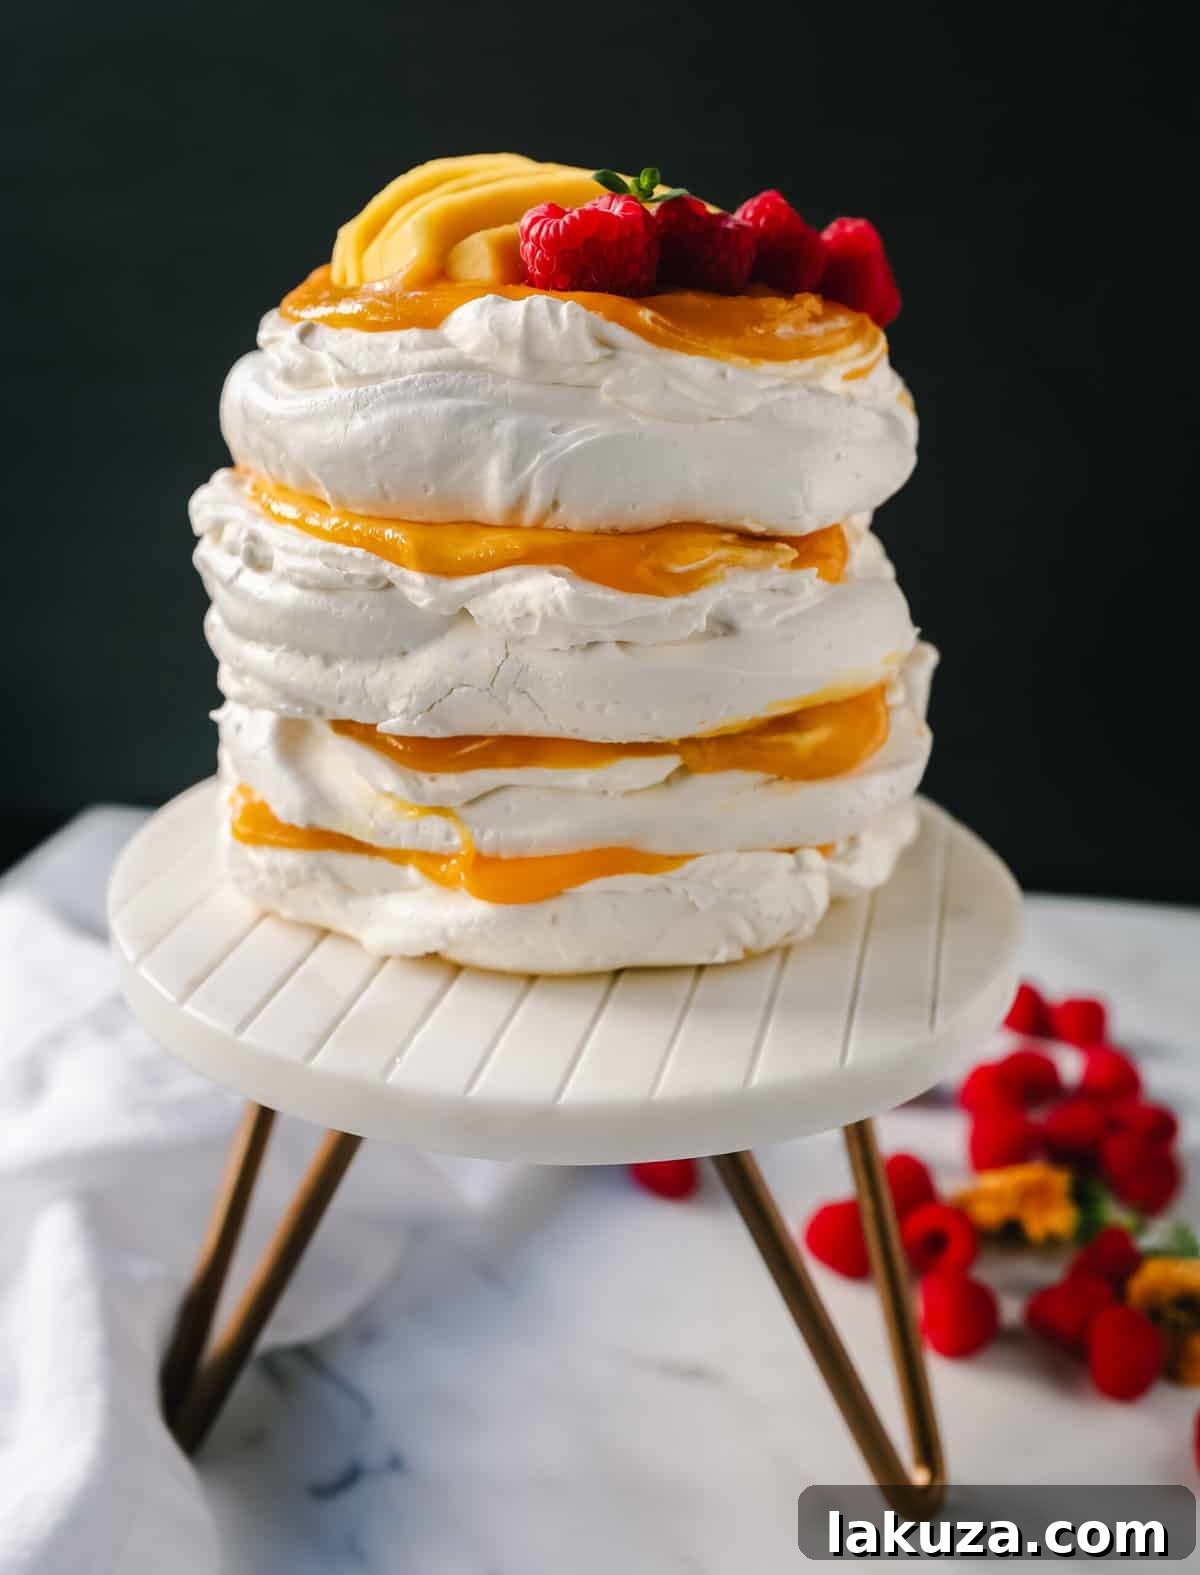
- Seasonal Versatility: Pavlova adapts beautifully to the changing seasons. Envision a vibrant summer pavlova bursting with juicy berries and a homemade lemon curd, or a tropical rendition featuring passionfruit curd and exotic mango. For cooler months, a winter pavlova could dazzle with sugared cranberries, roasted pears, or a spiced caramel sauce. Its adaptability makes it a year-round delight.
- Simple Ingredients, Elegant Outcome: Despite its grand appearance, pavlova is made from a handful of pantry staples. This means that with the right technique, anyone can create this impressive dessert at home, showcasing that sometimes the simplest components yield the most extraordinary results.
Essential Ingredients for Your Perfect Pavlova:
Achieving a flawless pavlova relies on quality ingredients and precise technique. Here’s a closer look at what you’ll need:
- Egg Whites: These are the foundation of your meringue. It is absolutely crucial that no trace of egg yolk contaminates the whites, as fat prevents them from whipping properly. Fresh, room-temperature egg whites yield the best volume and stability.
- Granulated Sugar: This provides structure and sweetness. For an exceptionally smooth meringue that dissolves perfectly, superfine sugar (caster sugar) is highly recommended, as its smaller crystals integrate more easily, reducing the risk of a “weeping” pavlova.
- Cornstarch: This secret ingredient is key to achieving the characteristic soft, marshmallowy center while ensuring the meringue retains its shape and crisp exterior. It adds a subtle thickening quality that makes all the difference.
- Salt: Just a small pinch enhances the flavor of the meringue and helps to stabilize the egg whites during whipping, contributing to a more robust structure.
- Heavy Cream: Whipped to light and airy perfection, heavy cream provides a rich, cooling contrast to the sweet meringue. Don’t be shy; a generous layer of cream is part of the pavlova experience! Ensure it’s very cold for optimal whipping.
- Powdered Sugar (for Cream): Used to sweeten the whipped cream. Adjust the amount to your personal preference for sweetness. Powdered sugar also helps to stabilize the whipped cream slightly.
- Vanilla Extract or Vanilla Bean Paste: High-quality vanilla is essential for infusing the whipped cream with a delightful aroma and flavor. Vanilla bean paste offers those beautiful specks of vanilla bean for an added gourmet touch.
- Fresh Fruit: The ultimate adornment! The sky’s the limit when it comes to fruit choices. The tartness and freshness of various fruits beautifully cut through the sweetness of the meringue and cream, creating a balanced and vibrant dessert.
The Best Toppings to Elevate Your Pavlova:
While classic whipped cream and fresh fruit are divine, pavlova offers a canvas for endless creativity with toppings. Here are some popular and delightful options to inspire you:
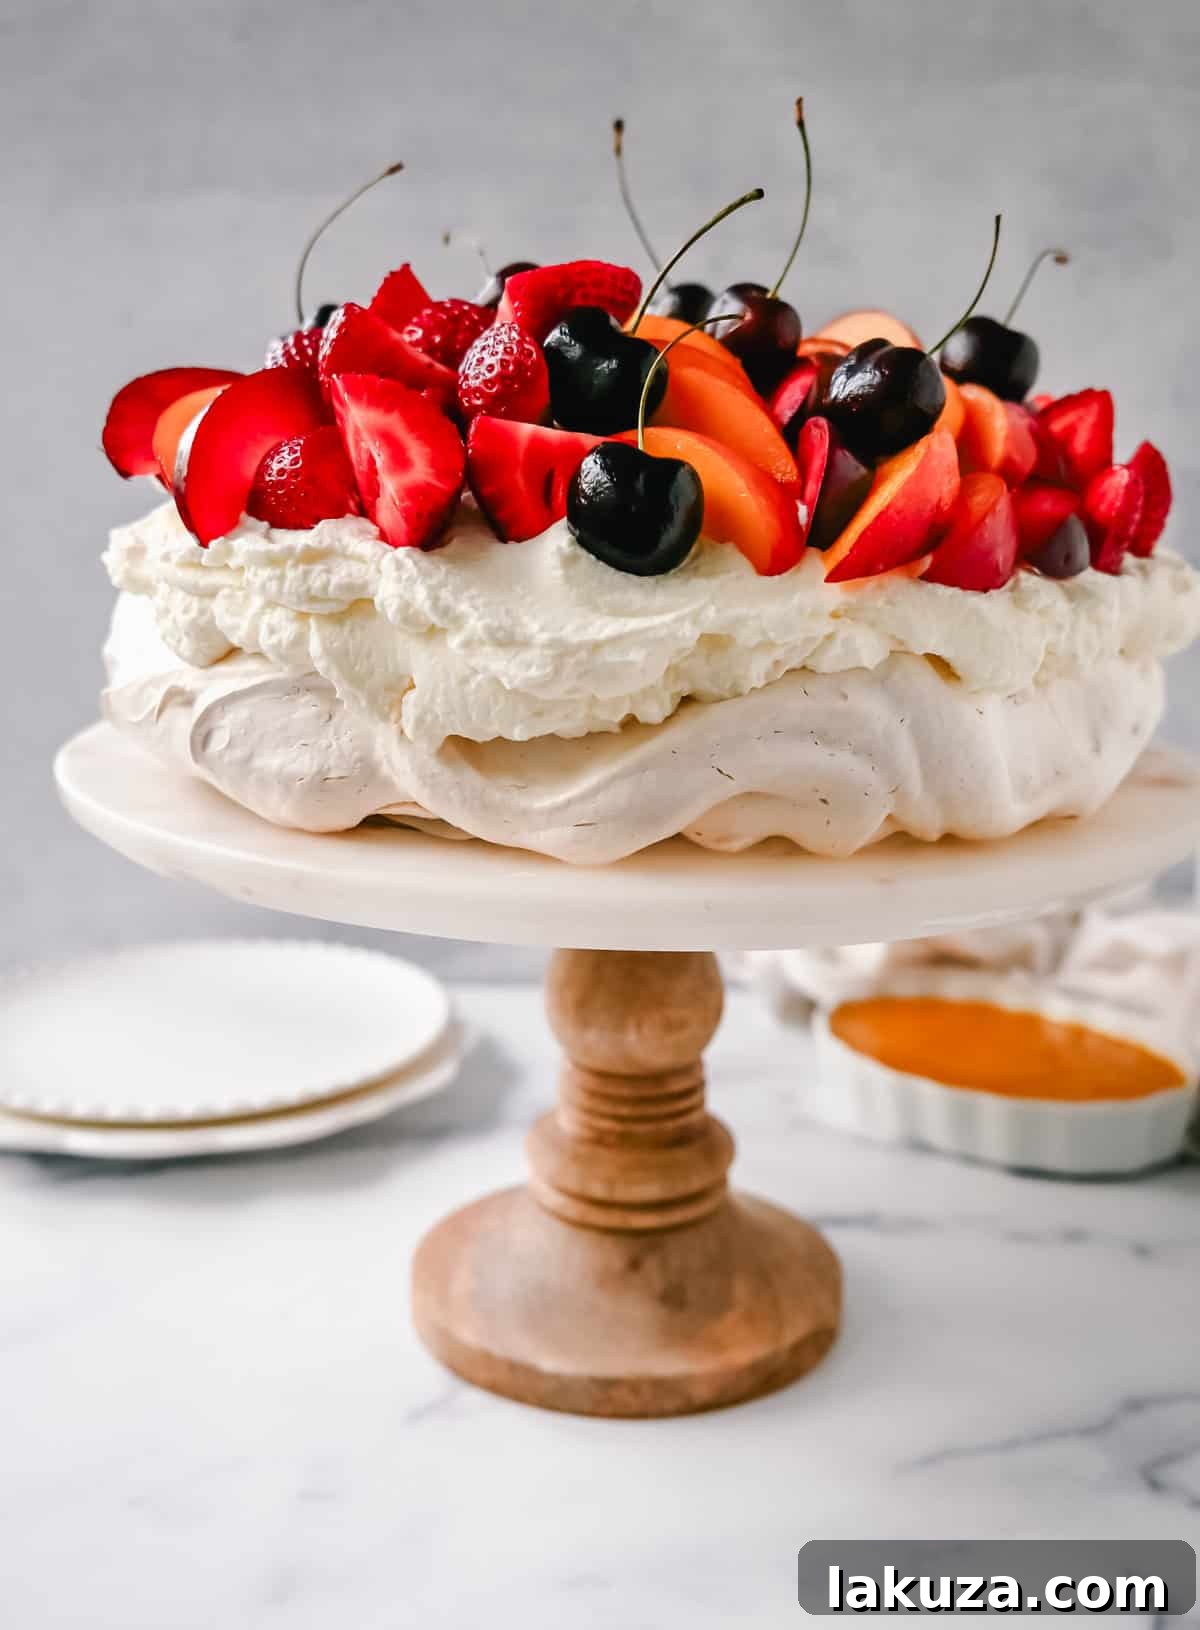
- Fresh Whipped Cream: A timeless choice. Lightly sweetened, it adds a cloud-like texture and creamy richness that perfectly complements the crisp meringue and fruity accents.
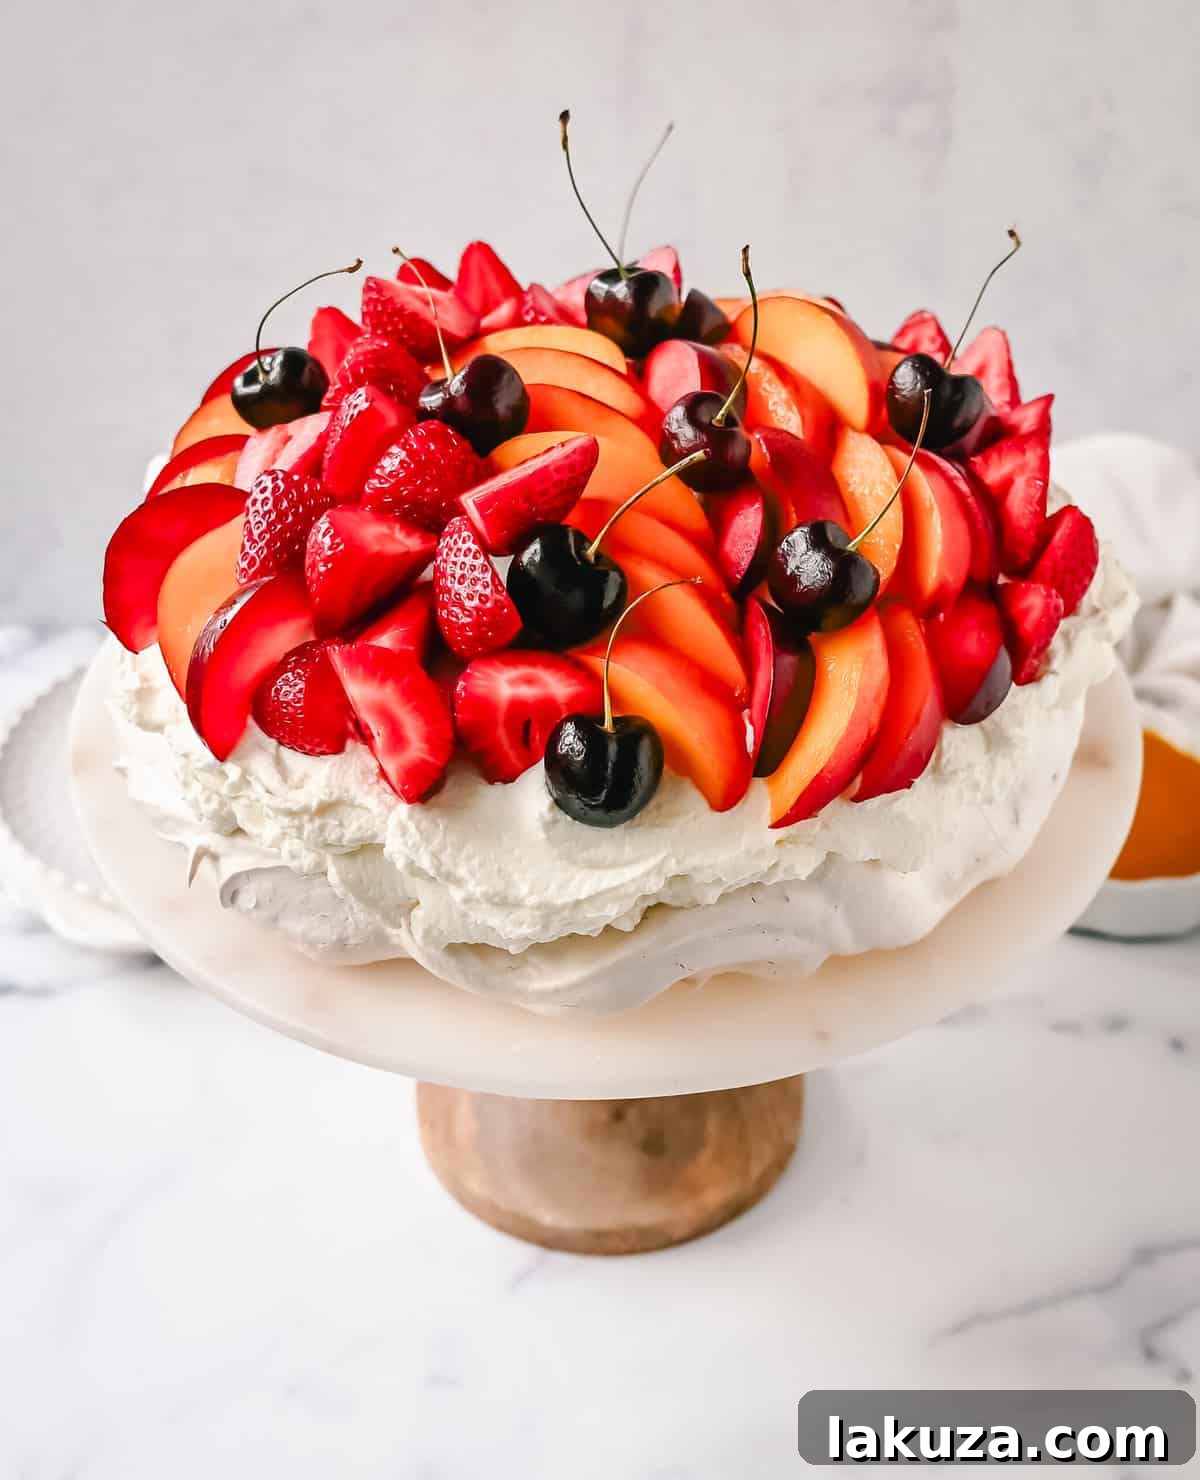
- Abundant Fresh Fruits: The quintessential pavlova topping. Consider a medley of strawberries, raspberries, blueberries, kiwi slices, peaches, mango, nectarines, plums, or tart passionfruit pulp. The natural acidity of these fruits provides a crucial balance to the dessert’s sweetness.
- Zesty Citrus Curds: For an exquisite tangy contrast, dollops of homemade lemon, passionfruit, or orange curd are simply divine. Their bright, piquant flavor cuts beautifully through the richness of the cream and meringue.
- Homemade Fruit Coulis: A vibrant berry coulis (strawberry, raspberry, or mixed berry) drizzled artfully over the cream and fruit adds another layer of fruitiness and an appealing visual flair.
- Edible Flowers: For a truly elegant presentation, scatter a few edible flowers like violets, pansies, or rose petals. They add delicate beauty and a subtle aromatic touch.
- Chocolate Shavings or Sauce: A drizzle of dark chocolate sauce or a sprinkle of chocolate shavings can add a touch of indulgence and depth, especially with berries.
- Nuts: Toasted slivered almonds or pistachios can add a subtle crunch and nutty flavor, if desired.
I personally adore pairing my pavlova with homemade curds. A few generous dollops of tangy lemon curd or exotic passionfruit curd layered over the whipped cream truly elevate the flavor profile. Alternatively, a homemade berry coulis sauce offers a beautiful drizzle and an extra burst of fresh fruit flavor.
Crafting Your Homemade Pavlova: A Step-by-Step Guide:
Follow these detailed steps to create a showstopping pavlova that’s crispy on the outside and wonderfully marshmallowy within:
- Prepare Your Workspace & Ingredients: Begin by preheating your oven to 310°F (155°C). Critically, ensure your mixing bowl and whisk attachments are immaculately clean and completely free of any grease or water, which can prevent egg whites from whipping properly. Carefully separate your egg whites from the yolks, making absolutely certain no yolk finds its way into the whites. Room temperature egg whites are ideal as they whip to a higher volume.
- Whip Egg Whites to Soft Peaks: Pour the room-temperature egg whites into your clean mixing bowl. Start whipping them on medium-high speed until they become frothy and soft peaks form (this usually takes about 4-5 minutes). The whites should hold a gentle curl when the whisk is lifted.
- Gradually Add Sugar for Glossy Meringue: With the mixer still running on high speed, begin adding the granulated sugar, one tablespoon at a time, allowing each addition to fully dissolve before adding the next. This slow incorporation is vital for a stable, glossy meringue. Continue beating for at least 3 minutes after all the sugar has been added, until the meringue is thick, shiny, and holds very stiff peaks. You should be able to rub a tiny bit between your fingers and feel no grittiness from undissolved sugar.
- Incorporate Cornstarch and Salt: Gently add the cornstarch and a pinch of salt to the meringue. Briefly whip on low speed, just until they are barely combined (about 5 seconds). Overmixing at this stage can deflate the meringue.
- Shape Your Pavlova: Line a large baking sheet with parchment paper. You can trace a circle (e.g., using the bottom of a springform pan) on the parchment paper as a guide for shaping your pavlova. Carefully transfer the meringue onto the center of the parchment paper. Use a spatula to spread it into a circle, creating a slight well in the center for your toppings. You can make the sides slightly higher than the center to form a natural “nest.”
- Bake Low and Slow: Carefully transfer the baking sheet to your preheated oven. Immediately reduce the oven temperature to 250°F (120°C). Bake the pavlova for 1 hour and 10 minutes. This low and slow baking is crucial for drying out the meringue and achieving the perfect texture without browning it too much.
- The Critical Cooling Phase: This is perhaps the most important step for preventing cracks. After the baking time, DO NOT open the oven door. Turn off the oven completely and let the pavlova remain undisturbed inside for at least 2 hours, or ideally overnight. This gradual cooling process prevents sudden temperature changes that can cause the meringue to crack or collapse.
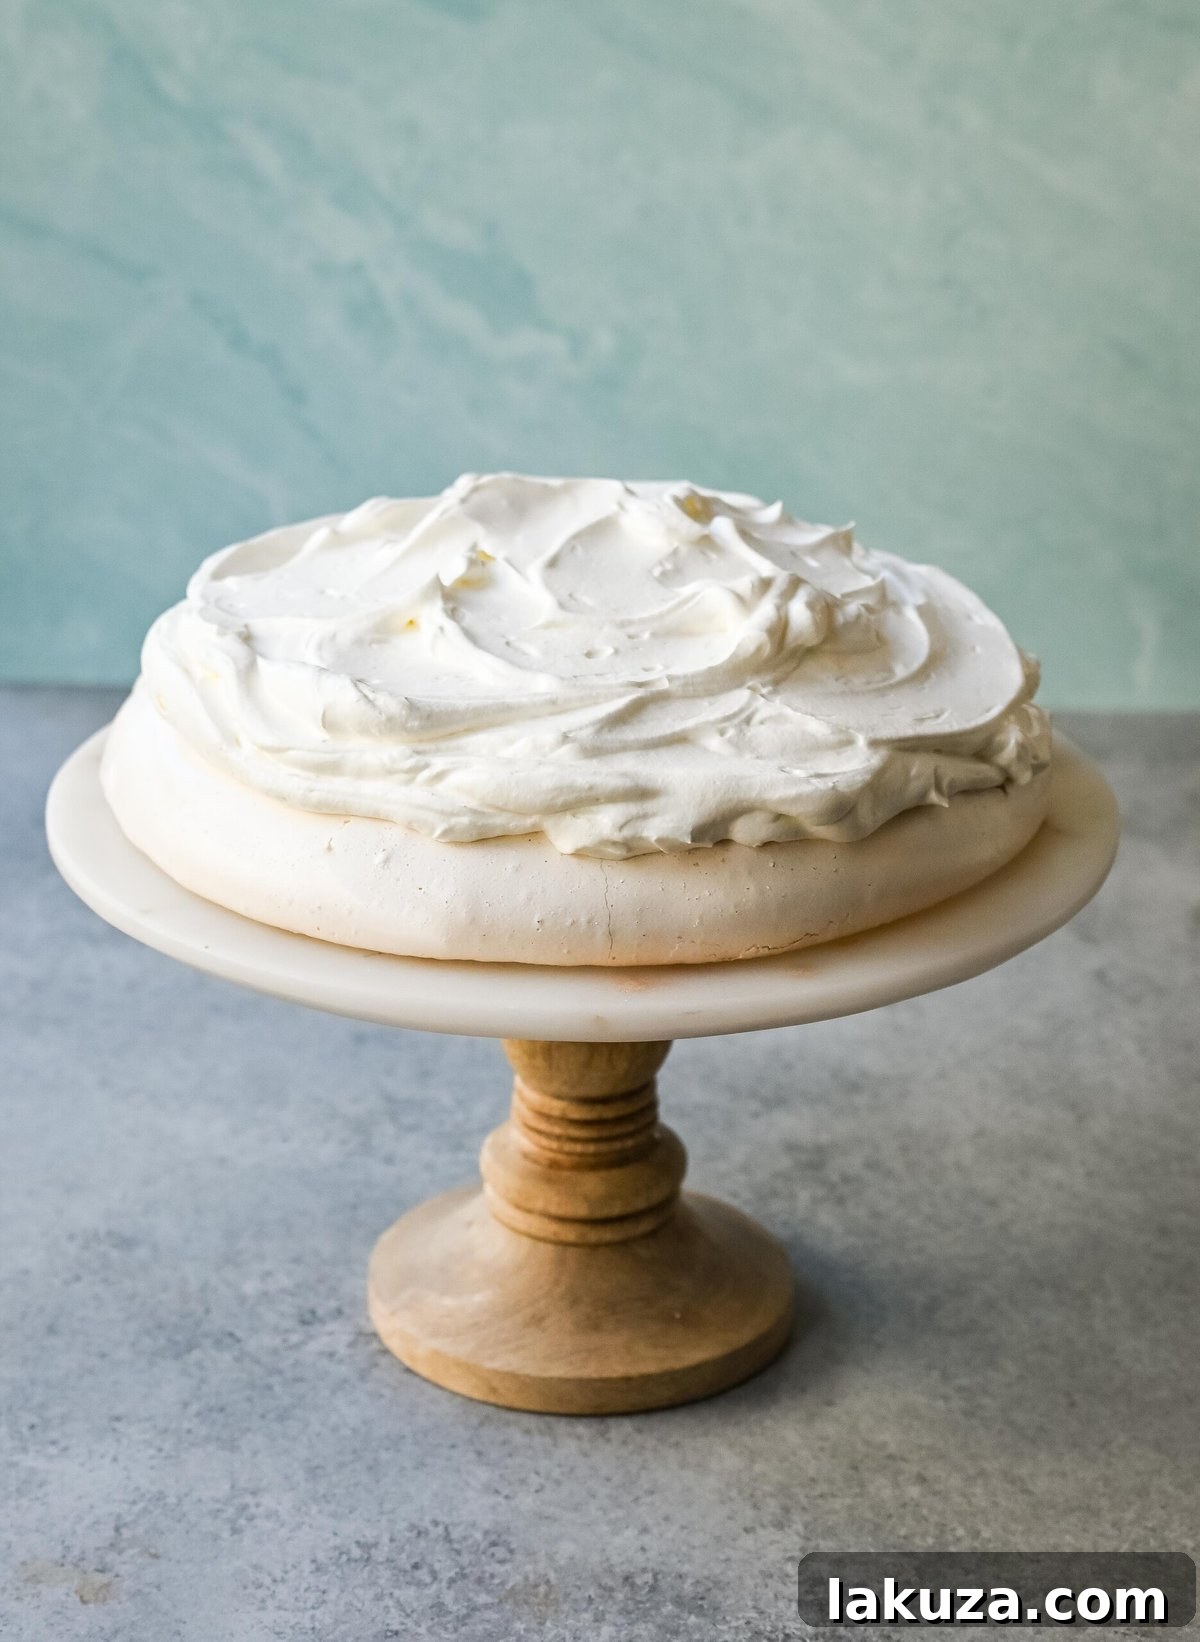
- Remove and Cool Completely: Once the pavlova has cooled completely inside the oven, gently remove it. It should feel crisp and lightweight. Handle with extreme care as it can be fragile.
- Prepare Whipped Cream and Assemble: In a separate, chilled bowl, whip the cold heavy cream with powdered sugar until soft peaks form. Fold in the vanilla bean paste or extract. Carefully spread the whipped cream mixture over the cooled pavlova shell, filling the well you created.
- Garnish and Serve Immediately: Arrange your chosen fresh fruits generously over the whipped cream. If using, add dollops of curd or a drizzle of coulis. Pavlova is best enjoyed as soon as it’s assembled to savor its ideal texture.
Top Tip for Pavlova Perfection:
Resist the temptation to open the oven door during baking or cooling! This sudden change in temperature is the primary cause of pavlova sinking or cracking. Patience is truly a virtue when making this delicate dessert.
Preventing Cracks in Your Pavlova:
Cracking is a common concern for pavlova bakers, but it’s largely preventable with careful attention to temperature. The key is to bake low and slow, and crucially, to allow for a very gradual cooling process. Here are the essential tips to ensure a beautifully intact pavlova:
- Initial Oven Temperature Reduction: Once the pavlova is placed in the oven, immediately reduce the heat from 310°F (155°C) to 250°F (120°C). This allows the meringue to begin drying out gently without rapidly expanding and shrinking.
- Maintain Oven Seal During Baking: Under no circumstances should you open the oven door during the entire baking time (1 hour 10 minutes). Peeking, no matter how briefly, introduces a blast of cold air that can cause the delicate meringue structure to collapse and crack.
- Gradual Oven Cooling: After the baking time is complete, turn off the oven but leave the pavlova inside, with the oven door firmly closed, for at least 2 hours. Even better, let it cool completely overnight. This slow, controlled descent in temperature is paramount. It allows the internal structure of the meringue to stabilize fully, preventing the stress that leads to cracking when exposed to cooler air too quickly.
- Proper Meringue Consistency: Ensure your meringue is whipped to stiff, glossy peaks. A well-whipped, stable meringue is less prone to cracking.
Frequently Asked Questions (FAQ’s) About Pavlova:
Cracking is almost always due to sudden temperature changes. To prevent this, always allow your pavlova to cool down very slowly inside the oven with the door closed after baking. Rapid cooling causes the meringue to contract too quickly, leading to cracks.
A perfectly baked pavlova should be crisp and dry to the touch on the outside. If you gently tap or press the center, it should yield slightly, indicating the soft, marshmallowy interior. The exterior color should remain a pale white or a very light beige, not browned.
“Weeping” occurs when sugar in the meringue doesn’t fully dissolve during the whipping process, or if the pavlova is exposed to high humidity. To avoid this, ensure you whip the egg whites and sugar until the meringue is very glossy and you can’t feel any sugar crystals when rubbed between your fingers. Also, try to bake pavlova on a dry, low-humidity day if possible.
Yes, you can adjust the size! For smaller individual pavlovas, simply spoon smaller mounds of meringue onto the parchment paper. Baking time will be shorter, so keep a close eye on them. For a larger pavlova, you may need to increase baking time slightly and ensure thorough cooling. Always maintain the low oven temperature.
Granulated sugar works well, but superfine sugar (also known as caster sugar) is often preferred. Its smaller crystals dissolve more quickly and thoroughly into the egg whites, leading to a more stable, glossy, and less prone-to-weeping meringue. This results in a smoother, more consistent texture.
Storage and Making Ahead:
For the absolute best texture, a pavlova is ideally enjoyed fresh, shortly after assembly. The crisp edges and soft center are at their peak. Once the whipped cream and fruit are added, the meringue will gradually start to absorb moisture, softening its characteristic crunch over time.
If you must store an assembled pavlova, cover it loosely and refrigerate. It will remain delicious for about 1-2 days, though the meringue’s crispness will diminish. For making ahead, you can bake the meringue shell up to 2-3 days in advance. Store the cooled, unadorned meringue shell in an airtight container at room temperature (never in the refrigerator, as it can soften). Assemble with cream and fruit just before serving for the optimal experience.
Explore More Delightful Fruit Desserts:
If you love the freshness of fruit in your desserts, explore these other fantastic recipes, perfect for any season!
Luscious Lemon Raspberry Cake
Magnolia Bakery Peach Crisp Pudding
Jeff’s Famous Banana Cake Recipe
Delightful Lemon Blueberry Cake
Print Recipe
Classic Homemade Pavlova
A stunning dessert featuring a crisp, crunchy meringue shell with a soft, marshmallowy center. Beautifully topped with fresh whipped cream and an assortment of fresh fruits, this homemade pavlova is designed to impress any crowd!
Ingredients
For the Pavlova Meringue:
- 6 large Egg Whites (room temperature)
- 1 1/2 cups Granulated Sugar (superfine sugar recommended)
- 2 Tablespoons Cornstarch
- Pinch of Salt
For the Whipped Cream Topping:
- 1 1/2 cups Heavy Cream (very cold)
- 1/2 to 3/4 cup Powdered Sugar (adjust to taste)
- 1 teaspoon Vanilla Bean Paste or high-quality Vanilla Extract
For Garnish (Fresh Fruits):
- Assorted fresh fruits such as Strawberries, Peaches, Raspberries, Mango, Nectarines, Blackberries, Cherries, Passionfruit, Kiwi, Blueberries, etc.
Instructions
-
Preheat oven to 310°F (155°C). Ensure your mixing bowl and whisk are impeccably clean and grease-free. Carefully separate egg whites from yolks; even a tiny drop of yolk can prevent the whites from whipping. Use room temperature egg whites for best results.
-
Whip egg whites on high speed until soft peaks form, approximately 4-5 minutes. Slowly add the sugar, one tablespoon at a time, continuously whipping. After all sugar is incorporated, continue beating for another 3 minutes until the meringue is very thick, glossy, and holds stiff peaks.
-
Gently fold in cornstarch and a pinch of salt. Mix just until combined, about 5 seconds, to avoid deflating the meringue.
-
Shape the pavlova base. Line a large baking sheet with parchment paper. Spoon the meringue into the center, spreading it into a desired circle (e.g., 8-10 inches) and forming a slight indentation in the center with higher edges to create a “nest” for the toppings.
-
Bake and Cool. Carefully place the baking sheet in the preheated oven. Immediately reduce the oven temperature to 250°F (120°C). Bake for 1 hour and 10 minutes. Crucially, DO NOT open the oven door during baking. Once baking is complete, turn off the oven but leave the pavlova inside with the door closed for at least 2 hours, or ideally overnight, allowing it to cool completely and gradually. Gently remove the cooled pavlova from the oven.
-
Assemble and Serve. In a separate chilled bowl, whip the cold heavy cream with powdered sugar until soft peaks form. Fold in the vanilla bean paste or extract. Carefully spread the whipped cream over the cooled pavlova shell. Generously top with your chosen fresh fruits. Serve immediately to enjoy the perfect crisp and soft textures!
Notes
Storage and Making Ahead:
For optimal enjoyment, consume this pavlova as soon as possible after assembly. The whipped cream will eventually cause the meringue to soften, losing its crisp edges over time.
Store any leftovers, loosely covered, in the refrigerator. The meringue shell itself can be made 2-3 days in advance and stored in an airtight container at room temperature before assembly.
Nutrition Information (Approximate)
Carbohydrates: 32g,
Protein: 3g,
Fat: 11g,
Saturated Fat: 7g,
Polyunsaturated Fat: 0.5g,
Monounsaturated Fat: 3g,
Cholesterol: 34mg,
Sodium: 36mg,
Potassium: 56mg,
Fiber: 0.01g,
Sugar: 31g,
Vitamin A: 437IU,
Vitamin C: 0.2mg,
Calcium: 21mg,
Iron: 0.1mg
Nutrition information is automatically calculated and should be used as an approximation. Actual values may vary.
Additional Recipe Details
Jump to Comments