
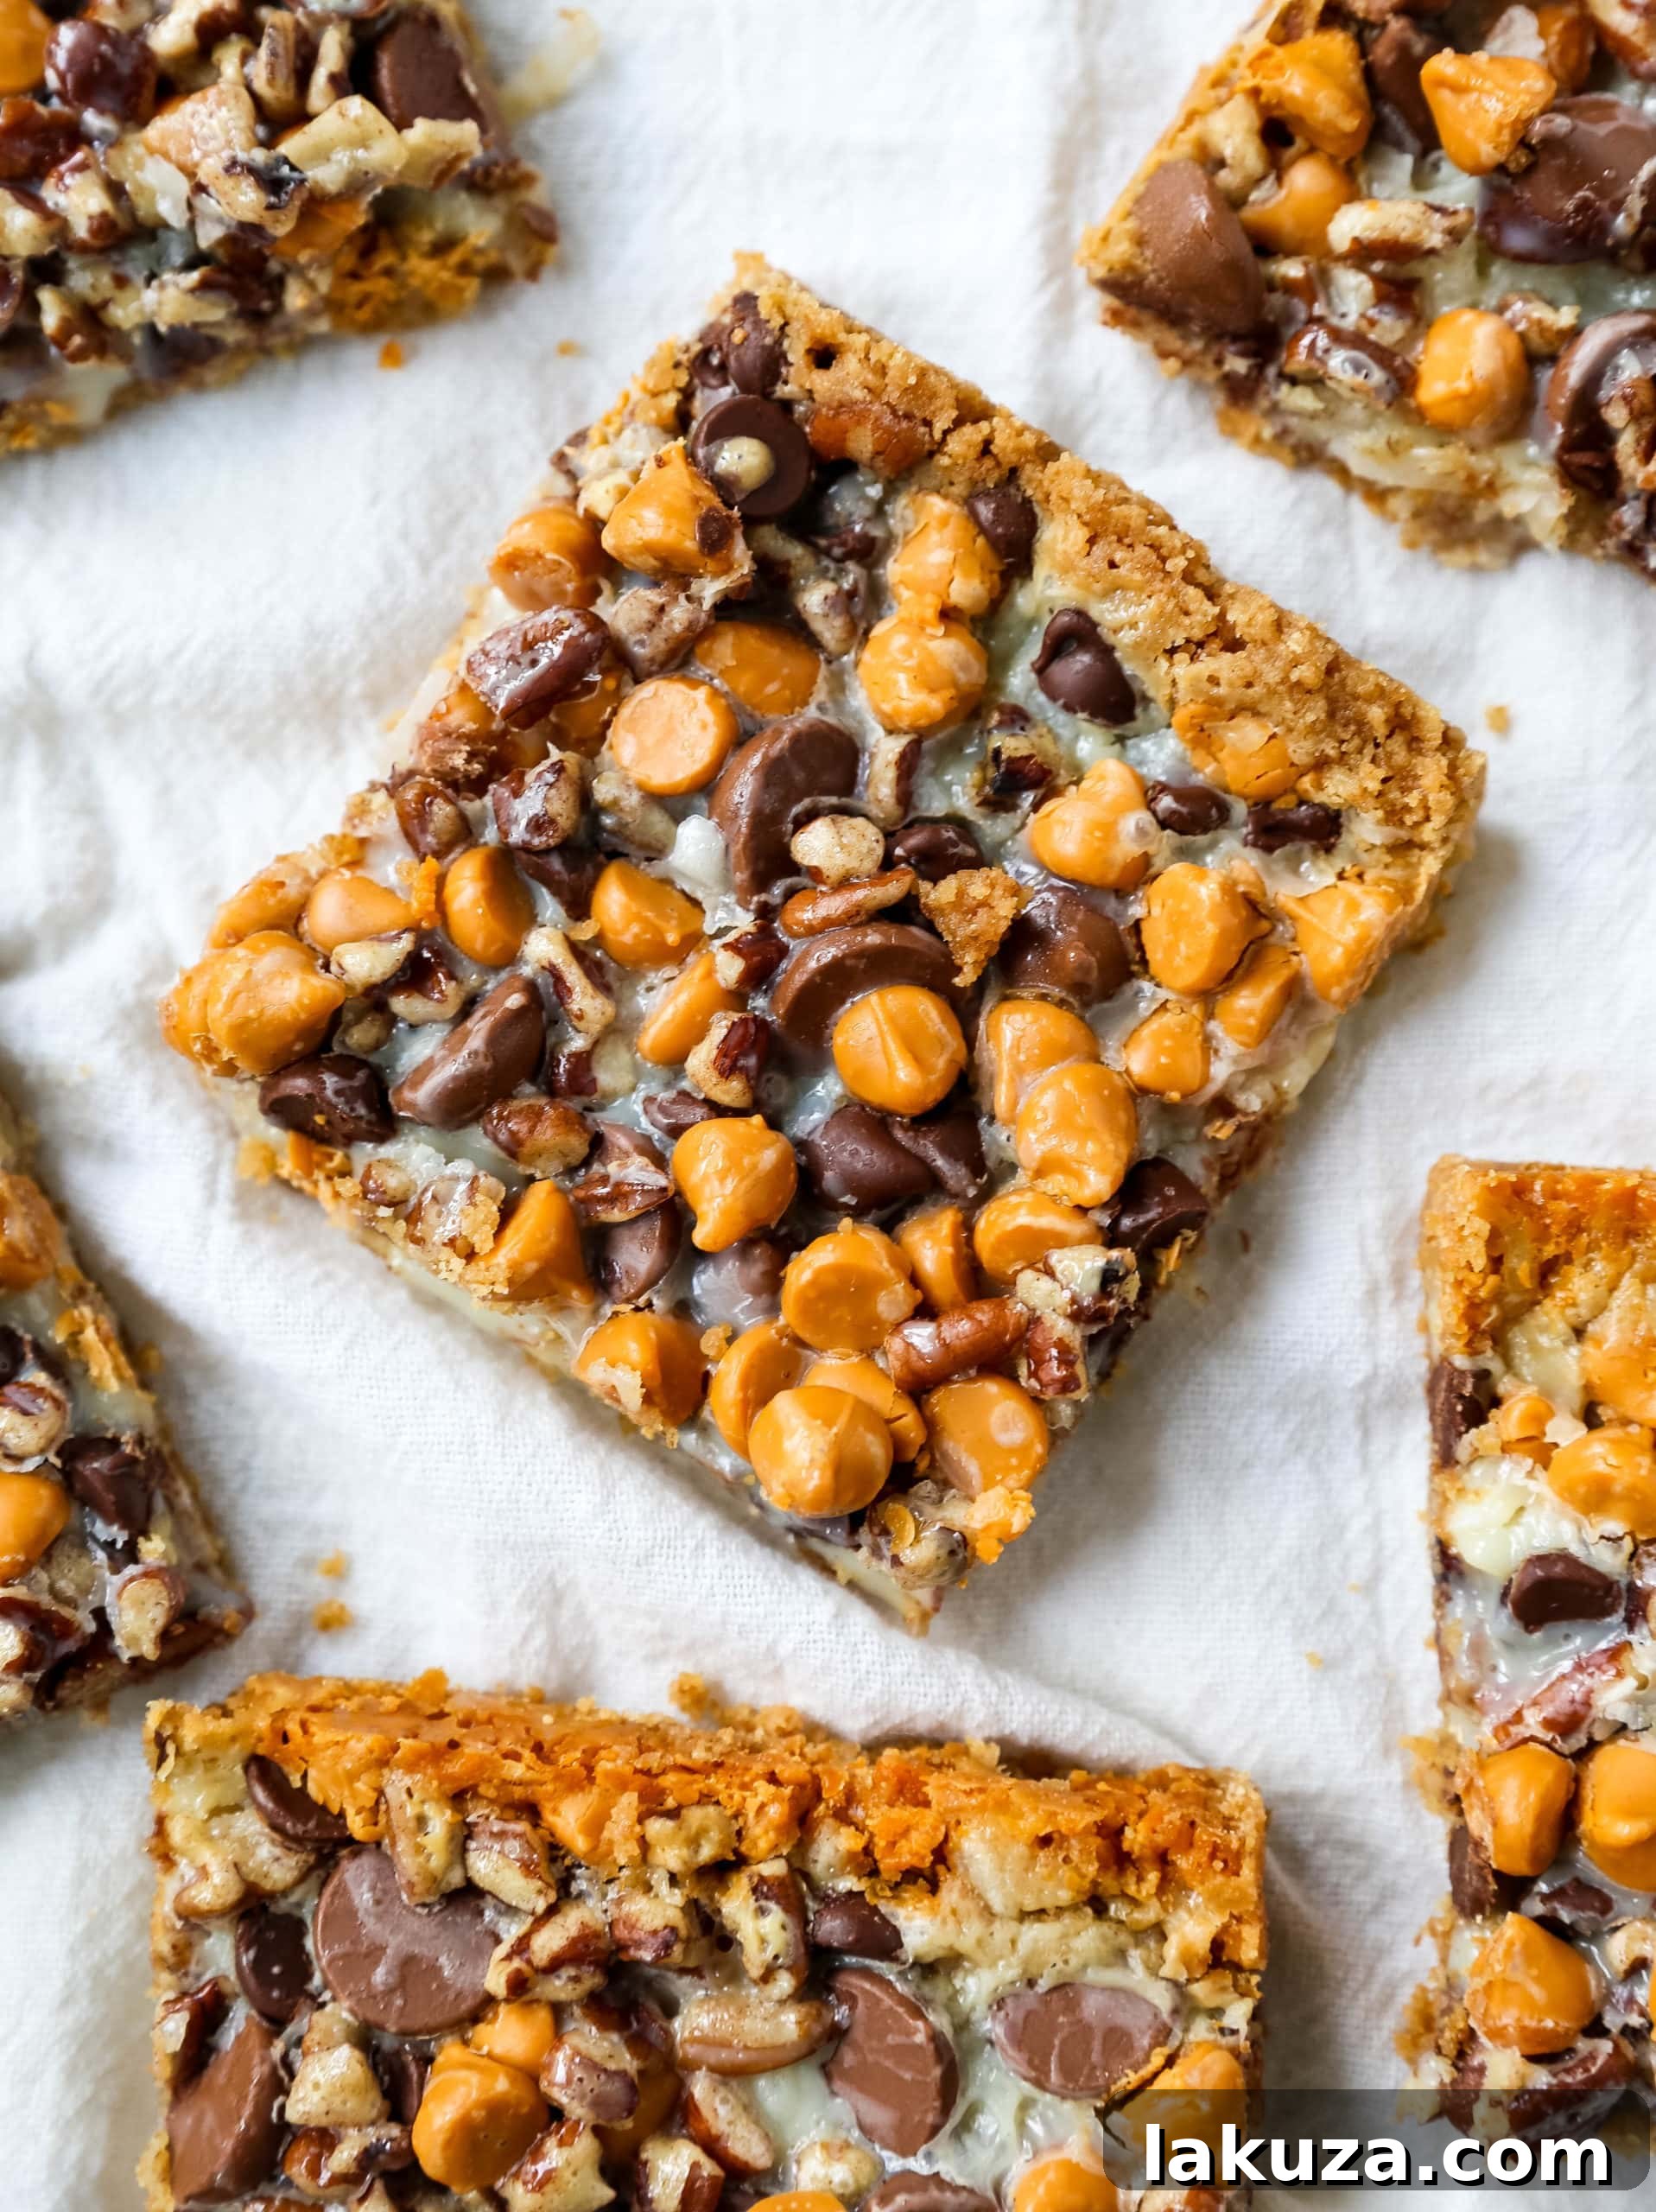
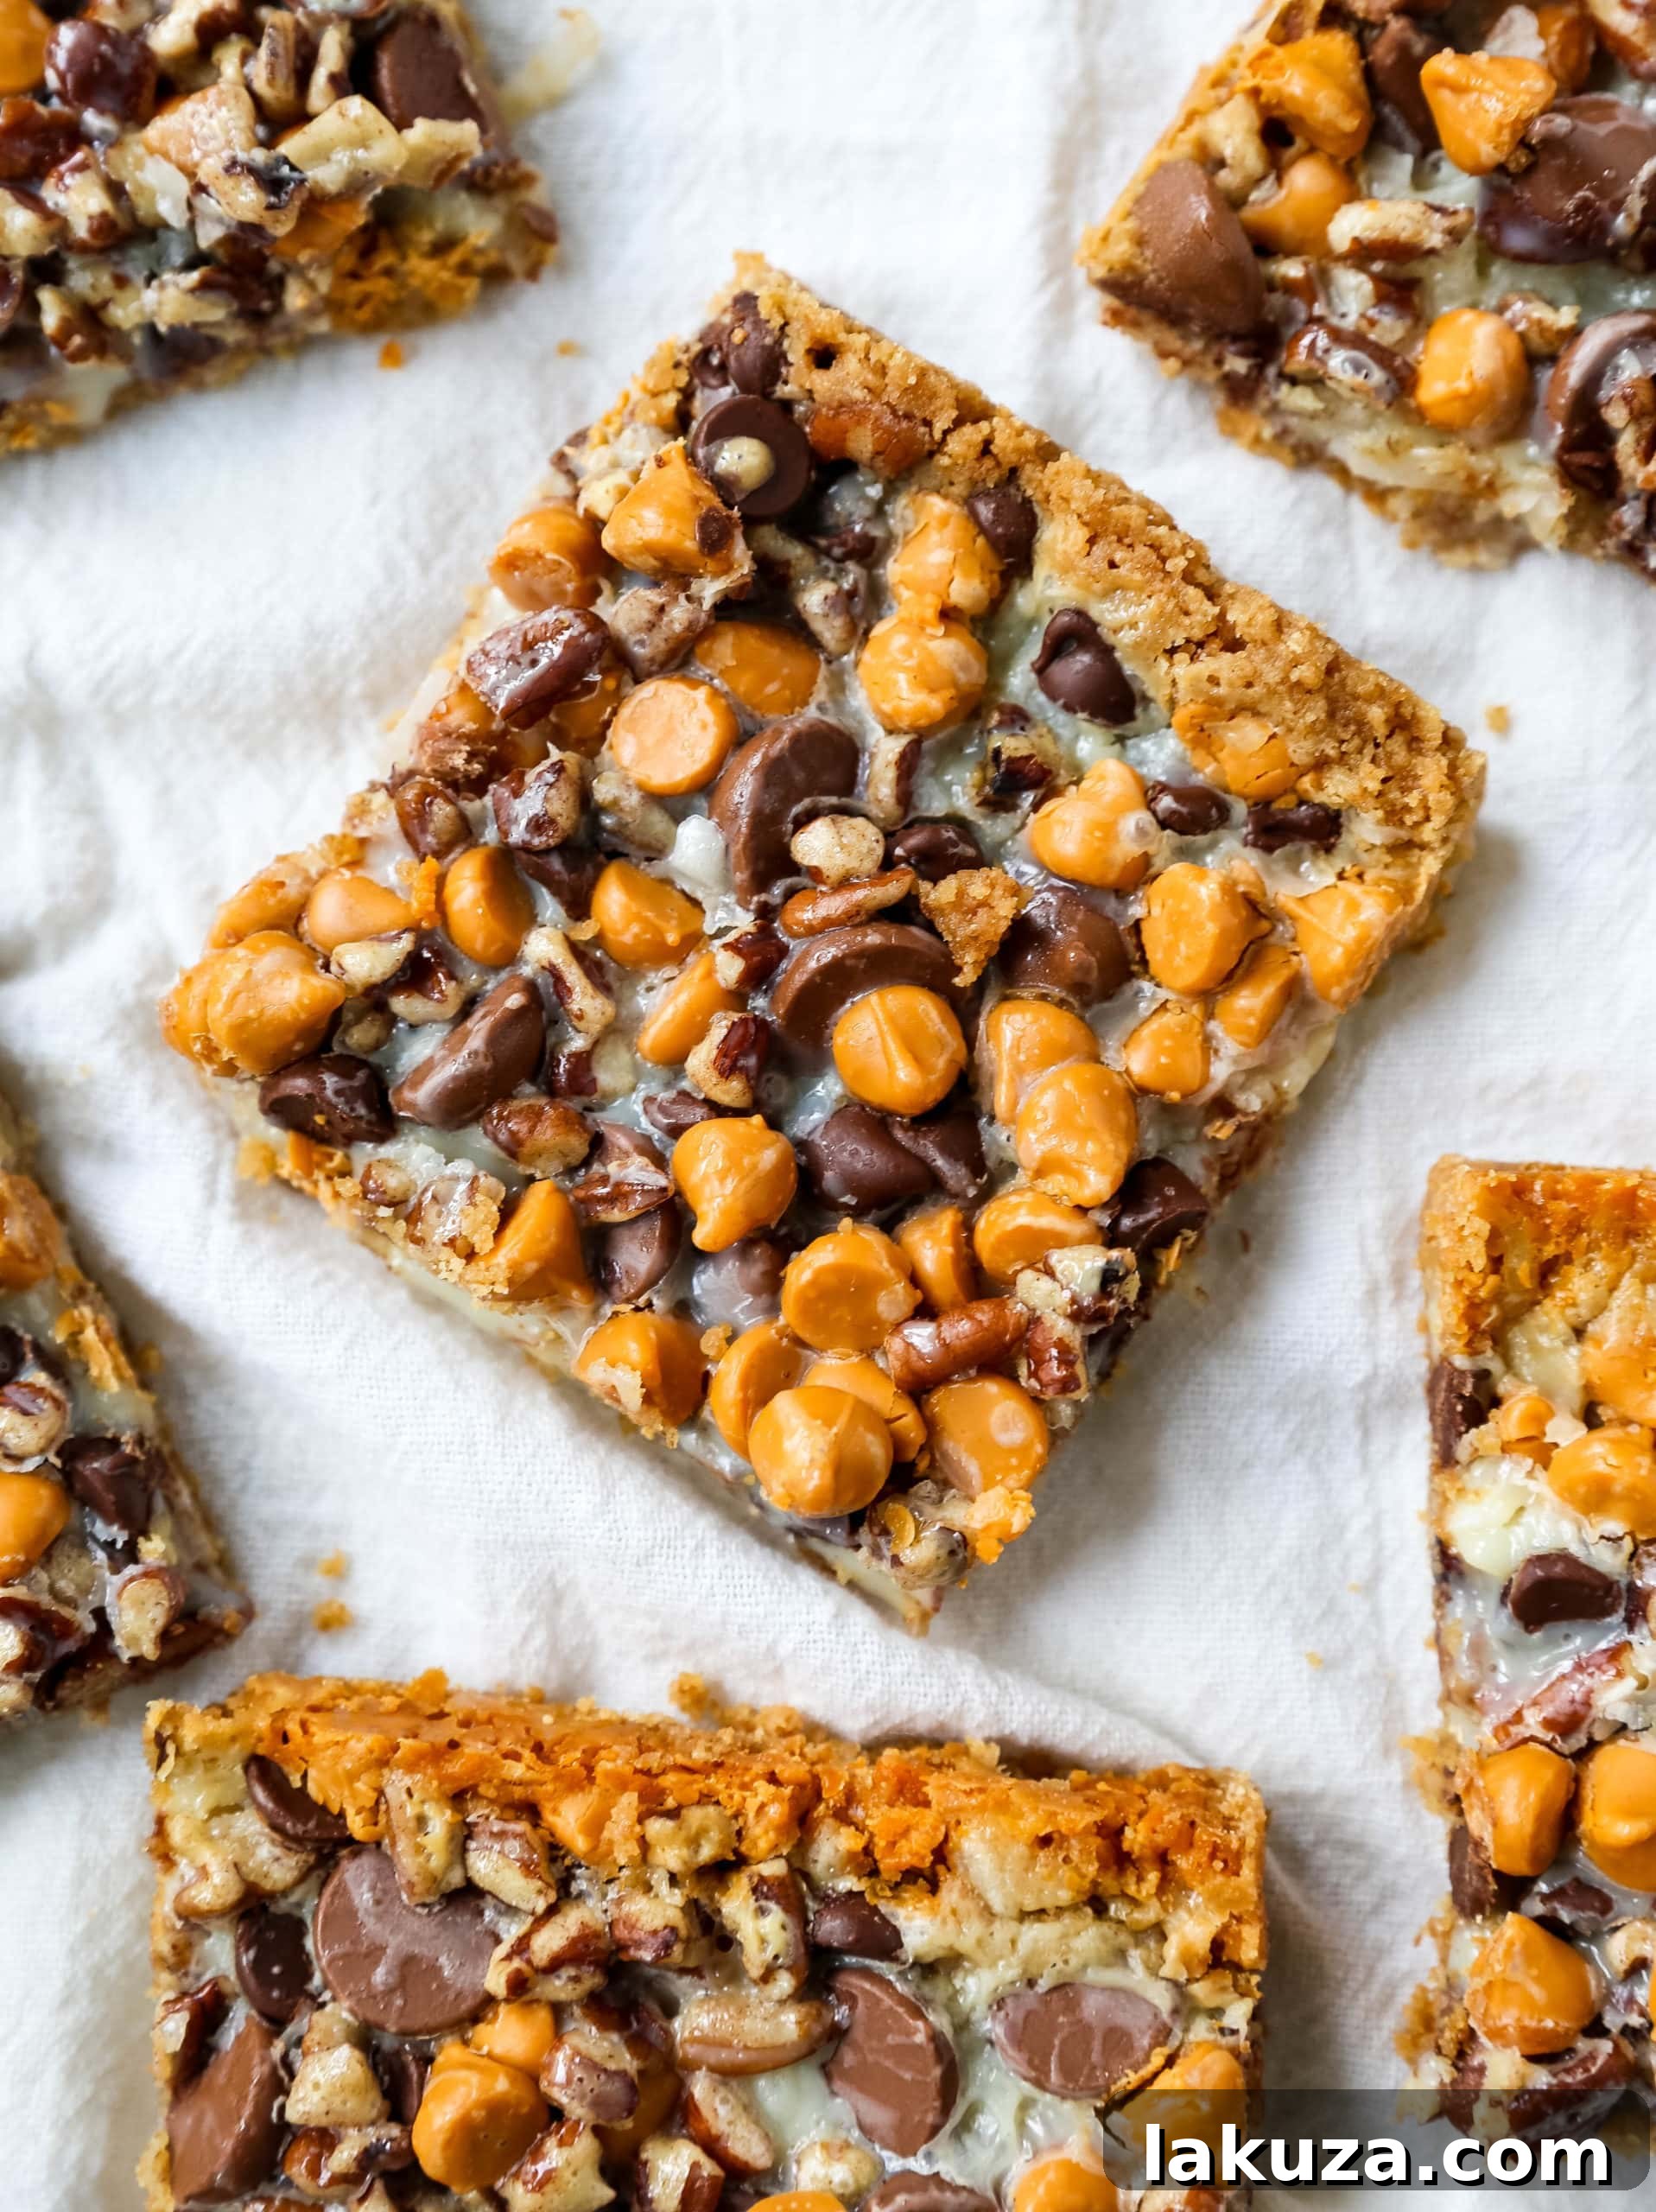
Irresistible 7-Layer Magic Bars: The Ultimate Easy Dessert
Discover the iconic 7-Layer Magic Bars, a beloved dessert featuring a buttery graham cracker crust, layers of sweet flaked coconut, rich chocolate chips, creamy butterscotch chips, crunchy nuts, all bound together with luscious sweetened condensed milk. This is the perfect, effortless dessert bar recipe for any occasion!
There are some desserts that simply transcend time and taste, captivating everyone who takes a bite. The 7-Layer Magic Bar is undoubtedly one of them. Also known by endearing names like “Magic Cookie Bars” or “Hello Dolly Bars,” these treats hold a special place in the hearts of dessert enthusiasts. Their universal appeal lies not only in their incredible flavor profile but also in their astonishing simplicity. This isn’t one of those recipes that demand hours in the kitchen or a mastery of advanced baking techniques. In fact, you won’t even need specialized equipment like a stand mixer or a hand mixer. It’s a truly straightforward process that yields extraordinary results, making it an ideal choice for bakers of all skill levels, from beginners to seasoned pros looking for a quick win.
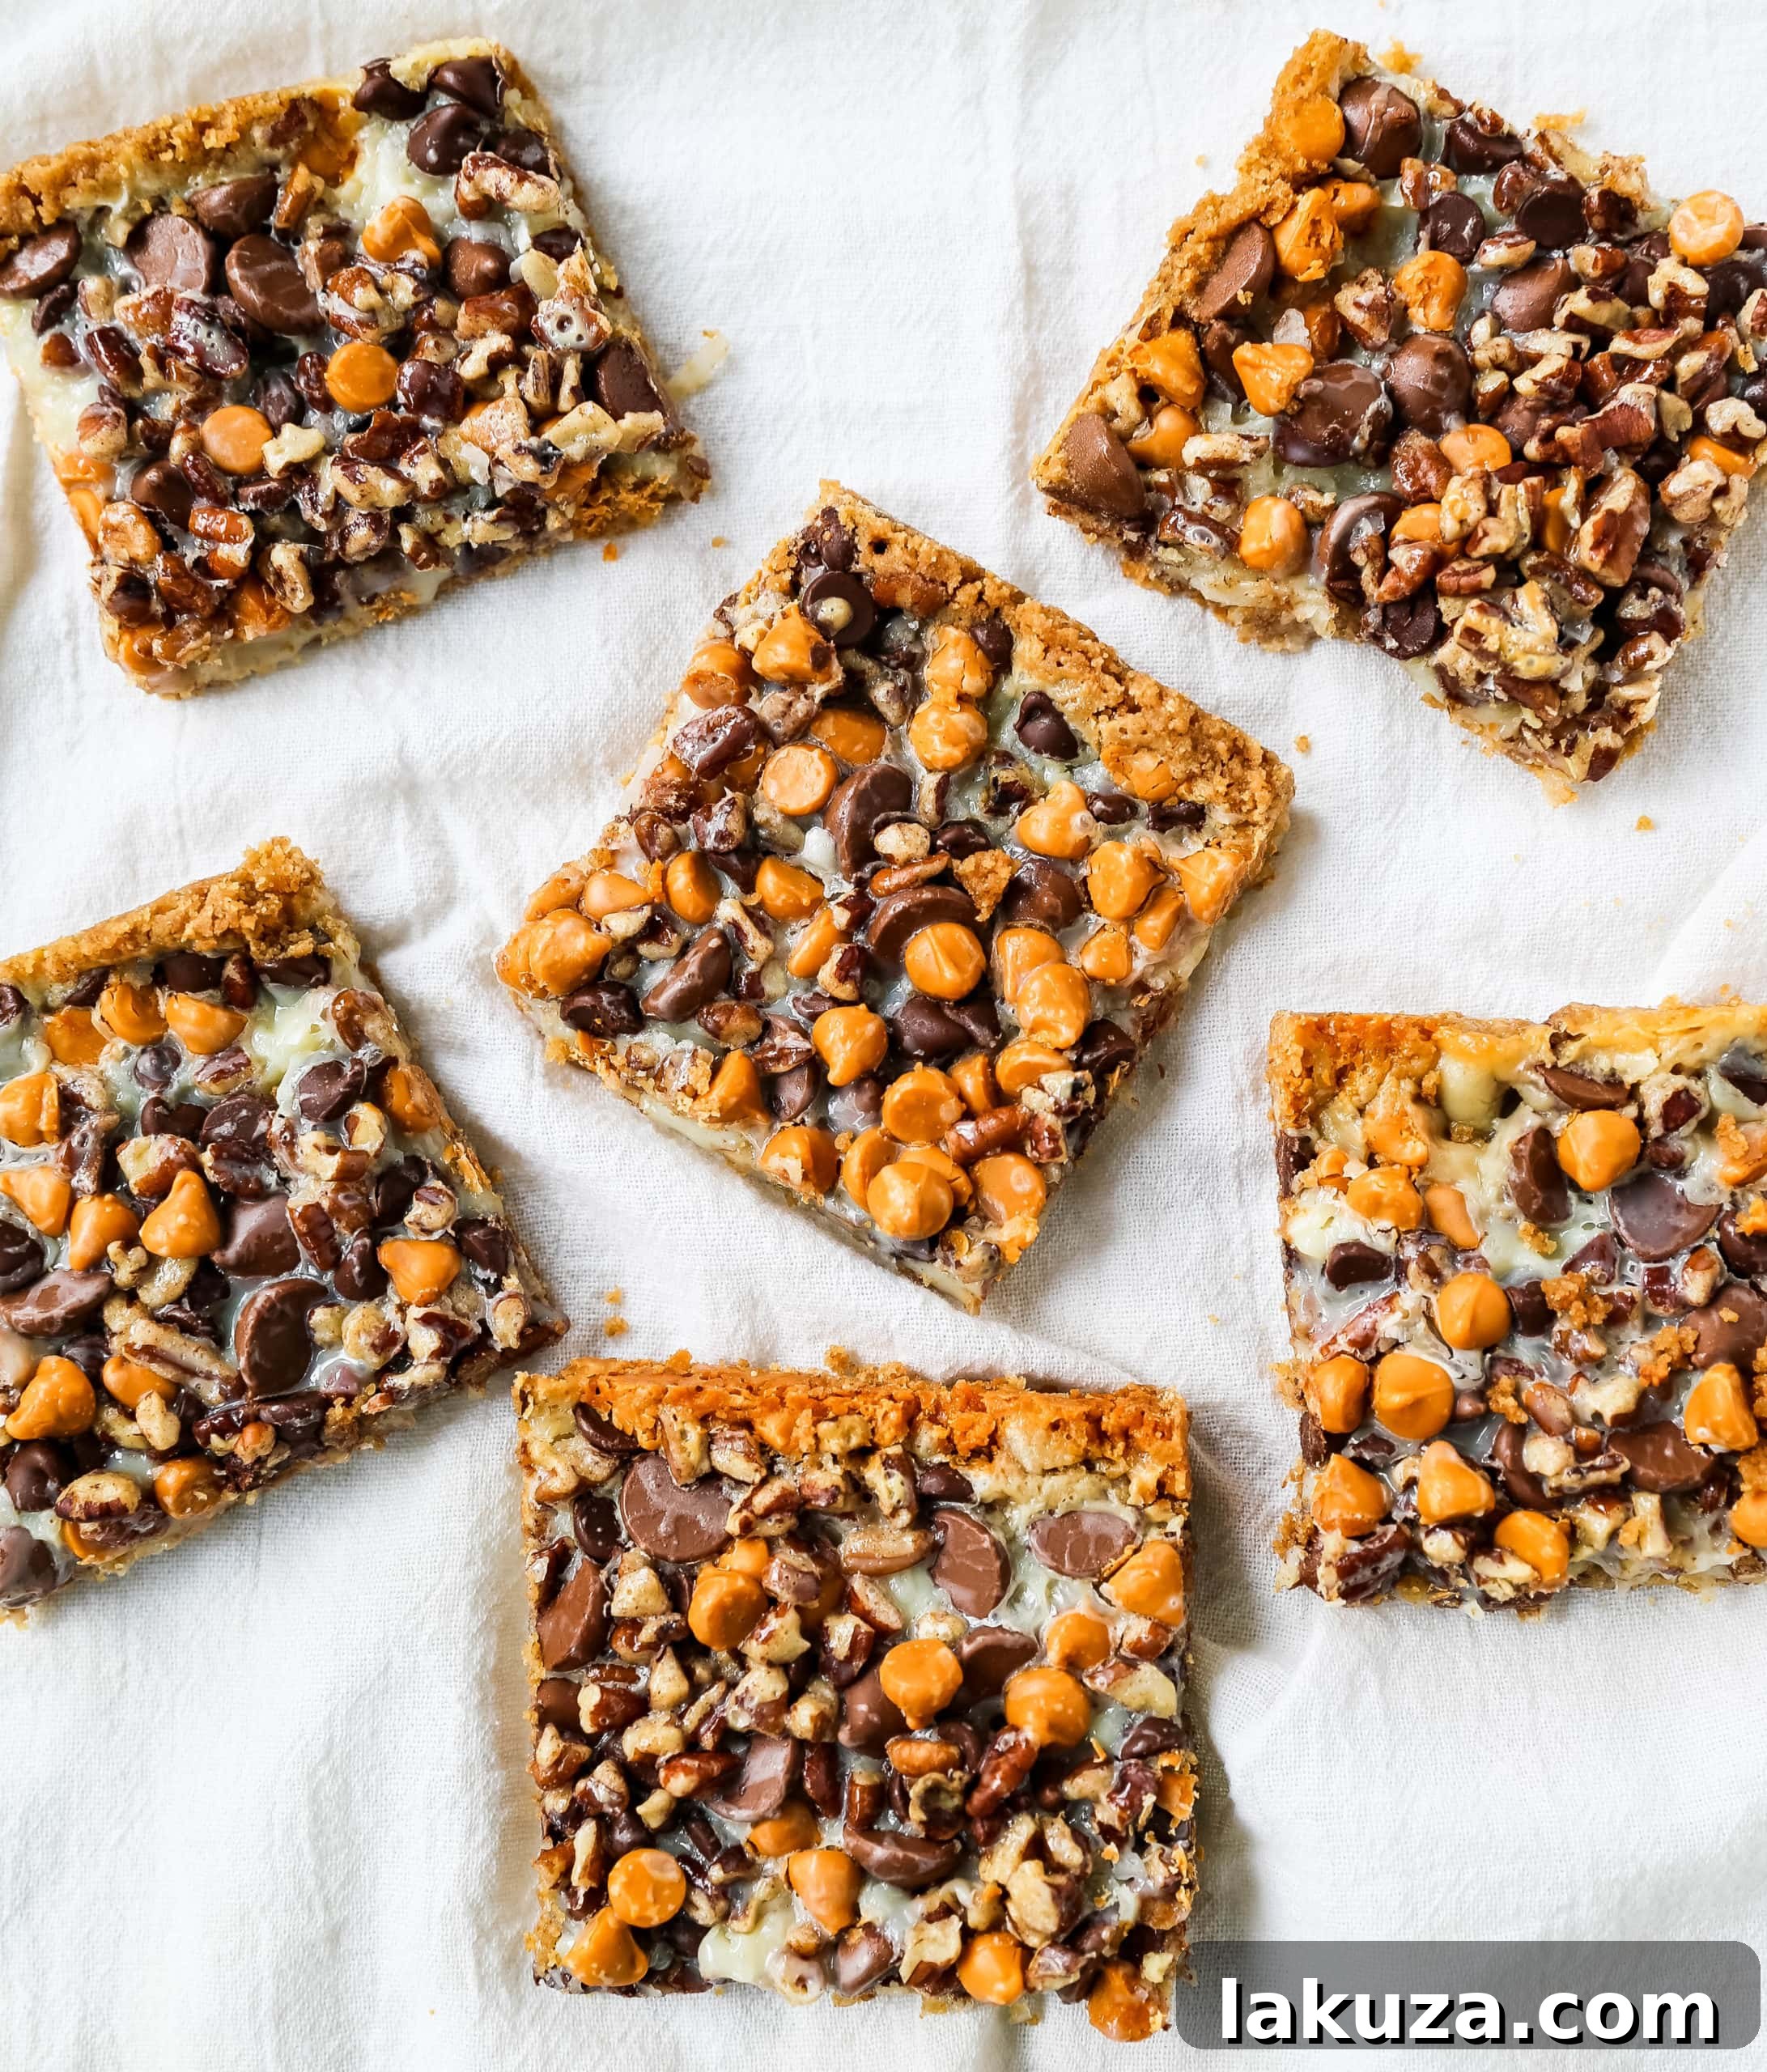
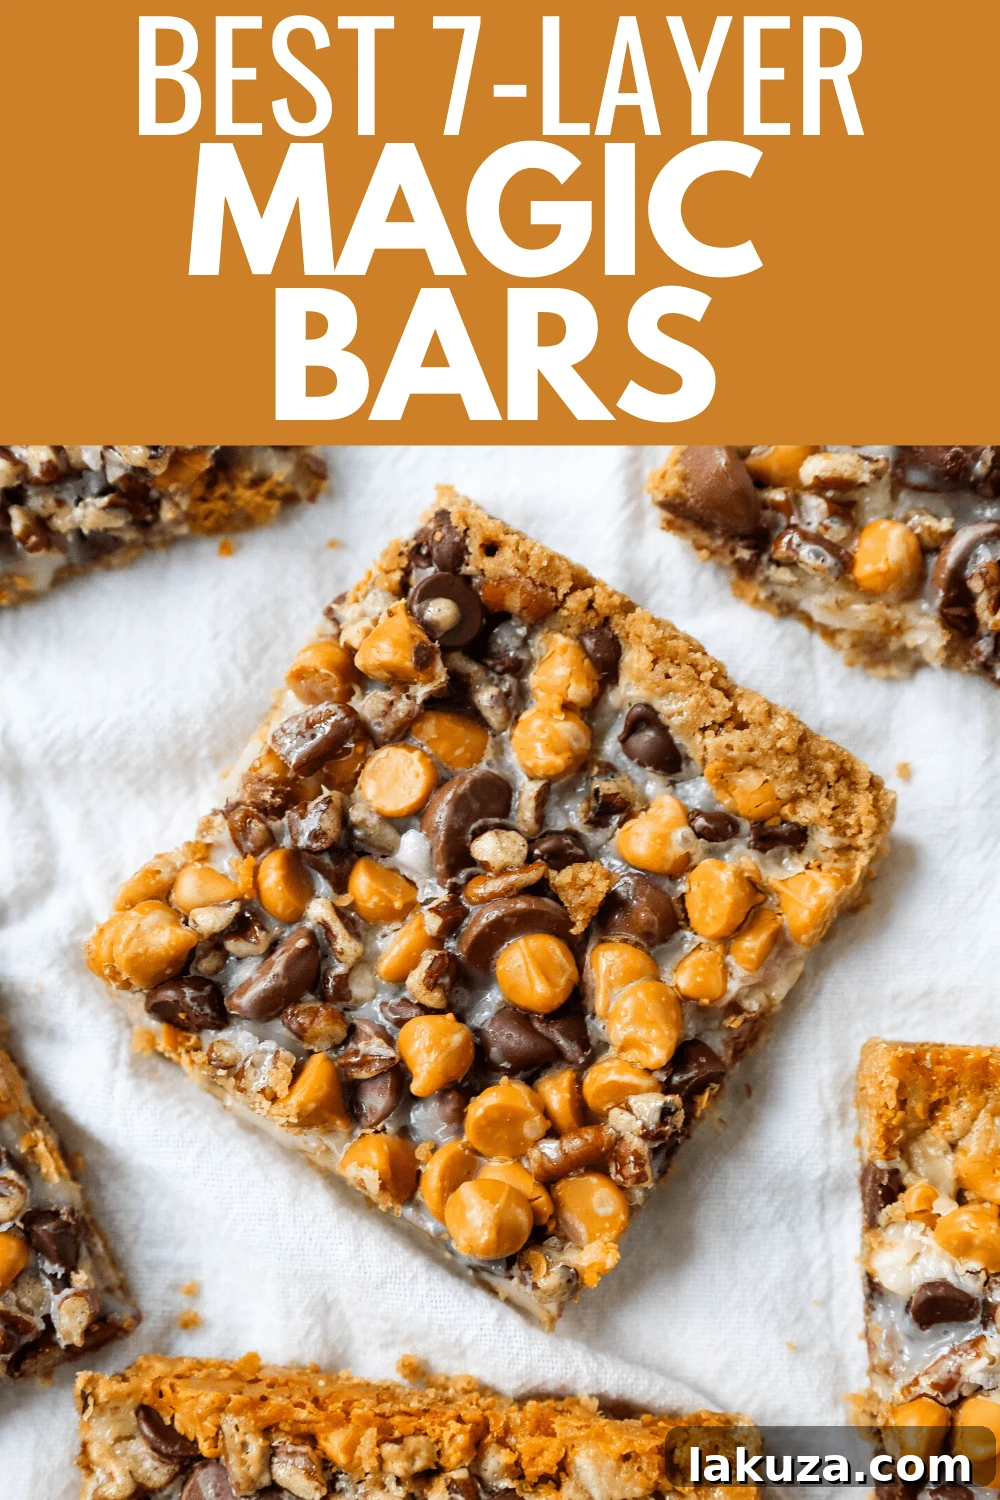
What makes these bars so incredibly special? It’s the harmonious marriage of textures and flavors. Imagine: a tender, buttery graham cracker crust providing the perfect foundation. Piled high on top are generous layers of chewy sweetened coconut, decadent chocolate chips (a mix of semi-sweet and milk chocolate for depth), golden butterscotch chips for a distinctive caramel-like sweetness, and a scattering of your favorite chopped nuts for a satisfying crunch. The true magic, however, comes from the velvety blanket of sweetened condensed milk, which drizzles over all these components, melding them into a gooey, irresistible masterpiece as it bakes. If a recipe features sweetened condensed milk, you know it’s bound to be something truly extraordinary – a rich, creamy indulgence that promises pure bliss with every bite.
Speaking of sweetened condensed milk, I once heard a delightful anecdote about the legendary Martha Stewart. Apparently, she keeps a can of this liquid gold in her refrigerator, and her secret indulgence is enjoying a spoonful late at night. For a moment, Martha felt incredibly relatable to me! Usually, she loses me when demonstrating how to perfectly fold a fitted sheet for fifteen minutes. I confess, I don’t possess that kind of time or dedication for such intricate linen arrangements. Anyone else feel me on that one?
Why Everyone Loves Magic Bars
Beyond their ease and deliciousness, Magic Bars have an undeniable charm that makes them perfect for any occasion. Whether it’s a casual weeknight dessert, a potluck contribution, a holiday gathering, or simply a treat to brighten your day, these bars are always a hit. Their distinct layers make them visually appealing, and the combination of sweet and savory notes (especially with a touch of sea salt) ensures they’re never cloyingly sweet. They are an experience, a symphony of flavors and textures that dance on your palate.
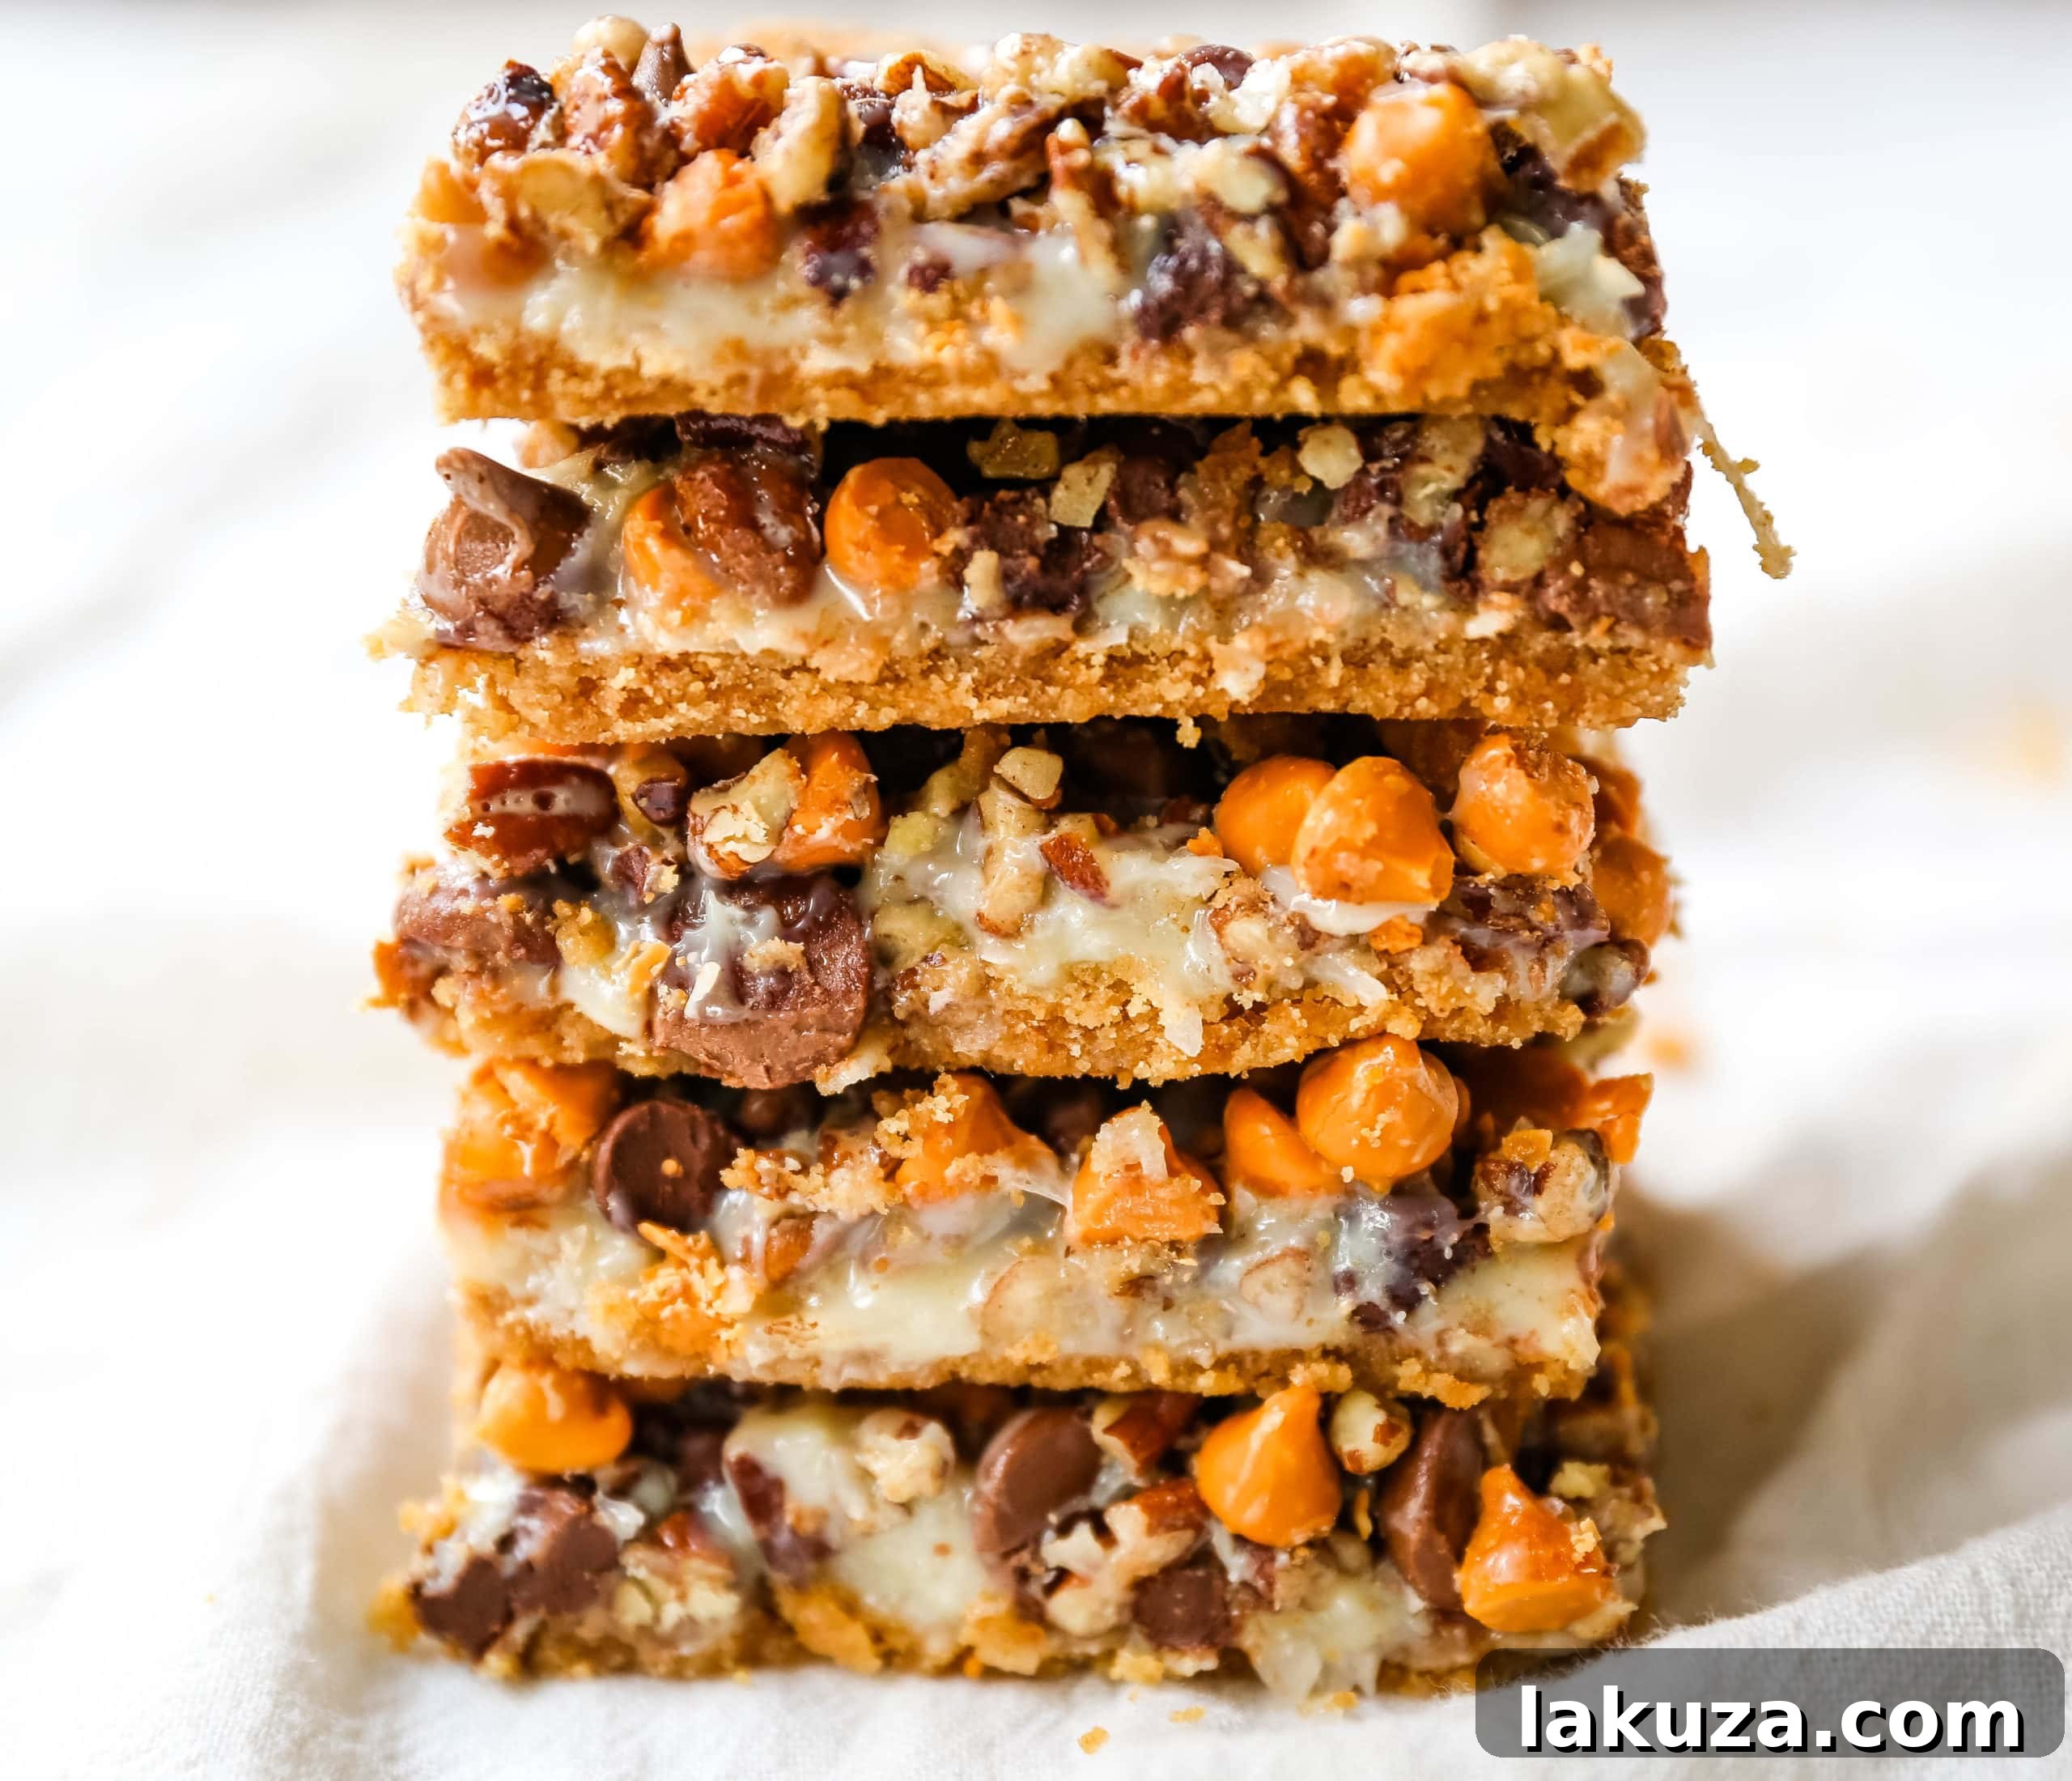
I know one surefire way to make my children exceptionally happy: whipping up a batch of these glorious seven-layer bars. Once baked and cooled, I cut them into squares, pop them into a large freezer bag, and store them in the freezer. This transforms them into an instant, grab-and-go snack that my kids adore. One afternoon, around 4:00 p.m., my daughter confessed that she hadn’t really eaten much all day – except for a few 7-Layer Magic Bars for breakfast! I couldn’t help but laugh. Magic Cookie Bars for breakfast? Well, that’s just one of the delightful consequences of living in a house where these addictive treats are readily available. Consider this your friendly warning: these Hello Dolly Bars are highly addicting. It’s truly a challenge to stop at just one.
Over time, I’ve tinkered with this classic recipe to perfect it to our family’s exact liking. These bars are inherently sweet, so I’ve discovered a secret ingredient that elevates them from delicious to utterly divine: a sprinkle of sea salt. This simple addition works wonders, offsetting the sweetness with a subtle savory note, creating that coveted sweet-and-salty balance that makes dessert truly memorable. It pairs particularly well with the rich butterscotch. Trust me on this one – it’s a game-changer. Furthermore, if you’re a fan of nuts, don’t hesitate to add a little extra. They not only provide a delightful textural contrast but also help cut through the sweetness. You can use your favorite type of nut, whether it’s crunchy pecans, earthy walnuts, or whatever your heart desires. Each bite becomes a complex interplay of flavors, making these bars truly unforgettable.
The Art of Crafting the Perfect 7-Layer Magic Bars
Creating these renowned dessert bars is a testament to the idea that some of the best things in life are also the simplest. The process is streamlined, intuitive, and incredibly rewarding. Here’s a detailed look at how to achieve the best 7-Layer Magic Bars:
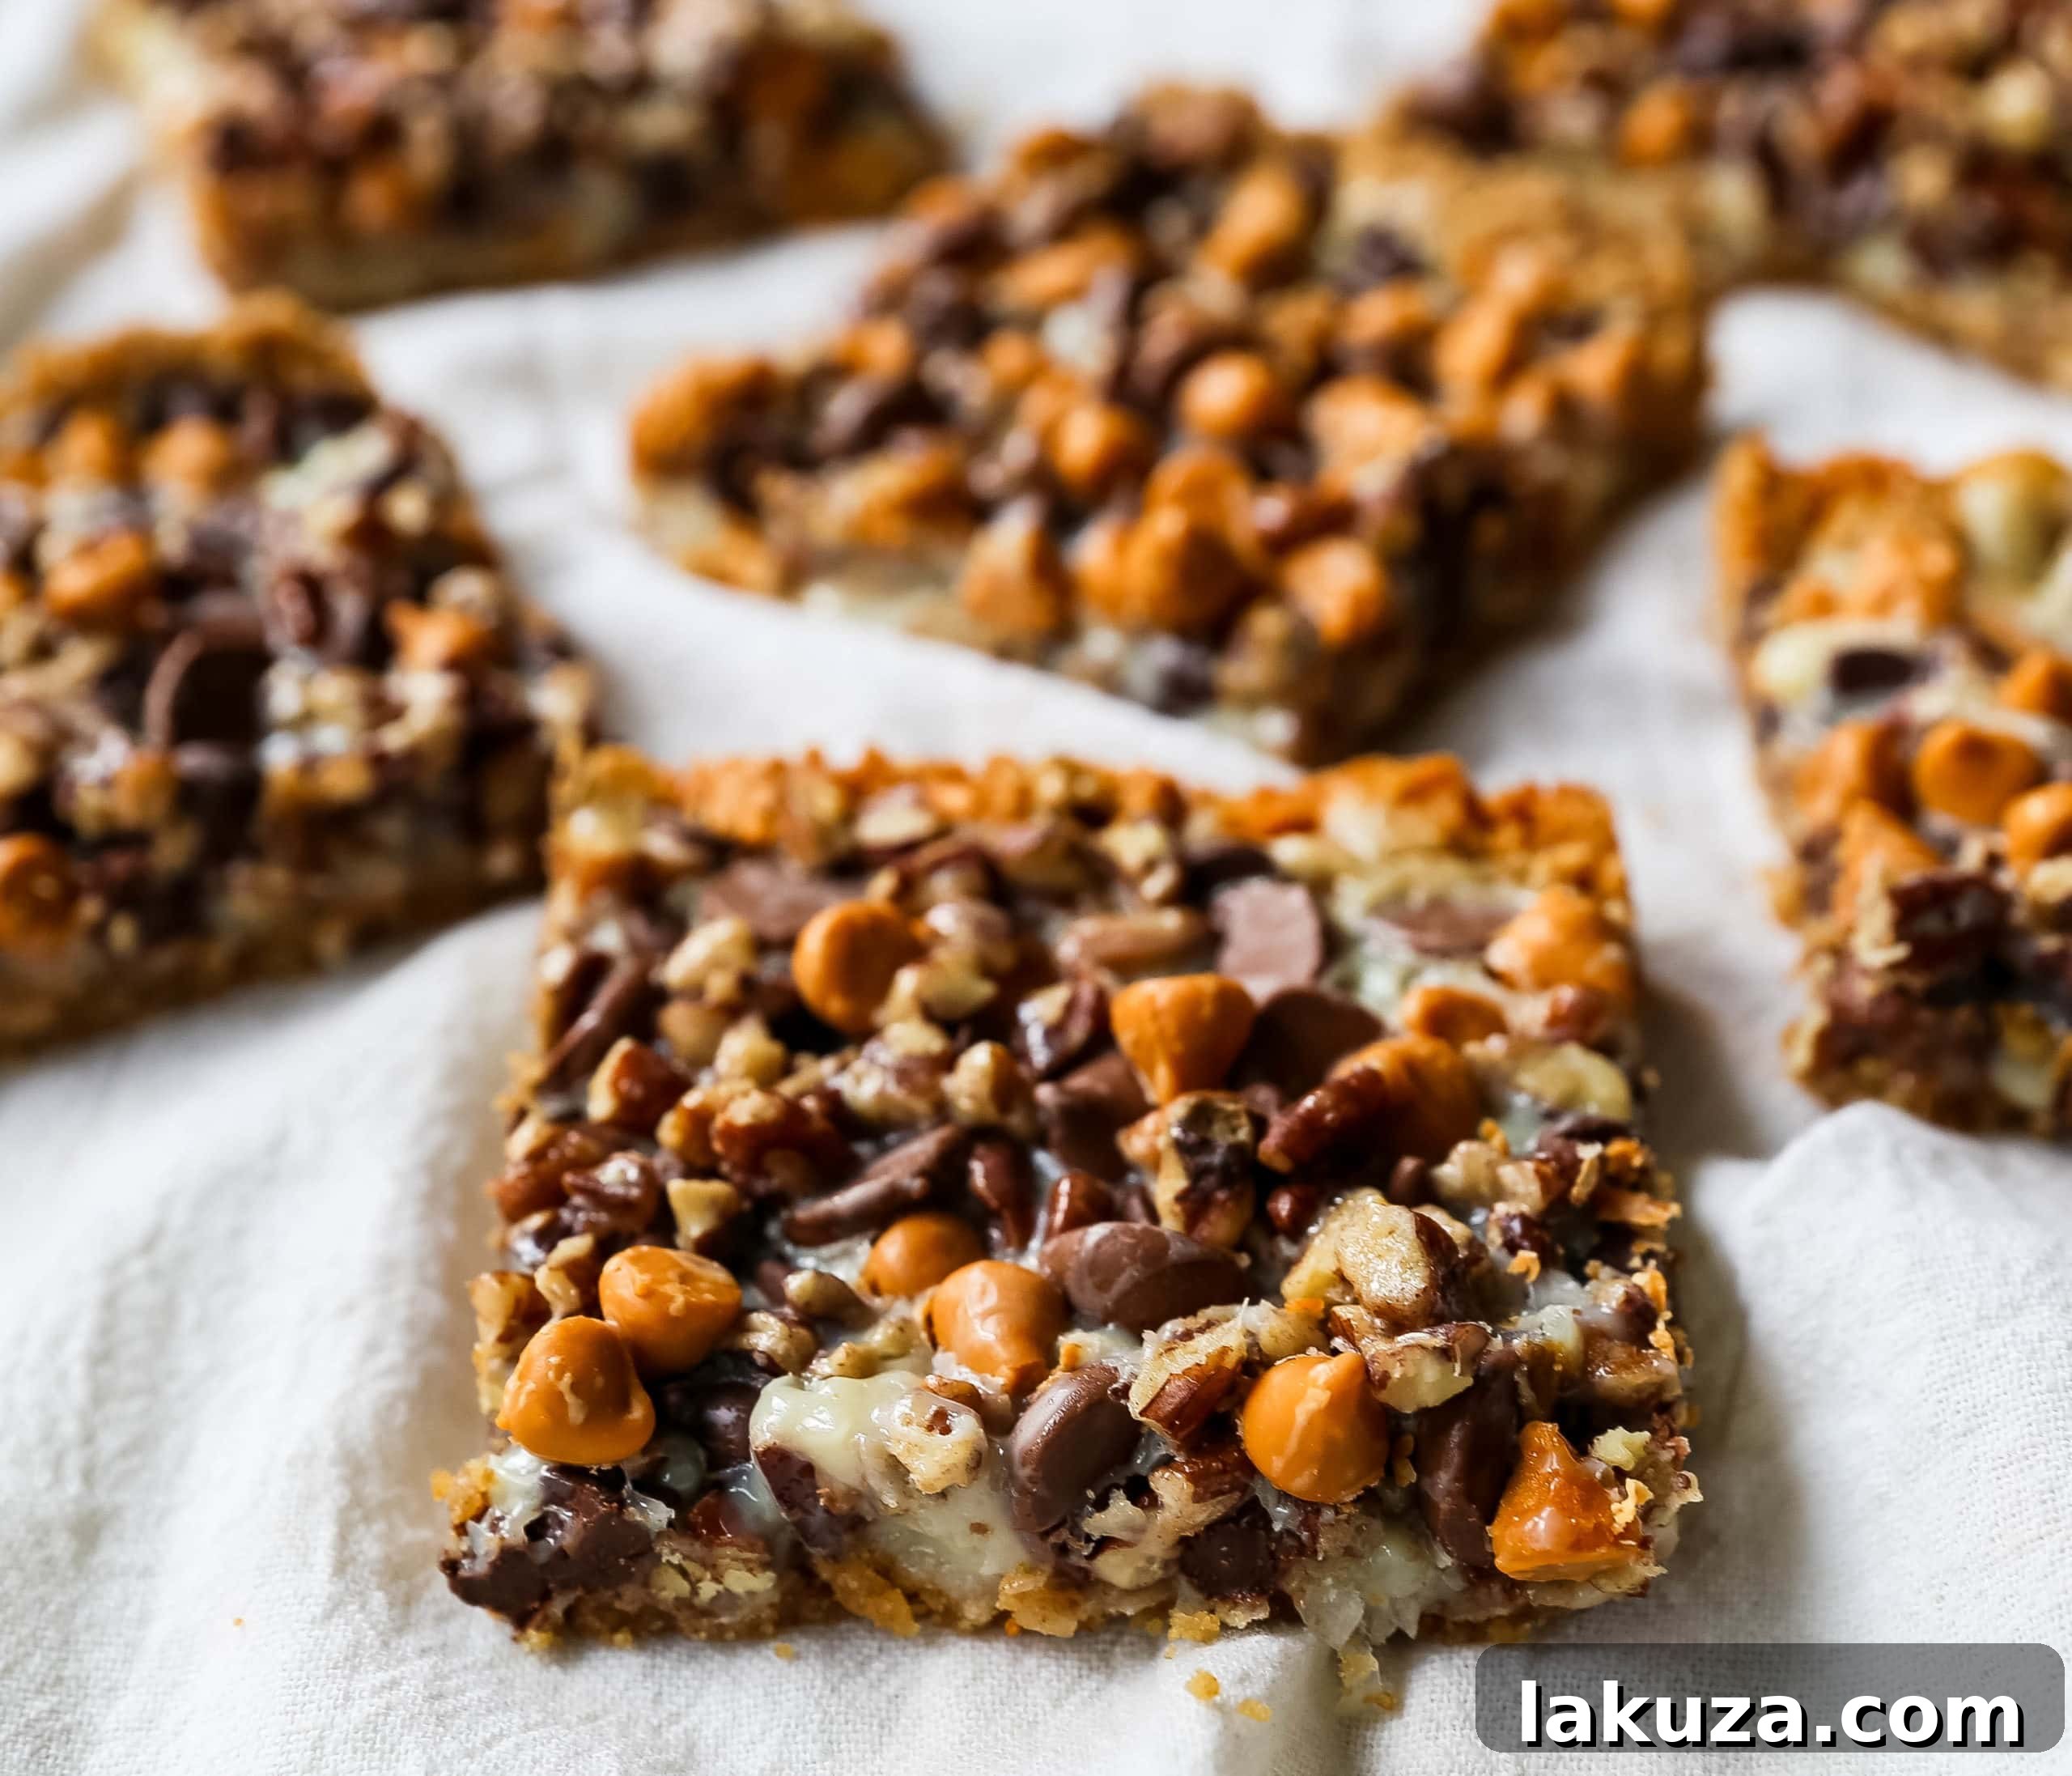
Essential Tips for Success
- Choosing Your Pan: A standard 9×13-inch baking pan is ideal for this recipe, yielding a good number of bars. For easier removal and cleanup, lining your pan with parchment paper or aluminum foil is highly recommended. If using foil, a light spray of non-stick cooking spray will ensure the bars don’t stick. This small step makes a big difference when it comes to serving.
- Achieving the Perfect Crust: The graham cracker crust is the foundation, and it’s wonderfully simple. Ensure your graham cracker crumbs are finely ground for a uniform texture. If you’re crushing whole graham cracker sheets, a food processor makes quick work of it, taking less than a minute. Alternatively, you can place them in a sturdy plastic bag and crush them with a rolling pin – a surprisingly satisfying method! Mix these fine crumbs thoroughly with melted butter until they resemble wet sand. This ensures an even, cohesive crust.
- Layering with Care: While the layering is straightforward, try to distribute each component as evenly as possible over the crust. This ensures that every bar you cut has a delightful mix of all seven layers. Don’t be shy with the toppings – these bars are meant to be generously loaded!
- The Sea Salt Secret: As mentioned, a sprinkle of flaky sea salt (not table salt) over the top before baking is crucial. It creates an incredible sweet-and-salty dynamic, enhancing the flavors of the chocolate and butterscotch beautifully.
- Cooling and Setting: Patience is key! After baking, allow the bars to cool completely at room temperature. For clean, neat slices, refrigerating or even freezing the bars for at least 30 minutes before cutting is highly recommended. This allows the sweetened condensed milk to firm up, preventing the bars from crumbling.
How to Make the Best 7-Layer Magic Bars: Step-by-Step
- Prepare the Graham Cracker Crust: Begin by preheating your oven to 350°F (175°C). In a food processor, pulse graham cracker sheets until finely ground. If you’re using pre-made graham cracker crumbs, simply combine them in a bowl with the melted salted butter. For whole sheets without a food processor, place them in a sturdy plastic bag and crush them using a rolling pin until they form fine crumbs. Once combined with the butter, press this mixture firmly and evenly into the bottom of a 9×13-inch baking pan. Lining the pan with parchment paper or aluminum foil beforehand will make removal and cleanup incredibly easy. If using foil, a light spray of non-stick cooking spray is advisable.
- Layer the Delicious Toppings: Over the pressed graham cracker crust, evenly sprinkle the sweetened flaked coconut. Next, scatter the chocolate chips – a delightful blend of semi-sweet and milk chocolate chips offers a balanced richness, but feel free to use your preferred type. Follow this with an even layer of butterscotch chips and your choice of chopped nuts, such as pecans or walnuts. Ensure all these delicious components are distributed from edge to edge of the pan.
- Drizzle and Season: The ultimate magic happens here! Pour the entire can of sweetened condensed milk evenly over all the layered toppings. Take your time to ensure everything is coated, as this binds the layers together and creates that signature gooey texture. Finish by sprinkling a generous ½ teaspoon of flaky sea salt all over the top. This seemingly small step significantly enhances the flavor profile, creating a perfect sweet and salty contrast.
- Bake to Perfection & Cool: Place the pan in your preheated oven and bake for approximately 20-24 minutes, or until the edges are golden brown and the center is set and slightly bubbly. Remove the pan from the oven and allow the bars to cool completely on a wire rack at room temperature. For the cleanest cuts and best texture, transfer the cooled bars to the refrigerator or freezer for at least 30 minutes to firm up before slicing them into small, manageable squares.
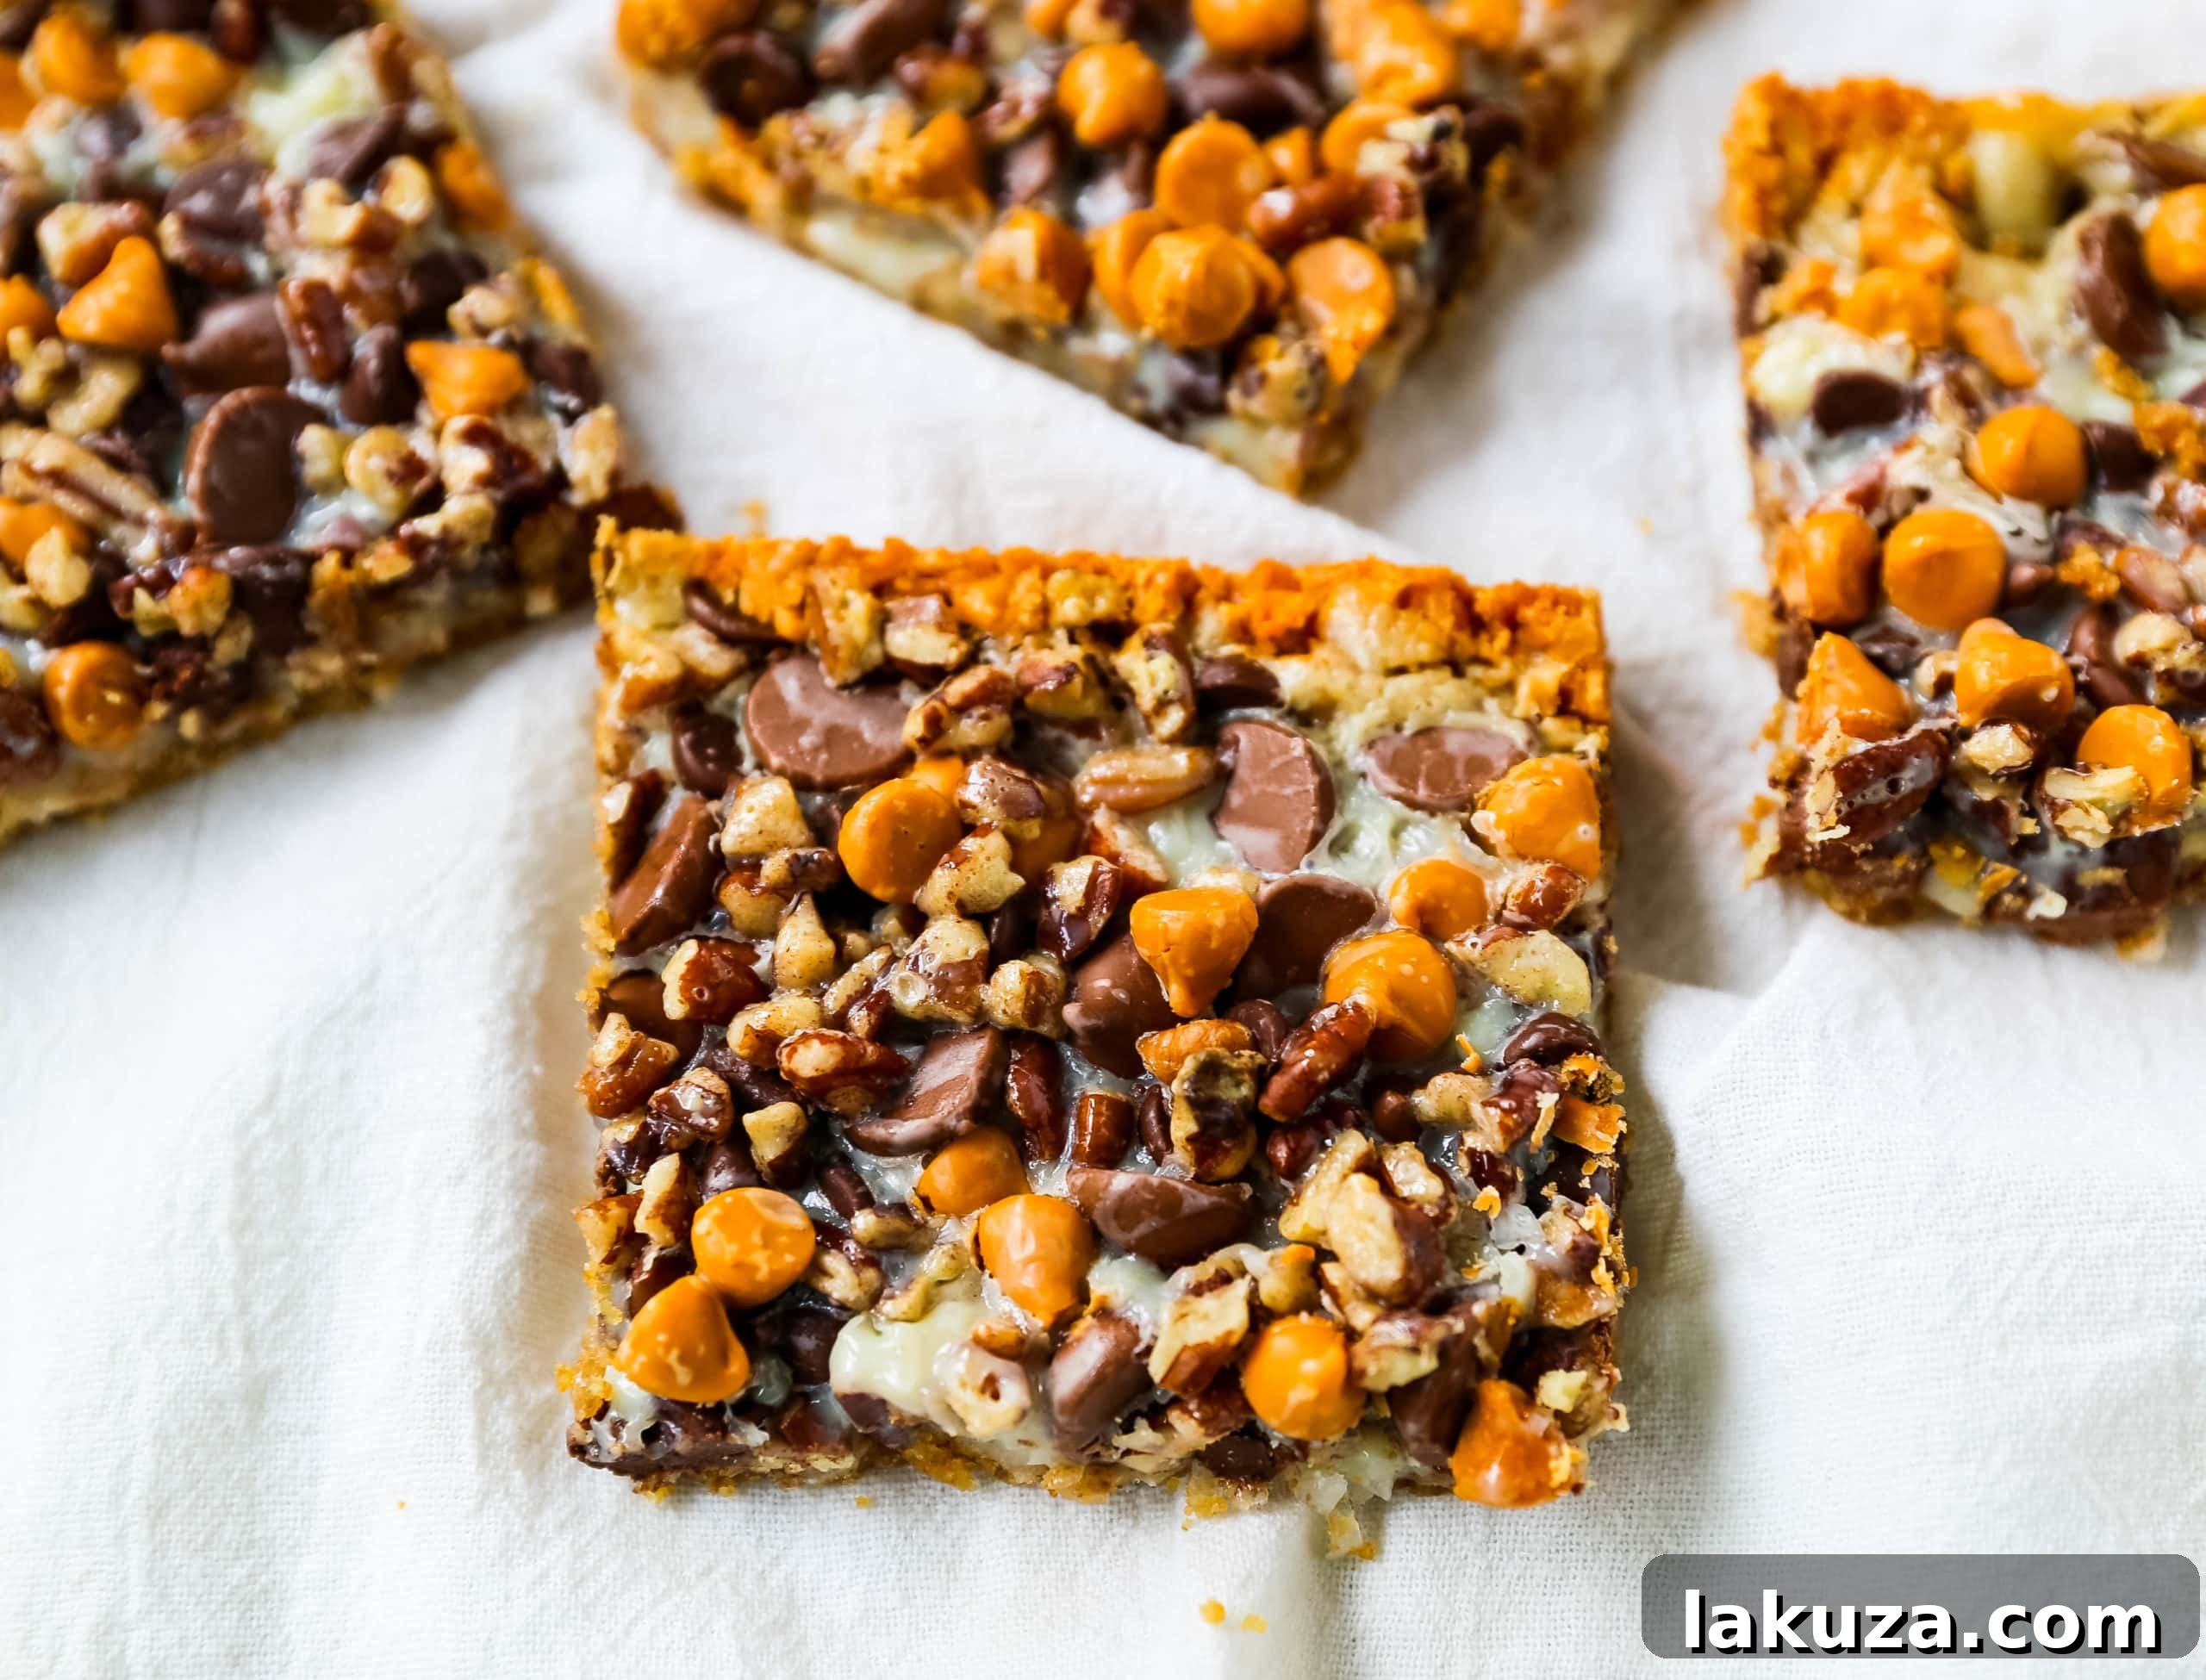
Serving Suggestions and Variations
These Magic Bars are fantastic on their own, but they can also be dressed up for different occasions. Serve them slightly warm with a scoop of vanilla bean ice cream for an extra indulgent treat. They are also perfect alongside a cup of coffee or tea. For holidays, consider adding seasonal spices like a pinch of cinnamon to the crust or a few drops of peppermint extract to the chocolate layer for a festive twist.
Creative Variations to Explore:
- Chocolate Lover’s Dream: Use all semi-sweet or dark chocolate chips, or add a layer of mini chocolate candies.
- Nutty Delights: Experiment with different nuts like almonds, cashews, or even macadamia nuts for a tropical flair. Toasting the nuts lightly before adding them can enhance their flavor.
- Candy Bar Fun: Crush up your favorite candy bars (like Snickers or Butterfinger) and sprinkle them as a layer.
- Seasonal Swaps: In the fall, consider adding a sprinkle of pumpkin spice to the crust. During the holidays, add red and green M&M’s for a festive pop of color.
- Different Crusts: While graham cracker is classic, try a shortbread cookie crust or even a crushed vanilla wafer crust for a subtle change.
If you love dessert bars, check out these other irresistible recipes:
Decadent Chocolate Chip Cookie Bars
Ultimate Brookies (Chocolate Chip Cookie and Brownie Bar Fusion)
Gourmet Salted Caramel Blondies
Indulgent Better Than a Boyfriend Brownies
Rated 5 out of 5 stars by 11 happy bakers.
7-Layer Magic Bars
Modern Honey – www.modernhoney.com
7-Layer Magic Bars: The famous dessert bars made with a graham cracker crust, sweetened flaked coconut, chocolate chips, butterscotch chips, nuts, all drizzled with sweetened condensed milk. The perfect dessert bar recipe!
10 minutes
20 minutes
24
Equipment
-
Food Processor
-
9 x 13 Baking Pan
Ingredients
- 2 cups Graham Cracker Crumbs (about 12 sheets)
- 6 Tablespoons Salted Butter (melted)
- 1 cup Sweetened Flaked Coconut
- ¾ cup Semi-Sweet Chocolate Chips
- ½ cup Milk Chocolate Chips
- ¾ cup Butterscotch Chips
- 1 cup Chopped Pecans or Walnuts (or ¼ cup more for extra crunch)
- (1) 14-ounce can Sweetened Condensed Milk
- ½ teaspoon Sea Salt (sprinkled all over bars)
Instructions
- Heat oven to 350°F (175°C). If you own a food processor, pulse the graham cracker sheets until finely ground. Alternatively, you can buy graham cracker crumbs and just stir them together with melted butter. If using graham cracker sheets, you can also place them in a bag and crush them with a rolling pin. Once the crumbs are finely ground, stir together with the melted butter.
- Line a 9×13-inch pan with parchment paper or aluminum foil. If using foil, lightly spray with non-stick cooking spray. Press the crust mixture firmly into the bottom of the prepared pan.
- Sprinkle the sweetened flaked coconut evenly over the crust. Top this with the chocolate chips (both semi-sweet and milk chocolate), butterscotch chips, and your chosen chopped nuts. Drizzle the entire can of sweetened condensed milk evenly over all the layers. Finish by sprinkling the ½ teaspoon of sea salt all over the bars.
- Bake for 20-24 minutes, or until the edges are golden brown and the center is set. Remove from the oven and let cool completely on a wire rack. For easier and cleaner cutting, refrigerate or freeze the bars for at least 30 minutes before cutting them into small squares.
Nutrition information is automatically calculated, so should only be used as an approximation.
Additional Information
Dessert
American
24 bars
7 layer bars, 7 layer magic bars, magic bars, magic cookie bars, seven layer bars, easy dessert, baking recipe, sweet treat
Enjoyed this recipe? Share your thoughts!
Jump to Comments