
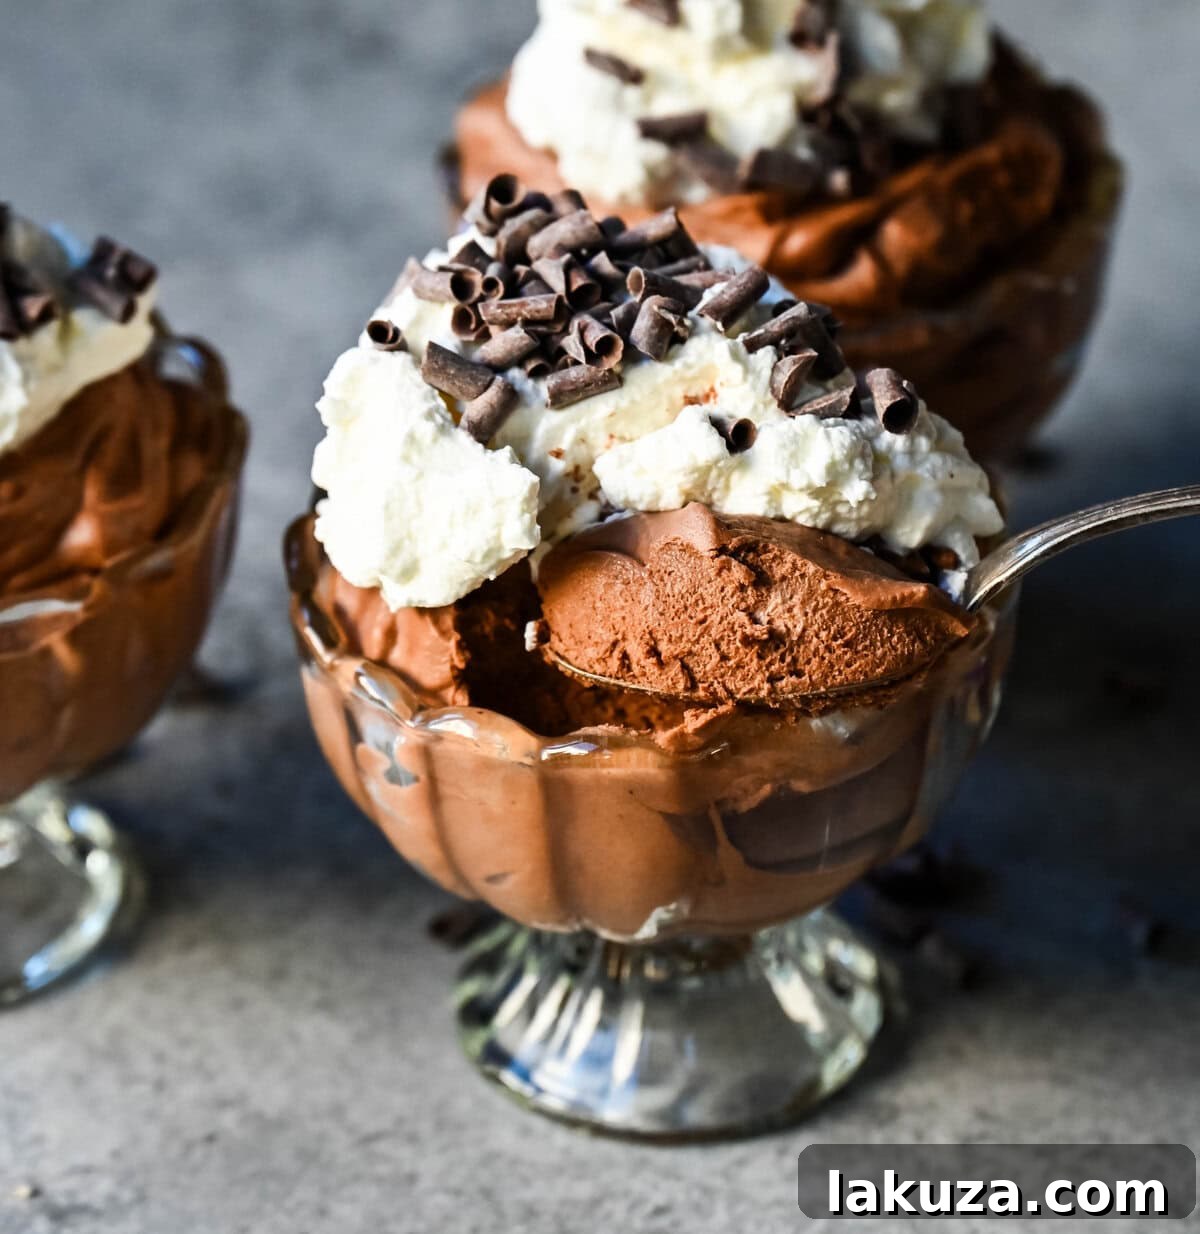
Welcome to the ultimate guide for creating a truly unforgettable chocolate dessert. This easy chocolate mousse recipe
is a rich, velvety, and utterly decadent treat that tastes gourmet but is surprisingly simple to make. Forget
complicated techniques and intimidating ingredient lists; this recipe relies on just a few core components and
clever shortcuts to deliver a light, airy, and intensely chocolatey experience every time. The best part? It’s a
chocolate mousse recipe without eggs, making it accessible for more people and incredibly quick to prepare. Get ready to impress with minimal effort!
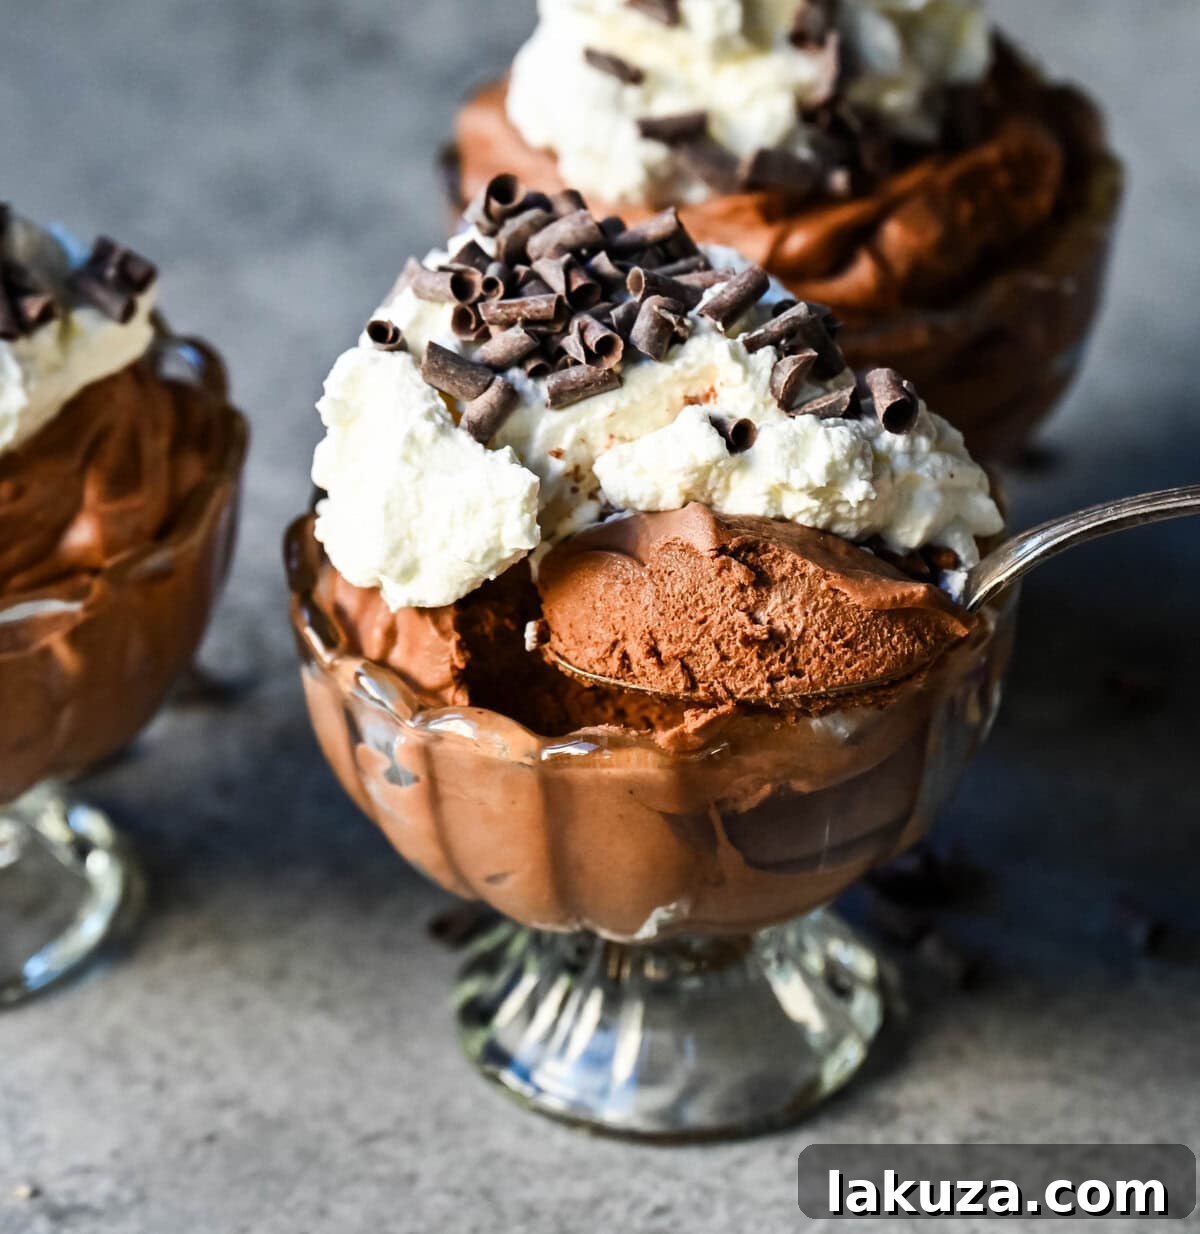
Whether you’re planning a romantic Valentine’s Day dinner, hosting a sophisticated gathering, or simply craving a
luxurious indulgence, this
easy chocolate mousse
is your perfect companion. Many people find the idea of making mousse intimidating, often associating it with delicate
egg tempering or precise double boilers. However, this simplified recipe strips away those complexities. You won’t
need any eggs, nor will you fuss over a double boiler to melt the chocolate. Our secret lies in harnessing the power
of perfectly whipped heavy cream to achieve that signature light, ethereal texture that defines a truly great
mousse. The chocolate and heavy cream come together effortlessly, often melting in less than a minute in the
microwave, making this a truly
quick chocolate mousse recipe.
One of my favorite aspects of this dessert is its make-ahead potential. Preparing it in advance means you can focus
on your guests or other meal preparations, then simply pull it from the refrigerator when dessert time arrives. It
never fails to be a showstopper, captivating everyone with its elegant appearance and exquisite flavor. And the best
part? No one ever guesses just how incredibly
easy homemade chocolate mousse
can be! It’s a culinary magic trick that yields maximum impact with minimum fuss.
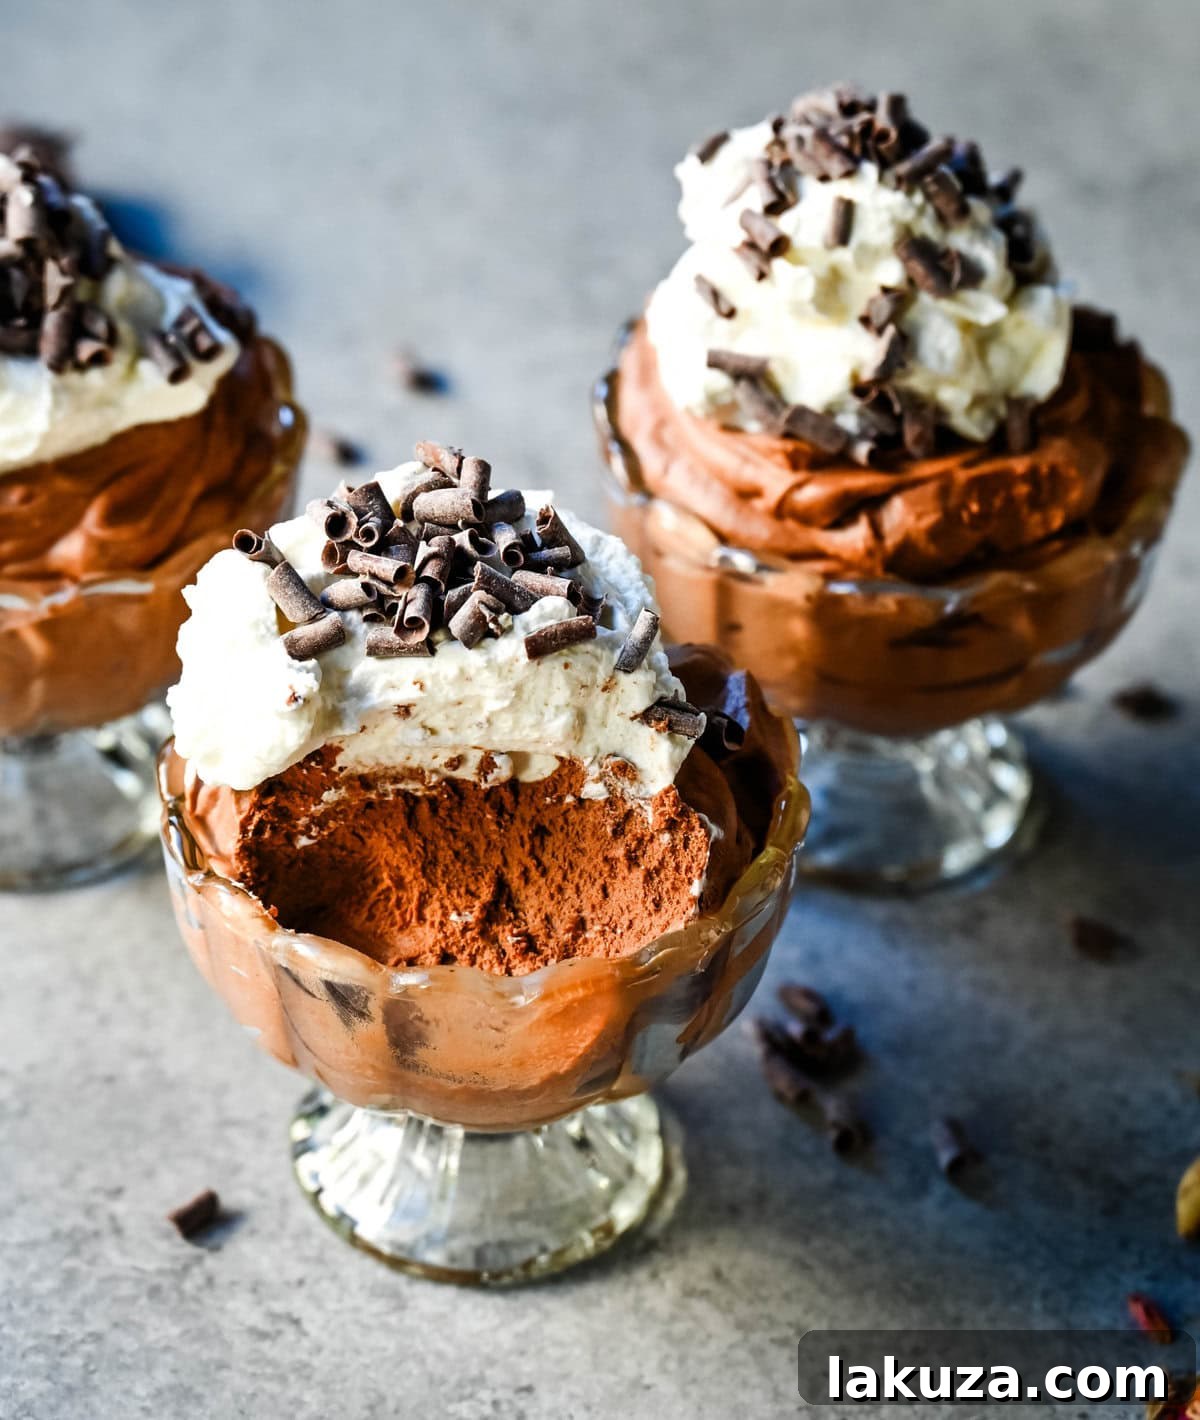
Why You’ll Love This Easy Chocolate Mousse Recipe:
Effortless Elegance! This simple chocolate mousse recipe
requires only four ingredients and eliminates the need for eggs, making it a straightforward yet impressive dessert.
It’s perfect for both novice bakers and seasoned chefs looking for a hassle-free indulgence.
It’s an elegant dessert that boasts a gourmet appearance while remaining
incredibly easy to prepare. The
rich chocolate flavor
combined with its light and airy texture makes it a universally beloved treat, guaranteed to please
any palate. Its luxurious feel and taste defy its minimal ingredient list and preparation time.
Perfect for Any Occasion: From intimate family dinners to grand holiday feasts, this
decadent chocolate dessert
fits seamlessly. Its make-ahead nature ensures stress-free entertaining, allowing you to enjoy your event as much
as your guests enjoy the dessert.
Essential Ingredients for Homemade Chocolate Mousse
Creating this luxurious homemade chocolate mousse
is surprisingly simple, requiring just four key ingredients. Despite its fancy appearance, you’ll be amazed at how
effortlessly it comes together. This truly is an
easy 4-ingredient chocolate mousse recipe!
-
Heavy Cream: The Key to Airiness
Heavy Cream: This is the backbone of our eggless mousse, providing both richness and the
essential light, airy texture. For best results, ensure your heavy cream is very cold. Cold cream whips
up faster and holds its peaks better, creating a stable and fluffy foundation for your mousse. Avoid using
whipping cream or half-and-half, as they have a lower fat content and won’t achieve the desired volume or
stability. -
Choosing the Right Chocolate for Mousse
Chocolate: The quality of your chocolate directly impacts the flavor of your mousse. Opt
for high-quality chocolate chips or a coarsely chopped chocolate bar. My personal favorites include
Guittard, Ghirardelli, Callebaut, and Valrhona for their superior flavor and melting properties. If using
chocolate bars, look for brands with good cocoa content. Trader Joe’s Pound Plus chocolate bars are an
excellent, affordable option that performs beautifully in this recipe. Different types of chocolate
(milk, semi-sweet, dark) will yield varying levels of sweetness and intensity, allowing for customization. -
Sweetness with Powdered Sugar
Powdered Sugar: Also known as confectioners’ sugar, this ingredient adds a touch of
sweetness and helps balance the natural bitterness of the chocolate. Its fine texture dissolves easily,
ensuring a smooth, grain-free mousse. If you prefer a bolder, darker chocolate flavor, you can reduce or
even omit the powdered sugar. For those with a sweeter tooth, feel free to increase it by a tablespoon. -
The Aromatic Touch: Vanilla
Vanilla Extract or Vanilla Bean Paste: A touch of vanilla is crucial for enhancing the
chocolate flavor, adding depth and a subtle warmth that elevates the entire dessert. I particularly love
Nielsen-Massey vanilla bean paste for its rich flavor and visible specks of vanilla bean, which add to the
gourmet appeal. High-quality vanilla extract also works wonderfully. -
Optional Toppings for a Gourmet Finish
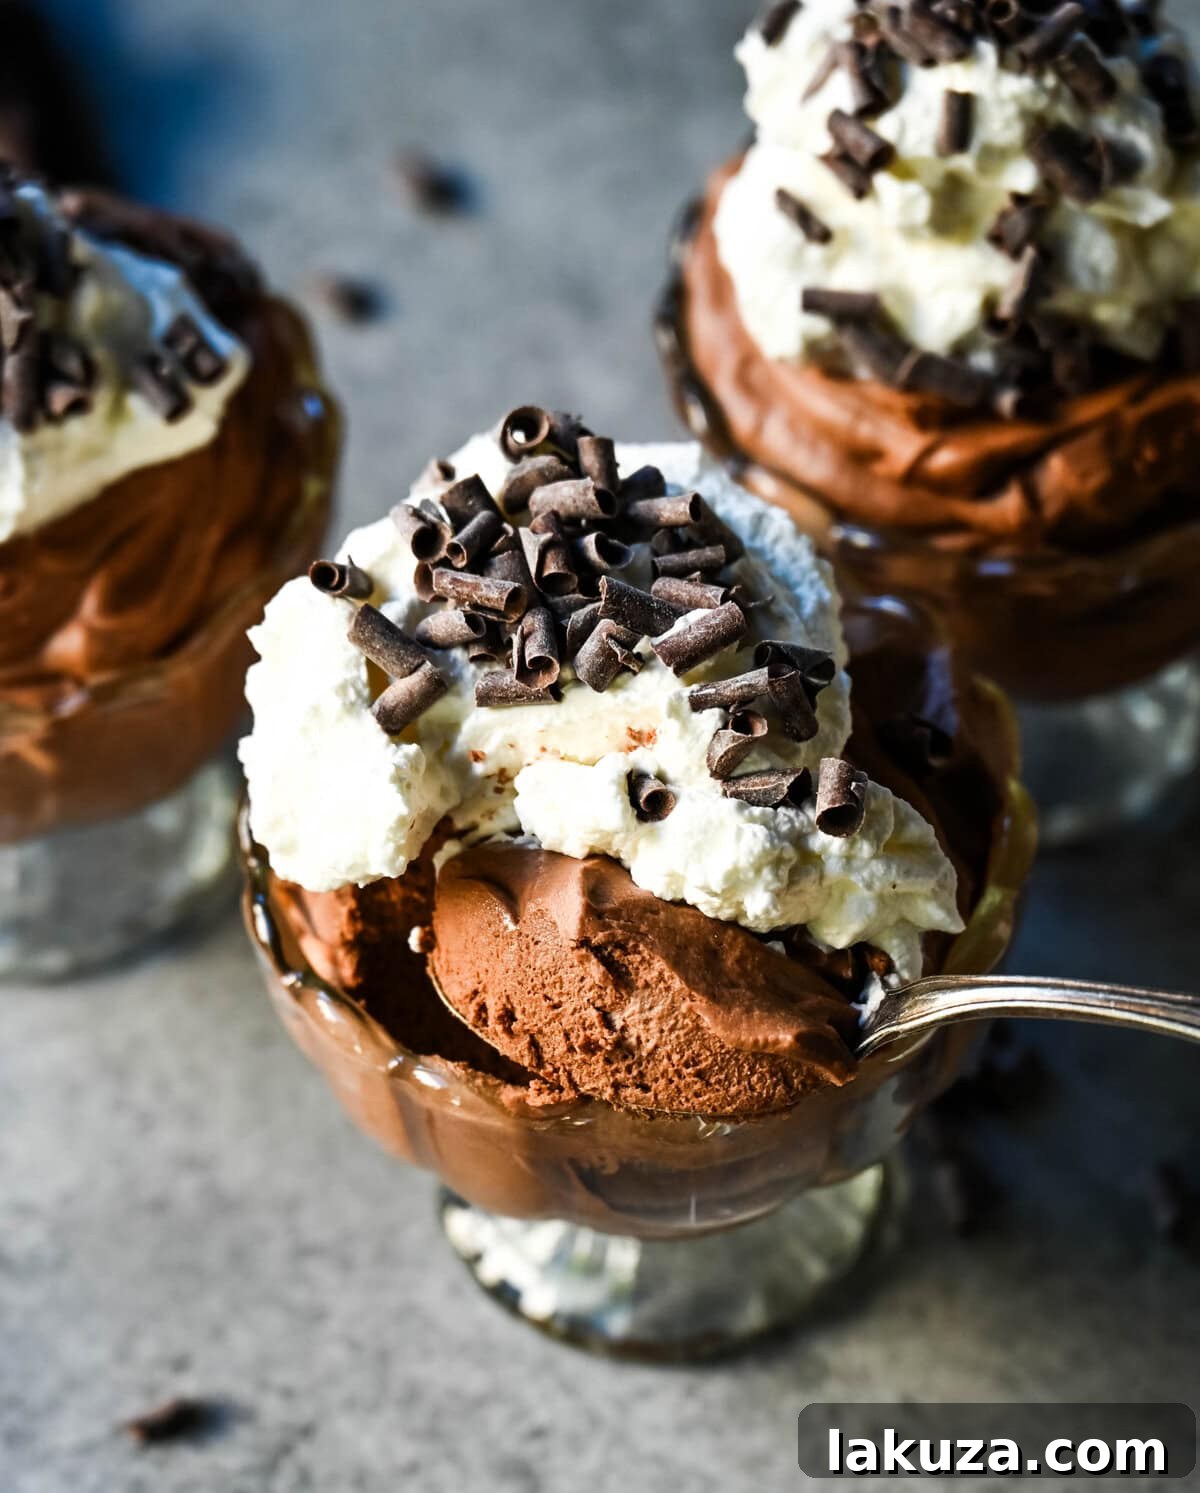
Chocolate Shavings (optional): For a professional finish, consider garnishing your mousse
with elegant chocolate curls or finely grated chocolate. This adds visual appeal and another layer of
chocolatey goodness.Another fantastic option for topping is fresh fruit. The brightness and slight tartness of
fresh raspberries or fresh strawberries beautifully complement the rich
chocolate, adding both color and a burst of flavor.
Selecting Your Chocolate: Chips vs. Bars and Flavor Profiles
The type of chocolate you choose significantly influences the final taste and texture of your mousse. Let’s
explore the differences between chocolate chips and chocolate bars, and how various cocoa percentages affect
your dessert.
Chocolate Chips: Convenience and Versatility
CHOCOLATE CHIPS: The primary advantage of using chocolate chips is their wide availability and
variety, coming in milk, semi-sweet, and dark chocolate options. They are convenient and pre-portioned, making
them easy to use. However, chocolate chips often contain stabilizers (like soy lecithin) to help them maintain
their shape during baking. While this is great for cookies, these stabilizers can sometimes slightly affect their
melting consistency, potentially making the melted chocolate a little thicker.
Chocolate Bars: Pure Flavor and Smooth Melting
CHOCOLATE BARS: High-quality chocolate bars are often preferred by bakers for their purer
chocolate flavor and higher cocoa butter content. They typically contain fewer stabilizers, which allows them to
melt more smoothly and evenly, resulting in a silkier mousse. The downside is that premium chocolate bars can be
more expensive than chocolate chips, but the enhanced flavor and texture are often worth the investment.
My go-to brands for exceptional results are Guittard, Ghirardelli, Valrhona, and Callebaut. For a budget-friendly
yet high-quality option, I highly recommend the Pound Plus Bars from Trader Joe’s.
Understanding Cocoa Percentages
-
Milk Chocolate (typically 30–40% cocoa solids): If you prefer a distinctly sweeter and
milder chocolate mousse with less intense cocoa flavor, milk chocolate is an excellent choice. Its creamy,
sweet profile means you might want to omit or significantly reduce the powdered sugar in the recipe. -
Semi-Sweet Chocolate (typically 50-60% cocoa solids): This is often considered the ideal
choice for chocolate mousse. It strikes a perfect balance between sweetness and rich cocoa flavor, offering
a crowd-pleasing profile that is neither too bitter nor overly sweet. It delivers that classic, deep
chocolate taste. -
Dark Chocolate (typically 60-75% cocoa solids): For those who crave a deep, bold, and more
intense chocolate flavor, dark chocolate is the way to go. It offers a sophisticated, slightly bitter edge
that is wonderfully complex. If you choose a very dark chocolate (70% or higher), you might want to adjust
the powdered sugar to your taste to mitigate some of the bitterness, or embrace the intensely rich experience.
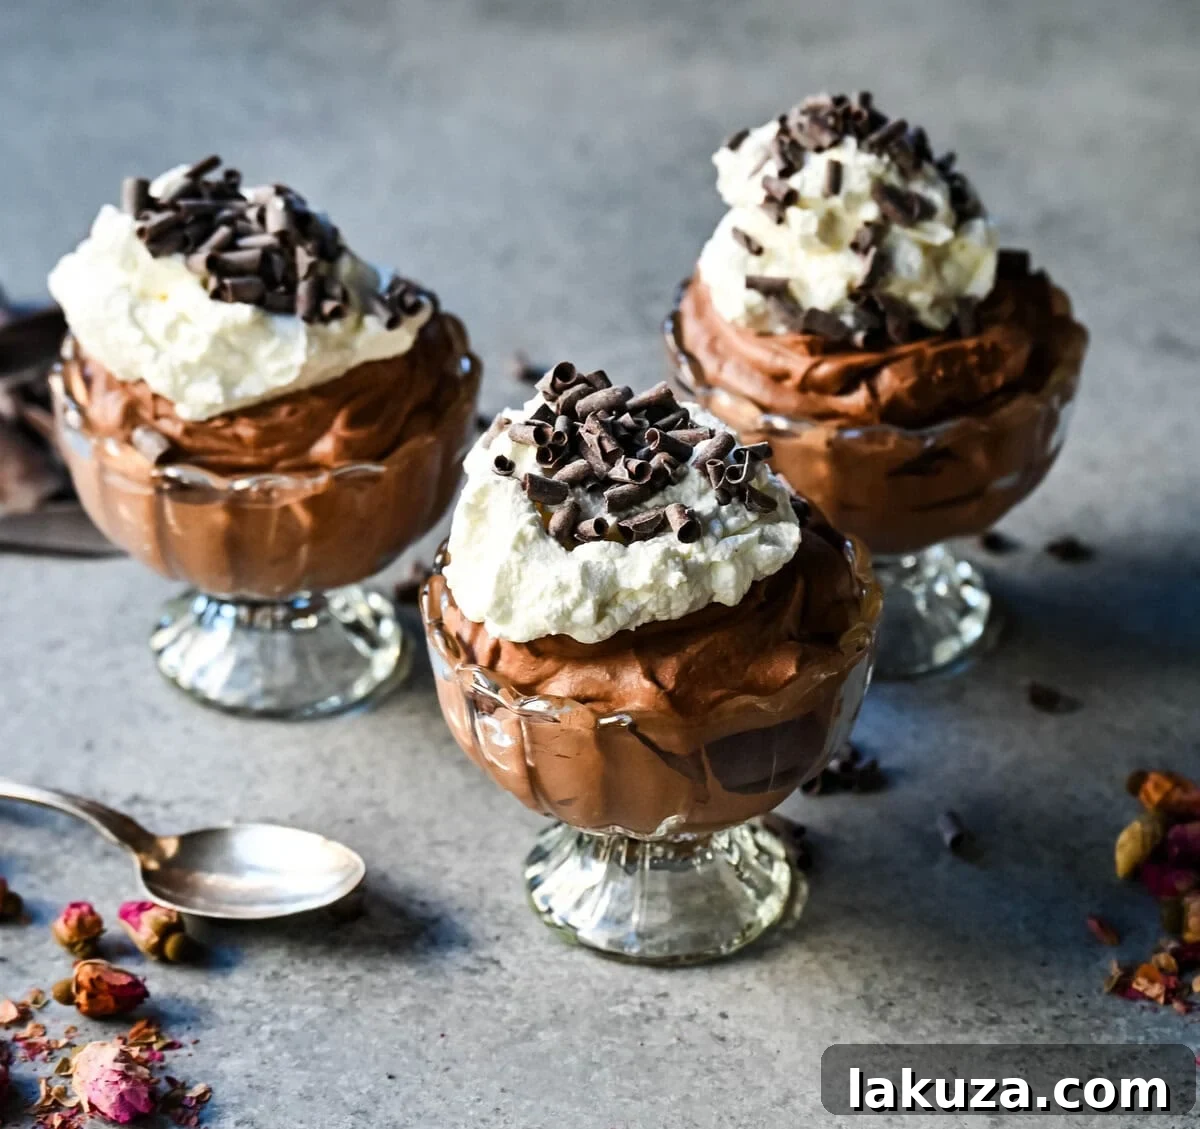
Step-by-Step Guide: How to Make the Best Chocolate Mousse
Crafting this best chocolate mousse recipe
is a straightforward process that yields incredibly impressive results. Follow these simple steps for a dessert
that’s rich, smooth, and perfectly airy.
-
1. Gently Melt and Combine
Melt the Chocolate: Begin by placing half of the total heavy cream (1/2 cup) into a
microwave-safe bowl. Heat it for approximately 1 minute on high power until it’s very warm but not boiling.
Immediately add 1 cup of your chosen chocolate chips or finely chopped chocolate bar to the warm cream. Stir
gently until the chocolate is mostly combined, then let the mixture rest undisturbed for 5 minutes. This
“resting” period allows the residual heat from the cream to fully melt the chocolate, ensuring a smooth, lump-free
ganache. -
2. Achieving the Perfect Temperature
Cool the Mixture: After the 5-minute rest, whisk the chocolate and cream mixture until it
is completely smooth and homogeneous. The goal is to achieve a glossy, thick ganache. Once smooth, set this
mixture aside to cool down to at least room temperature. It’s crucial that this chocolate mixture is cool
before folding in the whipped cream; otherwise, it will melt the delicate cream and prevent your mousse from
setting properly. You can speed up the cooling by placing the bowl in an ice bath, stirring occasionally. -
3. Whipping Cream to Perfection
Whip the Cream: While the chocolate mixture cools, pour the remaining 1 cup of cold heavy
cream into a medium-sized mixing bowl. Using an electric hand mixer, a stand mixer fitted with a whisk
attachment, or even a sturdy whisk and some elbow grease, beat the cream until it forms soft peaks. Soft
peaks will hold their shape but still gently flop over when the beater is lifted. Scoop out about 1/2 cup of
this lightly whipped cream into a small separate bowl, cover it, and refrigerate it. This reserved cream will
be used later as a beautiful topping for your finished mousse. Continue whipping the remaining cream in the
main bowl until stiff peaks form. Stiff peaks will stand upright firmly when the beater is lifted. Be careful
not to over-whip, as it can turn granular and become butter. -
4. The Art of Folding
Fold Everything Together: With a large rubber spatula, gently fold the stiffly whipped cream
into the cooled chocolate mixture. Do this in three separate batches. The key here is “folding,” not
stirring. You want to incorporate the cream without deflating the air you’ve just whipped in. Use a light
hand, turning the bowl as you fold from the bottom up. Don’t worry if you see small streaks of cream initially;
they will disappear as you continue. Work quickly to maintain the mousse’s airy structure. Once mostly
combined, gently fold in the powdered sugar and vanilla extract until just incorporated. Overmixing at this
stage can result in a dense mousse. -
5. Chill for Decadent Results
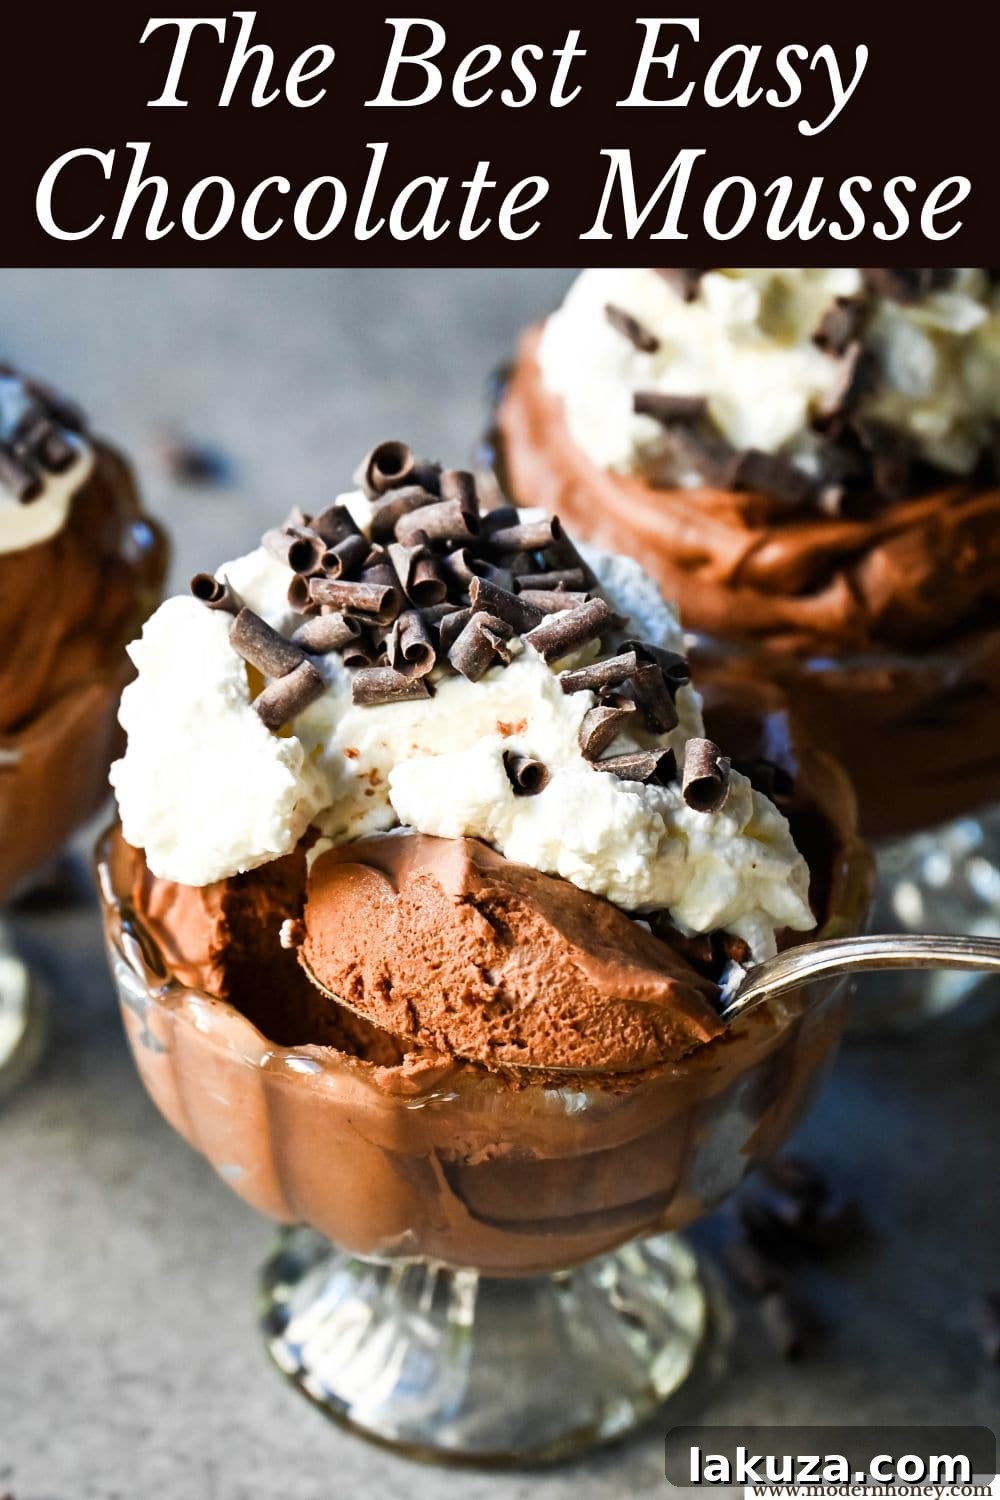
Chill and Serve: Carefully divide the light and airy mousse among 4 small ramekins,
dessert glasses, or elegant martini glasses. Cover each serving (or the entire dish if using a single large
bowl) with plastic wrap and refrigerate for at least 1 hour, or up to 4 hours, to allow the mousse to firm
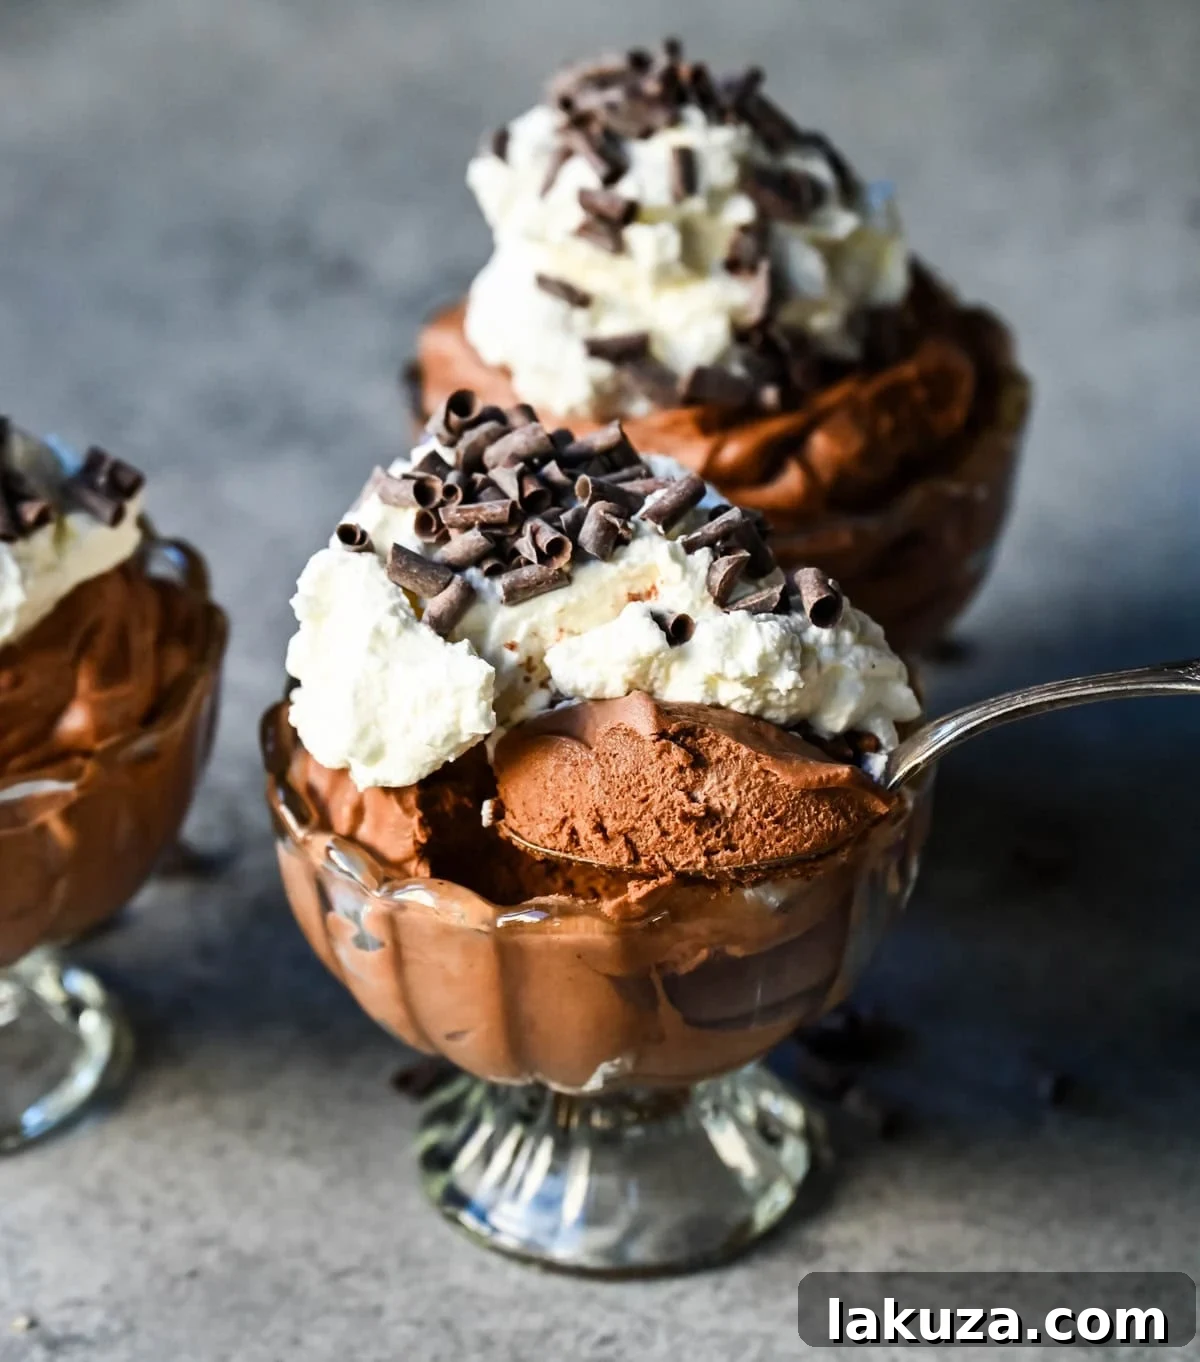
up and for the flavors to meld. To serve, retrieve your chilled mousse, dollop generously with the
previously reserved whipped cream, and top with exquisite grated chocolate, delicate chocolate curls, or
fresh berries for a truly stunning presentation.
Creative Substitutions & Delicious Variations
This easy chocolate mousse
recipe is wonderfully versatile, allowing for numerous delightful additions and substitutions to suit your taste
and occasion.
-
Boost the Chocolate Intensity: For an even deeper, more complex chocolate flavor, add 1/2
teaspoon of instant espresso powder or finely ground coffee to the chocolate mixture before chilling. The coffee
won’t make the mousse taste like coffee but will dramatically enhance the richness of the chocolate. -
Nutty Crunch: Introduce a delightful textural contrast by folding in 1/4 cup of toasted or
candied hazelnuts, almonds, or pecans just before chilling. The crunch of the nuts provides a fantastic
counterpoint to the smooth mousse. -
Citrus Zing: If you adore the combination of chocolate and orange, finely chop some candied
orange peels and fold them into the mousse. A hint of orange zest (1/2 teaspoon) can also be folded in for a
fresher, brighter citrus note. -
Caramel and Toffee Dream: For a luscious chocolate toffee dessert, sprinkle chopped chocolate
toffee bits (like Heath Bar bits) into the mousse or on top as a garnish. A swirl of caramel sauce could also be
added to the bottom of the serving glasses before filling. -
Cookies and Cream Twist: Transform this into a playful cookies and cream mousse by folding in
1/2 cup of coarsely crushed Oreo cookies or other chocolate sandwich cookies. Top with more crushed cookies for
extra appeal. -
Minty Fresh: For a refreshing twist, add 1/4 teaspoon of peppermint extract along with the
vanilla. Garnish with a small mint leaf or crushed peppermints. -
Spicy Kick: For an adventurous palate, a tiny pinch of cayenne pepper (1/8 teaspoon) folded
into the chocolate can add an unexpected and delightful warmth.
Frequently Asked Questions (FAQ’s) About Chocolate Mousse
Here are answers to some common questions about making chocolate mousse without eggs
and ensuring perfect results every time.
Does this chocolate mousse recipe require eggs or gelatin?
No, absolutely not! This easy chocolate mousse recipe
is specifically designed to be egg-free
and gelatin-free. Its luxurious, airy consistency is solely achieved by the careful whipping of heavy cream, which provides
both structure and lightness, making it a simpler and more accessible dessert.
Can I use milk chocolate instead of dark chocolate?
Yes, you absolutely can! If you prefer a sweeter and milder chocolate dessert, milk chocolate is a wonderful
alternative. Just be aware that milk chocolate is inherently sweeter, so you might want to reduce or even omit
the powdered sugar in the recipe to prevent it from becoming overly sweet. Semi-sweet chocolate provides a great
balance if you’re looking for something in between.
How long does chocolate mousse keep and how should I store it in the refrigerator?
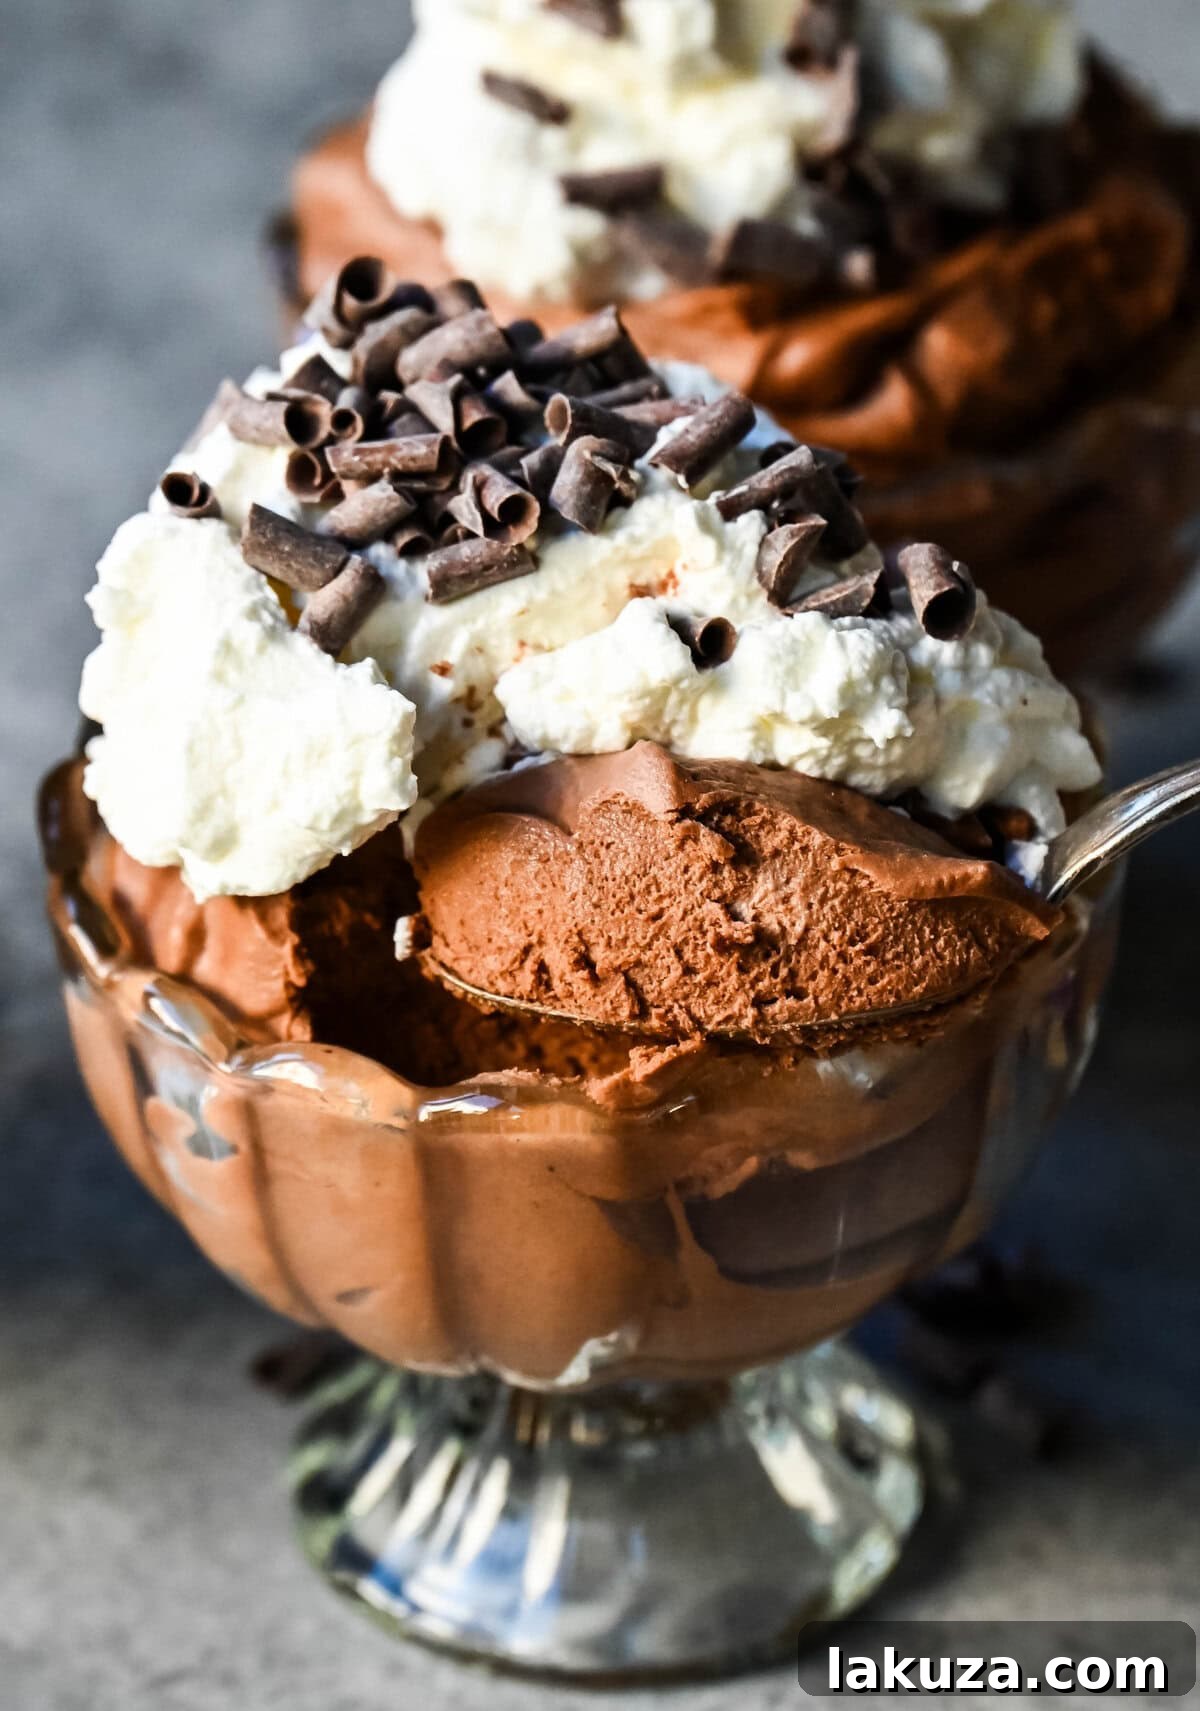
To maintain its freshness and texture, store your homemade chocolate mousse
covered tightly in an airtight container in the refrigerator. When stored correctly, it should remain fresh and
delicious for 2-3 days. Please note that it may firm up slightly over time due to the chocolate and cream
setting further, but it will still be delightful.
Versatile Ways to Enjoy Your Chocolate Mousse
This decadent chocolate mousse
is incredibly versatile and can be presented in many ways beyond a simple dessert cup, making it perfect for
various occasions.
-
Individual Servings: The most classic way to serve mousse is in
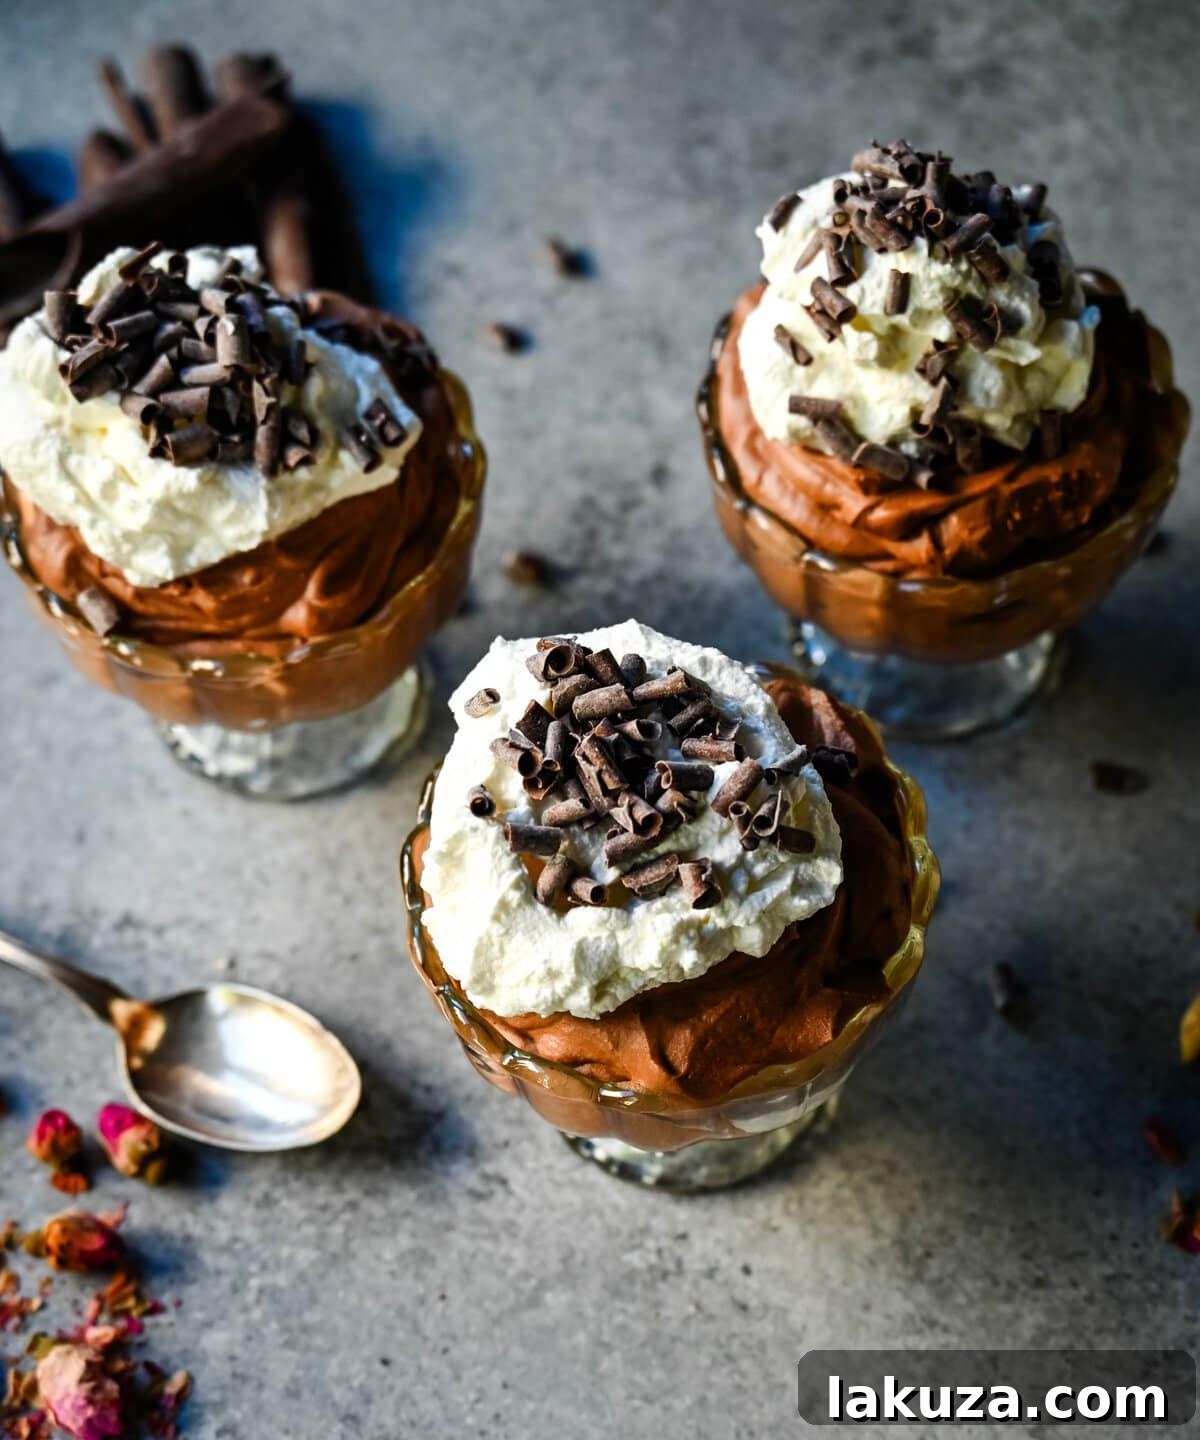
individual cups, ramekins, elegant glasses, or parfait glasses. Simply spoon the mousse
into these vessels, chill thoroughly, and then top with a dollop of fresh whipped cream and a sprinkle of
chocolate curls or shavings just before serving. This presentation is always a hit! -
Layered Desserts: Utilize the rich chocolate mousse
as a luscious layer in more elaborate desserts. It works beautifully in
trifles or parfaits, alternating with layers of crushed cookies (like Oreos or graham
crackers), brownie chunks, cake pieces, or fresh fruit such as raspberries or strawberries. The contrast in
textures and flavors is sublime. -
Cake Filling: Elevate your homemade cakes by using this light and airy chocolate mousse
as a luxurious cake filling between layers. Its delicate texture provides a wonderful
counterpoint to denser cake sponges, creating a truly memorable dessert experience. Ensure the cake layers are
fully cooled before applying the mousse to prevent melting. -
Tart or Pie Filling: This mousse can also serve as an exquisite filling for pre-baked pie
crusts or tart shells. Simply pour the chilled mousse into the crust, allow it to set further in the fridge,
and then garnish as desired.
Tips for Chocolate Mousse Success
Achieving the perfect easy chocolate mousse
is well within reach with a few simple pointers:
-
Cold Cream is Crucial: Always start with very cold heavy cream. It whips up faster and to a
greater volume, which is essential for the mousse’s light texture. You can even chill your mixing bowl and whisk
attachment for 10-15 minutes beforehand to ensure maximum chill. -
Don’t Overheat Chocolate: When melting the chocolate with cream in the microwave, heat in short
bursts (e.g., 30-second intervals) and stir well in between. Overheated chocolate can seize or become grainy,
ruining the texture. The residual heat is often enough to melt the chocolate after the initial warming. -
Cool the Chocolate Mixture Completely: This is a non-negotiable step. If your melted
chocolate mixture is warm when you fold it into the whipped cream, it will melt the cream, resulting in a runny,
dense mousse. It should feel cool to the touch. -
Master the Fold: The “folding” technique is key to maintaining the airiness of the whipped
cream. Use a gentle, lifting motion with your spatula from the bottom of the bowl upwards, turning the bowl as
you go. Avoid vigorous stirring, which will deflate the cream. -
Don’t Over-Whip the Cream: While stiff peaks are desired, be careful not to over-whip your
heavy cream into butter. Stop mixing as soon as the cream holds its shape firmly. -
Patience with Chilling: Allow ample time for the mousse to chill in the refrigerator. This
hour-long (or longer) period allows the chocolate and cream to fully set, firming up the mousse and allowing the
flavors to deepen and harmonize. -
Quality Ingredients Matter: Since this recipe uses only a few ingredients, the quality of each
one shines through. Invest in good quality heavy cream and, most importantly, good chocolate. It makes a
noticeable difference in the final taste.
More Irresistible Chocolate Desserts:
Love at First Sight Chocolate Cake
Chocolate Pot de Creme
Chocolate Nutella Cheesecake Mousse
The Best Chocolate Chip Cookies
Pin Recipe
Average Rating: 4.80 from 5 votes
Easy Chocolate Mousse
Ingredients
-
1 1/2
cups
Heavy Cream
(divided) -
6
ounces
Chocolate *
(1 cup, see above for more info on chocolate types) -
2
Tablespoons
Powdered Sugar -
1
teaspoon
Vanilla Bean Paste or Extract
Toppings:
- Chocolate Shavings, Chocolate Curls, Fresh Raspberries, Fresh Strawberries, Candied Nuts
Instructions
-
Melt the Chocolate: In a microwave-safe bowl, heat 1/2 cup of the heavy cream for about 1 minute until very warm. Stir in 1 cup of chocolate chips until mostly combined, then let the mixture rest for 5 minutes for the chocolate to fully melt.
-
Cool the Mixture: Whisk the chocolate and heavy cream until it is smooth and glossy. Set it aside to cool completely while you whip the remaining cream.
-
Whip the Cream: In a medium bowl, pour the remaining 1 cup of cold heavy cream. Using an electric mixer, beat the cream until soft peaks form. Scoop out 1/2 cup of this whipped cream into a small bowl, cover, and refrigerate (for topping). Continue whipping the rest of the cream until stiff peaks form.
-
Fold Everything Together: Using a large spatula, gently fold the stiffly whipped cream into the cooled chocolate mixture in three batches. Work quickly and use a light hand. Gently fold in powdered sugar and vanilla extract until just combined.
-
Chill and Serve: Divide the mousse among 4 small ramekins or glasses. Refrigerate for at least 1 hour (up to 4 hours) to set. To serve, dollop with the reserved whipped cream and top with grated chocolate or chocolate curls.
Notes
What type of chocolate to use?
CHOCOLATE CHIPS: Pros: Widely available in milk, semi-sweet, dark. Cons: May contain stabilizers affecting melting.
CHOCOLATE BARS: Pros: Higher quality cocoa, pure flavor, fewer stabilizers for smoother melting. Cons: Can be more expensive.
My favorite brands of chocolate are Guittard, Ghirardelli, Valrhona, and Callebaut. Trader Joe’s Pound Plus Bars are also excellent.
For more detailed information including FAQs and tips, please refer to the full blog post above.
Recipe adapted from The Kitchn, with added powdered sugar and vanilla extract for enhanced flavor.
Nutrition information is automatically calculated and should only be used as an approximation.