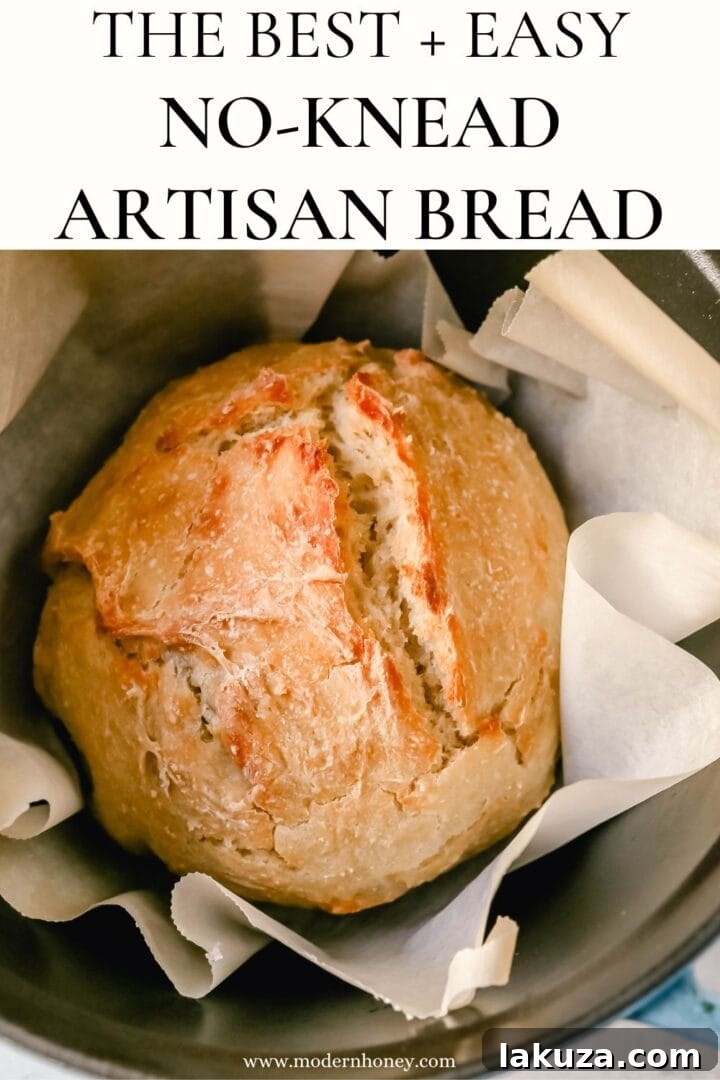
Effortless Artisan No-Knead Dutch Oven Bread: Your Guide to Perfect Crusty Loaves
Discover the magic of homemade artisan bread with this incredibly simple No-Knead Dutch Oven Bread recipe. Achieving a bakery-quality crust and a wonderfully soft, airy interior has never been easier. With just four basic ingredients – flour, water, salt, and yeast – you can create a stunning loaf that will impress everyone, especially after an overnight rise that develops unparalleled flavor. Forget complex techniques; this recipe is designed for maximum flavor and minimal effort, making it ideal for both seasoned bakers and complete beginners.
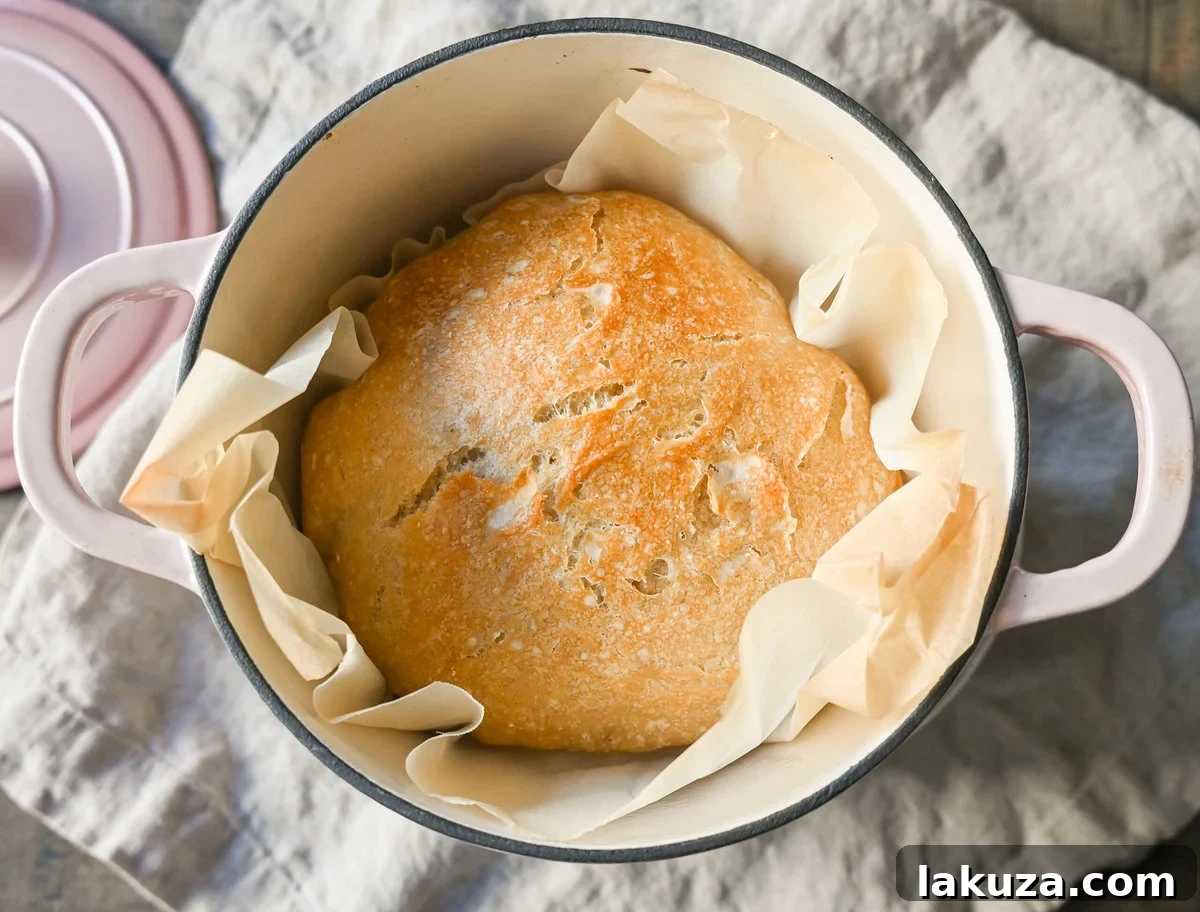
Imagine pulling a perfectly golden, crusty loaf of bread from your oven, its aroma filling your home, and slicing into a tender, airy interior. What if I told you this dream can become a reality with less than five minutes of active preparation? This No-Knead Dutch Oven Bread recipe truly redefines easy baking. When I first tried this method, the results were so extraordinary that I was genuinely astonished by its simplicity. It felt like a culinary secret unlocked, yielding a loaf that tasted and looked like it came straight from a gourmet French bakery.
My mother, a lifelong baker with a passion for traditional bread-making, was equally impressed. She couldn’t believe such a magnificent artisan loaf could be created with so little fuss. This recipe is a game-changer for anyone who loves the taste of fresh, homemade bread but shies away from the intensive kneading and precise timing usually associated with it. The secret lies in a long, slow fermentation and the unique baking environment provided by a Dutch oven, transforming simple ingredients into a masterpiece of texture and flavor.
Unlocking the Secret: The Simple Ingredients for Overnight No-Knead Bread
The beauty of this No-Knead Bread recipe lies in its minimalist approach. You don’t need a lengthy list of exotic items or specialized flours. This incredible bread calls for only four fundamental ingredients, staples you likely already have in your pantry:
- Flour
- Salt
- Yeast
- Water
That’s it! The preparation is astonishingly quick. You literally combine these ingredients in a bowl, give them a stir for about 30 seconds until just combined, and then walk away. The dough then embarks on a leisurely 12-18 hour rise, during which time it develops its complex flavors and signature texture. The final step is baking it in a Dutch oven, which is crucial for achieving that irresistible crusty exterior and a beautifully chewy crumb. Get ready to fall in love with homemade artisan bread!
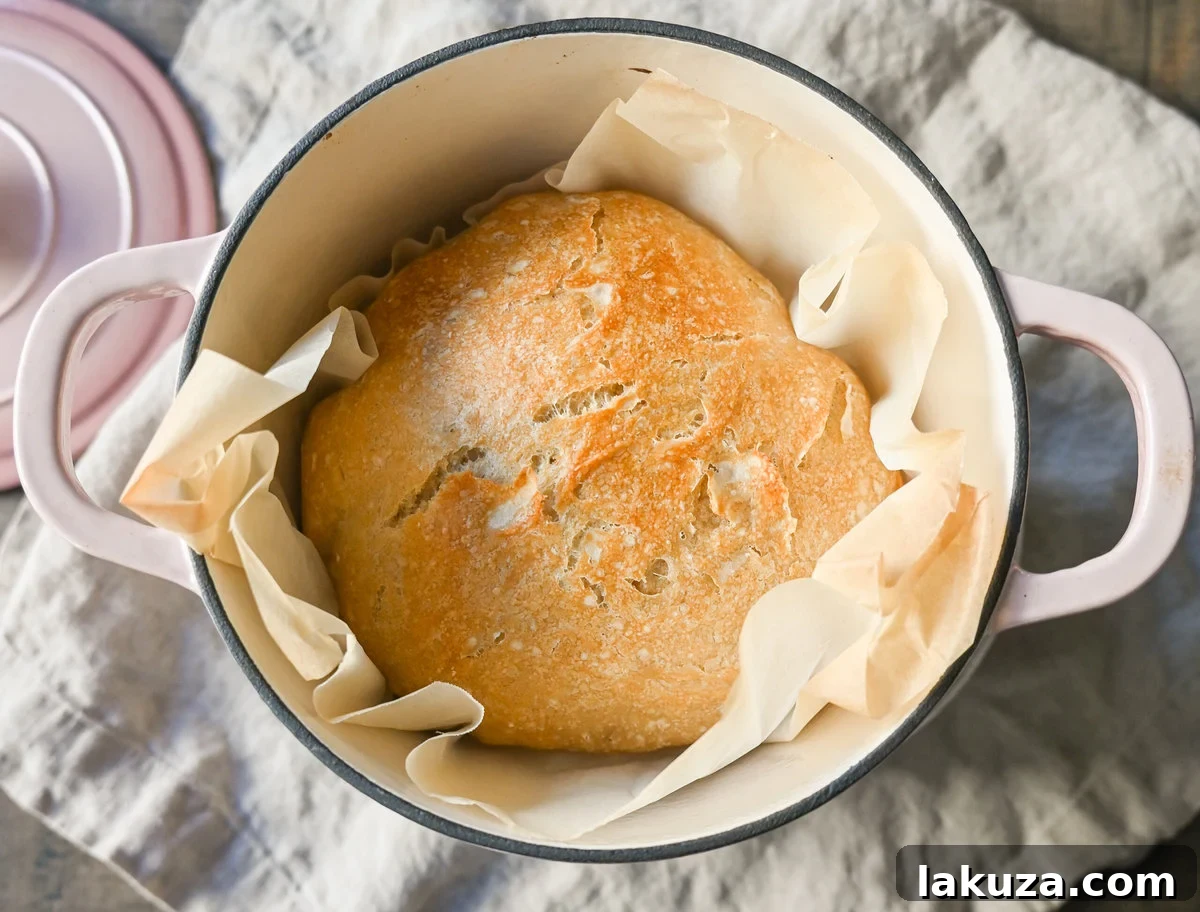
Why You Will Absolutely Love This No-Knead Bread Recipe:
- Effortless Perfection: This revolutionary bread recipe, popularized by Jim Lahey of Sullivan Street Bakery and published in the New York Times, became an instant sensation because it requires absolutely no kneading. This means no sticky hands, no tiring arm workouts, and perfect for even the most novice bakers.
- Minimalist Magic: You only need four simple ingredients to create this culinary marvel. This simplicity not only makes it easy to shop for, but also highlights the pure, unadulterated flavor of the bread itself. Less truly is more when it comes to this artisan loaf.
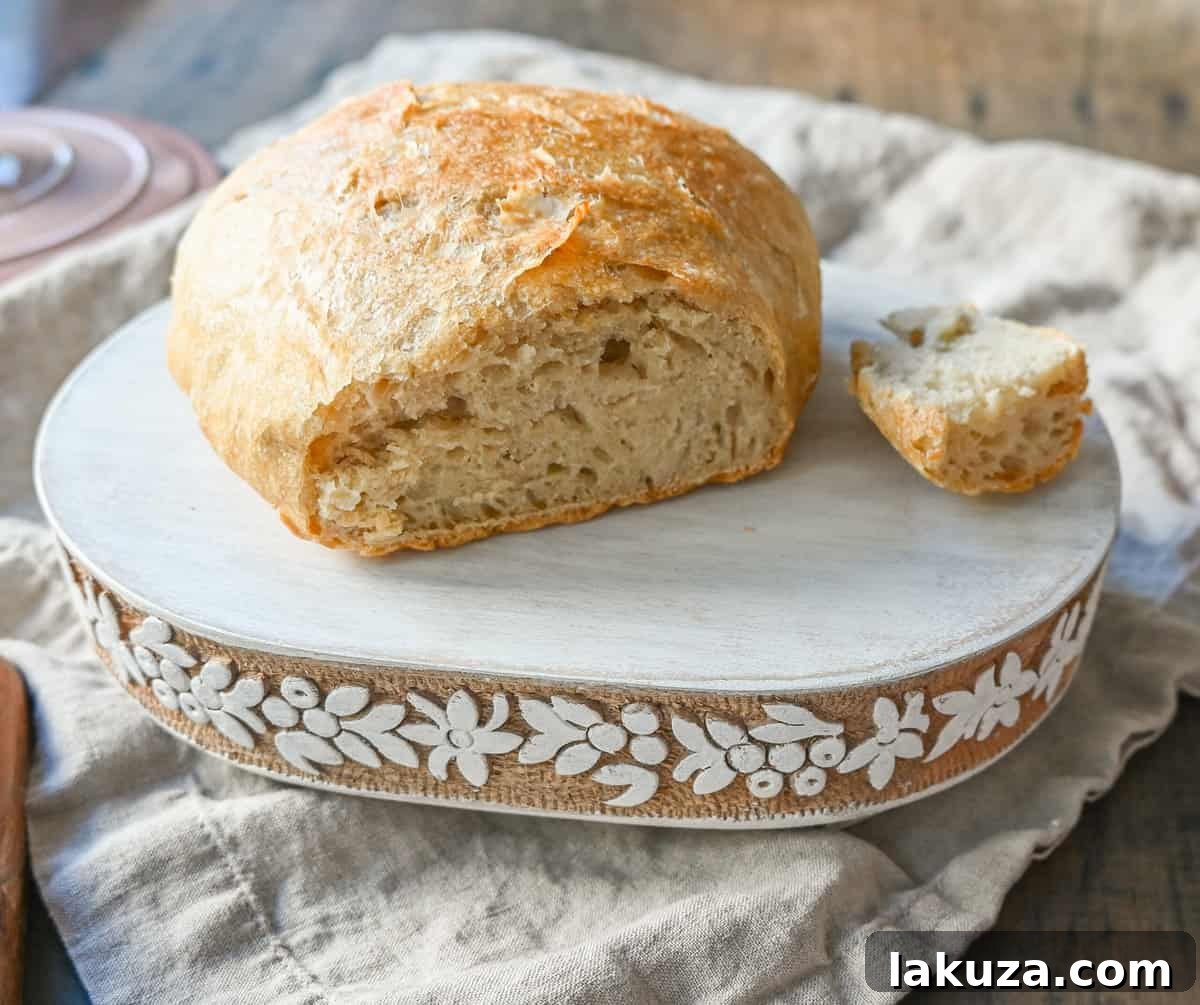
- Unbelievable Results: Despite its minimal effort, the end result is consistently stunning: a gloriously crusty exterior that crackles with every slice, revealing an interior that is remarkably soft, tender, and full of air pockets – just like what you’d find in a high-end bakery.
- Limitless Customization: This base recipe is incredibly versatile, serving as a perfect canvas for your creative additions. Craving something sweet? Add dried cranberries and white chocolate. Prefer savory? Minced garlic and sharp cheddar cheese are fantastic. Or perhaps a touch of gourmet with fresh herbs and a garlic butter swirl? The possibilities are endless, making every loaf uniquely yours.
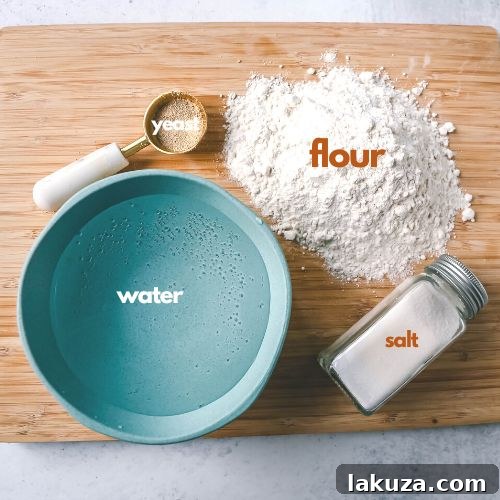
The Four Pillars: Understanding Your Dutch Oven Bread Ingredients
While the ingredient list is short, understanding the role each component plays is key to achieving consistent, delicious results. Let’s break down the significance of each of the four pillars in your No-Knead Dutch Oven Bread.
- Flour: The foundation of your bread.
- I highly recommend using either all-purpose flour or bread flour.
- Bread flour boasts a higher protein content, which translates to more gluten development, giving your bread a chewier, heartier texture and excellent structure – ideal for a robust artisan loaf.
- All-purpose flour has a slightly lower protein content than bread flour but is widely available and universally used due to its versatility and ability to produce a fantastic loaf with this method. Both will yield excellent results, so feel free to use what you have on hand.
- Yeast: The silent worker.
- For this slow-rising recipe, I suggest using active dry yeast. You’ll notice we only use a mere 1/2 teaspoon. This small amount, combined with a lengthy fermentation period (12-18 hours), is critical.
- The extended rise time allows the yeast to slowly break down the starches in the flour, developing incredible depth of flavor and creating the signature open, airy crumb structure that defines artisan bread.
- Salt: The flavor enhancer and dough regulator.
- Never underestimate the power of salt in bread making. If a loaf tastes bland, it’s almost always due to insufficient salt.
- Beyond flavor, salt plays a vital role in controlling yeast activity and strengthening the gluten network, contributing to the dough’s overall structure and elasticity. It’s essential for a well-balanced and flavorful bread.
- Warm Water: The activator.
- The temperature of your water is paramount for activating the yeast. I recommend using water that is approximately 110°F (43°C). This warmth awakens the yeast, allowing it to begin its fermentation process.
- Be cautious: if the water is too hot, it will kill the yeast, preventing your bread from rising. If it’s too cold, the yeast will activate too slowly or not at all. Using a kitchen thermometer to check the water temperature is a simple step that ensures success.
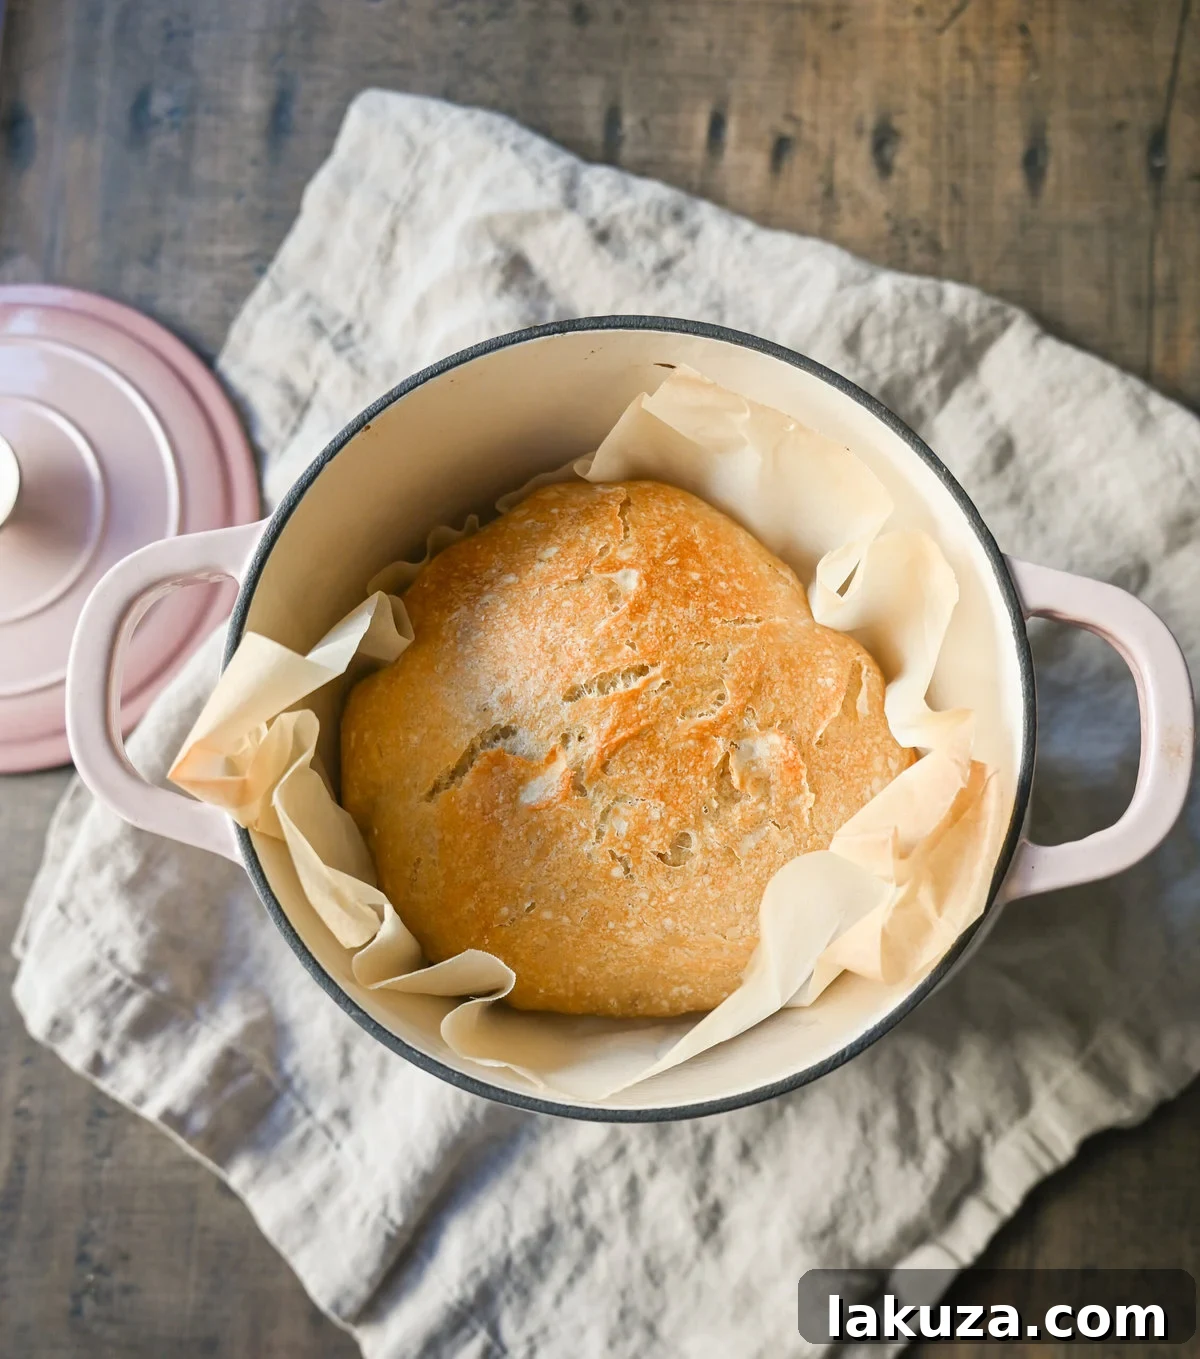
The Patience Pays Off: Why Overnight Bread Needs Such a Long Rise Time
The long fermentation period is not merely a suggestion; it’s the heart and soul of this artisan bread recipe. Because we use only 1/2 teaspoon of yeast – a significantly smaller amount than many traditional bread recipes – the dough requires an extended period, typically 12 to 18 hours, to fully develop. This slow and steady approach is precisely what yields such phenomenal results.
During this extended rest, the yeast works its magic, slowly fermenting the sugars in the flour. This process contributes to several crucial aspects:
- Flavor Development: The prolonged fermentation allows for the creation of complex flavors and subtle tanginess, far beyond what a quick rise can achieve. This depth of flavor is a hallmark of true artisan bread.
- Texture Transformation: The slow rise encourages the formation of a robust gluten network without any kneading. This network traps gases more efficiently, resulting in the characteristic open, airy crumb structure with beautiful, irregular holes.
- Crust Formation: The well-developed dough from a long rise responds beautifully to the heat of the Dutch oven, creating that exceptionally crisp, dark, and utterly satisfying crust.
Think of it as slow cooking for bread. Just like a slow-simmered stew develops richer flavors, this no-knead dough transforms into a truly flavorful, chewy masterpiece with a wonderfully crusty exterior. It’s the ultimate reward for your patience.
The Dutch Oven Advantage: Why This Pot is Essential for Perfect Crusty Bread
If there’s one piece of equipment indispensable to this recipe, it’s the Dutch oven (or any heavy pot with a tight-fitting lid). This kitchen workhorse is not just for stews; it’s the secret weapon for achieving a professional-grade crust and an ideal crumb in homemade bread. Here’s why it’s so vital:
- Trapping Steam: The primary benefit of baking bread in a preheated, covered Dutch oven is its ability to trap steam. As the dough bakes, it releases moisture. The lid keeps this steam contained around the loaf during the initial baking phase. This steamy environment is crucial because it prevents the crust from setting too quickly. Instead, the crust remains soft and pliable, allowing the loaf to expand fully (known as “oven spring”) and develop its maximum volume and an open crumb.
- Even Heat Distribution: Dutch ovens, typically made of cast iron, are renowned for their exceptional heat retention and even heat distribution. This means the bread bakes uniformly from all sides, promoting a consistent rise and preventing hot spots that can lead to uneven baking.
- Creating a Crispy Crust: Once the loaf has achieved its maximum expansion, you remove the lid. This allows the trapped steam to escape and the dry, intense heat of the oven to directly contact the dough. The surface of the bread can then quickly dehydrate and caramelize, resulting in that coveted, deep golden-brown, and shatteringly crisp crust. Without the initial steam, the crust would harden prematurely, restricting the loaf’s rise and leading to a denser crumb.
In essence, the Dutch oven acts like a mini-steam oven, replicating the ideal conditions of professional bakeries right in your home kitchen. It’s the key to transforming a simple dough into an extraordinary artisan loaf.
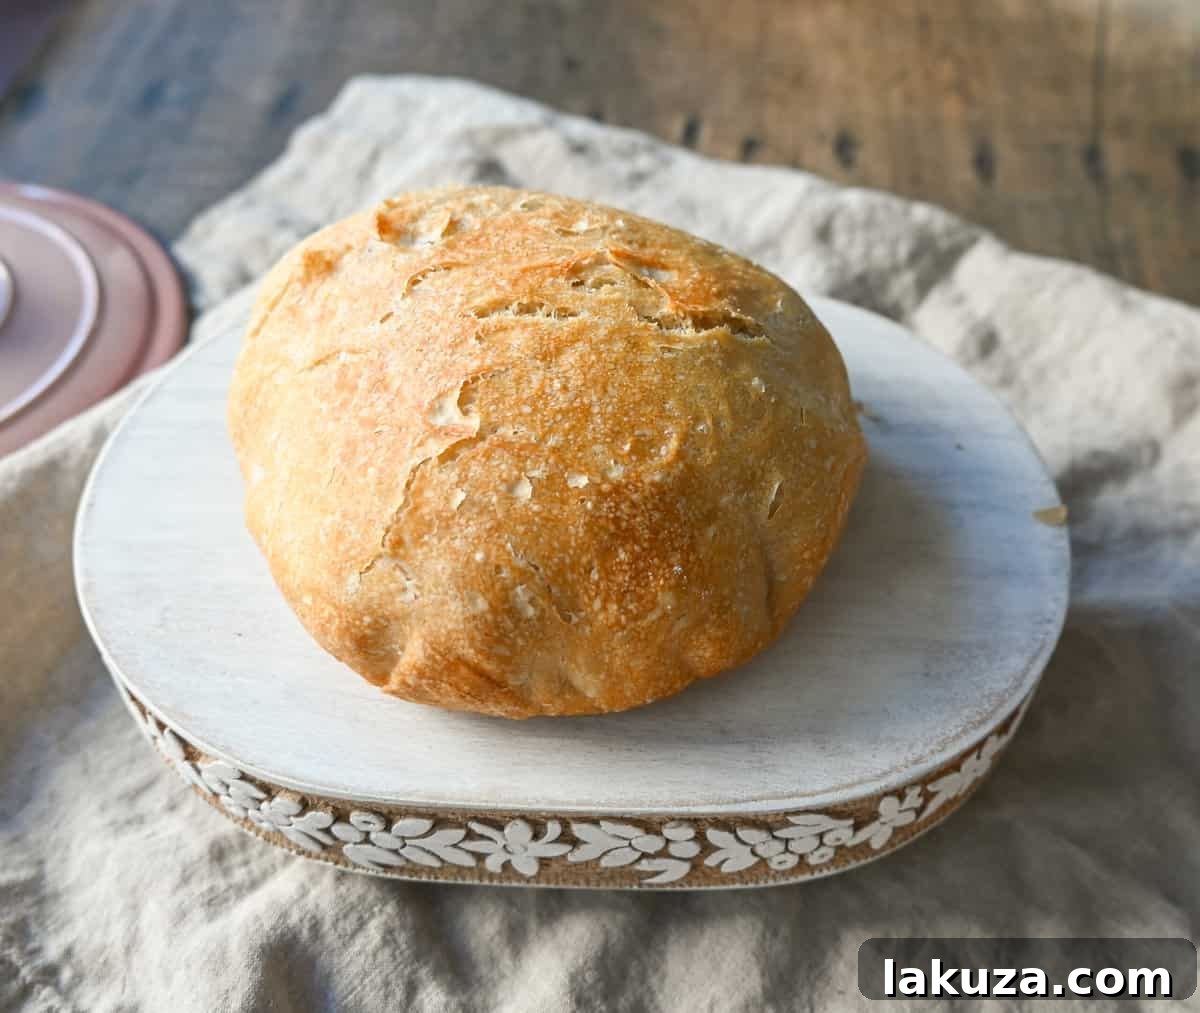
Choosing Your Weapon: What Type of Dutch Oven is Best for No-Knead Bread?
Investing in a good Dutch oven is a decision you won’t regret, especially if you plan on making this bread regularly. While there are many options, some brands are celebrated for their quality and performance:
- My absolute favorite Dutch ovens are from Staub and Le Creuset. These premium brands are known for their exceptional craftsmanship, durability, and stunning aesthetic. They provide superb heat distribution and retention, which is paramount for perfect bread. Keep an eye out for sales, as they can be a significant investment, but they truly last a lifetime. I’m always drawn to their beautiful new colors!
- For a more budget-friendly yet highly effective option, a Lodge Dutch Oven is an excellent choice. Lodge cast iron is unpretentious, incredibly durable, and performs wonderfully for bread baking, offering great value. You can often find them readily available on Amazon.
- Consider the size: A 5-quart to 6-quart Dutch oven is ideal for most standard loaf sizes. A smaller 3-quart Dutch oven (which you can often find affordably, sometimes around $38) is great for higher, more compact loaves, while a larger 7-quart Dutch oven might result in a slightly flatter, wider loaf. I personally love having a range of sizes.
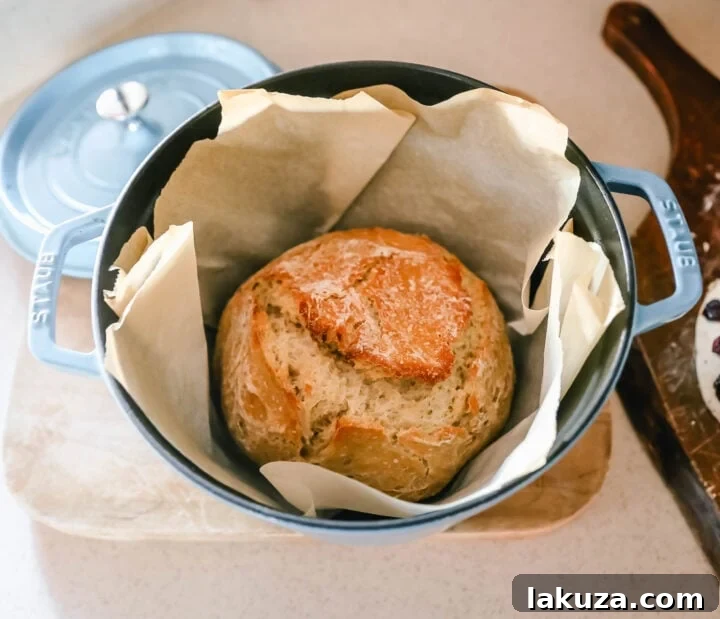
I genuinely use my Dutch ovens all the time for an array of recipes, from braising meats to making soups and, of course, baking bread. They are such versatile kitchen tools that I often keep two out on my stove at all times – that’s how frequently they get used!
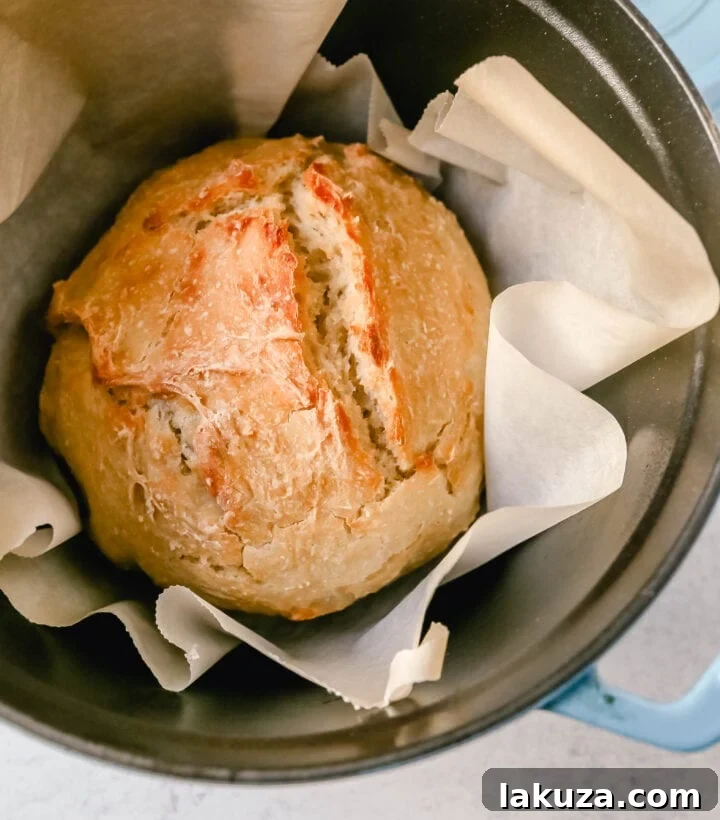
Crafting Perfection: How to Make the Best No-Knead Dutch Oven Bread
Making this incredible no-knead bread is astonishingly simple. Follow these steps to achieve a truly artisan loaf with minimal effort:
- Combine the Dry & Wet: Start with a large mixing bowl. Add your flour, yeast, salt, and warm water. Remember the crucial water temperature: aim for approximately 110°F (43°C). Use a thermometer if unsure, as water that’s too hot will kill the yeast, and water that’s too cold won’t activate it properly.
- Stir Until Just Combined: Using a spoon, spatula, or even your hands, stir the mixture together until all the ingredients are just incorporated. The dough will look quite shaggy and sticky – this is exactly what you want. Avoid overmixing; just ensure there are no dry pockets of flour. If using your hands, gently form it into a rough ball within the bowl.
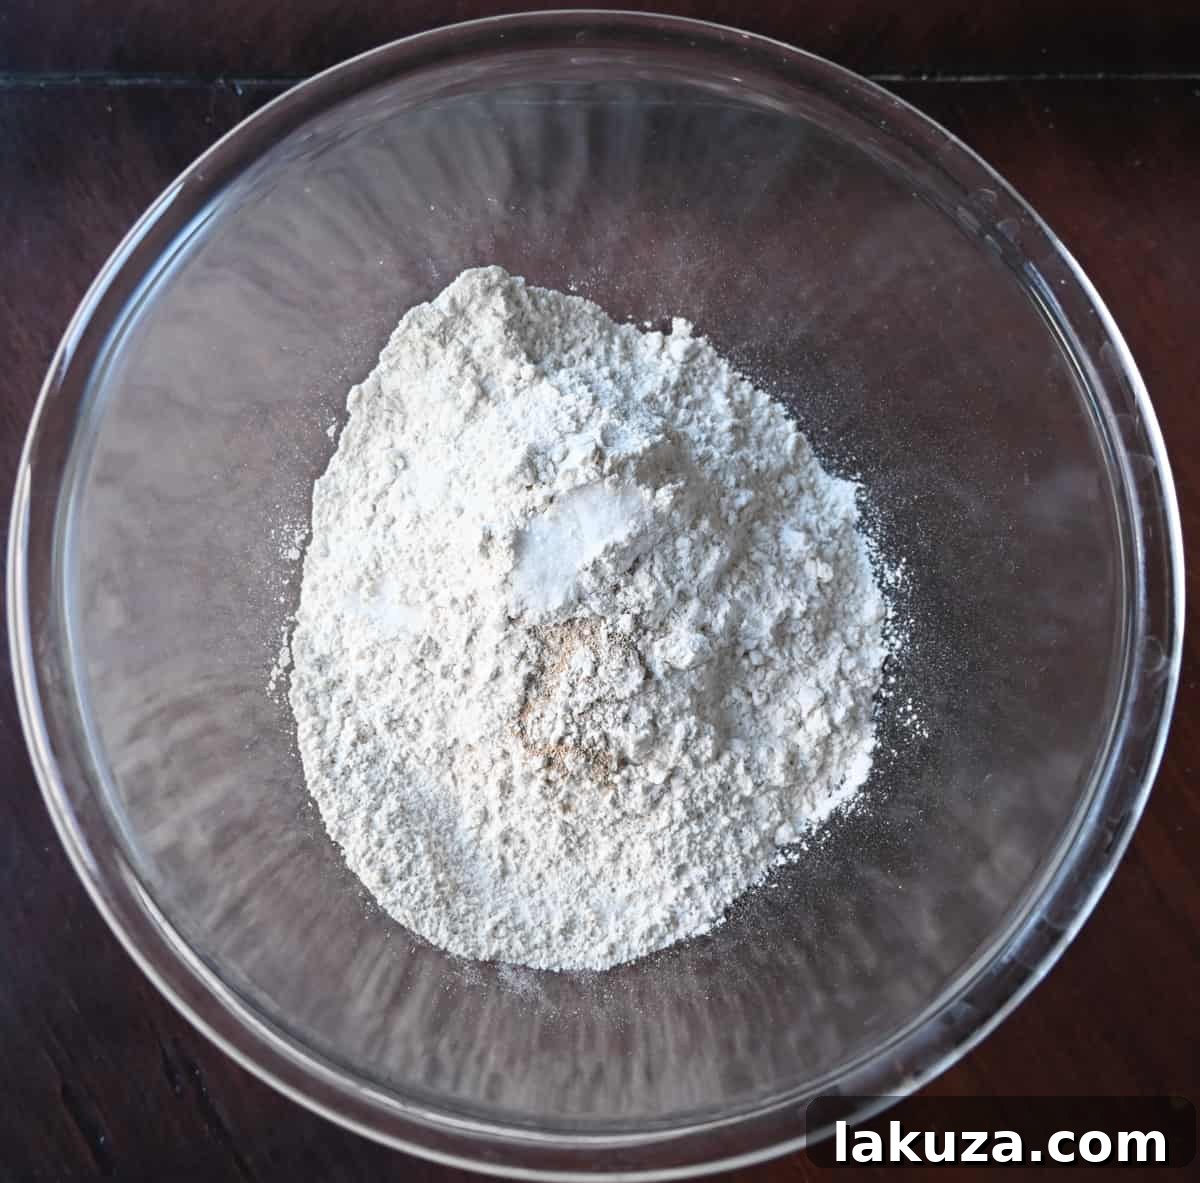
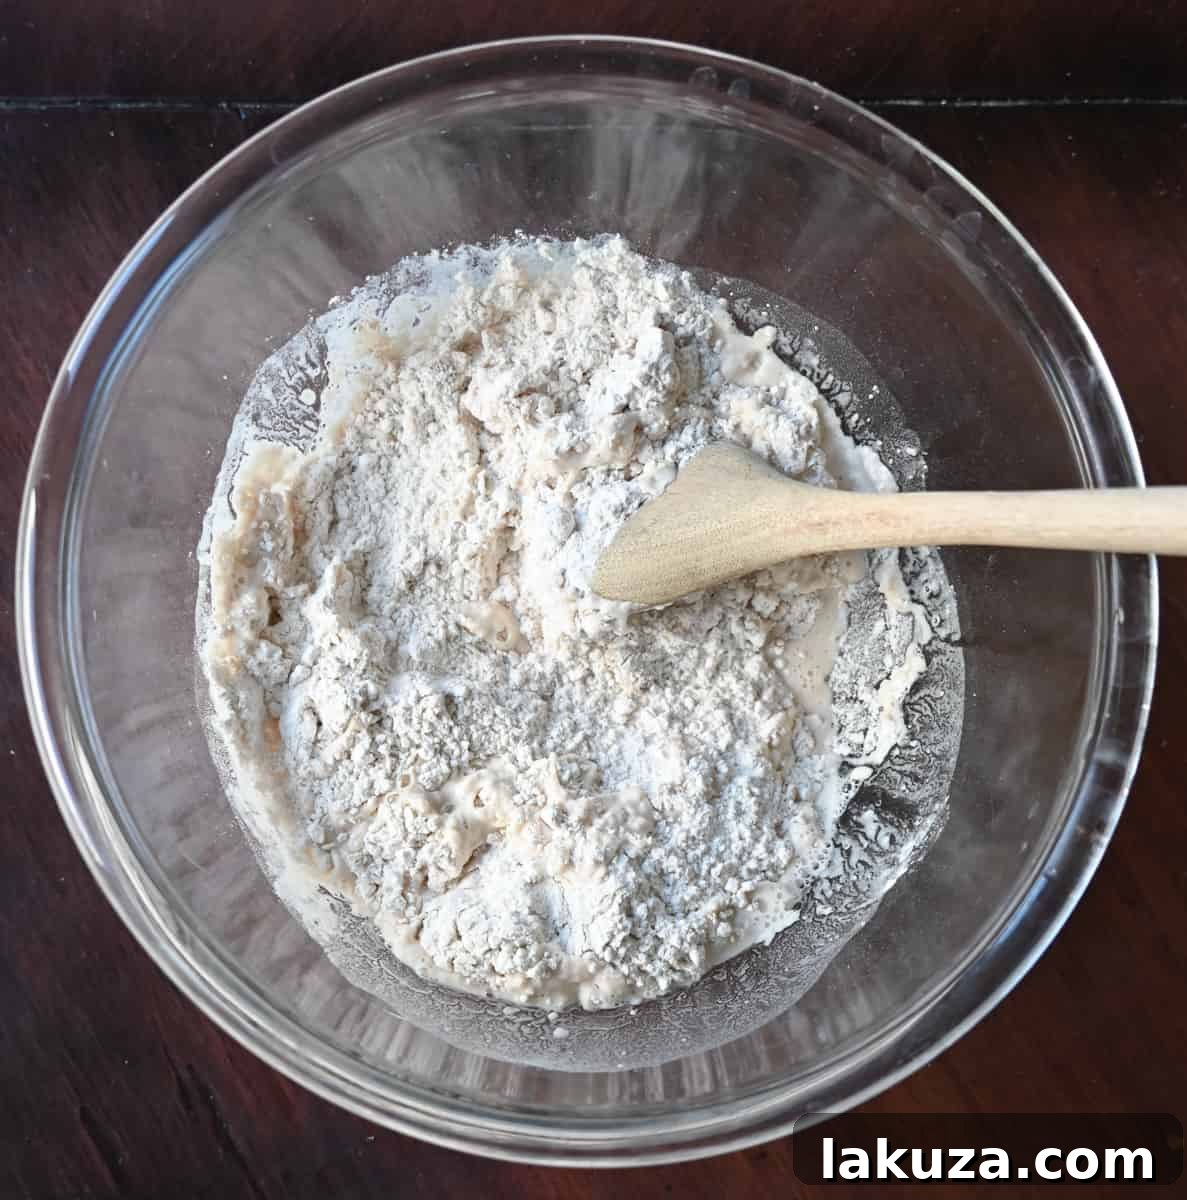
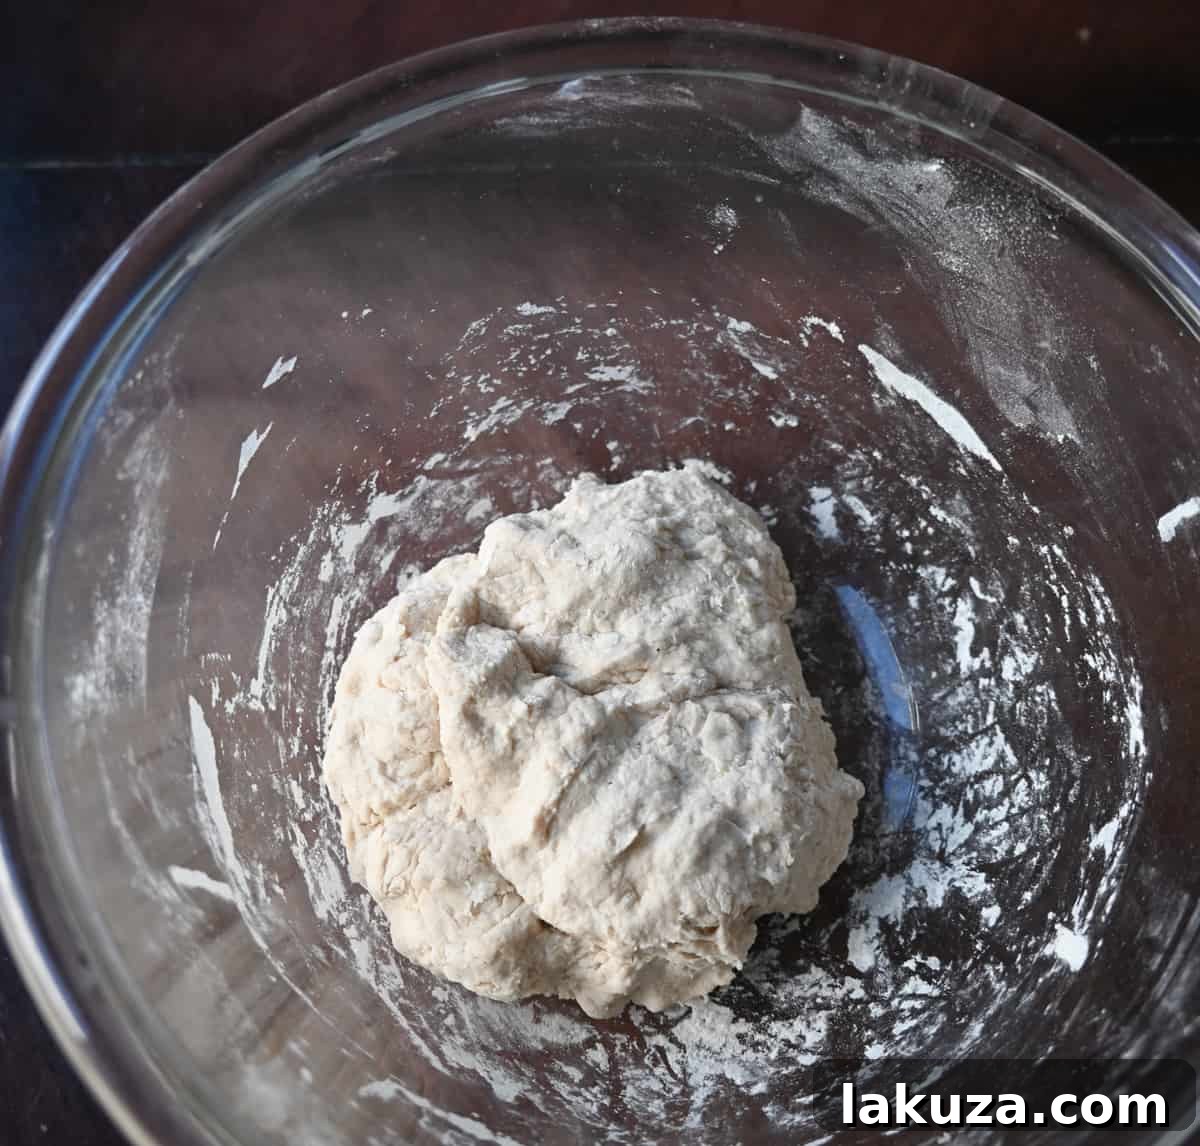
- The Long Sleep (First Rise): Cover the bowl tightly with plastic wrap or a clean kitchen towel. Place the dough at room temperature (ideally around 70°F/21°C) and let it rise for an extended period of 12 to 18 hours. This long fermentation is crucial for flavor development and creating the characteristic open crumb. The dough should at least double in size and appear bubbly.
- Preheat Oven & Dutch Oven: When you’re ready to bake, heat your oven to a blazing 450°F (232°C). Place your empty Dutch oven (with its lid) into the oven as it preheats. Allow the Dutch oven to heat up for a full 25-30 minutes. This ensures it’s scorching hot, which is vital for the initial oven spring and crust development.
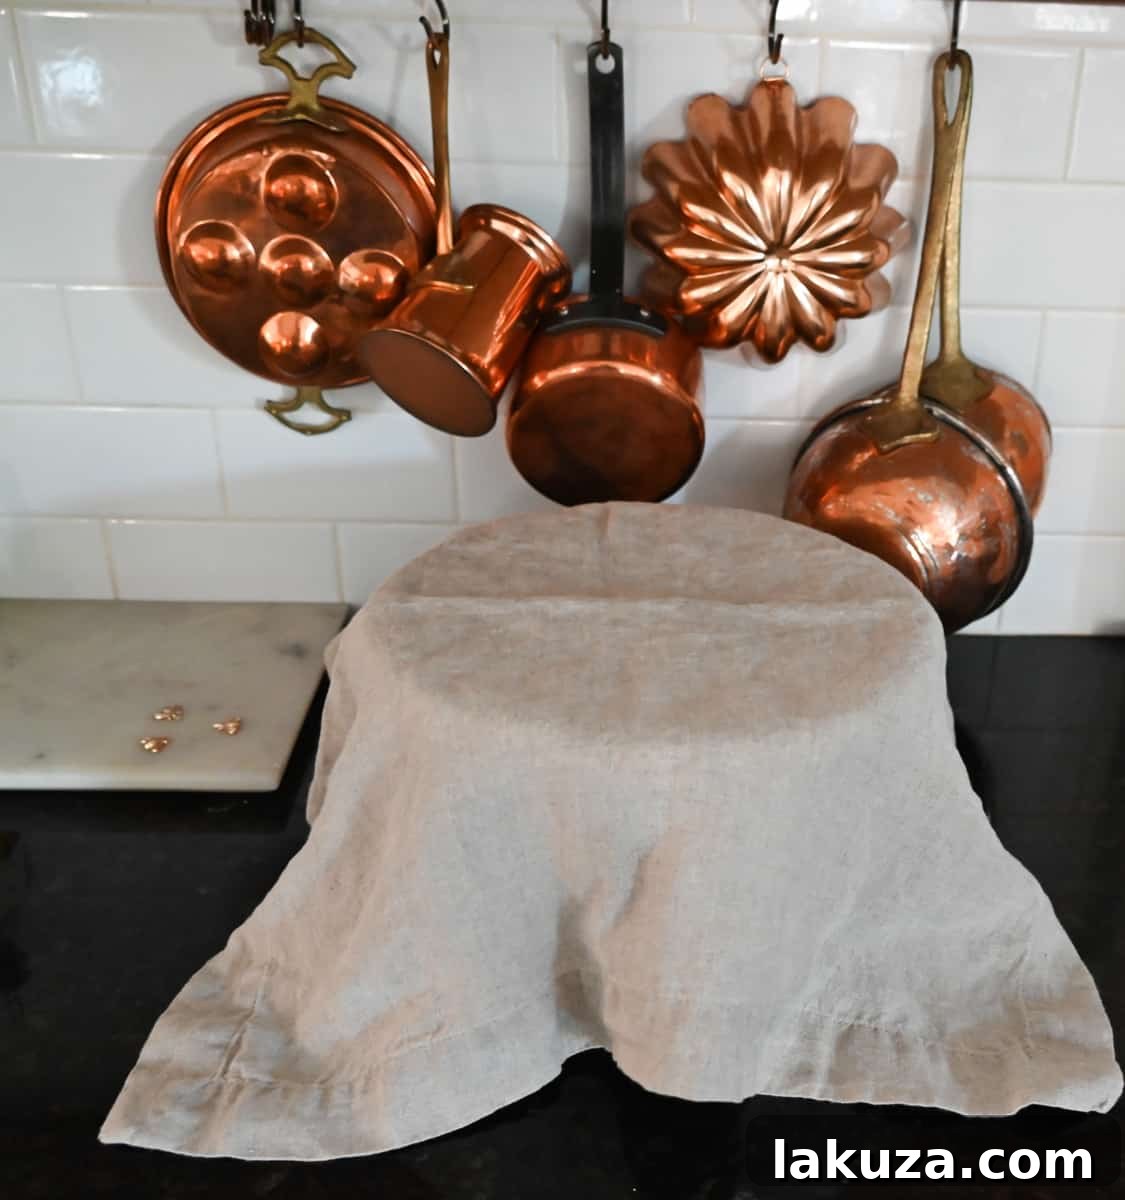
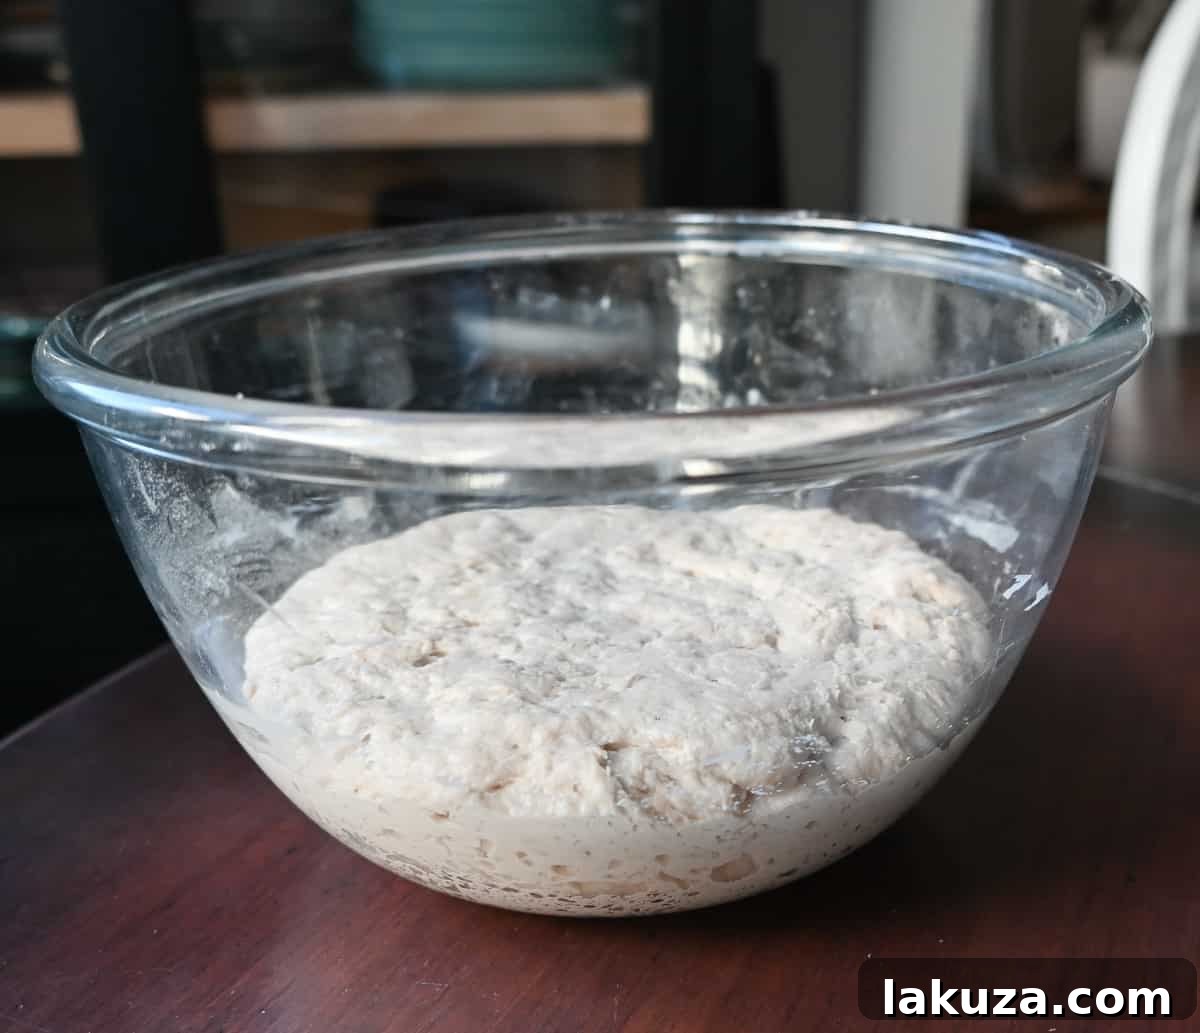
- Shape and Prepare for Baking: Lightly flour a clean surface or a piece of parchment paper. Gently scrape the risen dough out of the bowl onto the prepared surface. Avoid deflating it too much. Gently shape it into a round ball that will fit comfortably into your Dutch oven. If using parchment paper, the dough can be lifted directly into the pot with the paper.
- Carefully Transfer to Dutch Oven: Using oven mitts, very carefully remove the scorching hot Dutch oven from the oven. Gently place the dough (with the parchment paper if you’re using it as a sling) into the hot Dutch oven. Cover immediately with the lid.
- First Bake (Covered): Place the covered Dutch oven back into the preheated oven and bake for 30 minutes. The lid traps steam, allowing the bread to expand fully and develop a beautiful texture.
- Second Bake (Uncovered for Crust): After 30 minutes, carefully remove the lid using hot pads. This allows the steam to escape and the crust to brown and crisp up. Continue baking for another 8-12 minutes, or until the crust reaches your desired golden-brown color and crispiness.
- Cool and Serve: Once baked to perfection, carefully remove the Dutch oven from the oven. Lift the bread out onto a wire rack and let it cool for at least 15 minutes before attempting to slice it. Slicing too early can result in a gummy interior. Enjoy your magnificent homemade artisan bread!
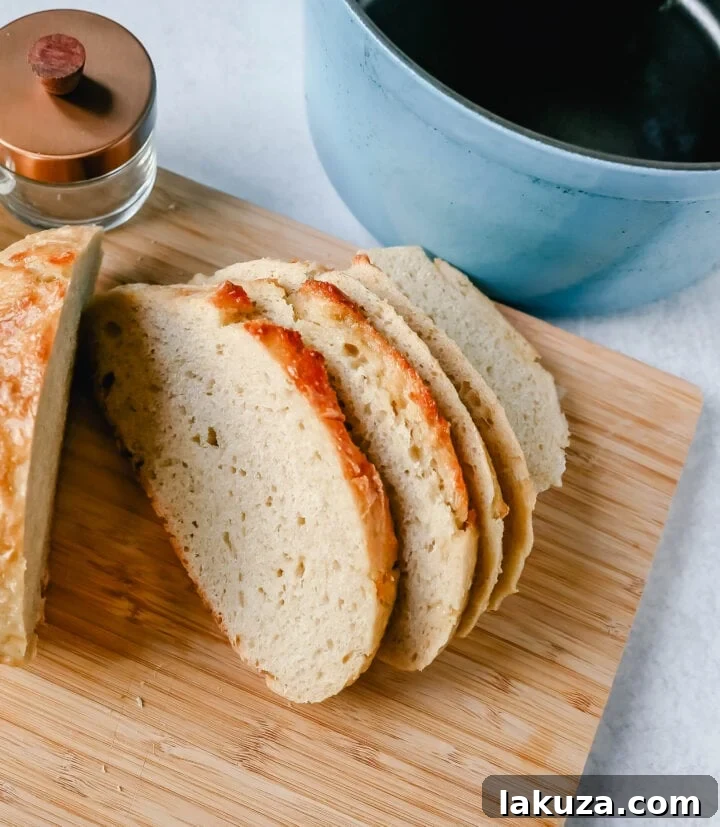
Elevate Your Loaf: Delicious Variations for Your No-Knead Bread
This simple no-knead bread recipe is a wonderful base, a blank canvas awaiting your creative touches. Don’t be afraid to experiment with your favorite ingredients to create unique and flavorful loaves. Here are some suggested combinations to get you started, perfect for transforming your basic loaf into something truly special:
- Cranberry White Chocolate Pecan Bread: For a delightful sweet and nutty loaf, gently fold in about 1/2 cup of dried cranberries, 1/2 cup of white chocolate chips, and 1/4 cup of crunchy chopped pecans into the dough after its first rise, just before shaping. This makes a fantastic breakfast or dessert bread.
- Garlic Cheddar Bread: Perfect for savory dishes or alongside a hearty soup. Add 2-3 cloves of minced fresh garlic and 1 cup of shredded sharp white cheddar cheese to the dough during the initial mixing stage. The garlic infuses the bread with an aromatic flavor, while the cheese melts into delicious pockets.
- Herb Butter Parmesan: Create an incredibly fragrant and savory bread. Incorporate 2 tablespoons of finely chopped fresh herbs like rosemary, thyme, or oregano, and 1/2 cup of grated Parmesan cheese into the dough with the dry ingredients. Before baking, brush the shaped loaf with melted garlic butter for an extra layer of flavor and a beautiful golden finish.
- Everything Bagel Bread: Sprinkle 2 tablespoons of everything bagel seasoning into the dough during the initial mix, and then sprinkle generously over the top of the loaf just before baking for a savory, textured crust.
- Jalapeño Cheddar: Add 1/2 cup shredded cheddar cheese and 1-2 finely diced jalapeños (remove seeds for less heat) to the dough for a spicy kick.
Remember to adjust the amounts to your taste, and ensure any additions are evenly distributed throughout the dough. The possibilities are truly endless!
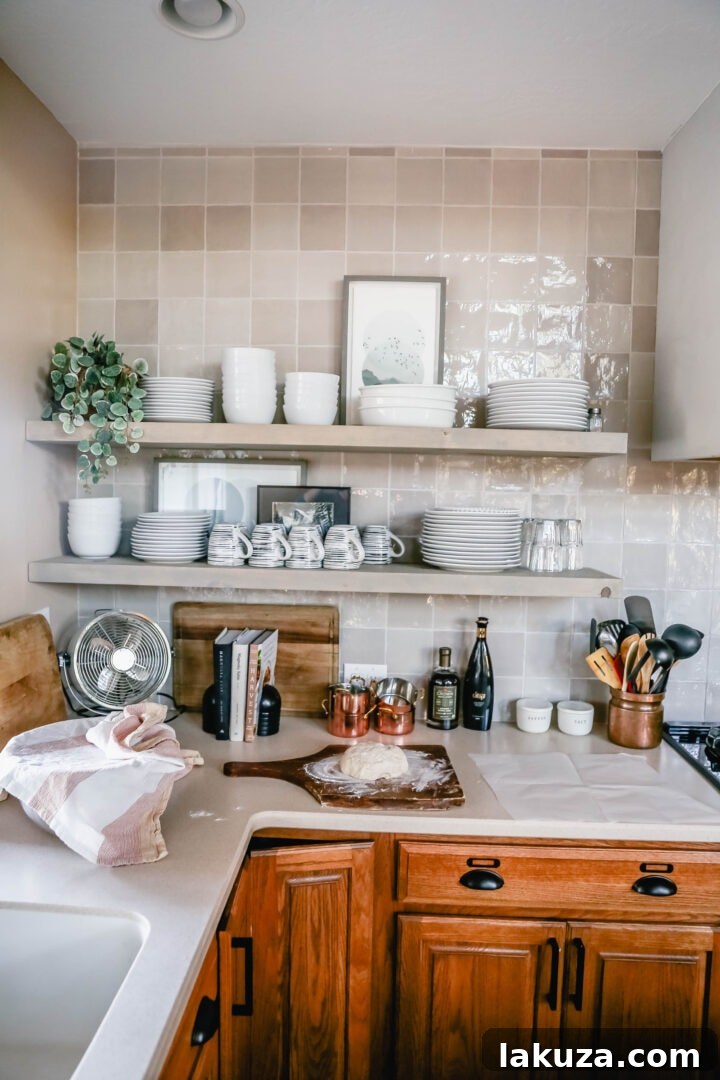
Pro Tip for Extra Crusty Bread:
The key to that irresistible, super crusty exterior is in the final baking phase. Always make sure to remove the Dutch oven lid after the initial 30 minutes of baking. This allows the direct dry heat of the oven to work its magic, transforming the soft surface into a beautiful, deeply browned, and shatteringly crisp crust. Don’t rush this step; a few extra minutes can make all the difference for maximum crunch!
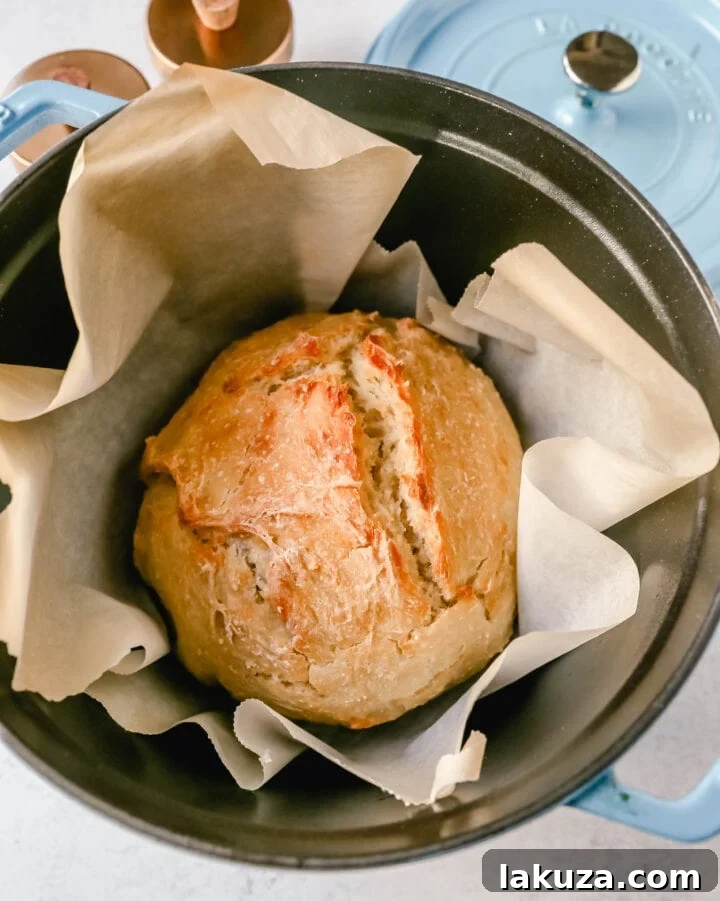
I genuinely hope you adore this Easy No-Knead Bread Recipe as much as I do. The best part truly is its simplicity – made with only 4 ingredients and requiring less than 5 minutes of active prep time, it delivers consistent bakery-quality results right in your own kitchen.
Frequently Asked Questions About No-Knead Dutch Oven Bread
- Can I use instant yeast instead of active dry yeast? Yes, you can. If using instant yeast, you can mix it directly with the flour and salt. There’s no need to activate it in warm water first. The quantity (1/2 teaspoon) remains the same for the long, slow rise.
- Do I need to grease the Dutch oven? No, it’s generally not necessary, especially if you’re baking with parchment paper. The high heat of the preheated Dutch oven helps prevent sticking. If you’re not using parchment, a light dusting of flour or cornmeal can help, but it’s usually not required.
- What if I don’t have a Dutch oven? Can I still make this bread? While a Dutch oven is highly recommended for the best results (especially for the crust), you can try alternatives. A heavy oven-safe pot with a tight-fitting lid (like a large casserole dish or even a stainless steel pot, though cast iron is preferred for heat retention) can work. You could also try placing a pan of boiling water on the bottom rack of your oven to create some steam if baking on a baking stone, but results may vary.
- How do I store leftover No-Knead Bread? Once cooled completely, store the bread at room temperature in a breathable bag (like a paper bag) or wrapped loosely in a clean kitchen towel for up to 2-3 days to maintain its crust. For longer storage, you can freeze individual slices or halves tightly wrapped in plastic wrap and then foil for up to 3 months. Thaw at room temperature and refresh in a warm oven for a few minutes.
- My bread didn’t rise much. What went wrong? The most common culprits are inactive yeast (check its expiration date) or water that was too hot or too cold, killing or inhibiting the yeast. Ensure your yeast is fresh and your water temperature is around 110°F (43°C). Also, make sure your kitchen isn’t excessively cold during the long rise.
Popular Bread Recipes to Explore:
If you’ve enjoyed this adventure into no-knead bread, you might love exploring more easy and delightful bread recipes:
- Discover my Soft French Bread Recipe, a classic that’s so straightforward, even kids can master it!
- For those times when you need bread in a hurry, check out my 1-Hour White Bread Recipe and my 1-Hour Whole Wheat Bread Recipe – perfect for quick gratification.
- If you’re looking for the ideal bread for everyday sandwiches, my Classic Sandwich Bread Recipe is a family favorite.
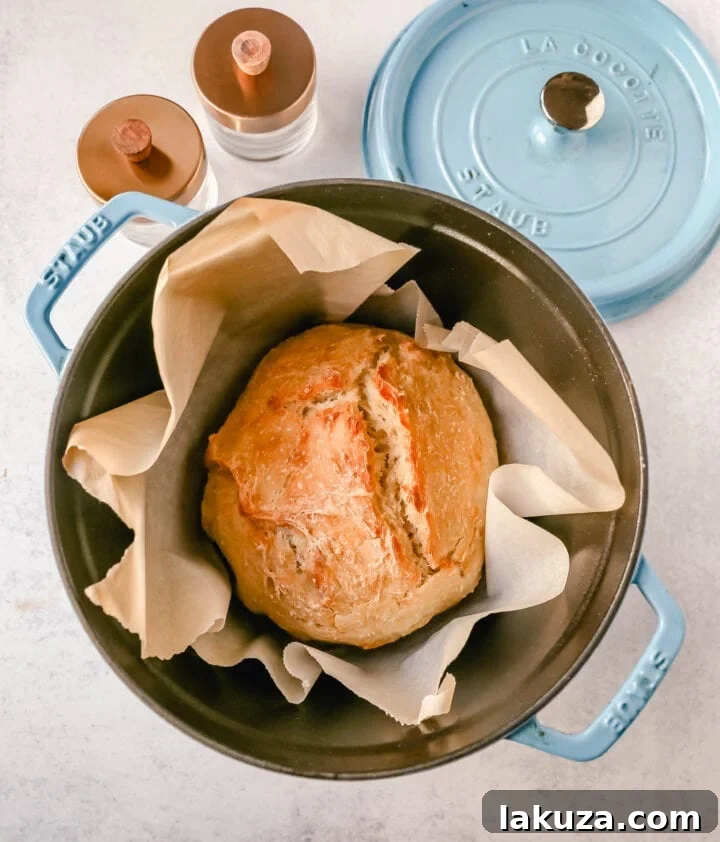
Don’t forget to Pin this recipe on Pinterest to save it for later!
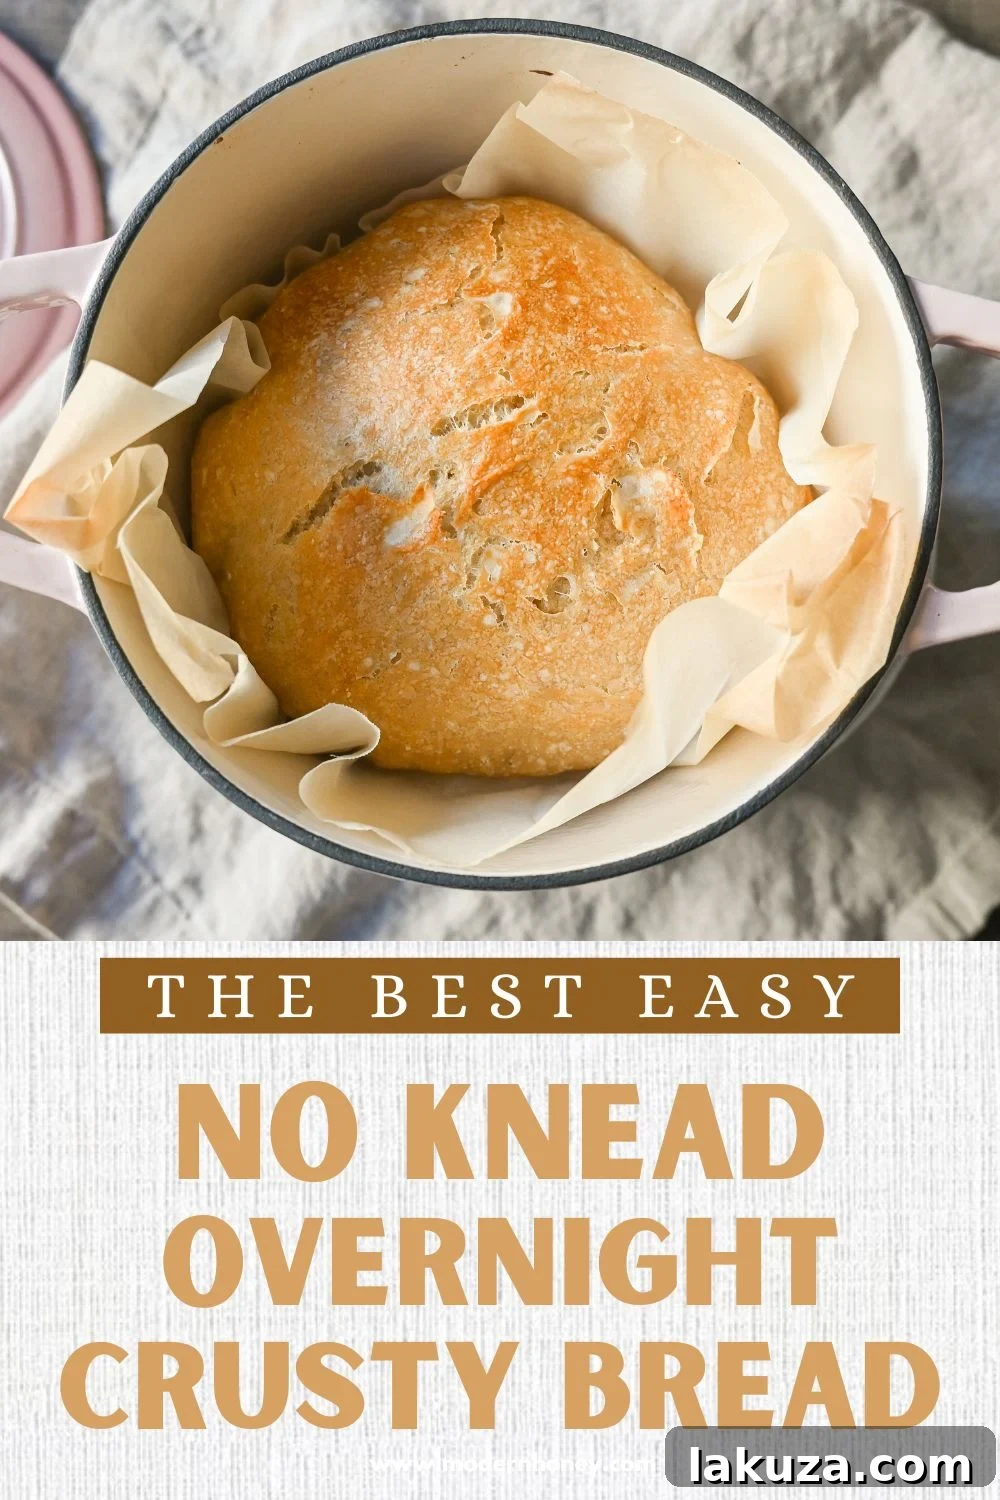
No-Knead Dutch Oven Artisan Bread Recipe
This incredibly easy No-Knead Dutch Oven Bread yields a perfect crusty loaf with a tender, airy interior, making it ideal for artisan bread lovers. With just 4 simple ingredients and minimal active prep time, you’ll achieve bakery-quality results at home. An overnight rise develops rich flavor, ensuring a truly satisfying homemade experience.
No-Knead Bread
By: Modern Honey® – www.modernhoney.com
No Knead Overnight Crusty Bread Recipe. This No Knead Bread is baked in a dutch oven and is the perfect crusty french bread recipe. This makes a beautiful artisan loaf of bread and is so easy! The only ingredients you need are flour, water, salt, and yeast for the perfect overnight crusty bread.
Prep Time: 2 minutes
Cook Time: 40 minutes
Rise Time: 12-18 hours
Servings: 8
Rating: 4.95 from 18 votes
Equipment
- Mixing Bowl Set
- Measuring Cups and Spoons
- Staub Dutch Oven (or similar 5-6qt Dutch oven)
Ingredients
- 3 1/4 cups All-Purpose Flour (or Bread Flour)
- 1/2 teaspoon Active Dry Yeast
- 1 1/2 teaspoons Salt
- 1 1/2 cups Warm Water (about 110 degrees F / 43 degrees C)
Instructions
- In a large mixing bowl, combine flour, yeast, salt, and warm water. Ensure the water is warm but not hot (approximately 110°F/43°C). Stir the mixture together until just combined and it looks shaggy. You can use your hands to gently bring all the ingredients together into a rough ball.
- Cover the bowl tightly with plastic wrap or a light tea towel and let the dough rise at room temperature for 12-18 hours. This extended rise is crucial for developing flavor and texture.
- When you are ready to bake, preheat your oven to 450°F (232°C). Place your empty Dutch oven with its lid into the oven to heat up for 25-30 minutes.
- Carefully remove the dough from the bowl and place it onto a piece of parchment paper or a lightly floured surface. Gently shape it into a round ball that will fit into your Dutch oven.
- Using oven mitts, carefully remove the hot Dutch oven from the oven. Place the dough, along with the parchment paper, into the hot Dutch oven. Cover immediately with the lid.
- Return the covered Dutch oven to the oven and bake for 30-35 minutes.
- After 30-35 minutes, carefully remove the lid using hot pads. Continue baking for another 6-12 minutes, or until the crust is golden brown and beautifully crisp, according to your preference.
- Remove the bread from the oven and carefully lift it out of the Dutch oven onto a wire rack to cool for at least 15 minutes before slicing. This allows the internal structure to set properly.
Notes
- Flour: All-purpose flour or bread flour both work well. Bread flour offers a slightly chewier texture due to higher protein content.
- Yeast: Active dry yeast is recommended. The small amount combined with a long rise time is key to flavor development.
- Salt: Essential for flavor and structure. Don’t omit or reduce it significantly.
- Warm Water: Aim for 110°F (43°C) to activate yeast without killing it. Use a thermometer.
- I suggest using a 5 qt – 6 qt Dutch oven. A smaller Dutch oven will result in a higher loaf, while a larger 7 qt Dutch oven may cause the bread to spread more and be flatter.
- Recipe adapted from Jim Lahey.
Nutrition
Calories: 187kcal, Carbohydrates: 39g, Protein: 6g, Fat: 1g, Saturated Fat: 1g, Polyunsaturated Fat: 1g, Monounsaturated Fat: 1g, Sodium: 440mg, Potassium: 62mg, Fiber: 2g, Sugar: 1g, Vitamin C: 1mg, Calcium: 9mg, Iron: 2mg
Additional Info
Course: Bread
Cuisine: French
Servings: 8
Calories: 187
Keyword: artisan bread, bread baked in dutch oven, dutch oven bread, no knead bread, overnight bread
Like this? Leave a comment below! Jump to Comments