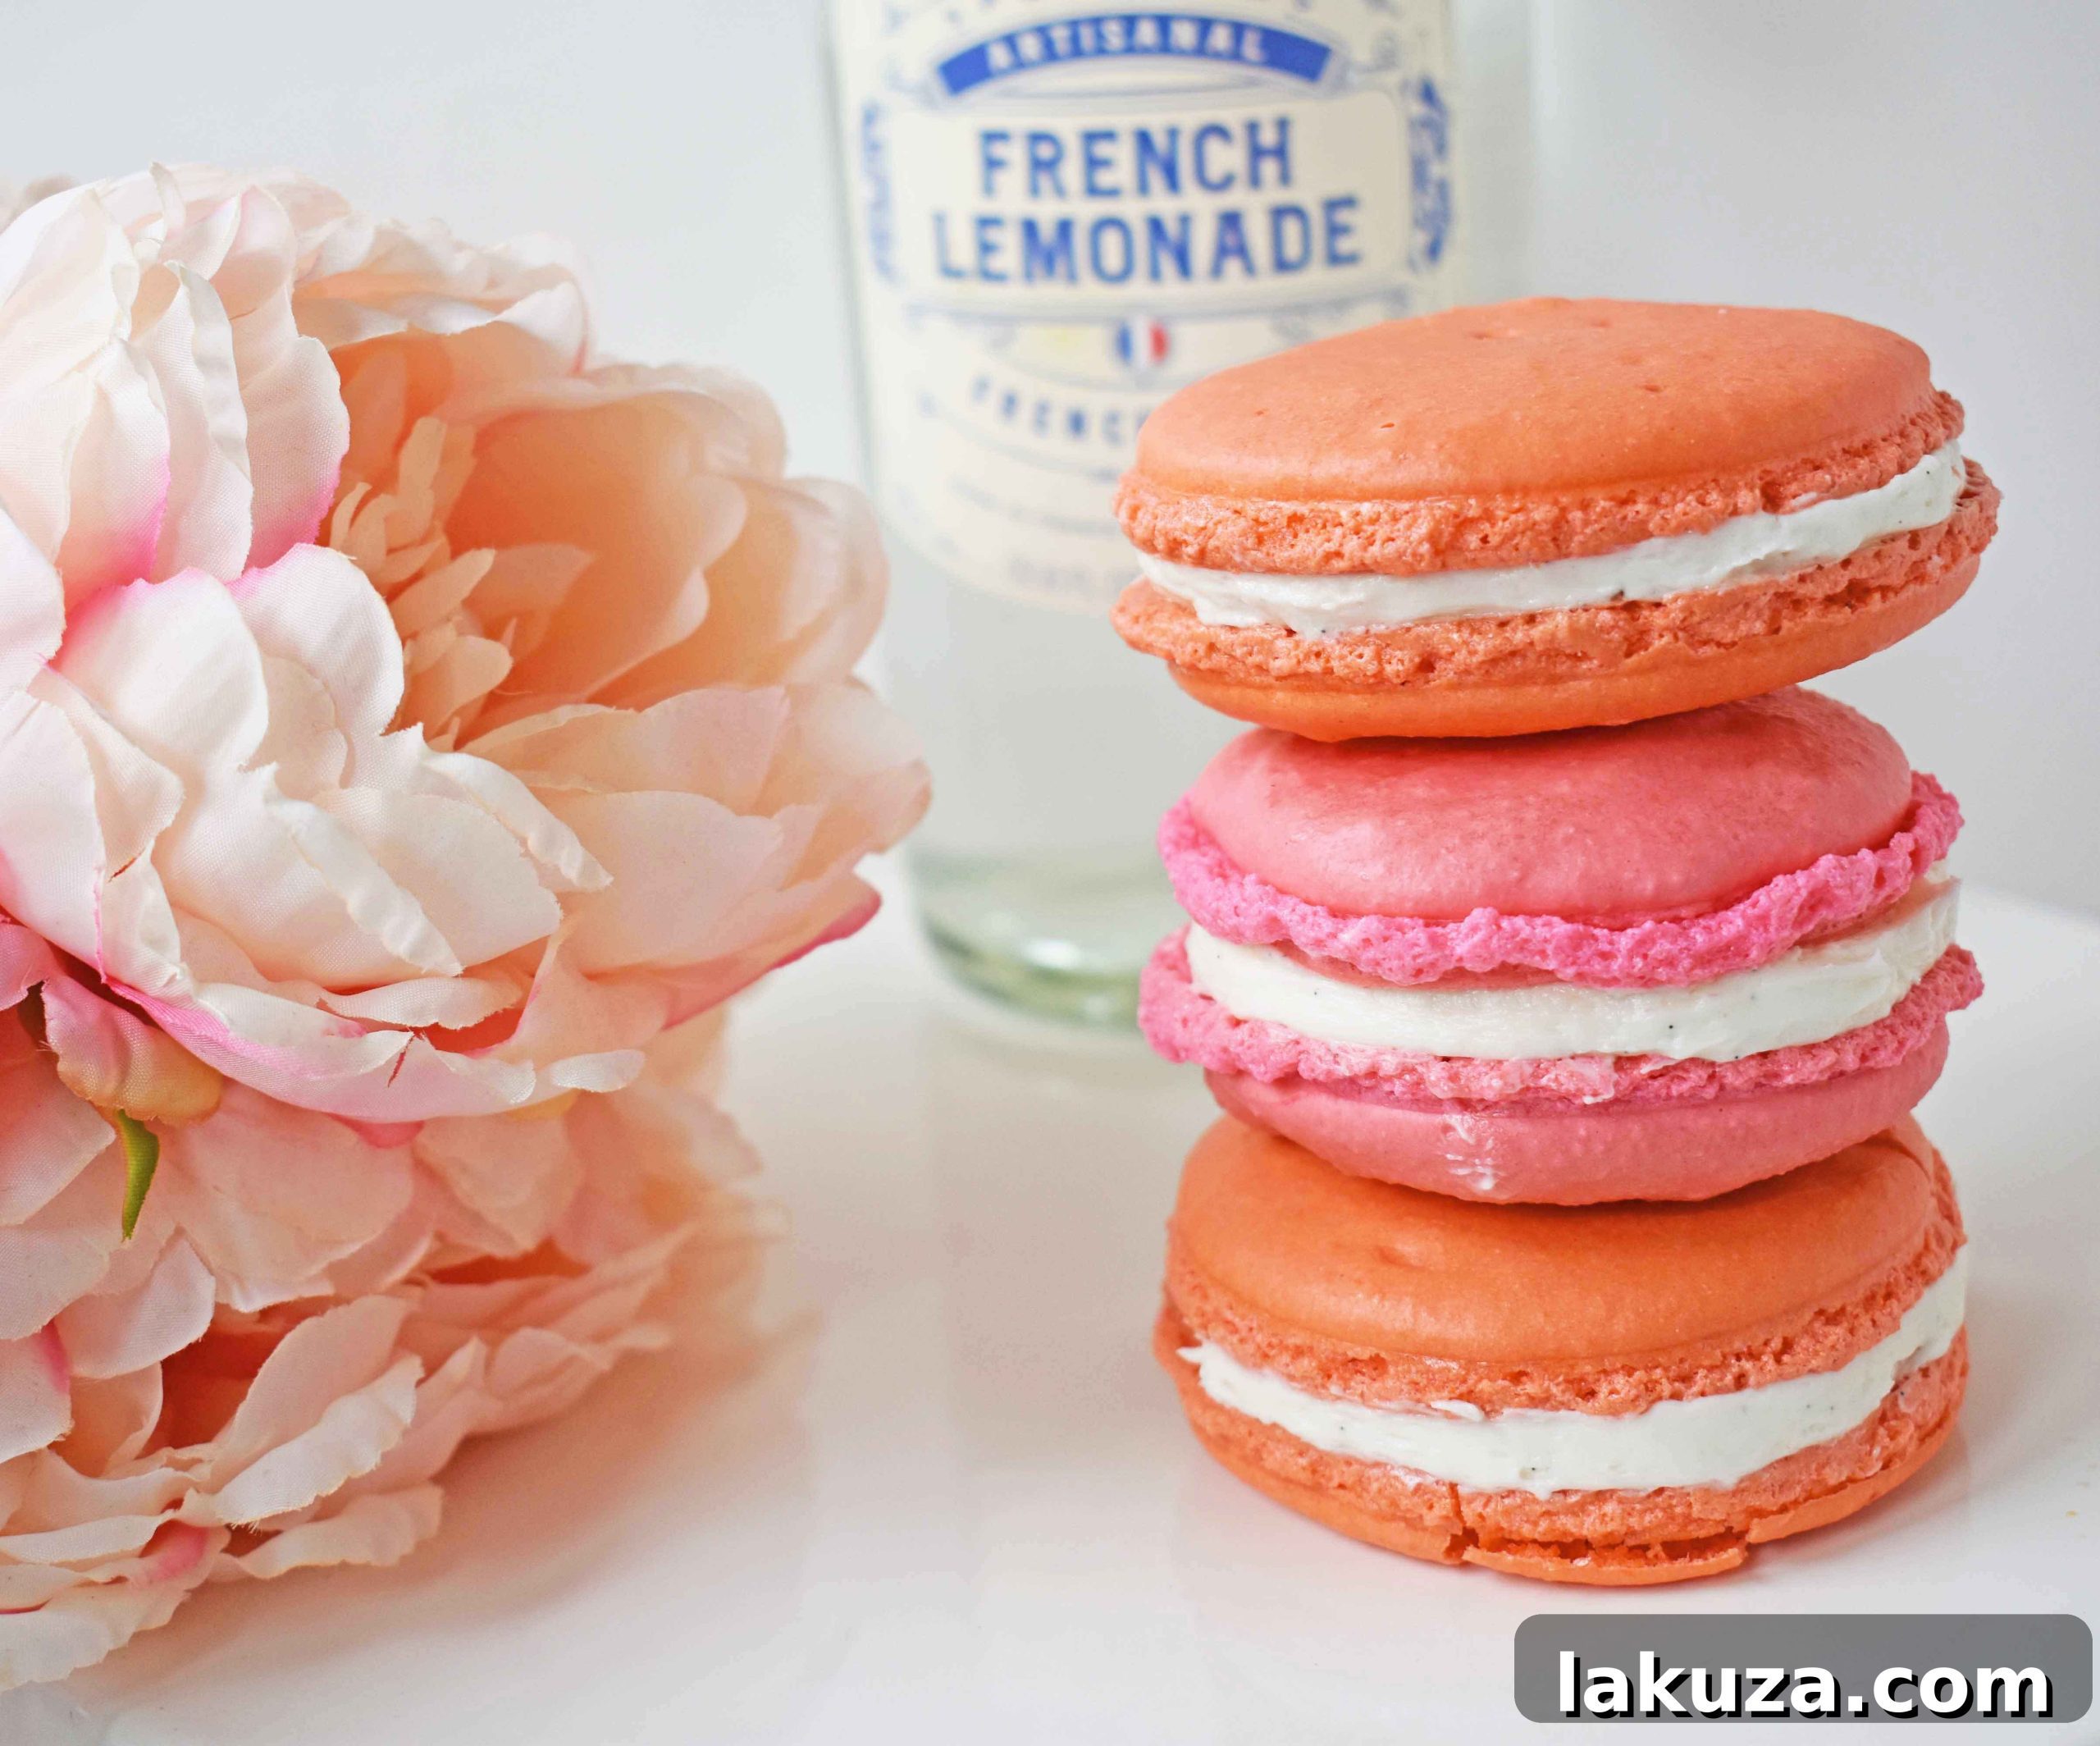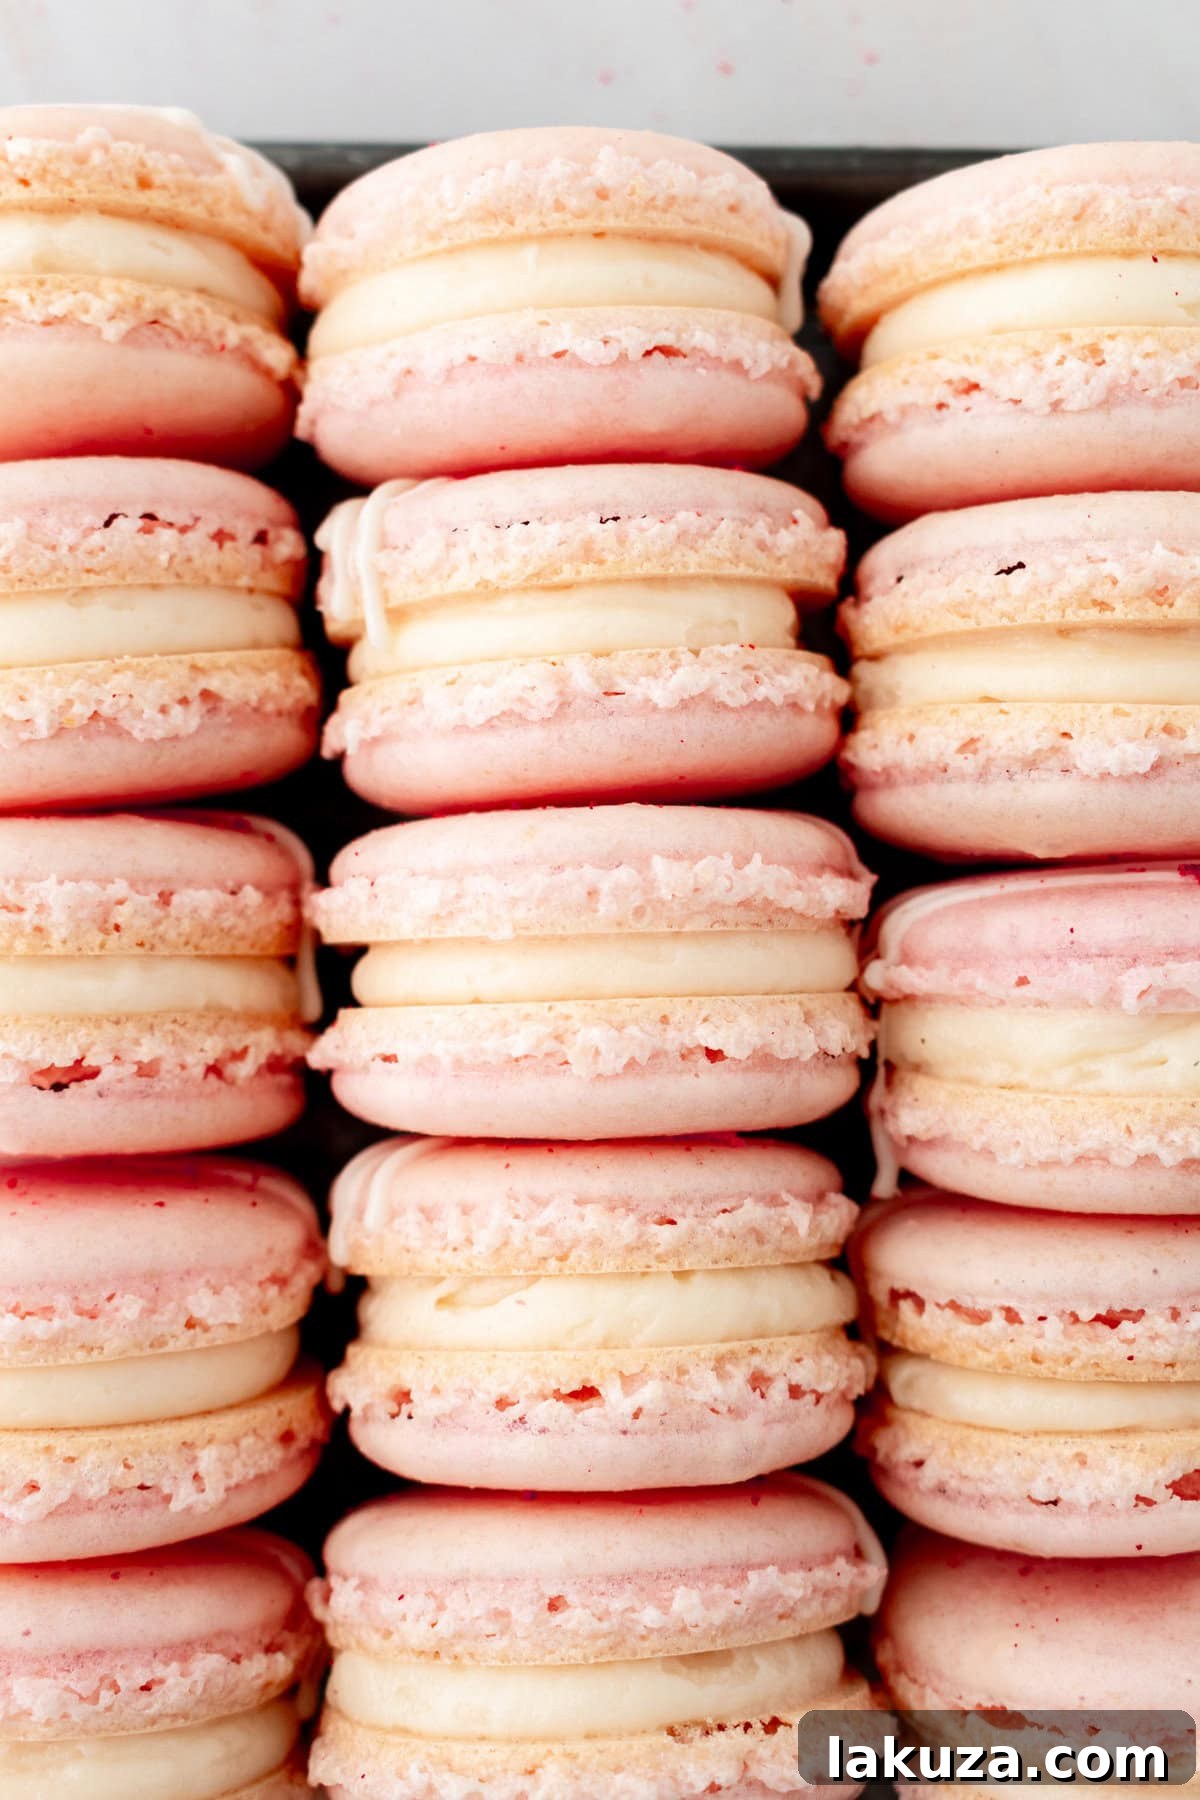
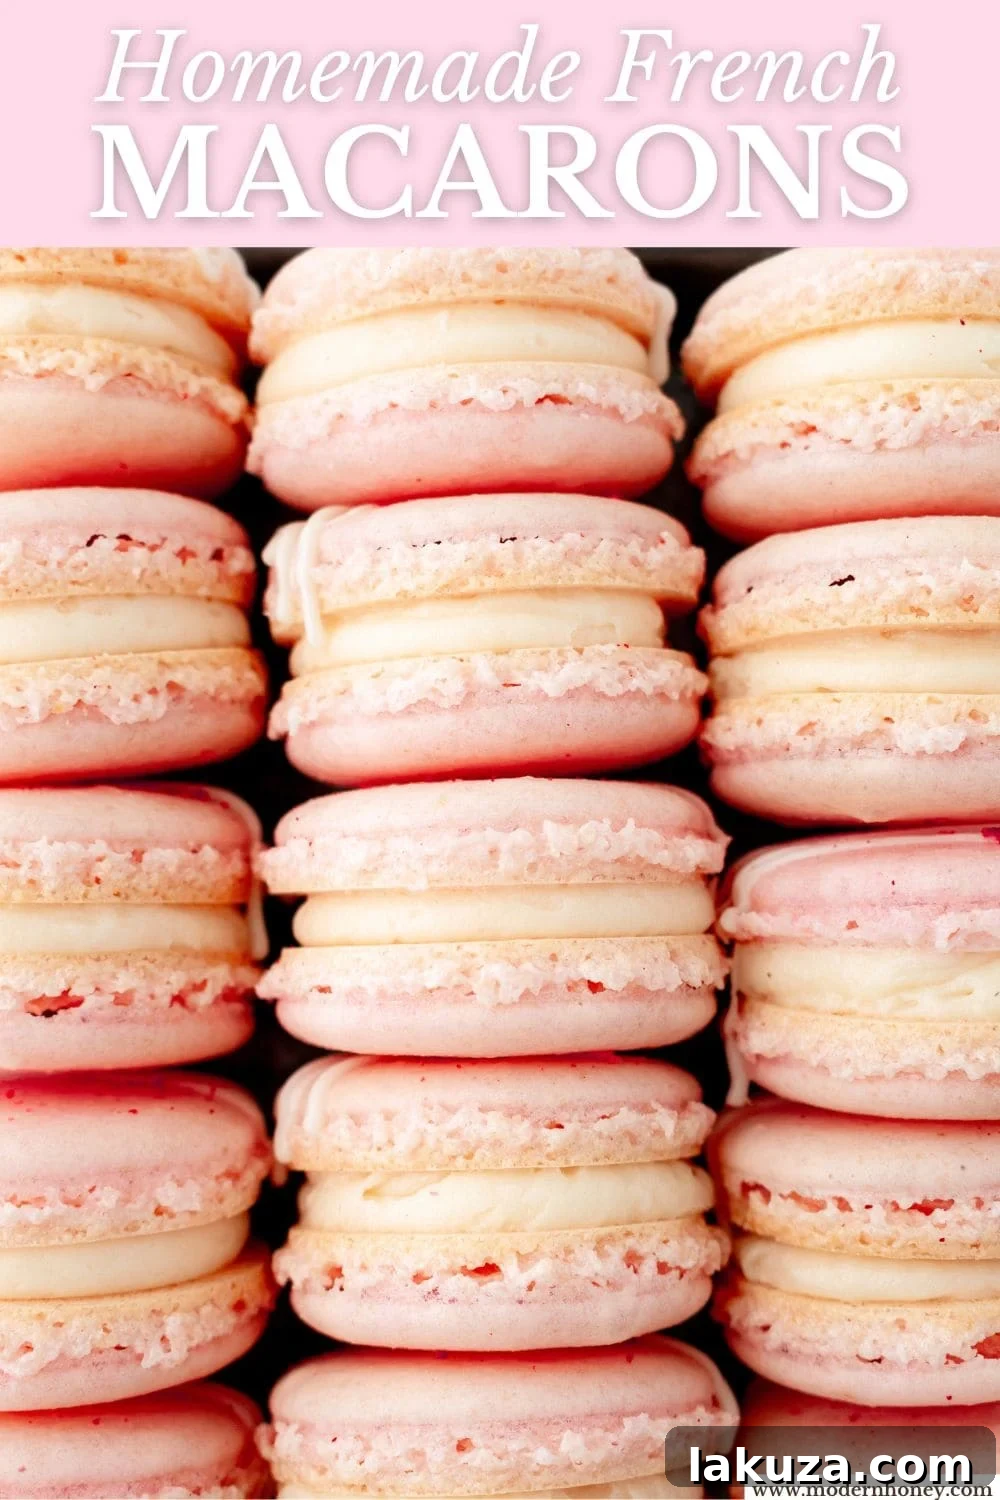
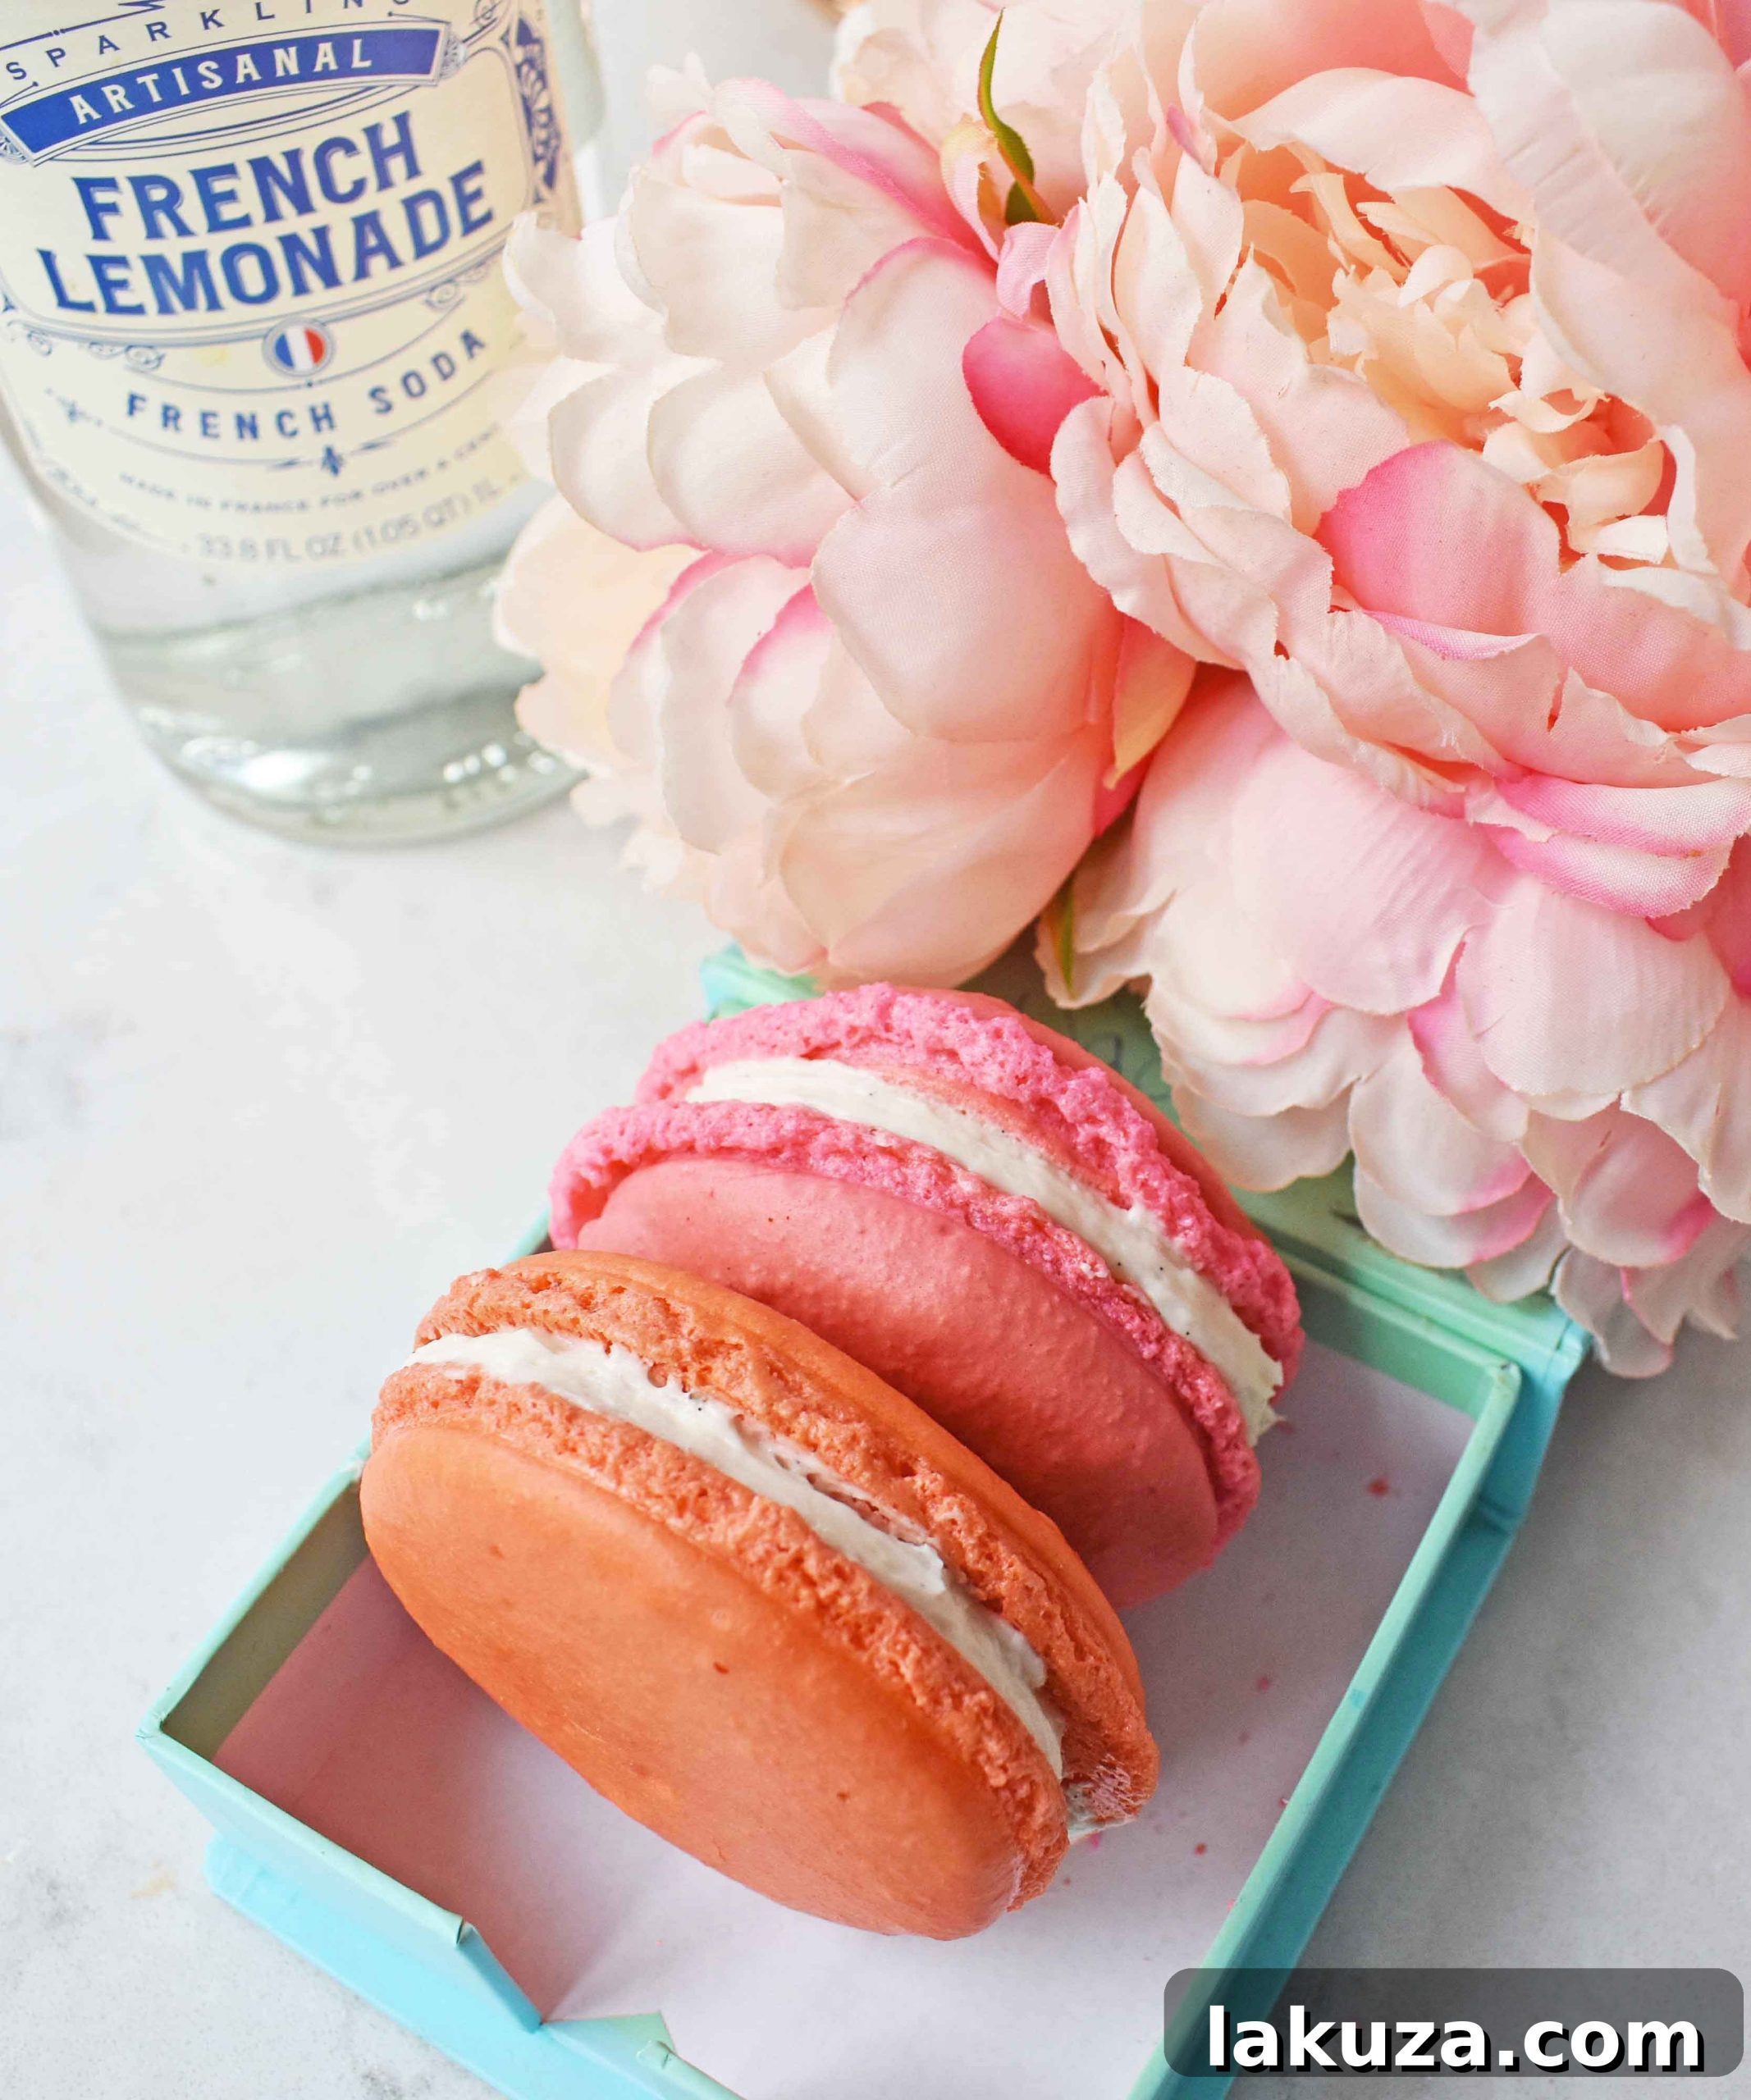
Delicate, elegant, and famously finicky, French macarons are miniature culinary masterpieces that captivate with their vibrant colors, crisp shells, and melt-in-your-mouth fillings. These iconic sandwich cookies, made primarily from whipped egg whites, finely ground almond flour, and sugar, are renowned for their unique texture—a delicate crunch that gives way to a soft, chewy interior. A signature characteristic is the “foot” or “pied” that forms at the base of each cookie, a testament to proper technique and baking precision.
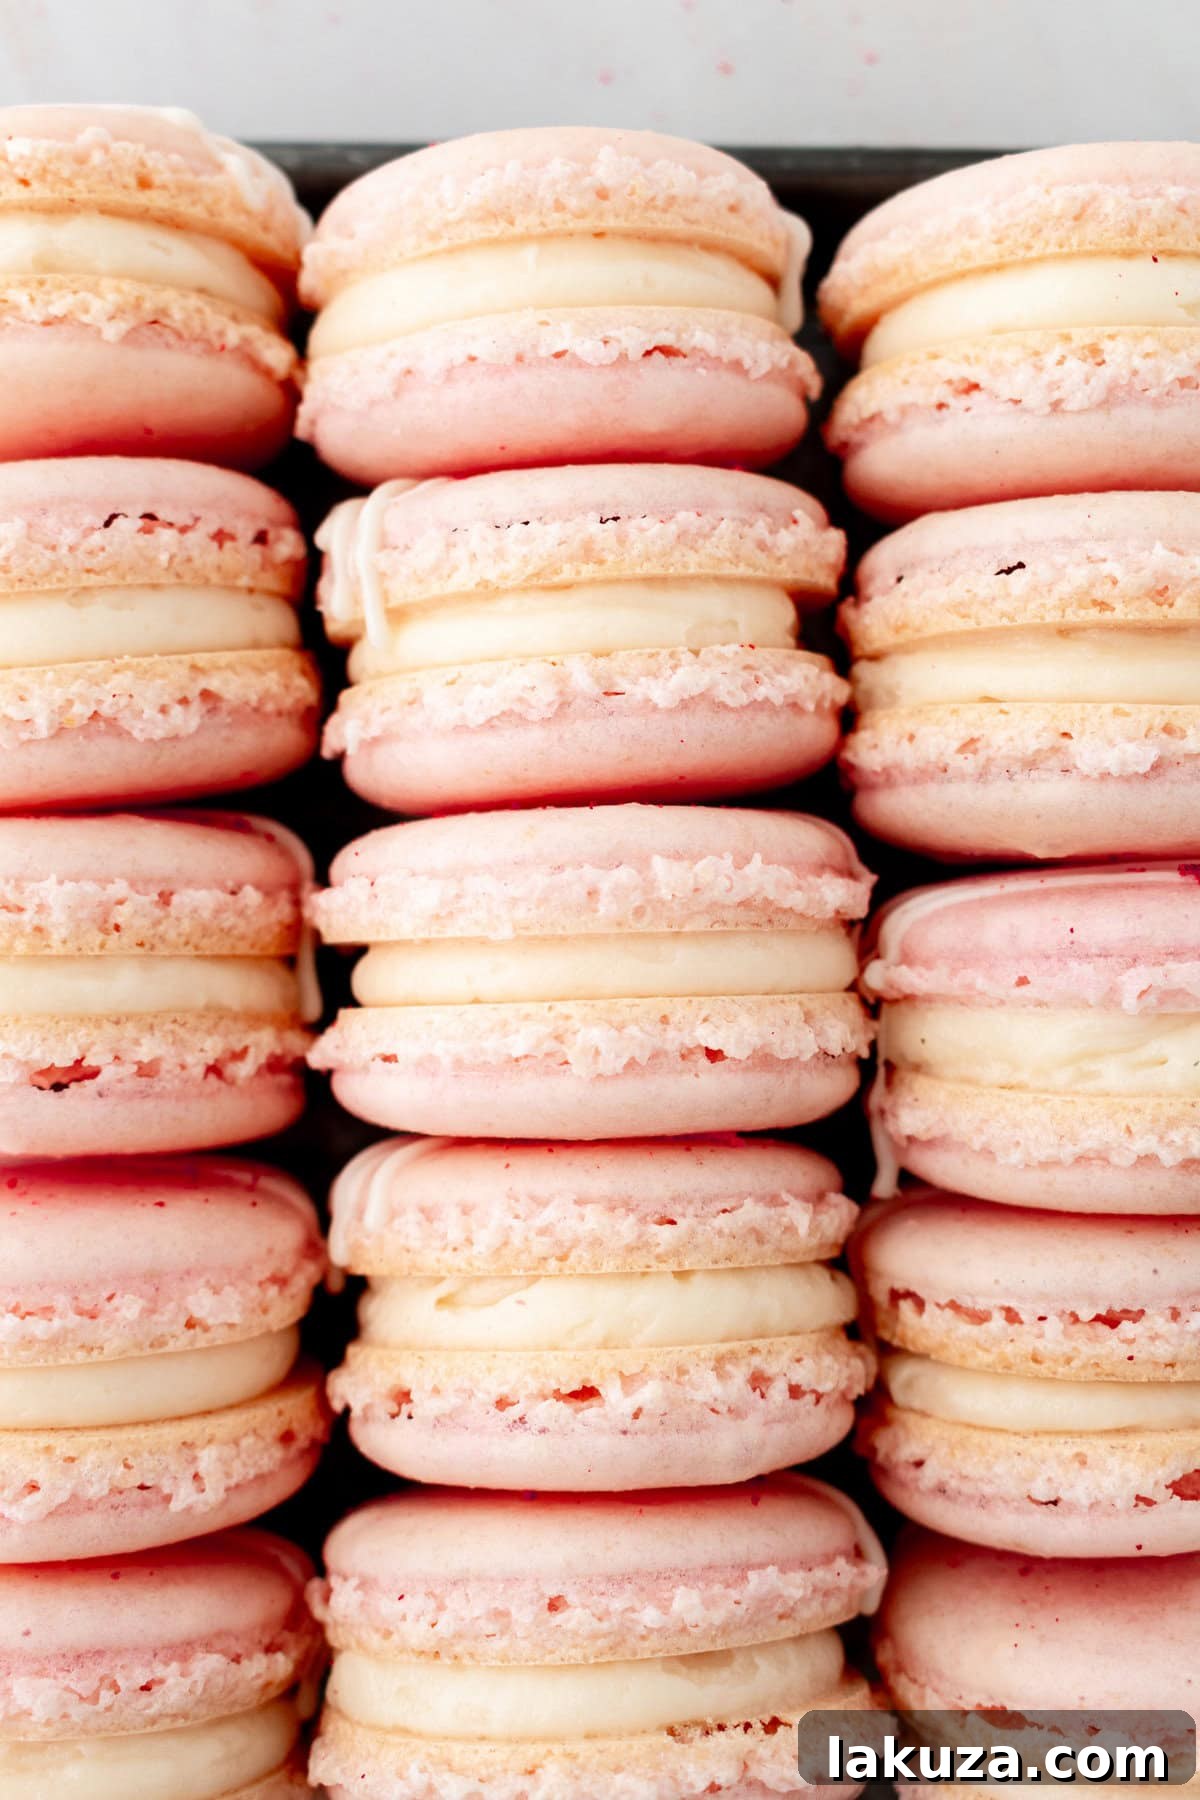
Often hailed as the “Queen of Cookies,” the French macaron is in a league of its own, embodying sophistication and indulgence. While their reputation for being challenging precedes them, mastering homemade macarons is an incredibly rewarding endeavor. With the right tips, tricks, and a dash of patience, you too can create these impressive desserts right in your own kitchen.
This comprehensive guide will walk you through every step of the macaron-making process, from ingredient selection to expert baking techniques and troubleshooting common issues. Prepare to unlock the secrets to perfect French macarons that will impress everyone who tastes them.
Understanding the French Macaron
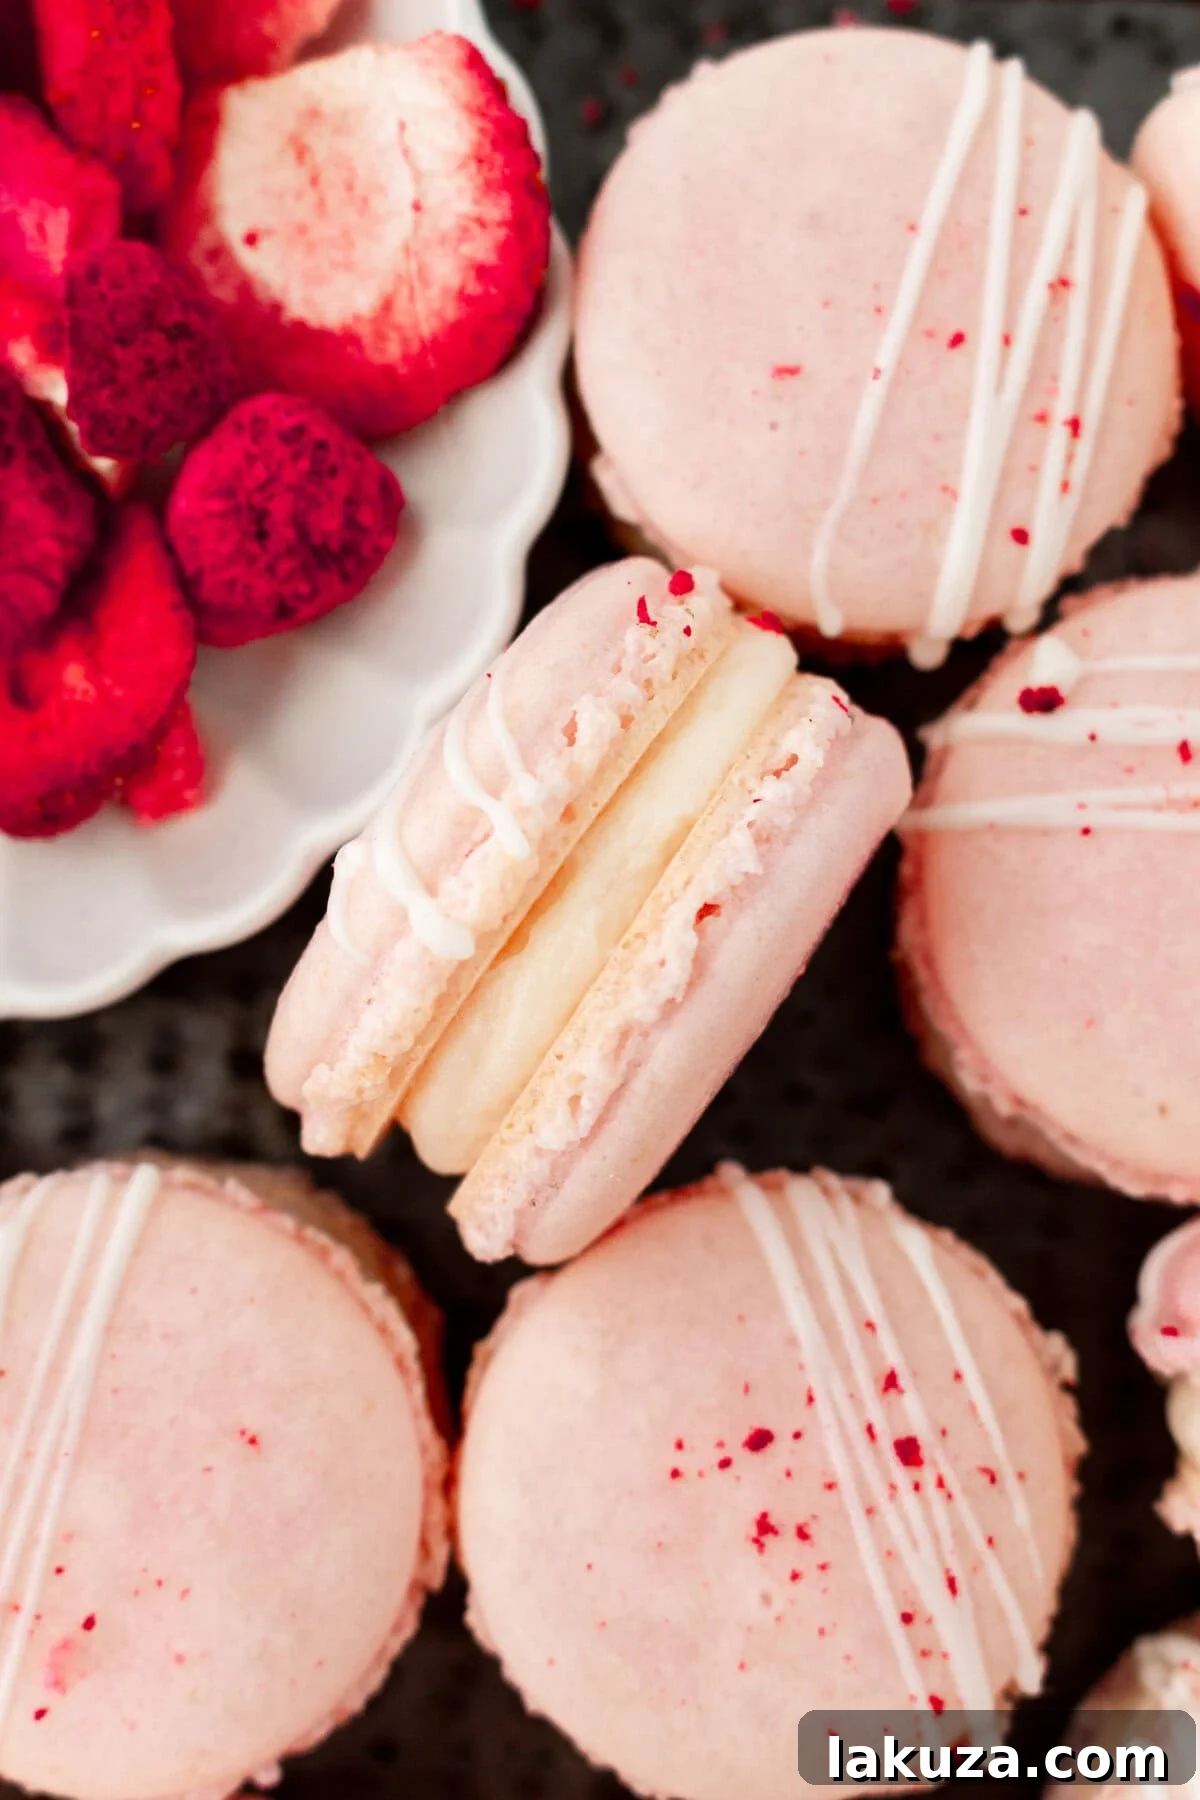
French macarons are exquisite sandwich cookies crafted from a meringue base (whipped egg whites and sugar) combined with finely ground almonds and powdered sugar. They are celebrated for their distinctive crisp, colorful outer shell, a slightly chewy and airy interior, and a delicious, often decadent, filling. Despite their perceived difficulty, understanding a few fundamental techniques will set you on the path to baking success.
A Brief History of Macarons
The origins of the macaron are often debated, with many tracing them back to Italian monasteries during the Renaissance. It’s believed that Catherine de’ Medici, an Italian noblewoman who became Queen of France, brought them to France in the 16th century. Early macarons were simple, un-filled almond cookies. It wasn’t until the early 20th century that Pierre Desfontaines Ladurée of Paris had the ingenious idea to sandwich two macaron shells together with a creamy ganache, jam, or buttercream filling, transforming them into the beloved delicacy we know today. This innovation solidified the macaron’s place as a quintessential French pastry.
Why Bake Homemade French Macarons?
While elegant bakeries offer stunning macarons, there’s an unparalleled joy in creating these beauties at home. Not only does it offer significant cost savings compared to purchasing them individually, but it also allows for endless customization. You can experiment with an infinite array of colors, flavors, and fillings to suit any occasion or personal preference. Furthermore, homemade macarons are naturally gluten-free, making them an ideal treat for those with dietary restrictions. The process, though meticulous, is a rewarding culinary journey that builds confidence and skill in the kitchen.
Essential Macaron Ingredients:
A classic French macaron recipe relies on a precise balance of a few key ingredients. Each plays a crucial role in achieving the desired texture and appearance. Using high-quality ingredients is paramount for the best results.
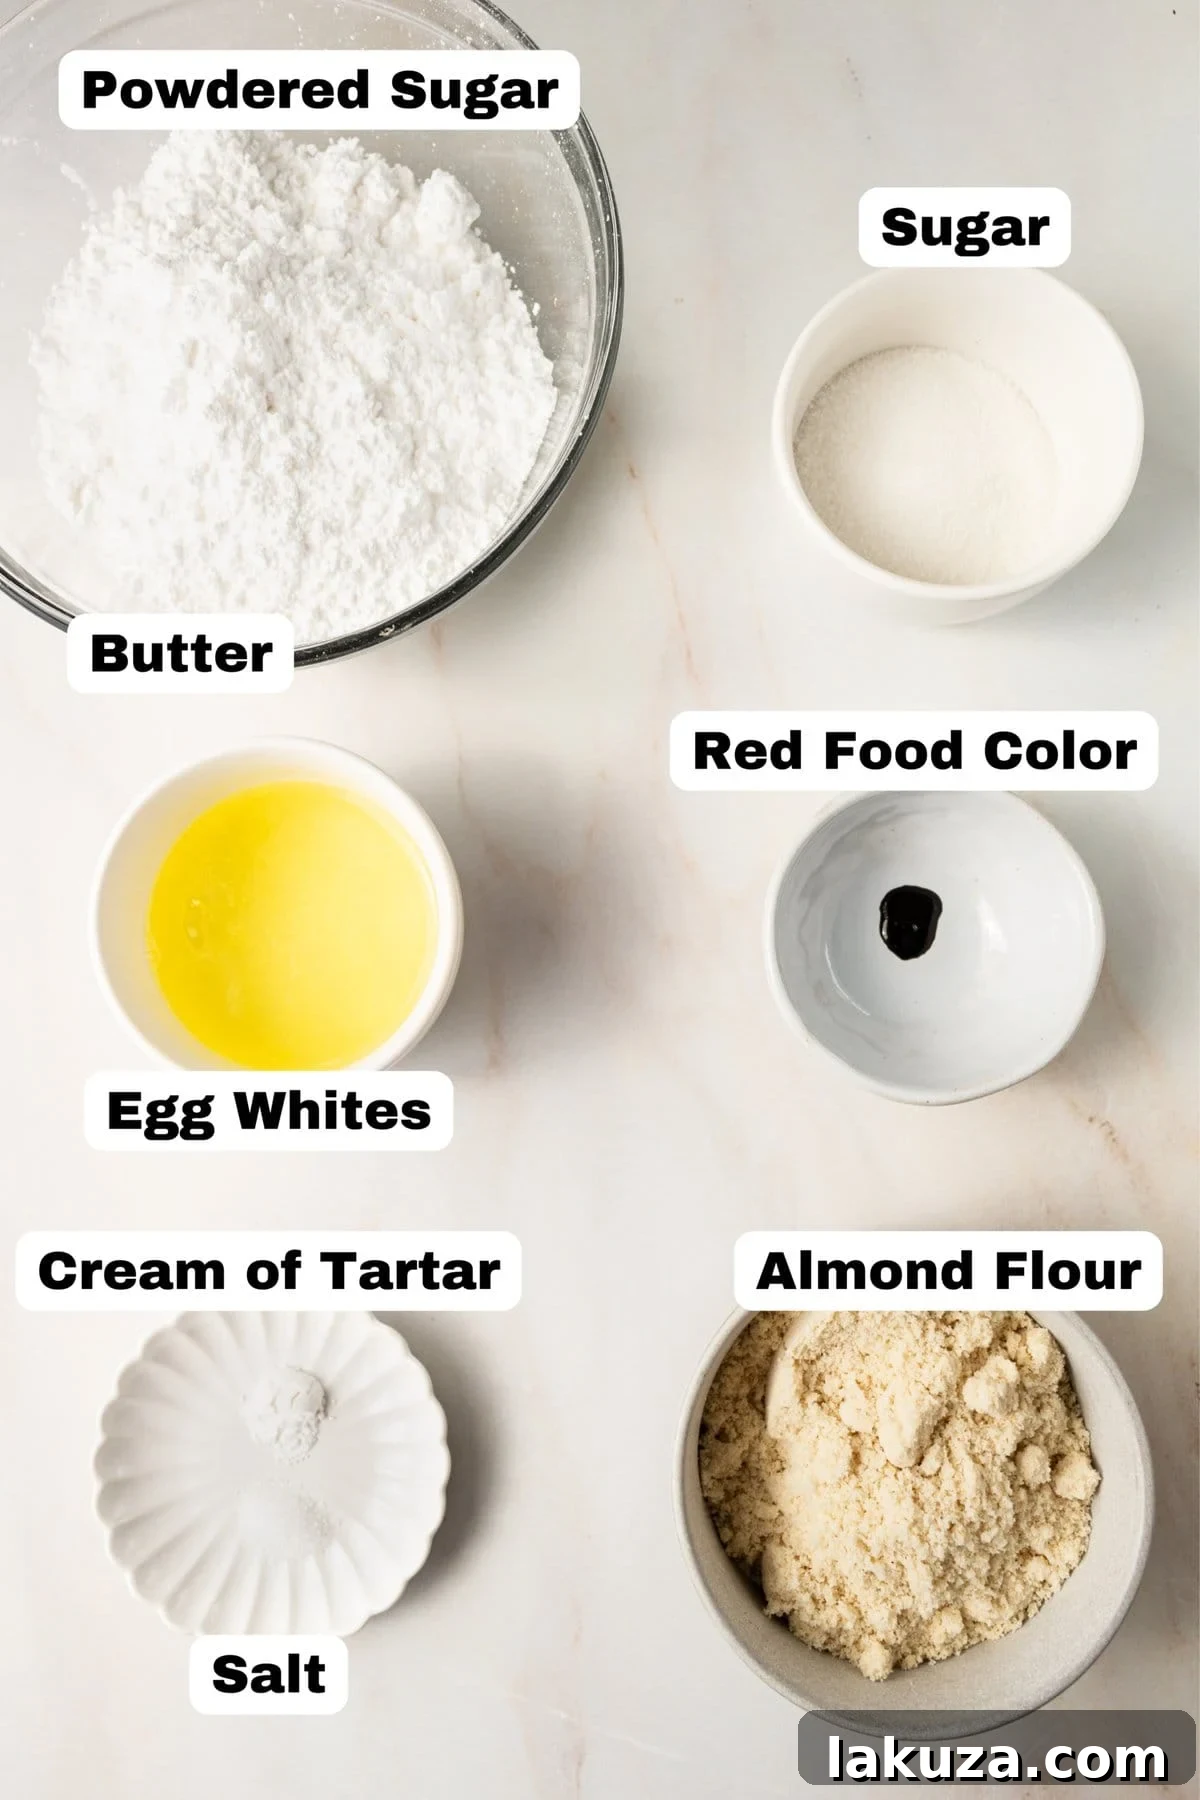
- Egg Whites: These are the foundation of your meringue. They must be at room temperature, which helps them whip up to a greater volume and achieve stable stiff peaks. Older egg whites (separated a day or two in advance and stored in the fridge) often yield better results.
- Granulated Sugar: Used to stabilize the meringue, creating a glossy, firm structure.
- Cream of Tartar: An acidic salt that helps stabilize egg whites, making the meringue stronger and less likely to deflate. It’s especially useful for beginners.
- Salt: A pinch enhances the flavor and contributes to meringue stability.
- Powdered Sugar (Confectioners’ Sugar): Provides sweetness and bulk to the dry mixture. It also contains a small amount of cornstarch, which can aid stability.
- Blanched Almond Flour: This is the star ingredient, providing the macaron’s unique texture and nutty flavor. Ensure it is finely ground and blanched (skins removed) for the smoothest shells. Coarsely ground flour will result in bumpy macarons.
- Gel Food Coloring: For vibrant, beautiful shells. Gel colors are preferred over liquid colors as they don’t add excess moisture to the batter, which can negatively impact the macaron’s structure.
- Filling Ingredients: The possibilities are endless! Common choices include buttercreams, ganaches, jams, and curds.
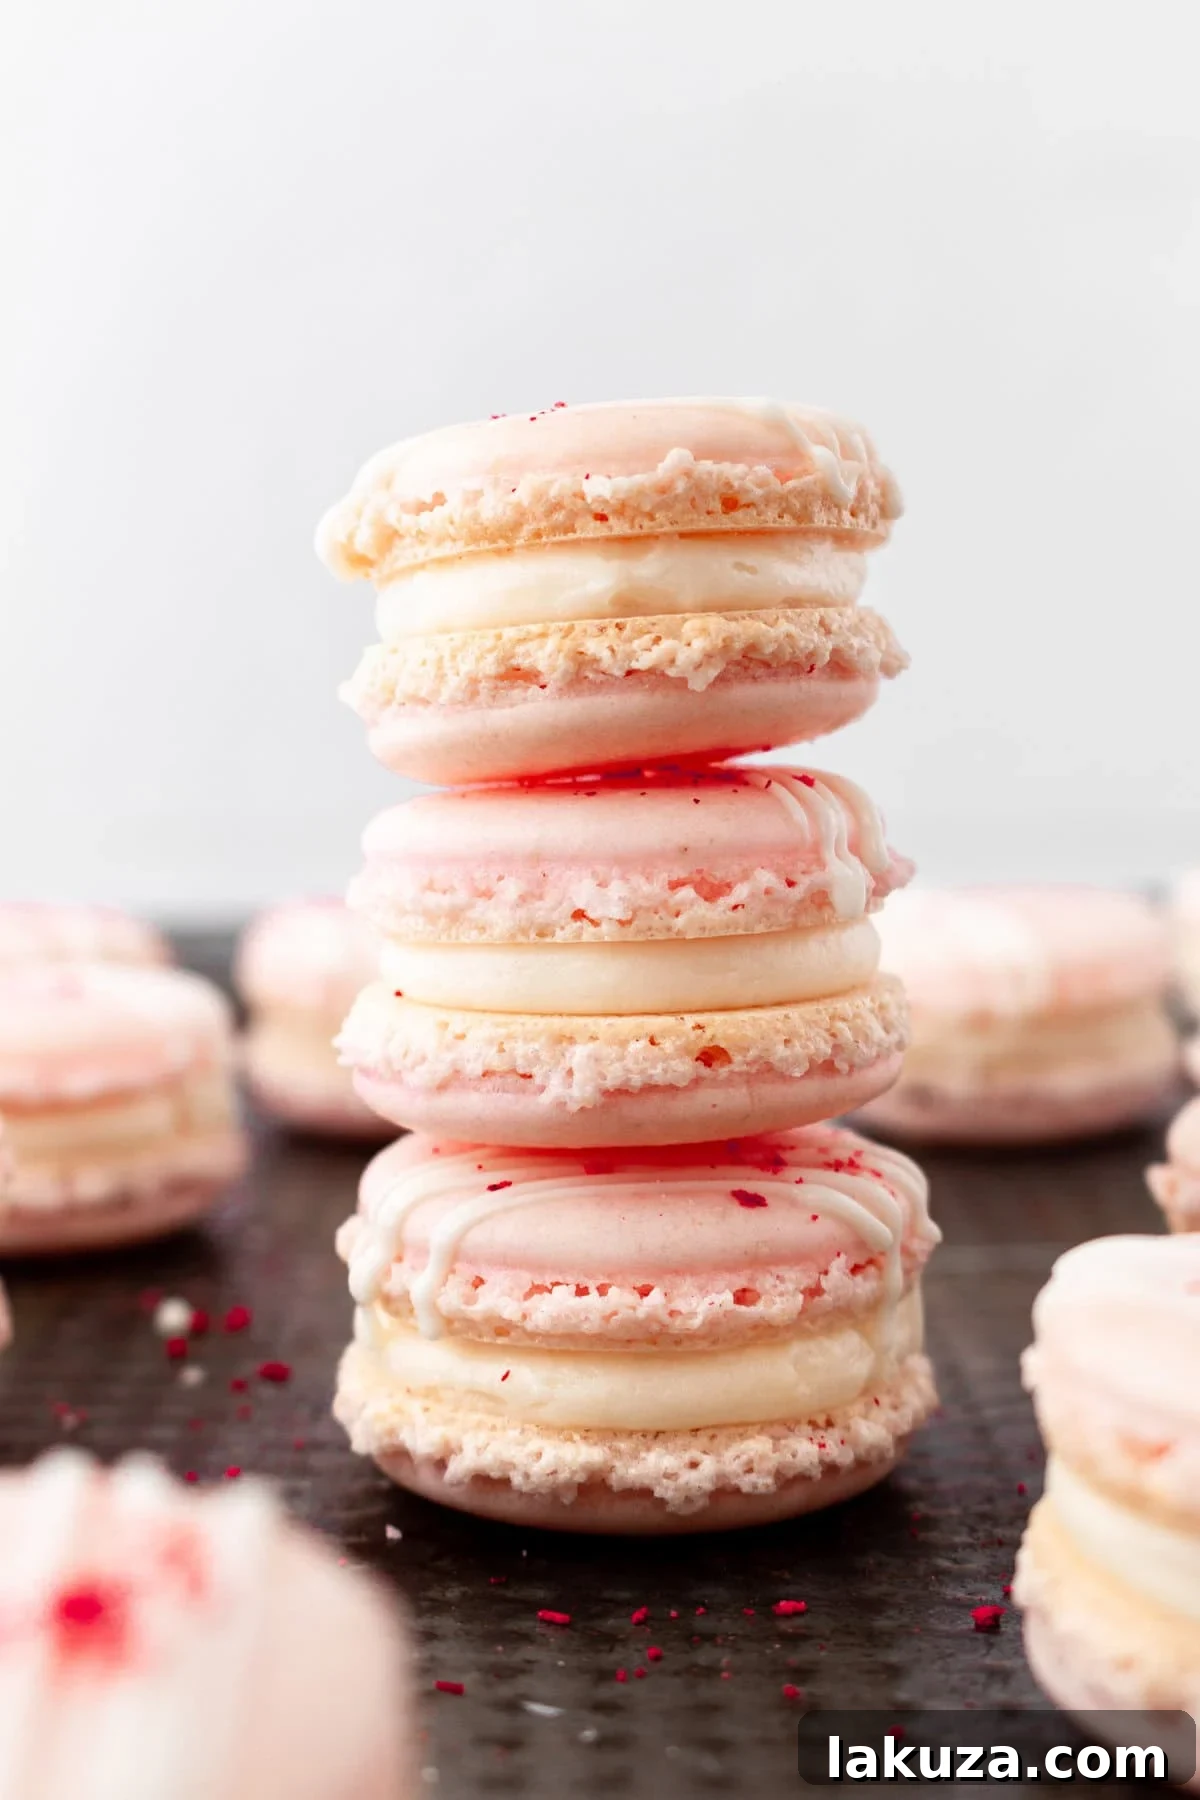
Step-by-Step Instructions for Perfect French Macarons:
Follow these detailed steps carefully to achieve beautiful, consistent macarons every time. Precision and patience are your best allies.
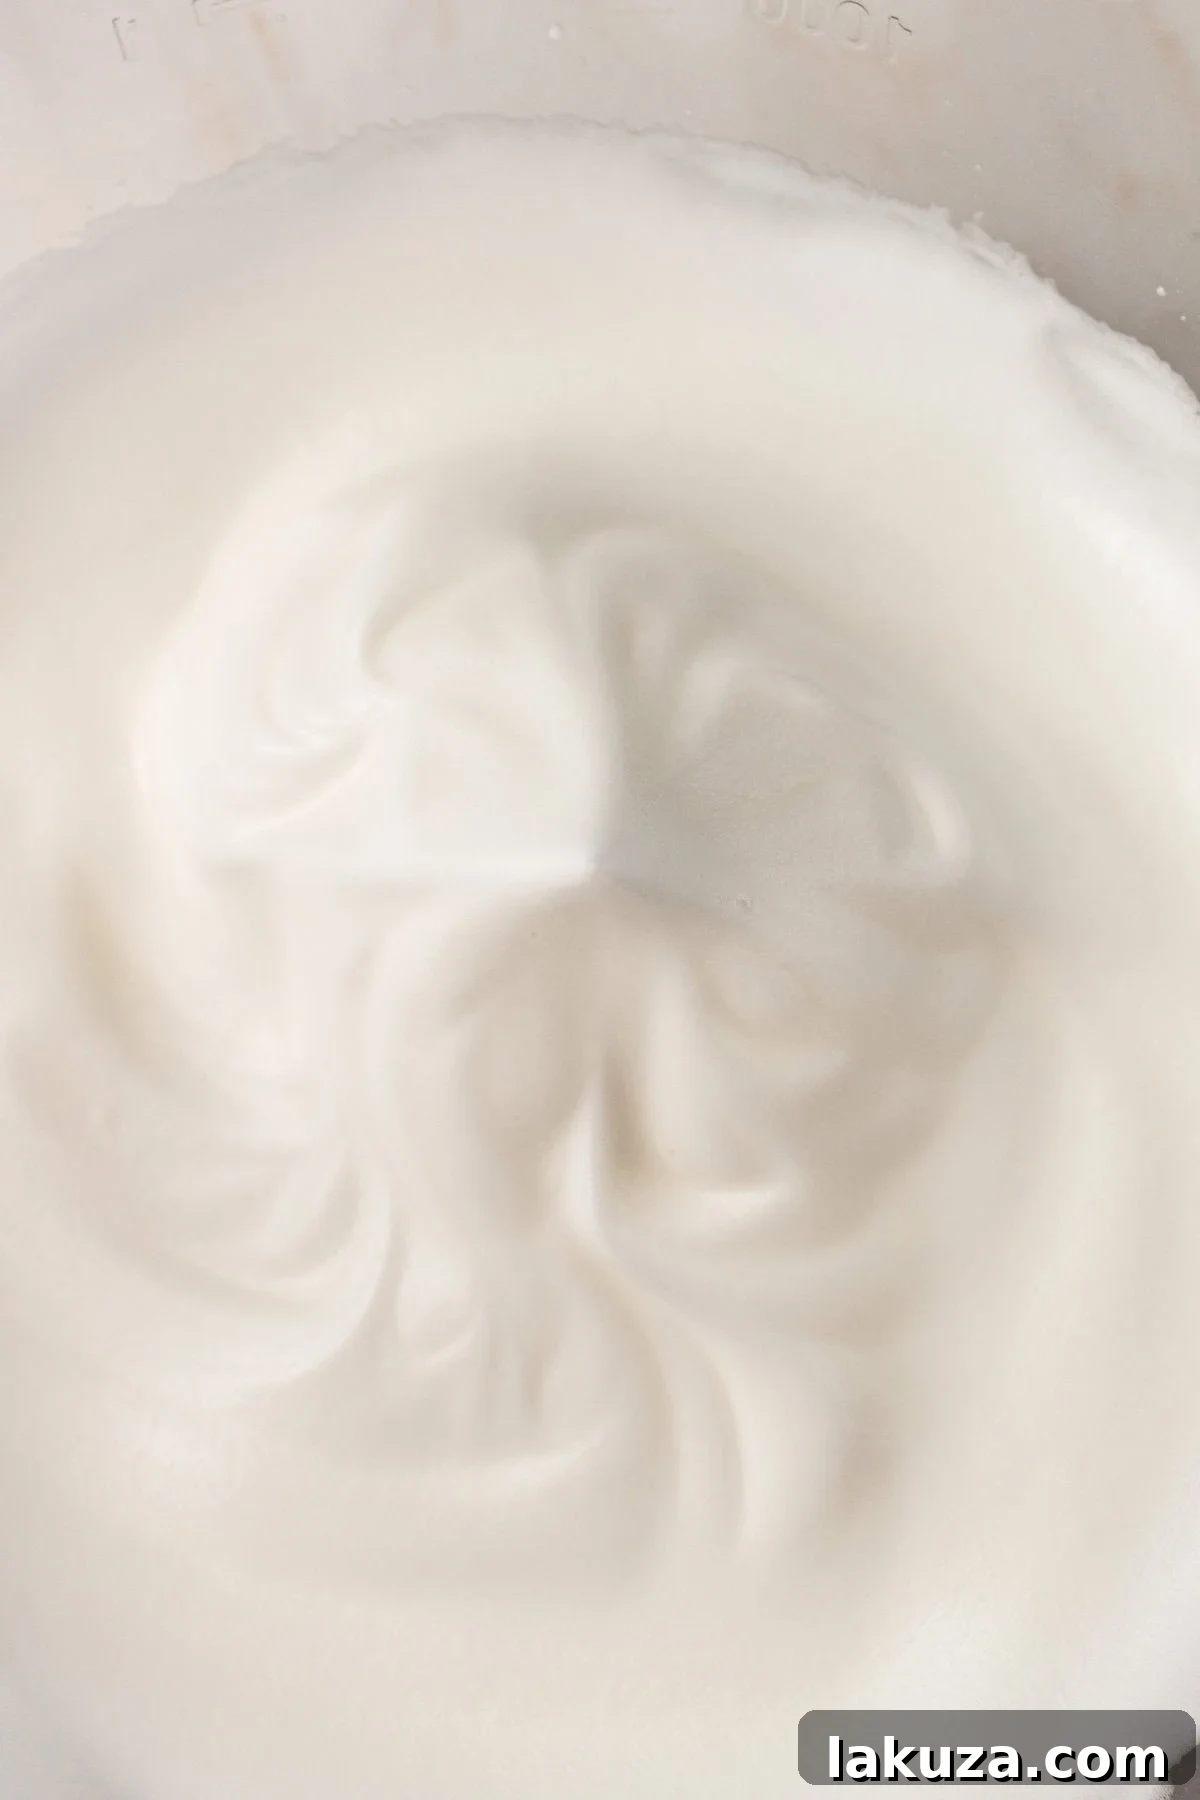
- Prepare Your Meringue: Preheat your oven to 300°F (150°C). In a clean, grease-free mixing bowl, beat room-temperature egg whites on medium speed until they become foamy. Gradually add the granulated sugar, cream of tartar, and salt. Increase the speed to high and continue beating for 8-10 minutes, or until very stiff, glossy peaks form. When you lift the whisk, the meringue should hold its shape firmly and stand upright. This is a critical step for stable macarons.
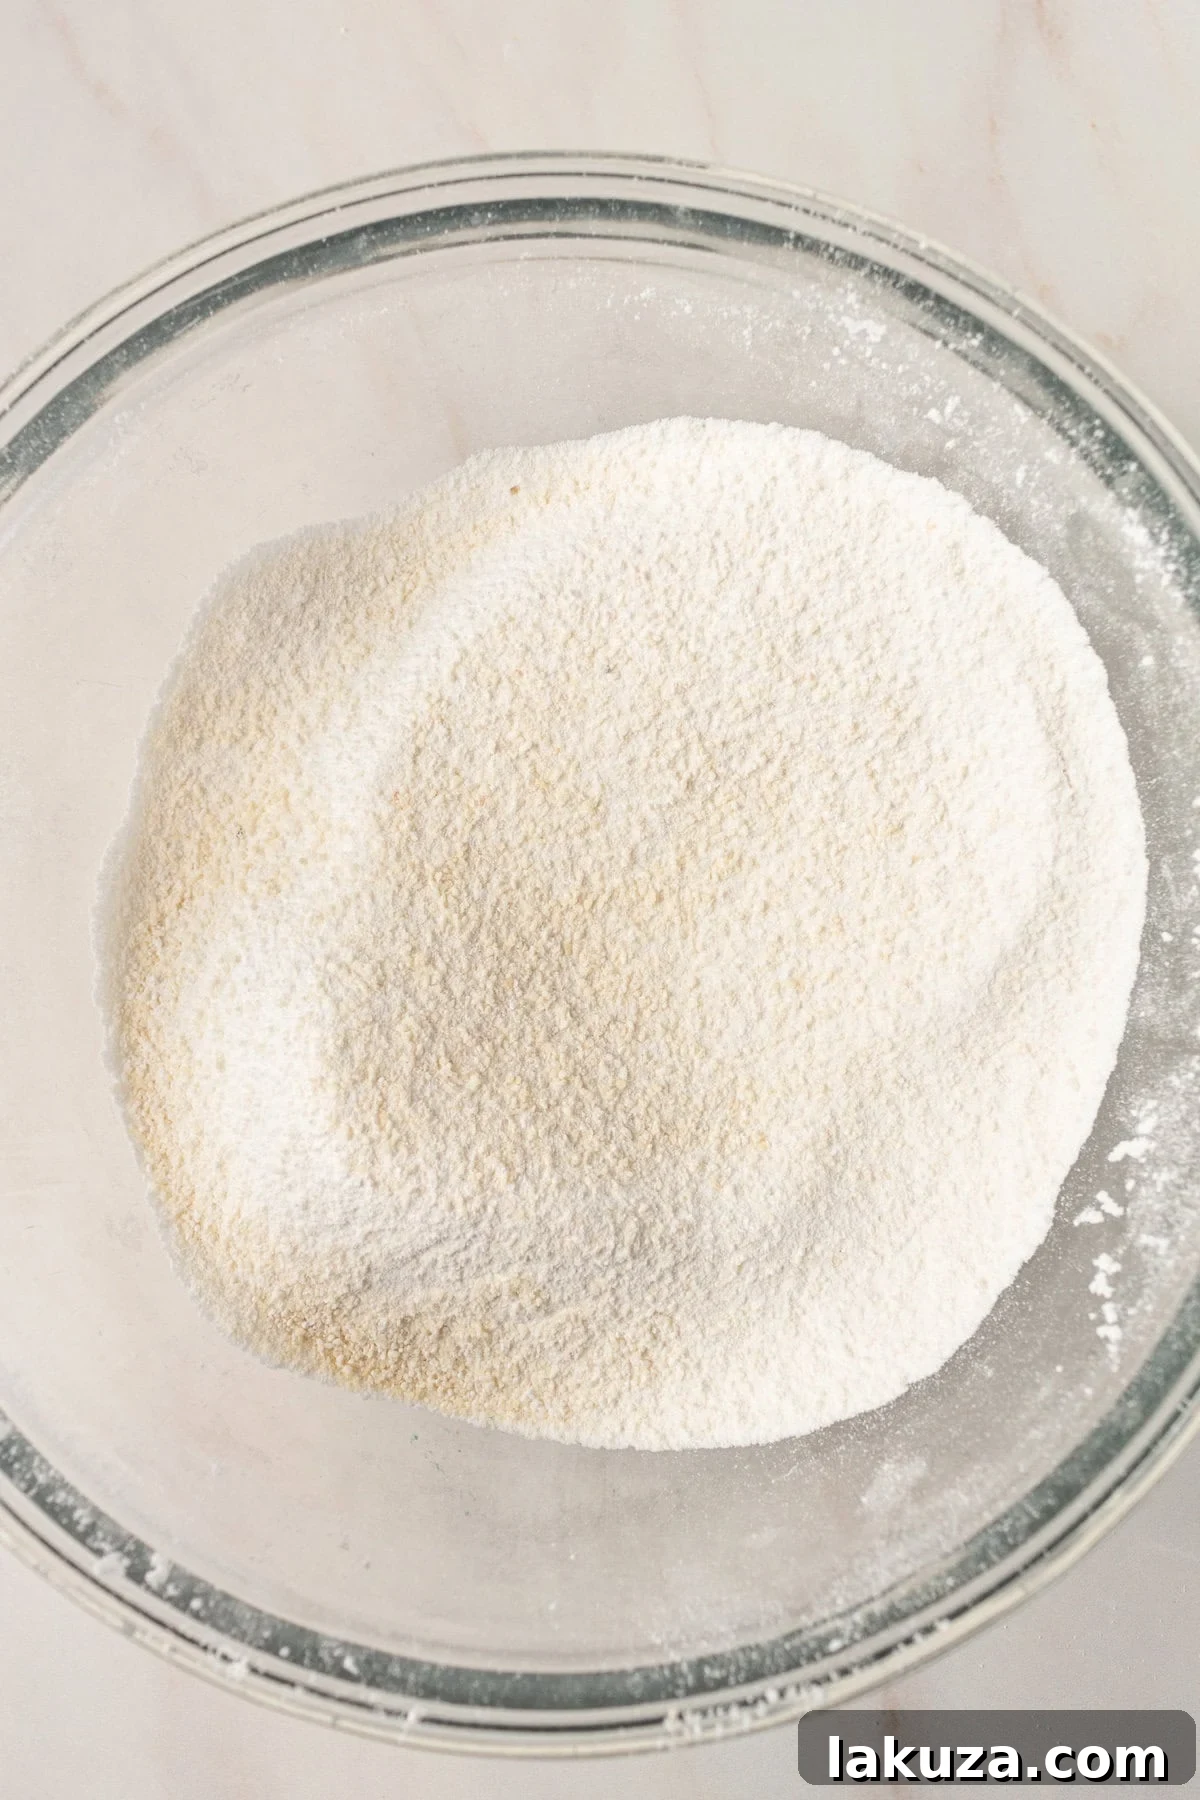
- Incorporate Dry Ingredients and Coloring: Gently stir in your chosen gel food coloring until evenly distributed. In a separate bowl, sift together the powdered sugar and blanched almond flour. It’s essential to sift thoroughly to remove any lumps or coarse almond bits, ensuring a smooth macaron shell. Discard any larger pieces that remain in the sifter.
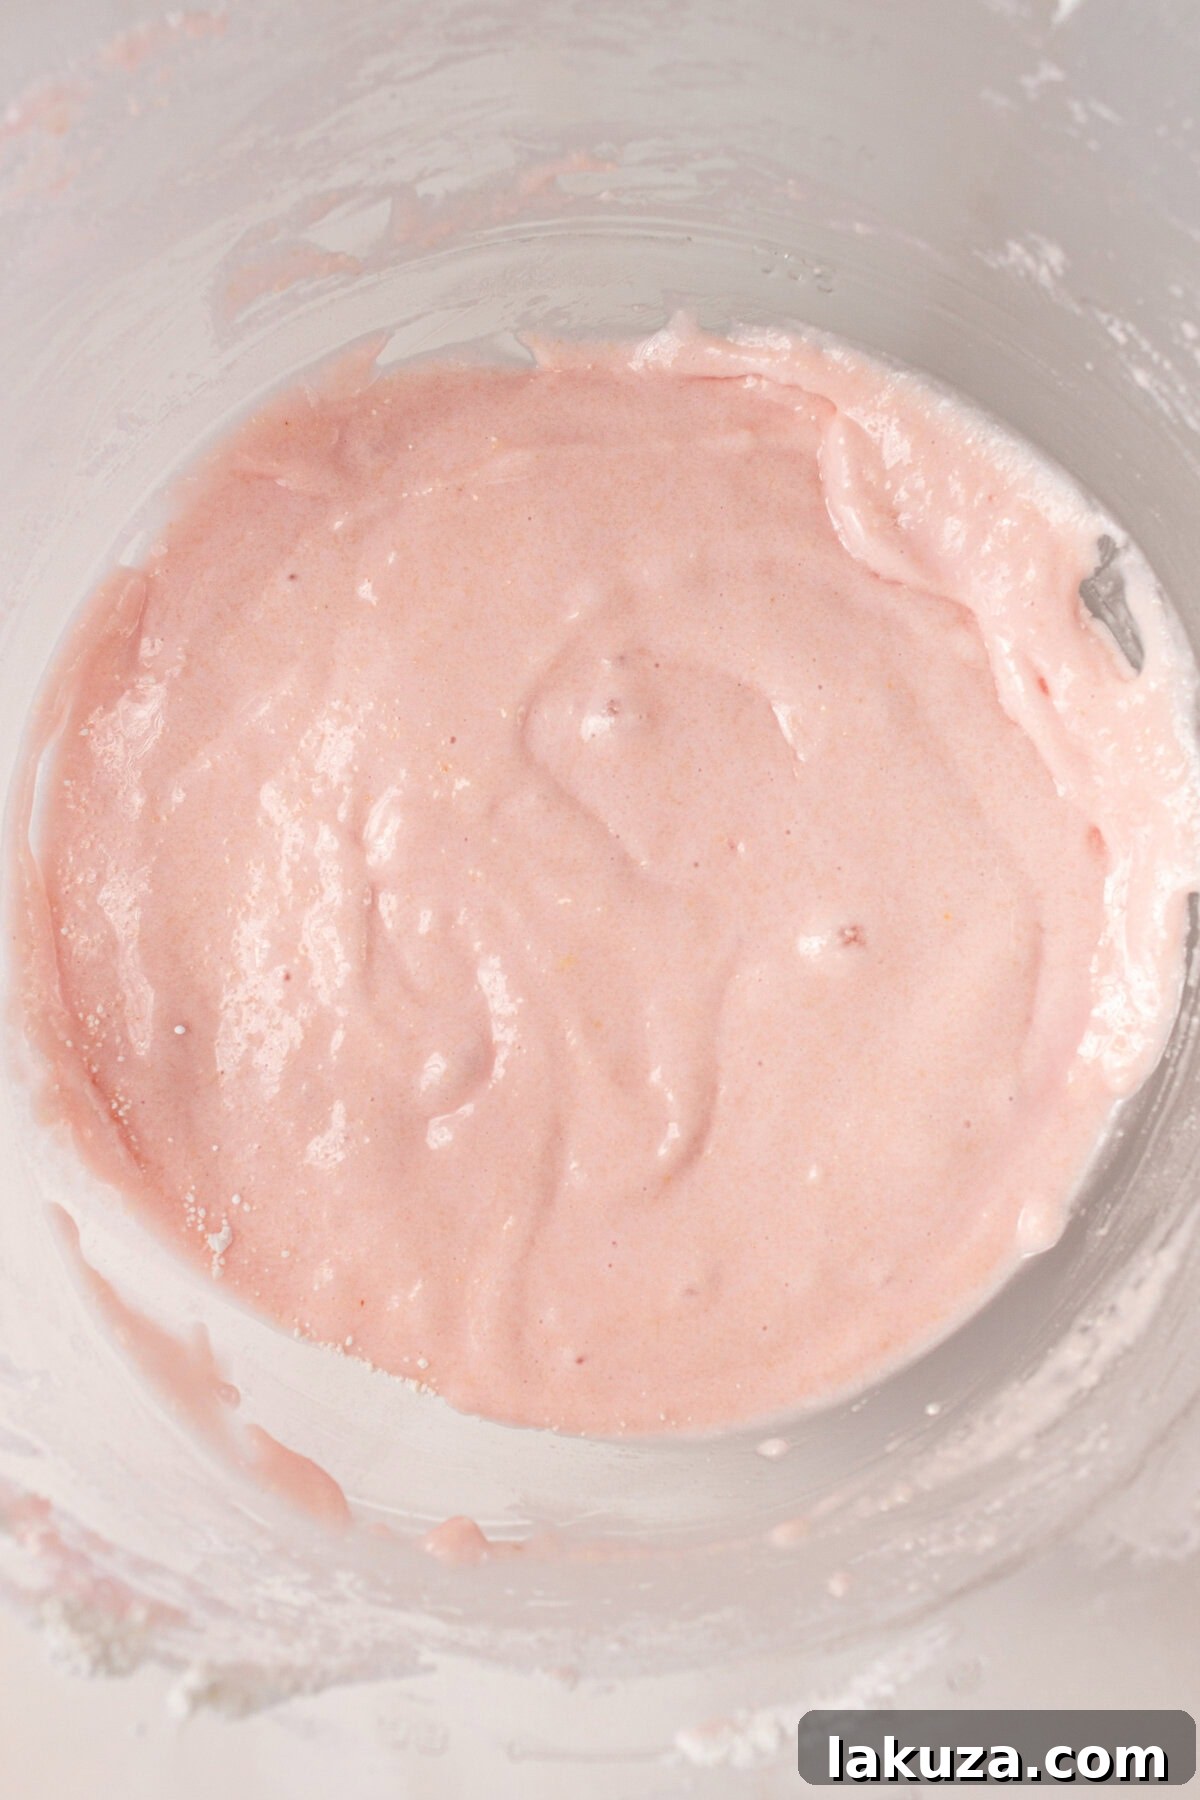
- Master Macaronage (Folding the Batter): Add the sifted flour/sugar mixture to the whipped egg whites in three additions. Using a flexible rubber spatula, carefully fold the mixture together. The technique, known as “macaronage,” involves scraping the sides and bottom of the bowl and then pressing the batter gently against the side of the bowl. Repeat this motion until the batter achieves a lava-like consistency, flowing slowly from the spatula in a thick ribbon. It should be able to form a “figure 8” without breaking. This usually takes about 65-75 turns of the spatula, but focus on consistency rather than counting turns.
- Pipe Your Macaron Shells: Transfer the macaron batter into a piping bag fitted with a round tip (about ¼–½ inch). Line baking sheets with silicone mats (like Silpat) or parchment paper specifically designed for macarons. Hold the piping bag perpendicular to the baking sheet and pipe out 1-inch rounds, spacing them about 1 inch apart. Ensure even pressure for uniform sizes.
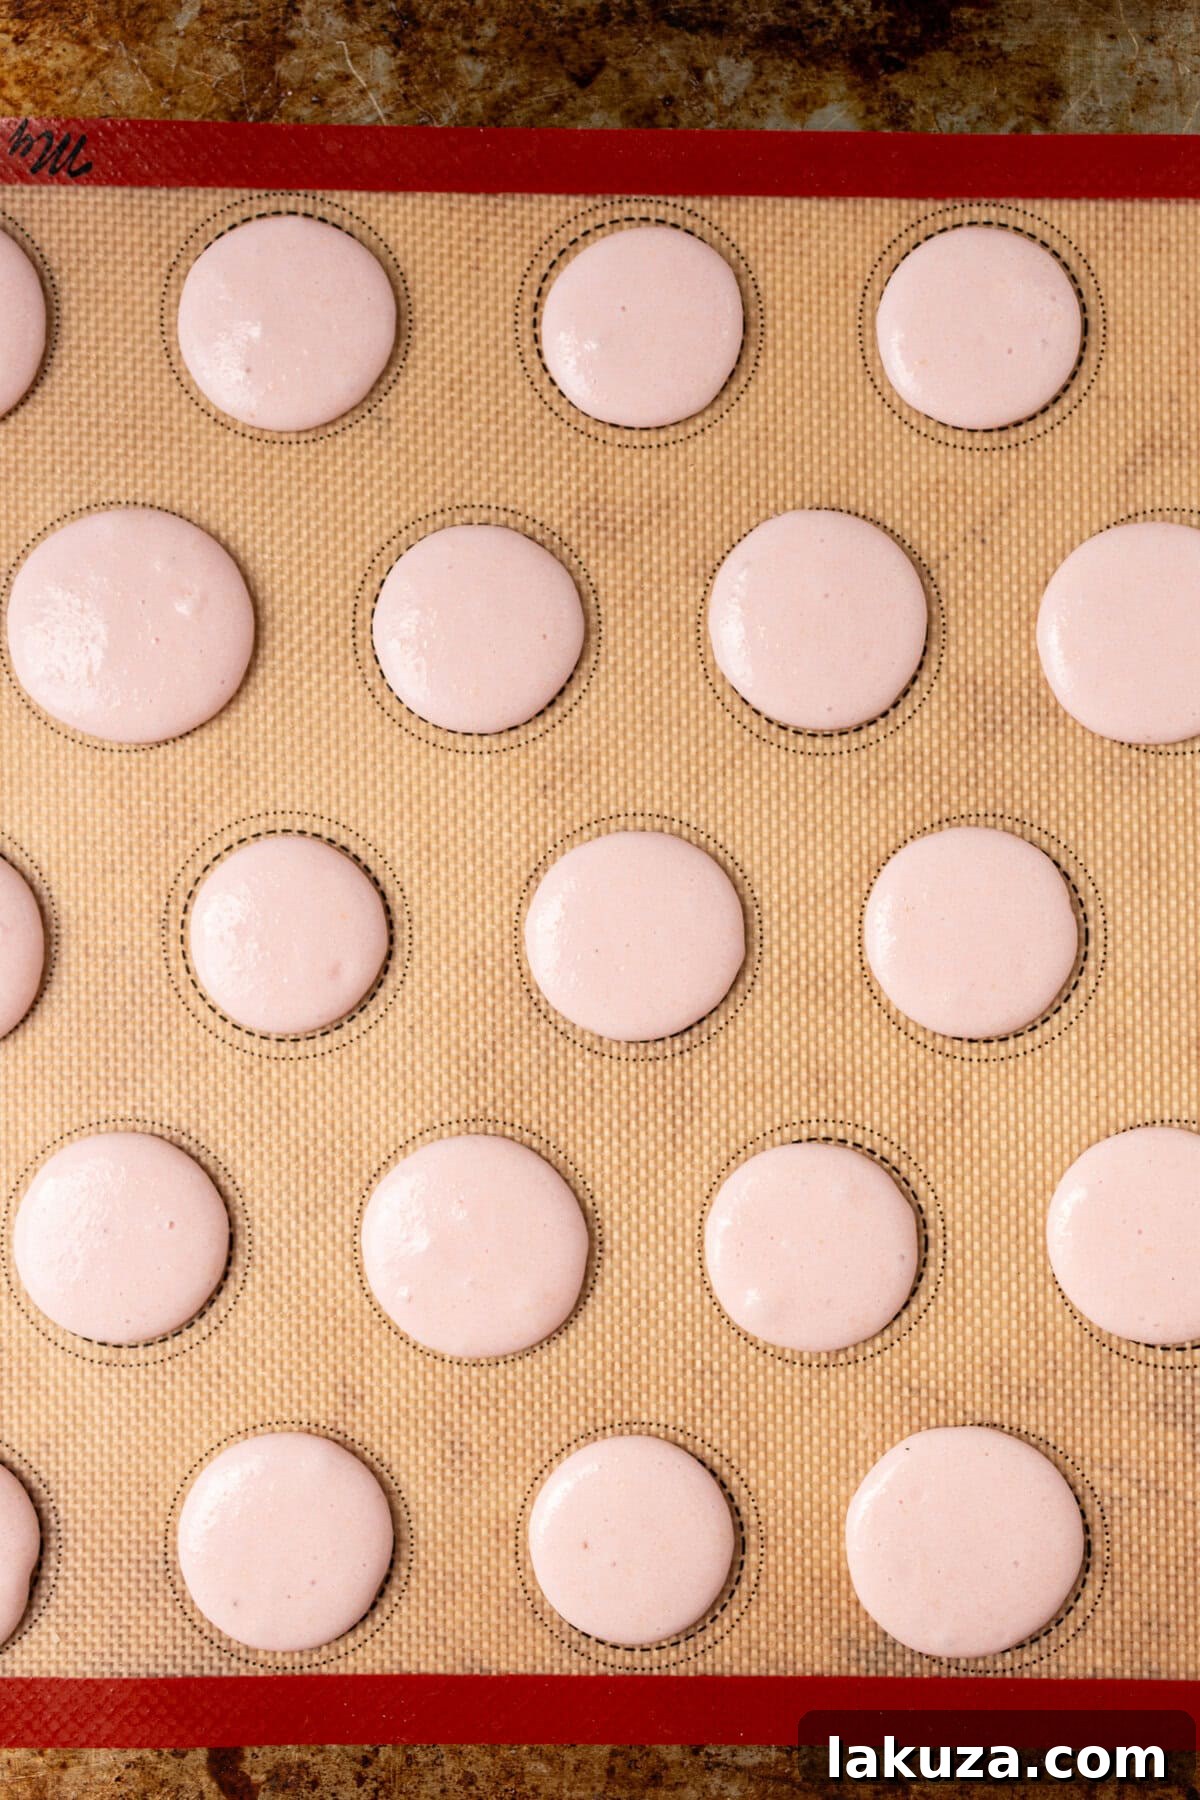
- Release Air Bubbles: Firmly tap each baking sheet against your counter three times. This crucial step helps release any trapped air bubbles, which can cause cracks or hollow shells. Use a toothpick to pop any remaining visible bubbles on the surface.
- Rest and Dry (Crucial for “Feet”): Let the piped macarons rest at room temperature for 25-30 minutes, or even up to an hour, depending on humidity. They are ready to bake when a slight skin has formed on top—you should be able to gently touch the shell without any batter sticking to your finger. This drying process is vital for creating the characteristic “feet” at the base of the macarons during baking.
- Bake to Perfection: Bake the macarons for 19-22 minutes. The exact time may vary by oven, so keep an eye on them. They are done when the “feet” have fully risen, and the shells are no longer tacky and can be gently wiggled without detaching from the feet. Let them cool completely on the baking sheet before handling.
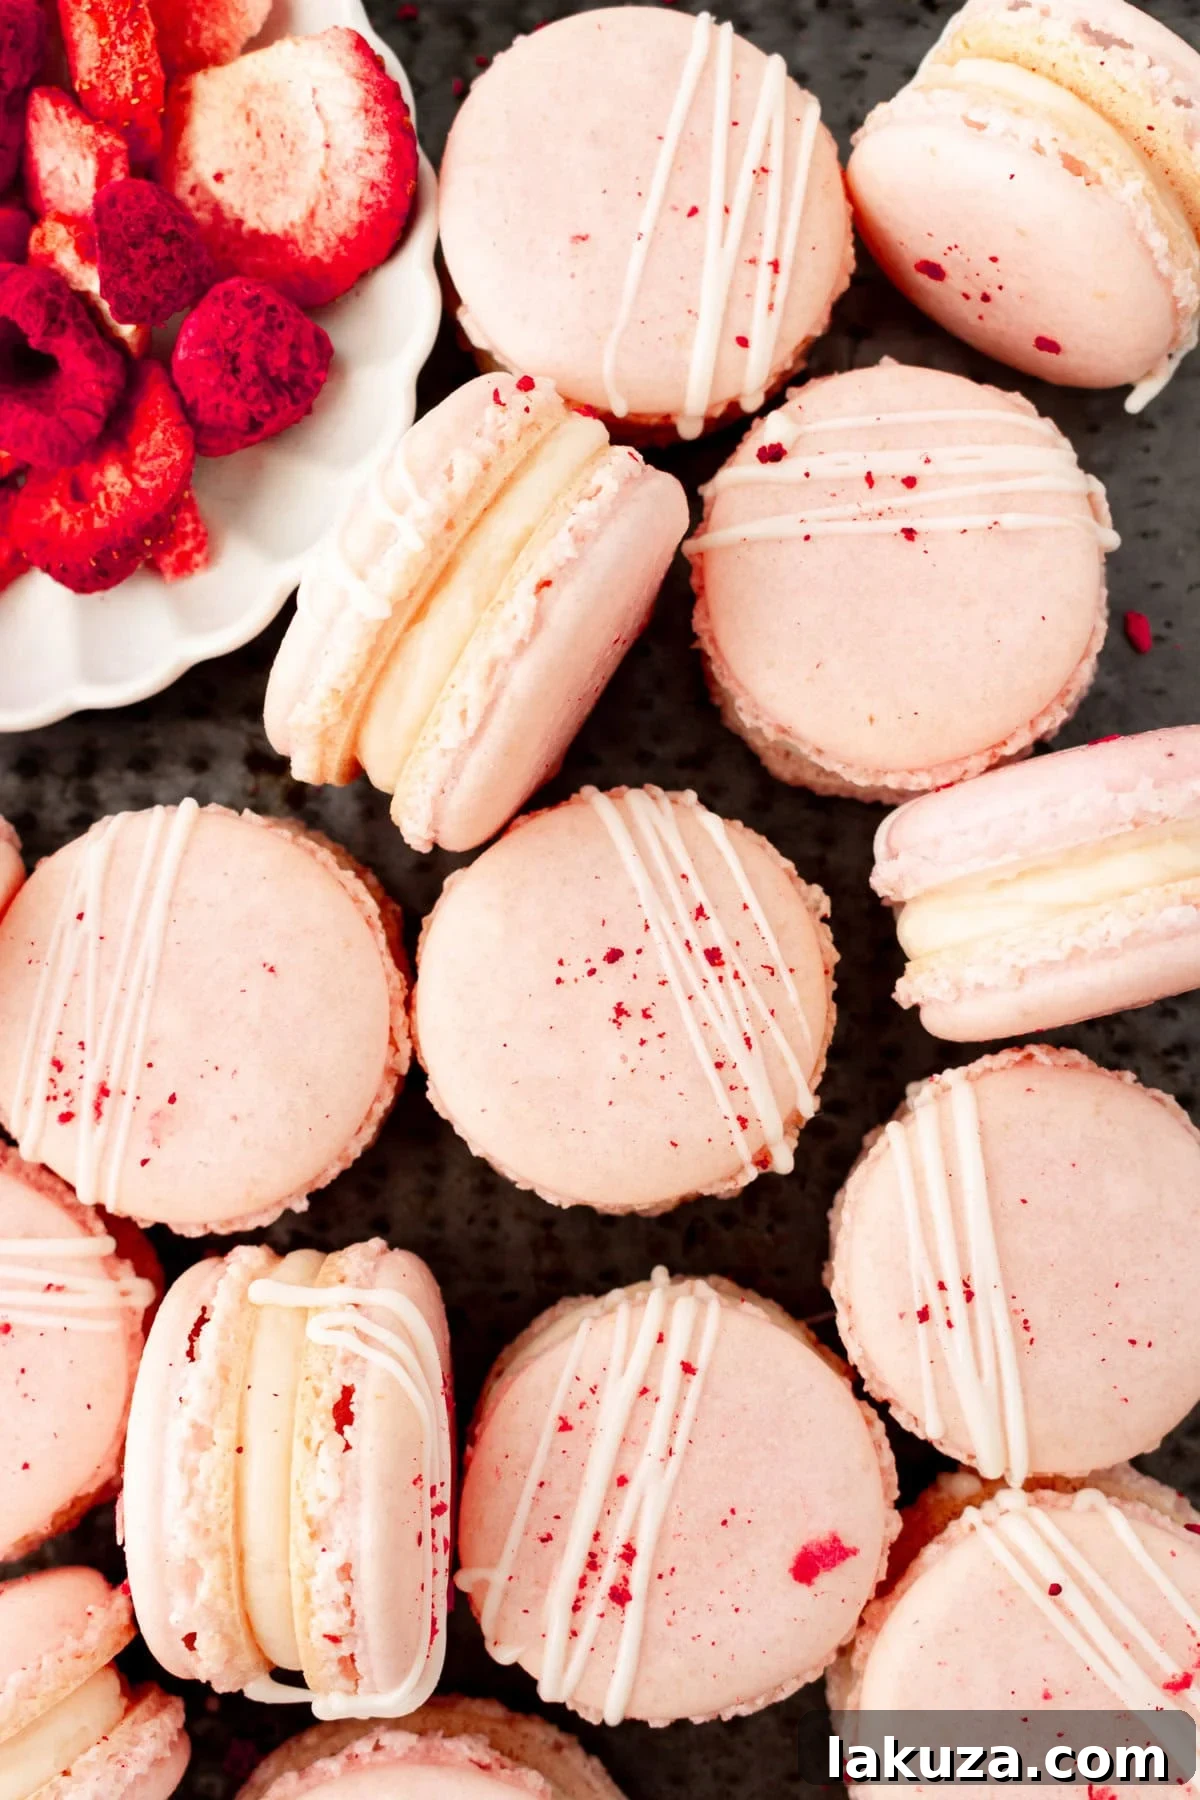
- Fill and Chill: Once completely cool, gently peel the macaron shells from the mat. Spread about 1 teaspoon of your chosen filling on the flat side of one shell and top with another shell of matching size. Cover the filled macarons with plastic wrap and chill them in the refrigerator.
Mastering Macaronage: The Art of Folding
Macaronage is perhaps the most crucial and often misunderstood step in making French macarons. It’s the process of folding the dry ingredients into the meringue to achieve the perfect batter consistency. Over-folding leads to a runny batter that spreads too much, resulting in flat, footless, or hollow macarons. Under-folding, on the other hand, results in a thick, lumpy batter that won’t pipe smoothly and will produce cracked, uneven shells without feet. The ideal consistency is often described as “lava-like” or “ribbon stage” – when you lift your spatula, the batter should fall off slowly and continuously in a thick ribbon, eventually melting back into the main batter within about 20-30 seconds. This delicate balance requires practice and keen observation, but once mastered, it’s the key to consistent macaron success.
Troubleshooting Common Macaron Issues:
Macarons can be temperamental, but most common issues have simple solutions. Don’t be discouraged by initial imperfections; every batch teaches you something new!
Hollow Shells: This is a frequent complaint. It can be caused by underbaking, over-whipping the meringue, or a sudden change in oven temperature. Try baking for a minute or two longer, and ensure your oven temperature is stable and accurate with an oven thermometer. Some suggest a slightly lower baking temperature for a longer period.
Cracked Shells: Insufficient drying time before baking or an oven that is too hot are the most common culprits. Ensure your macarons rest long enough to form a skin. Always use an oven thermometer to verify your oven’s accuracy. Rapid temperature changes when opening the oven door can also contribute to cracking.
No “Feet” (Pied): The absence of feet usually points to improper macaronage (over or under-mixing), insufficient drying time, or an incorrect oven temperature. The skin formed during resting is essential for the feet to develop.
Lumpy Shells: This is almost always due to not sifting your almond flour and powdered sugar finely enough, or under-mixing the batter during macaronage.
Sticky Bottoms: This indicates underbaking. Your macarons need a bit more time in the oven. They should peel cleanly off the baking mat when fully cooled.
Spreading/Flat Macarons: This is a clear sign of over-macaronage. The batter was too runny. Ensure you stop folding when the “ribbon stage” is achieved.
Testing Doneness: Gently wiggle the top of a macaron shell. If it shifts from its “foot,” it likely needs more time to bake. If it’s firm and stable, it’s probably ready. Alternatively, lift a cooled macaron; if it peels off cleanly without sticking, it’s done.
Frequently Asked Questions (FAQ’s):
- How Can I Store Macarons? Unfilled macaron shells can be stored in an airtight container at room temperature for up to a week, or frozen for up to a month. Fill them as needed. Once filled, macarons should be refrigerated for 2–3 days or frozen for longer storage (up to 2-3 weeks).
- How Long Do I Need to Chill Them in the Fridge? For optimal flavor and texture, filled macarons benefit from a process called “maturing” or “fridge time.” Ideally, chill them for at least 24 hours before serving. This allows the shells to soften slightly, absorbing moisture from the filling, and for the flavors to meld beautifully.
- Can I use unblanched almond flour? While technically possible, unblanched almond flour (with skins on) will result in a coarser, darker macaron shell. For the smooth, delicate texture and vibrant colors characteristic of French macarons, blanched, finely ground almond flour is highly recommended.
- My egg whites aren’t whipping to stiff peaks. What’s wrong? Ensure your bowl and whisk are perfectly clean and free of any grease, as even a tiny speck of fat can prevent egg whites from whipping properly. Also, make sure your egg whites are at room temperature and separate them carefully to avoid any yolk contamination.
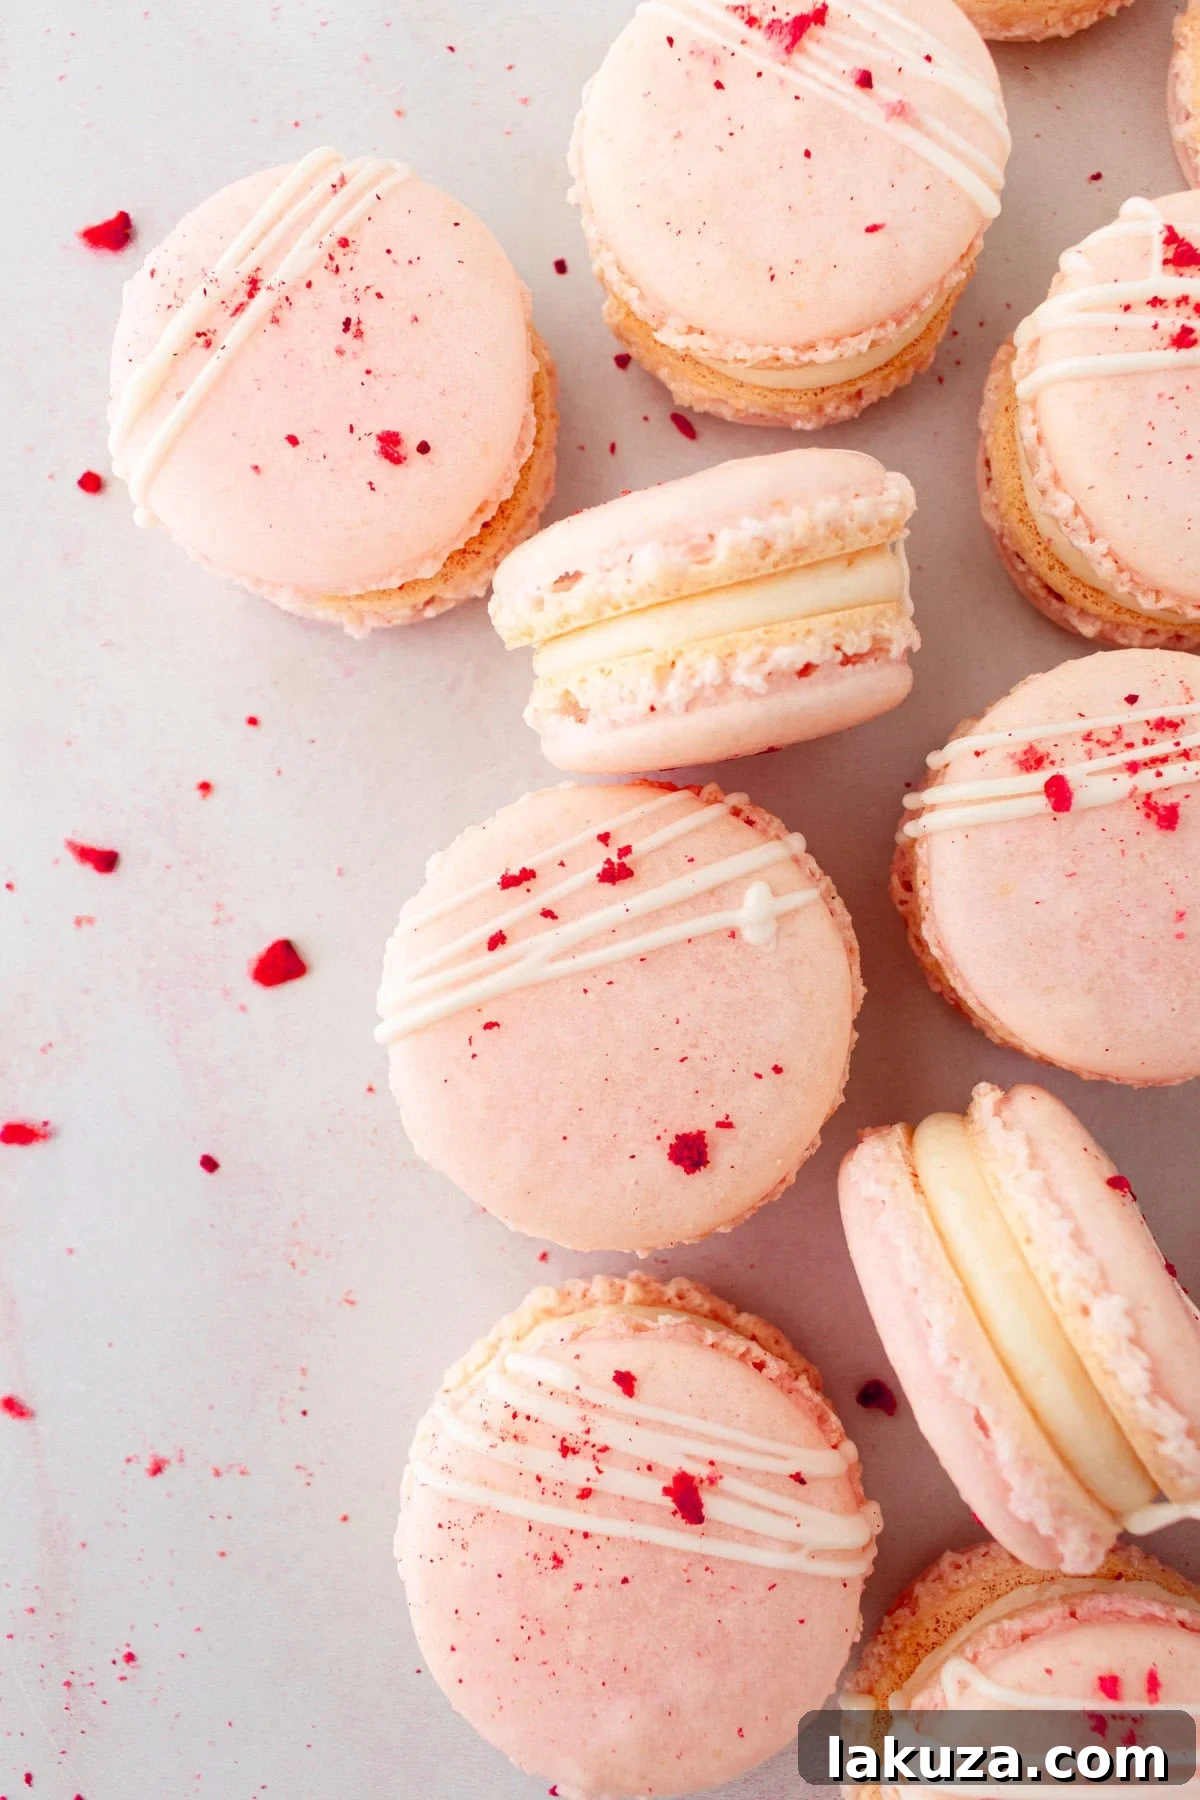
Essential Baking Equipment for Homemade Macarons:
Having the right tools can make a significant difference in your macaron-making journey. Investing in these items will streamline the process and improve your results.
- Kitchen Scale: Precision is key in macaron baking. Measuring ingredients by weight (grams) rather than volume (cups) is crucial for consistent results.
- Sifter or Fine-Mesh Strainer: Absolutely necessary for sifting almond flour and powdered sugar to remove lumps and ensure smooth shells.
- Stand Mixer or Hand Mixer: For whipping egg whites to perfect stiff peaks. A stand mixer with a whisk attachment is highly recommended for its power and consistency.
- Flexible Rubber Spatula: Indispensable for the macaronage process, allowing you to gently fold the batter without deflating the meringue.
- Piping Bag & Round Tip (¼–½ inch): For neatly piping uniform macaron shells. A good quality piping bag and a sturdy round tip will make this step much easier.
- Baking Sheets: Sturdy, flat baking sheets are essential. Avoid warped sheets that can cause uneven baking.
- Silicone Baking Mats (e.g., Silpat) or Parchment Paper: Crucial for preventing sticking and ensuring easy removal of shells. Silicone mats often provide more consistent heat distribution and are reusable. Look for mats with macaron templates for perfectly sized cookies.
- Oven Thermometer: Most ovens have temperature fluctuations. An oven thermometer ensures you’re baking at the exact temperature required for macaron success.
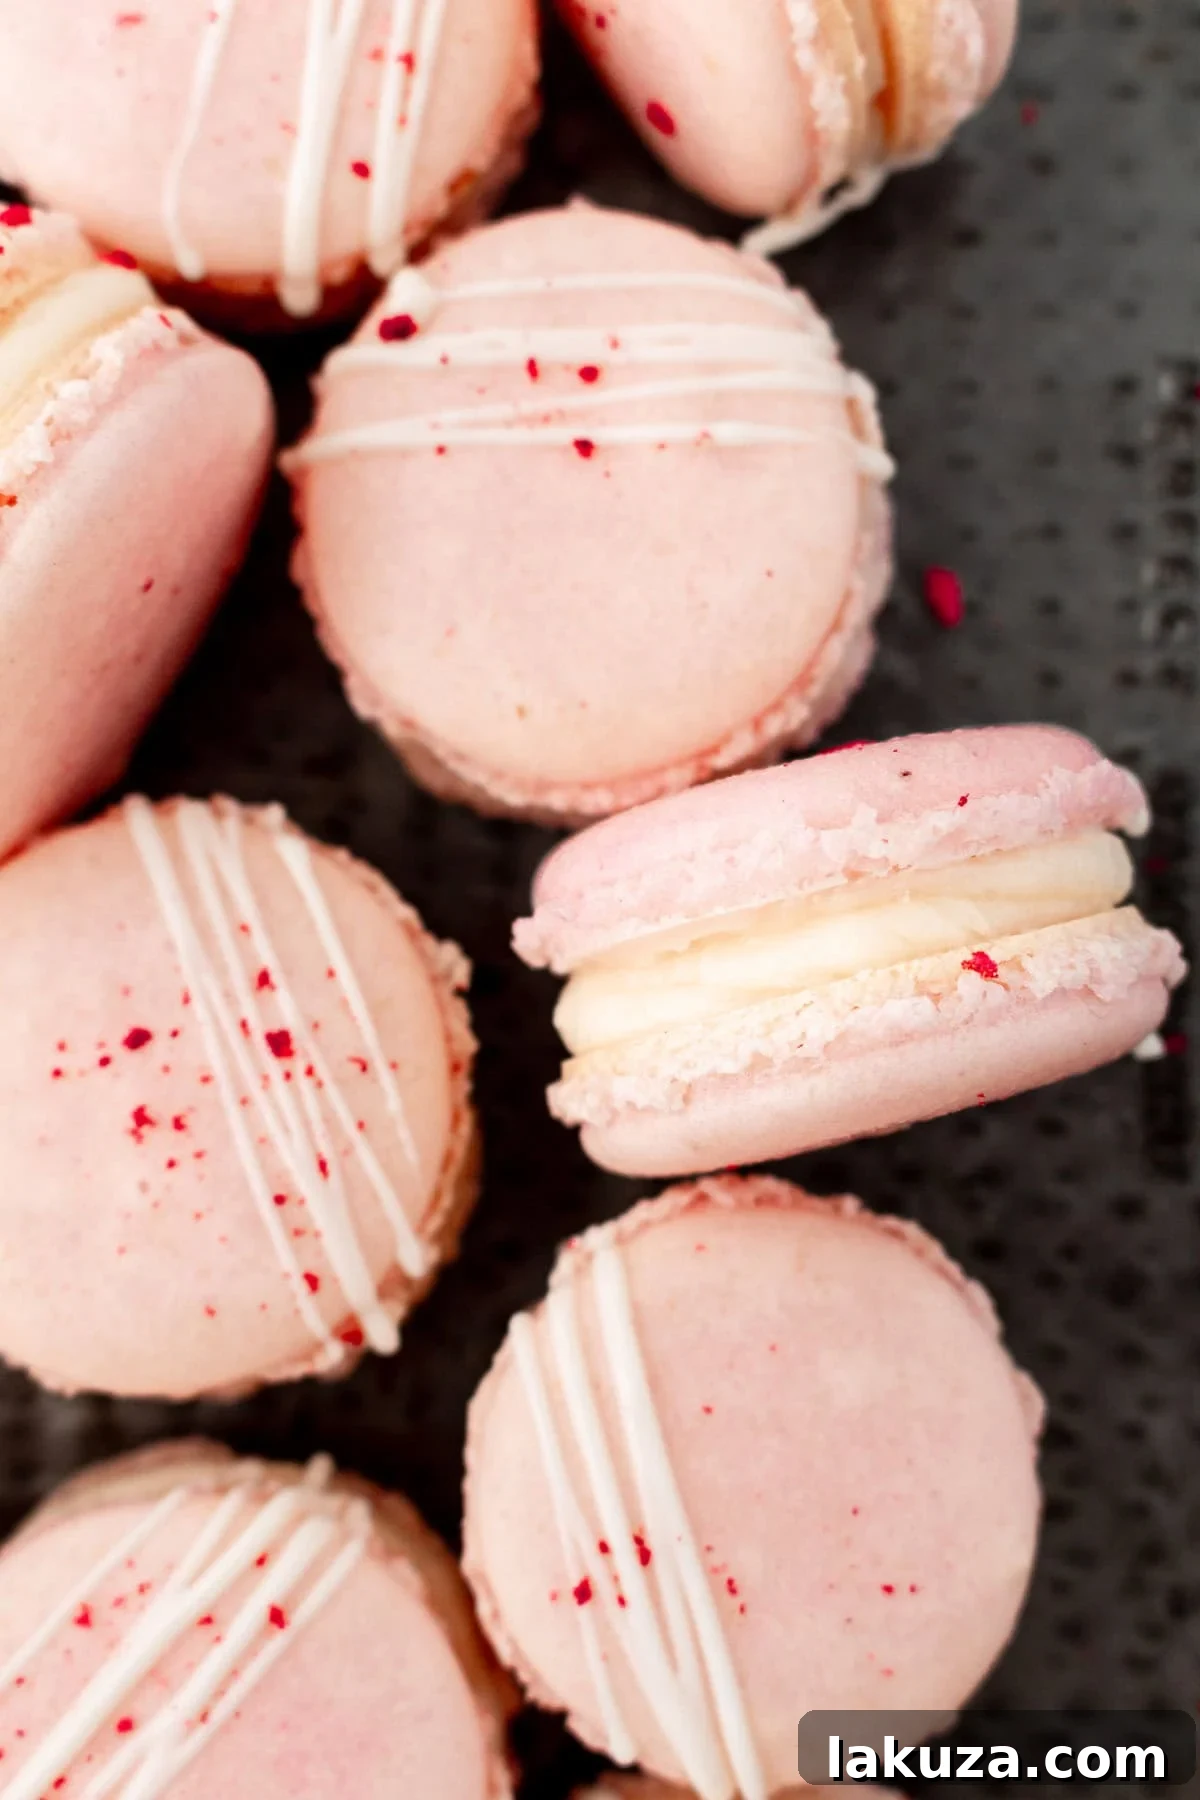
Irresistible Macaron Filling Ideas & Recipes:
The filling is where you can truly let your creativity shine! The contrast between the crisp shell and a luscious filling is what makes macarons so addictive.
1. Classic Vanilla Buttercream
- Ingredients: Unsalted butter (softened), powdered sugar, pure vanilla extract (or vanilla bean paste), and a splash of milk or heavy cream.
- Method: Beat softened butter until light and fluffy. Gradually add powdered sugar, then vanilla and milk/cream until smooth and creamy.
2. Rich Chocolate Ganache
- Ingredients: 4 oz good quality semi-sweet or dark chocolate (finely chopped), ½ cup heavy cream.
- Method: Heat heavy cream in a saucepan until just simmering (do not boil). Remove from heat and pour over chopped chocolate. Let sit for 1-2 minutes, then stir until completely smooth and shiny. Cool to room temperature until thickened and spreadable.
3. Tangy Raspberry Jam or Lemon Curd
- For a burst of fruity flavor, use a high-quality store-bought or homemade raspberry jam or lemon curd. To prevent the jam/curd from leaking, pipe a ring of buttercream around the edge of one macaron shell, then fill the center with your fruit spread.
4. Decadent Salted Caramel Buttercream
- Prepare a simple vanilla buttercream, then fold in 2-3 tablespoons of homemade or store-bought salted caramel sauce. For an extra treat, drizzle a tiny bit more caramel directly into the center of the piped buttercream filling.
5. Nutty Pistachio or Hazelnut Cream
- Achieve a rich, nutty filling by blending a high-quality pistachio or hazelnut paste (or finely ground nuts) into a basic buttercream or a white chocolate ganache.
6. Cream Cheese Buttercream
- A lighter, tangy alternative, perfect with red velvet or carrot cake flavored macarons.
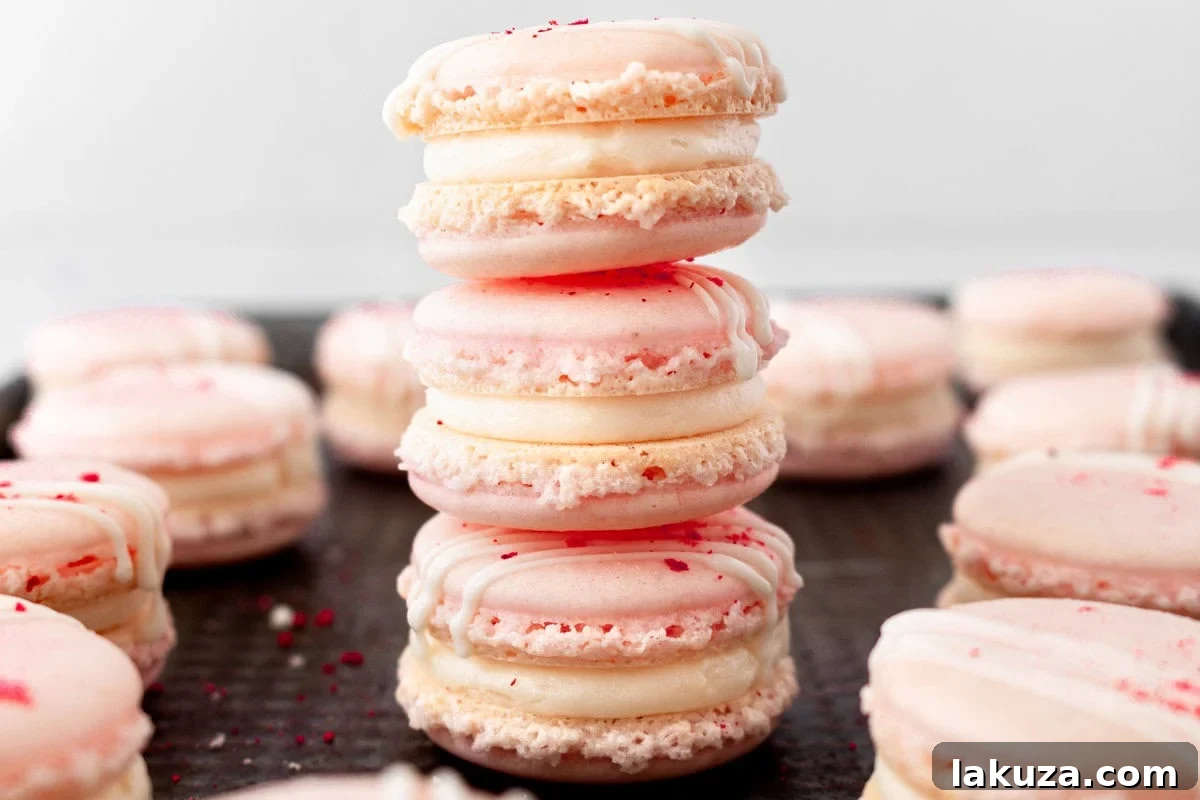
Advanced Tips for Perfecting Your French Macarons:
Beyond the basic steps, these insights can elevate your macaron game and help achieve consistent perfection.
- Room Temperature Egg Whites are Non-Negotiable: Ensure egg whites are truly at room temperature. If you forget, submerge the separated eggs (in their shells or a sealed container) in a bowl of warm water for 5-10 minutes. This allows them to whip to their fullest volume and create a more stable meringue.
- Double Sifting for Smoothness: Not only should you sift the almond flour and powdered sugar once, but for ultra-smooth shells, consider sifting them together twice. Use finely ground, blanched almond flour; its texture is key to the macaron’s delicate finish.
- The Art of Macaronage (Revisited): This step is where most beginners falter. It’s about developing the correct consistency, not just mixing. The batter should flow like slow-moving lava, forming a continuous ribbon when lifted. Practice makes perfect here!
- Gel Food Coloring for Vibrant Hues: Always use gel food coloring. Liquid food coloring can introduce too much moisture into the delicate macaron batter, affecting its consistency and the formation of feet. Add the color to your stiff meringue before folding in the dry ingredients for best distribution.
- Invest in Quality Baking Surfaces: Silicone baking mats (like Silpat) are invaluable. They provide an even, non-stick surface that promotes consistent baking and prevents sticking, making cleanup a breeze. While parchment paper can work, good quality silicone mats are a game-changer.
- The Importance of Tapping and Resting: After piping, tap the baking sheets firmly on your counter 2-3 times to release trapped air. This prevents air pockets and cracks. Then, let the piped shells rest. This drying time, known as “croûtage,” allows a thin skin to form, which is absolutely essential for the “feet” to rise properly during baking. Don’t rush this step!
- Oven Calibration is Your Friend: Use an oven thermometer to ensure your oven is at the precise temperature. Macarons are extremely sensitive to heat fluctuations. An oven that is too hot can cause cracking, while one that is too cool can result in flat or sticky macarons.
- Maturity for Maximum Flavor: While tempting to eat immediately, filled macarons truly shine after maturing in the refrigerator for 12-24 hours. This allows the moisture from the filling to soften the shells, creating that characteristic chewy texture and melding the flavors.
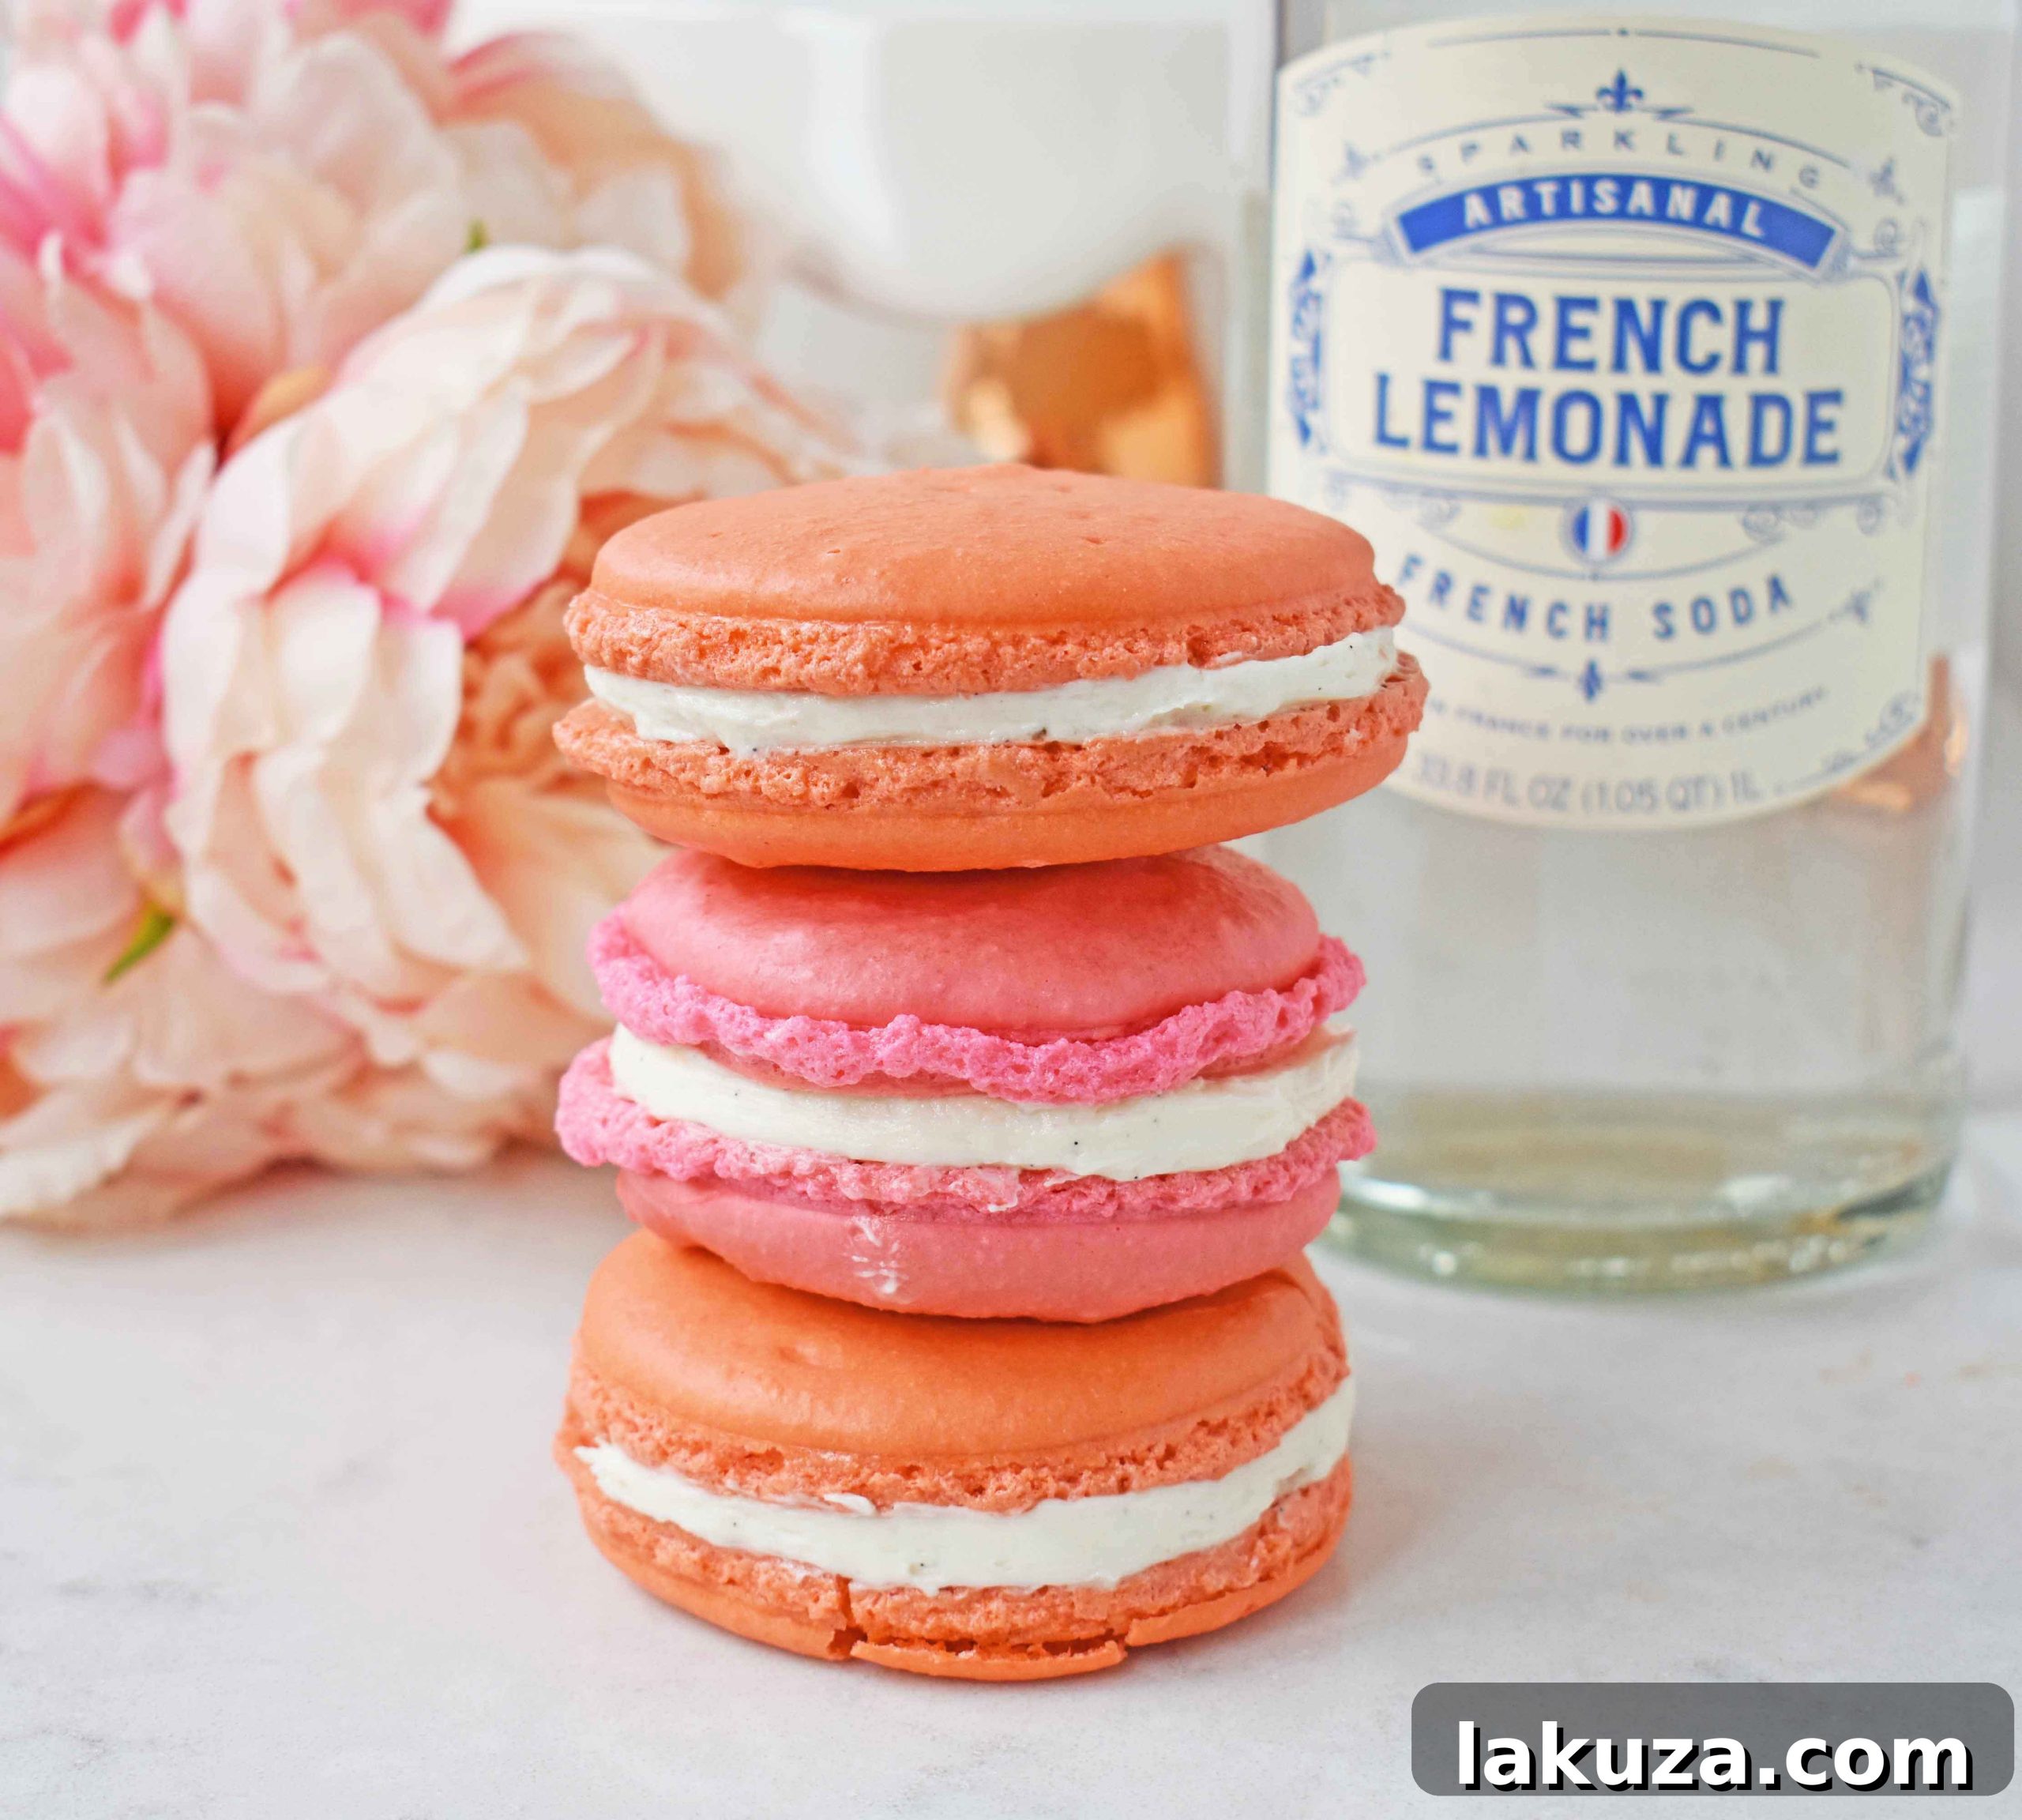
Popular Dessert Recipes:
Creme Brulee
Chocolate Pot de Creme
Butterscotch Budino with Salted Caramel
Sticky Toffee Pudding
French Macarons
By: Melissa Stadler, Modern Honey
Popular French Macarons are famous for a reason. These sandwich cookies melt in your mouth. Tips and tricks to making perfect homemade macarons at home.
Equipment
- KitchenAid Mixer
- Baking Sheet
- Parchment Paper Baking Sheets (or Silicone Mats)
Ingredients
For the Macaron Shells:
- 3 Egg Whites (at room temperature)
- 1/4 cup Granulated Sugar
- 1/4 teaspoon Cream of Tartar
- 1/8 teaspoon Salt
- Gel Food Coloring (optional, of choice)
- 2 cups Powdered Sugar
- 1 cup Blanched Almond Flour (finely ground)
Macaron Filling Ideas:
- Lemon Curd
- Raspberry or Strawberry Jam
- Chocolate Ganache
- Nutella
- Almond Buttercream
- Pistachio Cream
Vanilla Cream Cheese Buttercream Filling:
- (1) 8-ounce pkg. Cream Cheese (softened)
- 8 Tablespoons Unsalted Butter (softened)
- 2 cups Powdered Sugar
- 1 Vanilla Bean (scraped) or 2 teaspoons Pure Vanilla Extract
Instructions
- Prepare Meringue: Preheat oven to 300°F (150°C). In a clean bowl, beat room temperature egg whites until foamy. Gradually add granulated sugar, cream of tartar, and salt. Continue beating for 8-10 minutes on high speed, until stiff, glossy peaks form that can stand upright.
- Mix Dry Ingredients: Gently fold in gel food coloring (if using). Sift powdered sugar and almond flour together in a separate bowl. Discard any large clumps.
- Macaronage: Add the sifted flour/sugar mixture to the whipped egg whites in three additions. Using a rubber spatula, carefully fold the mixture until incorporated and the batter reaches a “lava-like” consistency, falling in a thick ribbon from the spatula (about 65-75 turns).
- Pipe Shells: Transfer batter to a piping bag with a round tip. Pipe 1-inch rounds onto silicone mat or parchment-lined baking sheets, spacing 1 inch apart.
- Release Air: Tap the baking sheets firmly on the counter 3 times to release air bubbles. Pop any visible surface bubbles with a toothpick.
- Rest Macarons: Let the piped macarons rest at room temperature for 25-30 minutes, or until a dry skin forms on the surface (no batter sticks when gently touched). This promotes the development of “feet.”
- Bake: Bake for 19-22 minutes, or until shells are firm, the “feet” have developed, and they are no longer tacky. Let cool completely on the baking sheet.
- Fill and Chill: Once cool, spread 1 teaspoon of your chosen filling on the flat side of one macaron shell and top with a matching shell. Cover with plastic wrap and chill in the refrigerator for at least 12-24 hours for best flavor and texture.
- To make Vanilla Bean Cream Cheese Buttercream: In a large mixing bowl, cream together softened cream cheese and butter until light and fluffy (3-5 minutes). Gradually add powdered sugar and mix until creamy. If using a vanilla bean, scrape the paste from the pod and add to frosting. If using vanilla extract, stir until combined.
Notes
Adapted from Entertaining with Beth.
Nutrition information is automatically calculated, so should only be used as an approximation.
Additional Info
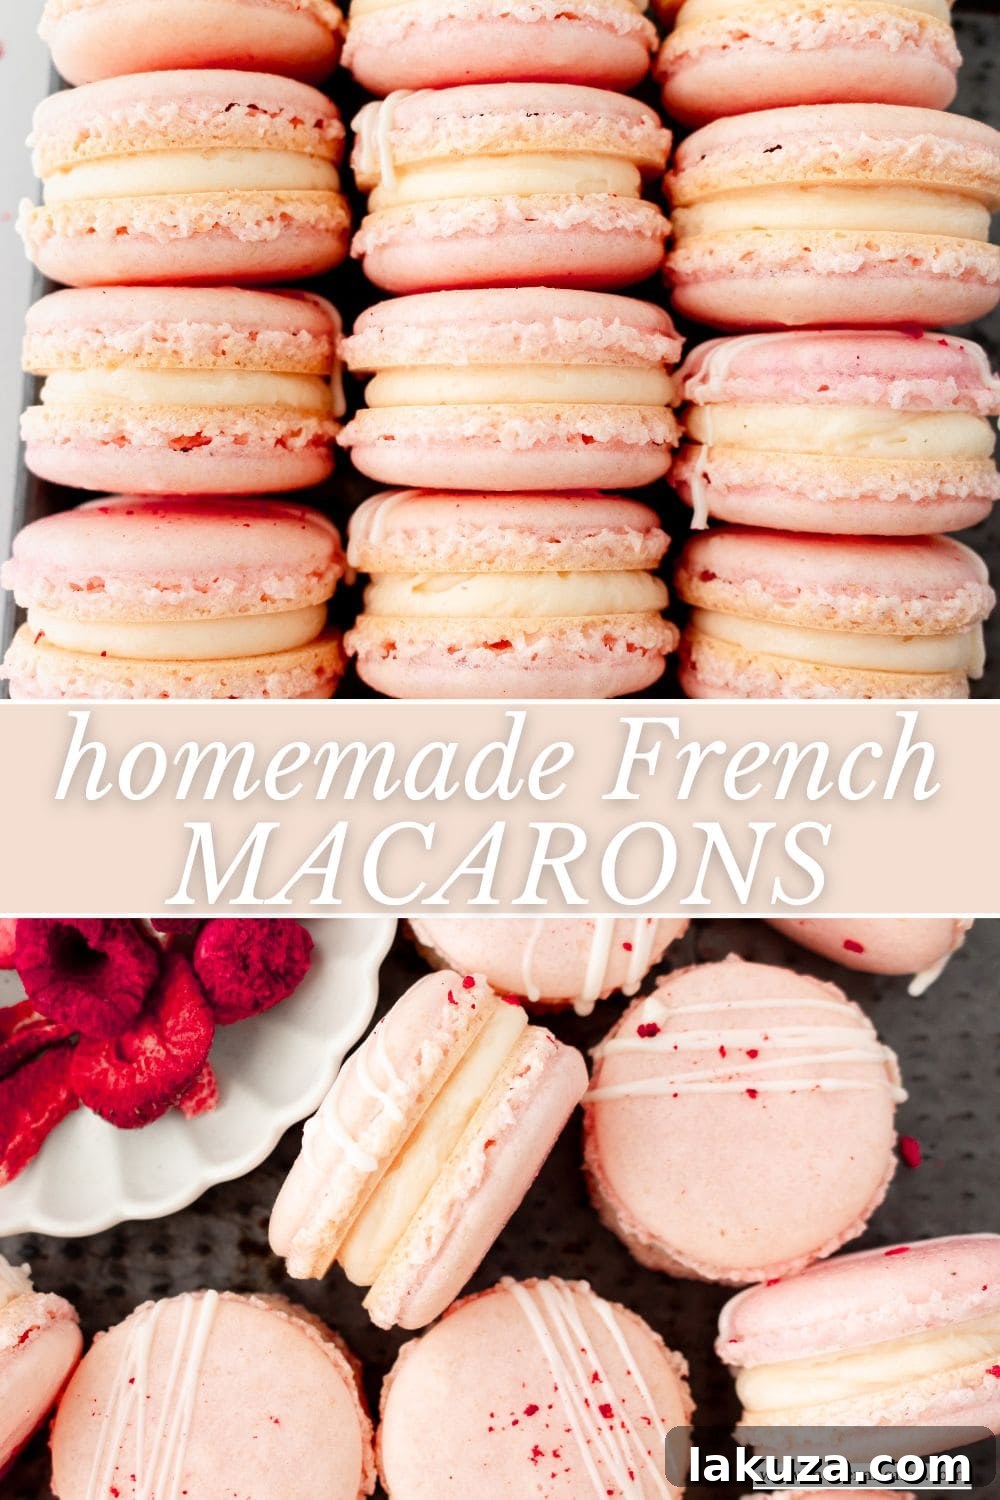
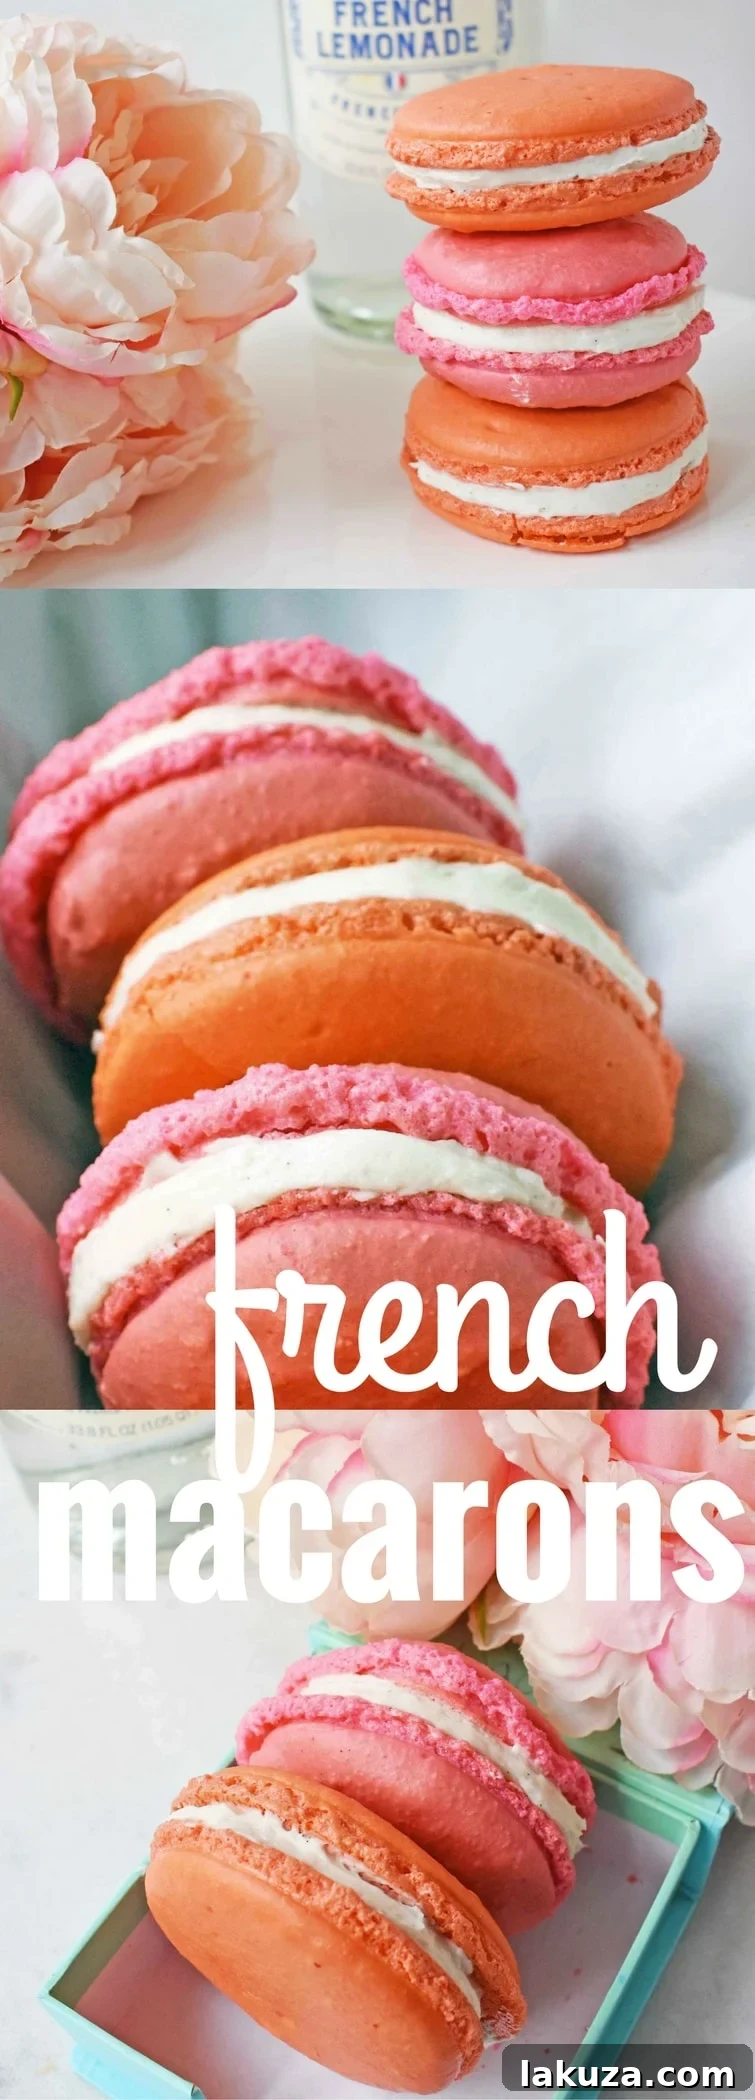
PIN THIS FRENCH MACARONS RECIPE FOR LATER:
I genuinely can’t wait to hear about your success in making your very own homemade French Macarons! Once you master this delightful treat at home, you’ll no longer need to spend a fortune at high-end bakeries. Feel free to share your creations and connect with me on social media, especially on Instagram at @modern_honey. Happy baking!
xo