

Nothing quite compares to the refreshing taste of homemade mint chocolate chip ice cream. Crafted with fresh cream, vibrant mint flavoring, and generous chunks of rich chocolate, this iconic treat is a summer essential. Whether you own an ice cream maker or prefer a simpler approach, this guide provides two delicious recipes: a classic churned version and an easy, no-churn alternative. Get ready to indulge in the creamiest, most flavorful mint chocolate chip ice cream you’ve ever tasted!

The Ultimate Guide to Homemade Mint Chocolate Chip Ice Cream: Classic & No-Churn Recipes
There’s a special kind of magic in homemade ice cream. It’s a culinary journey that often begins with cherished childhood memories, much like my own summers spent gathered around a large, wooden ice cream maker. The rhythmic churn, the anticipation, and the pure delight of that first scoop are etched in my mind. I still recall the unique, subtly salty flavor that sometimes seeped in from the rock salt used to chill the machine, a taste that surprisingly complemented the sweet, rich homemade vanilla bean ice cream we were making. It was an imperfect perfection, a testament to the charm of homemade treats.
My passion for ice cream extends beyond my kitchen. Whenever my travels take me to new places, my first quest is often to uncover the best local bakeries and, most importantly, the finest ice cream parlors. I seek out establishments that pride themselves on crafting their ice cream in-house, always eager to learn about their techniques and secret ingredients. This curiosity fuels my desire to recreate those beloved shop-quality flavors right here at home, transforming our kitchen into a personal artisanal creamery.
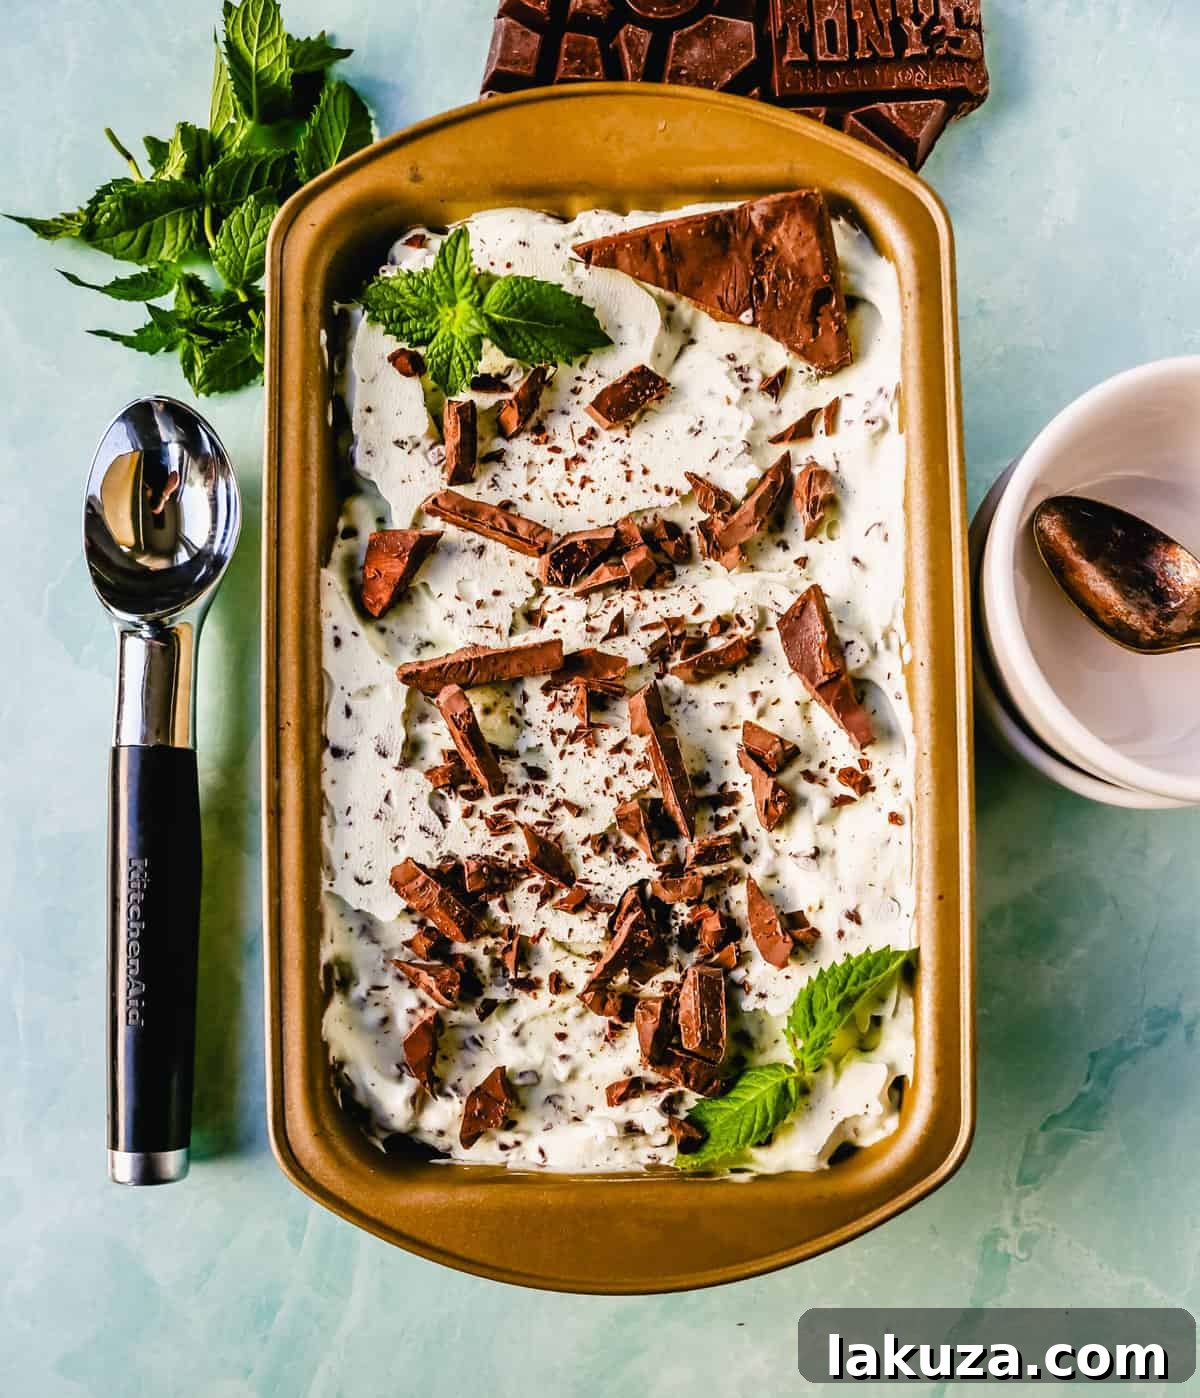
Why Choose Homemade Mint Chocolate Chip Ice Cream?
Mint chocolate chip ice cream holds a special place in the hearts of many, including my family. It’s a classic flavor that evokes freshness and indulgence simultaneously. However, store-bought versions often fall short, packed with artificial colors, preservatives, and unnecessary fillers. My goal was simple: to develop a mint chocolate chip ice cream recipe that not only surpasses the taste of anything you’d find in a grocery store but also relies on wholesome, natural ingredients. We’re talking about pure, unadulterated flavor without compromise.
This comprehensive guide offers two distinct methods for achieving mint chocolate chip ice cream perfection, ensuring everyone can experience the joy of making it at home:
- Classic Custard-Based Ice Cream: This traditional method uses an ice cream machine and features a rich, cooked custard base made with egg yolks, resulting in an incredibly smooth and luxurious texture.
- Easy No-Churn Ice Cream: Perfect for those without an ice cream maker, this recipe comes together quickly with a stand mixer (or hand mixer) and freezes beautifully in a standard loaf pan. It’s remarkably simple yet yields an impressive, creamy result.
No matter which method you choose, you’re in for a treat that tastes infinitely better than anything from the freezer aisle, made with love and simple ingredients. So, let’s dive into the world of truly delicious homemade mint chocolate chip ice cream!
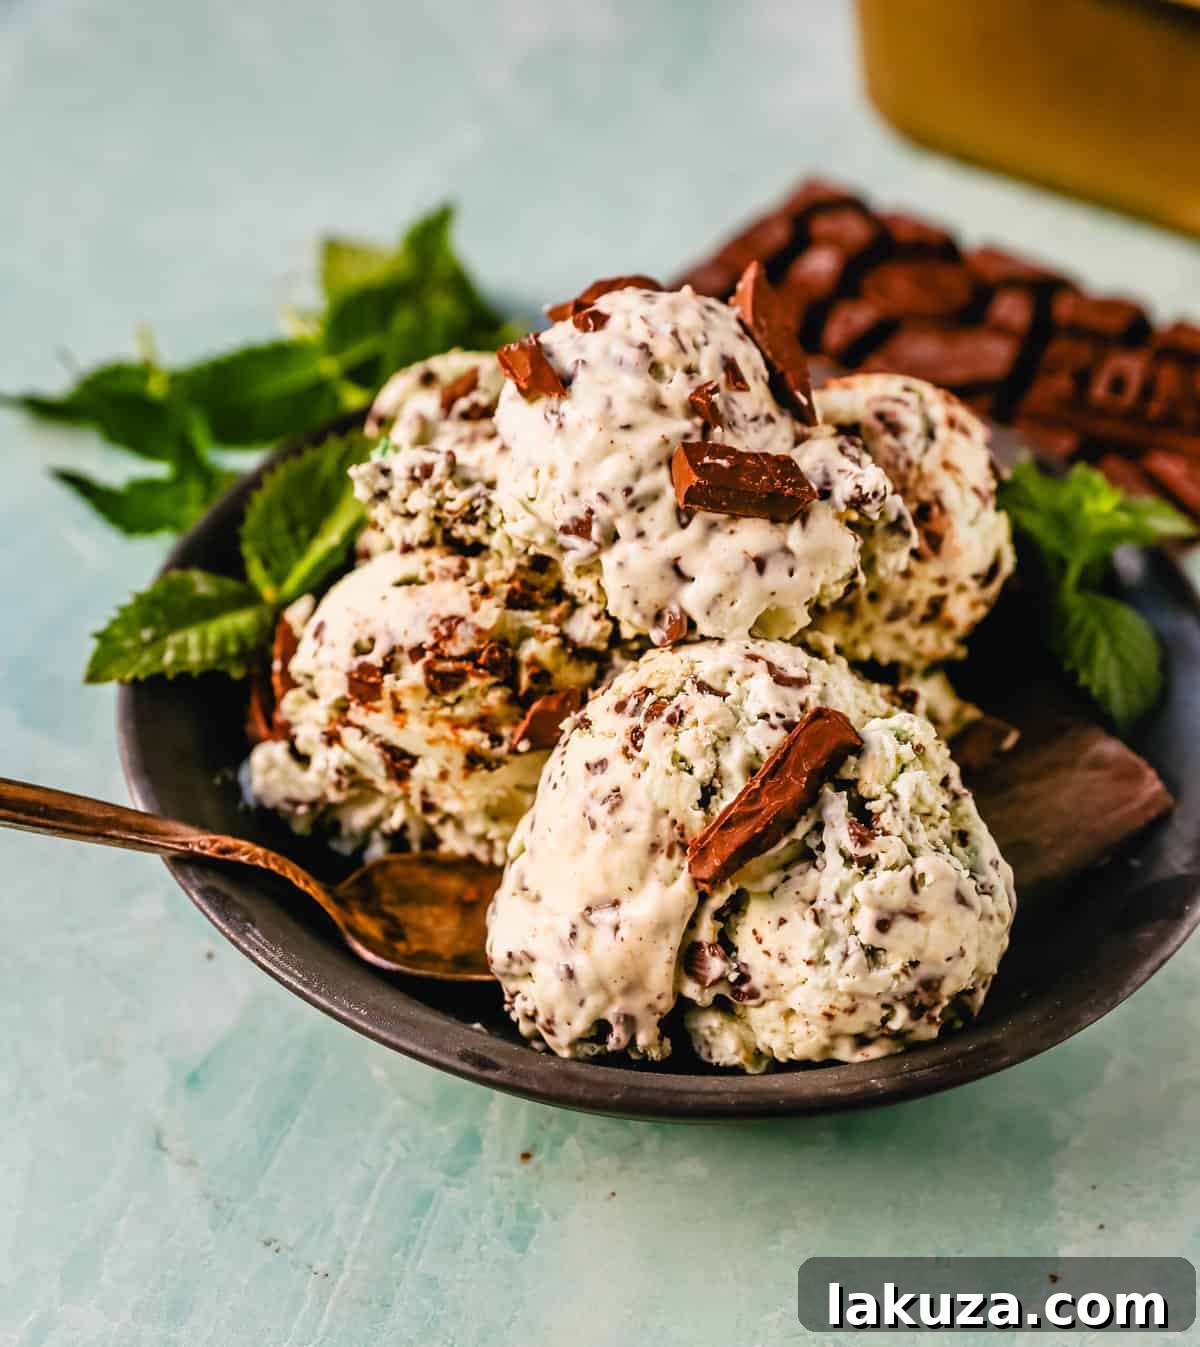
Essential Ingredients for Your Mint Chocolate Chip Creations
At its heart, any homemade ice cream recipe builds upon a foundation of cream, sugar, and flavorings. For our delightful mint chocolate chip versions, we’ll focus on quality ingredients that deliver maximum taste and texture. Here’s a breakdown of what you’ll need for each recipe, along with a few tips for selection:
No-Churn Mint Chocolate Chip Ice Cream Ingredients:
- Heavy Cream: This is the backbone of our no-churn recipe. Use cold heavy whipping cream (at least 36% milk fat) for best results when whipping, ensuring it achieves stiff peaks and contributes to an airy, rich base.
- Cream Cheese: A secret ingredient that adds incredible creaminess and helps prevent ice crystals, ensuring a smooth texture without churning. Make sure it’s softened to room temperature for seamless incorporation.
- Sweetened Condensed Milk: This provides both concentrated sweetness and body, eliminating the need for granulated sugar or cooking a custard. It’s vital for the no-churn method’s rich consistency.
- Mint Extract: The key to that signature minty fresh flavor. Peppermint extract typically offers a stronger, cooler sensation, while spearmint is milder. Start with a smaller amount and adjust to your preference, as extracts can be potent.
- Vanilla Extract: A touch of vanilla complements the mint beautifully, adding a layer of warmth and depth that rounds out the flavor profile.
- Pinch of Salt: A tiny bit of fine sea salt is crucial for balancing the sweetness and enhancing all the delightful flavors in the ice cream. Don’t skip it!
- Green Food Coloring (Optional): For that classic vibrant green hue often associated with mint chocolate chip ice cream. Use gel food coloring for concentrated color with less liquid. It’s purely for aesthetics; the flavor remains the same without it.
- Chocolate Chunks and Mini Chocolate Chips: A combination provides varying textures of chocolatey goodness. Using chopped chocolate bars (semi-sweet or dark) gives irregular, satisfying chunks that melt deliciously, while mini chips distribute more evenly, ensuring chocolate in every bite.
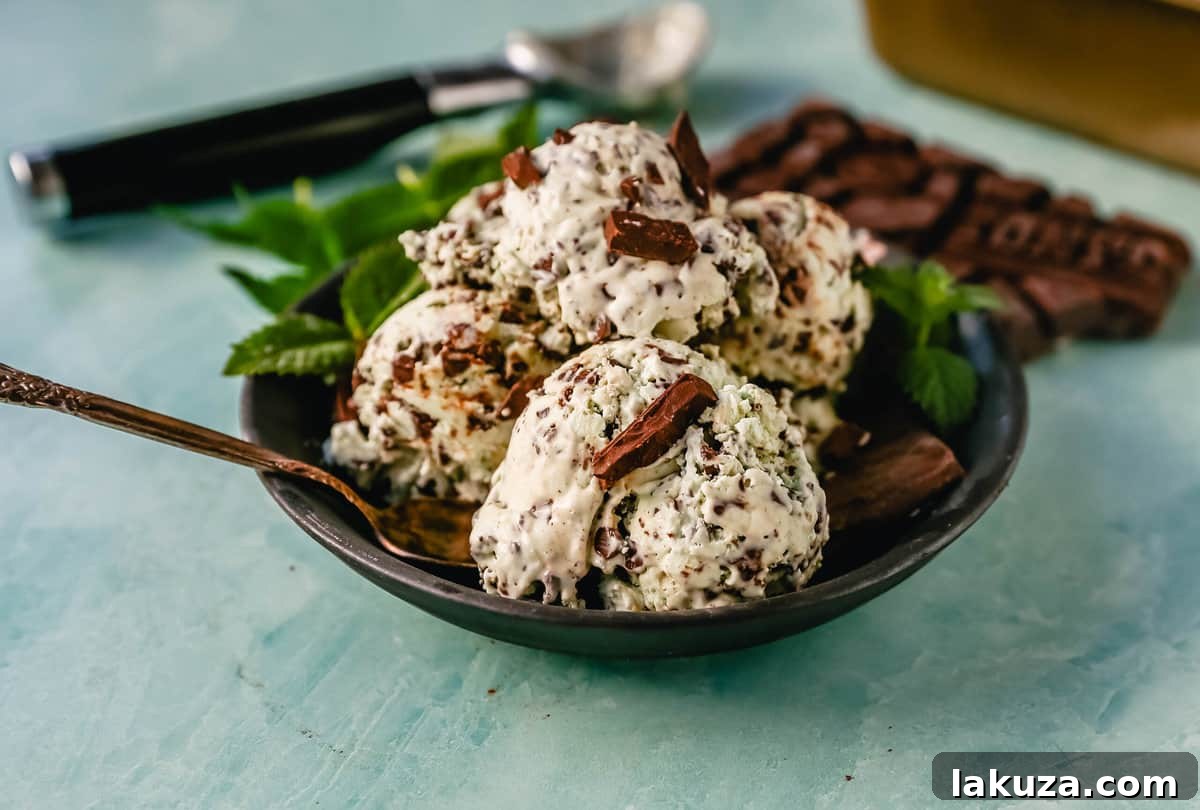
Classic Mint Chocolate Chip Ice Cream Ingredients:
- Heavy Cream & Whole Milk: The classic dairy base for a rich, traditional churned ice cream. The fat content of heavy cream is crucial for a smooth, creamy result, while whole milk thins it slightly for ideal churning.
- Granulated Sugar: Sweetens the base and contributes significantly to the ice cream’s final texture, helping to keep it from becoming too hard when frozen.
- Large Egg Yolks: These are essential for creating a luscious, custard-style base (crème anglaise). Egg yolks add richness, body, and act as an emulsifier, preventing iciness and giving the ice cream its characteristic smooth mouthfeel.
- Mint Extract: Provides the refreshing mint flavor. Again, adjust to your desired intensity. Consider adding a few drops of pure peppermint oil for a truly intense mint burst, but use sparingly.
- Vanilla Extract: A classic pairing with mint, enhancing its natural brightness and adding a comforting aroma.
- Pinch of Salt: Essential for rounding out the flavors, just like in the no-churn version.
- Green Food Coloring (Optional): For aesthetic appeal, if you prefer the signature green color. Add it gradually until you achieve your desired shade.
- Chocolate Chunks and Mini Chocolate Chips: Incorporate both for a delightful textural contrast and bursts of intense chocolate in every spoonful. Chop high-quality chocolate for superior flavor.
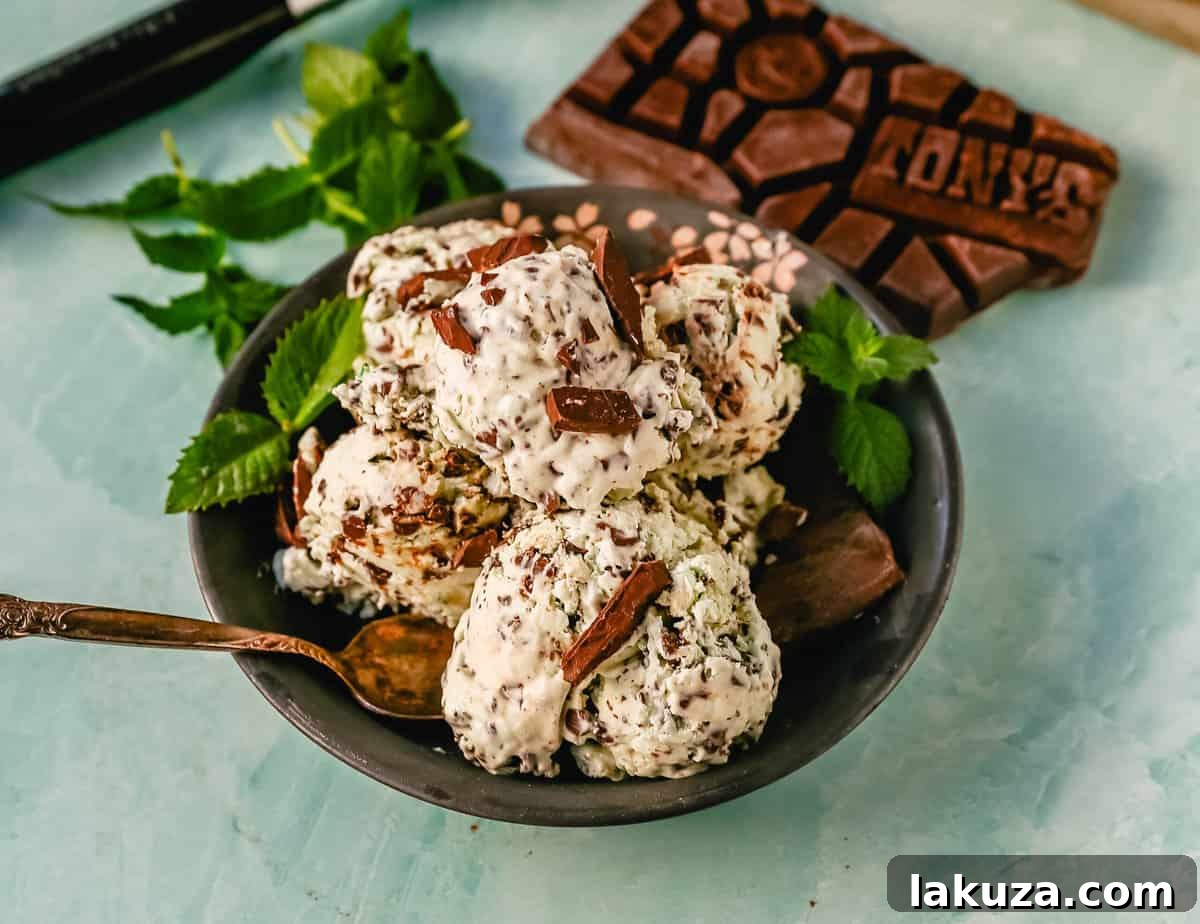
Crafting the Dream: Step-by-Step Recipes
How to Make No-Churn Homemade Mint Chocolate Chip Ice Cream:
The beauty of no-churn ice cream lies in its simplicity. Without eggs or an ice cream maker, you rely on whipping air into cream to achieve a creamy texture. This method is incredibly forgiving and yields fantastic results with minimal effort.
- Prepare the Cream Cheese: In a large mixing bowl (preferably using a stand mixer with a whisk attachment or a hand mixer), beat the softened cream cheese until it’s completely smooth and fluffy. This step is crucial for incorporating it seamlessly into the mixture and ensuring a uniformly creamy ice cream free of lumps.
- Whip the Heavy Cream: Gradually add the cold heavy cream to the cream cheese mixture. Continue beating on high speed until stiff peaks form. This means the cream will hold its shape firmly when the beater is lifted, indicating enough air has been incorporated for a light, airy texture. This usually takes about 3-4 minutes with a powerful mixer.
- Combine Sweetened Base: In a separate medium bowl, whisk together the sweetened condensed milk, vanilla extract, mint extract, and a pinch of salt until thoroughly combined and smooth. This creates the sweet, flavorful foundation of your ice cream.
- Gently Fold Mixtures: Carefully take about half of the whipped cream mixture and gently fold it into the condensed milk mixture until just combined. This lightens the condensed milk base. Then, gently fold in the remaining whipped cream until no streaks remain and the mixture is uniform. Be careful not to deflate the whipped cream too much, as this incorporated air is what gives the no-churn ice cream its wonderfully light and creamy texture. If desired, stir in a few drops of green food coloring until you reach your preferred shade.
- Add Chocolate: Roughly chop your semi-sweet chocolate bars into varying sizes of chunks. Fold both the chocolate chunks and mini chocolate chips into the cream mixture. This ensures a delightful distribution of chocolate throughout every scoop of your homemade ice cream.
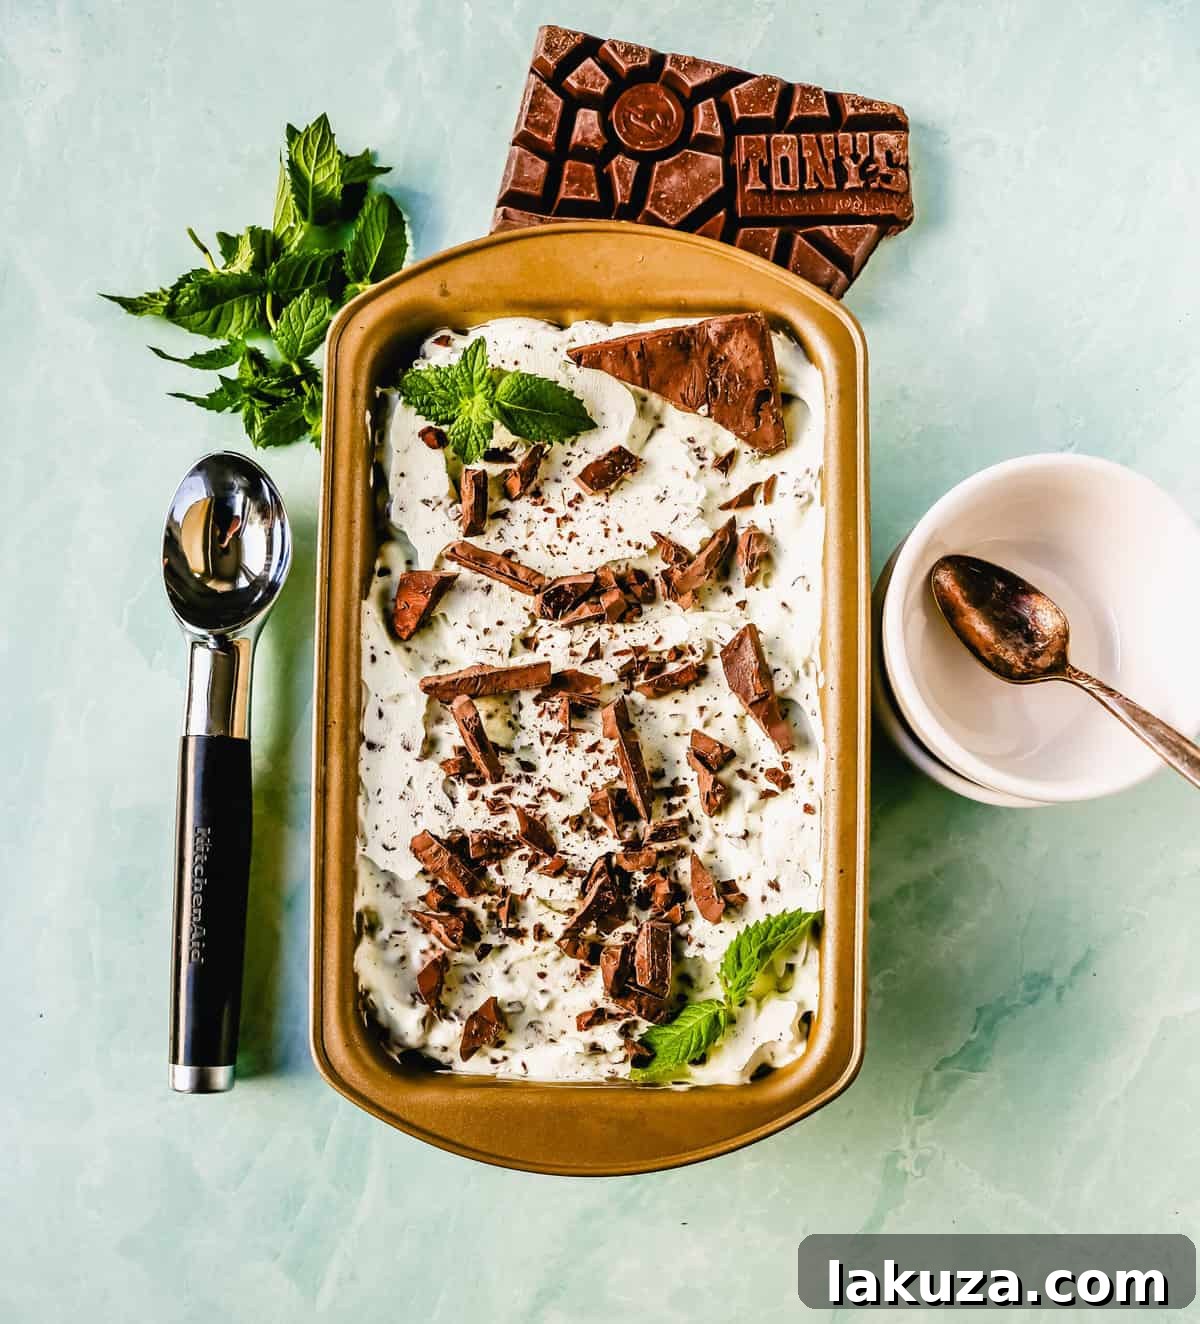
- Freeze: Pour the entire ice cream mixture into a standard loaf pan (approximately 9×5 inches). Cover the pan tightly with plastic wrap or aluminum foil to prevent ice crystal formation. Place it in the freezer for at least 6 hours, though preferably overnight, to allow it to firm up completely and achieve its ideal scoopable consistency.
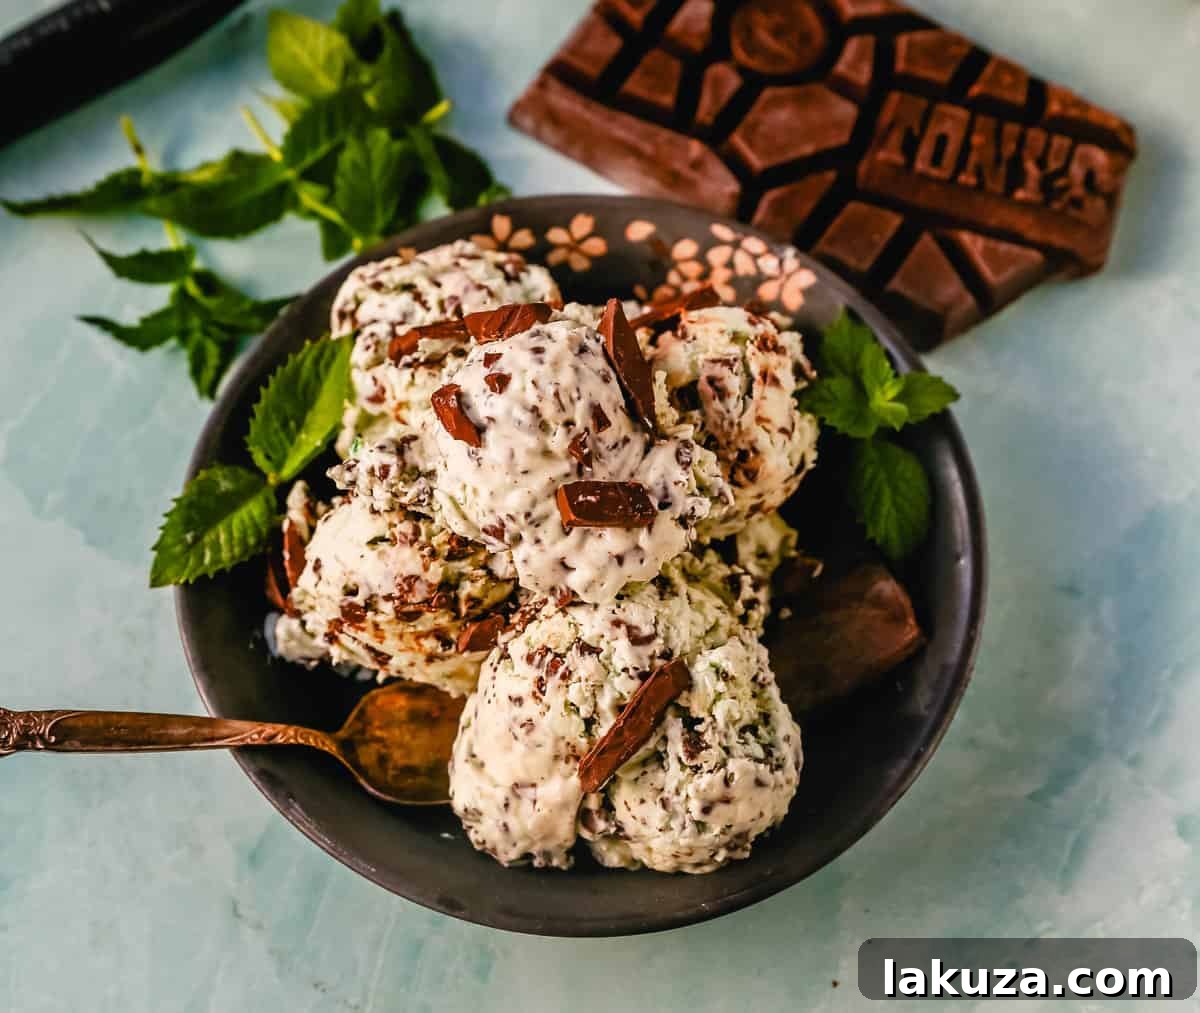
How to Make Classic Mint Chocolate Chip Ice Cream (with an Ice Cream Maker):
This traditional recipe involves creating a rich custard base, known as a crème anglaise, which is then churned to perfection in an ice cream machine. The result is an incredibly smooth, dense, and luxurious ice cream that truly melts in your mouth.
- Prepare the Dairy Base: In a medium-sized heavy-bottomed saucepan, gently combine the heavy cream, whole milk, and granulated sugar. Warm the mixture over medium heat, stirring continuously with a whisk or wooden spoon until the sugar is completely dissolved. Do not let the mixture come to a boil; you’re looking for a gentle warmth. Remove from heat once the sugar has dissolved.
- Temper the Egg Yolks: In a separate, heatproof bowl, whisk the large egg yolks until they are light, frothy, and slightly thickened. This is a critical step known as tempering: slowly, gradually pour about a cup of the warm cream mixture into the whisked egg yolks, whisking constantly and vigorously. This slowly raises the temperature of the egg yolks, preventing them from scrambling when they are added to the hot liquid.
- Cook the Custard: Once the egg yolks are tempered, pour the egg yolk mixture back into the saucepan with the remaining warm cream. Return the saucepan to medium-low heat and cook, stirring frequently with a wooden spoon or heat-resistant spatula. Continue cooking until the mixture thickens enough to coat the back of a spoon, leaving a clear trail when you run your finger across it. This typically happens when the mixture reaches about 175-180°F (79-82°C). Again, do not boil the custard, as it can curdle.
- Add Flavorings: Remove the cooked custard from the heat immediately. Stir in the mint extract, vanilla extract, and green food coloring (if using) until all ingredients are well combined and the color is uniform.
- Chill Thoroughly: Transfer the warm custard base to a clean bowl. To speed up the chilling process, create an ice bath by placing this bowl into a larger bowl filled with ice and a little water. Stir the custard occasionally until it cools down considerably. Once cooled, cover the bowl tightly and transfer it to the refrigerator to chill completely. This usually takes at least 4 hours, or preferably overnight. A well-chilled base (ideally 40°F/4°C or colder) is crucial for achieving optimal texture and preventing large ice crystals during churning.
- Churn the Ice Cream: Once the base is thoroughly chilled, pour it into the frozen bowl of your ice cream maker. Follow your ice cream maker’s specific instructions for churning. Most machines will churn for 20-30 minutes, or until the mixture has the consistency of soft-serve ice cream.
- Add Chocolate & Harden: During the last 5 minutes of churning, add the chopped chocolate bar chunks and mini chocolate chips through the machine’s opening. This ensures they are evenly distributed without being broken down too much by the churn.
- Harden (Optional): For a firmer, more scoopable ice cream, transfer the freshly churned soft-serve into an airtight container. Press plastic wrap directly onto the surface of the ice cream to prevent ice crystals, then cover tightly with a lid. Freeze for an additional 2-4 hours, or until it reaches your desired hard consistency.
Expert Tips for Mint Chocolate Chip Ice Cream Perfection
Achieving truly exceptional homemade ice cream goes beyond just following the recipe. Here are some pro tips to ensure your mint chocolate chip creation is nothing short of perfect:
- Choosing Your Mint Extract Wisely: The type of mint extract significantly impacts the flavor. Peppermint extract offers a cooler, sharper, and often more intense mint flavor, which is traditional for mint chocolate chip. Spearmint extract is milder, sweeter, and sometimes perceived as more “herbal.” Experiment to find your preference. Always start with a smaller amount (e.g., 1/4 teaspoon) and taste, adding more if desired, as mint extracts can be quite potent.
- Quality Chocolate Matters: The chocolate you choose makes a huge difference. Opt for good quality semi-sweet or dark chocolate bars (around 60-70% cacao) for chopping. These chocolates melt wonderfully in your mouth and provide a richer, more complex chocolate flavor than standard pre-packaged chocolate chips, which often contain stabilizers. Using a mix of irregularly chopped chocolate and mini chips gives a dynamic texture that’s incredibly satisfying.
- The Role of Food Coloring: If you want the signature vibrant green color, add a tiny drop or two of green gel food coloring. Gel colors are concentrated, so a little goes a long way. Remember, it’s purely for aesthetics; the ice cream will taste just as delicious without any coloring for a more natural, off-white appearance.
- Thorough Chilling is Key (for Churned Ice Cream): For the classic, churned recipe, thoroughly chilling the custard base before churning is non-negotiable. A base that is cold (ideally 40°F/4°C or colder) will churn faster and result in smaller ice crystals, leading to a significantly smoother and creamier ice cream. Don’t rush this step!
- Don’t Overmix (No-Churn): When folding the whipped cream into the condensed milk mixture for the no-churn recipe, be gentle and fold just until combined. Overmixing can deflate the whipped cream, leading to a less airy, dense, and less creamy texture.
- Proper Storage for Longevity: Store your homemade ice cream in an airtight container, preferably a shallow, wide one, to minimize surface area exposed to air. Place it in the coldest part of your freezer (usually the back) to prevent freezer burn and maintain its fresh flavor and smooth texture. For best results, consume homemade ice cream within 1-2 weeks.
- Patience for Perfect Scooping: For easier scooping and the best texture, let your homemade ice cream sit at room temperature for 5-10 minutes before serving. This allows it to soften slightly, making it more pliable and enjoyable.
Delicious Flavor Variations and Serving Suggestions
While classic mint chocolate chip is undeniably delicious, don’t hesitate to experiment and make it your own! Here are some ideas to inspire your next batch:
- Extra Minty Boost: For an even fresher, more intense mint flavor in the classic recipe, consider infusing your milk/cream with fresh mint leaves. Simply steep a handful of fresh mint leaves in the warm dairy mixture for about 30 minutes, then strain them out before adding to the egg yolks.
- Chocolate Swirl Effect: After churning (or just before freezing the no-churn mix), drizzle in some melted chocolate sauce or a warm fudge ripple. Use a knife or skewer to gently swirl it through the ice cream for a beautiful marbled effect and extra chocolatey goodness.
- Mint Cookies and Cream: For a delightful twist, crush some chocolate sandwich cookies (like Oreos) and fold them in along with the chocolate chips. This creates a “mint cookies and cream” sensation that’s incredibly popular.
- Experiment with Chocolates: Instead of traditional semi-sweet, try white chocolate chunks for a milder contrast, or use extra dark chocolate shavings for a more sophisticated, bittersweet flavor profile. You could also use a mix of different chocolate types.
- Serving Suggestions: Mint chocolate chip ice cream is fantastic on its own, but it also shines as part of a larger dessert. Serve it in a sundae with whipped cream, hot fudge, and a cherry. It’s an excellent companion to warm brownies, a rich chocolate lava cake, or even a refreshing contrast to a fruity pie. Don’t forget an extra drizzle of chocolate syrup or a sprinkle of chopped mint leaves for garnish!
More Irresistible Homemade Ice Cream Recipes to Explore:
If you’ve enjoyed making this mint chocolate chip delight, you’ll surely love expanding your homemade ice cream repertoire with these other fantastic recipes:
- Homemade Vanilla Bean Ice Cream – A timeless classic, perfect as a base for any topping or simply enjoyed on its own.
- No-Churn Chocolate Chunk Ice Cream – Indulge in rich, intense chocolatey goodness without the need for an ice cream maker.
- Salted Caramel Ice Cream – Experience the perfect balance of sweet and salty in this incredibly decadent flavor.
- Homemade Cookie Dough Ice Cream – A delightful treat loaded with chunks of edible, safe-to-eat chocolate chip cookie dough.
Essential Equipment for Your Ice Cream Making Adventures:
Having the right tools can make all the difference in your ice cream making journey. Here are some recommended essentials:
- Cuisinart Ice Cream Maker – A popular and reliable choice for home use, known for consistently producing great churned ice cream.
- Breville Automatic Ice Cream Maker – For those seeking advanced features, built-in compressors, and ultimate convenience in their churning process.
- Kitchenaid Stand Mixer (or a high-quality hand mixer) – Indispensable for whipping up airy no-churn recipes with ease and efficiency.
- Loaf Pan or Airtight Container: Essential for freezing no-churn ice cream or hardening churned ice cream.
- Heavy-Bottomed Saucepan: For cooking the custard base in the classic recipe.
- Whisk and Spatula: For mixing and stirring ingredients thoroughly.
- Ice Cream Scooper: A sturdy, well-designed scooper makes serving a breeze.
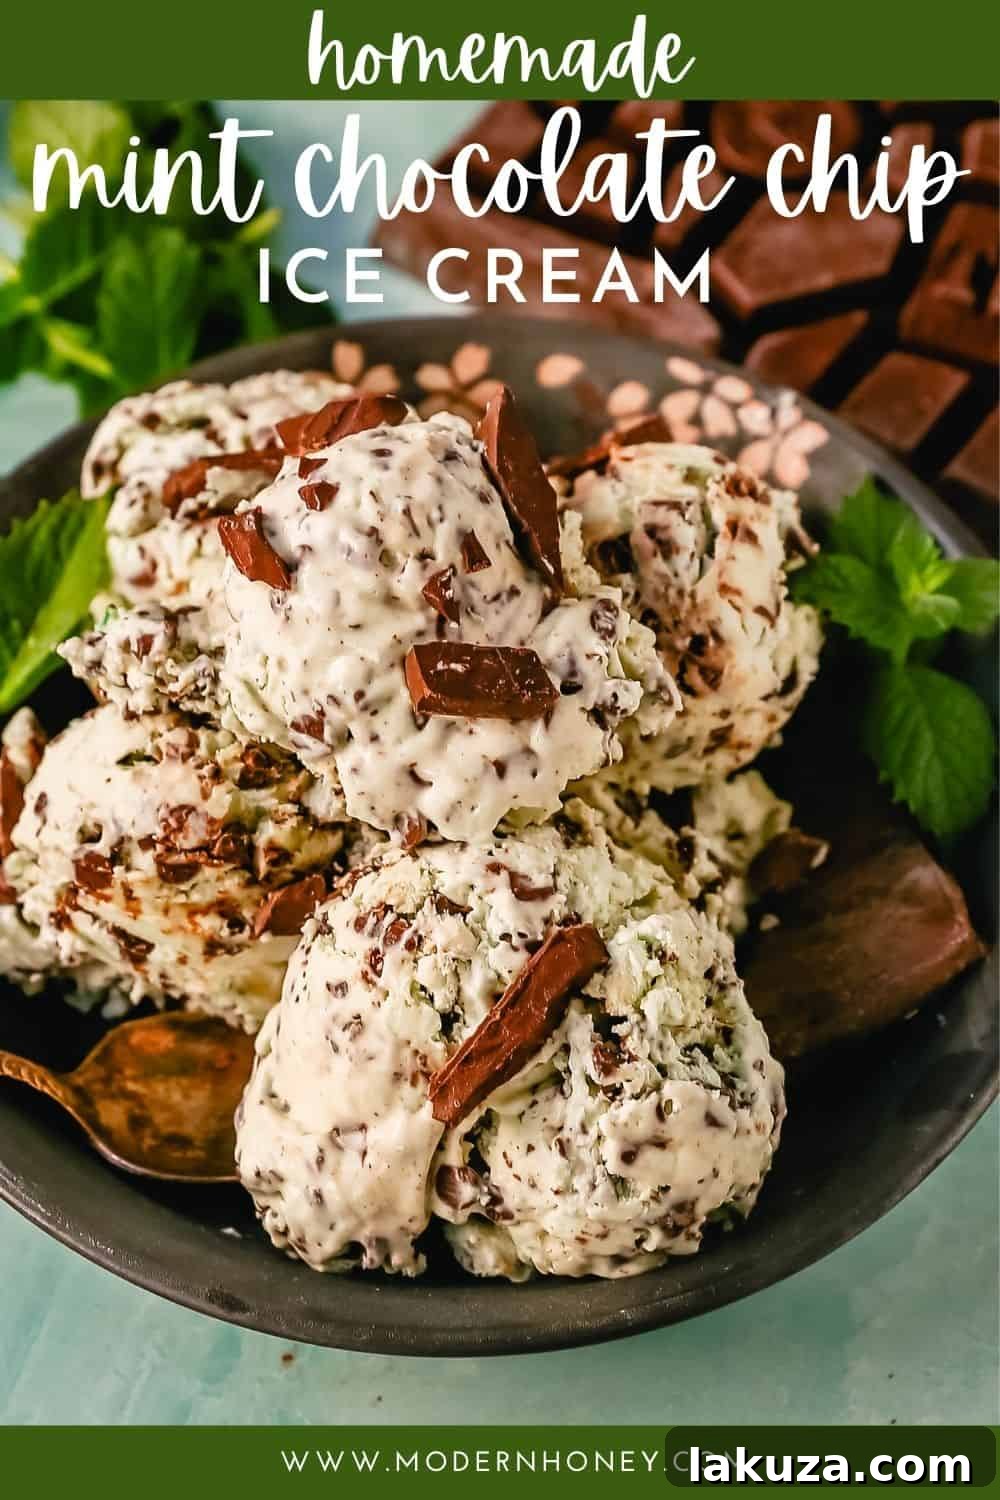

Mint Chocolate Chip Ice Cream
Rating: 5 from 2 votes
By: Modern Honey® – www.modernhoney.com
Creamy homemade mint chocolate chip ice cream with fresh cream, mint flavoring, and chocolate chunks.
Print Recipe
Equipment
- Ice Cream Scooper
- Ice Cream Maker (for classic version)
- Stand Mixer or Hand Mixer (for no-churn version)
- Loaf Pan (for no-churn version)
- Heavy-Bottomed Saucepan (for classic version)
- Large Mixing Bowls
- Whisk and Spatula
Ingredients
Classic Mint Chocolate Chip Ice Cream:
- 2 cups Heavy Cream
- 1 cup Whole Milk
- 1 cup Granulated Sugar
- 4 large Egg Yolks
- 1/4 teaspoon Mint Extract *
- 1/2 teaspoon Vanilla Extract
- Pinch of Salt
- Green Food Coloring (optional)
- 1 cup Chocolate Bar Chunks (from quality semi-sweet or dark chocolate)
- 1 cup Mini Chocolate Chips
No-Churn Mint Chocolate Chip Ice Cream (without ice cream maker):
- 2 cups Cold Heavy Cream
- 2 ounces Cream Cheese (softened)
- (1) 14-ounce can Sweetened Condensed Milk
- 1 teaspoon Vanilla Extract
- 1/4 to 1/2 teaspoon Mint Extract
- Pinch of Salt
- Green Food Coloring (optional)
- 1 cup Chocolate Bar Chunks (from quality semi-sweet or dark chocolate)
- 1 cup Mini Chocolate Chips
Instructions
No-Churn Mint Chocolate Chip Ice Cream:
- In a large mixing bowl, beat softened cream cheese until smooth and fluffy. Slowly add the heavy cream and whip until stiff peaks form, about 3-4 minutes.
- In a separate bowl, combine sweetened condensed milk, vanilla extract, mint extract, and a pinch of salt. Gently fold half of the whipped cream mixture into the condensed milk mixture. Then, fold in the other half of the whipped cream until well incorporated, being careful not to deflate the cream. If desired, sprinkle in a couple of drops of green food coloring and mix until you achieve your preferred shade.
- Chop semi-sweet chocolate bars into chunks and fold them, along with mini chocolate chips, into the cream mixture. Pour the ice cream mix into a loaf pan, cover tightly, and freeze until firm — at least 6 hours or preferably overnight.
Classic Mint Chocolate Chip Ice Cream:
- In a heavy-bottomed saucepan, warm the heavy cream, whole milk, and granulated sugar over medium heat, stirring until the sugar is completely dissolved. Do not boil. Remove from heat.
- In another heatproof bowl, whisk together the egg yolks until light. Slowly and gradually pour about 1 cup of the warm cream mixture into the egg yolks, whisking constantly, to temper them.
- Pour the tempered egg yolk mixture back into the saucepan with the remaining warm cream. Heat over medium-low heat, whisking often, until the mixture thickens enough to coat the back of a spoon (175-180°F).
- Remove from heat and stir in the mint extract, vanilla extract, and green food coloring (if using).
- Transfer the custard to a clean bowl and place it in an ice bath to cool quickly. Once cooled, cover and chill thoroughly in the refrigerator for at least 4 hours, or preferably overnight, before churning.
- Once the ice cream mixture has chilled completely, pour it into your ice cream maker. Churn according to your machine’s instructions. When the ice cream is almost done churning (soft-serve consistency), add the chocolate chunks and chips through the opening.
- For a firmer ice cream, transfer the churned ice cream to an airtight container and freeze for an additional 2-4 hours before serving.
Notes
- *You may add up to 1/2 teaspoon of mint extract, depending on your desired flavor intensity. Taste and adjust.
- The no-churn mint chip ice cream recipe in this guide is inspired by the techniques popularized by Sarah Kieffer.
Nutrition information provided is an approximation and should be used as a general guide.
Enjoyed this recipe for homemade mint chocolate chip ice cream? Please leave a comment below to share your experience!