
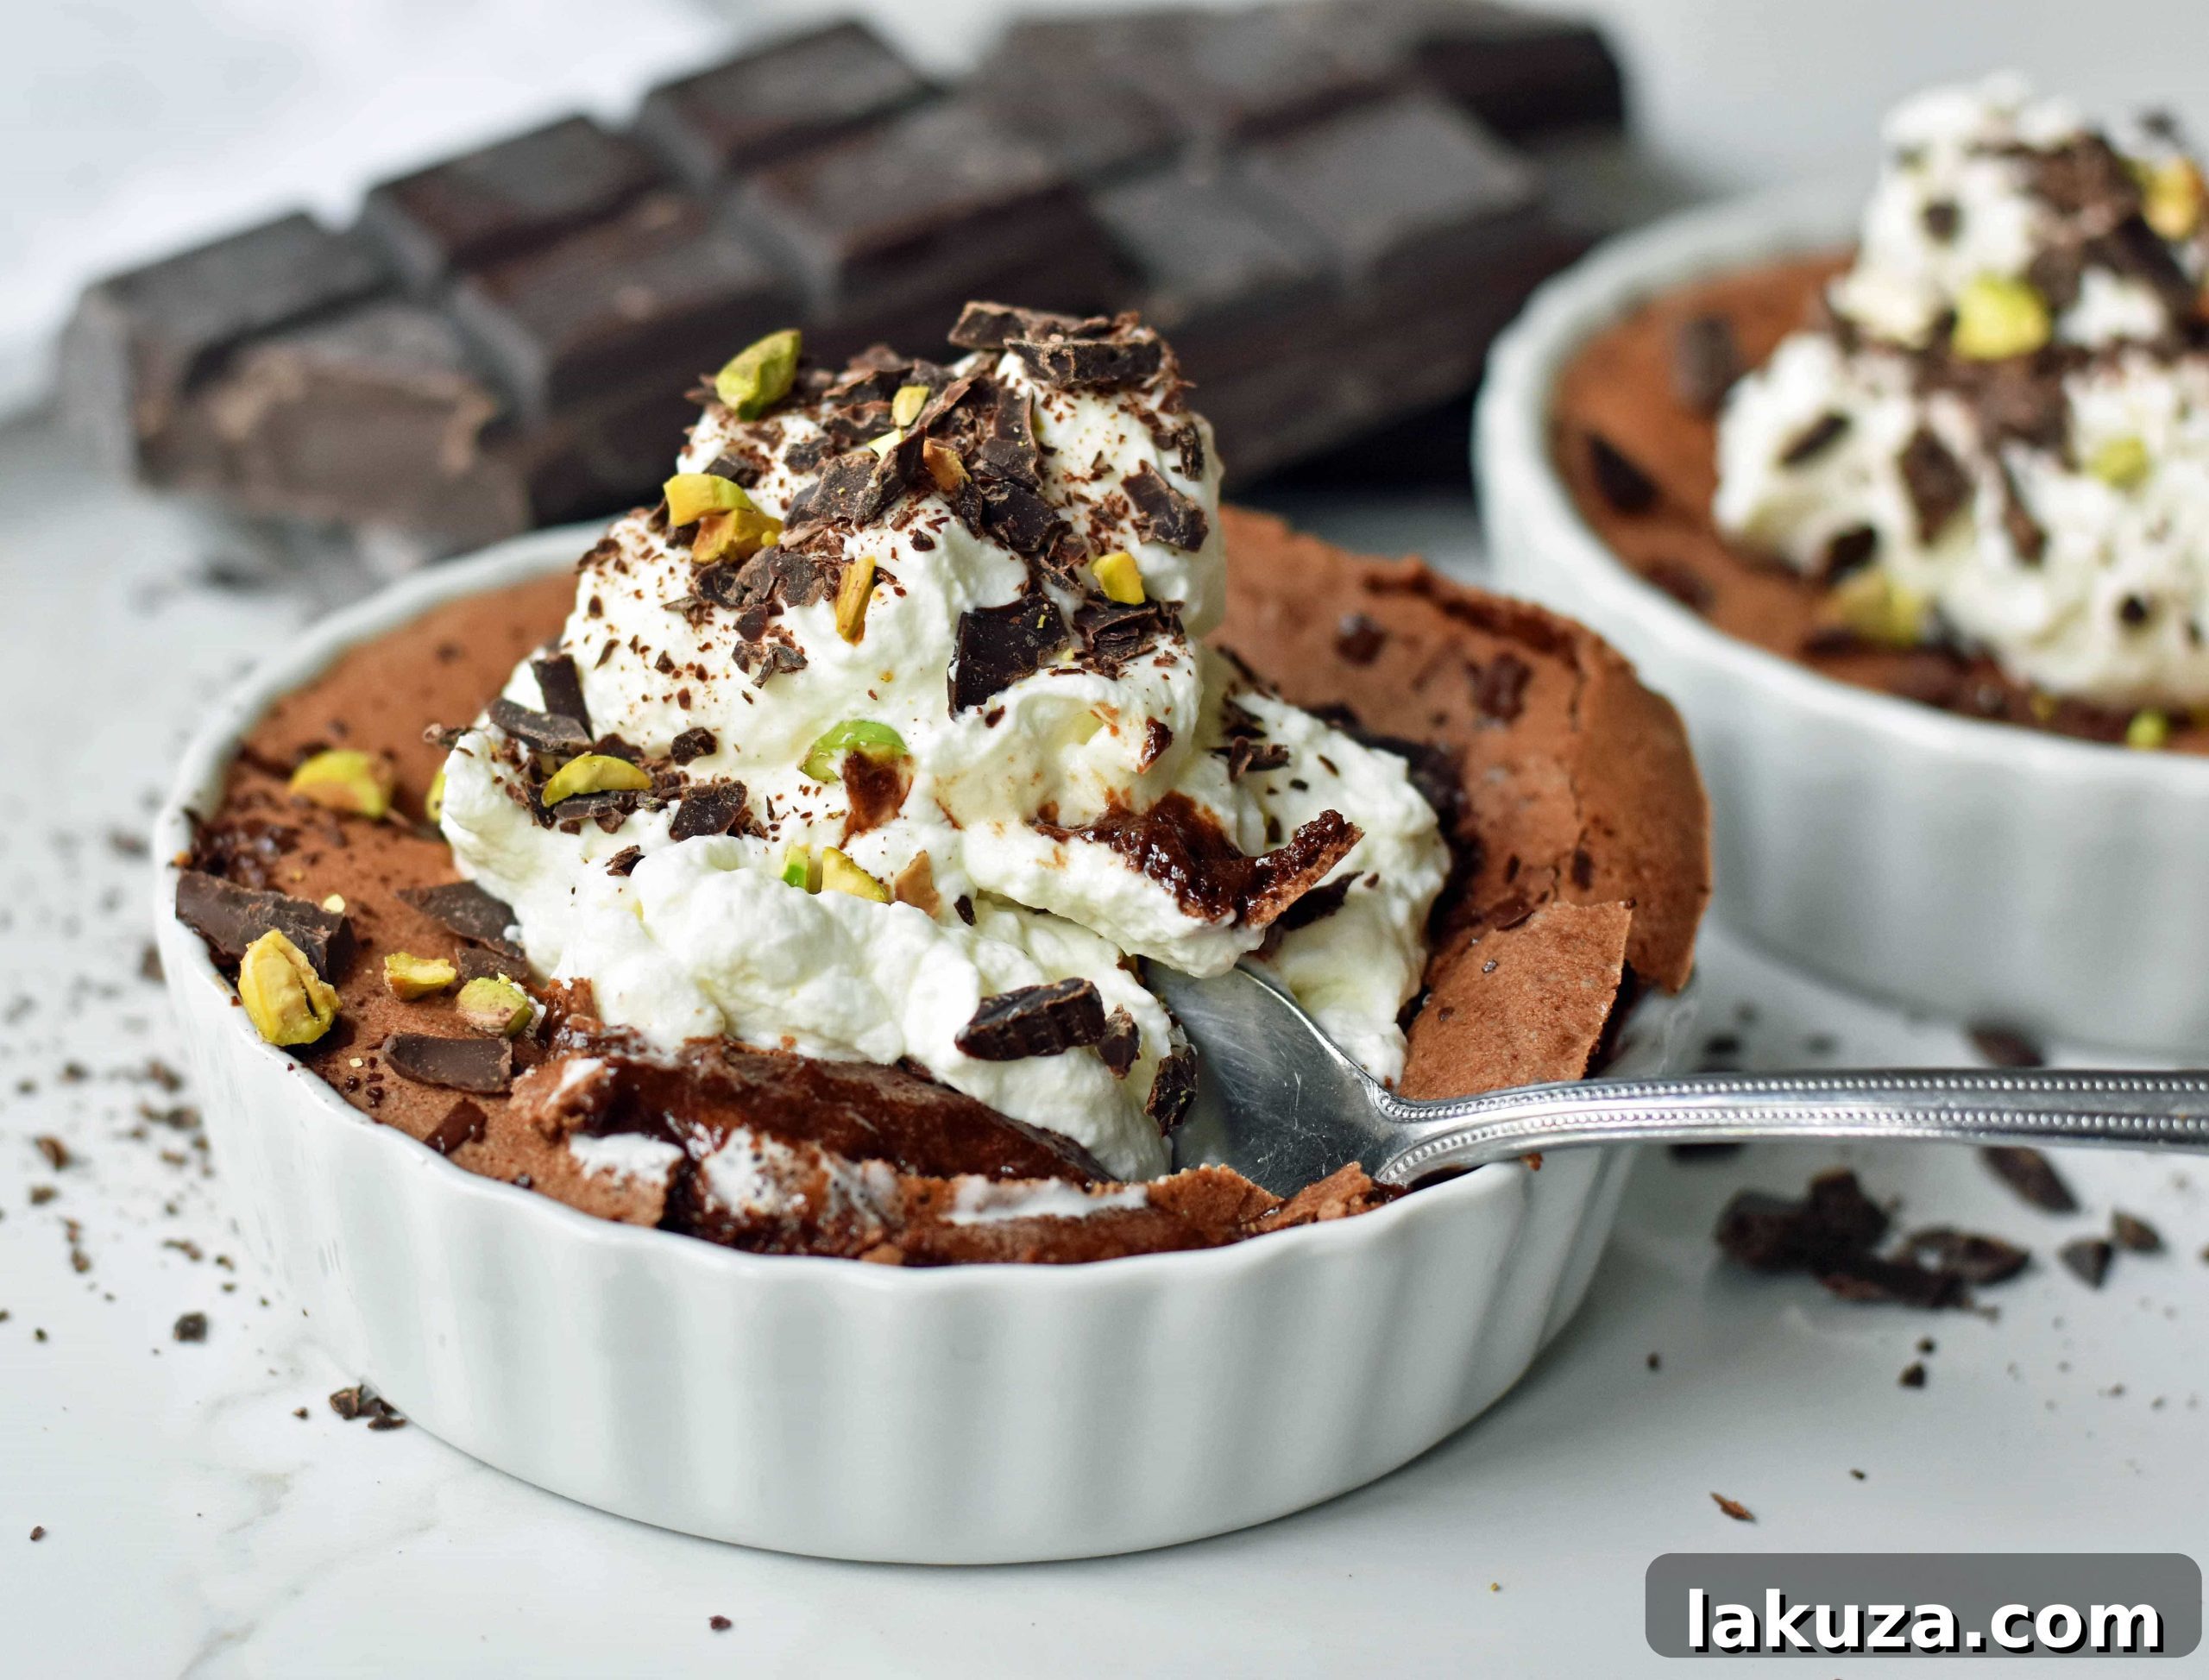
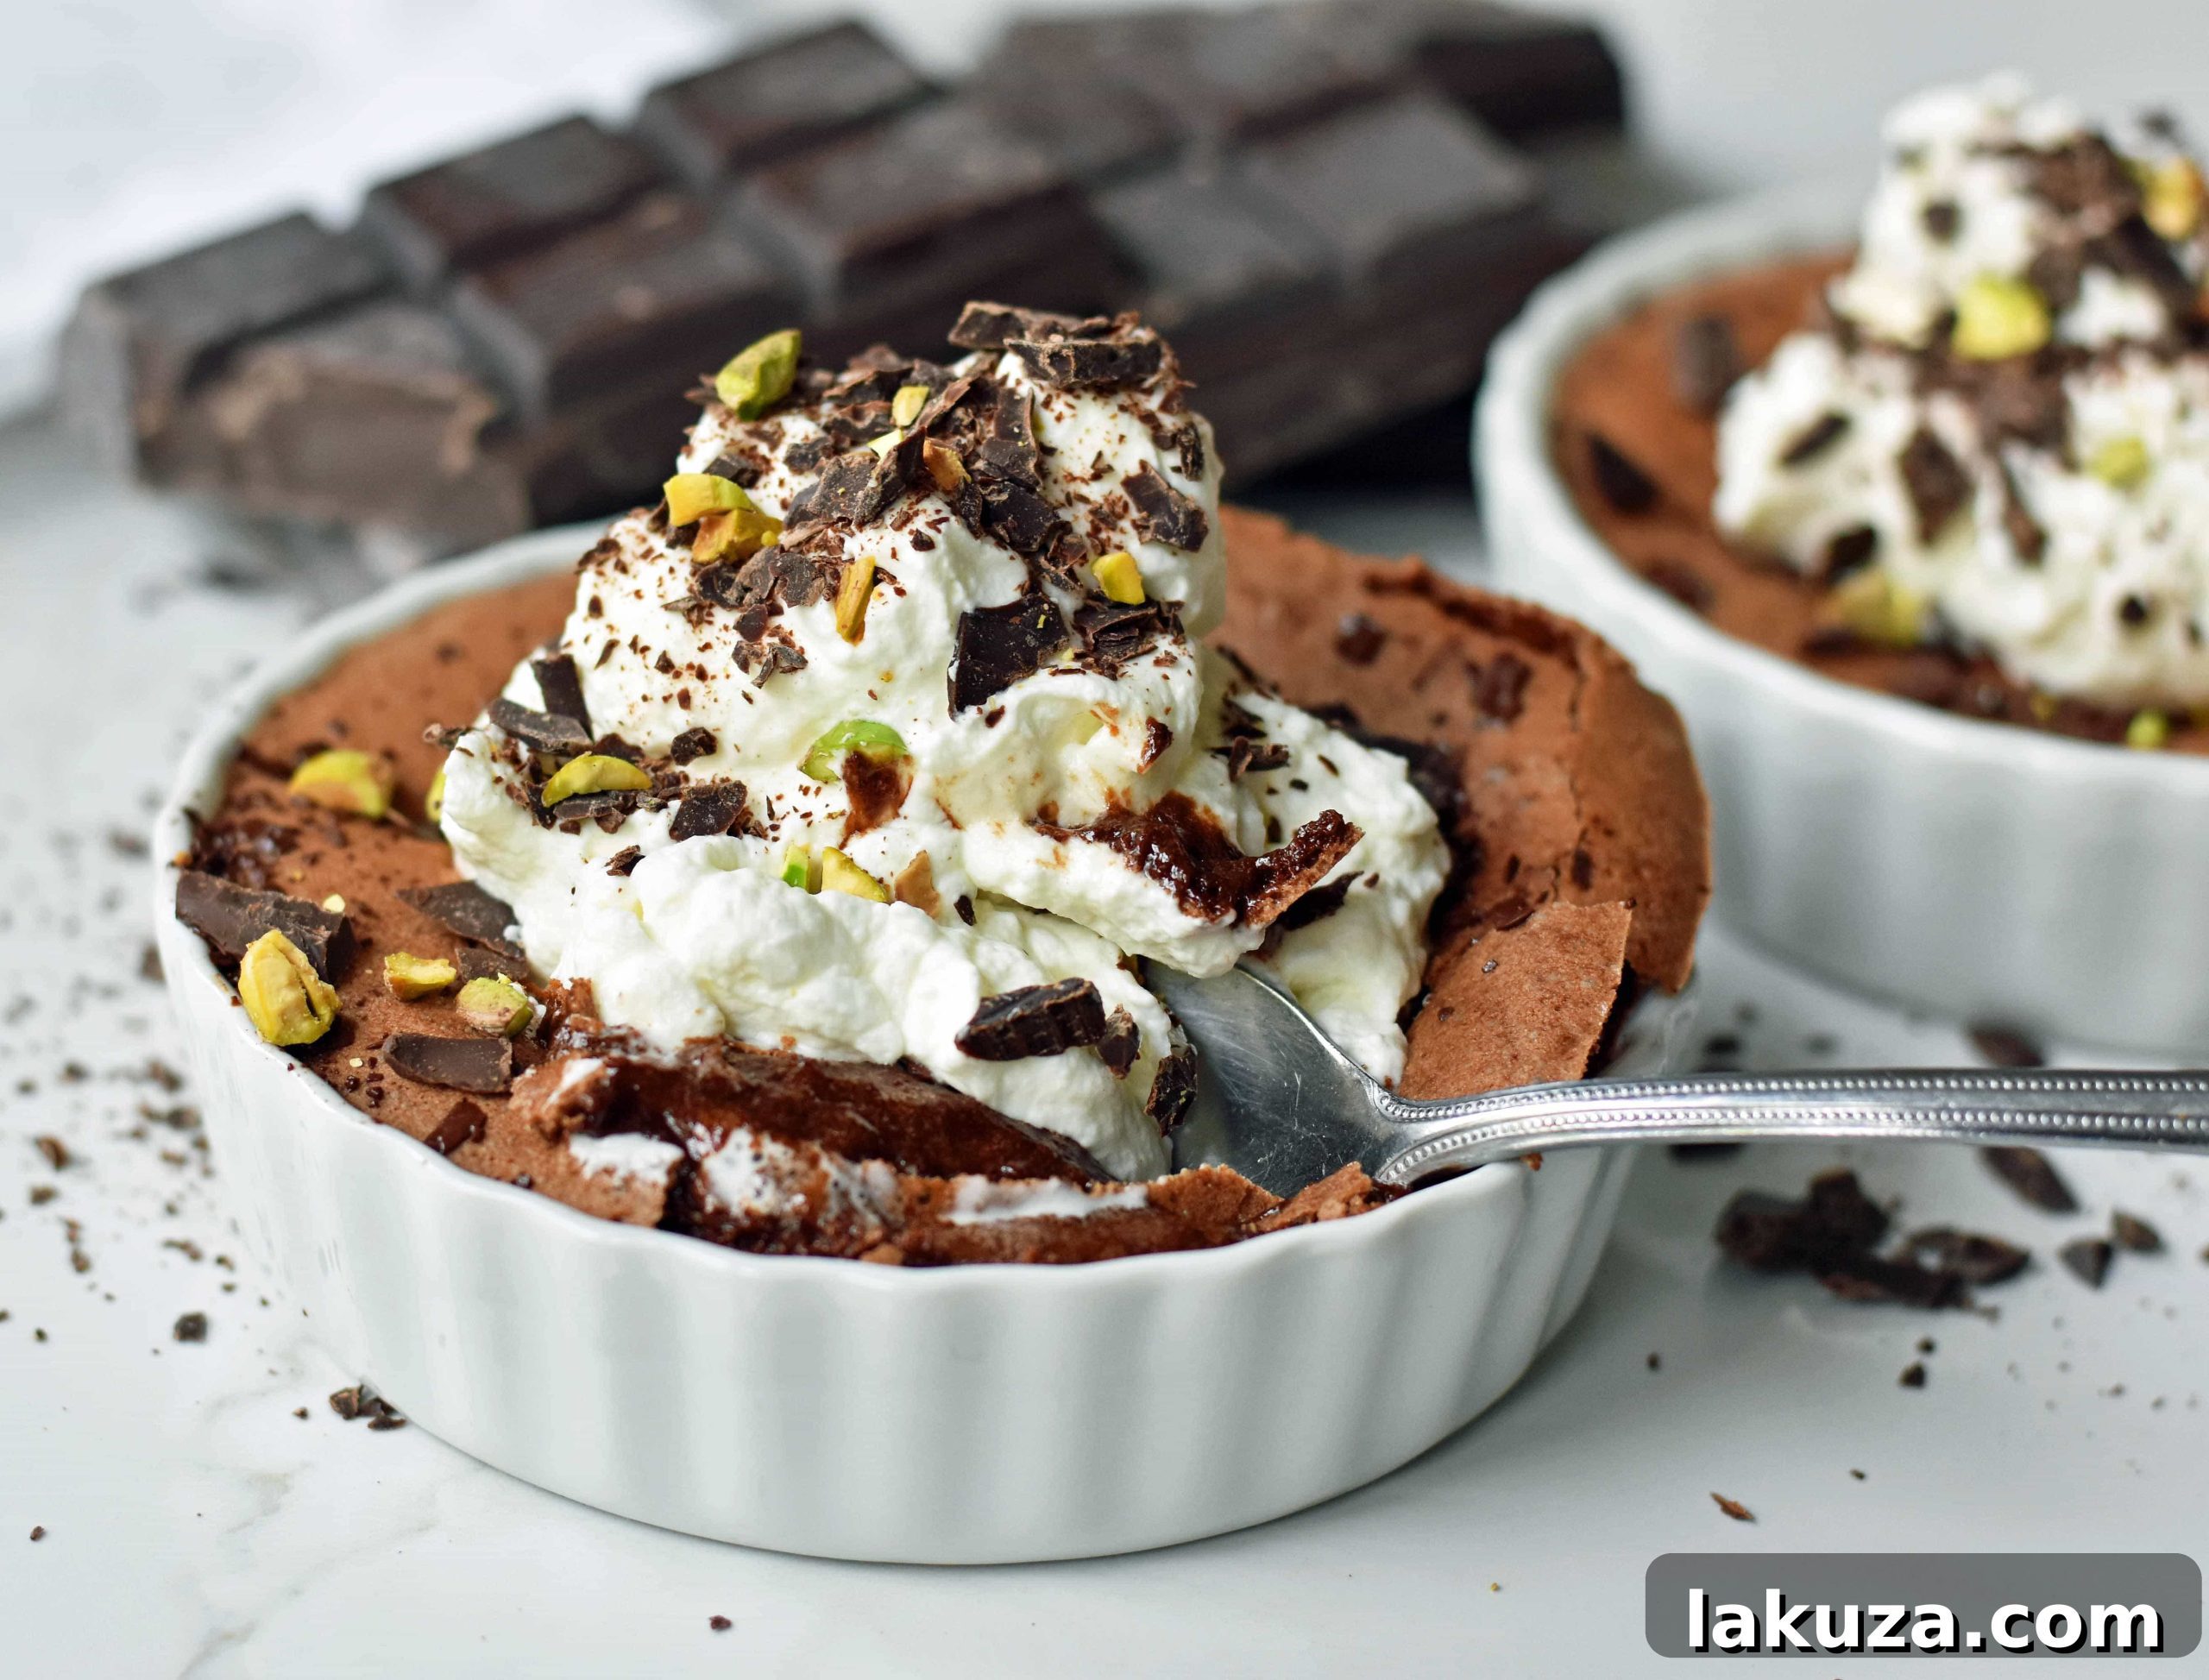
The Ultimate Flourless Chocolate Molten Lava Cake: Decadent, Gluten-Free Perfection
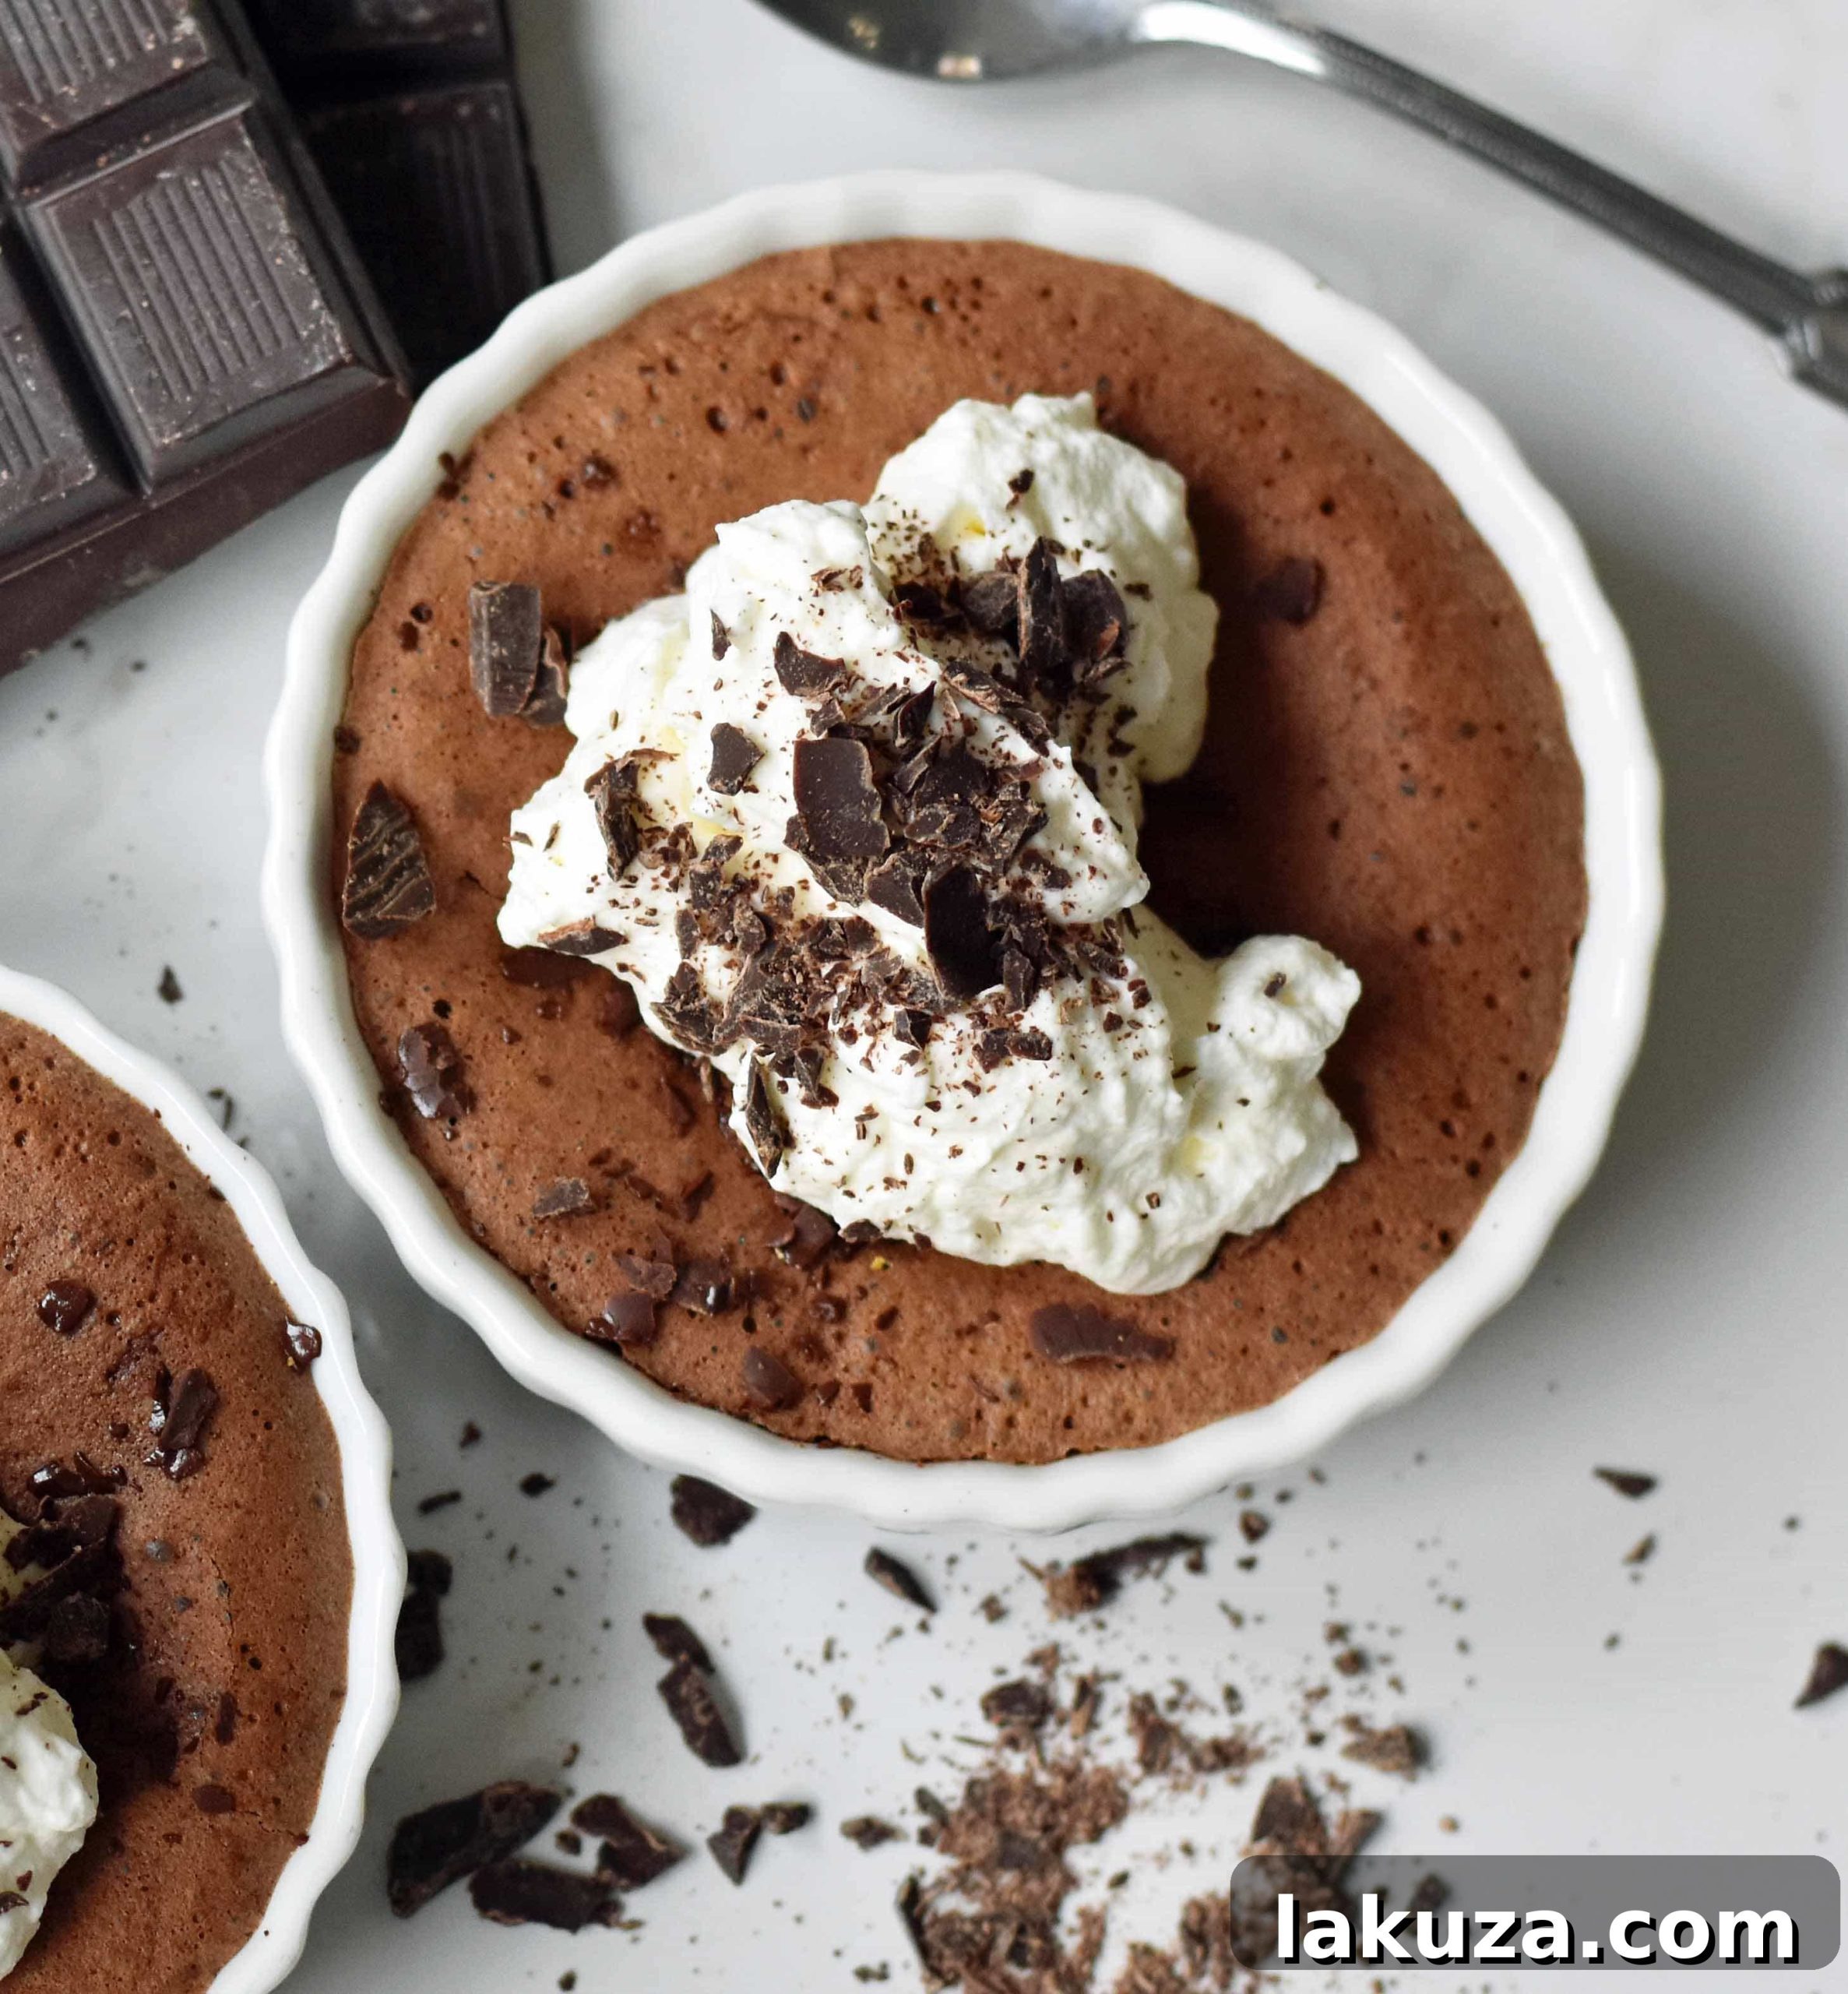
Prepare to be enchanted by the **Flourless Chocolate Molten Lava Cake**, a truly divine dessert that promises an unforgettable culinary experience. This naturally gluten-free chocolate cake is a symphony of rich flavors and luxurious textures, crafted from just five essential ingredients: pure butter, premium chocolate, fresh eggs, granulated sugar, and a hint of sea salt. It’s renowned for its deeply satisfying chocolate intensity and its signature “lava” center that oozes warm, melted goodness with every spoonful. A popular choice for special occasions or whenever a craving for something truly extraordinary strikes, this easy molten lava cake recipe will quickly become a cherished favorite in your kitchen.
For years, this decadent chocolate delight has been a staple in my home, consistently earning rave reviews from family and friends. Its elegant presentation and irresistible taste make it ideal for romantic dinners, celebratory gatherings, or simply treating yourself to a moment of pure bliss. As Valentine’s Day approaches and our annual chocolate week celebrations are underway, it feels like the perfect moment to share this heavenly chocolate dessert that truly embodies indulgence.
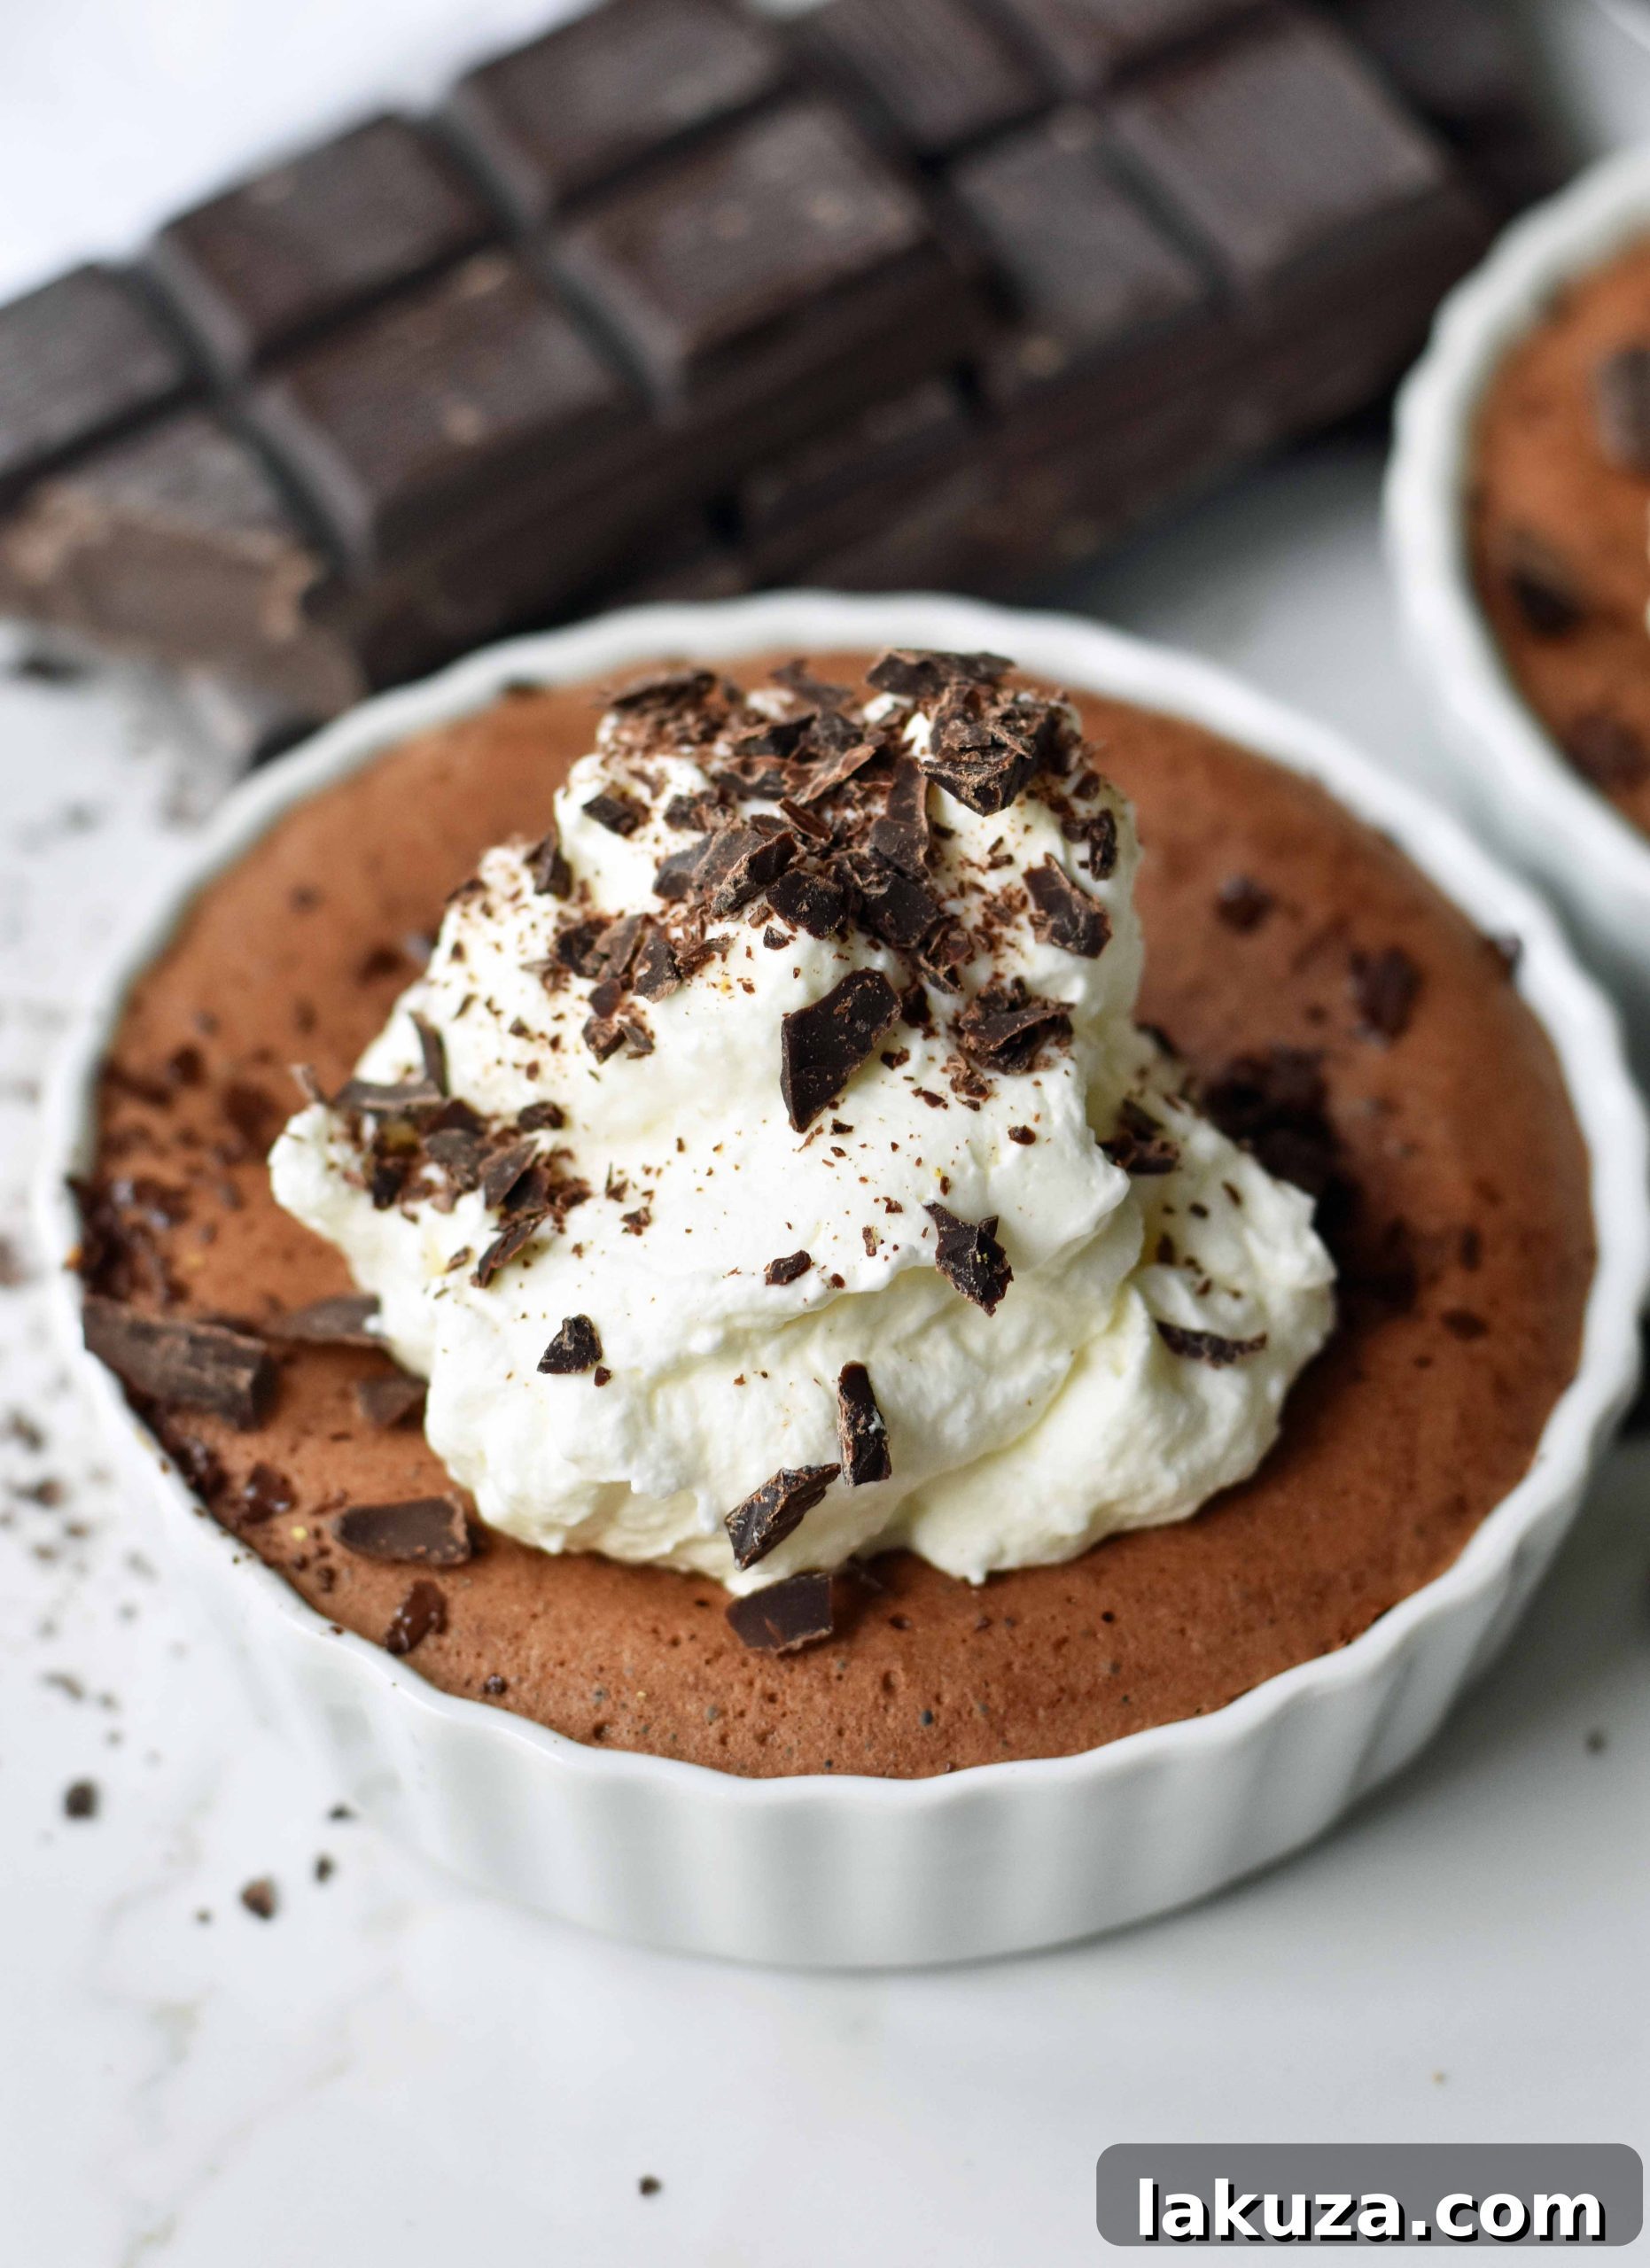
If you’re familiar with my Love at First Sight Chocolate Cake, you’ll know that I traditionally bake a special chocolate cake for my husband every Valentine’s Day. This year, however, called for a delightful twist. With him currently observing a two-week gluten-free diet, this naturally flourless chocolate cake was the obvious, and most delicious, choice for our celebration. Its inherent gluten-free nature means no compromises on taste or texture, making it accessible for everyone to enjoy a truly rich chocolate dessert.
Beyond special occasions, this recipe proved perfect for a recent “Bachelor night” hosted by my teenage daughter. When one of her friends, who avoids gluten, needed a suitable dessert, this individual-serving flourless wonder immediately came to mind. It’s a dessert that not only caters to dietary needs but also guarantees to satisfy even the most fervent chocolate cravings, making it a versatile and considerate option for any gathering, demonstrating how easy it is to make homemade lava cakes that impress.
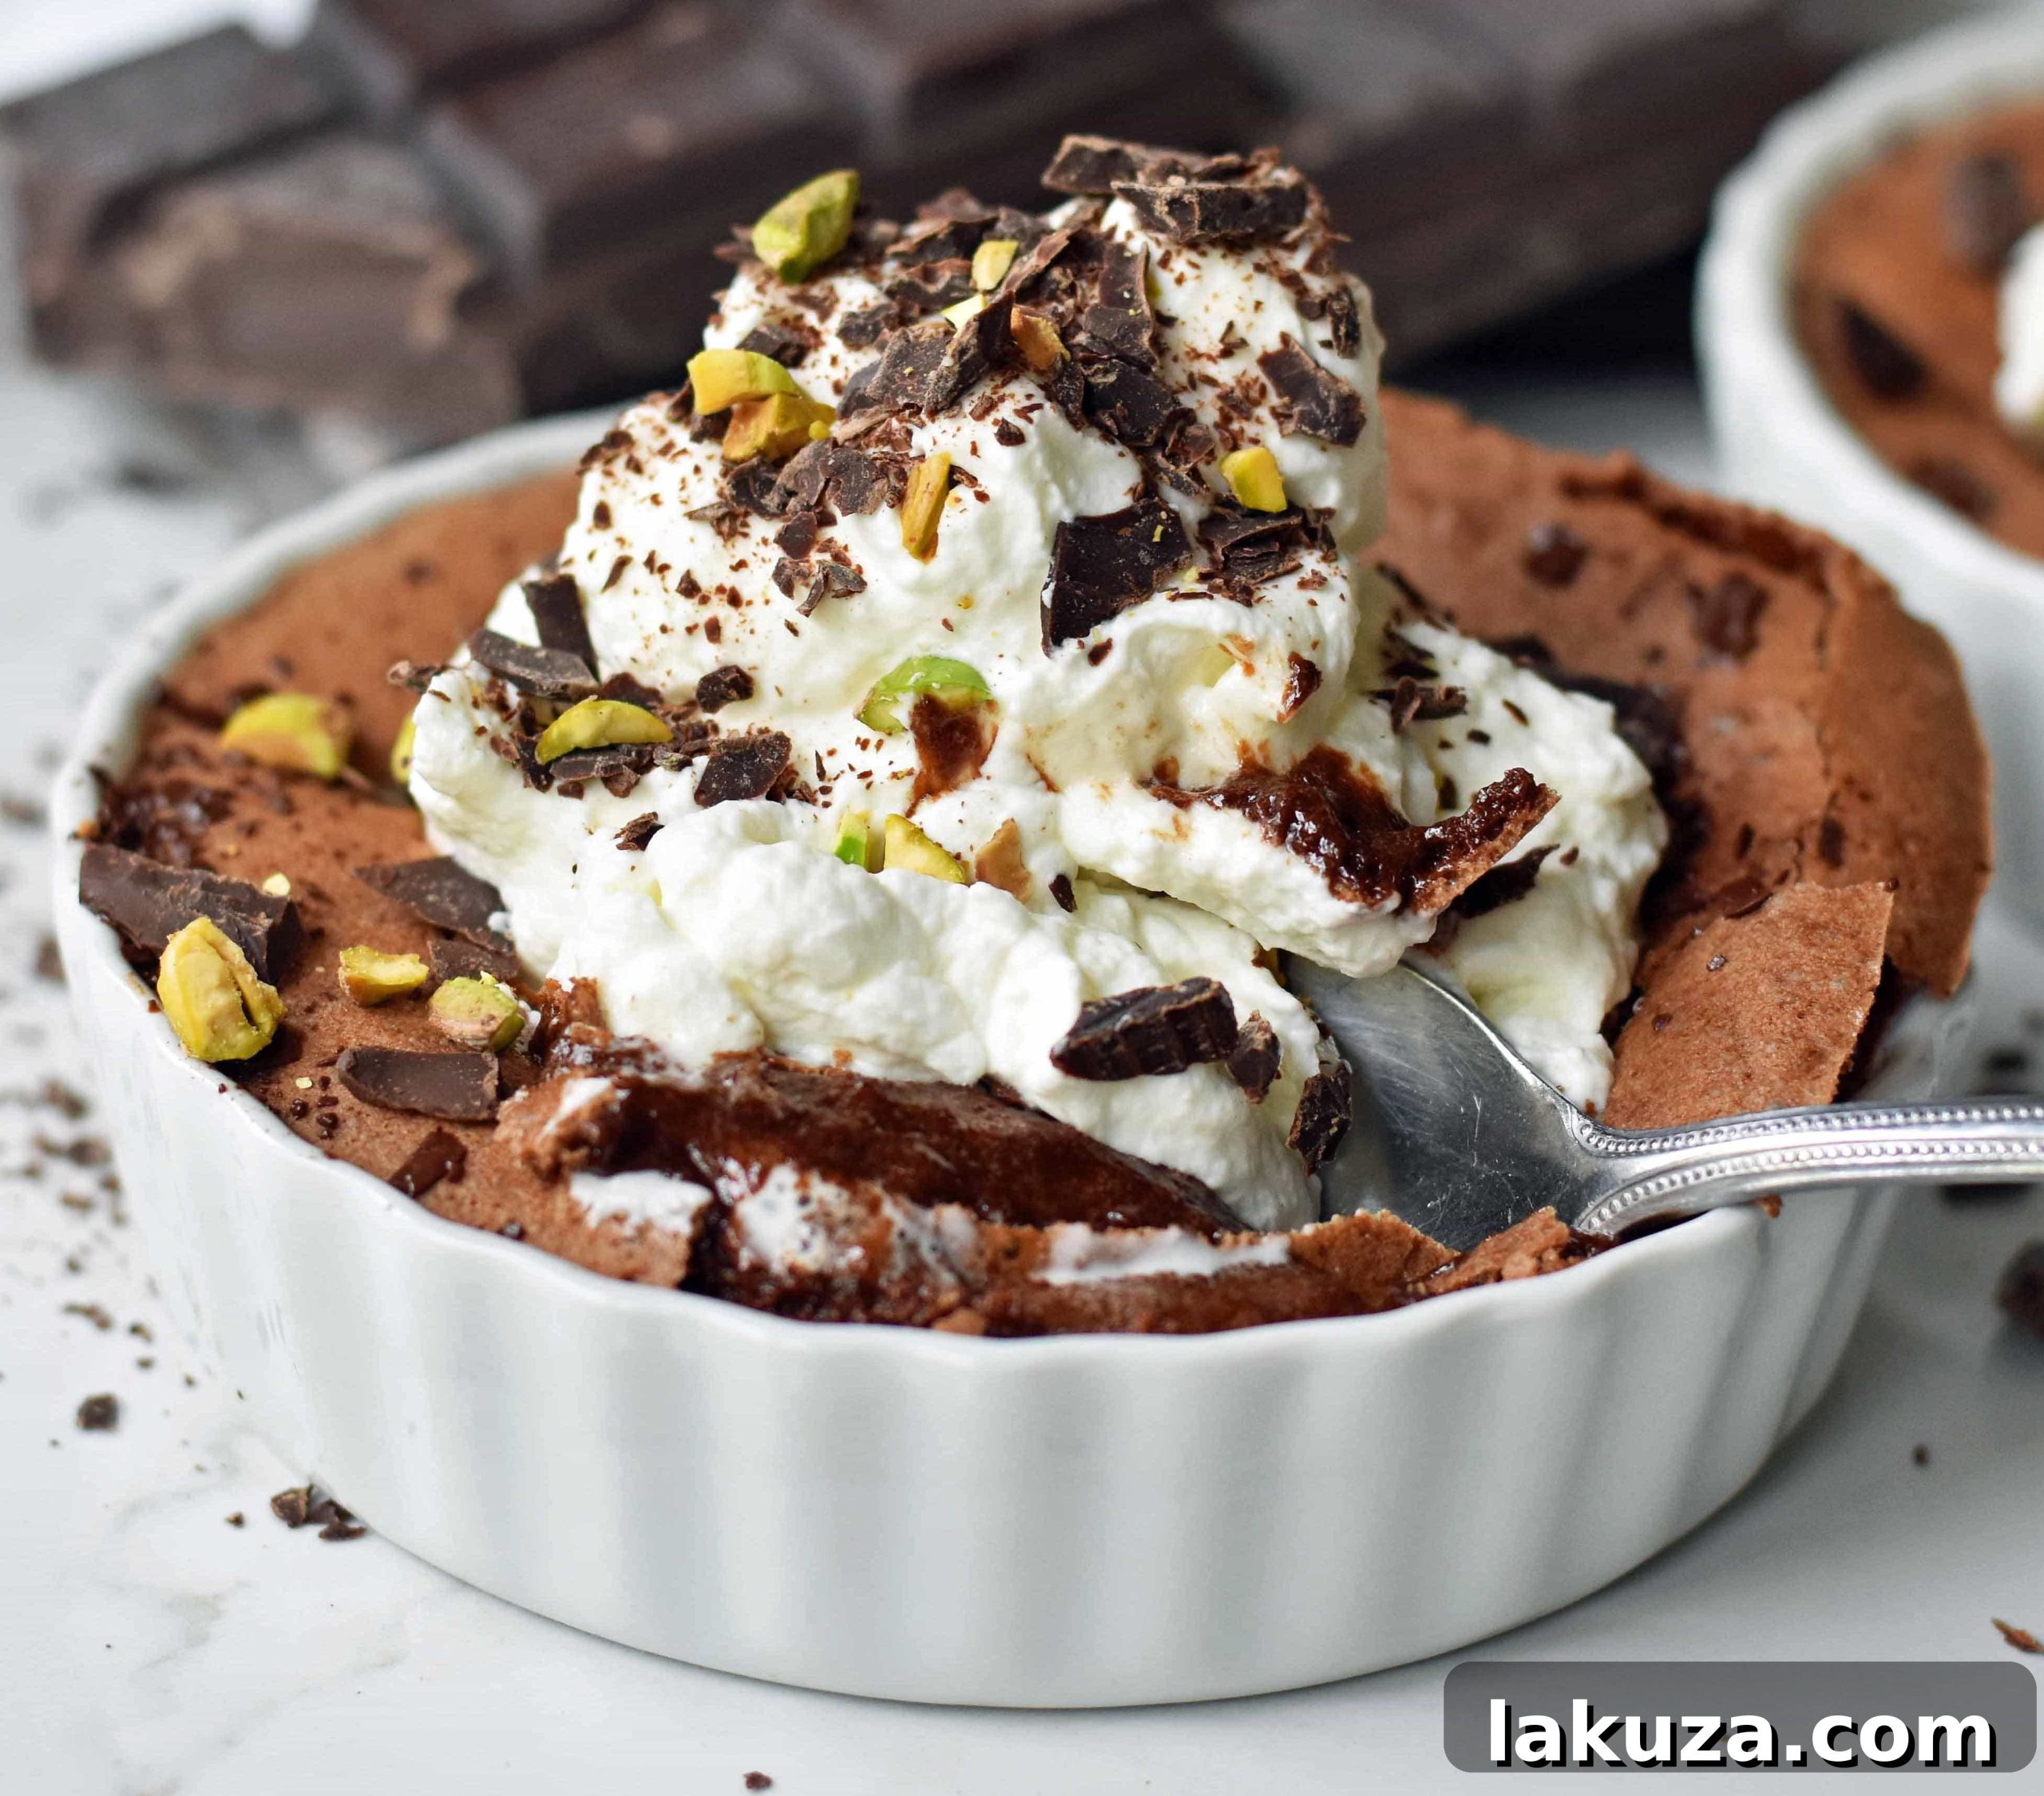
Understanding the Magic: What is a Flourless Chocolate Molten Lava Cake?
The allure of the Flourless Chocolate Molten Lava Cake lies in its deceiving simplicity and profound impact. Often referred to simply as “chocolate lava cake” or “molten chocolate cake,” this dessert is a small, individual chocolate cake characterized by its rich, firm outer layer and a warm, liquid chocolate center that “flows” like lava when you cut into it. The magic is born from a precise balance of ingredients and a delicate baking technique.
The Signature “Lava” Effect
Unlike traditional cakes that are baked until fully set, the molten lava cake is intentionally underbaked in the center. This allows a portion of the chocolate mixture to remain liquid, creating that iconic ooey-gooey core. The dramatic contrast between the slightly crispy exterior and the warm, melting interior is what makes this dessert so universally adored. Each bite delivers a sophisticated balance of intense sweetness and deep chocolate notes, often heightened by a touch of sea salt that truly makes the flavors pop. Typically, these exquisite individual portions are crowned with a cloud of fresh whipped cream or a scoop of creamy vanilla bean ice cream, adding another layer of texture and temperature contrast.
Why Flourless? The Benefits of a Gluten-Free Chocolate Cake
The “flourless” aspect is not just a dietary consideration; it’s a key component of its unique character. By omitting flour, this recipe becomes naturally gluten-free, making it an excellent and effortless choice for individuals with gluten sensitivities or those following a gluten-free diet. Beyond its accessibility, the absence of flour allows the pure essence of chocolate to shine through without any dilution, resulting in a significantly more intense and luxurious chocolate flavor. This also contributes to the cake’s distinct texture—incredibly moist, dense, and wonderfully fudgy around the molten core. It’s a testament to how simple, quality ingredients can combine to create something truly extraordinary, embodying elegance and catering to a wider audience.
Key Ingredients and Their Transformative Role
The success of this decadent dessert hinges on its short but powerful list of ingredients, each playing a critical role:
- Butter: Provides richness, moisture, and forms the fat base that carries the chocolate flavor. It also helps in achieving the smooth, velvety texture.
- Premium Chocolate: This is the star. Using a high-quality chocolate bar (dark, semi-sweet, or bittersweet, depending on preference) is crucial for a deep, authentic chocolate flavor and the perfect molten consistency. Chocolate chips often contain stabilizers that prevent them from melting as smoothly.
- Eggs: Act as both a binder and a leavening agent. When whipped with sugar, they incorporate air, which gives the cake a light structure around its dense core. They also contribute to the richness and overall texture.
- Sugar: Provides sweetness, balancing the bitterness of the chocolate. It also aids in creating a tender crumb and helps the eggs whip up to a light and fluffy consistency.
- Sea Salt: A small but mighty addition. Sea salt enhances the chocolate flavor, cutting through the sweetness and adding a nuanced depth that elevates the entire dessert.
Crafting Perfection: How to Make Flourless Chocolate Molten Lava Cake at Home
The process of creating these exquisite chocolate molten lava cakes is surprisingly straightforward, relying on fundamental baking principles and quality ingredients. Follow these detailed steps to achieve dessert perfection:
- Preheat Oven and Prepare Ramekins: Begin by preheating your oven to a precise 375°F (190°C). This ensures the oven is at the correct temperature for even baking from the moment your cakes go in. Generously butter six 4-ounce or 6-ounce ramekins, ensuring every nook and cranny is coated. This crucial step prevents sticking and guarantees your beautiful cakes release cleanly after baking. For convenience and even baking, arrange the buttered ramekins on a sturdy baking sheet.
- Melt Butter and Chocolate: In a small, heavy-bottomed saucepan over medium-low heat, gently melt the specified amount of butter until it is completely liquid and shimmering. Alternatively, you can achieve this in a microwave-safe bowl. Once the butter is melted, remove the saucepan from the heat (or microwave) and immediately add your finely chopped chocolate bar. Stir continuously with a spatula or whisk until the chocolate is fully melted and smoothly incorporated with the butter, creating a glossy, unified mixture. This is your opportunity to personalize the sweetness and intensity of your cakes: for a sweeter profile, opt for a good quality dark chocolate bar; for a richer, more profound chocolate flavor with less sweetness, choose bittersweet chocolate. Semi-sweet chocolate also yields delicious results. It is essential that this chocolate mixture cools down to room temperature before you proceed to the next step, as hot chocolate can “cook” the eggs prematurely.
- Whip Eggs and Sugar to Perfection: In a large mixing bowl, combine the fresh eggs and granulated sugar. Using an electric mixer (either a stand mixer with a whisk attachment or a hand mixer), beat this mixture on high speed for a full 4 minutes. This vigorous beating is vital: you’ll notice the mixture transform, becoming significantly lighter in color (pale yellow), considerably thicker, and wonderfully fluffy. This aeration process incorporates a good amount of air into the mixture, which contributes significantly to the cake’s structure and prevents it from being overly dense, giving it a delicate crumb around the molten core.
- Gently Fold in Cooled Chocolate: With utmost care and a light hand, begin to fold the cooled chocolate-butter mixture into the aerated egg and sugar mixture. Do this gradually, adding the chocolate in three separate increments. After each addition, gently fold using a rubber spatula, employing an upward motion from the bottom of the bowl and then folding over the top. The goal is to incorporate the ingredients until just combined, ensuring no streaks of egg or chocolate remain, but without deflating the precious air you’ve just whipped into the eggs. Overmixing at this stage can lead to a tougher cake and a less dynamic lava flow.
- Incorporate Almond Meal (Optional) and Sea Salt: If you desire a slightly more structured, cake-like consistency around the molten center, this is the time to gently fold in the two tablespoons of almond meal. While entirely optional, it adds a subtle nutty flavor and a bit more body. Following this, stir in the 1/4 teaspoon of sea salt. This small but mighty addition is a flavor powerhouse, enhancing the depth of the chocolate and expertly balancing the sweetness, making every bite sing.
- Fill Ramekins and Bake: Divide the silky chocolate batter evenly among your generously prepared ramekins, ensuring each is filled approximately three-quarters full. Placing them on a baking sheet makes them easy to handle. Carefully transfer the baking sheet with the filled ramekins into your preheated oven. Bake for precisely 12 to 16 minutes. The cakes are perfectly done when the edges appear visibly set and dry to the touch, while the very center still exhibits a slight jiggle when gently nudged. This jiggle is your indicator of that coveted molten core. Be extremely cautious not to overbake, as this will solidify the center and prevent the delightful “lava” effect.
- Cool and Anticipate: Once baked to perfection, carefully remove the ramekins from the oven. Resist the immediate urge to dig in! Allow the cakes to cool undisturbed in their ramekins for at least 30 minutes. This cooling period is absolutely crucial, as it allows the external structure of the cakes to set properly, making them easier to unmold (if you choose to do so) and, most importantly, ensuring the molten center achieves its ideal, gloriously ooey-gooey consistency.
- Prepare Homemade Whipped Cream (Optional): If you’re opting for the homemade whipped cream, do this while the cakes are cooling. In a clean, chilled mixing bowl, beat 1 cup of cold heavy cream using an electric mixer until soft peaks just begin to form. Gradually add 1/4 cup of powdered sugar and continue to whip for another 30 seconds until medium peaks form, holding their shape nicely. If desired, stir in 1 teaspoon of vanilla extract for an extra layer of flavor.
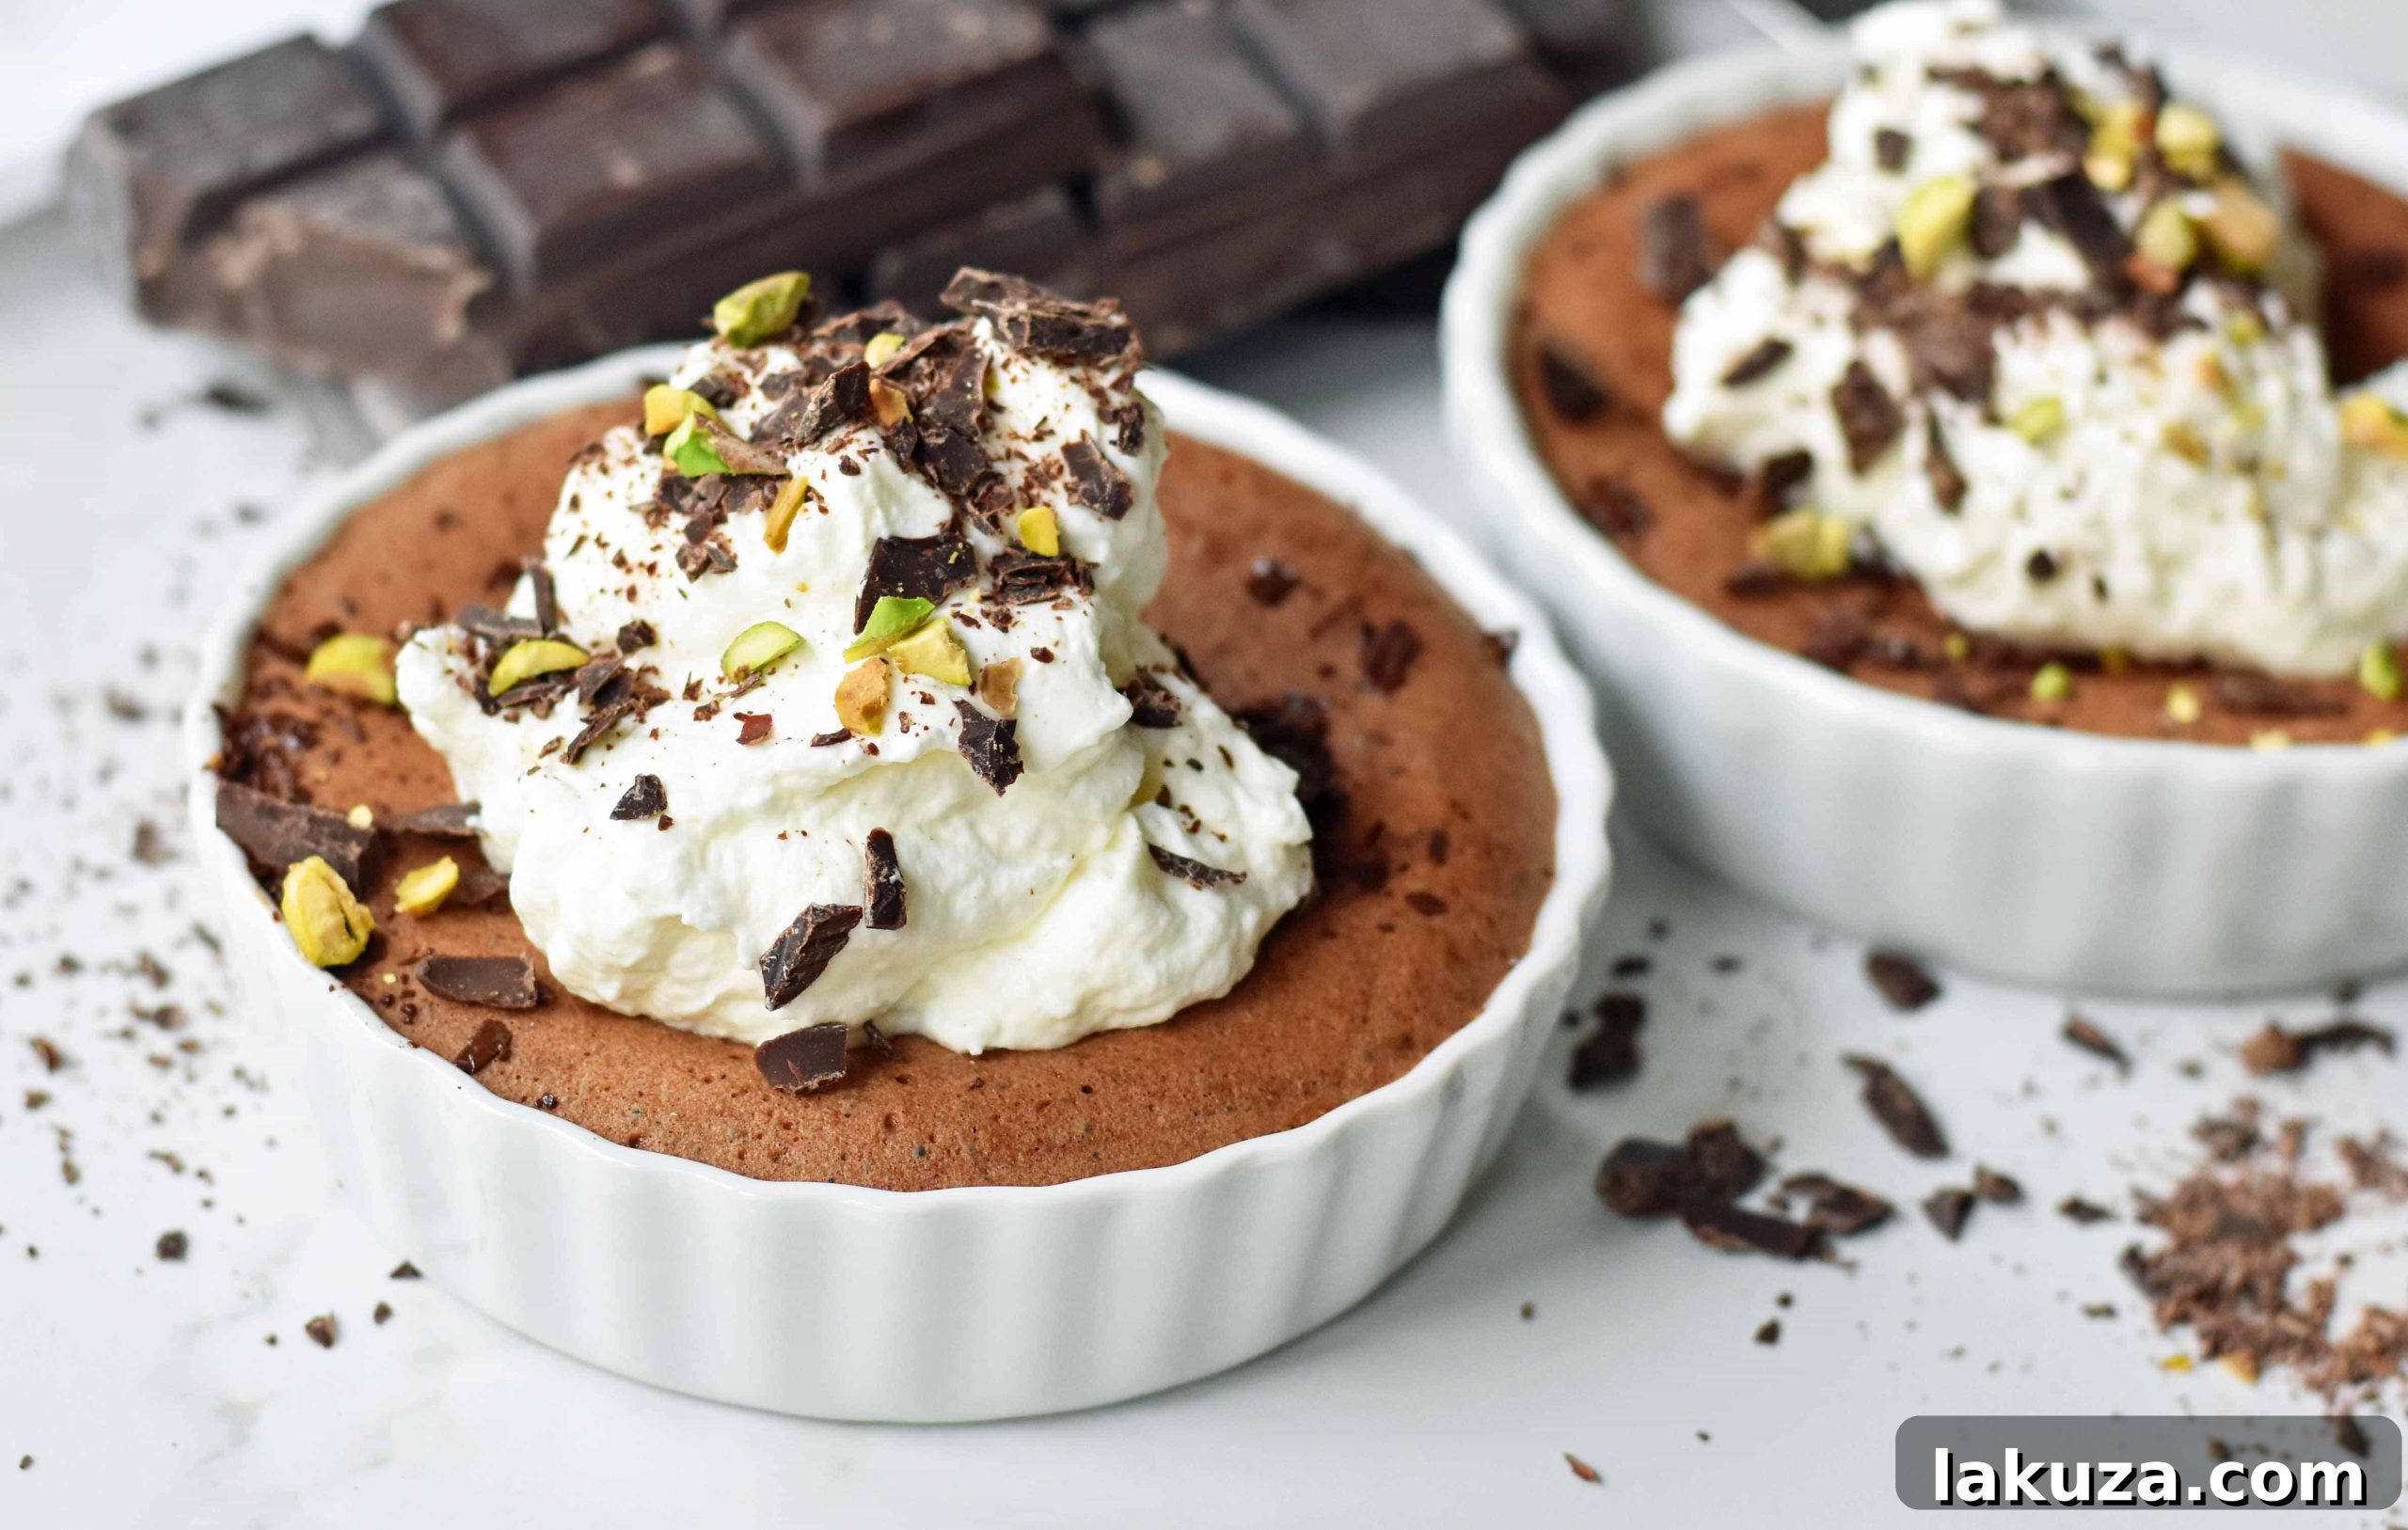
- Serve and Garnish: Once cooled and set, carefully invert the cakes onto individual serving plates if you prefer, or simply serve them directly in their ramekins. Crown each warm chocolate lava cake with a generous dollop of homemade whipped cream or a scoop of creamy vanilla ice cream. Enhance their visual appeal and flavor with your choice of garnishes such as delicate chocolate shavings, finely chopped pistachios, vibrant fresh raspberries, or sweet fresh strawberries. The combination of warm cake and cool topping is simply irresistible.
Essential Tips for Achieving the Best Flourless Chocolate Molten Lava Cake Every Time
- Invest in Quality Chocolate: Since chocolate is the undisputed star of this dessert, its quality directly impacts the final flavor. Always use the best quality chocolate bar you can find. Avoid using chocolate chips, as they often contain stabilizers that prevent them from melting smoothly and can result in a grainy, less desirable molten center.
- The Art of Not Overbaking: This is the single most critical tip. The entire charm of a molten lava cake lies in its liquid center. Keep a vigilant eye on your cakes during the baking process. They should be firm around the edges, but the very center must still appear slightly soft and jiggly when gently shaken. Oven temperatures can vary significantly, so trust your eyes and the visual cues over a rigid timer.
- Proper Egg Whipping Technique: The step of beating the eggs and sugar until they are light, pale, and fluffy is not to be rushed. This process incorporates essential air into the batter, which is vital for giving the cake a delicate, tender texture around its rich core and preventing it from becoming too dense.
- Room Temperature Eggs: For optimal volume and emulsification when whipping, ensure your eggs are at room temperature before you begin.
- Cooling Time is Paramount: Resist the temptation to serve immediately after baking! Allowing the cakes to cool in their ramekins for at least 30 minutes is non-negotiable. This crucial cooling period allows the cake’s structure to set properly and ensures the molten center achieves its perfect, decadent, ooey-gooey consistency.
- Ramekin Size Matters: This recipe is specifically designed for 4-ounce or 6-ounce ramekins. If you opt to use different sizes, be prepared to adjust your baking time accordingly. Smaller ramekins will bake faster, while larger ones will require a longer baking period to reach the desired molten stage.
- A Pinch of Salt: Don’t skip the sea salt! It’s a game-changer, enhancing the deep chocolate flavors and balancing the sweetness beautifully.
Flourless Chocolate Molten Lava Cake
By: Melissa Stadler, Modern Honey
A popular decadent chocolate dessert made with only 5 ingredients — chocolate, butter, sugar, eggs, and sea salt. Topped with homemade whipped cream or vanilla ice cream.
Equipment
- Mixing Bowl Set
- Measuring Cups and Spoons
- Spatula Set
- Ramekins (six 4-ounce or 6-ounce)
Ingredients
Chocolate Molten Lava Cakes:
- 3/4 cup Butter (1 1/2 sticks or 12 Tablespoons, melted, plus more for buttering ramekins)
- 6 1/2 ounces Chocolate Bar (heaping 1 cup, chopped; semi-sweet, dark, or bittersweet)
- 4 Large Eggs
- 2/3 cup Granulated Sugar
- 1/4 teaspoon Sea Salt
- 2 Tablespoons Almond Meal (optional, for more structure)
Homemade Whipped Cream (Optional):
- 1 cup Heavy Cream (cold)
- 1/4 cup Powdered Sugar
- 1 teaspoon Vanilla Extract (optional)
Garnish Ideas:
- Chocolate Shavings
- Chopped Pistachios
- Fresh Raspberries
- Fresh Strawberries
- Vanilla Ice Cream
Instructions
- Preheat oven to 375°F (190°C). Generously butter six 4-ounce or 6-ounce ramekins and place them on a baking sheet.
- In a small pot, melt 3/4 cup butter over medium-low heat. Remove from heat and add the chopped chocolate bar. Stir until melted and smooth. Set aside to cool to room temperature.
- In a large mixing bowl, beat the 4 eggs and 2/3 cup sugar with an electric mixer for 4 minutes, until light, pale, and fluffy.
- Carefully fold the cooled melted chocolate mixture into the egg-sugar mixture in three increments until just combined.
- If using, gently fold in the 2 tablespoons of almond meal. Stir in the 1/4 teaspoon sea salt.
- Pour the batter evenly into the prepared ramekins, filling each about three-quarters full.
- Bake for 12 to 16 minutes, or until the tops are set and dry, but the center still jiggles slightly (molten core).
- Remove from oven and let the cakes cool in their ramekins for at least 30 minutes before serving, allowing them to set properly.
- To make whipped cream (if using): Beat 1 cup cold heavy cream until soft peaks form. Add 1/4 cup powdered sugar and whip for 30 seconds more. Stir in 1 teaspoon vanilla extract, if desired.
- Serve warm chocolate cakes topped with whipped cream or vanilla ice cream.
- Garnish with your preferred toppings like chocolate shavings, pistachios, raspberries, or strawberries.
Nutrition Disclaimer: Nutrition information is automatically calculated and should only be used as an approximation.
Additional Info
Course: Dessert
Servings: 6
Frequently Asked Questions (FAQ) About Flourless Chocolate Molten Lava Cakes
Can I make these Flourless Chocolate Molten Lava Cakes ahead of time?
Absolutely! You can prepare the batter for these molten lava cakes up to 24 hours in advance. Simply cover the bowl tightly with plastic wrap and store it in the refrigerator. When you’re ready to bake, pour the chilled batter into your buttered ramekins and bake as directed. You might need to add a few extra minutes to the baking time since the batter will be very cold.
How do I know when the lava cakes are done baking without overcooking them?
The key to the perfect molten center is precise timing and visual cues. The edges of the cake should appear set, firm, and slightly dry to the touch, while the very center should still be noticeably jiggly when you gently nudge the ramekin. The top will also look set, but beneath that thin crust, the magic of the molten chocolate awaits. Since oven temperatures can vary, begin checking around the 10-12 minute mark and adjust as needed.
Can I use chocolate chips instead of a chocolate bar for this recipe?
While it might be tempting for convenience, using a high-quality chocolate bar is strongly recommended for the best results. Chocolate chips often contain stabilizers (like paraffin wax) that prevent them from melting as smoothly and evenly as baking bars. This can affect both the luxurious texture of the molten center and the overall rich chocolate flavor. For an authentic and decadent homemade lava cake, stick to a good quality baking chocolate bar.
What are the best topping suggestions for Molten Lava Cakes?
Classic toppings perfectly complement the warm, rich cake. A dollop of fresh whipped cream or a scoop of creamy vanilla bean ice cream provides a delightful contrast in temperature and texture. For added flair and flavor, consider garnishing with fresh berries like raspberries or strawberries, a light dusting of powdered sugar, delicate chocolate shavings, or crunchy chopped nuts such as pistachios or hazelnuts. A small sprig of fresh mint can also add an elegant touch.
How should I store leftover lava cakes and can I reheat them?
If by some miracle you have any leftovers, they can be stored in an airtight container in the refrigerator for up to 2-3 days. To enjoy them again, gently reheat them in the microwave for 20-30 seconds, or in a preheated oven at 300°F (150°C) for about 5-10 minutes, until the center is warm and gooey once more. Be careful not to overheat, as this will cook the center solid and diminish the “lava” effect.
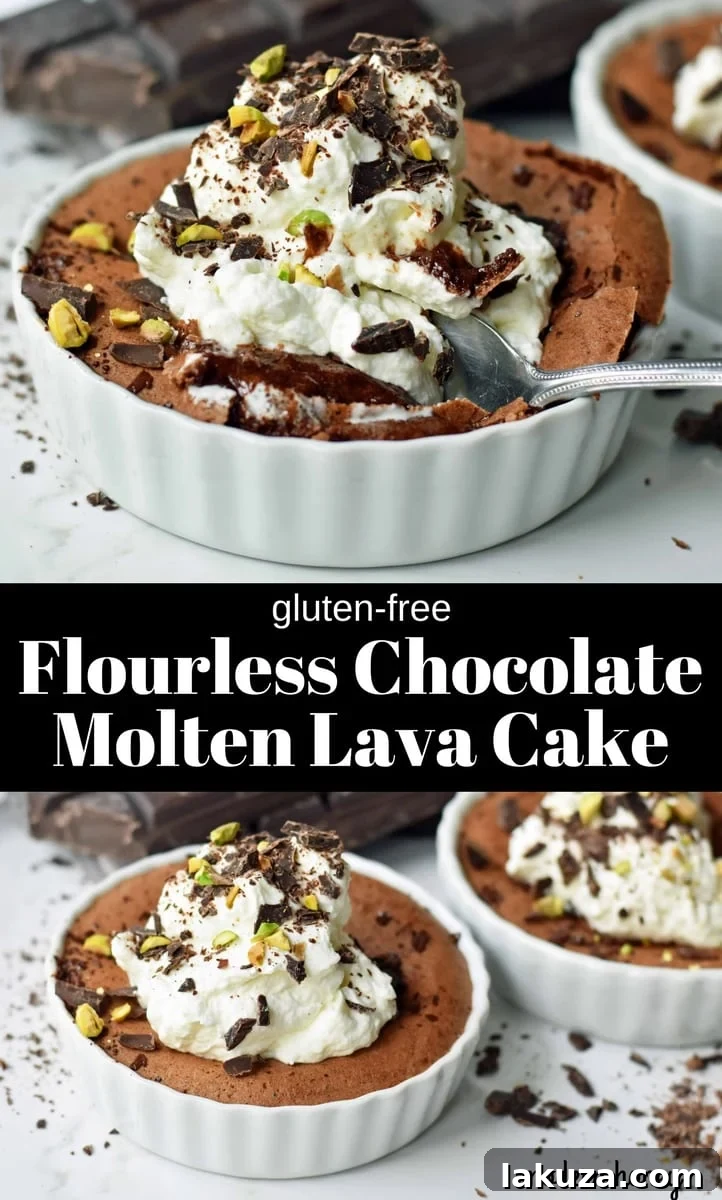
Pin this amazing recipe on PINTEREST for later:
We hope you love this Flourless Chocolate Molten Lava Cake as much as we do! Its rich flavor, irresistible gooey center, and naturally gluten-free nature make it a perfect dessert for any occasion, from an intimate dinner to a celebratory feast. Don’t forget to share your creations and experiences in the comments below – we’d absolutely love to hear from you!
Happy Baking, my friends!