
Irresistible Homemade Cheesy Garlic Biscuits: A Culinary Journey
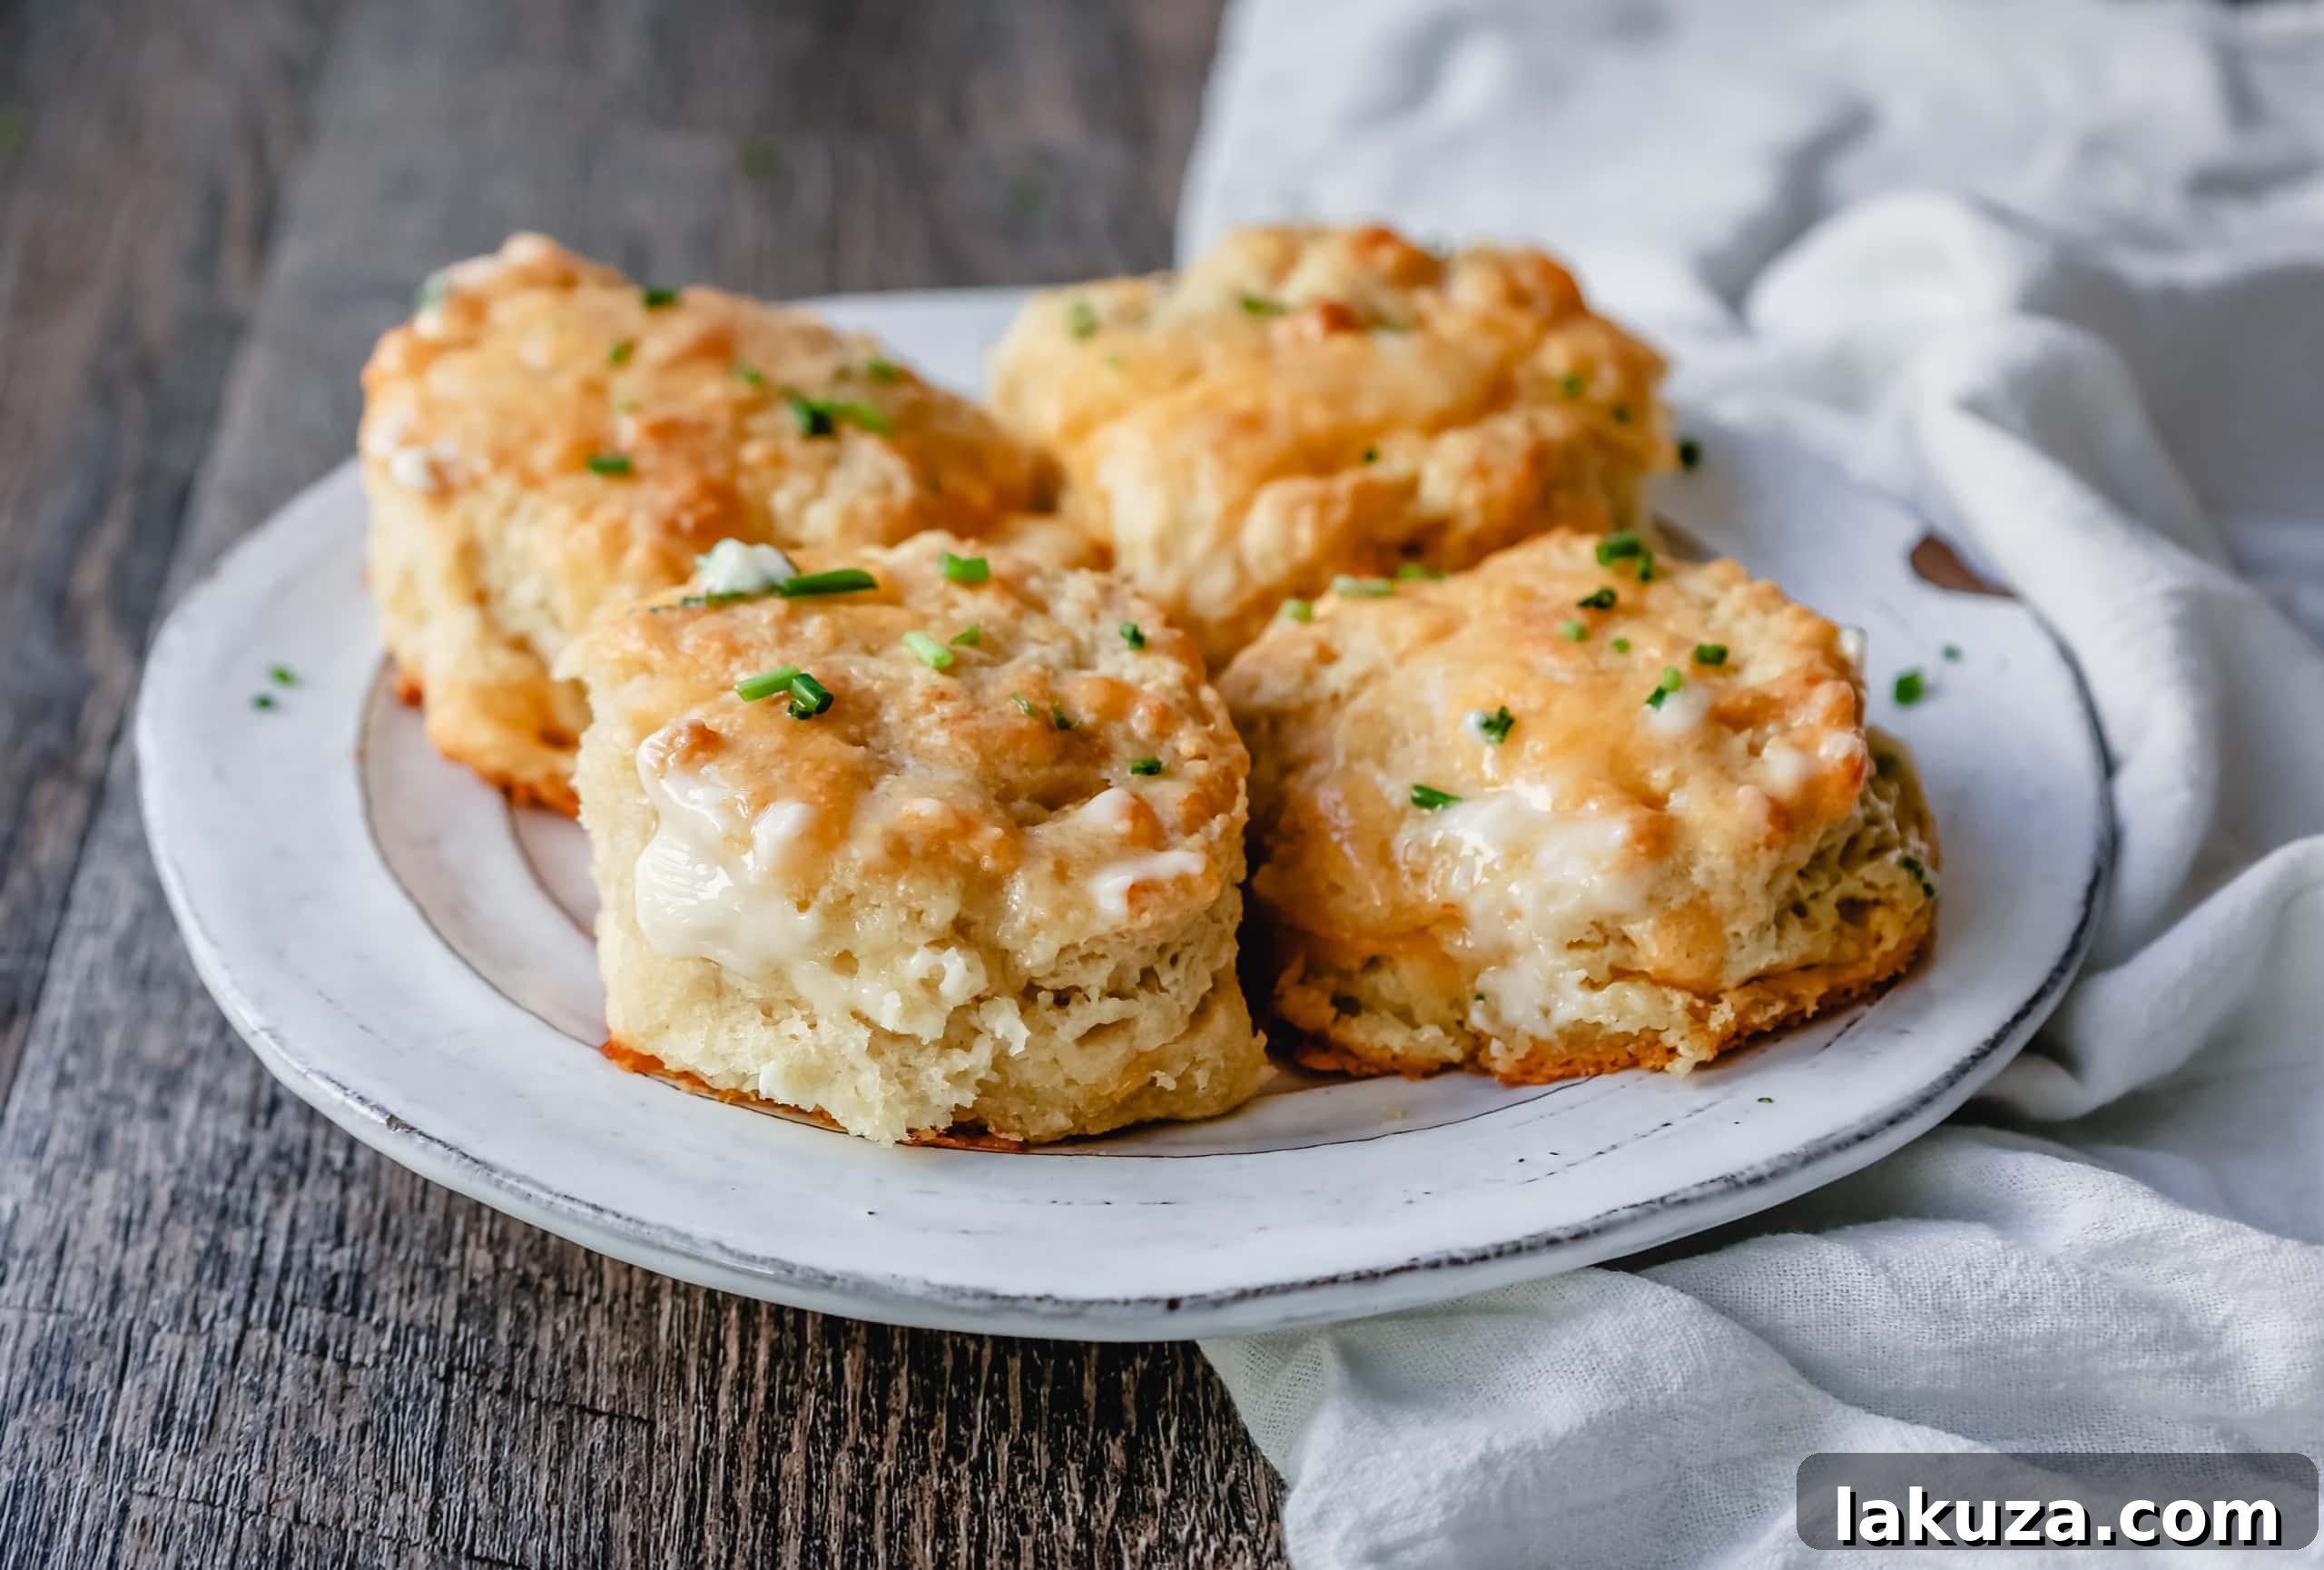
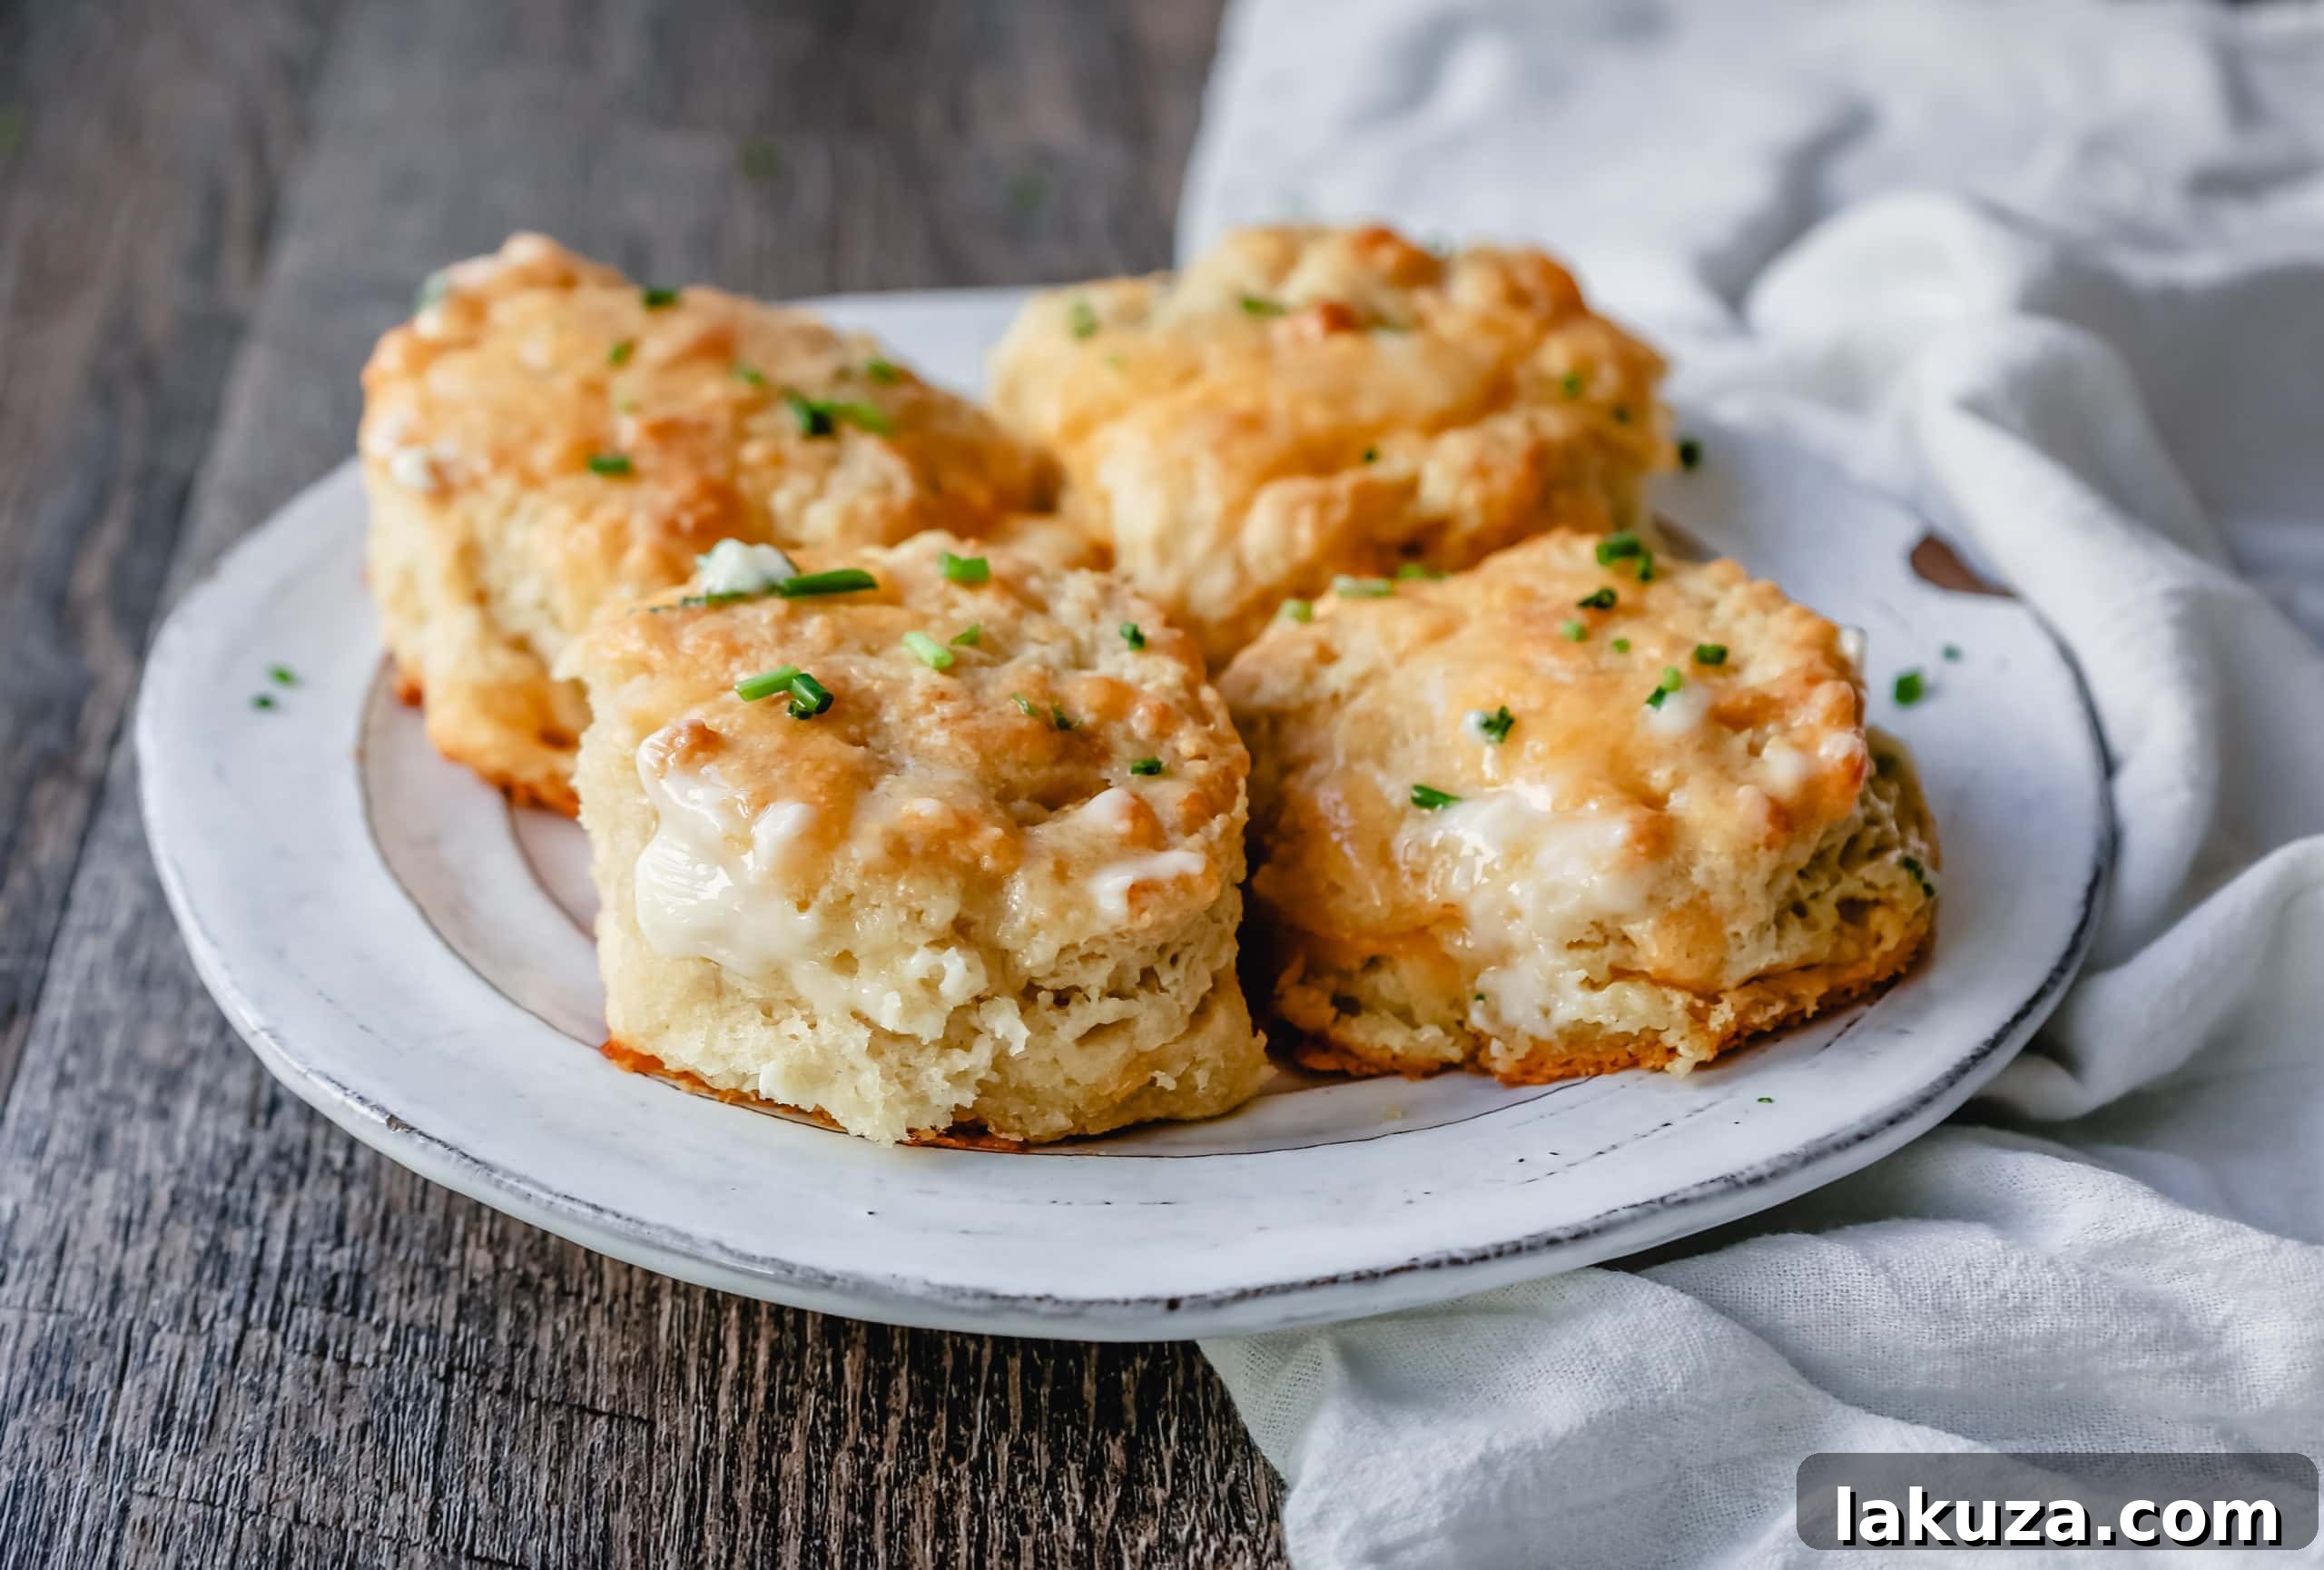
Experience the ultimate comfort food with these light, fluffy, and buttery homemade biscuits infused with sharp cheddar cheese and fragrant garlic – truly the perfect biscuit!
There are some culinary experiences that just stick with you, weaving themselves into the fabric of your memory and inspiring future kitchen adventures. A few years back, a dear friend whisked me away to a dinner destination she lauded as one of her favorites. As a passionate foodie, my excitement was palpable. I thrive on discovering new eateries and experimenting with unique flavors. Just recently, another friend introduced me to an incredible Cambodian restaurant, and I was absolutely thrilled, savoring every distinct dish on offer and expanding my palate with joyful abandon.
So, naturally, I was brimming with anticipation about where this new culinary adventure would lead. To my surprise, we pulled into the parking lot of none other than The Red Lobster. Believe it or not, I had never once stepped foot inside a Red Lobster before, making this a genuine first-time experience. My friend, with a twinkle in her eye, immediately declared that their garlic cheddar biscuits were her absolute favorite. The moment she uttered the word “biscuits,” I was wholeheartedly on board. Serve me carbs as an appetizer, and you’ve got a happy customer for life. Complimentary chips and salsa? I’m there all day, every day. The promise of warm, savory bread before the main course is always a welcome one in my book.
The Quest for the Perfect Cheesy Garlic Biscuit
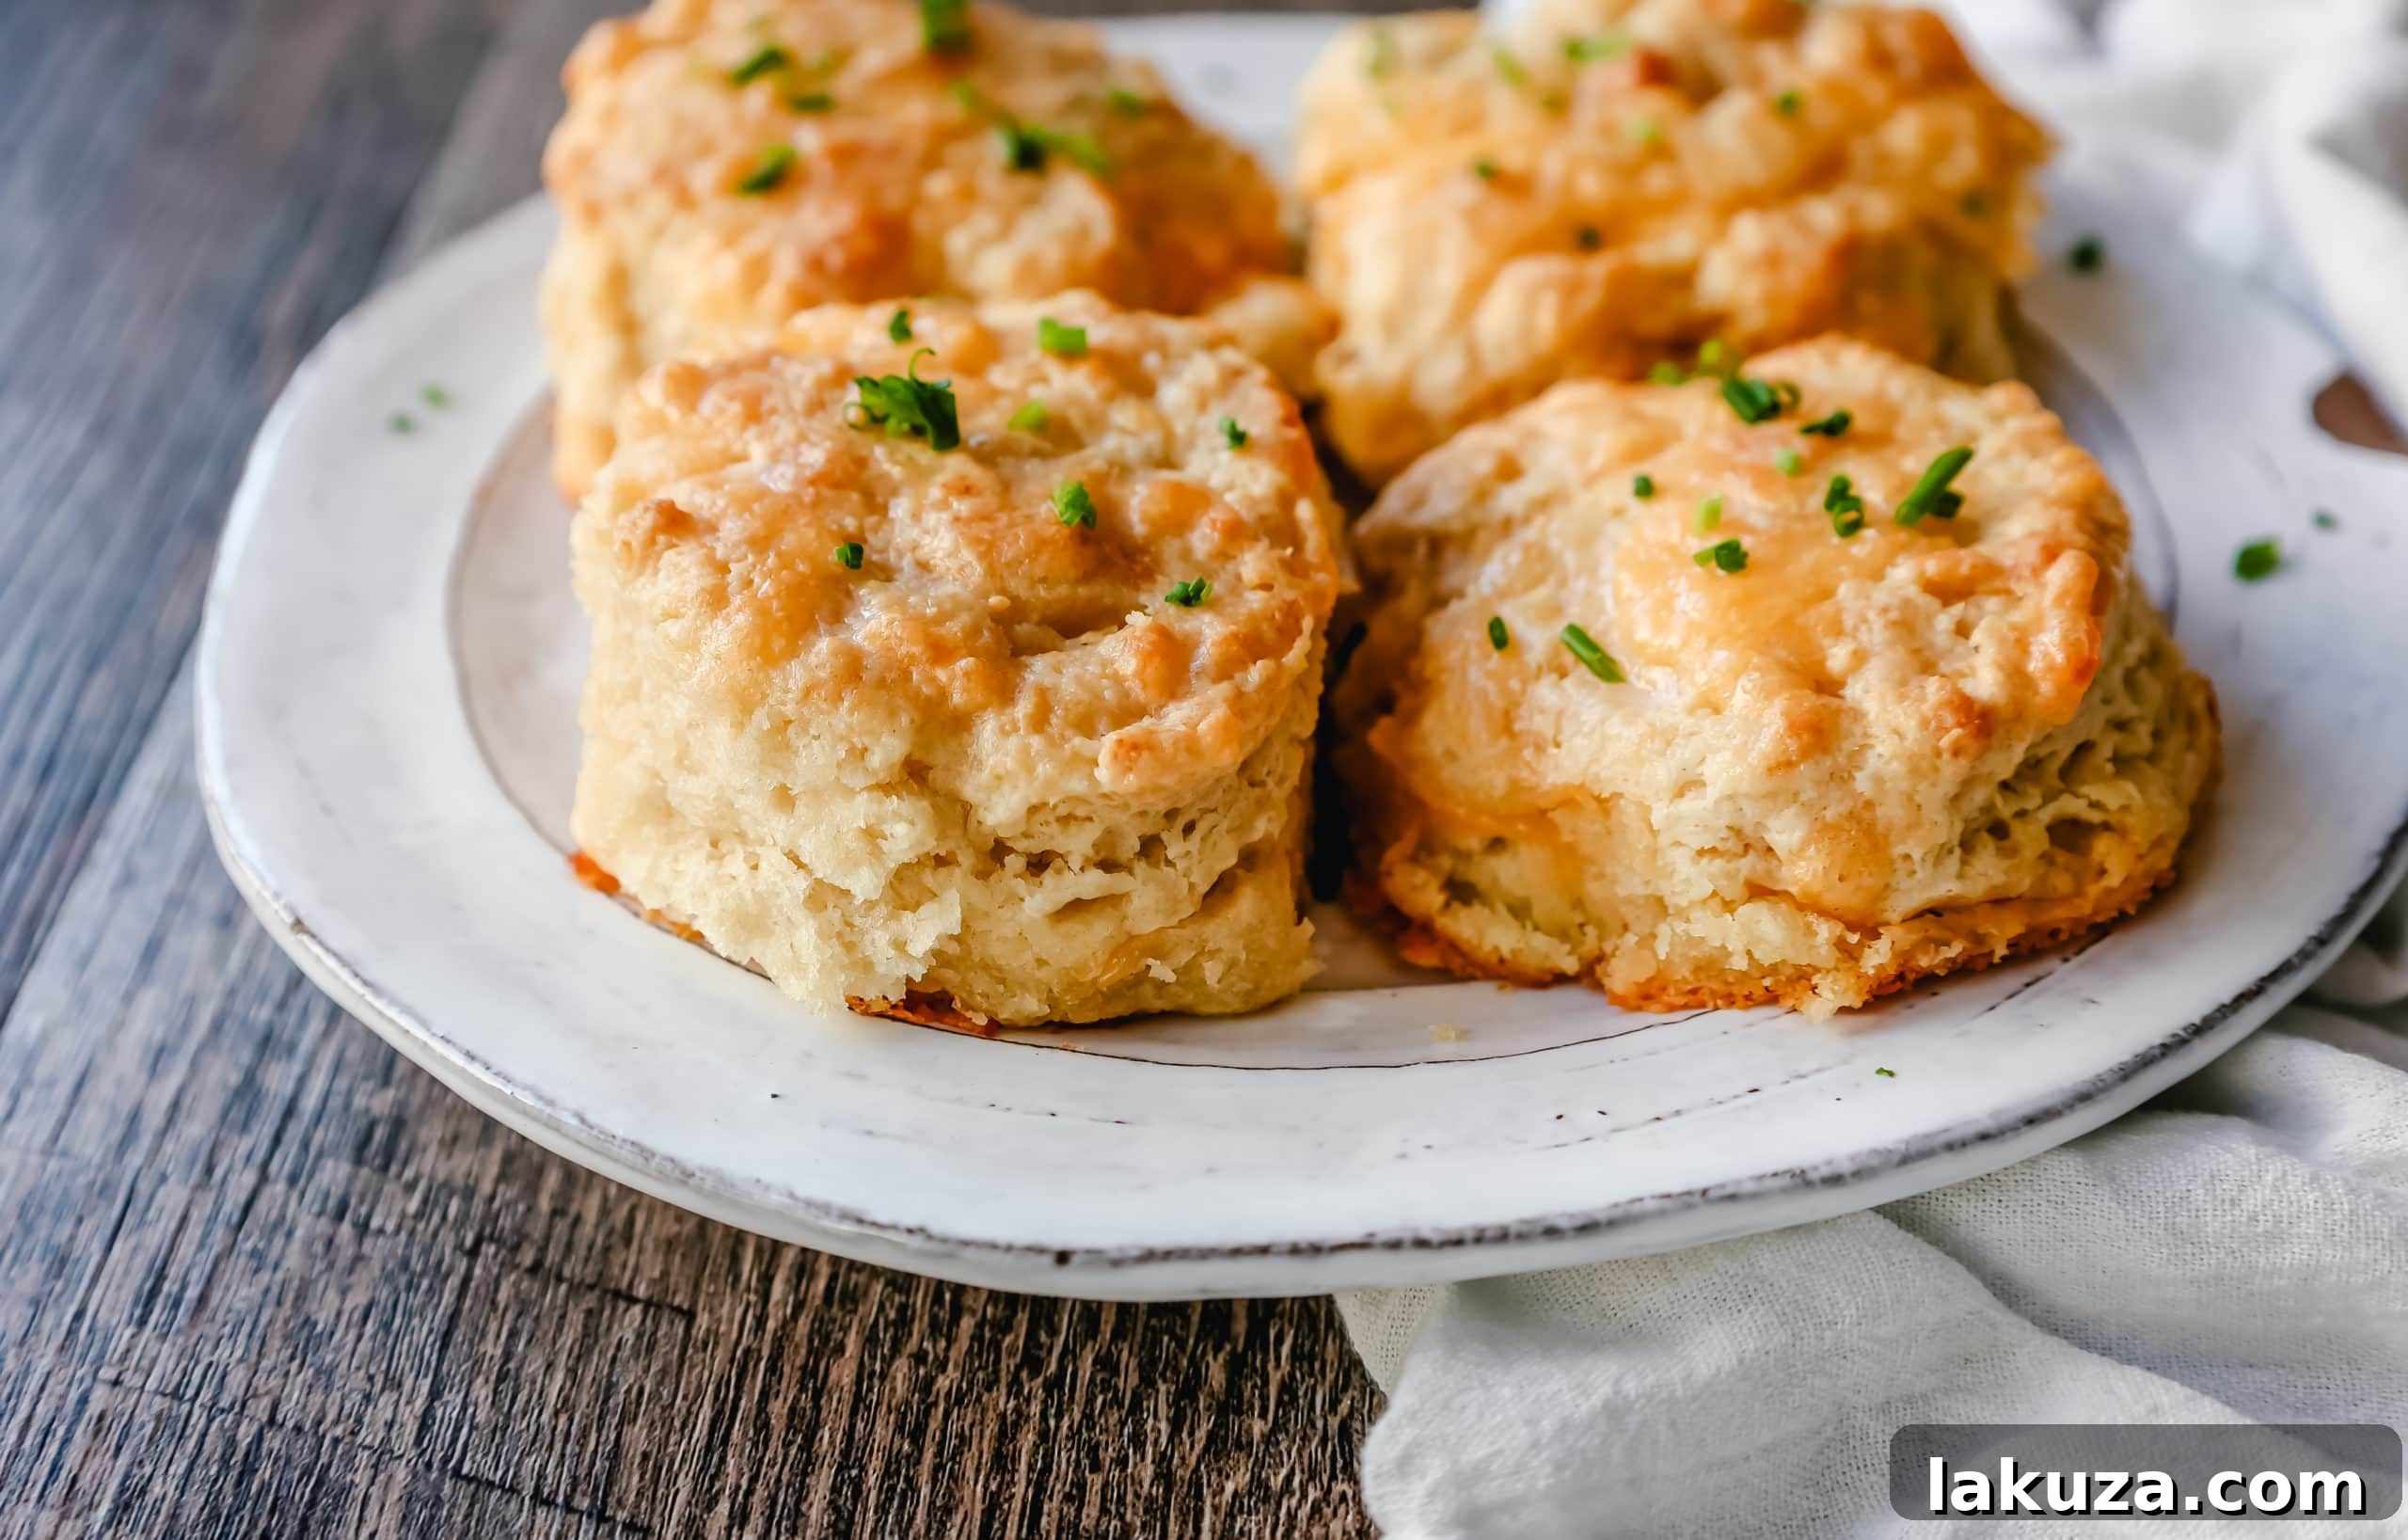
That evening, we indulged in more cheesy biscuits than I care to confess, but they were undeniably good. The taste lingered, sparking my usual culinary curiosity. Upon returning home, I embarked on my familiar mission: to recreate that delightful experience in my own kitchen. I knew I wanted to capture the light, airy texture and the potent combination of rich cheese and aromatic garlic. After some experimentation, tweaking, and a few delightful failures, I finally achieved a homemade version that was everything I dreamed of – light, incredibly fluffy, and perfectly buttery, with just the right amount of cheesy goodness. I was completely hooked! And now, I am thrilled to share this amazing recipe and the secrets behind these extraordinary biscuits with all of you, so you can enjoy the same satisfaction of biting into a perfectly crafted homemade cheesy garlic biscuit.
The foundation of any exceptional biscuit is, without a doubt, butter. The flavor profile truly begins here. I’ve experimented with shortening in biscuits before, but I always find myself missing the rich, unmistakable taste that only real butter can provide. Butter not only contributes to the incredible flavor but is also crucial for achieving that signature flaky texture that sets a great biscuit apart. Achieving that light, layered effect requires specific techniques for incorporating butter into your dough, which I’ll detail further down. It’s these small but significant steps that transform simple ingredients into a culinary masterpiece.
Another crucial ingredient that elevates these biscuits from good to beyond perfection is fresh buttermilk. Buttermilk is a game-changer in baking, creating an incredibly tender crumb and adding a subtle tang that complements the richness of the cheese and butter beautifully. Its acidic properties react with the baking soda, resulting in a superior rise and an irresistibly soft interior. This interaction is what gives biscuits their characteristic height and ethereal texture, making them melt in your mouth.
For the cheese, I highly recommend using freshly grated cheddar from a block. Pre-shredded cheeses often contain anti-caking agents like cellulose that can hinder their melting capabilities and affect the overall texture of your biscuits, sometimes resulting in a somewhat gritty mouthfeel. If you truly want the cheddar flavor to shine through, opt for a sharp cheddar. Its robust, tangy profile cuts through the richness of the butter and provides a delightful depth of flavor. Trust me, your taste buds will thank you later for that extra zest.
Get ready for more biscuit goodness! Tomorrow, I’ll be sharing my recipe for biscuits and gravy, a hearty classic that’s much simpler to prepare than you might imagine and always garners rave reviews! For those who love a traditional drop biscuit, be sure to check out my Easy Buttermilk Drop Biscuits Recipe for a foundational method that focuses on simplicity and tenderness.
Mastering the Art of Homemade Cheesy Garlic Biscuits
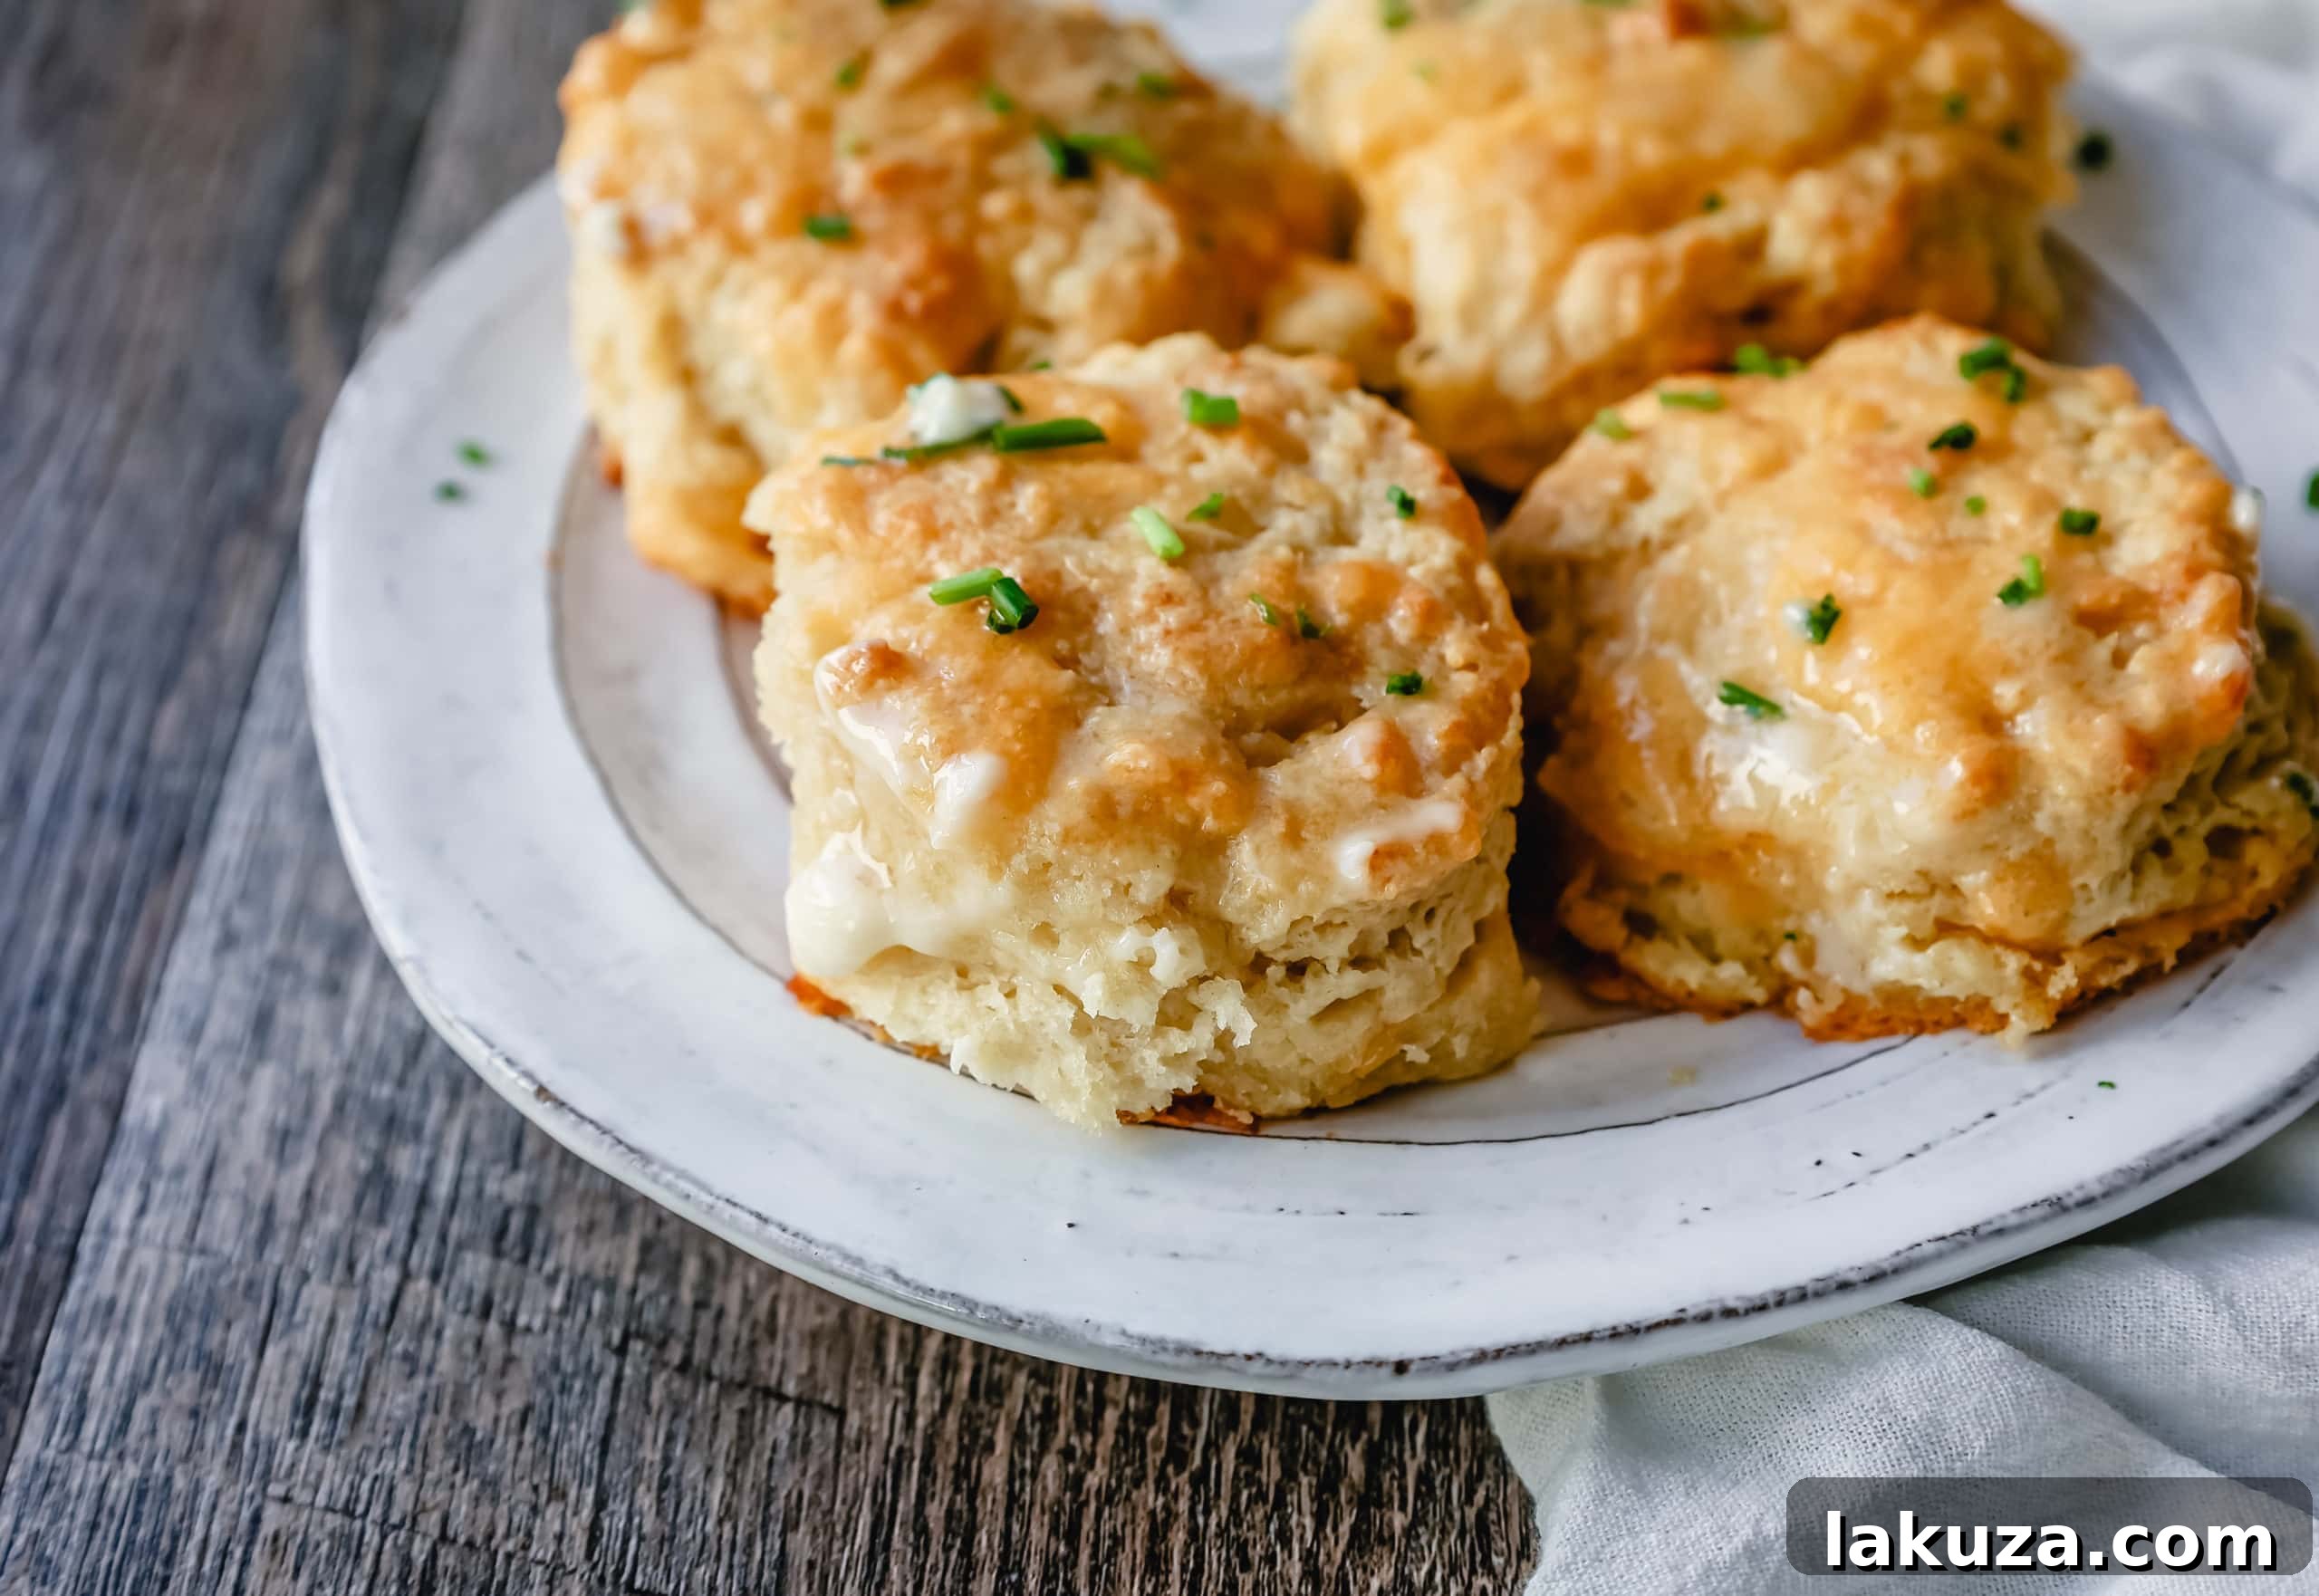
Crafting the best garlic cheddar biscuits is a delightful process that yields incredibly rewarding results. Each step is designed to contribute to the biscuit’s ultimate texture and flavor. Follow these simple steps and expert tips to ensure your biscuits are light, flaky, and packed with flavor every time:
- Embrace Cold Butter: The Secret to Flakiness. The absolute key to flaky biscuits is using very cold butter. I often go a step further and use frozen butter, or at the very least, butter straight from the refrigerator. Cold butter creates pockets of steam as it bakes, which results in those desirable flaky layers. If your butter is frozen, I highly recommend grating it. This method disperses tiny shreds of butter throughout the dough, ensuring an even distribution and an exceptionally flaky texture in every bite. The goal is for the butter to melt in the oven, not before, creating steam that puffs up the dough.
- Combine Dry Ingredients Thoroughly. In a spacious mixing bowl, whisk together your all-purpose flour, baking powder, baking soda, salt, and a touch of sugar. These dry ingredients form the essential base, with the baking powder and soda acting as critical leavening agents that provide the biscuits’ signature rise and airy texture. Ensuring they are well combined means the leavening will be evenly distributed, leading to a consistent rise across all your biscuits.
- Incorporate Wet Ingredients and Flavor with Care. Gently fold in the buttermilk until just combined. The dough will likely appear a bit shaggy and sticky, and that’s perfectly normal at this stage – resist the urge to overmix! Next, add your freshly shredded cheddar cheese and sprinkle in the garlic powder. For optimal integration without overworking the dough, I love using my clean hands to mix these ingredients together. The warmth from your hands helps bring the mixture into a cohesive ball without activating too much gluten. Don’t worry if it still looks a little rustic – it will come together beautifully during the rolling process!
- Roll and Cut with Precision. Lightly flour a clean work surface and turn out your dough. Gently roll it into a uniform 1/2-inch thick circle or rectangle. Using a round biscuit cutter (avoid twisting it, as this can seal the edges and prevent rising), cut the dough into individual rounds. If you need to re-roll scraps, do so gently and as few times as possible to maintain tenderness.
- Bake for Perfect Rise. Carefully arrange the cut biscuit rounds in a baking pan, ensuring they are placed close together. This technique is crucial: by clustering them, the biscuits support each other as they bake, encouraging them to rise upwards rather than spreading outwards. This results in taller, more tender biscuits with soft sides. Bake them in a preheated oven at 450 degrees Fahrenheit (230 degrees Celsius) for approximately 11-13 minutes, or until they achieve a beautiful light golden-brown color on top and are cooked through.
- The Buttery Finish: A Final Flourish. As soon as the hot biscuits emerge from the oven, generously brush their tops with melted butter. This not only adds an extra layer of rich flavor, enhancing the overall buttery profile, but also gives them a gorgeous sheen and helps to keep them soft. This final touch makes all the difference, creating an irresistible aroma and a beautiful presentation. Serve immediately and enjoy the warm, savory goodness!
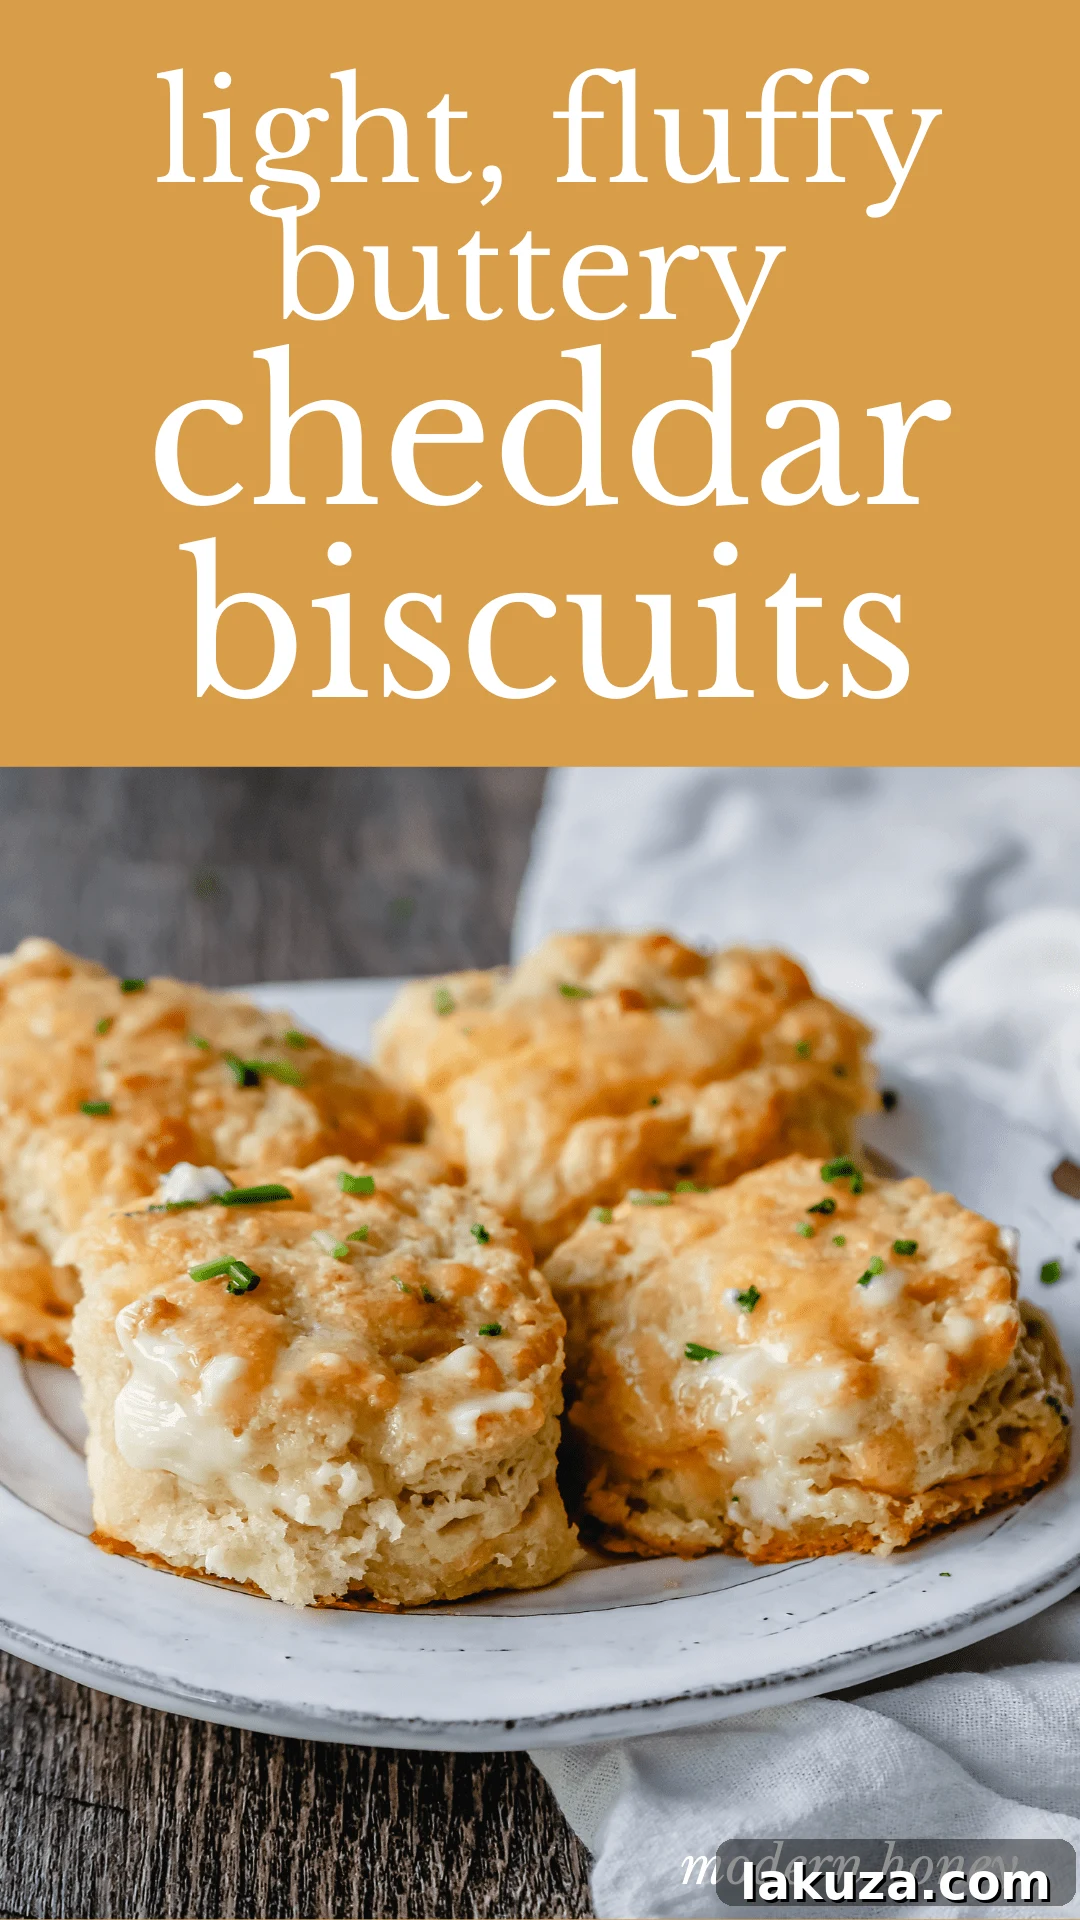
Recipe: Homemade Cheesy Garlic Biscuits

Print Recipe
Garlic Cheddar Biscuits
Modern Honey® – www.modernhoney.com
15 minutes
12 minutes
9
Equipment
-
9 inch square cake pan
-
KitchenAid mixer
-
Mixing bowl set
-
Measuring cups and spoons
Ingredients
- 2 cups All-purpose Flour
- 2 teaspoons Baking Powder
- 1/2 teaspoon Baking Soda
- 1/2 teaspoon Salt
- 1 teaspoon Sugar
- 1/2 cup Cold Butter (preferably frozen, grated)
- 1 cup Buttermilk
- 3/4 cup Freshly Grated Sharp Cheddar Cheese
- 1/4 to 1/2 teaspoon Garlic Powder
- 4 Tablespoons Melted Butter (for brushing on top)
Instructions
-
Preheat your oven to 425°F (230°C). In a large bowl, combine the flour, baking powder, baking soda, salt, and sugar. Whisk these dry ingredients together thoroughly.
-
If using frozen butter, grate it directly into the dry ingredients. If using cold butter from the refrigerator, cut it into very small pieces and add it to the bowl. Use a pastry blender, your fingertips, or a fork to cut the butter into the flour mixture until it resembles coarse crumbs with some pea-sized butter pieces remaining.
-
Pour in the buttermilk and mix gently until just incorporated. The dough will be shaggy and sticky. Add the freshly grated cheddar cheese and garlic powder. Using clean hands, gently knead the dough a few times in the bowl until it just comes together into a cohesive, slightly shaggy ball. Avoid overmixing.
-
Lightly flour a clean work surface. Turn the dough out and gently roll it into a circle or rectangle about 1/2 inch thick. Using a round biscuit cutter (about 2-inch diameter), cut out the biscuits. Press straight down without twisting to ensure a good rise. Gather the scraps, gently press them together, and cut out any remaining biscuits.
-
Place the cut biscuits in a 9×9 inch baking dish (or a similar sized pan) so that they are touching each other. This encourages them to rise upwards for taller, softer biscuits.
-
Bake for 12-14 minutes, or until the tops are golden brown and the biscuits are cooked through.
-
While the biscuits are still hot from the oven, melt the remaining 4 tablespoons of butter in a small bowl. Generously brush the tops of the baked biscuits with the melted butter. Serve immediately and savor every warm, cheesy bite!
Nutrition information is automatically calculated, so should only be used as an approximation. Please consult a professional nutritionist for precise values.
Additional Info
Bread, Breakfast, Side Dish, Appetizer, Snack
American
9
cheddar biscuits, cheesy biscuits, cheesy garlic biscuits, garlic cheddar biscuits, homemade cheddar biscuits, homemade cheddar garlic biscuits, homemade cheesy garlic biscuits, Red Lobster copycat biscuits, best garlic biscuits
Love this recipe? Share your thoughts!
Jump to Comments
Why These Cheesy Garlic Biscuits Will Become Your New Favorite
These homemade cheesy garlic biscuits aren’t just a side dish; they’re an experience. They capture the essence of comfort food with their golden-brown exterior and incredibly tender, moist interior. Each bite delivers a burst of savory cheddar perfectly complemented by the aromatic kick of garlic. The secret lies in the careful balance of ingredients and technique, ensuring a biscuit that is both satisfyingly rich and delightfully light. Once you try these, you’ll understand why they’re destined to be a staple in your kitchen.
- Unbeatable Flavor Profile: The harmonious combination of sharp cheddar and savory garlic powder creates a robust and addictive flavor that’s truly hard to resist. It’s comforting, cheesy, and has that inviting warmth of garlic.
- Perfect Texture: Our tried-and-true method, emphasizing cold butter and fresh buttermilk, guarantees a biscuit that’s wonderfully flaky on the outside and incredibly fluffy and tender on the inside. Say goodbye to dense or dry biscuits forever!
- Incredibly Versatile: While utterly delicious on their own, these biscuits are astonishingly versatile. Serve them with a hearty stew, a light green salad, alongside scrambled eggs for a comforting breakfast, or as a delightful appetizer for any gathering. They also make an excellent accompaniment to grilled meats or roasted vegetables.
- Easier Than You Think: Don’t let the idea of homemade biscuits intimidate you. Our detailed, step-by-step instructions break down the entire process into simple, manageable tasks, making success achievable and enjoyable for even novice bakers. You’ll be surprised how quickly you master them!
The Science Behind the Perfect Biscuit: Ingredients Demystified
Understanding the fundamental role of each ingredient is key to consistently baking delicious biscuits that are light, flaky, and full of flavor. It’s not just about mixing things; it’s about appreciating how they interact chemically and texturally.
The Essential Role of Cold Butter
Butter is perhaps the most critical ingredient for achieving that signature flaky texture that distinguishes an excellent biscuit. When very cold butter is cut into the flour, it doesn’t fully blend. Instead, it remains in small, distinct pieces throughout the dough. As these tiny pieces of butter melt rapidly in the hot oven, they release steam, which then creates small pockets and separates the layers of dough. This process results in a light, airy, and beautifully flaky biscuit. Using frozen butter and grating it ensures these butter pieces are perfectly dispersed and remain cold until they hit the oven, maximizing this crucial flakiness. Avoid using softened or melted butter in the dough itself (unless specified for a specific type of biscuit) as it will result in a denser, cake-like texture, which is not what we’re aiming for here.
Buttermilk: The Tenderizing Agent and Leavener
Buttermilk is a true baking marvel, playing a dual role in biscuit perfection. Its inherent acidity reacts powerfully with the baking soda (a base) in the recipe to produce carbon dioxide gas. This gas is trapped within the dough, causing the biscuits to rise beautifully and creating an incredibly tender, almost melt-in-your-mouth crumb. Beyond its leavening power, buttermilk also contributes a subtle tangy flavor that rounds out the richness of the butter and cheese, adding a complex depth that plain milk cannot replicate. If you don’t have buttermilk on hand, don’t despair! You can easily make a substitute: simply add 1 tablespoon of white vinegar or lemon juice to a liquid measuring cup, then fill the rest with regular milk (any fat percentage works) until you reach 1 cup. Let it sit for 5-10 minutes until it slightly curdles, then use as directed in the recipe.
Cheddar Cheese: Flavor, Texture, and Melt
For the best flavor and superior melt, always opt for a block of sharp cheddar cheese and grate it yourself. This simple step makes a significant difference. Pre-shredded cheeses often contain cellulose or other anti-caking agents that can give them a slightly grainy texture when melted and prevent them from incorporating as seamlessly into the dough. These agents can also hinder the smooth, creamy melt you desire. Sharp cheddar provides a robust, tangy flavor that stands up well to the garlic, making each bite incredibly satisfying and flavorful. While sharp cheddar is recommended, feel free to experiment with other cheeses like Monterey Jack, Gruyere, or a blend of your favorites for different flavor profiles and textures. Just ensure they are block cheeses for optimal results.
Garlic Powder vs. Fresh Garlic: A Matter of Preference and Consistency
While fresh garlic offers an intense, pungent aroma, garlic powder is often preferred in biscuit recipes because it disperses more evenly throughout the dough without introducing excess moisture. It delivers a consistent, mellow garlic flavor that infuses every part of the biscuit without overpowering the other ingredients. The fine consistency of garlic powder ensures a uniform flavor distribution. If you do prefer the pungency of fresh garlic, you can substitute it, but be sure to mince it extremely fine and perhaps sauté it lightly first to mellow its raw bite and reduce any excess moisture that could affect the dough’s texture. Start with a smaller amount and adjust to taste, as fresh garlic can be much stronger.
Flour and Leavening: The Building Blocks
All-purpose flour is the standard choice for biscuits due to its moderate protein content. This provides enough structure to hold the biscuit’s shape and height without making the biscuits tough or chewy. The combination of baking powder and baking soda is crucial for maximum lift and a light texture. Baking powder is a double-acting leavener, meaning it reacts first with liquid and then again with heat, providing a sustained rise. Baking soda, on the other hand, needs an acid (like the buttermilk) to react, producing carbon dioxide gas that contributes significantly to the biscuit’s airy structure. Don’t skip these essential leavening agents, and ensure they are fresh for optimal results!
Tips for Biscuit Baking Success
Even with the right ingredients, technique makes all the difference when it comes to baking truly exceptional biscuits. Here are some pro tips to ensure your cheesy garlic biscuits turn out perfectly every time: light, flaky, and utterly delicious.
- Don’t Overwork the Dough: This is arguably the most important rule for biscuit making. Overmixing or excessive kneading develops the gluten in the flour, leading to tough, dense, and chewy biscuits – the opposite of what we want. Mix just until the ingredients are combined, and the dough just barely comes together. A shaggy, slightly crumbly dough is a happy dough!
- Keep Everything Cold: Not just the butter, but also your buttermilk. Some even chill their flour in the freezer for 15-20 minutes before starting. The colder your ingredients, especially the butter, the flakier your biscuits will be because the butter won’t melt prematurely.
- Handle Gently: When rolling out the dough and cutting the biscuits, use a light, gentle touch. Avoid pressing down too hard or stretching the dough excessively, as this can compress the layers and inhibit rise.
- No Twisting the Cutter: When cutting biscuit rounds, press straight down firmly and then lift the cutter directly up. Twisting the cutter can seal the edges of the biscuit dough, preventing it from rising properly and resulting in lopsided or stunted biscuits.
- High Heat is Your Friend: Biscuits need a hot oven (425-450°F / 220-230°C) to rise quickly and achieve that beautiful golden crust. The high temperature helps the leavening agents work efficiently before the butter melts completely, locking in those desirable flaky layers. A slow oven will result in flat, hard biscuits.
- Don’t Skimp on the Melted Butter: Brushing the hot biscuits with melted butter right out of the oven is a non-negotiable step. It adds incredible richness, enhances the garlic flavor, and creates a tender, golden top crust. It’s the perfect, indulgent finishing touch that takes these biscuits over the top.
Serving Suggestions for Your Cheesy Garlic Biscuits
These versatile and flavorful biscuits can elevate any meal or simply be enjoyed on their own. Their savory profile makes them adaptable to a wide range of culinary pairings.
- Breakfast & Brunch Brilliance: Serve them alongside classic scrambled eggs, crispy bacon, or savory sausage patties for a hearty start to your day. They also make a fantastic, elevated base for an egg and cheese breakfast sandwich.
- Lunch & Dinner Delight: Pair them with a comforting, hearty soup (like a creamy tomato soup, broccoli cheddar, or a robust lentil soup), a warming bowl of chili, a slow-cooked beef stew, or a simple crisp green salad. They’re also an excellent companion to roasted chicken, tender pork chops, or even a pan-seared steak, soaking up all those delicious pan juices.
- Perfect Appetizer: For your next gathering, cut these biscuits into smaller, bite-sized shapes before baking. Serve them warm with a complementary dipping sauce, such as marinara, a creamy ranch, or even a spicy aioli for an irresistible appetizer.
- Simply Delicious: Sometimes, the best way to enjoy these cheesy garlic biscuits is completely on their own, perhaps with a smear of extra softened butter or a sprinkle of fresh chopped chives for an added burst of freshness.
Storage and Reheating: Enjoying Your Biscuits Longer
While these biscuits are undoubtedly best enjoyed fresh from the oven, they can certainly be stored and reheated to extend their deliciousness. Proper storage ensures they retain their flavor and texture for as long as possible.
- Storing Leftovers: Once your baked biscuits have cooled completely to room temperature, place them in an airtight container. They will stay fresh and delicious at room temperature for up to 2 days. If you need to store them longer, they can be kept in the refrigerator for up to 4 days.
- Freezing Baked Biscuits: For longer storage, you can easily freeze baked and cooled biscuits. Simply wrap each biscuit individually in plastic wrap, then place them in a freezer-safe bag or container. They will keep well in the freezer for up to 2-3 months.
- Freezing Unbaked Dough: For ultimate convenience, you can also freeze unbaked biscuit dough. After cutting the biscuits into rounds, arrange them in a single layer on a baking sheet lined with parchment paper. Freeze until solid (this prevents them from sticking together), then transfer the frozen biscuit rounds to a freezer-safe bag or container. When you’re ready to bake, place the frozen biscuits on a baking sheet and bake directly from frozen, adding a few extra minutes to the baking time (usually about 15-18 minutes total), until golden brown.
- Reheating Baked Biscuits: For best results and to restore that fresh-from-the-oven texture, reheat baked biscuits in a preheated oven at 350°F (175°C) for 5-10 minutes, or until they are warmed through and slightly crisp on the outside. You can also microwave them for 20-30 seconds, but be aware that microwaving may cause them to lose some of their crispness and become a bit softer.
Love this recipe? Share your thoughts!
Jump to Comments