
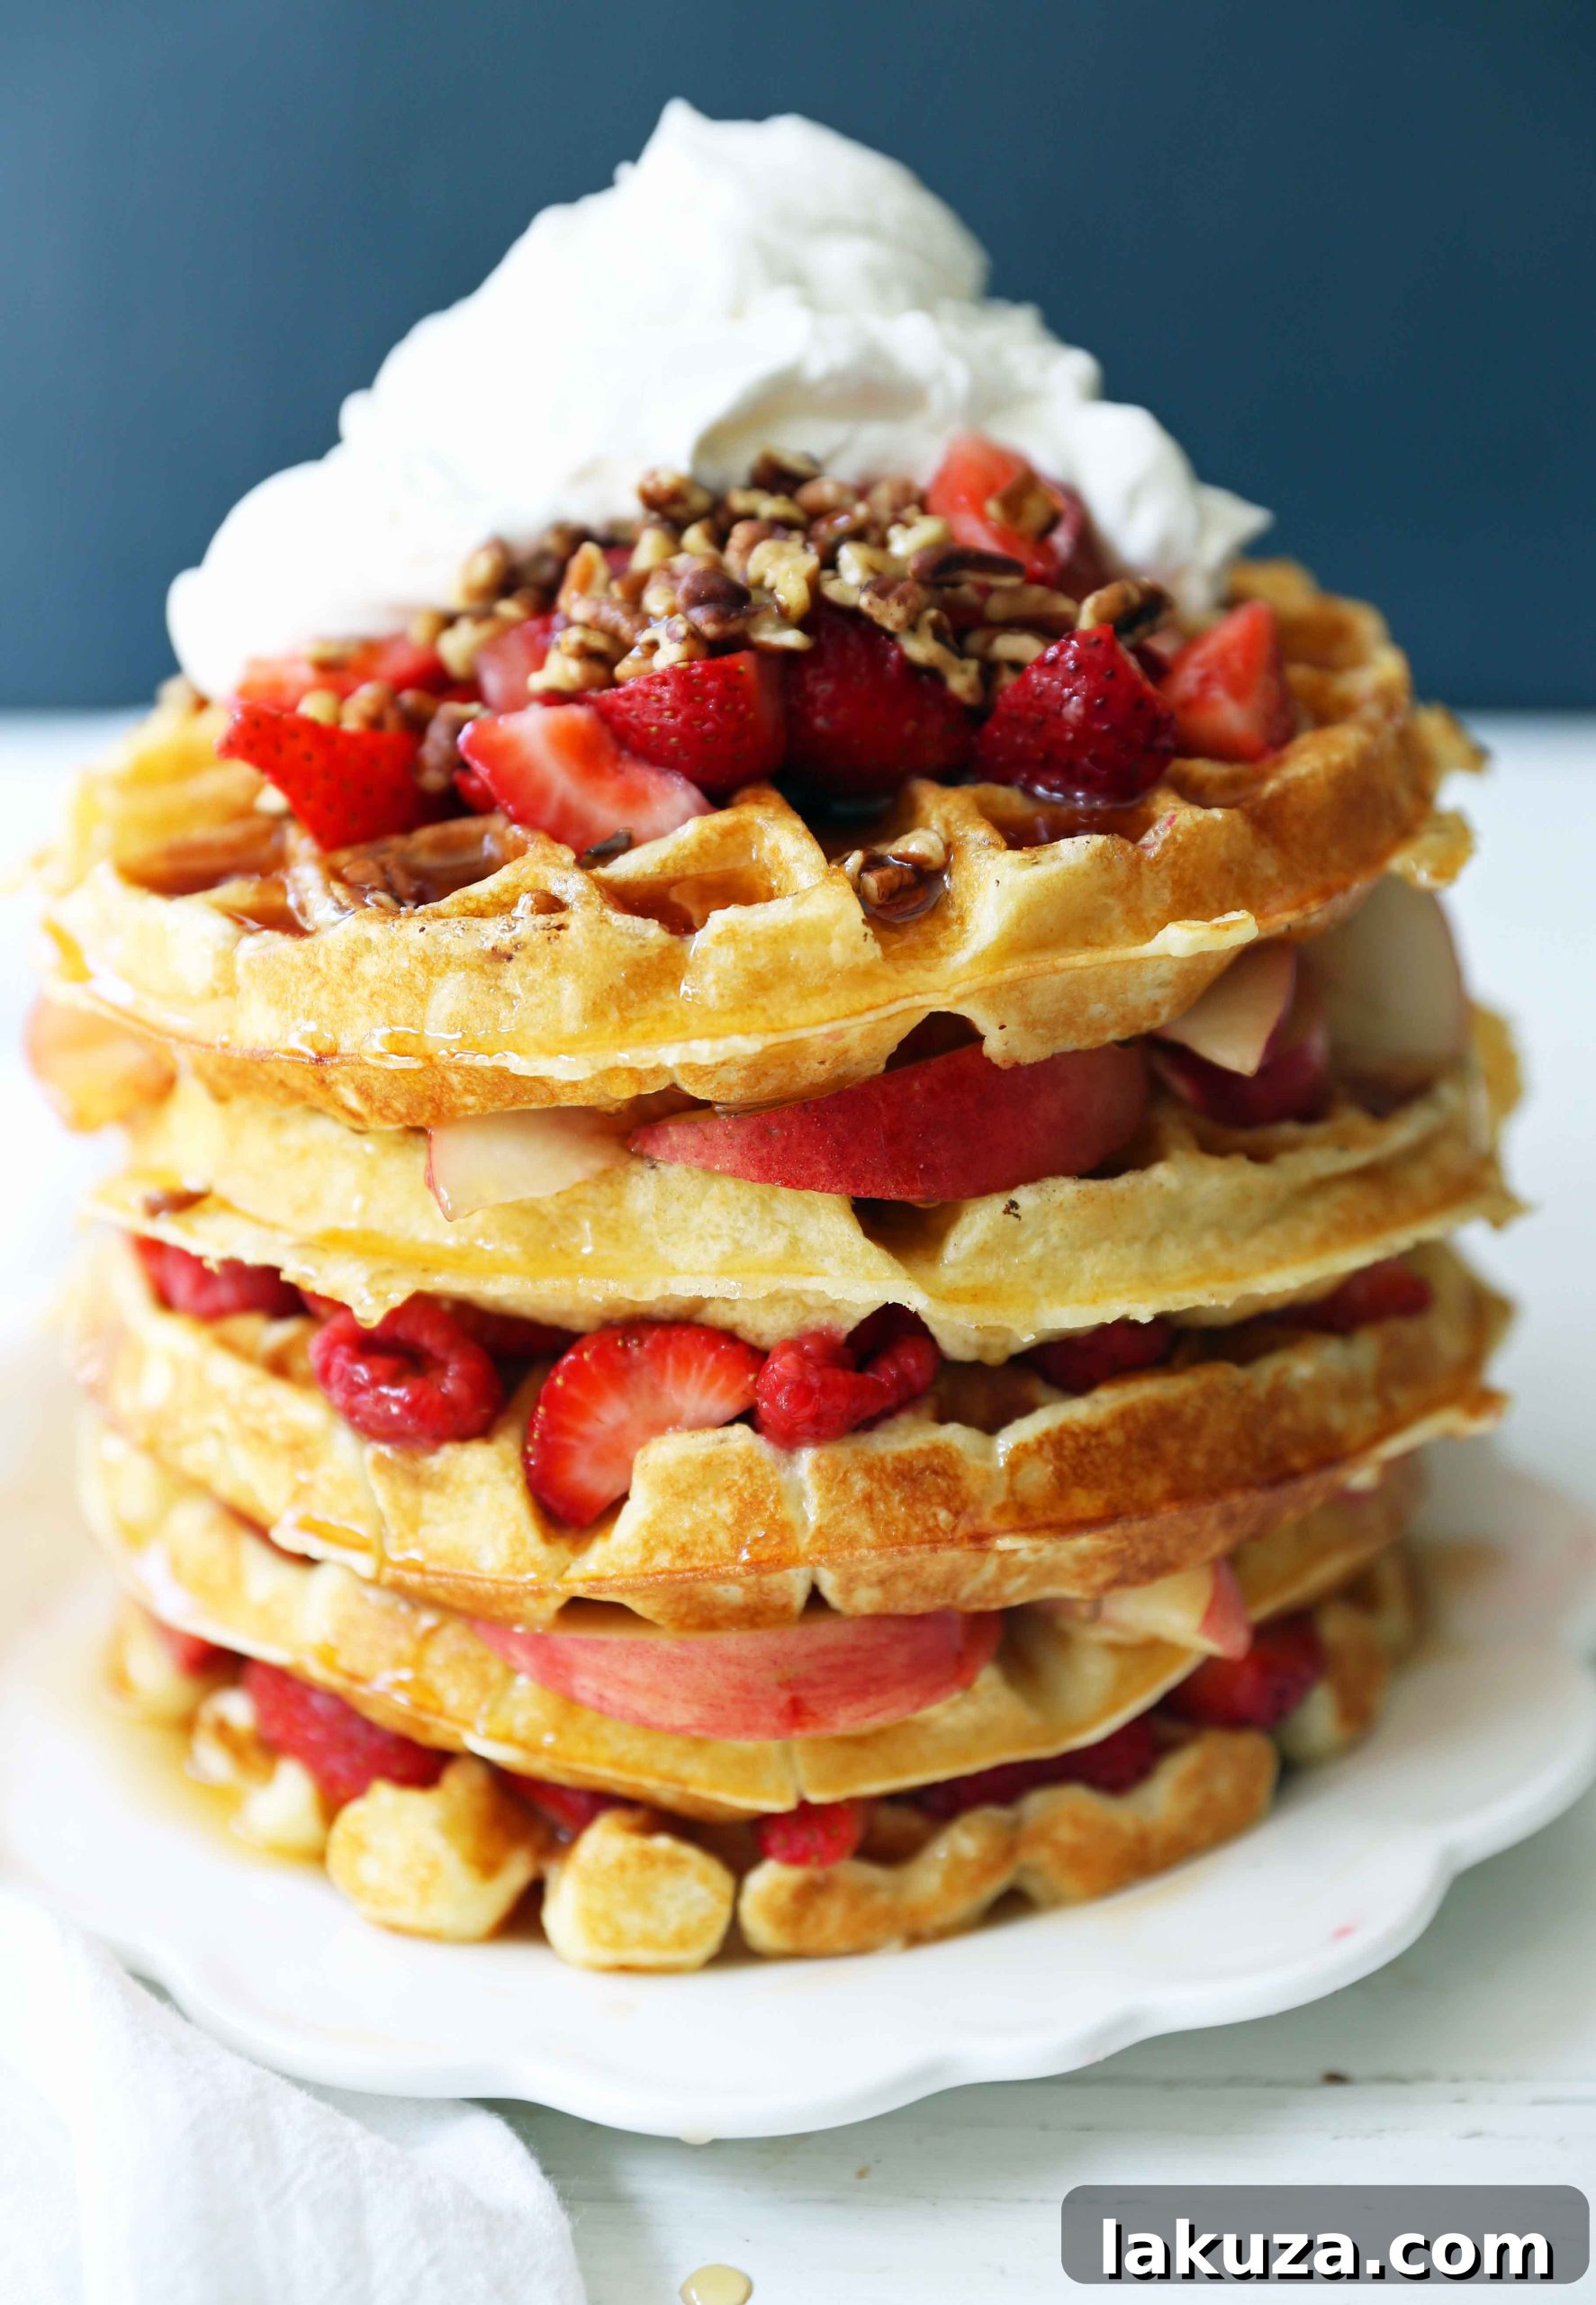
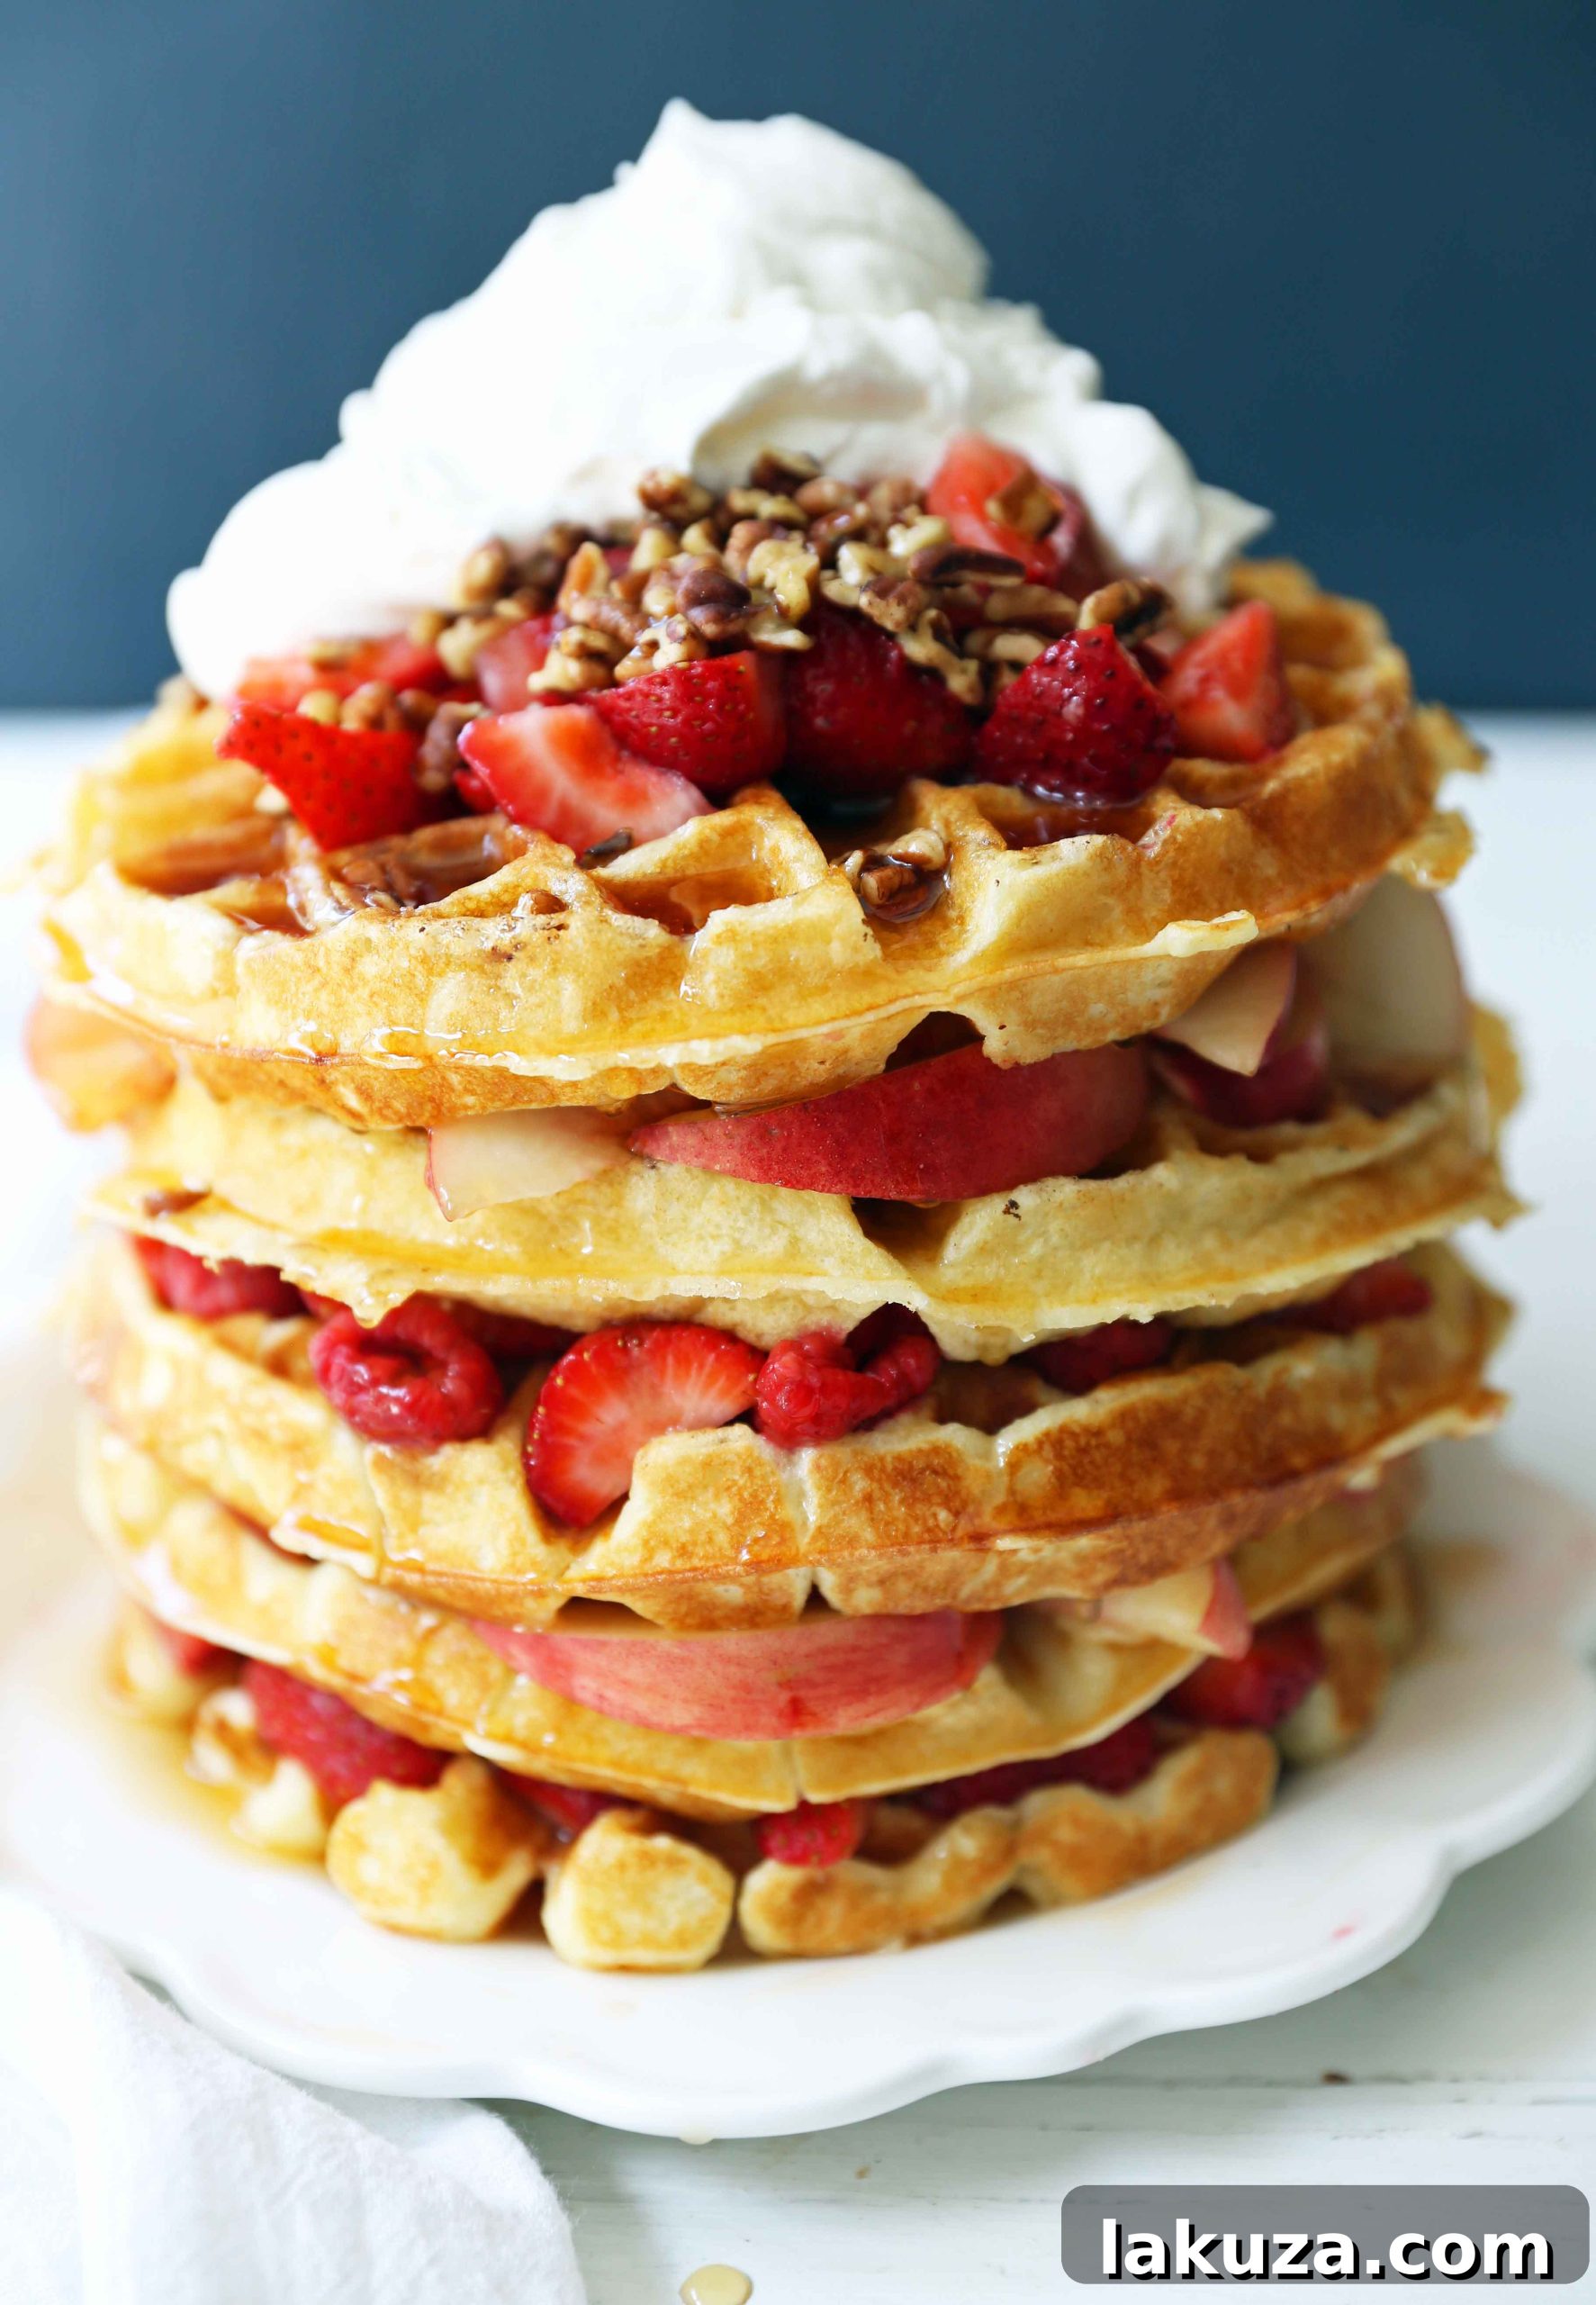
Effortless One-Bowl Buttermilk Waffles: Your New Go-To Recipe
Discover the secret to perfectly light, fluffy, and crispy homemade buttermilk waffles that come together in a single bowl. This quick and easy recipe promises delightful chewy centers and irresistibly golden, buttery edges every time.
There’s nothing quite like the aroma of freshly made waffles filling your kitchen on a lazy weekend morning, or even for a spontaneous weeknight dinner. For me, homemade waffles have been a cherished tradition since childhood. I practically grew up on them, and to this day, my mom still whips up a batch for our family, no matter the meal. The superior taste and texture of a waffle crafted from scratch are simply unparalleled compared to anything a box mix can offer.
Driven by a desire to simplify this beloved breakfast staple, I set out to create a truly effortless recipe. The goal was simple: achieve that classic buttermilk waffle perfection without any complicated steps or excessive cleanup. Forget the fuss of separating egg whites and gently folding them in; this innovative one-bowl method allows you to prepare your batter in less than five minutes, making homemade waffles more accessible than ever before. This recipe is designed for busy mornings, quick brunches, or whenever a craving for delicious waffles strikes without the extra effort.
The Magic of Buttermilk in Waffles
So, what makes buttermilk so essential for truly exceptional waffles? Buttermilk is more than just a liquid; it’s a key player in achieving that signature tender, slightly chewy texture that waffle lovers adore. Its acidity reacts beautifully with baking soda, creating tiny air pockets that contribute to a wonderfully light and fluffy interior. This chemical reaction is crucial for lift and tenderness, ensuring your waffles aren’t dense or heavy.
Don’t have buttermilk on hand? No problem! You can easily make your own substitute. Simply combine whole milk or 2% milk with two tablespoons of white vinegar or lemon juice. Let this mixture sit for 10-15 minutes, allowing it to slightly curdle and thicken. This creates a homemade buttermilk alternative that performs just as well in this recipe, ensuring you never have to put off making these delicious waffles.
While this recipe prioritizes simplicity, delivering amazing results without the extra step of whipping egg whites, it still captures the essence of a classic buttermilk waffle. If you’re a purist and enjoy the traditional method with whipped egg whites for an even lighter, airier texture, you can explore my Mama’s Buttermilk Waffles. However, for sheer ease and outstanding flavor, this one-bowl recipe is your ultimate time-saver.
Crafting Your Quick and Easy Buttermilk Waffles: Expert Tips
Achieving waffle perfection is simpler than you might think, especially with this streamlined one-bowl approach. Here are the steps and key tips to ensure your homemade buttermilk waffles are nothing short of spectacular:
- Combine Dry Ingredients Thoughtfully: Begin by whisking together the flour, baking powder, baking soda, salt, and sugar in a large mixing bowl. The key here is not to overmix. A gentle stir with a spoon or whisk is all that’s needed to combine them. Overmixing flour can develop gluten too much, leading to tough waffles instead of the tender texture we’re aiming for. Ensure all ingredients are evenly distributed, laying the foundation for a perfectly balanced batter.
- Introduce the Buttermilk (or Substitute): As discussed, buttermilk is a cornerstone of this recipe. Add the buttermilk (or your homemade substitute) to the dry ingredients. The acidity will immediately begin to react with the leavening agents, preparing your batter for lift and tenderness. This contributes significantly to the characteristic soft interior and slightly tangy flavor of these exquisite buttermilk waffles.
- Incorporate the Wet Ingredients with Care: Next, add the eggs, egg white, barely melted butter, vegetable oil, and vanilla extract to the bowl. The combination of butter and oil is a deliberate choice: butter infuses the waffles with its rich, irresistible flavor, while the oil helps to achieve those coveted crispy edges and prevents sticking. Gently fold all the wet ingredients into the dry mixture until just combined. A few lumps are perfectly fine; in fact, they’re preferred over an overmixed, smooth batter. Overmixing at this stage can also lead to less tender waffles.
- Prepare Your Waffle Iron: A properly preheated and greased waffle iron is crucial for success. Heat your waffle iron according to the manufacturer’s instructions. Once hot, spray it thoroughly with non-stick cooking spray or brush it lightly with melted butter before pouring in the batter. For an extra boost of flavor and to ensure every waffle releases perfectly, we often spray the iron first and then add a touch of butter between each waffle. A good waffle maker makes a difference! This is a highly recommended waffle maker, and here’s another top-rated, more budget-friendly option if you’re looking for alternatives.
- Cook to Golden Perfection: Pour the waffle batter onto the hot waffle iron, filling it just enough to cover the grid without overflowing. Close the lid and cook until golden brown and crispy. Cooking times will vary depending on your waffle iron, but typically this takes 3-5 minutes. The waffle iron’s indicator light will often signal when it’s done, or you can judge by the steam ceasing and the color.
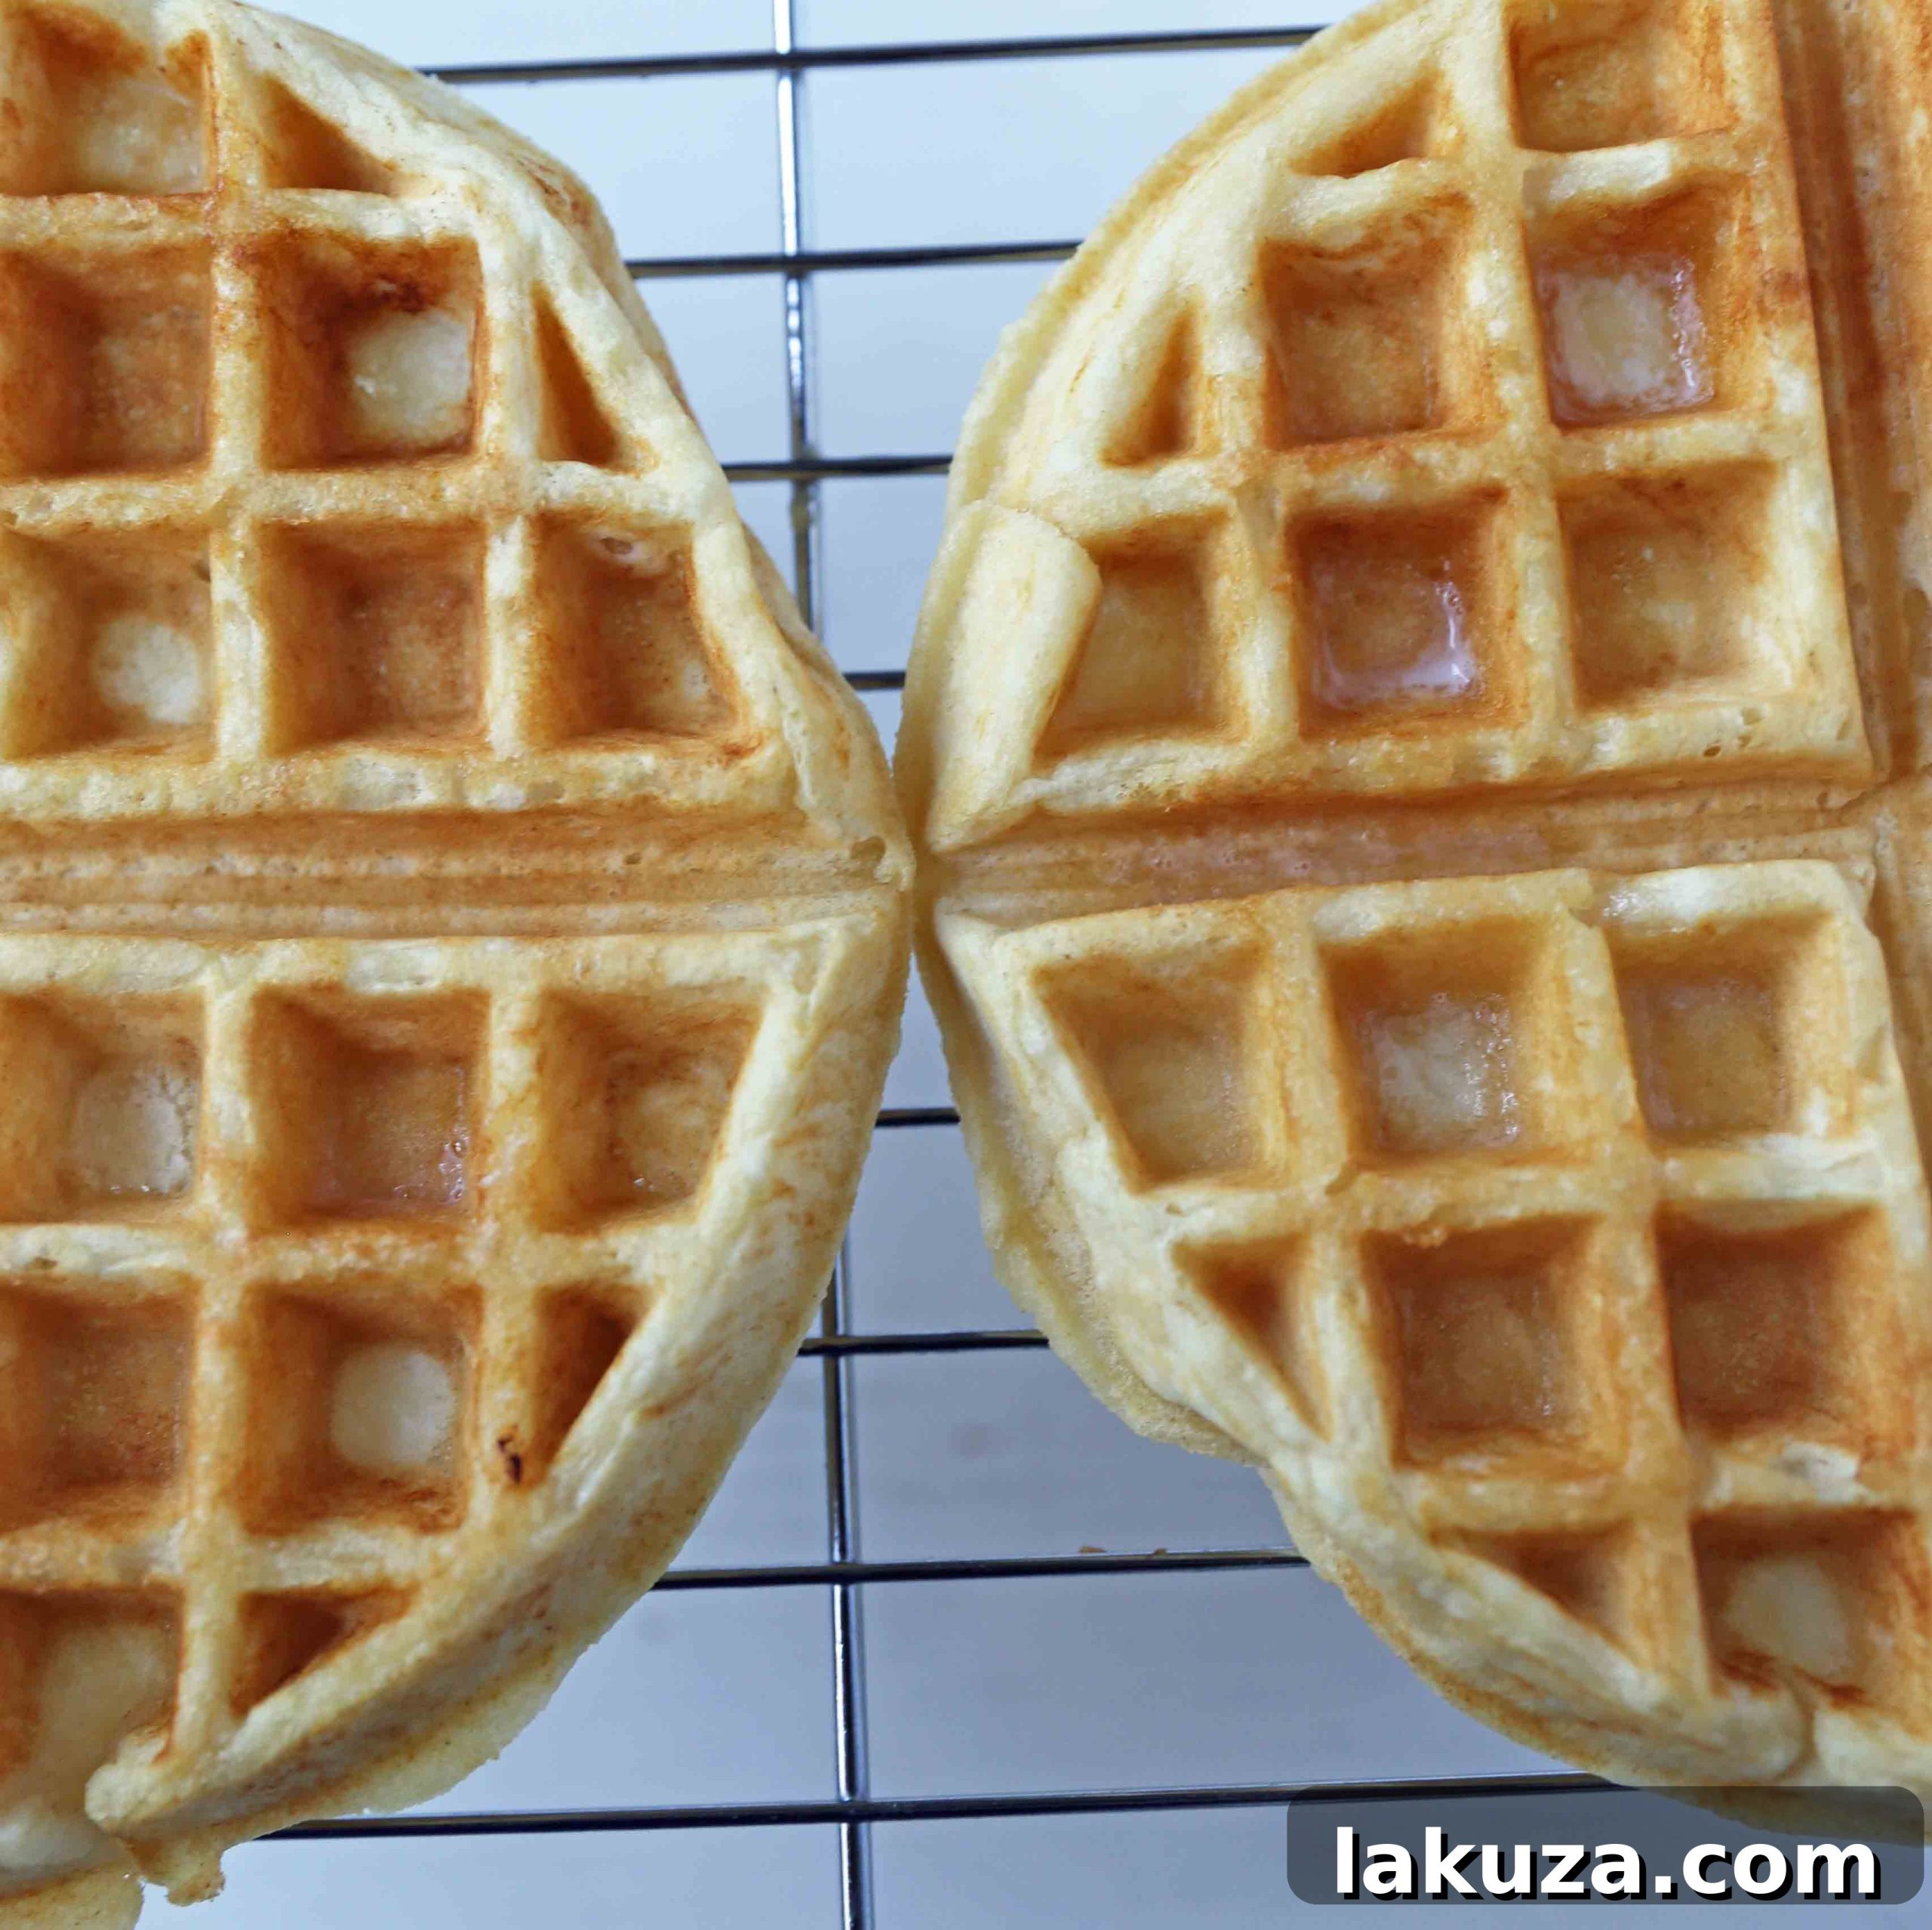
- Cooling for Crispiness: Once cooked, immediately remove the waffles from the iron and transfer them to a wire cooling rack. It’s vital to avoid stacking them on a plate right away. Placing them on a rack allows steam to escape, preventing them from becoming soggy and ensuring they retain their beautiful crispy exterior. This simple step is a game-changer for waffle texture!
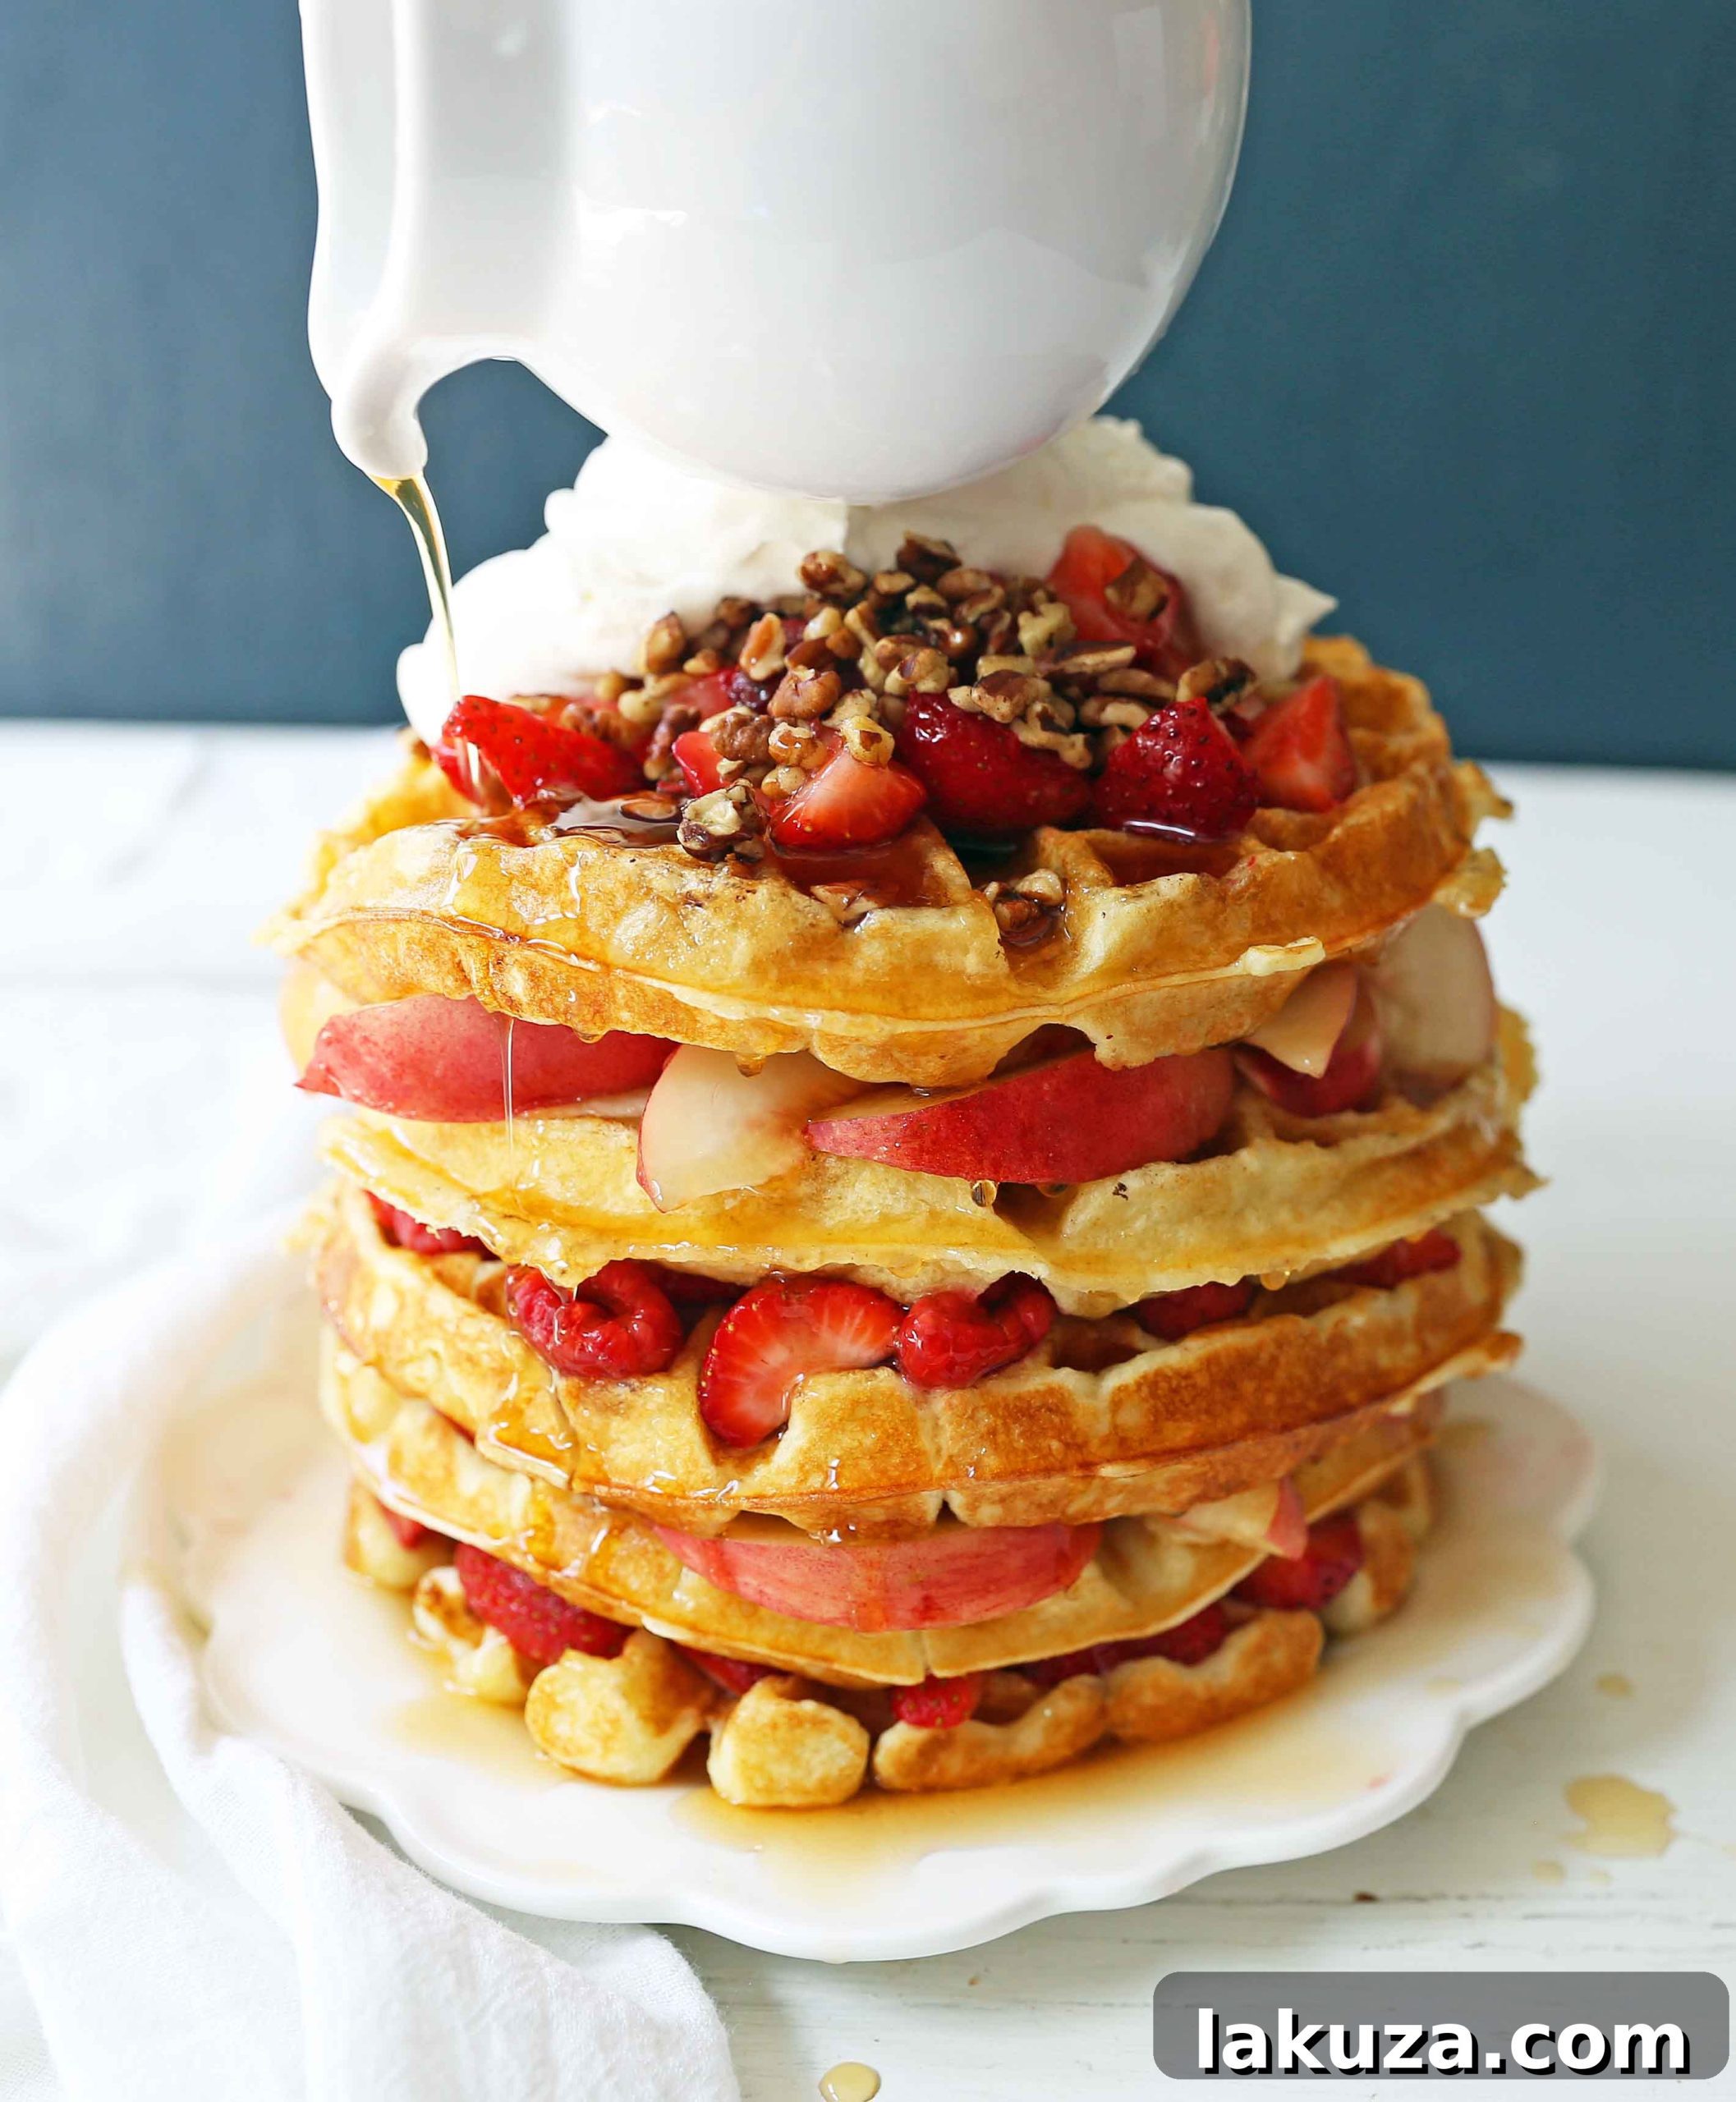
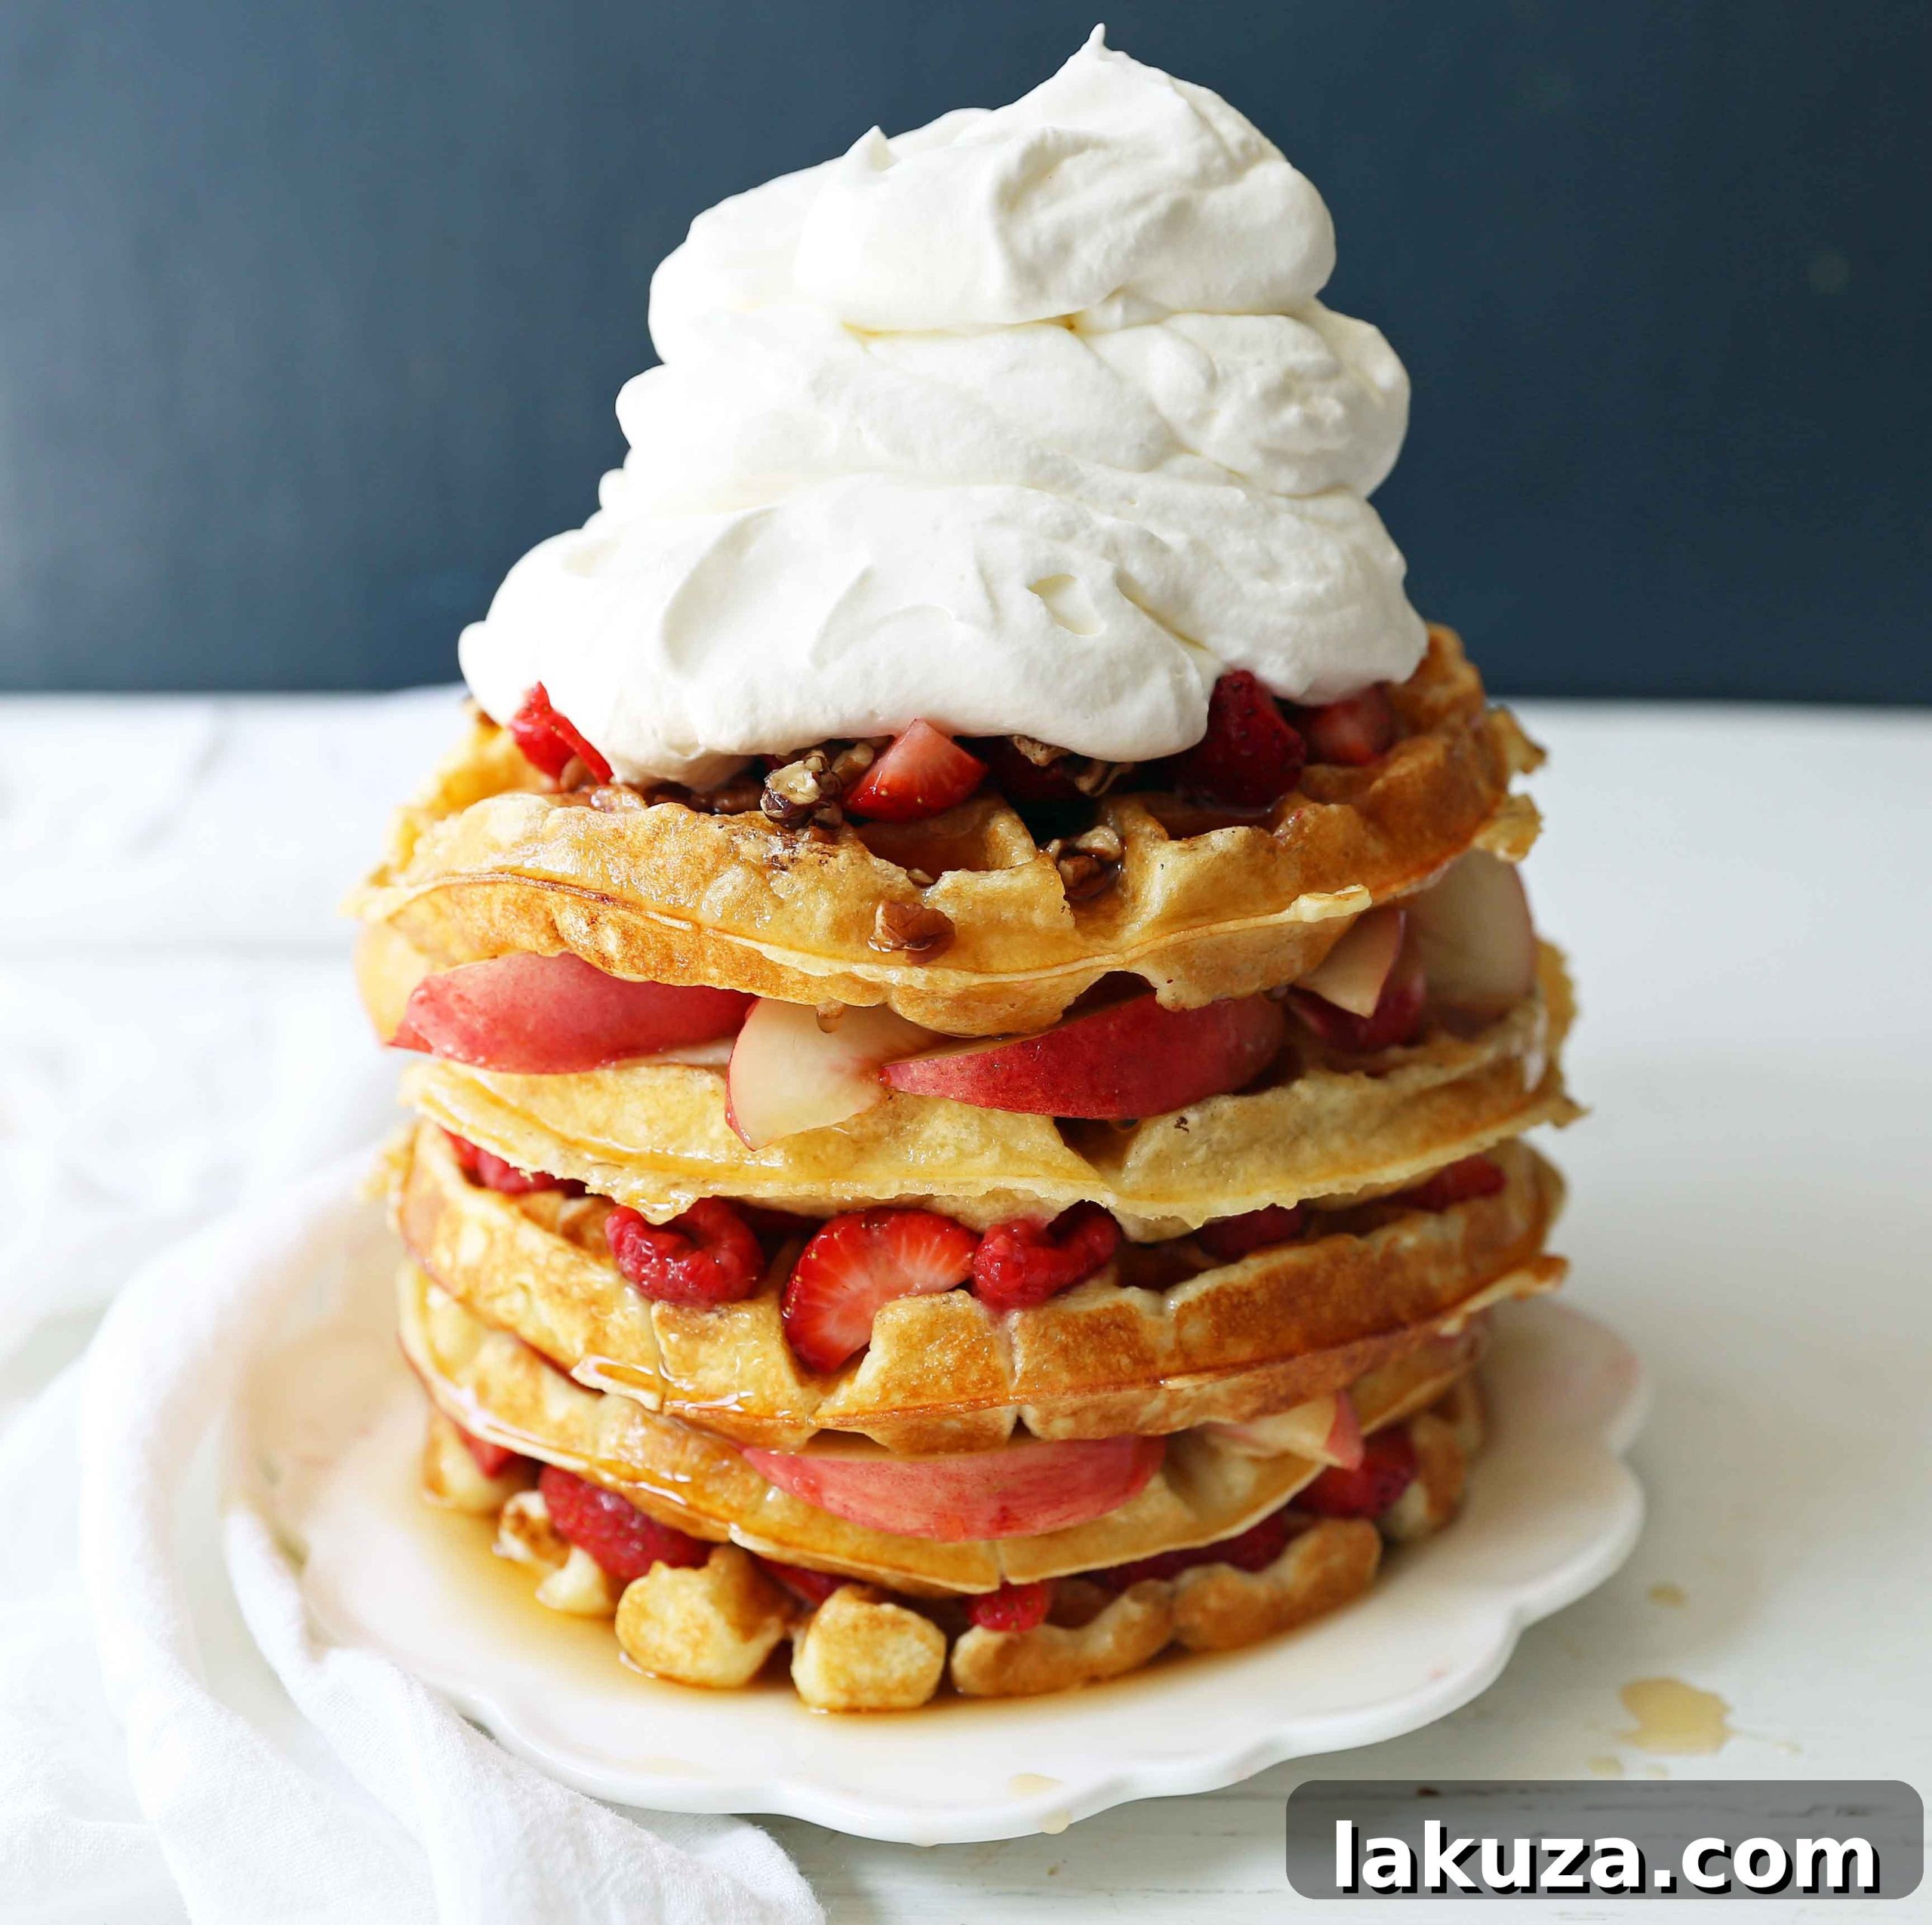
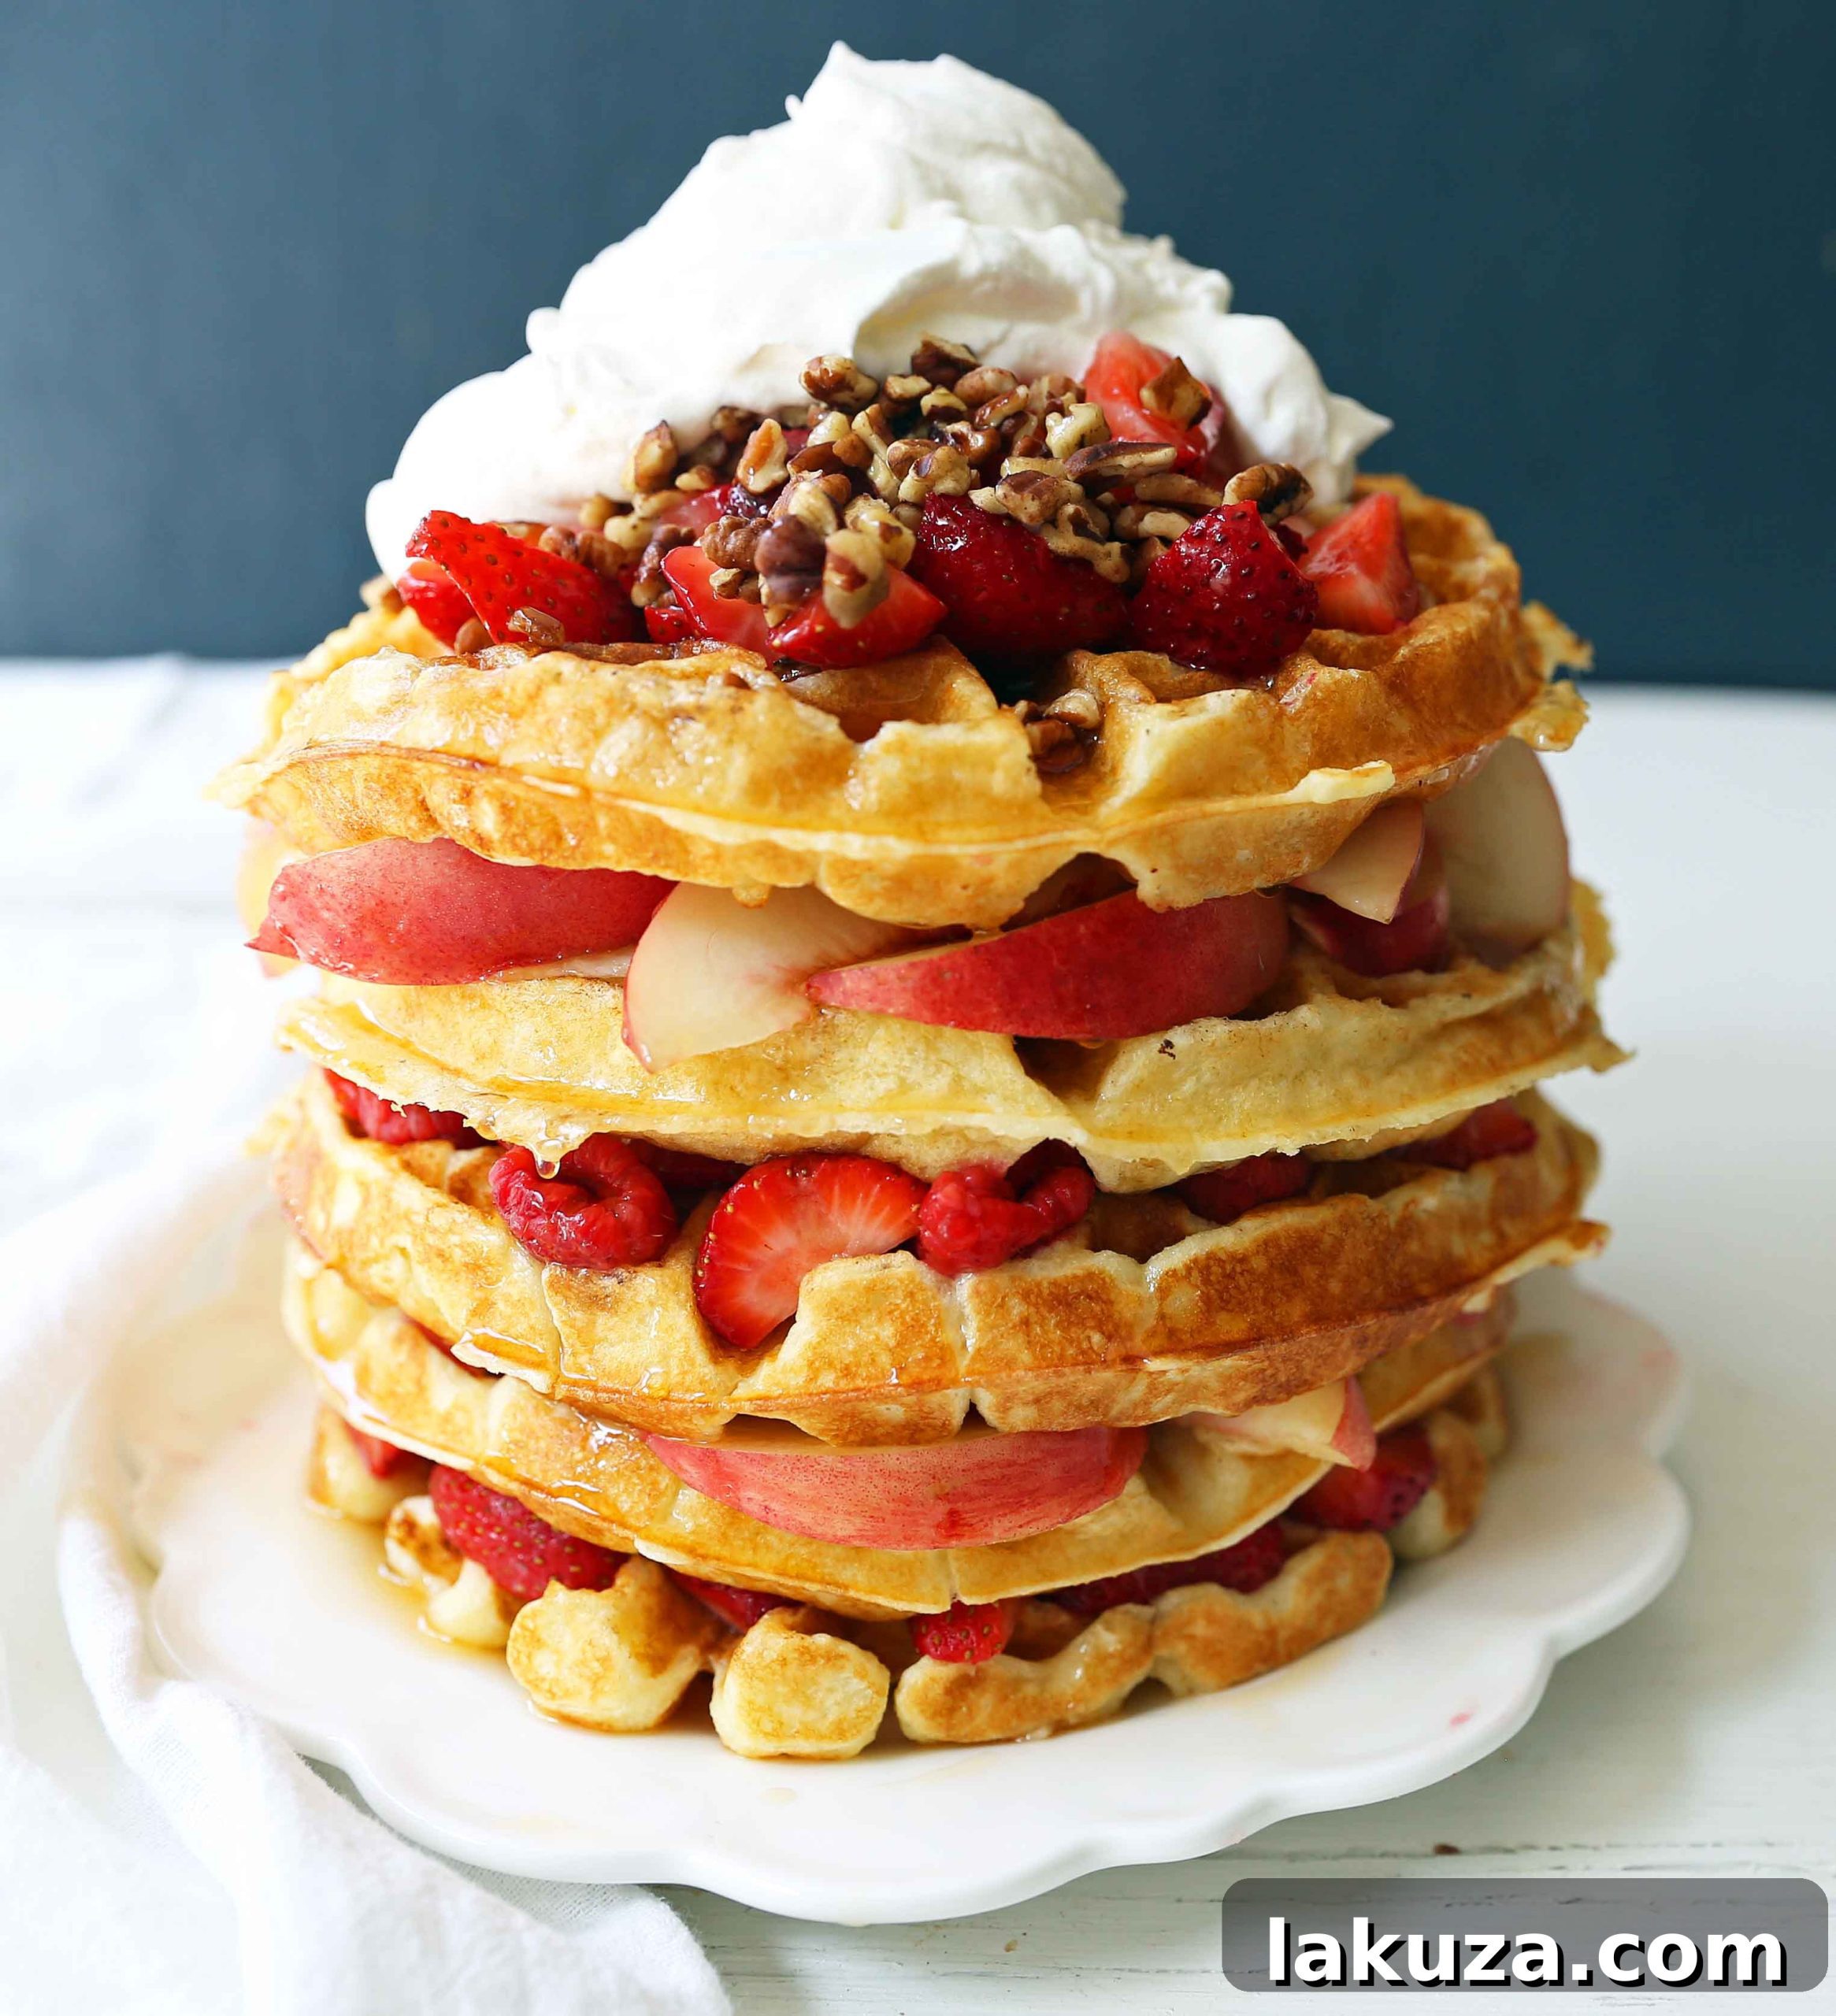
- Customize with Your Favorite Toppings: The final, and arguably most fun, step is dressing your magnificent waffles! Drench them in warm maple syrup, adorn them with a dollop of fresh whipped cream, pile on an assortment of fresh fruits, or sprinkle with nuts. The possibilities are endless, allowing everyone to create their ultimate waffle masterpiece.
Elevate Your Waffle Experience: Irresistible Topping Ideas
Waffles are a canvas for culinary creativity, and the right toppings can transform a great waffle into an unforgettable one. While the classic butter and maple syrup combination is always a winner, don’t be afraid to experiment! Here are some beloved and creative topping combinations to inspire your next waffle feast:
- Strawberry Delight: Sliced fresh strawberries generously topped with fluffy whipped cream and a drizzle of pure maple syrup. A timeless and vibrant combination.
- Peach Perfection: Sweet, juicy peach slices (fresh or canned) paired with a dollop of whipped cream. A taste of summer in every bite.
- Chocolate Hazelnut Dream: A luscious spread of Nutella, crowned with fresh strawberries for a touch of fruity balance.
- Berry Nut Crunch: A medley of fresh raspberries, crunchy pecans, and a cloud of whipped cream. The textures and flavors are divine.
- Tropical Banana Walnut: Sliced ripe bananas, toasted walnuts, and a generous pour of real maple syrup. Comforting and satisfying.
- Biscoff Bliss: Creamy Biscoff spread slathered over warm waffles, adorned with fresh raspberries and strawberries, and finished with whipped cream. A truly decadent treat.
- Cinnamon Sugar Swirl: A simple yet satisfying sprinkle of cinnamon sugar, complemented by light whipped cream. Reminiscent of a warm cinnamon roll.
- Savory Surprise: For a twist, consider savory toppings! Crispy fried chicken, a perfectly poached egg, or even a dollop of plain Greek yogurt with chives can turn your waffles into a gourmet meal.
- Apple Pie Waffles: Sautéed apple slices with cinnamon, a scoop of vanilla ice cream, and a caramel drizzle.
- Lemon Berry Burst: A spoonful of lemon curd, mixed berries, and a dusting of powdered sugar for a bright, tangy finish.
Experimentation is key! Think about what you love and how different flavors and textures can complement the rich, buttery goodness of these homemade buttermilk waffles.
Storage and Reheating Tips for Buttermilk Waffles
Have leftover waffles? Lucky you! These easy buttermilk waffles are perfect for making ahead and enjoying later. Proper storage ensures they retain their delightful texture when reheated:
- Cool Completely: Always let your waffles cool completely on a wire rack before storing. Storing warm waffles will trap moisture and make them soggy.
- Refrigeration: For short-term storage (1-2 days), place cooled waffles in an airtight container or a resealable bag in the refrigerator.
- Freezing for Later: For longer storage (up to 3 months), arrange cooled waffles in a single layer on a baking sheet and freeze until solid. Once frozen, transfer them to a freezer-safe bag or container, separating layers with parchment paper to prevent sticking.
- Reheating for Crispiness:
- Toaster or Toaster Oven: This is the best method for regaining crispiness. Reheat frozen waffles for 2-4 minutes, or refrigerated waffles for 1-2 minutes, until hot and crisp.
- Oven: Preheat your oven to 300°F (150°C). Place waffles directly on an oven rack and bake for about 10 minutes (from frozen) or 5-7 minutes (from refrigerated), flipping halfway through, until heated through and crisp.
- Microwave (Not Recommended for Crispiness): While you can microwave waffles for a quick reheat, they will likely be soft, not crispy. Only use if time is of the essence and crispiness isn’t a priority.
These tips ensure that even your pre-made waffles can be enjoyed with that delicious, freshly-cooked crispness, making them an excellent meal prep option for busy mornings.
I absolutely love hearing from you! If you whip up this incredible one-bowl buttermilk waffle recipe, please do me a favor and leave a comment below with your rating. Your feedback truly brightens my day! And if you share any of my recipes on Instagram, remember to tag me @modern_honey so I can admire your wonderful creations. Don’t forget to use the hashtag #modernhoney – it’s one of my favorite ways to see you bring these recipes to life in your own kitchens. Thank you for your continued support; I truly have the greatest readers.
FOLLOW ME ON: INSTAGRAM — FACEBOOK — PINTEREST
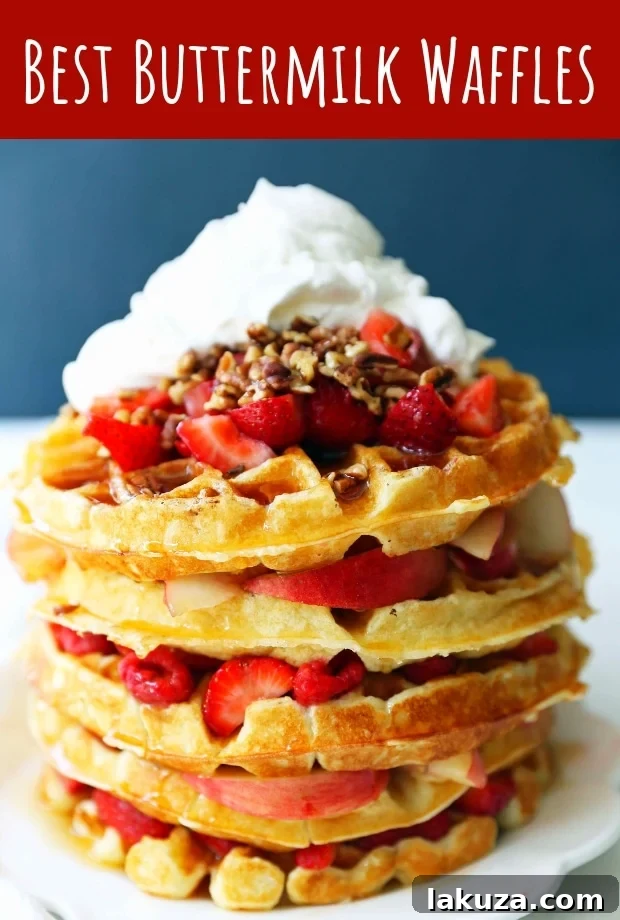
Pin on Pinterest for later:
One Bowl Easy Buttermilk Waffles
Ingredients
- 2 cups All-Purpose Flour
- 2 teaspoons Baking Powder
- 1 teaspoon Baking Soda
- 3/4 teaspoon Salt
- 2 Tablespoons Granulated Sugar
- 1 3/4 cup Buttermilk
- 2 large Eggs
- 1 large Egg White
- 6 Tablespoons Unsalted Butter (barely melted)
- 2 Tablespoons Vegetable Oil (or canola oil)
- 1-2 teaspoons Vanilla Extract
Instructions
-
In a large mixing bowl, combine the flour, baking powder, baking soda, salt, and sugar. Whisk gently until well combined.
-
Add the buttermilk, two large eggs, one egg white, barely melted butter, vegetable oil, and vanilla extract to the dry ingredients. Fold all ingredients together until just mixed. Be careful not to overmix; a few lumps are fine.
-
Preheat your waffle iron. Once ready, lightly spray it with non-stick cooking spray or brush with a touch of melted butter. Pour the waffle batter into the hot waffle iron and cook according to your iron’s instructions until golden brown and crispy.
-
Remove the cooked waffles from the waffle maker and place them on a wire cooling rack if not serving immediately. This allows steam to escape, keeping them delightfully crispy.
-
Serve warm and top with your favorite additions like butter, real maple syrup, homemade whipped cream, and fresh fruit.
Notes
Nutrition information is automatically calculated, so should only be used as an approximation.
Additional Information
Happy Cooking, my friends!