
Irresistible Chocolate Crinkle Cookies: Your Ultimate Guide to Holiday Baking
Discover the magic of soft, chewy, rich, and fudgy chocolate cookies, beautifully rolled in a delightful sugar coating and baked to perfection with their signature crinkled edges.
As the festive season draws near, the aroma of freshly baked goods fills homes with warmth and joy. And what better way to celebrate than with a batch of classic Chocolate Crinkle Cookies? These beloved treats are more than just a dessert; they are a timeless holiday tradition, a staple on every Christmas cookie platter, and an absolute delight for anyone who loves rich, decadent chocolate.
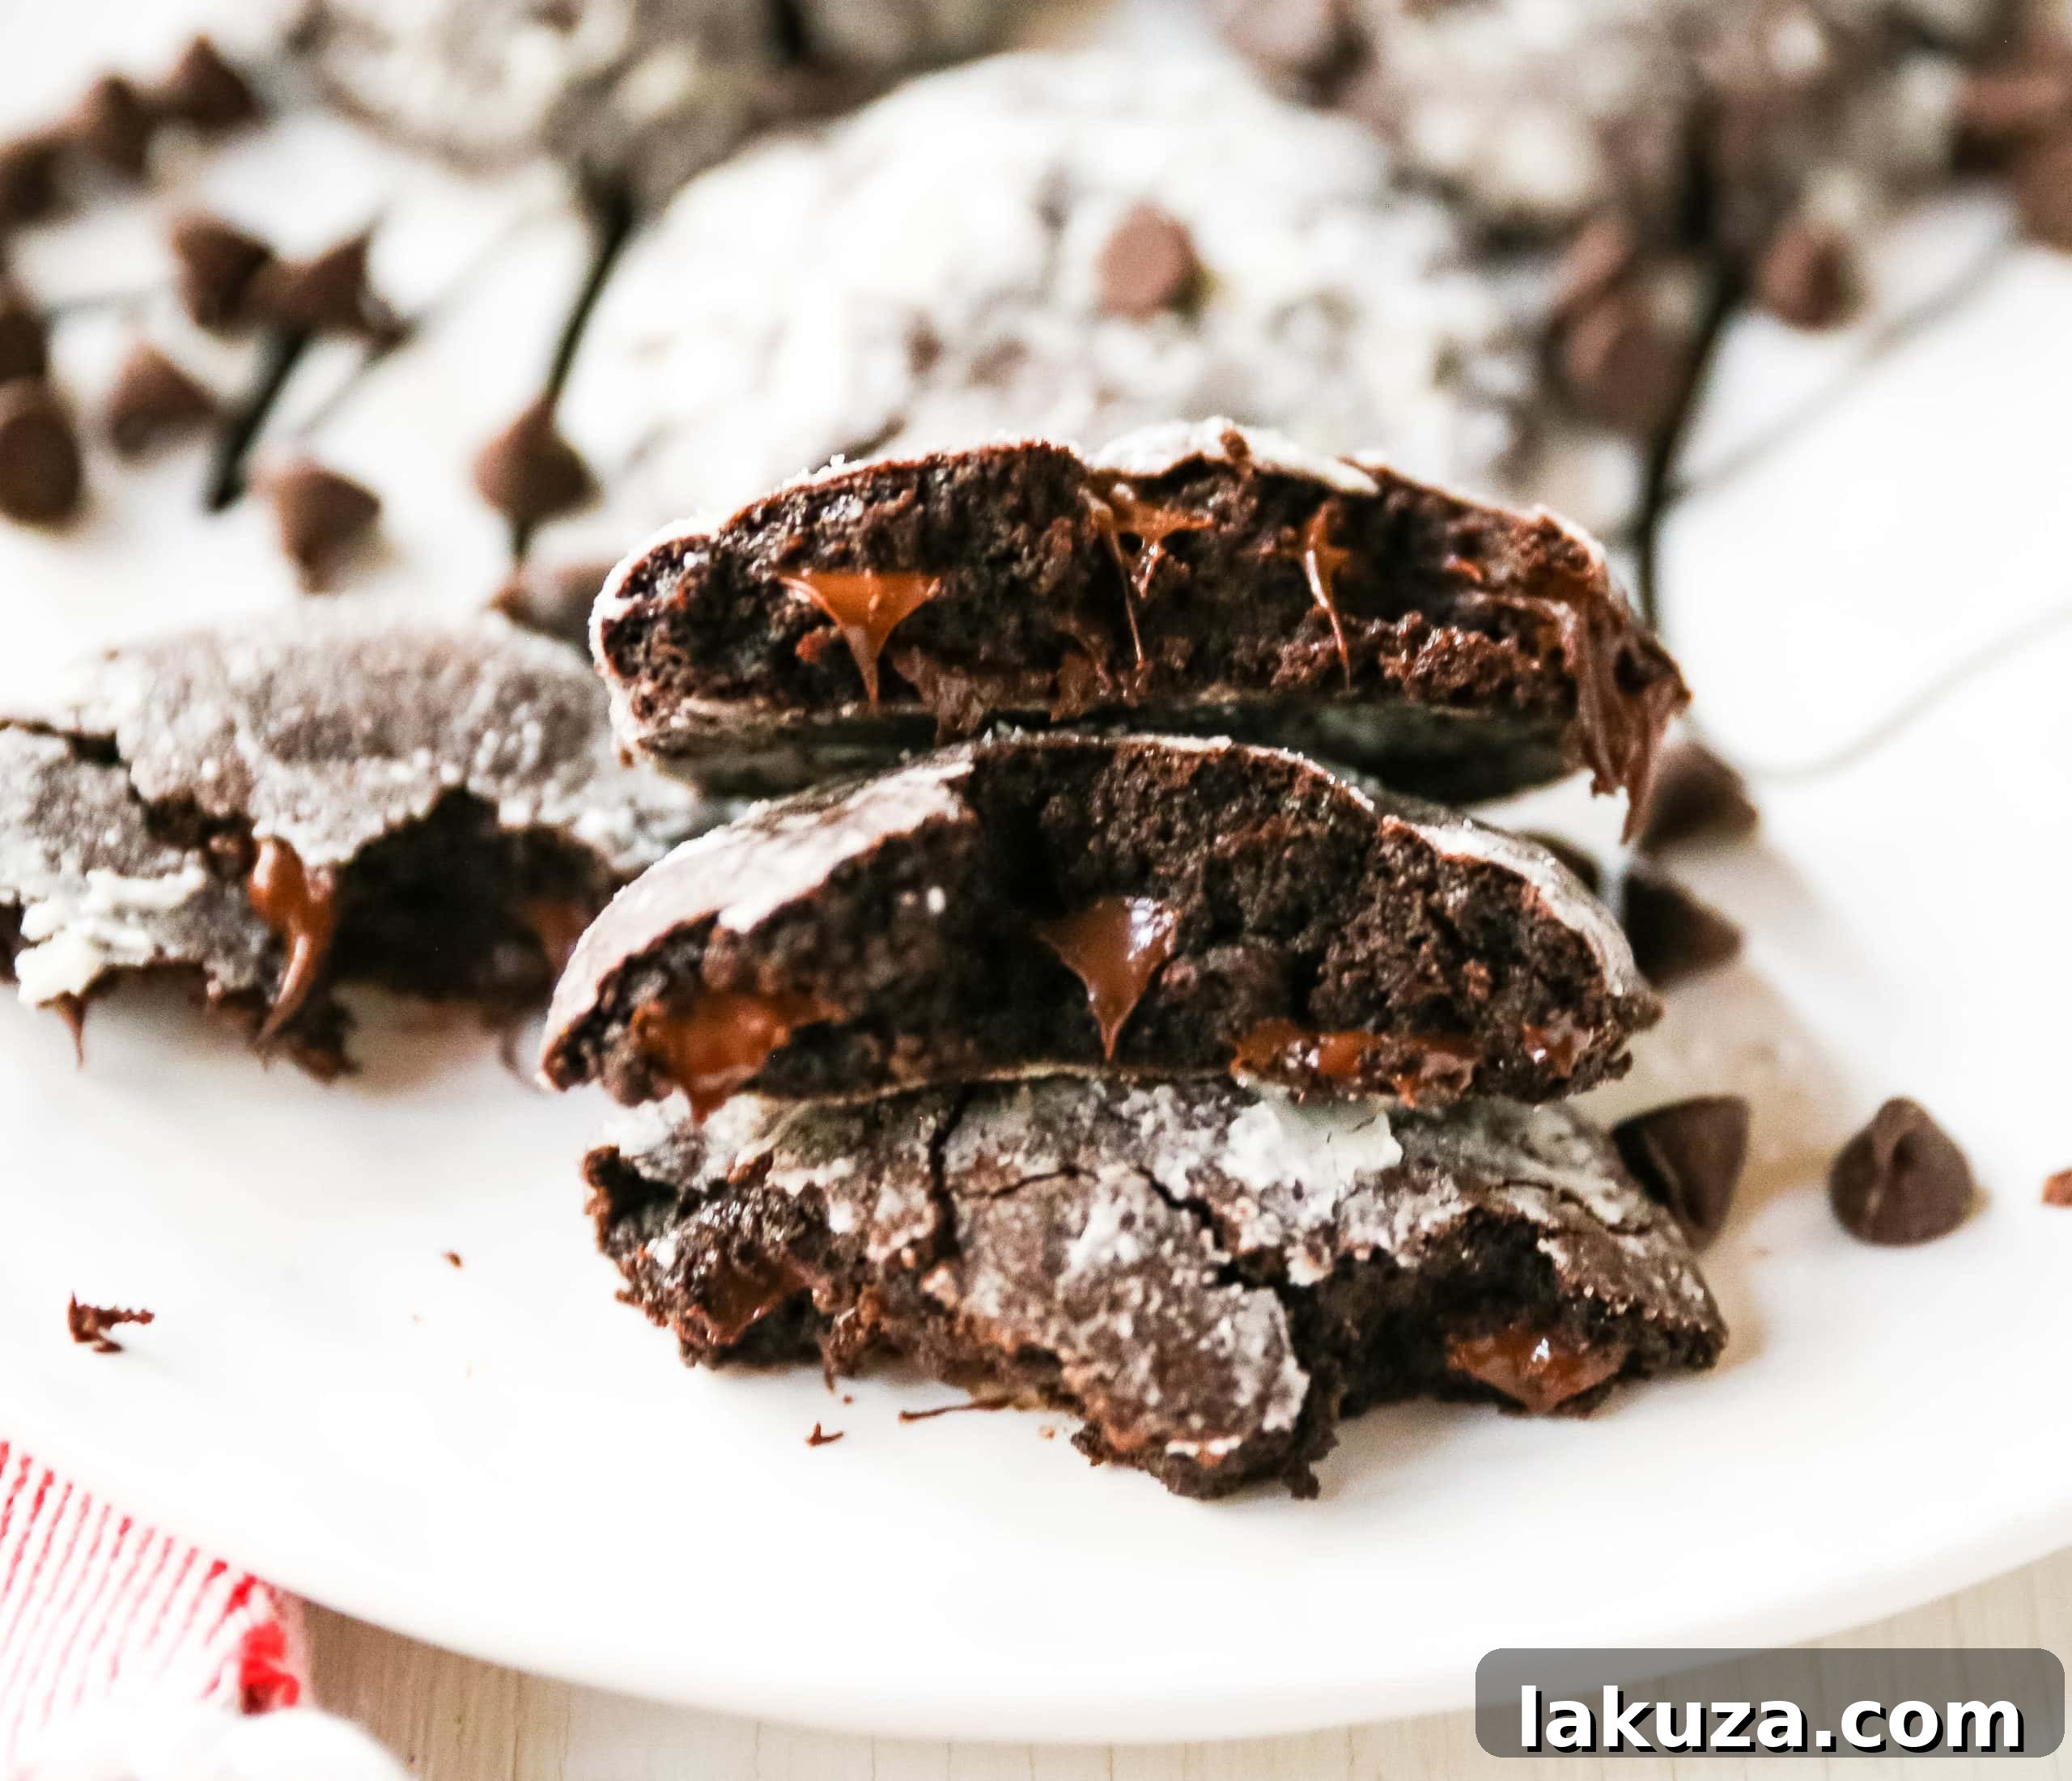
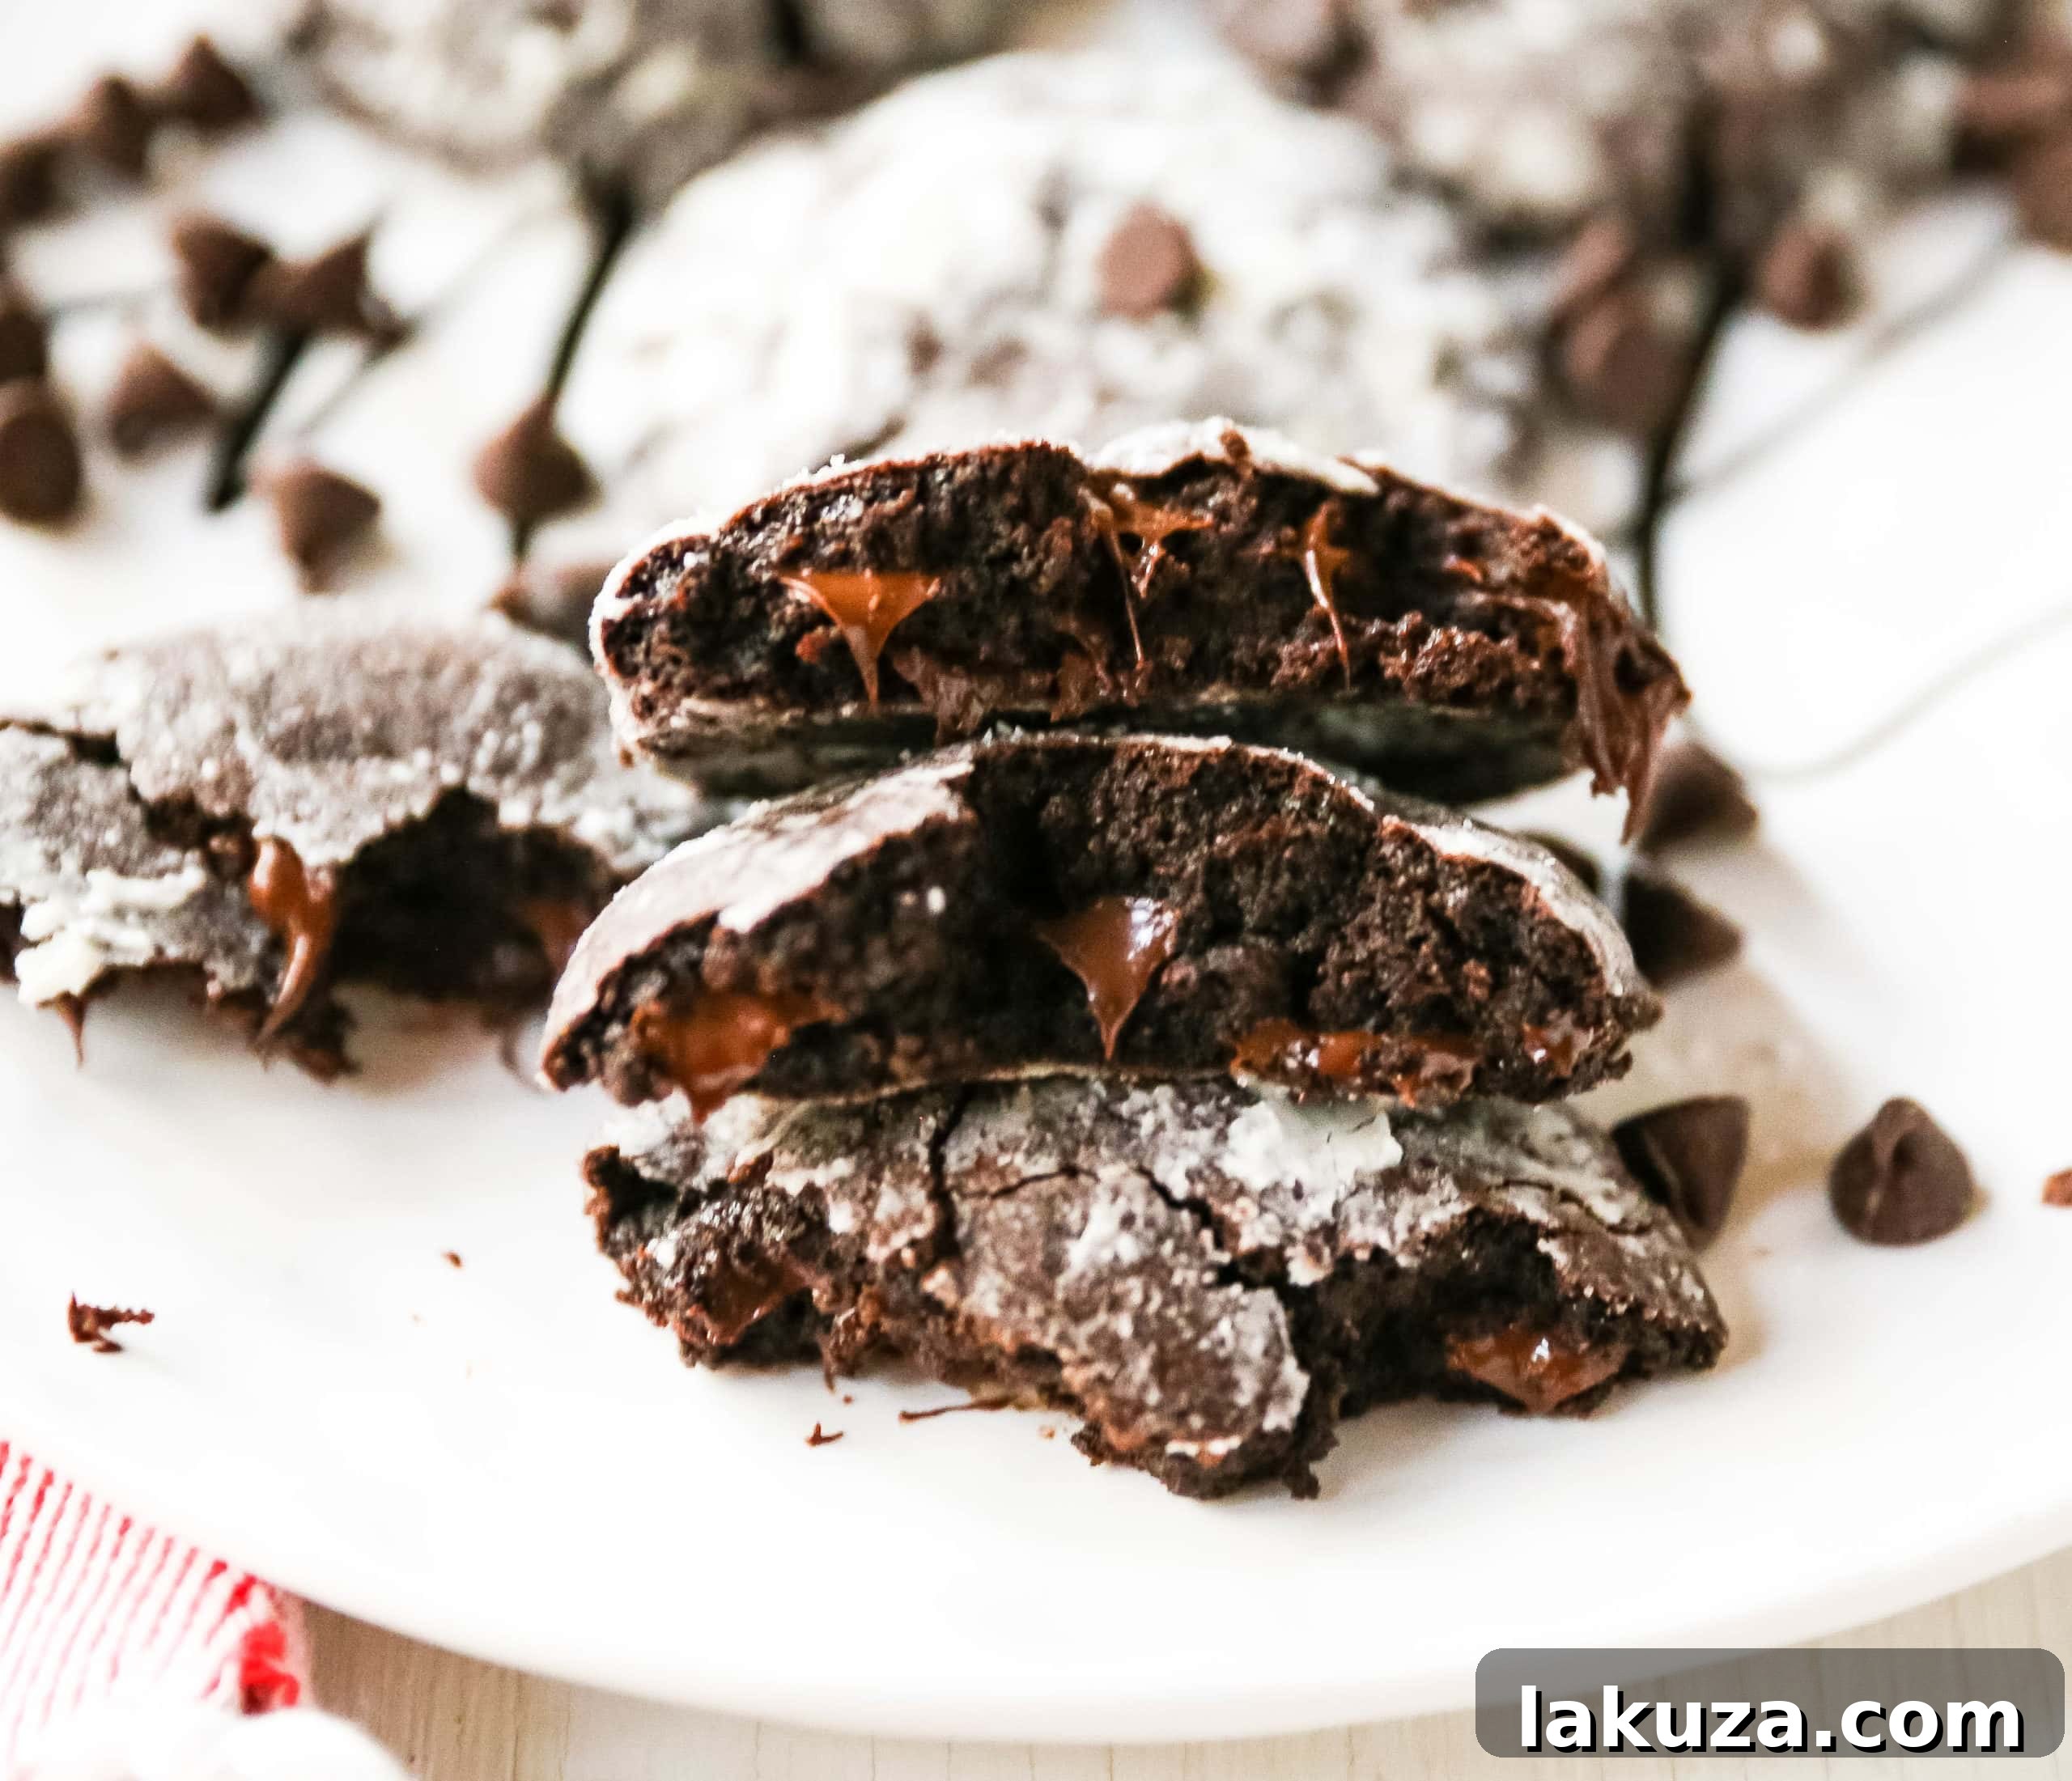
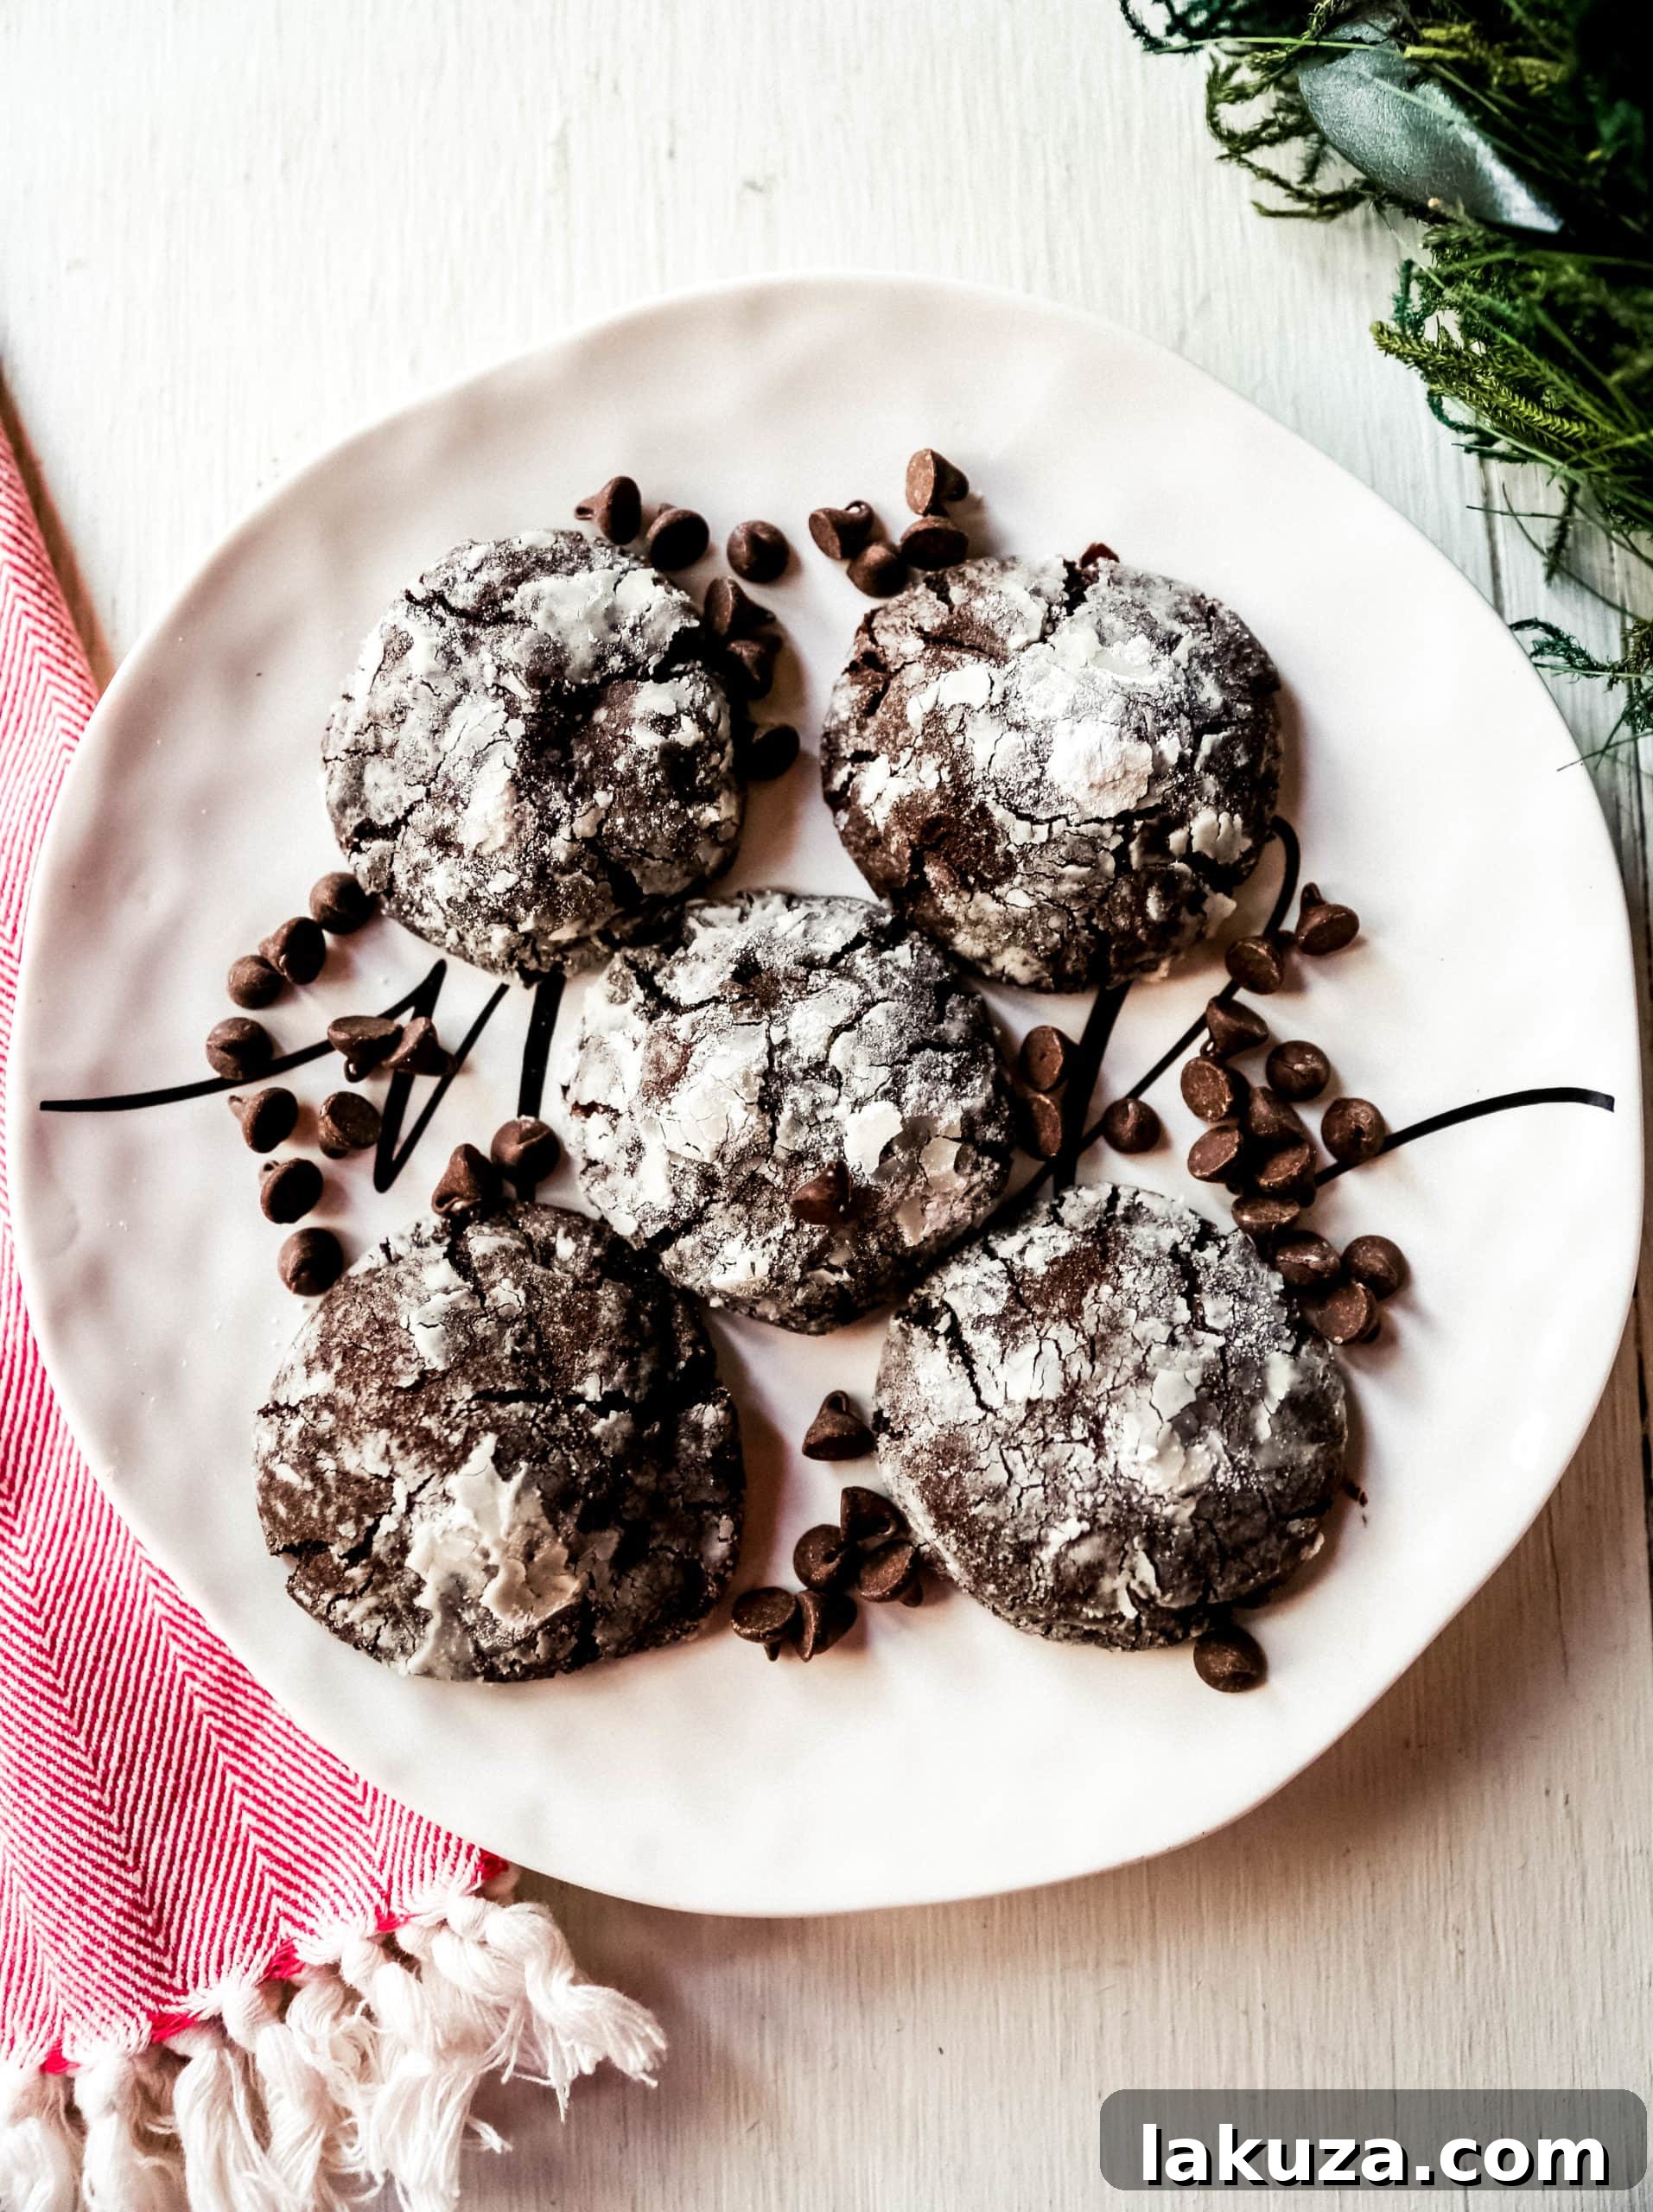
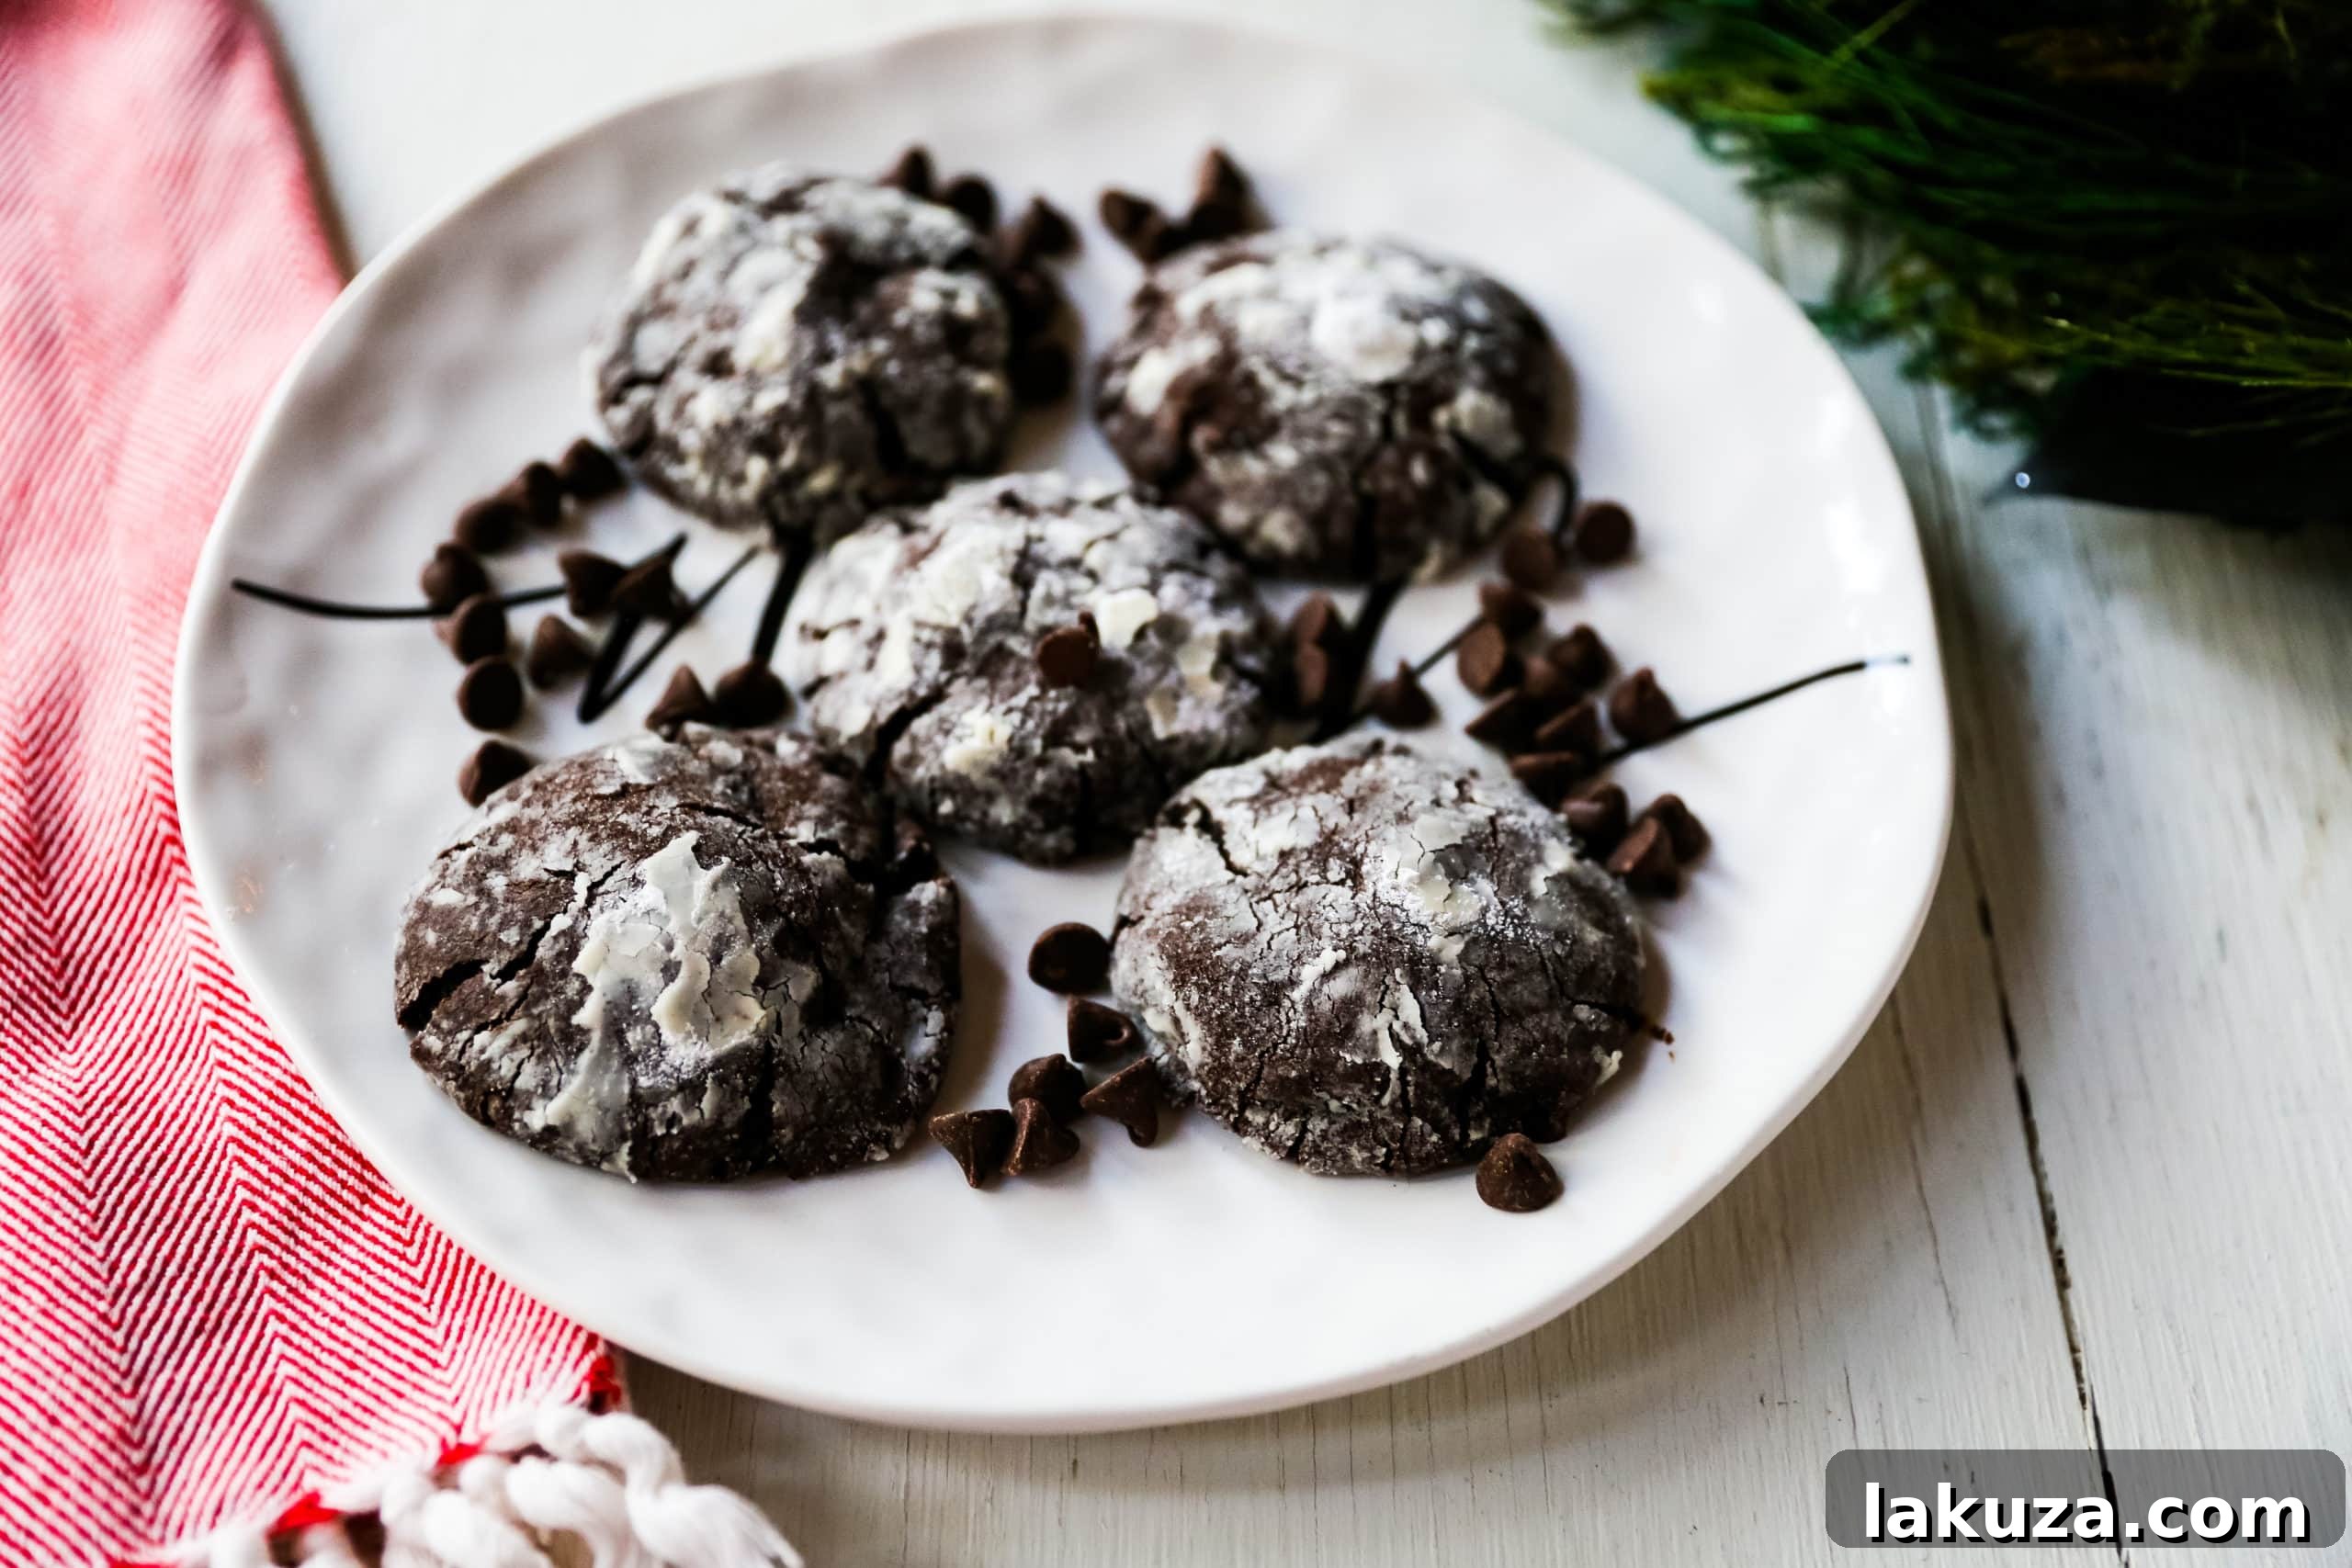
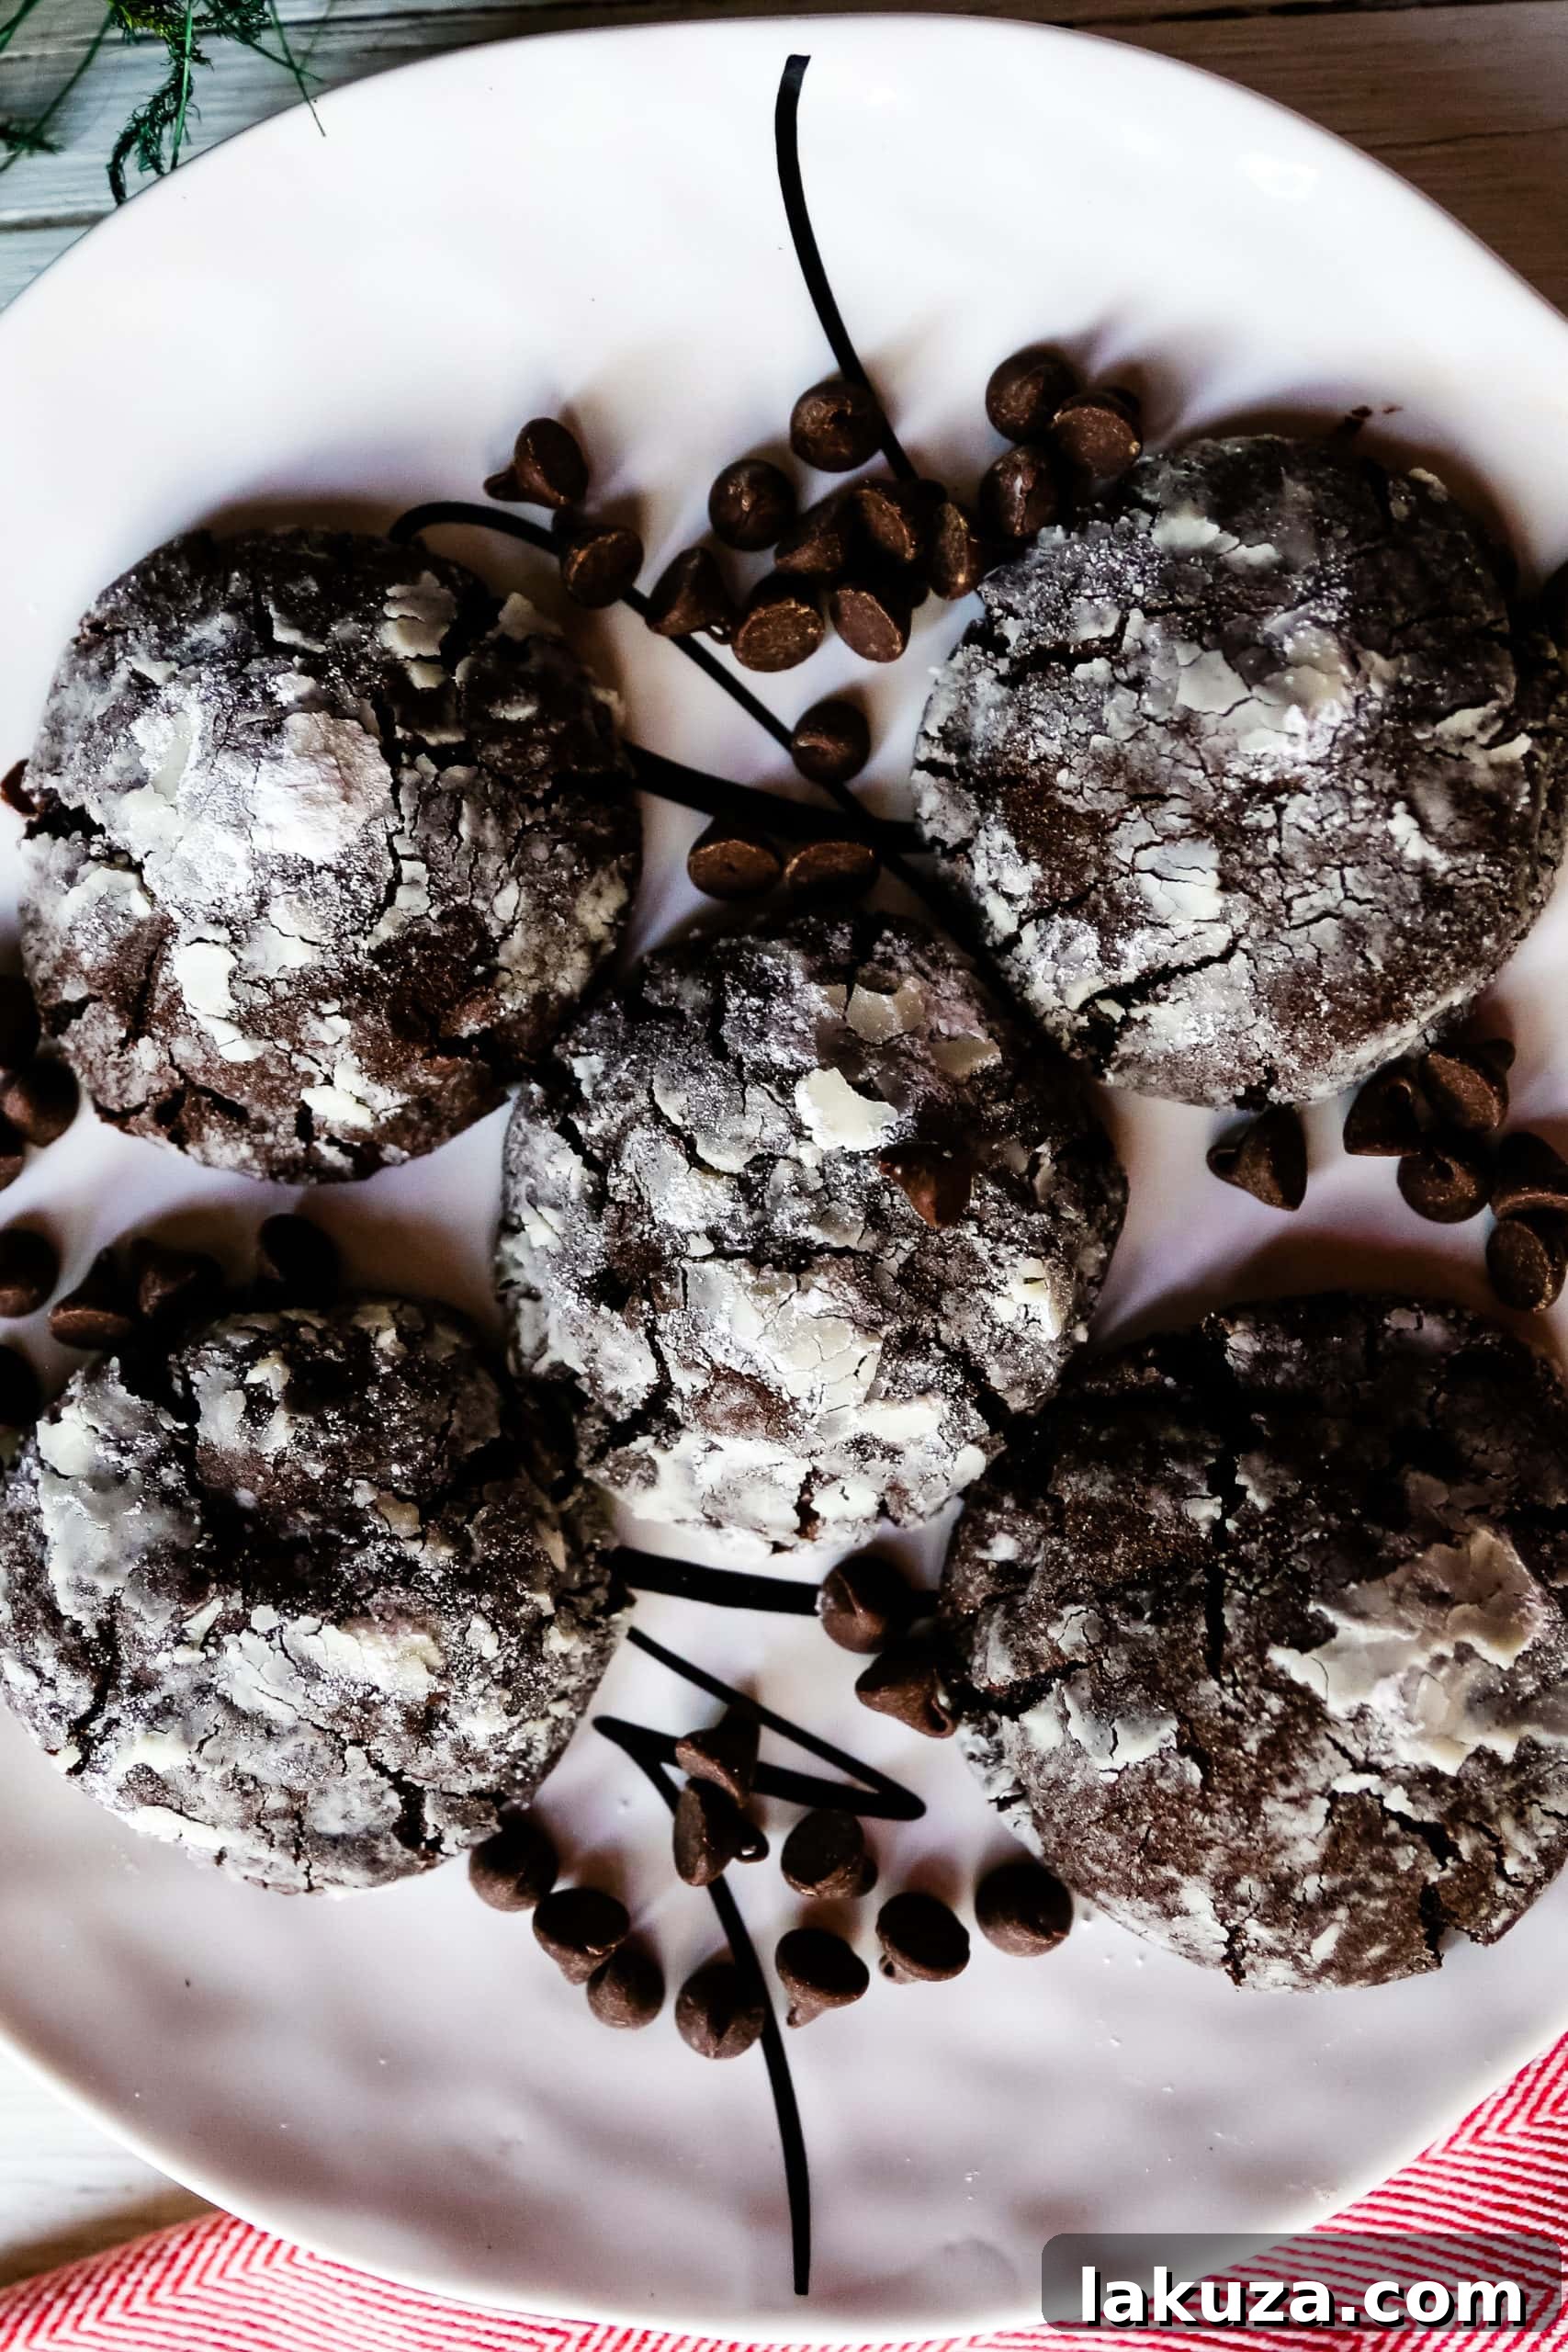
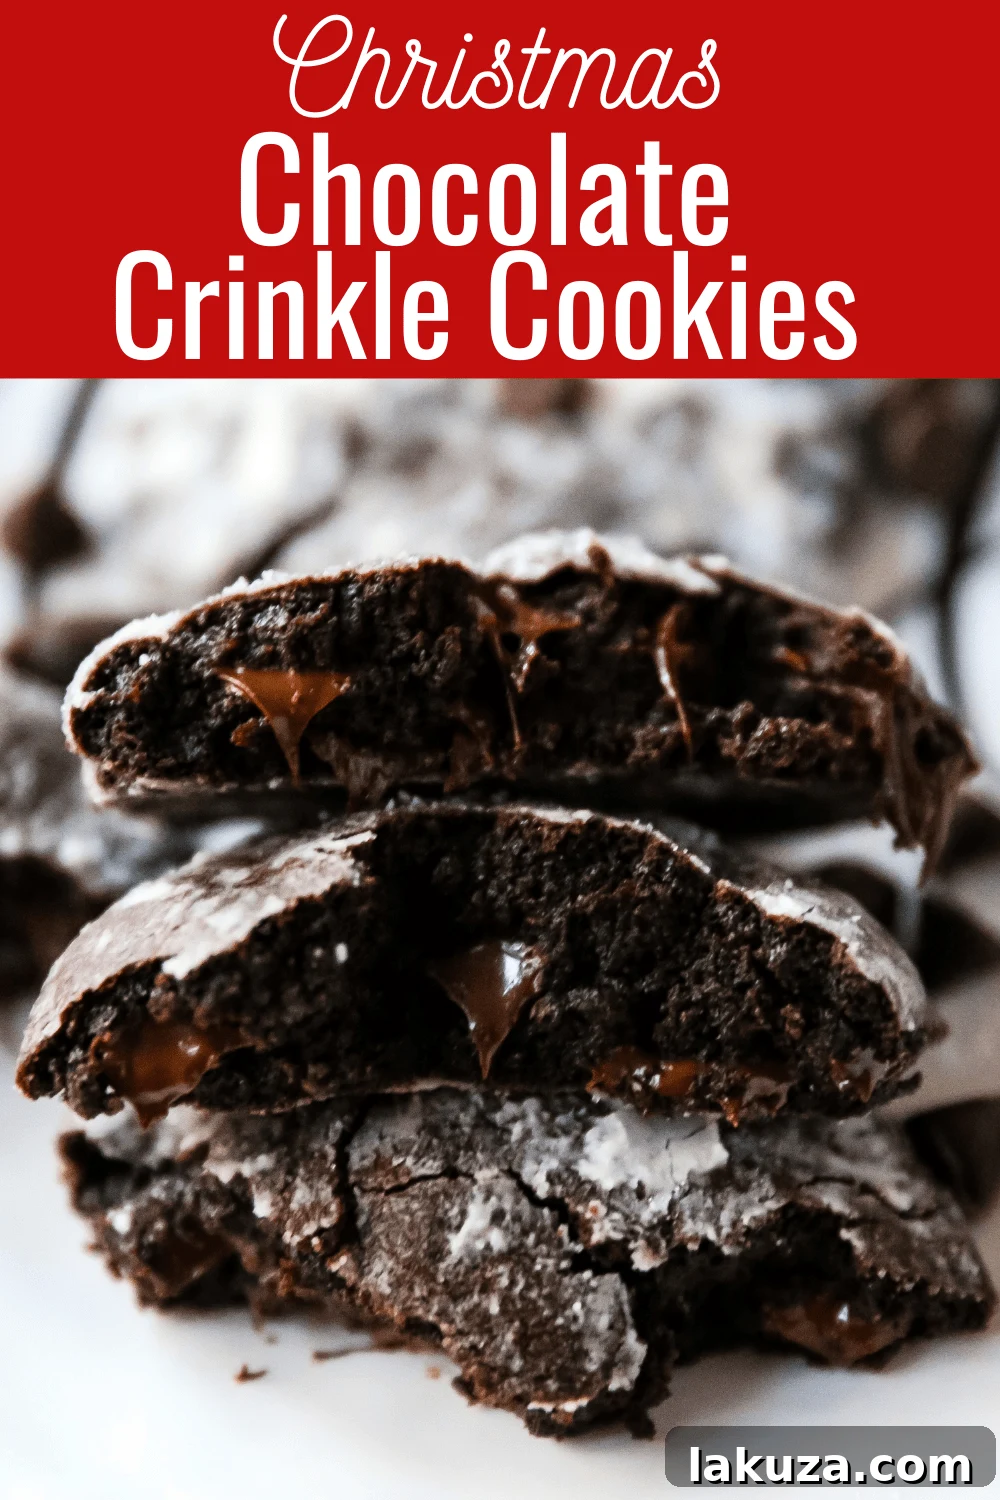
Often referred to as chocolate cookies rolled in powdered sugar, Crinkle Cookies boast a unique allure. Their appearance is as enticing as their taste – a deep, dark chocolate base peeking through a snowy white, crackled sugar coating. This striking contrast is not just for show; it’s a testament to their incredible texture: a gloriously soft, intensely fudgy center complemented by subtly crisp edges that melt in your mouth with every bite.
This comprehensive guide will walk you through everything you need to know to bake the best Chocolate Crinkle Cookies, from understanding the essential ingredients and the science behind their signature “crinkle” to expert tips and troubleshooting advice. Get ready to impress your family and friends with these show-stopping holiday cookies!
Why Chocolate Crinkle Cookies are a Holiday Essential
The Chocolate Crinkle Cookie holds a special place in the hearts of many, especially during the festive period. Their distinctive look makes them instantly recognizable and adds a touch of elegance to any holiday spread. But beyond aesthetics, it’s their deeply satisfying chocolate flavor and unique texture that keep people coming back for more.
- Unmatched Chocolate Flavor: This recipe is a true ode to chocolate lovers. We don’t just stop at cocoa powder; we elevate the experience with generous amounts of semi-sweet chocolate chips, ensuring an intense, multilayered chocolate explosion in every bite.
- Irresistible Texture: The perfect crinkle cookie strikes a delicate balance. It’s gloriously soft and delightfully chewy on the inside, almost like a brownie, while offering a slight crispness around the edges. This textural harmony is what sets them apart.
- Festive Appearance: The stark white powdered sugar coating against the dark chocolate base evokes images of a snowy winter wonderland, making them an ideal festive treat.
- Simple Ingredients, Stunning Results: Despite their sophisticated appearance, these cookies are surprisingly easy to make using common pantry staples like butter, sugars, eggs, vanilla, cocoa, flour, baking soda, salt, and chocolate chips.
Making these cookies is a joyous activity in itself, and the resulting aroma will transform your kitchen into a haven of holiday cheer.
The Secret to Perfect Crinkles: Chilling the Dough
While many cookie recipes offer chilling the dough as an optional step, for Chocolate Crinkle Cookies, it is absolutely non-negotiable. This crucial step is the key to achieving those beautiful, distinct crinkles and preventing your cookies from spreading too thin into flat, uninspiring discs. Think of it as giving your dough a much-needed beauty rest.
Here’s why chilling is so important:
- Solidifies the Fats: Chilling allows the butter in the dough to firm up. When the firm dough hits the warm oven, the butter takes longer to melt, causing the cookie to spread more slowly. This slow spread creates the cracks in the sugar coating as the cookie expands.
- Develops Flavor: While primarily for texture, chilling also gives the flavors in the dough more time to meld and intensify, resulting in a richer, more complex chocolate taste.
- Prevents Over-Spreading: A cold dough is less likely to spread excessively, ensuring your cookies maintain a desirable thickness and chewiness, rather than becoming flat and brittle.
- Easier to Handle: A chilled dough is much firmer and less sticky, making it significantly easier to roll into balls and coat evenly with sugar.
Aim for at least 30 minutes of chilling, but don’t hesitate to chill for an hour or even overnight for the best results. A well-chilled dough is your best friend on the journey to crinkle cookie perfection!
How to Make the Best Chocolate Crinkle Cookies: Expert Tips and Techniques
Crafting the perfect Chocolate Crinkle Cookie involves a few simple yet crucial techniques. Follow these steps and tips to ensure your cookies come out soft, fudgy, and beautifully crinkled every time.
- Creaming Butter and Sugars: The Foundation of Texture
Begin by creaming together your softened butter, brown sugar, and granulated sugar. This isn’t just about mixing; it’s about incorporating air into the mixture. Beat them together vigorously for at least 3-4 minutes, until the mixture is light, fluffy, and pale in color. This process helps create a smoother, creamier texture by allowing the butter to encapsulate the sugar crystals, and the trapped air provides a delightful lift to the cookies as they bake. - Choose Quality Unsweetened Cocoa Powder for Richness
The quality of your cocoa powder directly impacts the depth of chocolate flavor in your cookies. Opt for a good quality unsweetened cocoa powder. It’s important not to confuse this with hot chocolate powder, which contains a lot of added sugar and other ingredients. Unsweetened cocoa powder delivers an authentic, intense burst of chocolate flavor that is essential for these cookies. Dutch-processed cocoa powder will give a darker color and milder flavor, while natural cocoa powder will result in a lighter color and more intense chocolate flavor. Either works beautifully, depending on your preference. - Double Down on Chocolate with Semi-Sweet Chocolate Chips
To truly amplify the chocolate experience, incorporate semi-sweet or milk chocolate chips into your dough. I highly recommend semi-sweet chips as they provide a perfect contrast and balance to the unsweetened cocoa powder. For an even distribution of chocolate in every single bite, consider using mini semi-sweet chocolate chips. They melt wonderfully and ensure consistent chocolatey goodness throughout. - Embrace the Chill: A Non-Negotiable Step
As discussed, chilling the dough is paramount. After mixing, wrap your dough tightly in plastic wrap and place it in the refrigerator for a minimum of 30 minutes. This vital step solidifies the butter, prevents excessive spreading, and is fundamental for achieving those desirable crinkled edges. Don’t rush this part – patience will be rewarded! - The Two-Step Sugar Roll for Maximum Crinkle Effect
This is where the magic happens! Before baking, prepare two separate bowls: one with granulated sugar and another with a generous amount of powdered sugar. First, roll each cookie dough ball thoroughly in the granulated sugar. This initial layer provides a barrier and helps the subsequent layer of powdered sugar adhere better. Immediately after, roll the cookie ball generously in the powdered sugar, ensuring it’s completely coated. This thick layer of powdered sugar is what will crack beautifully in the oven, creating the signature crinkle effect. - Optimize Baking with Light-Colored Baking Sheets
The type of baking sheet you use can make a difference. Light-colored baking sheets help ensure even baking by reflecting heat, preventing the bottoms of your cookies from browning too quickly or burning before the tops are cooked through. If you only have dark baking sheets, reduce your oven temperature by 25°F (about -4°C) to compensate. Always line your baking sheets with parchment paper for easy release and consistent baking. - Perfect Baking Time for Fudgy Centers
Bake your cookies for 9-10 minutes. The key is to remove them from the oven when the edges are set but the centers still look slightly soft and puffed. They will continue to set as they cool on the hot baking sheet. For flatter cookies, gently tap the baking sheet on your counter a couple of times after removing it from the oven to encourage deflating and spreading. Allow them to cool on the baking sheet for about 5 minutes before transferring them to a wire rack to cool completely. This prevents them from breaking and helps them retain their fudgy texture.
Troubleshooting Common Crinkle Cookie Issues
- Why aren’t my cookies crinkling? The most common reasons are insufficient chilling of the dough or not enough powdered sugar on the cookie ball. Ensure your dough is cold and generously coat with powdered sugar after rolling in granulated sugar.
- Why are my cookies flat? This is usually due to warm dough or too much butter. Ensure your butter is softened, not melted, and always chill the dough adequately.
- Can I use different chocolate? Absolutely! While semi-sweet is recommended, you can experiment with dark chocolate chips for a more intense flavor or milk chocolate chips for a sweeter, creamier profile.
Storage and Make-Ahead Tips
Chocolate Crinkle Cookies store wonderfully, making them perfect for holiday meal prep. Store cooled cookies in an airtight container at room temperature for up to 5-7 days. For longer storage, you can freeze the baked cookies for up to 3 months. Thaw at room temperature. You can also prepare the dough ahead of time and store it, tightly wrapped, in the refrigerator for up to 2-3 days before baking.
Expand Your Holiday Baking Repertoire: More Chocolate Cookie Recipes
If you’re a true chocolate enthusiast, you’ll love exploring these other decadent chocolate cookie creations:
- Triple Chocolate Chunk Cookies
- Levain Bakery Dark Chocolate Chocolate Chip Cookies
- Red Velvet Crinkle Cookies
- Double Chocolate Cookies
For even more festive inspiration, you can find ALL of my Christmas cookie recipes by clicking HERE. Get ready to fill your holiday season with incredible homemade treats!

Pin Recipe
Print Recipe
Chocolate Crinkle Cookies
Equipment
-
1 KitchenAid Mixer (or large mixing bowl and hand mixer)
-
1 Baking Sheet
-
1 box Parchment Paper Baking Sheets
-
1 set Measuring Cups and Spoons
-
1 Spatula/Turner
-
1 Spatula Set (for scraping bowl)
-
1 Cookie Scoop (optional, but recommended for even sizing)
Ingredients
- 1 cup Unsalted Butter (softened)
- 1 cup Brown Sugar (packed)
- 1 cup Granulated Sugar
- 2 large Eggs
- 1 teaspoon Vanilla Extract
- 1 cup Unsweetened Cocoa Powder (good quality)
- 2 cups + 2 Tablespoons All-Purpose Flour
- 2 teaspoons Baking Soda
- 1/2 teaspoon Salt
- 2 cups Semi-Sweet Chocolate Chips (or mini chocolate chips)
For Rolling:
- 1/3 cup Granulated Sugar
- 1 1/2 cups Powdered Sugar (also known as confectioners’ sugar)
Instructions
-
In a large mixing bowl (or the bowl of a stand mixer fitted with the paddle attachment), cream together the softened butter, brown sugar, and granulated sugar for 3-4 minutes, or until the mixture is light, fluffy, and noticeably paler in color.
-
Add the eggs one at a time, beating well after each addition. Stir in the vanilla extract and beat for another minute until fully combined and smooth.
-
In a separate bowl, whisk together the cocoa powder, flour, baking soda, and salt. Gradually add the dry ingredients to the wet ingredients, mixing on low speed until just combined. The dough may appear slightly crumbly at first, but continue mixing until it comes together. Fold in the semi-sweet chocolate chips by hand.
-
Wrap the cookie dough tightly in plastic wrap and place it in the refrigerator to chill for at least 30 minutes. This step is crucial for achieving the signature crinkles and preventing the cookies from spreading too much.
-
When you are ready to bake, preheat your oven to 350°F (175°C). Prepare two shallow bowls: one with 1/3 cup of granulated sugar and the other with 1 1/2 cups of powdered sugar.
-
Remove the chilled dough from the refrigerator. Scoop out portions of dough (about the size of a ping-pong ball or 1.5 tablespoons) and roll them into smooth spheres. First, roll each dough ball thoroughly in the granulated sugar, ensuring an even coating. Then, immediately roll it generously in the powdered sugar until it is completely coated. Place the coated dough balls about 2 inches apart on a parchment paper-lined baking sheet. For slightly flatter cookies, you can gently press down on the center of each cookie ball before baking.
-
Bake for 9-10 minutes. The cookies are done when the edges are set and the centers still look slightly soft and puffed. For flatter, chewier cookies, gently “bang” the baking sheet on the counter once or twice immediately after removing it from the oven to encourage them to deflate slightly. Let the cookies cool on the baking sheet for about 5 minutes before carefully transferring them to a wire rack to cool completely.
Nutrition information is automatically calculated and should be used as an approximation.
Additional Information
Enjoyed this recipe? Share your thoughts below!
Jump to Comments