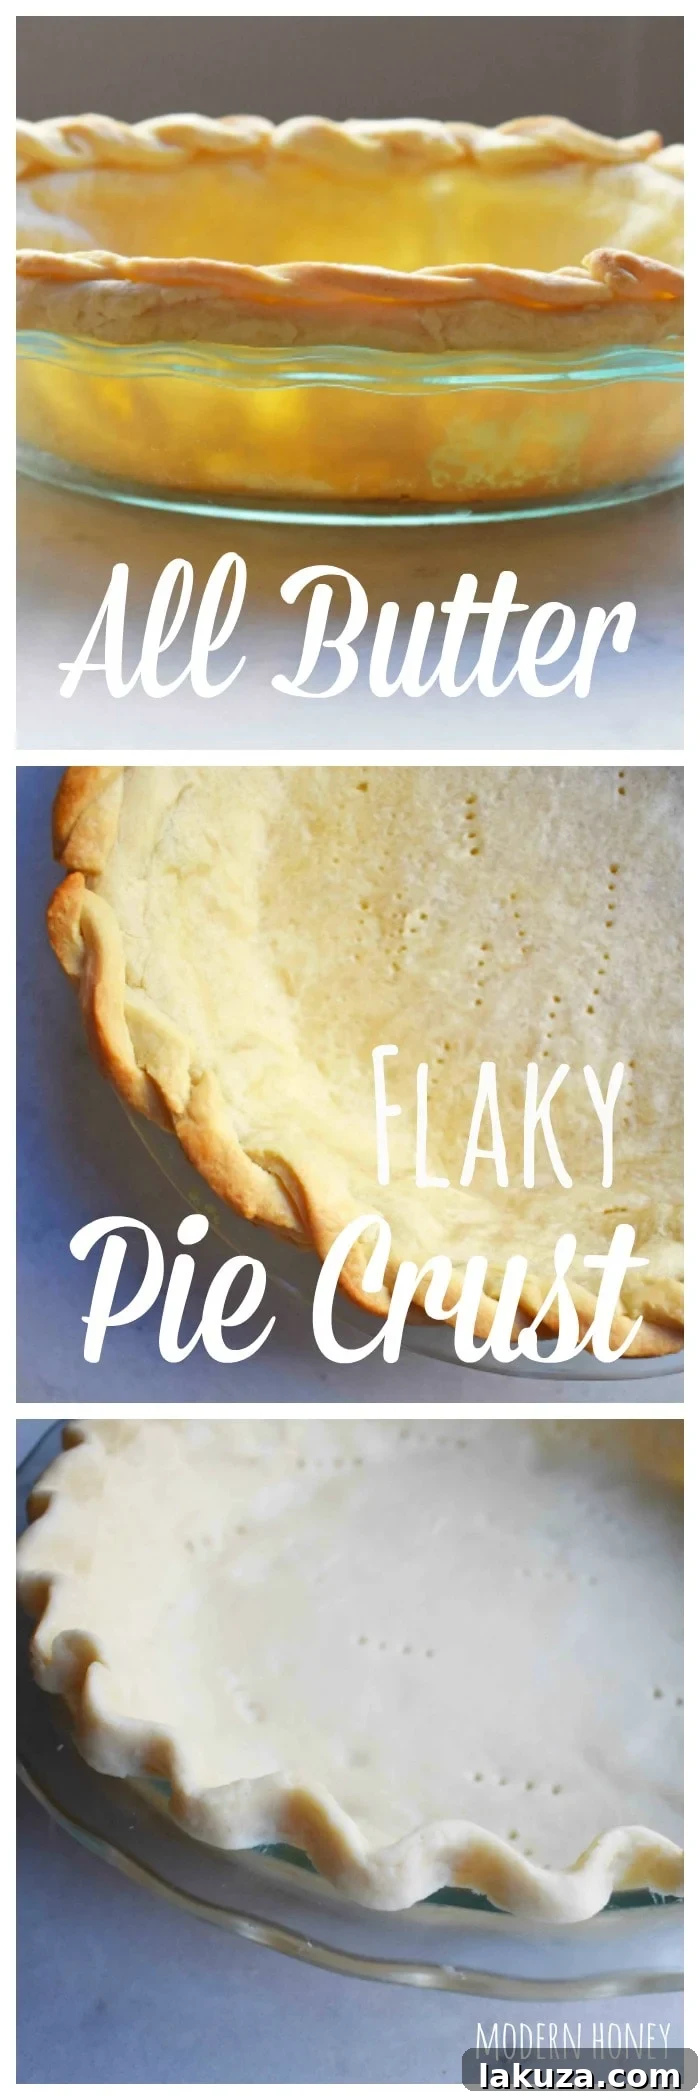
There’s nothing quite like a homemade pie, and at the heart of every truly exceptional pie lies a perfect crust. Forget about store-bought alternatives; crafting your own flaky, all-butter pie crust from scratch is a culinary game-changer. This comprehensive guide will walk you through creating the best pie crust you’ve ever tasted, using just four simple ingredients. We’ll unveil all the essential tips and tricks, ensuring a foolproof result every single time. Get ready to impress your family and friends with pies that boast a golden, tender, and incredibly buttery foundation that elevates any filling to a masterpiece.
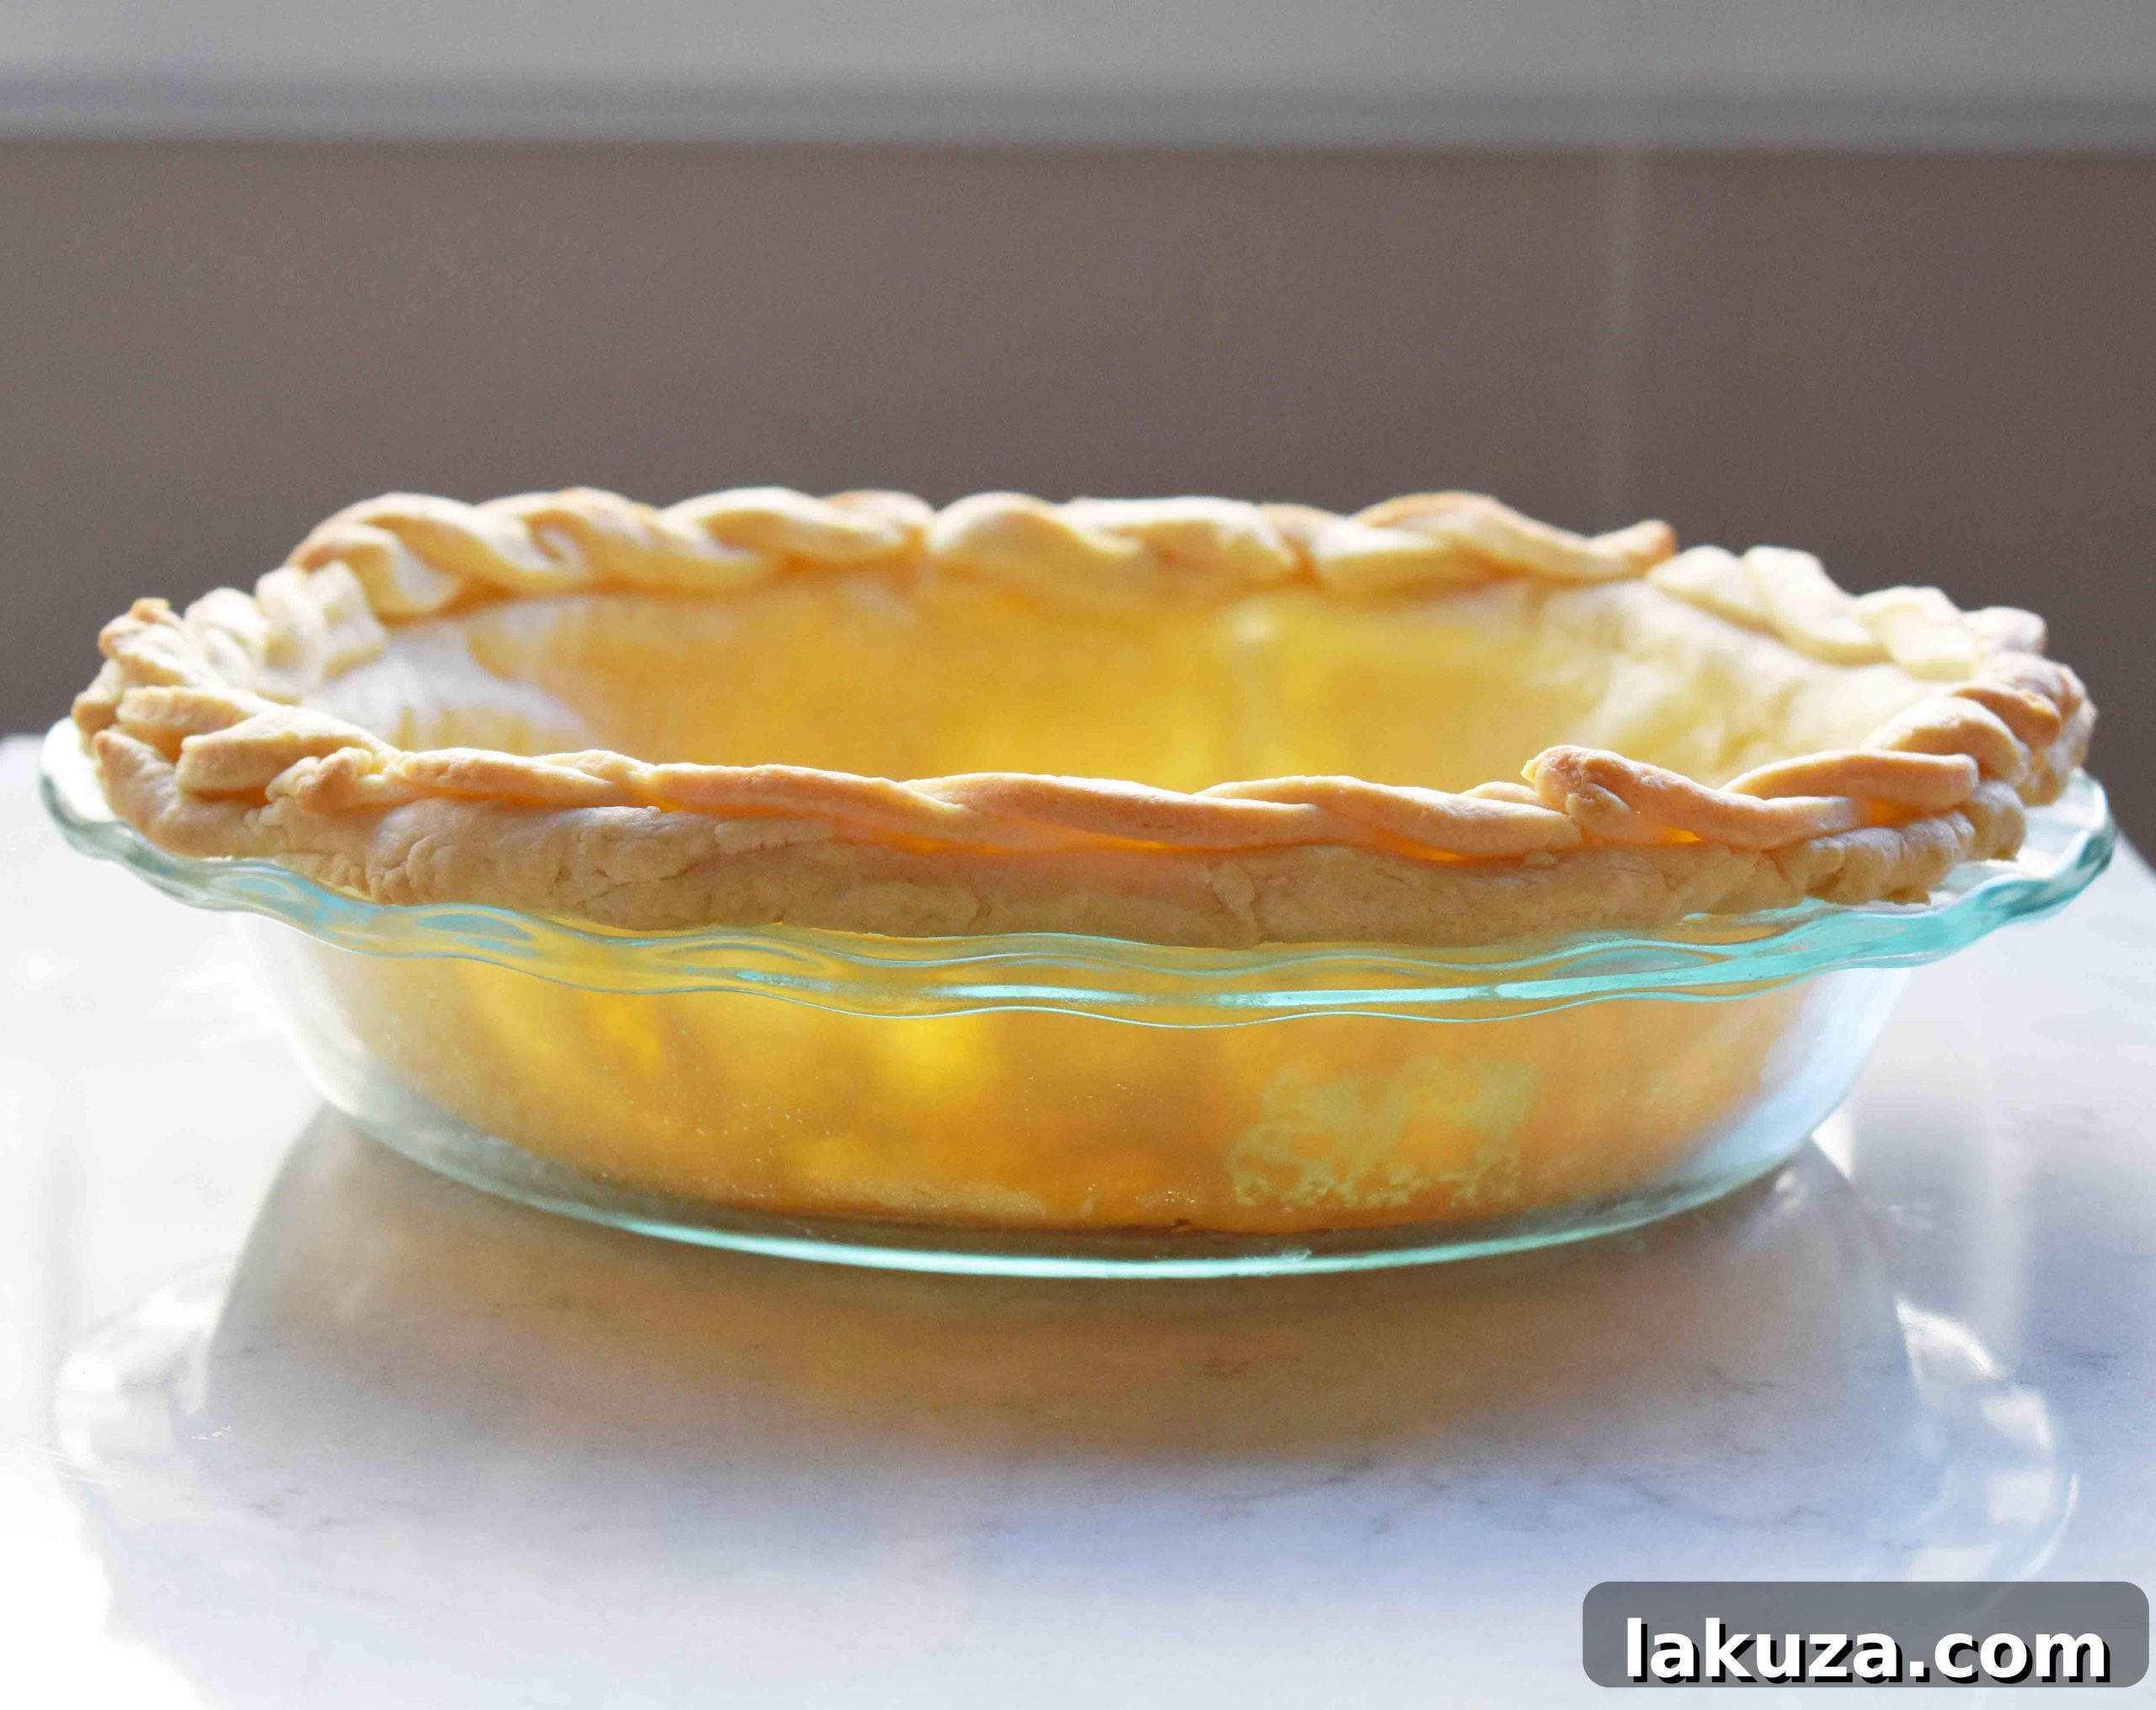
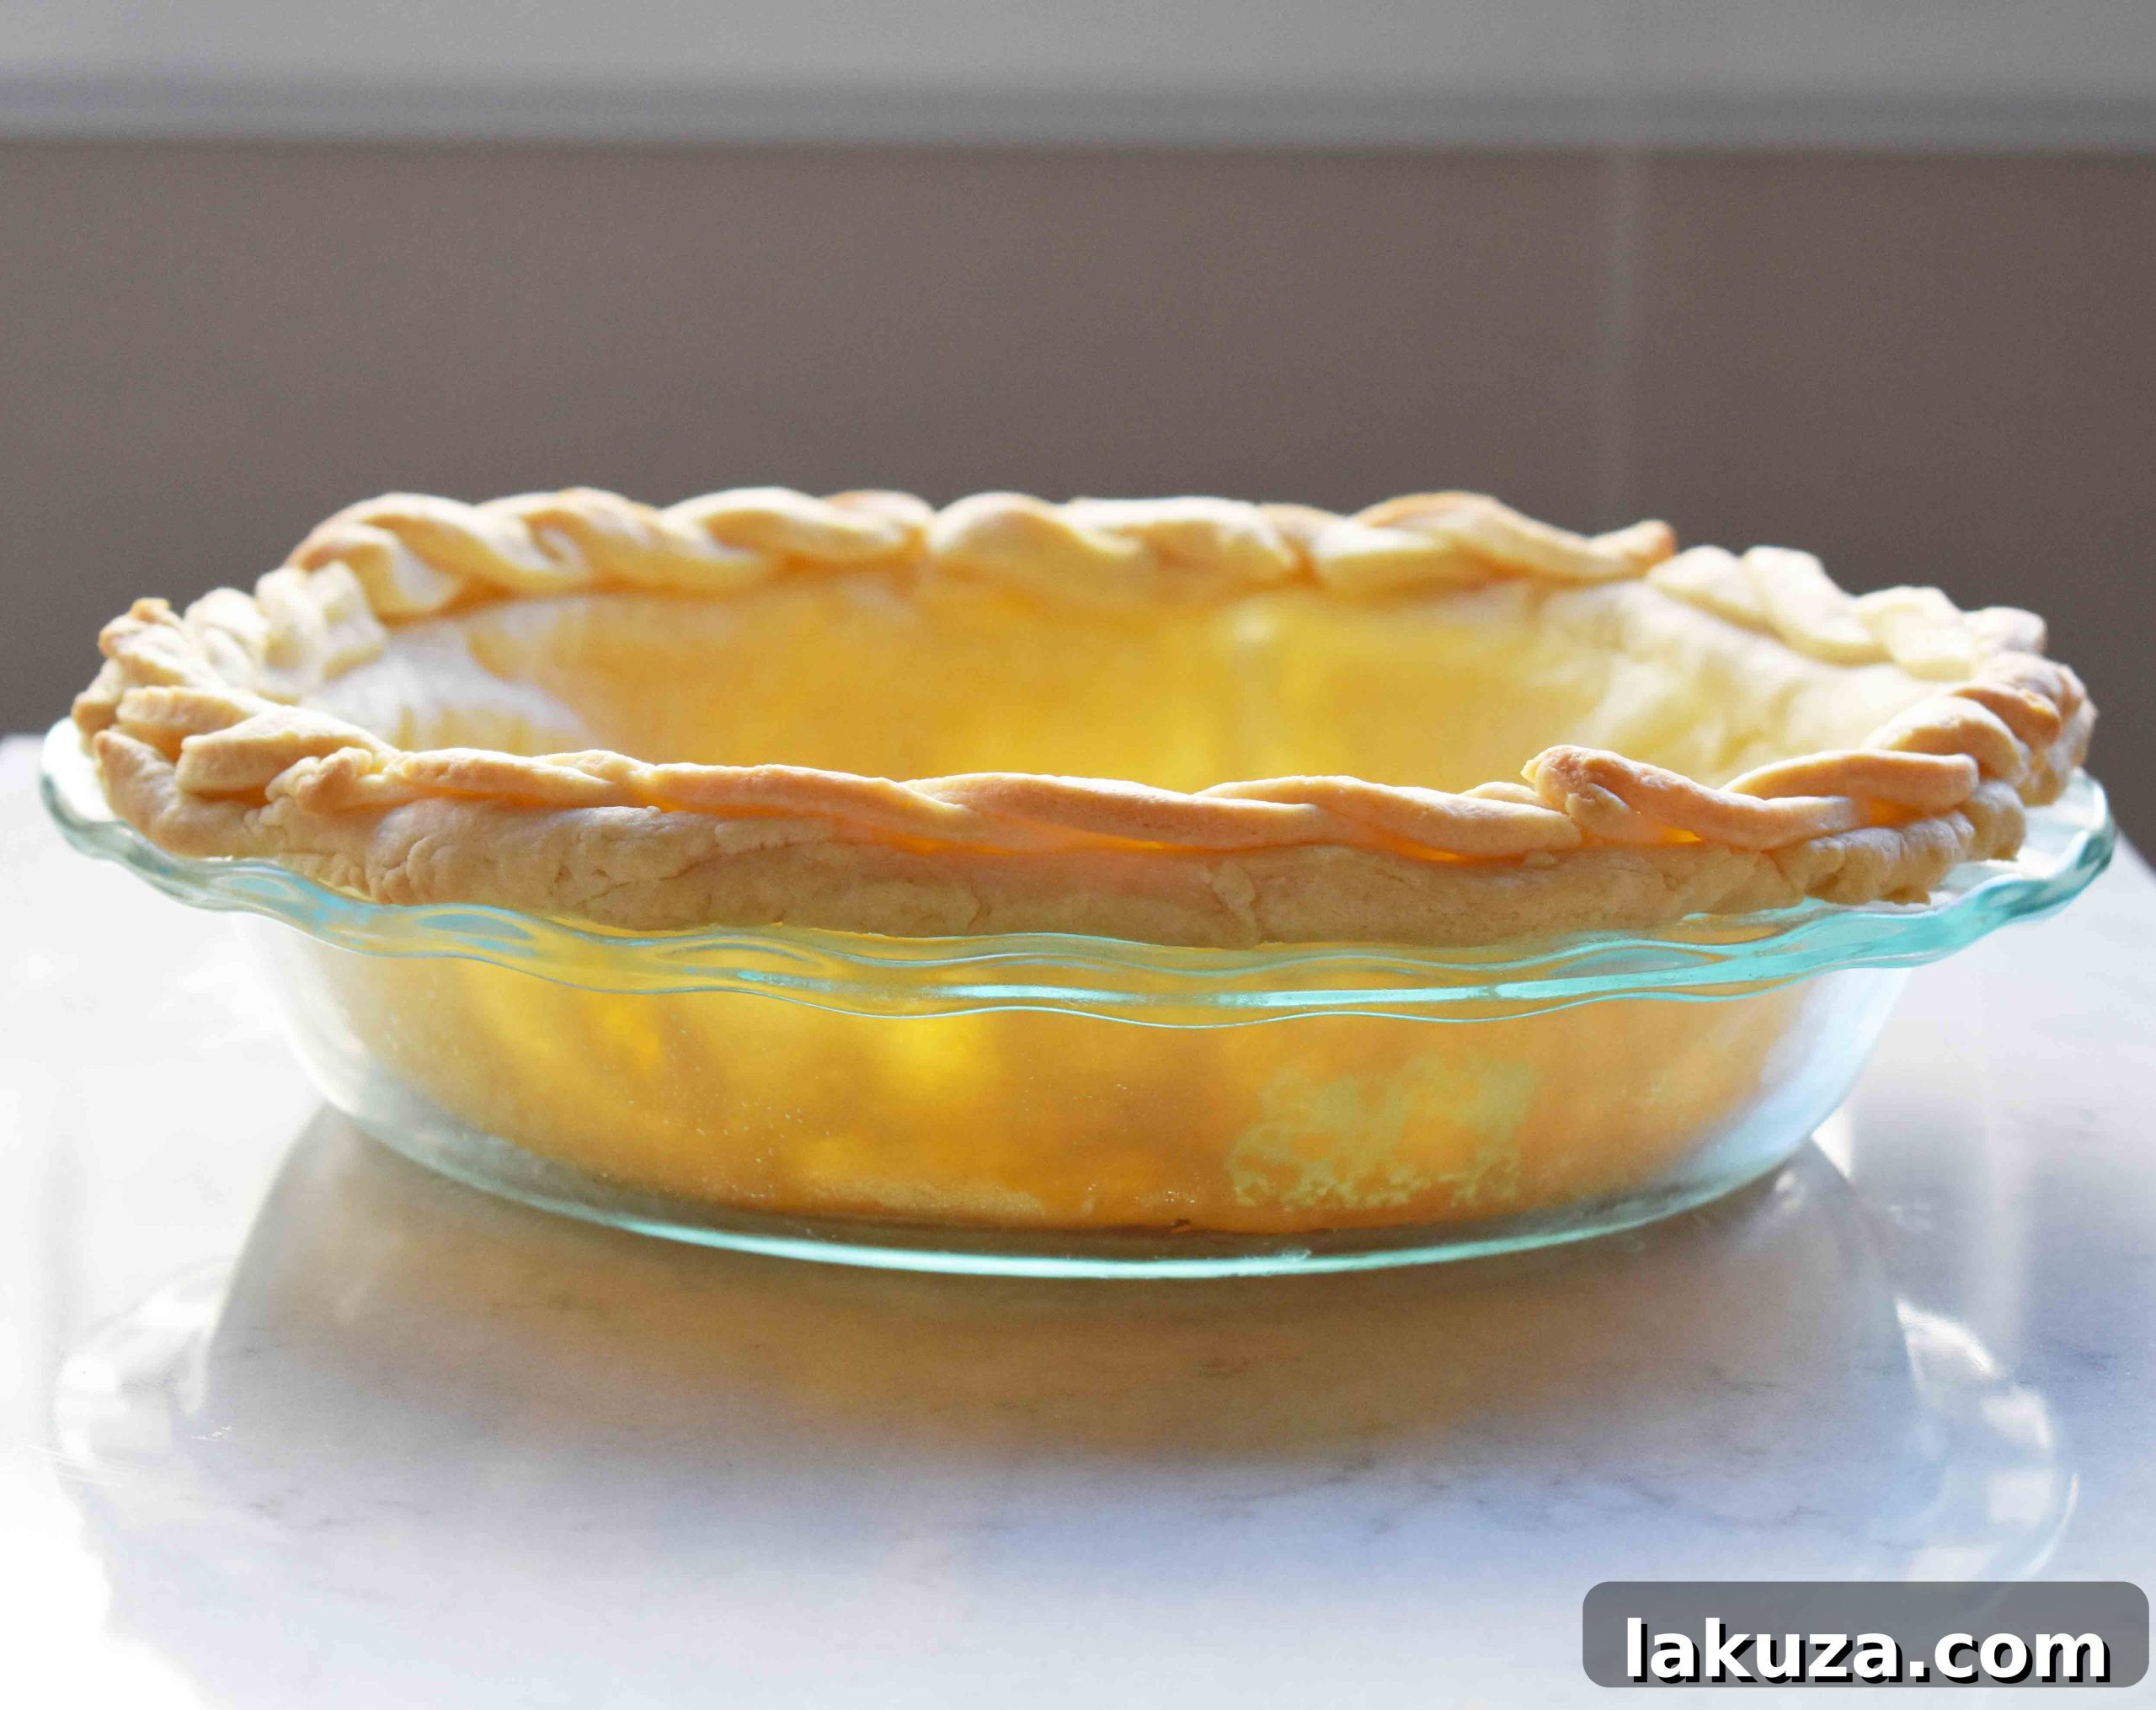
Whether you’re preparing for a holiday feast like Thanksgiving, where pie takes center stage, or simply baking a sweet treat for a weekend gathering, the quality of your pie crust makes all the difference. A robust, flavorful crust provides the ideal contrast to a sweet or savory filling, creating a harmonious balance that delights the palate. I’ve had my share of pie failures over the years – soggy bottoms, tough textures, and bland flavors – but through trial and error, I’ve perfected this all-butter recipe. By learning from these past mistakes, you can bypass the common pitfalls and achieve a consistently perfect crust.
This recipe focuses on an all-butter crust, celebrated for its superior flavor and unmatched flakiness. The key is in understanding the science behind the ingredients and employing precise techniques. From selecting the right butter to mastering the art of chilling, every step contributes to that coveted tender-crisp texture. Let’s dive into the essential components and techniques to master this baking fundamental.
Essential Ingredients for the Best Homemade Pie Crust
Creating an exceptional pie crust requires minimal ingredients, but their quality and how they are handled are paramount. Here’s a closer look at what you’ll need and why each component is vital:
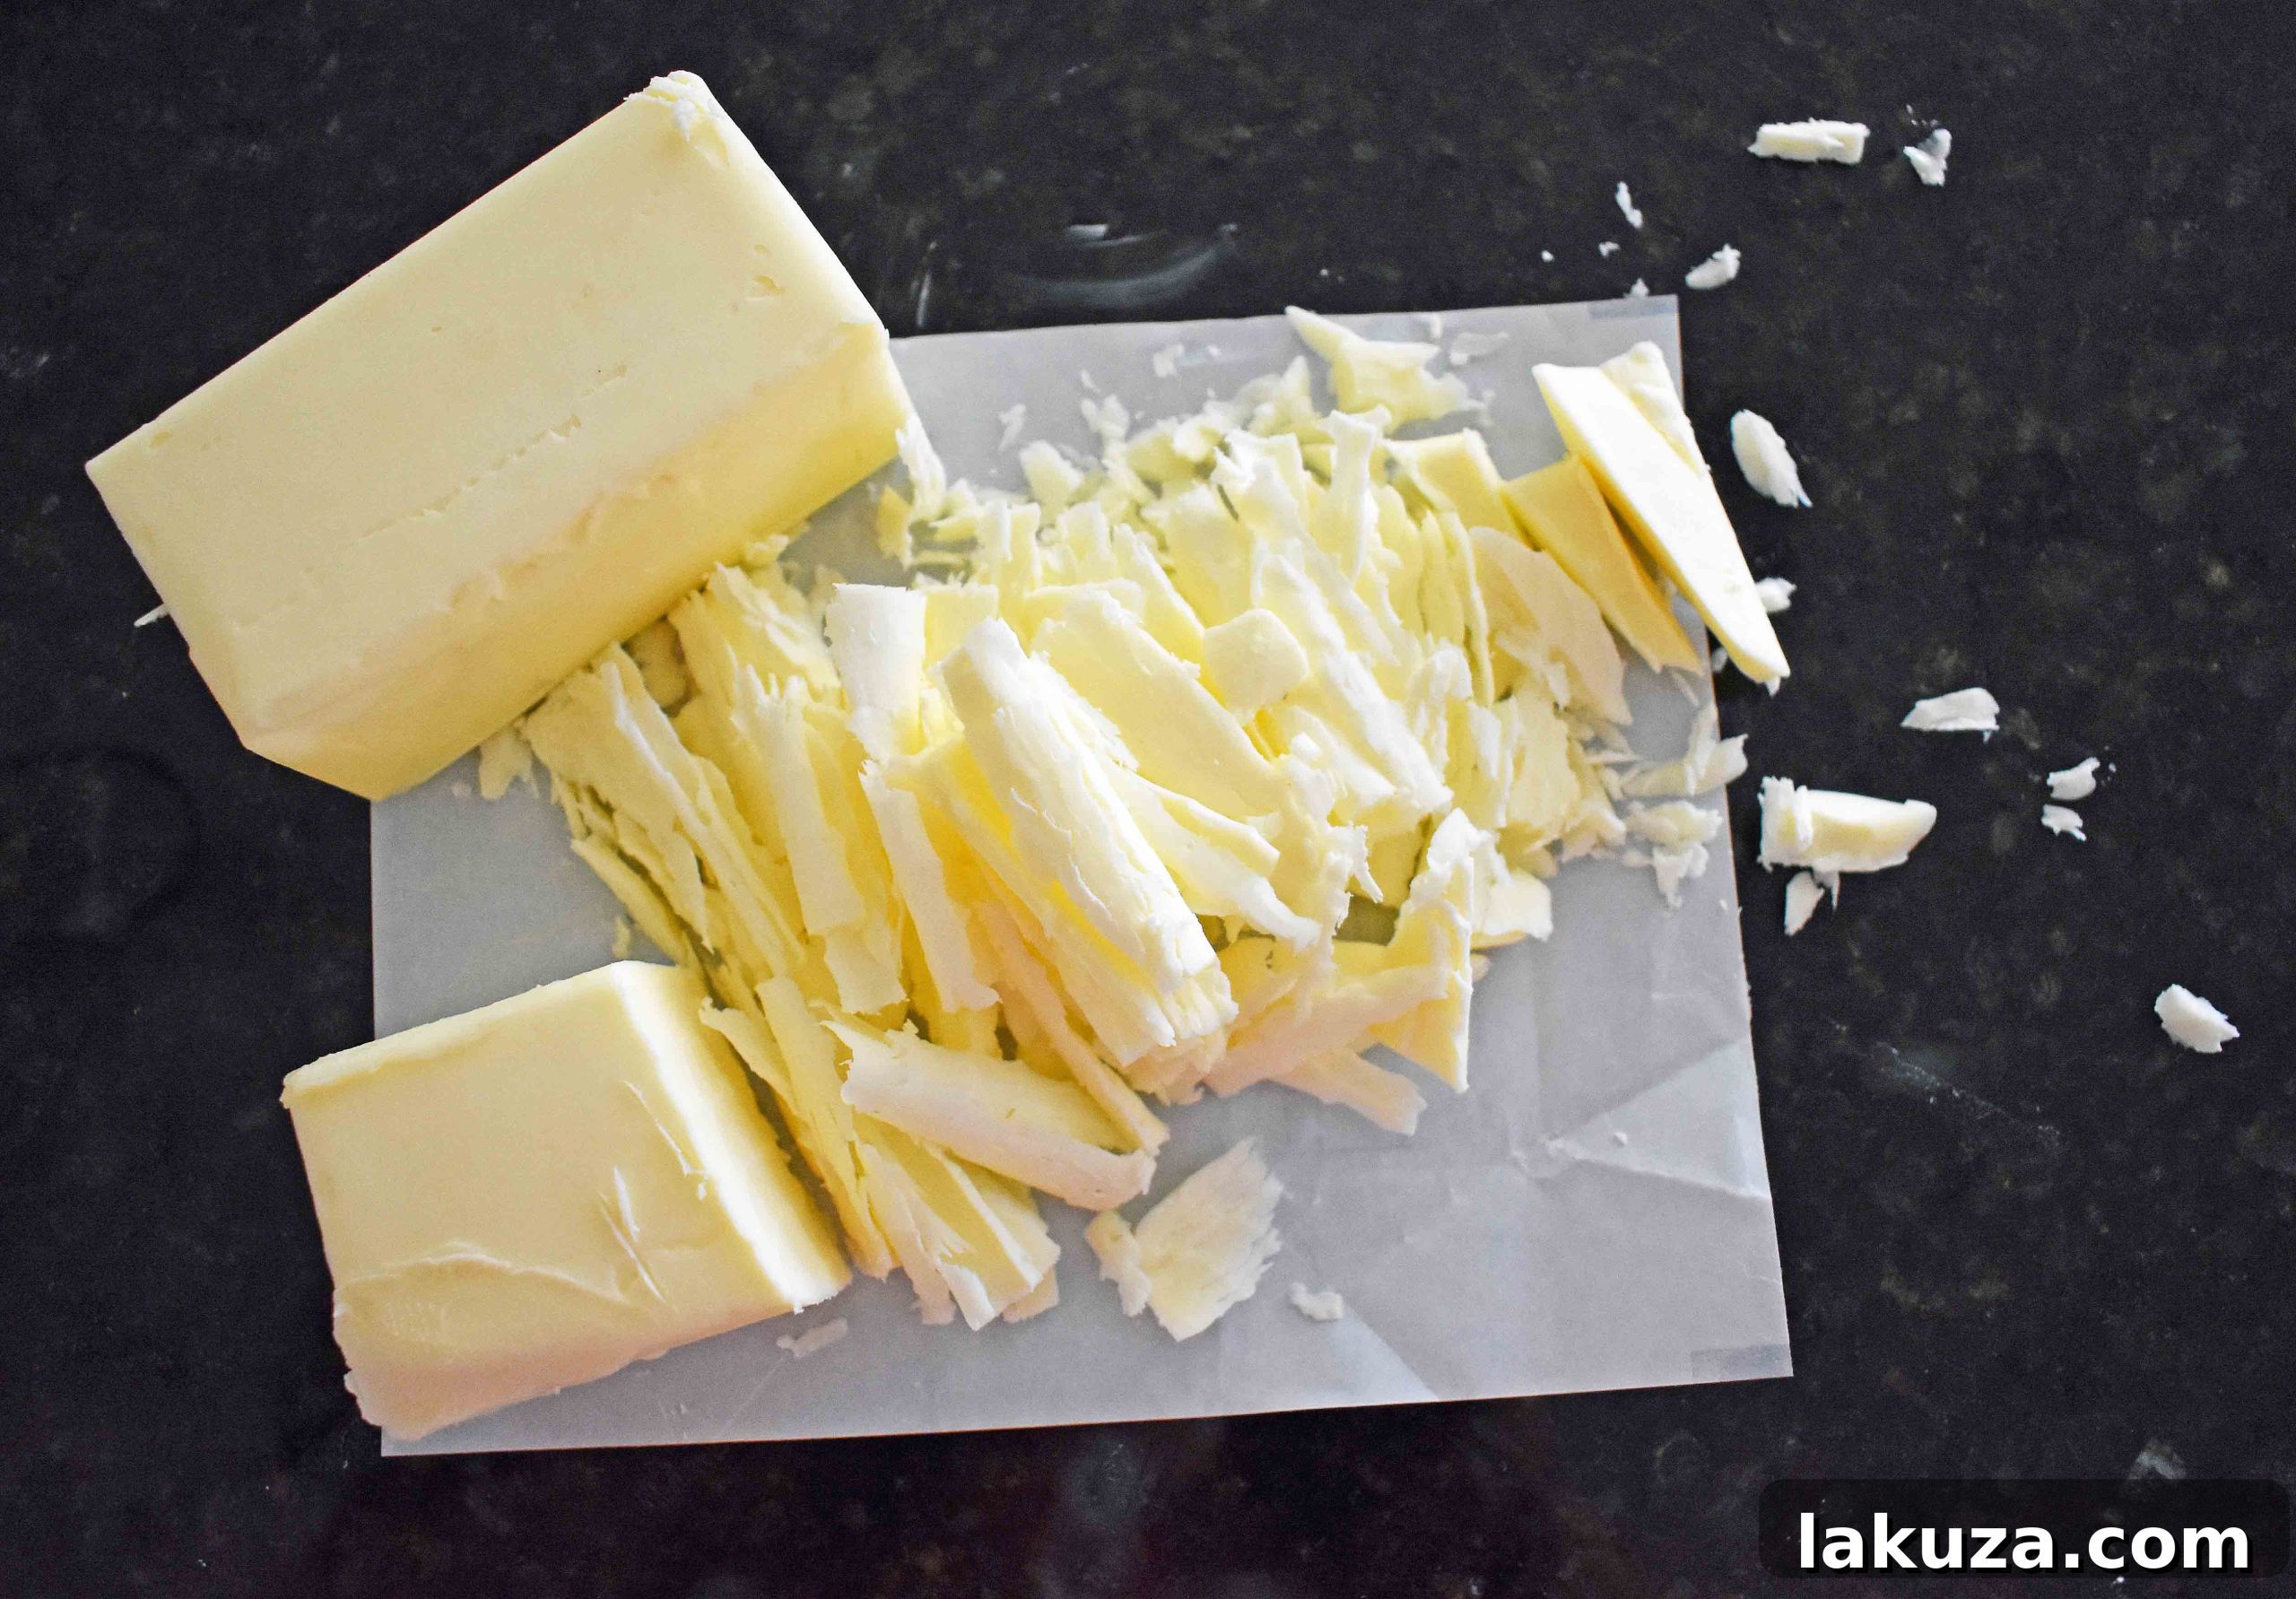
- Cold Butter: This is the star of our all-butter pie crust. Using exceptionally cold, unsalted butter, cut into small pieces, is non-negotiable for achieving that signature flakiness. As the cold butter melts in the hot oven, it releases steam, creating pockets of air that result in distinct, tender layers. Unsalted butter allows you to control the exact amount of seasoning, ensuring a balanced flavor. For best results, consider freezing your butter for 15-30 minutes before cutting.
- All-Purpose Flour: Standard all-purpose flour works beautifully for pie crusts. Its moderate protein content provides enough structure without making the dough overly tough, especially when handled correctly. While some recipes call for pastry flour, all-purpose is readily available and produces excellent results. Ensure your flour is fresh for optimal performance.
- Salt: A crucial, yet often underestimated, ingredient. Salt doesn’t just add flavor; it enhances the rich, creamy taste of the butter and balances the sweetness of any filling you might add later. Don’t skimp on the salt – a good pinch makes a noticeable difference in the overall depth of flavor.
- Ice Cold Liquid (Water with Vinegar or Buttermilk): The choice of liquid plays a significant role in the crust’s final texture.
- Ice Cold Water with Vinegar: Using ice-cold water helps keep the butter solid, preventing it from melting into the flour too soon. A splash of white or apple cider vinegar is a secret weapon; the acidity helps tenderize the dough by inhibiting excessive gluten development, making the crust more delicate and easier to roll without becoming tough.
- Buttermilk: Many bakers, including myself, prefer buttermilk for its ability to create an incredibly tender and flavorful crust. The slight acidity in buttermilk serves a similar purpose to vinegar, helping to relax the gluten strands. It also adds a subtle tang that complements sweet and savory pies alike. If using buttermilk, you typically won’t need to add additional vinegar.
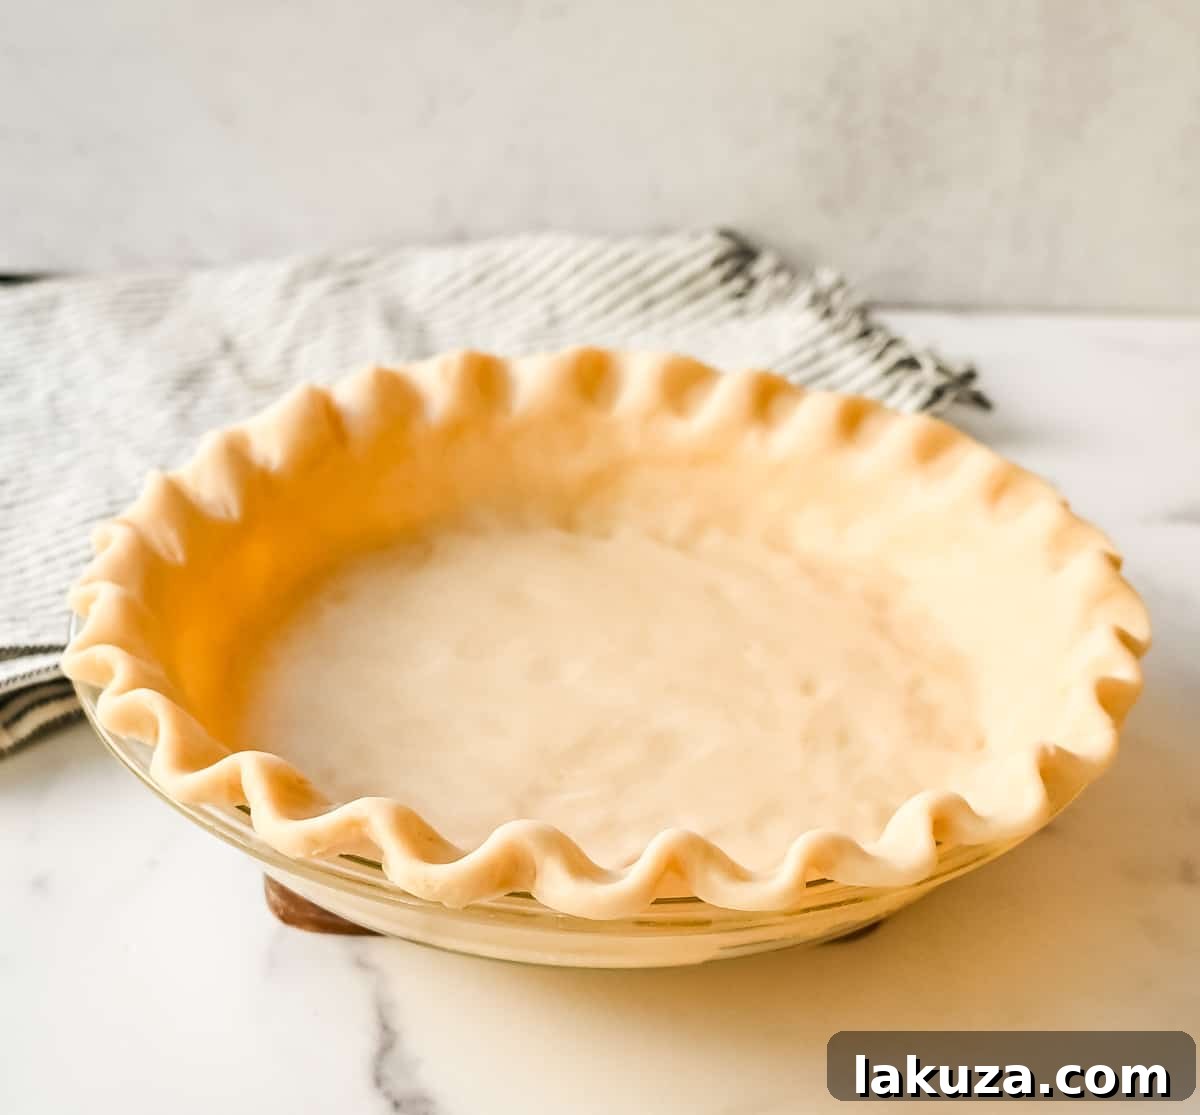
Step-by-Step Guide to Crafting the Ultimate Flaky Pie Crust
Follow these detailed steps and expert tips to create a truly exceptional pie crust that’s both tender and wonderfully flaky:
- Embrace Cold Butter: The secret to flaky success begins and ends with cold butter. Start by chilling your butter in the freezer for about 15-20 minutes, or until it’s very firm but not rock-hard. Using a sharp knife or even a cheese grater, slice or shred the butter into small, pea-sized pieces. These tiny pieces of butter are essential for creating those beautiful, distinct layers in your baked crust. The goal is to distribute them evenly throughout the flour without allowing them to melt. If the butter starts to soften at any point, don’t hesitate to pop it back into the freezer or refrigerator for a few minutes.
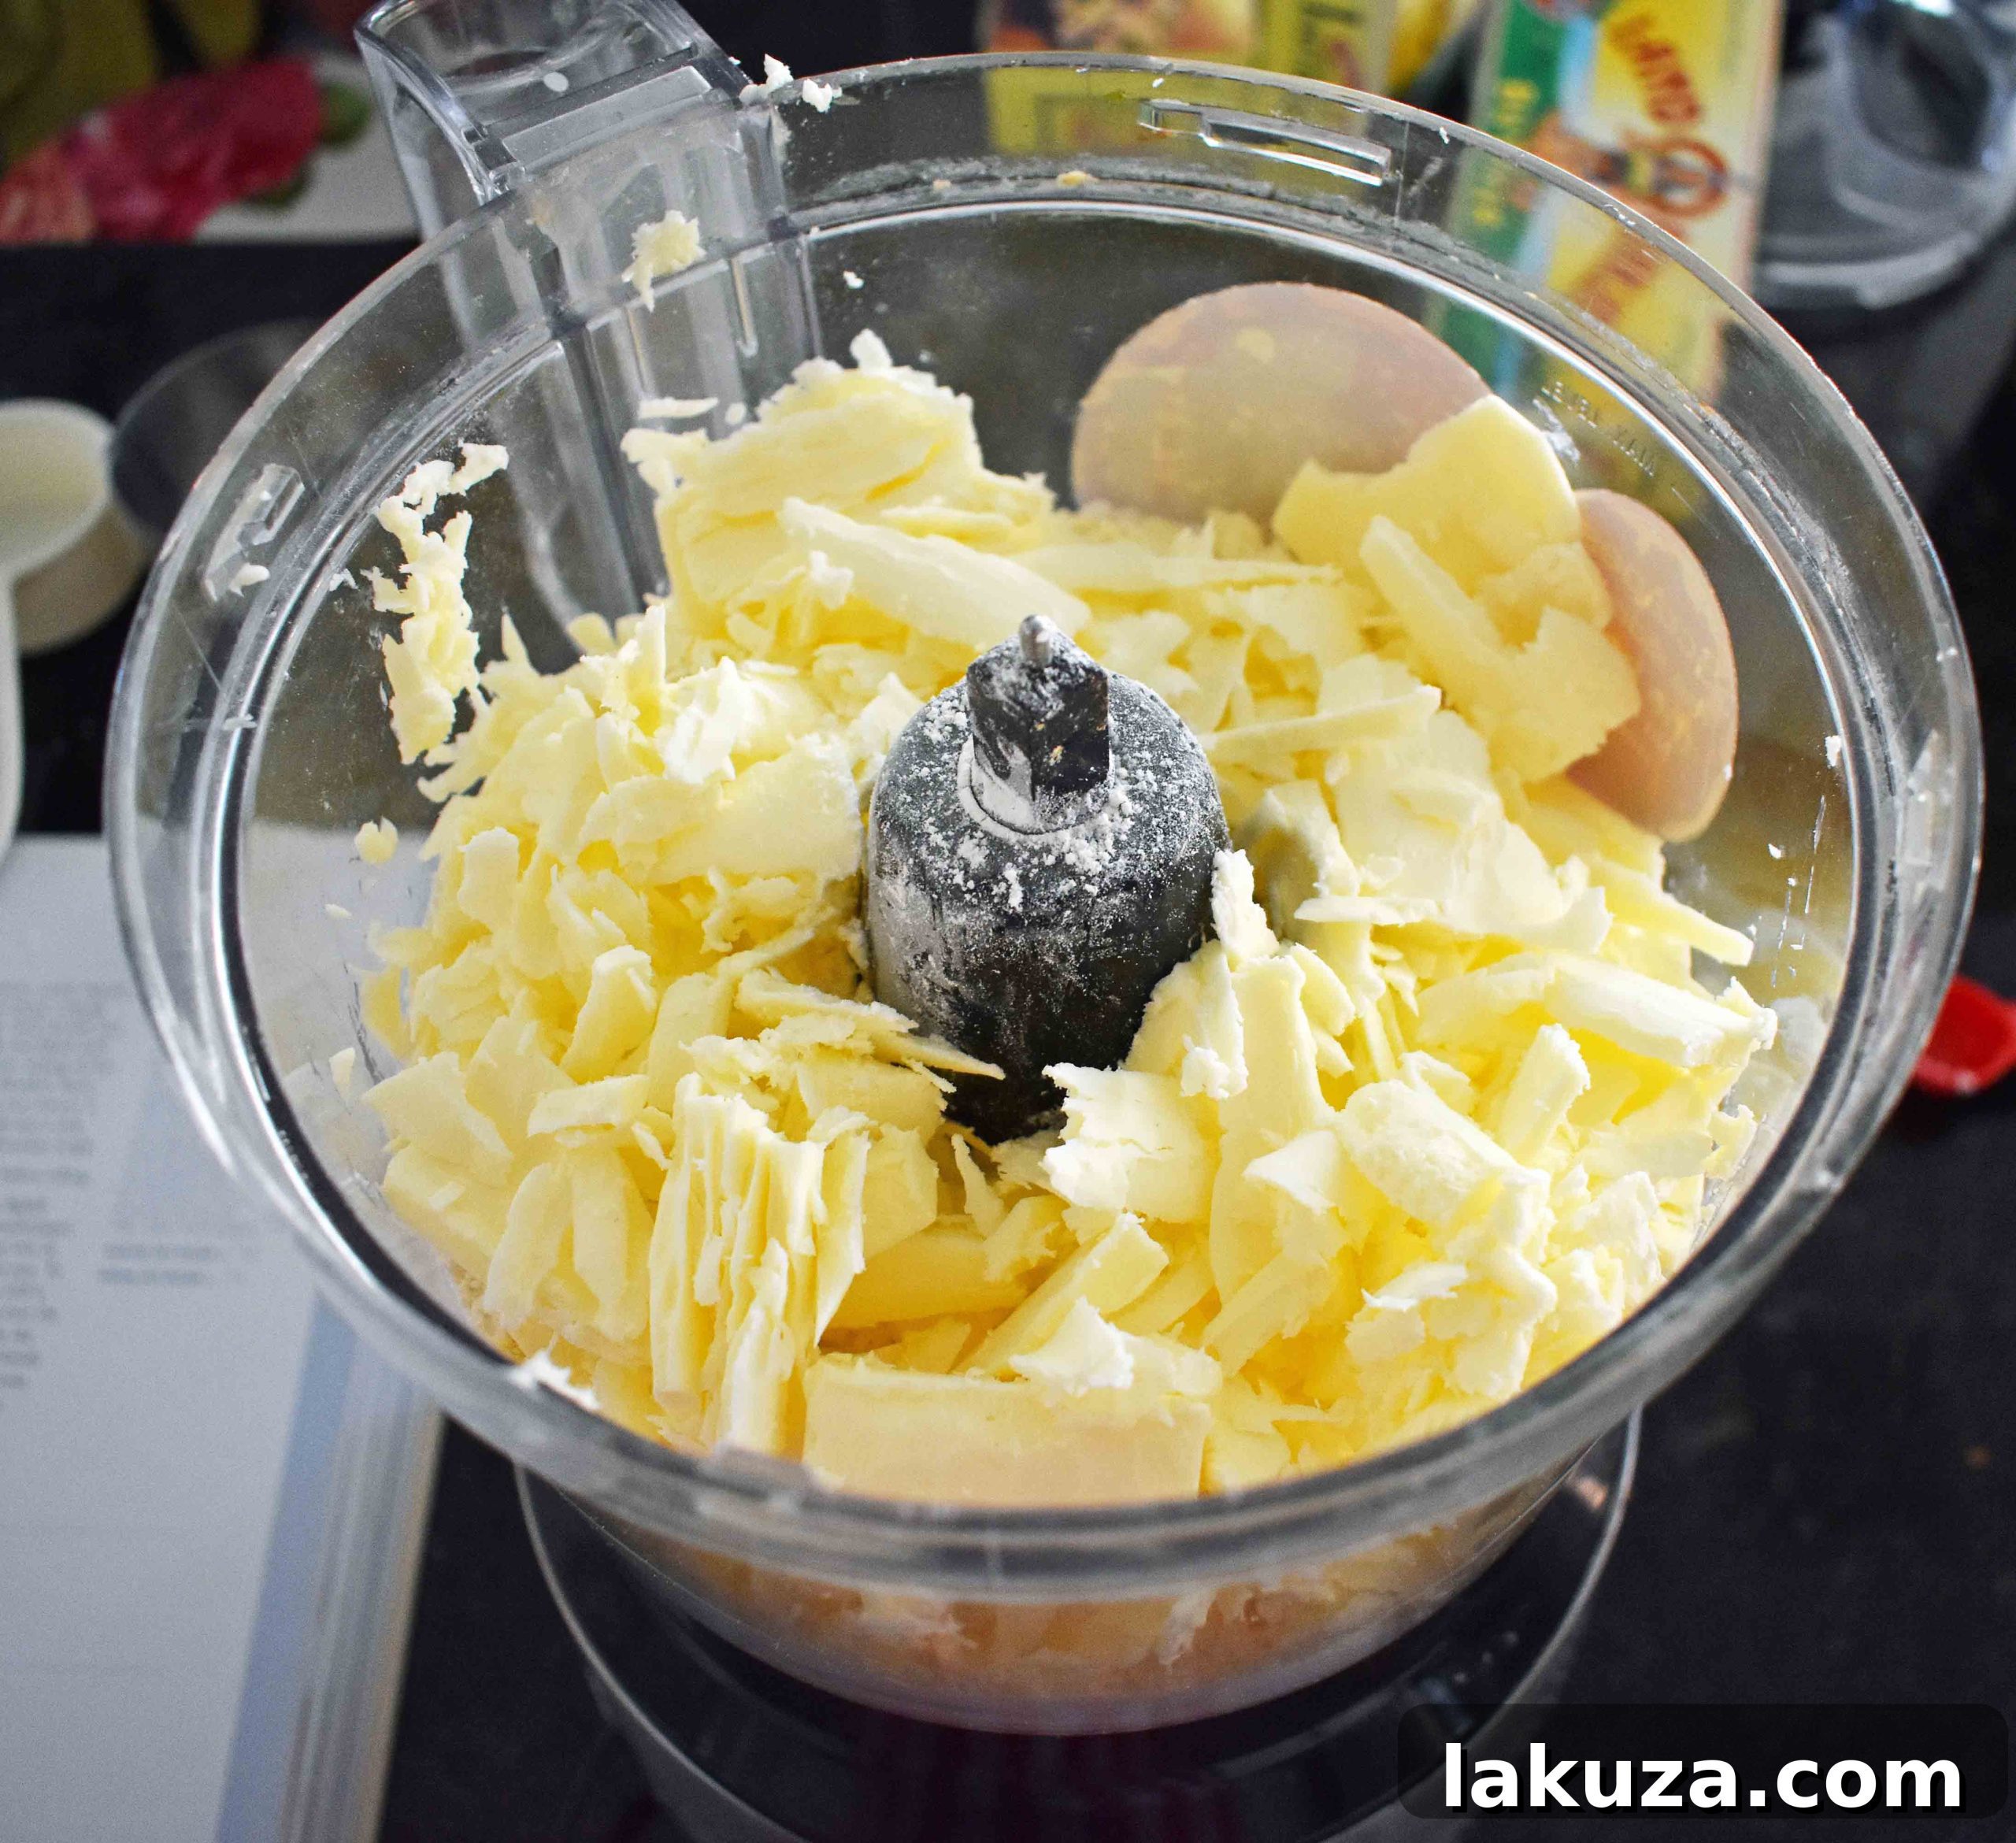
2. Integrate Butter and Flour: There are several effective methods for cutting the cold butter into the flour and salt mixture:
- Food Processor: For the quickest and easiest method, a food processor is your best friend. Combine the flour and salt in the food processor bowl, then add the cold butter pieces. Pulse in short bursts until the mixture resembles coarse meal with some pea-sized butter chunks still visible. Be careful not to overmix; over-processing can warm the butter and develop too much gluten, leading to a tough crust.
- Pastry Cutter or Fork: The traditional “old school” approach works wonderfully. In a large bowl, combine flour and salt. Add the cold butter pieces, then use a pastry cutter or two forks to cut the butter into the flour until it forms a crumbly mixture with small, varied pieces of butter.
- Hands (Squishing Method): While it takes a bit more time, using your hands can yield excellent results, particularly for developing a feel for the dough. Quickly squish the butter pieces between your thumbs and fingers with the flour until the desired texture is achieved. Work quickly to minimize heat transfer from your hands to the butter.
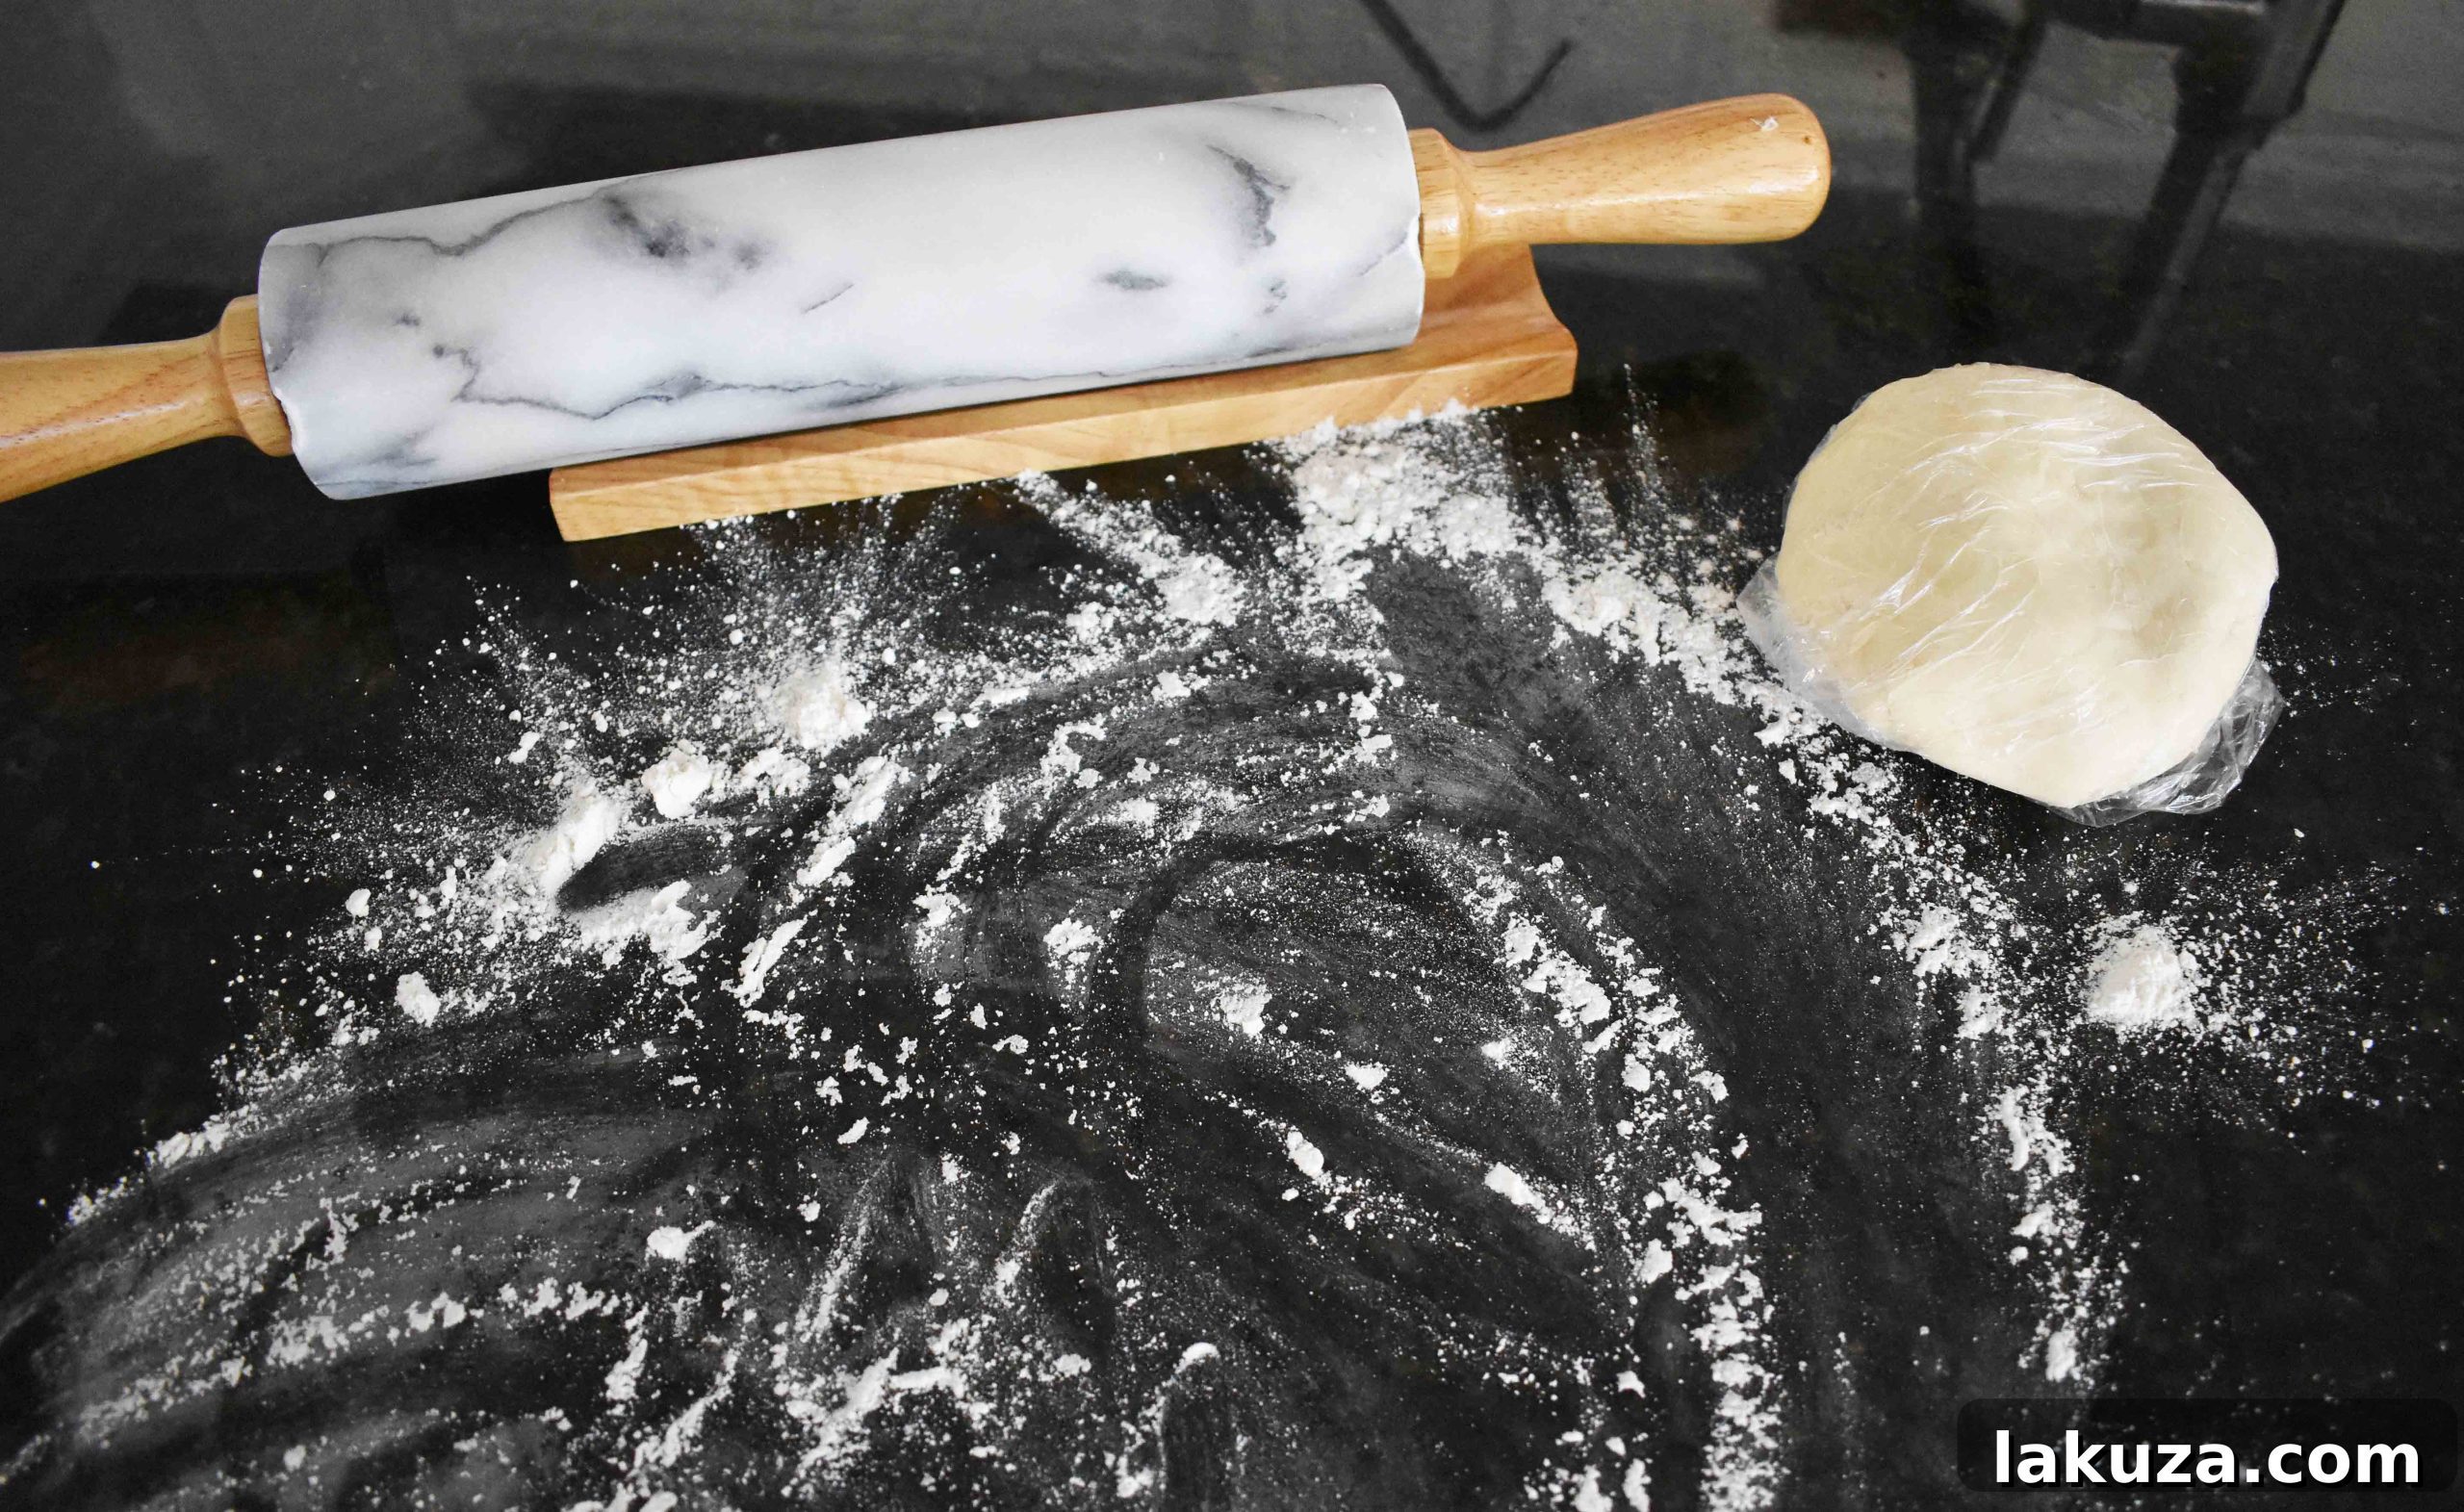
3. Add Ice Cold Liquid Gradually: Prepare your liquid – either ice-cold water (with vinegar) or cold buttermilk. Add it to the butter-flour mixture a tablespoon or two at a time. If using a food processor, pulse briefly after each addition. If mixing by hand, stir gently with a fork. The goal is to add just enough liquid for the dough to come together when pressed, but not so much that it becomes sticky or wet. You want the dough to be moist but still shaggy. My Grandma Faye always used milk with a tablespoon of vinegar, which is a fantastic option for a tender crust.
4. Utilize Vinegar for Tenderness (Optional but Recommended): If you’re using ice-cold water, adding a teaspoon of white vinegar or apple cider vinegar is highly recommended. As mentioned, the acidity helps prevent the gluten from developing too much, resulting in a more tender, less elastic crust. This is especially helpful if you tend to overwork dough or are new to pie-making. If you’re using buttermilk, you can skip the additional vinegar as buttermilk naturally contains acids that achieve a similar effect.
5. Chill the Dough Thoroughly: This step is paramount for a successful pie crust. Once your dough has just come together, gently gather it into a ball and flatten it into a disk. Wrap it tightly in plastic wrap (Saran Wrap) and refrigerate for at least 30 minutes, though 2 hours is ideal. Chilling allows the gluten strands to relax, which makes the dough easier to roll out without shrinking excessively. It also re-chills the butter, ensuring it remains solid and creates those desirable flaky layers when baked. You can even chill the dough overnight for maximum relaxation.
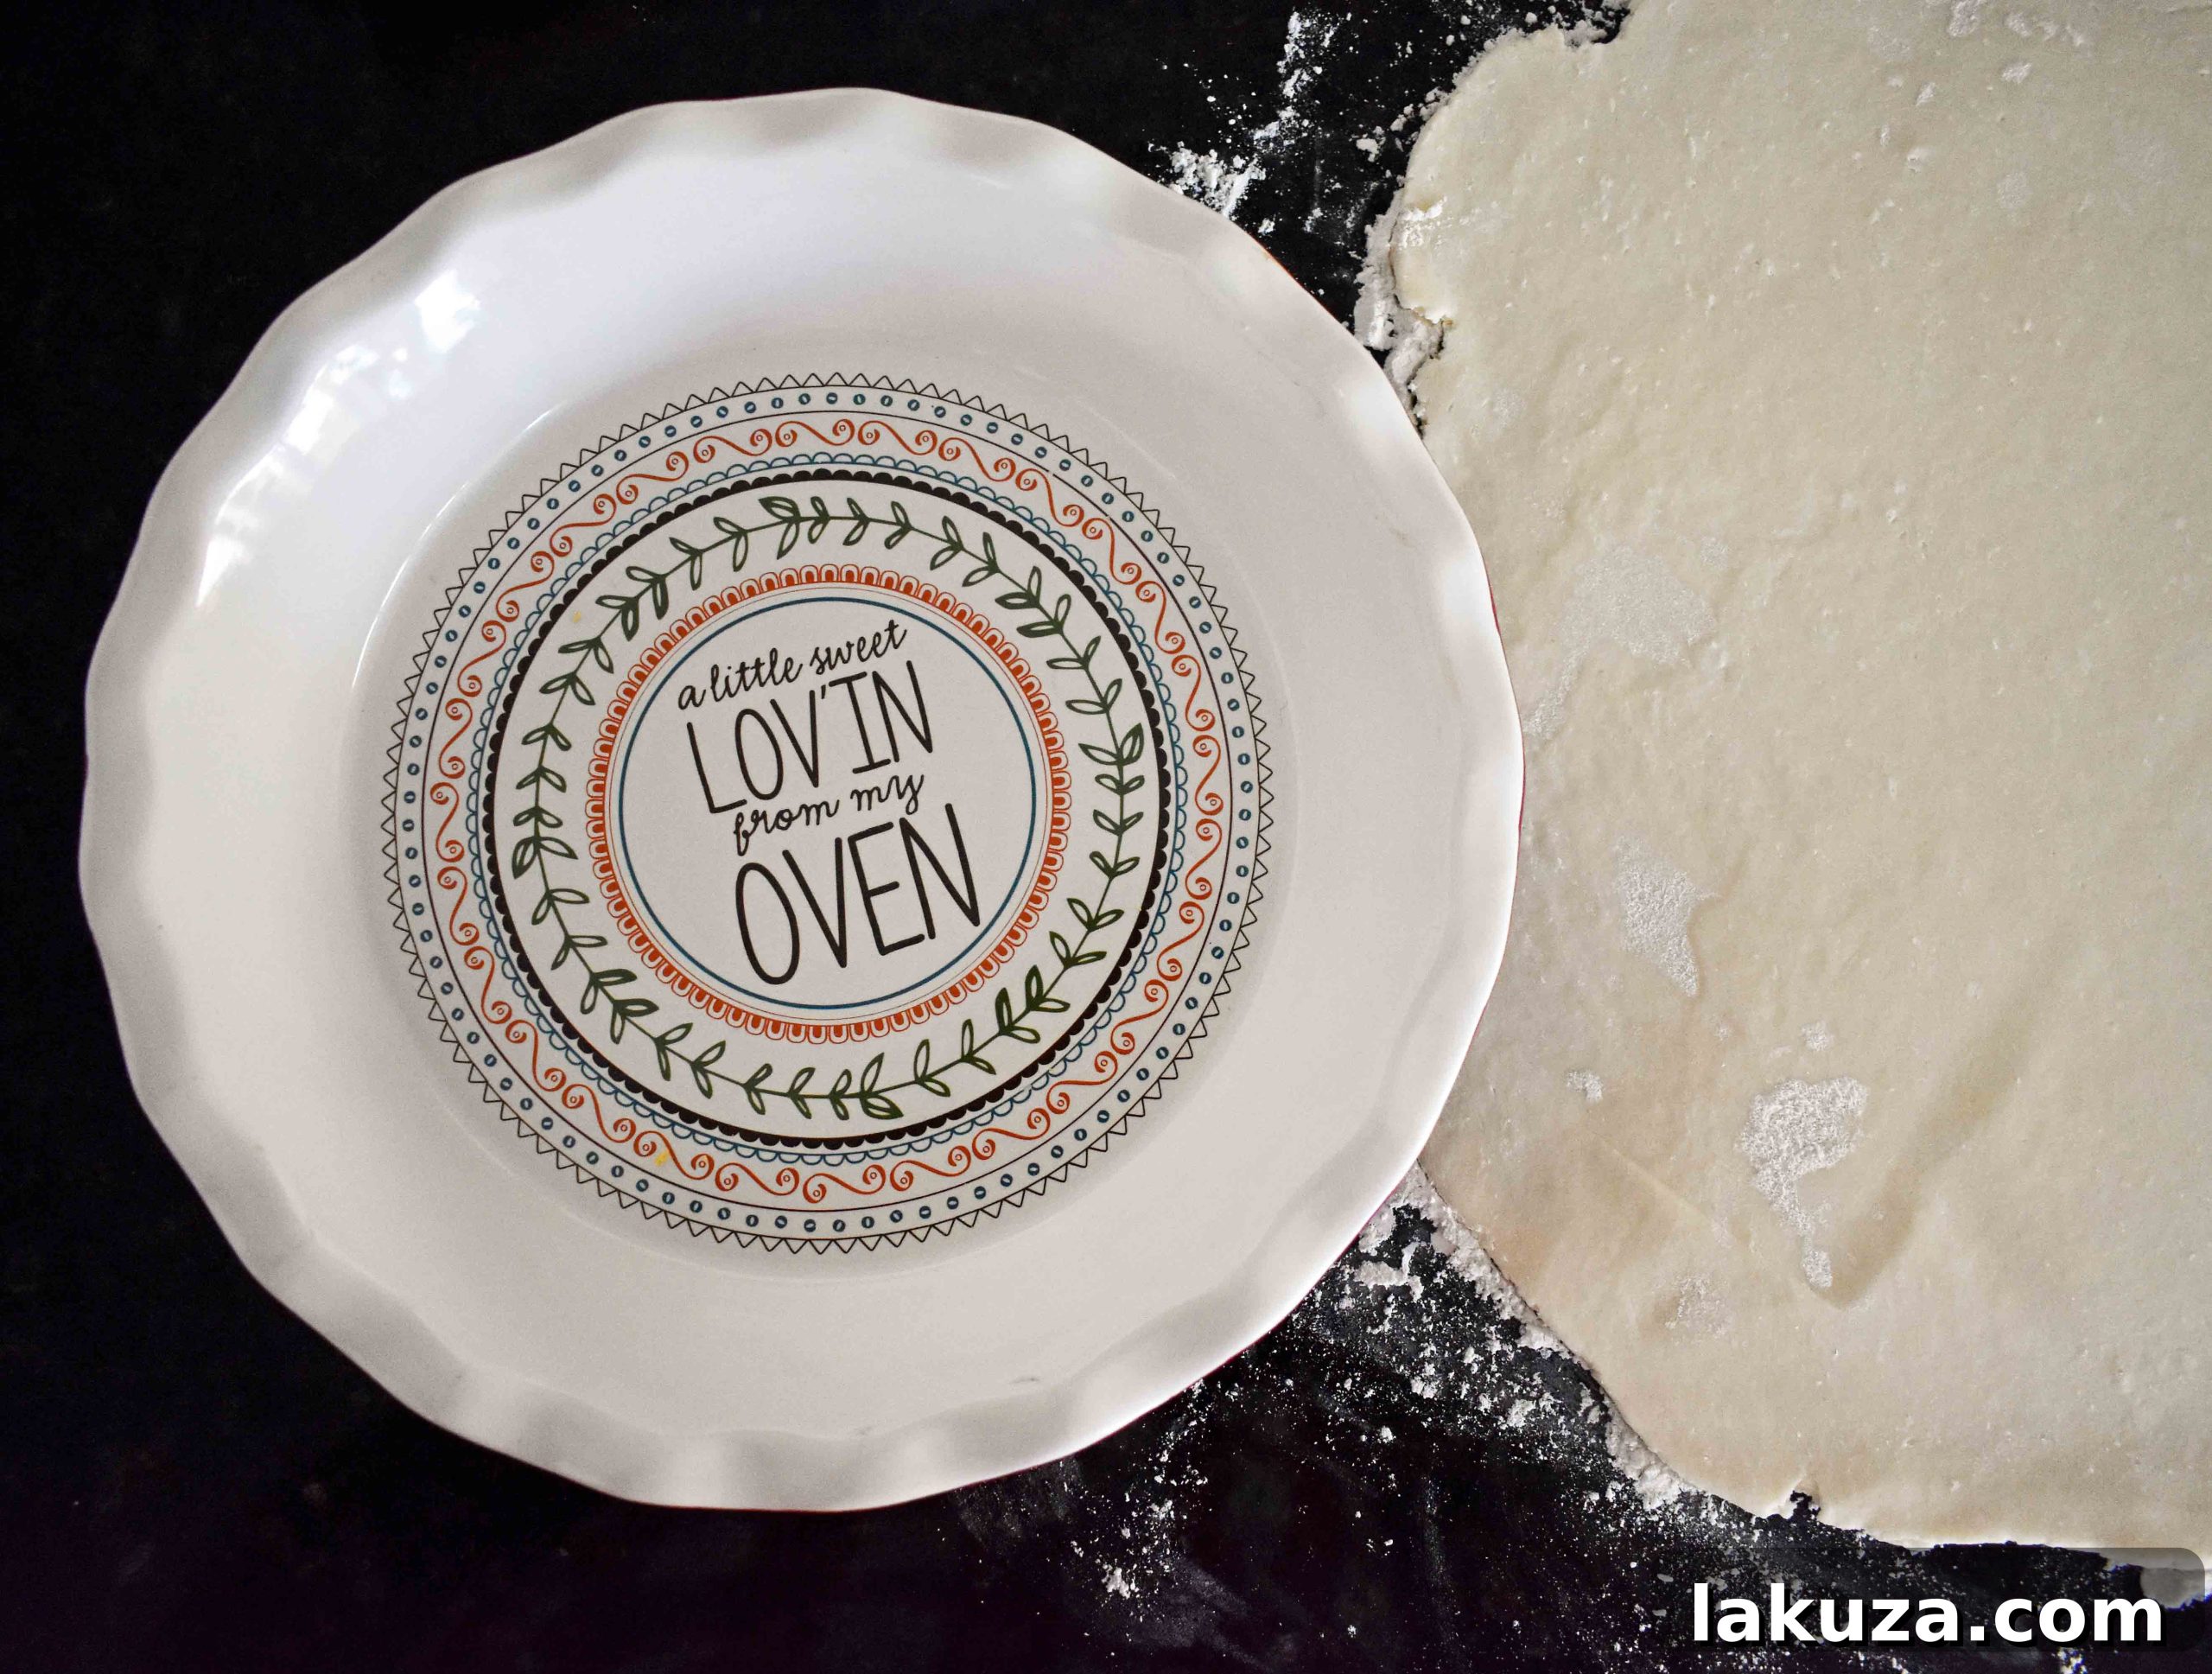
6. Avoid Overworking the Dough: When it’s time to roll, transfer the chilled dough to a lightly floured work surface. Using a rolling pin, roll it out from the center outwards, rotating the dough frequently to prevent sticking and ensure an even thickness. The key here is efficiency and a light touch. Overworking the dough develops too much gluten, which can lead to a tough crust. Aim for at least a 13-inch diameter circle for a standard 9-inch pie plate, allowing for overhang. A marble rolling pin, naturally cold, can be particularly helpful in keeping the dough cool during this process.
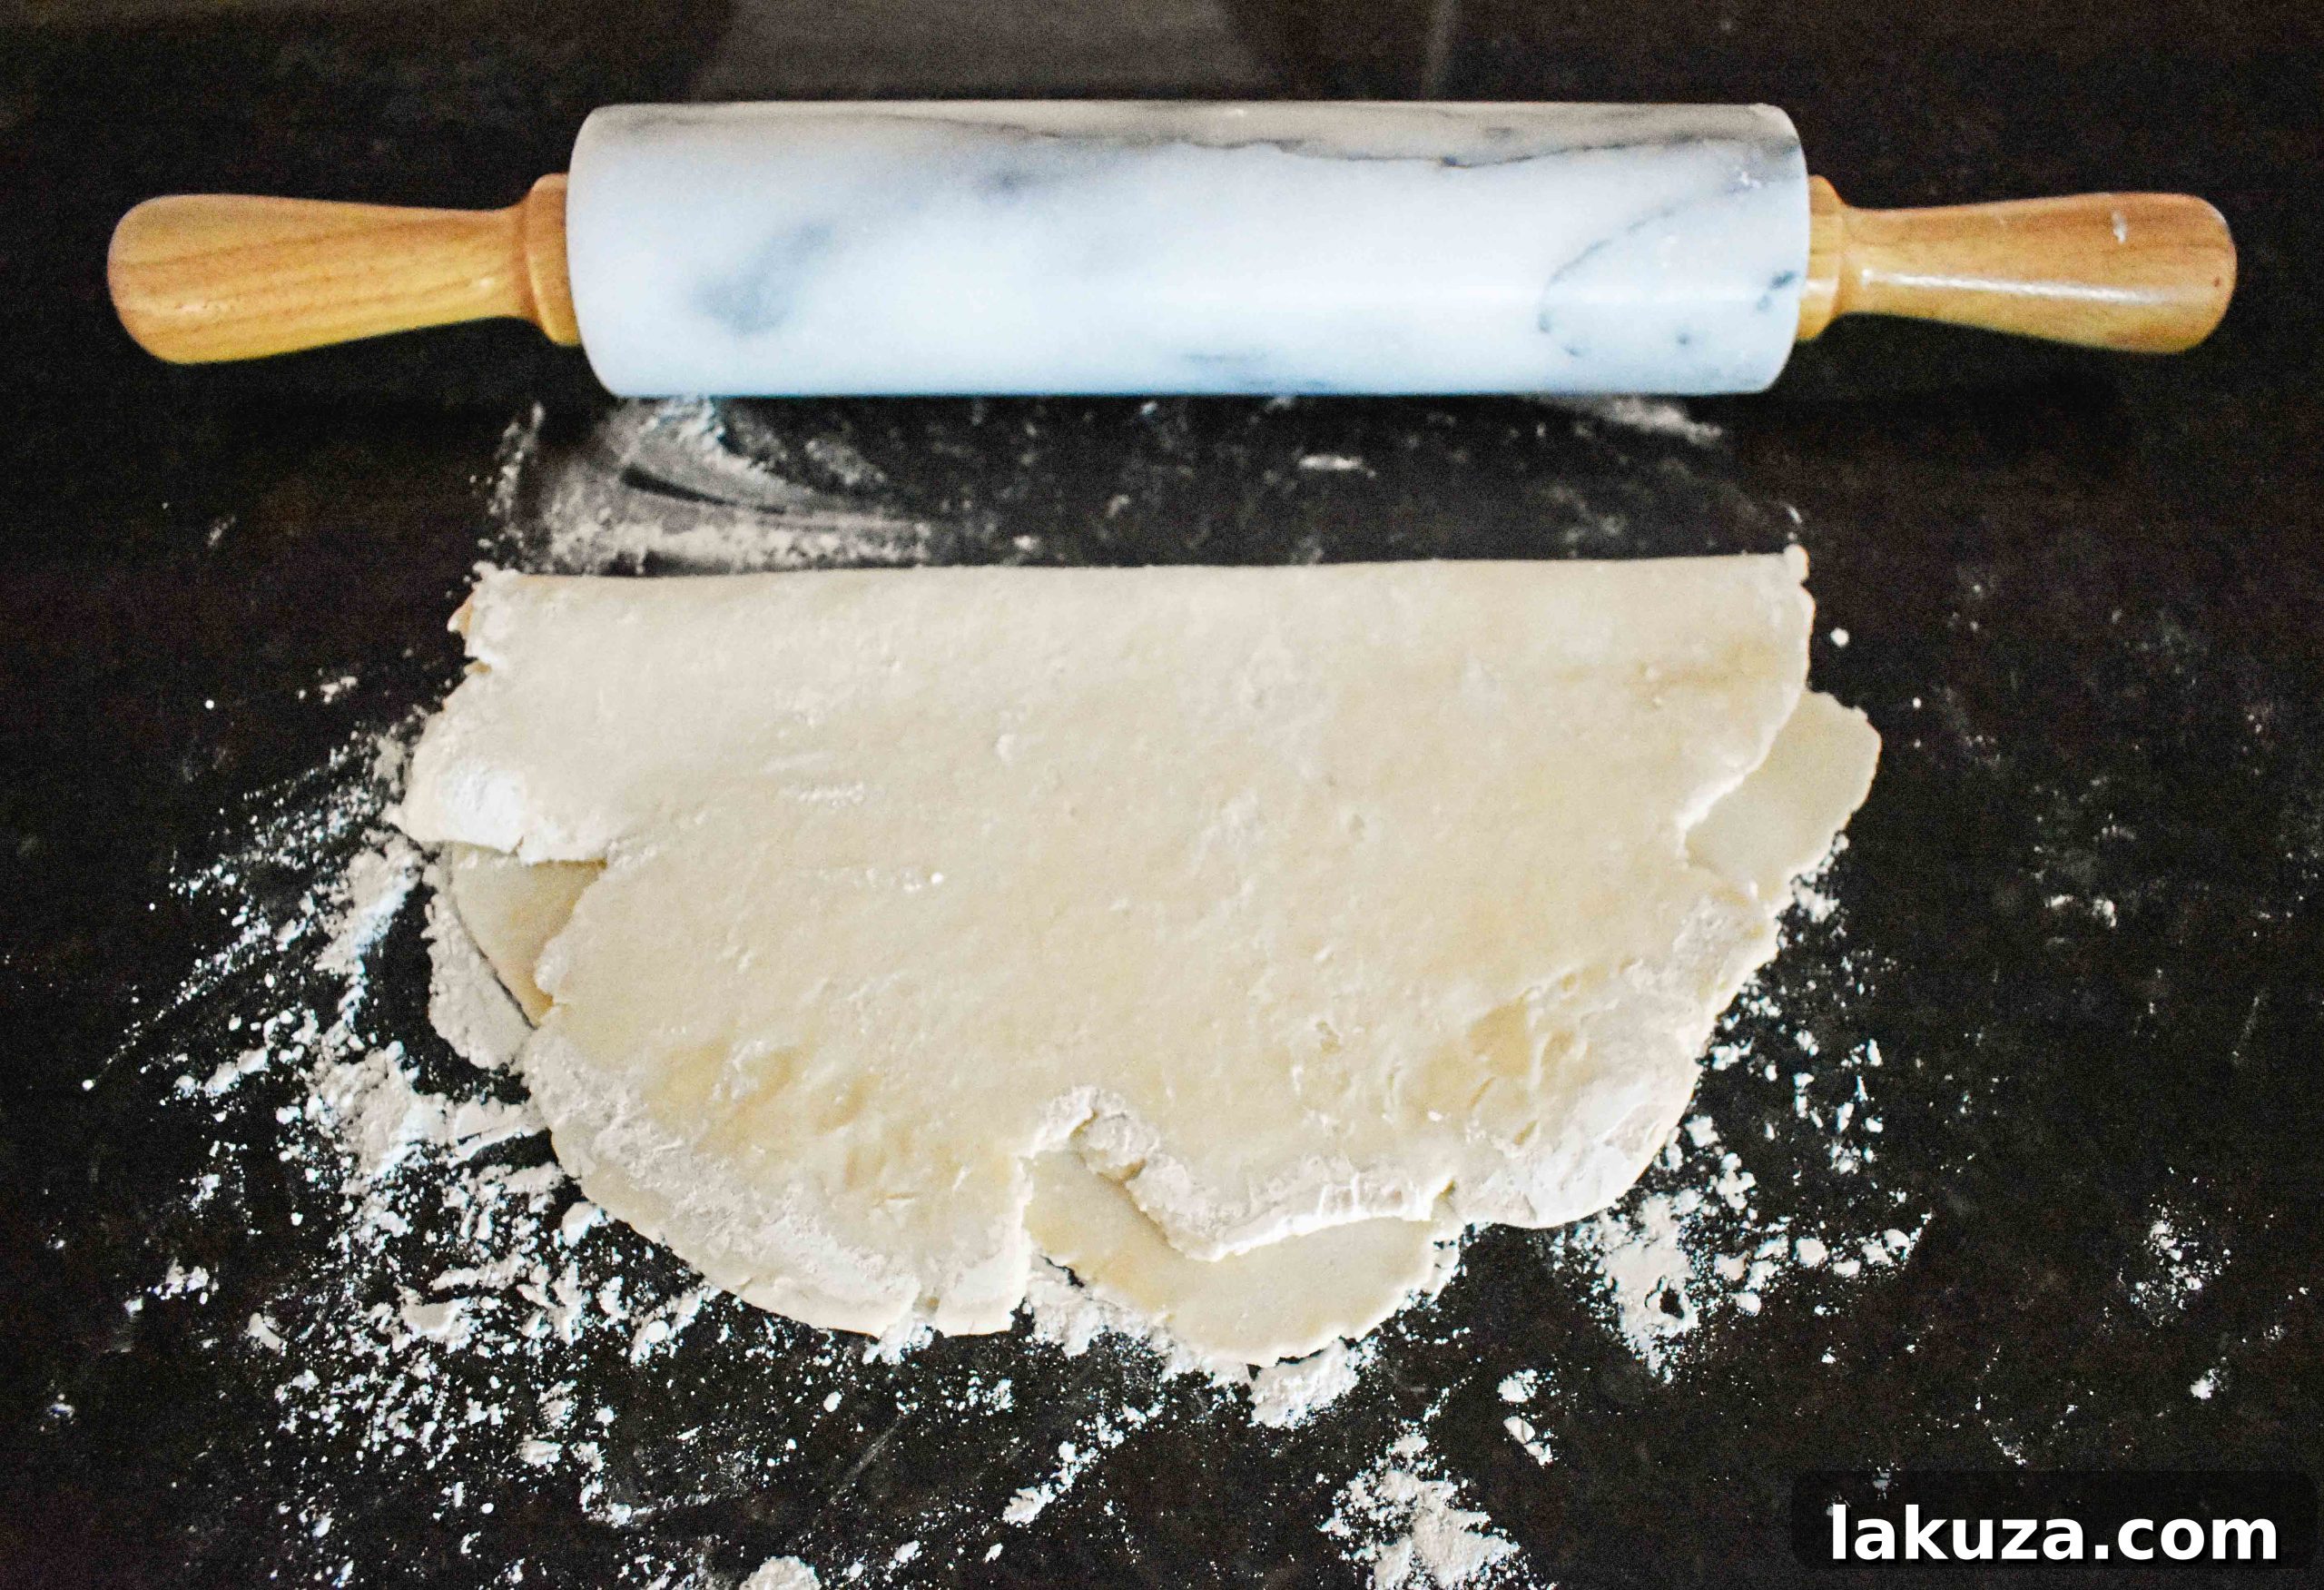
7. Fold for Easy Transfer: Transferring a large, delicate circle of dough to a pie plate can be tricky. A simple trick, often passed down through generations, is to gently fold the rolled-out dough in half, and then in half again, creating a quarter-circle. Carefully lift this folded dough and center it over your pie plate. Once positioned, gently unfold it, letting it settle into the contours of the pan without stretching. This technique minimizes the risk of tearing or misshaping the dough.
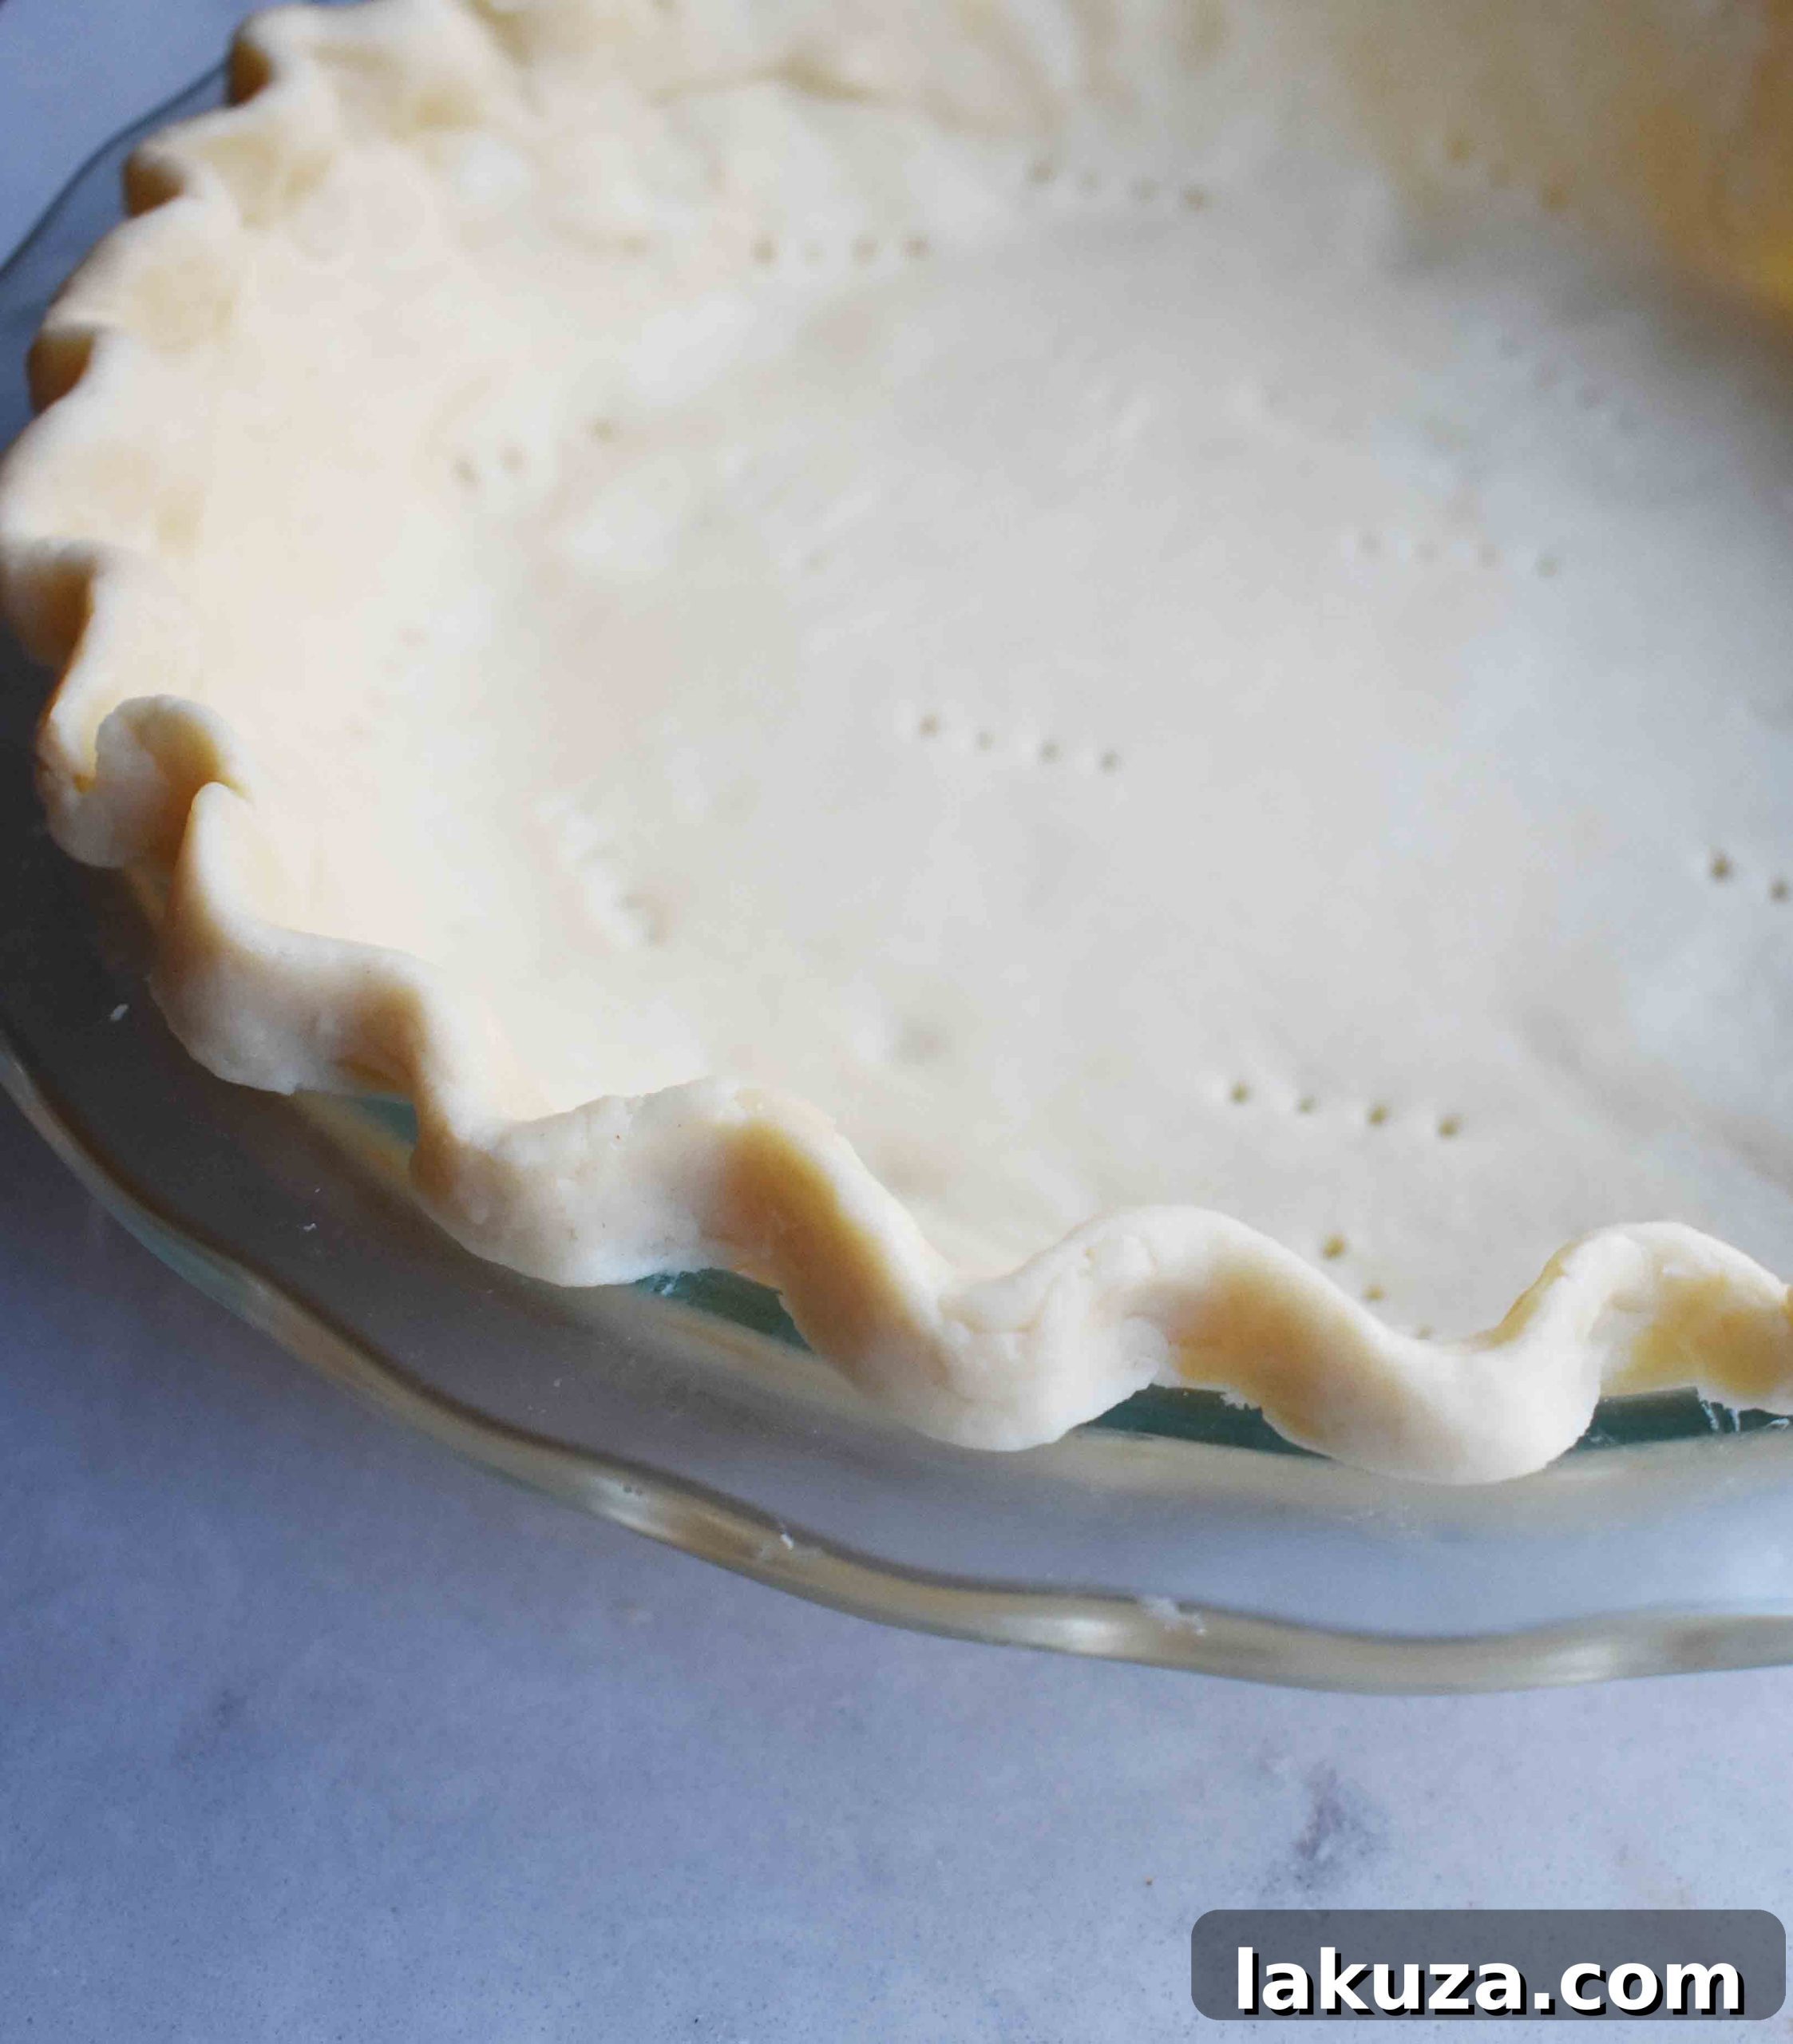
8. Shape and Decorate the Edges: Once the dough is in the pie plate, gently press it against the sides and bottom to ensure it’s evenly distributed. Trim any excess dough, leaving about a 1/2 to 1-inch overhang. Now, for the decorative touch: you can flute the edges by pressing the dough between the index finger and thumb of one hand while using the index finger of your other hand to create beautiful scallops. For an extra special touch, you can roll out thin strips of leftover dough to create a braided edge, adding elegance to your homemade pie.
9. Prick Holes for Blind Baking (if applicable): If you plan to blind bake your crust (baking it empty before adding a filling, common for cream pies or fruit pies with very wet fillings), it’s important to prevent the crust from puffing up unevenly. Use a fork to gently prick holes along the bottom and sides of the crust. These small perforations allow steam to escape during baking, ensuring a flat, evenly cooked shell.
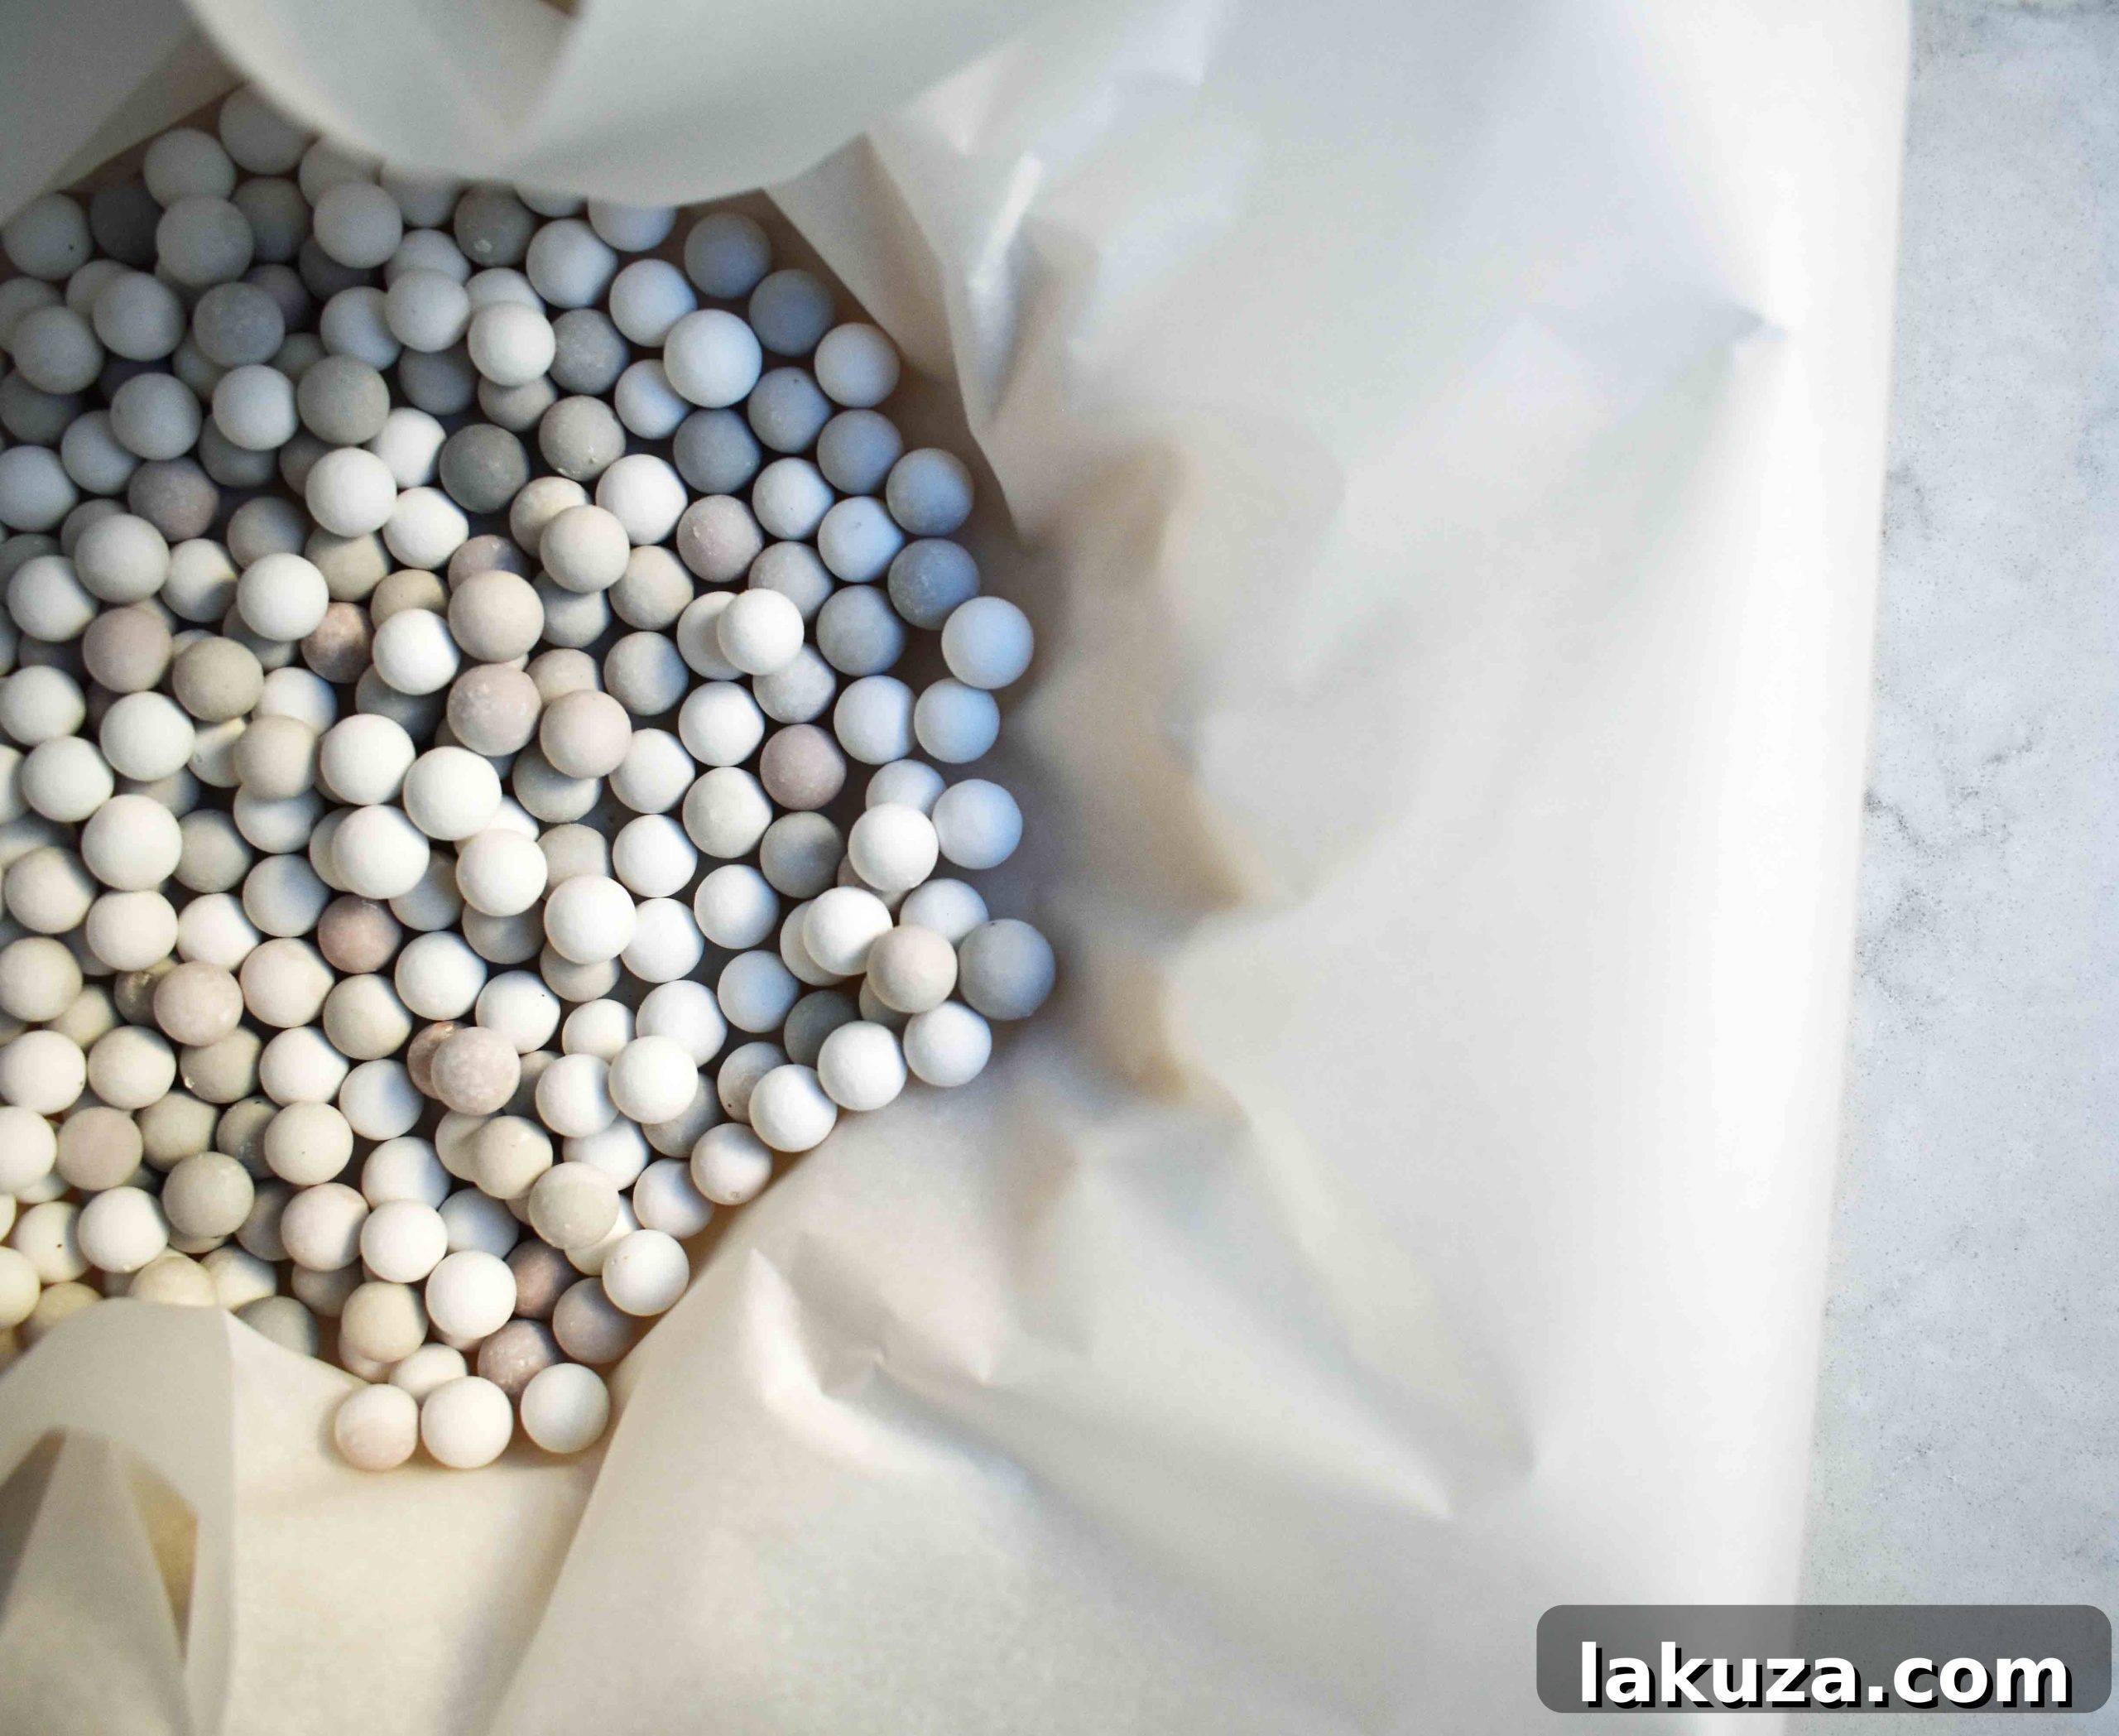
10. Use Weights for Blind Baking: To maintain the crust’s shape during blind baking, especially when making a pre-baked shell for a no-bake filling, you’ll need to weigh it down. Line the unbaked pie crust with parchment paper or aluminum foil, making sure it extends over the edges. Fill the lined crust with pie weights, dried beans, or rice, pressing them gently against the sides. This evenly distributes the weight, preventing the crust from slumping or bubbling. As a cautionary note, I sometimes double-line the crust with parchment to ensure no rice or beans accidentally stick to the dough – a lesson learned the hard way!
11. Re-Chill Before Baking: After you’ve shaped the dough in the pie pan, it’s a good idea to chill it again for at least 20 minutes. This final chilling period allows the butter to firm up one last time and helps the dough hold its shape against the intense heat of the oven, preventing shrinkage and ensuring a crisp, stable crust.
12. Bake at a High Temperature: Place your chilled pie crust into a preheated hot oven (typically 400°F / 200°C). The initial blast of high heat is crucial; it helps to rapidly set the crust and creates those desired flaky layers before the butter completely melts. Keep a close eye on the edges, as they tend to brown faster than the center. To prevent over-browning, cover the edges with strips of aluminum foil or a pie shield after about 20-25 minutes of baking. Pie shields are an invaluable tool for consistent baking results.
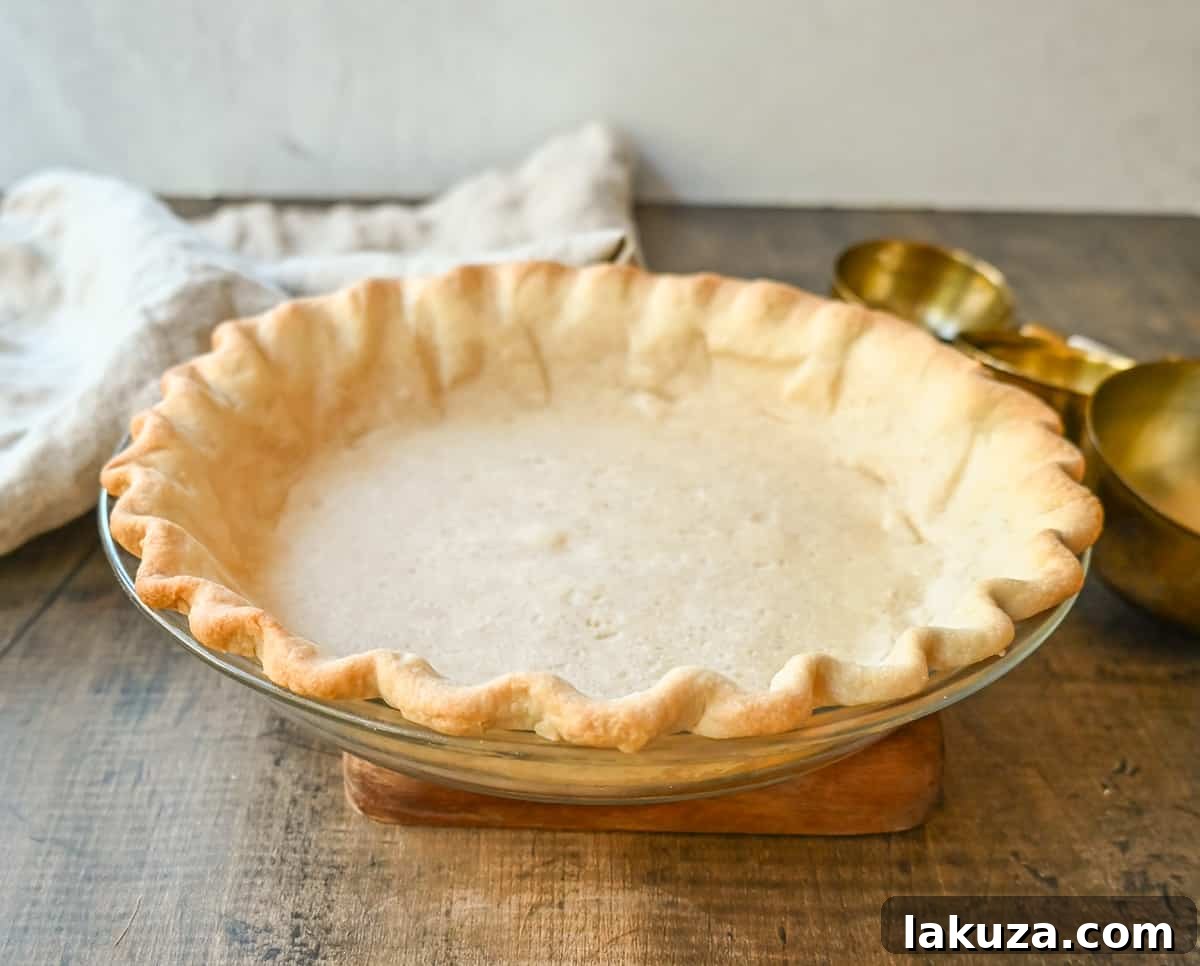
13. Monitor Closely and Cool: Butter-rich pie crusts can transition from golden to overly brown quite quickly, so stay vigilant! Once the crust has reached your desired golden hue, remove it from the oven. If blind baking, allow the crust to cool completely in the pie pan on a wire rack before adding any filling. This prevents a soggy bottom and ensures your pie maintains its structural integrity and delightful crispness.
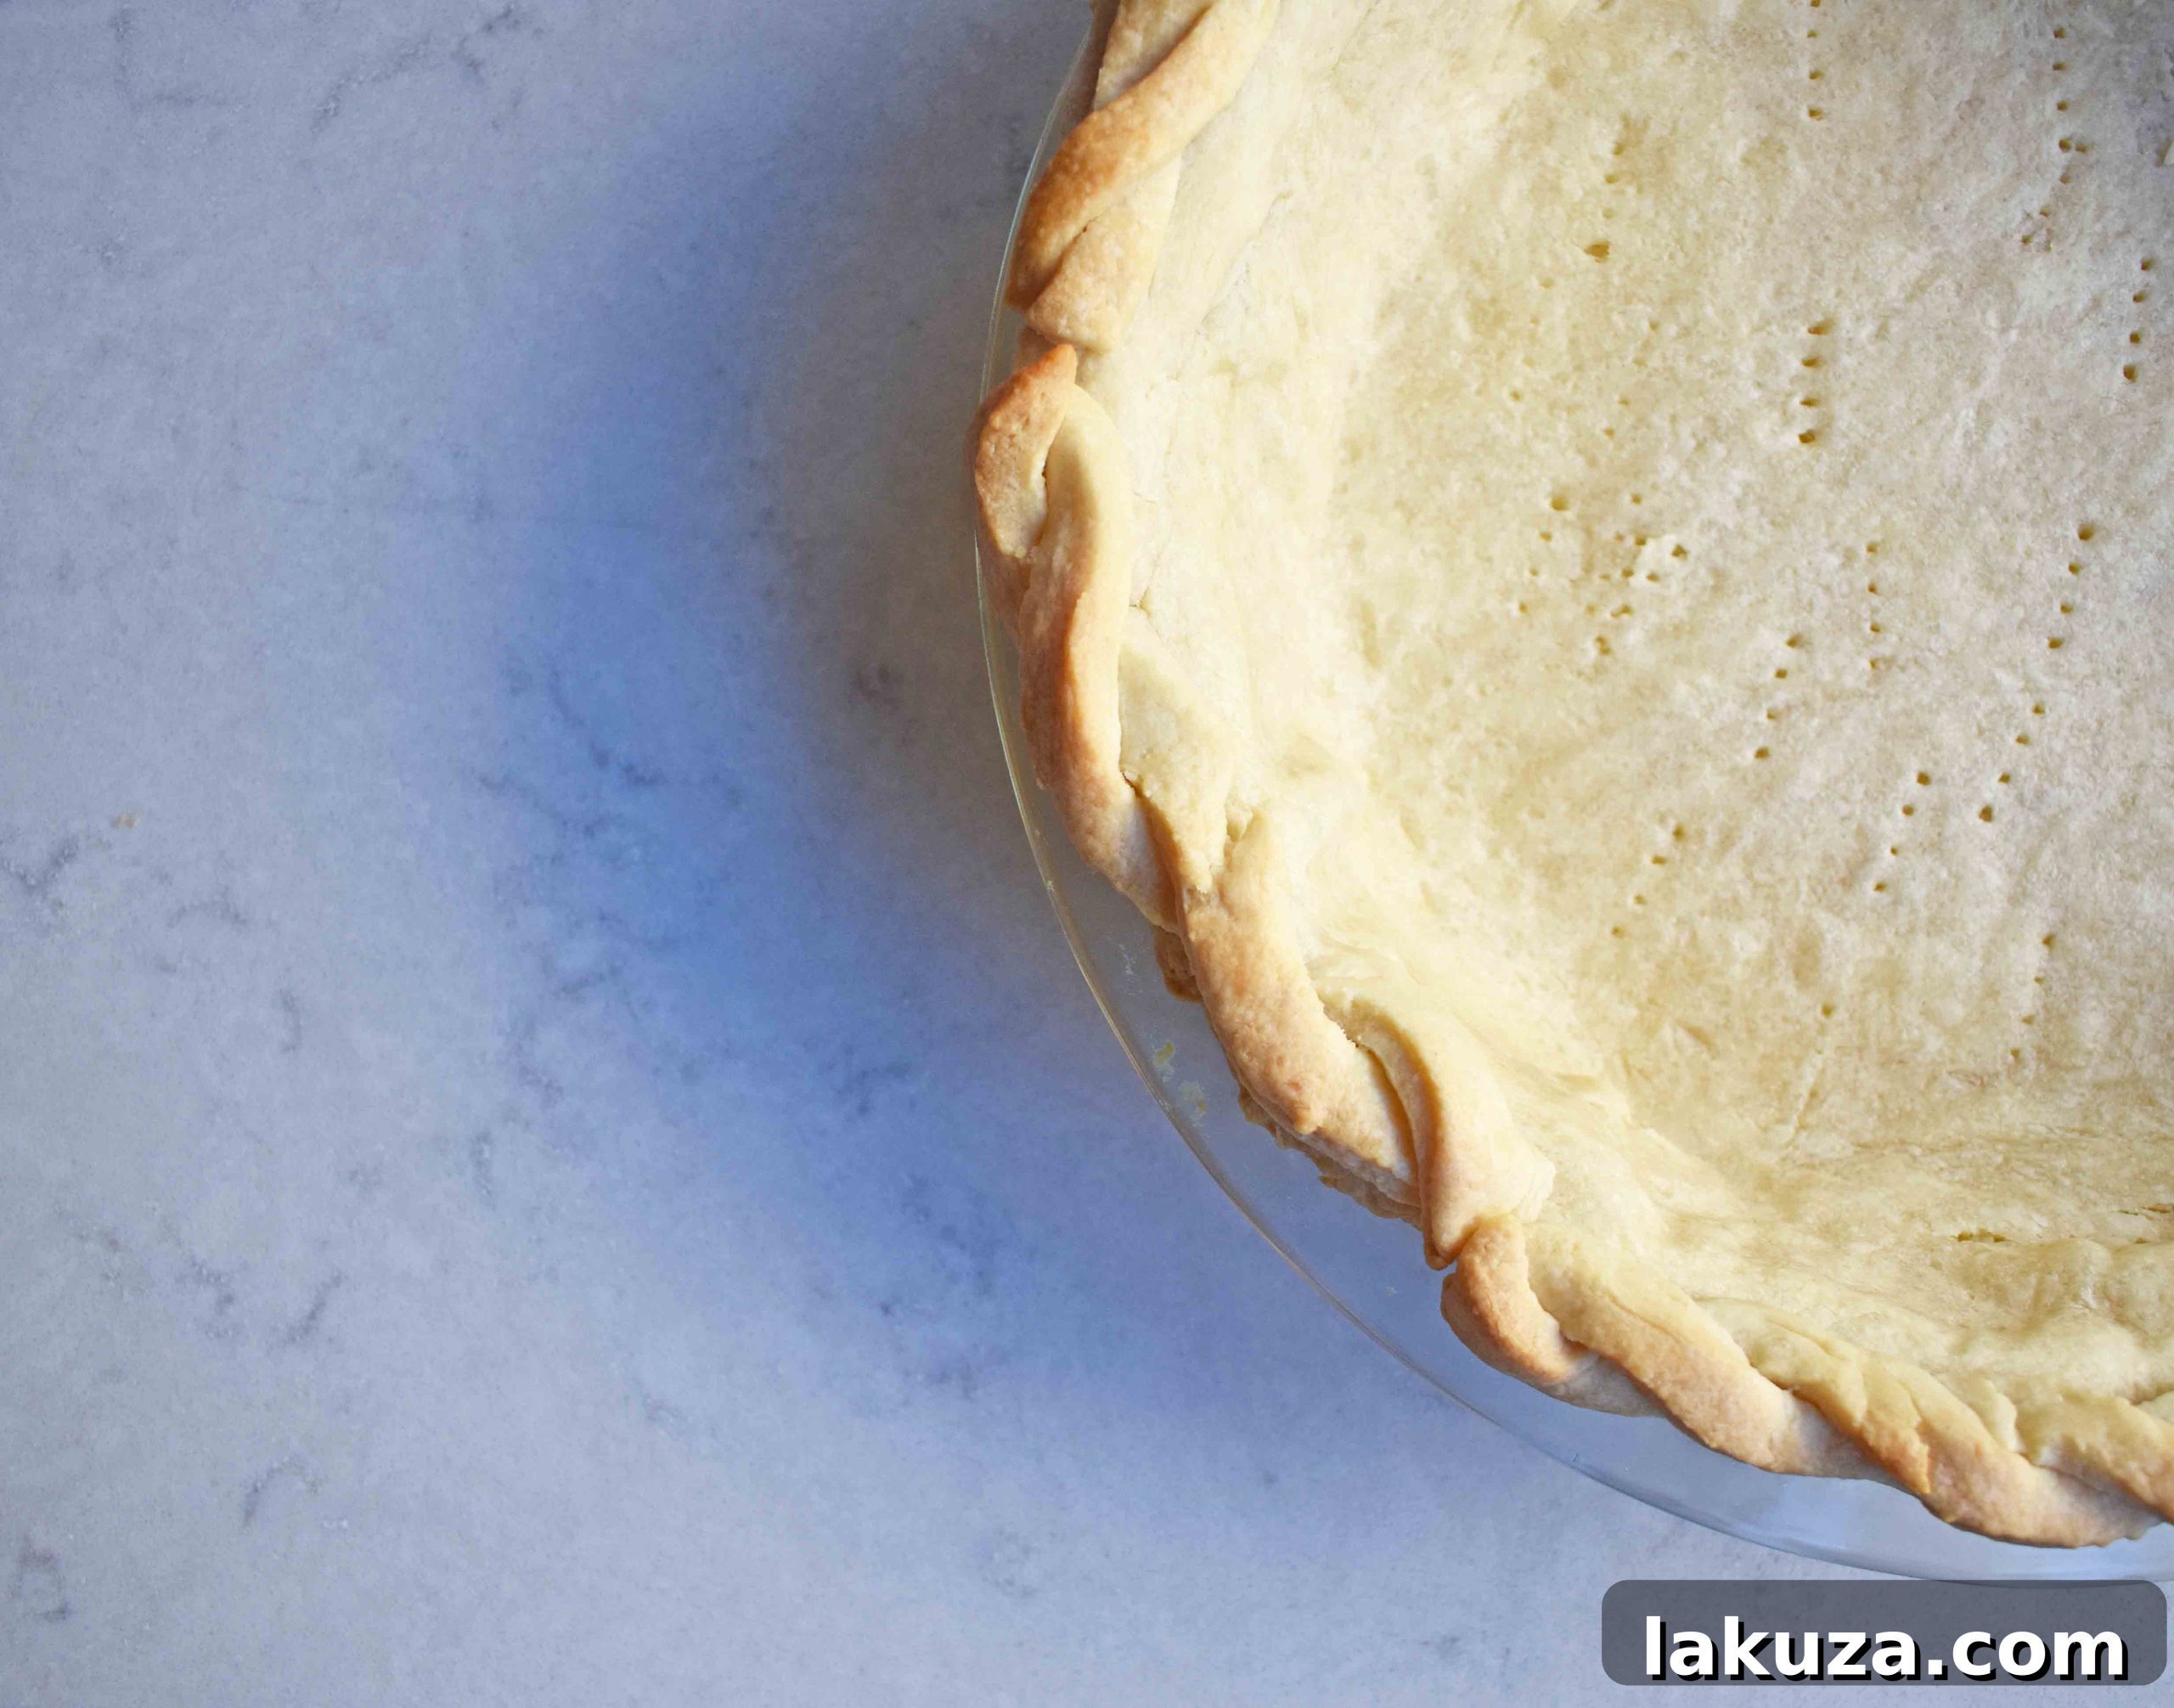
By following these steps, the tender, flaky layers and the rich, buttery flavor of your homemade pie crust will truly make your homemade pie a masterpiece, whether it’s a sweet apple pie or a savory quiche.
Variations and Expert Tips
The beauty of homemade pie crust lies in its simplicity, but a few subtle variations and tips can further enhance your results:
- Quality Ingredients Matter: Since there are so few ingredients, the quality of each makes a substantial impact. Use high-quality butter with good fat content for the best flavor and flakiness. Fresh flour also performs better.
- Liquid Options: While ice cold water with vinegar and buttermilk are recommended, you can also use regular cold milk with a teaspoon of vinegar added to it. The acidity is key for tenderizing the dough, regardless of the dairy base.
- Seasoning: Don’t be afraid to experiment with a tiny pinch of sugar in your savory pie crusts or a hint of spice (like cinnamon or nutmeg) in sweet pie crusts to complement the filling.
Use COLD ingredients!
For the flakiest pie crust, always start with cold butter and use ice cold water or cold buttermilk. This ensures the butter remains in distinct pieces, creating steam pockets during baking for a truly flaky texture.
Can You Make This Butter Pie Crust Ahead of Time?
Absolutely! This all-butter pie crust recipe is wonderfully forgiving and can be prepared in advance, making your baking day much smoother:
- Unbaked Pie Dough: You can prepare the pie dough up to 2 days ahead of time. After forming it into a disk, wrap it tightly in plastic wrap and store it in the refrigerator. When you’re ready to bake, simply remove it from the fridge 10-15 minutes before rolling to allow it to soften slightly, making it easier to work with.
- Pre-Baked Pie Crust: If your recipe calls for a pre-baked pie shell (for cream-filled pies, for example), you can bake the crust up to two days ahead. Once baked and fully cooled, simply cover it loosely with plastic wrap or aluminum foil and keep it at room temperature until you’re ready to fill it. This frees up valuable time, especially during busy holiday preparations.
Popular Pie Recipes:
The Best Pumpkin Pie Recipe
Best Apple Pie
Best Chocolate Cream Pie
Chocolate Pecan Pie
All Butter Flaky Pie Crust
By: Melissa Stadler, Modern Honey
This All Butter Flaky Pie Crust is your perfect, foolproof pie crust every single time. It’s guaranteed to be buttery, tender, and the ideal foundation for any pie.
Cook Time: 20 minutes
Total Time: 50 minutes
Servings: 16
Equipment
- food processor (optional, for quicker mixing)
- measuring cups and spoons
- mixing bowl set
- emile henry pie dish
- Rolling Pin
- Pastry Cutter or Fork (if not using food processor)
- Plastic Wrap
- Parchment Paper or Aluminum Foil
- Pie Weights, Dried Beans, or Rice (for blind baking)
- Pie Shields or Aluminum Foil Strips (for edge protection)
Ingredients
For Double-Crust Pie:
- 1 cup Cold Butter (2 sticks, sliced into small pieces)
- 2 1/2 cups All-Purpose Flour
- 1 teaspoon Salt
- 1/4 – 1/2 cup Ice Cold Water (or Buttermilk or Milk/Vinegar Mixture)
- 1 teaspoon Vinegar (only if using ice water or milk, not buttermilk)
For Single-Crust Pie:
- 1/2 cup Cold Butter (1 stick, sliced into small pieces)
- 1 1/4 cups All-Purpose Flour
- 1/2 teaspoon Salt
- 2 Tablespoons – 1/4 cup Ice Cold Water (or Buttermilk or Milk/Vinegar Mixture)
- 1/2 teaspoon Vinegar (only if using ice water or milk, not buttermilk)
Instructions
- In a large bowl or food processor, stir together the flour and salt. Add the very cold butter pieces (preferably chilled in the freezer).
- If using a food processor, pulse until the mixture resembles coarse meal with some pea-sized butter chunks remaining. If mixing by hand with a pastry cutter or your fingers, cut in the butter until the same texture is achieved.
- Slowly add the ice cold water (or buttermilk or milk/vinegar mixture), 1-2 tablespoons at a time, to the butter-flour mixture. If using a food processor, pulse briefly after each addition. If mixing by hand, stir with a fork until the dough just begins to come together. Avoid overmixing.
- Gather the dough into a ball and gently pat it into a disk. Wrap each disk tightly in plastic wrap and refrigerate for at least 30 minutes, with 2 hours being preferred for optimal gluten relaxation and butter firming.
- When ready to bake, unwrap the chilled dough and place it onto a lightly floured work surface. Using a rolling pin, roll the dough out evenly from the center, rotating it frequently, until it forms at least a 13-inch diameter circle. Work quickly to keep the dough as cold as possible.
- To transfer the dough to the pie pan, gently fold the rolled-out circle in half, then in half again. Carefully lift and center the folded dough over your pie pan, then gently unfold it.
- Press the dough against the sides and bottom of the pan. Trim any excess dough, leaving about a 1/2 to 1-inch overhang. Flute or decorate the edges as desired.
- If you are blind baking the crust (not filling it with a baked filling), prick holes using a fork along the sides and bottom of the crust. This helps prevent puffing.
- For blind baking, line the crust with parchment paper or foil, extending over the edges. Fill with pie weights, rice, or dried beans and press against the sides to keep the crust in place. You can double-line with parchment to prevent sticking.
- After forming the crust in the pan, chill it again for 20 minutes before baking to ensure it holds its shape.
- Preheat your oven to 400°F (200°C). Place the chilled crust in the hot oven. If making a double-crust pie with a filling, bake according to your specific pie recipe directions.
- If blind baking only the pie crust, bake at 400°F (200°C) for 10-12 minutes with the weights and parchment/foil. Carefully remove the weights and parchment/foil, then return the crust to the oven for an additional 6-8 minutes, or until golden brown (total cooking time of 16-20 minutes for an empty crust).
- If baking a filled pie such as pumpkin, cherry, or apple, cook according to your pie’s specific recipe directions, typically at a higher initial temperature then lowered.
- Watch the crust closely as it bakes; it can brown quickly. Let the crust cool completely on a wire rack before adding any fillings.
Video Tutorial
Watch the step-by-step video tutorial for visual guidance:
Notes
I usually use buttermilk instead of water and forego the vinegar, as buttermilk already provides the necessary acidity for a tender crust.
If you are mixing by hand or using a pastry cutter, you might need to add a little more water or buttermilk than if using a food processor, as the food processor tends to require less liquid.
Nutrition information is automatically calculated, so should only be used as an approximation.
Additional Info
Cuisine: French
Servings: 16
Keyword: homemade pie crust
Jump to Comments
I can’t wait to hear all about your amazing pies crafted with this All Butter Flaky Pie Crust. Share your culinary creations with me and tag me by using #modernhoney. Happy Baking, my friends! xo