
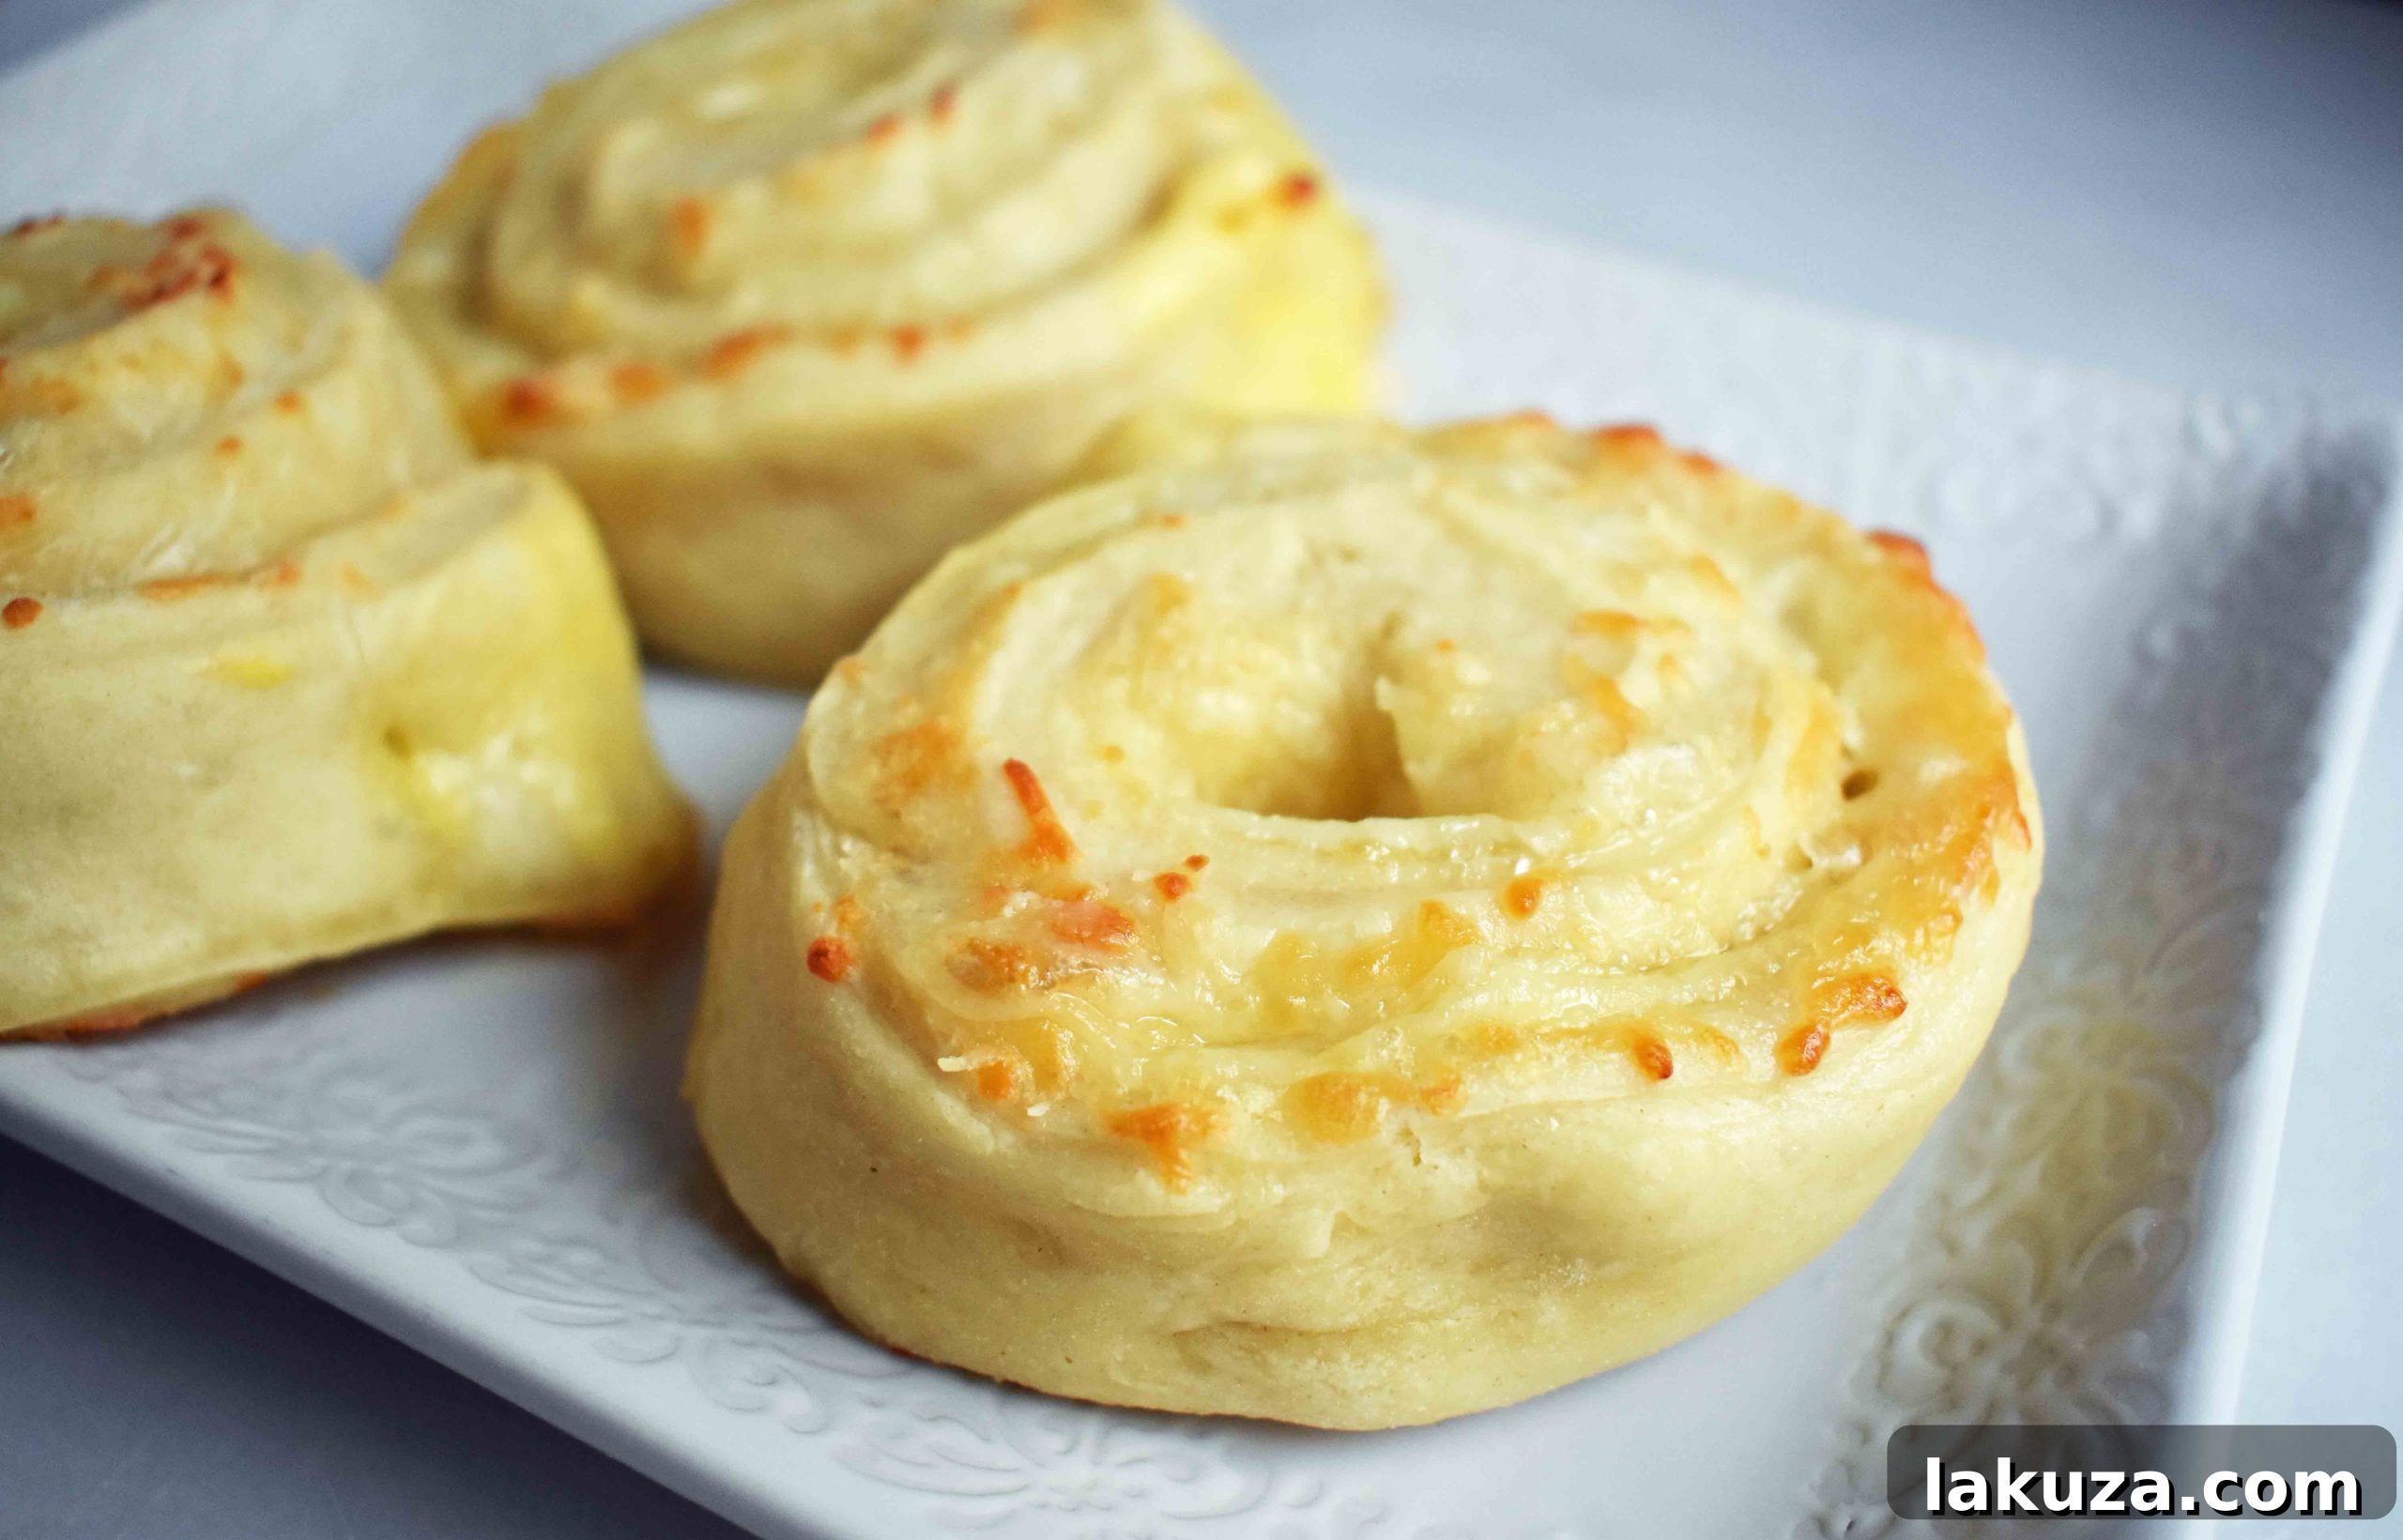
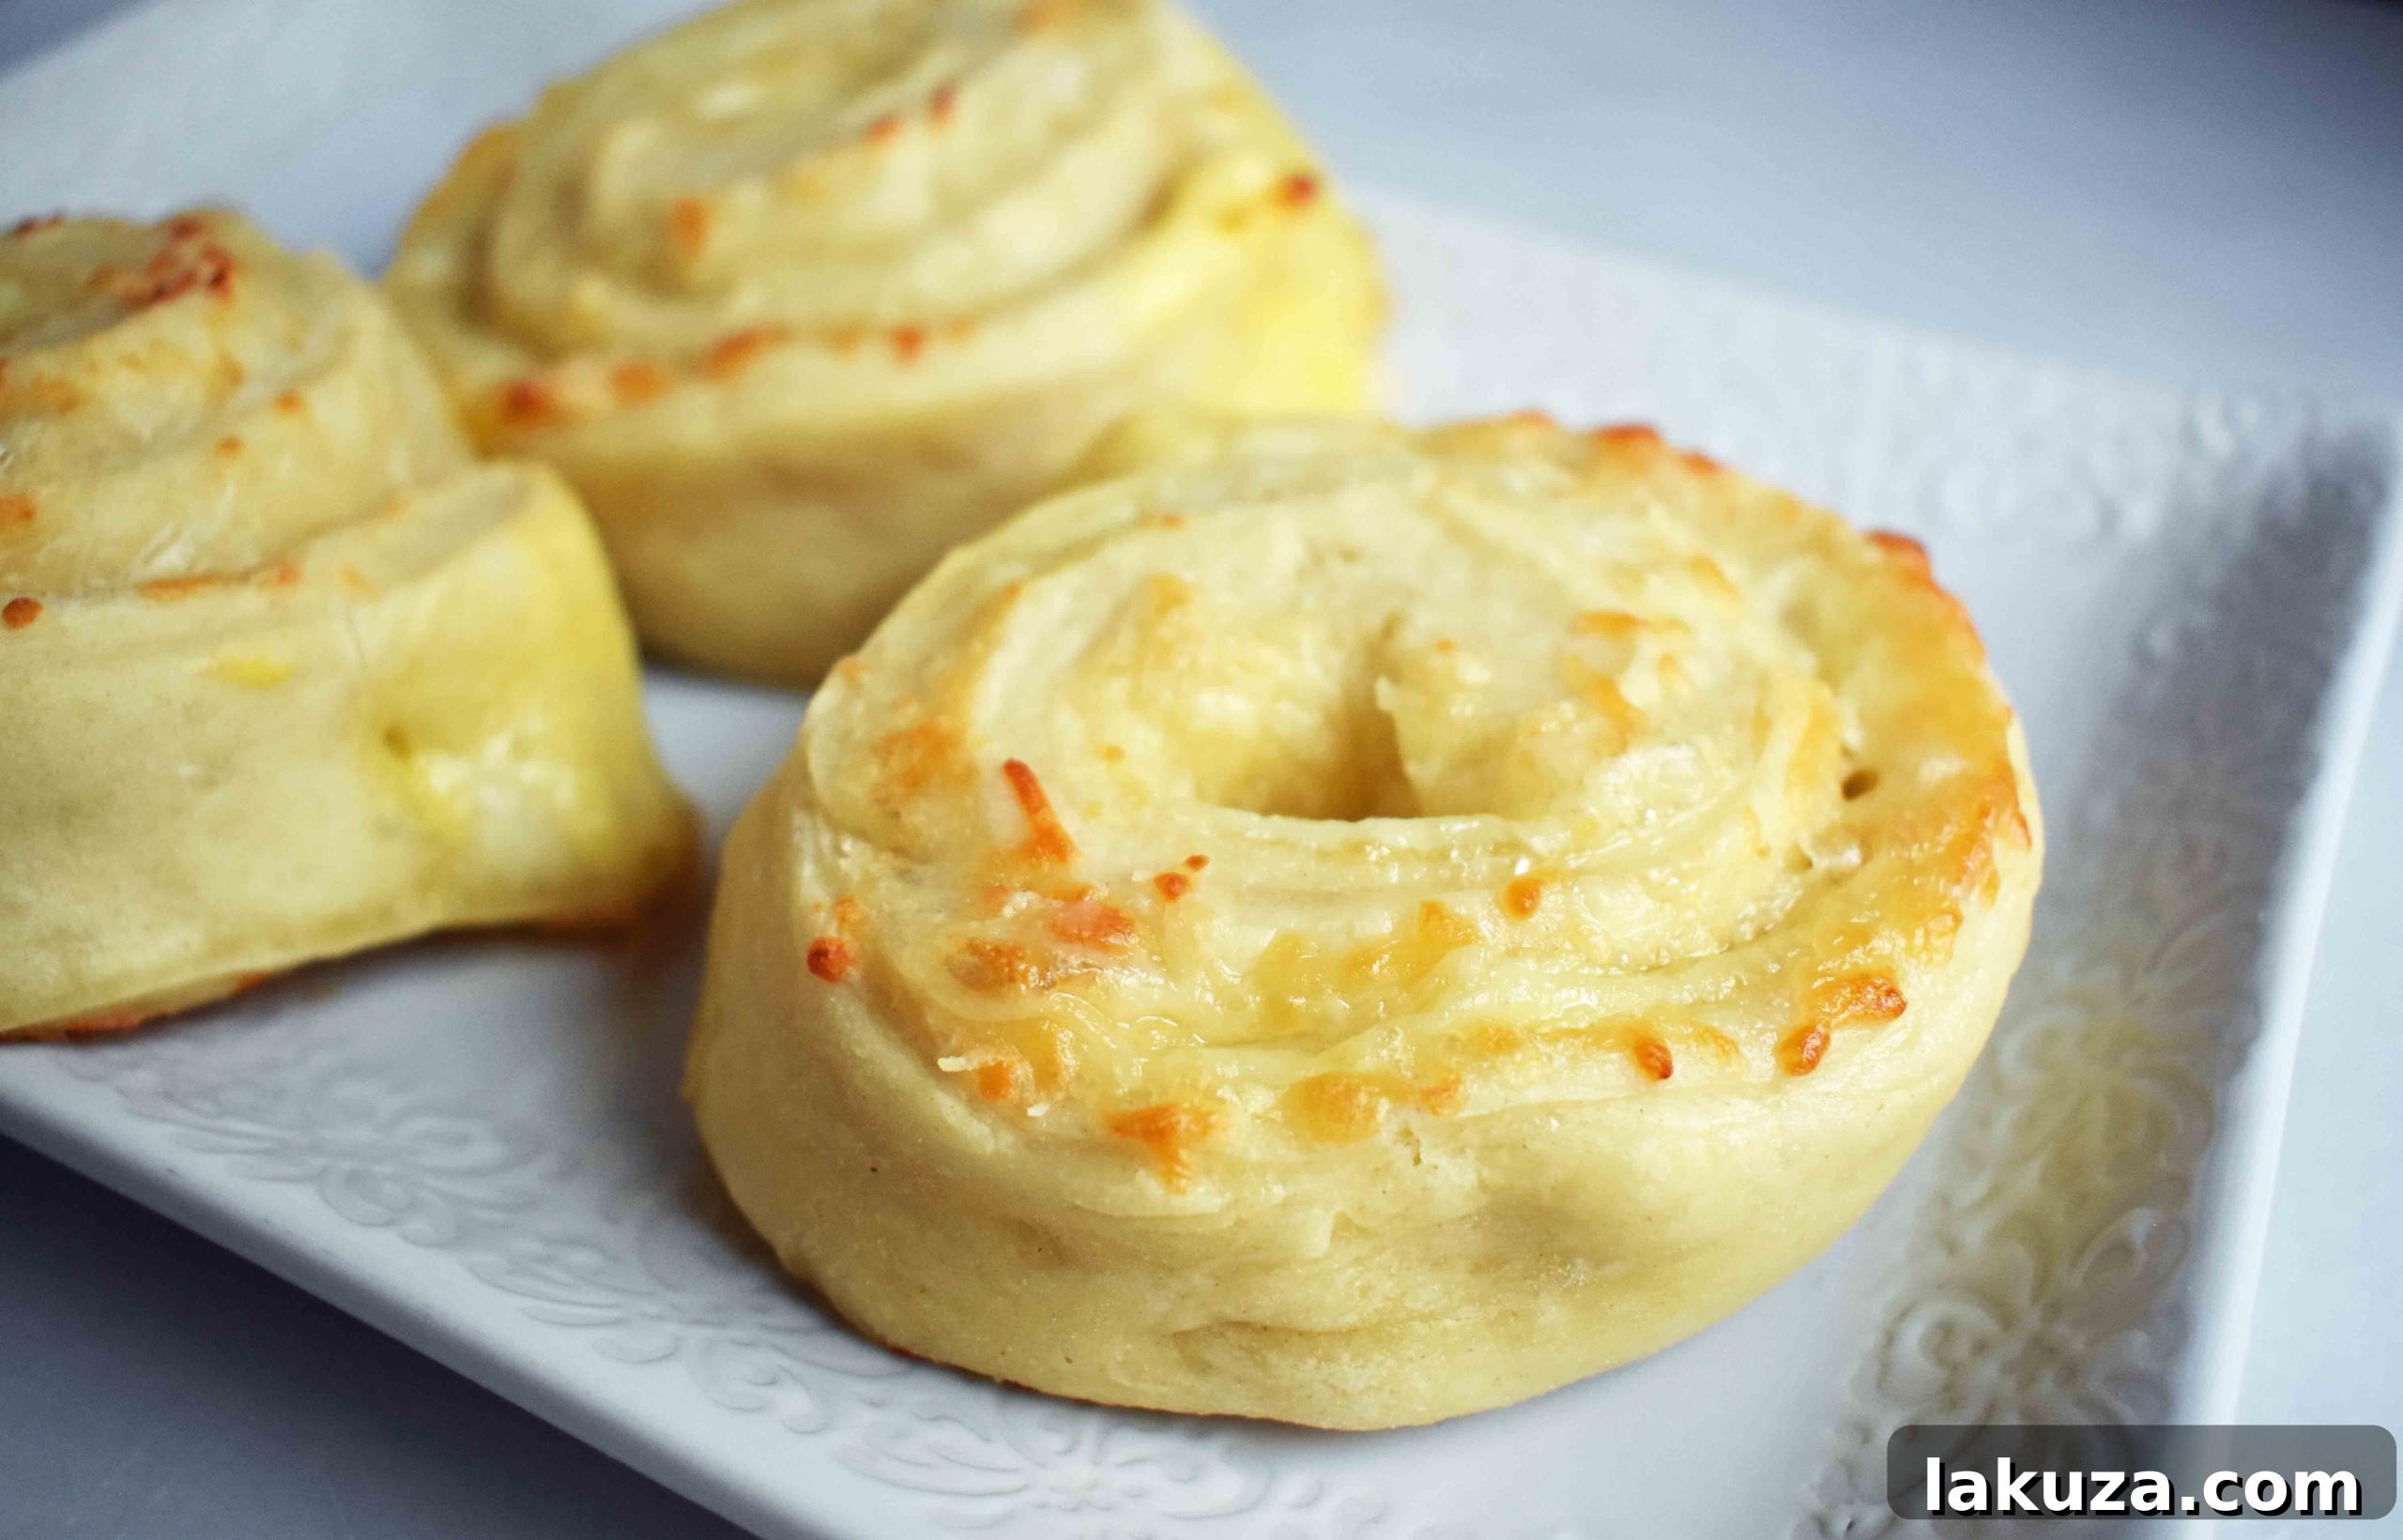
Golden’s Easy Garlic Parmesan Cheese Rolls: Your New Favorite Side Dish
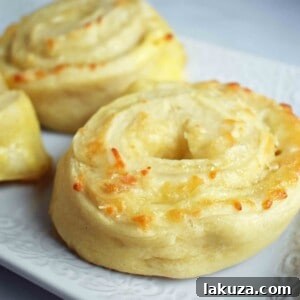
Who says incredible homemade food has to be complicated? In a world of elaborate recipes, sometimes the simplest creations yield the most satisfying results. Today, I’m thrilled to share with you a recipe that perfectly embodies this philosophy: my incredibly easy Garlic Parmesan Cheese Rolls. Crafted with just five core ingredients, these rolls are an absolute game-changer, transforming any meal into a delightful feast. Whether you’re pairing them with a comforting bowl of pasta, a hearty soup, or simply enjoying them on their own, these golden-brown, cheesy bites are guaranteed to become a staple in your kitchen.
I affectionately named these “Golden’s Garlic Parmesan Cheese Rolls” in honor of my wonderful Dad. It’s a bit of a funny story because, for most of his life, my Dad was notoriously anti-garlic. He’d politely avoid anything with even a hint of it! So, one day, I decided to pull a little culinary prank. I presented him with one of these warm, fragrant rolls, carefully omitting any mention of its key ingredient. To my utter surprise and delight, he devoured it and immediately asked for another! He was completely smitten. It just goes to show you, no matter your age or your long-held preferences, you’re never too old to discover new favorites and broaden your culinary horizons.
The Secret to Simplicity: Store-Bought Pizza Dough
The brilliance behind these Garlic Parmesan Cheese Rolls lies in their utter simplicity, primarily because we kick things off with readily available store-bought pizza dough. This single ingredient is a massive time-saver, eliminating the need for mixing, kneading, and rising, which often deters busy home cooks from baking. You can easily find fresh pizza dough in the refrigerated section of most major grocery stores – look near the deli or dairy aisles. Brands like Fry’s, Smith’s, Kroger, Ralph’s, Trader Joe’s, and many others consistently stock it, often for a budget-friendly price of just a few dollars. It’s a culinary shortcut that doesn’t compromise on flavor or quality.
Using pre-made dough means you can whip up these delectable rolls in under 30 minutes, making them perfect for unexpected guests, a last-minute dinner side, or a quick snack craving. While I highly recommend embracing the convenience of store-bought dough for this recipe, if you’re a baking enthusiast and prefer to make your pizza dough from scratch, feel free to do so! A good homemade pizza dough recipe can be found here. However, for sheer speed and ease, the pre-made option is unbeatable, ensuring delicious results with minimal effort.
Crafting Your Cheesy Masterpiece: Step-by-Step Guide
Making these garlic parmesan rolls is an incredibly straightforward process, perfect for even novice bakers. Here’s how you bring them to life:
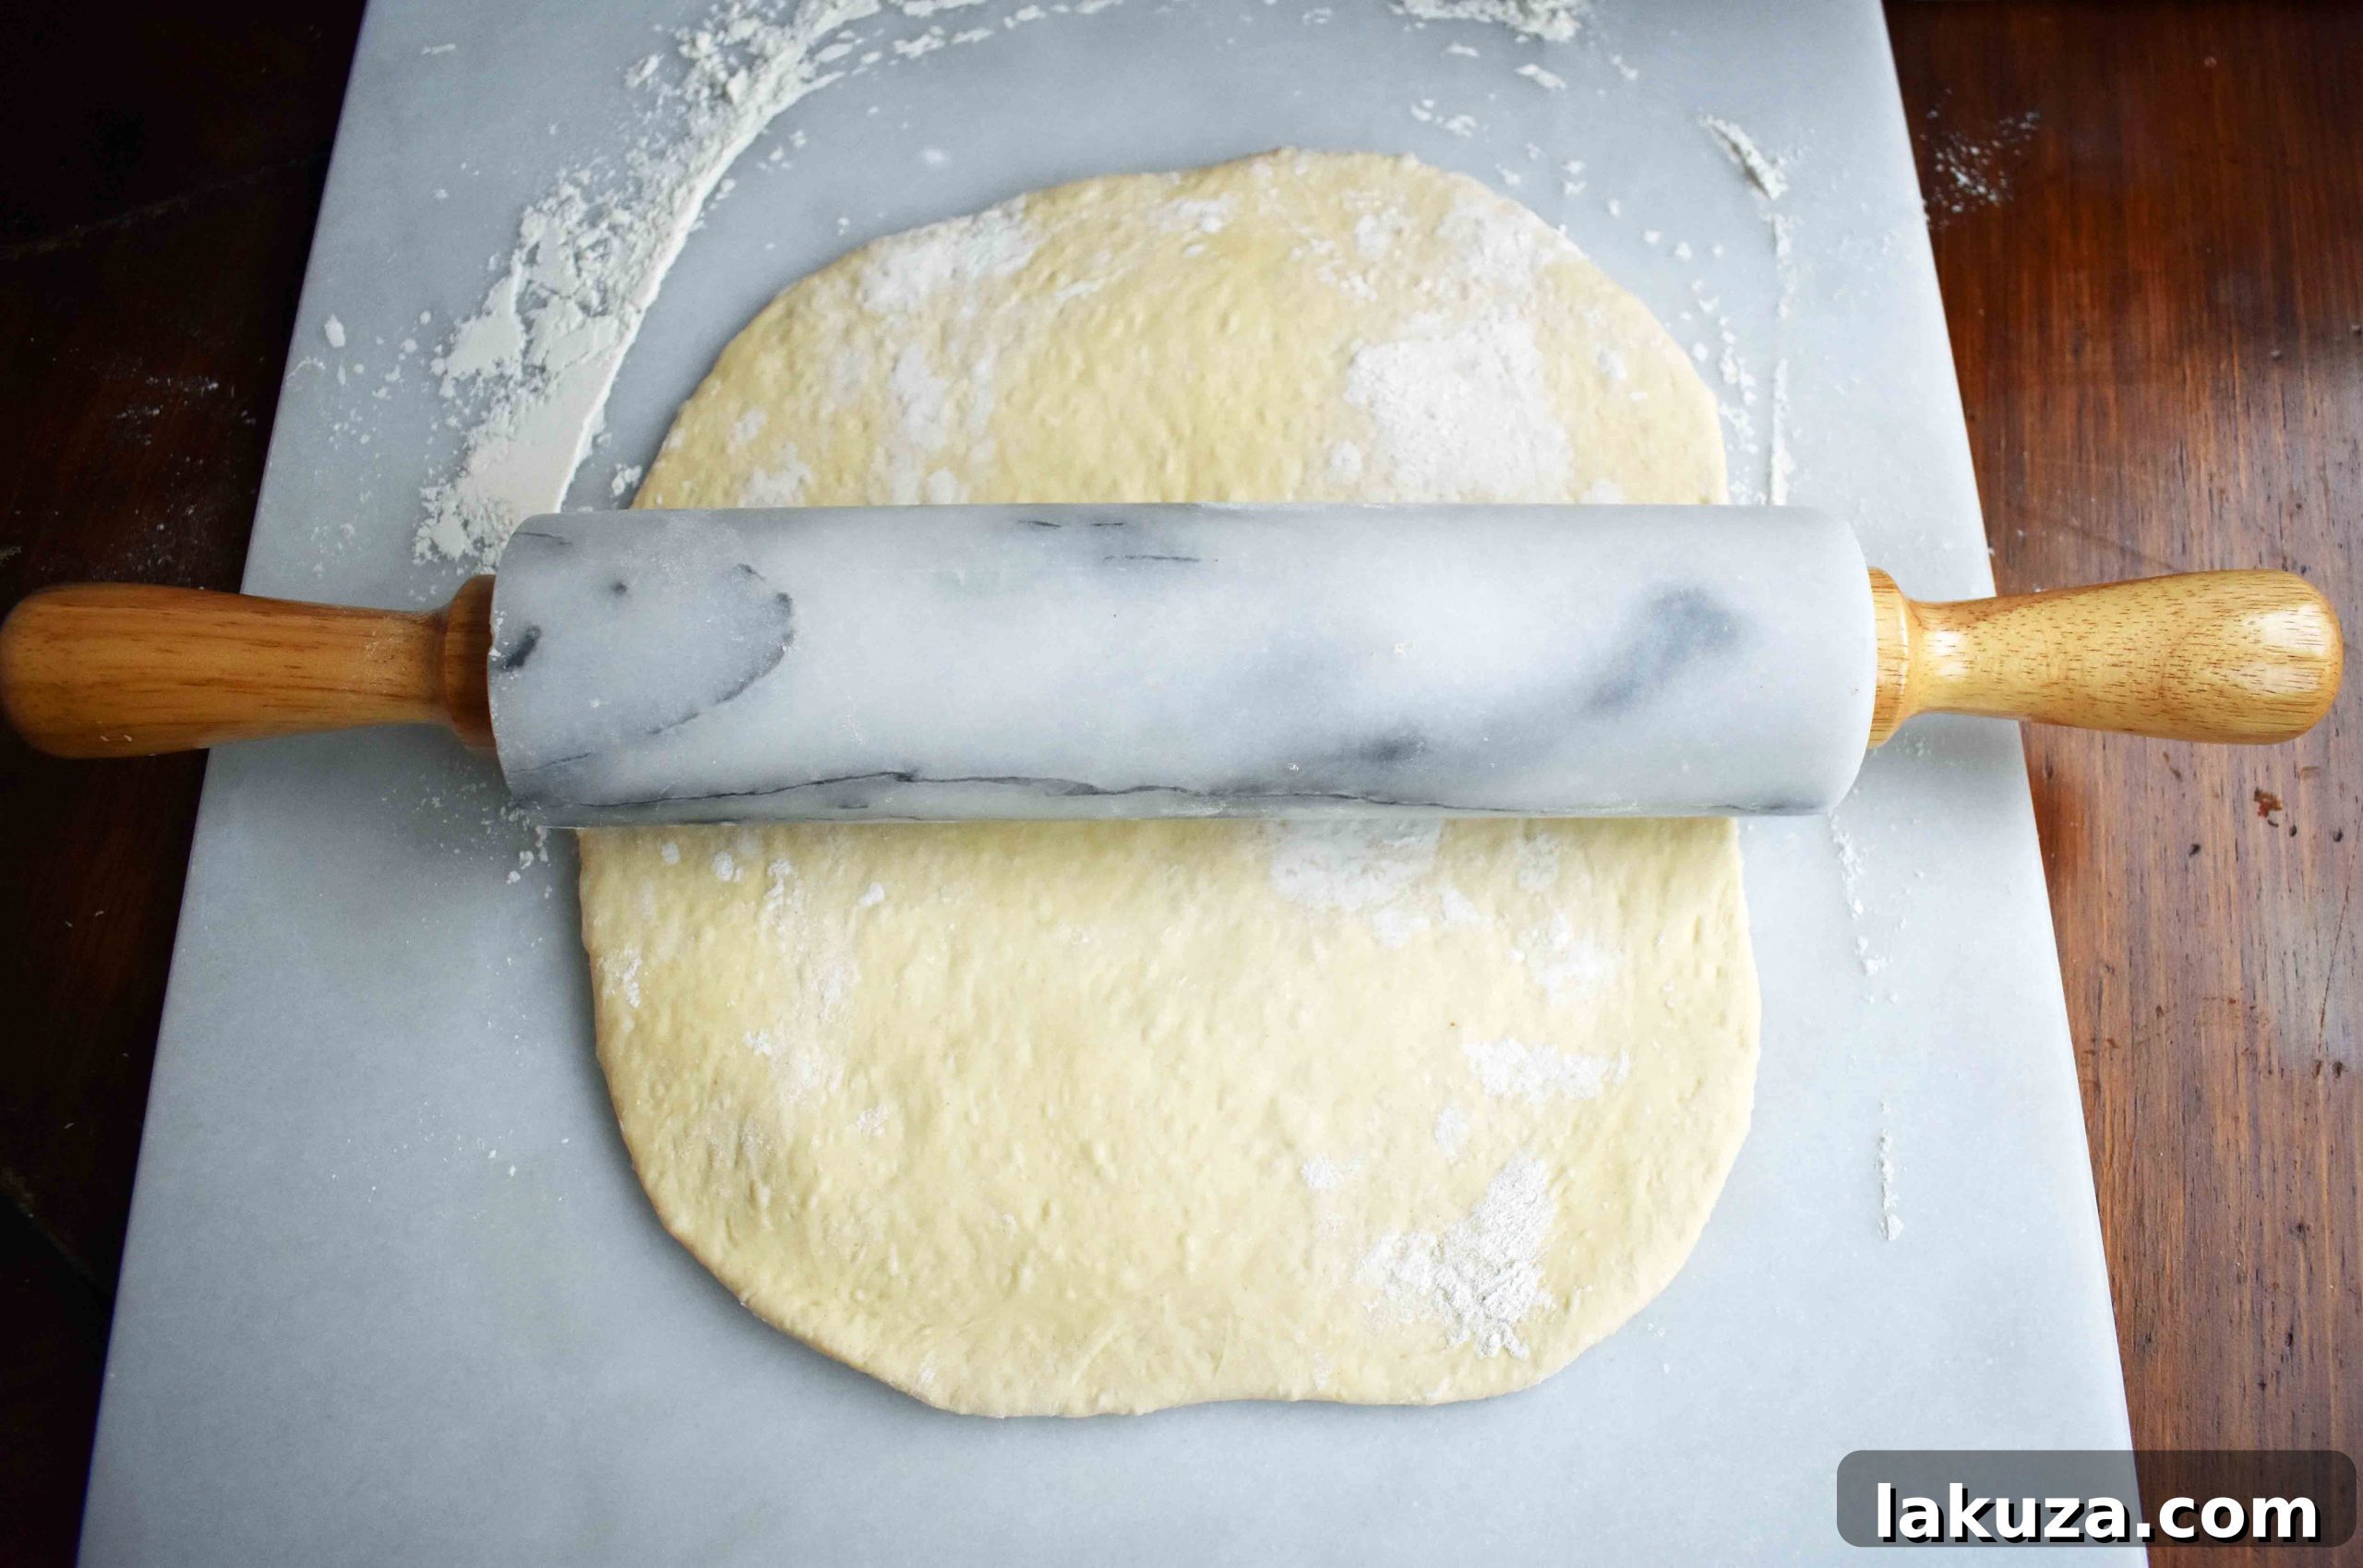
- Prepare the Dough: Begin by unrolling your store-bought pizza dough onto a lightly floured surface. Gently roll it out into an approximate 14×14 inch rectangle. While mathematically that’s a square, “rectangle” allows for a little flexibility in shape. The goal is an even thickness, making it easy to roll later.
- Garlic Butter Base: In a small bowl, melt your butter (4-6 tablespoons, depending on how rich you like it) and stir in the garlic powder. This simple mixture forms the aromatic heart of your rolls. Use a pastry brush or the back of a spoon to generously spread this fragrant garlic butter evenly over the entire surface of the pizza dough, extending almost to the edges. Don’t be shy – the butter is key to that golden crust and tender interior.
- Layer the Cheese: Now for the cheese! Sprinkle a full cup of grated or shaved Parmesan cheese over the buttered dough. Parmesan delivers a sharp, salty punch that complements the garlic beautifully. Next, add a cup of grated mozzarella cheese. Mozzarella is renowned for its incredible melting capabilities and mild flavor, which provides a lovely contrast to the robust Parmesan. If you’re a true cheese lover, feel free to increase the mozzarella to 1.5 cups for an extra gooey texture.
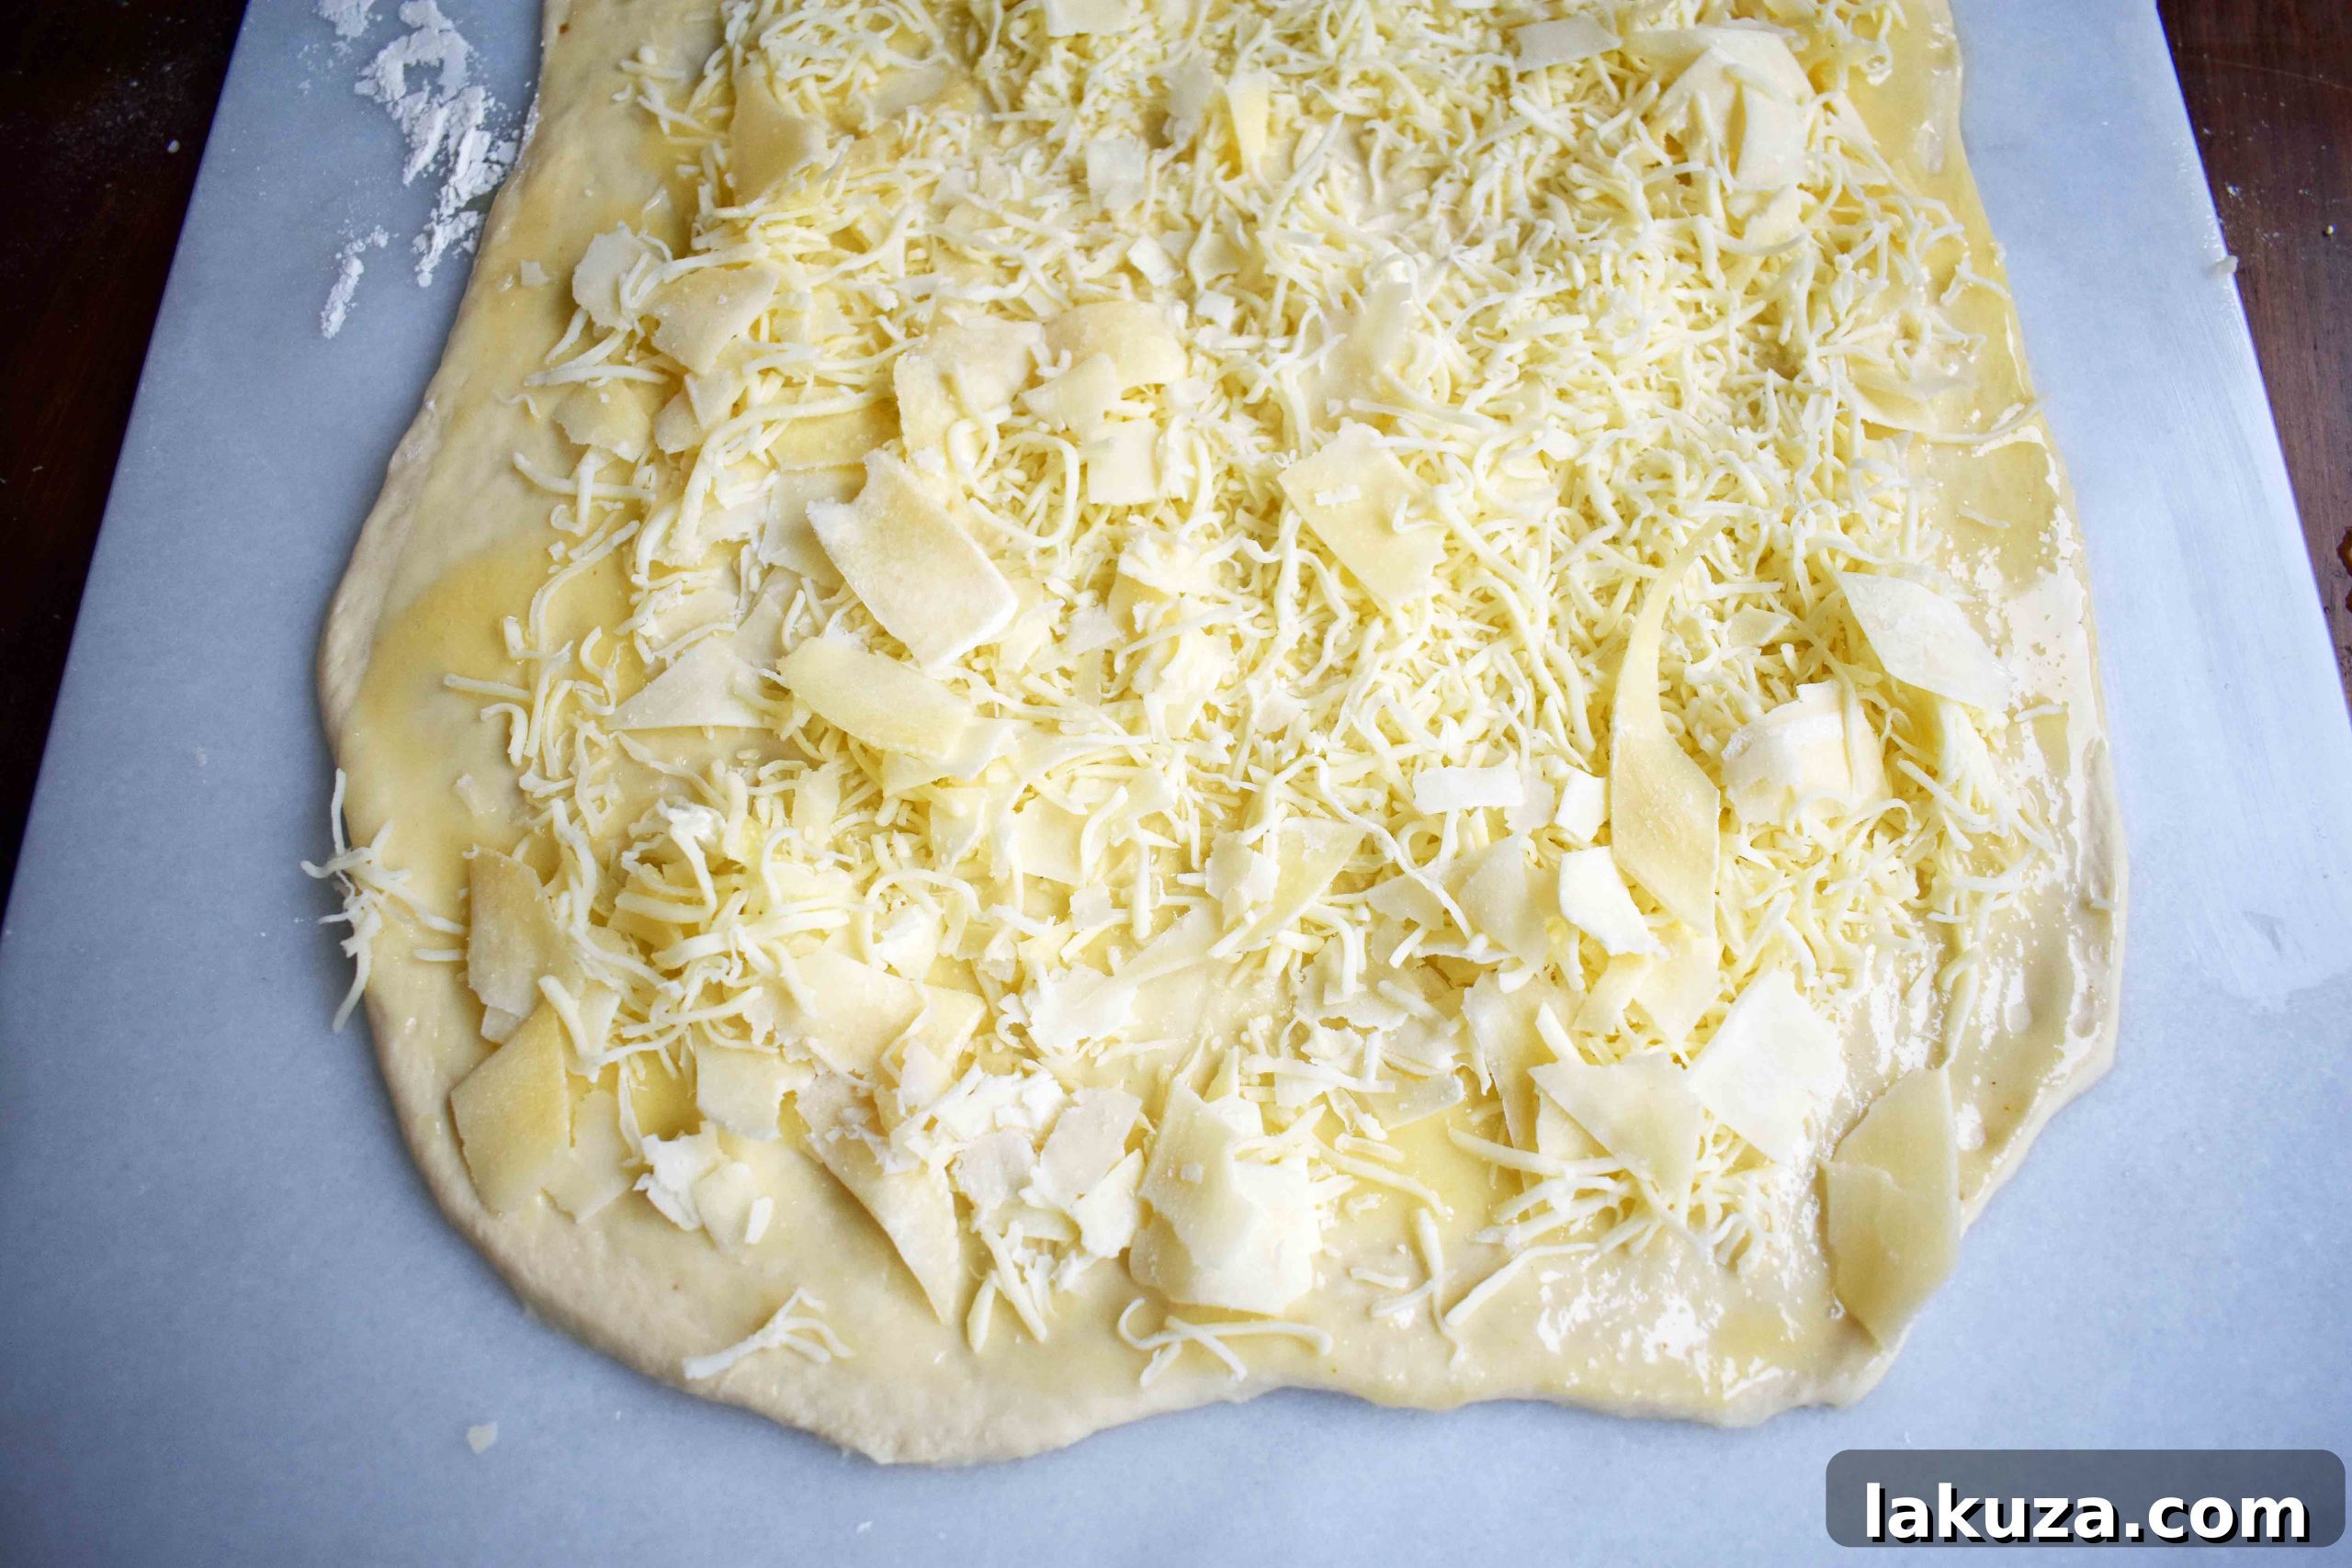
The combination of these two cheeses ensures a perfect balance of flavor and an irresistibly stretchy, melty interior once baked. The Parmesan provides that essential savory depth, while the mozzarella offers the beloved ooey-gooey factor that makes these rolls so addictive.
Rolling, Slicing, and Baking to Perfection
Once your dough is layered with the buttery garlic goodness and generous amounts of cheese, it’s time to transform it into individual rolls. This step is surprisingly fun and rewarding!
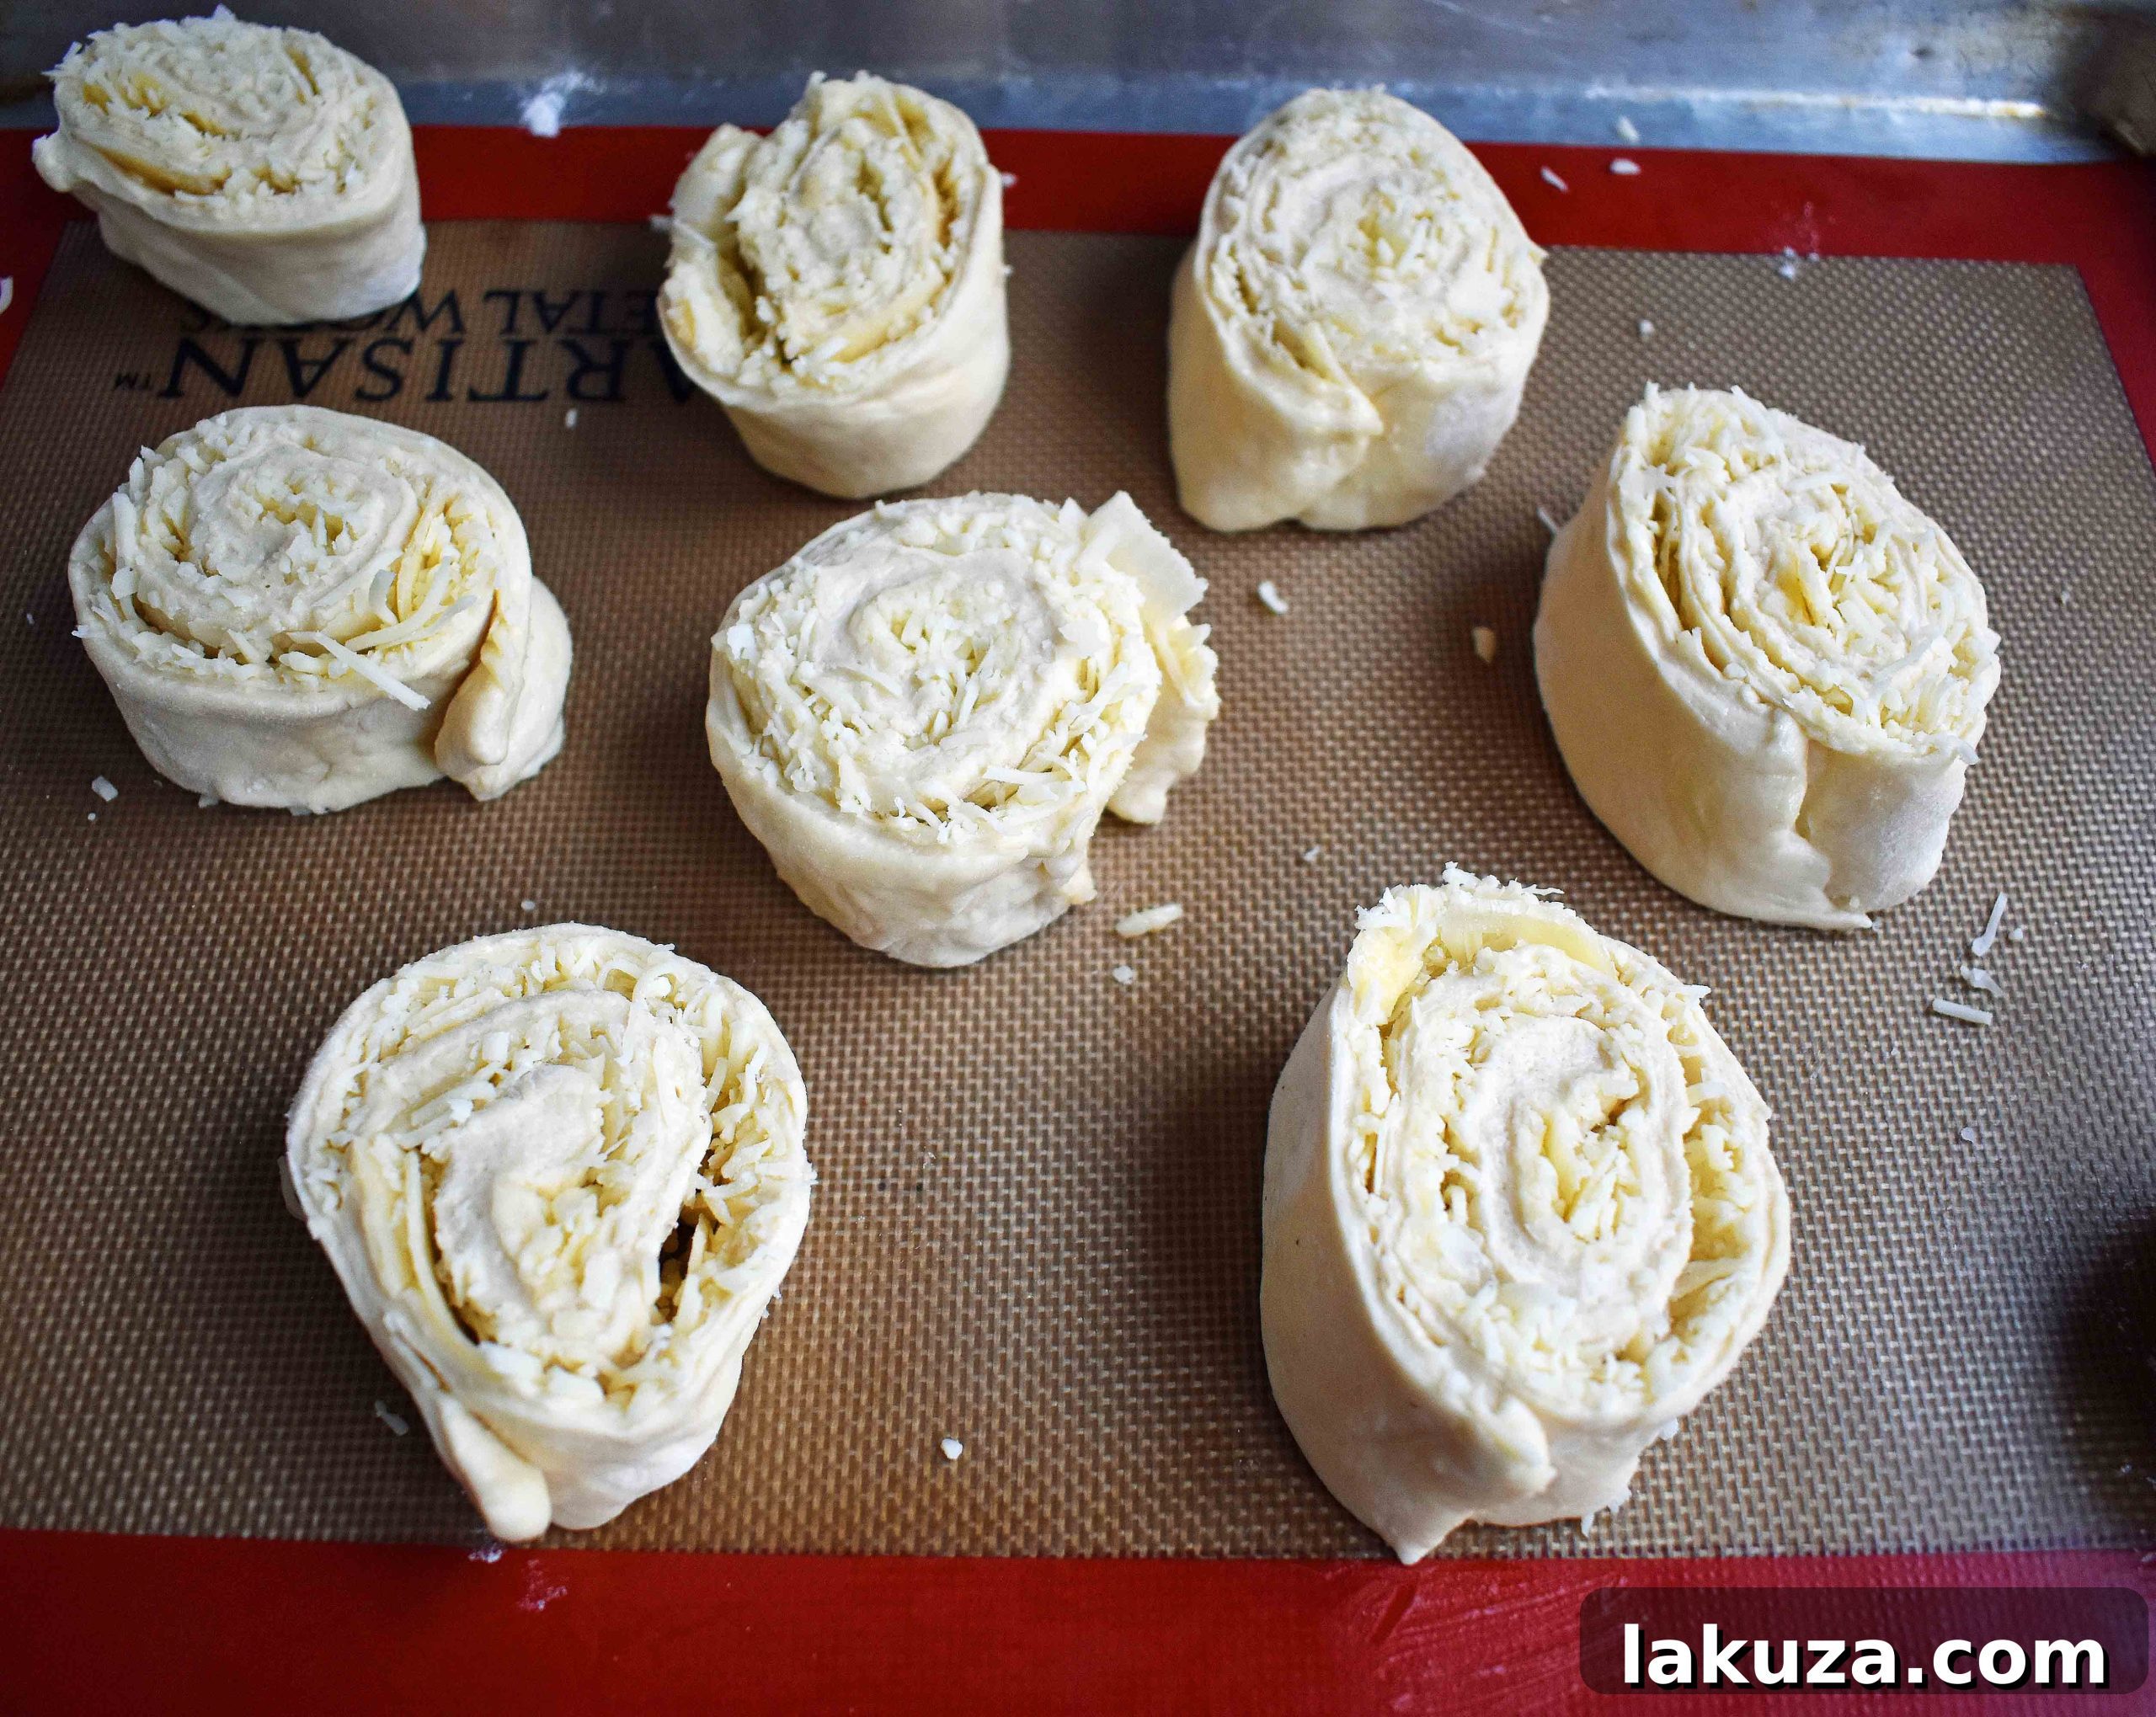
- Roll it Up: Starting from one of the long ends of your dough rectangle, begin to tightly roll the dough towards the opposite long end. Aim for a snug roll, as this will help the rolls hold their shape and keep the cheesy filling securely inside. Once fully rolled, you’ll have a long log of dough.
- Slice the Rolls: Using a sharp knife, carefully slice the dough log into 2-inch rounds. A good, sharp knife will ensure clean cuts and prevent the dough from squishing. You should get approximately 10-12 rolls from one standard package of pizza dough.
- Prepare for Baking: Transfer the sliced rolls to a lightly greased baking sheet, or one lined with parchment paper for easy cleanup. Arrange them with a little space between each, as they will expand slightly during baking. If some ends seem a bit loose, gently tuck them in or use a beaten egg (an optional egg wash) to “glue” them shut, which also gives them a beautiful golden sheen.
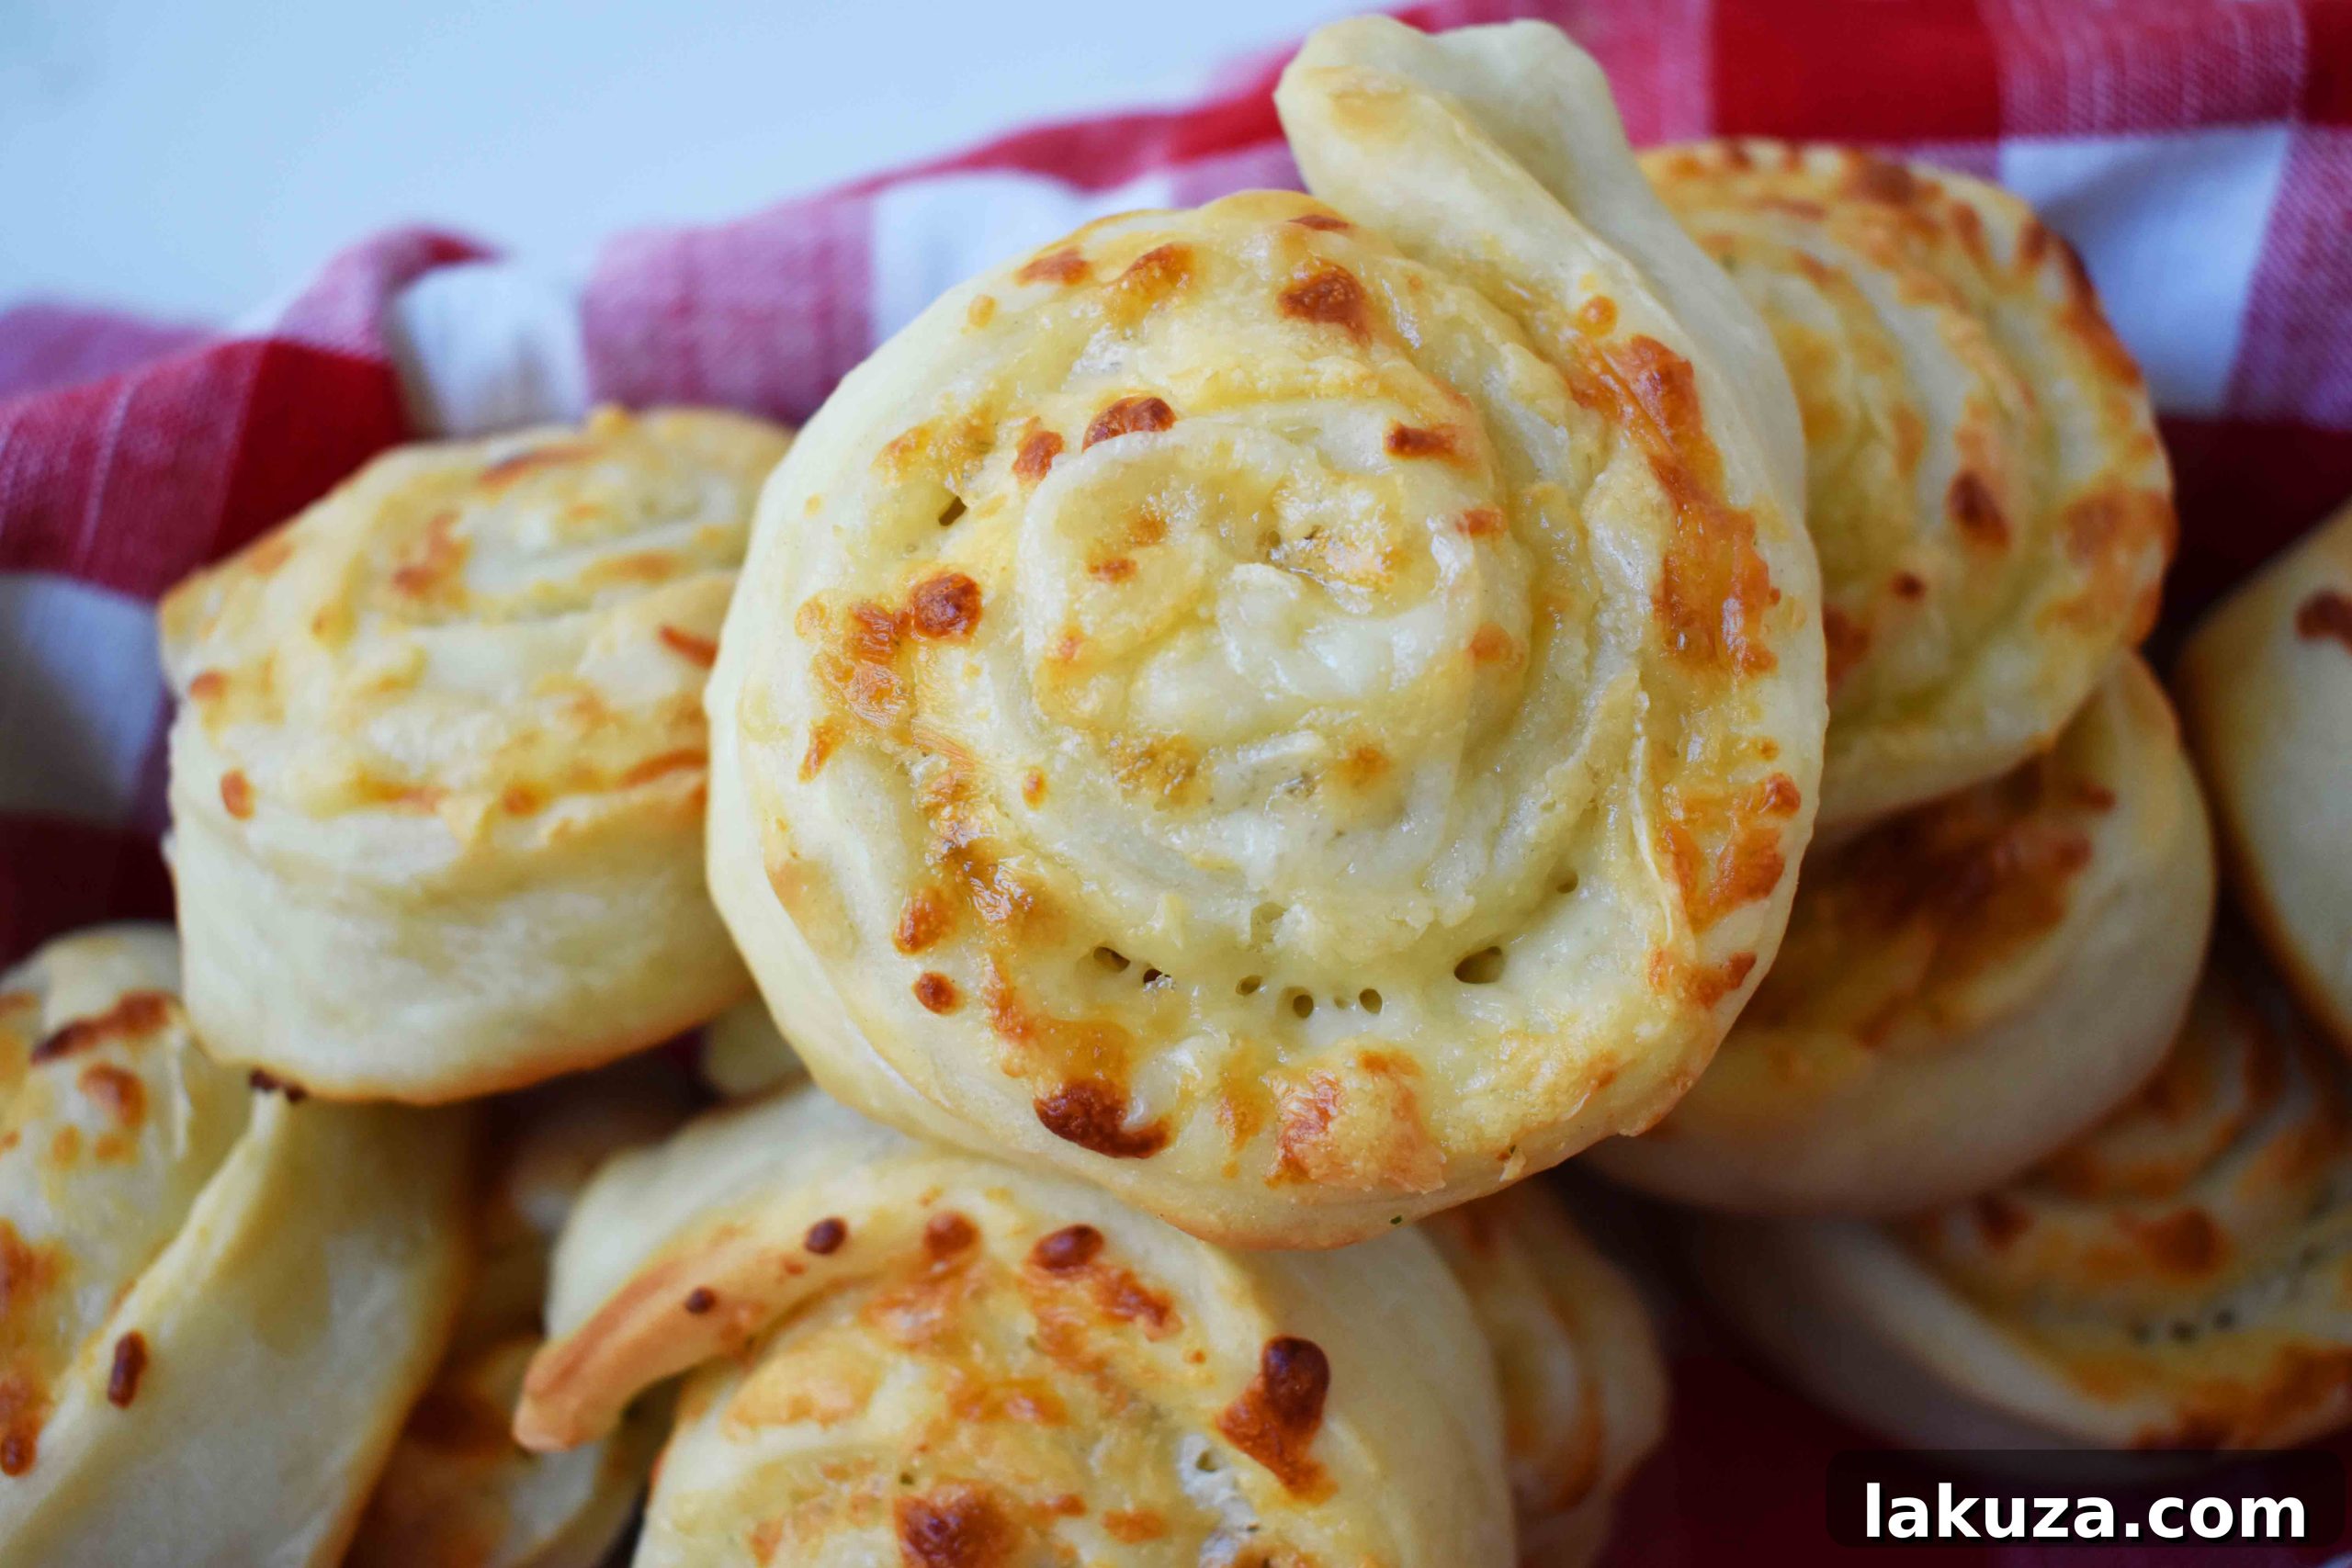
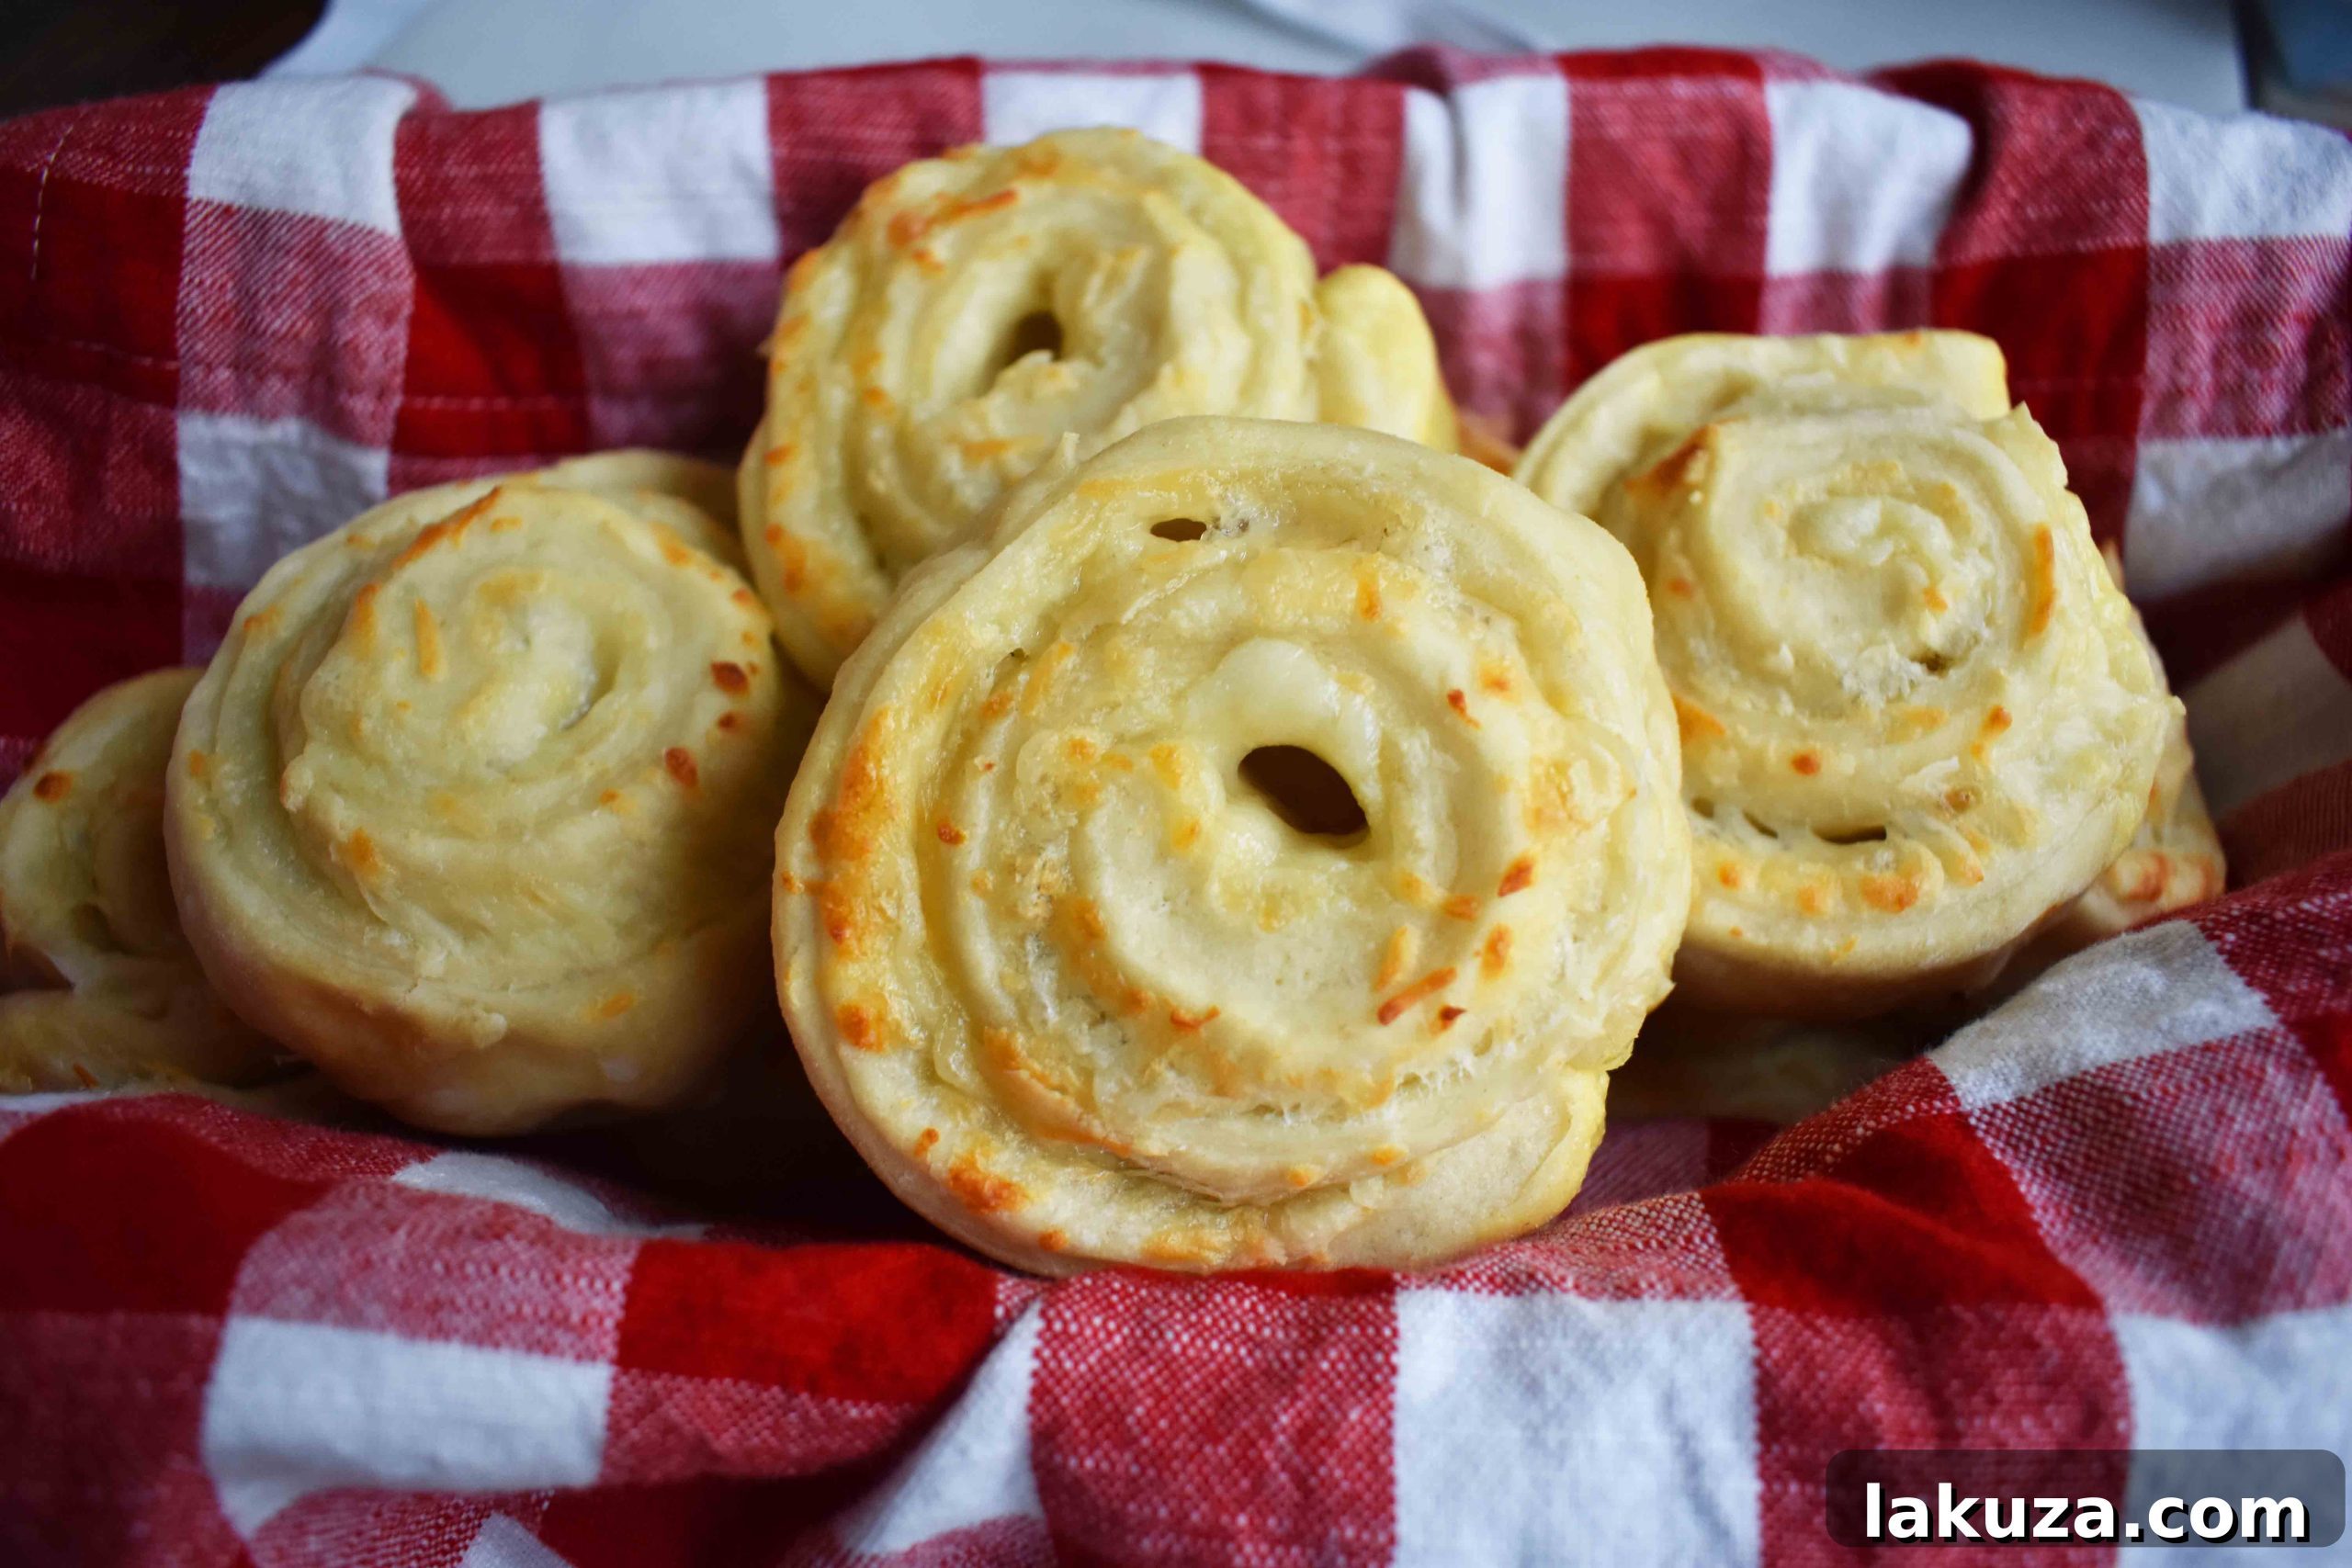
- Bake Until Golden: Preheat your oven to 400°F (200°C). Bake the rolls for 13-16 minutes, or until they are beautifully golden brown on top and the cheese is bubbly and melted. Keep a close eye on them during the last few minutes, as oven temperatures can vary. The aroma filling your kitchen will be absolutely incredible!
More Than Just a Side: Serving Suggestions & Variations
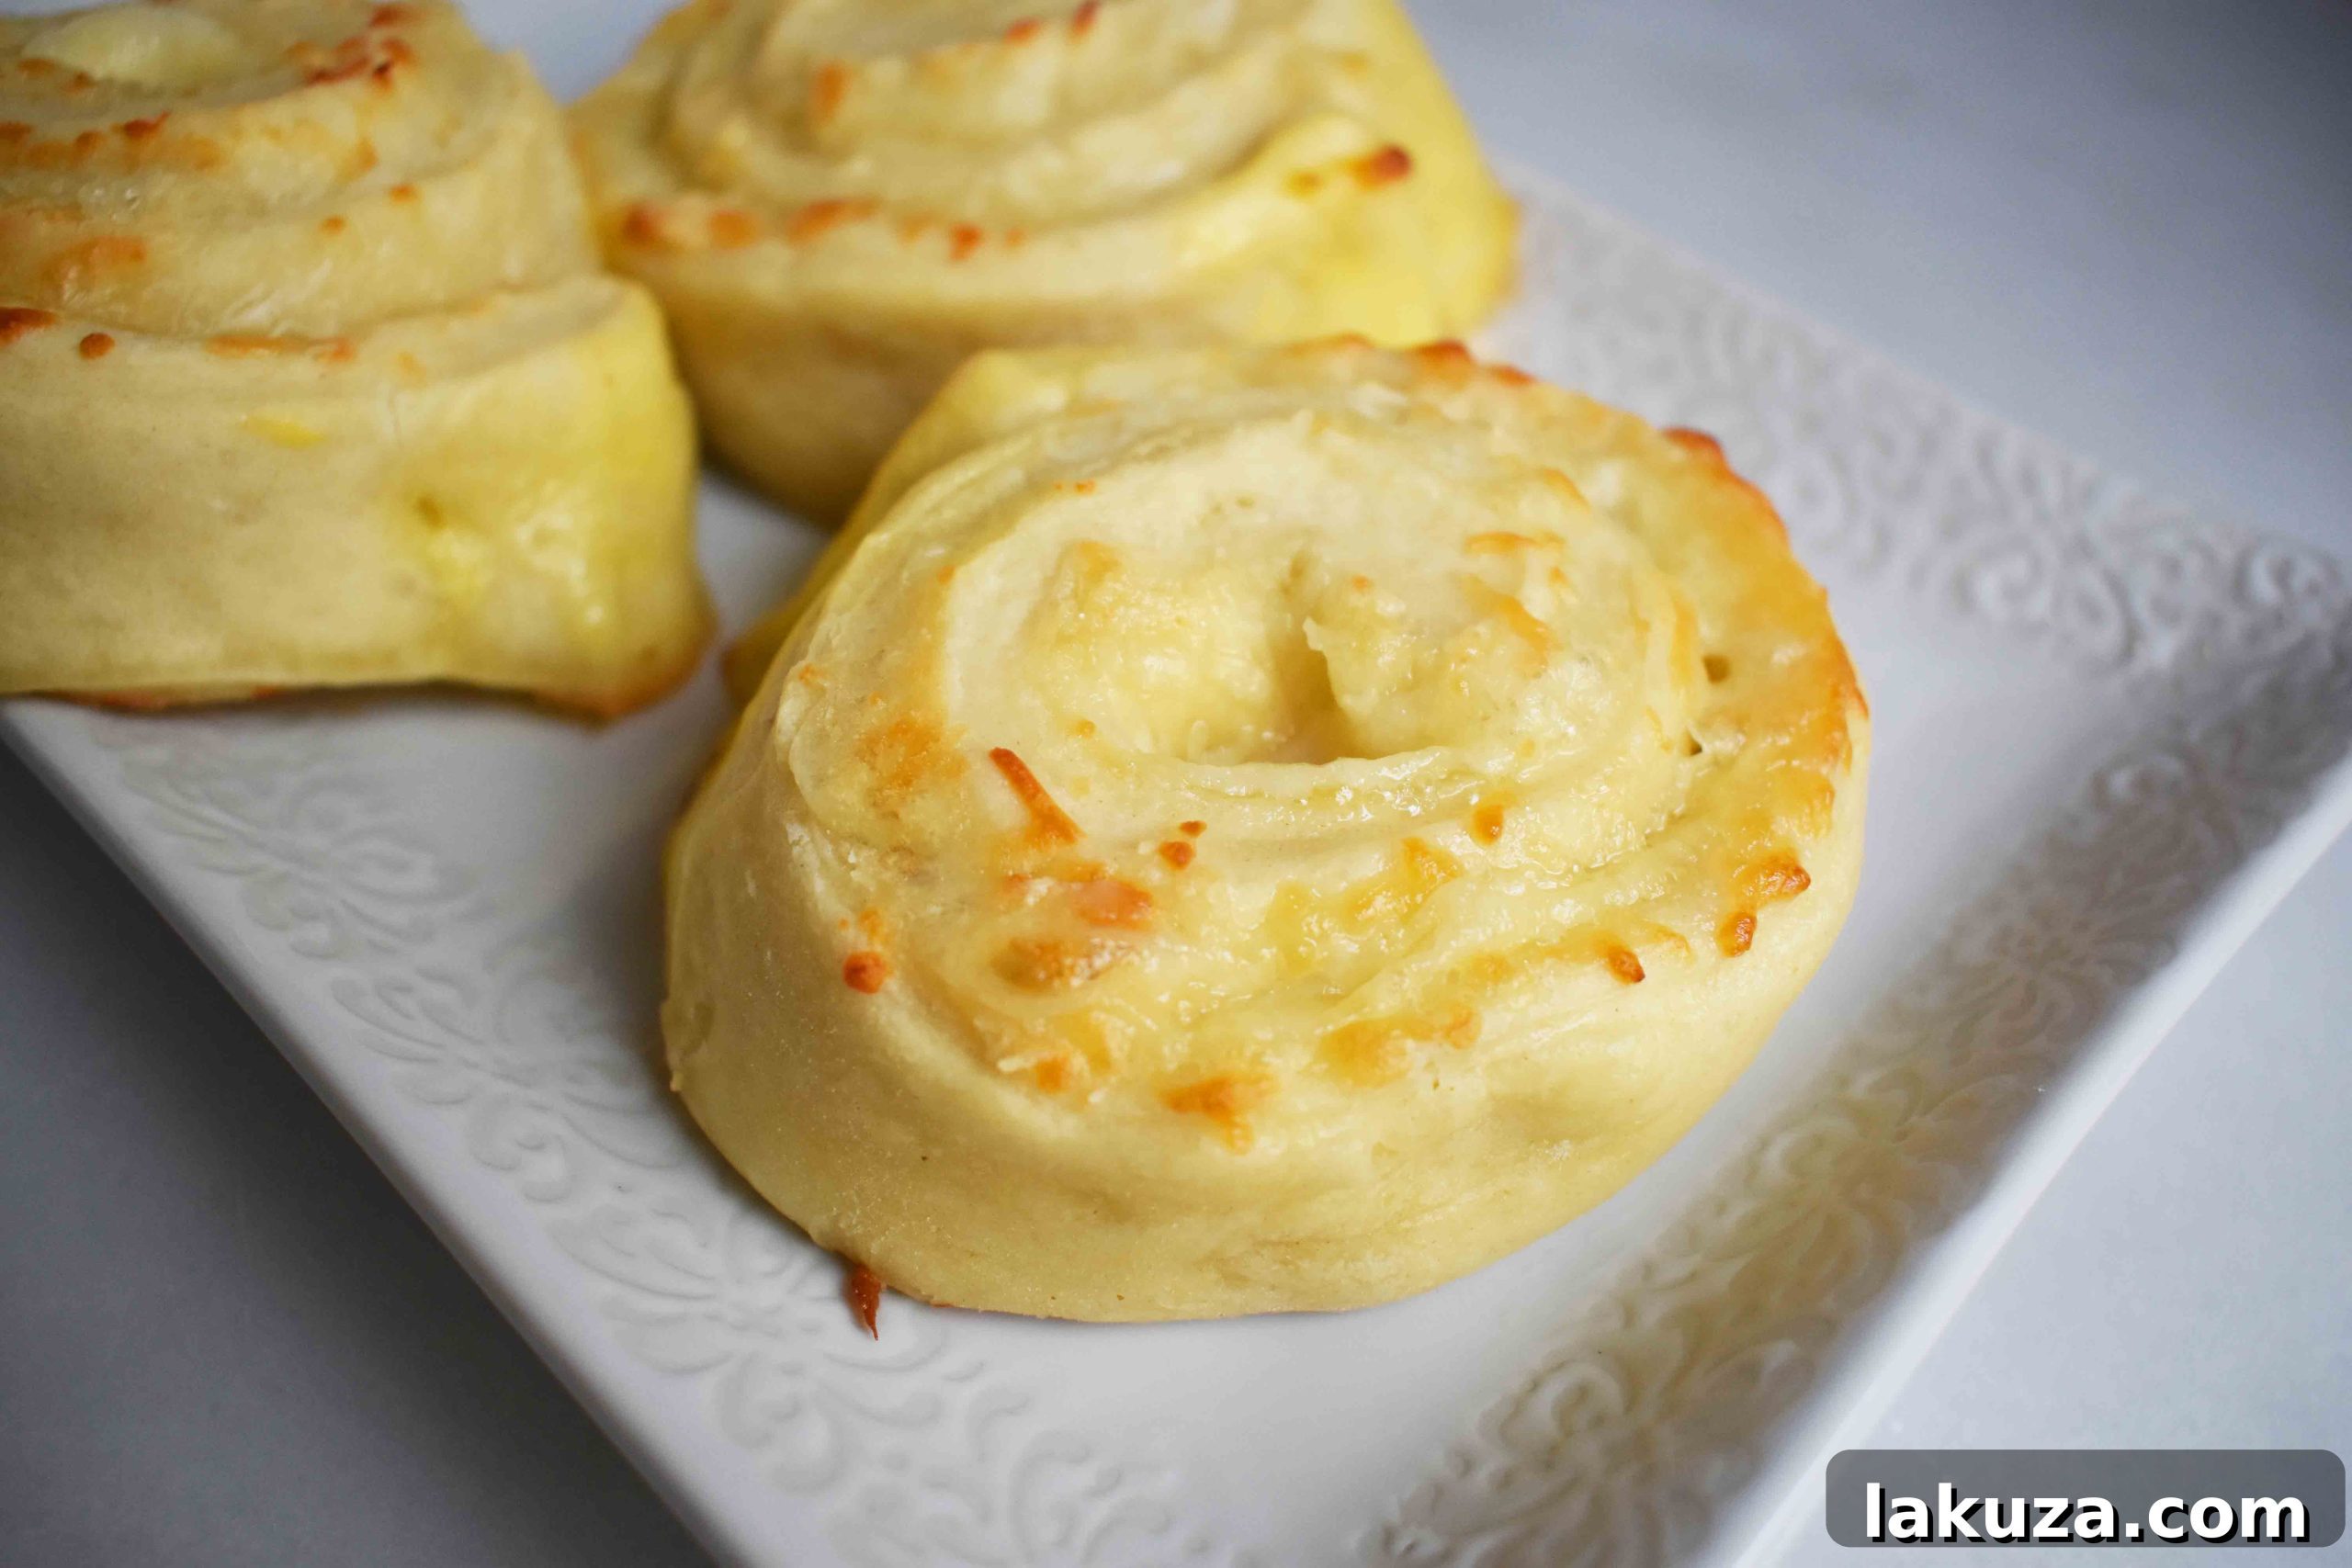
These Garlic Parmesan Cheese Rolls are truly versatile! While they make an outstanding side dish for almost any meal, their rich buttery goodness and yummy melted cheese make them irresistible on their own. Be warned: you won’t be able to eat just one! They’re the perfect combination of crispy exterior and soft, cheesy interior, delivering a burst of flavor in every bite.
Consider these creative ways to enjoy them:
- Perfect Appetizer: For gatherings or parties, simply slice the rolls a bit thinner (1 to 1.5 inches) and serve them as delightful bite-sized appetizers. They disappear quickly!
- Dipping Delight: While fantastic on their own, these rolls are even better with a dipping sauce. Marinara sauce is a classic choice, but don’t limit yourself! Try a creamy ranch dip, a tangy balsamic glaze, or even a spicy arrabiata sauce for an extra kick.
- Hearty Fillings: Want to make them a more substantial snack or even a light meal? Before rolling, add a layer of mini pepperonis, cooked crumbled sausage, finely chopped spinach, or sun-dried tomatoes. Just be mindful not to overfill, as it can make rolling more challenging.
- Herbaceous Twist: Enhance the flavor profile by adding finely chopped fresh herbs like parsley, oregano, or basil along with the cheese. A sprinkle of red pepper flakes will also add a subtle warmth.
- Sweet Treat (Optional): While these are savory, the base dough can be adapted for sweet rolls too! Instead of garlic butter and cheese, spread cinnamon sugar and cream cheese frosting for a completely different but equally delicious experience.
Tips for Enjoying and Storing Your Rolls
These Golden’s Garlic Parmesan Cheese Rolls are undoubtedly best enjoyed fresh out of the oven, while they are still warm and the cheese is gloriously melted and gooey. The aroma alone is enough to make mouths water!
Storage and Reheating:
- At Room Temperature: If you have any leftovers (a rare occurrence!), they can be stored in an airtight container at room temperature for up to 2 days.
- Refrigeration: For longer storage, place them in an airtight container in the refrigerator for up to 3-4 days.
- Reheating: To bring them back to their optimal cheesy, warm state, I recommend a quick reheat.
- Microwave: Pop them in the microwave for 10-15 seconds per roll. This is the quickest way to get the cheese nice and melted again, making them soft and enjoyable.
- Oven/Toaster Oven: For a slightly crisper exterior, reheat them in a preheated oven or toaster oven at 300°F (150°C) for about 5-7 minutes, or until warmed through.
- Freezing: These rolls also freeze well! Once baked and cooled completely, arrange them in a single layer on a baking sheet and freeze until solid. Then transfer them to a freezer-safe bag or container for up to 1-2 months. Reheat directly from frozen in a 350°F (175°C) oven for about 10-15 minutes, or until heated through and golden.
Print Recipe
Golden’s Garlic Parmesan Cheese Rolls
Melissa Stadler, Modern Honey
15 minutes
15 minutes
30 minutes
12
Equipment
-
Rolling Pin
-
Mixing Bowl
-
Baking Sheet
Ingredients
- 16 oz pkg Store-Bought Pizza Dough
- 4 Tablespoons Butter melted (may add 2 T more, depending on preference for richer flavor)
- 1/4 – 1/2 teaspoon Garlic Powder (adjust to your garlic preference)
- 1 cup Parmesan Cheese grated or shaved, for rich flavor
- 1 cup Mozzarella Cheese grated (use 1 1/2 cups for extra cheesiness)
- 1 Egg optional, beaten for egg wash (for a golden top and to seal ends)
Instructions
-
Preheat your oven to 400 degrees Fahrenheit (200°C). Prepare a baking sheet by lightly greasing it or lining with parchment paper.
-
On a lightly floured countertop or cutting board, unroll the pizza dough. Roll it out into an approximate 14 x 14 inch rectangle (or square), aiming for an even thickness.
-
In a small bowl, combine the melted butter and garlic powder. Stir until well mixed.
-
Spread the garlic butter mixture evenly over the entire surface of the pizza dough, leaving a small border if desired, but covering most of it.
-
Generously sprinkle the Parmesan cheese, followed by the mozzarella cheese, over the buttered dough. Ensure an even layer of cheese for maximum flavor in every bite.
-
Starting from the long end of the dough nearest you, carefully and tightly roll up the dough into a log. A tight roll helps maintain the shape of the rolls and keeps the filling secure.
-
Using a sharp knife, slice the dough log into 2-inch thick rounds. You should yield about 10-12 rolls.
-
Transfer the sliced rolls onto the prepared baking sheet, leaving some space between each roll for expansion.
-
If needed, gently tighten up any loose rolls. For an extra golden crust and to help “glue” the ends, optionally brush the tops of the rolls with a beaten egg wash.
-
Bake for 13-16 minutes, or until the rolls are lightly golden brown and the cheese is beautifully melted and bubbly.
Nutrition information is automatically calculated, so should only be used as an approximation.
Additional Information
Bread, Appetizer, Side Dish
Italian, American
12
garlic butter parmesan cheese rolls, easy cheese rolls, pizza dough rolls, quick appetizer, cheesy bread
Why These Garlic Parmesan Cheese Rolls are a Must-Try
In a bustling kitchen, finding recipes that are both incredibly delicious and remarkably easy is like striking gold. These Garlic Parmesan Cheese Rolls fit that description perfectly. They’re a testament to the idea that fantastic food doesn’t require a culinary degree or hours of labor. With their golden, slightly crisp exterior, soft and tender interior, and the irresistible combination of savory garlic and melted, gooey Parmesan and mozzarella, these rolls are destined to become a household favorite. They bring comfort, flavor, and a touch of homemade magic to any table, all with minimal effort.
Whether you’re whipping them up for a weeknight dinner, a casual brunch, or a holiday gathering, these rolls are sure to impress. They’re a wonderful way to elevate a simple meal, provide a crowd-pleasing appetizer, or even convert a skeptical family member (like my Dad!) to the joys of garlic. So, gather your five simple ingredients and get ready to create something truly special. Your taste buds, and your family, will thank you!
My kitchen has been a flurry of activity lately with so much exciting recipe testing! I’m eagerly anticipating sharing all my new holiday recipes with you, and I promise, some truly fabulous creations are heading your way soon. In the meantime, I’m currently in full puppy potty training mode with our adorable new Goldendoodle, Bentley. If you have any invaluable suggestions for puppy training, I would absolutely love to hear them! Wishing you all a wonderful and delicious day, my friends! xo
Happy Baking!