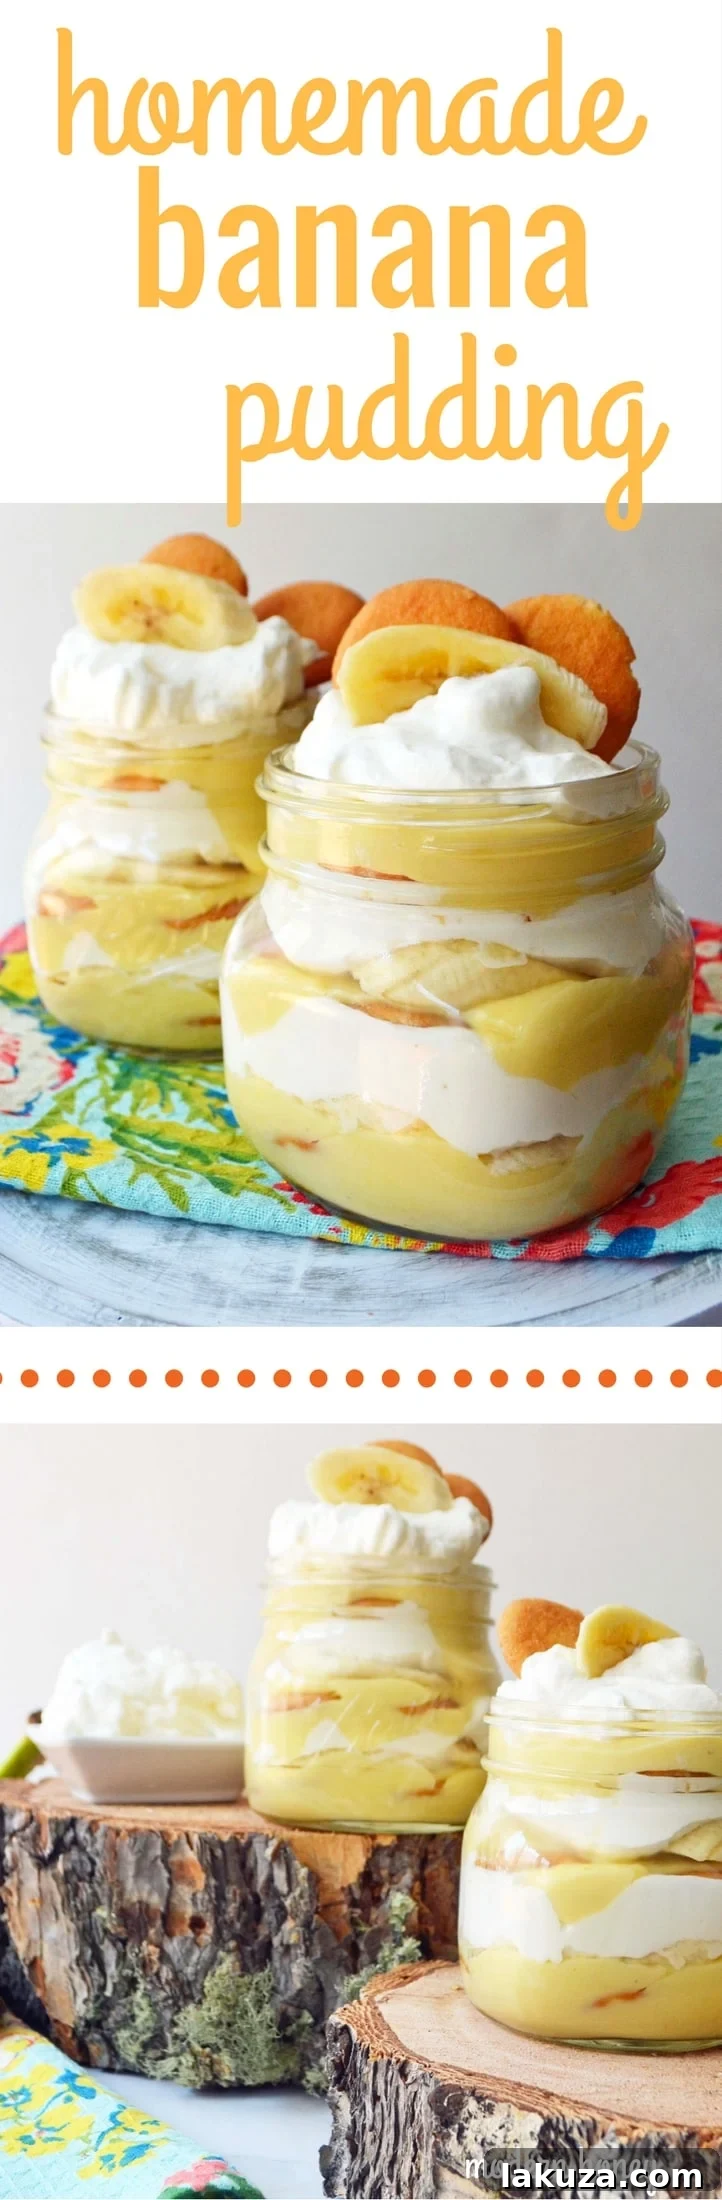
The Ultimate Homemade Banana Pudding Dessert: A Southern Classic Reimagined
Experience pure indulgence with layers of rich, homemade vanilla bean custard, perfectly ripe bananas, crispy Nilla wafers, and ethereal freshly whipped cream.
There’s something inherently comforting and celebratory about a truly exceptional dessert, and few evoke such warmth as a classic banana pudding. Often associated with cozy gatherings and vibrant Southern tables, this timeless treat has captured hearts for generations. While many enjoy a quick, store-bought version, the real magic unfolds when each component is lovingly crafted from scratch. Today, we invite you to embark on a culinary journey to create the ultimate homemade banana pudding – a dessert so exquisitely delicious, it rivals even the most famous bakeshops.
The concept of “food holidays” often provides a delightful excuse to indulge, and if there ever was a dessert worthy of its own special day, it’s banana pudding. It’s a dish that transcends mere sweetness, offering a symphony of textures and flavors that bring a smile to every face. This recipe isn’t just about combining ingredients; it’s about creating an experience, a memory, and a new family favorite that will be requested time and again. Get ready to impress with this elevated take on a cherished classic.
My journey to perfecting homemade banana pudding began, as many good food stories do, with a little inspiration from a renowned establishment. For over a decade, my brother, living amidst the bustling charm of New York City, would constantly rave about the legendary banana pudding from Magnolia Bakery. His glowing descriptions, filled with praise for its creamy texture and balanced sweetness, often left me with a simmering sense of culinary envy. I imagined the effortless pleasure of simply walking into the bakery and satisfying a craving for that iconic dessert.
Finally, the day arrived when I found myself in the Big Apple, and our first destination was unequivocally Magnolia Bakery. As someone who prides herself on a discerning palate when it comes to baked goods – a trait you might have already guessed! – I approached with a healthy dose of skepticism, wondering if it would truly live up to the hype. Yet, within mere moments, my husband and I had devoured our individual servings, leaving no doubt that this was a dessert of extraordinary caliber. It was a revelation, and it immediately sparked a mission: to create a homemade version that captured that same irresistible essence, but with the unparalleled depth and character that only a scratch-made approach can deliver.
For more New York City culinary adventures and sights, click here: Best Places to Eat and See in NYC
The Art of Homemade Custard: Elevating Your Banana Pudding
While Magnolia Bakery’s banana pudding holds a special place in my heart, I was determined to recreate its magic with a truly homemade touch, specifically by making the pudding entirely from scratch. The difference between instant pudding and a slow-cooked, handcrafted custard is simply incomparable. It doesn’t necessarily require a significant amount more time, but the act of stirring a rich mixture with a wooden spoon, watching it slowly transform into a velvety, glossy custard, imbues it with a depth of flavor and a luxurious texture that packaged mixes simply cannot replicate. This is where the soul of this Homemade Banana Pudding Dessert truly lies.
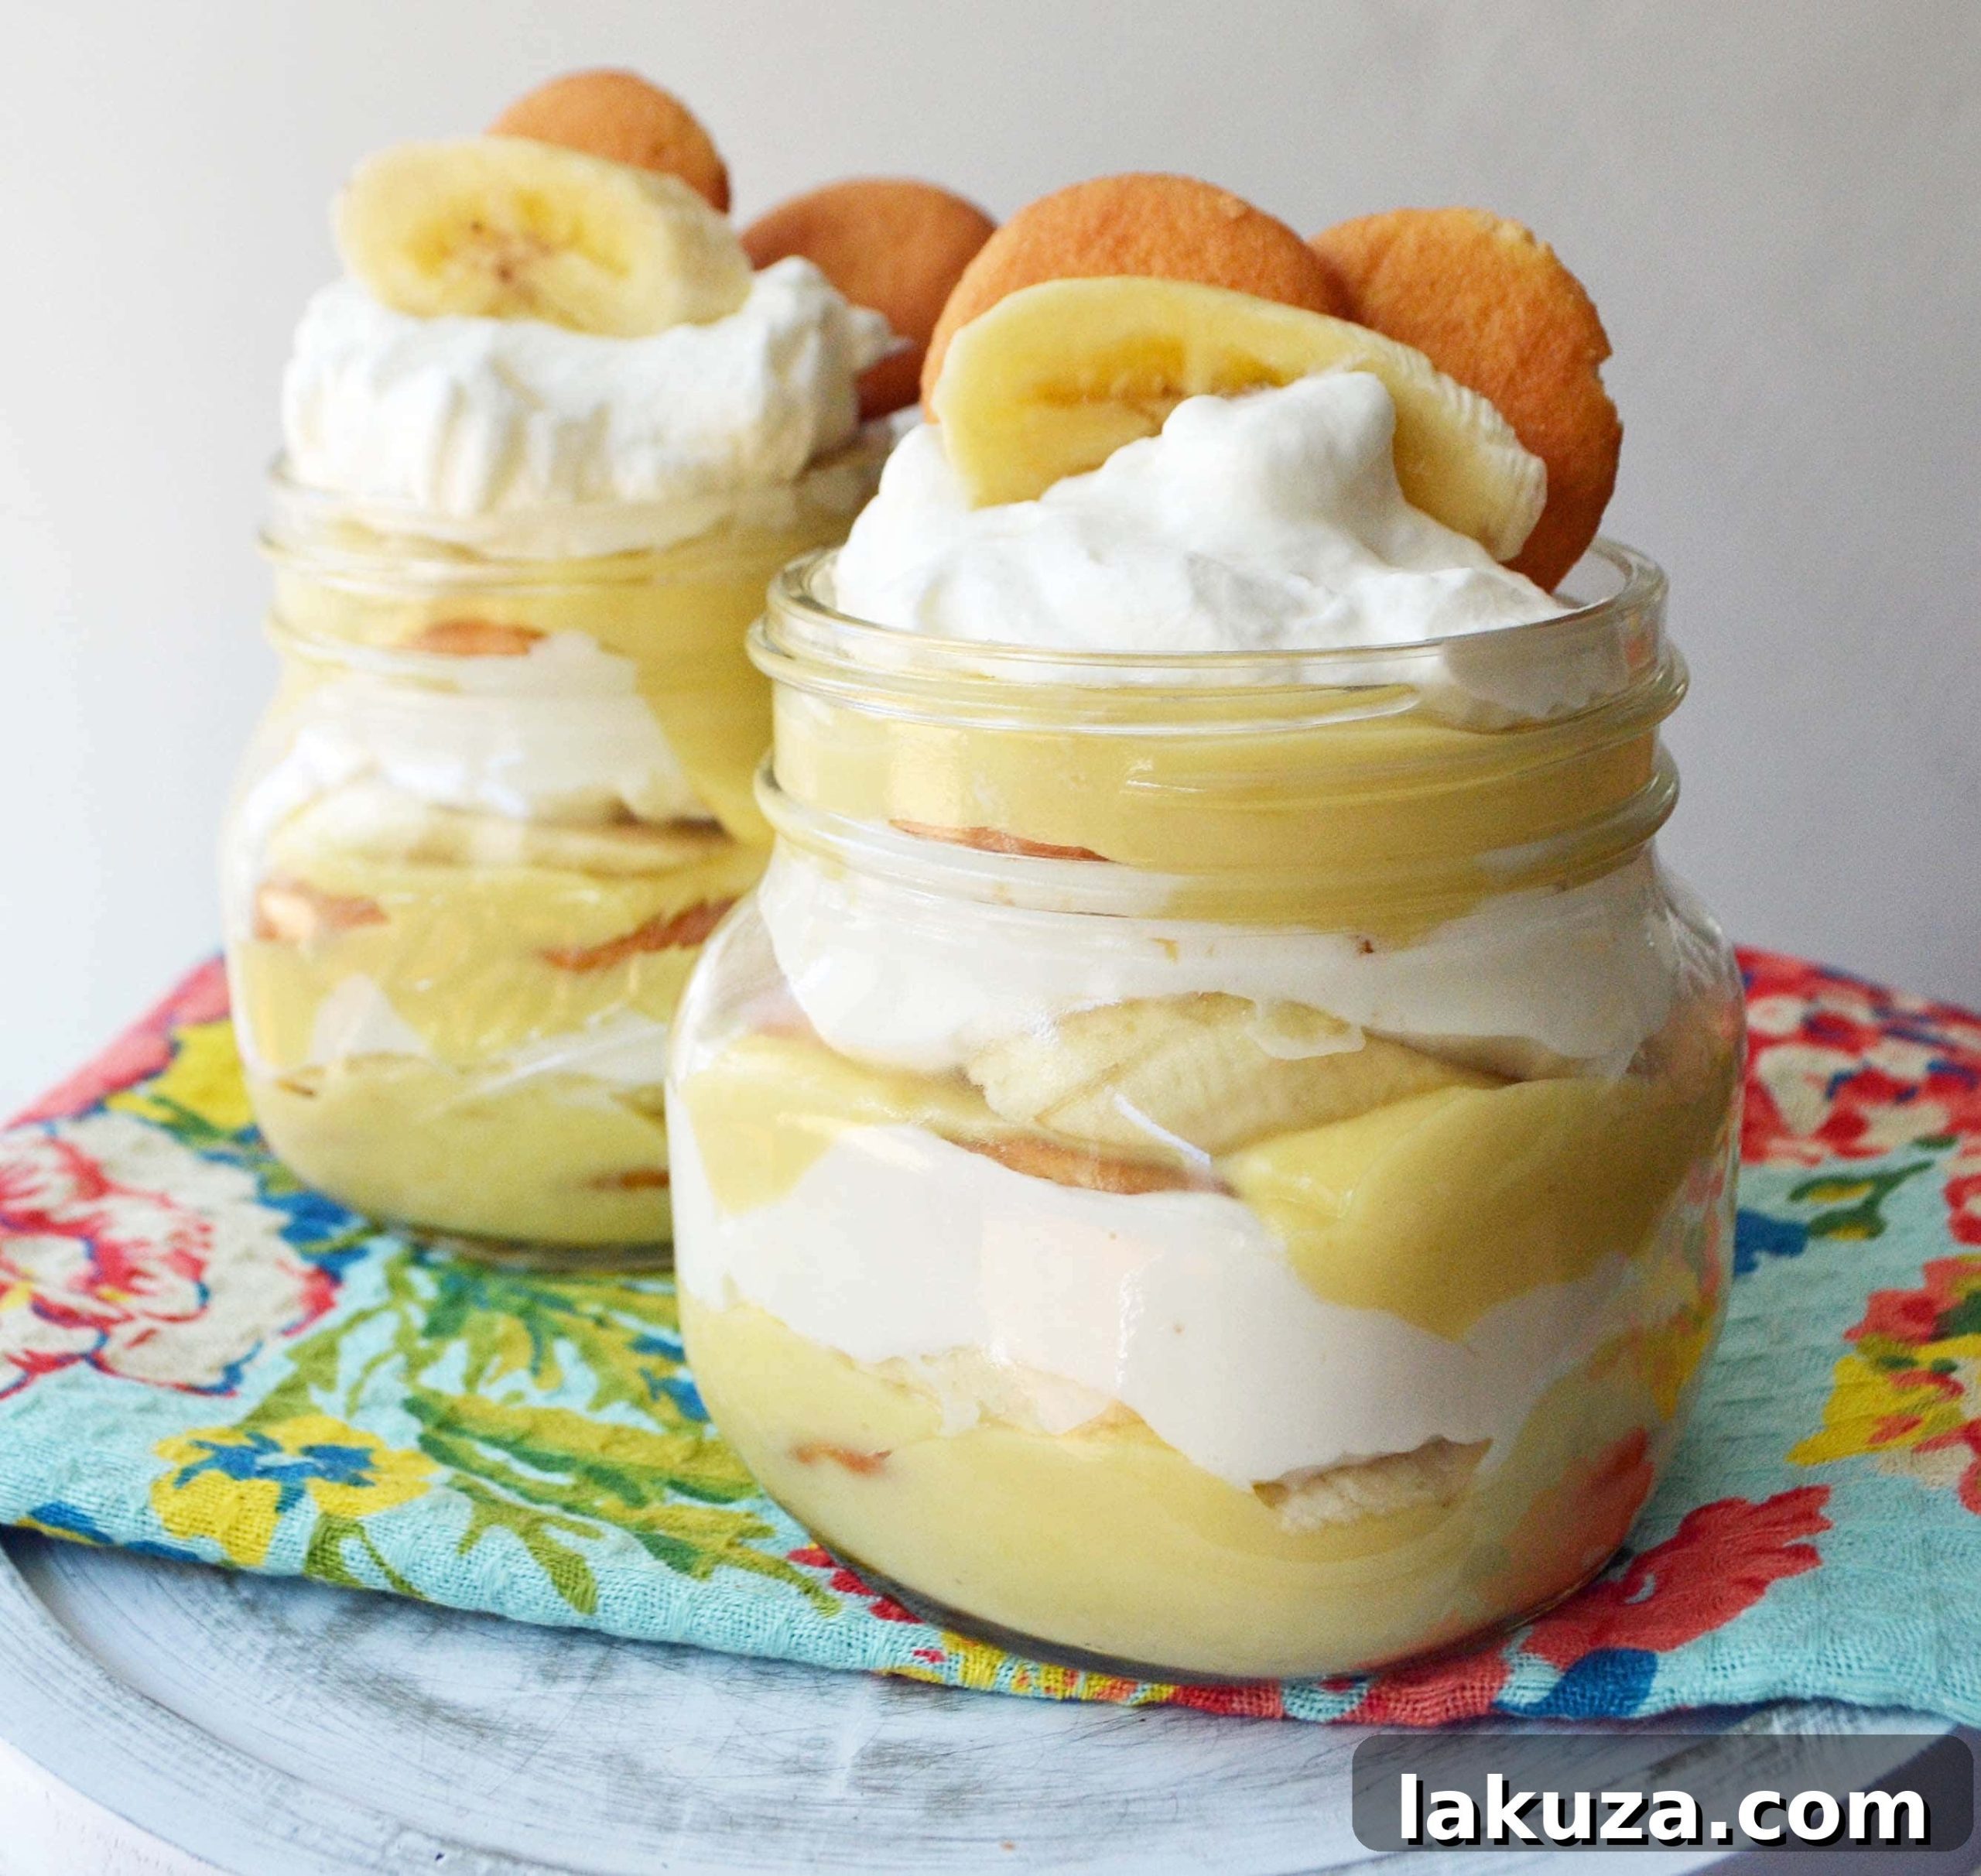
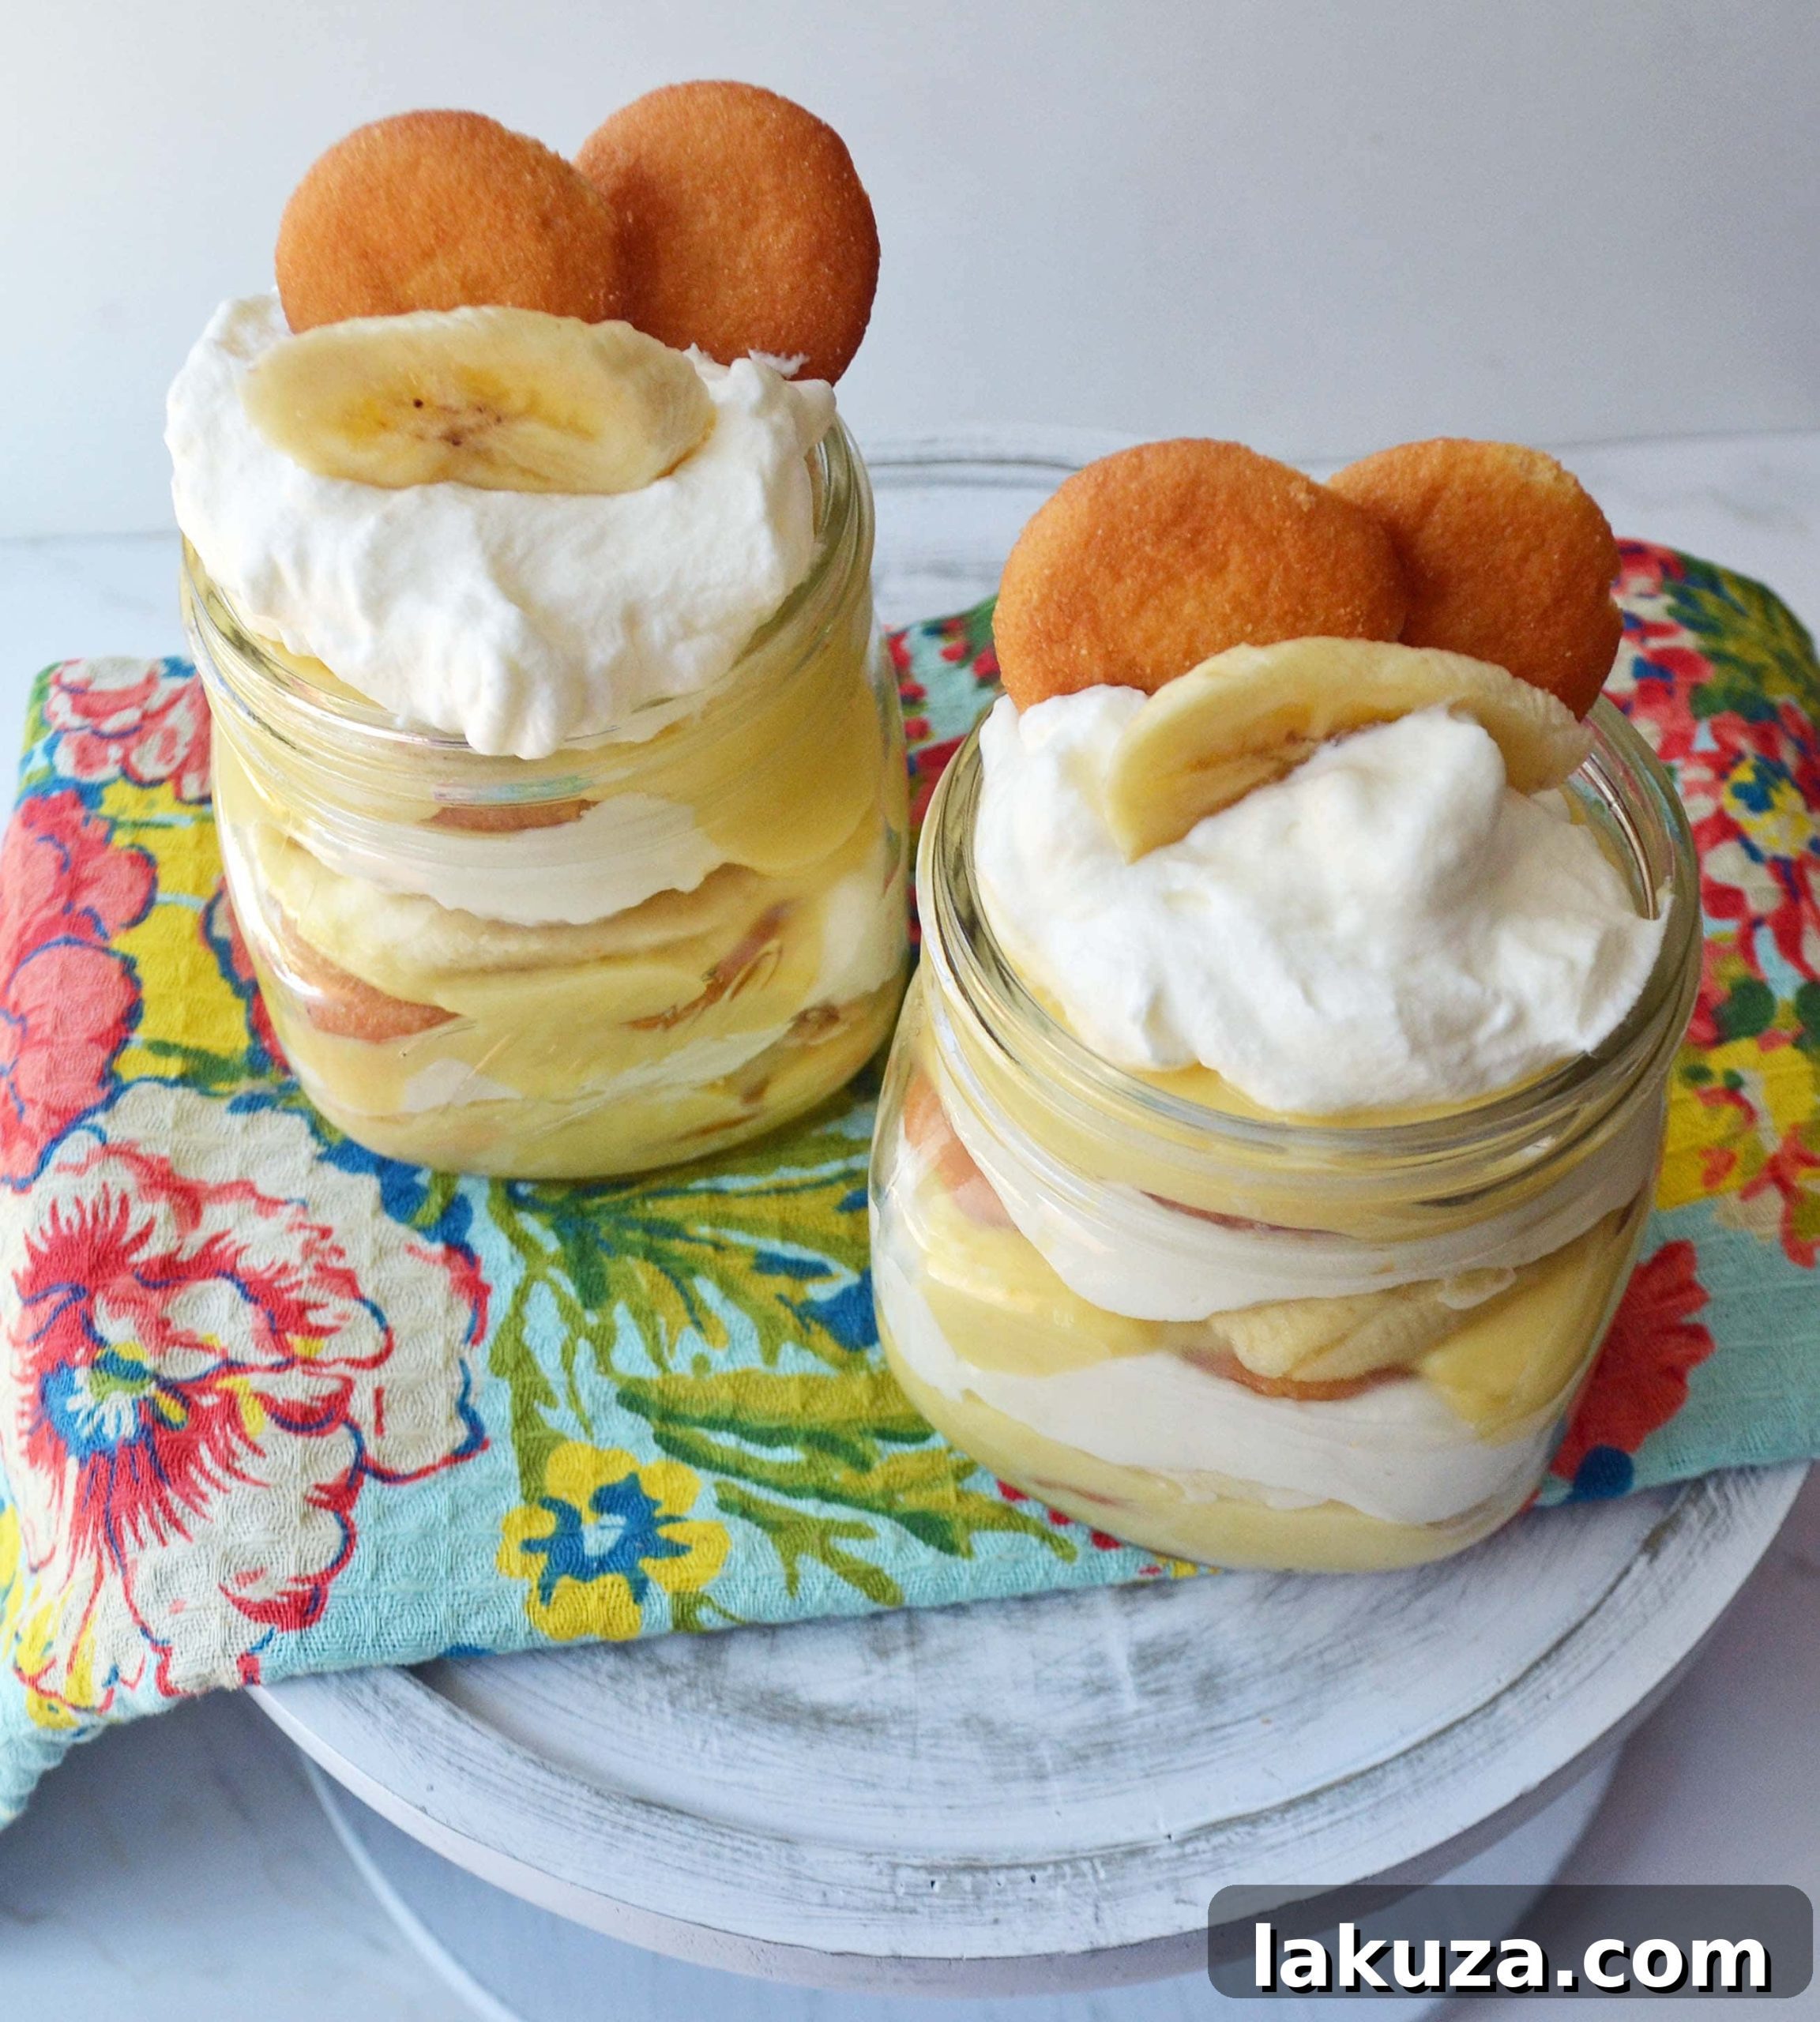
Our recipe begins with a meticulously prepared vanilla bean custard, achieved by slowly cooking a harmonious blend of wholesome ingredients: whole milk, granulated sugar, cornstarch, egg yolks, butter, and, crucially, either pure vanilla extract or the seeds scraped from a genuine vanilla bean. The process is a labor of love, requiring patience and gentle stirring until the mixture achieves that perfect, luscious thickness that coats the back of a spoon. Honestly, I could happily eat this creamy custard straight from the pot! Once chilled to perfection, this exquisite custard forms the decadent foundation, layered generously with slices of fresh, ripe bananas, classic Nilla wafers, and a generous topping of freshly made, airy whipped cream. Each layer contributes to a symphony of flavors and textures, creating a dessert that is both comforting and sophisticated.
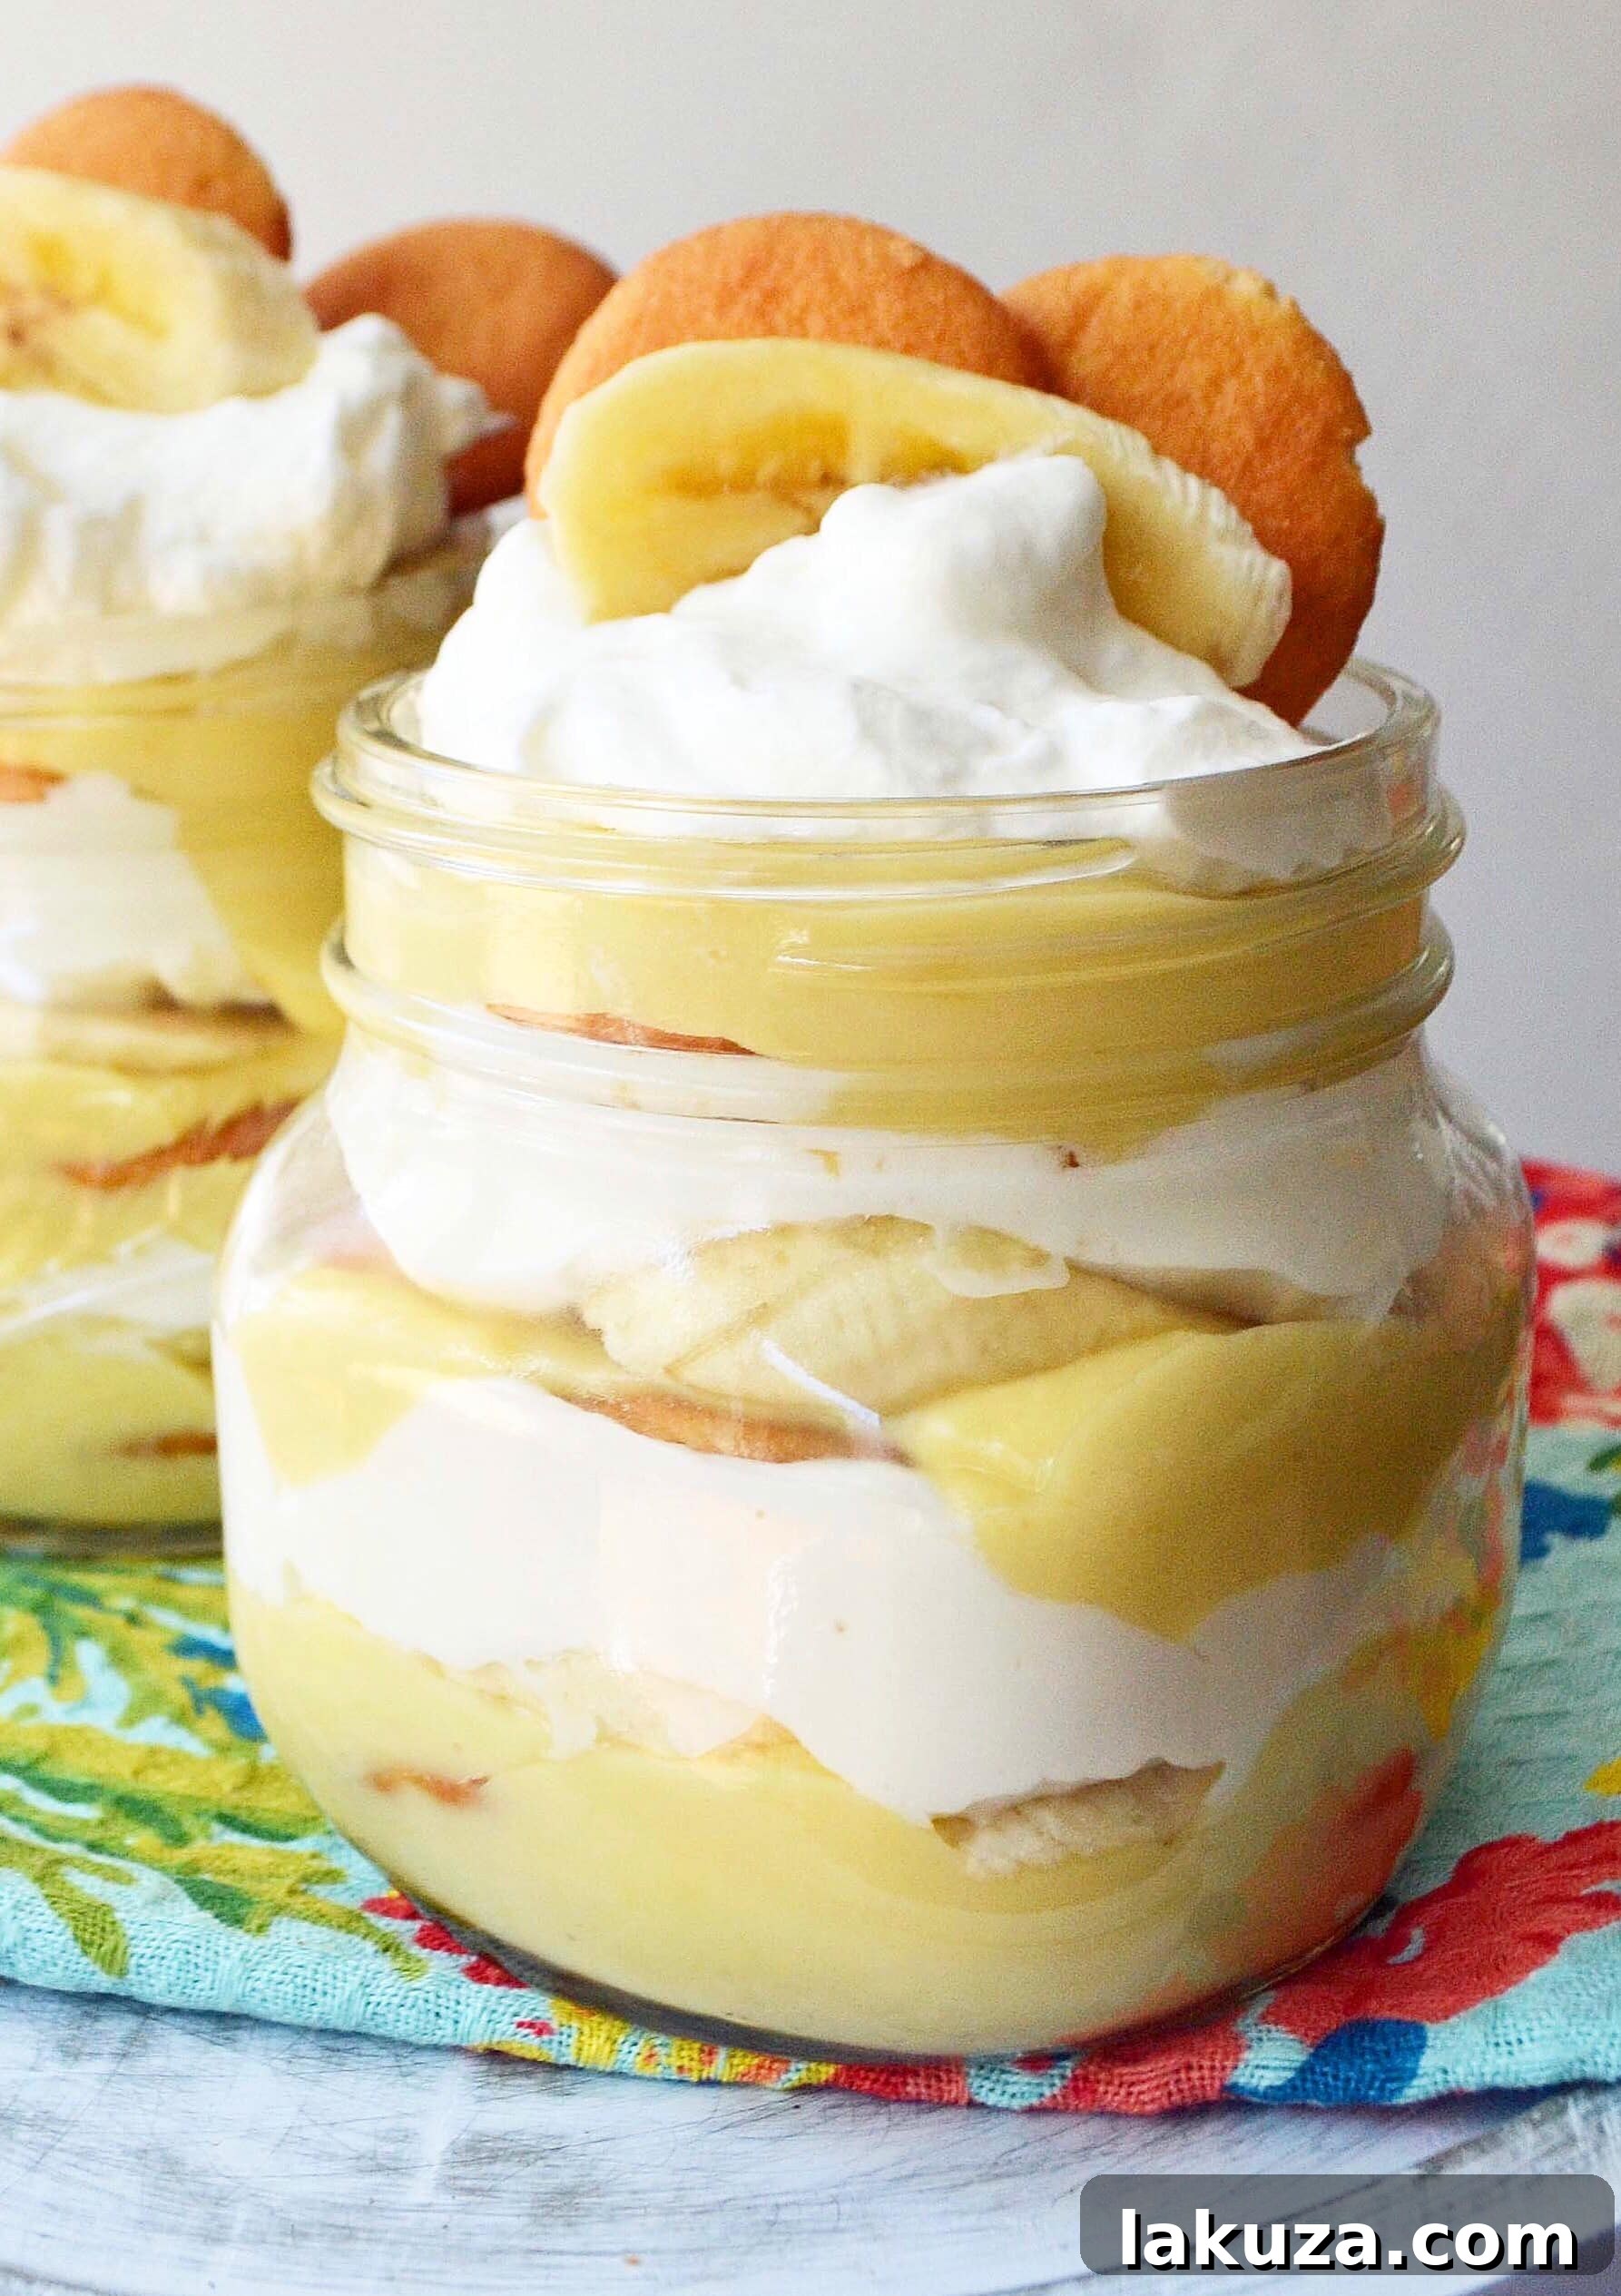
This particular custard recipe isn’t just any recipe; it carries a beautiful legacy. It comes from my brilliant sister-in-law, Laura, who is an incredible cook and graces our Thanksgiving table with this very custard every single year. She possesses an undeniable gift for making custard, and this recipe, passed down through generations from her Grandma Rappleye, is a testament to its enduring perfection. It’s a tried-and-true classic that has delighted families for decades, ensuring that every spoonful delivers a taste of tradition and warmth.
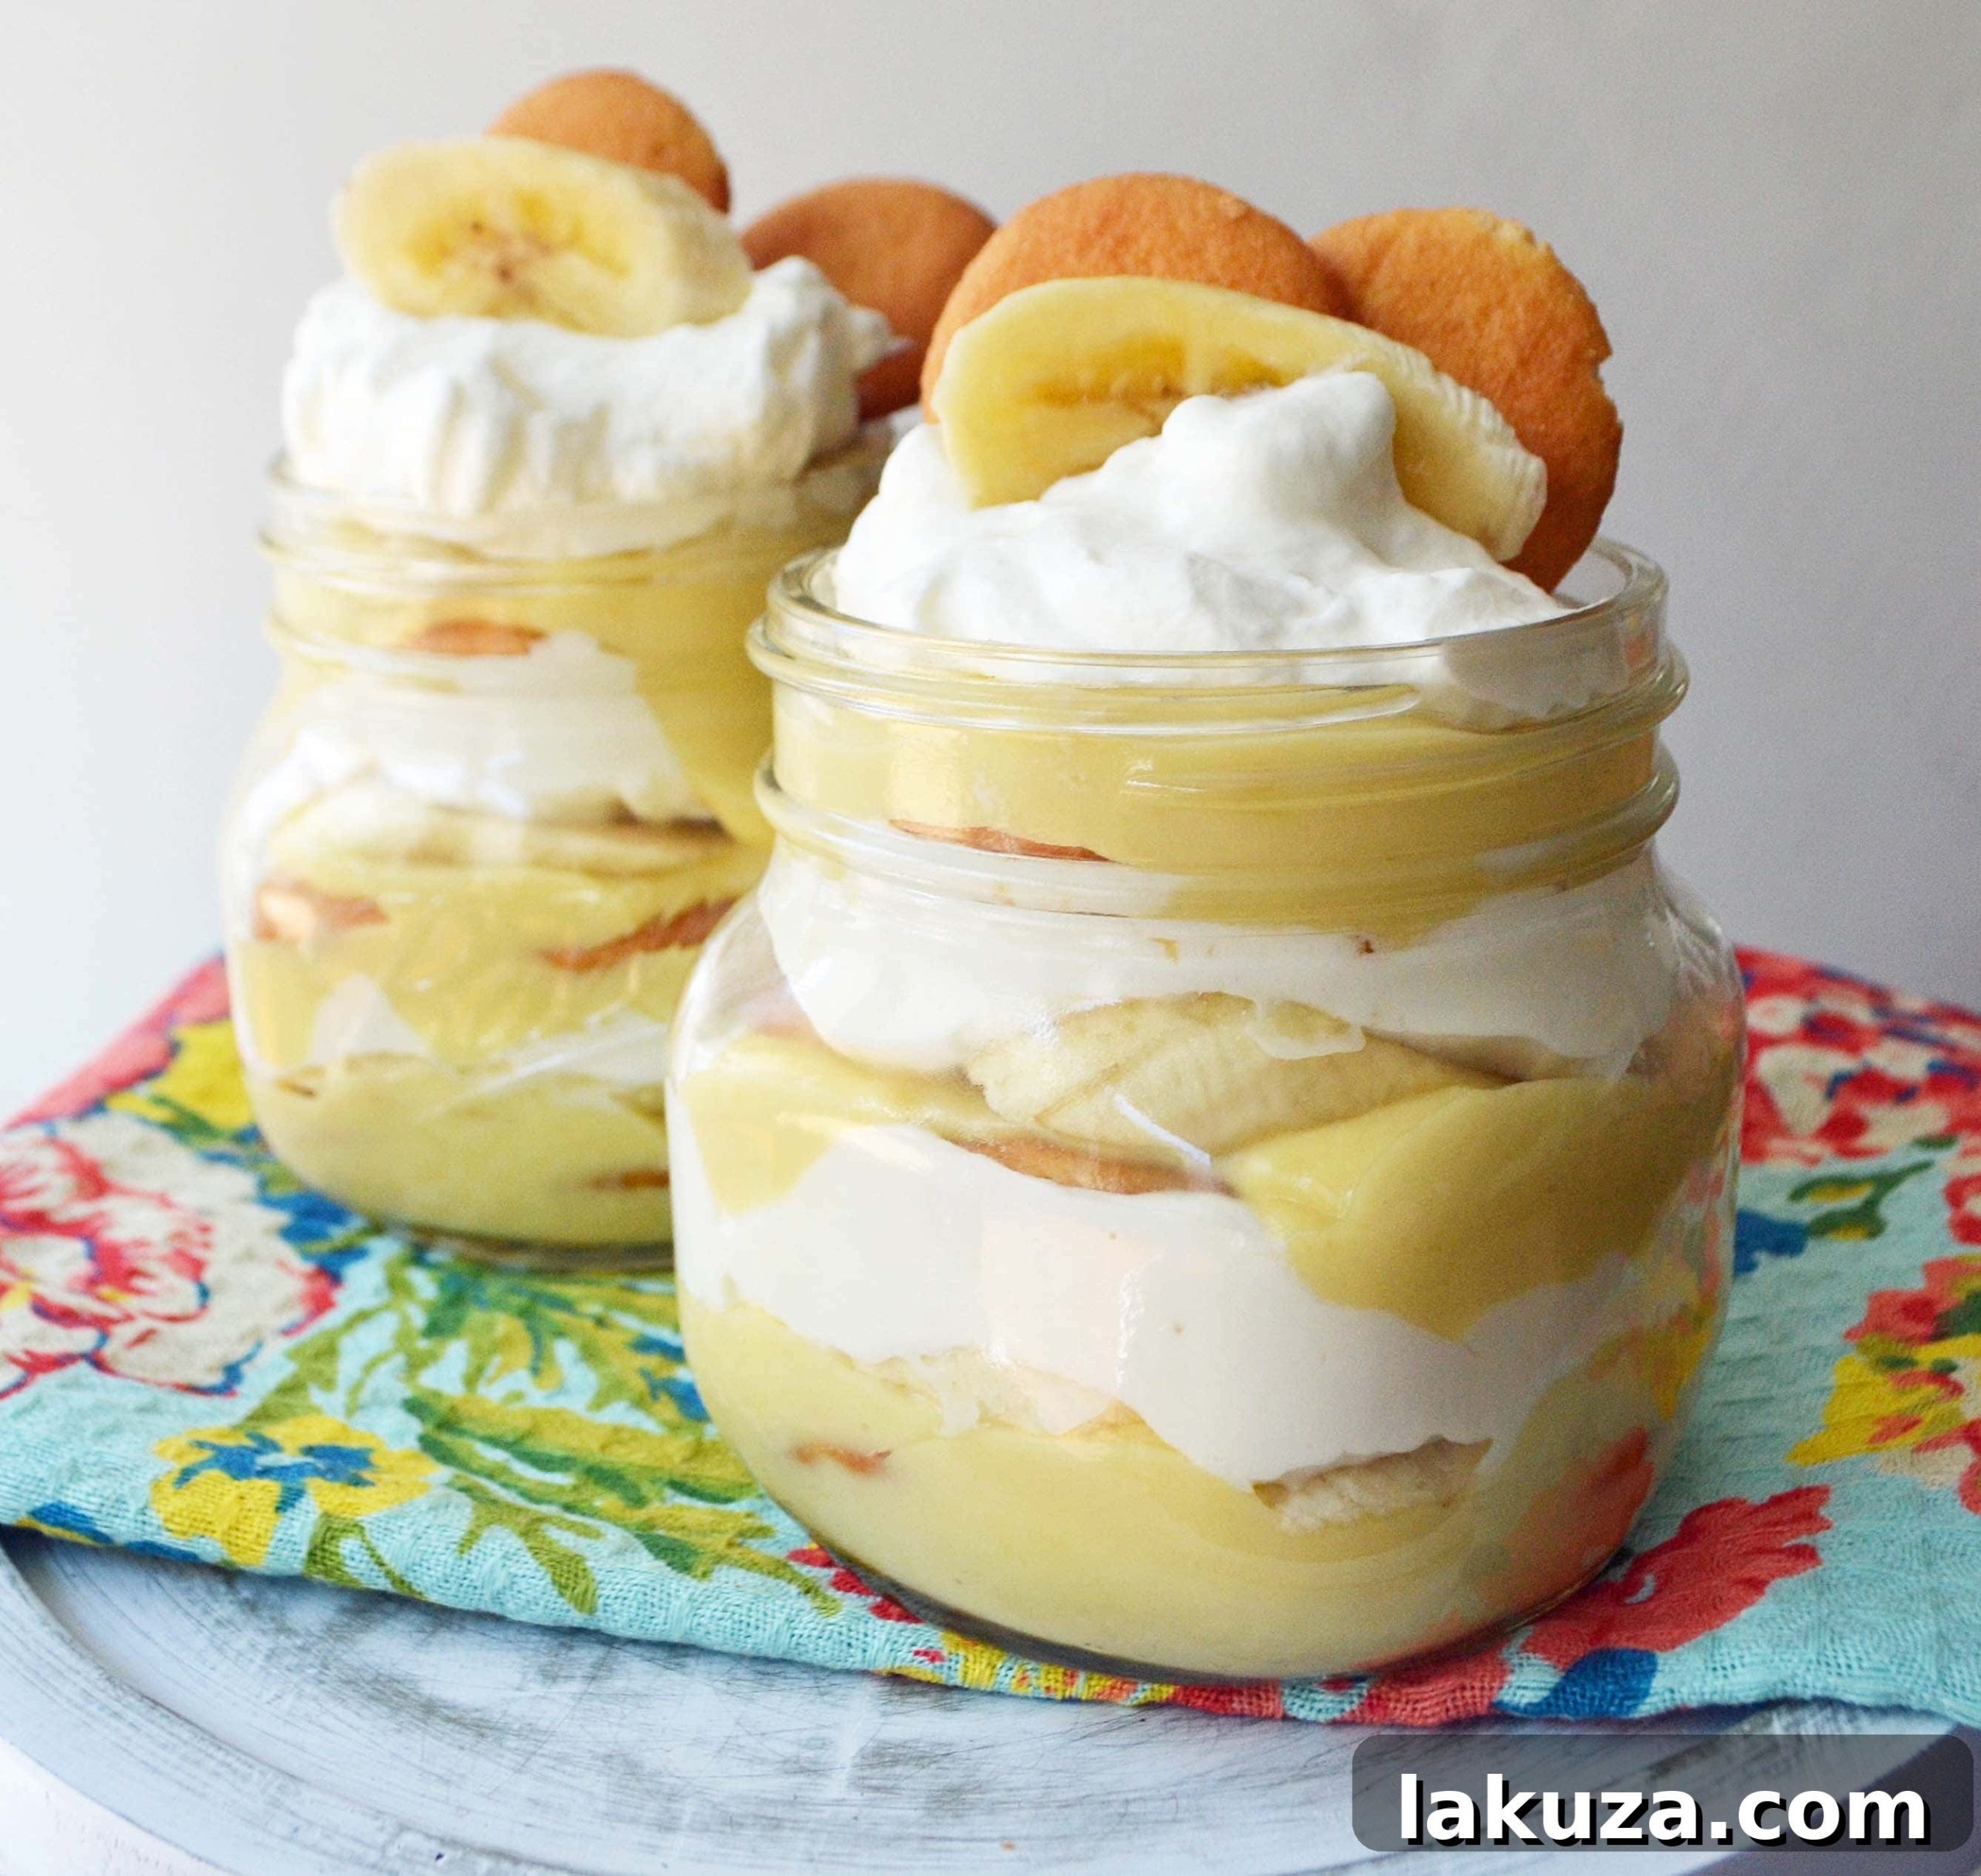
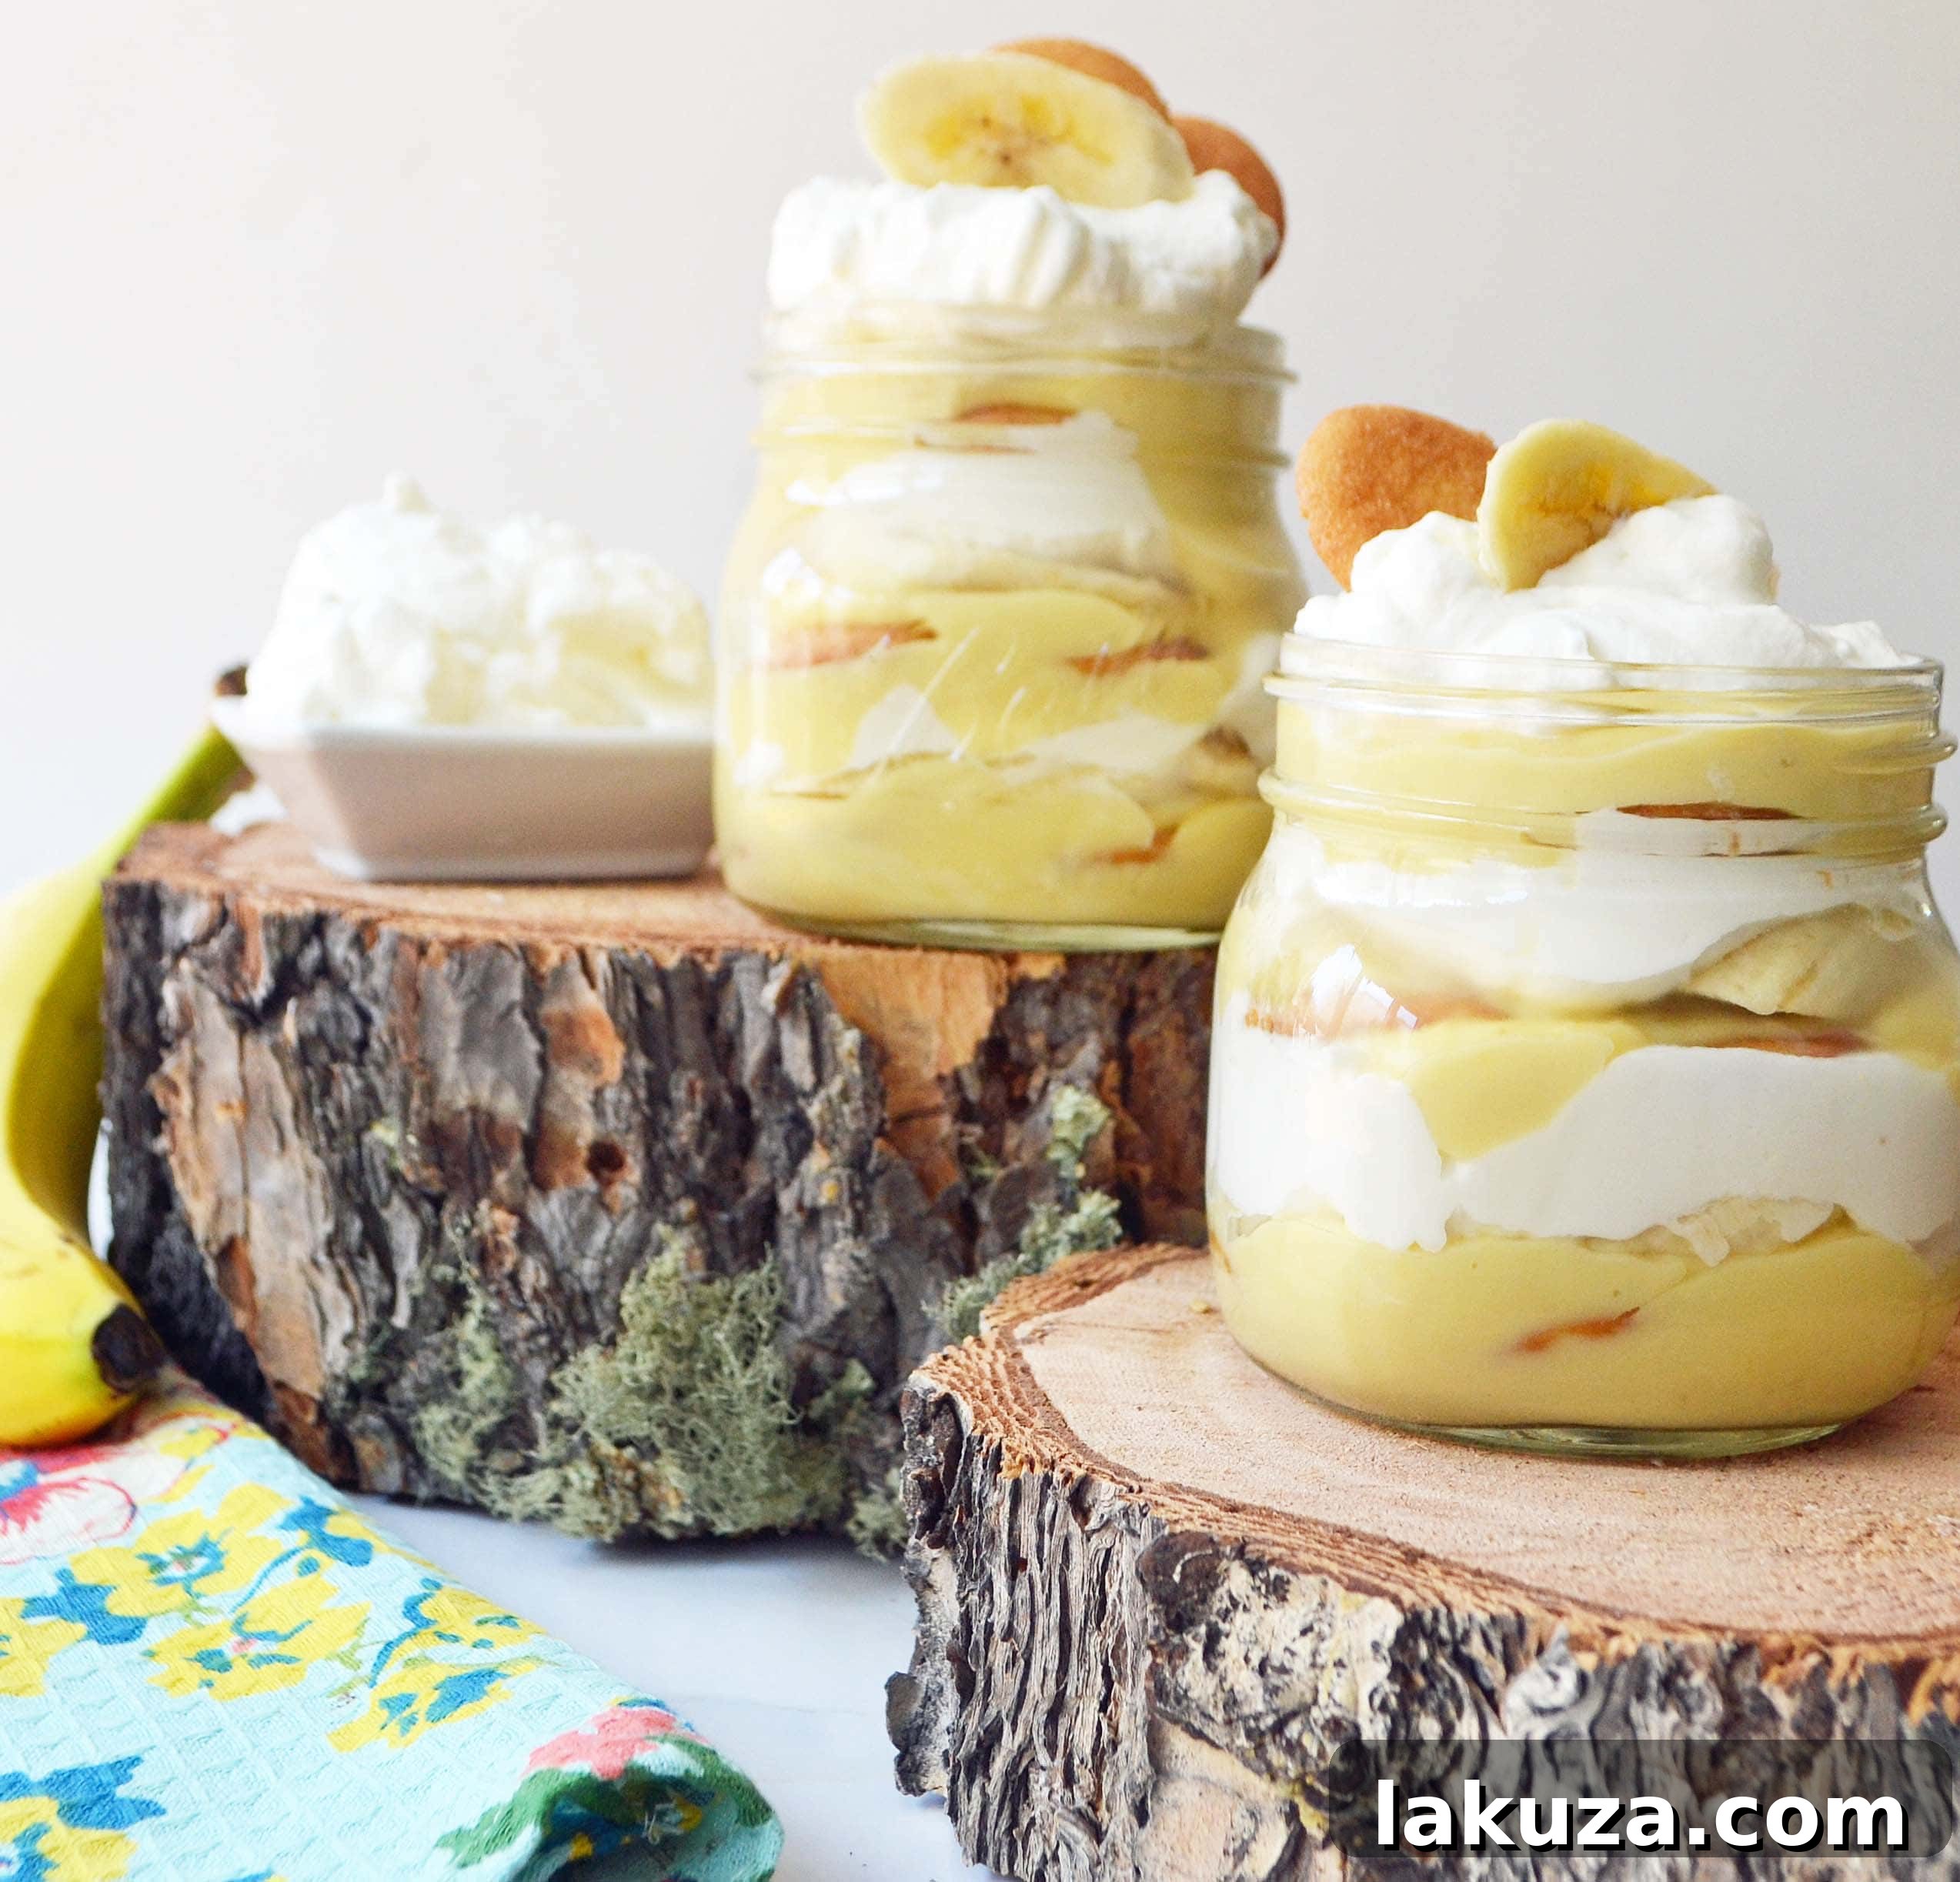
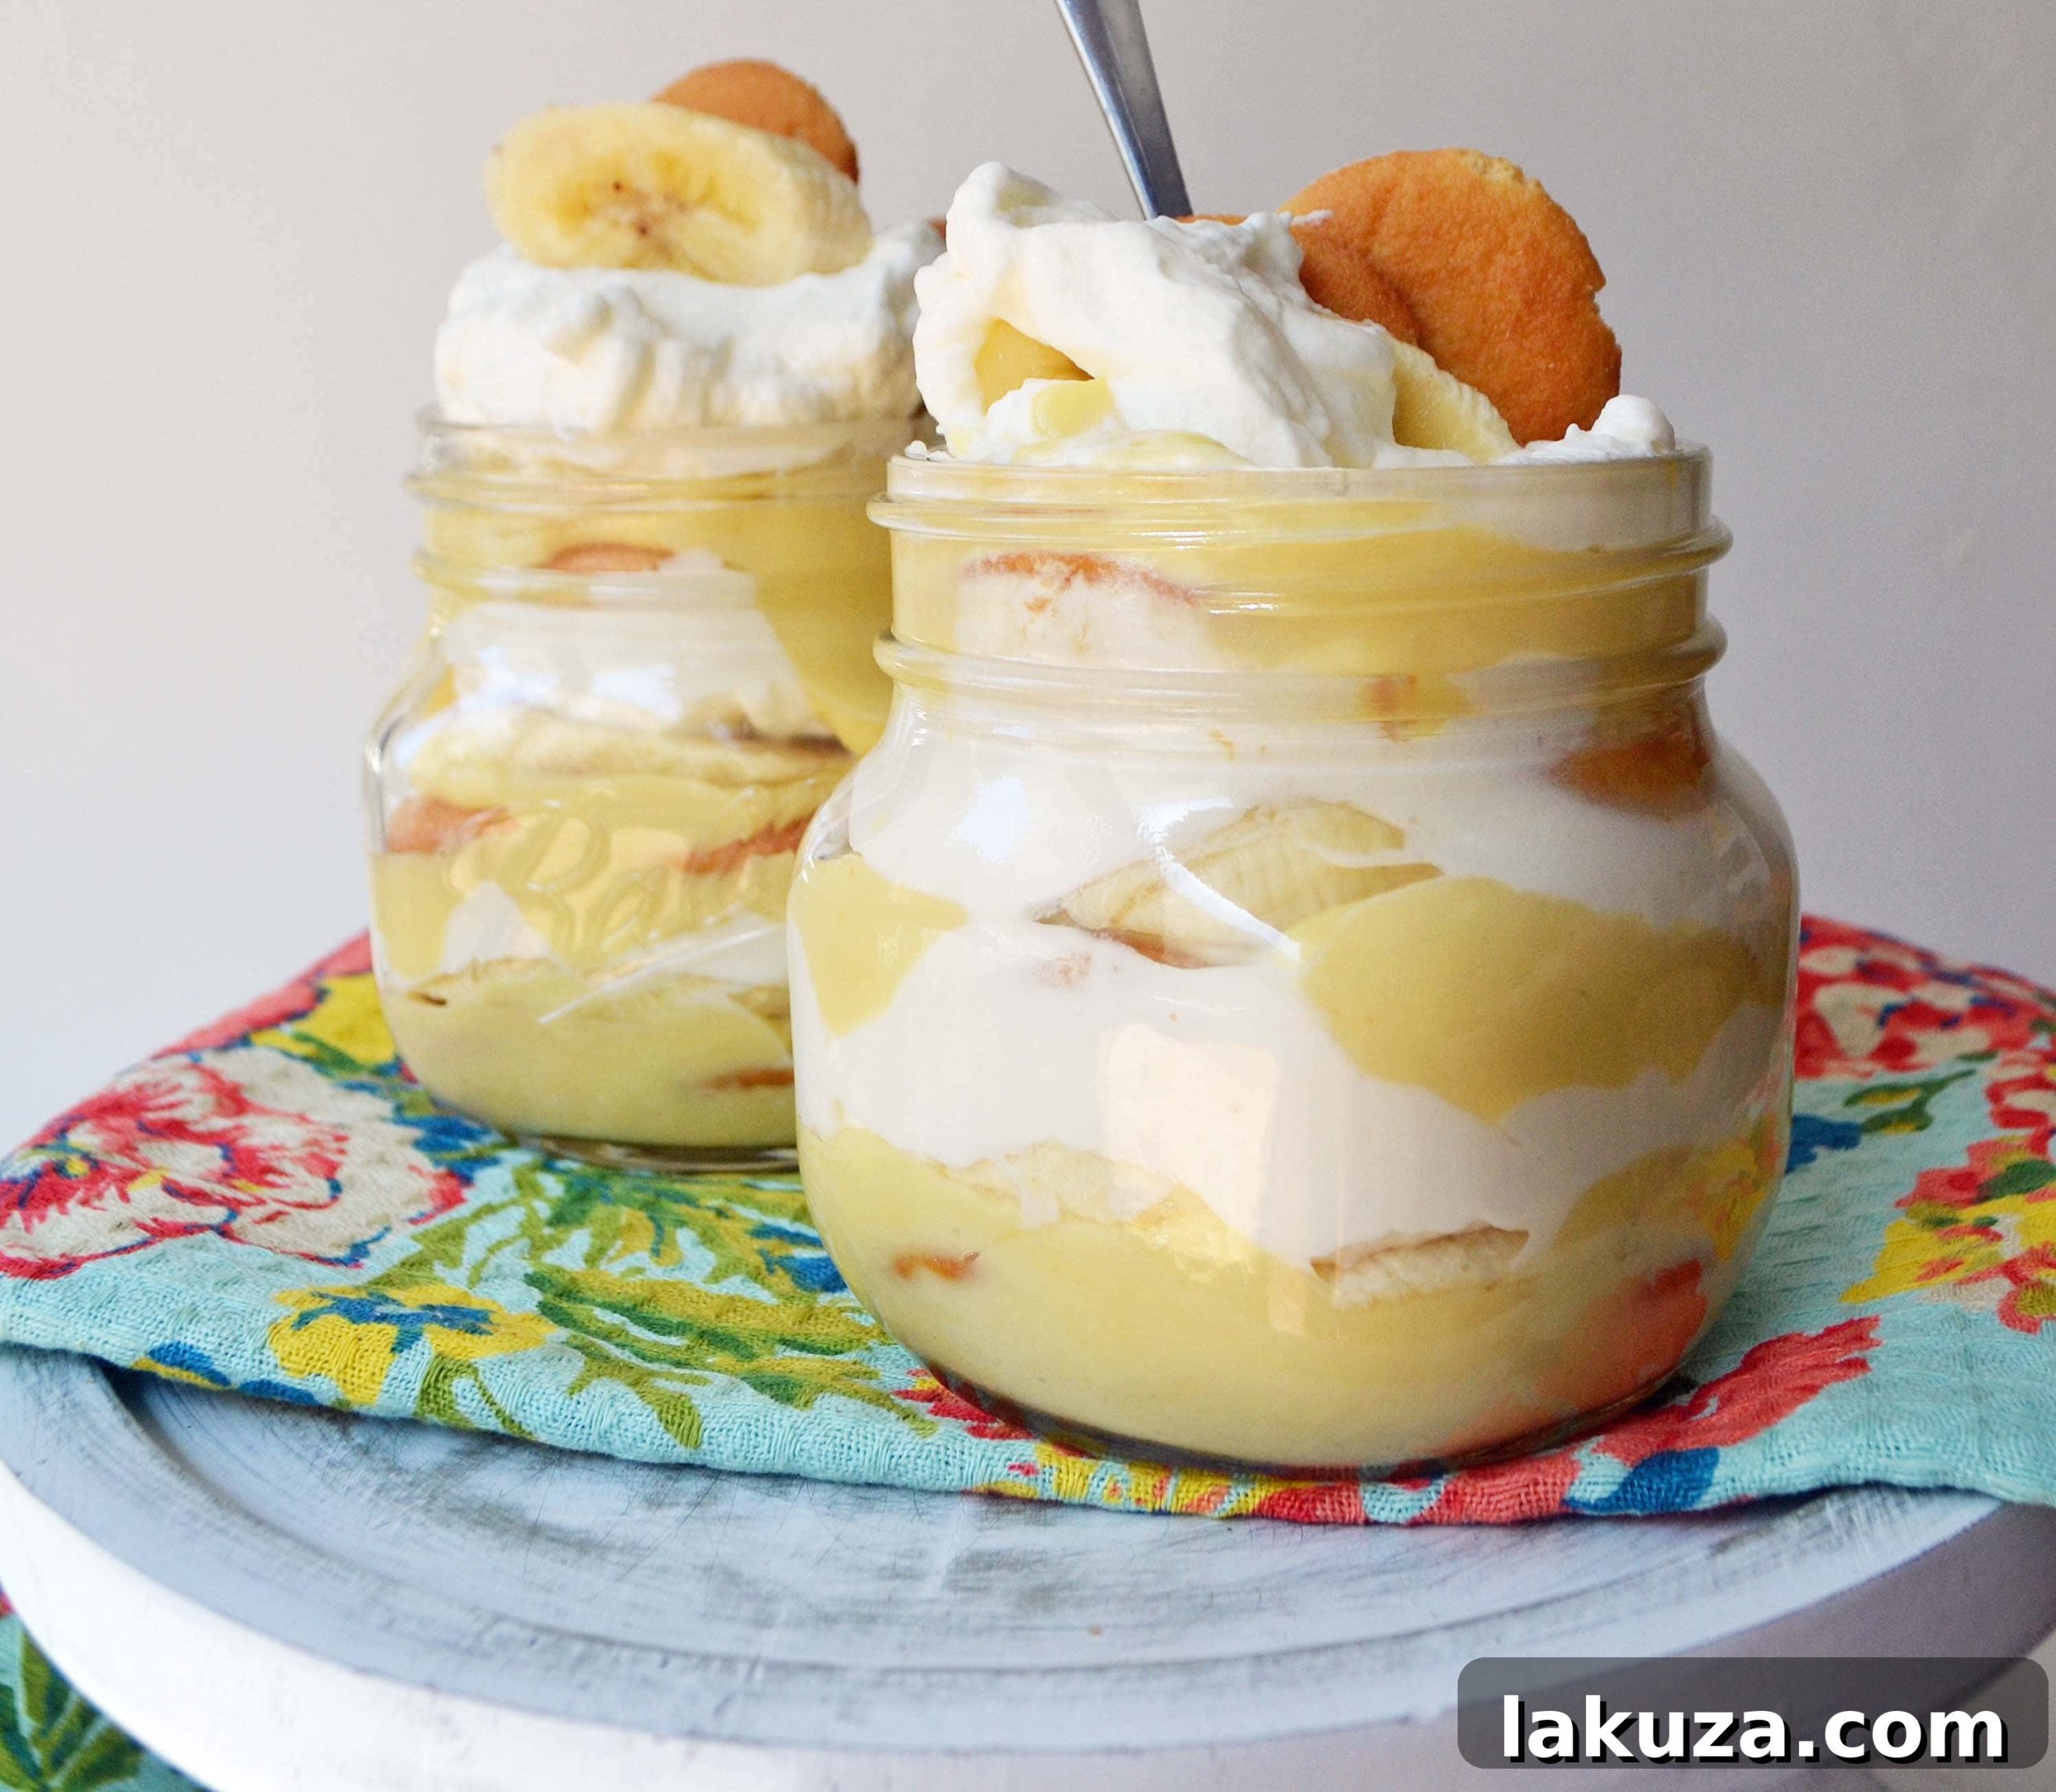
One of the many charms of this banana pudding is its incredible versatility in presentation. Whether you’re serving a crowd or preparing individual delights, it adapts beautifully. You can layer it majestically in a large trifle dish, allowing the beautiful layers to be admired from all sides. Alternatively, it can be assembled in a simple glass pan, scooped into elegant, decorative jars for a charming individual serving, or even spooned into small bowls for a more rustic touch. I personally love showcasing the vibrant layers in a classic glass trifle dish or my cherished individual jars, which make for stunning visual appeal and perfect portion control.
Mastering Your Homemade Banana Pudding: Essential Tips for Success
Creating an “out-of-this-world” Homemade Banana Pudding Dessert is a truly rewarding experience, and with a few key techniques, you can ensure perfection every time. These tips cover the most crucial steps, from achieving the ideal custard consistency to preserving the freshness of your fruit, guaranteeing a dessert that tastes as good as it looks.
- Ensure Your Pudding Thickens Perfectly: The foundation of an amazing banana pudding is a rich, stable custard. It’s vital to cook the pudding mixture for an adequate amount of time over medium heat until it visibly thickens. You’ll know it’s ready when it coats the back of a spoon, leaving a distinct trail if you run your finger across it. After cooking, don’t rush the process; allow the pudding ample time to chill thoroughly in the refrigerator. This cooling period is crucial for it to fully set and achieve its intended velvety texture. For the best stirring and scraping, you can find my favorite wooden spoon HERE.
- Master the Art of Tempering Egg Yolks: Tempering is a key technique to prevent your egg yolks from scrambling when introduced to hot liquid. To do this, gradually spoon a small amount of the hot milk mixture into the beaten egg yolks, whisking constantly. This slowly raises the temperature of the yolks, preventing a sudden shock when they are fully incorporated into the hot pot. Once tempered, slowly pour the egg yolk mixture back into the main pot, stirring continuously, and continue to cook until the pudding reaches its final thickness.
- Infuse Maximum Vanilla Flavor: The delicate aroma and taste of vanilla are essential to this pudding. For the best results, always add your vanilla extract or vanilla bean seeds *after* the pudding has been removed from the heat. If vanilla is added while the pudding is still cooking over heat, its delicate flavor compounds can evaporate, resulting in a less intense vanilla presence. Adding it post-cooking ensures that its fragrant essence remains vibrant and full-bodied in your final custard.
- Achieve Fluffy, Stable Whipped Cream: For truly exceptional whipped cream, always start with COLD heavy whipping cream. Using a chilled bowl and beaters can also make a significant difference. Beat the cream until soft peaks just begin to form. At this point, gently fold in powdered sugar. Powdered sugar not only sweetens but also helps stabilize the whipped cream, preventing it from weeping. A touch of vanilla (added at this stage) further enhances the flavor, creating a perfect airy topping. Be careful not to over-whip, as it can quickly turn grainy.
- Prevent Banana Browning: Bananas, when exposed to air, naturally undergo oxidation, which causes them to turn brown. To maintain their fresh appearance and appeal in your pudding, brush the sliced bananas with a small amount of lemon juice or sprinkle them lightly with a fruit fresh product. This simple step creates a protective barrier, keeping your bananas vibrant and appealing for longer within the dessert.
- Optimal Chilling Time is Key: While the custard needs to chill to set, the assembled banana pudding also benefits greatly from a few hours (or even overnight) in the refrigerator. This allows the Nilla wafers to soften and absorb the creamy custard and banana flavors, creating that signature melt-in-your-mouth texture that is so beloved in traditional banana pudding.
Pin Recipe
Print Recipe
Homemade Banana Pudding Dessert
Equipment
-
spatula set
-
weck glass jars
-
weck tulip jelly jars
Ingredients
Homemade Vanilla Bean Pudding:
- 3/4 cup Sugar
- 3 Tablespoons Cornstarch
- 3 Tablespoons Flour
- 3/4 teaspoon Salt
- 3 cups Whole Milk
- 3 Egg Yolks
- 2 Tablespoons Butter
- 2 teaspoons Vanilla or 1 Vanilla Bean scraped
Vanilla Whipped Cream:
- 2 cups Heavy Cream
- 1/3 cup Powdered Sugar
- 1/2 teaspoon Vanilla or Vanilla Bean scraped
- 4-5 Bananas sliced
- 1/2 Box Nilla Wafers
Instructions
-
In a heavy-bottomed pot, combine sugar, cornstarch, flour, salt, and milk. Heat over medium heat, stirring continuously to prevent lumps. Bring the mixture to a slow, gentle boil, ensuring it thickens evenly. Continue to cook and stir until the pudding coats the back of a spoon thickly.
-
While the milk mixture is heating, place the egg yolks in a small bowl. To temper the egg yolks, slowly spoon a small amount of the hot milk mixture into the bowl with the yolks, whisking vigorously. Continue adding small amounts until the yolks are warm to the touch.
-
Slowly pour the tempered egg yolks back into the pot with the remaining milk mixture, whisking constantly. Bring the entire mixture back to a gentle boil and cook for 1 minute more, stirring, to ensure it’s fully cooked and thickened.
-
Remove the pot from the heat. Stir in the butter until melted and fully incorporated. Then, add the vanilla extract or scraped vanilla bean seeds.
-
Transfer the pudding to a clean bowl, cover the surface directly with plastic wrap to prevent a skin from forming, and refrigerate until completely cooled and set, typically for at least 2-4 hours, or preferably overnight.
-
For the whipped cream, beat cold heavy cream until soft peaks begin to form. Gradually add the powdered sugar and continue beating until stiff peaks are achieved. Gently fold in the vanilla extract or vanilla bean.
-
Slice the fresh bananas into even rounds. To prevent browning, lightly brush the slices with a small amount of lemon juice or sprinkle with fruit fresh.
-
To assemble, start with a layer of Nilla wafers at the bottom of your serving dish (a trifle dish or individual jars work wonderfully). Follow with a layer of sliced bananas, then a generous layer of the cooled homemade vanilla bean pudding. Repeat these layers, finishing with a final layer of pudding or whipped cream.
-
Garnish the top with the prepared vanilla whipped cream. Refrigerate the assembled banana pudding for at least 1-2 hours to allow the flavors to meld and the wafers to soften, creating that signature tender texture. Serve chilled.
Nutrition information is automatically calculated, so should only be used as an approximation.
Additional Info
In conclusion, while the allure of a quick-fix dessert is understandable, there’s an undeniable satisfaction and superior flavor profile that comes from crafting a homemade banana pudding. This recipe not only delivers on taste but also offers a beautiful presentation, making it ideal for any occasion, from casual family dinners to elegant gatherings. The rich, silky custard, the delicate crunch of the wafers as they soften into a cake-like consistency, the sweet, creamy bananas, and the light, airy whipped cream come together in a harmony that is truly irresistible. We hope this guide inspires you to embrace the joy of baking from scratch and discover the unparalleled delight of this classic Southern dessert. Happy baking, and enjoy every blissful spoonful!