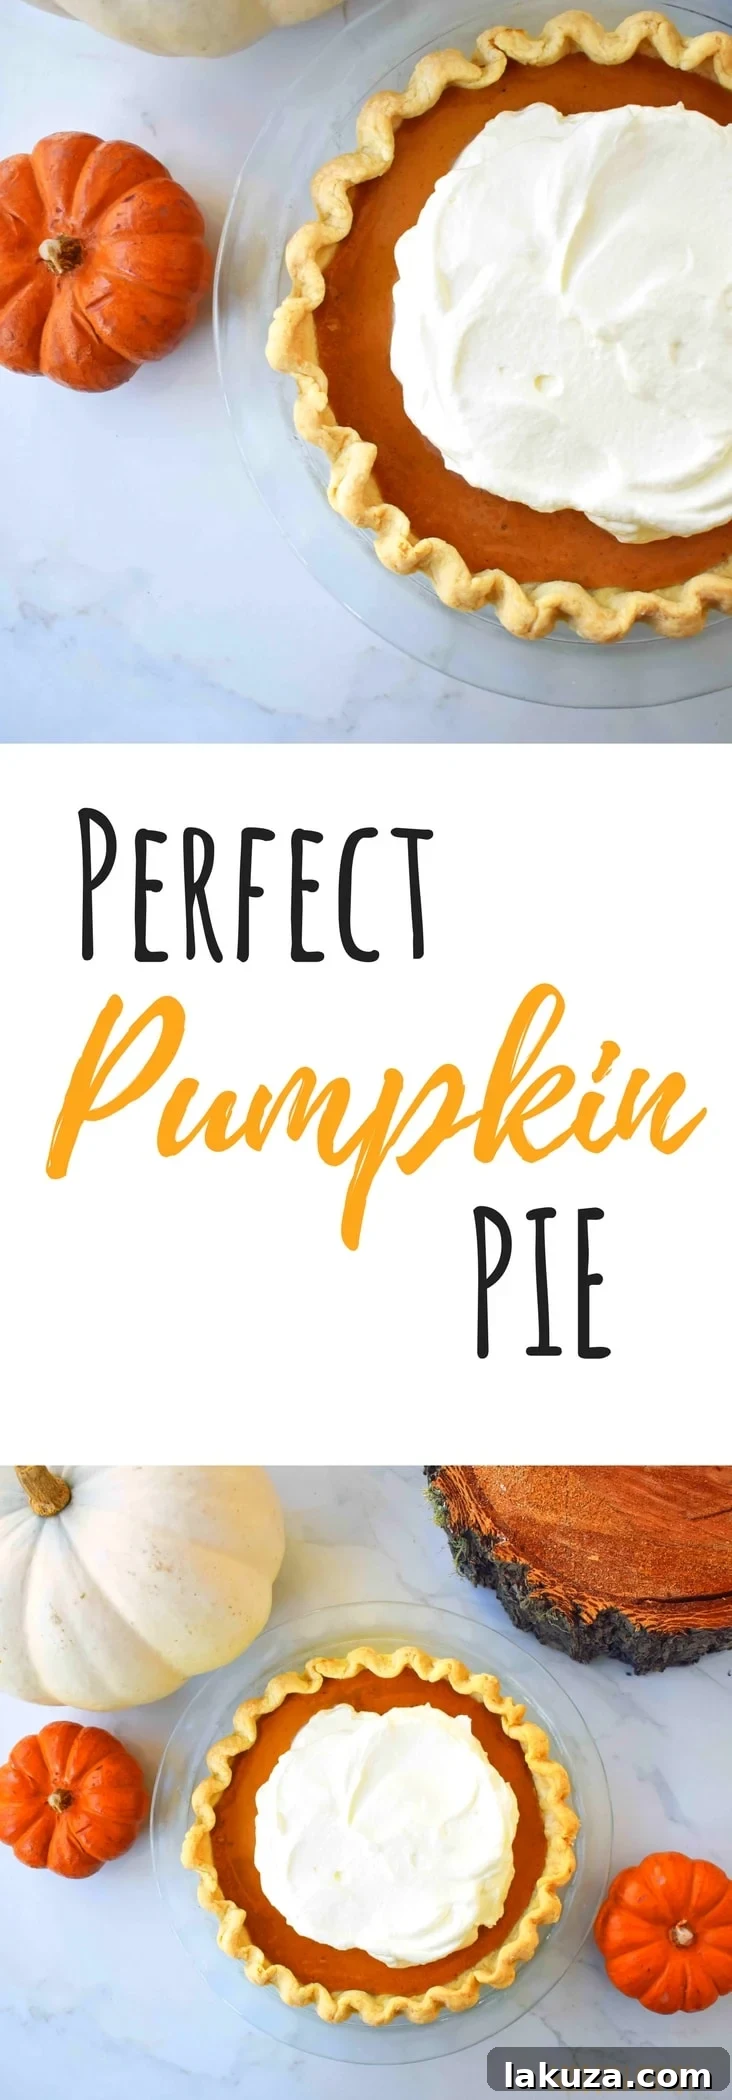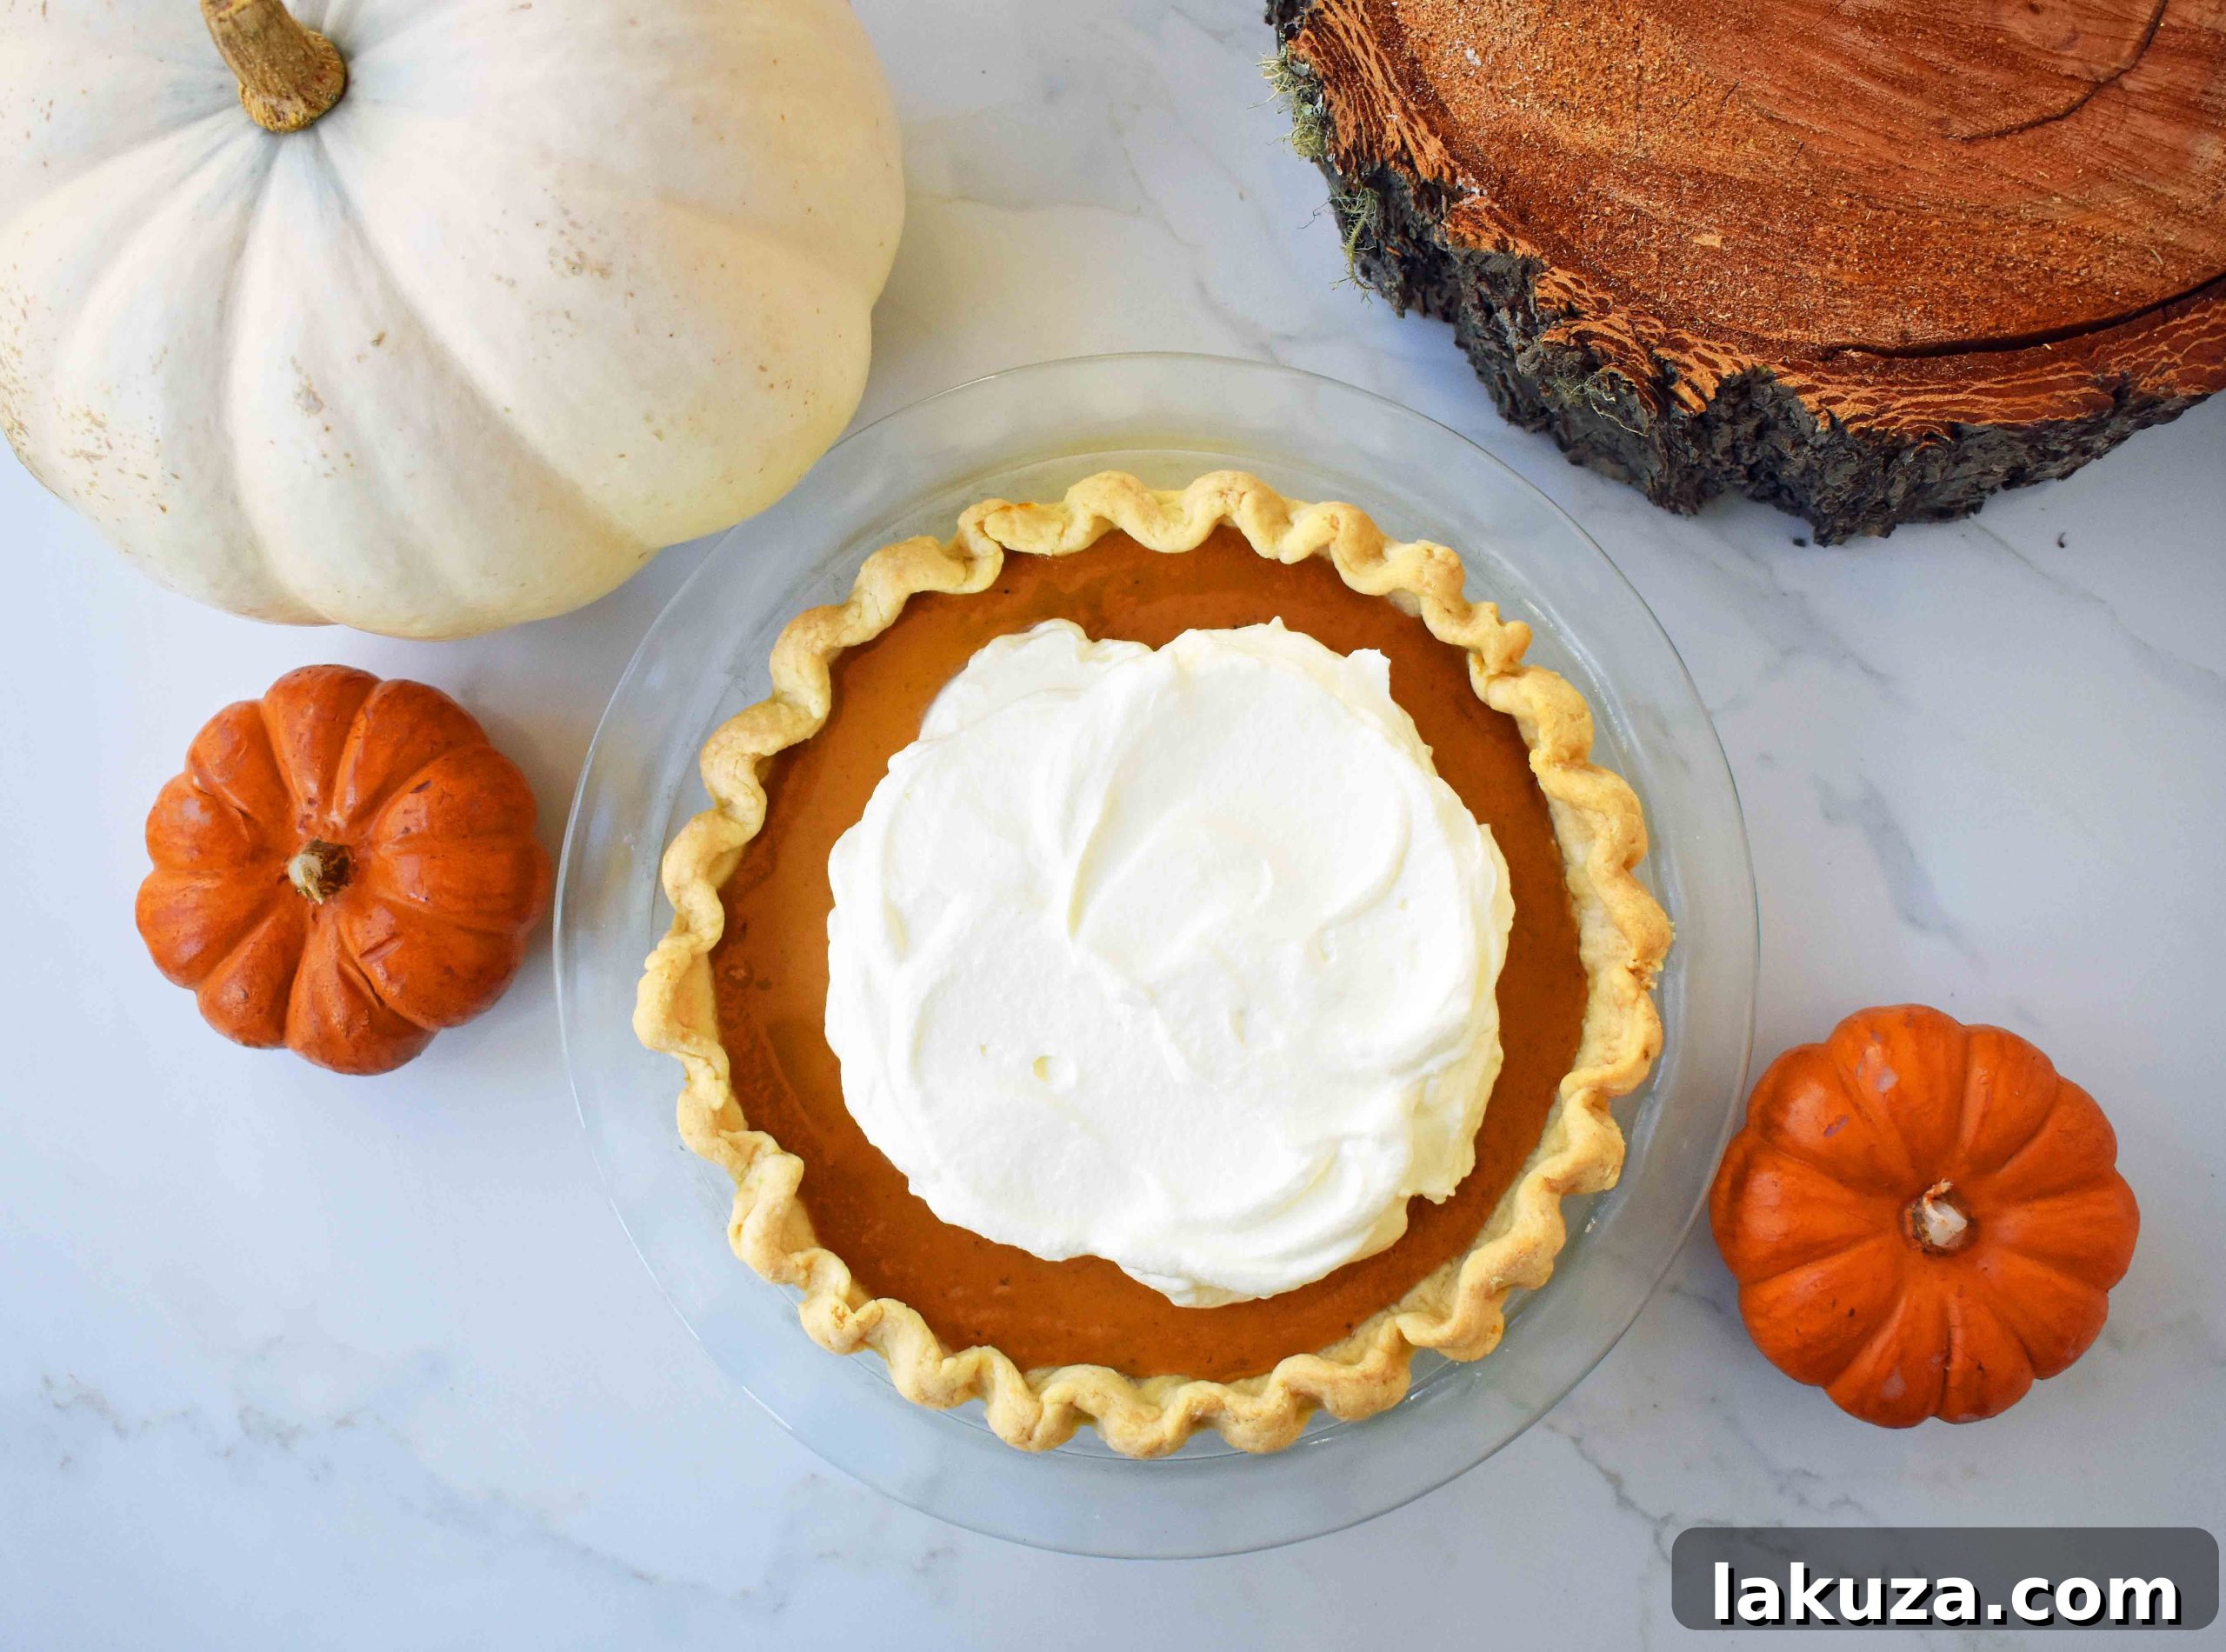
Get ready to impress everyone this holiday season with the ultimate creamy pumpkin pie. This easy and decadent recipe, featuring rich sweetened condensed milk, pure pumpkin, and a harmonious blend of cozy spices, promises a perfectly smooth texture and an unforgettable fall flavor. Whether you’re a seasoned baker or a beginner, this foolproof guide will help you create a pumpkin pie that will have everyone asking for a second slice, especially when topped with a dollop of fresh, fluffy whipped cream!
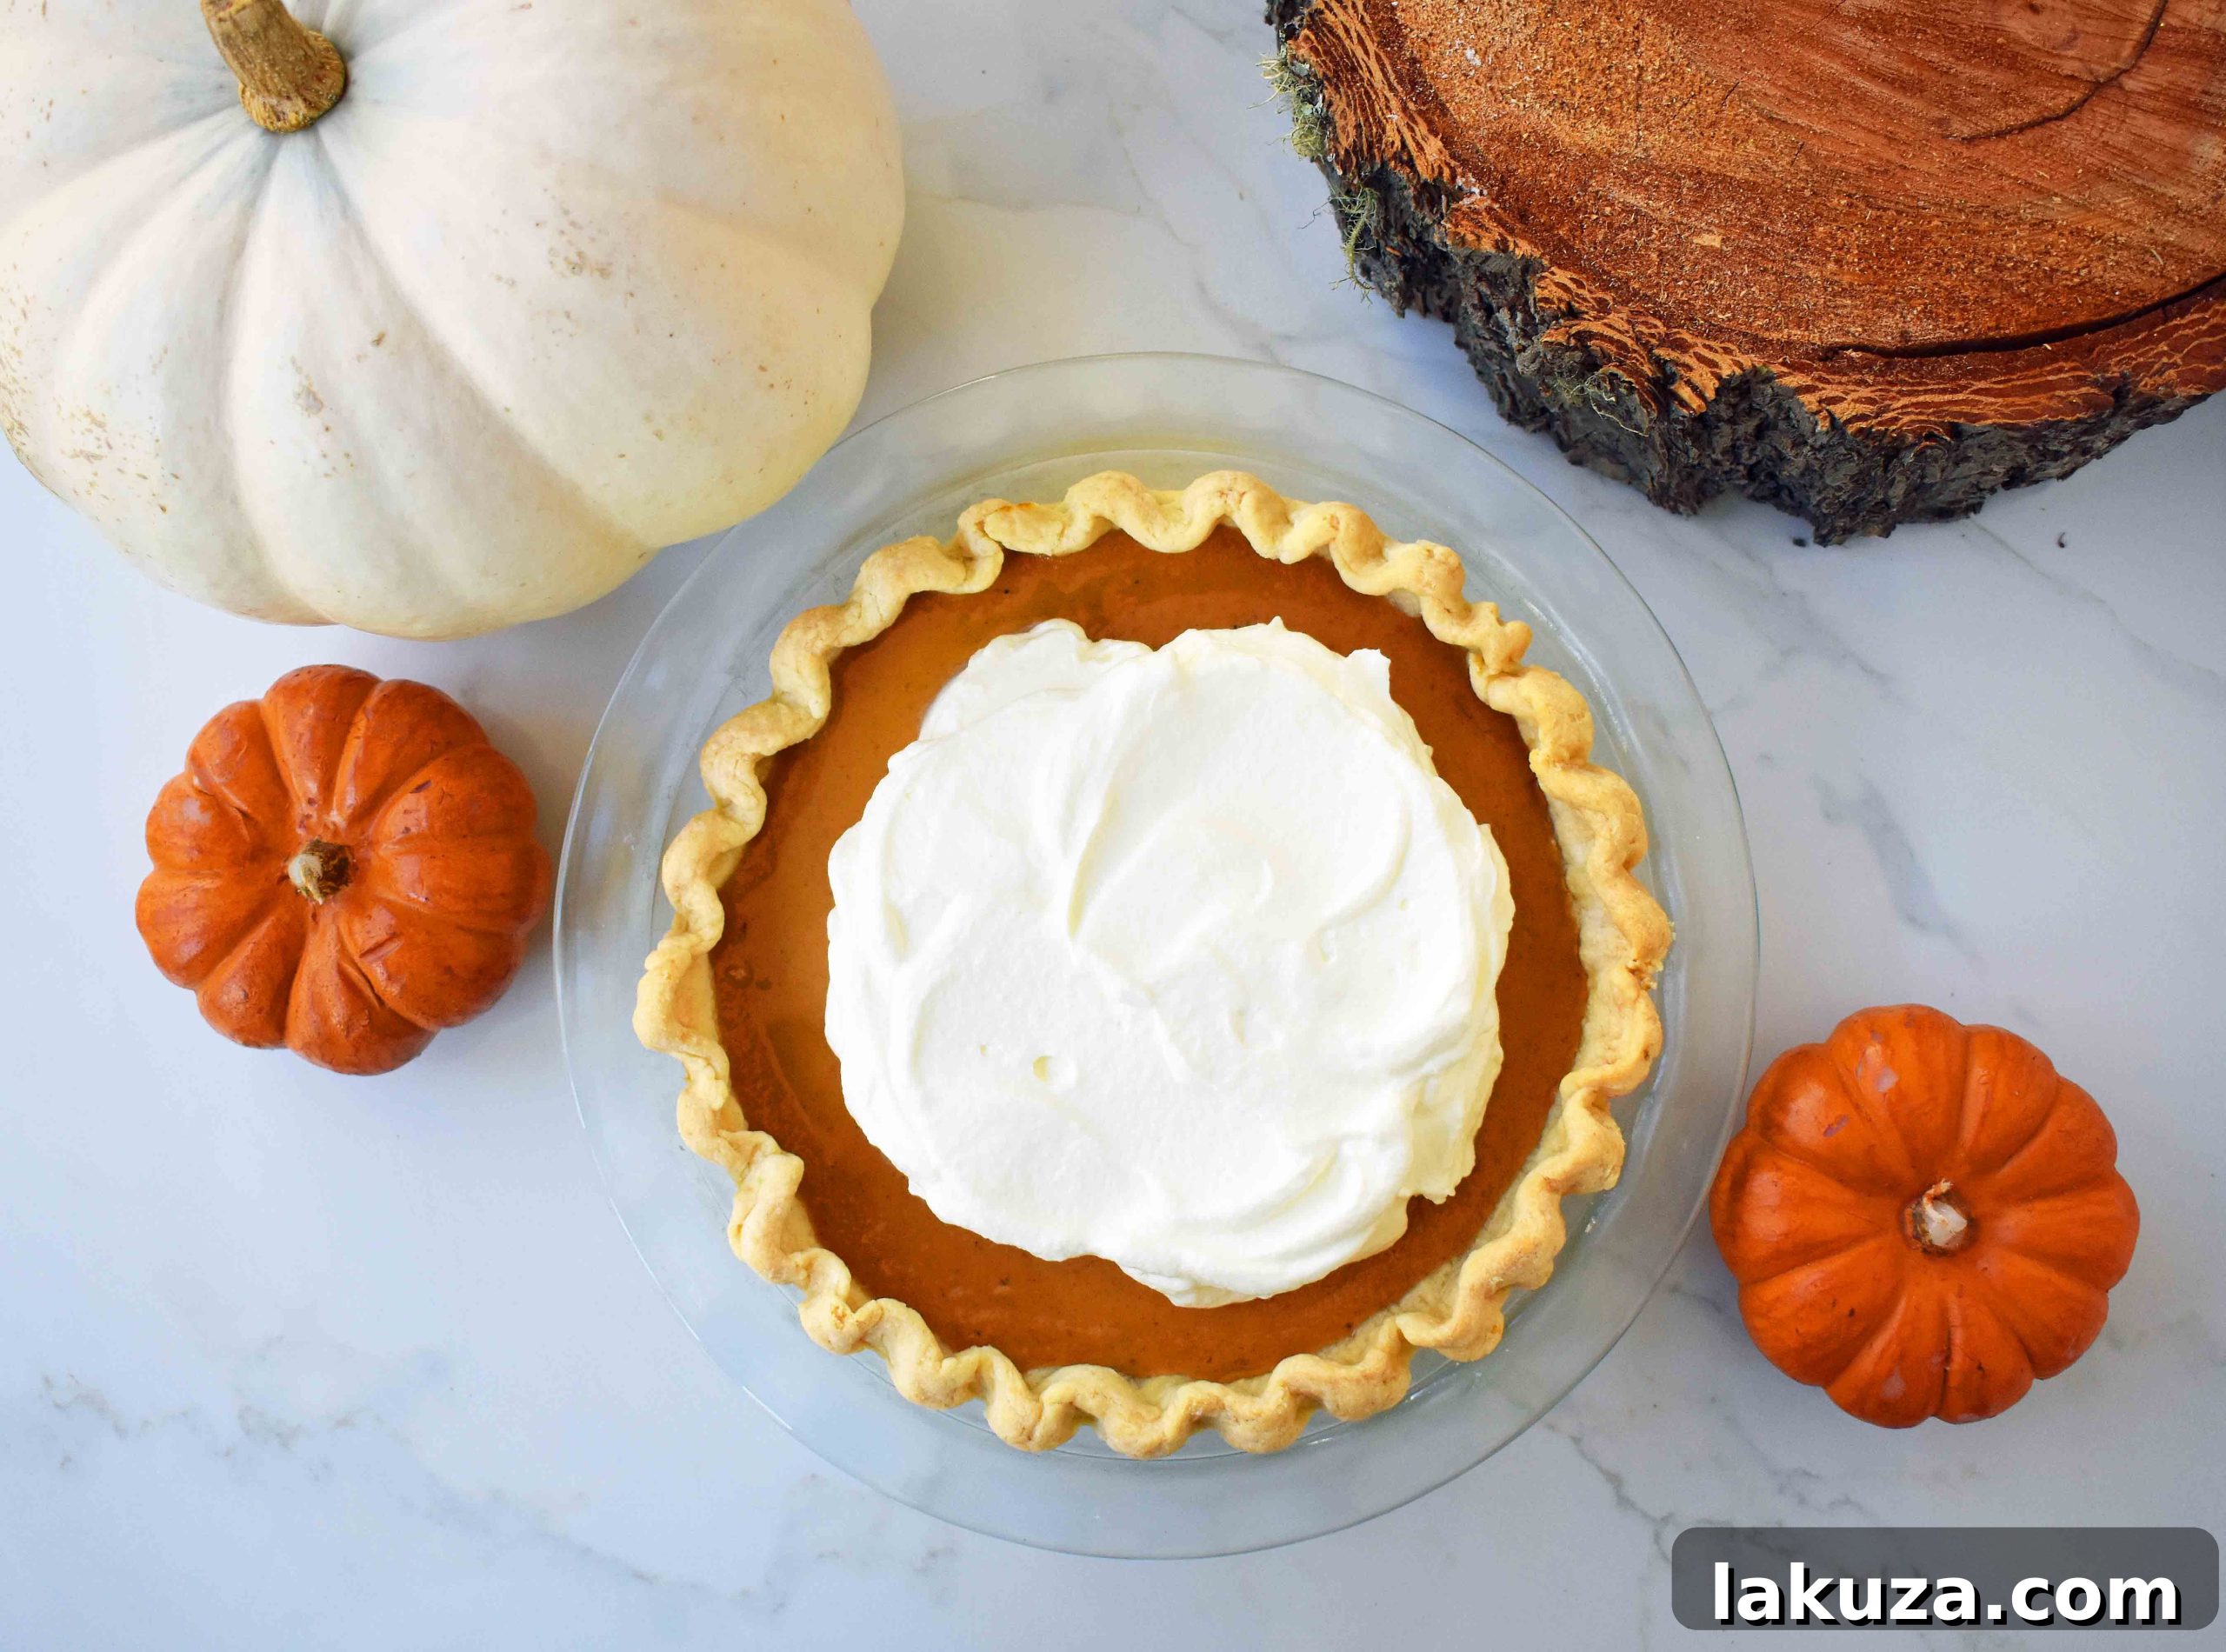
The Ultimate Creamy Pumpkin Pie with Sweetened Condensed Milk
Pumpkin pie holds a special place in our hearts and on our tables, serving as the quintessential dessert for Thanksgiving and a beloved staple throughout the entire fall season. For many years, the classic recipe found on the back of the Libby’s pumpkin can was my go-to, consistently delivering a solid, traditional pumpkin pie. However, I soon found myself eager to explore new dimensions in pumpkin pie perfection, seeking an elevated creaminess and richer flavor profile.
That’s where the magic of sweetened condensed milk enters the scene! If you’re anything like me, you might even be tempted to eat it straight out of the can with a spoon – it’s just that good! This incredible ingredient transforms an ordinary pumpkin pie into an extraordinary one, infusing it with unparalleled richness and a silky-smooth texture that simply melts in your mouth.
There is truly something deeply comforting about a slice of creamy, warmly spiced pumpkin pie. When crafted with sweetened condensed milk, this dessert reaches new heights, offering a luscious, smooth consistency and that classic, crave-worthy pumpkin pie flavor we all anticipate during autumn. This recipe is designed to be straightforward, delivering a consistently smooth and flavorful pie every single time. Follow these detailed steps and expert tips to master the art of making the ultimate pumpkin pie using sweetened condensed milk, ensuring it becomes a cherished holiday tradition in your home.
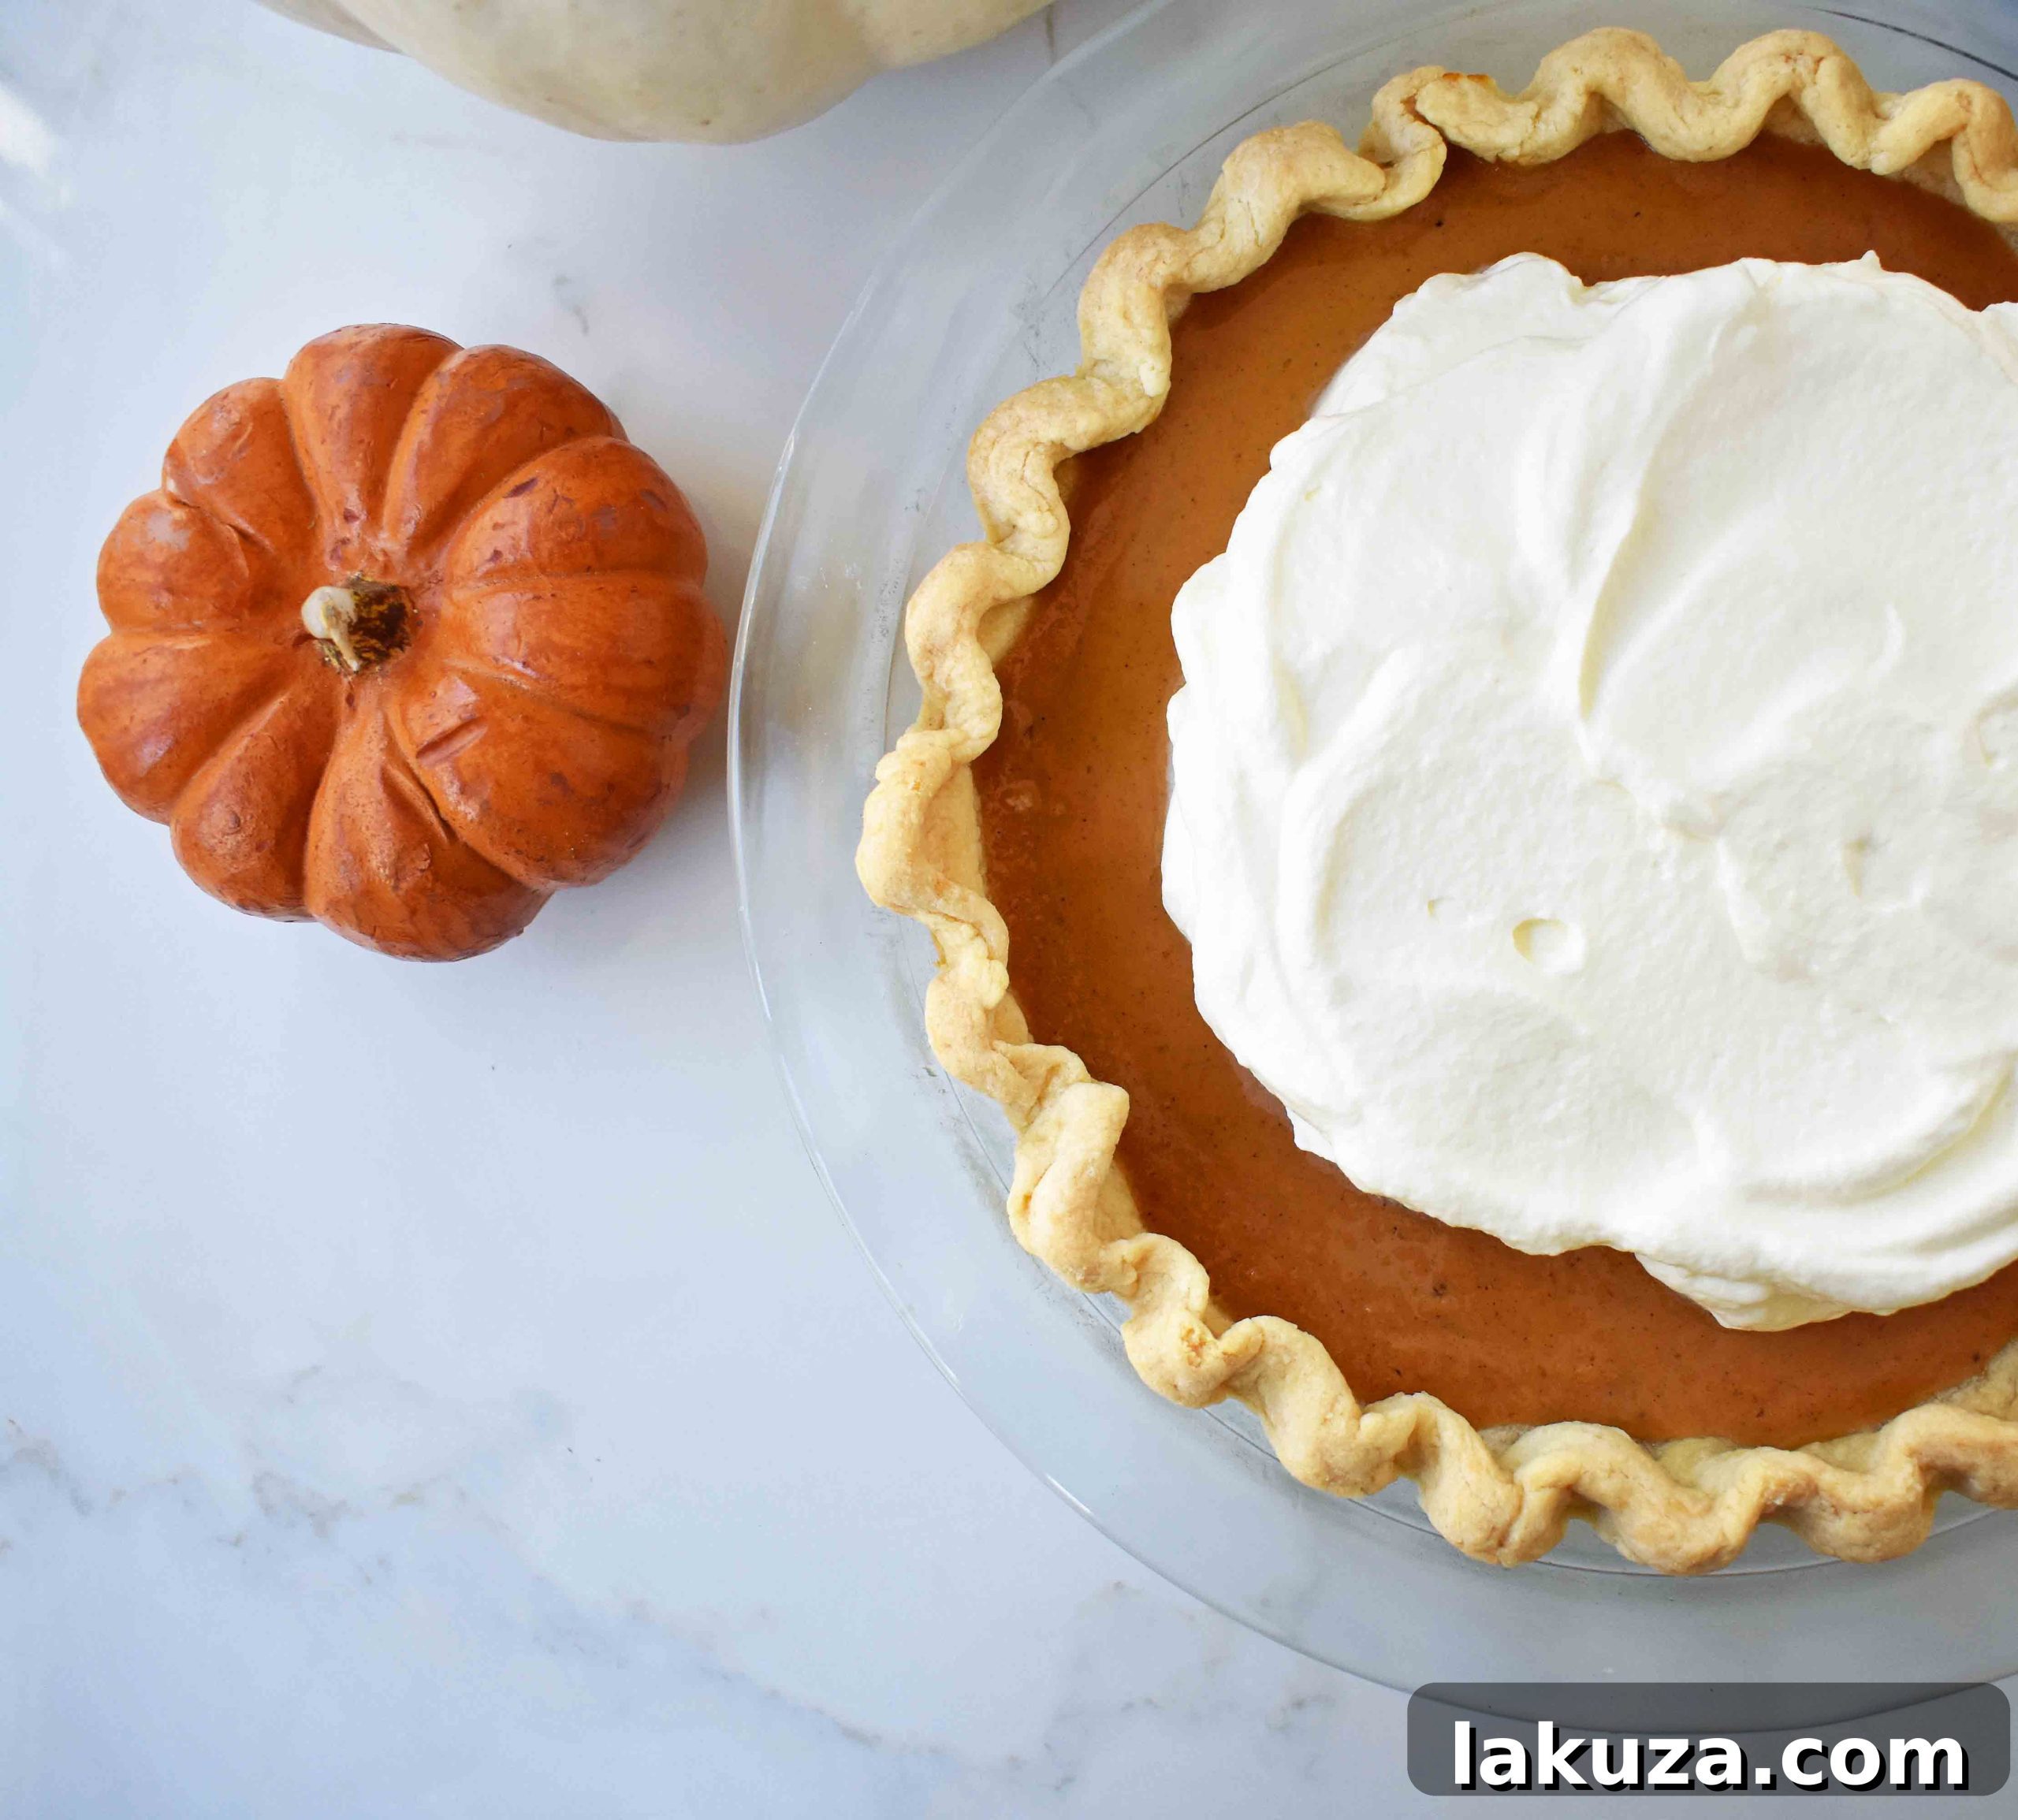
Essential Ingredients for Your Perfect Pumpkin Pie
Crafting this perfect pumpkin pie is surprisingly simple, often described as a “dump and stir” recipe. It begins with a handful of high-quality ingredients that, when combined, create an irresistible filling. The star of the show, sweetened condensed milk, is what truly sets this pie apart, ensuring its signature creamy and silky-smooth texture.
The Core Filling Ingredients:
- 100% Pure Pumpkin Puree: Ensure you use pure pumpkin puree, not pumpkin pie filling, which often contains added sugars and spices. Pure pumpkin provides the authentic, earthy flavor.
- Sweetened Condensed Milk: This ingredient is crucial for the pie’s rich sweetness and unbelievably creamy texture. Its thick consistency eliminates the need for extra sugar and thickeners.
- Large Eggs: Eggs act as a binder, giving the pie its structure and helping it set beautifully.
- Ground Cinnamon: A generous amount of cinnamon provides that warm, classic pumpkin spice flavor.
- Pure Vanilla Extract: Vanilla enhances all the other flavors, adding a subtle sweetness and depth.
- Ground Nutmeg: Nutmeg contributes a warm, slightly nutty, and sweet undertone that pairs perfectly with pumpkin.
- Ground Ginger: Ginger adds a delightful zing and warmth, balancing the sweetness.
- Ground Cloves (optional): For those who love a deeper, more intense spice profile, a pinch of ground cloves can add another layer of complexity.
- Salt: Just a touch of salt is vital to balance the sweetness and bring out the full spectrum of flavors in the pie.
Beyond the Filling: The Perfect Foundation and Topping
- Pie Crust: The foundation of any great pie. While store-bought works, a homemade crust truly elevates the experience.
- Fresh Whipped Cream: An absolute must for serving! Its light, airy texture and delicate sweetness complement the rich pie perfectly.
The Secret to an Exceptional Pie Crust
Never underestimate the transformative power of a truly outstanding pie crust. A homemade crust, with its flaky, buttery layers, makes a monumental difference that guests will notice and gravitate towards every single time. If you’re intimidated by making pie crust from scratch, don’t be! My All Butter Flaky Pie Crust recipe is designed to be foolproof, breaking down every step to ensure you achieve perfect results consistently. The effort is minimal for a reward that is truly grand!
One common hurdle that often deters aspiring pie makers is the crust – specifically, preventing it from over-browning too quickly while the filling bakes. After years of baking and even teaching pie-making classes, I’ve found that pie shields are an absolute necessity. They effectively protect the edges of your crust from burning, ensuring a beautifully golden finish. Many students in my classes have asked for my recommendations, so here’s a tip: investing in a good pie shield will save your crust every time. Consider using a simple foil wrap or a specialized pie crust shield to achieve that perfect golden-brown edge.
The Indispensable Whipped Cream Topping
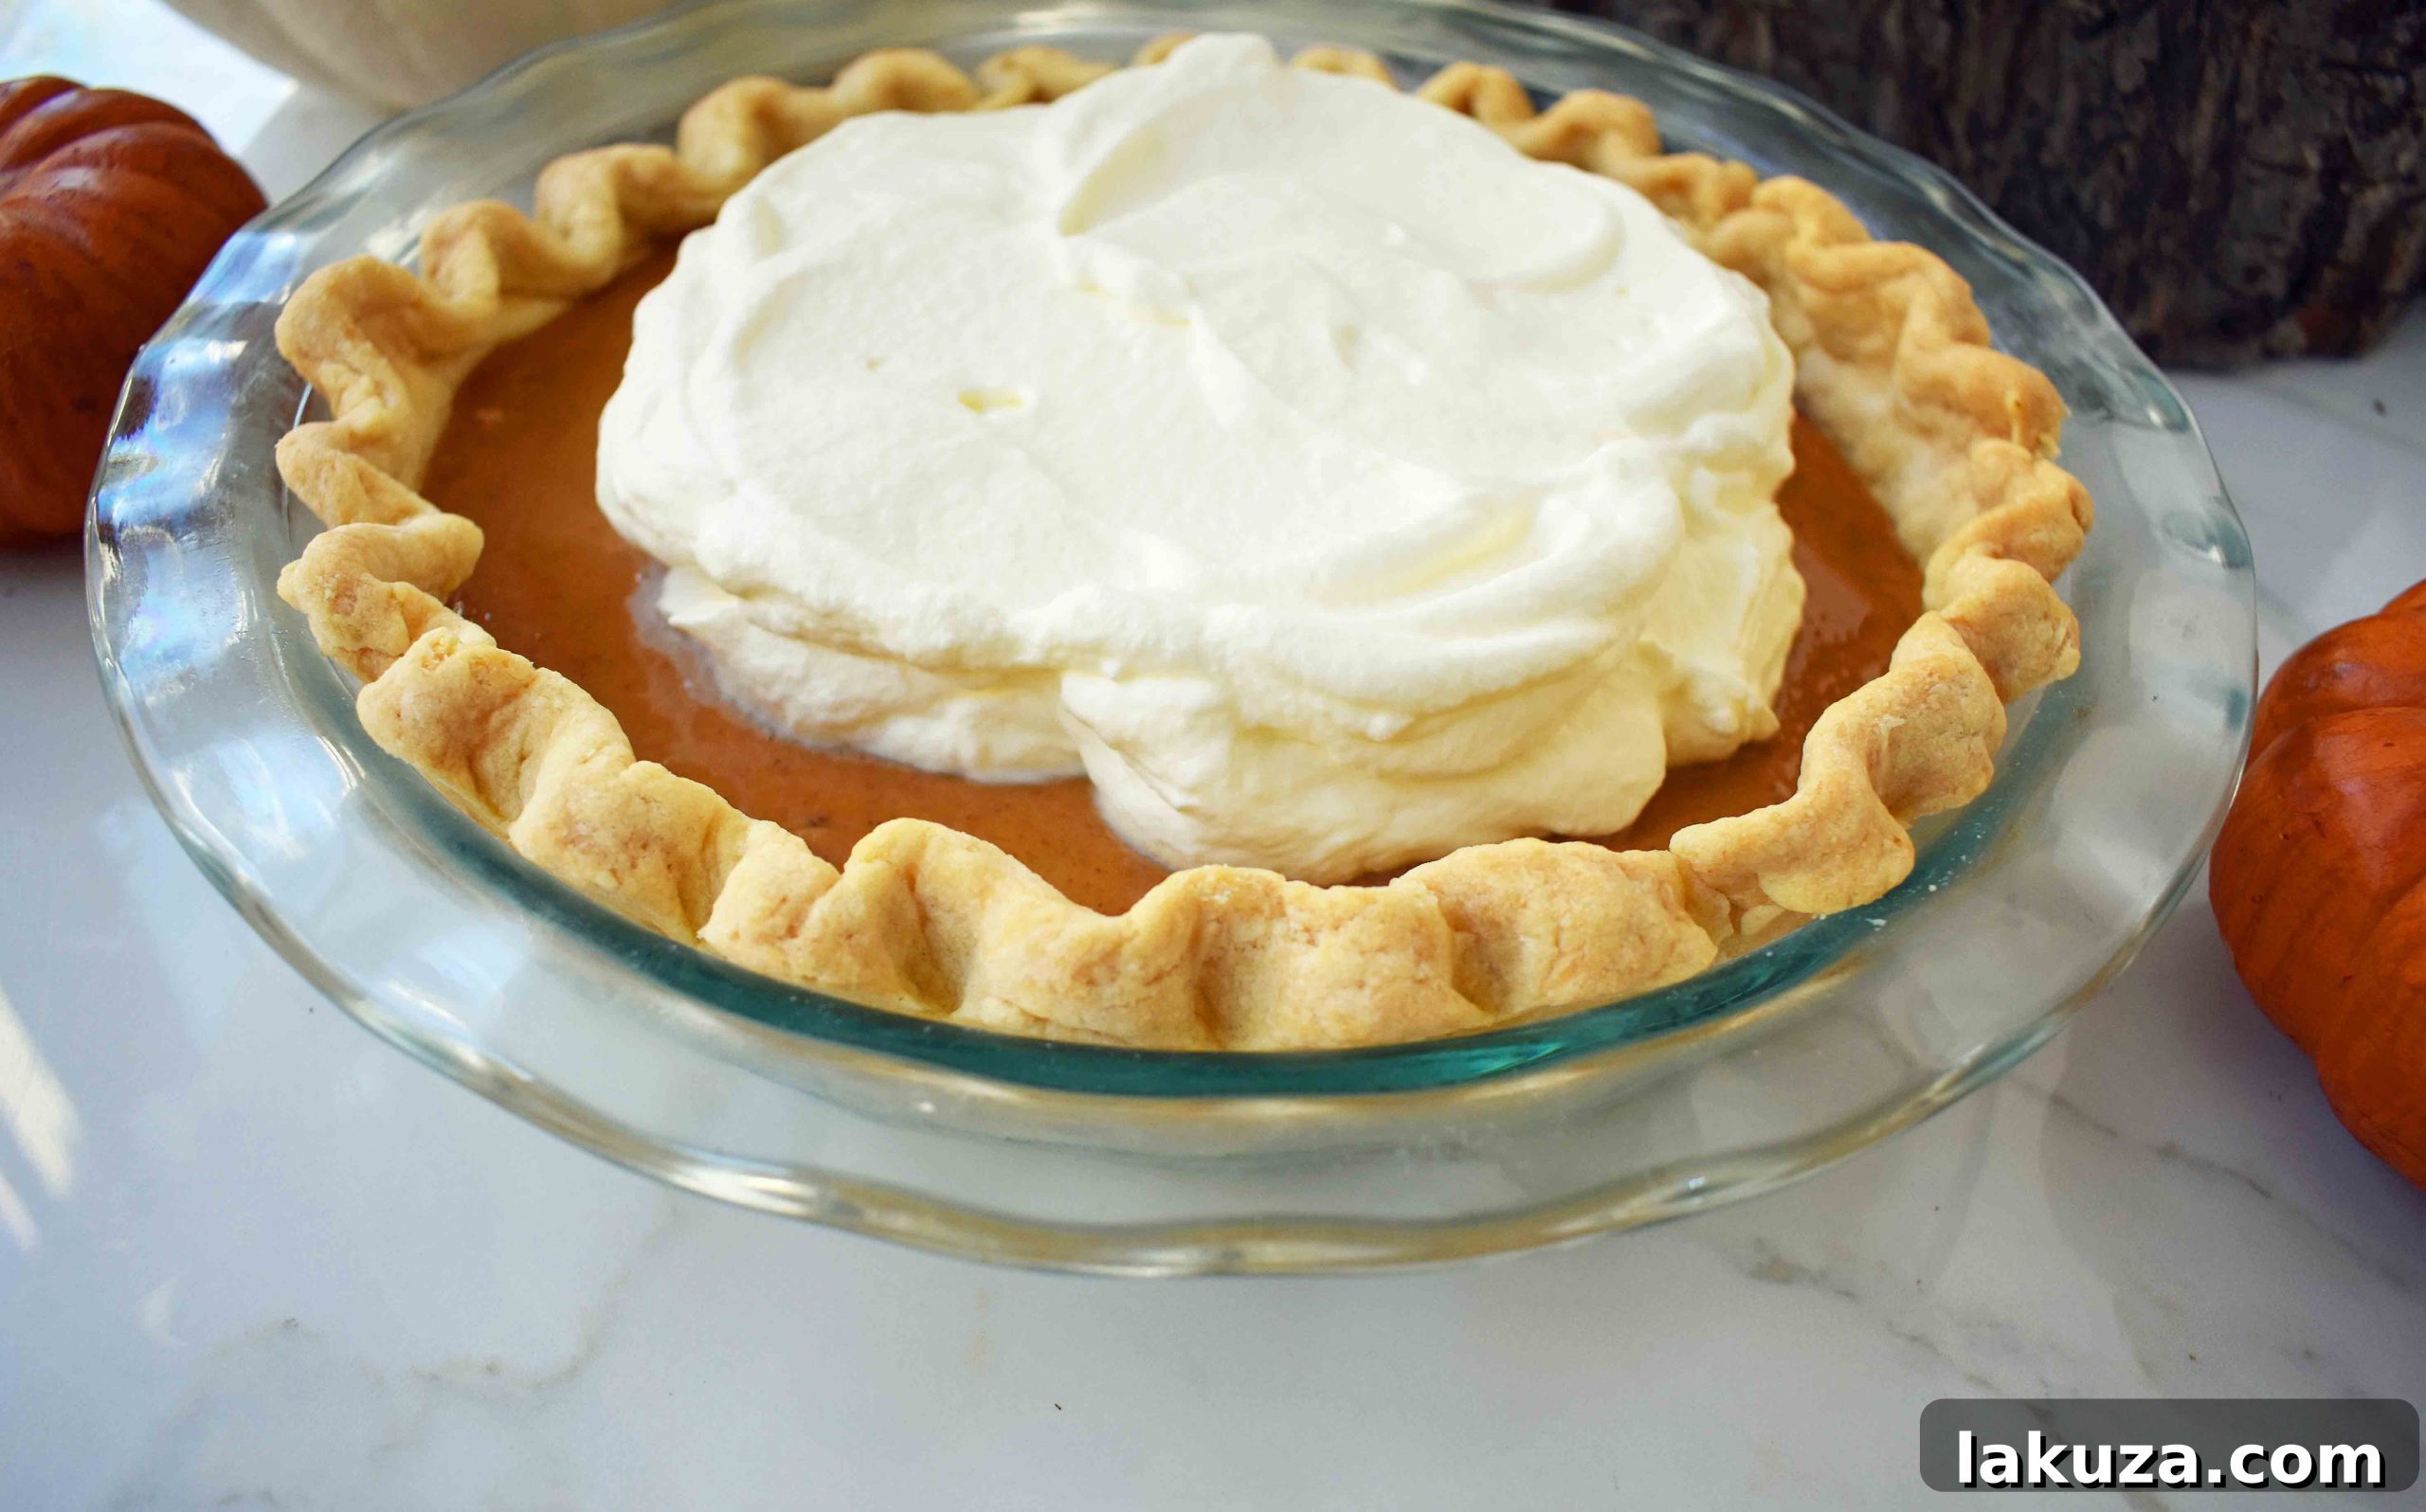
To truly achieve the “perfect” pumpkin pie experience, crafting fresh, handcrafted whipped cream is non-negotiable. It’s incredibly easy to make, requiring just two simple ingredients and minimal effort. The key is to ensure your heavy whipping cream is thoroughly chilled before you begin; cold cream whips up into beautiful, soft peaks much more quickly and effectively. A touch of powdered sugar adds just the right amount of sweetness, making this light and airy topping the ideal counterpart to the rich, spiced pumpkin filling. This small addition makes a huge impact on the overall dessert experience!
Expert Tips and Tricks for the Best Pumpkin Pie with Condensed Milk
Achieving pumpkin pie perfection is easier than you think with these expert tips. These insights will help you prevent common pitfalls and ensure your sweetened condensed milk pumpkin pie turns out beautifully creamy and delicious every time.
- Mastering Doneness to Prevent Cracks: The secret to a crack-free pumpkin pie lies in careful monitoring of its doneness. Resist the urge to overbake! Your pie is ready when the edges are set and firm, but the very center (about a 1-inch circle) still has a slight jiggle to it when gently nudged. The residual heat from the pie dish will continue to cook the center as it cools, allowing it to fully set without developing unsightly cracks.
- Protecting Your Pie Crust: Pie crusts tend to brown faster than the filling bakes. To ensure your crust achieves a beautiful golden hue without burning, use a pie crust shield or loosely tent aluminum foil around the edges of the pie approximately halfway through the baking process. This simple step will prevent the crust from becoming too dark while the filling finishes baking to perfection.
- Customizing Your Spice Blend: This recipe provides a perfectly balanced blend of classic fall spices, designed to highlight the pumpkin’s natural sweetness. However, feel free to adjust the spice levels to suit your personal preference. If you prefer a bolder, spicier pie, don’t hesitate to add a bit more cinnamon, a pinch of extra ginger, or even use a pre-mixed pumpkin pie spice blend for convenience. Experiment to find your perfect flavor profile!
- Cooling and Chilling for Optimal Texture: After baking, allow your pumpkin pie to cool completely on a wire rack at room temperature. This gradual cooling is essential for the pie to fully set and for the flavors to meld. Once cooled, refrigerate the pie for at least 1-2 hours, or even overnight, before slicing and serving. Chilling helps the filling firm up, resulting in clean slices and a truly decadent, creamy texture.
- Using Room Temperature Eggs: For the smoothest filling, ensure your eggs are at room temperature. This helps them incorporate more easily and evenly into the pumpkin mixture, preventing lumps and ensuring a consistently creamy texture throughout the pie.
Frequently Asked Questions About Making Pumpkin Pie
Many common questions arise when baking pumpkin pie, especially when using sweetened condensed milk. Here are some of the most frequent queries and their comprehensive answers to guide you to success.
1. Can I Use Evaporated Milk Instead of Sweetened Condensed Milk?
No, evaporated milk is not an appropriate substitute for sweetened condensed milk in this recipe. These two dairy products are distinctly different. Sweetened condensed milk is significantly thicker and, as its name suggests, heavily sweetened. It provides both the rich sweetness and the luxurious, creamy texture that defines this particular pumpkin pie. Evaporated milk, on the other hand, is unsweetened and much thinner. Using it would result in a pie that lacks sweetness and has a much looser, less desirable texture, requiring you to add sugar and make significant adjustments to achieve the desired consistency. Stick to sweetened condensed milk for the authentic taste and texture of this recipe.
2. How Do I Properly Store Pumpkin Pie?
Proper storage is key to maintaining the freshness and quality of your pumpkin pie. Once the pie has cooled completely to room temperature, loosely cover it with plastic wrap or aluminum foil. Store the covered pie in the refrigerator for up to 3-4 days. For longer storage, you can freeze individual slices or the whole pie for up to 1 month. To freeze, wrap slices tightly in plastic wrap, then in foil. Thaw frozen pie slices in the refrigerator overnight before serving to ensure the best texture and flavor.
3. Why Did My Pumpkin Pie Crack?
Cracks on the surface of your pumpkin pie are a common issue, typically caused by either overbaking or cooling the pie too rapidly. When a pie bakes for too long, the proteins in the eggs over-coagulate and contract, leading to stress on the filling and subsequent cracking. Similarly, a sudden change in temperature (e.g., moving a hot pie directly into a cold refrigerator) can cause the filling to contract too quickly. To prevent cracks, bake your pie only until the center is just slightly jiggly, then allow it to cool gradually on a wire rack at room temperature. I also highly recommend chilling the pie in the refrigerator for at least 1 hour (or preferably longer) before slicing, once it has fully cooled to room temperature.
4. Can I Substitute Fresh Pumpkin for Canned Puree?
Yes, you can certainly use fresh pumpkin puree, but there are a few considerations. While fresh pumpkin offers a unique flavor, I generally recommend using canned 100% pure pumpkin puree (like Libby’s) for this recipe. Canned pumpkin is consistently smooth, has a uniform moisture content, and is perfectly suited for pumpkin pies. If you choose to make your own homemade pumpkin puree, be sure to roast and puree fresh pumpkin until it is absolutely smooth. The most critical step is to ensure your homemade puree isn’t too watery, as excess moisture will negatively affect the pie’s texture, making it less firm and potentially soggy. You may need to cook down your fresh homemade pumpkin puree on the stovetop to reduce its moisture content before incorporating it into the pie filling.
Creative Substitutions and Delicious Variations
While this classic pumpkin pie recipe is perfect on its own, it also lends itself beautifully to creative adaptations. Feel free to experiment with these substitutions and variations to tailor the pie to your taste or occasion.
Spice It Up Your Way
- Embrace Pumpkin Pie Spice: For a convenient and equally delicious alternative to individual spices, use a pre-blended pumpkin pie spice mix. A good starting point would be approximately 1 ¾ teaspoons of pumpkin pie spice to replace the cinnamon, nutmeg, and ginger in the recipe. Adjust to your desired intensity.
Crust Adventures
- Graham Cracker Crust: For a delightful twist that offers a different texture and flavor profile, consider using a graham cracker crust instead of a traditional pastry crust. The buttery, slightly sweet notes of the graham cracker crust complement the warm, spiced pumpkin filling wonderfully, adding an extra layer of sweetness and a satisfying crunch.
- Ginger Snap Crust: For an even spicier and more aromatic crust, a crushed ginger snap cookie crust can be an incredible option, especially if you love the warmth of ginger!
Individual Servings and Mini Delights
- Mini Pumpkin Pies: Transform this recipe into adorable individual desserts by dividing the filling among mini pie crusts or tart shells. These are perfect for entertaining, potlucks, or simply portion control. Remember to adjust the baking time accordingly; mini pies will typically require a reduced baking time of about 10–15 minutes less than a full-sized pie. Keep an eye on them to prevent overbaking!
- Pumpkin Pie Bars: For an easy-to-serve option, consider baking the filling in a rectangular pan (over a press-in crust) to create pumpkin pie bars. These are fantastic for larger gatherings.
This pumpkin pie recipe with sweetened condensed milk is more than just a dessert; it’s an invitation to create lasting memories around the table. Its rich, smooth filling and perfectly spiced flavor make it utterly irresistible and are sure to establish it as a cherished holiday staple in your kitchen for years to come. Enjoy sharing this foolproof recipe with family and friends, or indulge in a quiet moment with a slice all to yourself, generously adorned with a dollop of fresh whipped cream. Happy baking and happy feasting!
Explore More Popular Pumpkin & Fall Dessert Recipes:
The Best Pumpkin Pie Recipe
Milk Bar Hilly’s Pumpkin Caramel Pie Recipe
Mini Pumpkin Pie Bites
Pumpkin Praline Butter Dump Cake
If you’re looking for an alternative creamy pumpkin pie featuring cream cheese and butter in the pumpkin batter, you’ll love this heavenly pumpkin pie recipe HERE!
Discover More Delightful Pie Recipes for Every Occasion:
Caramel Apple Pie
White Chocolate Macadamia Chocolate Ganache Pie
Double Chocolate Marble Pie
The BEST Pumpkin Pie
Old-Fashioned Pecan Pie
Sweet Cherry Pie
Caramel Banana Cream Pie
Planning your holiday feast? We’re on a roll with fabulous ideas! Here are some essential THANKSGIVING RECIPE IDEAS to complete your menu: Cranberry Apple Sausage Stuffing, Bacon Roasted Brussels Sprouts with Pomegranates, Honey Butter Glazed Carrots, and don’t forget the essential All Butter Flaky Pie Crust for all your pies!
Happy Baking! xo
Perfect Pumpkin Pie
Equipment
-
Emile Henry Pie Dish
-
Food Processor (for crust, if homemade)
-
Measuring Cups and Spoons
-
Mixing Bowl Set
Ingredients
- (1) 15-ounce can 100% Pure Pumpkin
- (1) 14-ounce can Sweetened Condensed Milk
- 2 large Eggs
- 1 1/2 teaspoons Cinnamon
- 1/2 teaspoon Vanilla
- 1/2 teaspoon Nutmeg
- 1/4 teaspoon Ginger
- 1/8 teaspoon Cloves optional
- 1/4 teaspoon Salt
For the Fresh Whipped Cream:
- 2 cups Heavy Whipping Cream
- 1/4 cup Powdered Sugar
- Vanilla Beans optional
For the Homemade Pie Crust:
- All Butter Flaky Pie Crust (or 1 store-bought 9-inch pie crust)
Instructions
-
Step 1: Prepare the Filling. Preheat your oven to 425 degrees F (220 degrees C). In a medium-sized mixing bowl, combine the pure pumpkin puree, sweetened condensed milk, eggs, vanilla extract, cinnamon, nutmeg, ginger, optional cloves, and salt. Whisk all the ingredients together thoroughly until the mixture is completely smooth and well combined. Pour this creamy filling into your prepared pie crust. If desired, place pie crust shields or loosely tent aluminum foil over the edges of the pie crust to prevent over-browning.
-
Step 2: Initial Bake. Bake the pie at 425 degrees F (220 degrees C) for 15 minutes. This initial high heat helps to set the crust and the outer edges of the filling.
-
Step 3: Reduce Heat and Continue Baking. After 15 minutes, reduce the oven temperature to 350 degrees F (175 degrees C) without opening the oven door. Continue baking for an additional 32 to 38 minutes, or until a knife inserted near the edge of the filling comes out clean. The center of the pie should still have a slight jiggle. The total baking time will be approximately 47-53 minutes.
-
Step 4: Cool and Chill. Once baked, remove the pie from the oven and allow it to cool completely on a wire rack at room temperature. This gradual cooling is essential for the pie to set properly and prevent cracking. Once cooled, refrigerate the pie for at least 1 hour before slicing and serving. For best results, chill for several hours or overnight.
-
Step 5: Prepare Whipping Cream. While the pie chills, prepare your fresh whipped cream. In a medium bowl, using an electric mixer, whip the cold heavy whipping cream until soft peaks begin to form. Gradually add the powdered sugar and continue whipping until stiff peaks are achieved. Serve generous dollops of fresh whipped cream with each slice of chilled pumpkin pie.
Important Notes for Success:
Sweetened Condensed Milk vs. Evaporated Milk: For this recipe, sweetened condensed milk is essential. Do NOT substitute with evaporated milk, as it will drastically alter the sweetness and texture.
Chilling Time: Allowing sufficient time for the pumpkin pie to cool completely at room temperature and then chill in the refrigerator is crucial for a firm, perfectly set slice.
Nutrition Information:
Carbohydrates: 6g,
Protein: 3g,
Fat: 23g,
Saturated Fat: 14g,
Polyunsaturated Fat: 1g,
Monounsaturated Fat: 6g,
Trans Fat: 0.01g,
Cholesterol: 114mg,
Sodium: 107mg,
Potassium: 77mg,
Fiber: 0.2g,
Sugar: 6g,
Vitamin A: 963IU,
Vitamin C: 0.4mg,
Calcium: 51mg,
Iron: 0.3mg
Nutrition information is automatically calculated and should only be used as an approximation.
Additional Information
Did you enjoy this recipe? We’d love to hear from you!
Jump to Comments