
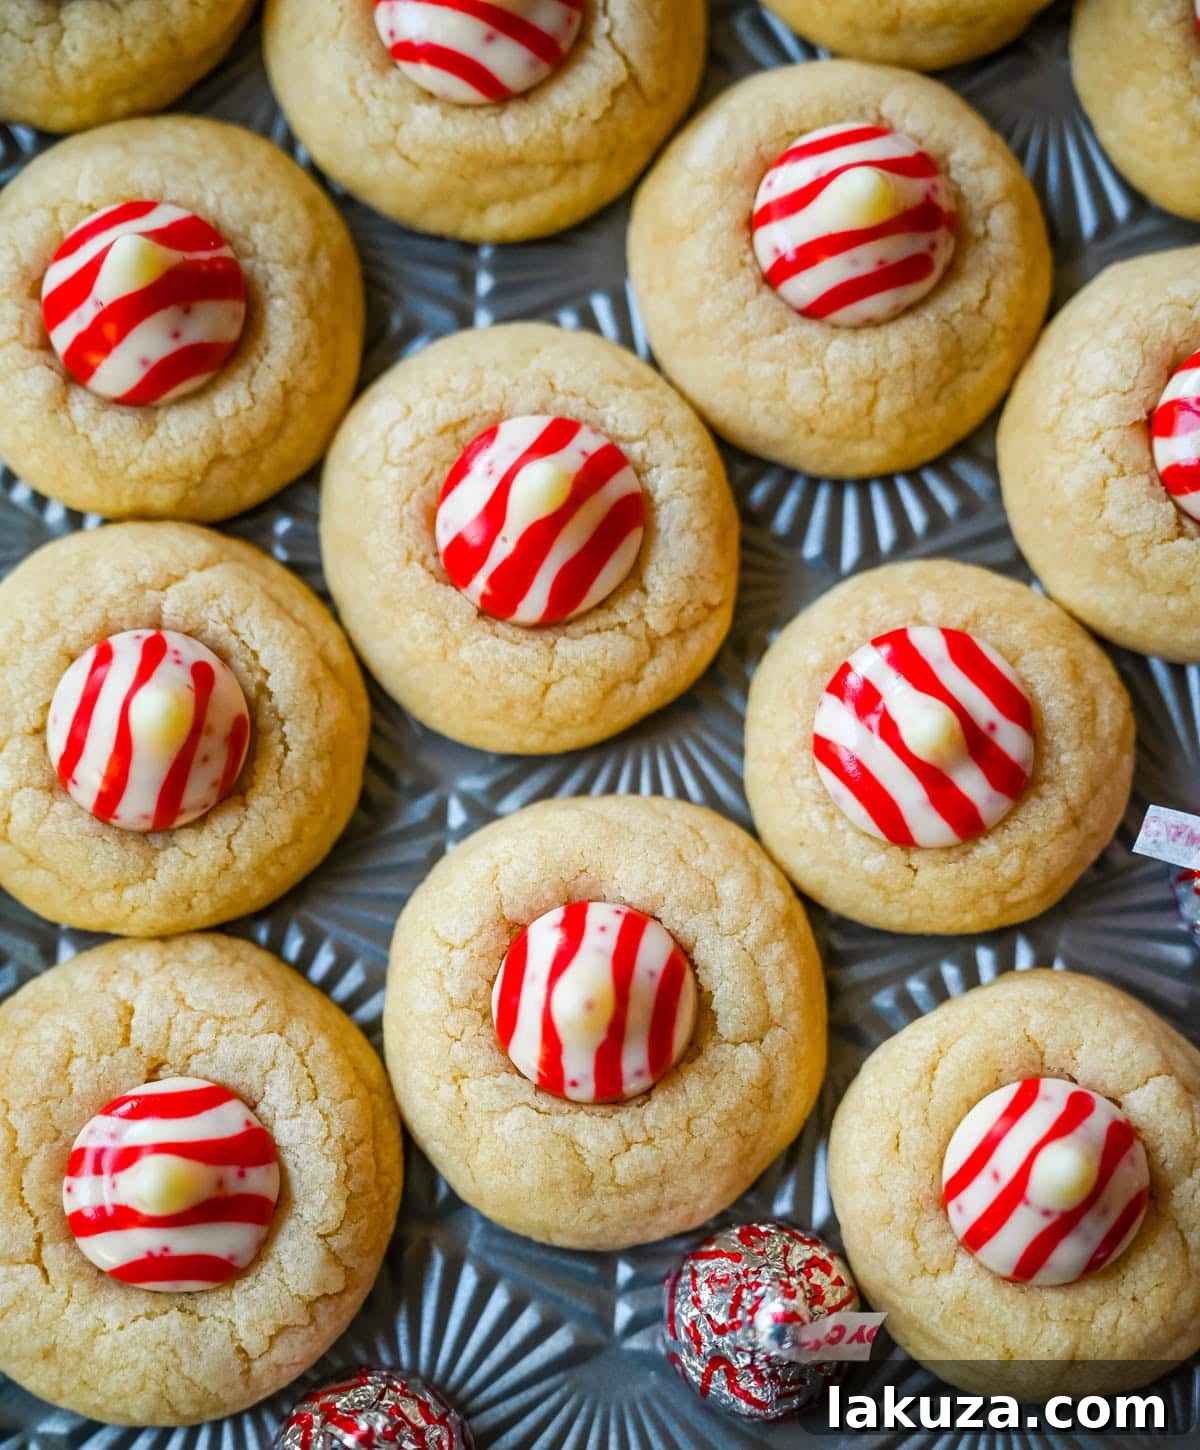
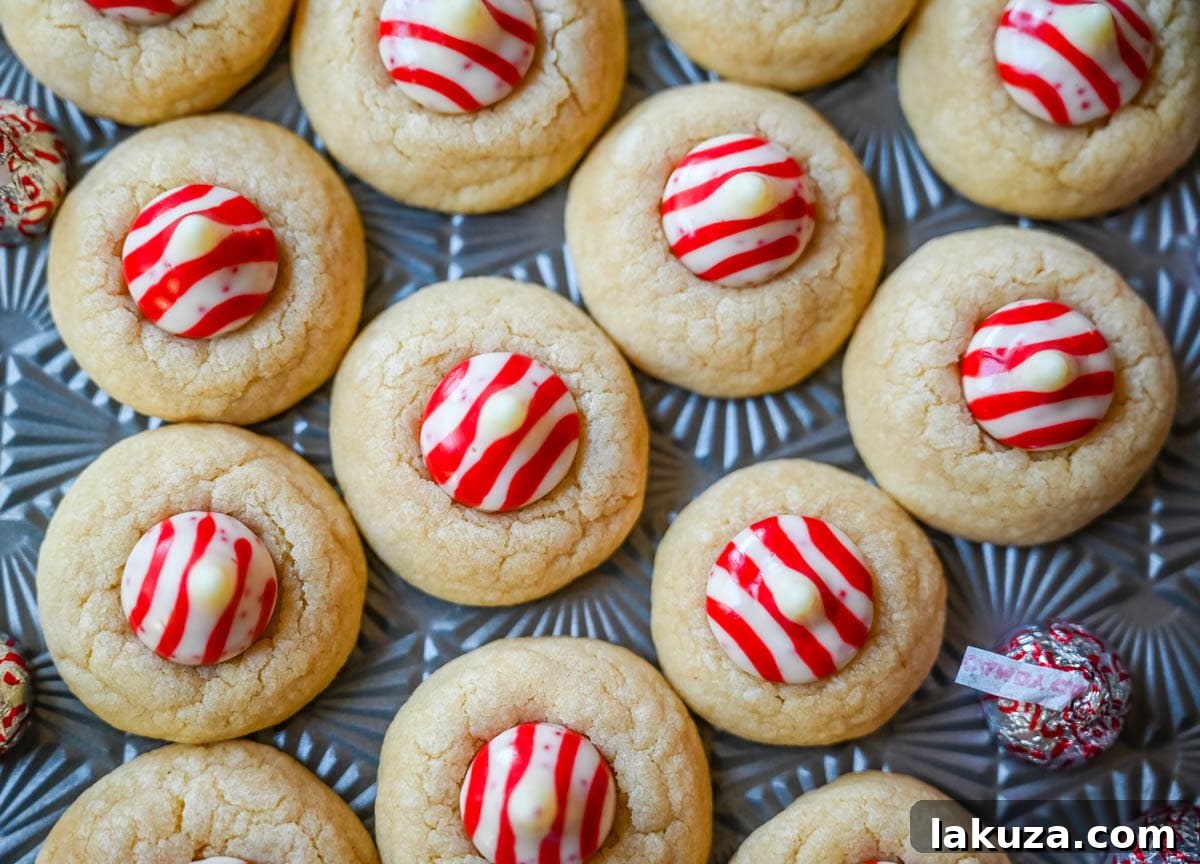
Step into the enchanting world of holiday baking with these irresistible Candy Cane Kiss Cookies. Imagine a soft, golden sugar cookie, its edges delicately crisp and its center delightfully chewy, all rolled in a shimmering coat of sparkling sugar or festive sprinkles. Each cookie is then crowned with a signature striped peppermint Hershey’s Kiss, transforming it into a charming and utterly delicious Christmas treat. This recipe for Peppermint Kiss Cookies is not just about making a dessert; it’s about crafting edible joy that embodies the spirit of the holiday season.
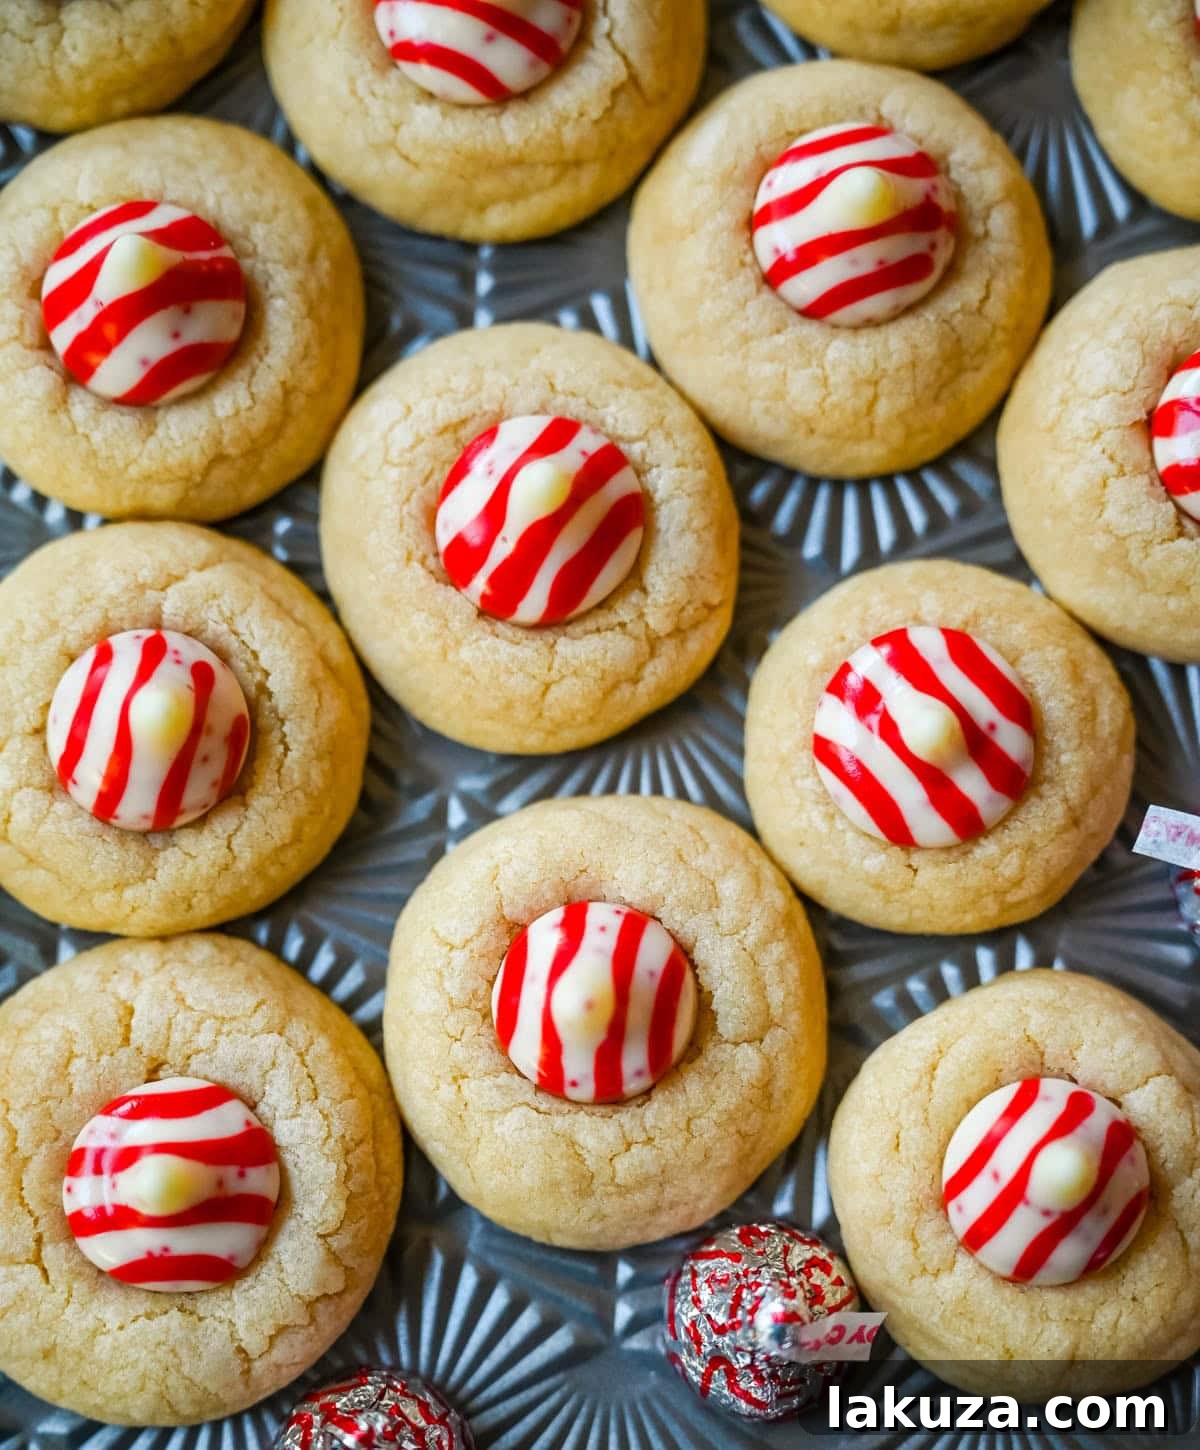
If your search for the ultimate Christmas cookie leads you to something that is not only adorable and festive but also a guaranteed crowd-pleaser, these Candy Cane Kiss Cookies are destined to become a cherished new holiday tradition in your home. These little beauties are a star performer for any festive occasion: ideal for bustling cookie exchanges, thoughtful homemade gifts, lively holiday parties, or a delightful baking activity with children. Despite their impressive and intricate appearance, they are surprisingly straightforward to prepare, making them accessible even for novice bakers looking to create something special.
One of the standout qualities of these cookies is their incredible texture. Unlike some crunchy sugar cookie counterparts, these boast a wonderfully soft and buttery consistency that remains fresh and delicious for days. This also means they freeze beautifully, allowing you to prepare them well in advance and enjoy stress-free holiday entertaining. If you’re a devoted fan of all things peppermint—be it the rich layers of peppermint bark, the comforting warmth of peppermint hot cocoa, or any other treat infused with that distinctive cool mint flavor—then you are absolutely going to adore these cookies. For those who can’t get enough of peppermint goodness, I recently shared my popular Peppermint Frosted Sugar Cookies, which are another must-add to your holiday baking repertoire.
My love for cookies featuring chocolate kisses runs deep, and if you share this affection, you definitely won’t want to miss my classic Peanut Butter Chocolate Kiss Cookies. They are a timeless favorite that brings smiles with every bite, perfectly complementing the festive spirit of these Candy Cane Kiss Cookies.
Why You’ll Fall in Love with These Peppermint Kiss Cookies:
Soft, Chewy, and Richly Buttery: These aren’t your average crisp sugar cookies. Our recipe delivers a melt-in-your-mouth texture that’s incredibly satisfying and keeps them fresh for longer.
Effortlessly Festive and Adorable: Achieve a stunning, holiday-ready look without complicated techniques. The vibrant sprinkles and striped kisses do all the work!
The Ultimate Gifting Cookie: Their festive appearance and delightful taste make them perfect for holiday cookie platters, hostess gifts, or sharing with neighbors and friends.
A Fun Family Baking Project: Get the kids involved in rolling the dough and pressing the kisses. It’s a joyful activity that creates lasting holiday memories.
Irresistible Peppermint Flavor: A hint of peppermint extract in the dough, combined with the delightful Hershey’s Candy Cane Kiss, delivers a refreshing and classic holiday taste.
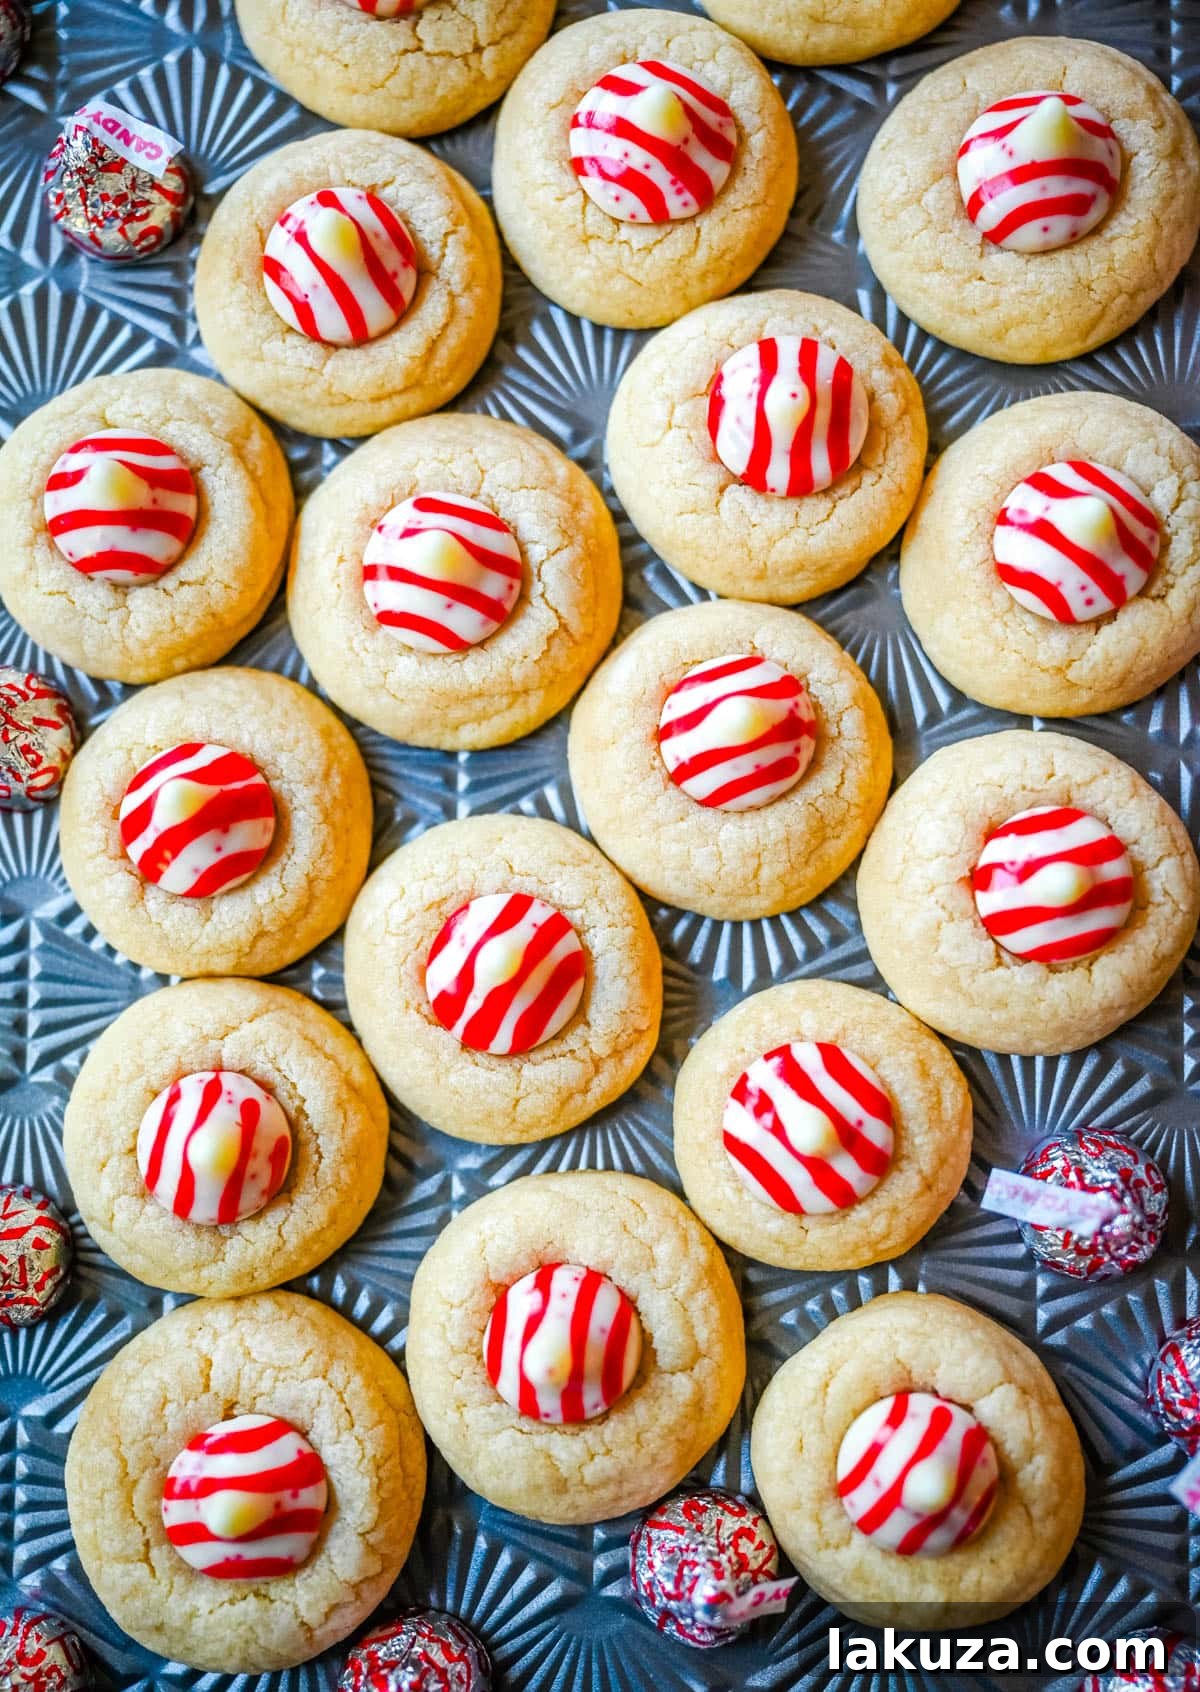
Essential Ingredients for Peppermint Kiss Cookies:
Crafting these delectable holiday cookies begins with a straightforward and reliable soft sugar cookie base. The beauty of this recipe lies in its simplicity and the quality of its components. You’ll be rolling this tender dough into your favorite festive holiday sprinkles before baking, creating a beautiful contrast and an extra layer of texture. The grand finale involves pressing a delightful Hershey’s Candy Cane Kiss into the center of each warm cookie, allowing its peppermint magic to infuse every bite.
- Unsalted Butter: Ensure it’s softened to room temperature for optimal creaming with sugar, which creates that light, airy texture foundational to a perfect sugar cookie.
- Granulated Sugar: Provides the essential sweetness and contributes to the cookie’s tender crumb.
- Egg + Egg Yolk: The whole egg adds structure, while the extra egg yolk enhances richness, moisture, and that desirable chewy texture without making the cookies cakey.
- Vanilla Extract: A crucial flavor enhancer that complements the sweetness and peppermint notes.
- Peppermint Extract (Optional but Recommended): This is where the signature peppermint flavor truly shines. A little goes a long way, so use sparingly or omit if you prefer a pure vanilla sugar cookie.
- All-Purpose Flour: The structural backbone of our cookies. Proper measuring (spooned and leveled) is key to avoid dense cookies.
- Baking Powder + Baking Soda: This dynamic duo provides the perfect lift and spread, ensuring your cookies are soft and slightly puffy.
- Salt: Balances the sweetness and amplifies all the other flavors in the cookie dough.
- Optional Embellishments: Sparkling Sugar, Festive Sprinkles, or Nonpareils: These add a beautiful visual appeal, a hint of crunch, and an extra touch of holiday sparkle. Choose your favorite!
- Hershey’s Peppermint Striped Candy Kisses: The star of the show! These distinctive Kisses melt gently into the warm cookies, releasing their cool peppermint and creamy chocolate flavor.
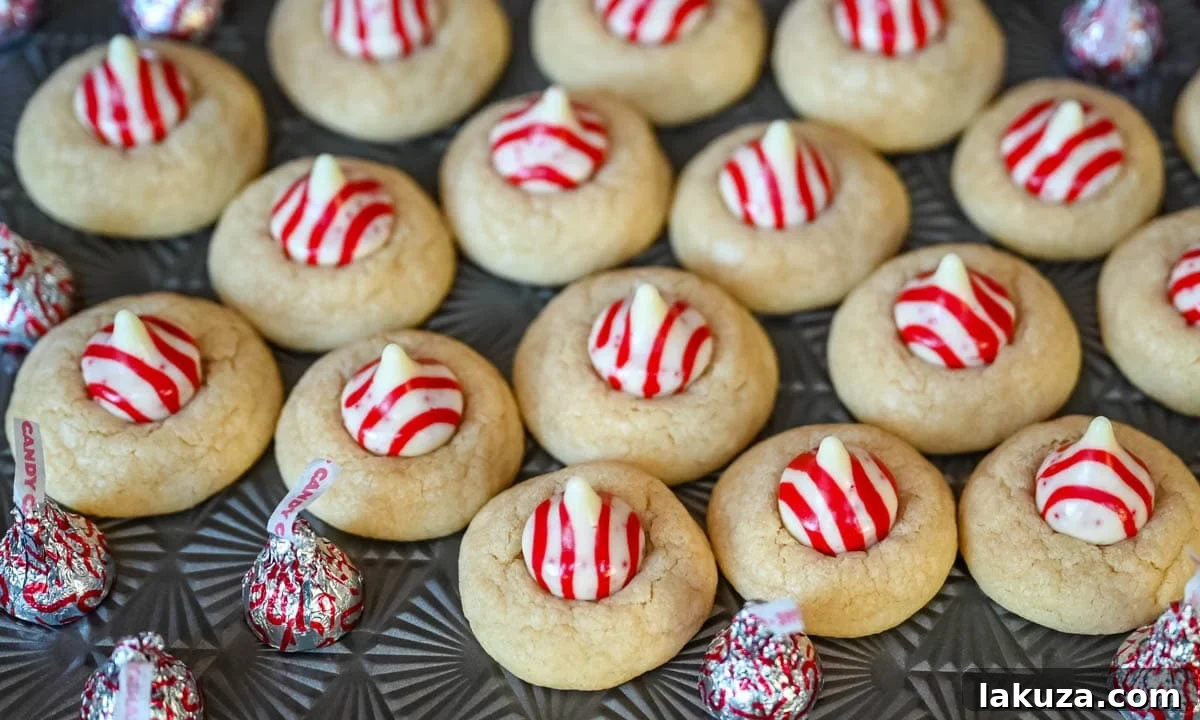
Crafting Your Peppermint Candy Cane Kiss Cookies: A Step-by-Step Guide
Creating these delightful holiday cookies is a joyous process, and following these steps carefully will ensure a perfect batch every time. The key is in the technique, from creaming the butter to the final, delicate placement of the peppermint kisses.
- Cream Butter and Sugar: In a spacious mixing bowl, combine the softened butter and granulated sugar. Beat them together on medium-high speed for a full 4 minutes, or until the mixture becomes wonderfully light, fluffy, and noticeably pale in color. This creaming process incorporates air, which is essential for a soft cookie texture. Remember to scrape down the sides of the bowl midway through to ensure everything is evenly combined.
- Incorporate Wet Ingredients: Add the large egg, the extra egg yolk, and the vanilla extract to the creamed mixture. If you’re using peppermint extract for that extra festive kick, add it now as well. Mix for another minute until everything is fully incorporated and smooth. Don’t overmix at this stage, but ensure no streaks of egg remain.
- Fold in Dry Ingredients: Gently fold in the all-purpose flour, baking powder, baking soda, and salt. Use a spatula or mix on low speed just until no dry streaks of flour are visible. Be very careful not to overmix the dough, as excessive mixing develops gluten, which can lead to tough, dense cookies rather than the desired soft and tender texture.
- Optional Chilling for Better Handling: For dough that’s easier to handle and less sticky, especially if your kitchen is warm, you may opt to chill the dough for 20-30 minutes. This step is optional but can make rolling the cookie balls a smoother experience, and can also contribute to slightly thicker cookies.
- Prepare for Baking: Preheat your oven to 350°F (175°C). Line your baking sheets with parchment paper or silicone baking mats; this prevents sticking and ensures even baking. Roll the cookie dough into small, uniform balls, approximately 1-inch in diameter.
- Add Festive Exterior (Optional): If you’re using sparkling sugar, sprinkles, or nonpareils, pour them into a shallow bowl. Gently roll each cookie dough ball in the chosen festive coating until it’s fully covered. Place the coated dough balls onto the prepared baking sheet, leaving about 2 inches between each to allow for spreading.
- Bake to Perfection: Bake the cookies for 8-10 minutes. The baking time will vary slightly depending on your oven and the size of your cookies. Look for edges that are just barely set and very lightly golden, while the centers still appear soft and slightly puffy. Overbaking will result in dry, crumbly cookies, so aim for that perfect soft center.
- Prepare Kisses While Baking: While the cookies are baking, take a moment to unwrap all of your Hershey’s Candy Cane Kisses. Having them ready immediately after the cookies come out of the oven is crucial for successful pressing.
- Press in the Kisses: Once the cookies are removed from the oven, let them cool on the baking sheet for exactly two minutes. This brief cooling period allows the cookies to set slightly so they don’t crumble when you press the kisses in, but they’re still warm enough for the chocolate to melt and adhere beautifully. Gently press one unwrapped Candy Cane Kiss into the center of each warm cookie.
- Set the Kisses (Optional but Recommended): To ensure the kisses maintain their distinct shape and don’t completely melt or slide off, you can transfer the baking sheets with the cookies to the refrigerator for 5-10 minutes. This quick chill helps to “set” the chocolate, creating a more stable and visually appealing cookie. After this, transfer the cookies to a wire rack to cool completely.
Frequently Asked Questions (FAQs) About Candy Cane Kiss Cookies:
Do the peppermint kisses melt completely?
The Hershey’s Peppermint Kisses are designed to soften beautifully rather than melt completely into a puddle. They will become wonderfully gooey and integrate with the warm cookie, but they should retain their iconic shape as they cool. For extra assurance that they keep their distinct form, consider chilling the cookies in the refrigerator immediately after pressing the kisses, as suggested in the recipe.
Can I make these cookies ahead of time?
Absolutely! These Candy Cane Kiss Cookies are fantastic for preparing in advance, which is perfect for busy holiday schedules. You can bake the cookies fully and then freeze them in an airtight container for up to 3 months. When you’re ready to serve, simply thaw them at room temperature. Alternatively, you can prepare the dough balls and freeze them unbaked, rolling them in sprinkles after thawing just before baking.
Can I use other Hershey’s Kiss flavors?
Yes, certainly! While the peppermint striped Kisses provide that classic holiday flavor, you can absolutely get creative and use any type of Hershey’s Kiss you prefer. Milk chocolate Kisses, Hugs, or even special seasonal flavors like caramel Kisses would work wonderfully and offer a delightful twist on this festive recipe. Experiment with your favorites!
Why did my cookies spread too much?
Several factors can cause excessive spreading. Ensure your butter isn’t too warm (it should be soft, not melted). Also, make sure to properly measure your flour by spooning it into the measuring cup and leveling it off, rather than scooping directly, which can compact it and result in too little flour. Chilling the dough for 20-30 minutes can also help prevent spreading.
Can I make these gluten-free?
While this specific recipe uses all-purpose flour, many readers have successfully substituted it with a 1:1 gluten-free baking flour blend that includes xanthan gum. The texture might be slightly different, but the overall result should still be delicious. Always check your chosen gluten-free flour blend’s recommendations.
Expert Baking Tips for Perfect Candy Cane Kiss Cookies:
✔ Always Use Room Temperature Butter: This is crucial for achieving that light, fluffy, and airy texture when creaming butter and sugar. Cold butter won’t cream properly, and melted butter will lead to greasy, flat cookies.
✔ Avoid Overmixing the Flour: Once you add the flour, mix only until just combined. Overmixing develops gluten, making the cookies tough instead of deliciously soft and tender.
✔ Chill the Dough for Thicker Cookies: If you prefer a slightly thicker, less spread-out cookie, chill the dough for at least 20 minutes before rolling and baking. This helps the butter solidify, preventing excessive spreading in the oven.
✔ Don’t Overbake – Pale is Perfect!: These sugar cookies are best when they are just barely set. The edges should be lightly golden, but the centers should still look soft. They will continue to cook slightly on the hot baking sheet after removal.
✔ Wait 2 Minutes Before Pressing Kisses: Pressing the Hershey’s Kisses into the cookies immediately after they come out of the oven can cause them to melt too much or the cookies to fall apart. Waiting a couple of minutes allows the cookies to set just enough to hold the kiss perfectly.
✔ Pre-Freeze Kisses in Warm Kitchens: If your kitchen is particularly warm, consider placing your unwrapped Hershey’s Kisses in the freezer for 10-15 minutes before baking. This will give them a head start in maintaining their shape when pressed into the warm cookies.
✔ Optional: Chill Cookies to Set Kisses: To ensure the kisses hold their conical shape perfectly and don’t slump, transfer the cookies to the refrigerator for 5-10 minutes immediately after pressing in the kisses. This rapid cooling helps solidify the chocolate quickly.

Storage Solutions for Your Holiday Treats:
Proper storage is key to enjoying your Candy Cane Kiss Cookies for days, or even weeks! Here’s how to keep them fresh and delicious:
Room Temperature Storage:
- Store fully cooled cookies in an airtight container at room temperature for 3-4 days.
- To prevent the kisses from smudging or sticking to each other, place a sheet of parchment paper or wax paper between layers of cookies.
Freezing Cookie Dough Balls:
- This is an excellent way to prepare ahead! Roll your dough into individual cookie balls as instructed in the recipe.
- Place the dough balls on a baking sheet lined with parchment paper and freeze until solid, about 1-2 hours.
- Once frozen, transfer the solid dough balls to a freezer-safe zip-top bag or airtight container.
- Freeze for up to 3 months.
- When ready to bake, thaw the dough balls in the refrigerator overnight or at room temperature for about 30 minutes. Roll them in sparkling sugar or sprinkles after thawing (this ensures the coating sticks properly) and then bake as directed. You may need to add an extra minute or two to the baking time.
Freezing Fully Assembled Cookies:
- Allow baked and kissed cookies to cool completely before freezing.
- Arrange the cookies in a single layer on a baking sheet and freeze until firm.
- Transfer the frozen cookies to an airtight freezer-safe container. Separate layers with parchment paper to protect the kisses and prevent sticking.
- Freeze for up to 3 months.
- Thaw cookies at room temperature for several hours or overnight before serving.
Discover More Popular Christmas Cookie Recipes:
The Best Snickerdoodle Cookie Recipe
Easy Peanut Butter Blossoms
Christmas M&M Cookies
Levain Bakery Chocolate Peppermint Cookies
For an even wider selection of holiday baking inspiration, you can explore my complete collection of Best Christmas Cookies, featuring over 70 incredible recipes to make your festive season extra sweet.


Candy Cane Kiss Cookies
Ingredients
- 1 cup Butter (softened)
- 1 1/2 cups Granulated Sugar
- 1 large Egg
- 1 large Egg Yolk
- 2 teaspoons Vanilla Extract
- 1/4 teaspoon Peppermint Extract (optional)
- 2 2/3 cups Flour
- 1 teaspoon Baking Powder
- 1/2 teaspoon Baking Soda
- 3/4 teaspoon Salt
- (1) 9-ounce pkg. Hershey’s Candy Cane Kisses (about 50-60)
Instructions
-
In a large mixing bowl, cream together butter and sugar for 4 minutes or until light and fluffy. Scrape the sides of the bowl. Add egg and egg yolk and vanilla (and peppermint extract, if using) and mix for 1 minute longer.
-
Fold in flour, baking powder, baking soda, and salt. Don’t overmix or it creates too much gluten, which leads to tough cookies.
-
For easier rolling, you may opt to chill the dough for 20-30 minutes but this is optional.
-
Preheat oven to 350 degrees F (175 C). Line baking sheets with parchment paper. Roll into small cookie dough balls. If you are using sparkling sugar, sprinkles, or nonpareils, pour into a bowl and roll each ball into the sprinkles.
-
Place on the light colored baking sheet. Bake for 8-10 minutes or until still soft in the center.
-
While baking, unwrap all of the candy cane kisses so you are ready. Remove the cookies from the oven and wait two minutes before pressing the kisses into the center of the cookies.
-
Optional: Move the cookies to the refrigerator for 5–10 minutes to “set” the kiss.
Notes
Nutrition
Carbohydrates: 11g,
Protein: 1g,
Fat: 4g,
Saturated Fat: 2g,
Polyunsaturated Fat: 0.2g,
Monounsaturated Fat: 1g,
Trans Fat: 0.1g,
Cholesterol: 17mg,
Sodium: 77mg,
Potassium: 18mg,
Fiber: 0.2g,
Sugar: 6g,
Vitamin A: 124IU,
Calcium: 7mg,
Iron: 0.3mg
Nutrition information is automatically calculated, so should only be used as an approximation.
Additional Info
Love this recipe? Leave a comment below!Jump to Comments