
The Ultimate Gooey Chocolate Chip Cookie Bars: Your New Favorite Dessert!
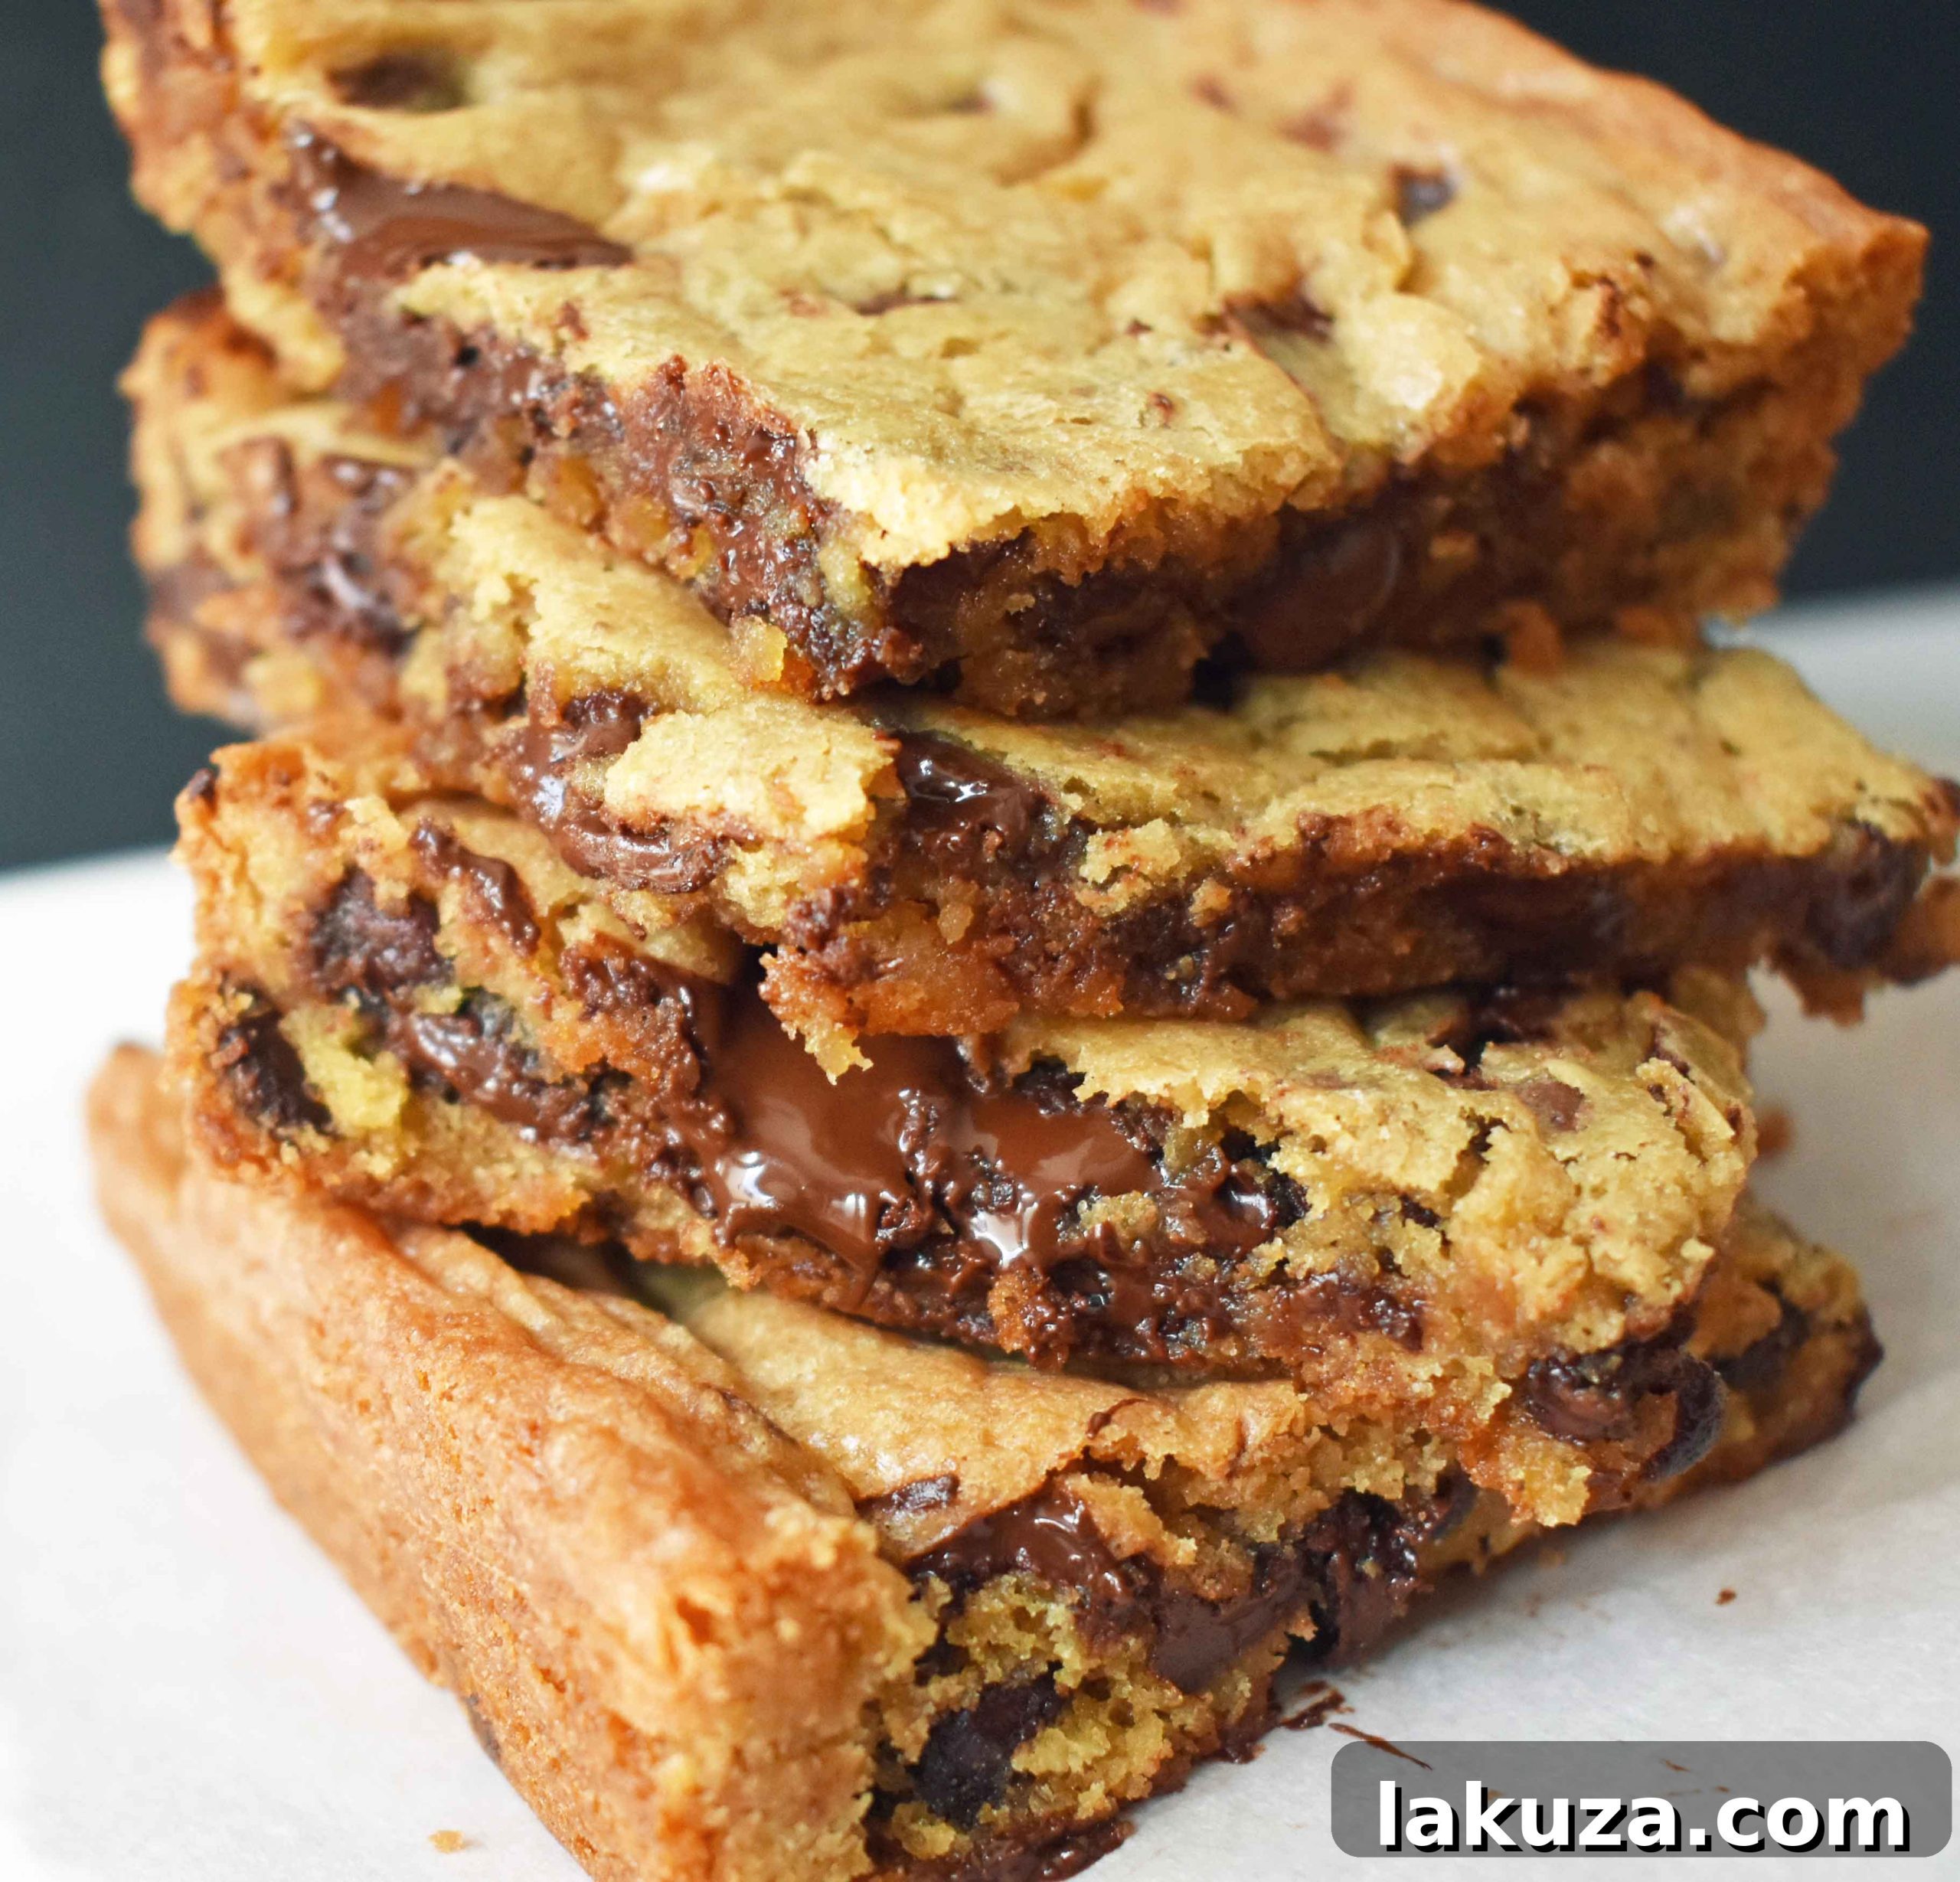
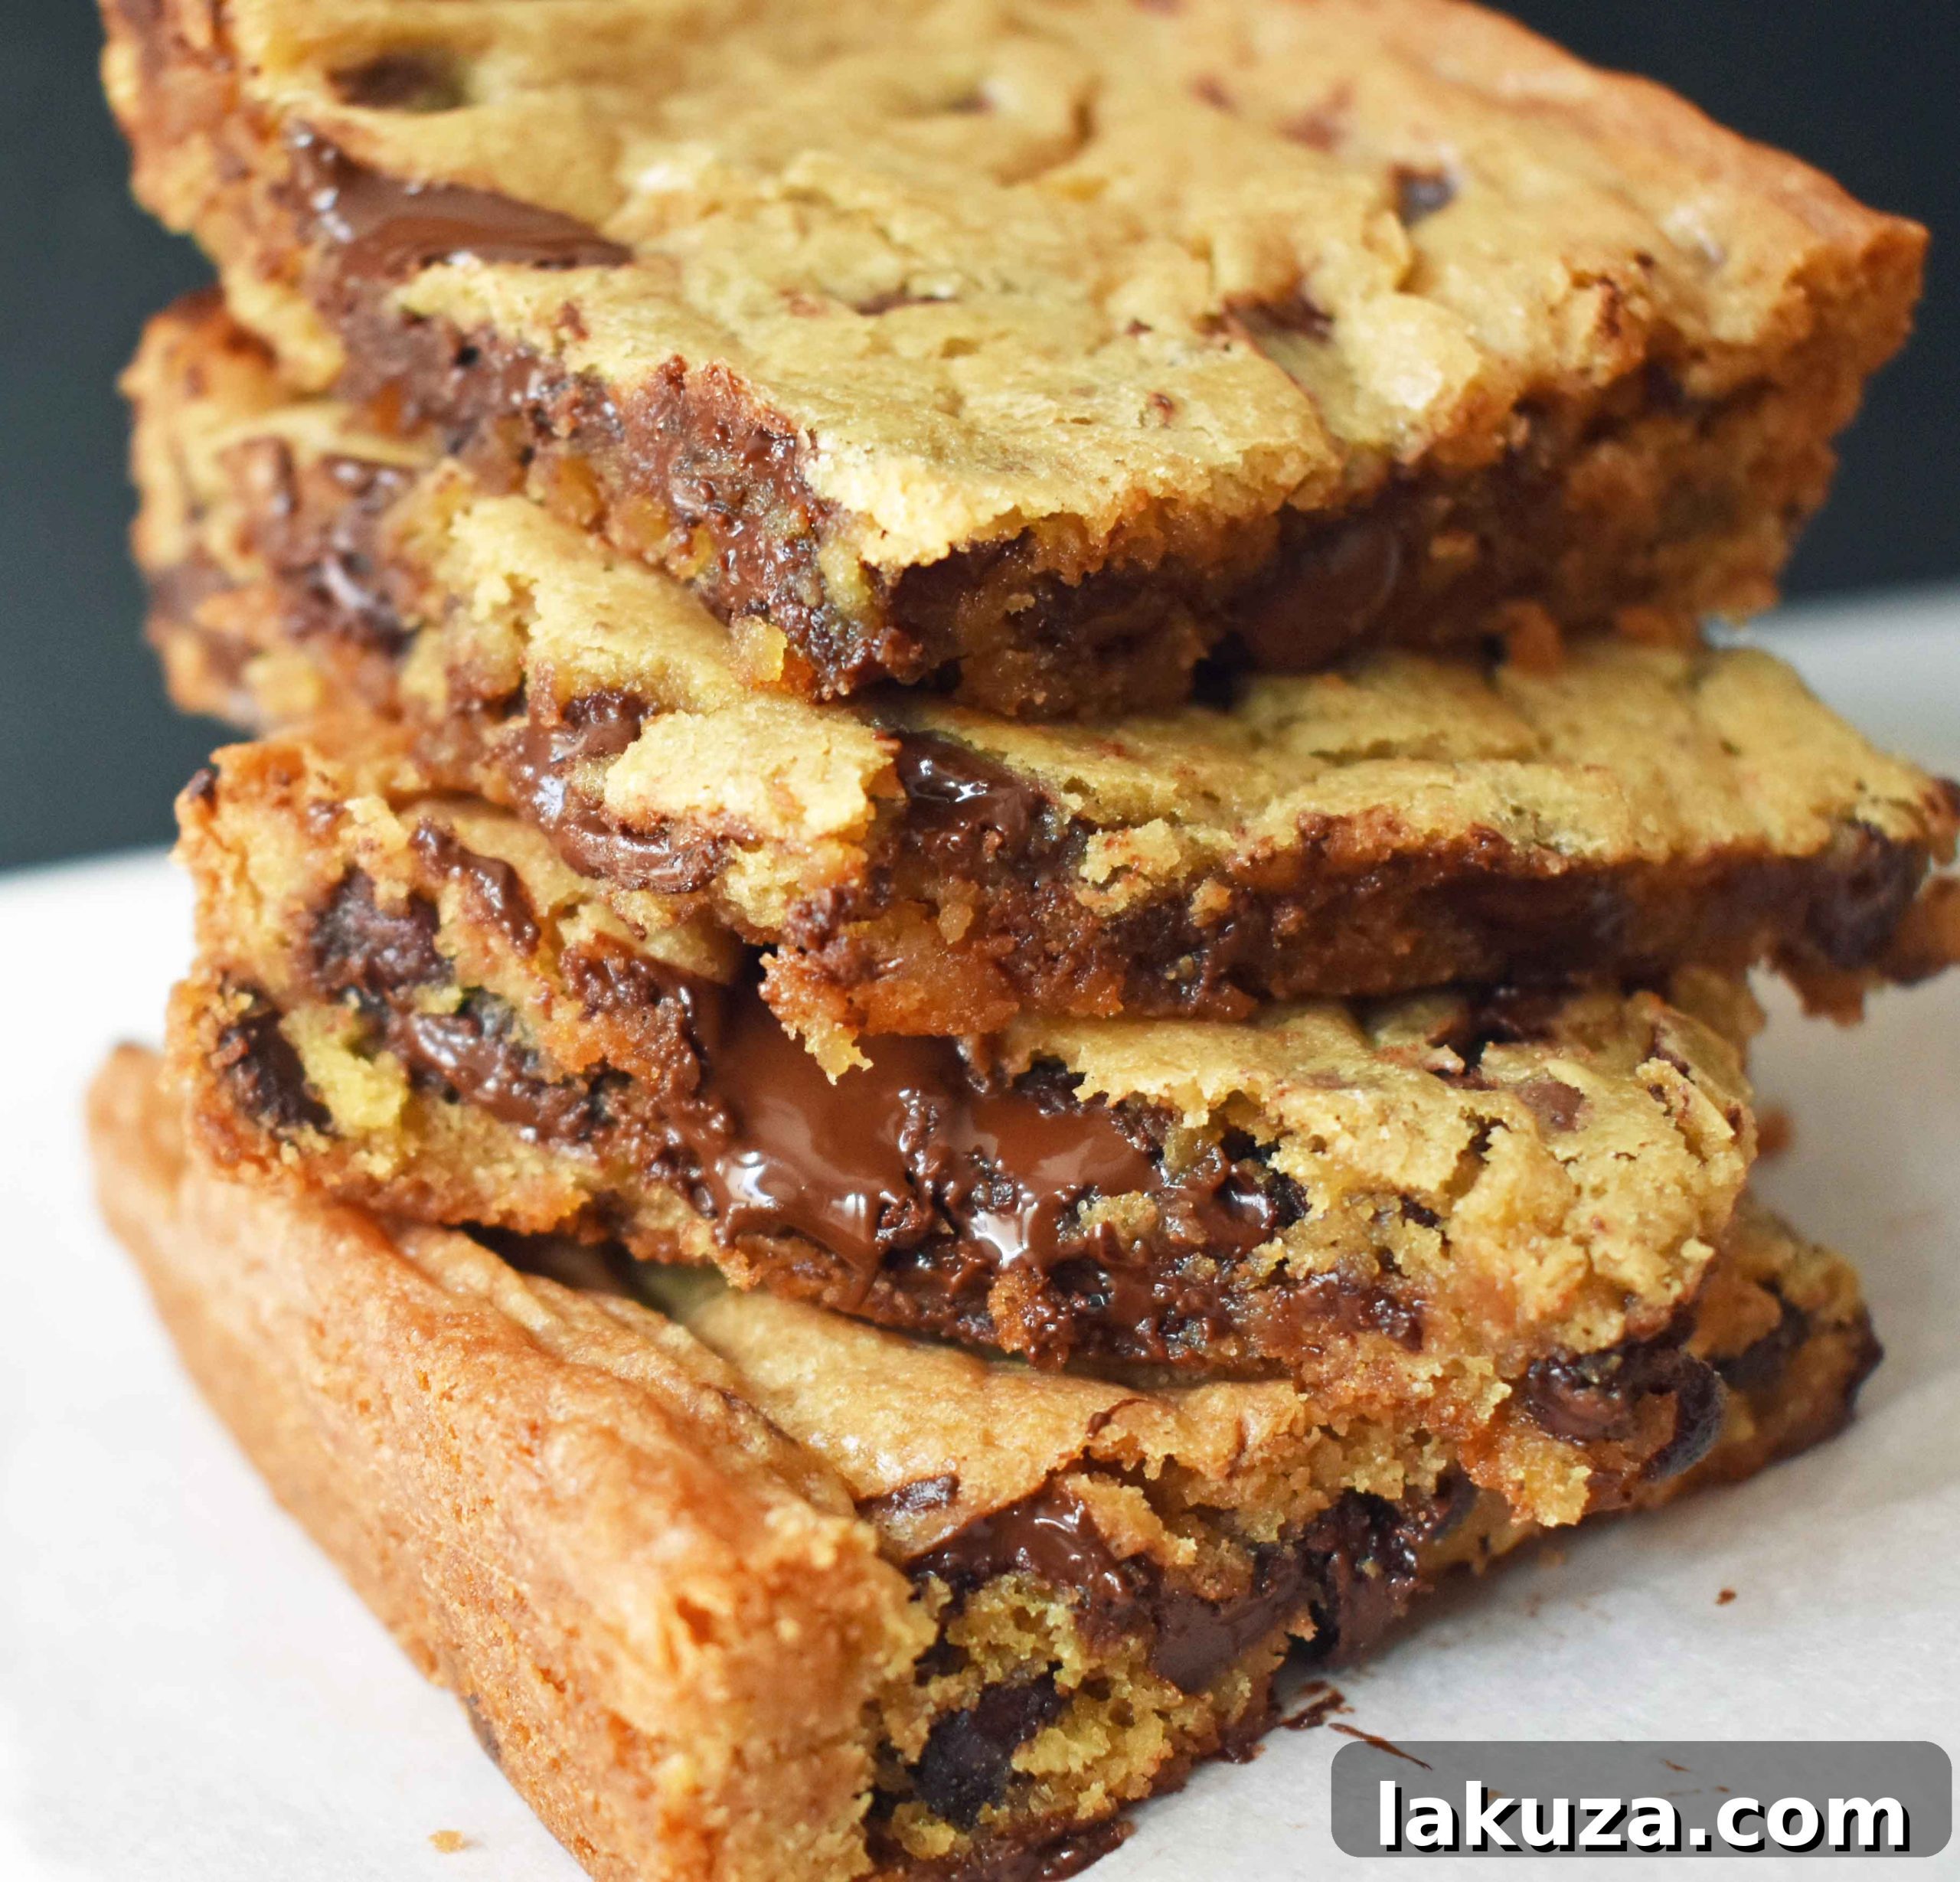
If your heart beats for the timeless comfort of chocolate chip cookies, then prepare to be utterly captivated by these sensational Chocolate Chip Cookie Bars. Imagine your beloved classic, buttery chocolate chip cookie dough, transformed. Instead of meticulously shaping individual cookies, we bake this delightful dough in a single, convenient pan, then slice it into perfect, shareable squares. It’s the ultimate chocolate chip cookie experience, reimagined in a rich, brownie-like form!
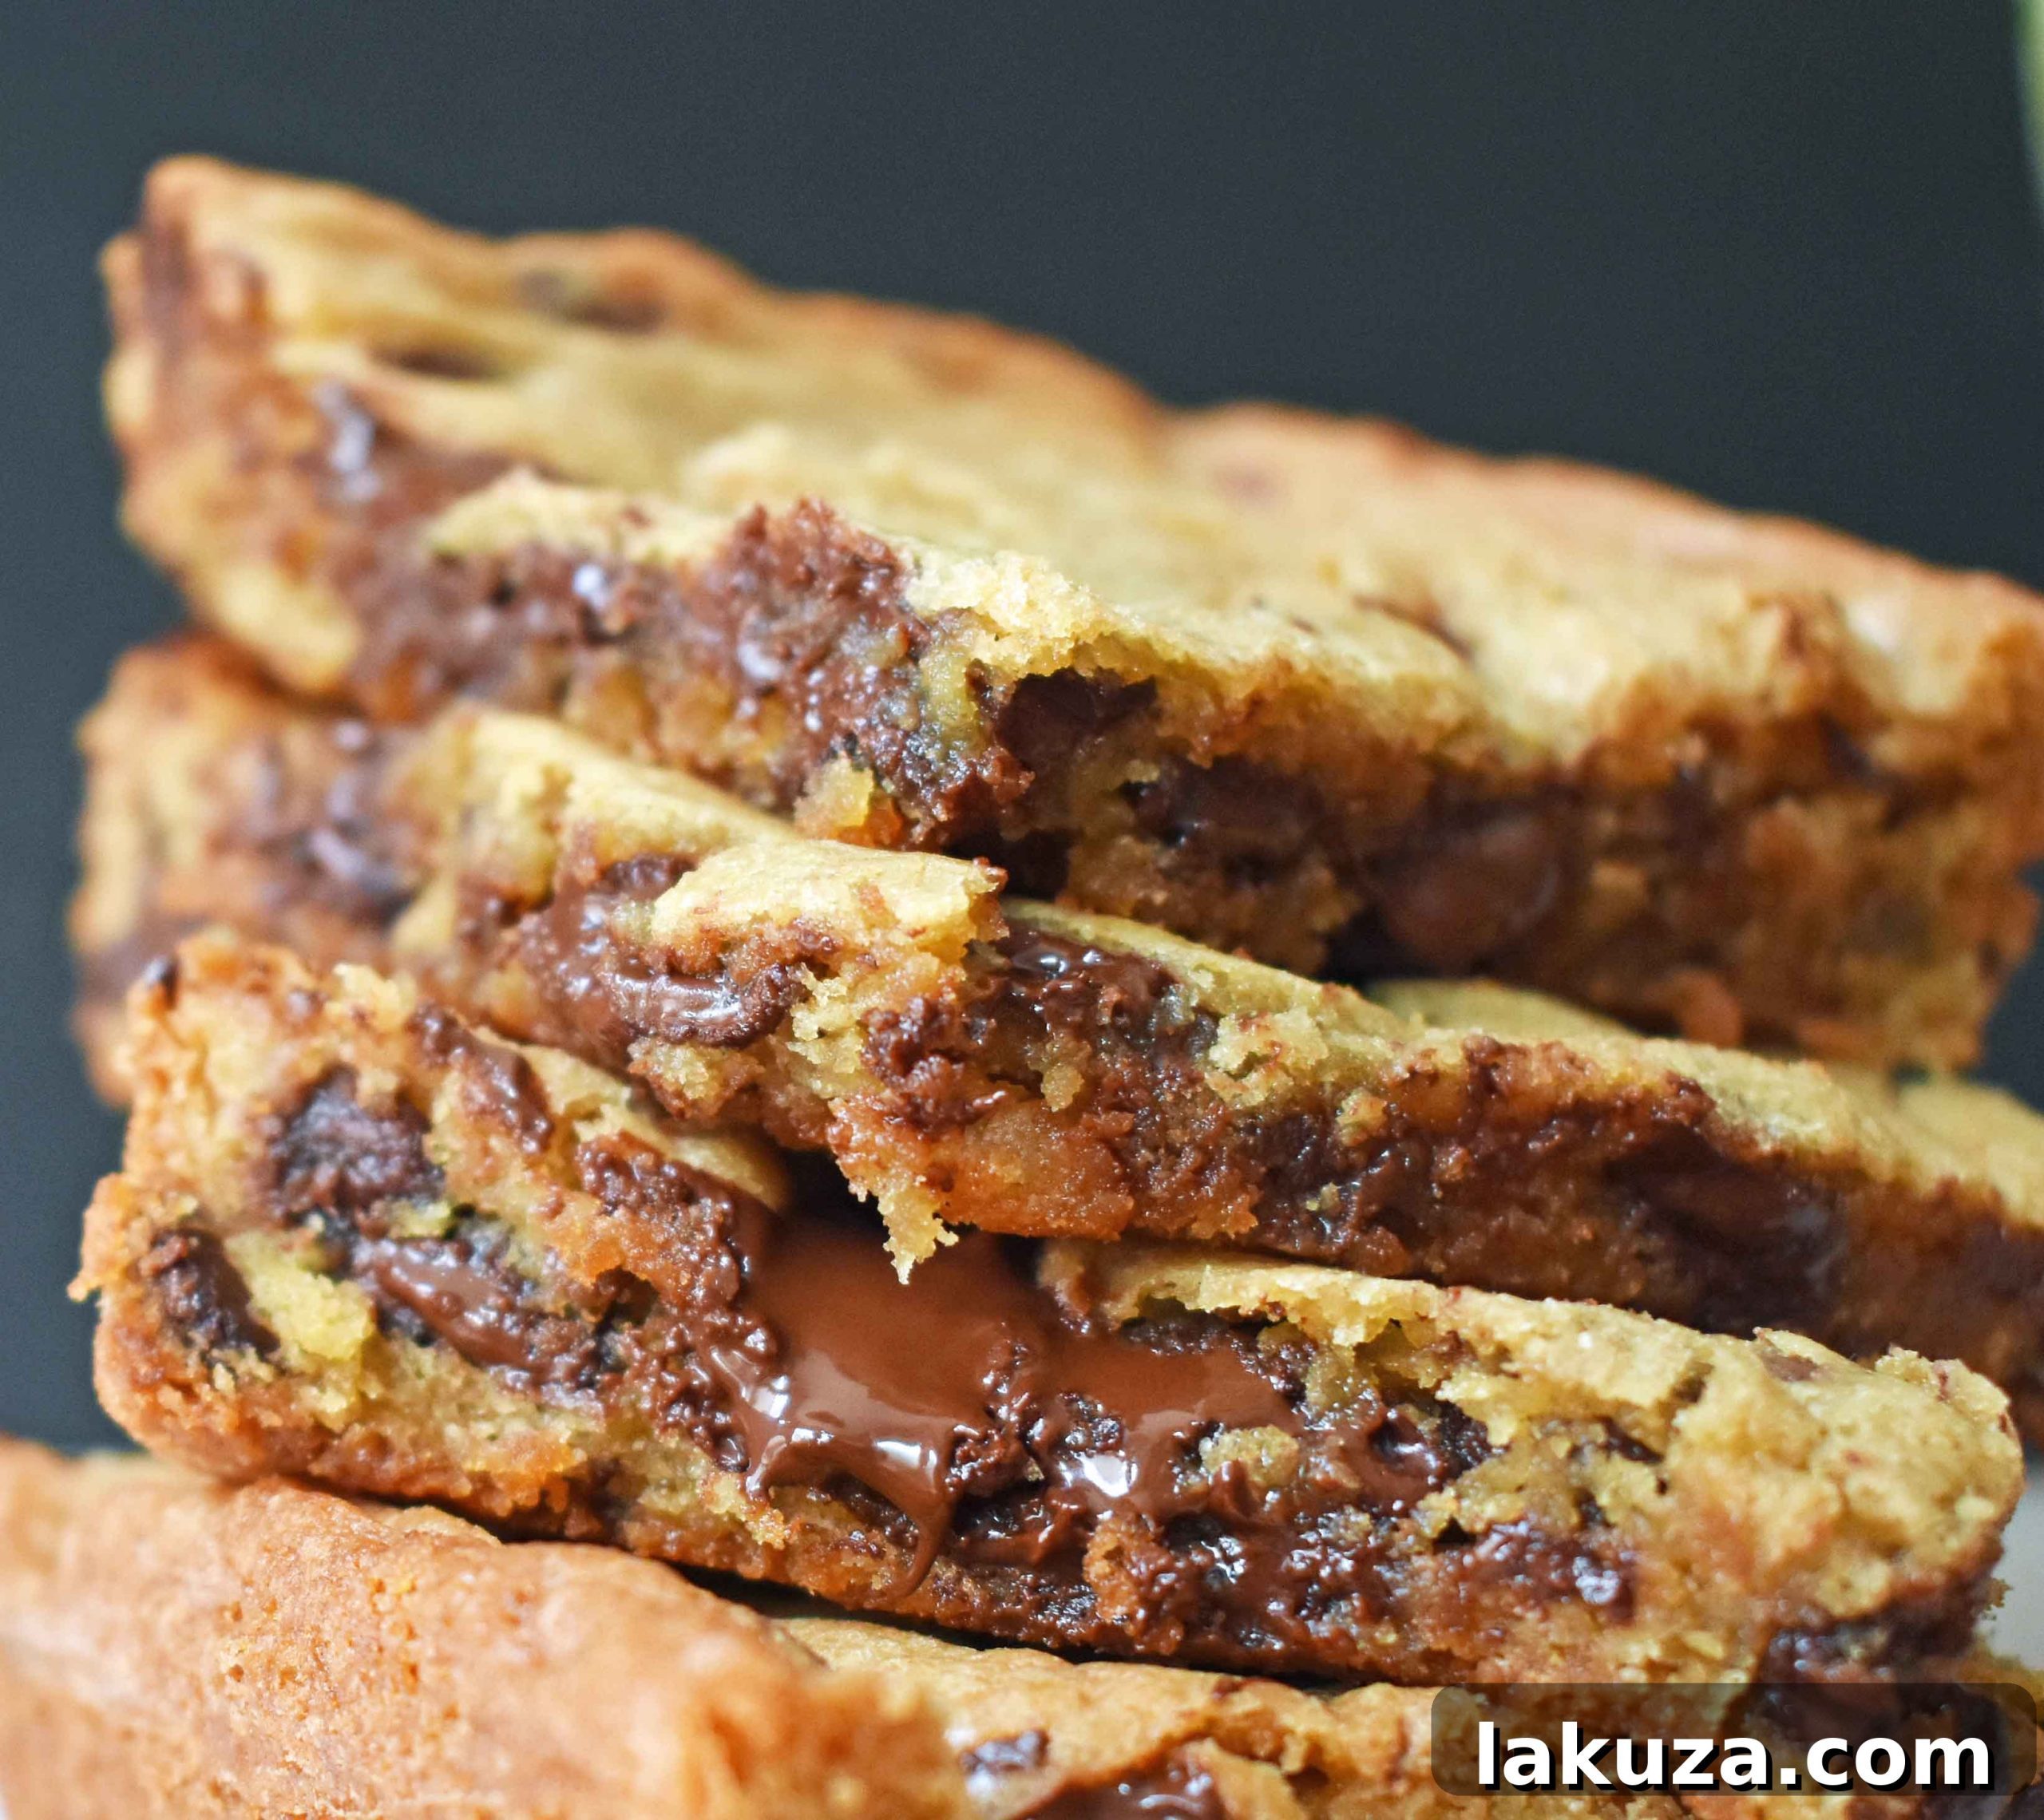
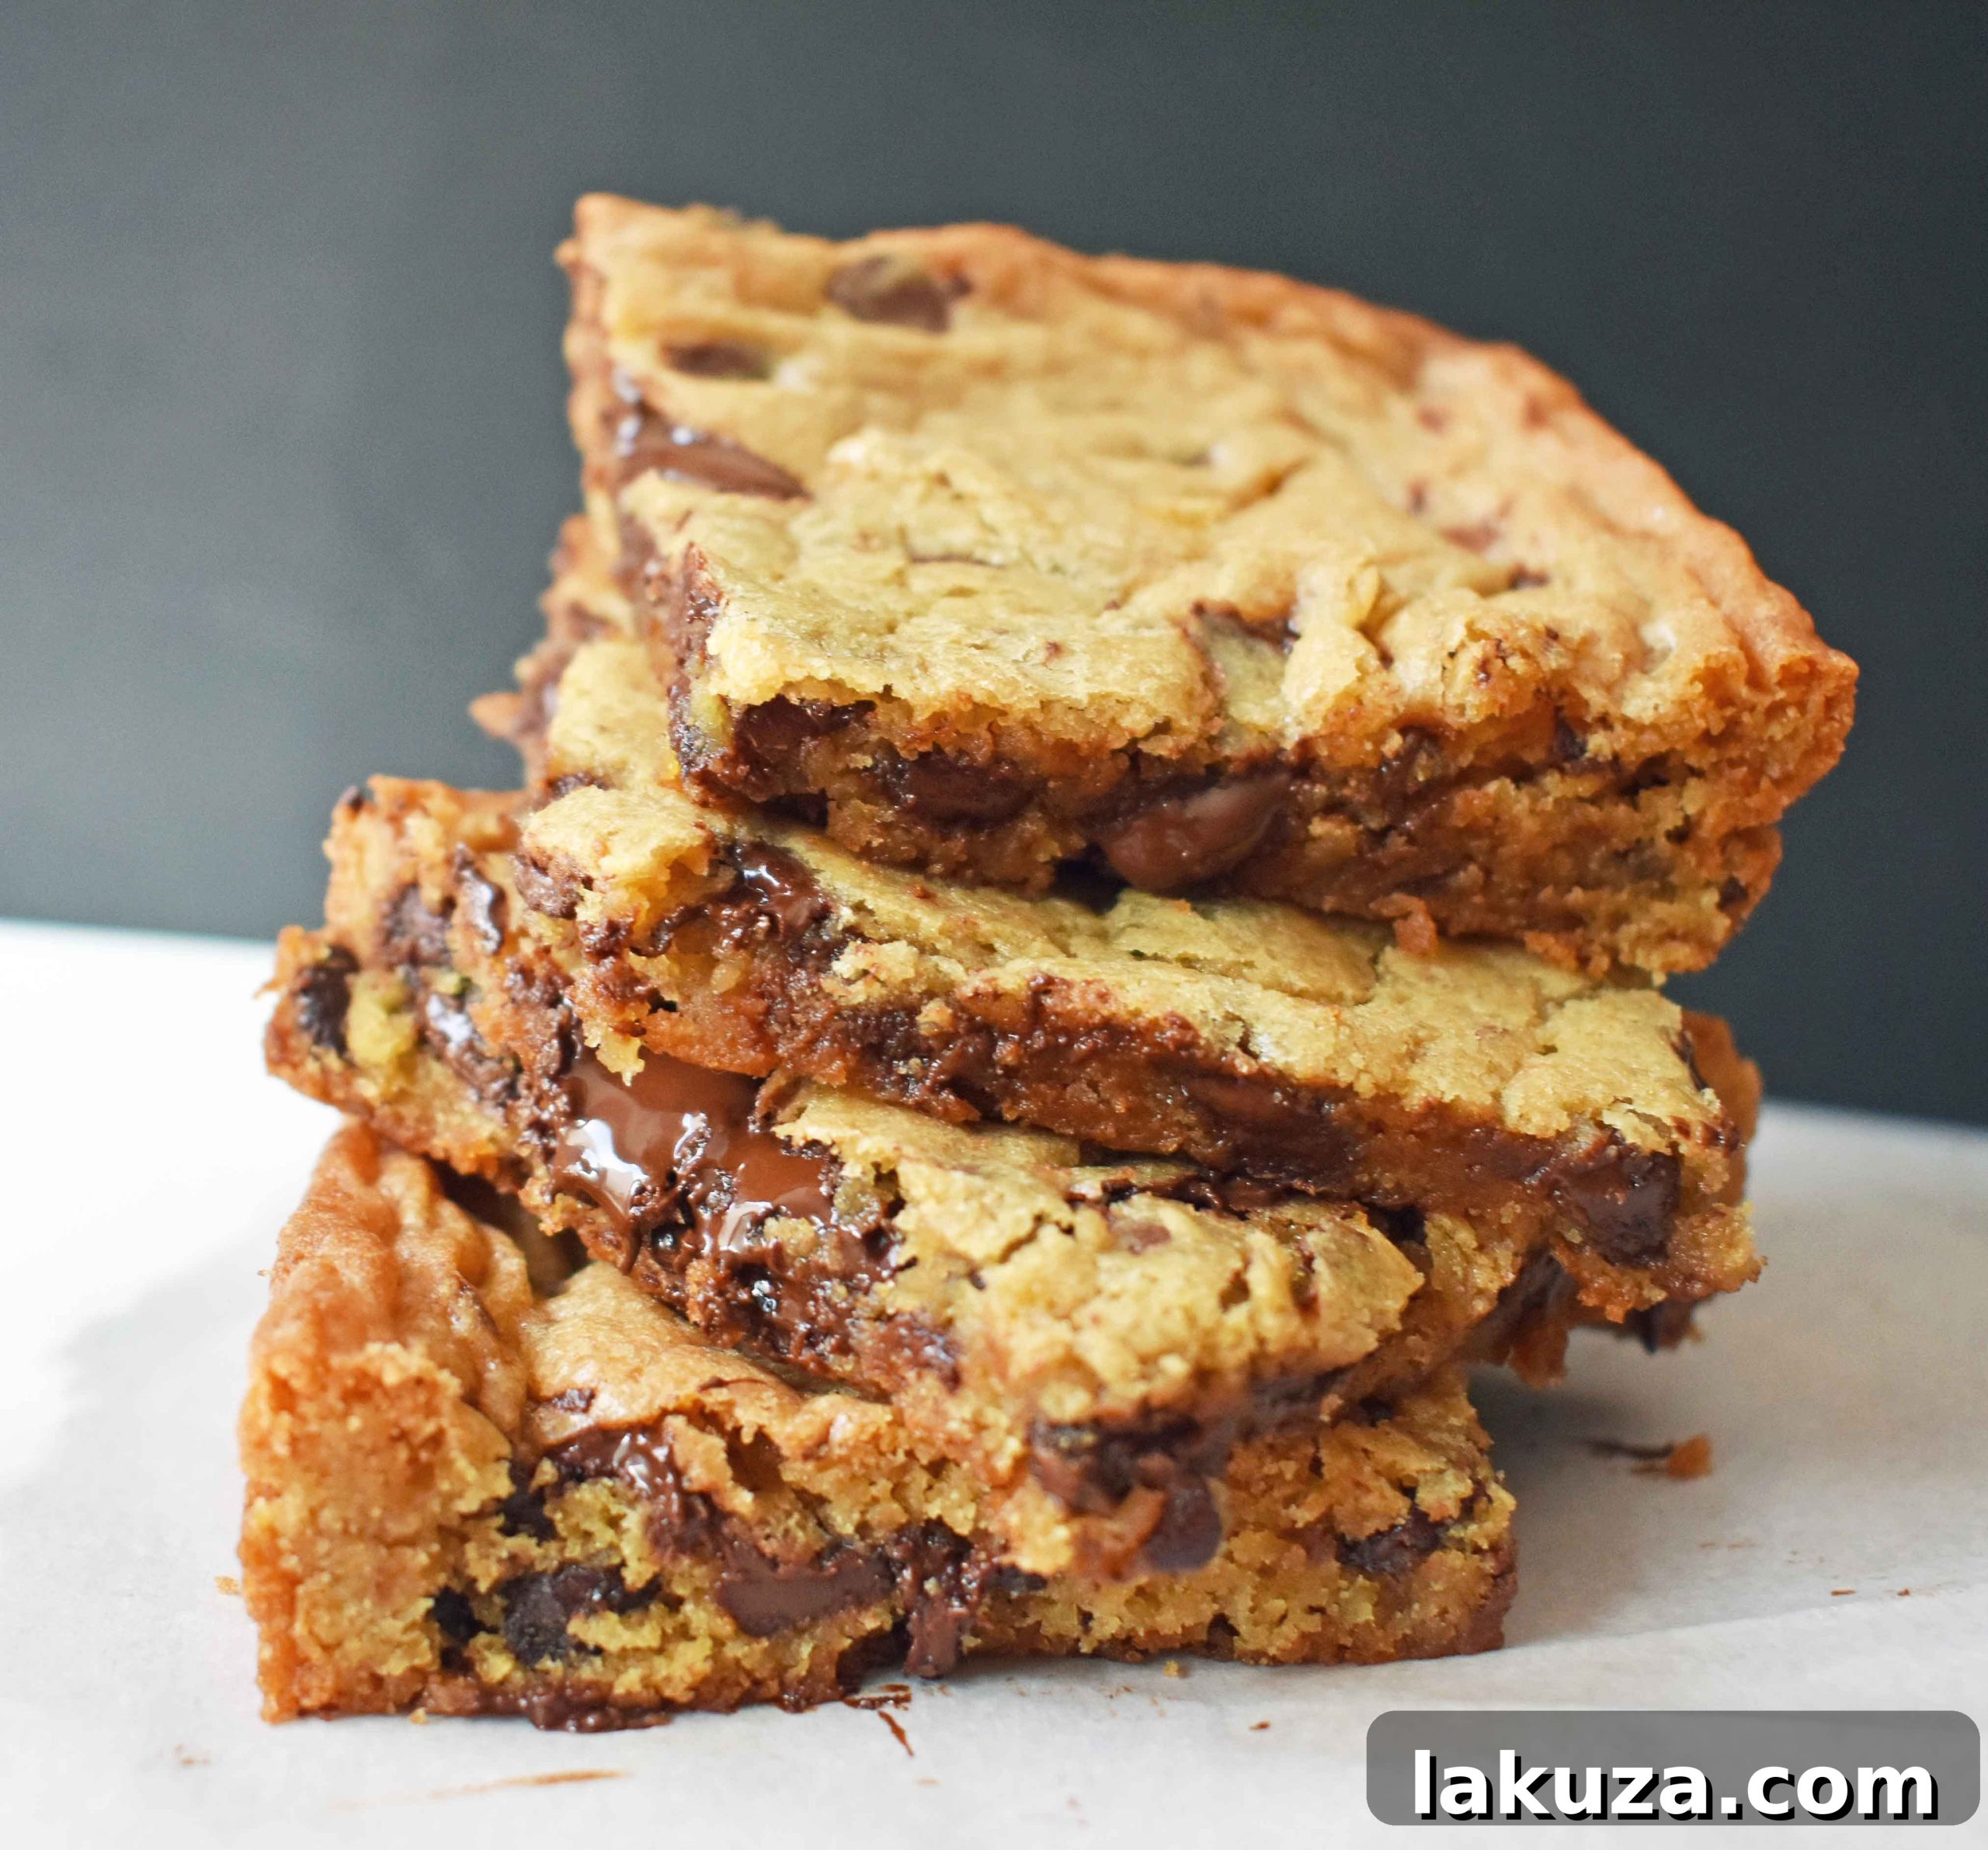
These bars are not just a dessert; they are a celebration of flavor and texture, offering a soft, chewy interior studded with melted chocolate, encased in slightly crisp, golden edges. They are incredibly easy to make, making them the ideal treat for busy weeknights, last-minute gatherings, or simply when a powerful chocolate craving strikes. Fair warning: once these emerge from your oven, they tend to vanish within minutes!
Why These Chocolate Chip Cookie Bars Stand Out
What makes this particular recipe for Chocolate Chip Cookie Bars a cut above the rest? It’s a harmonious blend of simple ingredients and a technique that guarantees an irresistible outcome:
- Unmatched Texture: Our secret lies in the meticulous creaming of butter and sugars. By beating them together for a full four minutes, we incorporate ample air, resulting in a remarkably light and fluffy base. This foundational step is crucial for achieving that signature ooey-gooey texture that truly melts in your mouth.
- Perfect Sweetness Balance: This recipe utilizes a generous, yet perfectly balanced, combination of brown sugar and granulated sugar. Brown sugar contributes essential moisture and a rich, molasses-like depth, enhancing the chewy character of the bars. Granulated sugar, on the other hand, ensures those delightfully crisp edges and a balanced overall sweetness.
- Flavor Depth: We don’t hold back on pure vanilla extract! A hefty dose is added to infuse the dough with an incredible aroma and a profound depth of flavor that complements and elevates every other ingredient. Quality vanilla truly makes a difference here.
- Classic Chocolate Choice: Semi-sweet chocolate chips are the star, providing the ideal counterpoint to the sweet, buttery dough. Their balanced cocoa flavor prevents the bars from becoming overly sweet, allowing the rich chocolate notes to shine through in every bite.
- Effortless Baking: The beauty of cookie bars is their simplicity. No individual scooping or multiple batches required! Just press the dough into a pan, bake, cool, and cut. It’s a convenient way to enjoy the classic cookie experience with minimal fuss.
Ingredient Spotlight: The Building Blocks of Deliciousness
Each component of these chocolate chip cookie bars has a crucial role. Understanding your ingredients ensures you get the best possible results:
- Softened Butter: Use unsalted butter that has been softened to room temperature. This is key for successful creaming with the sugars, creating an emulsified base that holds air and contributes to a tender crumb. Avoid melted butter, as it will lead to a denser, greasier bar.
- Brown Sugar (packed): This provides the signature chewiness, moisture, and a subtle caramel flavor. Always ensure you pack the brown sugar firmly into your measuring cup for accurate quantities.
- Granulated Sugar: Works alongside brown sugar to achieve the perfect level of sweetness and helps create those coveted slightly crisp edges.
- Large Eggs (room temperature): Eggs bind the ingredients, add richness, and contribute to the bars’ structure. Using room temperature eggs helps them incorporate more smoothly and evenly into the batter.
- Pure Vanilla Extract: Do not compromise on quality! A good pure vanilla extract is paramount for enriching the overall flavor profile. Its aromatic notes enhance both the chocolate and the buttery dough.
- All-Purpose Flour: The primary structural component. Accurate measurement is critical; spoon the flour lightly into your measuring cup and level it off with a straight edge to prevent over-flouring, which can result in dry, dense bars.
- Baking Soda: This leavening agent helps the bars rise slightly and contributes to their soft and tender texture. It reacts with the acidic brown sugar to create the perfect lift.
- Salt: Often overlooked, salt is a flavor enhancer that balances the sweetness and brings out the deeper notes of the chocolate and butter. A pinch makes all the difference!
- Semi-Sweet Chocolate Chips: These are ideal for their balanced sweetness, offering a rich cocoa flavor that isn’t overpowering. Feel free to use a mix of chocolate chips and chunks for varying textures of melted chocolate throughout the bars.
Essential Equipment for Flawless Baking
Having the right tools in your kitchen will simplify the baking process and help you achieve perfectly consistent results with your chocolate chip cookie bars:
- Stand Mixer or Hand Mixer: A powerful mixer is invaluable for thoroughly creaming the butter and sugars, which is a foundational step for these bars’ incredible texture. It ensures an airy, smooth base.
- Baking Pan: This recipe is adaptable! Use an 8×8 inch square pan for a smaller batch, or double the recipe and bake in a 9×13 inch pan for larger servings. An aluminum pan is strongly recommended over glass for even baking.
- Parchment Paper Baking Sheets: Lining your pan with parchment paper is a game-changer for easy removal of the bars and effortless cleanup. Look for pre-cut sheets for ultimate convenience.
- Measuring Cups and Spoons: Precision in baking is key! Accurate measuring tools ensure you get the exact proportions needed for the perfect dough consistency.
- Rubber Spatula Set: Essential for scraping down the sides of your mixing bowl, ensuring all ingredients are incorporated, and gently folding in the chocolate chips.
- Spatula/Turner: A sturdy turner will help you cleanly lift and serve your freshly baked cookie bars from the pan.
- Cookie Scoop (Optional): While not strictly necessary for bars, a large cookie scoop can be useful for evenly distributing the dough into the pan, especially for thicker bars.
Chocolate Chip Cookie Bars: The Recipe
Indulge in these classic, buttery chocolate chip cookies in a convenient bar form. They’re incredibly simple to bake and disappear fast!
By: Melissa Stadler, Modern Honey
Prep Time: 10 minutes
Cook Time: 20-35 minutes
Total Time: 40 minutes (approx.)
Servings: 8 (for 8×8 pan recipe)
Ingredients
For an 8 x 8 inch pan (approx. 8 servings):
- 1/2 cup (1 stick) unsalted Butter, softened
- 1/2 cup packed Light Brown Sugar
- 1/2 cup Granulated Sugar
- 1 large Egg, at room temperature
- 2 teaspoons Pure Vanilla Extract
- 1 1/4 cups All-Purpose Flour
- 1/2 teaspoon Baking Soda
- 1/4 teaspoon Salt
- 1 cup Semi-sweet Chocolate Chips
For a 9 x 13 inch pan (doubled recipe, approx. 18-24 servings):
- 1 cup (2 sticks) unsalted Butter, softened
- 1 cup packed Light Brown Sugar
- 1 cup Granulated Sugar
- 2 large Eggs, at room temperature
- 1 Tablespoon Pure Vanilla Extract
- 2 1/2 cups All-Purpose Flour
- 1 teaspoon Baking Soda
- 1/2 teaspoon Salt
- 2 cups Semi-sweet Chocolate Chips
Instructions
- Preheat Oven & Prepare Pan: Preheat your oven to 350°F (175°C). Line your chosen baking pan (8×8 inch or 9×13 inch) with parchment paper, leaving an overhang on all sides. Lightly grease the parchment paper to prevent sticking. Important Tip: We highly recommend using an aluminum pan for this recipe. Glass pans tend to conduct heat differently and may not yield the best results for that perfectly chewy and gooey texture.
- Cream Butter & Sugars: In a large mixing bowl, using a stand mixer with the paddle attachment or a hand mixer, cream together the softened butter, brown sugar, and granulated sugar. Beat on medium-high speed for at least 4 minutes, or until the mixture is visibly light, fluffy, and pale in color. This step is crucial for incorporating air and achieving a tender crumb.
- Add Wet Ingredients: Reduce mixer speed to low. Add the egg(s) and pure vanilla extract, mixing until just combined. Scrape down the sides of the bowl with a rubber spatula to ensure all ingredients are thoroughly incorporated. Avoid overmixing once the eggs are added.
- Combine Dry Ingredients: In a separate medium bowl, whisk together the all-purpose flour, baking soda, and salt. This ensures the leavening agent and salt are evenly distributed.
- Gradually Add Dry to Wet: With the mixer on low speed, gradually add the dry ingredient mixture to the wet ingredients. Mix until just combined and no streaks of dry flour remain. Be very careful not to overmix the dough at this stage, as it can lead to tough cookie bars.
- Fold in Chocolate Chips: Remove the bowl from the mixer. Using a rubber spatula, gently fold in the semi-sweet chocolate chips until they are evenly dispersed throughout the dough.
- Bake to Perfection: Press the cookie dough evenly into your prepared baking pan. For an 8×8 inch pan, bake for 20-28 minutes. For a 9×13 inch pan, bake for 28-35 minutes. The bars are ready when the edges are lightly golden brown and the center still looks slightly soft or underbaked. A toothpick inserted into the center should come out with moist crumbs, not wet batter. Remember, a slightly underbaked center guarantees ultimate gooeyness!
- Cool Before Cutting: Once baked, carefully remove the pan from the oven. Let the cookie bars cool in the pan for at least 10-15 minutes before attempting to cut them into squares. This cooling time is essential for the bars to set up properly, which allows for clean, neat cuts. For even neater squares, you can let them cool completely.
Recipe Notes
*** As mentioned in the instructions, always use an aluminum pan for these cookie bars. Glass pans do not conduct heat in the same way and can result in uneven baking, potentially leading to a drier or less chewy texture. Lining with parchment paper is also highly recommended for easy removal and cleanup.
Nutrition information is automatically calculated and should only be used as an approximation.
Additional Information
Course: Dessert
Servings: 8 (for 8×8 pan recipe)
Expert Tips for Achieving Perfect Chocolate Chip Cookie Bars
Elevate your baking game with these tried-and-true tips for the most irresistible chocolate chip cookie bars every time:
- Don’t Overbake: The Golden Rule! This is the single most important tip for gooey bars. Remove your bars from the oven when the edges are set and a light golden brown, but the center still appears slightly soft or a little underbaked. The residual heat in the pan will continue to cook them as they cool, leading to that coveted soft, chewy, and melt-in-your-mouth texture. Overbaking is the main culprit for dry, crumbly bars.
- Ensure Room Temperature Ingredients: Always allow your butter and eggs to come to room temperature before baking. Softened butter creams significantly better with sugar, creating an emulsified, airy base. Room temperature eggs blend more smoothly into the batter, ensuring even mixing and preventing any curdling, which contributes to a consistent texture.
- Measure Flour Accurately: Too much flour is a common baking pitfall that results in dense, dry, and tough baked goods. To measure flour correctly, use the spoon-and-level method: lightly spoon the flour into your measuring cup until it overflows, then level off the excess with the straight edge of a knife. Never scoop directly from the bag, as this compacts the flour.
- Invest in Quality Vanilla: The flavor of your cookie bars will only be as good as your ingredients. Opt for a high-quality pure vanilla extract over imitation vanilla. The difference in aroma and depth of flavor is truly remarkable and will make your bars sing.
- Embrace the Salt: Don’t skip or skimp on the salt. A pinch of salt acts as a crucial flavor enhancer, balancing the sweetness of the sugars and chocolate. It brings out the complexities of all the ingredients, making each bite more satisfying and preventing the bars from tasting one-dimensional.
- Cool Completely for Clean Slices: While the aroma of warm cookie bars is intoxicating, patience is a virtue when it comes to cutting. Allowing the bars to cool completely (or at least significantly) in the pan before slicing will yield much cleaner, less crumbly, and perfectly shaped squares. For ultra-neat edges, you can even chill the cooled bars in the refrigerator for 20-30 minutes before cutting.
- Experiment with Chocolate Variations: While semi-sweet chocolate chips are classic, feel free to get creative! Mix in milk chocolate, dark chocolate, or even white chocolate chips. Chocolate chunks or roughly chopped chocolate bars can also create delightful pockets of melted chocolate. A mix of different types of chocolate adds complexity.
- Personalize with Additions: Elevate your cookie bars with additional mix-ins. Fold in a handful of chopped walnuts or pecans for a nutty crunch, or sprinkle flaky sea salt over the top of the dough before baking for a sophisticated sweet-and-salty contrast. Other ideas include a swirl of caramel sauce, peanut butter, or M&Ms for a colorful touch.
Storage and Freezing Instructions for Maximum Freshness
To ensure your delectable chocolate chip cookie bars remain fresh and enjoyable for as long as possible, follow these simple storage guidelines:
- Storing at Room Temperature: Once the cookie bars are completely cooled, cut them into individual squares. Store them in an airtight container at room temperature for up to 3-4 days. To prevent sticking and maintain freshness, you can place a piece of parchment paper between layers if stacking.
- Refrigeration for Longer Shelf Life: If you prefer a slightly firmer bar or wish to extend their freshness, place them in an airtight container in the refrigerator for up to a week. For the best texture, allow them to come to room temperature or warm them briefly in the microwave before serving.
- Freezing Baked Bars: Chocolate chip cookie bars freeze beautifully! Once completely cooled, cut the bars into individual squares. Wrap each square tightly in plastic wrap, then place them in a freezer-safe bag or an airtight container. They can be stored in the freezer for up to 3 months. To enjoy, simply thaw them at room temperature or gently warm in the microwave for a few seconds.
- Freezing Unbaked Dough: You can also prepare the dough ahead of time and freeze it. Press the dough evenly into your prepared pan and freeze until solid. Once firm, remove the dough (using the parchment paper overhang), wrap it tightly in plastic wrap, and then in aluminum foil. Freeze for up to 3 months. When you’re ready to bake, place the frozen dough back into the pan and bake from frozen, adding an additional 10-15 minutes to the typical baking time.
Frequently Asked Questions About Chocolate Chip Cookie Bars
- Can I use melted butter instead of softened butter in this recipe?
- While some cookie recipes use melted butter, for these gooey cookie bars, softened butter is crucial. Creaming softened butter with sugar incorporates air, which is essential for the light, chewy texture. Using melted butter will result in a denser, potentially greasier bar with a different crumb structure.
- Why did my chocolate chip cookie bars turn out dry and crumbly?
- The most common reasons for dry and crumbly bars are overbaking or using too much flour. Ensure you measure your flour accurately using the spoon-and-level method, and always remove the bars from the oven when the edges are golden but the center still appears slightly soft.
- How can I achieve perfectly even squares when cutting the bars?
- Patience is key! Allow the bars to cool completely in the pan before cutting. For extra neatness, you can chill them in the refrigerator for 20-30 minutes, which firms them up. Use a sharp, non-serrated knife and wipe the blade clean with a damp cloth after each cut for the cleanest edges.
- Can I add nuts or other mix-ins to the cookie bars?
- Absolutely! Chopped walnuts, pecans, or macadamia nuts are fantastic additions. You can also experiment with other mix-ins like pretzel pieces for a salty crunch, different types of chocolate (milk, dark, white), or even candies like M&Ms for a fun twist.
- How long do these chocolate chip cookie bars stay fresh?
- When stored in an airtight container at room temperature, these cookie bars are best enjoyed within 3-4 days. They tend to remain wonderfully soft and delicious even on the third or fourth day, often becoming even chewier.
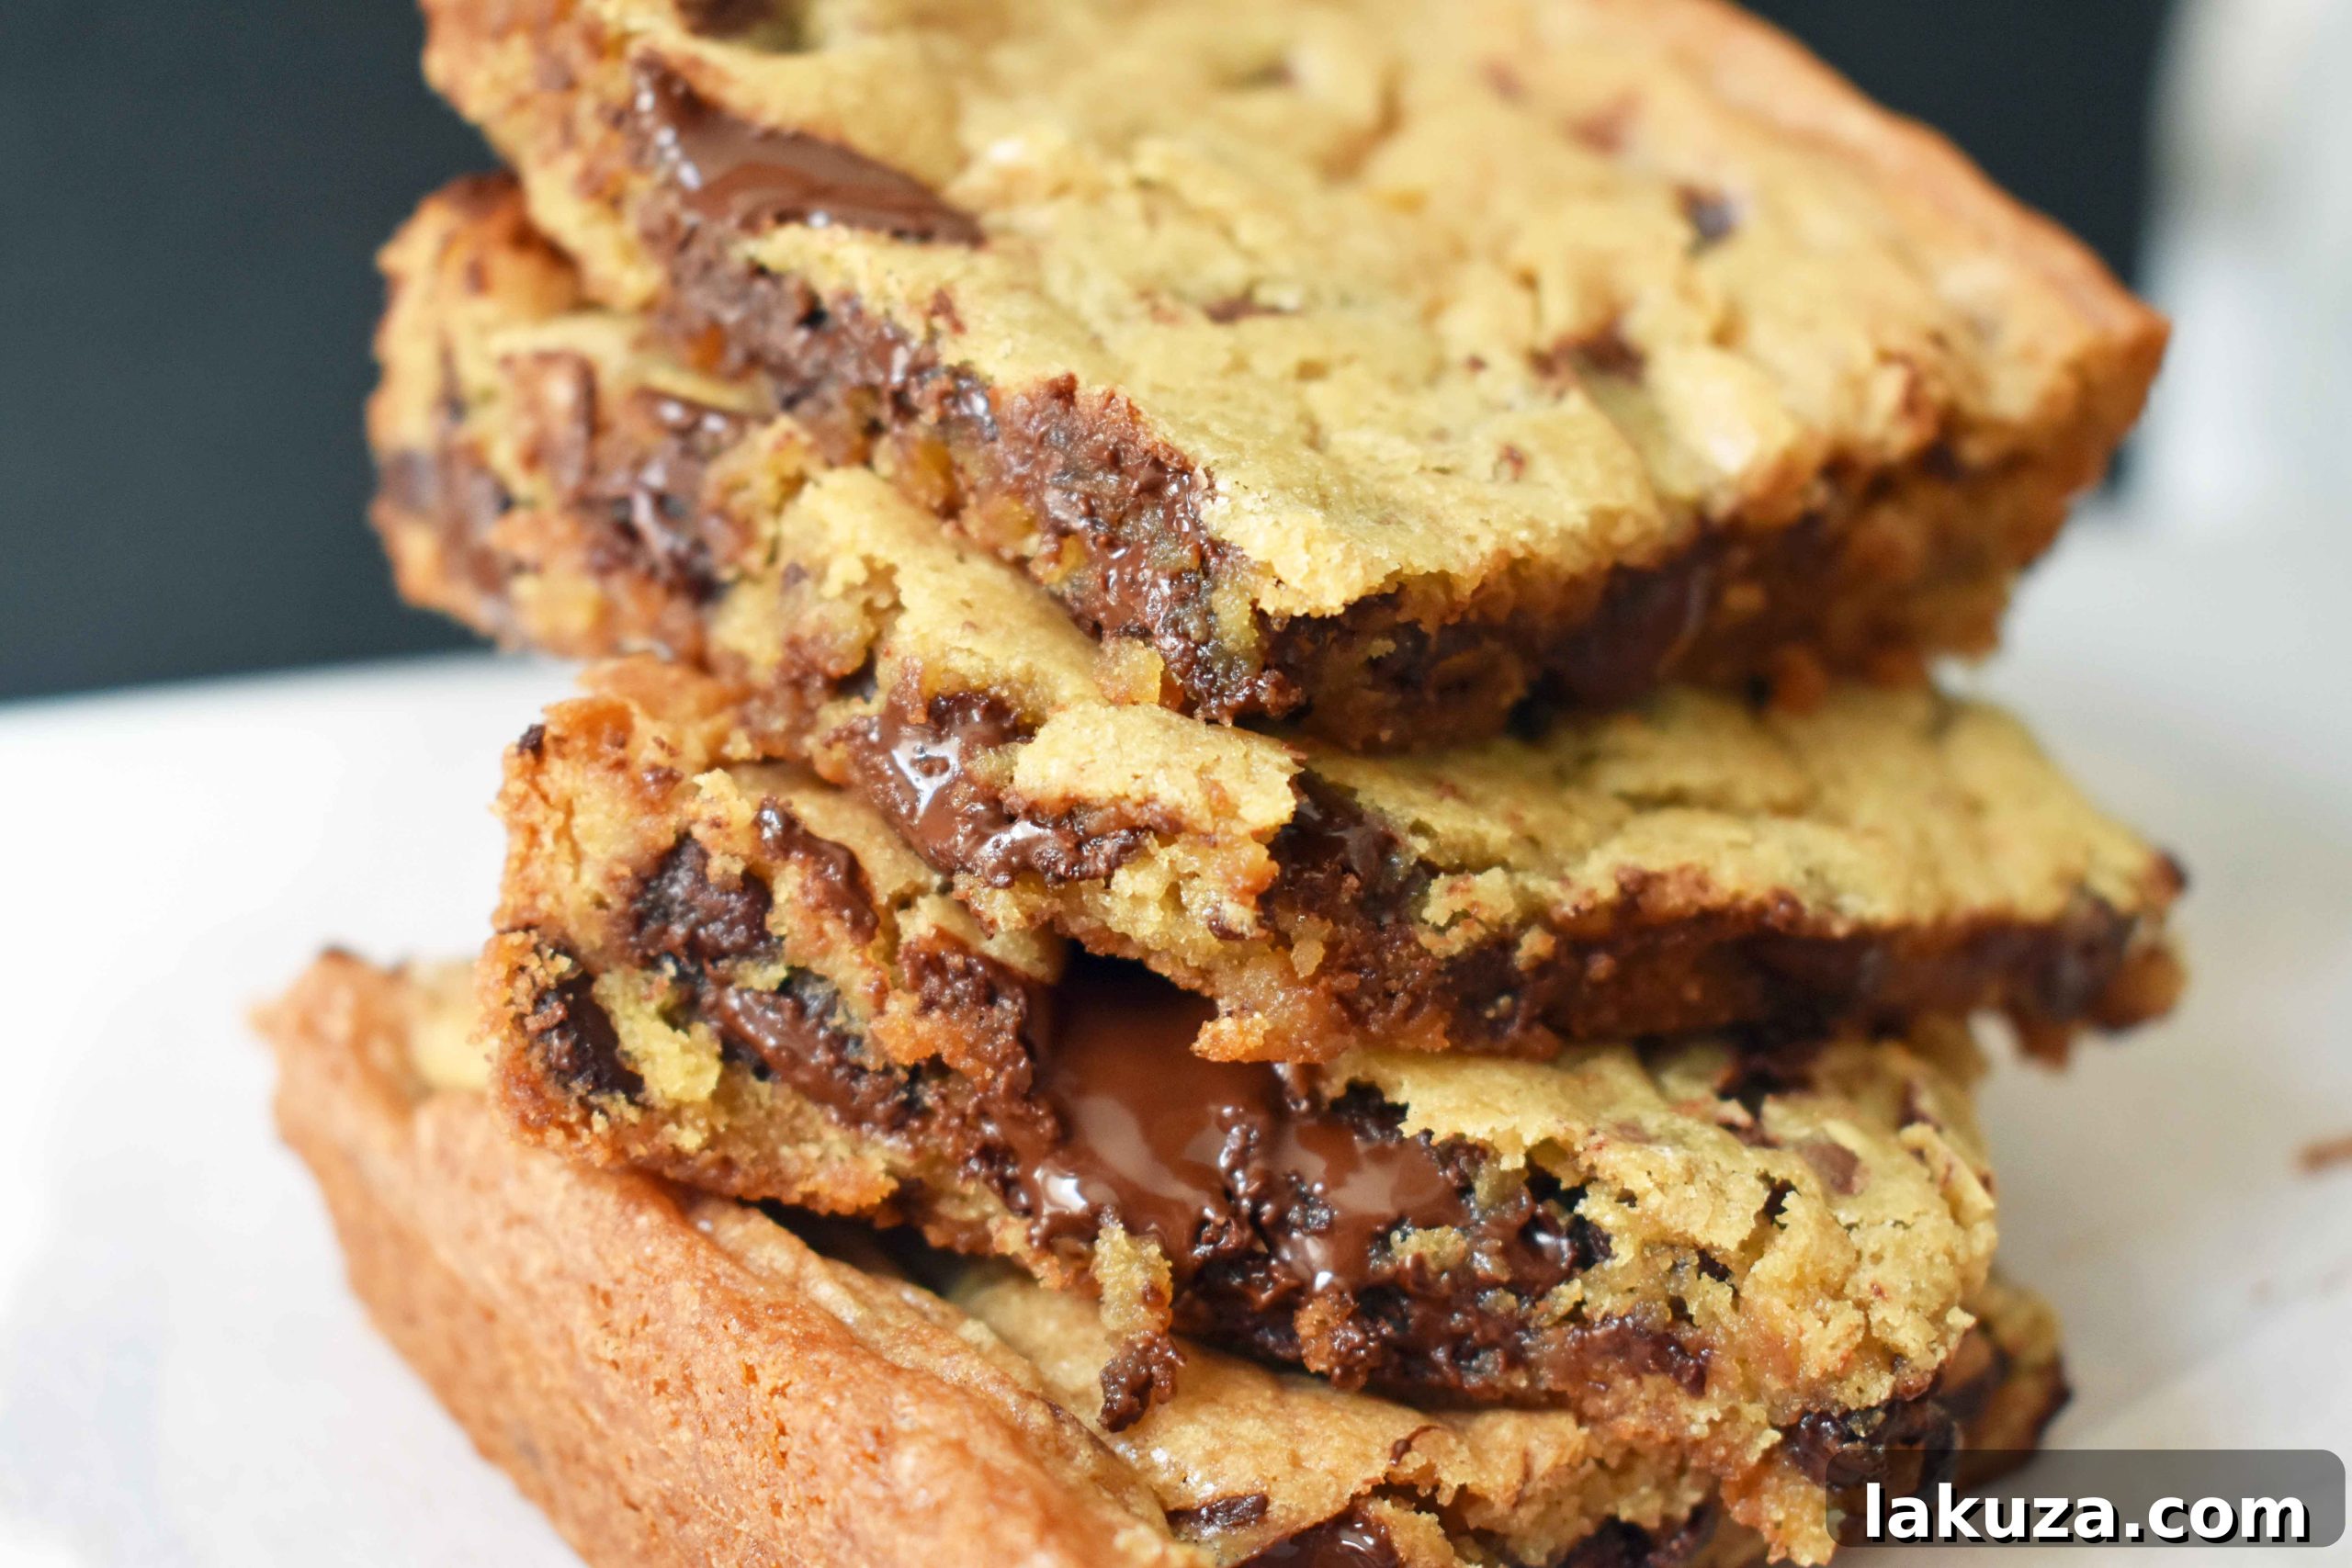
Irresistible Chocolate Chip Cookie Bars: Your New Go-To Treat!
There’s no doubt in our minds – these Chocolate Chip Cookie Bars are destined to become a cherished recipe in your home. They capture all the beloved flavor and comforting nostalgia of classic chocolate chip cookies, but with the added ease and delightful gooey perfection that only a bar can offer. Whether you’re baking for a special occasion, a casual gathering, or simply to treat yourself, these bars are a guaranteed crowd-pleaser.
We absolutely adore connecting with fellow bakers and hearing about your kitchen creations! If you whip up a batch of these incredible cookie bars, please don’t hesitate to share your experience. Find us on Instagram at @modern_honey and tag your photos – we’d love to see your delicious results!
Happy Baking!
If you loved this recipe, please consider leaving a comment below! Your feedback is incredibly valuable and always appreciated.