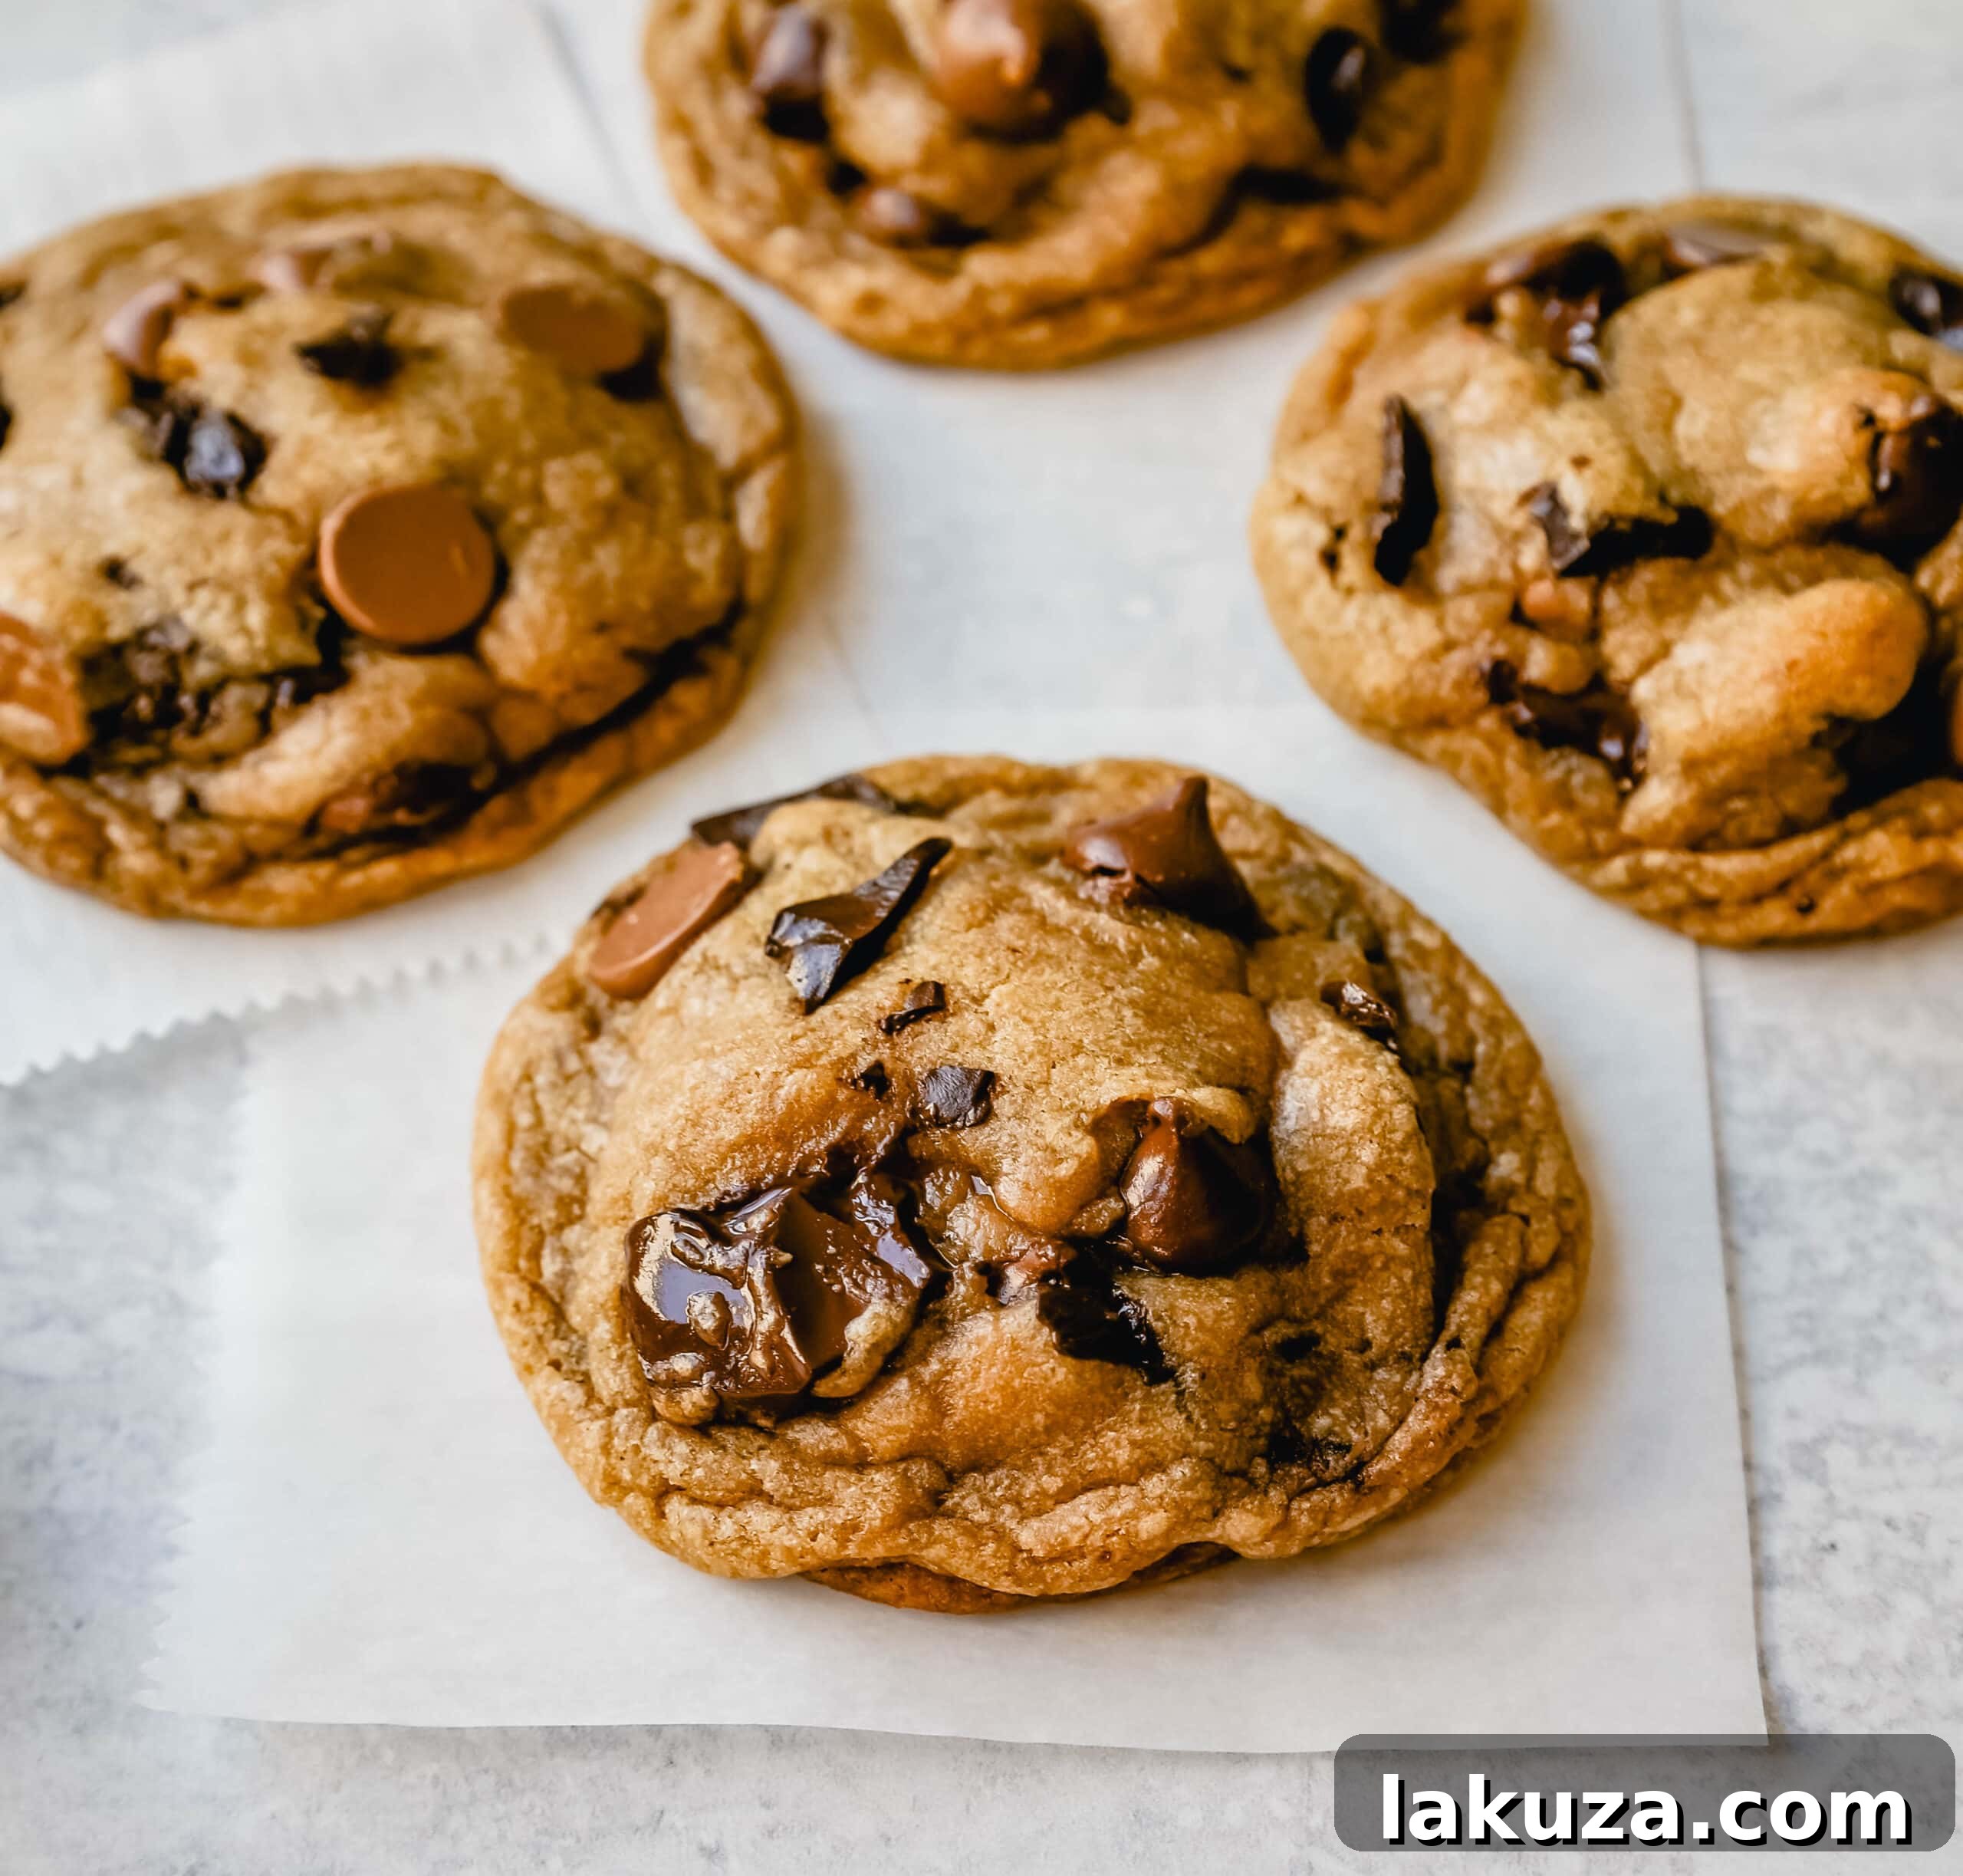
The Ultimate Guide to Perfect Homemade Chocolate Chip Cookies
Discover expert tips and tricks for making the best chocolate chip cookies with a simple, no-mixer-needed recipe!
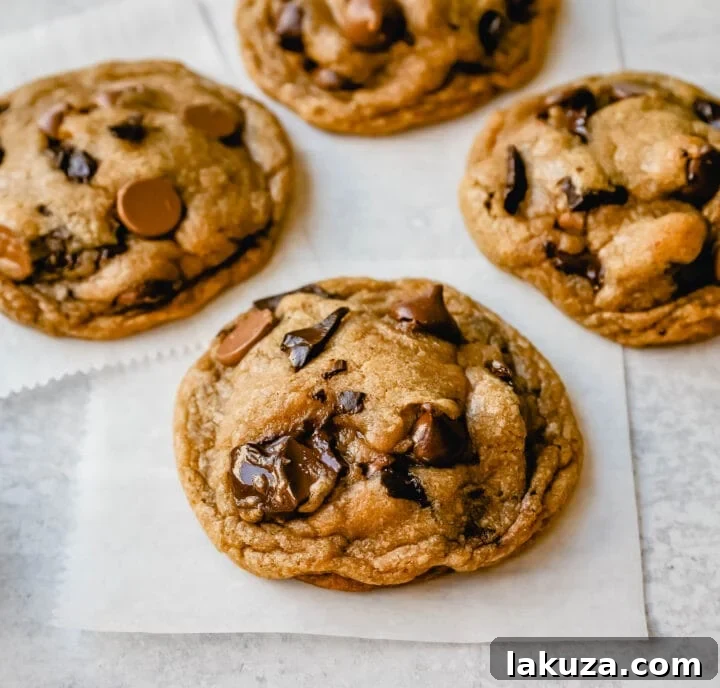
As a dedicated baking enthusiast, I’ve spent years delving into the intricate science and delightful art of crafting the ultimate chocolate chip cookie. My passion for baking isn’t just a hobby; it’s a commitment to understanding how each ingredient and step contributes to that perfect bite. In fact, my expertise even earned me a victory on the Cooking Channel’s Perfect Cookie Contest in 2011, an incredible experience that took me all the way to the Food Network Studios in New York City.
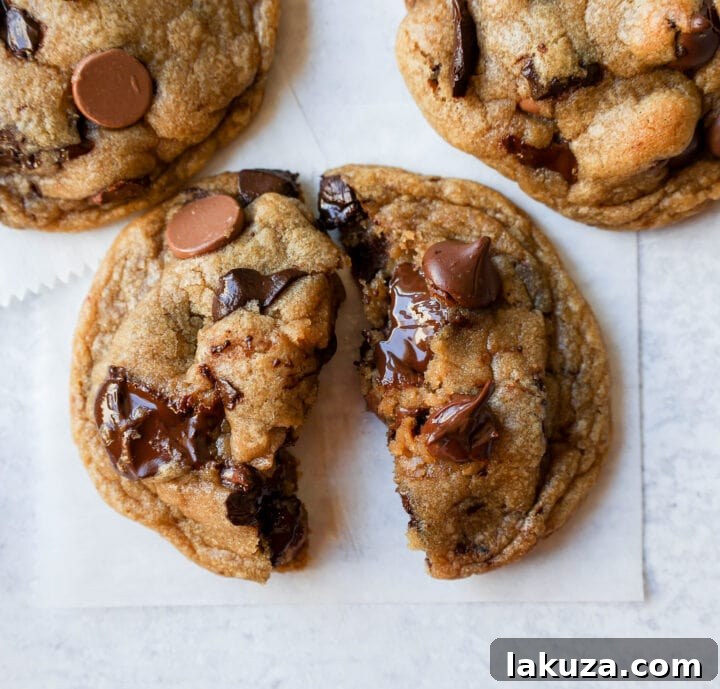
Throughout my baking journey, I’m frequently asked for my go-to chocolate chip cookie recipe. While I have three signature recipes that consistently impress, the one I’m sharing today is a true gem. If you’re eager to explore my other highly-rated favorites, be sure to check out my FAMOUS LEVAIN BAKERY CHOCOLATE CHIP COOKIES and my CLASSIC BEST CHOCOLATE CHIP COOKIE RECIPE.
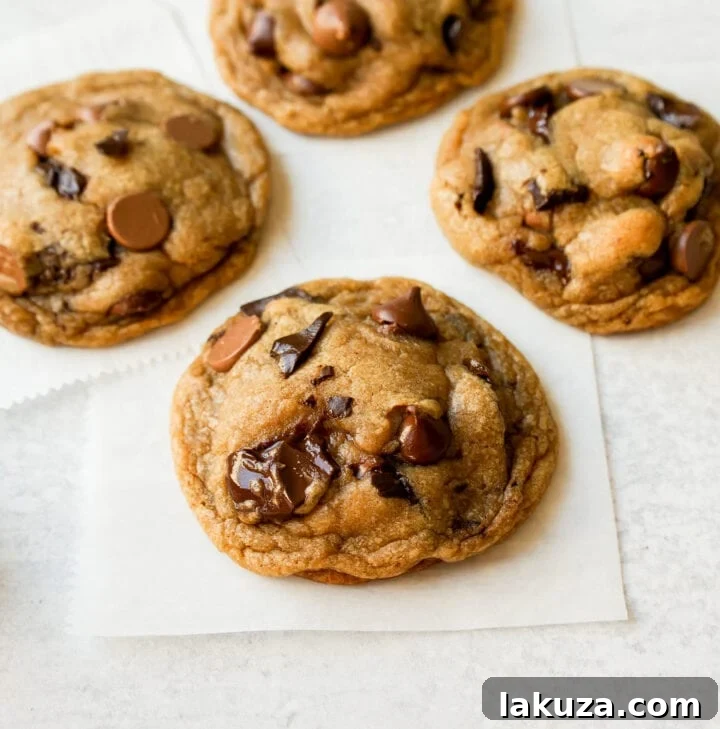
What makes this particular homemade chocolate chip cookie recipe stand out? Simplicity and incredible flavor. Forget about lugging out your stand mixer or hand-held beaters – this entire recipe comes together effortlessly in just one saucepan! This streamlined approach not only makes cleanup a breeze but also contributes to the cookie’s unique texture.
The magic begins with melted butter. This not only forms the base but also helps dissolve the sugars thoroughly, leading to an incredibly smooth and tender cookie texture. When the butter is slightly browned during the melting process, it introduces delightful caramel and toffee notes, adding an extra layer of complexity and richness to every bite. The recipe also calls for dark brown sugar, which is key to achieving that desirable chewy texture and deep, molasses-rich flavor. Coupled with a generous amount of butter, this combination ensures your cookies will boast those coveted buttery, crisp edges and sumptuously chewy centers that everyone adores.
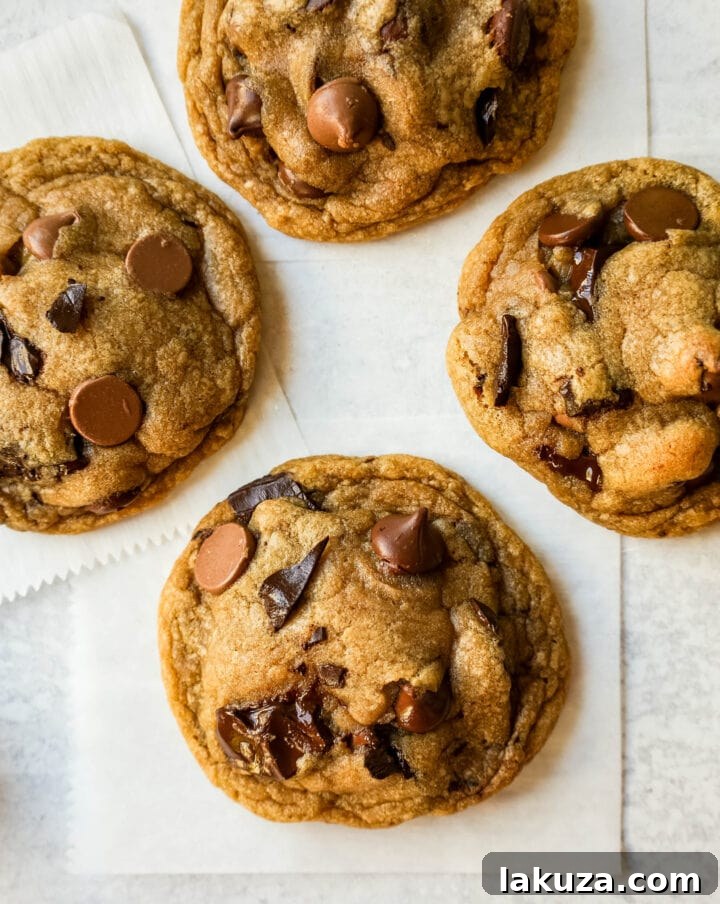
Expert Tips for Baking the Best Chocolate Chip Cookies
Achieving cookie perfection is a blend of art and science. Here are my tried-and-true tips and tricks, honed over years, to ensure your homemade chocolate chip cookies turn out perfectly every single time.
1. Avoid Overbaking at All Costs
This is arguably the most common pitfall in cookie baking. A fundamental rule of thumb is to err on the side of underbaking rather than overbaking. A slightly gooey, soft chocolate chip cookie is infinitely more enjoyable than one that’s burnt, dry, or hard as a rock! Remember, cookies continue to bake for several minutes on the hot baking sheet even after they’ve been removed from the oven, a phenomenon known as carryover cooking.
Once you pull your cookies from the oven, allow them to set and firm up on the hot cookie sheet for at least five minutes. This crucial resting period prevents them from falling apart when transferred. As soon as they are firm enough, carefully move them to a wire cooling rack. A cooling rack is indispensable for cookies as it allows air to circulate around them, ensuring they maintain a perfectly crisp exterior while retaining their delightfully chewy centers.
2. Choose the Right Baking Sheets
The type of baking sheet you use can significantly impact your cookies. I strongly recommend investing in light-colored, heavy-gauge aluminum cookie sheets. Dark-colored baking sheets absorb and conduct heat much more aggressively, causing the bottoms of your cookies to brown and potentially burn much faster than the centers can cook through. This often leads to unevenly baked cookies.
A heavy, thick baking sheet, on the other hand, distributes heat more evenly and gently, preventing hot spots and promoting consistent baking. When arranging your cookie dough on the sheet, ensure ample spacing – at least two inches apart. This serves two vital purposes: first, it prevents cookies from spreading into each other and merging; second, it allows hot air to circulate freely around each cookie, promoting those desirable golden, crispy edges.
3. Verify Your Oven Temperature
Oven temperatures can be notoriously inconsistent. It’s a good practice to use an independent oven thermometer to verify that the actual temperature inside your oven matches the setting on the dial. A difference of even ten degrees can drastically alter baking times and results.
Furthermore, become acquainted with potential hot spots in your oven. Some ovens run hotter in the back, while others might have uneven heating. If you notice certain areas of your oven cause cookies to brown faster, rotate your baking sheet halfway through the baking time. This simple step ensures a more uniform bake across all your cookies. Always remember to preheat your oven thoroughly before placing cookies inside, which typically takes about 7-10 minutes. Baking in a cold oven will negatively affect the cookie’s spread and texture.
4. Master Accurate Ingredient Measurement
Precision in baking is paramount, especially when it comes to measuring ingredients like flour. For dry ingredients, employ the “Dip and Sweep” method: dip your measuring cup into the flour, then use a straight edge (like a knife) to level off the excess, ensuring an even measurement. Crucially, do not tap the measuring cup on the counter or press the flour into the cup. Doing so compresses the flour, leading to too much flour being added to the recipe, which can result in dry, dense, and crumbly cookies.
For ultimate accuracy, especially with flour, a kitchen scale is your best friend. Measuring by weight (grams) is far more consistent than by volume (cups). For convenience, here’s a common conversion: 1 cup of all-purpose flour typically weighs around 120-125 grams.
5. Elevate Your Cookies with Gourmet Presentation
Making your cookies look as good as they taste is a simple yet impactful step. Start by rolling your cookie dough into smooth, uniform balls. The smoother and more consistent the dough balls, the more visually appealing your baked cookies will be.
For that “bakery-style” finish, gently press a few extra chocolate chips or chunks onto the top and sides of each dough ball just before baking. As the cookies bake, these strategically placed chocolates will melt beautifully, creating those irresistible pools of chocolate on the surface. After removing the cookies from the oven, while they are still warm and pliable, use a spatula or the rim of a glass (slightly larger than the cookie) to gently nudge the edges inward, shaping them into a perfectly round circle. This technique works wonders for creating picture-perfect cookies.
6. Embrace the Power of Chilling Your Cookie Dough
Chilling chocolate chip cookie dough is not just an optional step; it’s a game-changer. While this specific recipe allows for a quick 30-minute chill, I highly recommend chilling the dough for at least 24 hours, or even up to 48 hours, if time permits. This resting period works wonders in several ways:
- Flavor Development: Chilling allows the flavors of the ingredients to meld and deepen, resulting in a richer, more complex taste profile with prominent caramel and toffee notes.
- Moisture Absorption: The dry ingredients absorb moisture from the butter and sugar, which helps to dissolve the sugar crystals more thoroughly. This leads to increased caramelization during baking, contributing to a chewier texture.
- Gluten Relaxation: The gluten developed during mixing relaxes as the dough rests. This relaxation ensures a more tender and less tough cookie.
- Reduced Spread: Cold dough spreads less in the oven, leading to thicker cookies with those desirable crisp edges and soft, chewy centers.
The result of chilling is a profoundly richer, more decadent chocolate chip cookie with an unparalleled depth of flavor and texture.
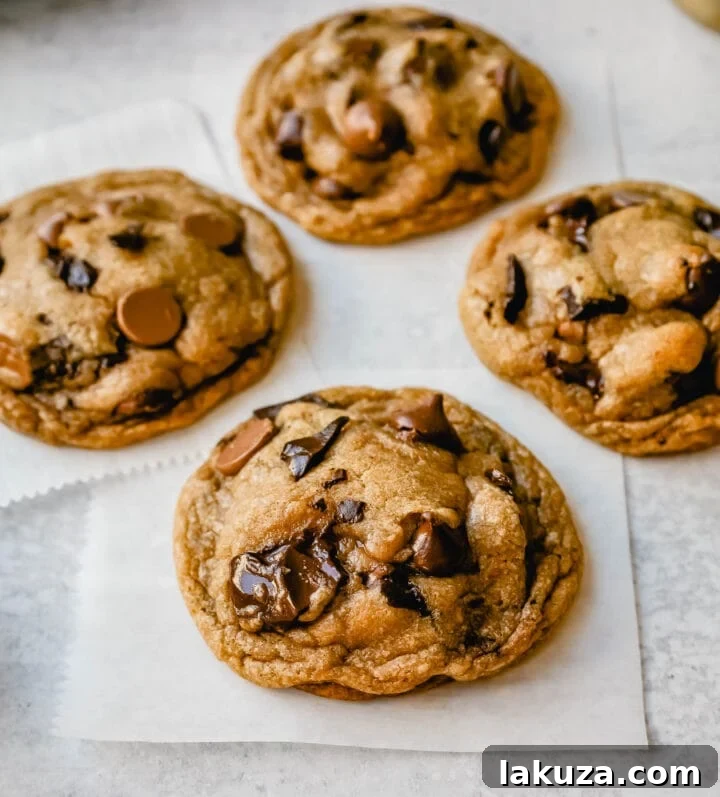
Knowing When Your Cookies Are Perfectly Baked
One of the most frequent questions I receive is about identifying the precise moment cookies are “done.” As emphasized earlier, the biggest secret to perfect chocolate chip cookies is to avoid overbaking. I always suggest removing them from the oven when they still look slightly underbaked in the center. They will continue to firm up and cook on the hot baking sheet.
Look for these visual cues: the edges should be a light golden color, and you might start to see slight flattening and subtle ridges forming around the perimeter. The very center might appear a touch soft or even slightly wet, and that’s exactly what you want for that coveted chewy middle. Trust your instincts and these visual cues – pulling them out a minute early is often better than a minute too late!
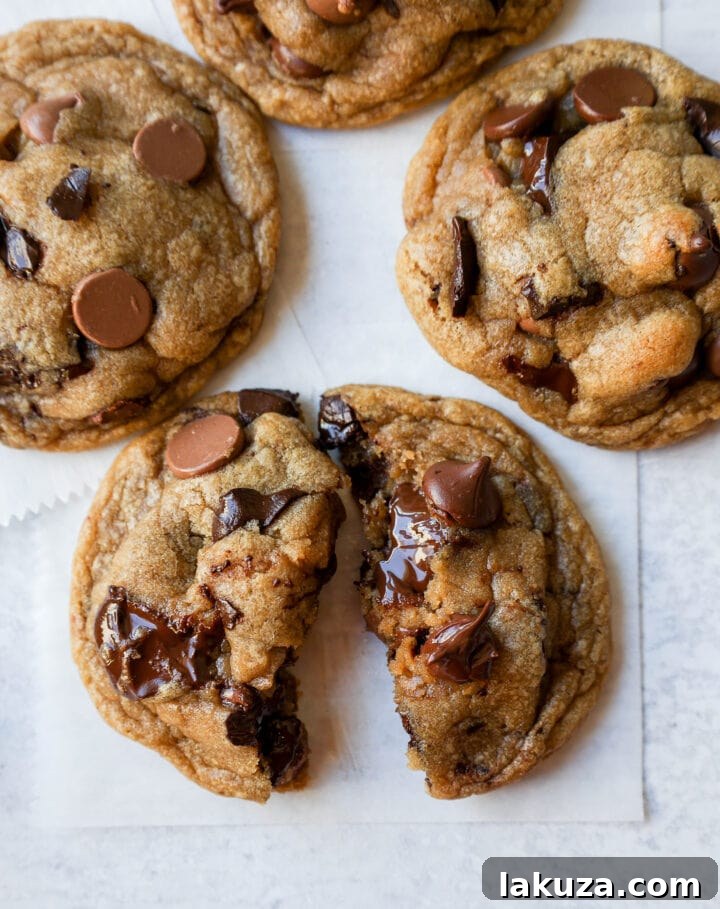
Key Ingredients for Your Perfect Chocolate Chip Cookies
Each ingredient plays a crucial role in the final flavor and texture of your cookies. Understanding their purpose will elevate your baking.
Butter: Salted vs. Unsalted
Most professional bakers advocate for unsalted butter. The primary reason is control: unsalted butter allows you to precisely manage the salt content in your recipe. Additionally, unsalted butter is often fresher, as salt acts as a preservative. However, if salted butter is what you have on hand, simply reduce the amount of added salt in the recipe by about ¼ teaspoon to balance the flavor.
Sugar: Dark Brown vs. Granulated
This recipe specifically calls for dark brown sugar, which is instrumental in creating a chewier, richer cookie. Dark brown sugar contains more molasses than light brown sugar, contributing to its deeper flavor and higher moisture content. You can certainly use a mix of half dark and half light brown sugar, or even all light brown sugar if preferred, but be aware it will slightly alter the texture and depth of flavor. Always pack brown sugar firmly into your measuring cup for an accurate measurement.
Granulated white sugar, or “regular” sugar, also plays a key role in sweetness and crispness. For an exceptionally creamy and silky-smooth butter-sugar mixture, consider using superfine sugar. You can purchase it or easily make your own by pulsing regular granulated sugar in a food processor for about 10 seconds.
Eggs: The Binder and Leavener
Standard cookie recipes typically call for large eggs. For best results, bring your eggs to room temperature before incorporating them into the dough. Room temperature eggs emulsify more effectively with the butter and sugar, creating a smoother, more uniform dough. A quick trick to warm eggs is to place them in a bowl of warm (not hot) water for 5-10 minutes.
Vanilla Extract: The Flavor Enhancer
Never underestimate the power of high-quality vanilla extract. Pure vanilla extract, rather than imitation vanilla flavoring, can significantly enhance the overall aroma and flavor of your baked goods. My personal favorites include Nielsen-Massey Pure Vanilla Extract, Mexican Vanilla, or even a rich Vanilla Bean Paste for an extra luxurious touch.
Flour: The Structure Builder
Unless otherwise specified, most cookie recipes, including this one, use all-purpose flour. It provides the necessary structure without being too heavy. Some specialized cookie recipes, like my Levain Bakery Chocolate Chip Cookies, might use a blend of all-purpose and cake flours to achieve a specific crumb and tenderness, but for this recipe, all-purpose flour is perfect.
Baking Soda: The Leavening Agent
Baking soda is a chemical leavener that creates lift and promotes browning in baked goods. When it reacts with an acidic ingredient (like the molasses in brown sugar, or buttermilk/sour cream in other recipes), it produces carbon dioxide bubbles. These tiny bubbles expand during baking, giving cookies their desired rise and airy texture. It also plays a role in achieving that beautiful golden-brown crust.
Salt: The Flavor Balancer
Often overlooked, salt is an absolutely integral ingredient, even in sweet desserts. It’s a powerful flavor enhancer that balances sweetness, making the other flavors in your cookie shine brighter and preventing them from tasting cloyingly sweet.
Chocolate: The Star of the Show
While semi-sweet chocolate chips are the traditional choice for chocolate chip cookies, don’t be afraid to experiment! A delightful blend of milk chocolate chips and semi-sweet chips can offer a balanced sweetness. For an truly gourmet experience, I often opt for chopped chocolate bars. Their irregular shapes and superior melting quality create those gorgeous pools of melted chocolate throughout the cookie.
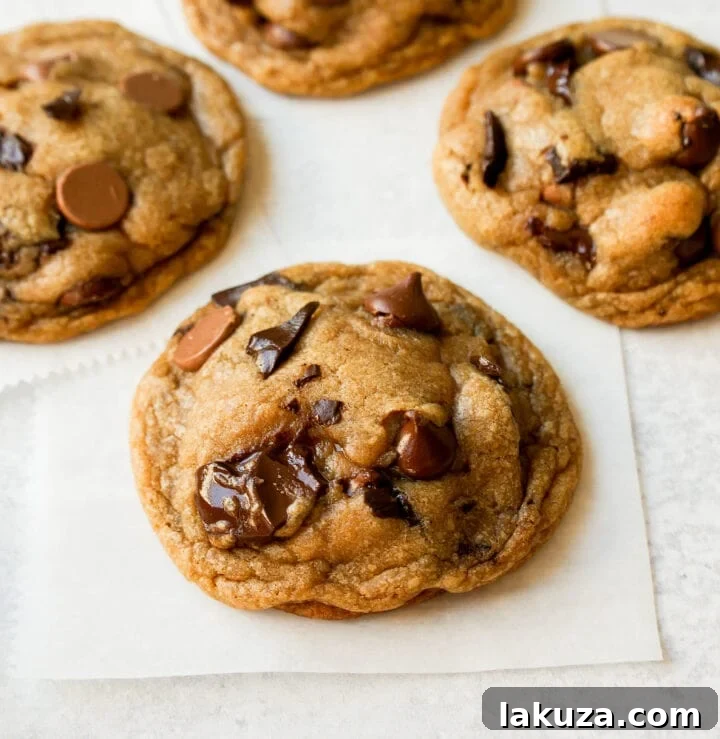
Choosing the Best Chocolate for Your Cookies
The type of chocolate you select will profoundly influence the flavor profile of your cookies, making it largely a matter of personal preference.
Semi-sweet chocolate remains the most popular choice for classic chocolate chip cookies, offering a balanced sweetness that complements the cookie dough without overpowering it. Milk chocolate comes in a close second, providing a sweeter, creamier, and milder chocolate experience.
For exceptional quality and flavor, my personal favorite brands of chocolate for baking include Guittard, Ghirardelli, and Trader Joe’s. Guittard Milk Chocolate Chips are renowned for their rich, creamy texture and superior flavor, while Ghirardelli Semi-Sweet Chocolate Chips deliver consistent quality. Trader Joe’s chocolate chips are often slightly larger, contributing to a more decadent chocolate presence. Their “Pound Plus” chocolate bars are also excellent for chopping into custom-sized chocolate chunks, which melt beautifully into luxurious pools.
Chocolate Chip Conversion Guide
Curious about how many cups are in a standard bag of chocolate chips? One 12-ounce bag of chocolate chips typically yields two cups. Therefore, 6 ounces of chocolate chips is equivalent to 1 cup.
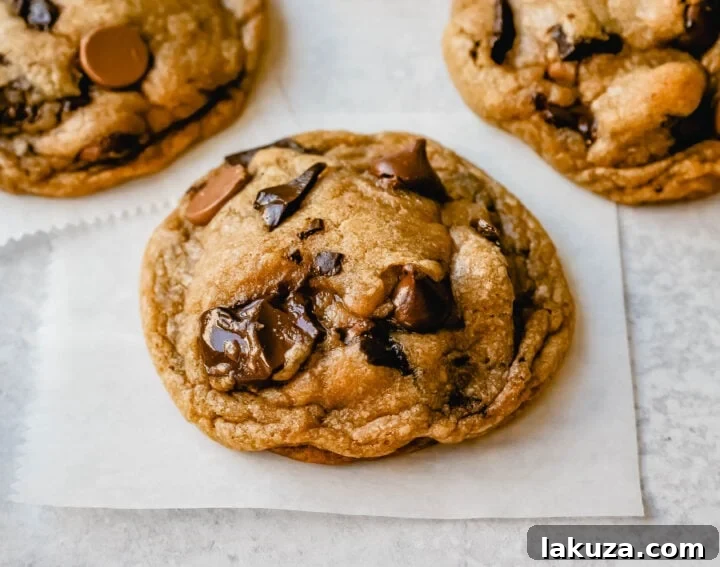
Perfect Chocolate Chip Cookie Recipe
By: Modern Honey® – www.modernhoney.com
This simple, no-mixer chocolate chip cookie recipe delivers perfect chewy centers and crisp edges every time!
- Prep Time: 15 minutes
- Cook Time: 8-10 minutes
- Chill Time: 30 minutes (minimum)
- Yields: 16 cookies
Equipment You’ll Need:
- Deep, heavy-duty saucepan (large enough to mix all ingredients)
- Whisk or wooden spoon
- Light-colored baking sheets (18×13 inches recommended)
- Parchment paper sheets
- Measuring cups and spoons
- Large cookie scoop (3-ounce)
- Wire cooling rack
- Spatula
Ingredients:
- 1 cup (226g) Unsalted Butter (see notes for salted butter)
- 1 cup (200g) Dark Brown Sugar, packed
- 1/2 cup (100g) Granulated Sugar
- 2 large Eggs, room temperature
- 2 teaspoons Pure Vanilla Extract
- 2 1/3 cups (280g) All-Purpose Flour
- 1 teaspoon Baking Soda
- 1 teaspoon Fine Sea Salt (adjust if using salted butter)
- 1 3/4 to 2 cups (approx. 300-340g) Chocolate Chips or Chunks (semi-sweet, milk, or a mix)
Instructions:
- Melt Butter and Combine Sugars: Heat a deep saucepan over medium heat. Add the butter and allow it to melt completely. For an enhanced caramel-toffee flavor, you can slightly brown the butter (see notes below). Once melted, remove from heat. Immediately add the dark brown sugar and granulated sugar. Whisk thoroughly until the mixture is completely smooth and no longer grainy, resembling dark caramel. If there are any stubborn clumps, use the back of a wooden spoon to press them against the side of the pan until dissolved.
- Cool the Mixture: Set the saucepan aside for 15-20 minutes to allow the butter-sugar mixture to cool down to room temperature before adding the eggs. This step is crucial to prevent the eggs from scrambling.
- Add Wet Ingredients: Once cooled, stir in the vanilla extract and room-temperature eggs. Mix until everything is completely combined and smooth.
- Incorporate Dry Ingredients: Gently fold in the all-purpose flour, baking soda, and salt. Stir just until combined; be careful not to overmix, as this can lead to tough cookies.
- Check Dough Temperature: Before adding the chocolate, ensure the cookie dough isn’t too warm, as this will cause the chocolate to melt prematurely. If it feels warm, cover the pan and place it in the refrigerator for 5-10 minutes.
- Fold in Chocolate and Chill Dough: Remove from the refrigerator (if chilled briefly) and fold in your chosen chocolate chips or chunks. Cover the saucepan again and place the dough in the refrigerator to chill for a minimum of 30 minutes. For even better flavor development and texture, chilling for 24-48 hours is highly recommended (if chilling longer, let the dough sit at room temperature for about an hour before scooping to make it easier to work with).
- Prepare for Baking: Preheat your oven to 365°F (185°C). Line light-colored baking sheets with parchment paper. Using a 3-ounce cookie scoop, portion out dough balls onto the prepared baking sheets, spacing them at least 2 inches apart. Roll the dough into smooth, uniform balls. For a gourmet touch, press a few extra chocolate chips onto the top of each cookie dough ball.
- Bake to Perfection: Bake for 8-10 minutes, or just until the edges are lightly golden and the centers still look slightly soft and gooey. Remember, do not overbake! The cookies will continue to set on the hot baking sheet after being removed from the oven.
- Shape and Cool: Once removed from the oven, let the cookies rest on the baking sheet for at least 5 minutes to firm up. For perfectly round cookies, use a spatula or the rim of a glass (slightly larger than the cookie) to gently push the edges inwards while they’re still warm. Transfer them to a wire cooling rack to cool completely.
Recipe Notes:
- Butter: This recipe uses unsalted butter. If you opt for salted butter, reduce the added salt in the recipe by ¼ teaspoon.
- Brown Sugar: The recipe specifies dark brown sugar for its rich flavor and chewy texture. You can substitute with light brown sugar, or a 50/50 mix, but be aware it may slightly alter the final texture and taste.
- How to Brown Butter: To brown the butter, melt it over medium-low heat in your saucepan. It will bubble, foam, and eventually small brown bits will appear at the bottom, and the butter will turn an amber color. Stir frequently. Remove from heat immediately once browned to prevent burning. Browning butter adds a wonderful nutty, caramel note.
- Choosing Chocolate: Semi-sweet is classic, but milk chocolate or a mix can be delicious. Guittard, Ghirardelli, and Trader Joe’s are recommended brands. Chopped chocolate bars melt beautifully.
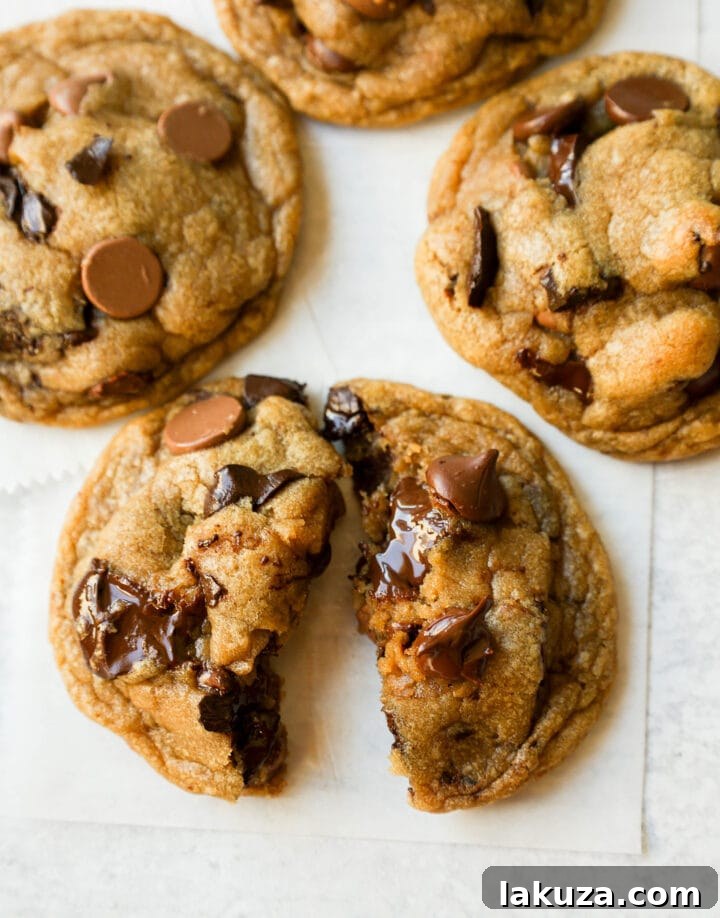
Frequently Asked Questions About Chocolate Chip Cookies
Should I use parchment paper when baking cookies?
Absolutely, yes! Lining your baking sheets with parchment paper offers numerous benefits. It prevents cookies from sticking to the pan, ensuring easy removal without breakage. The non-stick surface also promotes more even baking and makes cleanup incredibly simple. It’s a small step that makes a big difference in the quality and presentation of your cookies.
How long should cookies cool on the baking sheet?
Allowing chocolate chip cookies to cool on the baking sheet for at least 5 minutes after removing them from the oven is essential. This crucial resting period gives the cookies time to set up and firm, preventing them from crumbling when transferred. After 5 minutes, they should be stable enough to carefully transfer to a wire cooling rack to finish cooling completely.
What’s the best way to store chocolate chip cookies?
To maintain maximum freshness and that delightful chewy texture, store your baked chocolate chip cookies in an airtight container at room temperature. They will remain fresh for several days. For longer storage, cookies can be frozen in gallon-sized freezer bags for several weeks. When ready to enjoy, simply thaw at room temperature or warm slightly in the microwave for that “freshly baked” experience.
If you’re a fan of chocolate chip cookies made in a saucepan and love experimenting with butter, be sure to explore my BROWNED BUTTER CHOCOLATE CHIP COOKIE RECIPE and my intriguing MJ’s TOP SECRET CHOCOLATE CHIP COOKIE RECIPE for more delicious variations.