
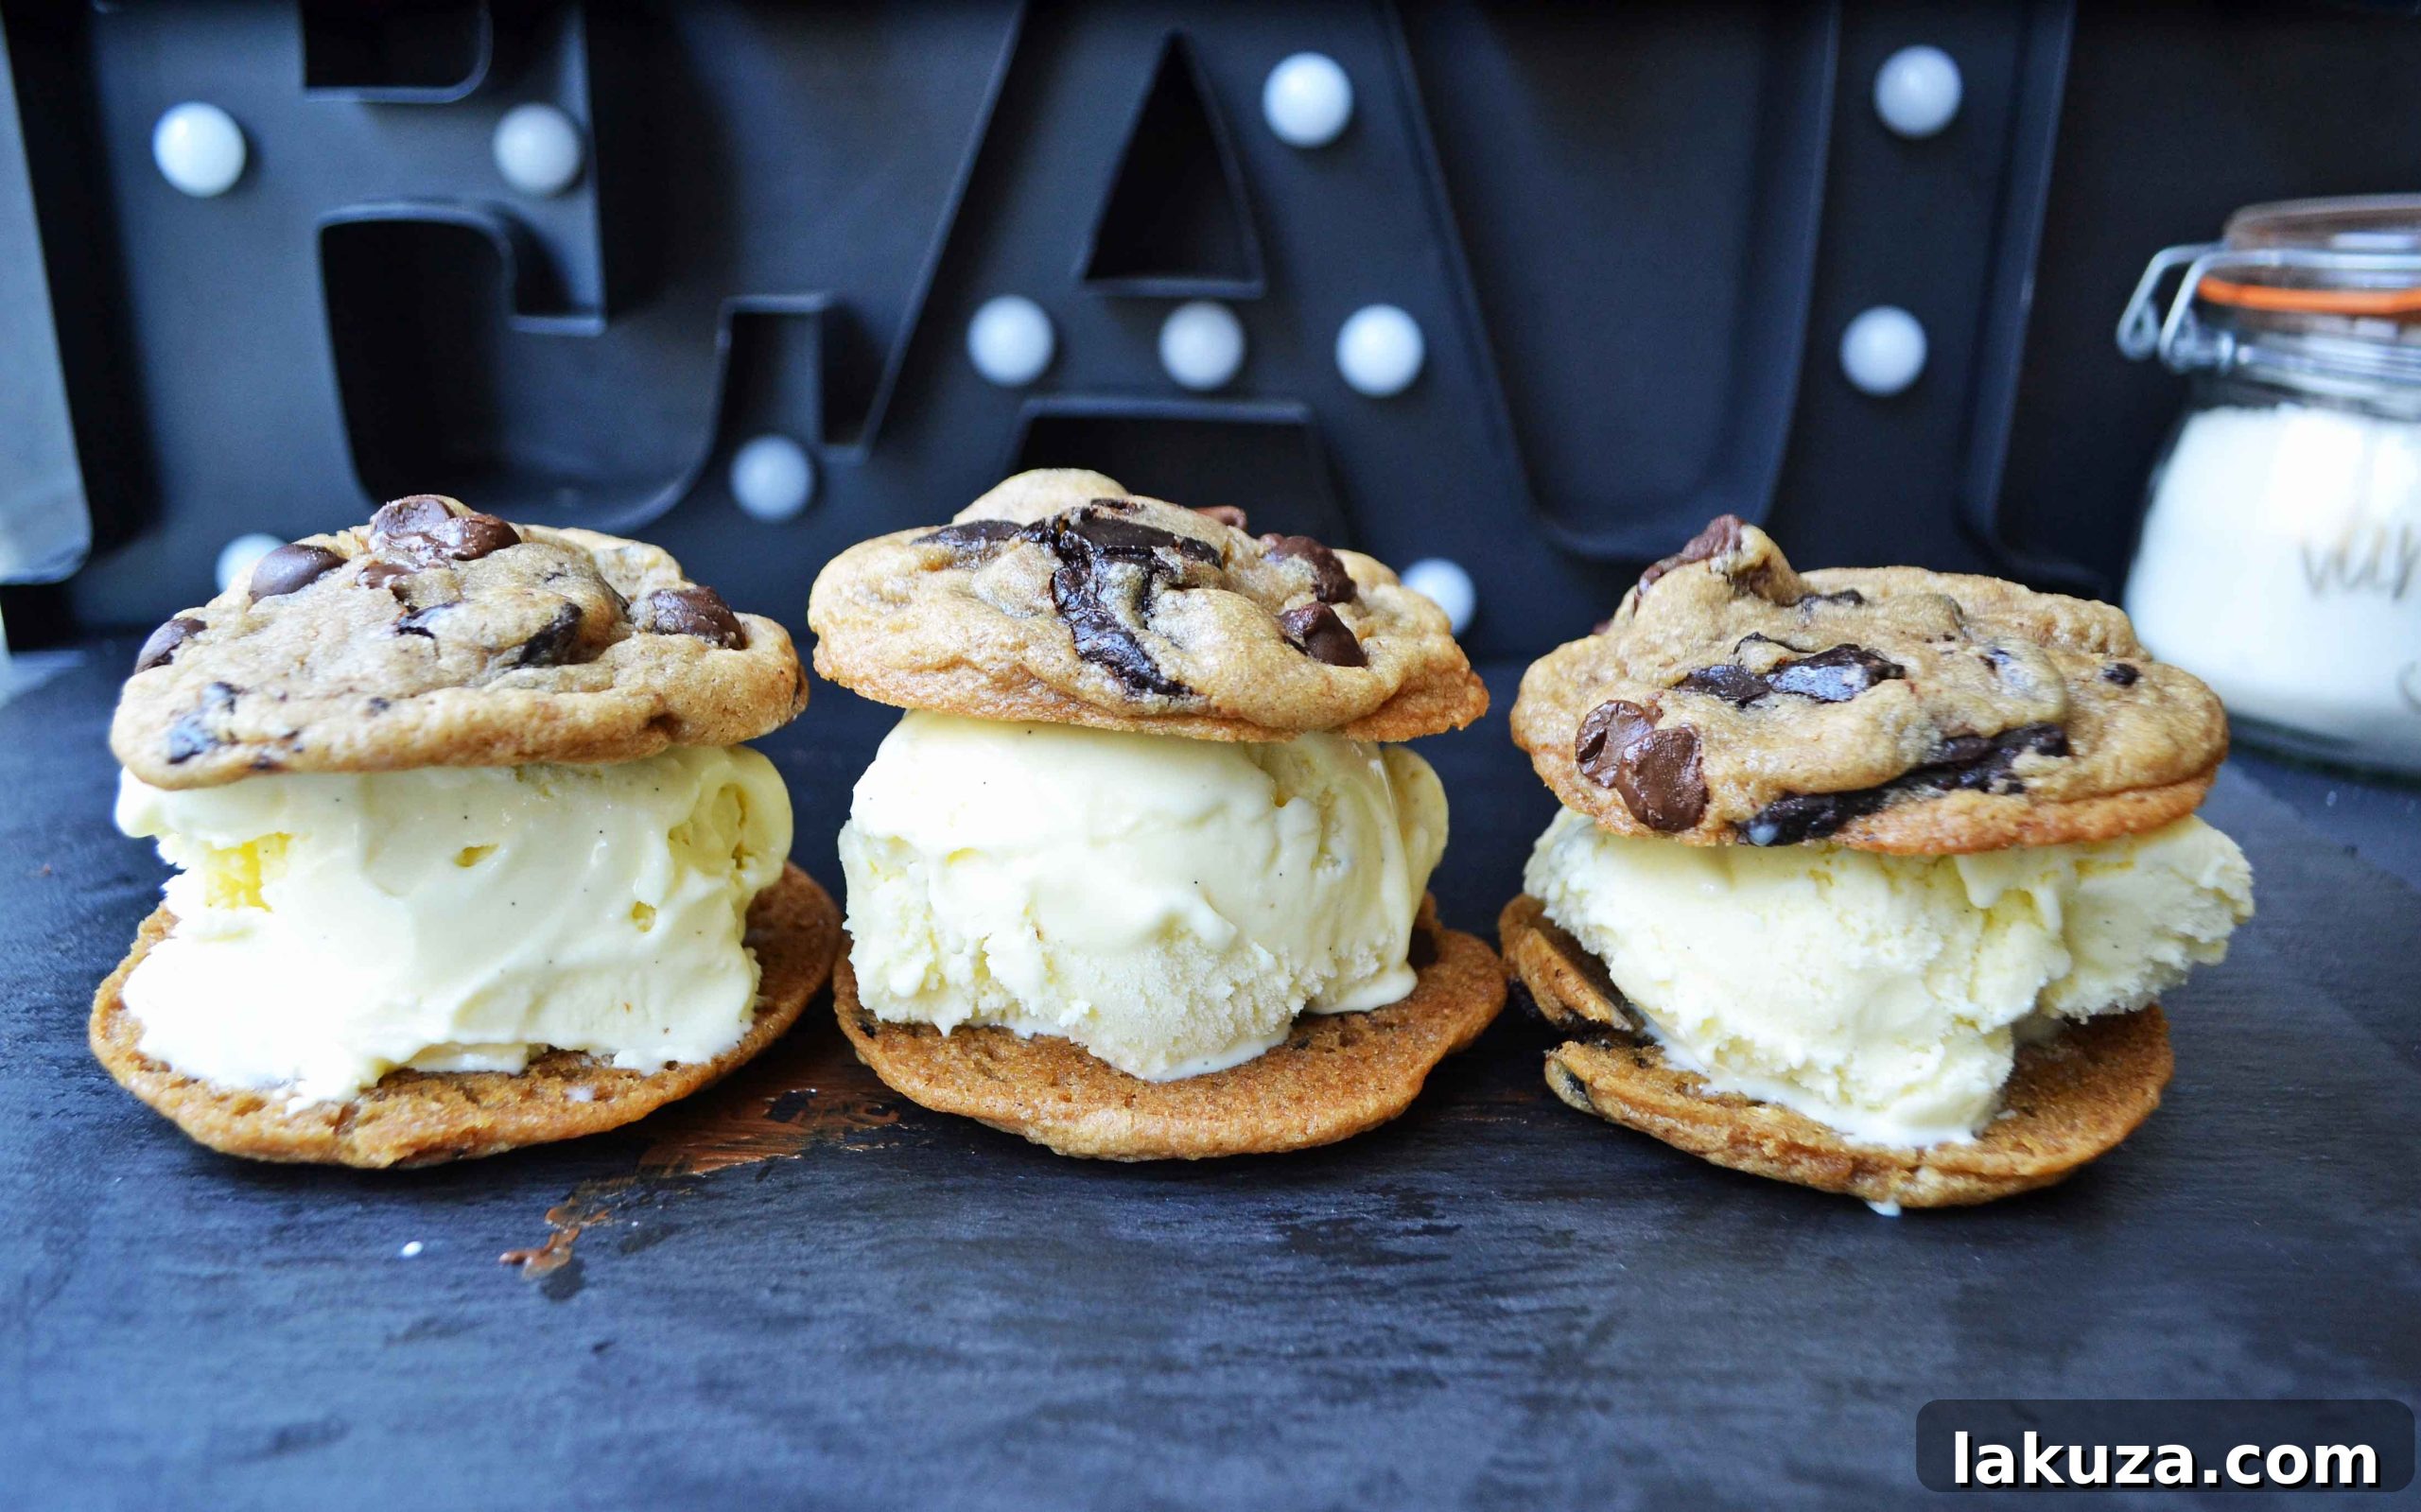
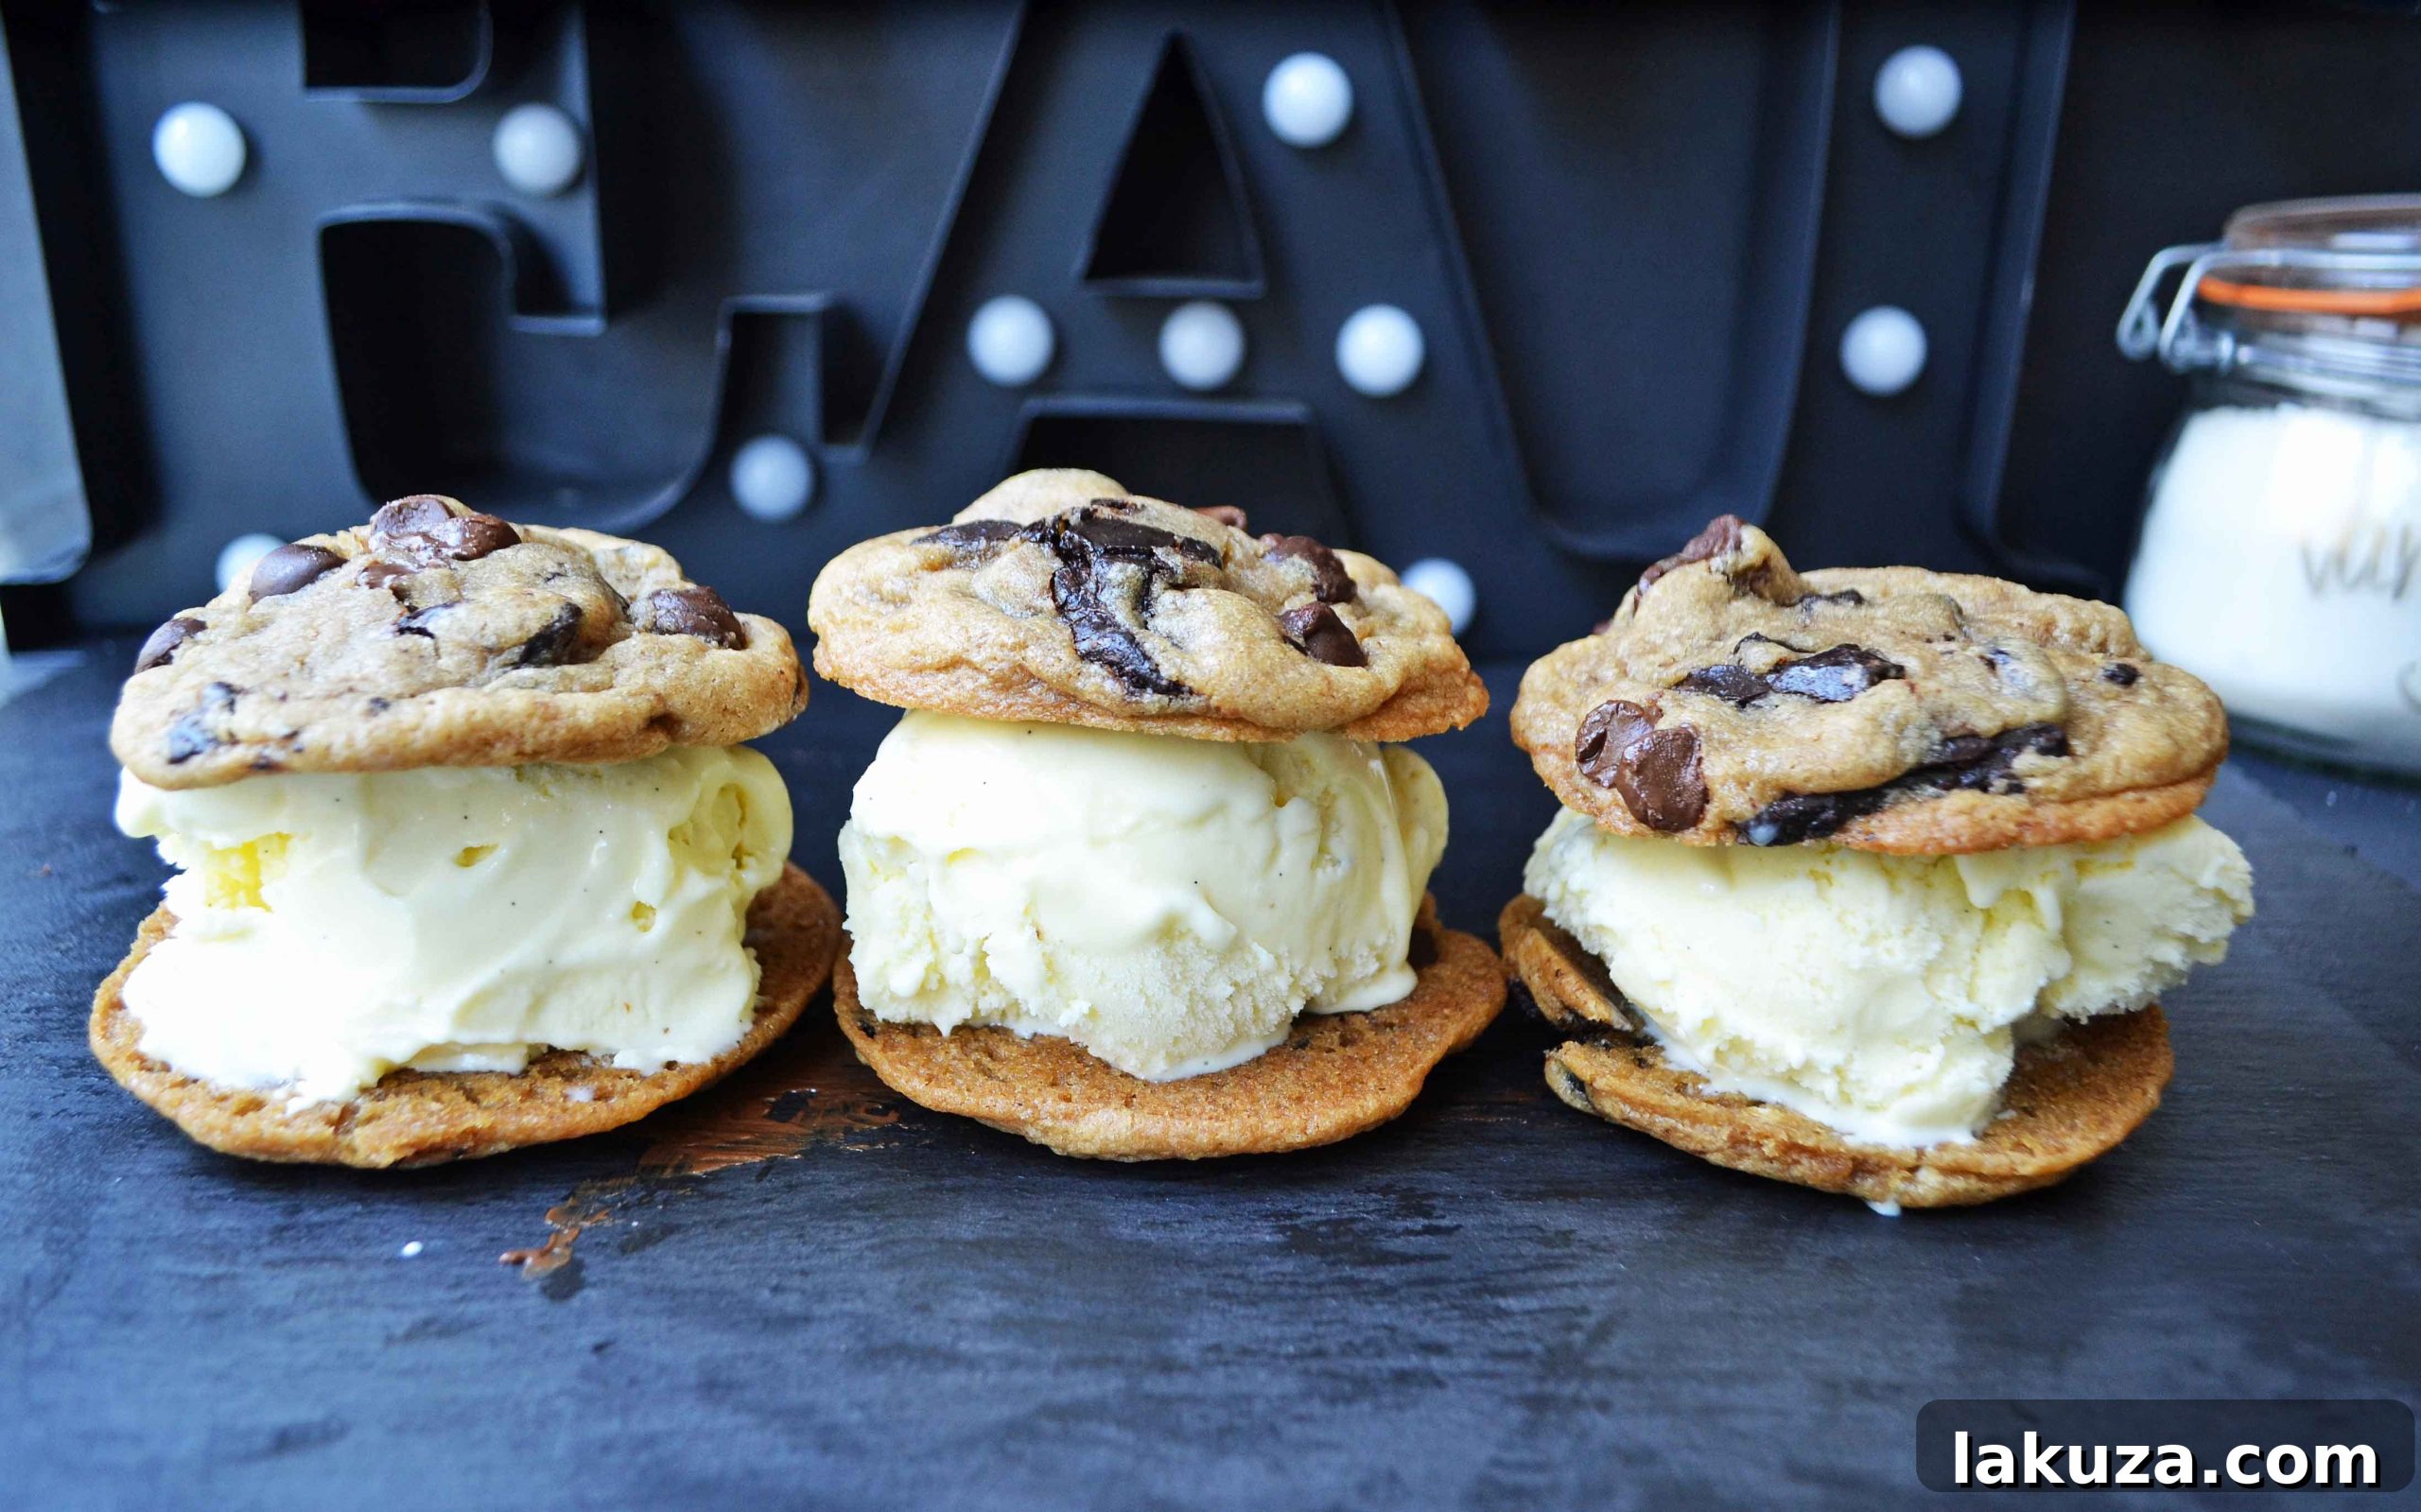
Ultimate Chocolate Chip Cookie Ice Cream Sandwiches
Imagine the perfect summer treat: two irresistibly soft, chewy, and rich chocolate chip cookies embracing a generous scoop of creamy, homemade vanilla bean ice cream. This isn’t just a dessert; it’s an experience, a nostalgic bite that transports you to sunny days and carefree moments. Our recipe for Chocolate Chip Cookie Ice Cream Sandwiches elevates this classic delight to an art form, pairing an easy-to-make, luscious vanilla ice cream with our signature sea salt chocolate chunk cookies. Prepare to indulge in the ultimate homemade frozen treat.
There’s a clear distinction between a good ice cream sandwich and an extraordinary one. Throughout my life, I’ve sampled countless versions, from store-bought novelties to gourmet creations. The quest for perfection led me to develop this recipe, which I proudly declare the “ultimate.” The secret lies in the harmonious balance of textures and flavors: the slight saltiness of the rich chocolate chip cookie perfectly cuts through the sweet, pure essence of vanilla bean ice cream. This isn’t just a match made in heaven; it’s a culinary masterpiece you can create in your own kitchen.
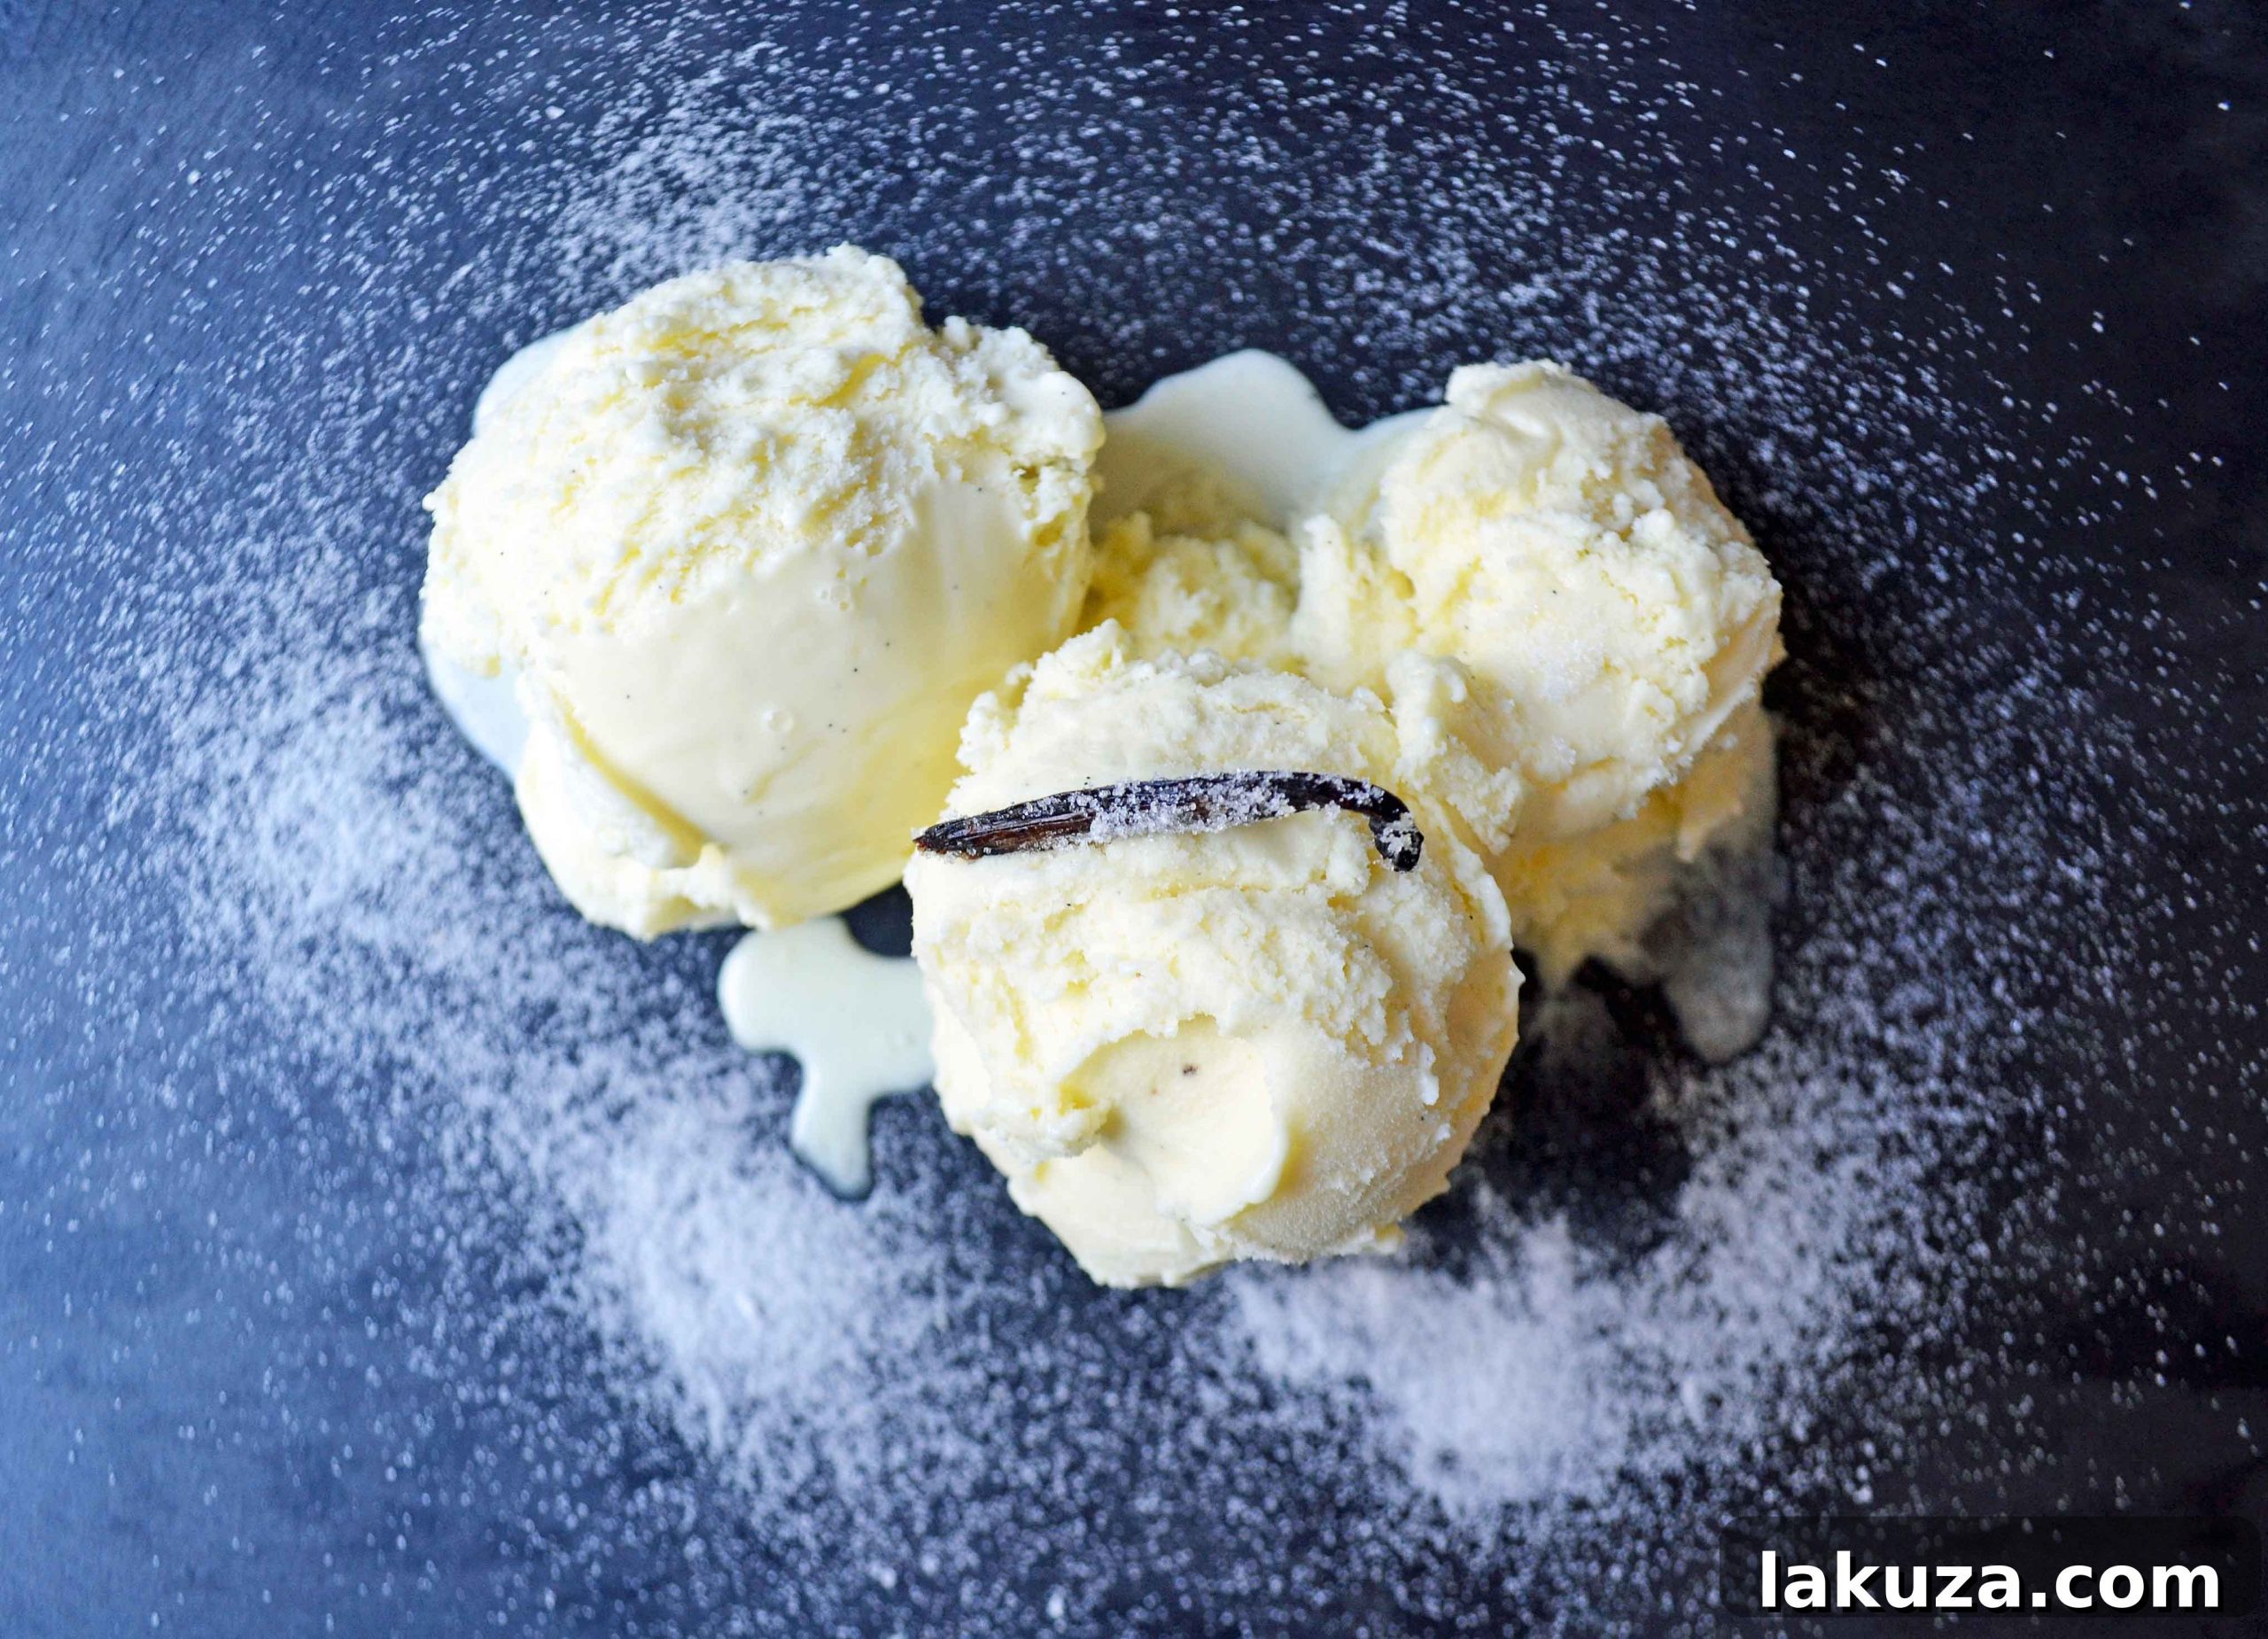
Crafting the Dreamy Homemade Vanilla Bean Ice Cream
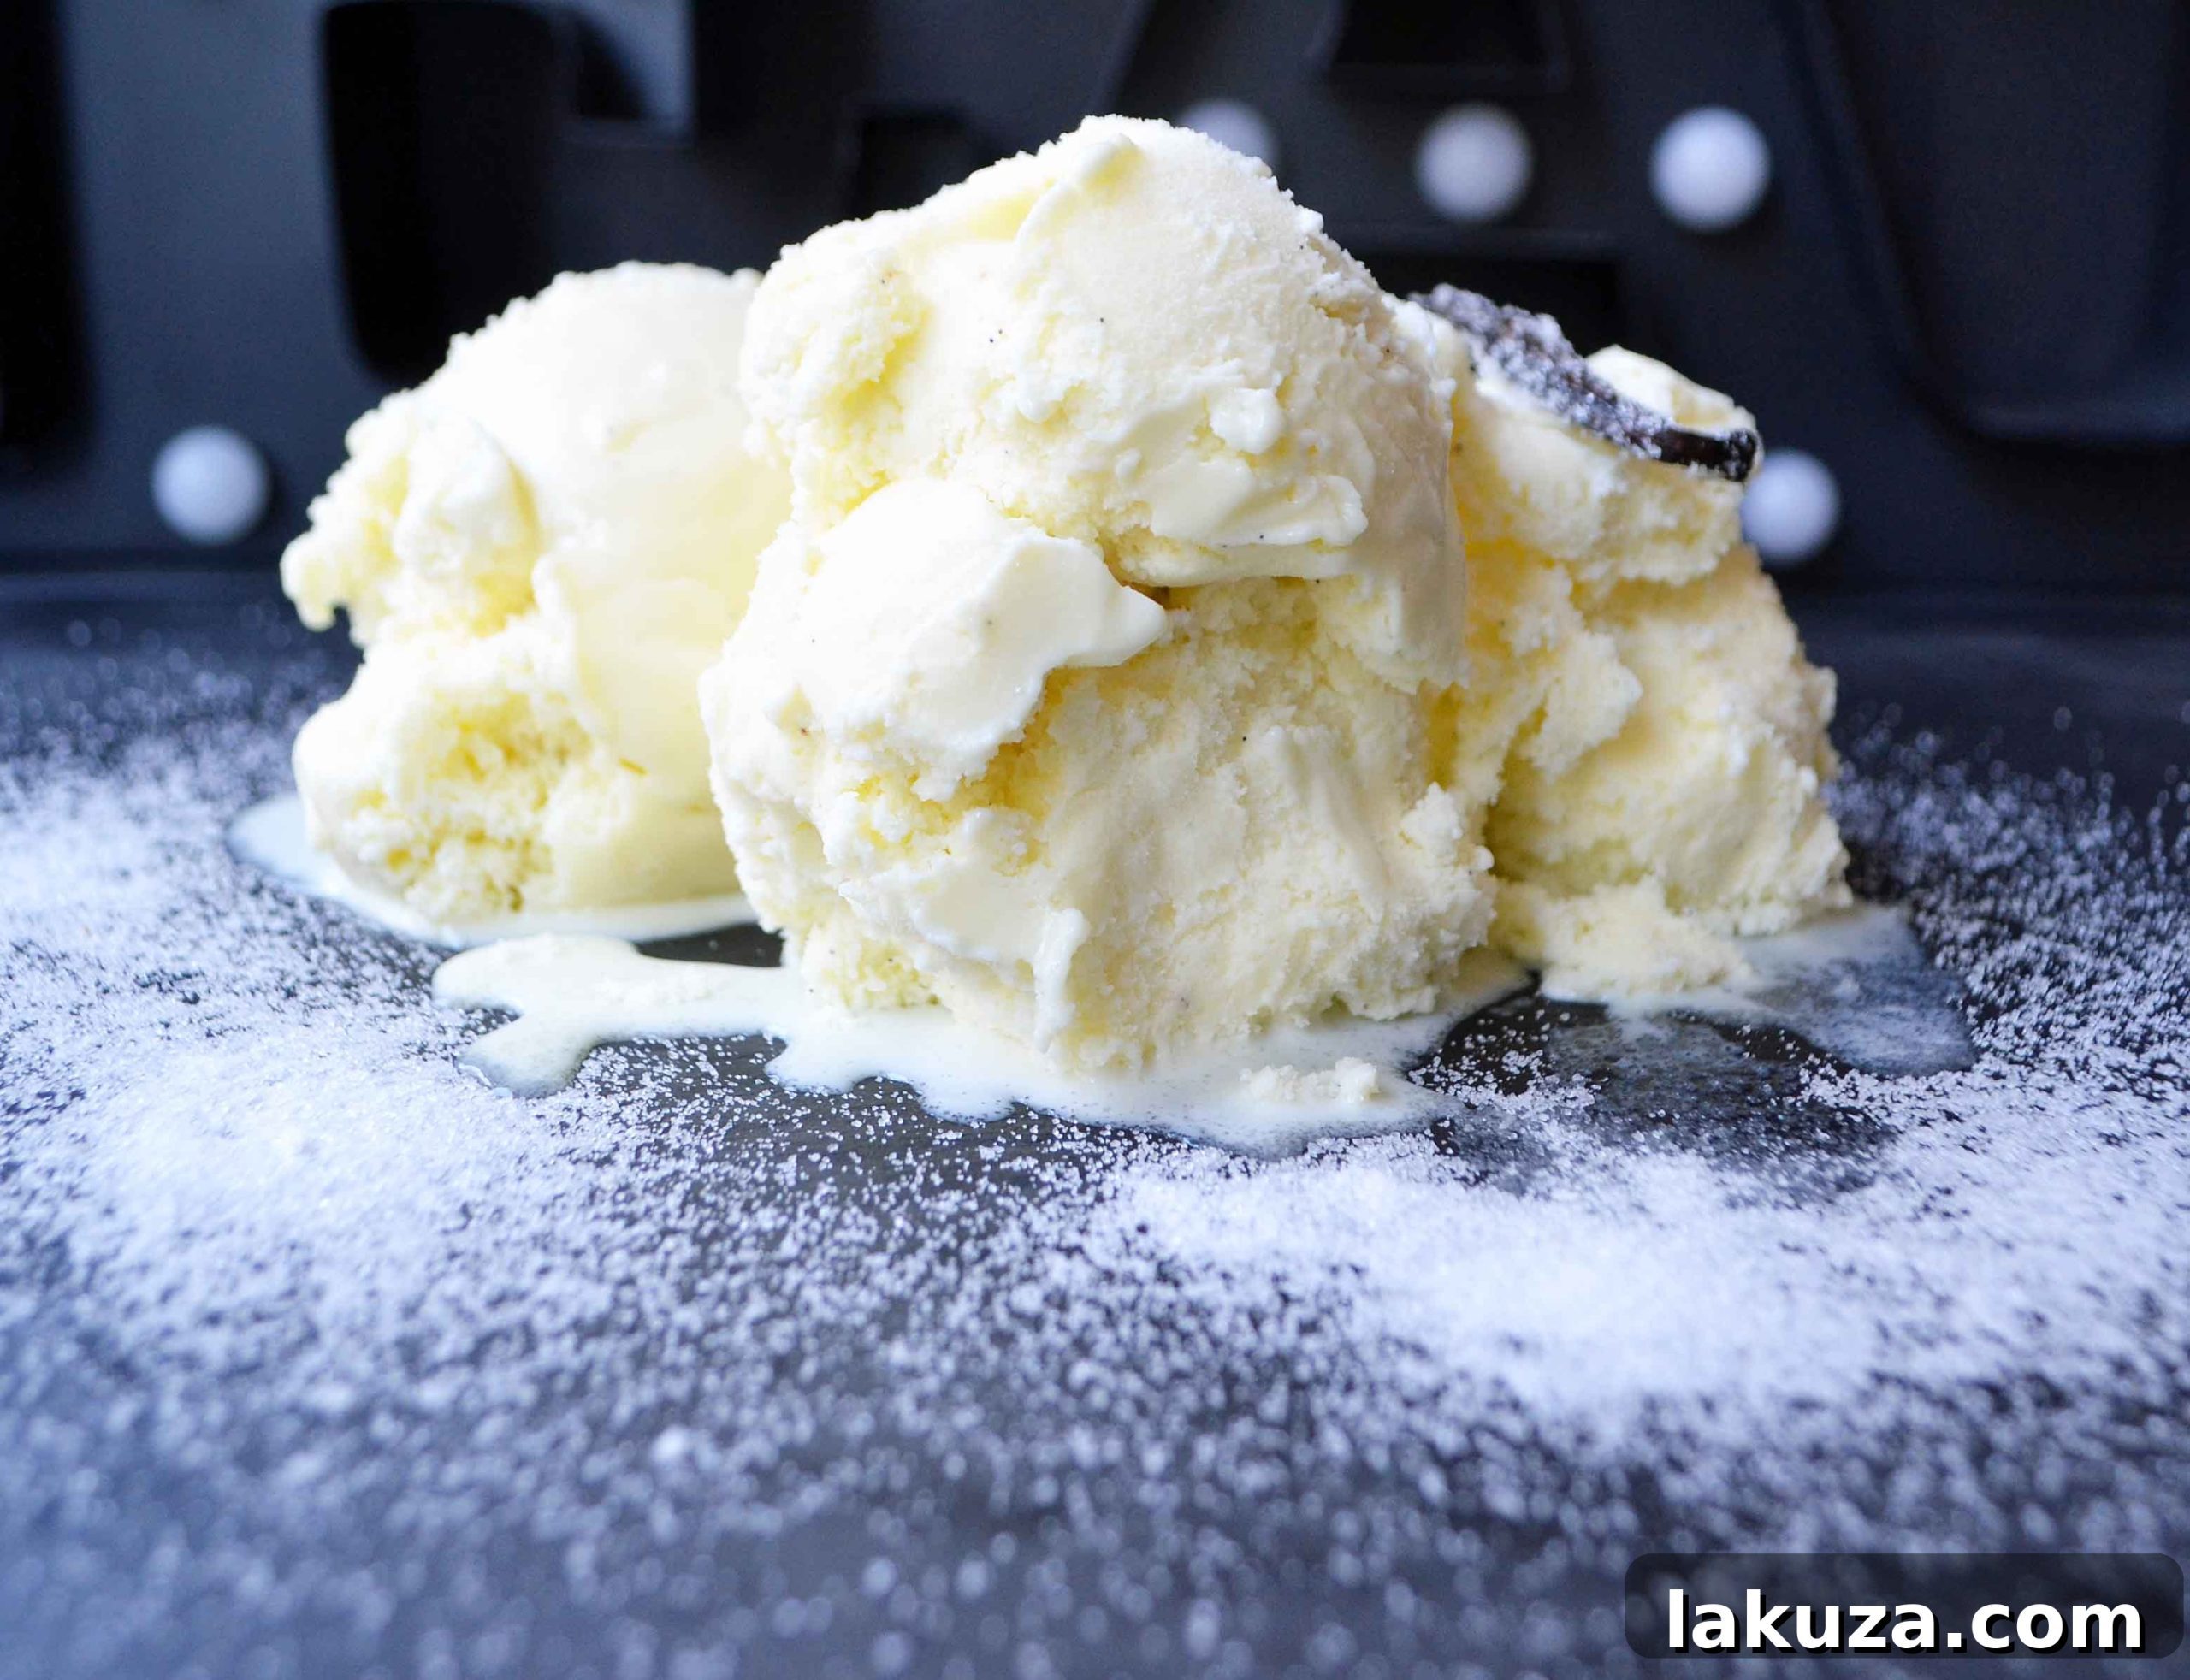
The heart of any great ice cream sandwich is, of course, the ice cream itself. While store-bought options are convenient, nothing compares to the fresh, vibrant flavor of homemade vanilla bean ice cream. What makes our recipe truly special is its incredible simplicity and the absence of eggs, which significantly reduces preparation time without compromising on richness or creaminess. You’ll need just four fundamental ingredients: heavy cream, half-and-half, sugar, and the star of the show, vanilla bean.
By opting for a no-egg custard base, we eliminate the need for tempering eggs, stirring constantly over heat, and cooling for extended periods. Instead, a quick stir over medium-low heat to dissolve the sugar is all it takes to create a perfectly smooth, ready-to-chill base. The choice of vanilla is crucial here. While pure vanilla extract or vanilla bean paste will yield delicious results, a genuine vanilla bean, halved and scraped, imparts an unparalleled depth of authentic vanilla flavor that truly shines through. It creates a subtle floral and sweet aroma that artificial extracts simply cannot replicate, giving your ice cream that gourmet touch.
Once the sugar is dissolved and the vanilla infused, the mixture is chilled thoroughly before churning. This chilling step is vital for achieving the ideal creamy texture. As the mixture churns in your ice cream maker, it gradually transforms into a smooth, luxurious ice cream, free from ice crystals and bursting with pure vanilla essence. It’s a simple process that yields incredibly rewarding results, setting the stage for the most exquisite ice cream sandwiches you’ve ever tasted.
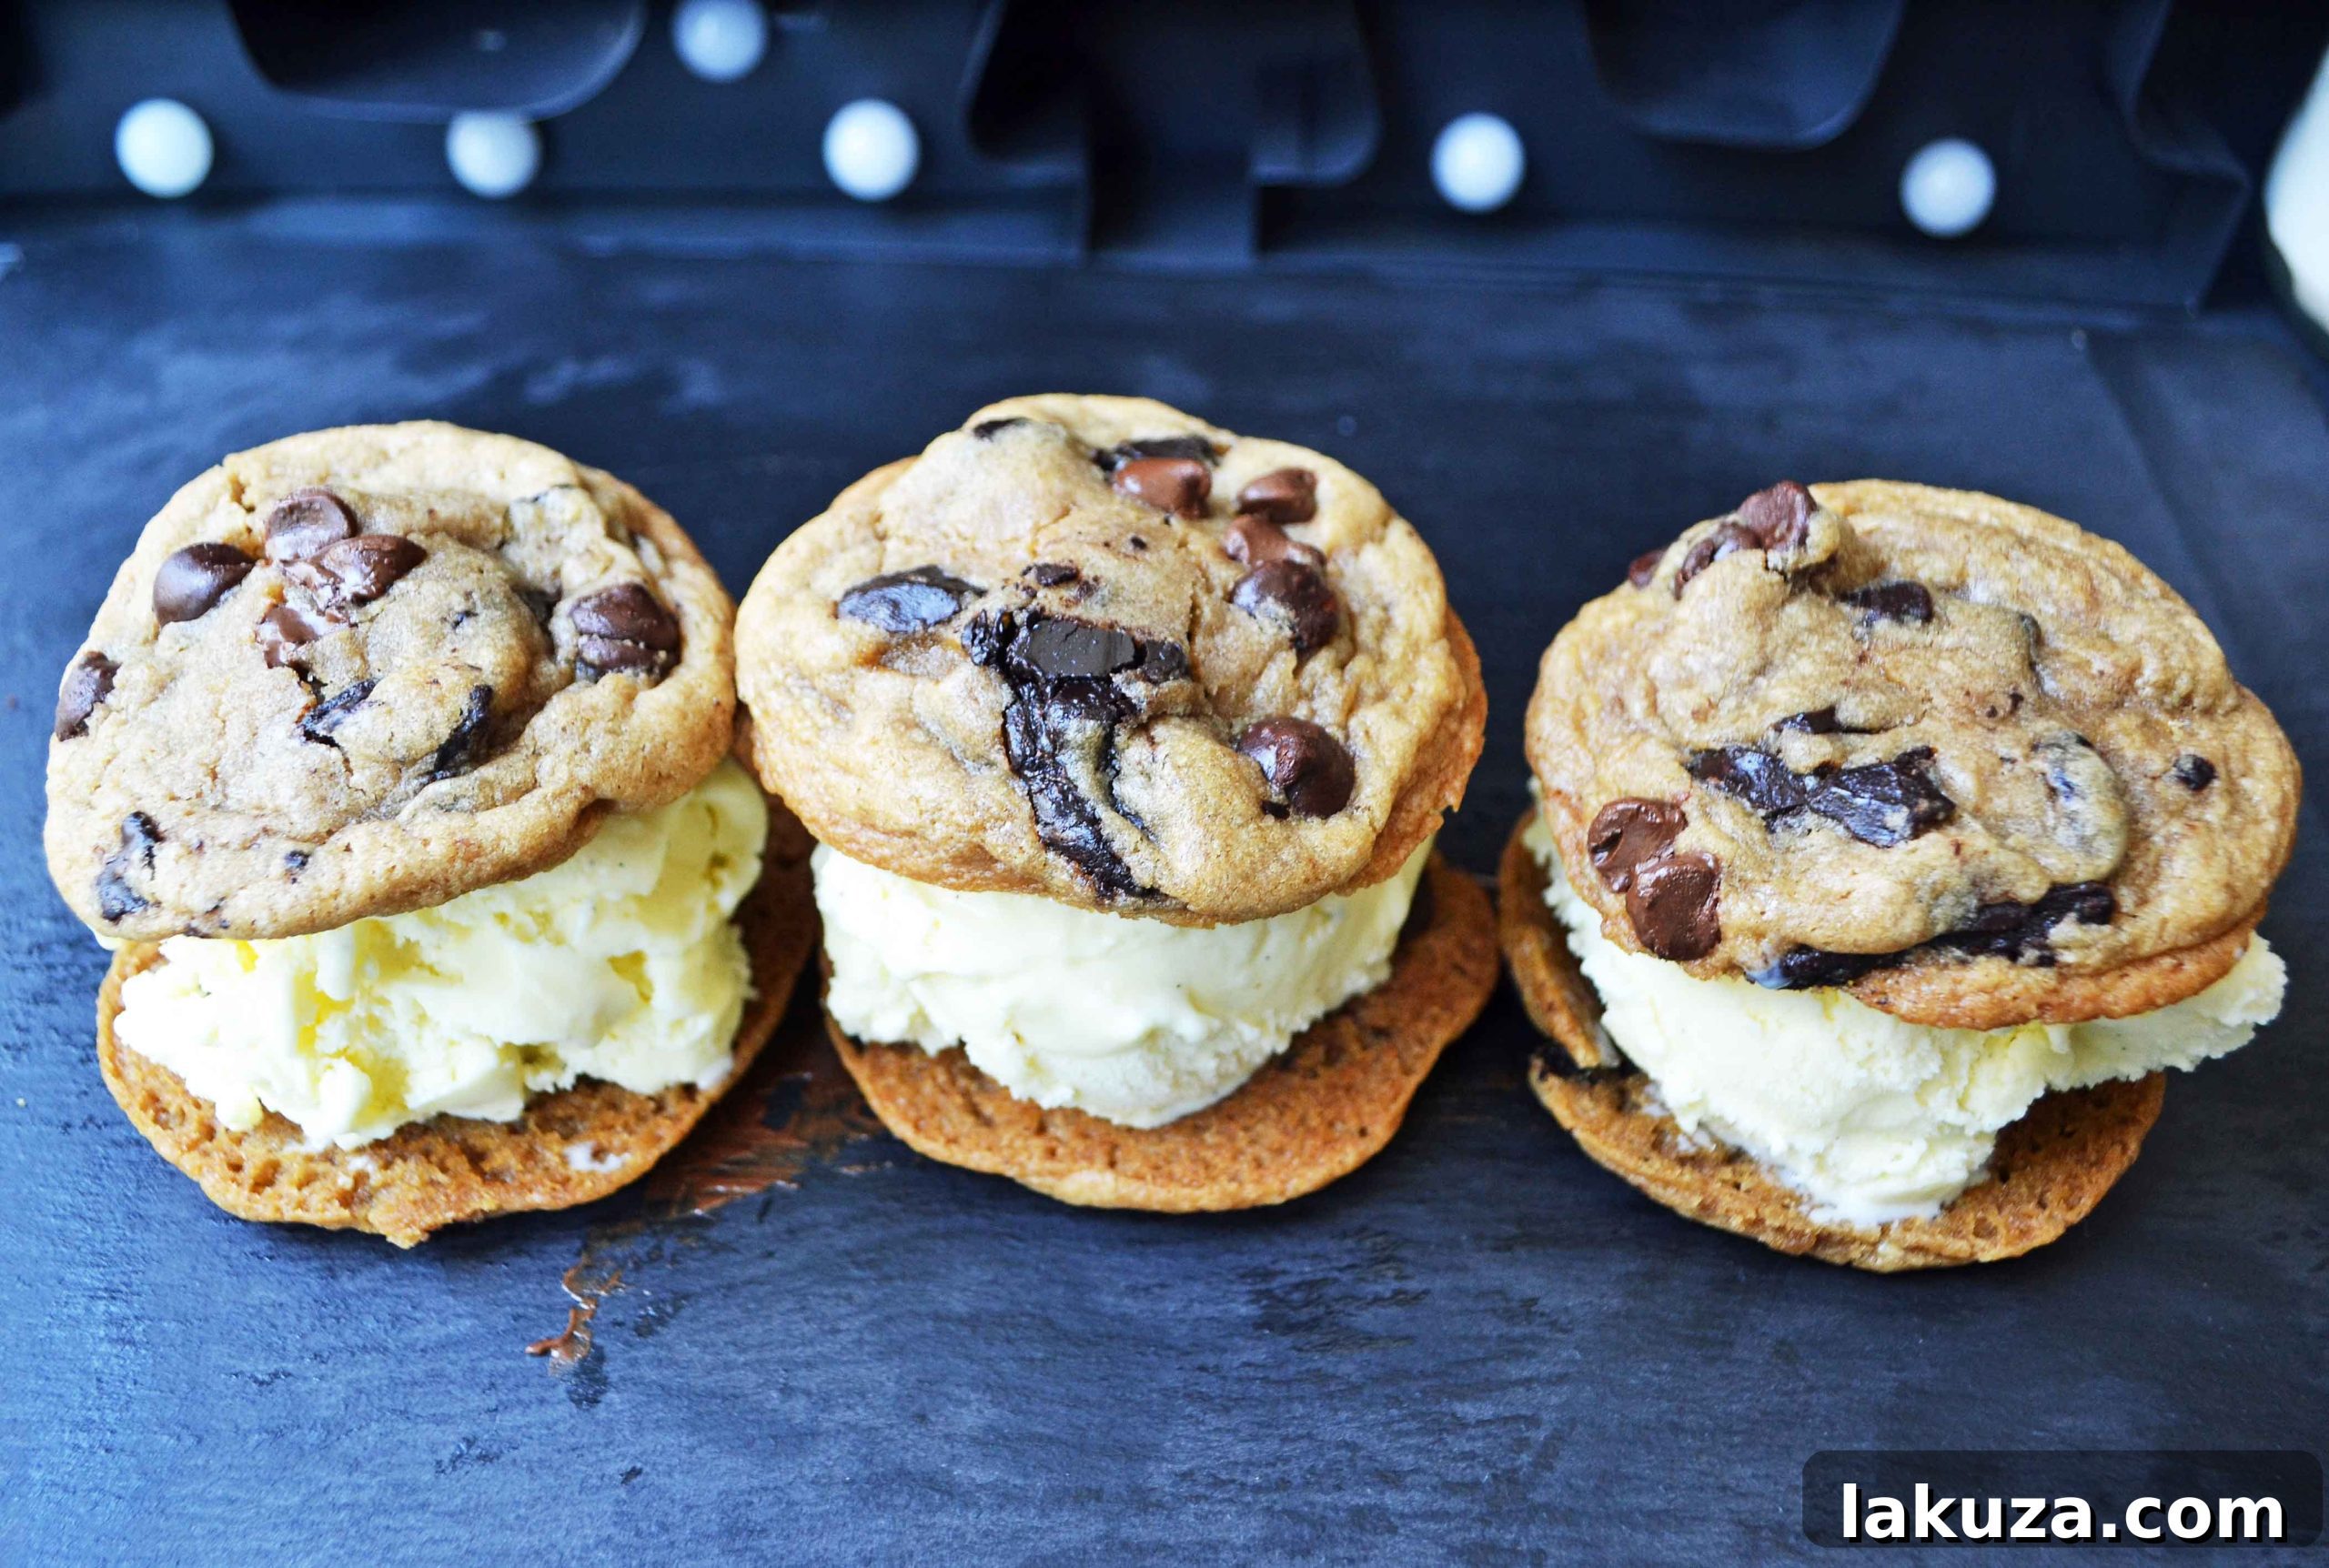
The Ultimate Sea Salt Chocolate Chunk Cookies: A Perfect Companion
Every exceptional ice cream sandwich demands an equally exceptional cookie. Our chocolate chip cookie recipe is meticulously crafted to produce a soft, chewy, and utterly decadent cookie with rich chocolate chunks and a hint of sea salt. These aren’t just any cookies; they are designed to hold up to the creamy ice cream filling while offering a delightful textural contrast and an explosion of flavor.
The foundation of these incredible cookies begins with creaming butter and sugars together for a full five minutes. This aeration process is key to achieving a light and fluffy base, contributing to the cookies’ characteristic softness. Incorporating eggs one at a time ensures even emulsification, resulting in a smooth, consistent dough. We also generously add two whole teaspoons of pure vanilla extract, enhancing the overall flavor profile and complementing the vanilla bean ice cream perfectly.
What truly sets these cookies apart are the leavening agents: a thoughtful combination of baking soda and baking powder. Baking soda reacts with the brown sugar to create a wonderful chewiness and spread, while baking powder provides an upward lift, ensuring the cookies are thick and soft without becoming cakey. A touch of sea salt is critical, not just for flavor, but to balance the sweetness, adding a sophisticated edge that makes each bite irresistible.
And let’s not forget the chocolate! The quality and type of chocolate significantly impact the final cookie. I highly recommend using a high-quality chocolate bar, like Trader Joe’s Pound Plus bar, and chopping it into small slivers. This method ensures that each cookie is studded with irregular pockets of molten, gooey chocolate that melt beautifully, creating a more dynamic and luxurious chocolate experience compared to standard chocolate chips. The way these chocolate pockets melt and blend with the cookie dough is simply divine.
The Magic of Chilling: Unlocking Flavor and Texture
Patience is a virtue, especially when it comes to baking these magnificent cookies. While it might be tempting to bake the dough immediately, chilling is a non-negotiable step for optimal results. A minimum of 30 minutes in the refrigerator helps the dough firm up, preventing excessive spreading during baking and ensuring the cookies maintain their perfect shape. This is particularly important for ice cream sandwiches, as you want robust, uniform cookies.
However, for a truly “ultimate” cookie, I strongly advocate for chilling the dough for at least 24 hours. During this extended period, the flour fully hydrates, and the flavors in the dough deepen and meld together, creating a richer, more complex taste profile. The sugars have more time to fully dissolve, and the butter solids become colder and more stable, leading to a cookie with superior texture, a chewier center, and more defined edges. It’s a small investment of time that yields a profoundly more flavorful cookie.
Once baked, allow the cookies to cool completely on a wire rack for at least 20-30 minutes before attempting to fill them with ice cream. This crucial step prevents the ice cream from melting too quickly and ensures the cookies have fully set, providing a sturdy base for your frozen creation. Rushing this step can lead to a messy and less enjoyable sandwich.
Assembling Your Perfect Ice Cream Sandwiches
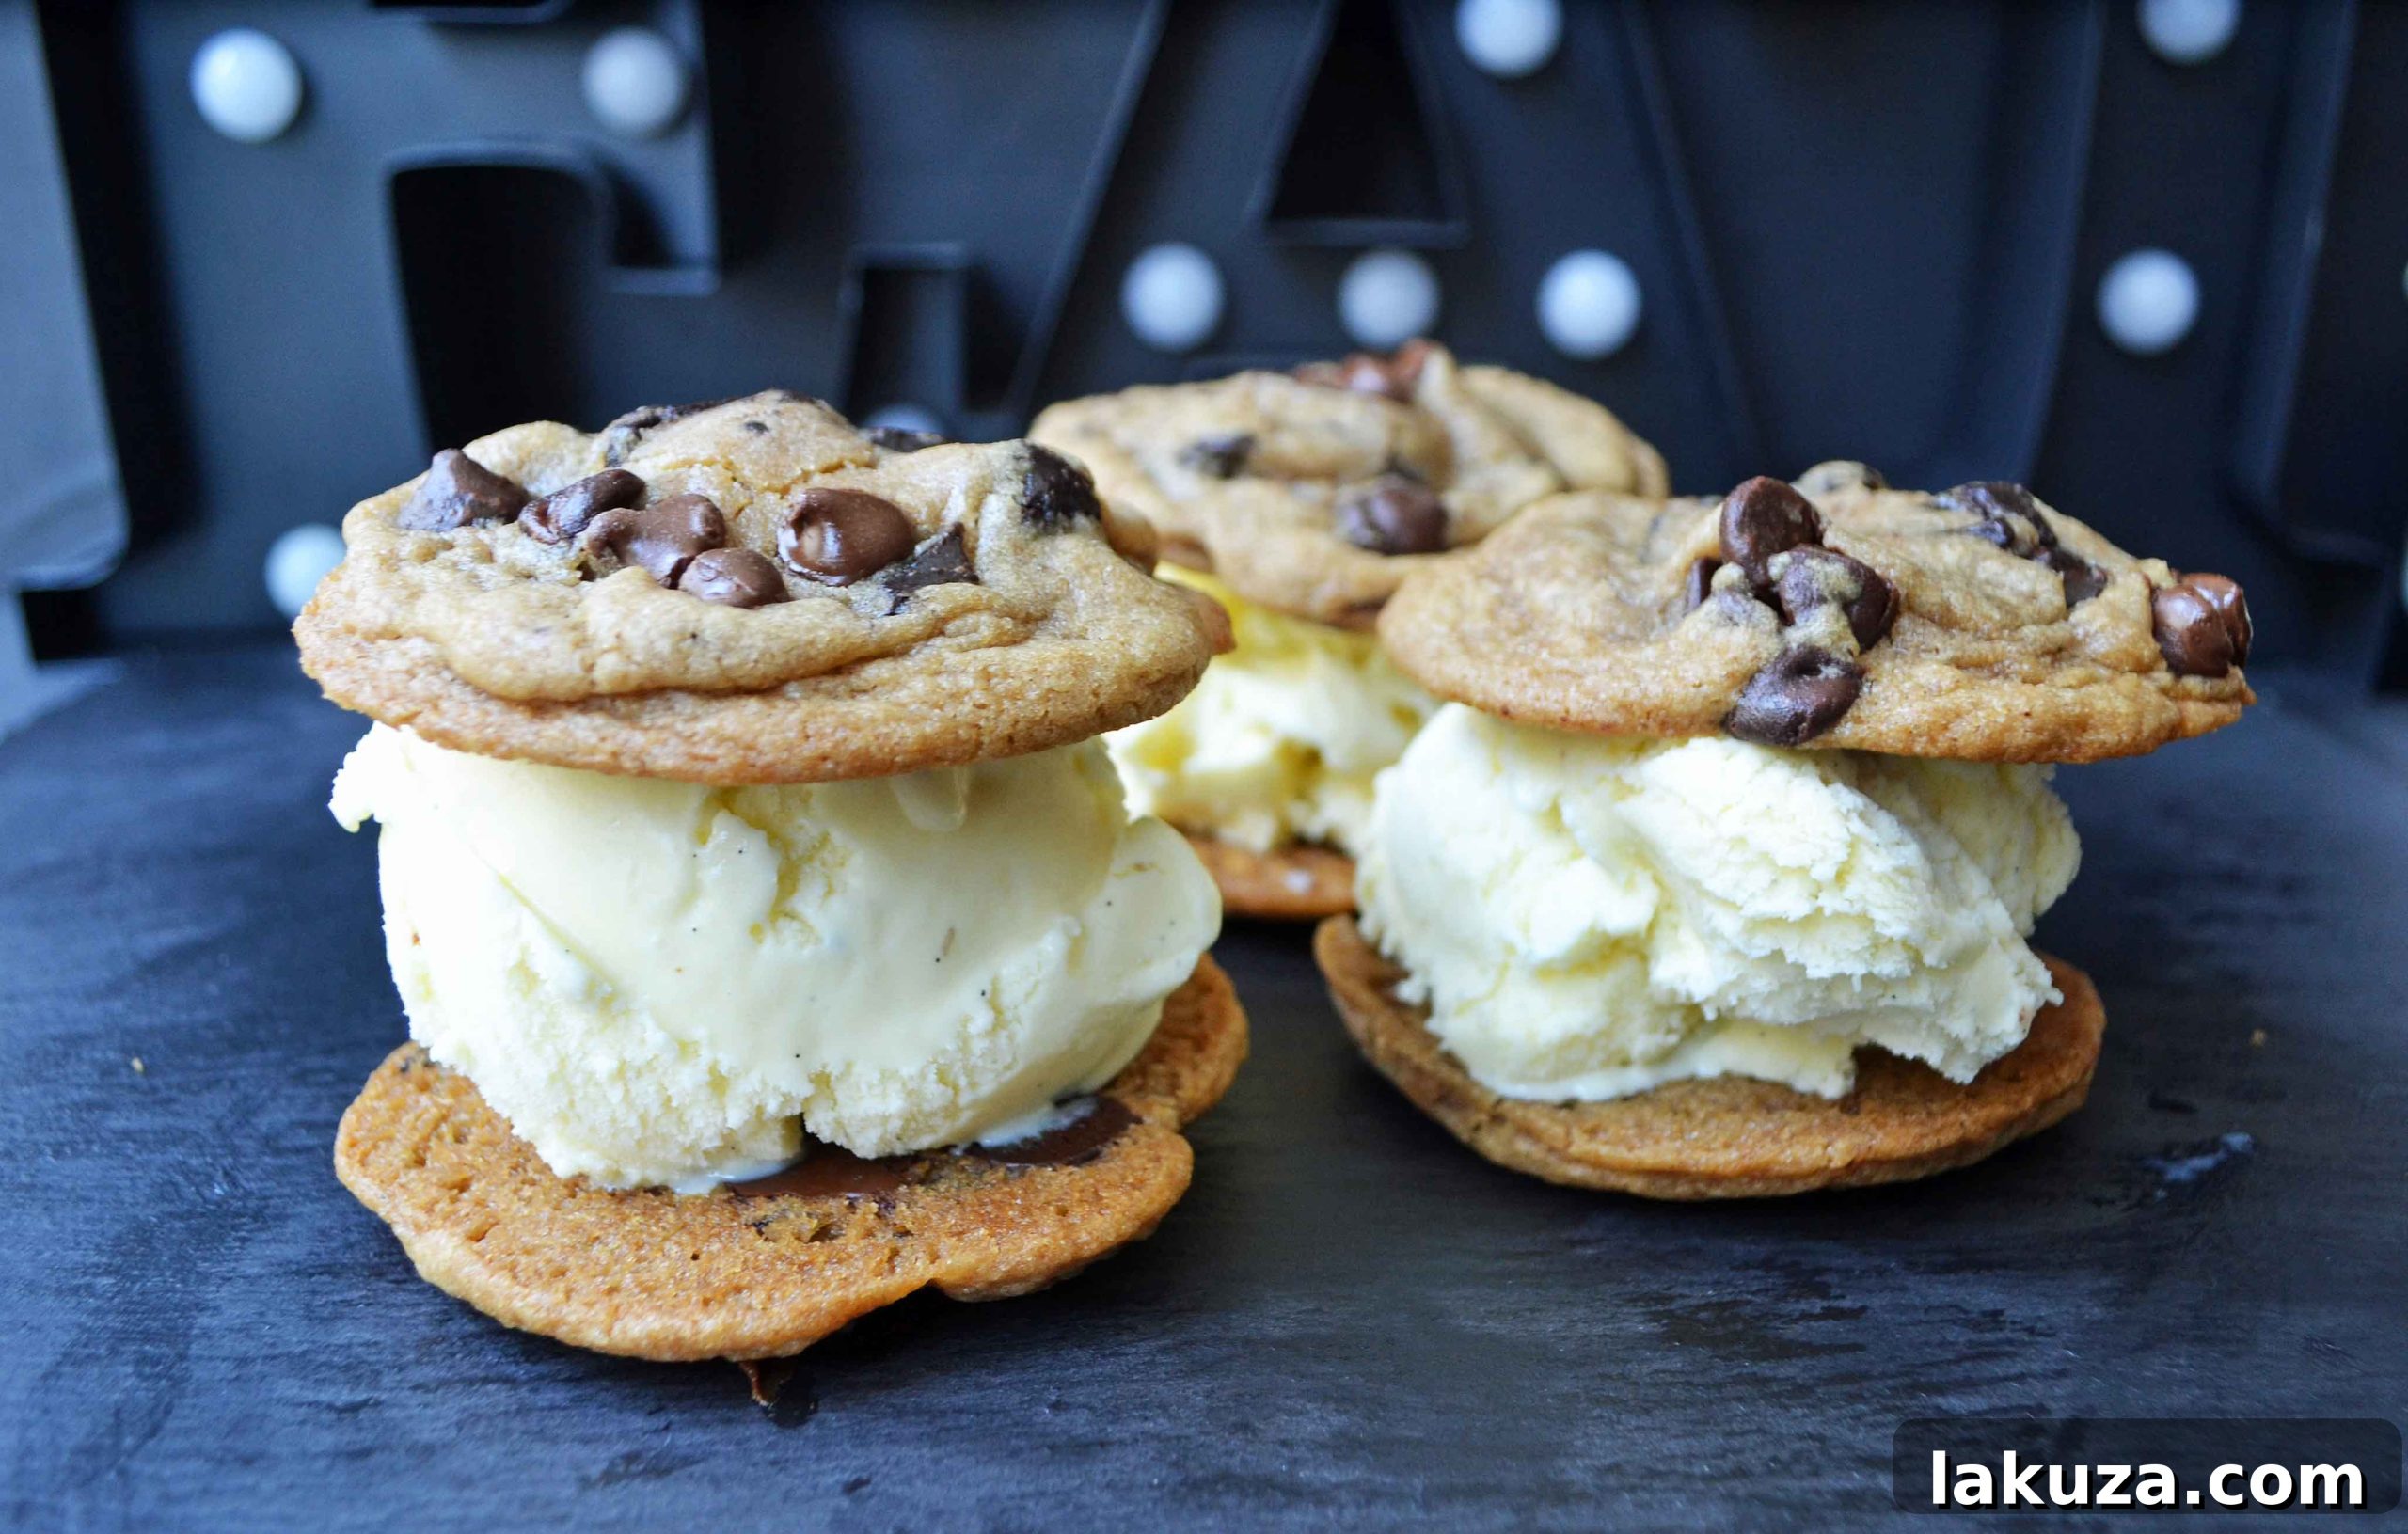
With your perfectly baked, cooled cookies and richly churned vanilla bean ice cream ready, it’s time for the grand finale: assembly! The process is simple, but a few tips can make all the difference in creating beautifully uniform and delicious ice cream sandwiches.
First, ensure your ice cream has had a chance to harden slightly in the freezer after churning, typically 30 minutes to an hour. It should be firm enough to scoop cleanly but still pliable. Using a cookie scoop of a similar size to your baked cookies will help you achieve consistent portions of ice cream for each sandwich. Place one scoop of vanilla ice cream onto the flat bottom of one cookie. Gently, but firmly, top it with another cookie, pressing down just enough to spread the ice cream to the edges. Be careful not to press too hard, or you might crack your perfectly baked cookies.
For a clean finish, you can gently smooth the edges of the ice cream with a small offset spatula or butter knife. If you’re making a batch for later, wrap each assembled ice cream sandwich tightly in plastic wrap or parchment paper. This protects them from freezer burn and helps them maintain their shape. Place them back in the freezer for at least an hour to firm up completely before serving. This also makes them easier to handle and less messy to eat.
These homemade delights are perfect for parties, summer gatherings, or simply as a special treat for yourself and your loved ones. The beauty of making them at home is the complete control you have over the quality of ingredients, resulting in a taste that far surpasses any store-bought alternative. Plus, the process itself is incredibly satisfying!
Recommended Equipment for the Best Results
Having the right tools can make your baking and ice cream-making experience much smoother and more enjoyable. Here are a few essentials that will help you create these ultimate chocolate chip cookie ice cream sandwiches:
- KitchenAid Stand Mixer: Indispensable for creaming butter and sugar to that perfect fluffy consistency.
- Baking Sheets: For evenly baked cookies.
- Parchment Paper Baking Sheets: Prevents sticking and makes cleanup a breeze.
- Measuring Cups and Spoons: Accuracy is key in baking.
- Spatula Set: For mixing and scraping bowls.
- Cookie Turner: Essential for carefully removing delicate cookies from the baking sheet.
- Cookie Scoop: Ensures uniform cookie size for even baking and perfect sandwich assembly.
- Cuisinart Frozen Yogurt & Ice Cream Maker: My personal favorite for churning smooth, creamy ice cream at home.
- Nielsen-Massey Pure Vanilla Bean Paste: An excellent alternative to fresh vanilla beans, offering concentrated flavor and those beautiful specks.
Recipe: Ultimate Chocolate Chip Cookie Ice Cream Sandwiches
By: Melissa Stadler, Modern Honey
The ultimate chocolate chip cookie ice cream sandwich made with homemade vanilla bean ice cream sandwiched between rich chocolate chip cookies.
Prep Time: 30 minutes
Cook Time: 11 minutes
Total Time: 41 minutes
Servings: 12
Ingredients
Ultimate Chocolate Chip Cookies:
- 1 cup Butter, room temperature
- 1 1/2 cup Brown Sugar
- 1/3 cup Sugar
- 2 Eggs
- 2 teaspoons Vanilla Extract
- 3 cups All-Purpose Flour
- 1 teaspoon Baking Soda
- 3/4 teaspoon Baking Powder
- 1/2 teaspoon Sea Salt
- 2 cups Chocolate Chips or Chocolate Bars, chopped
- Sea Salt for sprinkling (like Maldon flakes)
Homemade Vanilla Ice Cream:
- 3 cups Heavy Cream
- 2 cups Half-n-Half
- 1 2/3 cups Granulated Sugar
- 1 Vanilla Bean, halved and scraped (or 1 teaspoon Pure Vanilla Extract or Paste)
Instructions
- To make chocolate chip cookies:
- Preheat oven to 365 degrees F (185 degrees C).
- In a large bowl, using an electric mixer, cream together the room temperature butter and sugars for 5 minutes, until the mixture is light and fluffy.
- Add eggs one at a time, beating well after each addition. Stir in the vanilla extract.
- In a separate bowl, whisk together the flour, baking soda, baking powder, and salt. Gradually add the dry ingredients to the wet ingredients, mixing until just combined.
- Gently fold in the chocolate chunks or chips until evenly distributed.
- Cover the dough tightly with plastic wrap or transfer to an airtight container. Chill the cookie dough for at least 30 minutes. For a richer flavor and better texture, chill for at least 24 hours.
- Once chilled, scoop rounded portions of dough onto a baking sheet lined with parchment paper. Leave enough space between cookies for spreading.
- Sprinkle each dough ball with a pinch of maldon sea salt flakes before baking.
- Bake for 10-13 minutes, or until the edges are golden brown and the centers are still slightly soft. Do not overbake.
- Remove from oven and let cool on the baking sheet for a few minutes before transferring to a wire rack to cool completely.
- To make Vanilla Ice Cream:
- Combine heavy cream, half-and-half, and granulated sugar in a medium saucepan.
- Cook over medium-low heat, stirring often, until the sugar is completely dissolved, approximately 2-3 minutes. Do not boil.
- Remove from heat. If using a vanilla bean, add the halved and scraped vanilla bean (and the pod) to the mixture. If using vanilla extract or paste, stir it in now.
- Allow the ice cream base to cool at room temperature for about 30 minutes, then refrigerate for at least 2 hours, or until thoroughly chilled. For best results, chill overnight.
- When the ice cream base is fully cooled, remove the vanilla bean pod (if used) and pour the mixture into your ice cream machine. Churn according to the manufacturer’s instructions, typically 20-25 minutes, until it reaches a soft-serve consistency.
- When finished churning, transfer the soft ice cream to an airtight container. Allow it to harden in the freezer for 30 minutes to 1 hour (or longer for a firmer consistency).
- To assemble ice cream sandwiches:
- Once your cookies have cooled completely and the ice cream has firmed up in the freezer, it’s time to assemble.
- Take one cooled chocolate chip cookie and place a generous scoop of the homemade vanilla bean ice cream onto its flat bottom side.
- Gently top with another cookie, pressing down lightly until the ice cream spreads to the edges.
- Serve immediately for a softer sandwich, or wrap each sandwich tightly in plastic wrap and place them back in the freezer until ready to eat. They can be stored in the freezer for up to 2 weeks.
Nutrition information is automatically calculated, so should only be used as an approximation.
Additional Info
Course: Dessert
Cuisine: American
Servings: 12
Keyword: ice cream cookie sandwiches, homemade ice cream, chocolate chip cookies, summer dessert
Like this? Leave a comment below! Jump to Comments

Happy Baking, my friends! xo