
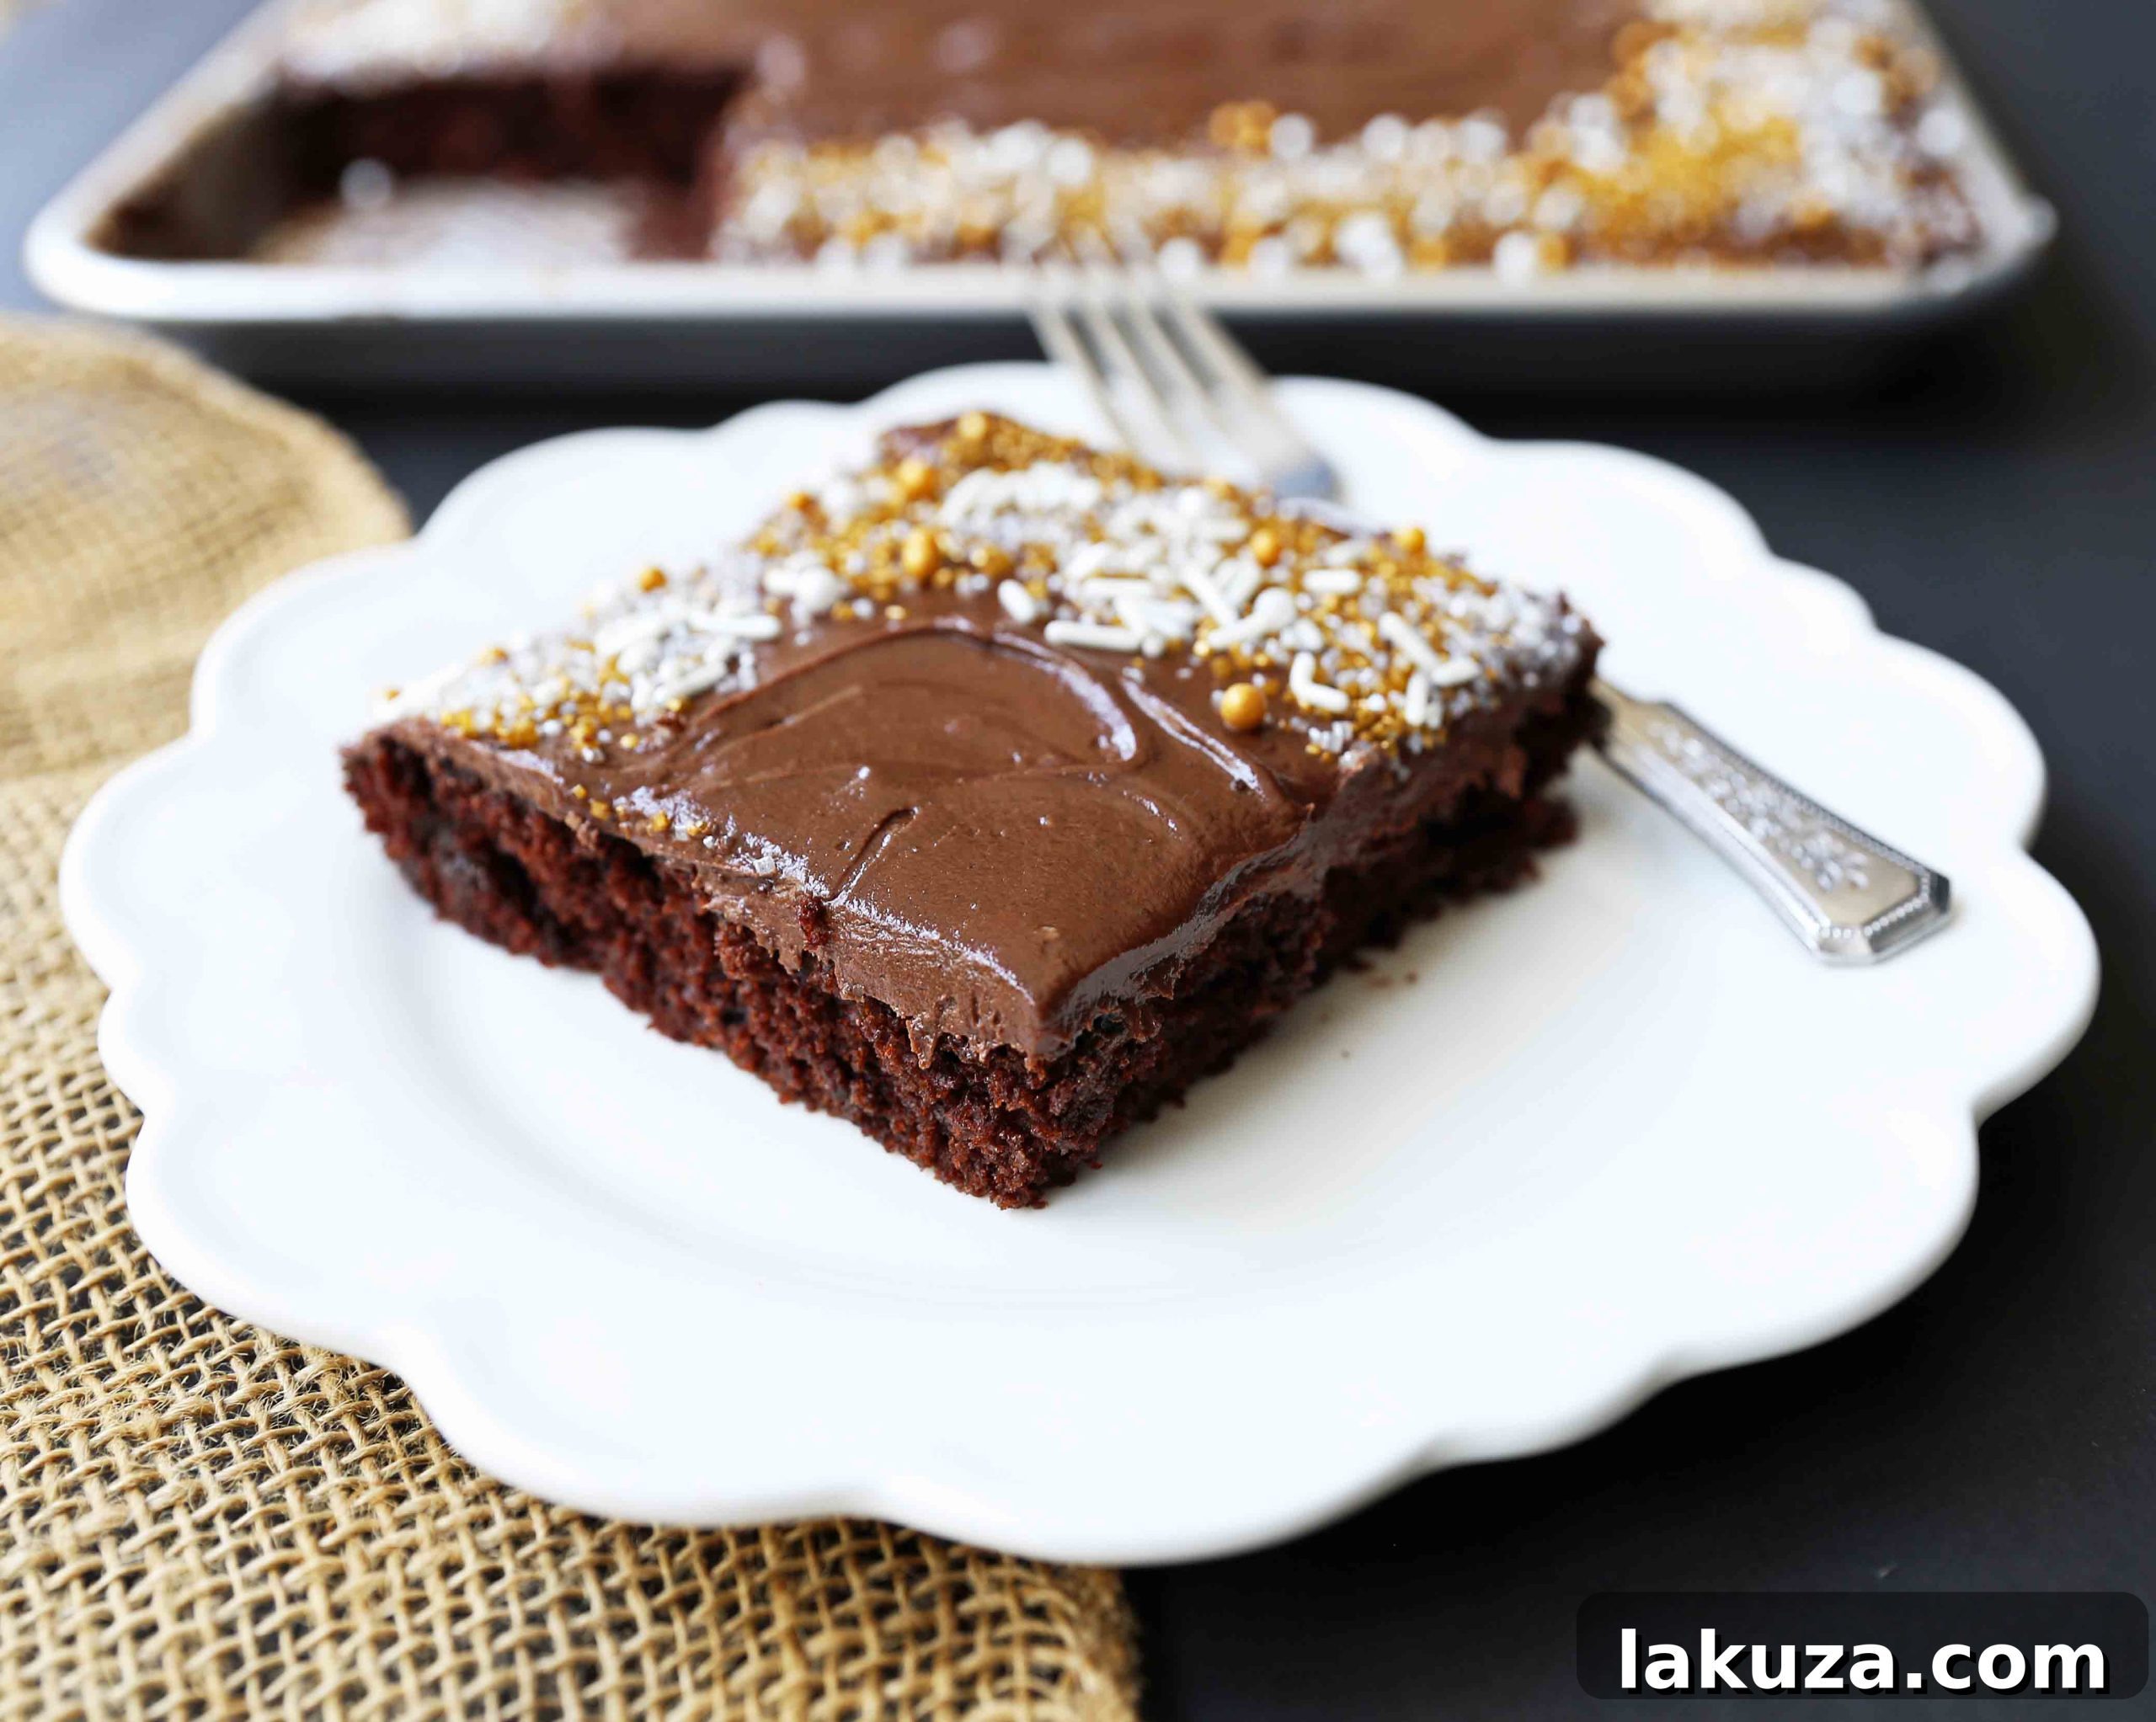
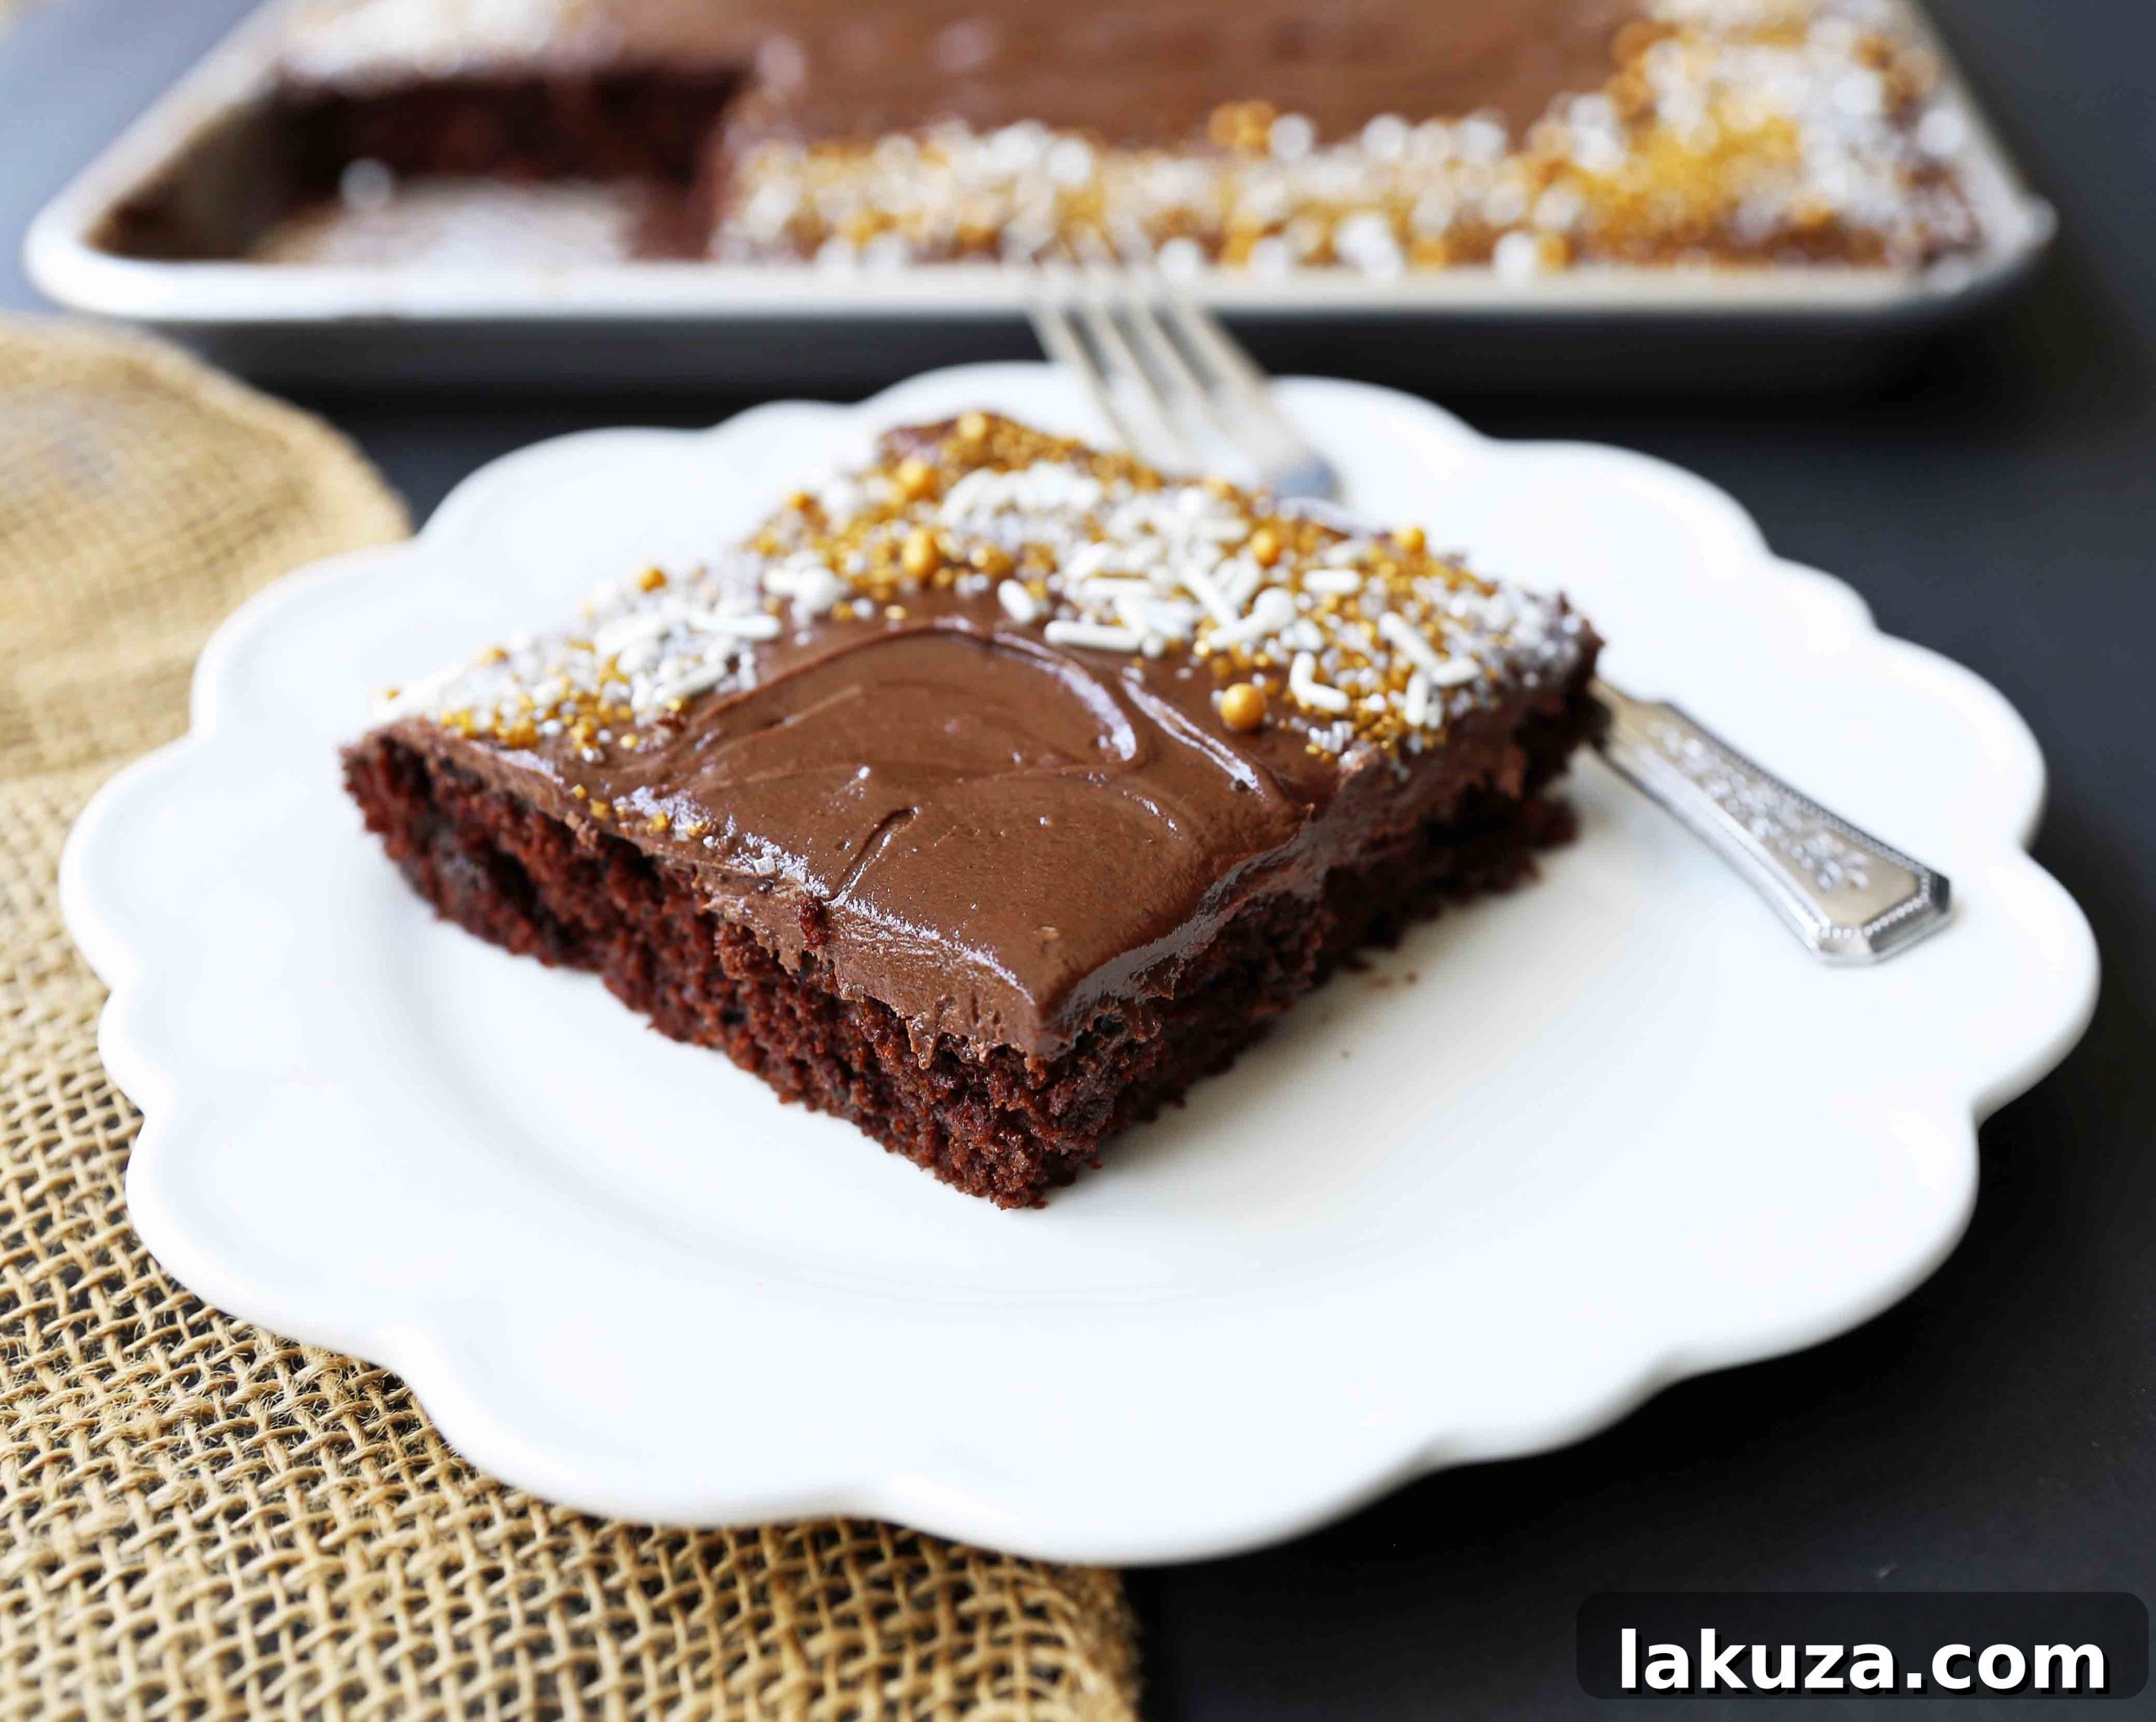
The Ultimate Easy Chocolate Sheet Cake with Decadent Milk Chocolate Frosting
Experience pure chocolate bliss with this incredibly quick and simple homemade chocolate sheet cake recipe, topped with a rich and creamy milk chocolate frosting. Perfect for any gathering, this one-pan wonder simplifies baking without compromising on flavor!
Baking a truly exceptional homemade cake can sometimes feel like a daunting task, often involving multiple pans, delicate layers, and the challenge of achieving a perfectly smooth frosting. While the satisfaction of a scratch-made cake is unparalleled compared to a box mix, finding the time and confidence can be tricky for even seasoned bakers. This is precisely why chocolate sheet cakes have become my go-to solution for delivering incredible flavor with minimal fuss. They embody convenience and deliciousness, especially when time is of the essence or when you need to serve a crowd without the stress of intricate baking processes.
Why a Homemade Chocolate Sheet Cake is a Baker’s Best Friend
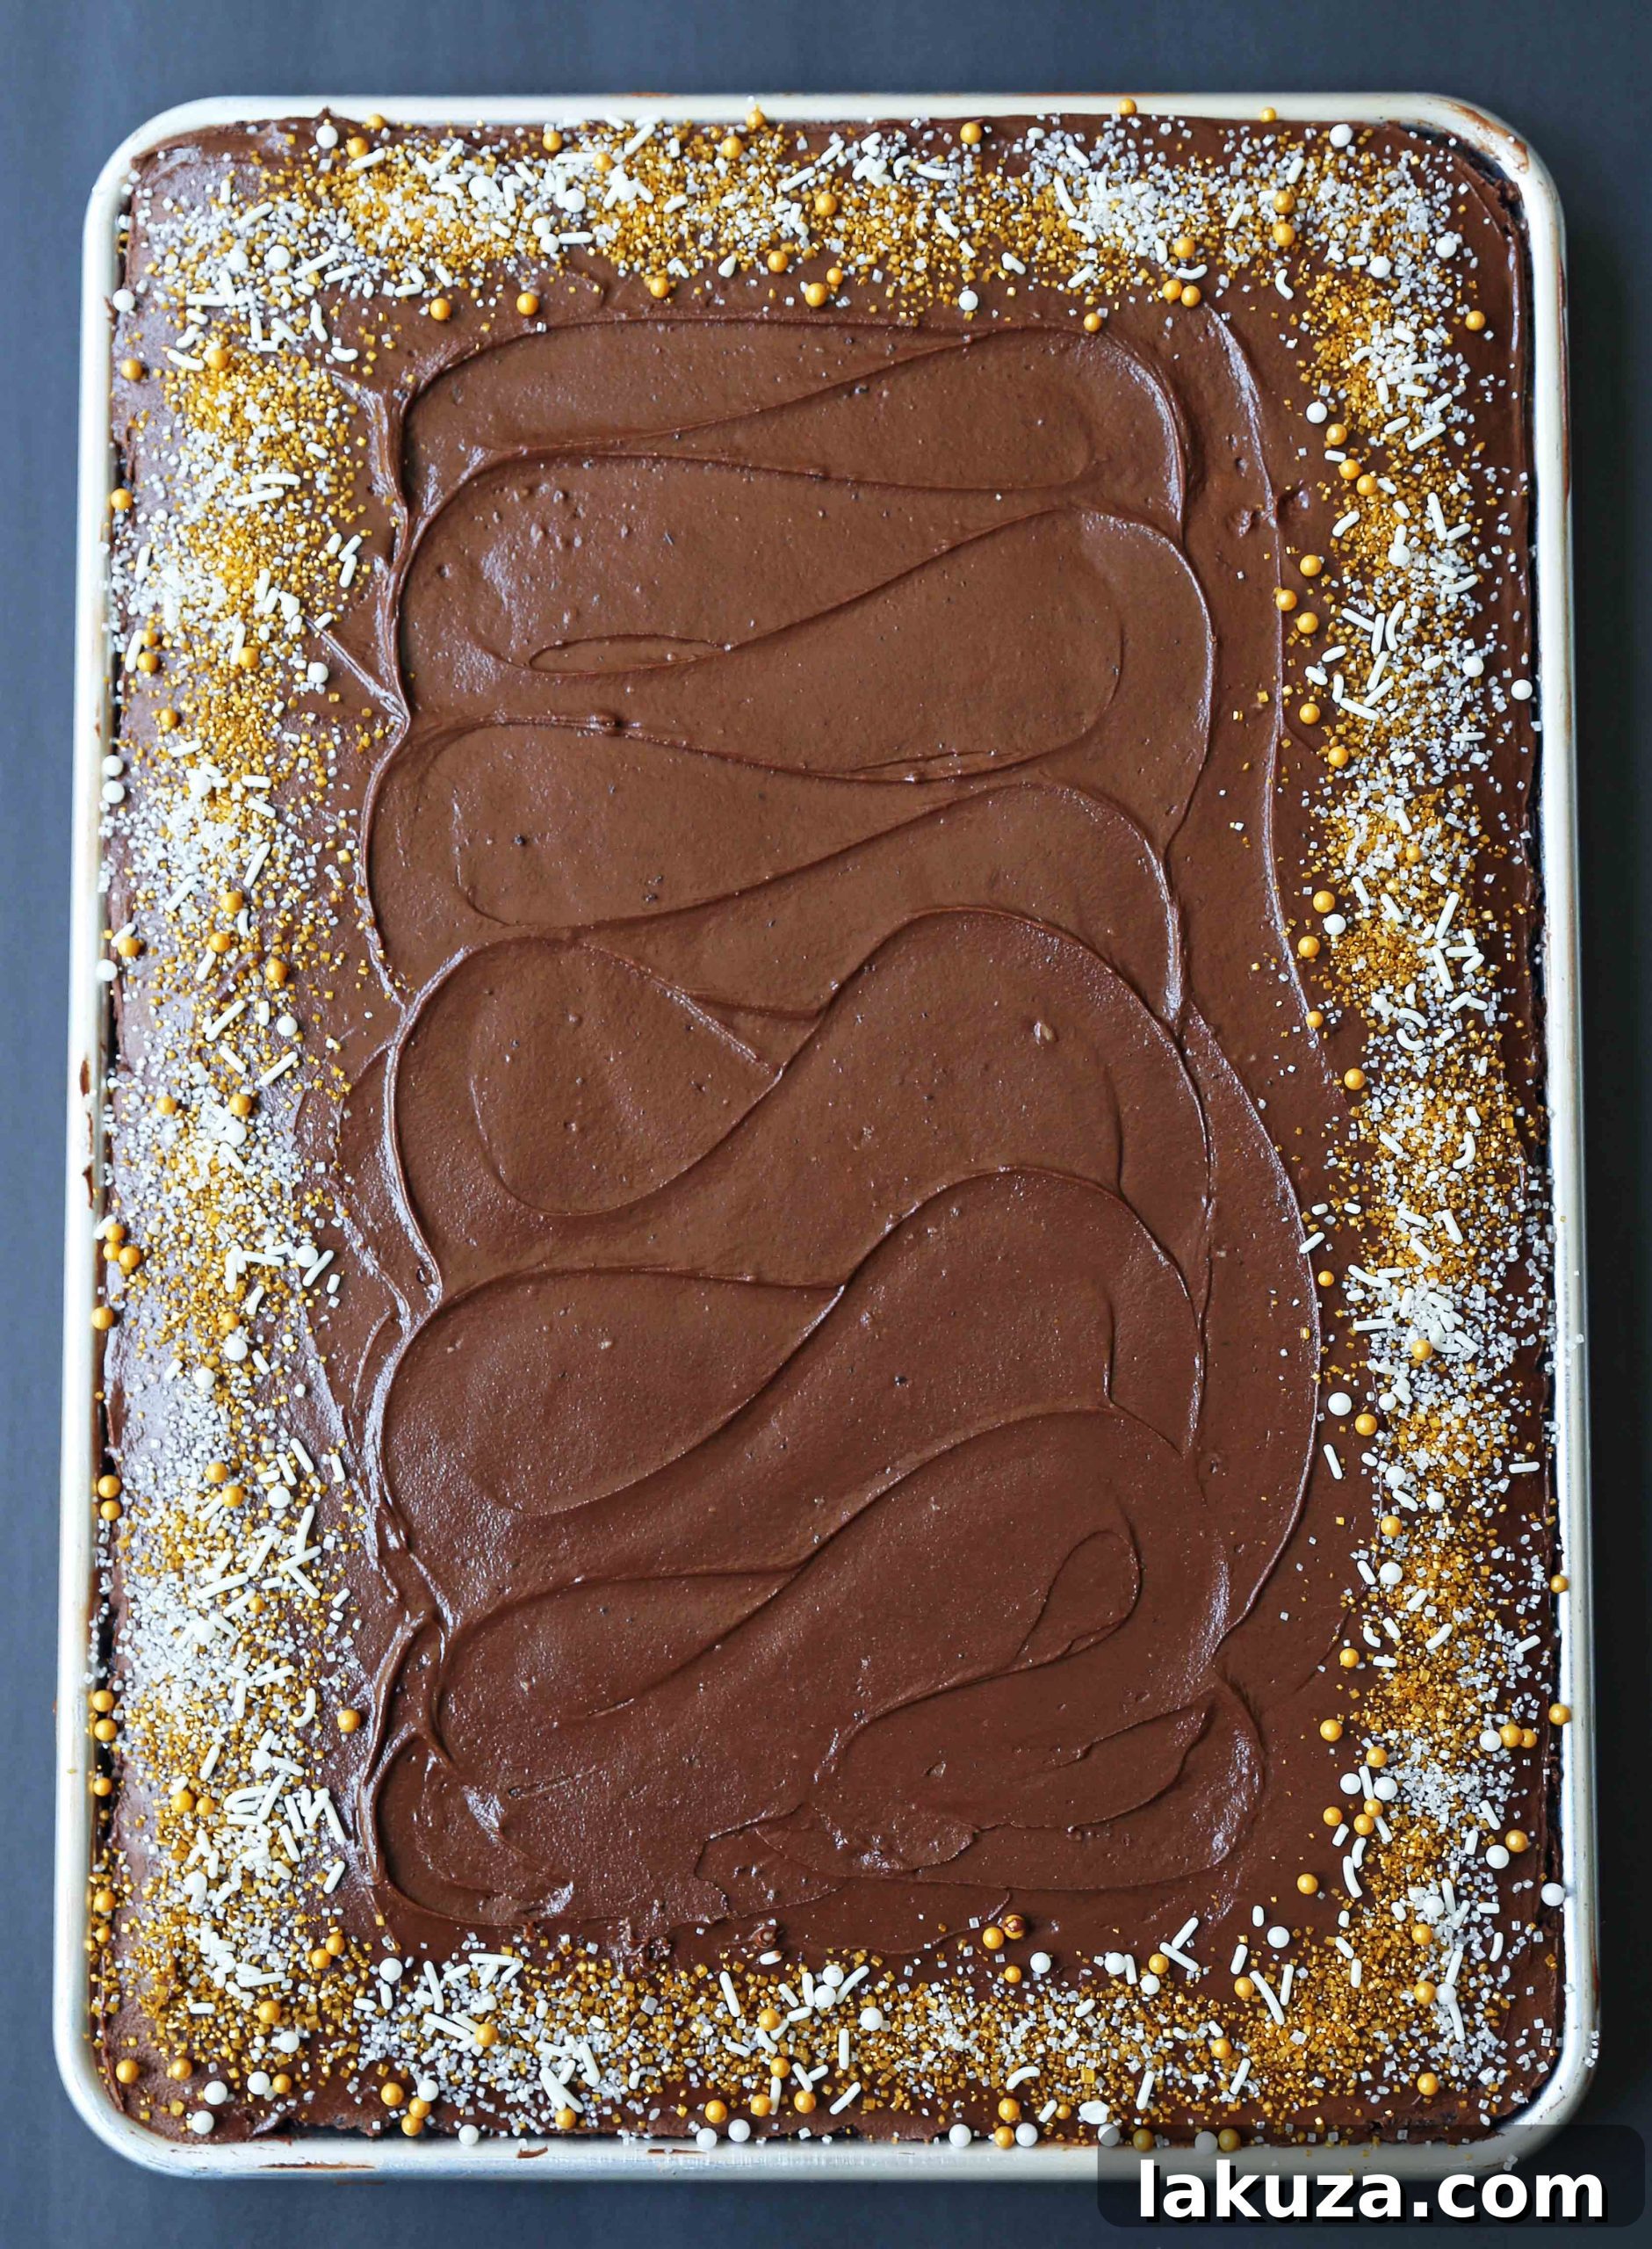
The inherent beauty of a sheet cake lies in its simplicity and versatility. Forget the anxiety of cakes sticking to traditional round pans, uneven layers collapsing, or the meticulous art of stacking and crumb coating. With a sheet cake, all those typical baking pressures melt away. You simply pour your batter into a single, spacious pan, bake it to golden perfection, and then effortlessly spread a luscious frosting across its surface. This streamlined approach makes baking an enjoyable and stress-free experience, proving that impressive desserts don’t always require intricate techniques or advanced culinary skills.
This particular recipe for our easy Chocolate Sheet Cake is designed for speed and convenience, allowing you to whip up the batter in under 10 minutes. The entire process, from mixing ingredients to baking and frosting, is straightforward, resulting in a homemade chocolate cake that tastes like it took hours, but actually comes together remarkably quickly. It’s the ideal choice for last-minute celebrations, potlucks, school events, or simply satisfying that sudden chocolate craving with a dessert that’s both deeply satisfying and incredibly practical.
From a Beloved Layer Cake to an Effortless Sheet Cake Design
This recipe is a thoughtful adaptation of one of the most cherished and popular desserts on my website: the Love at First Sight Chocolate Cake. That original recipe has garnered immense love for its rich flavor, incredibly moist texture, and tender crumb, making it a favorite for countless home bakers. Recognizing the demand for a simpler, more accessible version that still delivered on taste and quality, I transformed it into this incredible chocolate sheet cake. If the idea of baking a homemade layer cake seems daunting – perhaps you’re concerned about leveling cakes, stacking them perfectly, or managing a multi-tiered dessert – this sheet cake rendition is your perfect entry point. It captures all the beloved flavors and textures of the original but in an easier-to-manage, single-pan format, making it foolproof even for novice bakers. It truly offers the best of both worlds: gourmet taste with effortless preparation.
Crafting Your Perfect Chocolate Sheet Cake: Key Steps & Essential Ingredients
Creating this irresistible homemade chocolate sheet cake is a simple and rewarding process, made even easier by understanding the unique role each ingredient plays. Here’s a breakdown of the essential steps and why they are vital for achieving that moist, flavorful, and perfectly textured result:
- Begin with Dry Ingredients for Even Distribution: In a large mixing bowl, the first step is to thoroughly combine your dry ingredients: all-purpose flour, granulated sugar, unsweetened cocoa powder, baking soda, and a touch of salt. A light whisk or stir is all that’s needed to ensure these components are evenly distributed throughout the mixture. Avoid overmixing at this stage, as the goal is simply to combine them before adding wet ingredients.
- The Essential Role of Oil for Supreme Moisture: Unlike some cakes that rely heavily on butter for their fat content, this chocolate sheet cake recipe strategically incorporates oil. Oil is a fantastic fat for baking because it remains liquid at room temperature, contributing significantly to a cake’s moist, tender, and incredibly soft crumb. It effectively prevents the cake from drying out, ensuring every bite is rich, delightful, and melts in your mouth. This choice of fat is key to the cake’s lasting freshness and irresistible texture.
- Buttermilk: The Secret to a Velvety, Tender Texture: Buttermilk is truly a game-changer in baking, often hailed as the secret ingredient for superior cakes. Its natural acidity reacts beautifully with the baking soda in the recipe, leading to a wonderfully light, fluffy, and airy texture. More importantly, the acid in buttermilk works to tenderize the gluten in the flour, resulting in an exceptionally tender, melt-in-your-mouth cake that is hard to achieve with regular milk. Do not skip this ingredient; it’s absolutely key to the cake’s luxurious feel and professional finish.
- Hot Water for Intensified Chocolate Flavor (Blooming the Cocoa): An often-underestimated yet profoundly crucial step is the careful addition of hot water to the batter. The heat helps to “bloom” the cocoa powder, a process where the hot liquid fully dissolves the cocoa solids and intensifies its chocolate flavor. This process brings out the deep, complex, and robust notes of the cocoa, making your chocolate cake truly sing with rich flavor. Simply heat water until it’s very hot (but not necessarily boiling) in a microwave-safe dish and carefully fold it into your batter. This will make your batter quite thin and liquidy, which is perfectly normal and exactly how it should appear for this recipe.
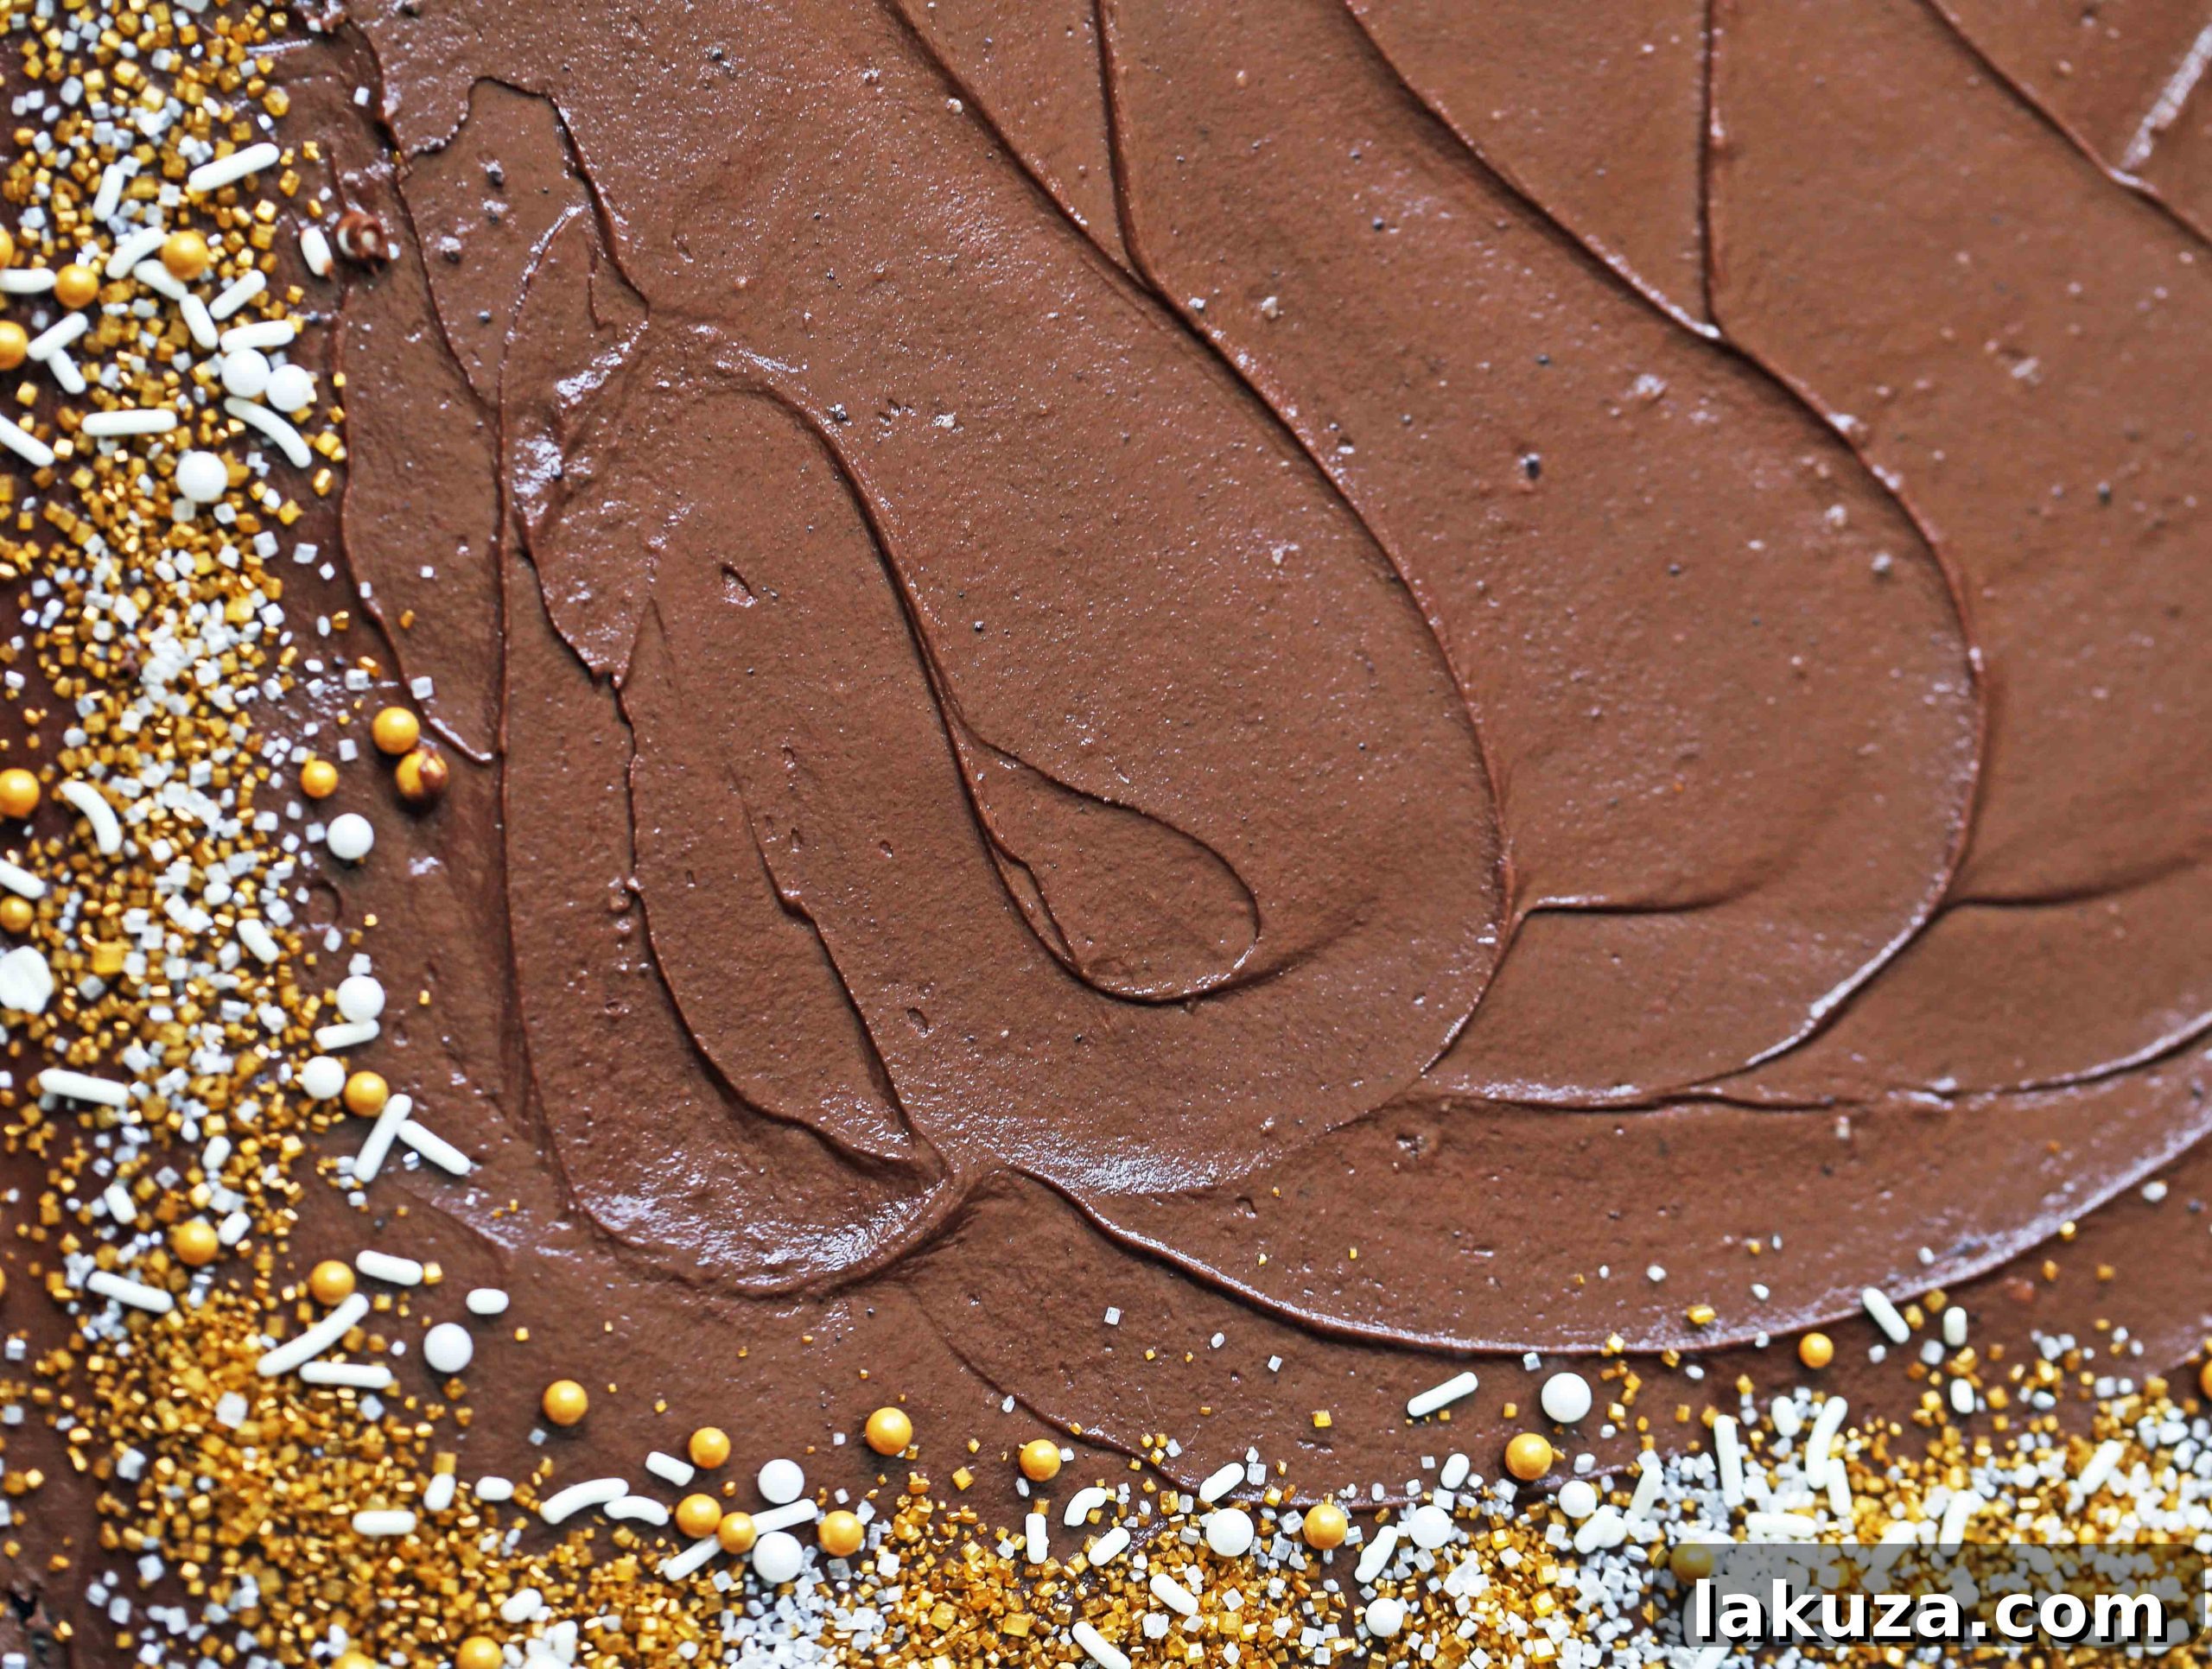
Understanding Cocoa Powder: Natural vs. Dutch-Processed for Optimal Flavor
The type of cocoa powder you choose can profoundly impact the flavor, color, and even the leavening of your chocolate baked goods. There are two primary types widely available: natural cocoa powder and Dutch-processed cocoa powder. Natural cocoa, exemplified by brands like Hershey’s, is acidic and typically lighter in color, with a sharp, fruity chocolate flavor. It reacts with alkaline baking soda to create lift, as seen in many classic American recipes. Dutch-processed cocoa, on the other hand, has been treated with an alkali solution to neutralize its acidity. This process makes it darker, imparts a milder, smoother, and less bitter flavor, and renders it less reactive with baking soda, making it ideal for recipes that primarily use baking powder.
For this chocolate sheet cake recipe, unsweetened natural cocoa powder (unless specifically stated as Dutch-processed) works best. Its inherent acidity perfectly complements the buttermilk and reacts with the baking soda to create that signature tender texture and rich, deep chocolate flavor profile. The meticulous research conducted by culinary experts and test kitchens, such as Cook’s Illustrated and America’s Test Kitchen, has consistently shown that investing in a good quality cocoa powder truly makes a significant difference in the final product. They rigorously test various brands to identify top performers readily available to home bakers. You can delve deeper into their insightful findings on choosing the best cocoa powder and its nuances here.
I often find my personal go-to cocoa powder in the bulk section of stores like Winco. My local Winco in Gilbert, Arizona, for instance, frequently carries Callebaut cocoa powder. Callebaut is a world-renowned brand celebrated for its high quality, exceptional flavor, and rich aroma, usually coming with a premium price tag when purchased in branded packaging. However, purchasing it in bulk from these types of stores can offer an incredible value, often making it more affordable than even mainstream brands like Hershey’s, while consistently delivering a superior chocolate experience in all your baking. If you happen to live near a store that stocks high-quality cocoa in bulk, it’s definitely worth stocking up for all your future baking adventures!
Essential Equipment for Effortless Chocolate Sheet Cake Baking
Having the right tools can make all the difference in your baking experience, transforming potentially cumbersome steps into smooth sailing. For this chocolate sheet cake, a few key pieces of equipment will ensure ease and success:
- Stand Mixer or Hand Mixer: While the cake batter comes together quickly, a KitchenAid mixer (or any robust stand mixer) or even a powerful hand mixer will make light work of combining ingredients, especially for whipping the butter for the frosting to its ideal light and fluffy perfection.
- Quality Sheet Pan: A sturdy and reliable baking sheet, typically approximately 17 x 13 inches, is absolutely crucial for an even bake and proper cake thickness. Look for one with raised edges to neatly contain the liquid batter during baking.
- Accurate Measuring Cups and Spoons: Precision is fundamental to successful baking. A reliable set of measuring cups and spoons is indispensable for ensuring the correct ingredient ratios and a consistent outcome every time.
- Versatile Spatula Set: Essential for a multitude of tasks, a good spatula set is perfect for scraping down bowls, gently folding ingredients, and most importantly, spreading that glorious frosting. An angled spatula, specifically, is a game-changer for achieving a smooth, professional-looking finish on your frosting with incredible ease and precision. This simple tool, often costing less than $7, elevates the presentation of your sheet cake significantly.
- Whisk or Turner: A basic whisk is excellent for initially combining dry ingredients and light stirring. A heat-resistant turner can also assist in serving neat and perfectly portioned slices of your delicious cake.
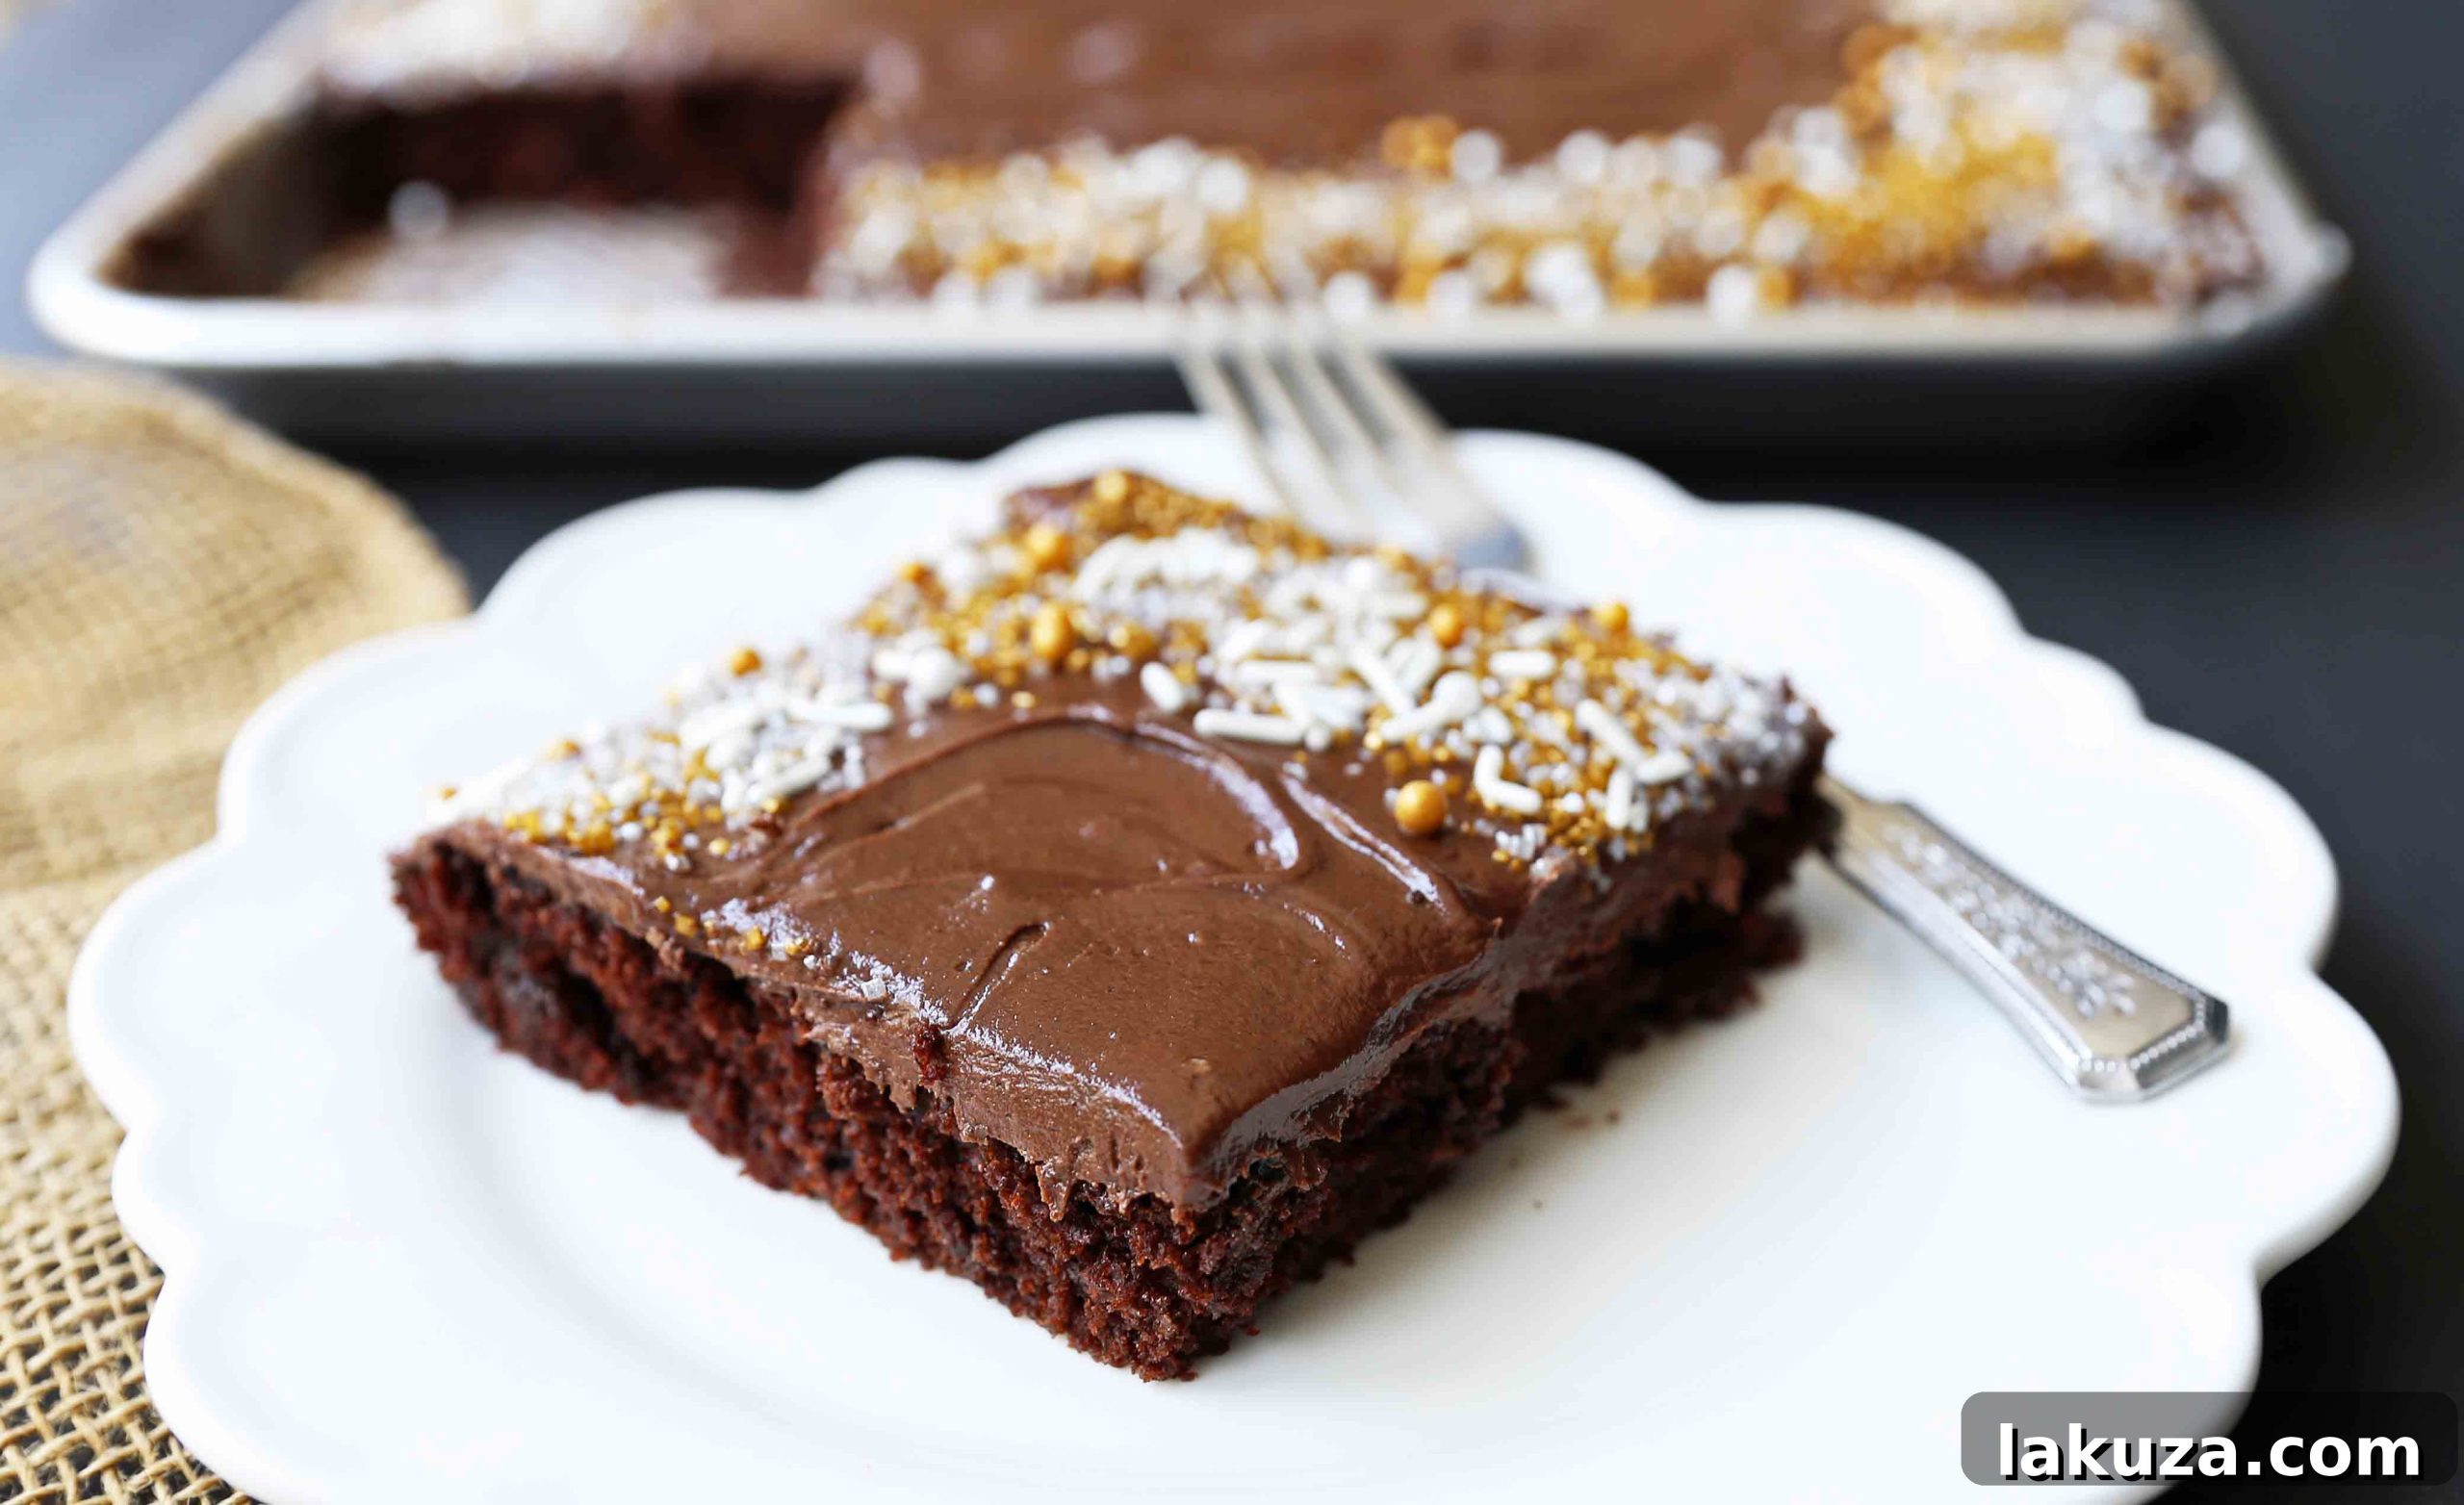
Mastering the Decadent Milk Chocolate Frosting
No chocolate cake is truly complete without a rich, creamy, and utterly irresistible frosting, and this milk chocolate frosting is the absolute perfect complement to our moist sheet cake. It’s incredibly easy to make and yields a beautifully smooth, spreadable consistency that will have everyone asking for seconds:
- Whip the Butter to Perfection: Start with unsalted butter that has been softened to room temperature. This is a critical first step. Whip the butter vigorously for at least 3 minutes, or until it becomes noticeably light in color and fluffy in texture. This process incorporates air, making the frosting wonderfully airy and smooth. Do not rush this step; it forms the foundation of a fantastic frosting.
- Combine Dry and Liquid for Flavor: Gradually add the unsweetened cocoa powder, powdered sugar (also known as confectioners’ sugar), and a few tablespoons of your chosen liquid – heavy cream, whole milk, or half-and-half. The choice of dairy will slightly alter the richness and final consistency of the frosting, but all options work wonderfully to create a delicious outcome.
- Whip Until Light and Creamy: Continue whipping the entire mixture for another 2-3 minutes. Your goal is to achieve a light, creamy, and easily spreadable consistency that holds its shape. If the frosting appears too thick or stiff, add a tiny bit more liquid (cream/milk) one teaspoon at a time, mixing well after each addition, until you reach your desired smooth texture. Conversely, if it seems too thin or runny, a tablespoon or two more of powdered sugar can help thicken it up.
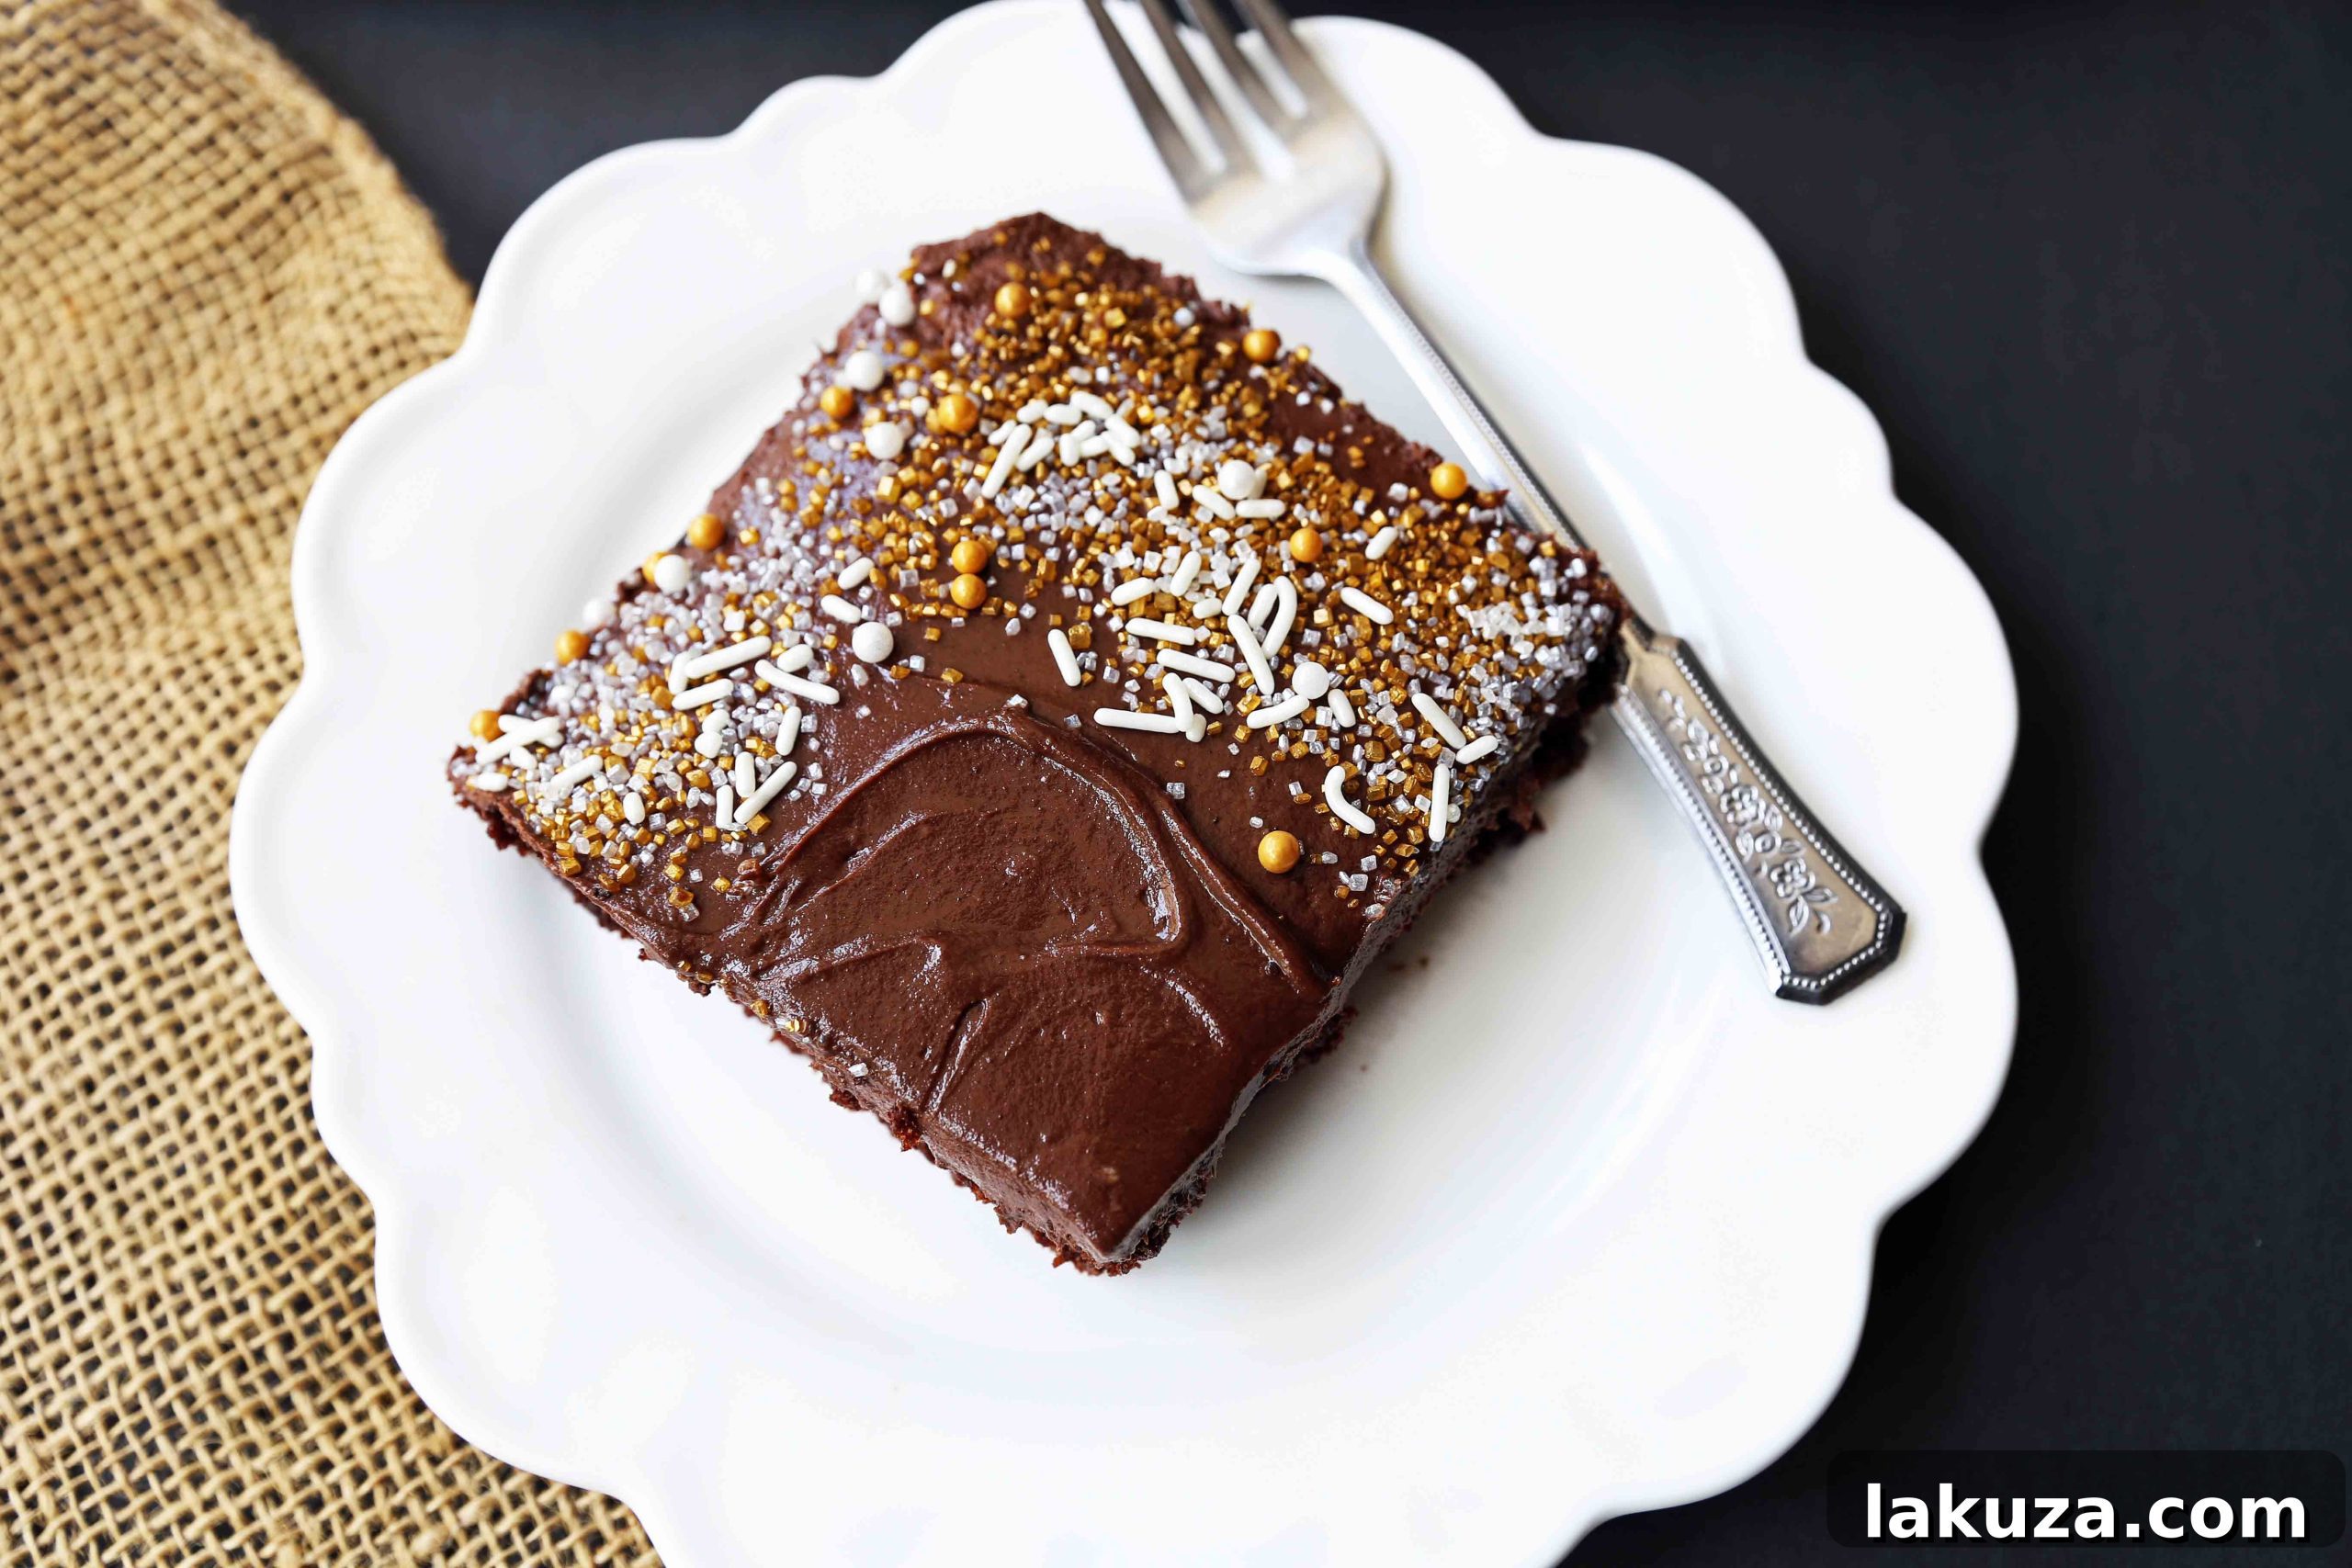
- Flawless Frosting Application: Once your cake has completely cooled (this step is absolutely vital to prevent the frosting from melting!), use your angled spatula to spread the decadent milk chocolate frosting evenly and smoothly across the entire surface of the cake. For an extra touch of visual appeal and indulgence, sprinkle with mini chocolate chips, elegant chocolate shavings, or colorful sprinkles before slicing into generous squares.
Tips for Baking Success and Optimal Storage
To ensure your chocolate sheet cake turns out perfectly moist and delicious every single time, keep these invaluable tips in mind. They will help you achieve baking perfection and keep your cake fresh for longer:
- Avoid Overbaking at All Costs: Sheet cakes, by their nature, bake relatively quickly due to their thinner profile. Begin checking for doneness around the 16-minute mark. A simple test: insert a toothpick into the center of the cake; it should come out clean or with just a few moist crumbs attached. An overbaked cake will quickly become dry and crumbly, so pull it from the oven as soon as it passes the toothpick test.
- Cool Completely Before Frosting: This step cannot be emphasized enough! Resist the irresistible urge to frost a warm cake. Applying frosting to a warm cake will cause it to melt, slide off, and create an unappetizing mess. Allow the cake to cool completely in its pan on a wire rack before even thinking about applying the frosting. This usually takes at least 1-2 hours, sometimes longer depending on your kitchen’s temperature. Patience here is key to a beautifully frosted cake.
- Optimal Storage for Freshness: Once frosted, your delicious chocolate sheet cake can be stored at room temperature for 2-3 days, provided it’s kept in an airtight container. This prevents it from drying out and keeps the frosting from becoming crusty. For longer storage, the cake can be refrigerated for up to a week. If you choose to refrigerate it, allow the cake to come closer to room temperature for about 30 minutes before serving; this significantly enhances both its flavor and texture. You can also freeze unfrosted cake layers, wrapped tightly in multiple layers of plastic wrap and then foil, for up to 2 months.
Explore More Delicious Sheet Cake Recipes You’ll Love
If you’ve fallen deeply in love with the sheer ease and delightful taste of this chocolate sheet cake, you’ll be thrilled to discover a world of other fantastic sheet cake variations. These recipes offer the same incredible convenience, generous portions, and crowd-pleasing appeal, making them perfect for virtually any occasion, from casual family dinners to grand celebrations:
- Vanilla White Sheet Cake Recipe: A wonderfully classic and elegant option, this vanilla almond white sheet cake offers a delicate, fragrant flavor profile perfect for those who prefer lighter desserts with a touch of sophistication.
- Pumpkin Sheet Cake: A quintessential seasonal favorite, this moist pumpkin sheet cake topped with a luscious, tangy cream cheese frosting is absolutely ideal for autumn gatherings and holiday feasts.
- Texas Sheet Cake : If you enjoy a truly richer, more intensely chocolate experience that’s often served warm with a poured frosting, the traditional Texas sheet cake is an absolute must-try.
- Banana Cake: For a delightful fruity twist, this banana cake recipe delivers incredibly moist, flavorful goodness that’s always a universal hit and a fantastic way to use up ripe bananas.
I genuinely hope you cherish and enjoy every single bite of this Chocolate Sheet Cake with Milk Chocolate Frosting! Your feedback is incredibly valuable to me, and I love hearing about your baking successes. If you make this recipe, please take a moment to leave a comment and share your rating below. Seeing your wonderful creations brings me so much joy and inspires me daily, so don’t forget to tag me on Instagram @modern_honey and use the hashtag #modernhoney. It truly is one of my favorite parts of sharing these recipes with such an amazing, engaged community of readers. Thank you for following along and for being the best readers a baker could ever ask for! CONNECT WITH ME ON: INSTAGRAM — FACEBOOK — PINTEREST
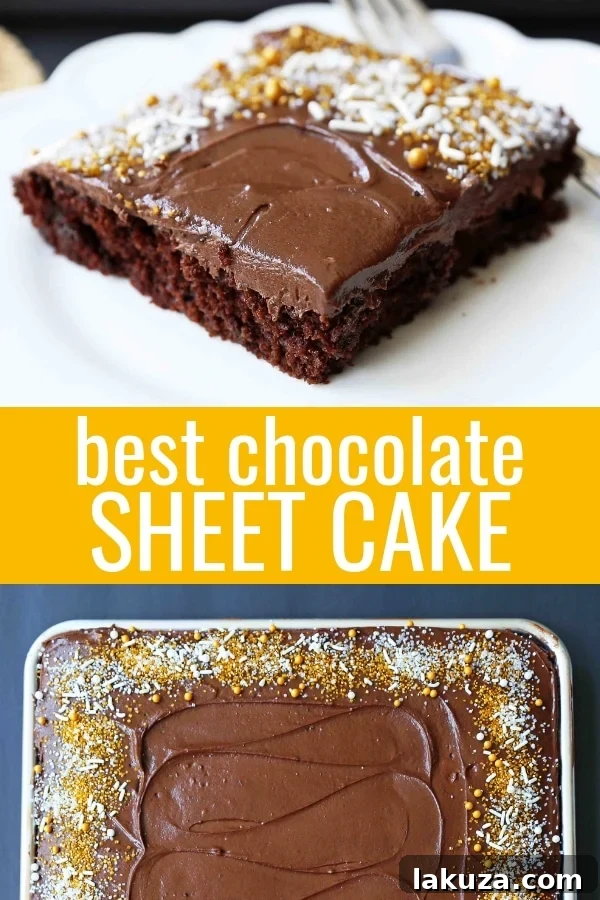
Chocolate Sheet Cake with Milk Chocolate Frosting
This irresistible homemade chocolate sheet cake, generously topped with a decadent milk chocolate frosting, is the definition of quick and easy baking. Perfect for any occasion!
★★★★★
5 from 2 votes
Print Recipe
Equipment
- 1 KitchenAid Mixer (or suitable hand mixer)
- 1 Baking Sheet (approximately 17×13 inches)
- 1 Set of Measuring Cups and Spoons
- 1 Spatula Set (including an angled spatula for frosting)
- 1 Turner
Ingredients
For the Moist Chocolate Sheet Cake:
- 2 cups All-Purpose Flour
- 2 cups Granulated Sugar
- ¾ cup Unsweetened Cocoa Powder
- 2 teaspoons Baking Soda
- 1 teaspoon Salt
- ⅔ cup Vegetable Oil (or other neutral-flavored oil)
- 1 cup Buttermilk
- 2 large Eggs
- 1 ½ teaspoons Vanilla Extract
- 1 cup Hot Water
For the Decadent Milk Chocolate Frosting:
- 1 cup Unsalted Butter, softened
- ½ cup + 2 Tablespoons Unsweetened Cocoa Powder
- 3 ¾ cups Powdered Sugar (confectioners’ sugar)
- 2-3 Tablespoons Heavy Cream, Whole Milk, or Half-and-Half
Instructions
- Prepare Cake Batter: Preheat your oven to 350°F (175°C). In a large mixing bowl, thoroughly whisk or stir together the all-purpose flour, granulated sugar, unsweetened cocoa powder, baking soda, and salt until well combined.
- Combine Wet Ingredients: Add the vegetable oil, buttermilk, large eggs, and vanilla extract to the dry ingredients. Stir until the mixture is just combined and smooth. Gently fold in the hot water. At this stage, the cake batter will be quite thin and liquidy, which is perfectly normal and desired for this recipe’s texture.
- Bake the Cake: Carefully pour the prepared chocolate cake batter into a lightly greased baking sheet (approximately 17 x 13 inches). Bake for 16-20 minutes, or until a wooden toothpick inserted into the center of the cake comes out clean or with just a few moist crumbs attached. Be very careful not to overbake, as this can result in a dry cake.
- Cool the Cake Completely: Remove the baked cake from the oven and allow it to cool completely in the pan on a wire rack before proceeding with the frosting. This step is crucial to prevent the frosting from melting and sliding off the cake. Allow at least 1-2 hours for cooling.
- Make the Milk Chocolate Frosting: While the cake cools, prepare the decadent frosting. In a large mixing bowl (using a stand mixer with a paddle attachment or a hand mixer), whip the softened butter for 3 minutes until it is light in color and fluffy in texture.
- Finish the Frosting: Gradually add the unsweetened cocoa powder, powdered sugar, and 2 tablespoons of heavy cream (or your chosen milk/half-and-half) to the whipped butter. Beat for another 2-3 minutes until the frosting is exceptionally light, creamy, and smooth. If the frosting is too thick, add the remaining tablespoon of cream, or more, one teaspoon at a time, until the desired spreadable consistency is reached.
- Frost and Serve: Once the sheet cake is thoroughly cooled, use an angled spatula to spread the luscious milk chocolate frosting evenly and generously over the entire surface. If desired, sprinkle with extra chocolate chips, chocolate shavings, or decorative sprinkles for an appealing finish. Cut into perfect squares and serve immediately.
Nutrition information provided is an approximation and may vary based on specific ingredients and preparation methods. It should be used as a general guide.
Additional Information
Enjoy every delicious bite of this Easy Chocolate Sheet Cake with Decadent Milk Chocolate Frosting! I truly appreciate you stopping by and taking the time to try my recipes.
Like this recipe? We’d love to hear your thoughts!
Jump to Comments and share your experience and rating below!