
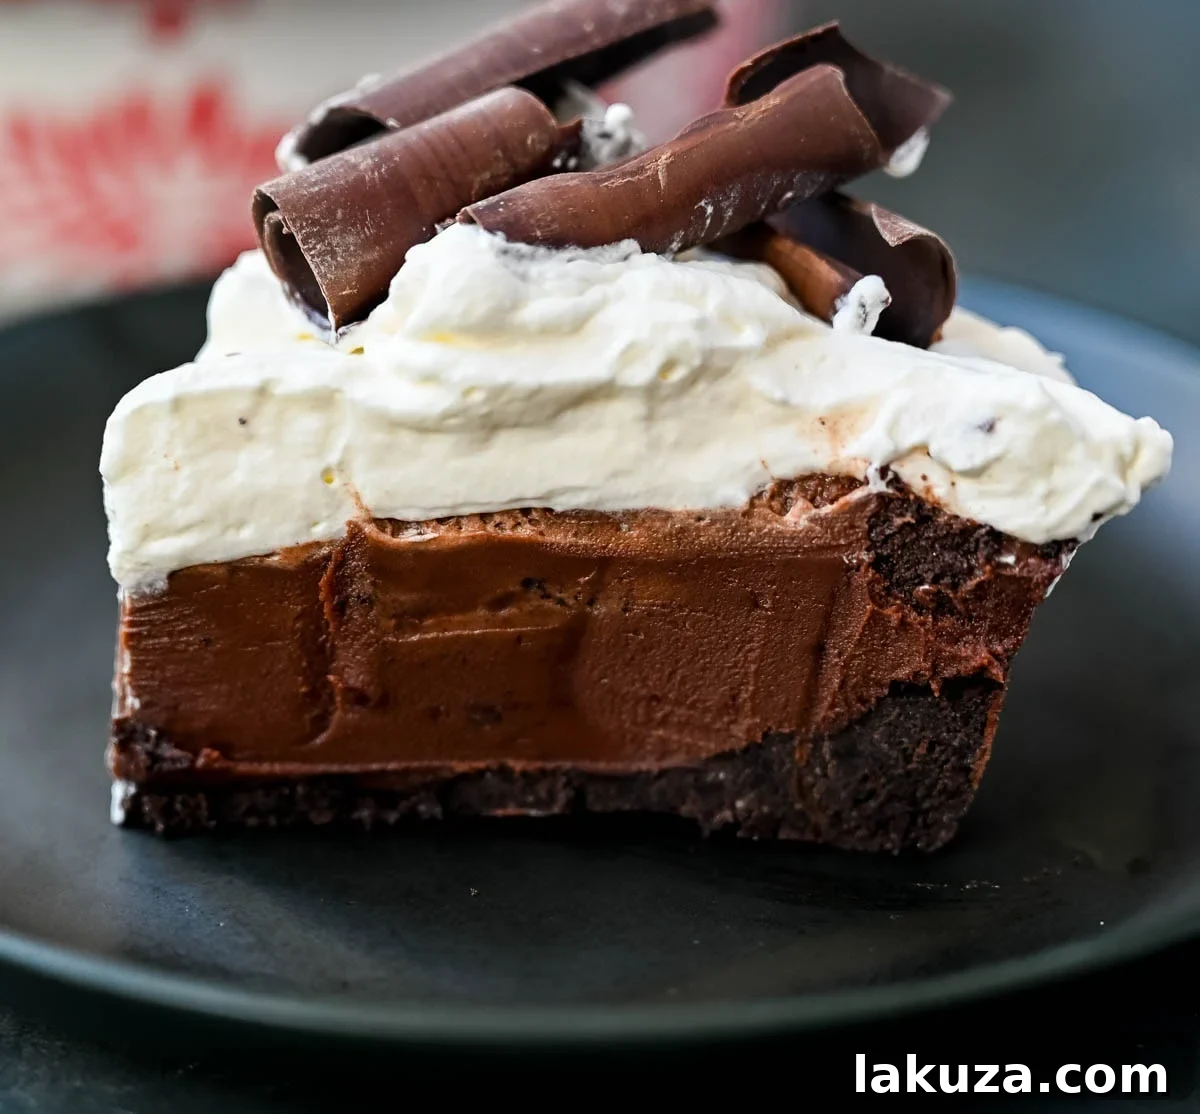
Indulge in pure chocolate bliss with this incredibly easy and decadent No-Bake Chocolate Cream Pie. Featuring a rich, buttery Oreo crust, a silken chocolate ganache filling that tastes like melted truffles, and a crown of fluffy, sweetened whipped cream, this dessert is a true showstopper that requires absolutely no oven time. Perfect for busy hosts, beginner bakers, or anyone craving an intensely chocolatey treat, it’s a foolproof recipe designed to deliver gourmet results with minimal effort.
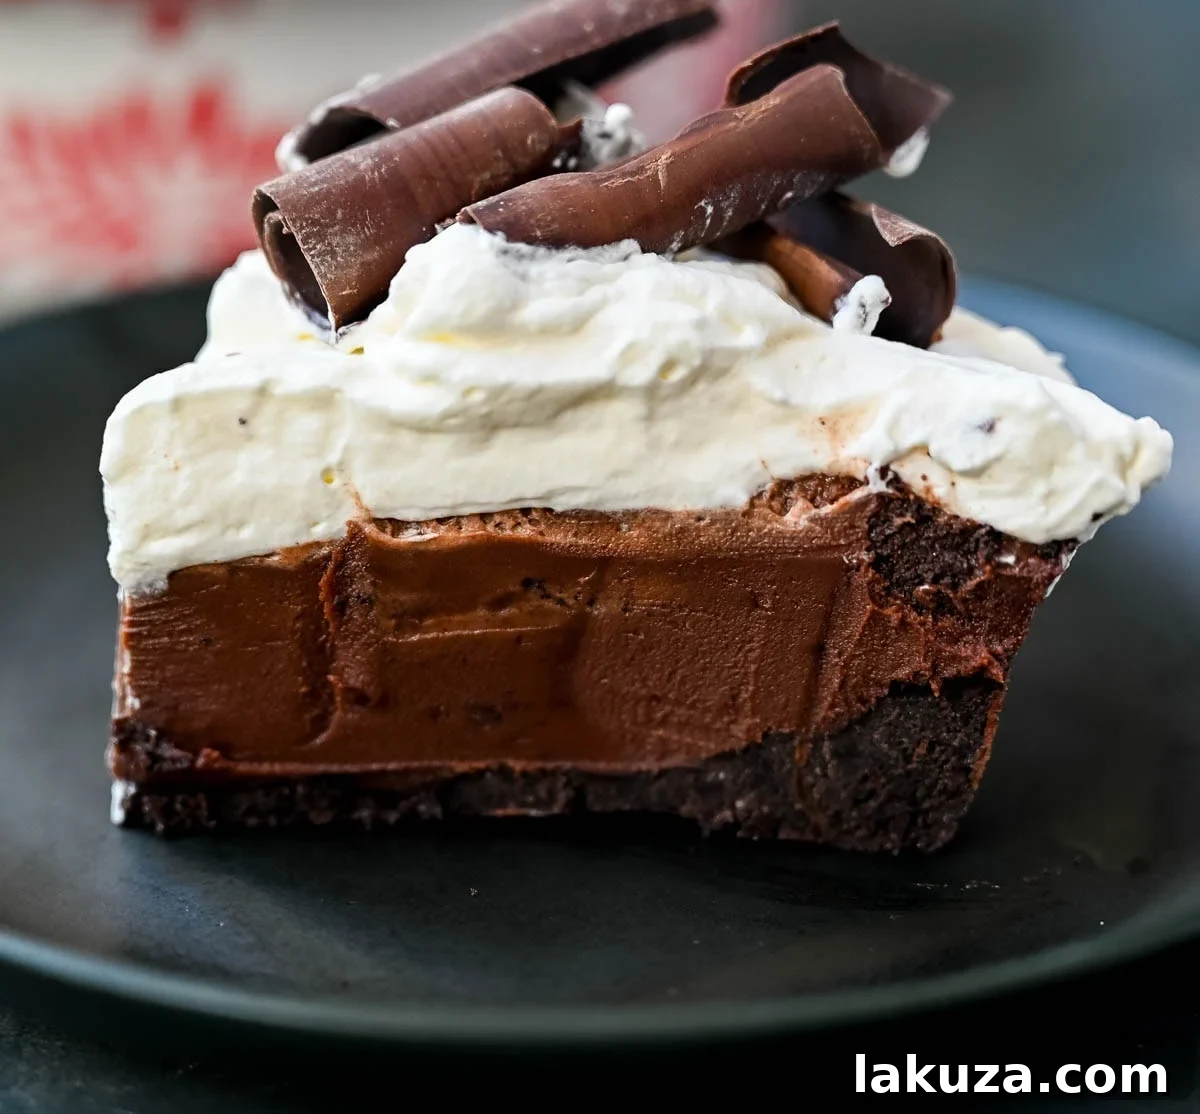
Imagine a dessert that looks sophisticated enough for a special occasion yet is deceptively simple to prepare. This no-bake chocolate cream pie is exactly that. It’s an instant classic for chocolate enthusiasts and a stress-free option for those who prefer to keep their ovens off. With just a handful of quality ingredients, you can create a dessert that is creamy, profoundly chocolatey, and impressively elegant. Its no-bake nature makes it virtually foolproof, ensuring a perfect pie every time.
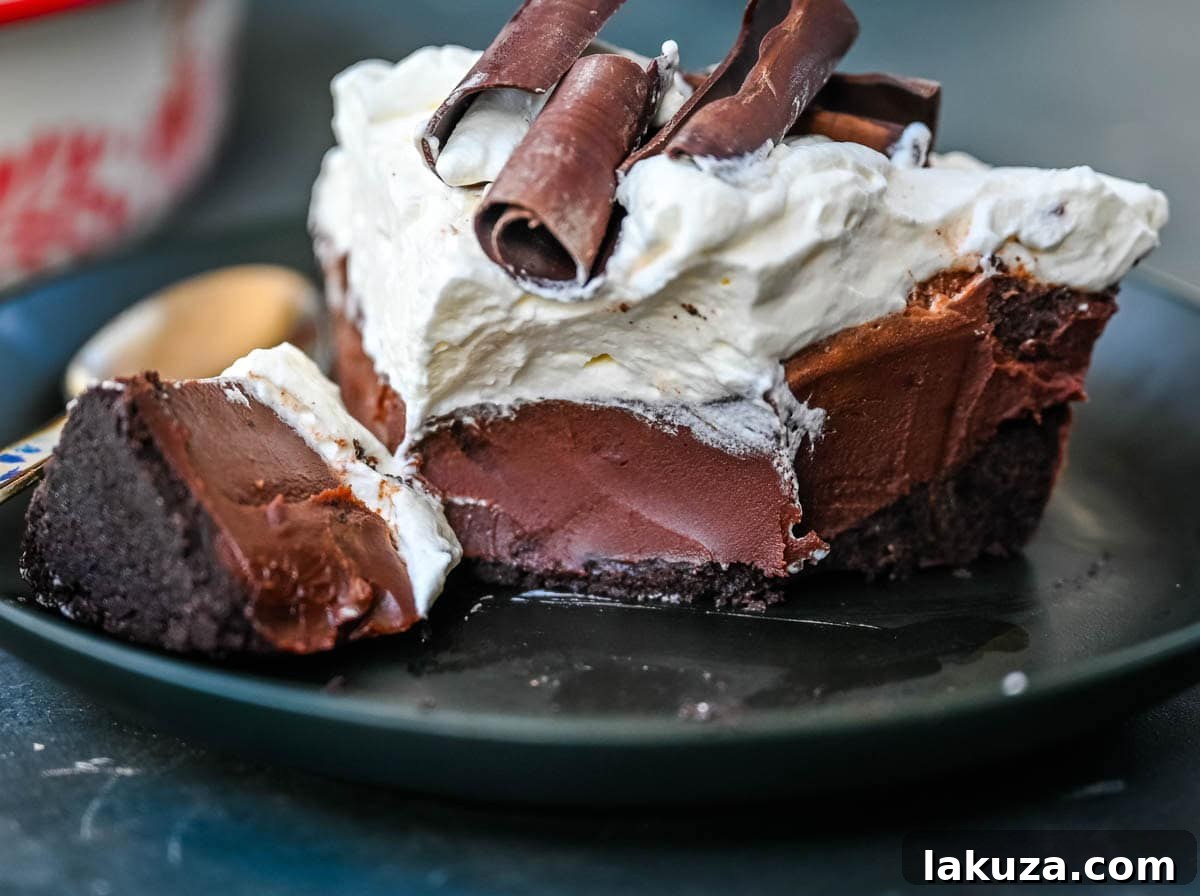
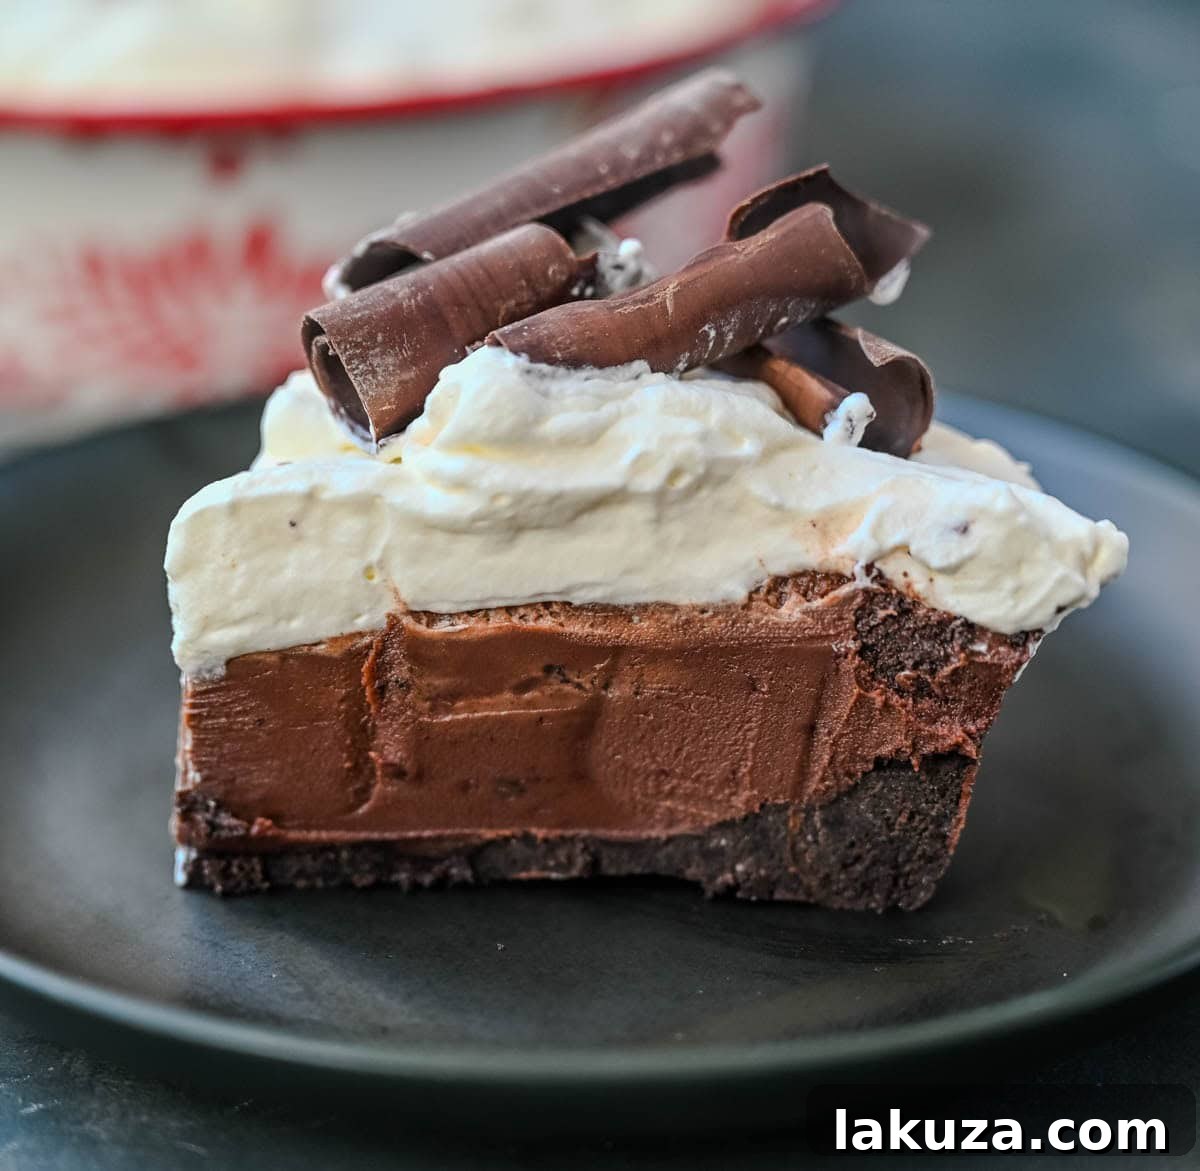
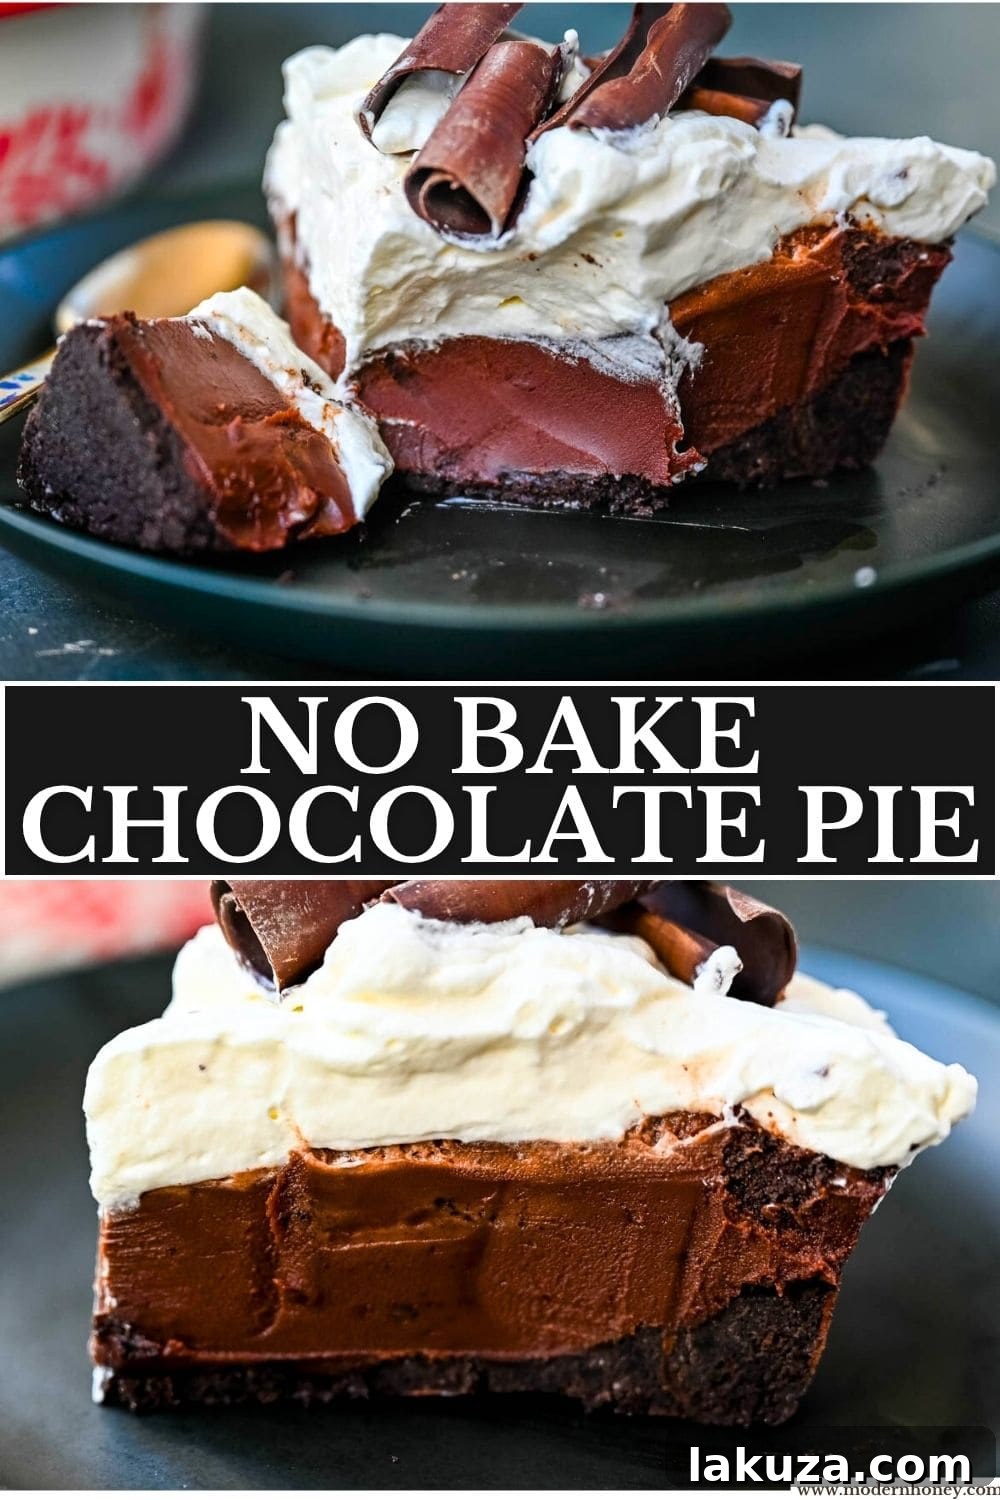
The magic begins with a perfectly crunchy, chocolatey Oreo cookie crust, providing an irresistible foundation. This is followed by a velvety smooth chocolate filling – a rich ganache crafted from just two ingredients: premium chocolate and heavy cream. This filling is so luxurious, it’s akin to a decadent chocolate truffle, melting in your mouth and delivering an unadulterated chocolate experience. Unlike many traditional cream pies, this recipe avoids eggs or gelatin in the filling, allowing the pure, deep flavor of chocolate to shine through beautifully.
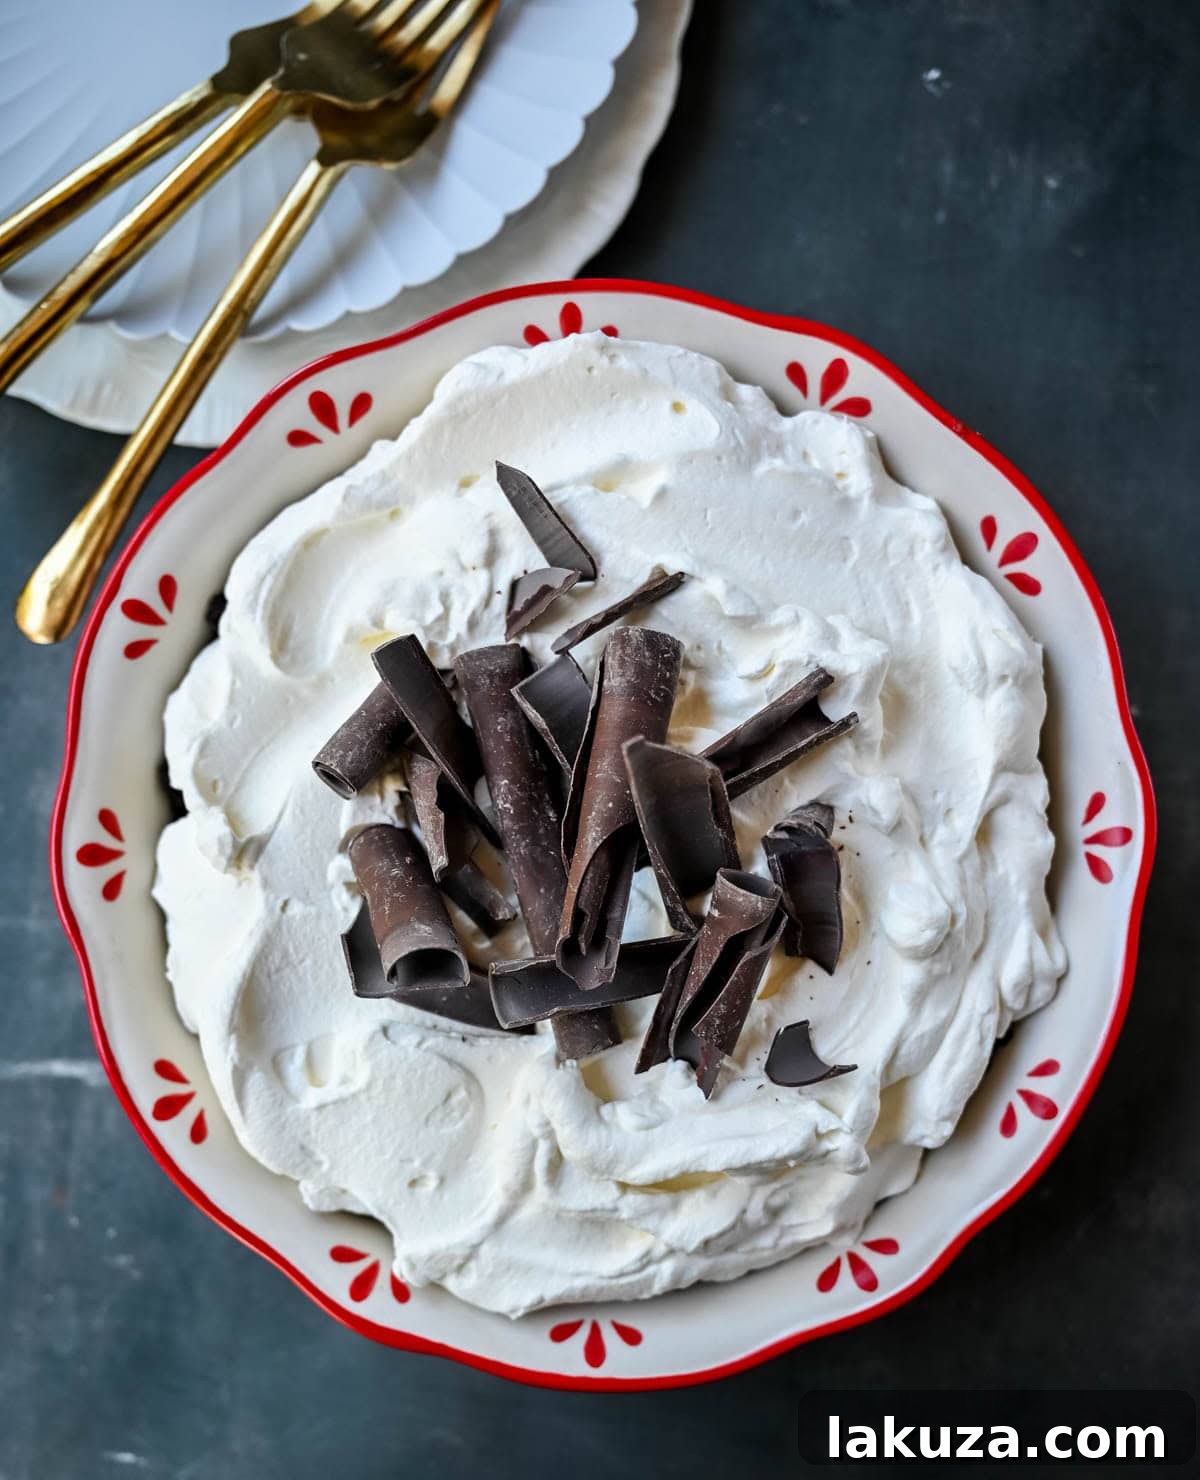
Crowning this masterpiece is a generous, billowy layer of sweetened whipped cream. Its light, airy texture and delicate sweetness provide the ideal contrast to the intense richness of the chocolate beneath, creating a harmonious balance of flavors and textures. A sprinkle of chocolate curls or a dusting of cocoa powder transforms this simple dessert into an artful presentation, ready to impress guests or simply elevate your everyday indulgence.
For those who adore the timeless appeal of chocolate cream pies, you might also enjoy exploring other delightful options. Discover the classic Chocolate Cream Pie with its traditional flaky, buttery crust, or dive into the luxurious depths of my rich French Silk Pie, both guaranteed to satisfy any chocolate lover’s craving.
Why You’ll Fall in Love with This No-Bake Chocolate Cream Pie
Effortless Elegance: This pie delivers stunning presentation and gourmet taste without any baking. It’s perfect for when you need a beautiful dessert but want to keep the kitchen cool and your stress levels low.
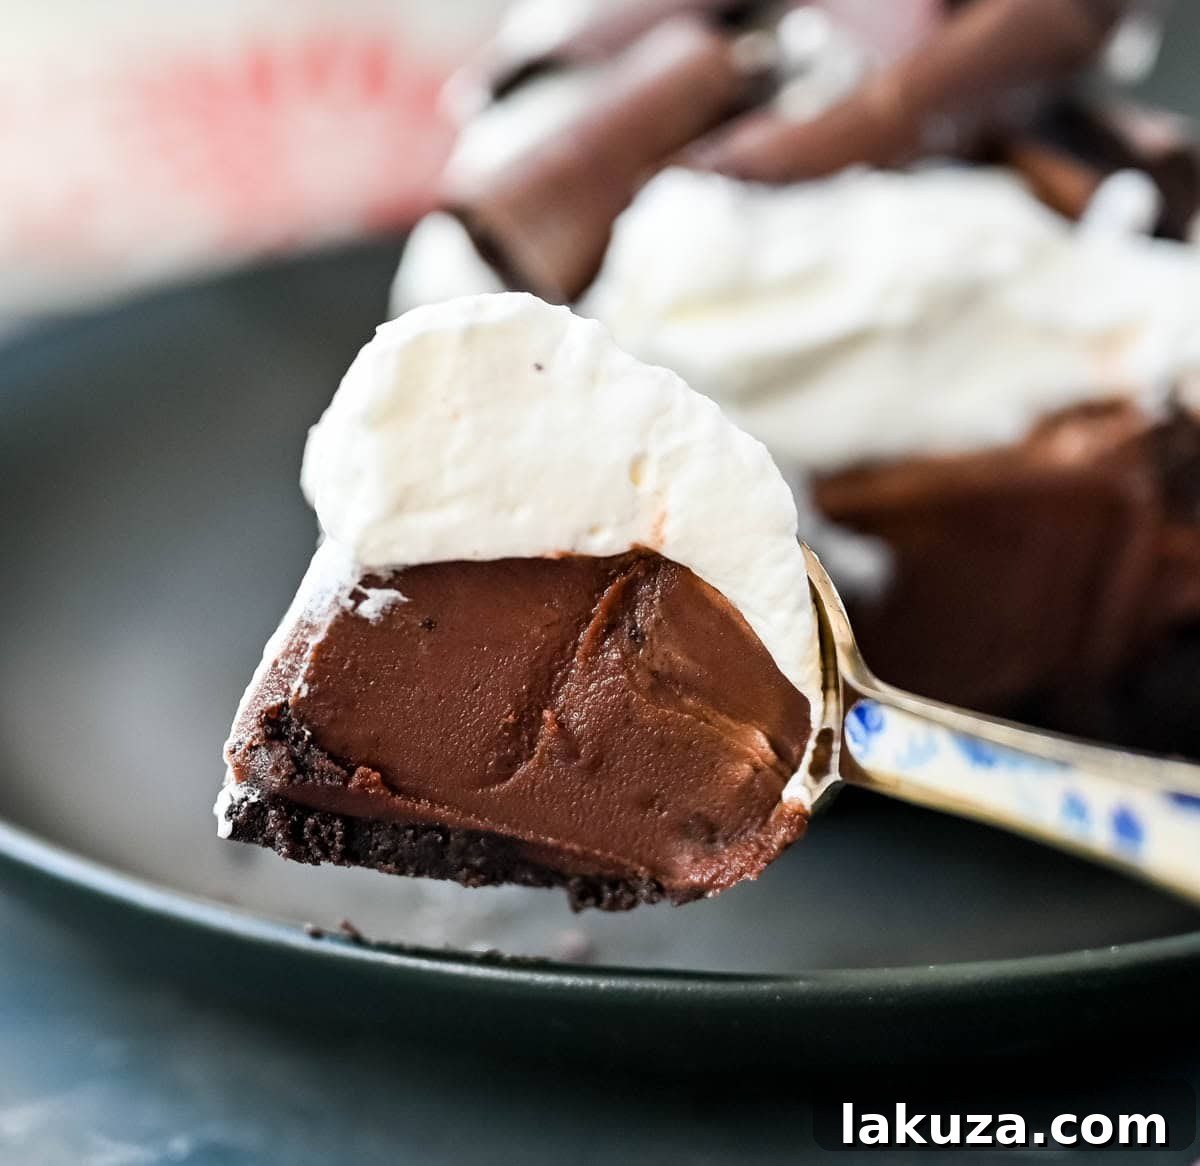
Luxuriously Creamy Chocolate Filling: The star of the show is its ganache-style center. Made with just two simple ingredients, it’s incredibly silky, smooth, and melts in your mouth, offering an intense chocolate experience.
Perfect for Planning Ahead: This pie needs time to chill and set, making it an ideal make-ahead dessert. Prepare it the night before, and your delectable treat will be perfectly ready to serve with zero last-minute fuss on the day of your event.
Foolproof Recipe: Its no-bake nature eliminates many common baking pitfalls, making it an excellent choice for novice bakers or anyone seeking a reliably delicious dessert.
Universal Appeal: Rich yet balanced, this chocolate cream pie is a crowd-pleaser that appeals to virtually everyone, from children to discerning adults.
Essential Ingredients for Your Perfect No-Bake Chocolate Cream Pie
The beauty of this no-bake chocolate pie lies in its simplicity and the quality of its core components. While the recipe is minimalistic, choosing the right ingredients will profoundly impact the final taste and texture. Our pie starts with a luscious chocolate ganache filling, which, once chilled, transforms into a mousse-like consistency, all cradled within a homemade Oreo crust. Let’s delve into what makes each ingredient crucial:
For the Irresistible Oreo Crust:
- Oreo Cookies: The quintessential choice for a chocolate crumb crust. Their distinct chocolate flavor and creamy filling create a rich, cohesive base. Ensure you use the entire cookie, filling and all, for optimal flavor and texture.
- Melted Butter: This acts as the binding agent, holding the crushed Oreo crumbs together to form a firm yet tender crust. Whether you opt for salted or unsalted butter is a matter of preference; salted butter can add a delightful sweet-salty contrast that enhances the overall flavor profile of the pie.
For the Silky Chocolate Ganache Filling:
- Heavy Cream: The foundation of our ganache. When heated and combined with chocolate, heavy cream (also known as heavy whipping cream) lends unparalleled richness and a velvety smooth texture. As it chills, it helps the ganache thicken into a luxurious, mousse-like filling. The higher fat content of heavy cream is essential here for the correct consistency and decadent mouthfeel.
- Semi-Sweet Chocolate: This is the recommended choice for a classic chocolate cream pie, offering a balanced sweetness that appeals to a wide audience without being overly bitter. For a sweeter pie, you can experiment with a 50/50 blend of milk chocolate and semi-sweet chocolate. Always choose high-quality chocolate chips or finely chopped baking chocolate for the best results, as the chocolate flavor is the star of this filling.
For the Fluffy Sweetened Whipped Cream Topping:
- Heavy Cream: Again, heavy cream is key for achieving light, stable whipped cream. Ensure it’s very cold before whipping for the best volume and texture.
- Powdered Sugar: Also known as confectioners’ sugar, it dissolves easily into the cream, ensuring a smooth, grit-free topping. The amount can be adjusted to your personal taste – if you prefer a sweeter topping to complement the rich chocolate, feel free to add a little more.
- Optional Garnish: Chocolate curls, chocolate shavings (easily made with a vegetable peeler from a chocolate bar), or extra crushed Oreo pieces will elevate the presentation and add an extra layer of chocolatey goodness.
Crafting Your Easy No-Bake Chocolate Cream Pie: A Step-by-Step Guide
Creating this stunning no-bake pie is a straightforward process, broken down into three main stages: preparing the crust, making the luscious filling, and adding the finishing touch of whipped cream. Follow these simple steps for a dessert that’s guaranteed to impress.
- Prepare the Crust:
- Begin by crushing your Oreos. You can do this efficiently using a food processor for fine, even crumbs, or by placing them in a zip-top bag and crushing them with a rolling pin. Aim for a sandy consistency.
- Once crushed, transfer the Oreo crumbs to a bowl and mix them thoroughly with the melted butter. The butter should evenly coat all the crumbs, giving them a slightly damp texture.
- Press this mixture firmly and evenly into a 9-inch pie dish, making sure to push some of the mixture up the sides to form a defined crust.
- For best results, place the crust in the freezer for at least 15 minutes while you prepare the filling. This chilling time helps the crust firm up and prevents it from becoming soggy when the filling is added.
- Make the Chocolate Ganache Filling:
- In a small saucepan, gently heat the heavy cream over medium heat until it is steaming and just begins to simmer around the edges (do not bring it to a rolling boil).
- Place your semi-sweet chocolate chips (or finely chopped chocolate) into a heatproof bowl.
- Pour the hot cream directly over the chocolate. Let it sit undisturbed for 2-3 minutes. This allows the heat from the cream to melt the chocolate thoroughly.
- After resting, gently whisk the mixture starting from the center and working your way outwards until it is completely smooth, glossy, and all the chocolate is fully melted and incorporated. Avoid over-whisking, as this can introduce too much air.
- Assemble and Chill the Pie:
- Carefully pour the smooth chocolate ganache filling into your chilled Oreo crust.
- Transfer the pie to the refrigerator and allow it to chill for at least 4-6 hours. For the cleanest, most perfect slices and optimal set, chilling overnight is highly recommended. During this time, the ganache will firm up and develop its wonderfully silky, mousse-like texture.
- Prepare the Whipped Cream Topping:
- Once your pie is fully set and firm, it’s time for the crowning glory. In a large, chilled bowl (a cold bowl helps cream whip faster), combine the cold heavy cream and powdered sugar.
- Beat with an electric mixer on medium-high speed until soft peaks form. Be careful not to over-beat, or you’ll end up with butter!
- Gently spread the whipped cream over the set chocolate filling using a spatula, or pipe it on for a more decorative finish.
- For an extra touch of elegance and flavor, garnish the top with chocolate curls, shavings, or a sprinkle of crushed Oreo pieces just before serving.
Frequently Asked Questions (FAQs) About Your No-Bake Chocolate Cream Pie
Here are answers to some common questions that will help you achieve pie perfection and customize your dessert to your liking.
- Can I use milk chocolate instead of semi-sweet chocolate for the filling?
Yes, you certainly can! However, be aware that using milk chocolate will result in a significantly sweeter pie. Milk chocolate also has a lower cocoa butter content and can be softer, so you might need to slightly reduce the amount of heavy cream by 1-2 tablespoons to ensure the filling sets properly. A good compromise for those who prefer a sweeter profile without sacrificing too much structure is to use a 50/50 blend of milk chocolate and semi-sweet chocolate. - Is it okay to use a store-bought crust to save time?
Absolutely! While a homemade Oreo crust adds a wonderful personal touch, a pre-made crust is a fantastic shortcut for an even faster prep time. A store-bought Oreo crust works perfectly, but you could also use a graham cracker crust or even a pre-baked flaky butter crust for a different textural contrast. Just make sure your chosen crust is already 9-inches and ready to fill. - What are the best toppings to add to this chocolate pie?
The beauty of this pie is its versatility in toppings! Classic choices include elegant chocolate curls or shavings (easily made with a vegetable peeler from a block of chocolate), extra crushed Oreos for added crunch and thematic consistency, or a simple dusting of cocoa powder for a sophisticated finish. Other delightful options include mini chocolate chips, a drizzle of caramel sauce, or a sprinkle of sea salt to enhance the chocolate flavor. - Can I freeze this pie?
Yes, this pie freezes beautifully! For best results, freeze the pie without the whipped cream topping. Once the chocolate filling is completely set, wrap the pie tightly in several layers of plastic wrap and then a layer of aluminum foil. It can be frozen for up to 2 months. When you’re ready to serve, thaw it overnight in the refrigerator and then top with freshly made whipped cream. - How do I get clean slices?
For perfectly clean slices, ensure the pie is thoroughly chilled, ideally overnight. When cutting, dip a sharp knife in hot water and wipe it clean between each slice. This warms the blade slightly, allowing it to glide through the chocolate ganache without sticking or dragging.
Storage & Freezing Tips for Maximum Freshness
To maintain its creamy texture and fresh taste, store your No-Bake Chocolate Cream Pie in the refrigerator. Ensure it’s tightly covered with plastic wrap or in an airtight container to prevent it from absorbing other food odors. It will stay fresh and delicious for 3-4 days.
For longer preservation, this pie can be frozen. Wrap the pie (without the whipped cream topping) tightly with multiple layers of plastic wrap, followed by aluminum foil. It can be frozen for up to 2 months. When ready to enjoy, thaw the pie overnight in the refrigerator and then top with a fresh batch of whipped cream before serving for the best experience.
More Decadent Pie Recipes to Explore:
Chocolate Peanut Butter Pie
Raspberry Cream Pie with Graham Cracker Crust
Best Cannoli Pie Recipe
Chocolate Pecan Pie
No Bake Chocolate Cream Pie
Modern Honey® – www.modernhoney.com
15 minutes
8
Ingredients
Chocolate Oreo Crust:
- 28 Oreos
- 1/2 cup Butter (melted)
Chocolate Ganache Filling:
- 12 ounces Semi-Sweet Chocolate
- 1 1/4 cups Heavy Cream
Whipped Cream:
- 2 cups Heavy Cream
- 1/3 cup Powdered Sugar
- Chocolate Curls or Shavings (from chocolate bar, for garnish)
Instructions
-
MAKE THE CRUST: Add the Oreos to a food processor or zip-top bag + rolling pin until fine crumbs. Mix with melted butter until evenly coated. Press firmly into a 9-inch pie dish, pushing up the sides. Freeze for 15 minutes while making the filling.
-
MAKE CHOCOLATE FILLING: Heat the heavy cream in a saucepan until steaming (not boiling). Pour over the chocolate chips in a heatproof bowl. Let sit 2–3 minutes. Whisk together until completely smooth and all the chocolate is melted.
-
ASSEMBLE THE PIE: Pour the chocolate filling into the chilled Oreo crust. Refrigerate for at least 4–6 hours, but overnight is ideal for the cleanest slice. The filling will firm up into a silky-smooth chocolate mousse/ganache texture.
-
MAKE WHIPPED CREAM: Beat the heavy cream and powdered sugar until soft peaks form. Spread or pipe over the set chocolate filling. Top whipped cream with chocolate curls or crushed Oreo pieces before serving.
Notes
- Can I use milk chocolate instead of semi-sweet?
Yes, but the pie will be sweeter and softer. You might want to reduce the heavy cream by 1-2 tablespoons. - Can I use a store-bought crust?
Absolutely! A pre-made Oreo crust, graham cracker crust or flaky butter crust works great for an even faster prep time. - What toppings should I add to this Chocolate Pie?
Chocolate curls, crushed Oreos, or cocoa powder make a beautiful finish on top of the fresh whipped cream.
Nutrition information is automatically calculated, so should only be used as an approximation.
Additional Info
Dessert
American
8
chocolate pie, no bake chocolate cream pie
Like this? Leave a comment below!
Jump to Comments