
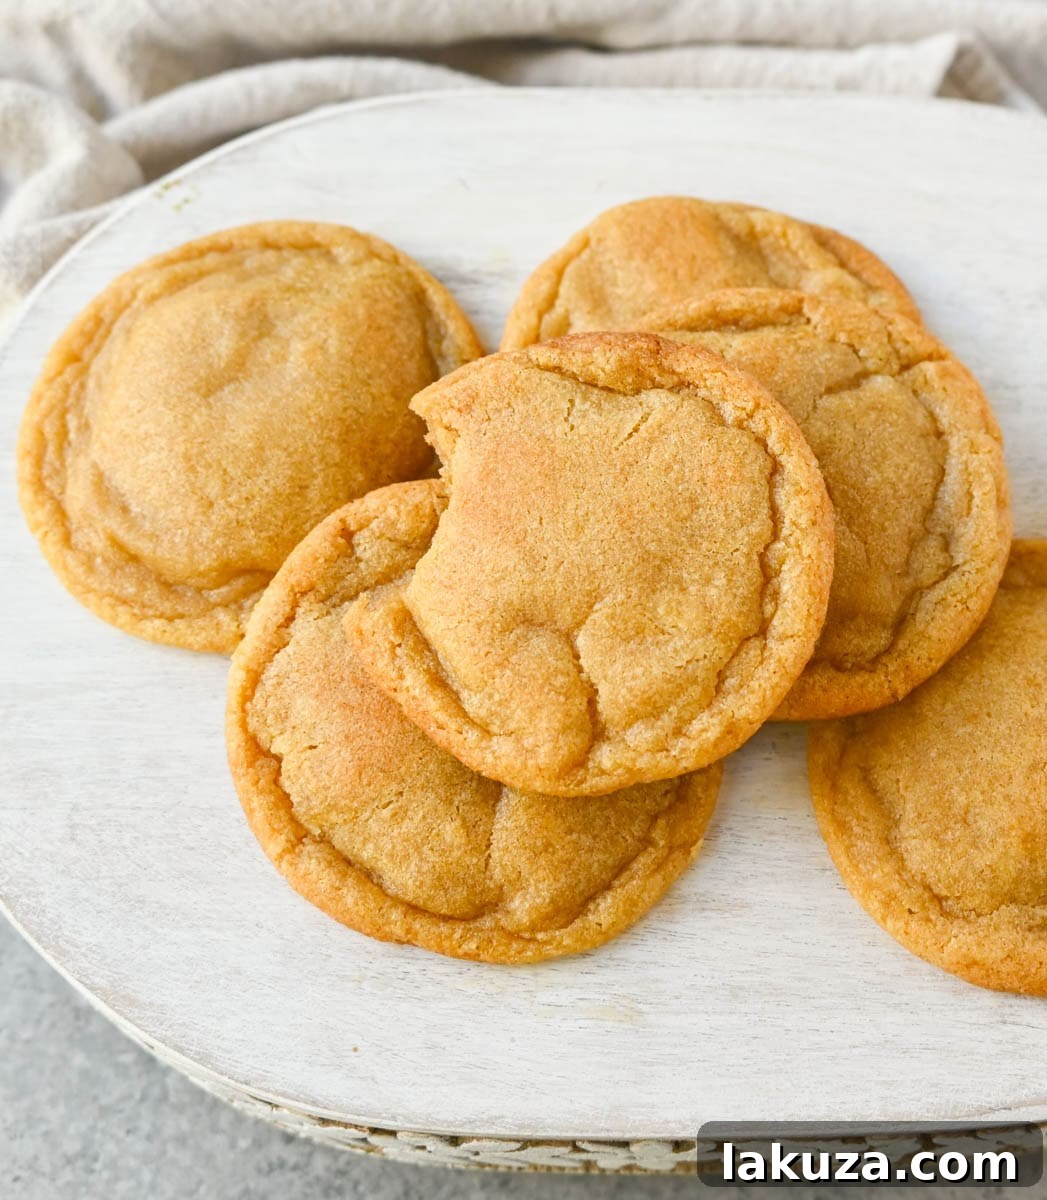
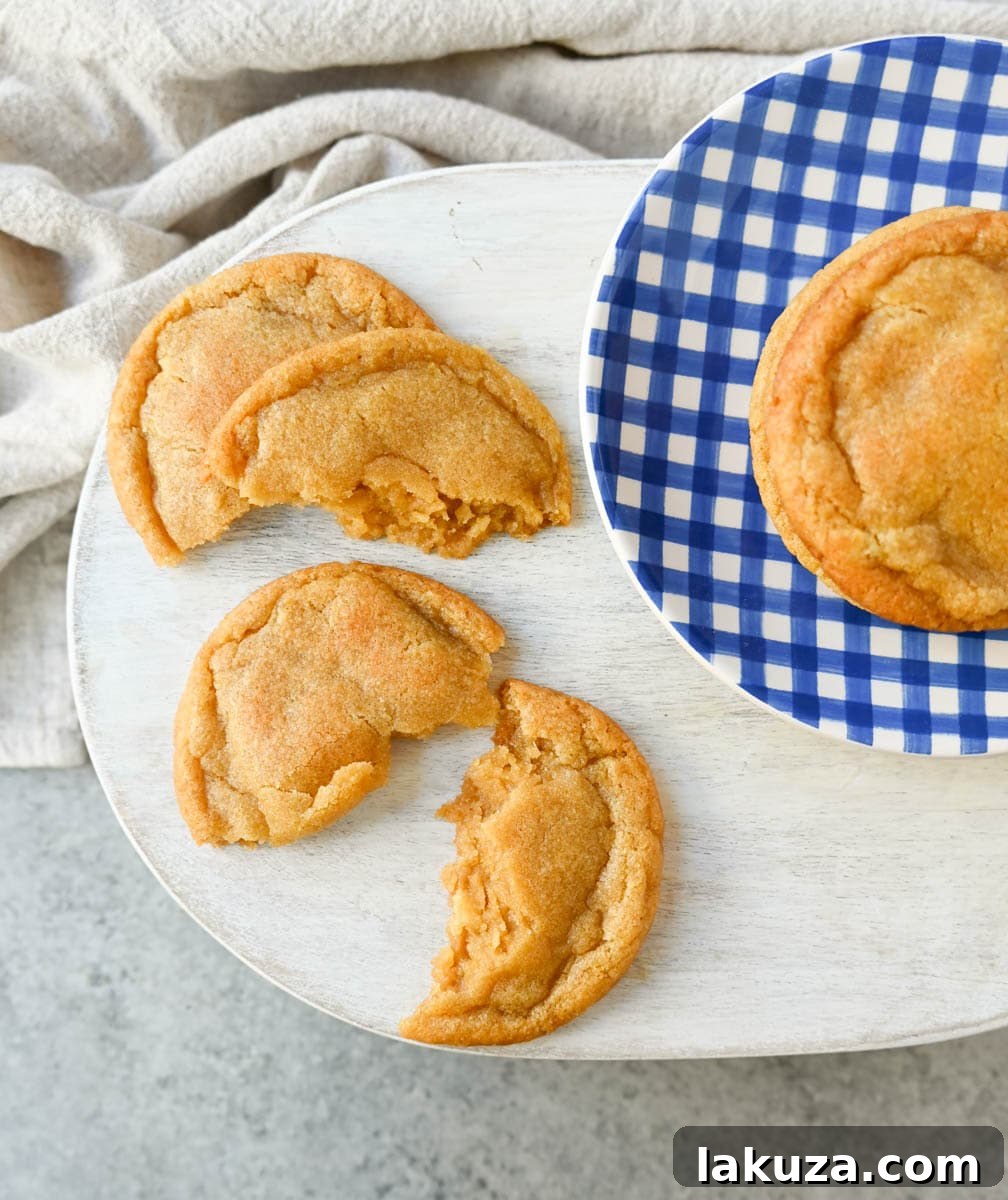
Welcome to the ultimate guide for crafting the most incredible **brown butter chocolate chipless cookies**! If you’ve ever dreamt of a cookie that’s rich, deeply buttery, exquisitely soft, and wonderfully chewy, all without a single chocolate chip in sight, then you’ve found your new favorite recipe. These aren’t just cookies missing chocolate; they are a celebration of pure cookie flavor, elevated by the magical transformation of browned butter. Prepare to discover the secrets to achieving perfect texture and an unforgettable toffee-caramel depth that will make you forget chocolate chips ever existed.
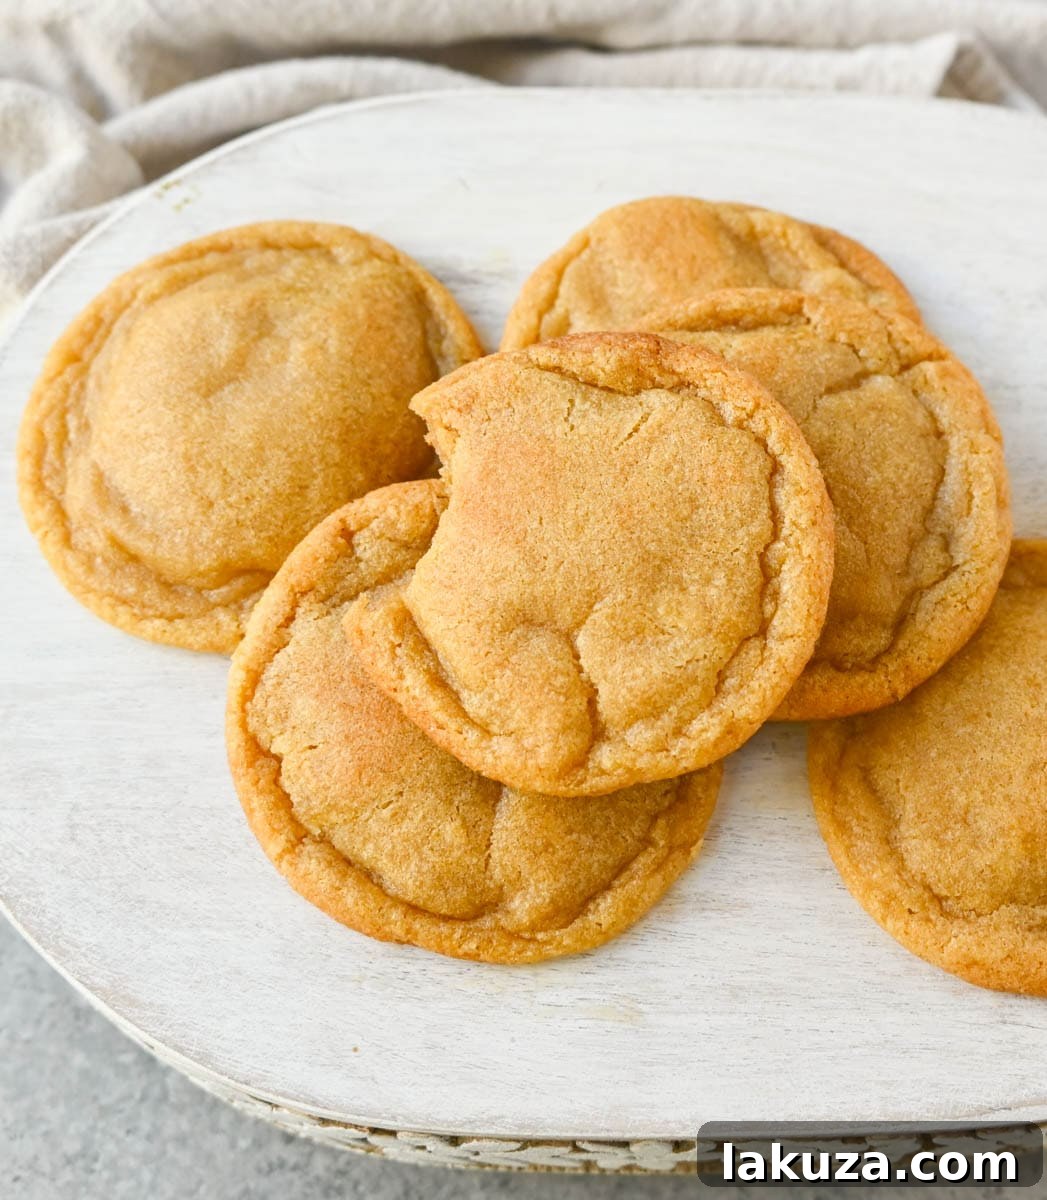
This highly requested recipe comes directly from my amazing readers, and perhaps most influentially, from my son! He’s always been a firm believer that some cookies are simply better without chocolate chips. Every time I prepare a batch of classic chocolate chip cookies, he’ll eagerly ask for his “special” version, sans chocolate. It reminds me of my brother, Ryan, who felt the exact same way growing up. He craved the familiar comfort and flavor profile of a chocolate chip cookie, but consistently preferred it without the chocolate itself.
This shared sentiment finally spurred me to create a dedicated recipe: the perfect brown butter chocolate chipless cookie. And let me tell you, as someone who considers a classic chocolate chip cookie to be one of life’s greatest pleasures, I am utterly smitten with these! These **chocolate chipless cookies** are truly beyond delicious, offering a unique and satisfying experience that stands proudly on its own.
Since we’re not relying on chocolate to contribute a rich, complex flavor profile, it was paramount to develop a cookie base that could deliver exceptional depth. This is where the star ingredient, browned butter, shines. It infuses the dough with incredible toffee and caramel notes, creating a sophisticated flavor foundation that ensures each bite is deeply satisfying. If you’ve ever tasted a cookie with an indescribable nutty richness that truly sets it apart, chances are, brown butter was the secret ingredient. These chocolate chip cookies without chocolate chips turned out even more spectacular than I could have ever imagined!
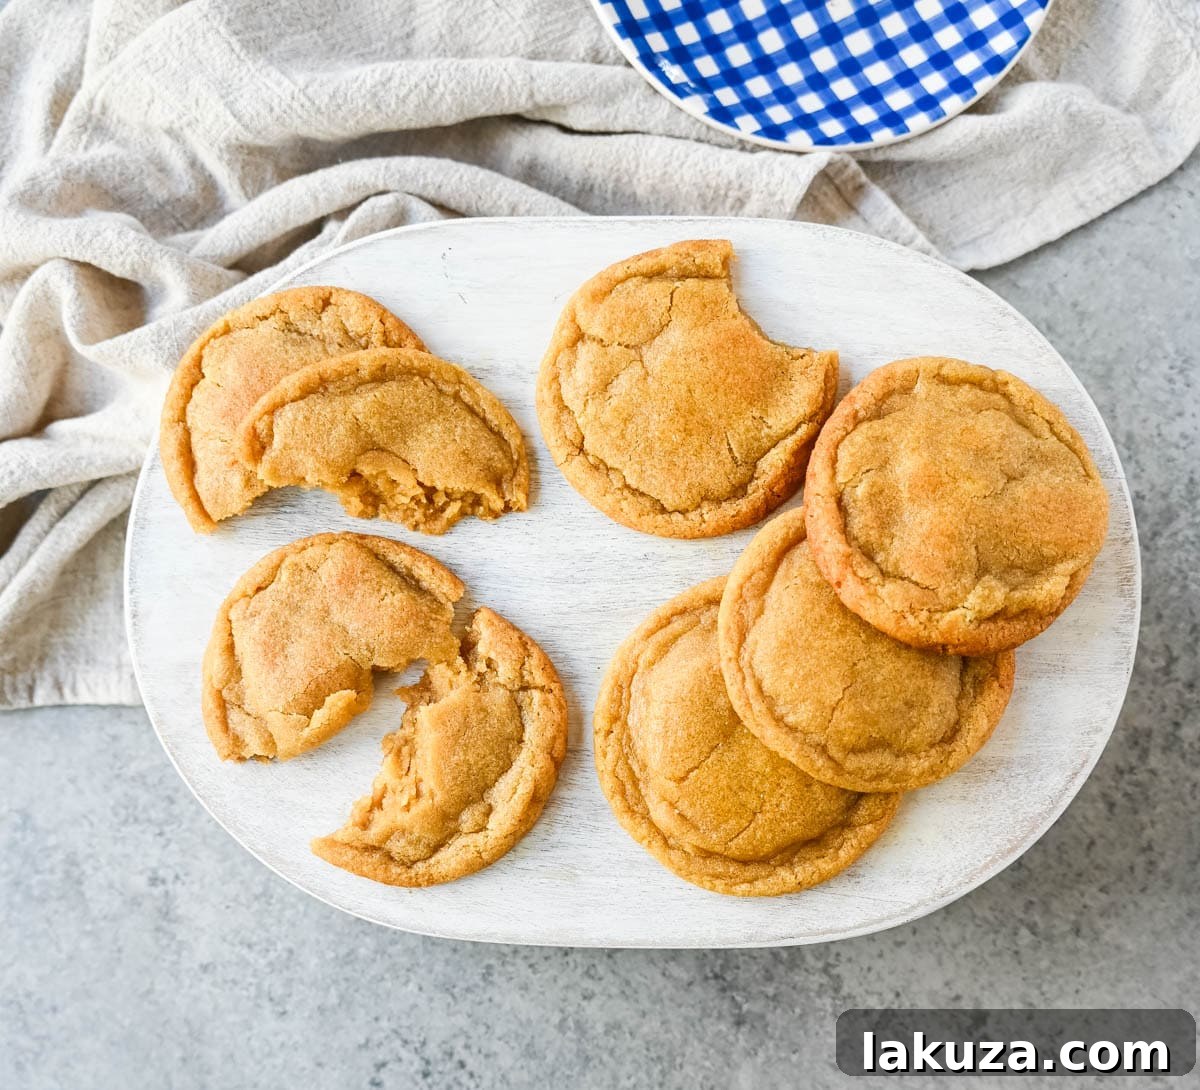
Why You’ll Fall in Love with These Brown Butter Cookies:
- Unforgettable Toffee and Caramel Flavor: The secret lies in the beautifully browned butter, which lends an incredible depth of flavor that is nutty, toasted, and intensely aromatic. It’s a flavor profile that’s impossible to resist and truly sets these cookies apart from any other chipless cookie recipe.
- Perfectly Balanced Texture: Prepare for a cookie experience that is a solid 10/10. These cookies boast delightfully soft, chewy centers contrasted by delicately crisp, golden-brown, buttery edges. Every bite offers a harmonious blend of textures that will have you reaching for another.
- Effortless Preparation – No Mixer Needed! Simplify your baking routine! This entire recipe can be prepared in a single saucepan, making cleanup a breeze and the process incredibly convenient. You won’t need any fancy equipment to achieve these gourmet results.
- A Unique Twist on a Classic: For those who adore the fundamental taste of a chocolate chip cookie but prefer it without the chocolate, this recipe is a revelation. It honors the beloved classic while offering a refined, chocolate-free alternative that truly shines.
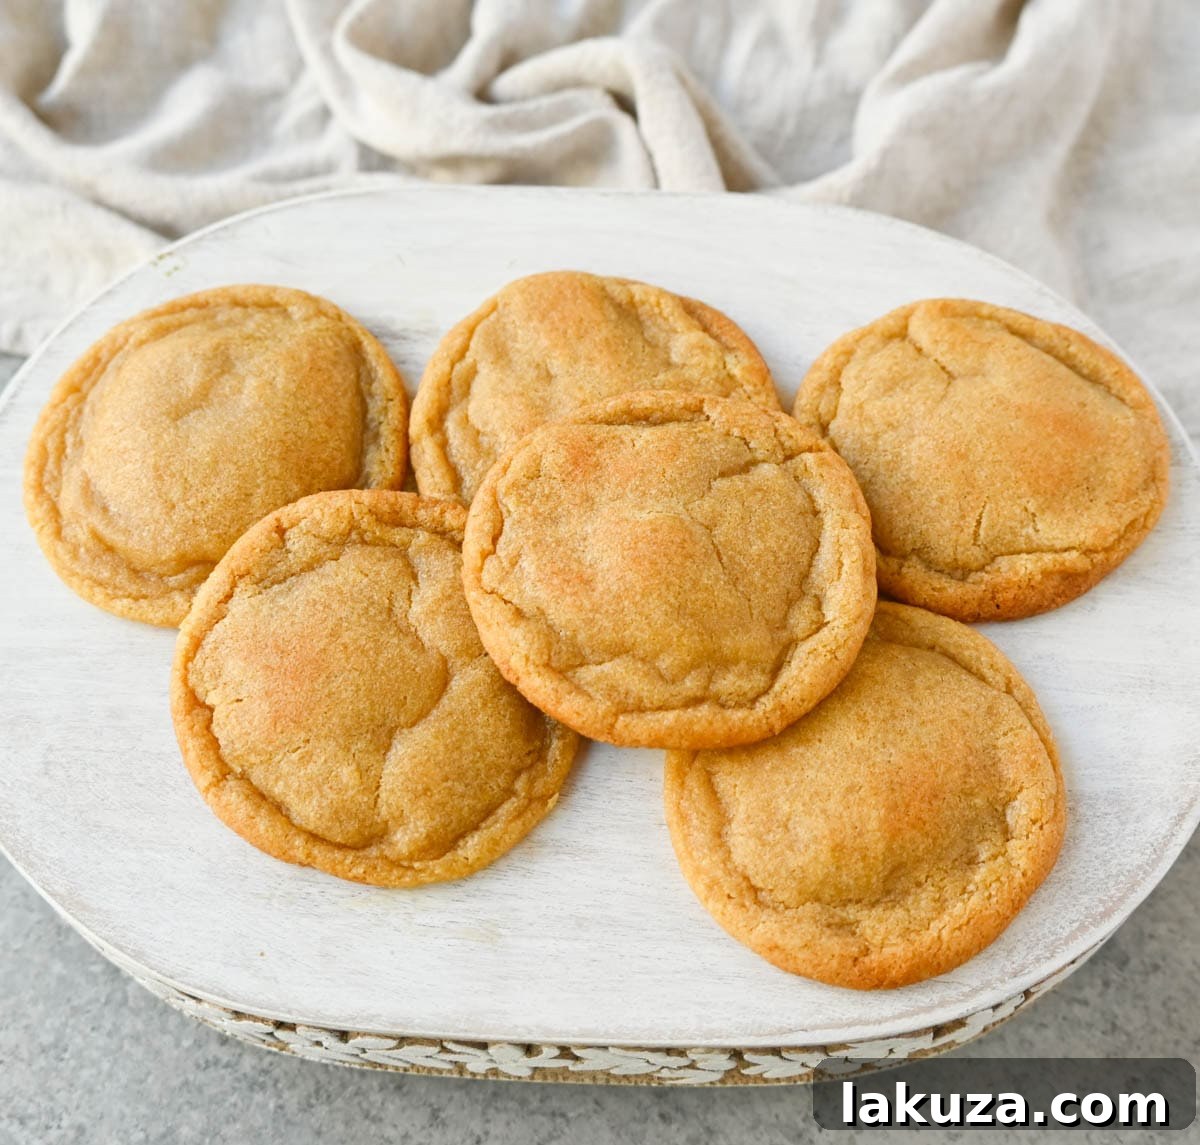
Simple Ingredients, Extraordinary Flavor:
One of the best parts about these incredible cookies is that they are made with staple ingredients you likely already have in your pantry and refrigerator. The real magic, of course, comes from transforming ordinary butter into extraordinary browned butter!
- Browned Butter: The star ingredient! This is regular unsalted butter gently cooked until the milk solids caramelize, creating a rich, nutty, and toffee-like flavor. Its depth replaces the need for chocolate chips.
- Brown Sugar: Contributes to the cookies’ signature chewiness, moisture, and deep caramel notes. Dark brown sugar will yield an even richer flavor.
- Granulated Sugar: Provides essential sweetness and helps achieve those desirable crisp edges and a slight spread.
- Egg and Egg Yolk: The large egg binds the ingredients, while the extra egg yolk adds richness, tenderness, and contributes to the wonderfully chewy texture of these **chipless cookies**.
- Vanilla Extract: Enhances all the other flavors, adding a warm, aromatic depth that complements the browned butter beautifully. Use a good quality pure vanilla extract for the best results.
- All-Purpose Flour: The structural base of our cookies. Be careful not to overmix once added.
- Baking Soda: Our leavening agent, which helps the cookies rise slightly and achieve their soft texture.
- Salt: Essential for balancing the sweetness and intensifying the overall flavor profile of the cookies. Don’t skip it!
Mastering the Art of Browning Butter!
While it might seem like an extra step, taking the time to properly brown your butter is absolutely crucial and incredibly rewarding. This simple process of melting butter in a saucepan until it turns a perfect golden hue imparts profound, rich toffee and nutty notes to your cookie dough, transforming good cookies into truly exceptional ones.
How to Brown Butter for Unrivaled Flavor:
Browning butter, also known as *beurre noisette*, is a culinary technique that creates a wonderfully nutty aroma and a deep, caramelized, almost toffee-like flavor. This simple yet transformative process adds incredible complexity and depth to your baked goods, especially these **chocolate chipless cookies**. It’s much easier than you might think, and I’m here to share all the essential tips and tricks to help you achieve brown butter perfection every time!
- Choose the Right Pan: Start with a light-colored saucepan or skillet. The pale interior allows you to accurately monitor the butter’s changing color, preventing it from burning.
- Cut Butter into Even Pieces: Uniformly cutting your butter into smaller pieces ensures it melts more evenly and browns consistently, reducing the risk of some parts burning while others are still melting.
- Melt Over Low to Medium-Low Heat: Place the butter in your chosen pan and melt it gently over low to medium-low heat. This slower melting process is key to cooking the butter evenly, allowing the milk solids to toast without scorching.
- Swirl the Pan Frequently: As the butter melts and begins to cook, continuously swirl the pan. This motion promotes even cooking, prevents milk solids from sticking and burning at the bottom, and helps you observe the formation of those crucial brown bits.
- Observe the Foam: Initially, the butter will melt, then begin to foam vigorously. This is a normal and necessary step, indicating that the water content in the butter is evaporating.
- Watch for Color and Aroma: After the foam subsides slightly, the butter will transition from yellow to a beautiful golden hue, and tiny brown specks (caramelized milk solids) will begin to form at the bottom of the pan. Simultaneously, a distinct, warm, nutty aroma will fill your kitchen, signaling that it’s almost done. This stage requires your undivided attention – butter can go from perfectly browned to burnt very quickly.
- Remove from Heat Immediately: The moment your butter reaches a deep golden brown color and releases that characteristic nutty fragrance, remove it from the heat. The residual heat in the pan will continue to cook the butter, so prompt removal is essential to prevent it from becoming bitter and burnt.
A Crucial Tip for Browning Butter:
Browning butter is a process that can escalate very quickly, especially once those first hints of brown start to appear. Therefore, it is imperative to remain at the stove and keep a vigilant eye on your butter. Distractions can lead to overcooking, which will result in a bitter, unpleasantly burnt flavor that will compromise your delicious **brown butter chocolate chipless cookies**.
How to Make the Best Chocolate Chipless Cookies:
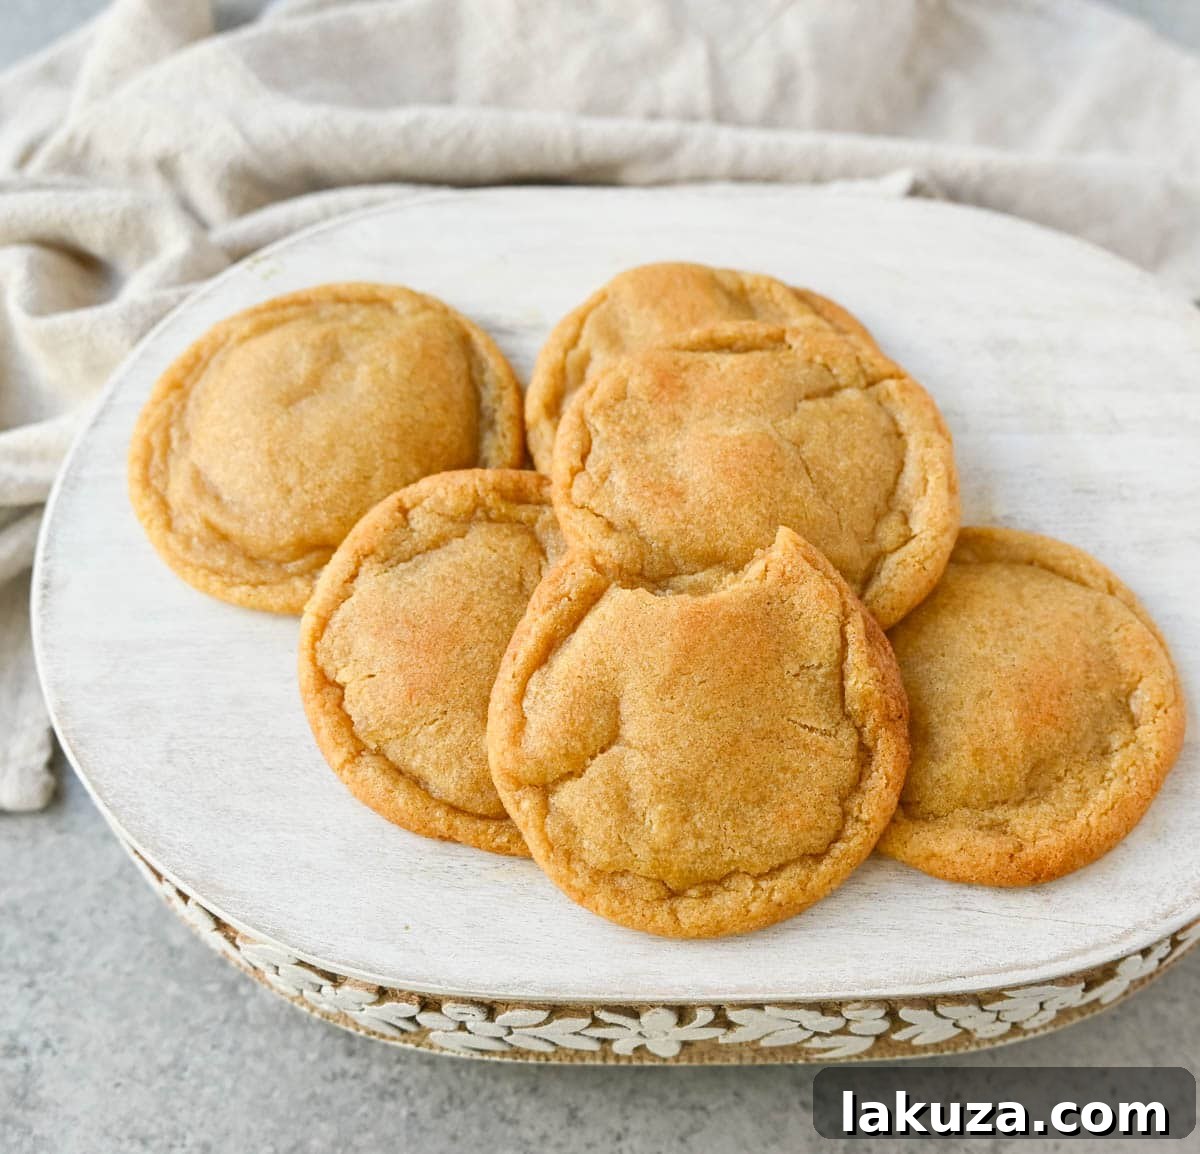
Creating these heavenly **chocolate chipless cookies** is a straightforward process, made even simpler by using a single saucepan for much of the mixing. Follow these steps for perfect, chewy results every time:
- Begin with Brown Butter: Your first step is to brown the butter to perfection. Refer to the detailed “How to brown butter” section above for all the essential tips and visual cues to ensure you get that rich, nutty flavor base.
- Combine Sugars with Butter: You have two convenient options here. For a truly one-pan wonder, add both the brown sugar and granulated sugar directly to the saucepan with the warm browned butter. Whisk carefully and vigorously for several minutes until the mixture is smooth, glossy, and well combined. Alternatively, for slightly easier handling, transfer the browned butter (ensuring you scrape all the delicious brown bits from the pot) into a large mixing bowl, then add the brown sugar and granulated sugar. Whisk thoroughly for several minutes until the mixture becomes smooth and shiny. Even if it’s not perfectly smooth at this stage, the subsequent addition of eggs will help achieve a wonderful, unified texture.
- Cool and Incorporate Wet Ingredients: Allow the butter-sugar mixture to cool down to room temperature for about 10 minutes. This crucial step prevents the eggs from scrambling. Once cooled, stir in the vanilla extract, then add the large egg and the extra egg yolk. Whisk until the mixture is glossy, smooth, and fully incorporated.
- Fold in the Dry Ingredients: Gently fold in the all-purpose flour, baking soda, and salt. Mix just until combined, being careful not to overmix, as this can lead to tough cookies. Stop mixing as soon as no streaks of flour remain.
- The Essential Chill (IMPORTANT STEP!): Since this recipe utilizes melted browned butter, it is absolutely imperative to chill the cookie dough. Skipping this step will result in cookies that spread too much and become flat. I highly recommend wrapping the cookie dough tightly and chilling it in the refrigerator for at least 30 minutes to 1 hour. For the absolute best flavor development and texture, if time allows, chilling the dough for 24-48 hours will yield unparalleled results, intensifying the brown butter notes and improving chewiness.
- Prepare for Baking: When you’re ready to bake, preheat your oven to 365 degrees Fahrenheit (185 degrees Celsius). If your dough has been chilling for 24 hours or more and is very firm, remove it from the refrigerator about an hour before baking to allow it to soften slightly and come closer to room temperature for easier scooping and more even baking.
- Bake to Golden Perfection: Roll the chilled cookie dough into uniform balls and place them onto a light-colored baking sheet lined with parchment paper. This helps prevent over-browning on the bottom. Bake for 8-10 minutes, or until the edges of the cookies are lightly golden and the centers are still slightly soft and puffy. Be vigilant – do not overbake! Under-baked cookies will be chewier.
- Cool and Enjoy: Once baked, remove the cookies from the oven and let them rest on the baking sheet for several minutes. This allows them to set up and continue baking slightly from residual heat. After a few minutes, carefully transfer them to a wire rack to cool completely.
The Non-Negotiable Step: Chill Your Brown Butter Cookie Dough!
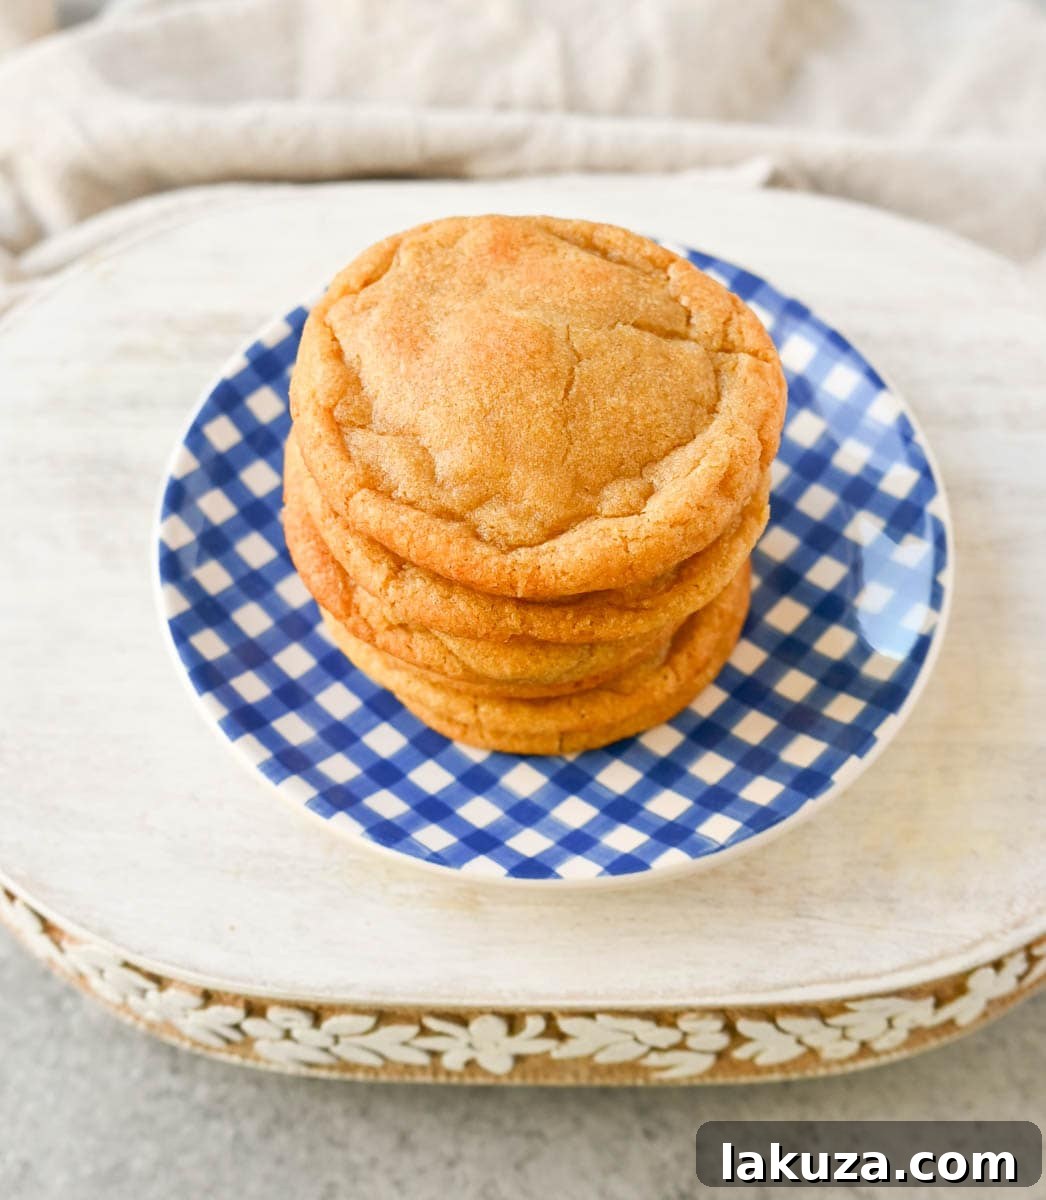
Because we incorporate melted and browned butter into this recipe, a crucial chilling period for the cookie dough is indispensable. This time in the refrigerator allows the butter to re-solidify, which is vital for preventing the cookies from spreading excessively in the oven, ensuring they maintain their delightful thickness and chewiness. Furthermore, chilling the dough also deepens the incredible brown butter flavor, making this an imperative step for crafting the very best **chocolate chipless cookies**.
Explore More Popular Cookie Recipes:
Brown Sugar Cookies
The Best Snickerdoodle Cookie Recipe
Nestle Toll House Chocolate Chip Cookies Recipe
Best Soft Sugar Cookies
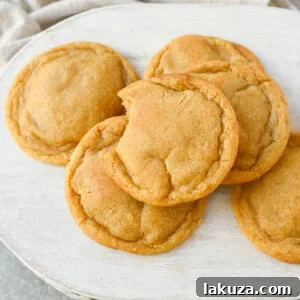
Chocolate Chipless Cookies (no chocolate chips)
Ingredients
- 1 cup Butter
- 1 cup + 2 Tablespoons Brown Sugar
- 1/2 cup Sugar
- 1 teaspoon Vanilla Extract
- 1 large Egg
- 1 large Egg Yolk
- 2 1/4 cups Flour
- 3/4 teaspoon Baking Soda
- 1/2 teaspoon Salt
Instructions
- Heat a light-colored pan or pot over medium-low heat. Add cubed butter. See below in the notes for tips on how to brown the butter. Once the butter has become a golden color, remove from heat.
- Carefully add brown sugar and sugar and stir with a wooden spoon, spatula, or whisk until glossy and smooth. This may take several minutes and this helps to cool the butter slightly. Set aside for 10-15 minutes to cool at room temperature.
- After it has time to slightly cool, stir in vanilla until smooth. Add egg and egg yolk and stir together.
- Fold in flour, baking soda, and salt until combined.
- Since we are using melted browned butter, it is imperative to chill the cookie dough or you will end up with flat cookies. I suggest wrapping the cookie dough and chilling for at least 30 minutes to 1 hour. If time is on your hand, I suggest chilling for 24-48 hours.
- When ready to bake, preheat the oven to 365 degrees. If you chilled the dough for 24 hours, you will need to remove the cookie dough from the refrigerator about 1 hour before you are ready to bake to allow the dough to come to room temperature.
- Roll the dough into balls and place on a light-colored, parchment paper lined baking sheet. Bake for 8-10 minutes or until the cookies start to become a light golden color on the edges. Do not overbake!
- Remove from the oven and let the cookies set up for several minutes before removing from the pan.
Notes
How to brown butter:
- Choose the Right Pan: Start with a light-colored pan. This will help you gauge the color of the butter more accurately as it browns.
- Cut Butter into Even Pieces: Cutting the butter into smaller, uniform pieces helps it melt more evenly.
- Melt Over Low Heat: Place the butter in the pan and melt it over low to medium-low heat. This slow melting process allows the butter to cook evenly without burning.
- Swirl the Pan: As the butter melts, swirl the pan occasionally to ensure even cooking and to prevent any spots from burning. This helps to see if any brown bits are forming at the bottom.
- Watch for Foam: As the butter melts, it will start to foam. This is the water evaporating from the butter.
- Keep an Eye on the Color: The butter will start to turn golden, and then it will develop brown specks at the bottom of the pan. This is the milk solids caramelizing. The butter will also emit a nutty aroma, signaling that it’s almost done. Make sure to watch carefully because you don’t want the butter to burn. I would rather pull the butter early rather than over brown the butter.
- Remove from Heat: Once the butter reaches a golden brown color and emits a nutty aroma, immediately remove it from the heat. The residual heat will continue to cook the butter, so it’s important to remove it from the stove at the right moment.
Nutrition
Nutrition information is automatically calculated, so should only be used as an approximation.