
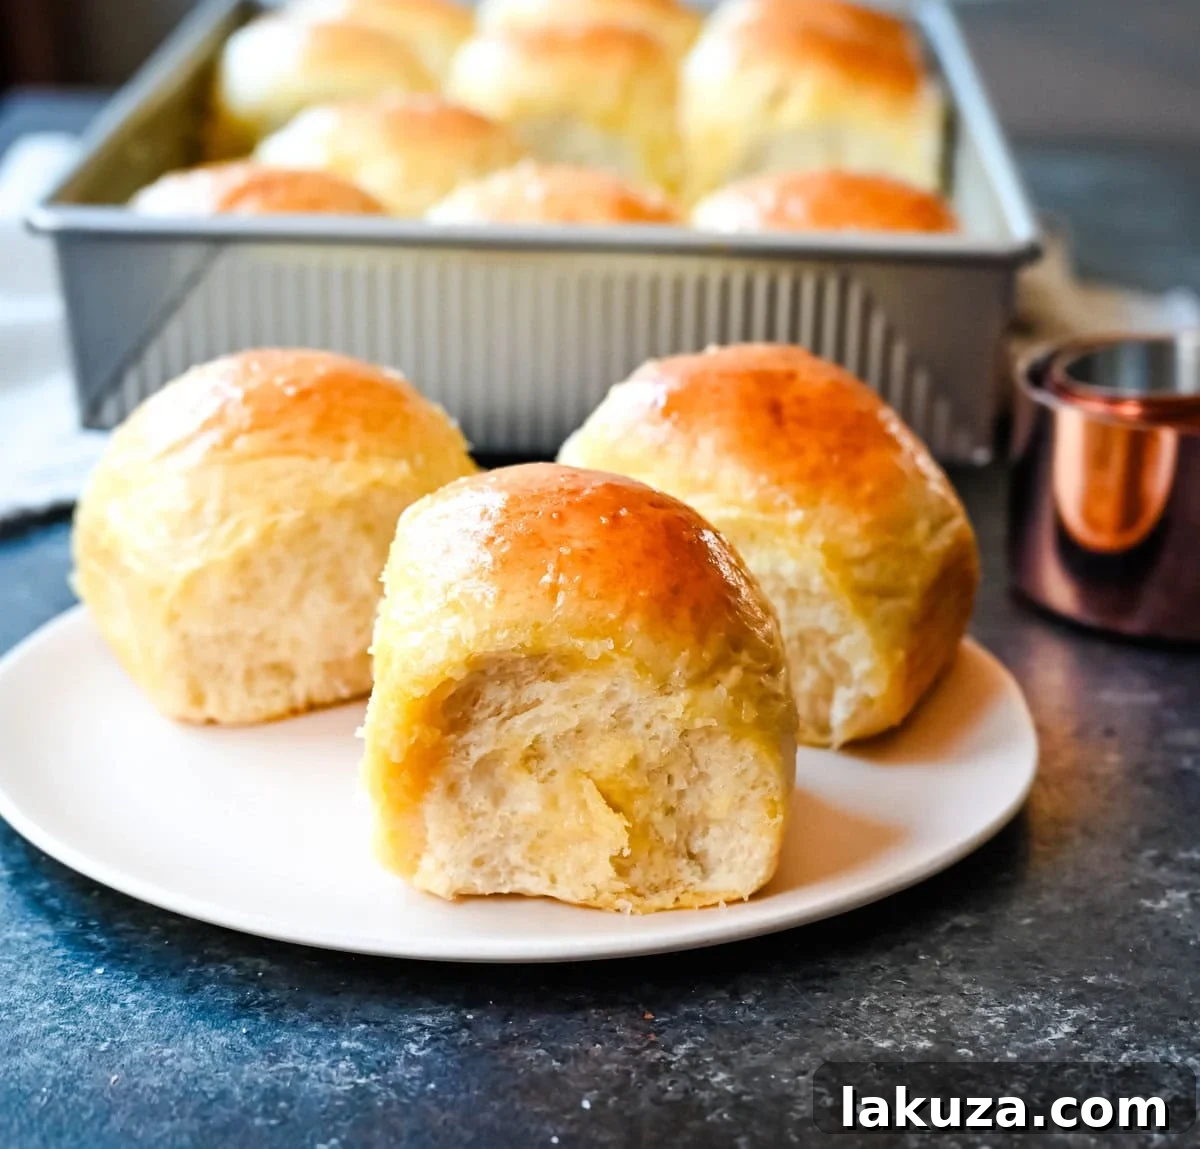
Prepare to embark on a culinary adventure that will redefine your perception of homemade bread. These Japanese milk bread dinner rolls are not just soft; they are unbelievably fluffy, tender, and melt-in-your-mouth delicious, all thanks to a truly special technique: the renowned tangzhong method. This game-changing approach creates rolls that stay fresh longer and possess an unparalleled texture, making every bite an unforgettable experience. Whether you’re a seasoned baker or new to the craft, this recipe promises to elevate your baking skills and deliver rolls that will impress everyone at your table.
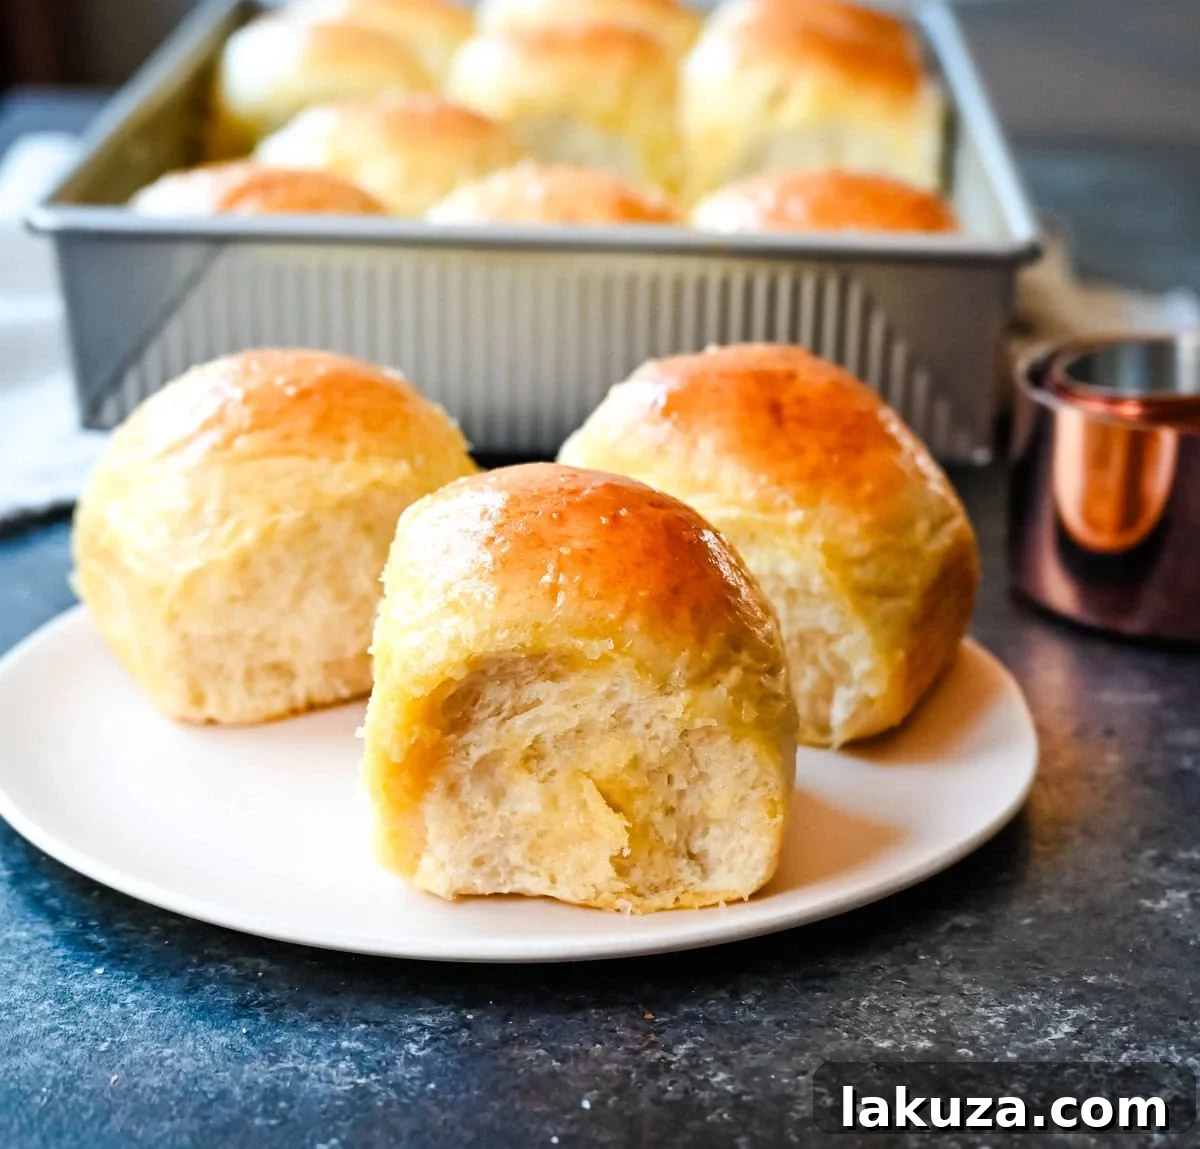
Crafting the perfect recipe often requires an immense amount of dedication and countless hours of testing. This particular quest for the ultimate dinner roll was no exception. From the very beginning, I was determined to get these rolls absolutely flawless, to achieve that elusive perfect balance of softness, flavor, and resilience. My journey into the world of Japanese milk bread began with a fascination for its legendary texture, a curiosity that ignited a passionate series of experiments in my kitchen.
One memorable day, my Mom joined me for a massive recipe testing session, where we aimed to tackle several Thanksgiving dishes. Amidst the flurry of other recipes, the Japanese milk bread rolls held a special place on our agenda. I had been seeing this unique bread making method everywhere and was eager to dive into its intricacies. I truly love to learn and embrace new baking techniques, so the challenge of mastering tangzhong was one I welcomed with open arms.
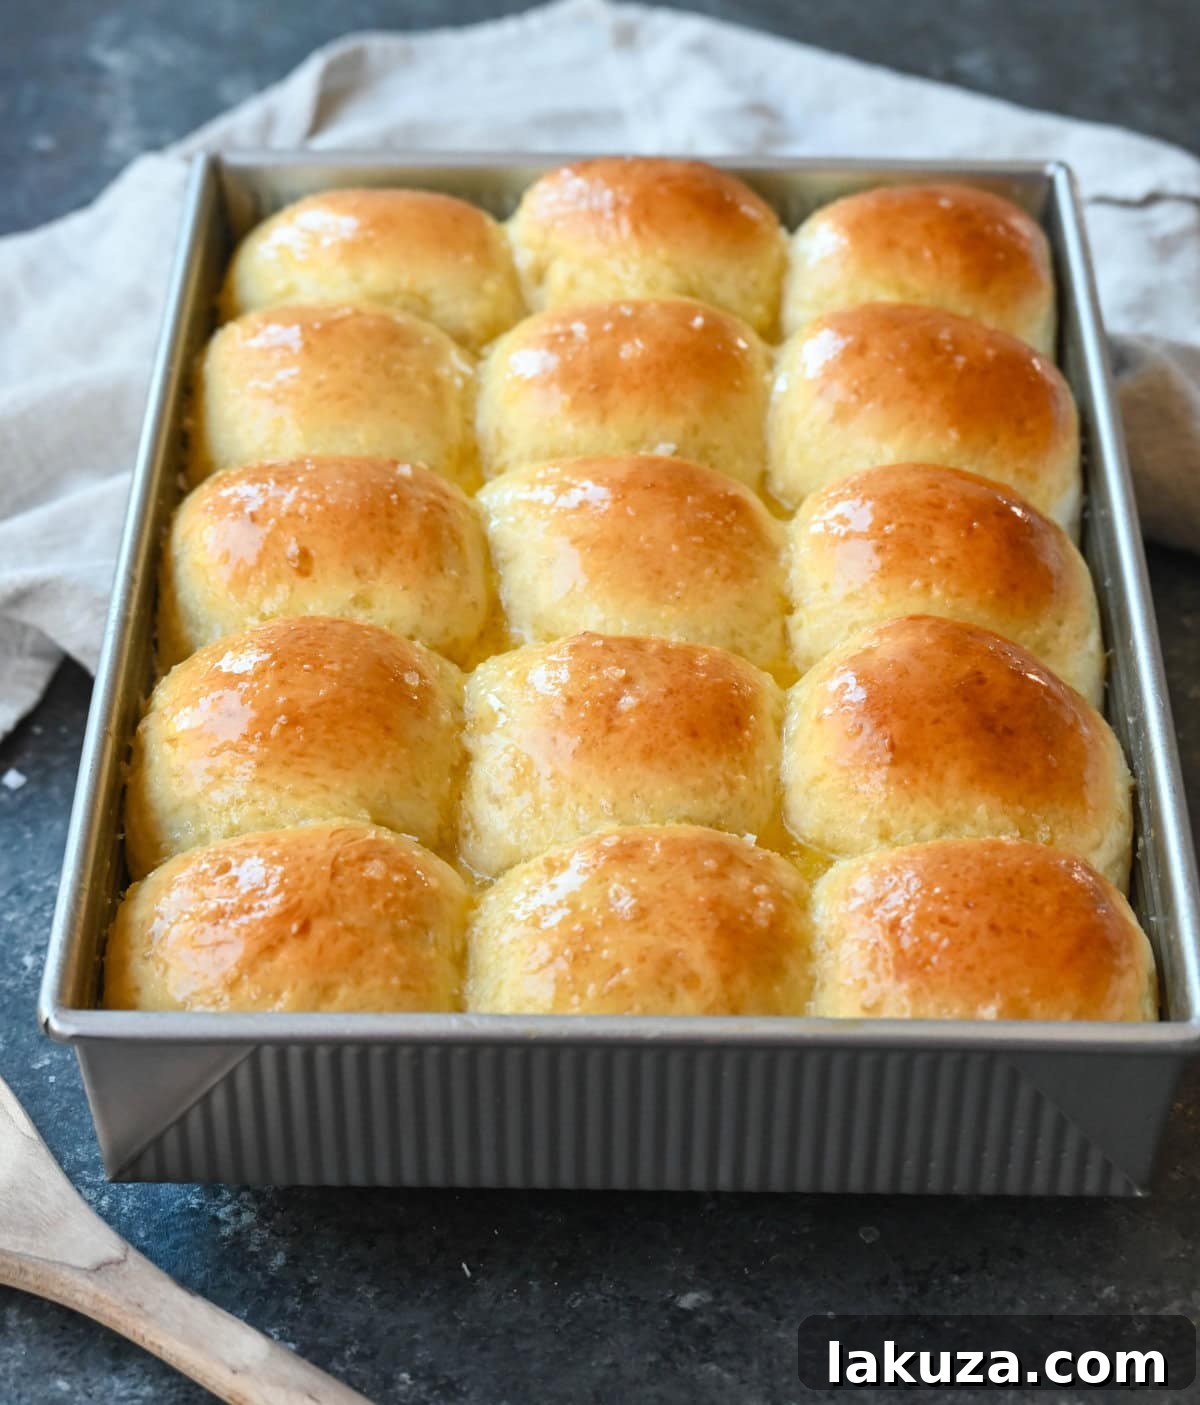
To begin, I focused on just two variations of the milk bread dinner rolls: Version A and Version B. After meticulous preparation and patient baking, it was time for the moment of truth. My four dedicated taste testers, armed with discerning palates, universally declared Version B the clear winner. It was a revelation – a roll so soft, so fluffy, and so incredibly buttery that it literally “knocked our socks off.” We were thrilled, but a little voice inside my head, the one that constantly strives for perfection, whispered: “Could we do even better?”
I felt a subtle density in the winning batch, a hint that with a few strategic tweaks to the ingredients and method, we could achieve an even lighter, more ethereal texture. So, even after a long and exhausting day of recipe testing, we pressed on to try our third batch of homemade dinner rolls. My Mom, bless her heart, gave me a look that plainly said, “Are you crazy?” but her seasoned wisdom also knew to just trust the process. And trust she did! Our perseverance paid off magnificently.
The third batch emerged from the oven just as the sun dipped below the horizon, casting a golden glow on the perfect rolls. They were exactly what I had envisioned – cloud-like, impossibly tender, and with a delicate, sweet flavor. However, my job wasn’t quite done. To ensure the recipe’s absolute consistency and readiness for sharing, I repeated the entire process the next morning, allowing for careful documentation and photography of these newest, impeccable creations. I am ecstatic to report that these rolls truly earned a perfect 10/10 rating in every aspect!
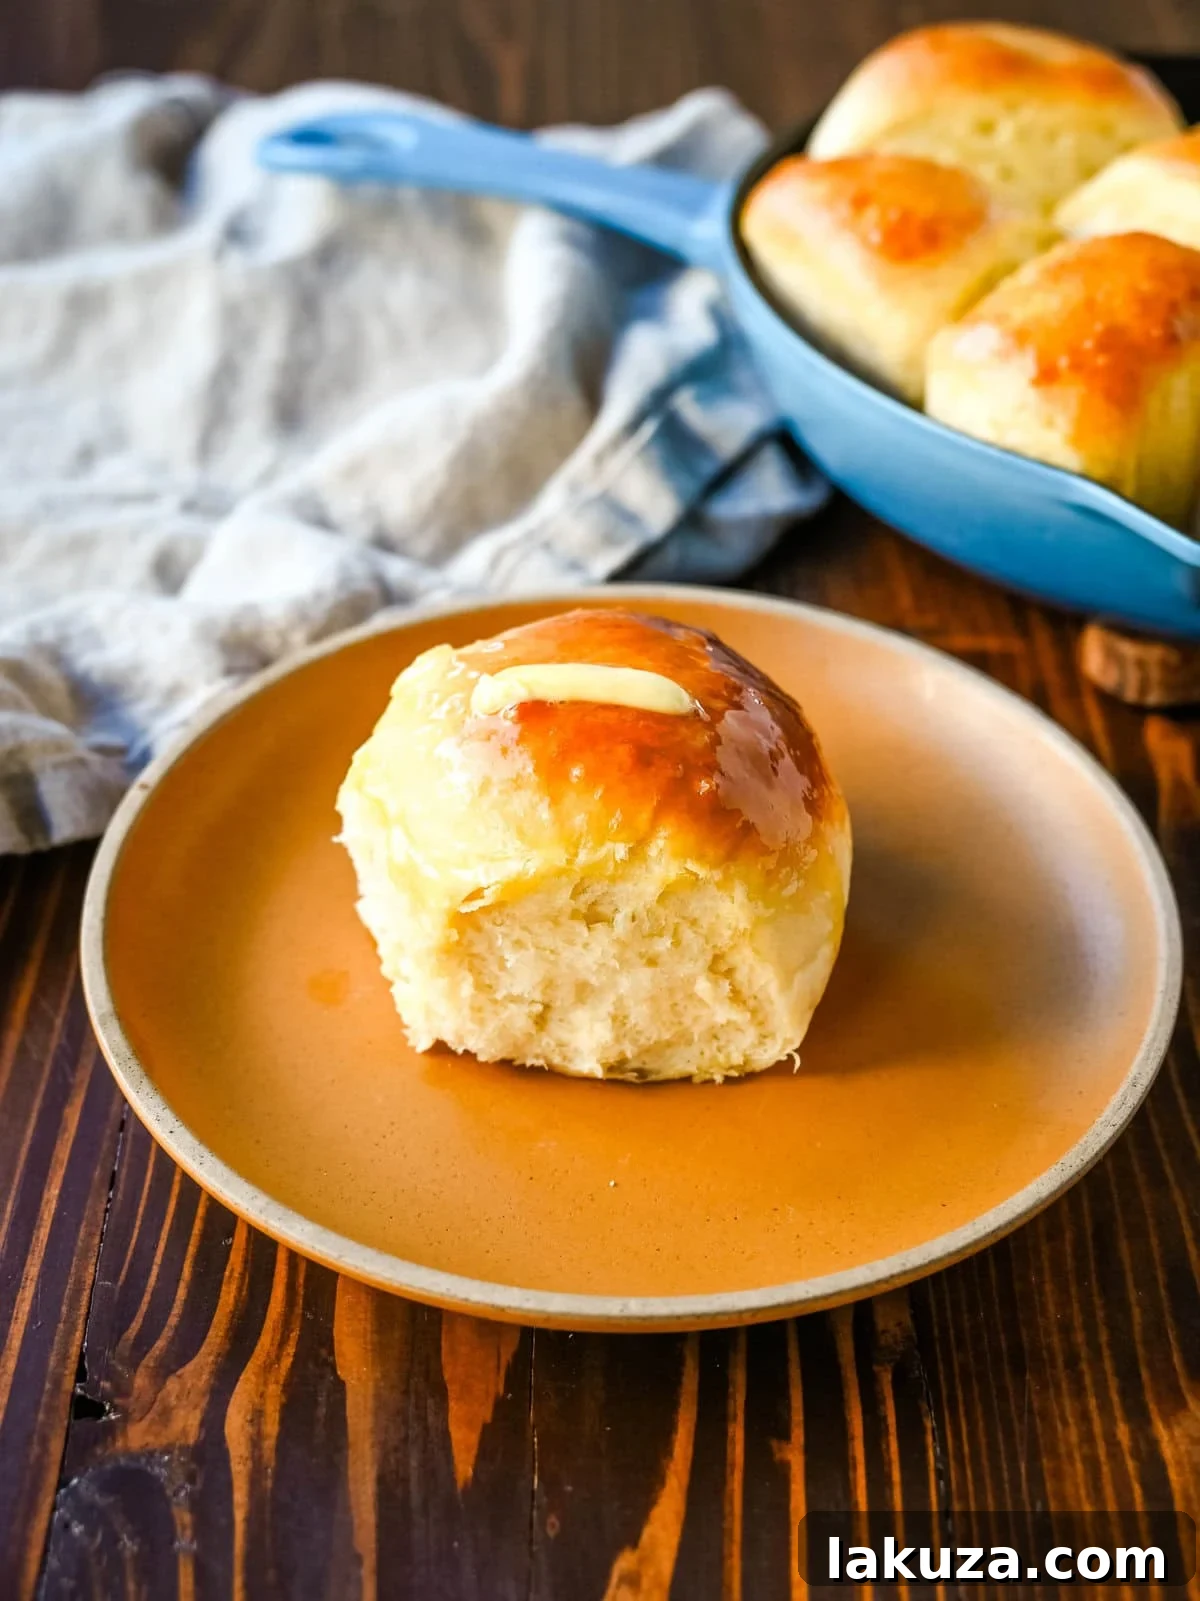
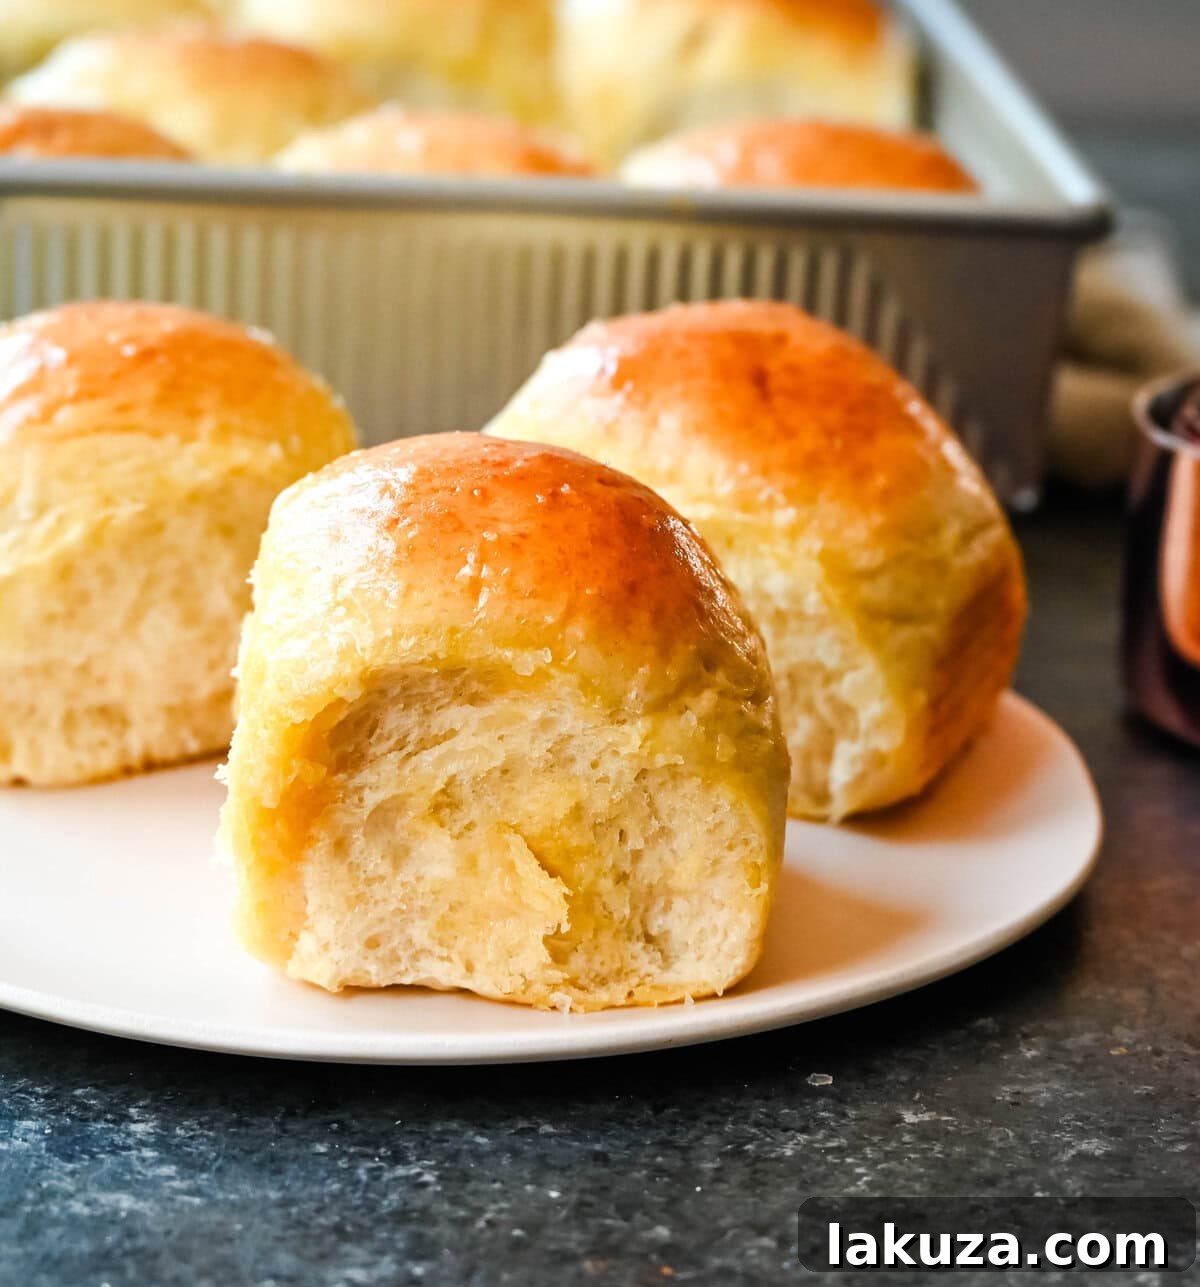
What sets this recipe apart, and what I absolutely adore, is the unparalleled texture of the rolls. There’s a profound scientific reason behind this marvel, and I’m thrilled to delve into all the fascinating details with you. Japanese milk bread rolls distinguish themselves with their exceptional texture, a delicate crumb, and a subtly sweet flavor that makes them utterly irresistible. They are far superior to traditional dinner rolls, not only in their incredible softness and fluffiness but also in their ability to retain freshness for much longer periods.
Whether you are preparing them for a grand holiday feast, a cozy family dinner, or simply as a special weekend treat, these rolls are guaranteed to impress with their extraordinary melt-in-your-mouth tenderness. Let’s embrace our inner baking “nerds” and explore the scientific magic that makes this homemade roll recipe truly stand out. The secret begins with a humble yet powerful starter known as tangzhong. The best part? This foundational element takes less than 5 minutes to prepare and is quickly ready to work its wonders!
What is Tangzhong and Its Scientific Magic?
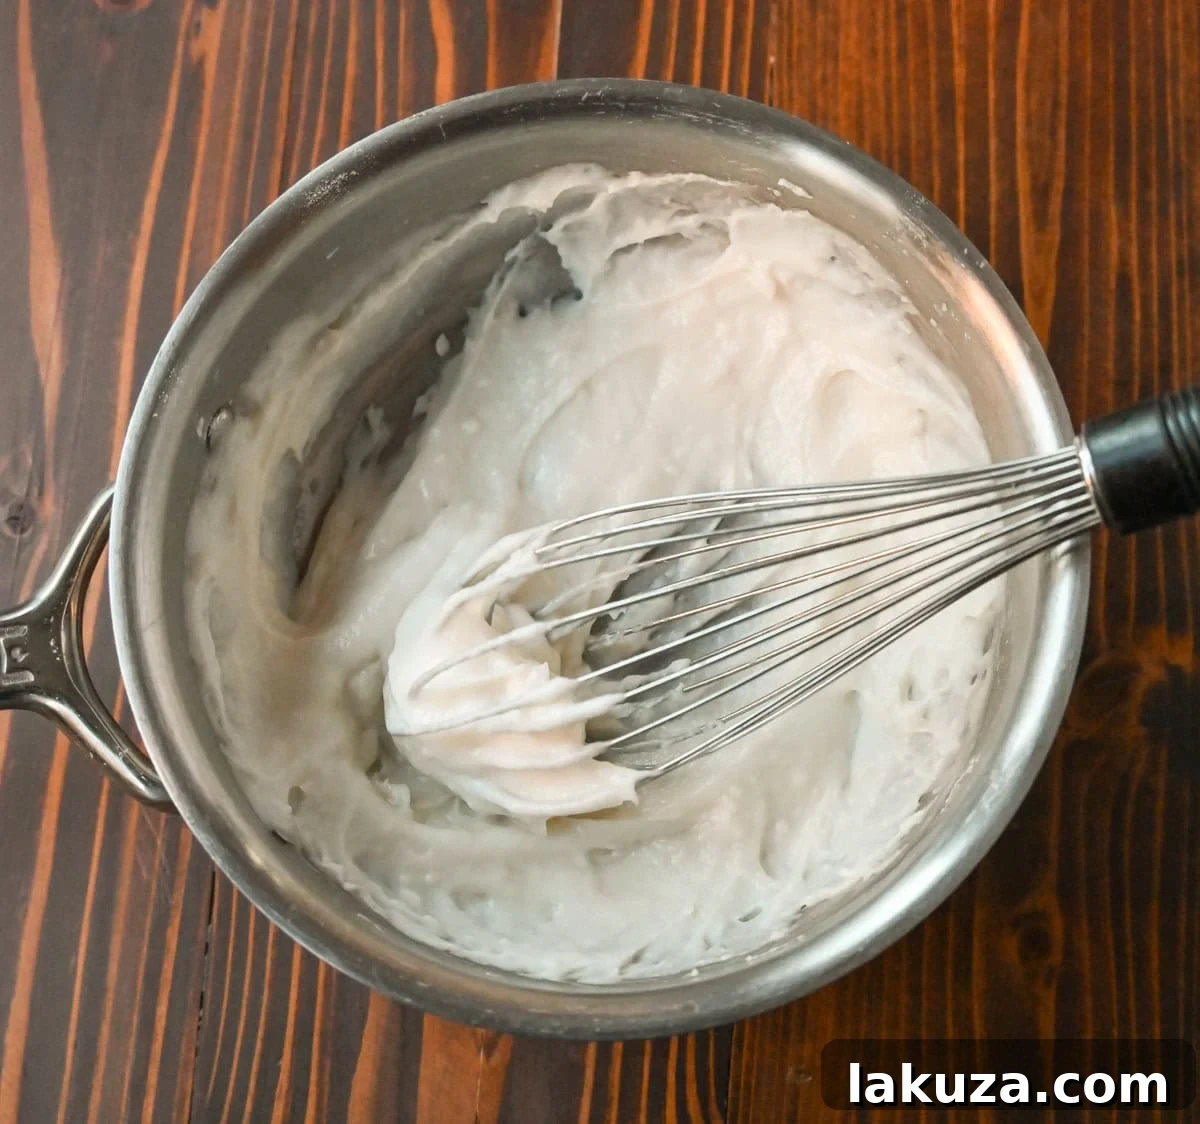
The term Tangzhong refers to a brilliant method originating from Japan, also known as a ‘water roux’ or ‘ Yudane’ in some variations. It involves pre-cooking a small portion of flour with liquid (typically milk and water) to form a thick, gelatinous paste. This seemingly simple step holds the key to the milk bread’s legendary texture and prolonged freshness. During this cooking process, the starch molecules in the flour gelatinize, absorbing and trapping a significant amount of liquid. This trapped moisture is then incorporated into the main dough, leading to several remarkable benefits. The tangzhong paste itself requires minimal ingredients and effort:
- Ingredients: You’ll need whole milk, bread flour, and water.
- Process: Simply combine these ingredients in a small saucepan and cook over low heat, stirring continuously until the mixture thickens into a pudding-like paste. It should reach about 149°F (65°C), but you don’t need a thermometer; just look for the distinct paste-like consistency.
When this cooled, thickened paste is added to your dough, it introduces a unique structure that fundamentally changes the bread. It binds more water, preventing it from evaporating during baking and staling afterward. This results in bread that boasts a distinctively pillowy texture, remarkable elasticity, and an extended shelf life. It’s particularly beneficial if you plan to make these exquisite rolls a day or two in advance, ensuring they remain incredibly soft and moist when served.
Why is the Tangzhong Method Crucial for Superior Rolls?
The tangzhong method is more than just an extra step; it’s the very foundation of the unparalleled quality of Japanese milk bread rolls. By pre-gelatinizing the flour, you effectively lock moisture within the dough’s structure. This means the flour can absorb more liquid than it normally would, without making the dough sticky or difficult to handle. Consequently, the dough remains hydrated throughout the baking process, leading to a host of desirable characteristics:
- Unmatched Softness and Airiness: The trapped moisture contributes to an incredibly soft, light, and airy crumb, giving the rolls their signature cloud-like feel.
- Extended Freshness: Because the water is bound within the starch, it doesn’t evaporate as quickly, meaning your rolls stay fresh and tender for several days, a significant improvement over traditional bread.
- Enhanced Elasticity: The gelatinized starches also contribute to a more elastic dough, which allows for better gas retention during proofing, resulting in a higher rise and an even softer interior.
- Melt-in-Your-Mouth Tenderness: The combined effect of increased moisture and a superior gluten structure creates rolls that truly melt in your mouth, offering a delightful sensory experience with every bite.
Without the tangzhong technique, your rolls would inevitably be less fluffy, prone to drying out much more quickly, and lack that distinct, luxurious tenderness that defines authentic Japanese milk bread. It truly is the secret weapon for achieving baking perfection.
Japanese Milk Bread Rolls: Essential Ingredients
This remarkable roll recipe is thoughtfully designed in three key components: the tangzhong starter, the yeast mixture, and the main bread dough. While the method itself is truly revolutionary, the good news is that the ingredients required are all standard items you likely already have in your pantry and refrigerator. No exotic or hard-to-find components are needed, just quality basics to create these out-of-this-world rolls.
FOR THE TANGZHONG STARTER:
- Bread Flour: The higher protein content in bread flour is ideal for developing strong gluten, which is essential for the structure and chewiness of these rolls.
- Whole Milk: Adds richness and contributes to the golden color and tender crumb.
- Water: Helps in the gelatinization process of the tangzhong.
FOR THE YEAST MIXTURE:
- Instant Yeast: A fast-acting yeast that doesn’t require pre-hydration, though we’ll “proof” it here to ensure activity.
- Warm Water: Provides the ideal environment (temperature-wise) to activate the yeast.
- Sugar: A small amount acts as food for the yeast, helping it to become active and bubbly.
FOR THE BREAD DOUGH:
- Bread Flour: Provides the primary structure for the rolls.
- Salt: Essential for flavor balance and also plays a role in regulating yeast activity and strengthening gluten.
- Sugar: Contributes to the rolls’ slight sweetness, tenderness, and helps with browning.
- Eggs: Add richness, color, and structure, contributing to a softer crumb.
- Whole Milk: Further enhances the richness and moisture of the dough.
- Butter (melted): Adds incredible flavor, tenderness, and a rich, soft texture.
- Extra Butter for brushing on the top and optional sea salt flakes: For a beautiful finish and an extra layer of flavor after baking.
Selecting the Best Flour for Your Dinner Rolls
For Japanese milk bread rolls, using bread flour is highly recommended. Its higher protein content (typically 12-14%) compared to all-purpose flour means it develops more gluten. This increased gluten network is crucial for creating the signature chewy yet incredibly airy and soft texture that milk bread is famous for. If bread flour is not readily available, all-purpose flour can be used as a substitute, but be aware that the resulting rolls may be slightly less chewy and airy, offering a different, though still delicious, texture.
How to Proof Yeast for Optimal Rolls
Proofing your yeast is a vital first step to guarantee light, fluffy rolls. This process confirms your yeast is alive and active, ready to leaven your dough effectively. If your yeast isn’t active, your dough won’t rise, leading to dense, heavy rolls. Here’s how to ensure your yeast is perfectly primed:
- Combine Ingredients: In a small bowl, gently mix the instant yeast with warm water. The ideal water temperature is crucial – aim for about 105°F–110°F (40°C–43°C). Water that is too hot can kill the yeast, while water that is too cold won’t activate it effectively. Add a small pinch of sugar; yeast absolutely loves sugar as a food source, which helps kickstart its activity.
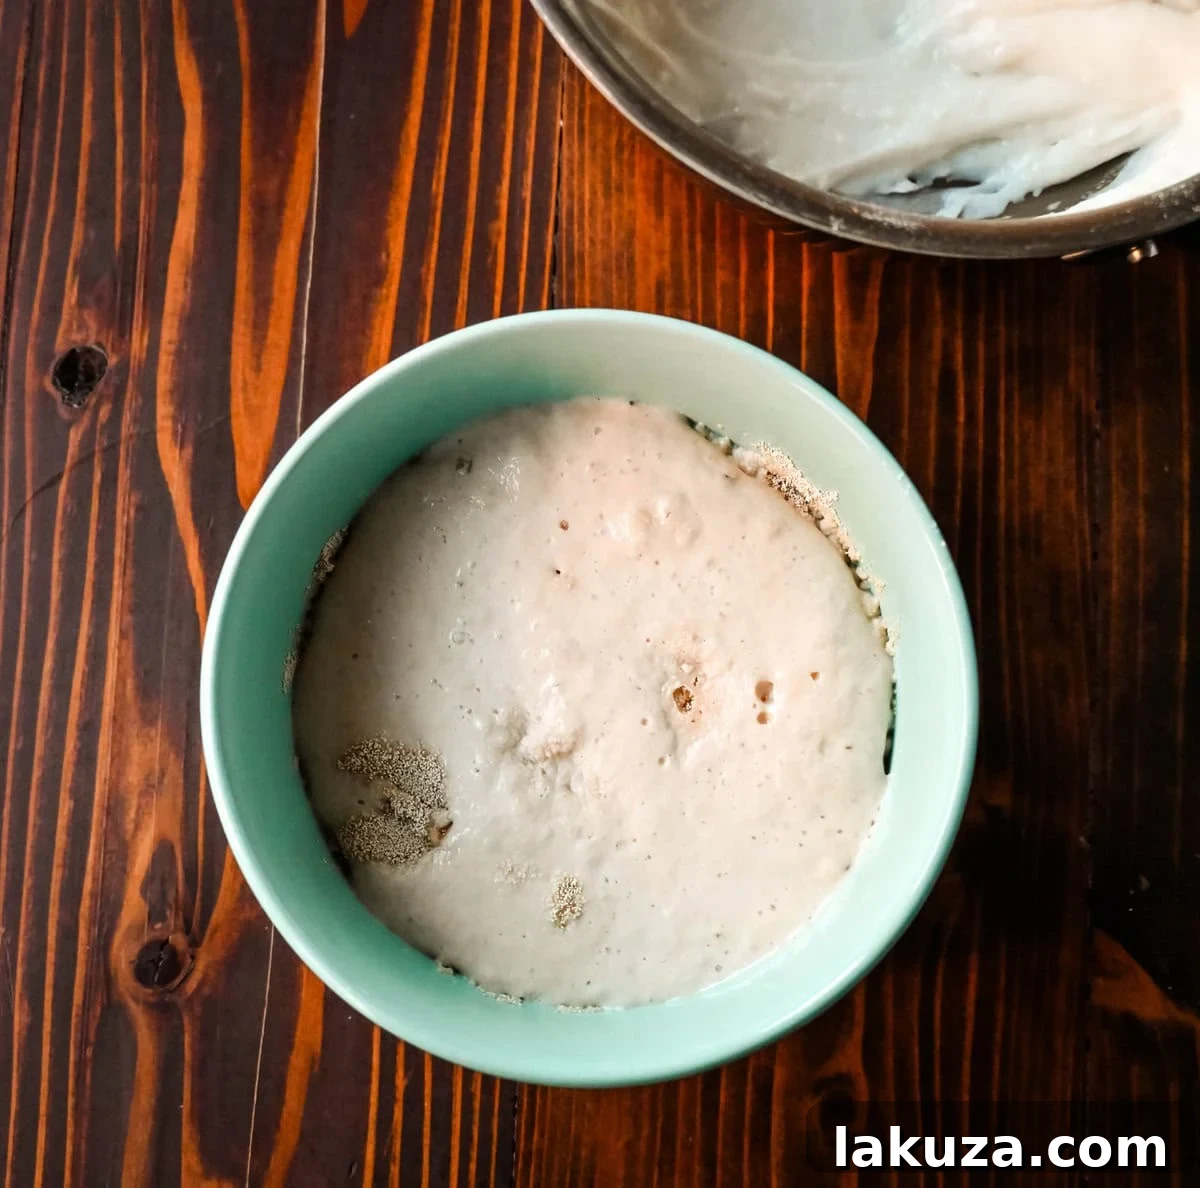
- Observe and Wait: Allow the mixture to sit undisturbed for 8-10 minutes. During this time, the yeast will begin to feed on the sugar and multiply. You’re looking for visible signs of activity: a foamy, bubbly layer forming on the surface of the water. This bubbly appearance is your assurance that the yeast is alive and ready to make your rolls wonderfully airy. If no foam appears, your yeast may be old or inactive, and it’s best to start with a fresh batch.
Crafting Irresistible Japanese Milk Bread Rolls: A Step-by-Step Guide
Follow these detailed steps to create the most exquisite Japanese Milk Bread Rolls right in your own kitchen:
- Prepare the Tangzhong Starter: In a small saucepan, combine the pre-measured whole milk, bread flour, and water for your tangzhong starter. Place the pan over medium-low heat and whisk continuously. This constant stirring is key to preventing lumps and ensuring even cooking. Continue whisking until the mixture thickens considerably and takes on a smooth, paste-like consistency, similar to a thick pudding. This process typically takes just a few minutes. As soon as it reaches this texture, immediately remove the pan from the heat. Transfer the tangzhong to a separate bowl or plate, cover it with plastic wrap pressed directly onto the surface to prevent a skin from forming, and allow it to cool completely to room temperature. This cooling step is crucial before adding it to your main dough.
- Activate the Yeast Mixture: In a separate small bowl, combine the instant yeast with the warm water (around 105°F-110°F or 40°C-43°C) and a pinch of sugar. Stir gently to dissolve the sugar and ensure the yeast is well distributed. Set this bowl aside in a warm, draft-free spot for approximately 10 minutes. Within this time, you should observe a noticeable foamy layer forming on the surface, indicating that your yeast is active and eager to leaven the dough. This “proofing” step is your guarantee of a successful rise.
- Combine the Dry Ingredients for the Dough: In the bowl of a stand mixer fitted with the dough hook attachment, add the main dough’s bread flour, sugar, and salt. Give them a brief stir to ensure they are well combined.
- Integrate Wet Ingredients: Create a small well in the center of your dry ingredients. Into this well, pour in the cooled tangzhong paste, the activated yeast mixture, the remaining whole milk, and the eggs.
- Mix and Knead the Dough: Begin mixing on a low speed to gradually bring the ingredients together. Use a rubber spatula to scrape down the sides of the bowl occasionally, ensuring all ingredients are fully incorporated. Once the dough starts to form a shaggy ball, increase the speed to medium-low.
- Incorporate the Butter: While the mixer is running, gradually add the melted butter, a tablespoon at a time, allowing each addition to be absorbed before adding the next. Continue kneading the dough for about 5-7 minutes. The goal is to achieve a dough that is smooth, elastic, and pulls cleanly away from the sides of the bowl. It should feel slightly tacky to the touch but not excessively sticky or wet. To test for proper kneading, perform the “windowpane test”: gently stretch a small piece of dough; if it stretches thin enough to see light through it without tearing, your gluten is well developed.
- First Rise (Bulk Fermentation): Lightly flour a clean work surface and gently transfer the kneaded dough onto it. Shape the dough into a smooth, tight ball. Place this dough ball into a clean bowl that has been lightly greased with a neutral oil. Cover the bowl tightly with a damp kitchen towel or plastic wrap to prevent the dough from drying out. Allow it to rise in a warm, draft-free area for 1-2 hours, or until it has visibly doubled in size. The exact timing will depend on the ambient temperature of your kitchen.
- Divide and Shape the Rolls: Once your dough has beautifully risen, gently punch it down to release the air. Transfer the dough to a lightly floured surface. Now, divide the dough into approximately 15-18 equal portions. For larger, more substantial rolls, aim for 15 portions. For medium-sized rolls, 18 portions work perfectly. To shape each roll into a perfectly smooth ball, take one portion of dough. Flatten it slightly, then gather and tuck the edges underneath towards the center. Place the dough ball on your clean, lightly floured work surface, cup your hand gently over it in a loose “C” shape, and roll it in small circular motions. Apply slight downward pressure, allowing the dough to tighten and smooth out on the surface. This technique creates surface tension, ensuring your rolls hold their shape and bake up beautifully round.
- Second Proofing: Lightly grease a 9×13-inch baking dish. Arrange the perfectly shaped dough balls in the prepared dish, leaving a small space between each one to allow for further expansion. Cover the dish again with a damp kitchen towel or plastic wrap. Let them proof for a second time in a warm spot for another 45 minutes to 1 hour, or until they look noticeably puffy and have nearly doubled in size again.
- Apply the Egg Wash for a Golden Finish: While the rolls are undergoing their second proof, preheat your oven to 350°F (175°C). In a small bowl, whisk together one large egg with a splash of whole milk until well combined. This creates your lustrous egg wash. Just before baking, gently brush the tops of the risen rolls with this egg wash. This simple step will help achieve a beautiful, glossy, and golden-brown crust.
- Bake the Rolls to Perfection: Carefully place the baking dish with the rolls into your preheated oven, ideally on a middle rack. Bake for 22-28 minutes. Keep a close eye on the color. If the tops begin to brown too quickly before the rolls are fully baked through, you can loosely tent a piece of aluminum foil over the dish halfway through baking to protect them.
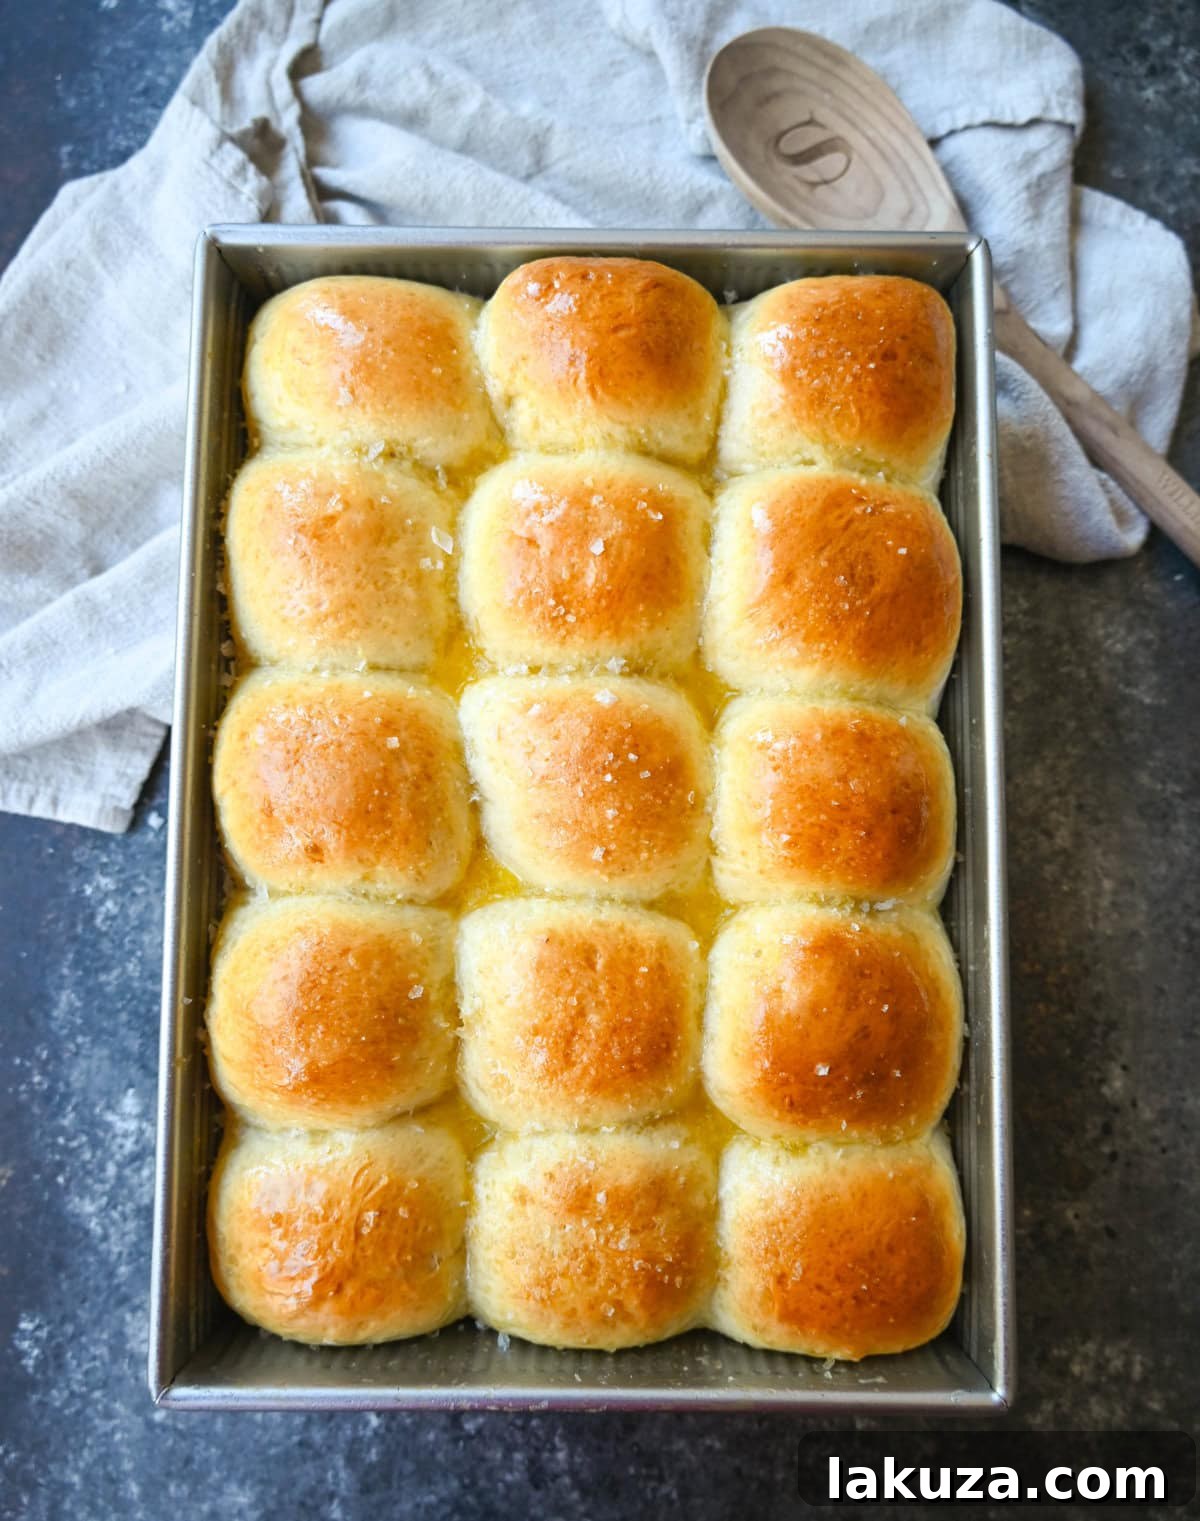
- Finish with Butter and Salt: As soon as the rolls emerge from the oven, while they are still wonderfully warm, brush their golden tops generously with additional melted butter. For an extra layer of gourmet flavor and visual appeal, sprinkle them with flaky sea salt. Serve immediately and enjoy the fruits of your labor!
Frequently Asked Questions About Japanese Milk Bread Rolls:
Here are answers to some common questions that arise when making these delectable Japanese Milk Bread Dinner Rolls:
Why Are My Rolls Dense?
Dense rolls are a common issue that can stem from several factors. The most frequent culprit is inactive yeast, which fails to produce enough carbon dioxide to leaven the dough properly. Always proof your yeast as directed to ensure it’s lively and active before adding it to your main dough. Another reason for density can be insufficient kneading; proper kneading develops the gluten structure, which is essential for trapping gases and creating an airy crumb. Lastly, ensure you’re allowing the dough sufficient time to rise during both the first and second proofing stages. Rushing these steps can result in heavy, dense rolls instead of light, fluffy ones.
How to Confirm Your Yeast is Active and Ready?
To verify your yeast’s viability, mix it with warm water and a pinch of sugar, then let it sit for about 10 minutes. If the mixture becomes bubbly and forms a foamy layer on top, your yeast is alive, active, and ready for use. This crucial step is non-negotiable, as inactive yeast will prevent your dough from rising, leading directly to disappointing, dense rolls. Always trust the foam!
How Do I Prevent Over-Browning of My Rolls?
Achieving that perfect golden crust without over-browning can be a delicate balance. If you notice the tops of your rolls are darkening too quickly during baking, especially halfway through, a simple trick is to gently place a piece of aluminum foil loosely over the baking dish. This acts as a shield, protecting the tops from direct heat while allowing the rolls to continue baking through completely. I’ve found this method works wonders for ensuring a beautifully golden finish without any burnt spots.
The Magic of an Egg Wash for Dinner Rolls
Brushing your rolls with an egg wash before baking serves multiple purposes beyond just aesthetics. It creates a stunning, glossy, and vibrant golden-brown crust, making your homemade rolls look professionally baked. More importantly, the egg wash also helps to seal in moisture, contributing to the rolls’ tender exterior and preventing them from drying out during the baking process, ensuring a soft bite every time.
Can I Make These Rolls Ahead of Time?
Absolutely! These Japanese milk bread rolls are excellent for making ahead, which is one of the many benefits of the tangzhong method. After baking and cooling completely, simply store them in an airtight container at room temperature for up to 2 days. For longer storage, they freeze exceptionally well. To serve, gently reheat them in the oven or microwave for a few seconds to restore their fresh-from-the-oven warmth and texture.
Essential Baking Tip:
Monitor the Color Closely. The ideal Japanese milk bread roll should possess a beautiful golden hue, but never appear overly browned or burnt. If you observe them darkening too rapidly during the baking cycle, don’t hesitate to loosely tent them with a piece of aluminum foil. Alternatively, placing a larger sheet of foil on the top rack of your oven above the rolls can also provide a protective barrier, ensuring a perfectly even and appealing color.
Mastering the Art of Rolling Dinner Rolls into Perfect Balls:
Achieving consistently smooth, round balls for your dinner rolls not only looks professional but also ensures even baking and a beautiful rise. Follow these steps to perfect your shaping technique every time:
- Even Dough Division: After your dough has completed its first rise, gently deflate it. Use a dough scraper or a sharp knife to divide the dough into equal portions. For precision, especially if you want all your rolls to be the exact same size and bake uniformly, a kitchen scale is your best friend. Weigh each portion to ensure consistency.
- Prepare Your Work Surface: Lightly dust your clean work surface with flour. You only need a small amount – just enough to prevent the dough from sticking, but not so much that it dries out the dough or creates a dry exterior.
- Initial Shaping (Creating Tension): Take one portion of dough in your hand. Gently flatten it into a small disc. Now, systematically fold the edges of the dough underneath towards the center. This action creates crucial surface tension on the top of the dough, forming a rough ball shape. The goal here is to gather all the loose edges and create a smooth top.
- The Counter Roll Technique: Place the roughly shaped dough ball on your prepared counter, with the seam-side down. Cup your hand gently over the dough, forming a loose “C” shape. Ensure your palm and fingertips are lightly touching both the dough and the counter surface. Apply slight, even downward pressure, and begin rolling the dough in small, controlled circular motions. Allow the dough to rotate and move smoothly beneath your hand.
- Develop Surface Tension for a Smooth Finish: As you continue to roll, the surface of the dough will naturally become taut, smooth, and round. This tension is incredibly important as it helps the rolls maintain their perfect spherical shape during both the second proofing and baking, giving them that classic, appealing domed look. It also contributes to an even crumb.
- Final Placement for Second Rise: Once each roll is perfectly shaped, place it seam-side down onto a lightly greased or parchment-lined baking sheet or dish. Leave ample space (about 1-2 inches) between each roll to allow for their second expansion. Cover the rolls with a clean kitchen towel or plastic wrap to prevent drying, and let them rise again as instructed in the recipe.
With a little practice, this technique will become second nature, and you’ll be consistently producing beautiful, uniformly shaped rolls. Remember, patience and a gentle touch are key to mastering this art!
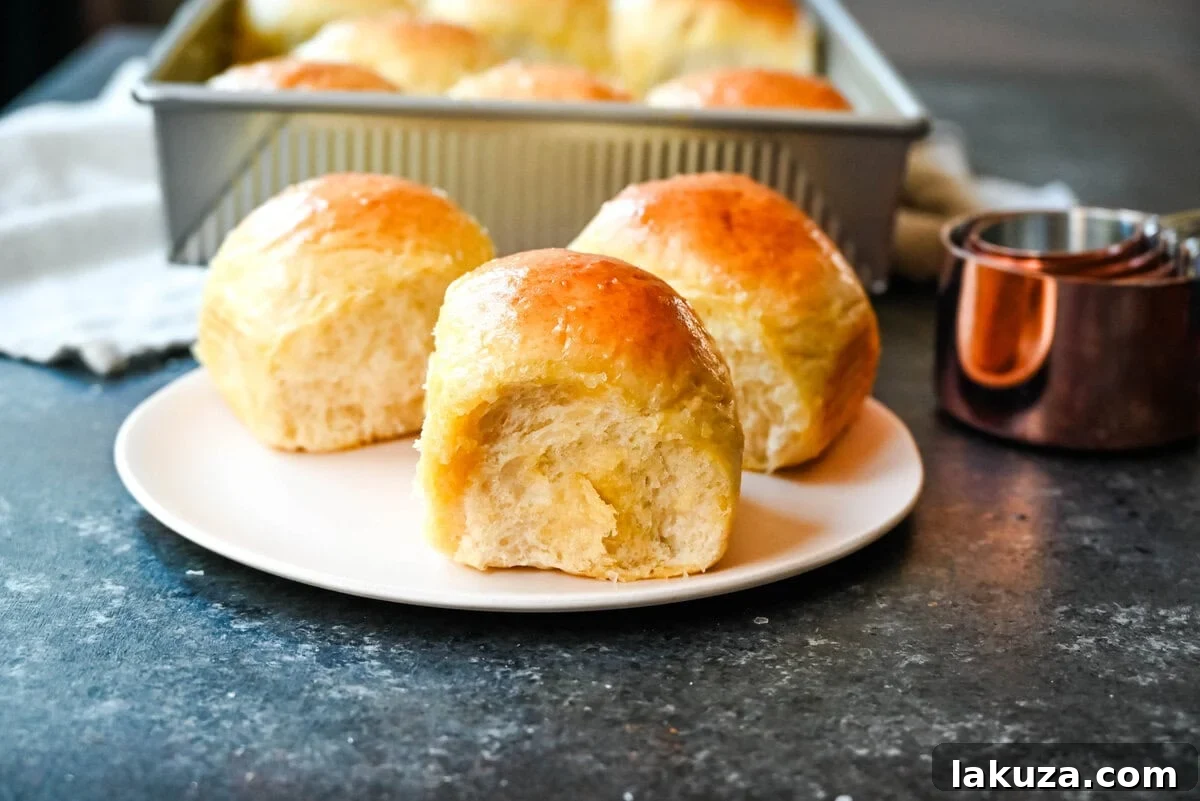
Storage and Reheating Instructions for Lingering Freshness:
One of the many benefits of the tangzhong method is how well these rolls maintain their freshness. Here’s how to store and reheat them:
- Storage: Any leftover Japanese milk bread rolls should be stored in an airtight container at room temperature. They will remain wonderfully soft and delicious for up to 2 days. For longer preservation, these rolls are excellent candidates for freezing. Once they have completely cooled after baking, transfer them to an airtight container or a heavy-duty gallon-sized freezer bag, ensuring as much air is removed as possible. They can be frozen for up to 3 months without losing their quality. When you’re ready to enjoy them, simply thaw the rolls at room temperature.
- Reheating: To restore that freshly baked warmth and tenderness, place the thawed or room-temperature rolls in a 300°F (150°C) oven for about 5-7 minutes. Alternatively, for a quicker reheat, you can microwave them at 50% power for just a few seconds; be careful not to overheat, as this can make them tough.
If you’ve been on the hunt for a dinner roll recipe that truly stands apart, celebrated for its extraordinary softness, rich flavor, and prolonged freshness, then these Japanese milk bread rolls are the definitive answer. They are a perfect, delightful addition to any meal, promising to elevate your dining experience from ordinary to unforgettable.
More Delicious Dinner Roll Recipes to Explore:
The Best Homemade Dinner Rolls
Homemade Garlic Butter Rolls
Homemade Crescent Rolls
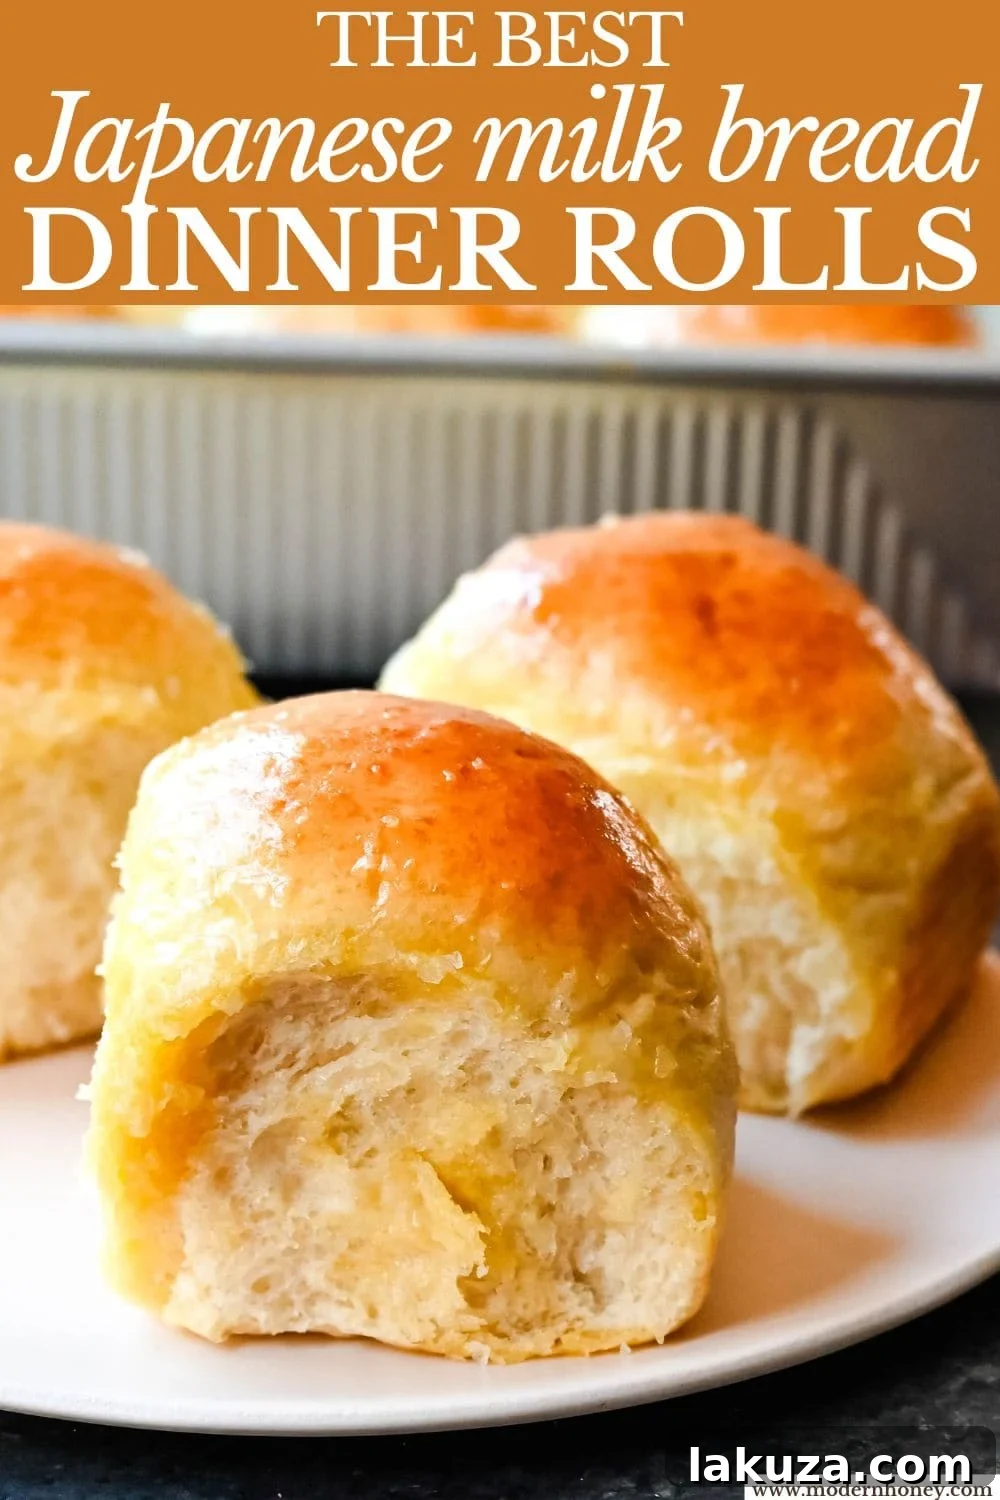
Japanese Milk Bread Dinner Rolls
Print Recipe
Ingredients
Tangzhong Starter:
- 1/2 cup Whole Milk (may substitute with 1% or 2% milk)
- 1/2 cup Water
- 1/4 cup Bread Flour
Yeast Mixture:
- 1/2 cup Warm Water (about 110 degrees F / 43 degrees C)
- 2 Tablespoons Instant Yeast
- 1/2 teaspoon Sugar
Dough:
- 4 3/4 cups Bread Flour
- 2 teaspoons Salt
- 1/3 cup Sugar
- 2 large Eggs
- 1/2 cup Whole Milk
- 6 Tablespoons Butter (melted)
Garnish:
- 1 large Egg (for egg wash)
- Melted Butter (for brushing on the top after baking)
- Optional: Flaky Sea Salt (for sprinkling)
Instructions
- Prepare the Tangzhong: In a small saucepan, combine the tangzhong ingredients—whole milk, flour, and water. Set the pan over medium heat and whisk constantly until the mixture thickens into a smooth, paste-like consistency. This will take a few minutes. Once it reaches this texture, remove the pan from heat and let the tangzhong cool completely to room temperature.
- Activate the Yeast: In a small bowl, mix the instant yeast with warm water (about 110°F/43°C) and a pinch of sugar, stirring gently. Place the bowl in a warm spot and let the mixture sit for about 10 minutes, or until it becomes foamy. This “proofing” step ensures your yeast is active and ready to leaven the dough.
- Combine the Dry Ingredients: In the bowl of a stand mixer, add the bread flour, sugar, and salt, and stir briefly to mix. Make a well in the center.
- Integrate Wet Ingredients: Add in the cooled tangzhong, the activated yeast mixture, additional milk, and eggs into the well of dry ingredients.
- Mix the Dough: Using the dough hook attachment, mix on low speed, scraping down the sides occasionally to ensure even mixing. When the dough begins to come together, increase the speed to medium-low.
- Add the Butter: Gradually add in the melted butter, one tablespoon at a time, allowing it to be absorbed. Continue kneading for about 5-7 minutes, or until the dough is smooth, elastic, and pulls cleanly away from the sides of the bowl. The dough should feel slightly sticky but not overly wet.
- First Rise (Bulk Fermentation): Transfer the dough to a lightly floured surface and shape it into a smooth ball. Place the dough ball into a lightly greased bowl, cover it with a damp towel or plastic wrap, and let it rise in a warm, draft-free area for 1-2 hours, or until it has doubled in size.
- Divide and Shape Rolls: Once the dough has risen, gently punch it down. Divide the dough into about 15-18 rolls. For larger rolls, make 15 portions; for medium-sized rolls, 18. To shape, roll each portion into a tight, smooth ball by tucking the edges underneath and rolling with your palm on the work surface in a circular motion to create surface tension.
- Second Proofing: Lightly grease a 9×13-inch baking dish and arrange the dough balls, leaving some space between them. Cover with a damp towel or plastic wrap and allow them to proof for another 45 minutes to 1 hour, or until visibly puffy.
- Apply the Egg Wash: While the rolls are proofing, preheat your oven to 350°F (175°C). In a small bowl, beat together one egg with a splash of whole milk to create an egg wash. Gently brush the tops of the risen rolls with the egg wash to encourage a glossy, golden-brown finish.
- Bake the Rolls: Bake the rolls for 22-28 minutes on a middle rack. To prevent over-browning, you can loosely tent a piece of foil over the rolls halfway through baking if needed.
- Finish with Butter and Salt: Remove the rolls from the oven and, while still warm, generously brush them with melted butter and sprinkle with flaky sea salt for an extra layer of flavor. Serve warm.
Notes
For more detailed tips, troubleshooting, and frequently asked questions, please refer to the main blog post above.
Preventing Over-Browning: If the tops of your rolls are browning too quickly, place a piece of foil on the top rack of your oven halfway through baking, or tent it directly over the rolls, to protect them while they finish cooking through. This technique helps ensure even baking without excessive browning.
Nutrition Information
Calories: 195 kcal, Carbohydrates: 30g, Protein: 6g, Fat: 6g, Saturated Fat: 3g, Polyunsaturated Fat: 1g, Monounsaturated Fat: 1g, Trans Fat: 0.2g, Cholesterol: 43mg, Sodium: 307mg, Potassium: 72mg, Fiber: 1g, Sugar: 5g, Vitamin A: 184IU, Vitamin C: 0.001mg, Calcium: 28mg, Iron: 0.5mg
Nutrition information is automatically calculated and should only be used as an approximation.
Additional Info
Enjoyed this recipe? Share your thoughts!
Jump to Comments to leave a review or ask a question.