
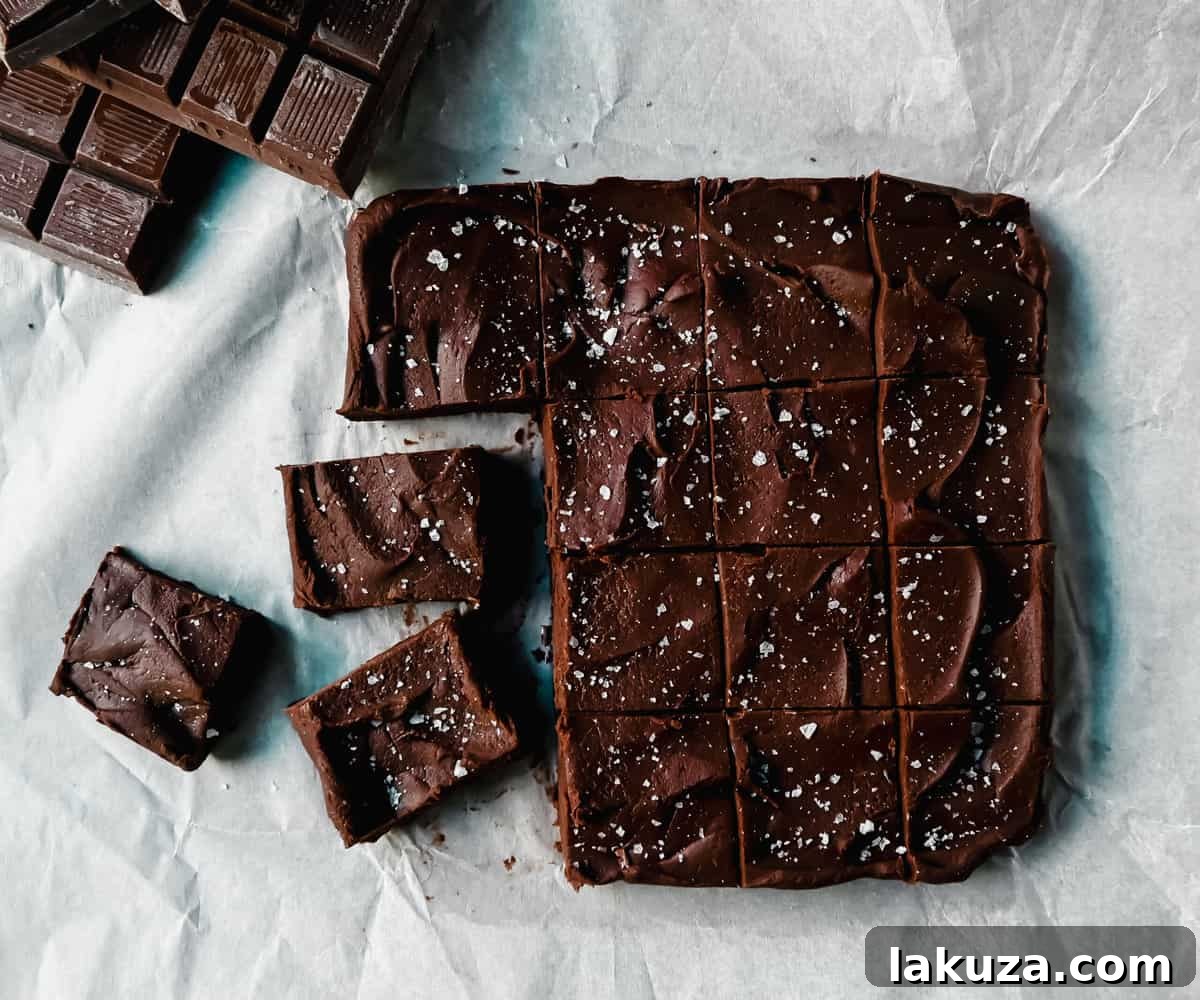
Welcome to the world of effortless indulgence! Imagine a rich, creamy chocolate fudge that practically makes itself, requires only two ingredients, and comes together in minutes. Too good to be true? Not with this incredible Easy 2-Ingredient Microwave Chocolate Fudge recipe. This homemade delight delivers a velvety texture and deep chocolate flavor, perfect for satisfying your sweet cravings or sharing with loved ones.
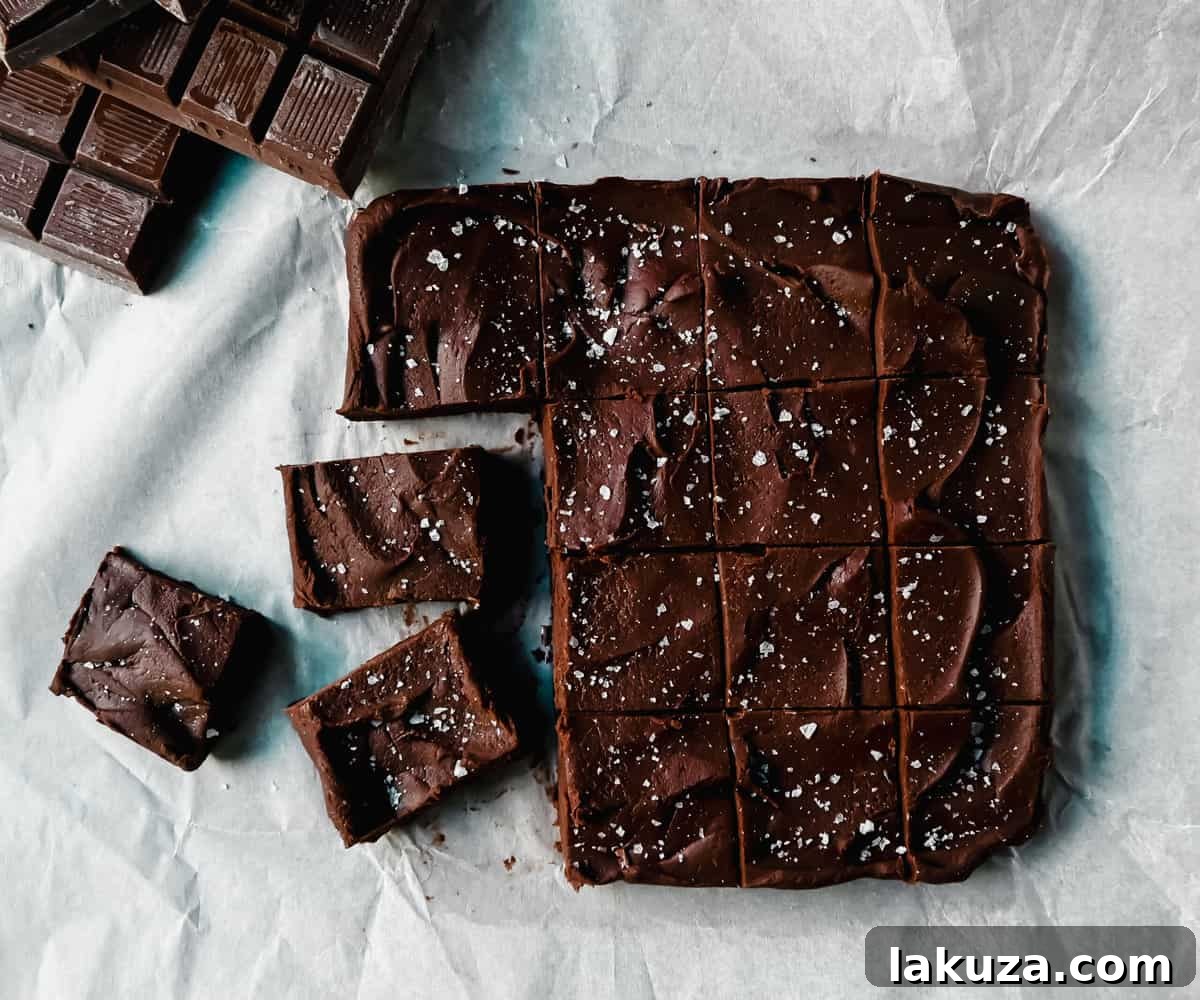
For years, the thought of making fudge conjured images of candy thermometers, constant stirring over a hot stove, and a lengthy list of ingredients. When I first heard whispers of a two-ingredient microwave method, I was, admittedly, skeptical. Could something so simple truly yield a smooth, decadent fudge? My curiosity, however, was piqued. I decided to give it a try, and what happened next completely transformed my approach to homemade confections.
I was absolutely blown away! This super simple recipe produces a consistently perfect fudge that rivals more complex traditional methods. Gone are the days of elaborate preparations; this is your new go-to recipe for unbelievably effortless chocolate fudge. It’s a game-changer for busy holidays, last-minute gifts, or simply a quick treat on a Tuesday evening.
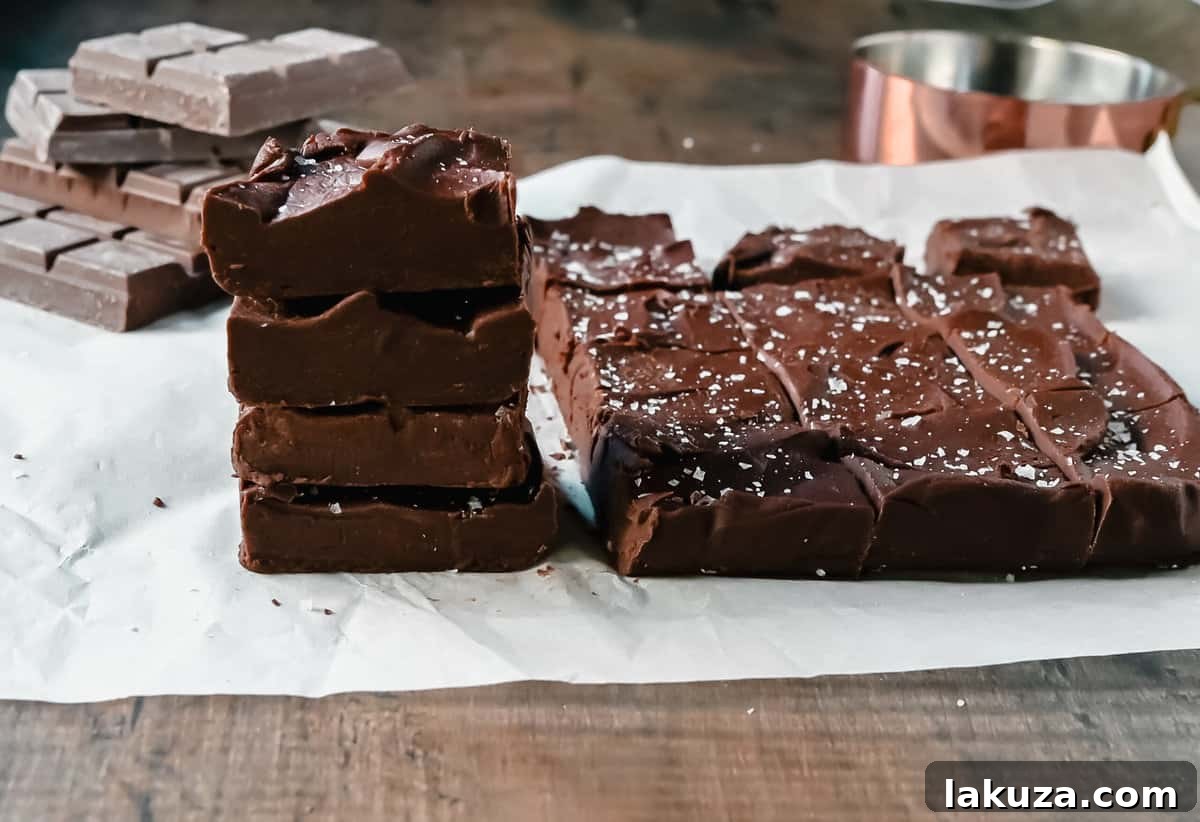
Why You Will Love This Quick Fudge Recipe:
This recipe isn’t just easy; it’s a culinary revelation. Here’s why you’ll want to make this microwave fudge with sweetened condensed milk again and again:
- Unbelievably Simple: With just two core ingredients – chocolate and sweetened condensed milk – it doesn’t get any easier. Forget complex steps and specialized equipment.
- Lightning Fast: From prep to microwave, you’re looking at mere minutes. The microwave does all the heavy lifting, melting everything into a luscious mixture in under 5 minutes.
- Consistently Perfect: This method virtually guarantees a creamy, velvety smooth fudge every single time. No more grainy or crumbly results!
- Endlessly Customizable: While delicious on its own, this fudge is a blank canvas for your favorite mix-ins, allowing you to create endless flavor variations.
- Ideal for Gifting: Homemade fudge makes a thoughtful and impressive gift, especially around the holidays. Its simplicity means you can whip up multiple batches without stress.
- No-Bake Delight: Perfect for warm weather or when you just don’t want to turn on the oven.
Whether you’re celebrating the holiday season, preparing for a special occasion, or simply craving a quick, satisfying dessert, this 2-ingredient chocolate fudge is your answer. It’s a sweet, creamy treat that brings joy without the fuss.
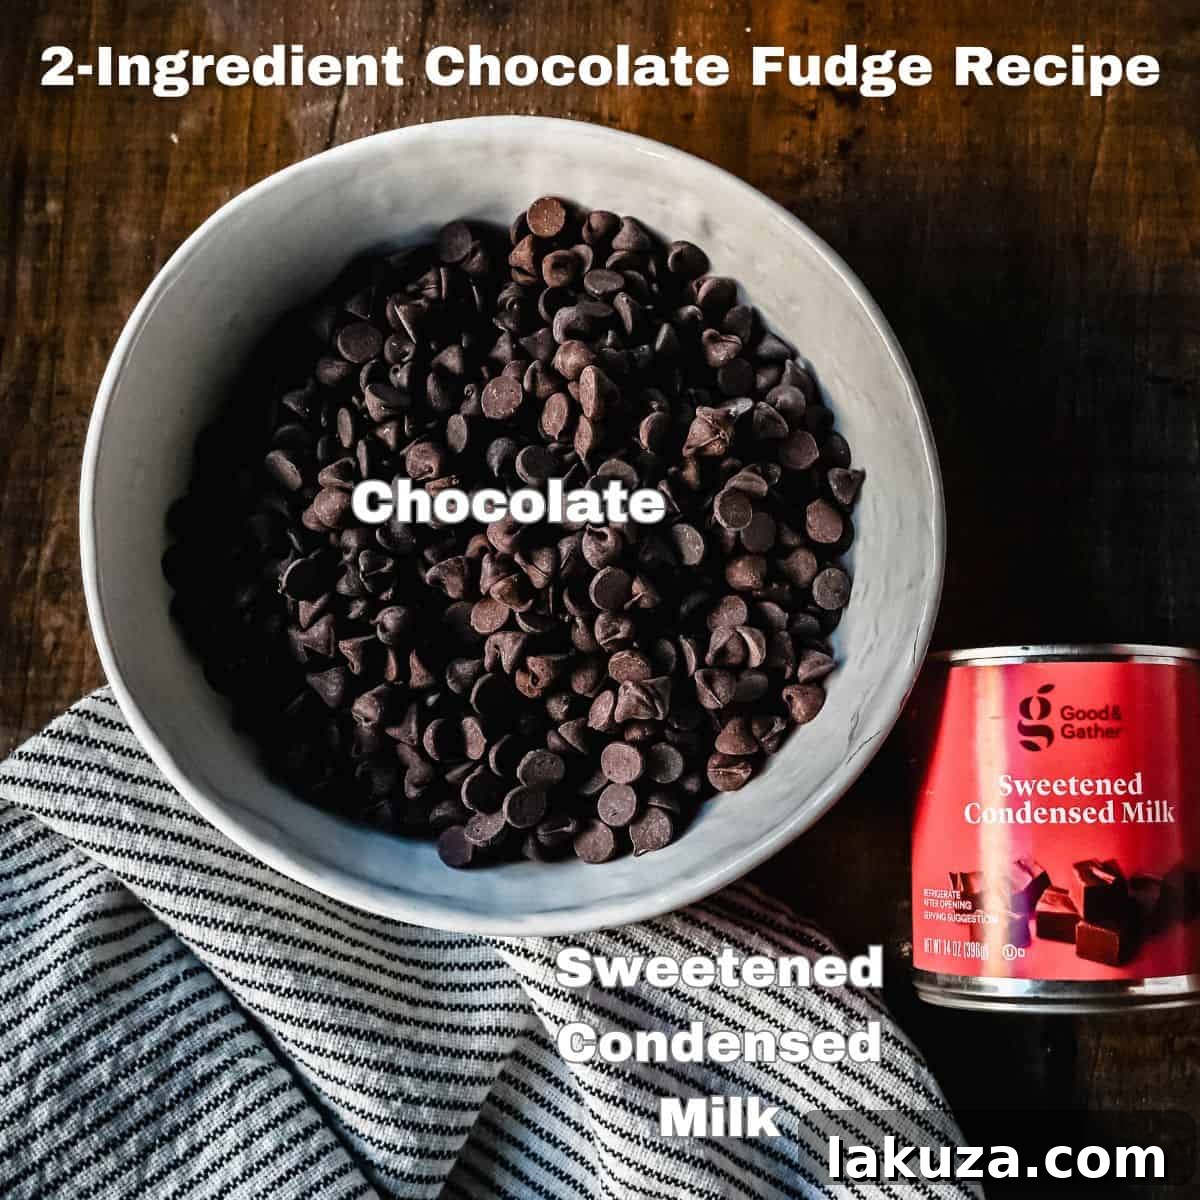
Essential Easy Chocolate Fudge Ingredients:
The magic of this simple chocolate fudge recipe truly lies in its minimal ingredient list. You only need two stars to make this showstopper:
- High-Quality Chocolate: The better the chocolate, the better your fudge will taste. This is where you don’t want to skimp! I highly recommend using good-quality chocolate chips or finely chopped chocolate bars.
- Chocolate Chips: Brands like Guittard or Ghirardelli are excellent choices for their superior melting properties and flavor. You can use semi-sweet, milk chocolate, or a combination of both. For a classic flavor, I often use a mix of 1 1/3 cups semi-sweet and 1 cup milk chocolate chips.
- Chocolate Bars: If using chocolate bars, ensure they are high quality and chop them into small, even pieces to ensure uniform melting.
- Variations: Experiment with dark chocolate for a richer, less sweet fudge, or white chocolate for a different flavor profile (though white chocolate can be a bit trickier to melt without seizing).
- Sweetened Condensed Milk: This is the other essential component. This thick, sweet, and creamy canned milk is crucial for the fudge’s smooth, luscious texture and provides the perfect sweetness without needing additional sugar. Do not confuse it with evaporated milk, as they are not interchangeable in this recipe.
- Optional Mix-ins: This easy microwave fudge serves as a perfect base for a myriad of additions. See the dedicated section below for a comprehensive list of ideas to customize your batch.
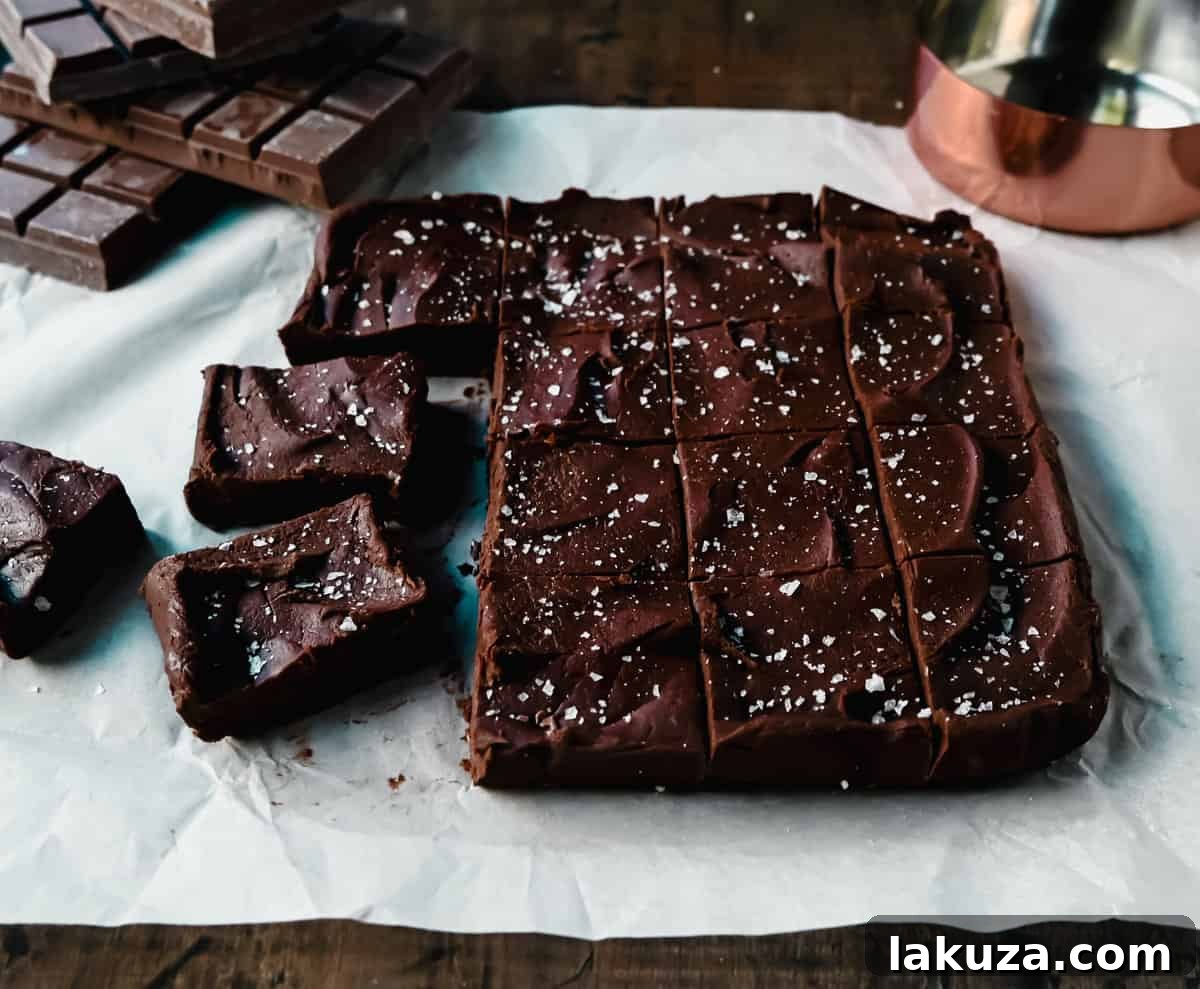
- Sea Salt Flakes (Optional, but recommended!): A sprinkle of flaky sea salt, like Maldon’s, on top isn’t just for decoration. It provides a delightful contrast to the sweetness of the fudge, enhancing the chocolate flavor and adding a gourmet touch.
Unleash Your Creativity: What Mix-ins to Add to Homemade Fudge:
One of the most exciting aspects of this 2-ingredient fudge is its versatility. Once you’ve mastered the basic recipe, the possibilities for customization are endless. Here are some fantastic ideas to elevate your homemade fudge:
- Rocky Road Fudge: Transform your fudge into a classic favorite by stirring in 1 cup of mini marshmallows and 1/2 cup of chopped nuts (walnuts or pecans work wonderfully) after melting.
- Chocolate Nut Fudge: For a simple, satisfying crunch, fold in 3/4 cup of your favorite chopped nuts, such as walnuts, pecans, almonds, or hazelnuts. Toasting the nuts beforehand can enhance their flavor.
- Peppermint Fudge: A holiday favorite! Add 1/4 to 1/2 teaspoon of peppermint extract for a refreshing kick, and then swirl in 1/2 to 3/4 cup of crushed candy canes or peppermint candies for color and texture.
- Toffee Fudge: For a buttery, caramel-like addition, mix in 1 cup of Heath Bar toffee bits or any other crunchy toffee pieces.
- Salted Caramel Swirl: After pouring the fudge into the pan, drizzle with warm salted caramel sauce and gently swirl with a knife before it sets.
- Espresso Fudge: Dissolve 1-2 teaspoons of instant espresso powder into the sweetened condensed milk before heating, enhancing the chocolate flavor with a subtle coffee note.
- Coconut Delight: Fold in 1/2 cup of shredded coconut (toasted or untoasted) for a tropical twist.
- Dried Fruit & Nut: Combine chopped dried cranberries or cherries with pistachios or almonds for a sophisticated, festive fudge.
- Spiced Fudge: Add a pinch of cinnamon, a touch of chili powder, or a dash of nutmeg for a warm, inviting flavor profile, especially good with darker chocolates.
- Cookie Crumble Fudge: Mix in crushed Oreo cookies, graham crackers, or shortbread cookies for added texture and flavor.
- Peanut Butter Swirl: Melt 1/2 cup of peanut butter and drizzle it over the fudge in the pan, swirling gently with a toothpick for a delicious marble effect.
- Sprinkle Fun: For birthdays or festive occasions, simply stir in or sprinkle colorful sprinkles on top before the fudge sets.
Remember to add most mix-ins *after* the chocolate and condensed milk have fully melted and are smooth, just before pouring into the pan. This ensures they are evenly distributed and don’t burn during microwaving.
How to Make Quick and Easy Chocolate Fudge:
You won’t believe how straightforward this recipe is. Here’s a step-by-step guide to making your perfect batch of homemade microwave fudge:
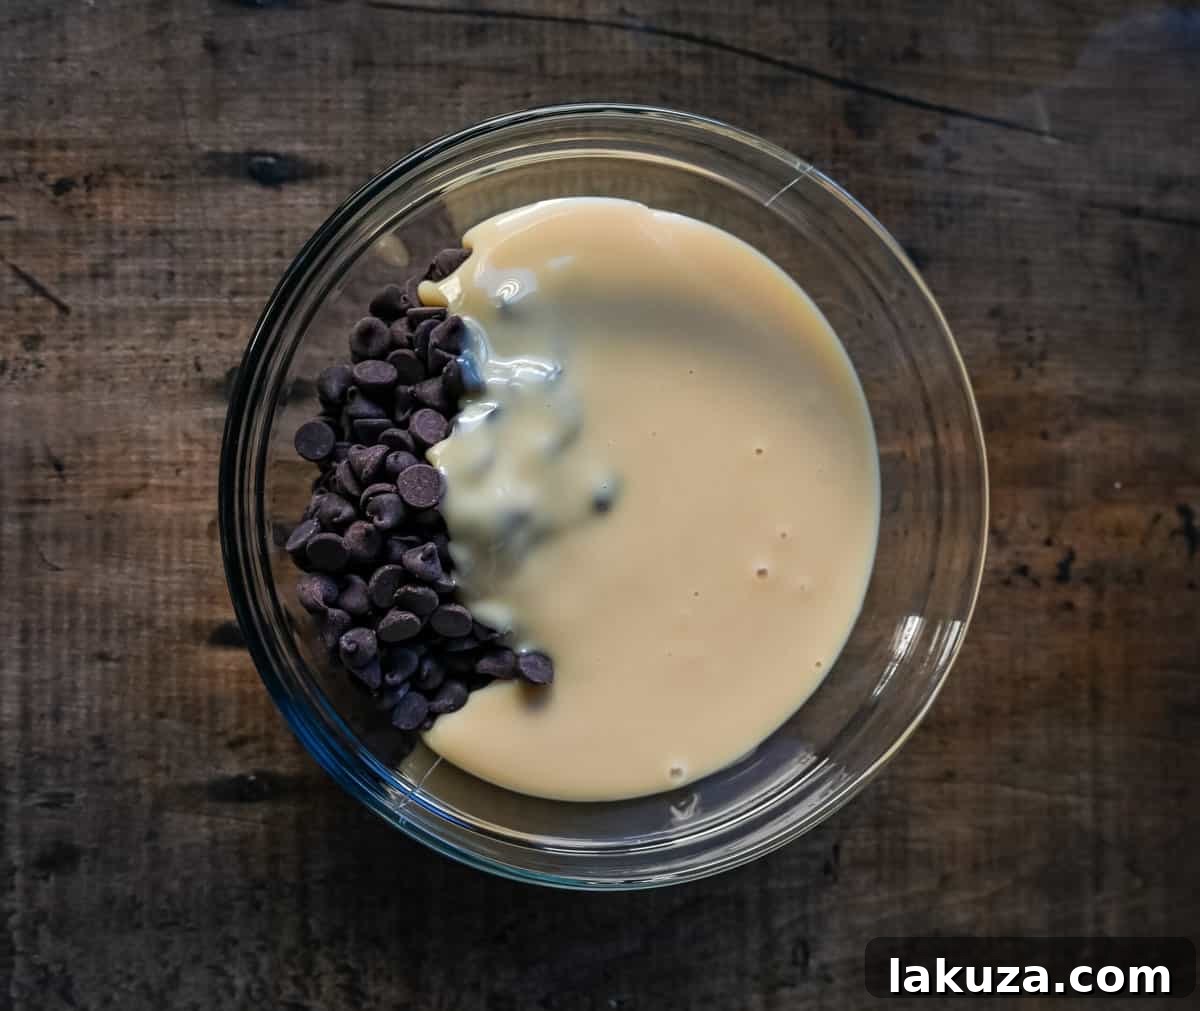
- Prepare Your Ingredients: Measure out your chocolate chips (or chop your chocolate bars) and open your can of sweetened condensed milk. Prepare a microwave-safe bowl, ideally one that allows for easy stirring and won’t be too hot to handle.
- Combine & Microwave: Place the measured chocolate and the entire can of sweetened condensed milk into the microwave-safe bowl.
- Melt in Intervals: Pop the bowl into the microwave and cook in short 30-second intervals. After each interval, remove the bowl and stir the mixture thoroughly with a spatula or spoon. This step is crucial for even melting and preventing the chocolate from seizing. It typically takes about 2 to 3 minutes for the mixture to become completely smooth and combined, depending on your microwave’s power.
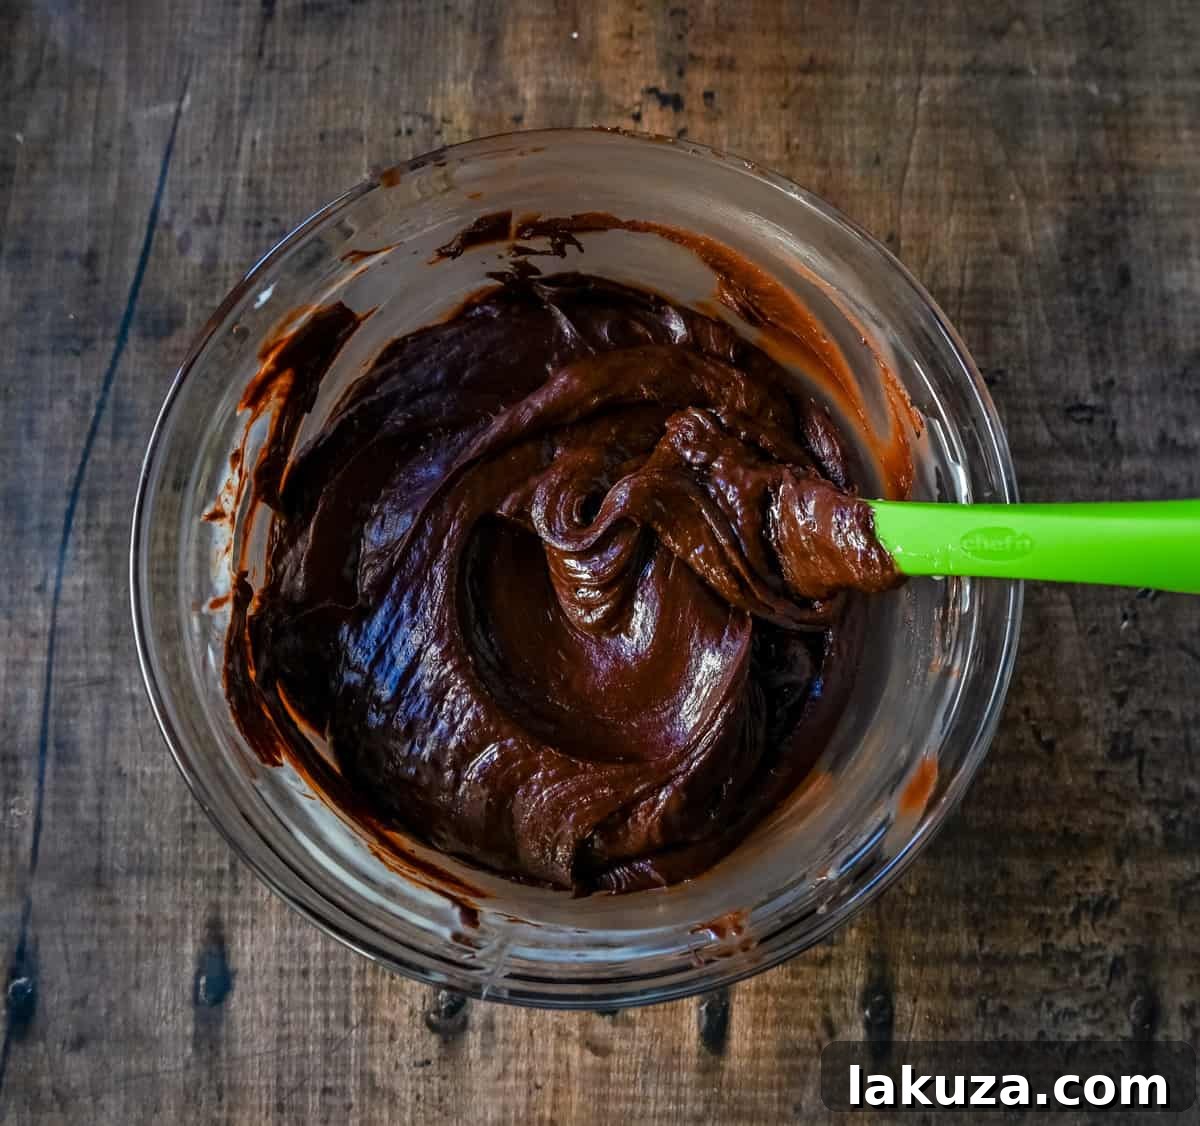
- Achieve Smoothness: Continue microwaving and stirring until the chocolate is fully melted and the mixture is perfectly smooth and glossy, with no lumps remaining. Be careful not to overcook, as this can negatively affect the fudge’s texture.
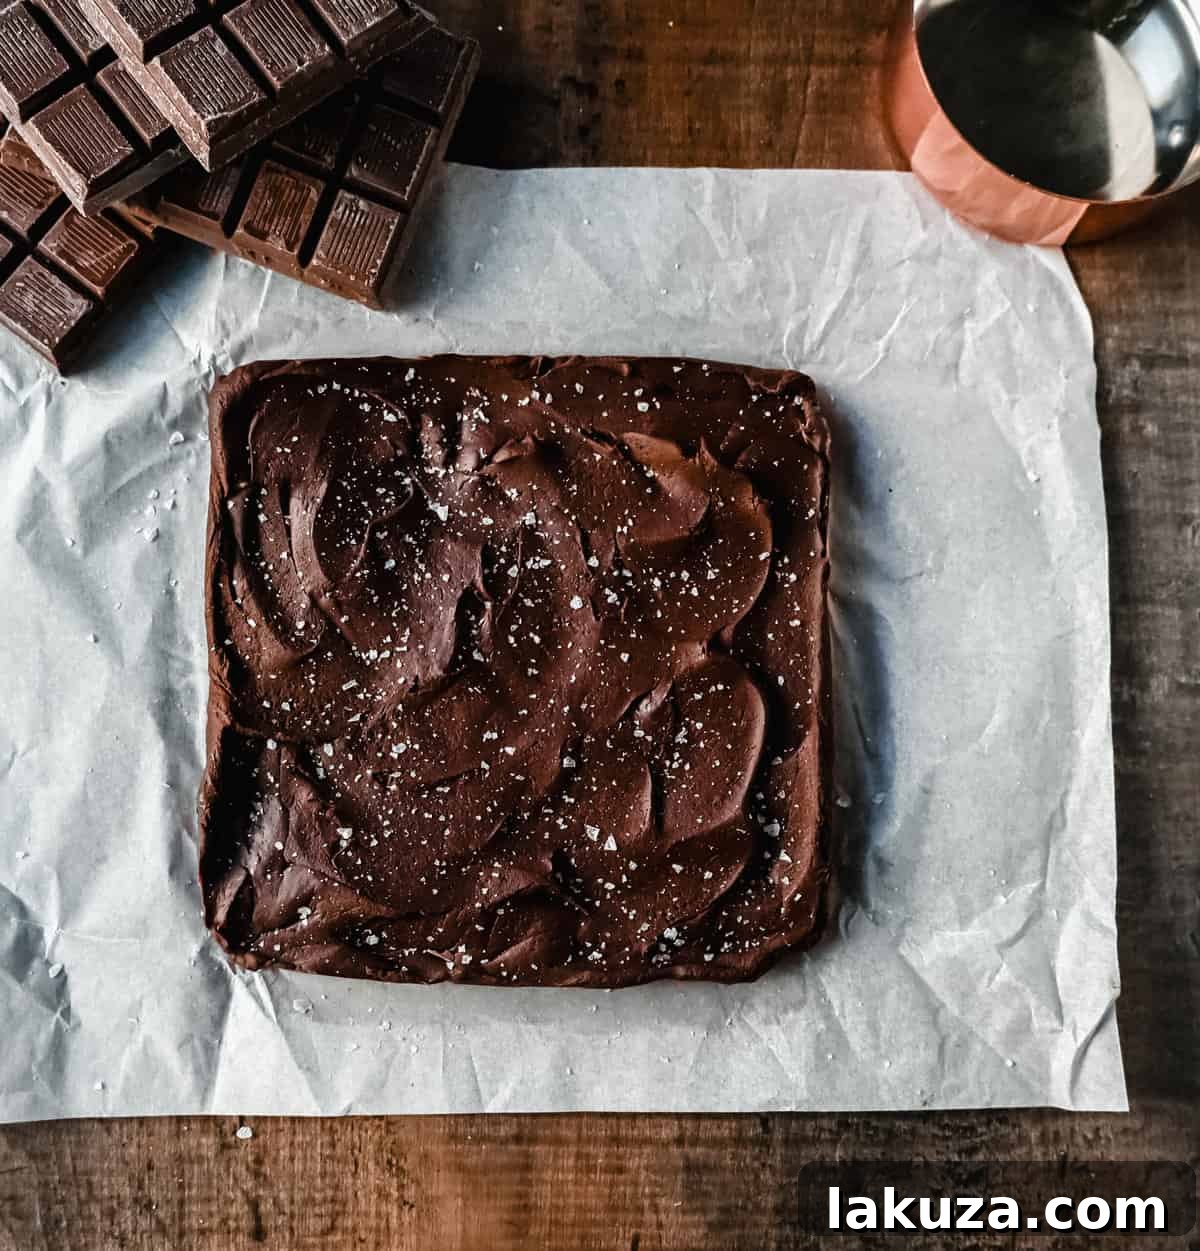
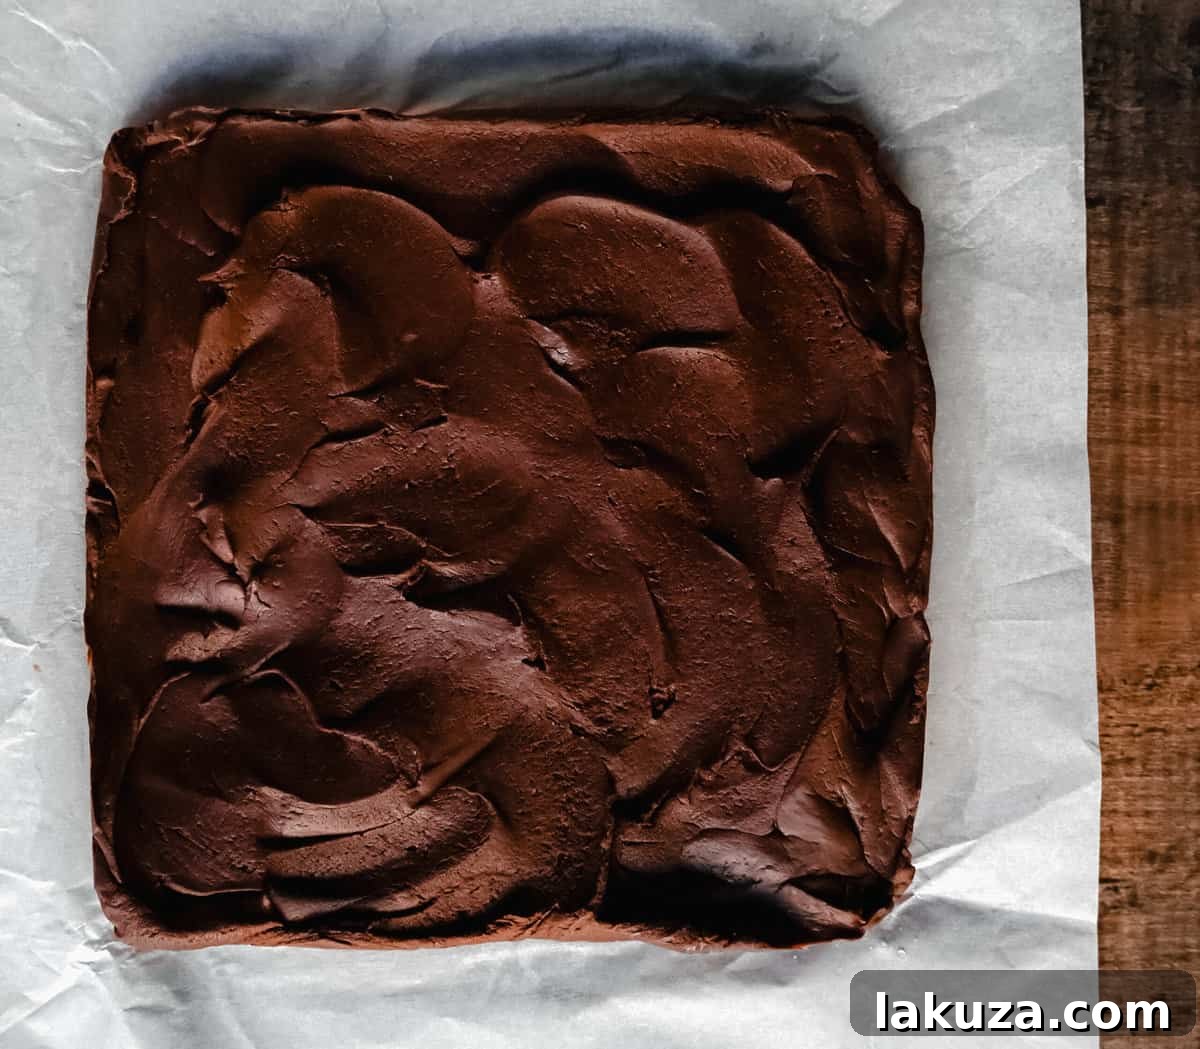
- Prepare Your Pan: While the fudge is still warm, quickly pour it into a parchment paper-lined 9×9 inch baking pan. The parchment paper ensures easy removal and clean-up. Spread the fudge evenly into the pan using your spatula.
- Add Optional Toppings: If desired, sprinkle with sea salt flakes or any chosen mix-ins at this stage, gently pressing them into the surface.
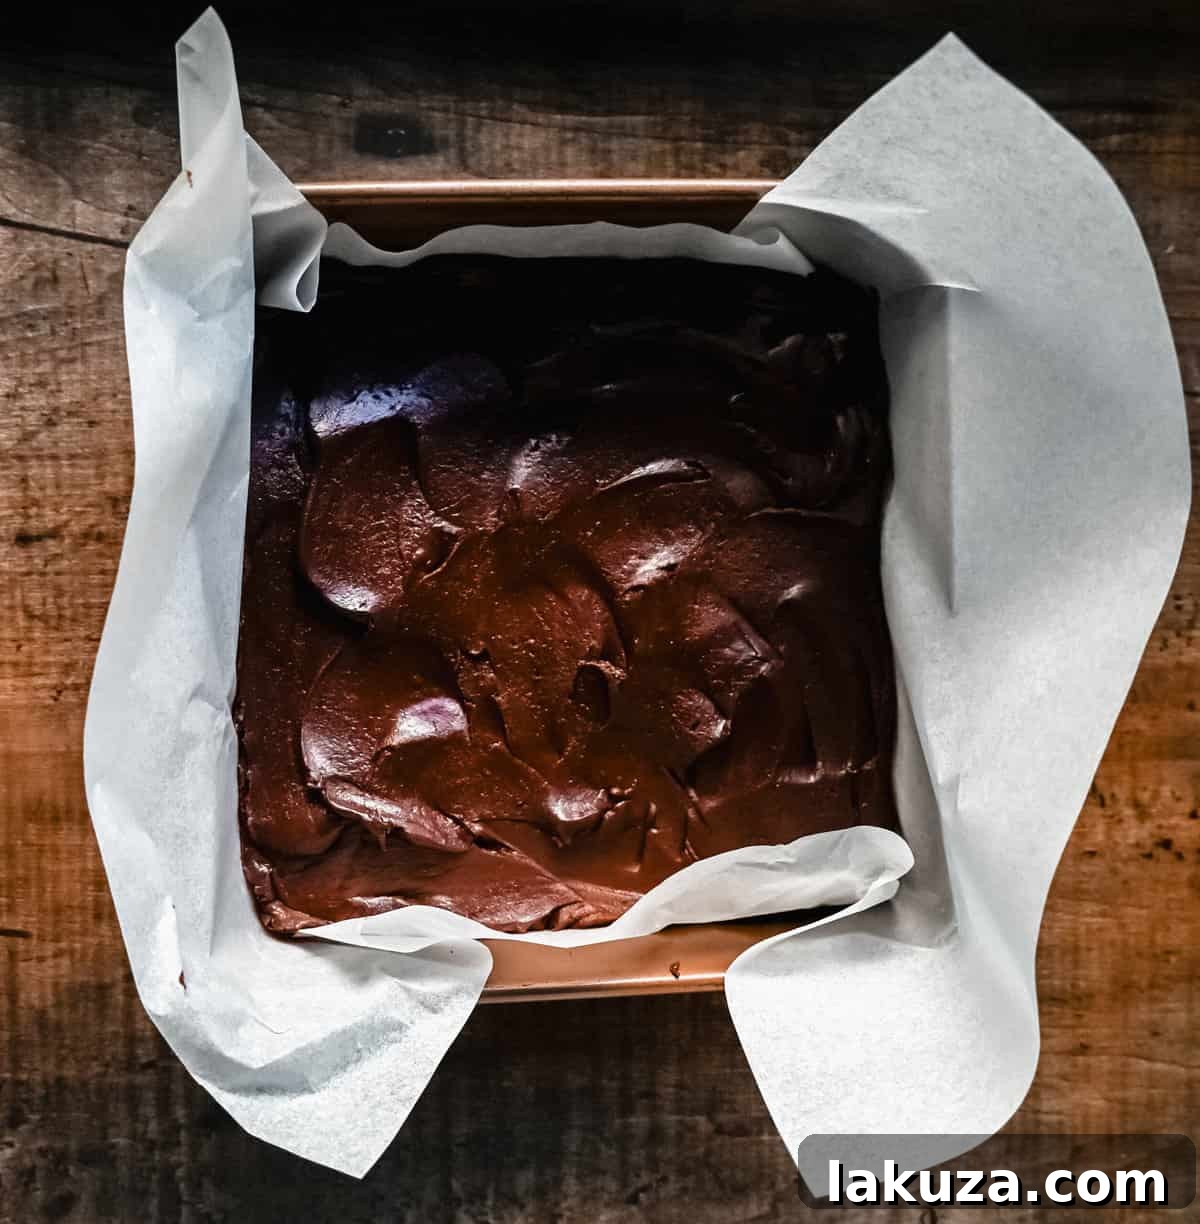
- Set the Fudge: Cover the pan loosely and allow the fudge to cool and begin setting at room temperature for about 30 minutes. Then, transfer it to the refrigerator to continue setting for at least 2-4 hours, or until firm.
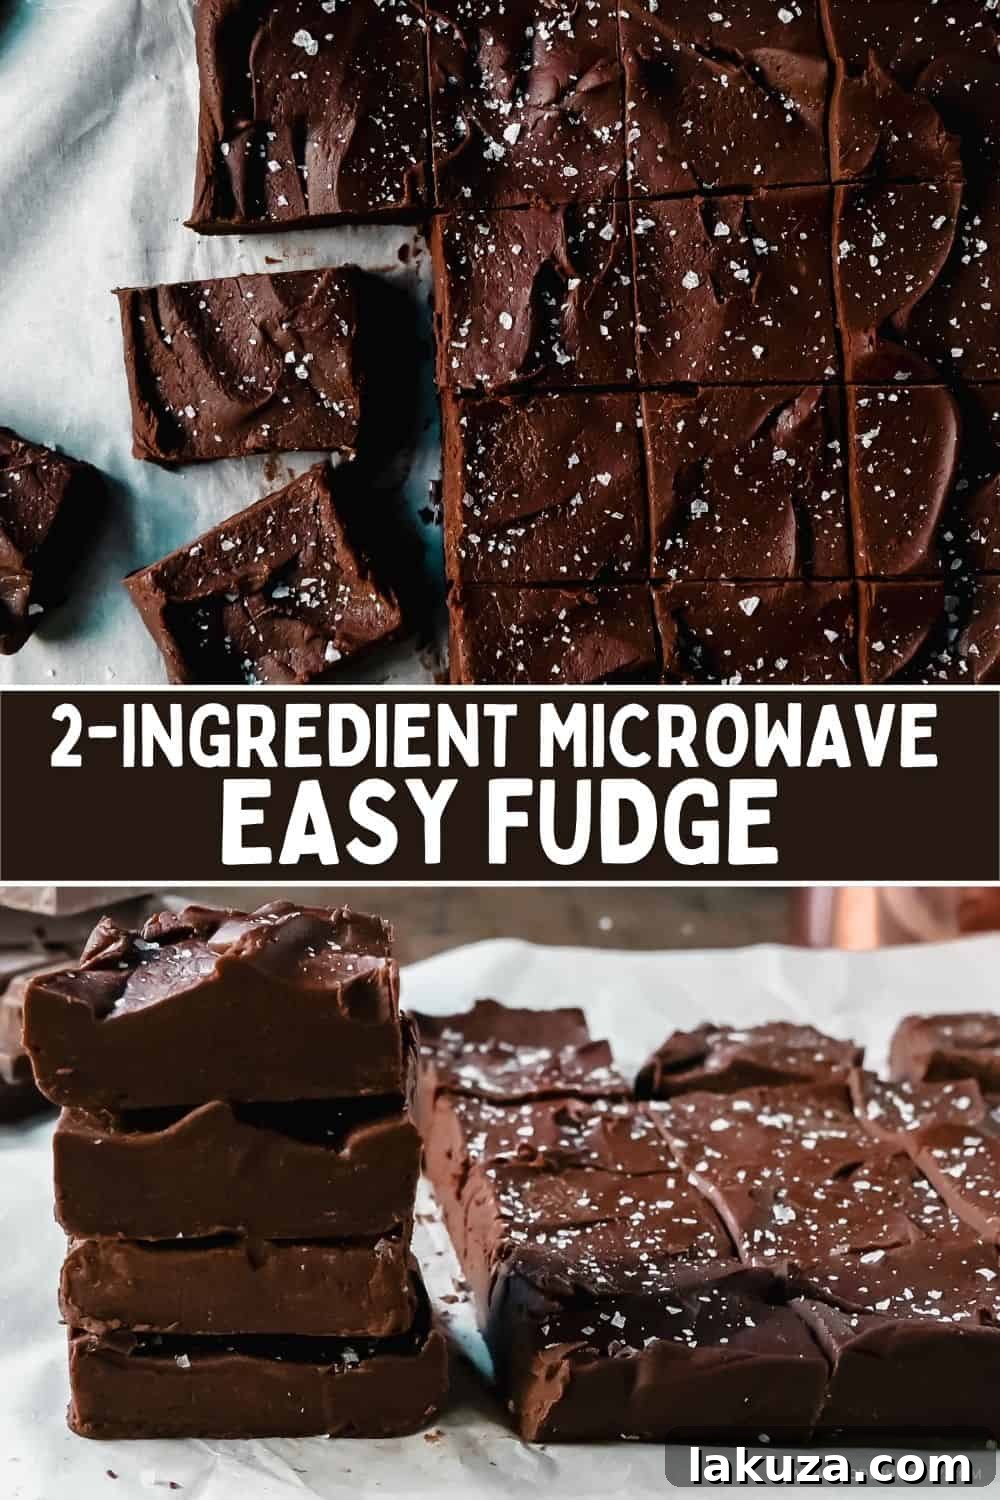
- Cut and Serve: Once the fudge is completely firm, lift it out of the pan using the parchment paper overhangs. Place it on a cutting board. Use a sharp knife to cut it into desired squares or rectangles. For cleaner cuts, you can dip your knife in a glass of hot water and wipe it clean between slices.
- Store Properly: Store your delicious homemade fudge in an airtight container at room temperature. It does not require refrigeration.
Expert Tips for Making Perfect Easy Homemade Fudge:
While this 2-ingredient fudge recipe is incredibly simple, a few pointers can ensure your fudge turns out flawlessly every time:
- Opt for High-Quality Chocolate: As mentioned, the quality of your chocolate directly impacts the flavor and texture of your fudge. Invest in good chocolate chips or bars from reputable brands.
- Microwave in Short Intervals, Always Stirring: This is arguably the most critical tip. Never microwave for long, continuous periods. Short 30-second bursts, followed by thorough stirring, prevent the chocolate from overheating, burning, or seizing. Stirring distributes heat and helps the chocolate melt smoothly.
- Avoid Overheating: Overheated chocolate can become grainy, dull, or even seize into a solid, unworkable mass. If the chocolate looks almost melted after a few intervals, rely more on residual heat and vigorous stirring to achieve smoothness rather than more microwave time.
- Achieve a Smooth, Luminous Texture: Keep stirring until the mixture is entirely smooth and glossy. Any lumps will result in an uneven fudge texture. Persistence with stirring, even off the heat, is key.
- Proper Setting Time is Essential: Don’t rush the setting process. Allowing it to cool at room temperature first before refrigerating helps ensure a firm, perfectly sliceable fudge. Refrigeration speeds up the process but the initial room temperature cool-down is beneficial.
- Line Your Pan: Always line your baking pan with parchment paper, leaving an overhang on the sides. This makes lifting the set fudge out of the pan incredibly easy and allows for clean cuts.
- Clean Cuts for Perfect Squares: For beautifully neat squares, use a sharp, thin-bladed knife. For extra smooth cuts, dip the knife in hot water and wipe it clean between each slice. This warms the blade slightly, allowing it to glide through the fudge more easily.
- Experiment with Flavor Extracts: A tiny splash (1/4 to 1/2 teaspoon) of vanilla extract, almond extract, or even a coffee extract can deepen and enhance the flavor of your chocolate fudge. Add it with the condensed milk before microwaving.
Frequently Asked Questions About Easy Chocolate Fudge:
Does this 2-ingredient fudge have to be refrigerated?
No, one of the beauties of this quick chocolate fudge recipe is that it does not require refrigeration for storage. Store it in an airtight container at room temperature, and it will remain fresh and perfectly textured for up to two weeks (though it rarely lasts that long!).
Can you freeze homemade fudge?
Absolutely! Fudge freezes exceptionally well, making it perfect for preparing ahead of time or for longer storage. To freeze, wrap individual pieces or a whole slab tightly in plastic wrap, then place them in a large freezer-safe Ziploc bag or an airtight container. It can be stored in the freezer for up to 3 months. Thaw at room temperature before serving.
Why is my microwave fudge grainy?
Grainy fudge is often a result of overheating the chocolate or not stirring enough during the melting process. Make sure to use short 30-second intervals and stir vigorously after each one to ensure smooth, even melting. Using high-quality chocolate can also help prevent graininess.
My fudge didn’t set. What went wrong?
If your fudge is too soft and doesn’t set, it’s usually due to an incorrect ratio of ingredients (e.g., not enough chocolate or too much condensed milk) or not allowing enough time to cool and firm up. Ensure you use the exact measurements specified in the recipe and give it ample time in the refrigerator to set completely.
Can I make this fudge with white chocolate?
Yes, you can adapt this recipe for white chocolate, but be extra cautious. White chocolate is more prone to seizing when overheated. Use high-quality white chocolate chips or bars and melt in even shorter intervals (e.g., 15-20 seconds), stirring diligently until smooth.
Popular Chocolate Recipes:
Toffee Pretzel Christmas Crack
Rocky Road Candy Clusters
Chocolate Peppermint Bark
Chocolate Truffles

Easy Chocolate Fudge
Modern Honey® – www.modernhoney.com
1 minute
2 minutes
1 hour
24
Ingredients
- 2 1/3 cups (14 ounces) Chocolate Chips or finely chopped Chocolate Bars (preferably high-quality semi-sweet or a mix with milk chocolate)
- (1) 14-ounce can Sweetened Condensed Milk
Optional:
- Maldon’s Sea Salt Flakes (for sprinkling)
- Your favorite Mix-ins (see ideas in the article above)
Instructions
-
1. In a microwave-safe bowl, combine the chocolate chips (or chopped chocolate bars) and the sweetened condensed milk.
-
2. Microwave the mixture in short 30-second intervals, stirring thoroughly after each interval. This prevents scorching and ensures even melting. Continue this process for about 2-3 minutes, or until the chocolate is fully melted and the mixture is smooth and glossy. Be careful not to overcook! If there are still a few small lumps, continue stirring vigorously, using the residual heat to melt them.
-
3. Once smooth, if you are adding any mix-ins (like nuts, marshmallows, or peppermint pieces), fold them into the fudge mixture now. This chocolate fudge sets quickly, so work promptly. Pour the mixture into a parchment paper-lined 9×9 inch baking pan (leaving an overhang on the sides for easy removal). Spread it evenly with a spatula. If using, sprinkle the top with sea salt flakes.
-
4. Cover the pan loosely and allow the fudge to cool at room temperature for about 30 minutes, then transfer it to the refrigerator to finish setting for at least 2-4 hours, or until completely firm.
-
5. Once set, lift the fudge out of the pan using the parchment paper. Place on a cutting board and use a sharp knife to cut it into squares. For extra clean cuts, dip the knife in hot water and wipe it dry between slices.
-
6. Store the fudge in an airtight container at room temperature for up to 2 weeks. This fudge does not require refrigeration.
Notes
Watch for Overheating: Be extremely cautious not to overheat the chocolate. Overheating can cause the chocolate to seize or become grainy, ruining the fudge’s texture. Use short intervals and rely on stirring.
This easy fudge recipe is incredibly customizable with various mix-ins. Here are some ideas:
Rocky Road Fudge: After melting, add 1 cup of mini marshmallows and 1/2 cup chopped nuts (walnuts or pecans).
Chocolate Nut Fudge: Stir in 3/4 cup of chopped nuts like walnuts, pecans, or almonds.
Peppermint Fudge: Add 1/4-1/2 teaspoon of peppermint extract along with 1/2 to 3/4 cup crushed candy canes or peppermint candies.
Toffee Fudge: Mix in 1 cup of Heath Bar toffee bits or similar toffee candy pieces.
Nutrition
Calories: 133kcal
,
Carbohydrates: 12g
,
Protein: 1g
,
Fat: 9g
,
Saturated Fat: 5g
,
Polyunsaturated Fat: 0.3g
,
Monounsaturated Fat: 3g
,
Trans Fat: 0.02g
,
Cholesterol: 1mg
,
Sodium: 2mg
,
Potassium: 130mg
,
Fiber: 2g
,
Sugar: 8g
,
Vitamin A: 12IU
,
Calcium: 14mg
,
Iron: 1mg
Nutrition information is automatically calculated and should only be used as an approximation. It may vary based on specific brands and ingredients used.
Additional Info
Dessert, Sweet Treat
American
24 squares
133
2-ingredient chocolate fudge, easy chocolate fudge, fudge with sweetened condensed milk, microwave fudge, homemade chocolate fudge, quick fudge, no-bake dessert
Love this recipe? Share your thoughts below!
Jump to Comments