
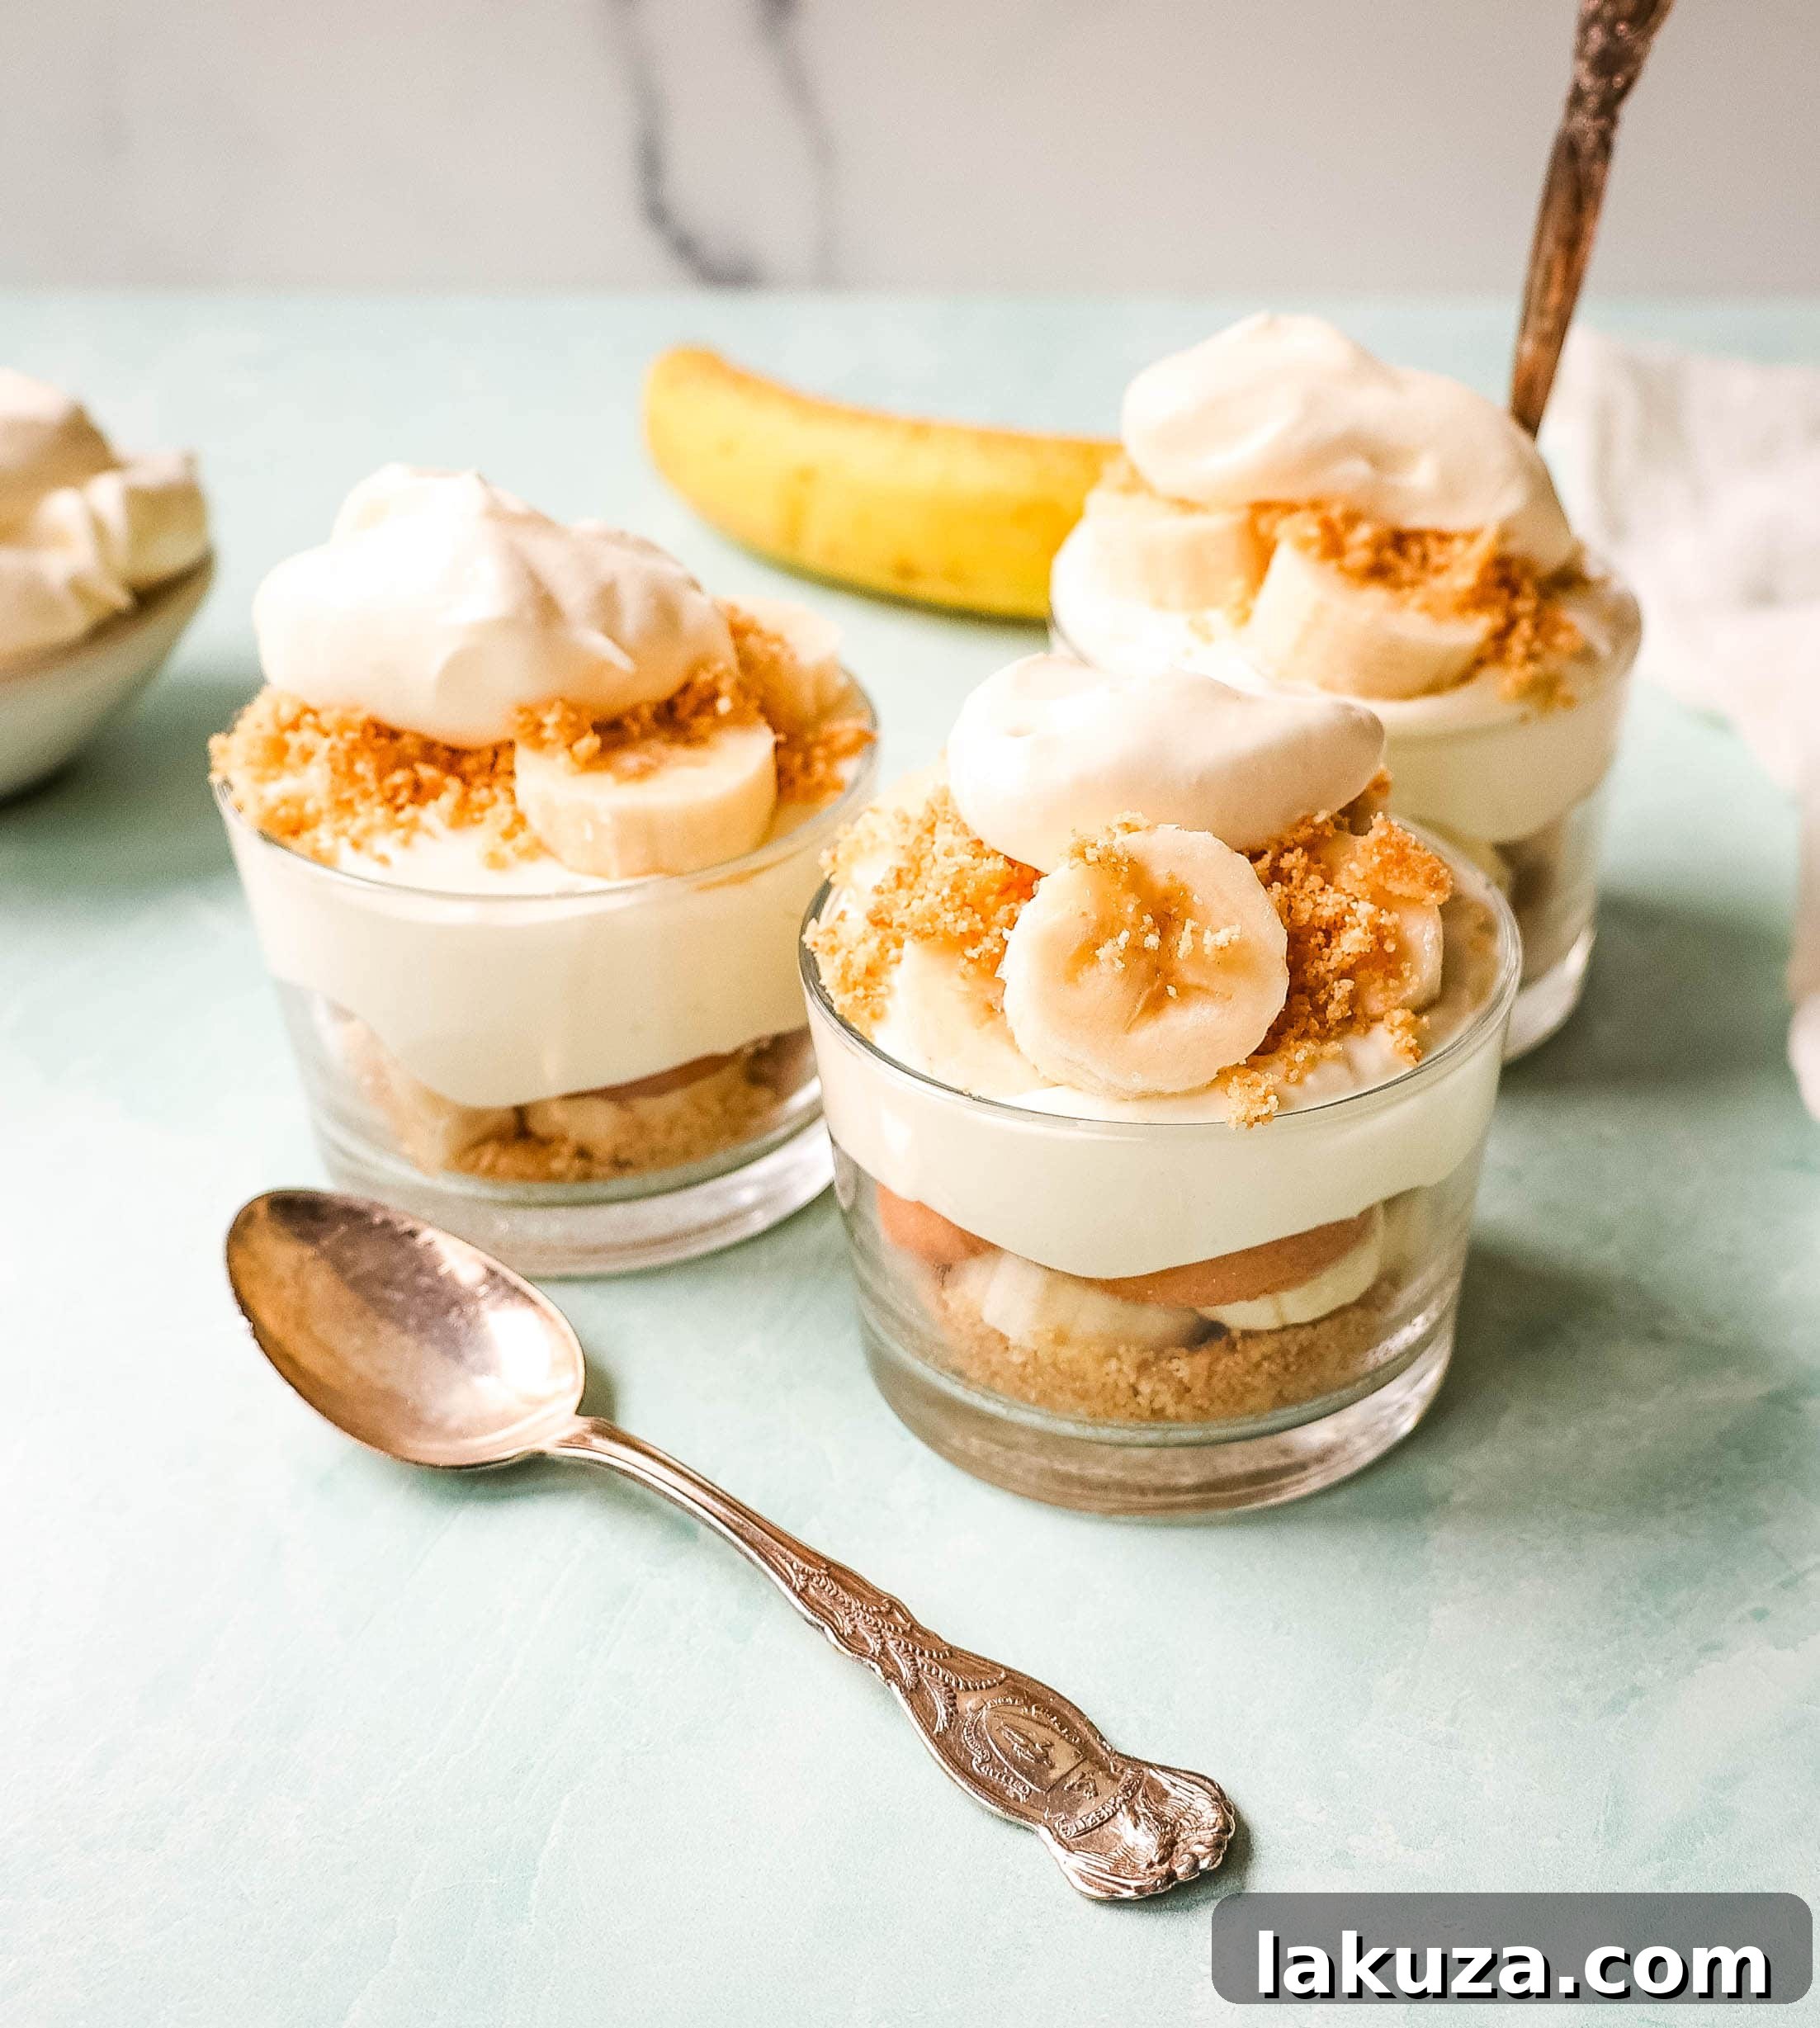
Discover the secret to the legendary Magnolia Bakery Banana Pudding, a cherished dessert that has captured hearts in New York City and beyond. This is your ultimate guide to recreating the famous recipe in your own kitchen!
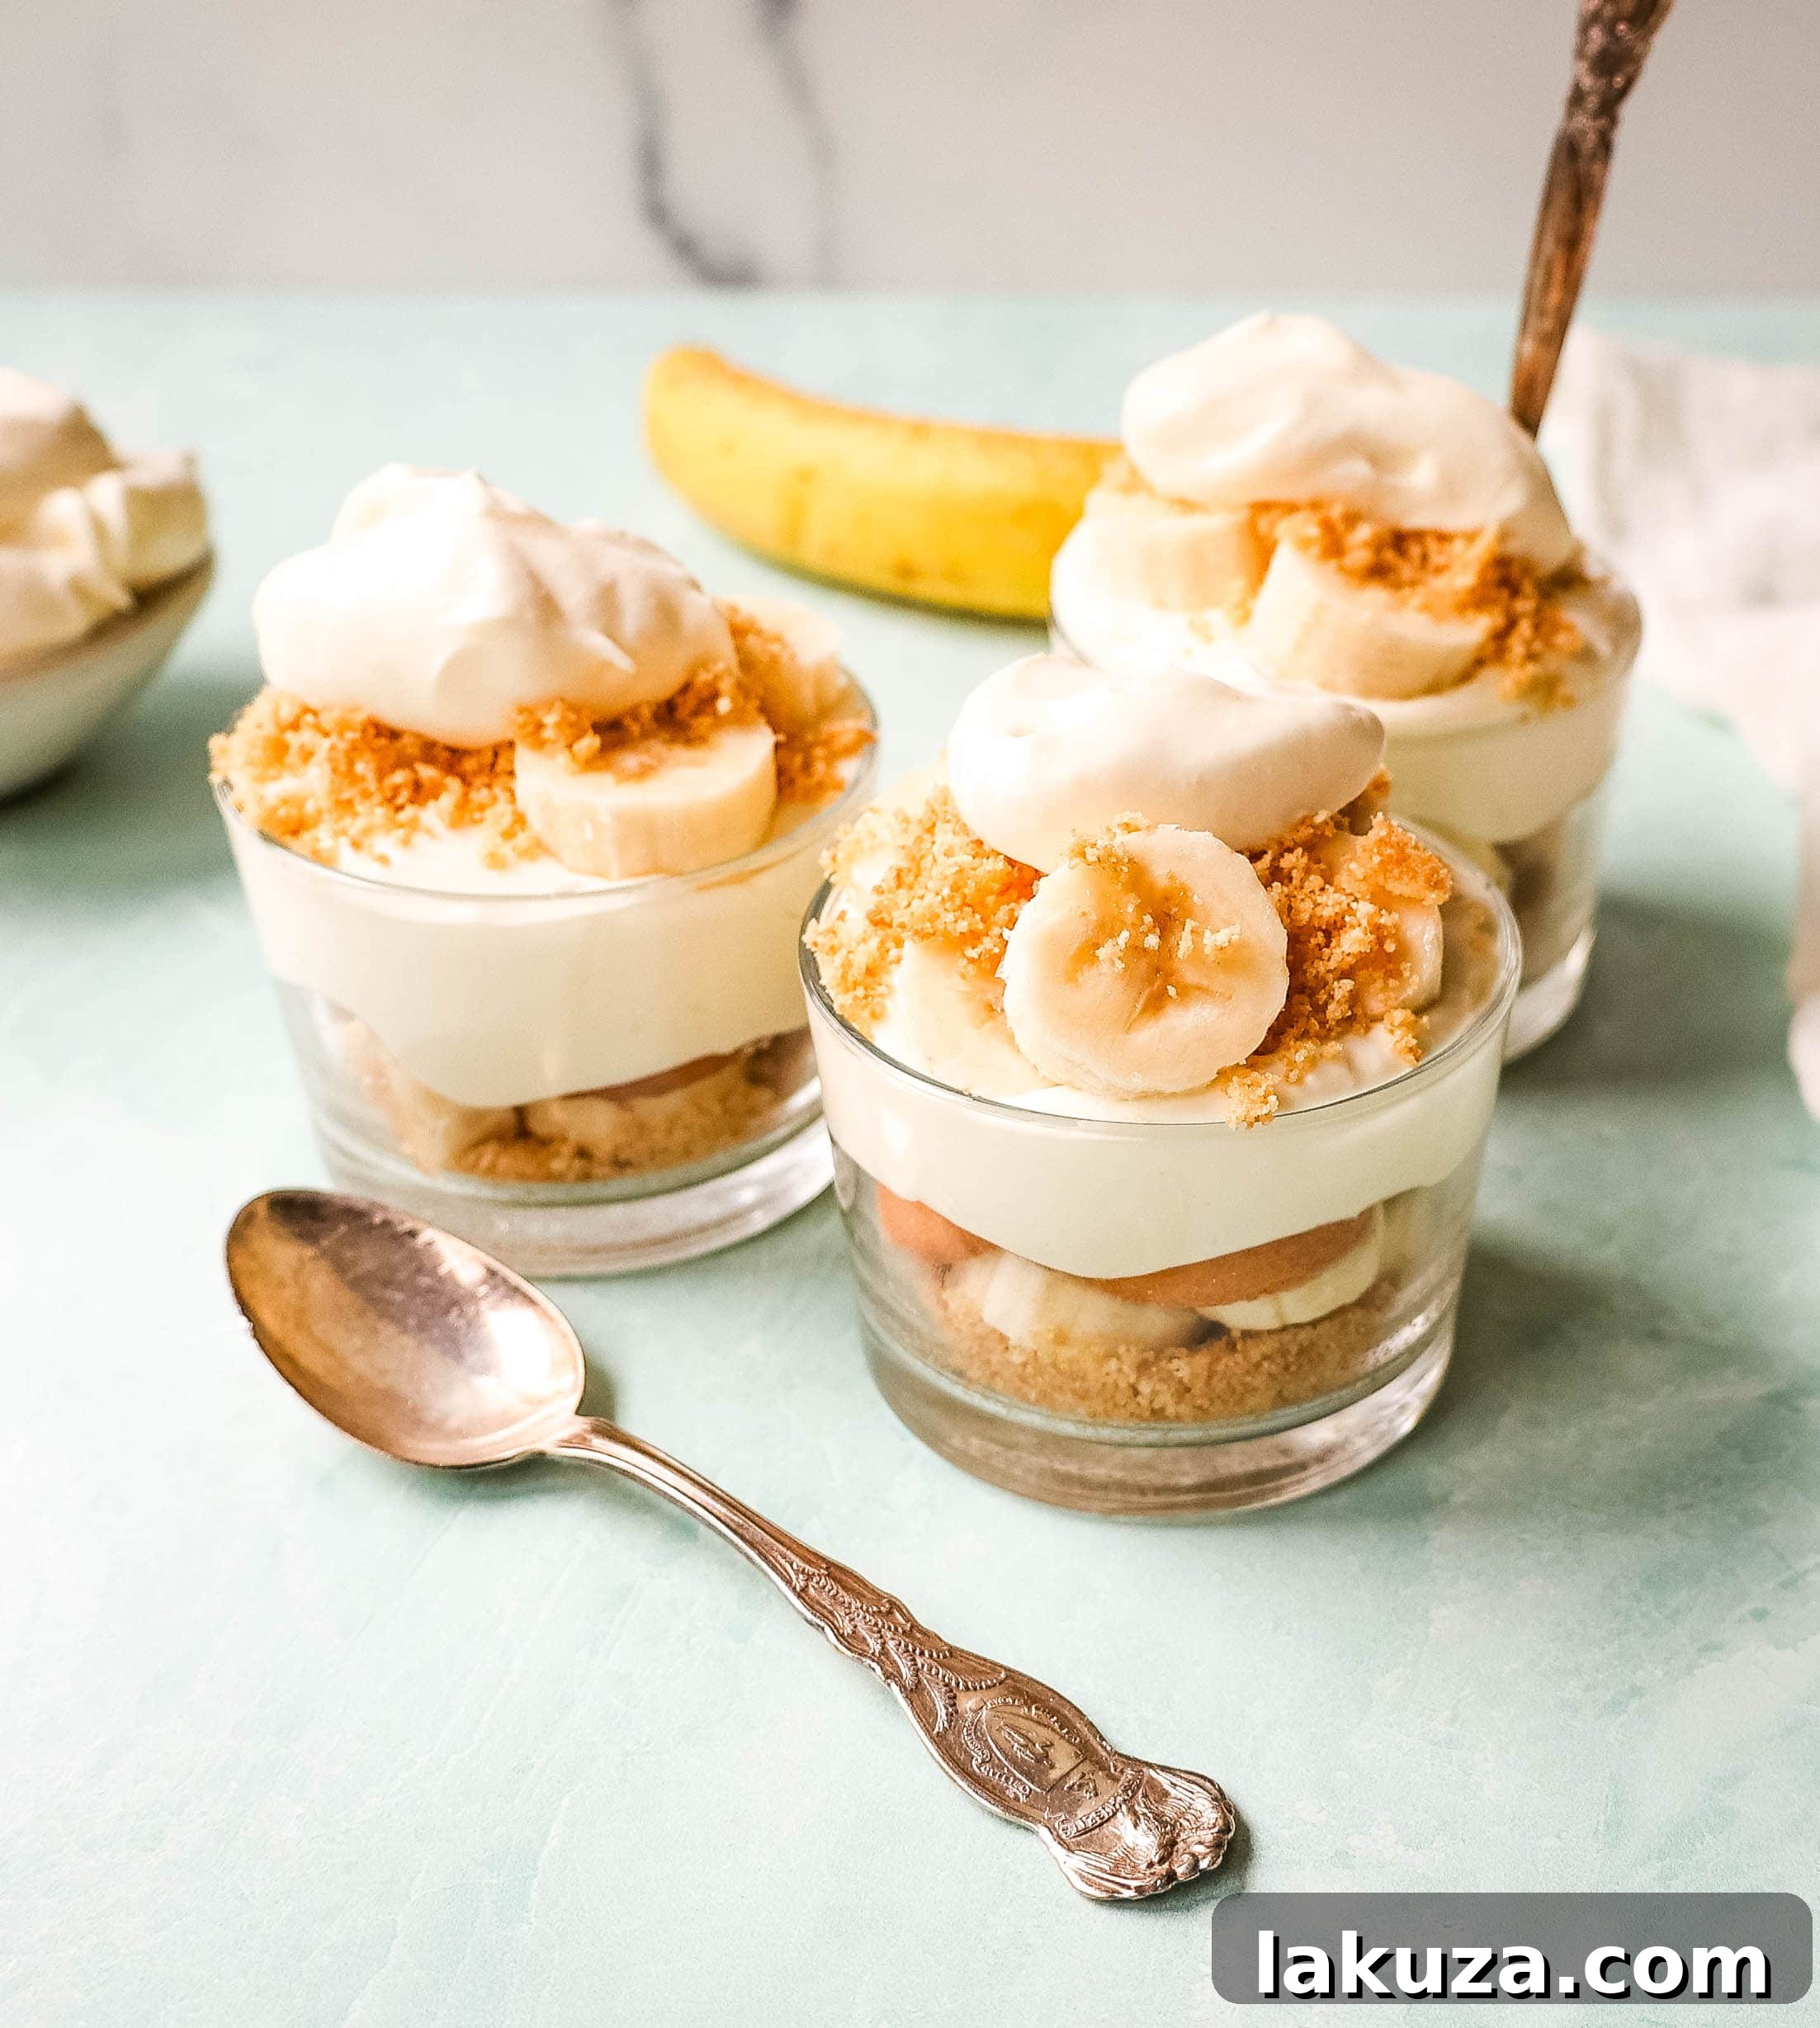
There’s a special kind of magic that unfolds every time we visit New York City, and it often begins with a pilgrimage to Magnolia Bakery. Specifically, for their iconic banana pudding. My enduring love affair with this creamy, dreamy dessert began nearly two decades ago, during a time when my palate was particularly finicky while pregnant with our second child. Very little appealed to me, but my brother, Jeff, who lived in the bustling heart of NYC, had a brilliant suggestion: “Try Magnolia Bakery’s banana pudding. It might just hit the spot.” And he was absolutely right. From that first spoonful, I was completely captivated, and the craving has stayed with me ever since.
Those visits to my brother and his wife, Christeena, a talented Broadway star (you might have seen her shine as Cosette or Eponine in Les Misérables, or perhaps as Glinda in Wicked), were always culinary adventures. They introduced us to the very best of New York City’s vibrant food scene, guiding us through hidden gems and famous eateries alike. It was during these delicious explorations that I first encountered the legendary Levain Bakery and instantly fell for their irresistible chocolate chip cookies, an experience almost as memorable as my first taste of Magnolia’s pudding.
Upon returning home to Arizona, the craving for Magnolia Bakery’s banana pudding lingered. I yearned to recreate that unparalleled comfort and flavor. To my delight, I discovered that Magnolia Bakery had generously shared their highly sought-after recipe, and what’s more, it was surprisingly simple to make! Now, you too can whisk up this beloved dessert in the comfort of your own home, enjoying every delightful bite at a fraction of the cost of a trip to NYC.
The Simplicity of Magnolia Bakery Banana Pudding Ingredients
One of the most appealing aspects of the Magnolia Bakery Banana Pudding recipe is its elegant simplicity. You might expect a dessert this famous to require a lengthy list of exotic ingredients, but surprisingly, it calls for just six readily available items. The magic lies not in complexity, but in the quality of these core components and the way they come together to create a harmonious blend of flavors and textures.
- Sweetened Condensed Milk
- Instant Vanilla Pudding Mix
- Ice Cold Water
- Heavy Cream
- Fresh Bananas
- Vanilla Wafers (Nilla Wafers)
For truly authentic results, I strongly recommend sticking to specific brands for two crucial ingredients: JELLO Brand Instant Vanilla Pudding and Nabisco Nilla Wafers. While generic brands might seem like a cost-effective alternative, my experience has shown that they simply don’t deliver the same desired texture and stability. Generic vanilla wafers, in particular, tend to crumble excessively and don’t soften into that delightful, cake-like consistency that is characteristic of the classic Nilla Wafers when soaked in the pudding mixture. The JELLO brand pudding ensures the perfect creamy base that sets beautifully.
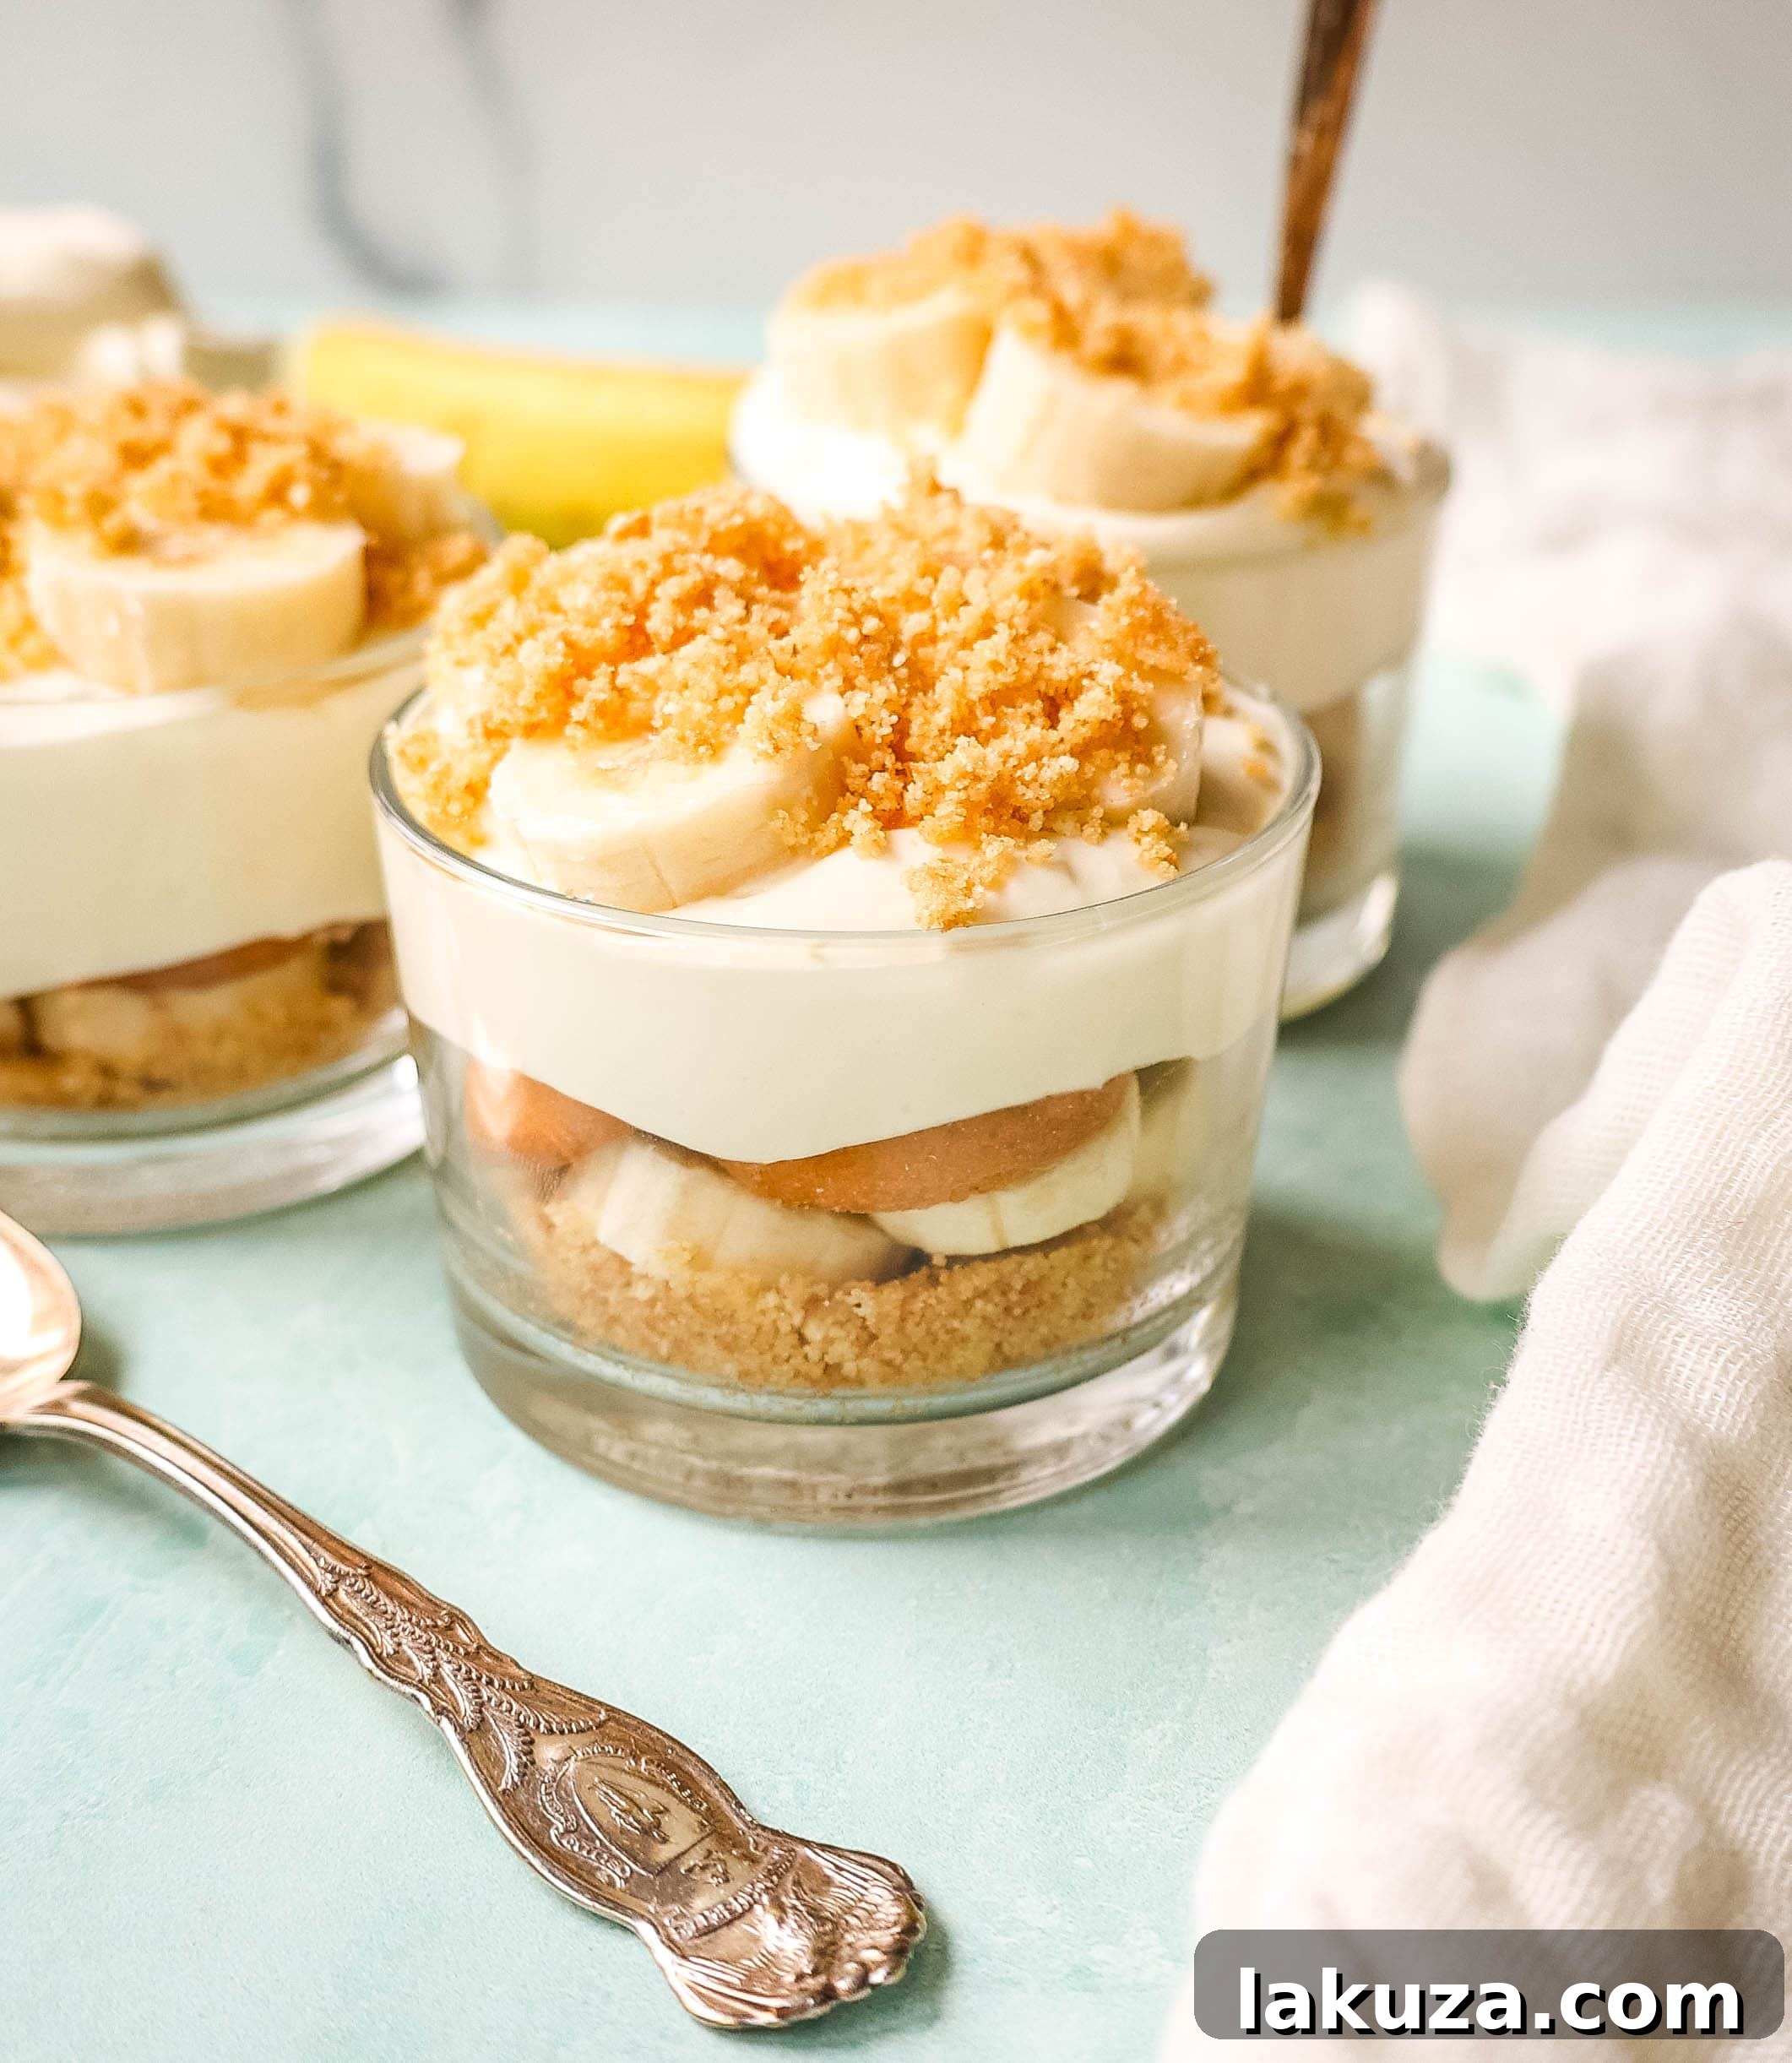
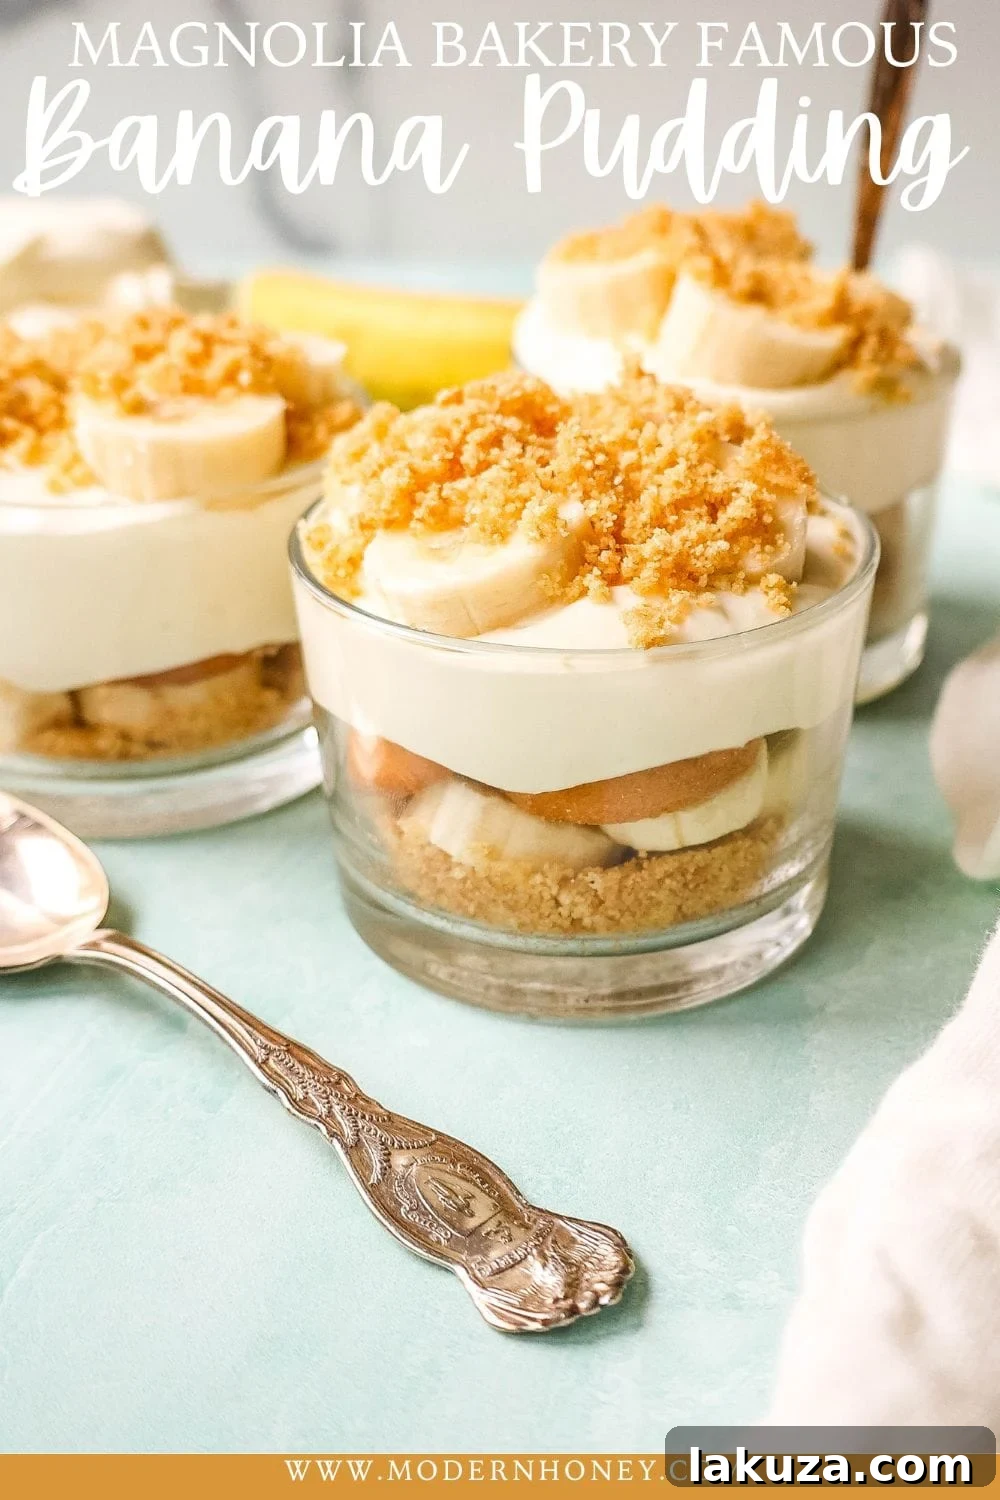
For an extra touch of elegance and crunch, consider making a simple Nilla Wafer garnish. Simply take 6-8 Nilla Wafers, pulse them in a food processor with two tablespoons of melted butter, and sprinkle this buttery crumb mixture over the top of your assembled pudding before serving. It adds a wonderful texture contrast and an elevated presentation.
Crafting Your Own Magnolia Bakery Banana Pudding: A Step-by-Step Guide
Making this legendary banana pudding is not just easy; it’s a truly rewarding culinary experience. The steps are straightforward, promising a delicious outcome that will impress your family and friends. Follow these detailed instructions to achieve that signature creamy texture and perfectly balanced sweetness.
- Prepare the Pudding Base: In a large mixing bowl, combine the sweetened condensed milk and ice-cold water. Whisk these two ingredients together thoroughly until they are completely smooth and well integrated. Next, add the instant vanilla pudding mix. Continue whisking diligently for about two minutes, ensuring there are no lumps and the mixture achieves a smooth, uniform consistency. Once mixed, cover the bowl tightly with plastic wrap and refrigerate it for at least one hour. This chilling time is crucial as it allows the pudding to set and firm up, creating the perfect foundation for your dessert.
- Whip the Heavy Cream: While the pudding chills, prepare your whipped cream. Pour the heavy cream into the bowl of a stand mixer fitted with a whisk attachment. Begin whipping the cream on medium-high speed. Continue to whip until stiff peaks form. Stiff peaks mean that when you lift the whisk, the cream holds its shape firmly. Be careful not to over-whip, as this can turn the cream grainy.
- Combine Pudding and Cream: Once your pudding mixture is thoroughly chilled and firm, gradually add it to the whipped heavy cream in your stand mixer. With the mixer running on a low speed, add the pudding mixture one scoop at a time. Mix gently until the pudding and cream are fully combined, and no streaks of the pudding mixture remain. The result should be a light, airy, and incredibly creamy custard.
- Assemble Your Pudding: Now for the creative part – assembling your banana pudding! You have several options for presentation. A classic trifle bowl beautifully showcases the layers, while a wide glass bowl is also excellent. For individual servings, consider using elegant glass dessert bowls or even charming mason jars, which are perfect for picnics or portable treats.
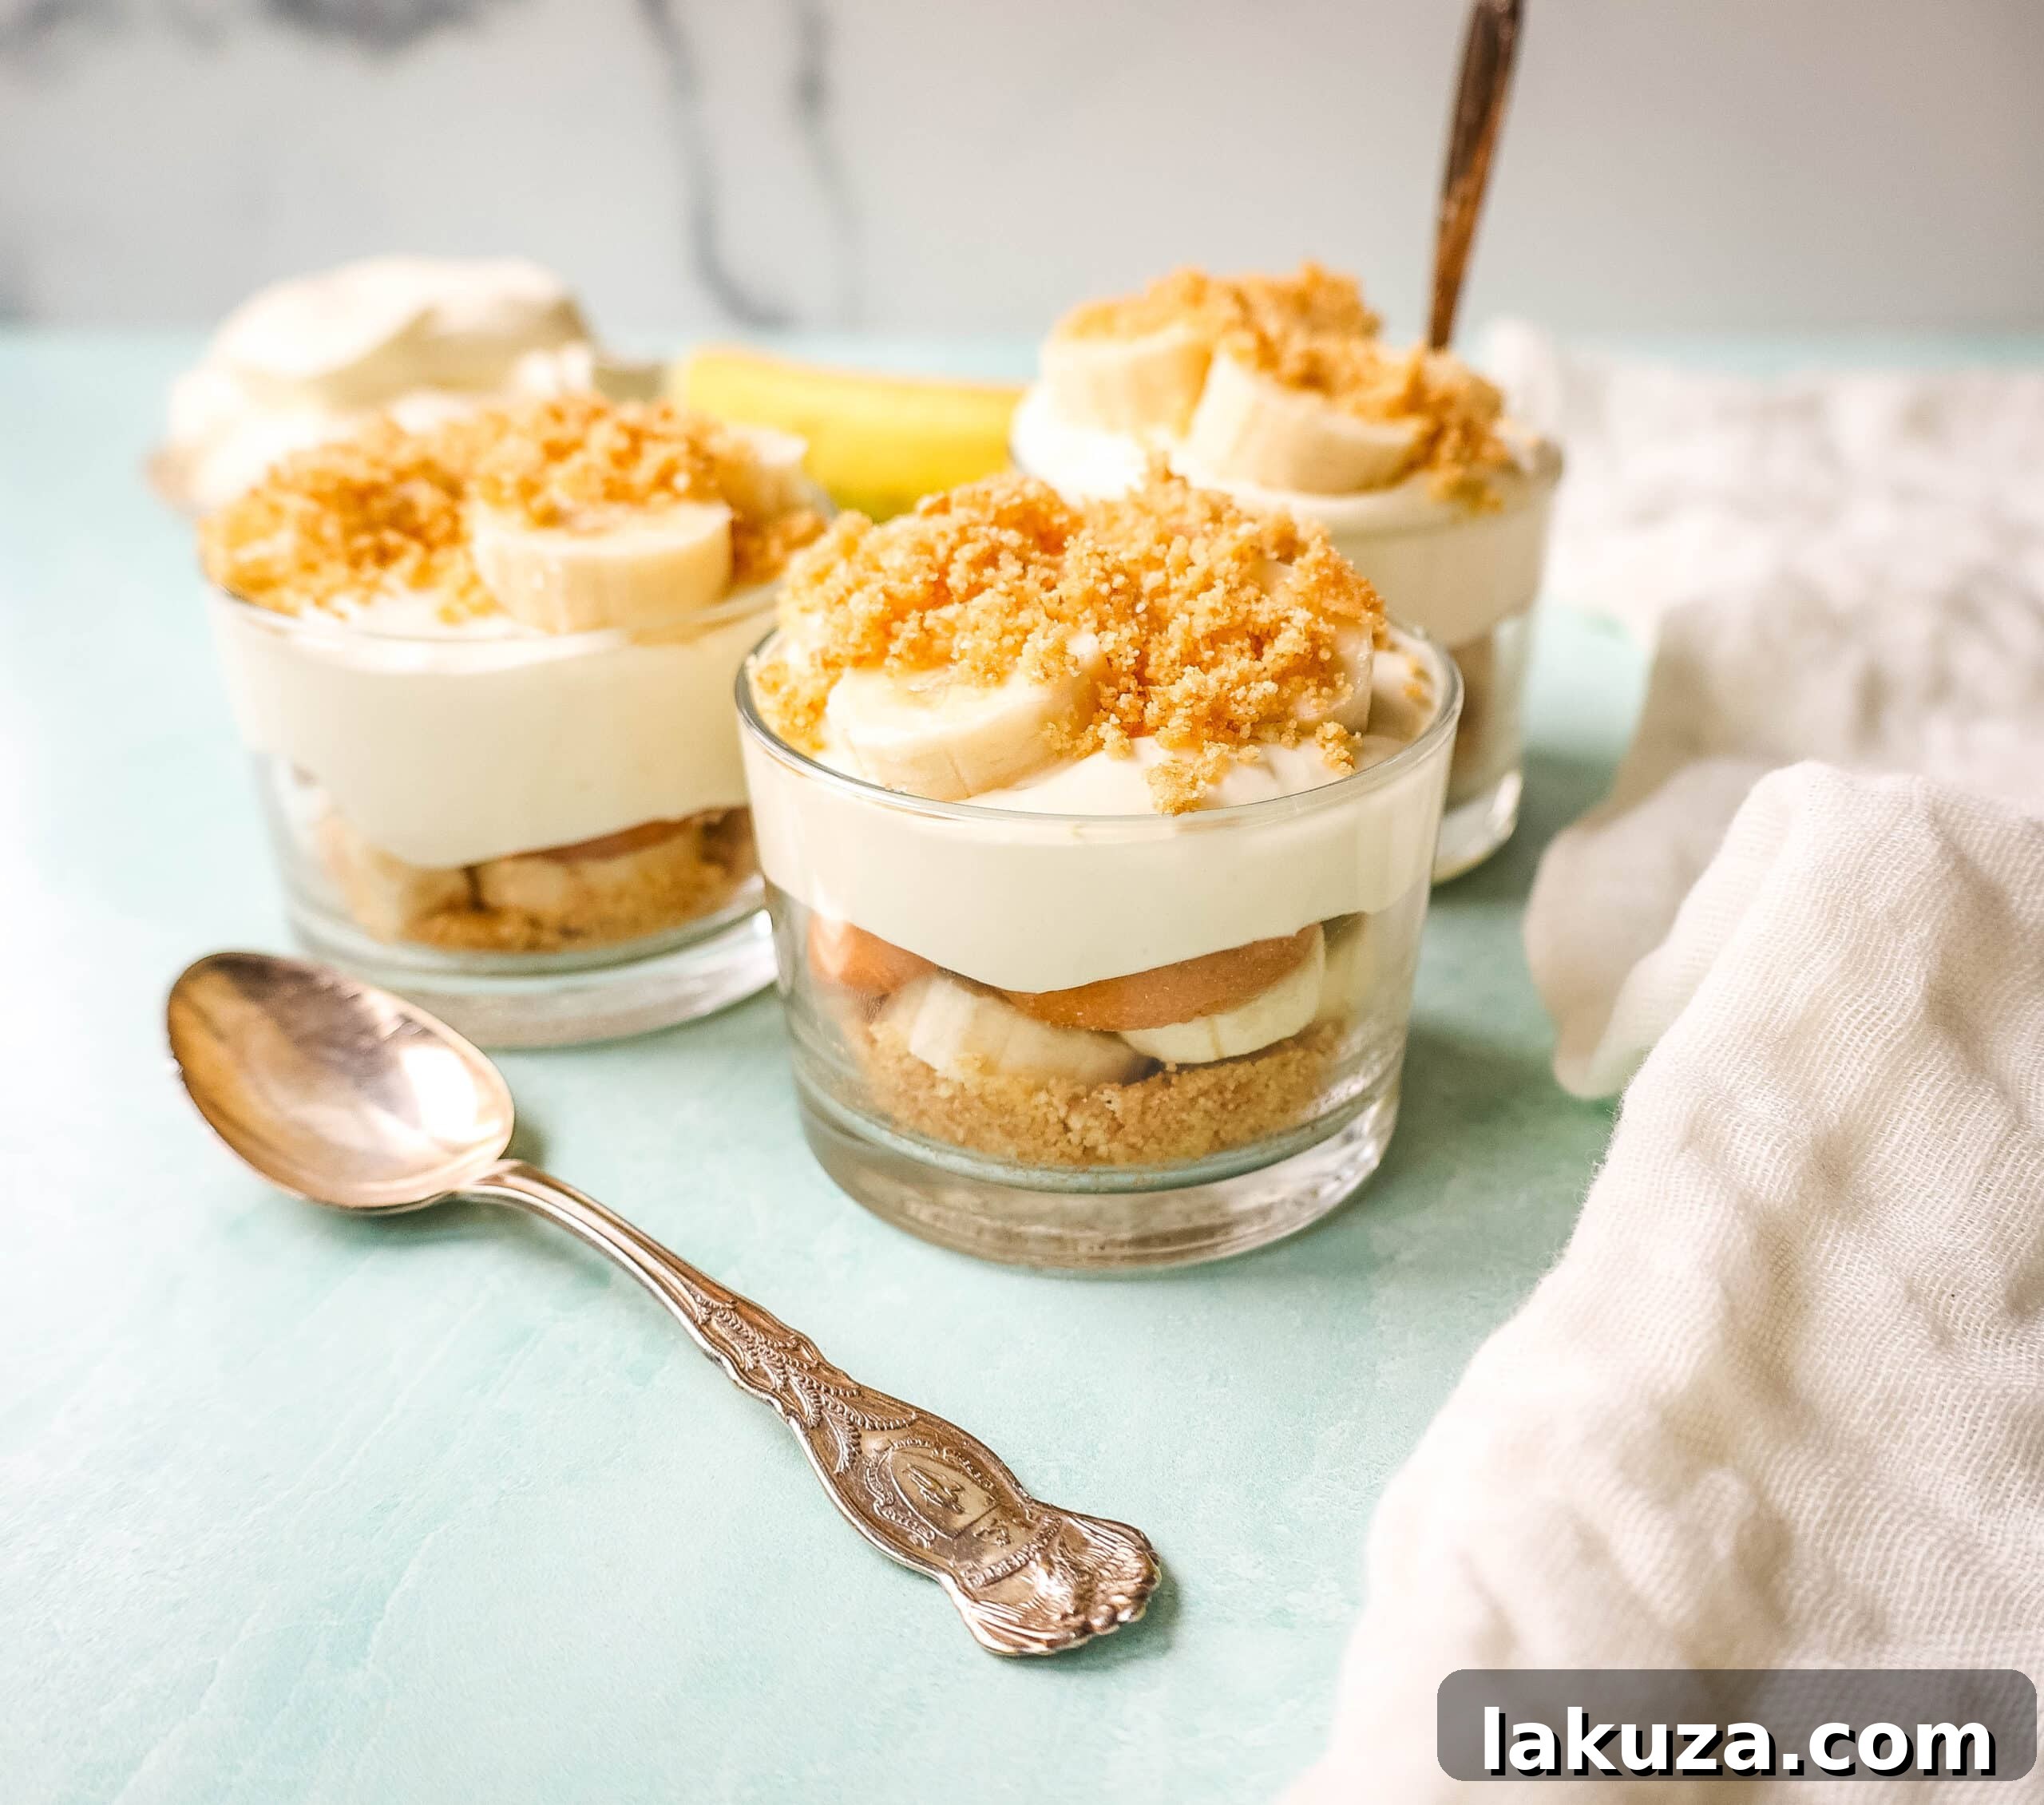
- Layering for Perfection: To begin assembly, spread approximately one-quarter of the luscious pudding mixture evenly across the bottom of your chosen dish. This forms the foundational layer. Next, arrange a single layer of Nilla Wafers over the pudding, using about one-third of your cookies. Follow this with a layer of freshly sliced bananas, ensuring they cover the cookies adequately. Repeat this layering process: pudding, then cookies, then bananas. Conclude with a generous final layer of the creamy pudding mixture on top. If desired, sprinkle with the optional Nilla Wafer crumble garnish you prepared earlier for an extra touch of texture and flavor.
- Chill and Serve: Once assembled, cover the banana pudding tightly with plastic wrap. This is important to prevent the bananas from browning and to allow the flavors to meld beautifully. Refrigerate for a minimum of 4-6 hours. This extended chilling period is essential; it allows the Nilla Wafers to soften and absorb the creamy pudding, transforming them into a tender, cake-like component that is a hallmark of this dessert. The pudding is best served within 8 hours of assembly, when the cookies are perfectly soft and the flavors are at their peak.
- Glass Trifle Bowl: Ideal for showcasing the stunning layers of your banana pudding.
- Glass Trifle Mini Dishes: Perfect for individual servings, great for portion control or entertaining.
- KitchenAid Mixer: A stand mixer significantly simplifies the whisking and whipping steps, ensuring smooth and fluffy results.
-
KitchenAid Mixer
-
Weck Glass Jars
-
Weck Tulip Jelly Jars
- (1) 14-ounce can Sweetened Condensed Milk
- 1 1/2 cups Ice Cold Water
- (1) 3.4 ounce pkg. Instant Vanilla Pudding Mix (JELLO Brand)
- 3 cups Heavy Cream
- (1) 11-ounce box Nilla Wafers
- 4 to 5 Bananas (sliced)
-
In a stand mixer with a whisk, beat the sweetened condensed milk and water until combined. Add the pudding mix and whip until the mixture is smooth and no lumps remain, about two minutes. Cover and refrigerate for at least 1 hour.
-
In a stand mixer with a whisk, whip the heavy cream until stiff peaks form. Be careful not to overwhip.
-
With the mixer running on low speed, add the chilled pudding mixture, a spoonful at a time. Mix until blended and no streaks of pudding remain.
-
To assemble, select a trifle bowl or wide glass bowl or individual serving bowls.
-
Set aside 6-8 cookies for garnish. Spread 1/4 of the pudding mixture at the bottom of the glass dish. Layer 1/3 of the cookies and then 1/3 of the bananas (enough to cover the layer). Repeat the layering process. End with the final layer of pudding cream mixture.
-
Cover tightly with plastic wrap and refrigerate for 4-6 hours. Cookies should be soft and tender when poked with a knife. This banana pudding is best served within 8 hours of assembling.
-
Put the remaining 6-8 Nilla Wafers into a food processor with 2 Tablespoons of butter. Mix until combined and sprinkle on the top of the banana pudding.
- Make sure to tightly cover the banana pudding to keep air from reaching the bananas.
- Sprinkle with Fruit Fresh to keep bananas from oxidizing.
- Sprinkle with lemon juice.
- Sprinkle with club soda.
Essential Baking Tools for Your Banana Pudding
Having the right tools can make the process even more enjoyable and ensure a beautiful presentation. Here are a few recommendations:
More Irresistible Banana Recipes to Try
If you’re a fan of bananas in your desserts, you’ll love these other beloved recipes:
Decadent Chocolate Chip Banana Bread
Classic Moist Banana Bread
Rich Banana Cake with Cream Cheese Frosting
Indulgent Banana Chocolate Chip Cake with Chocolate Nutella Frosting
Magnolia Bakery Banana Pudding Recipe
Equipment
Ingredients
Instructions
To make a Nilla Wafer Garnish:
Notes
Source: Magnolia Bakery Cookbook
Nutrition information is automatically calculated, so should only be used as an approximation.