
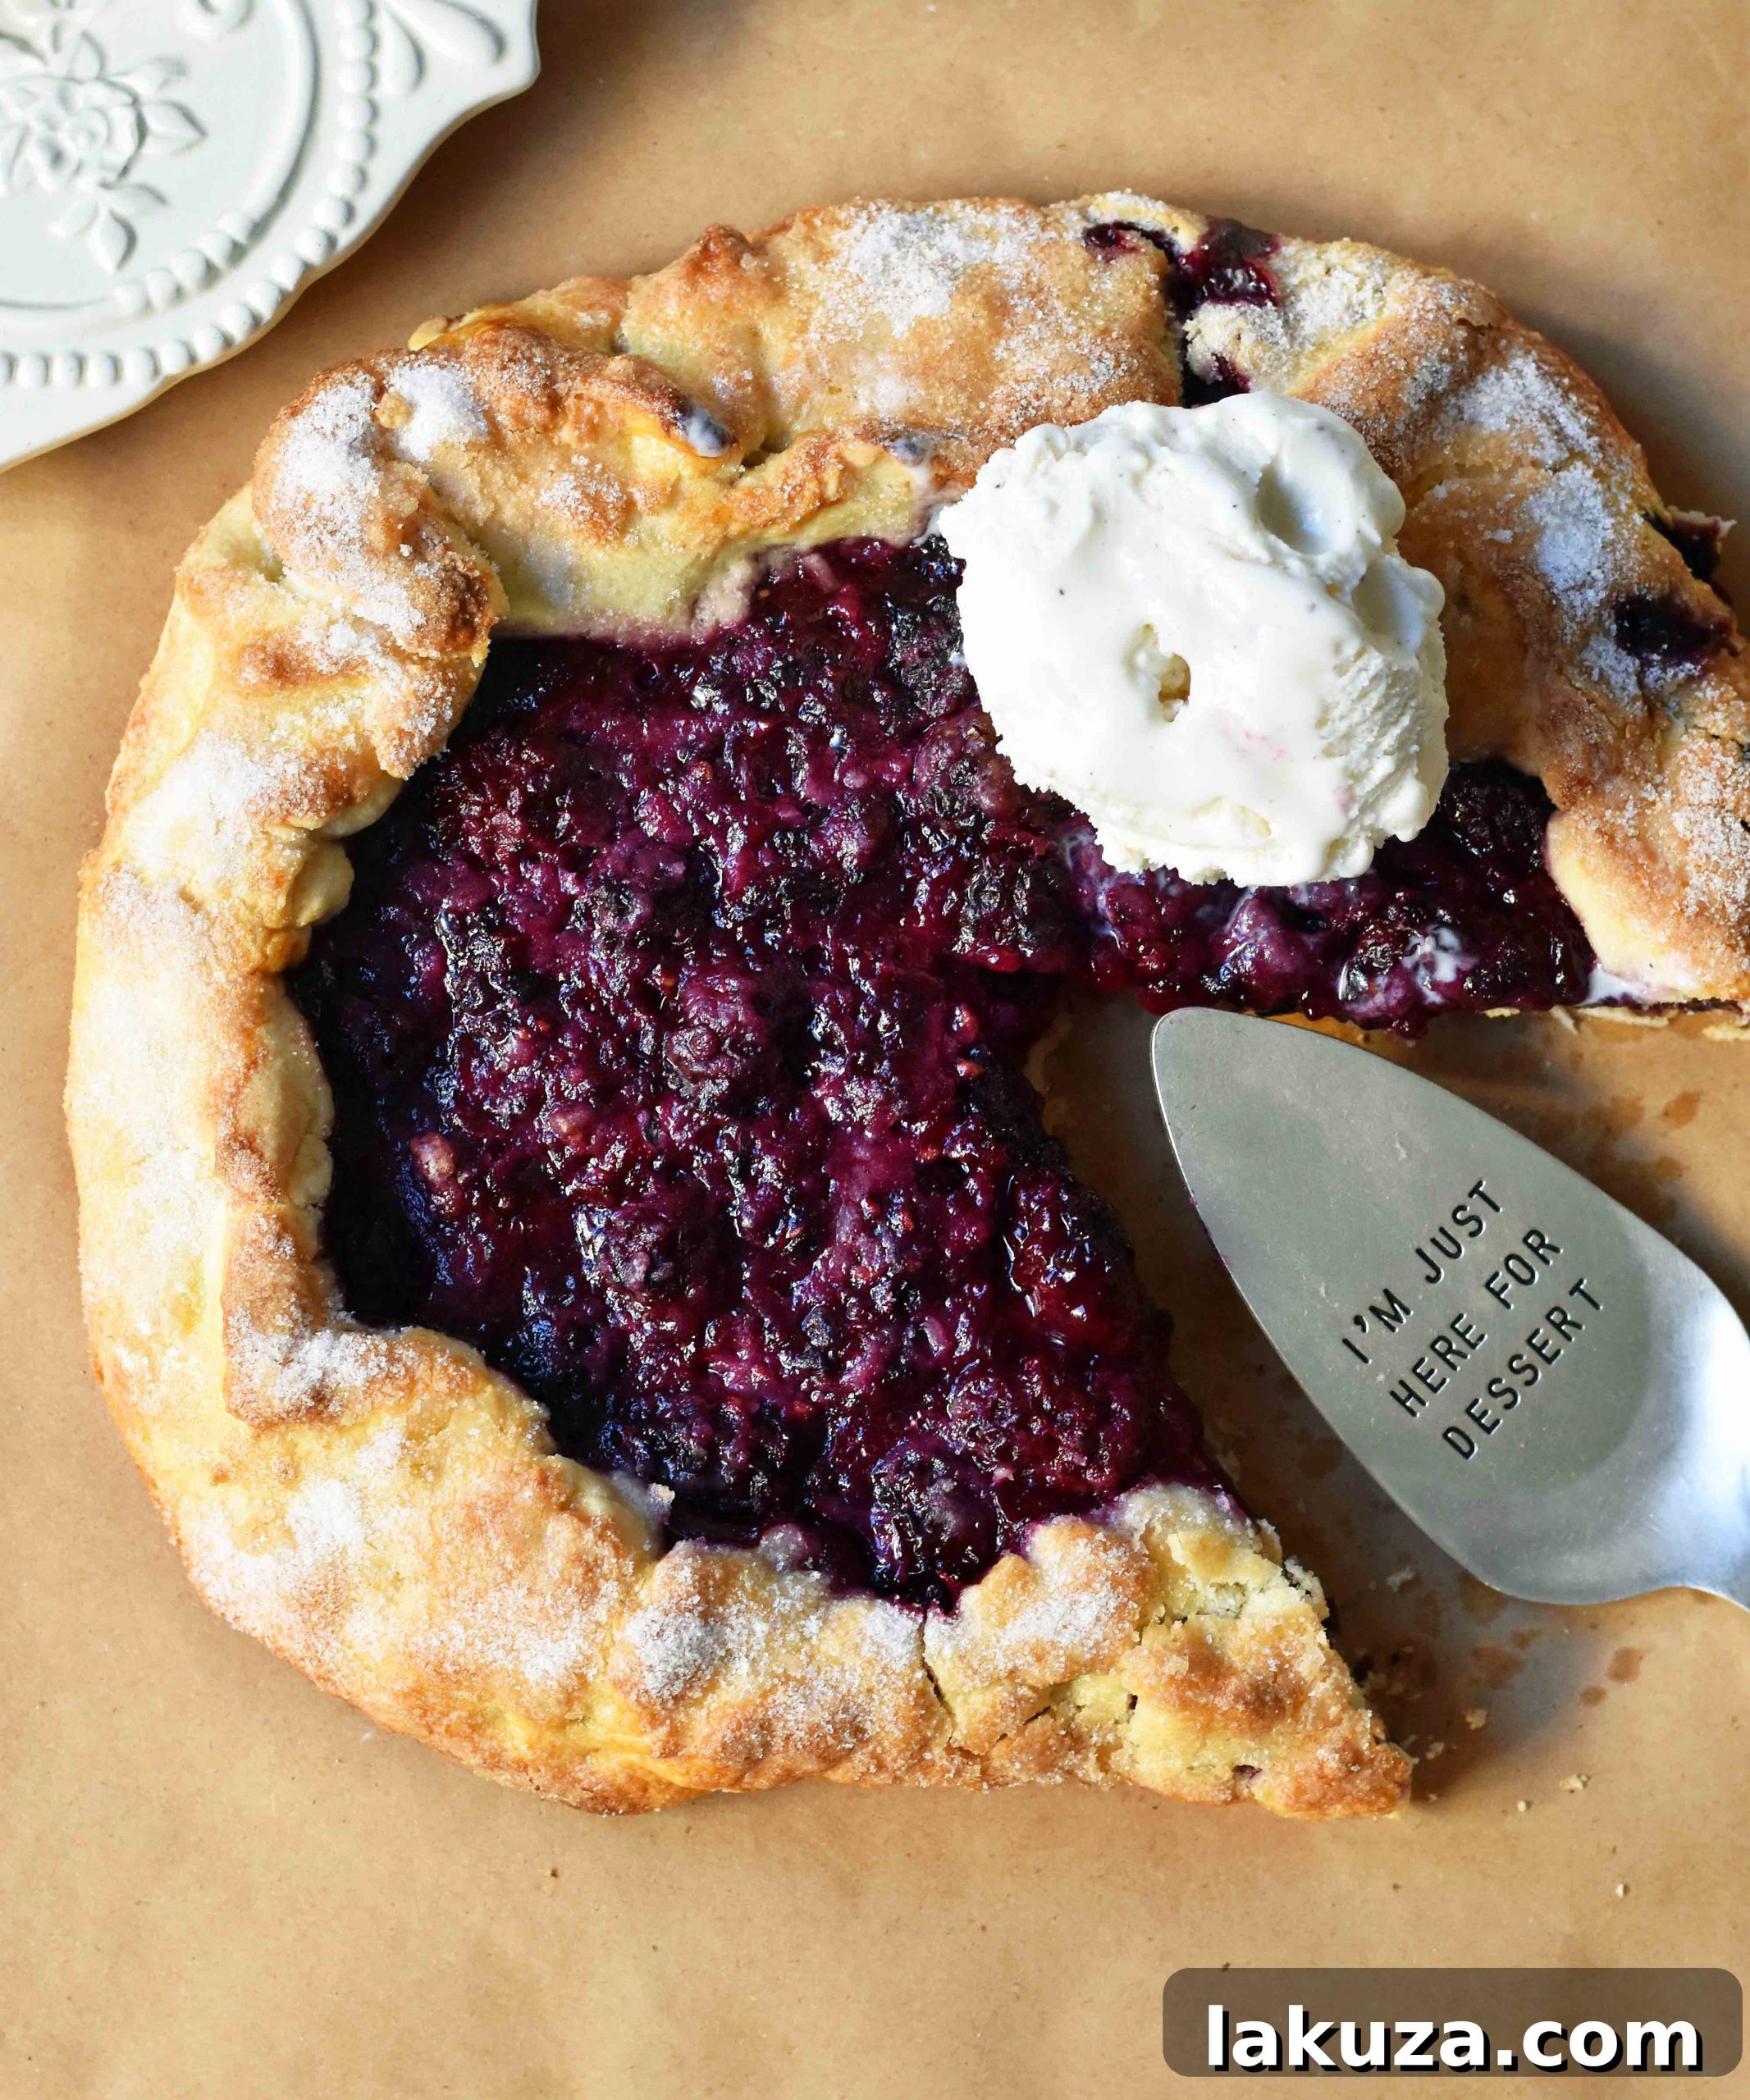
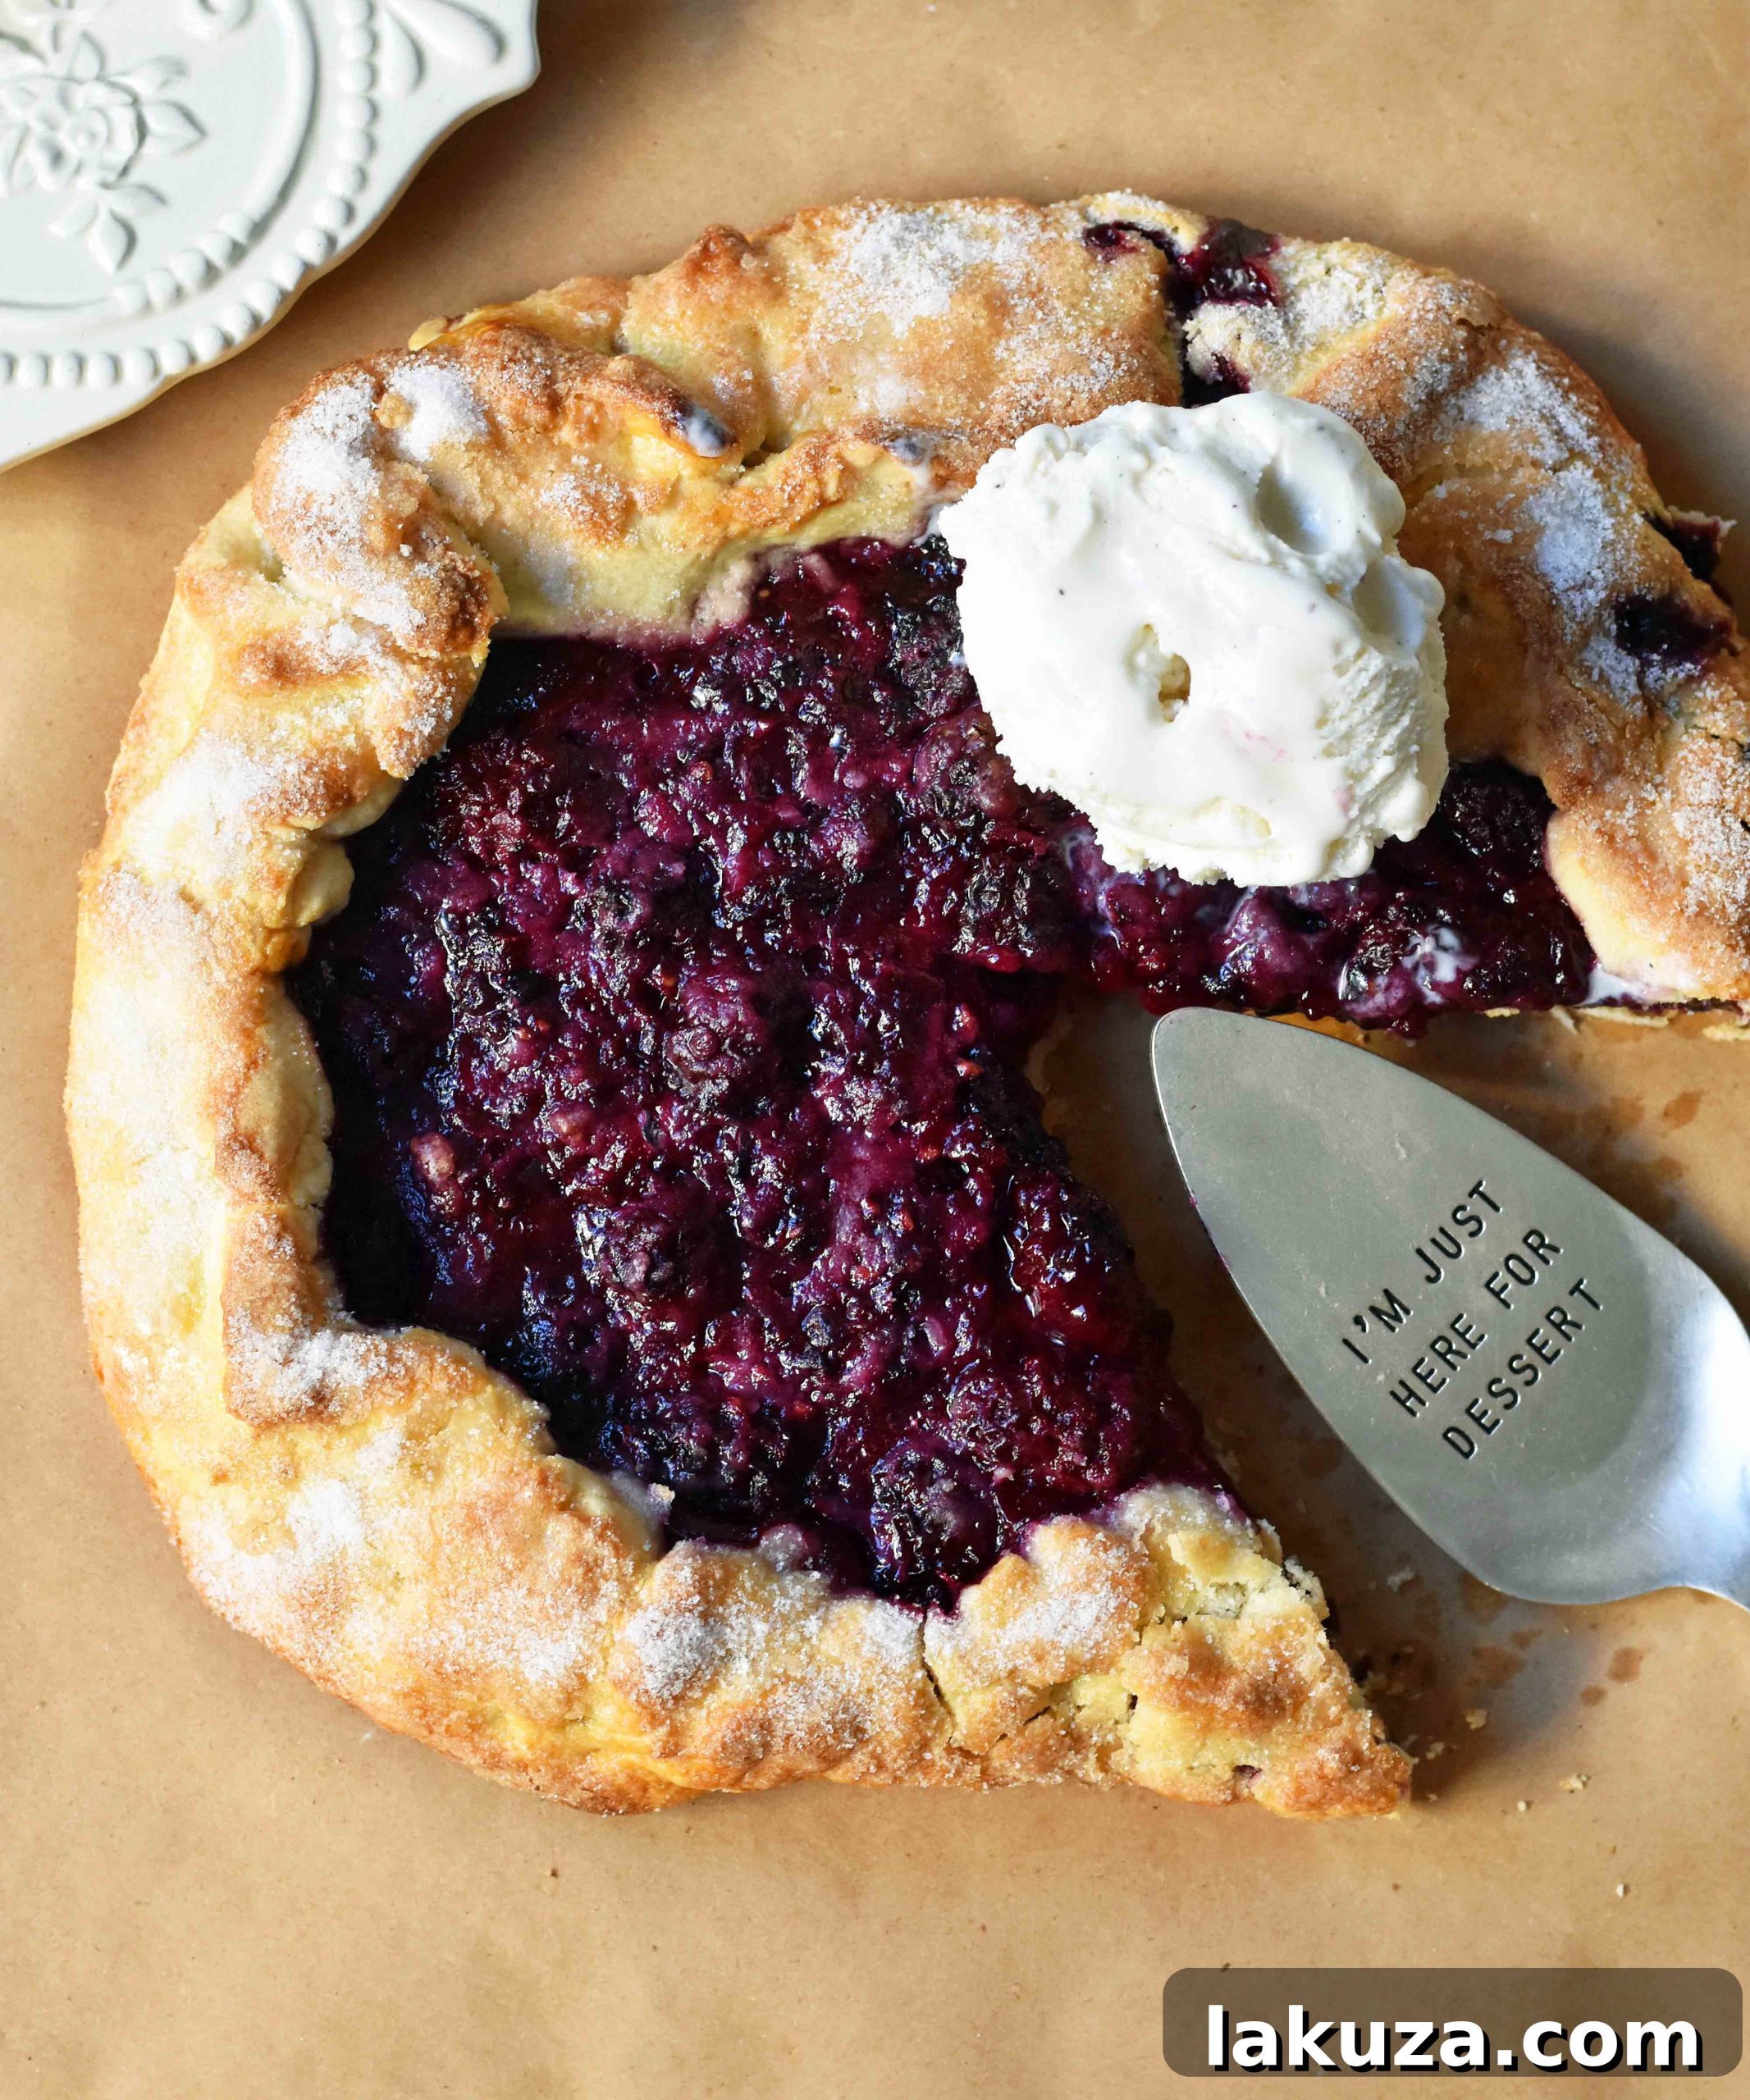
Blackberry Galette Crostata: Your Ultimate Easy Summer Dessert
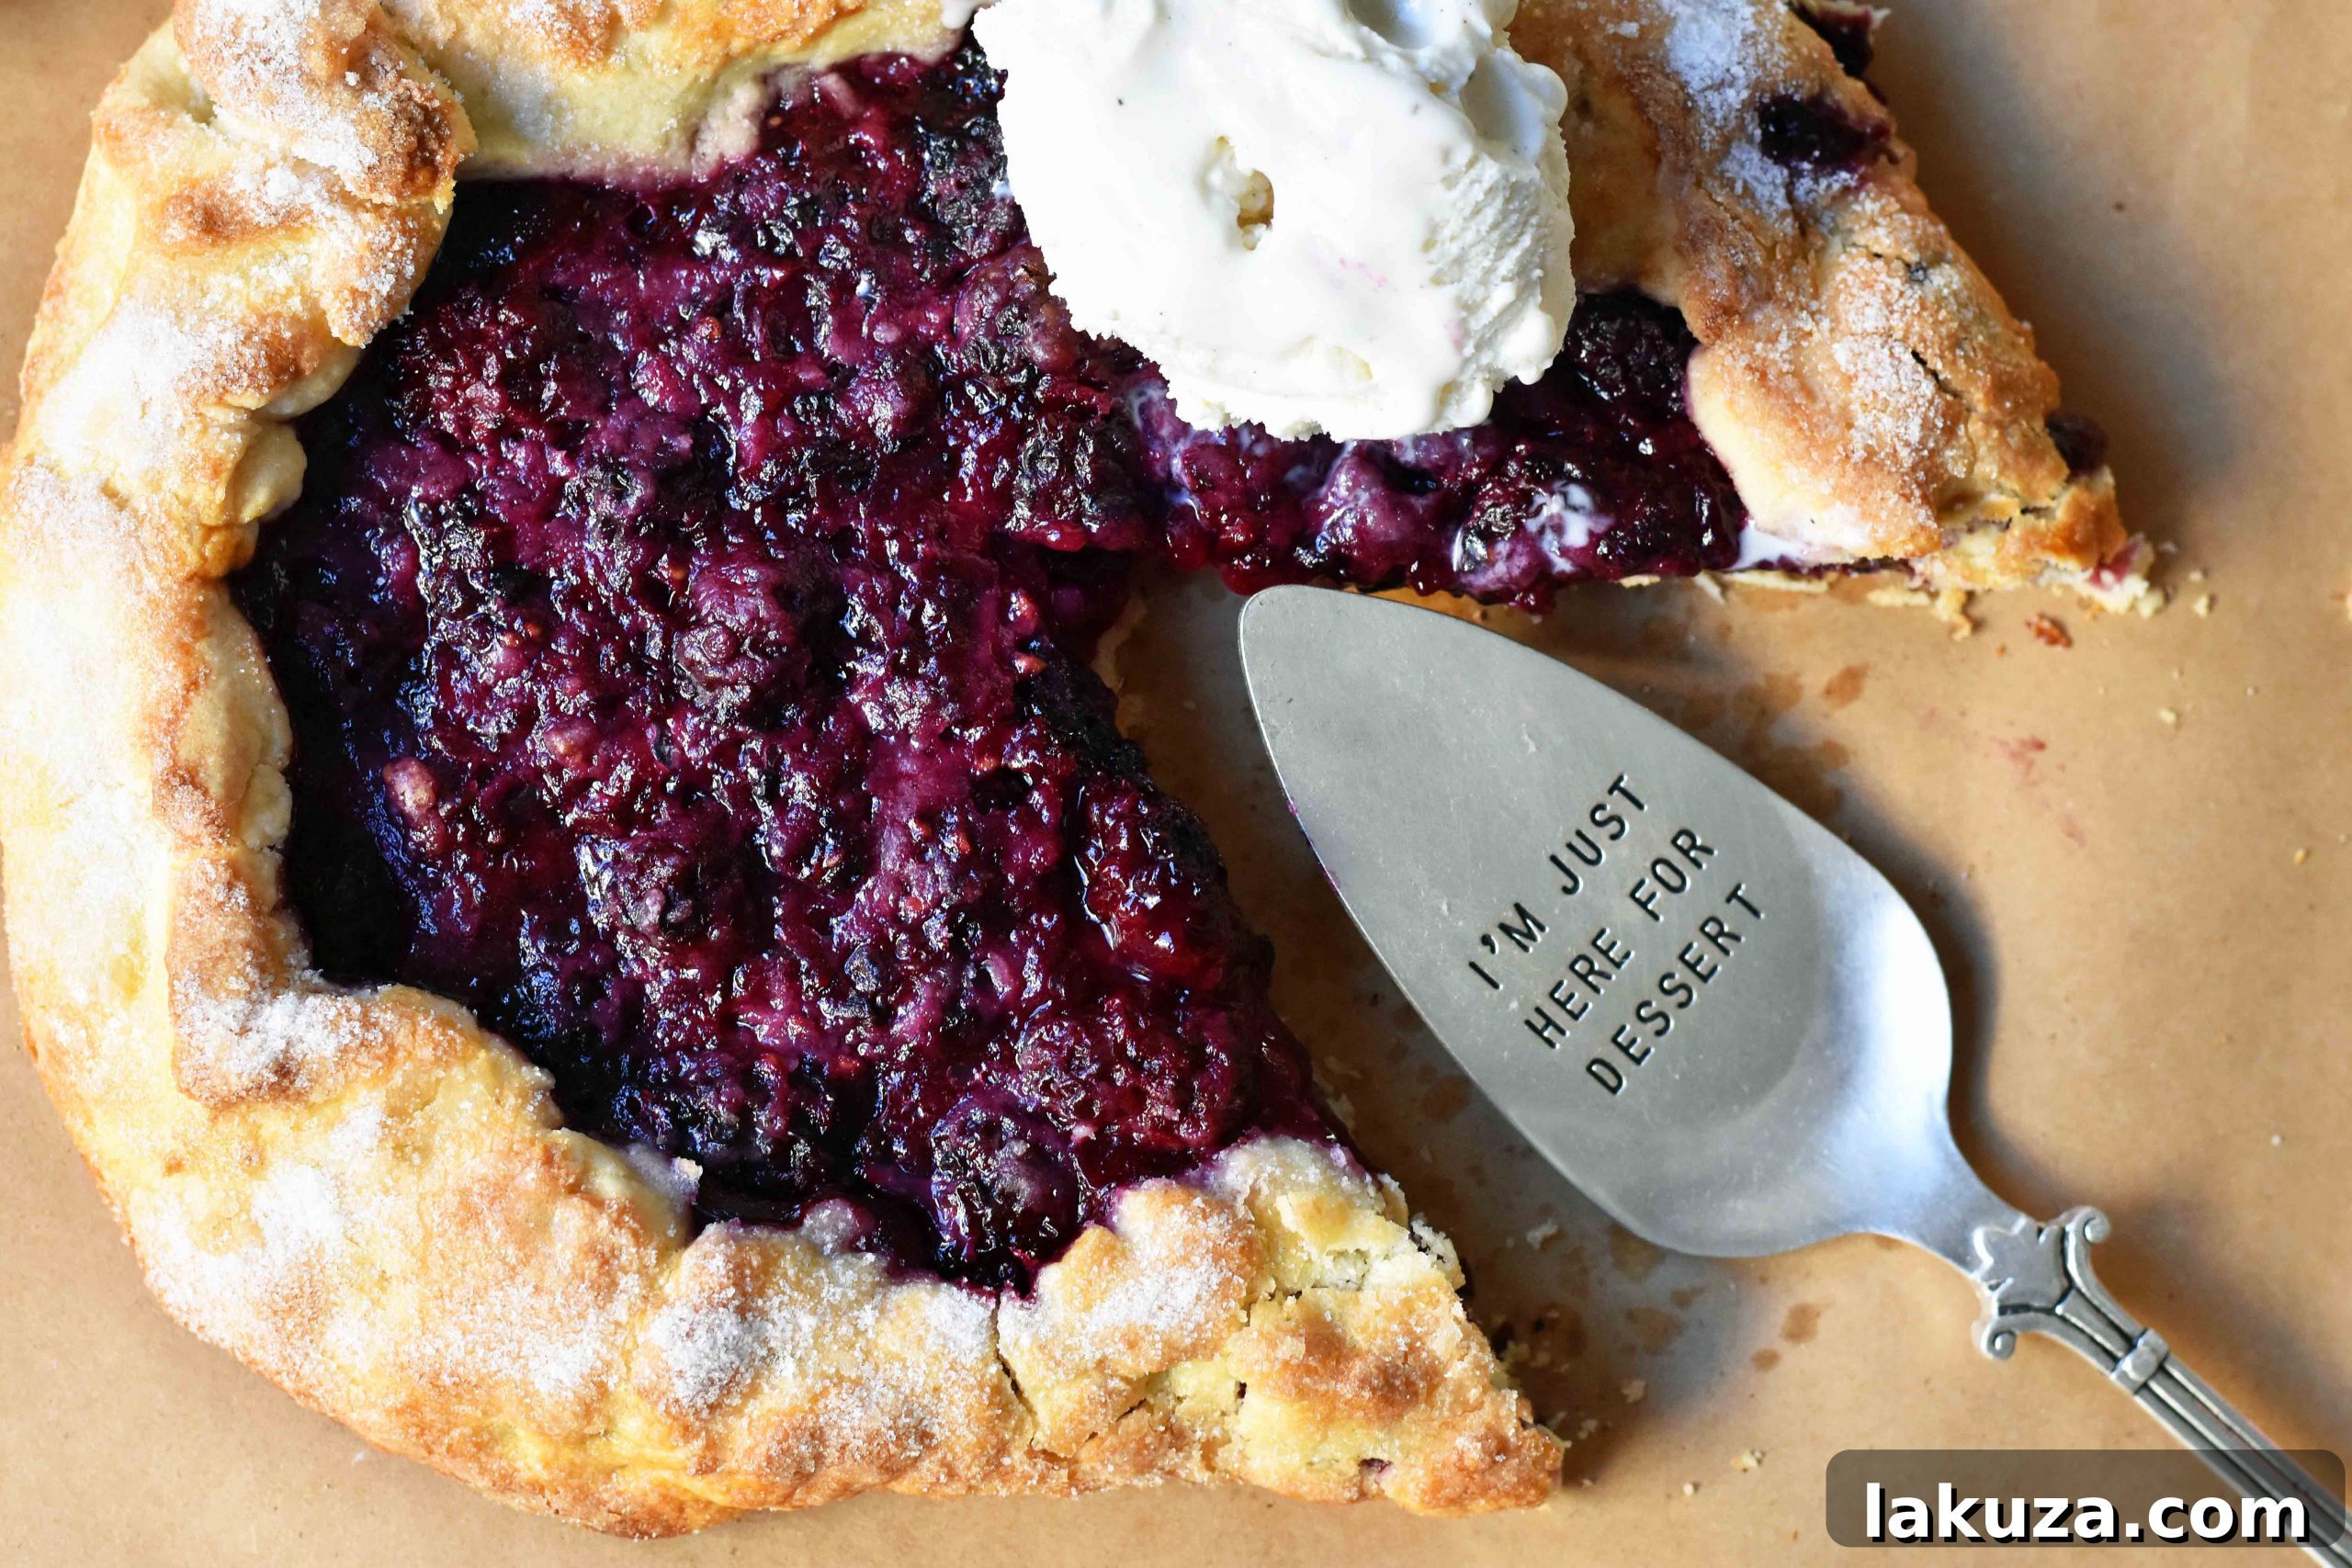
A captivating rustic dessert featuring a homemade buttery, flaky pie crust generously filled with a sweet and tangy blackberry mixture.
Imagine the delightful taste of a homemade blackberry pie, but without all the fuss and complexity often associated with traditional pie making. That’s precisely what a Blackberry Galette Crostata offers! This free-form, rustic tart is a dream come true for anyone craving a stunning dessert that comes together in a fraction of the time. As summer unfolds, bountiful fresh berries become readily available at farmer’s markets and grocery stores, and plump, juicy blackberries are undoubtedly a seasonal highlight. Their unique balance of sweet and tart flavors makes them the perfect candidate for this simple yet elegant dessert, truly showcasing the beauty of fresh, seasonal fruit.
What Exactly is a Galette or Crostata?
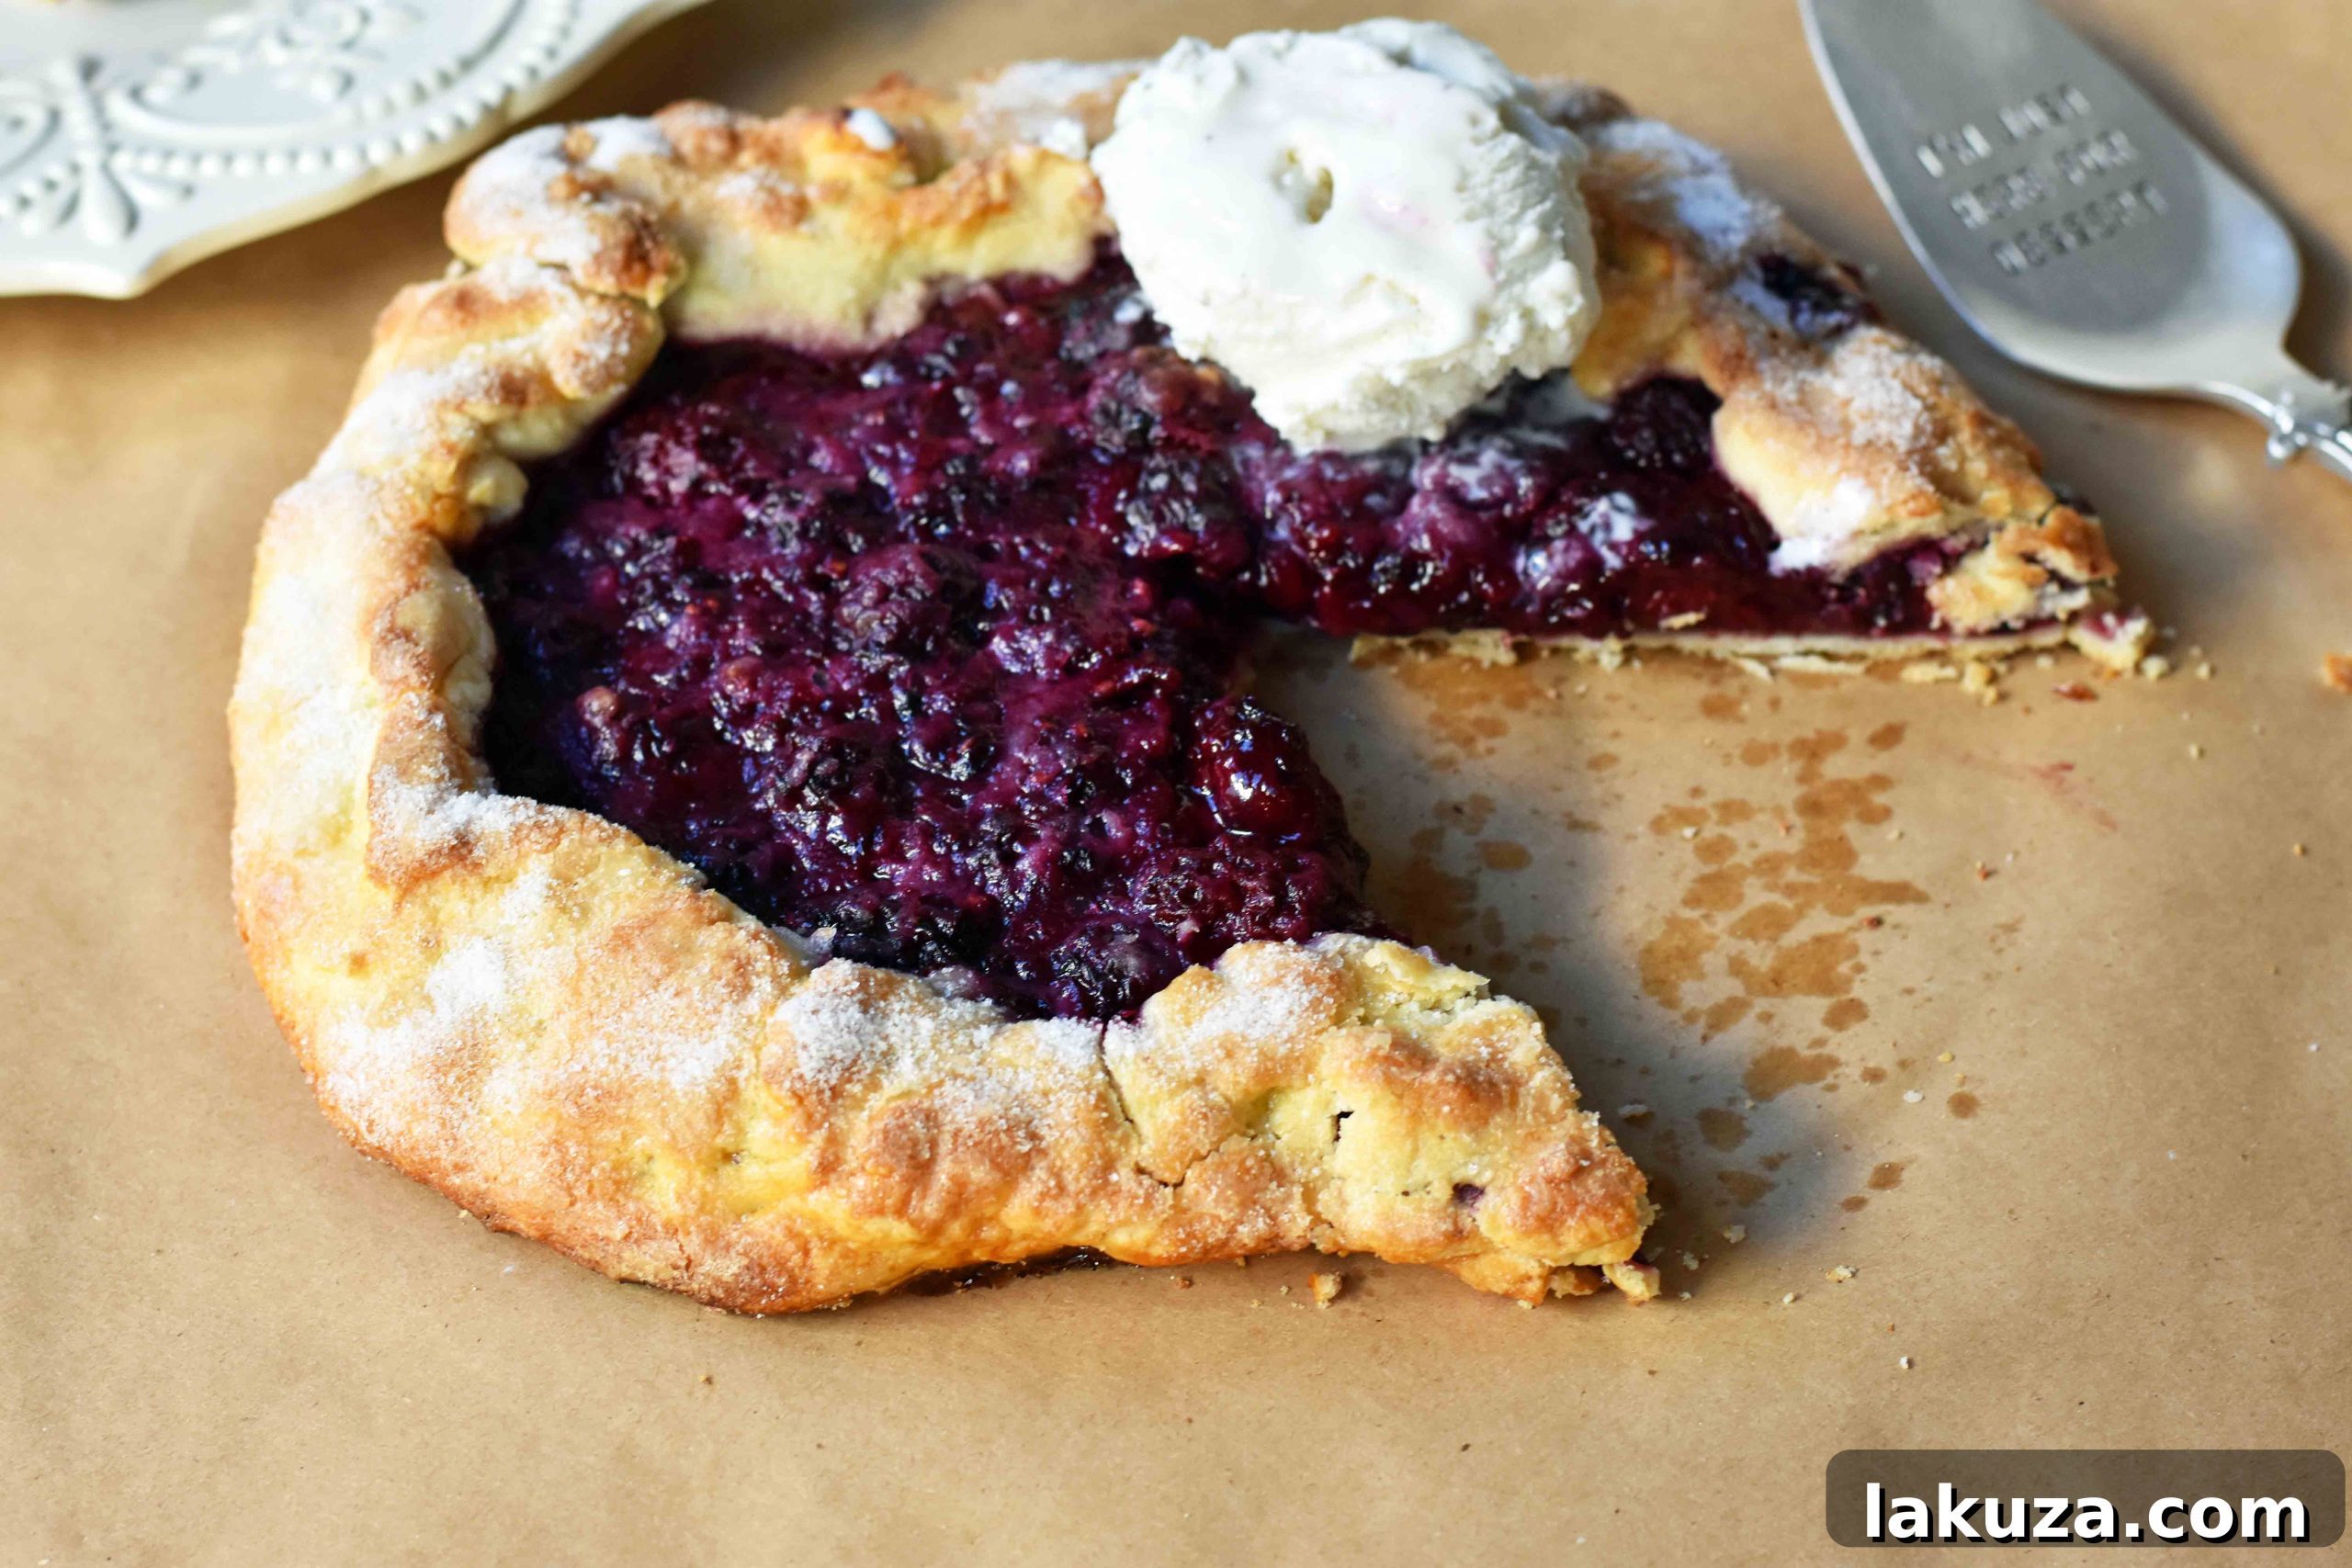
Often, the terms “galette” and “crostata” are used interchangeably, and for good reason: they refer to essentially the same delightful dessert! While a galette hails from French culinary traditions and a crostata from Italian, both represent a beautiful, rustic tart that celebrates simplicity and fresh ingredients. Unlike a traditional pie baked in a specific pie dish, galettes and crostatas are free-form. The dough is rolled out, the filling is mounded in the center, and the edges of the pastry are simply folded up and over the fruit, creating an imperfectly perfect, charmingly rustic border. This lack of rigid structure is precisely what makes them so appealing to home bakers, eliminating the pressure of creating a perfectly crimped pie crust.
My love affair with crostatas deepened a couple of summers ago during a thoughtful getaway planned by my husband. After 24 wonderful years together, he truly understands my passions! Given the scorching Arizona summers, many Scottsdale resorts offer incredible deals, making it the ideal time for a relaxing spa retreat. These getaways, I’ve realized, are vital for our connection. The highlight of that particular trip, however, was an Italian cooking class he arranged at Sur la Table. As an avid baker, I was thrilled! We spent the afternoon learning to craft a Blackberry Crostata from scratch, and it was nothing short of heavenly. The combination of the rich, buttery, flaky crust with the vibrant, sweet blackberry filling, all crowned with a scoop of creamy vanilla bean ice cream, truly embodied the essence of summer.
Pies often intimidate home bakers due to their reputation for being time-consuming and unforgiving. The beauty of a crostata lies in its rustic nature – it’s designed to be imperfect! There’s no need for elaborate lattice work or flawlessly crimped edges. All that truly matters is its incredible taste. Through that cooking class, I absorbed invaluable tips and tricks from culinary experts, which I’m delighted to share, ensuring your galette is not just good, but absolutely delicious.
Why Choose a Galette Over a Traditional Pie?
While a classic blackberry pie holds a special place in many hearts, the galette (or crostata) offers several compelling advantages, especially for the busy home baker:
- Simplicity: No need for a pie dish or intricate crimping techniques. Just roll, fill, and fold! This free-form approach makes it far less intimidating than a traditional pie.
- Rustic Charm: The very nature of a galette is its unpretentious, homey appearance. Its imperfections are part of its appeal, giving it a wonderfully artisanal look that impresses guests without demanding perfection.
- Versatility: Galettes are incredibly versatile. While we’re focusing on blackberries today, you can easily swap in other seasonal fruits like peaches, apples, cherries, or mixed berries.
- Faster Prep: Without the need to perfectly fit a crust into a pan or create a top crust, preparation time is significantly reduced, making it an ideal choice for a spontaneous dessert.
- Flaky Crust Exposure: The exposed edges of the crust get wonderfully golden and crisp, offering a delightful textural contrast to the soft fruit filling.
Crafting Your Perfect Blackberry Galette Crostata: A Step-by-Step Guide
Making a delicious blackberry galette is a rewarding experience that starts with a fantastic crust and ends with a bubbly, fruit-filled masterpiece. Here’s a narrative overview of the process:
- Master the Homemade Pie Crust: The foundation of any great galette is its crust. Dedicate about 10 minutes to creating a homemade buttery, flaky pie crust – it truly makes all the difference! The secret to flakiness lies in using thoroughly COLD ingredients. Ensure your butter is ice cold, ideally straight from the freezer and quickly sliced into small pieces, and use ice-cold water or buttermilk. This prevents the butter from melting too quickly, creating pockets of steam during baking that result in a wonderfully flaky texture. If you have the luxury of time, chilling the dough for at least 30 minutes (or even two hours) after preparation is highly recommended; it allows the gluten to relax and the butter to firm up, making the dough easier to roll and even flakier.
- Whip Up the Sweet Blackberry Filling: The filling is equally crucial. Combine fresh, ripe blackberries with granulated sugar, a touch of lemon juice, and a bit of all-purpose flour. The lemon juice is not just for flavor; it brightens the berries and acts as a balancer against the sweetness. The sugar enhances the berries’ natural flavor and contributes to the syrupy texture, while the flour works as a thickening agent, preventing the filling from becoming too watery and ensuring it holds its shape beautifully once baked. Each ingredient plays a vital role in creating a perfectly balanced and flavorful berry filling.
- Assemble Your Rustic Masterpiece: Once your pie crust is chilled and your filling is ready, it’s time for assembly. On a lightly floured surface, roll out the dough into a roughly 14-inch circle, aiming for about 1/8 inch thickness. Don’t worry about perfect edges – remember, rustic is the goal! Carefully transfer the rolled dough to a baking sheet lined with parchment paper. Spoon the blackberry filling onto the center of the dough, leaving a generous 1 1/2-inch border all around. Now, the fun part: gently fold the dough border up and over the fruit, working your way around and pinching the dough together to create casual pleats. The center of the fruit will remain exposed, allowing the berries to bubble and caramelize.
- Achieve a Golden Finish: For that beautiful golden-brown sheen and a hint of extra sweetness and crunch, brush the folded-up crust with an egg wash (a single beaten egg) and then generously sprinkle it with granulated sugar. The egg wash acts like a glue, smoothing the pastry and creating a lovely shine, while the sugar caramelizes into a delightful crust.
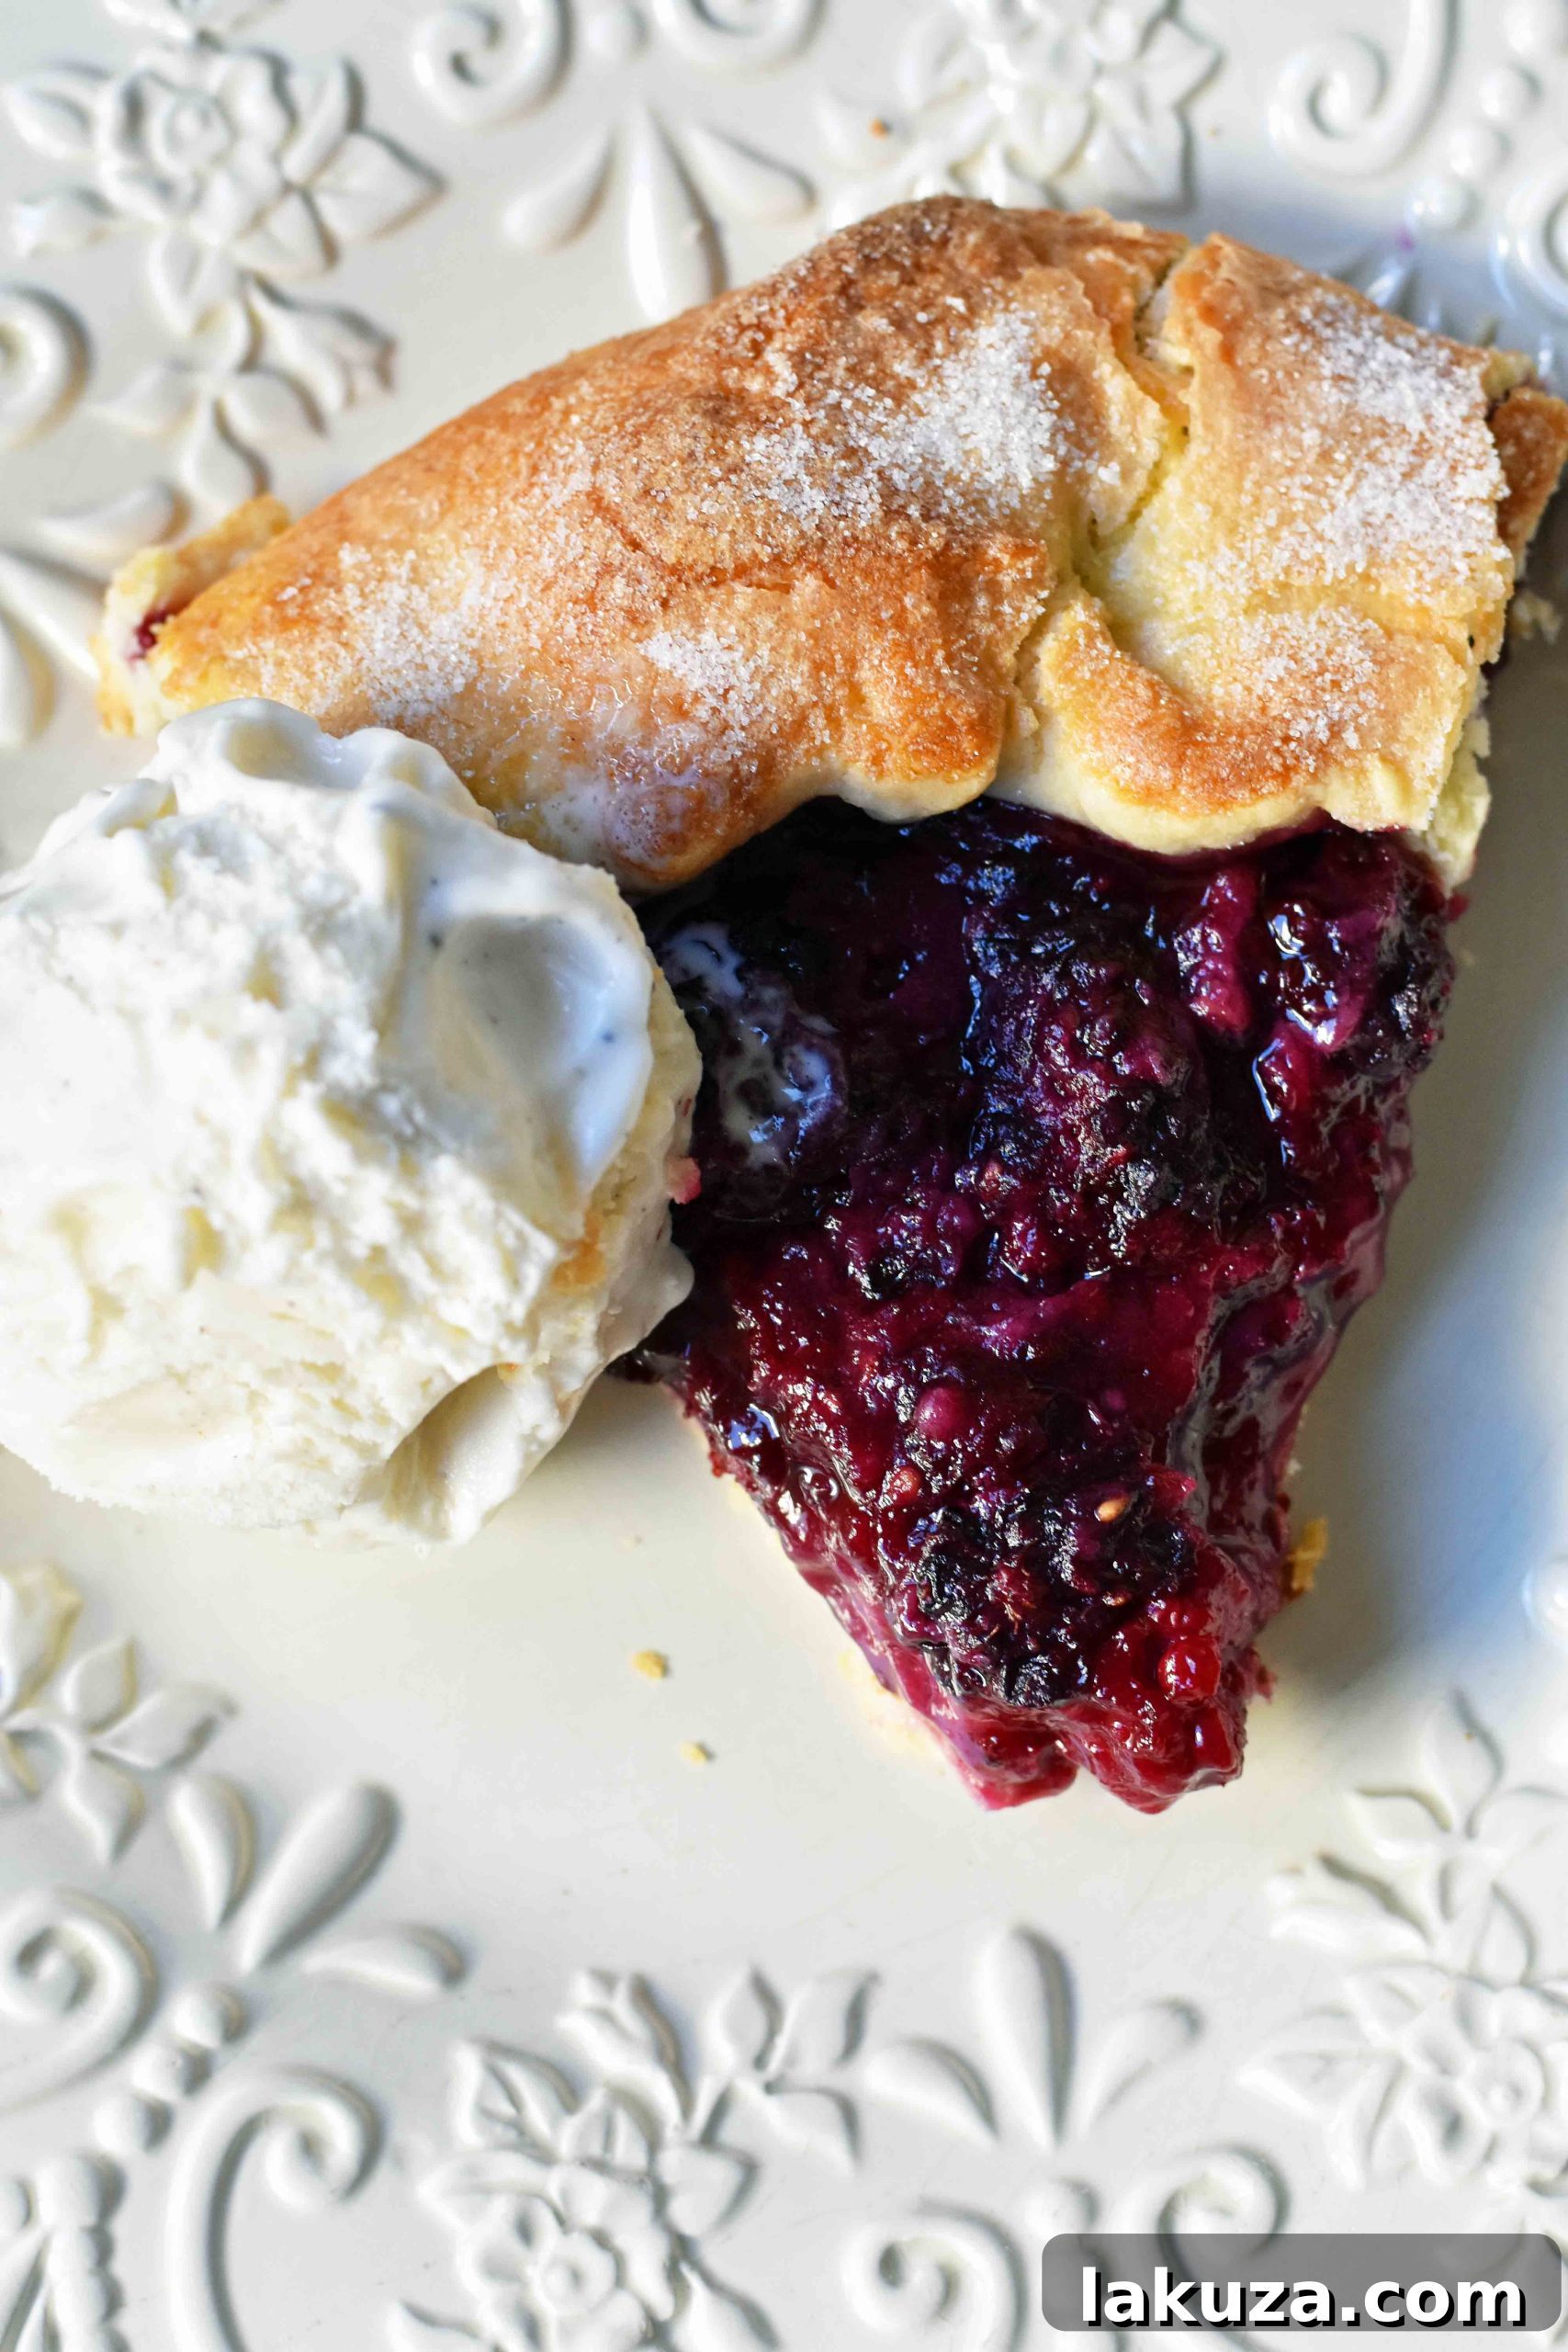
- Bake to Perfection and Serve: Preheat your oven to 375°F (190°C). Bake your crostata for approximately 40-44 minutes, or until the crust is a deep golden brown and the berry filling is visibly bubbling and thickened. It’s a good idea to check the underside of the crust with a spatula halfway through baking to ensure even browning. Once out of the oven, allow the galette to cool for at least 15 minutes before slicing. This resting time is important for the filling to set properly. Serve your warm Blackberry Galette Crostata with a generous scoop of cold vanilla bean ice cream for an absolutely irresistible combination of warm, tender fruit and creamy, melting ice cream.
Key Tips for the Best Blackberry Galette
- Keep it Cold: The absolute most important rule for a flaky crust is to keep your butter and water as cold as possible. Chilling the dough before rolling also helps significantly.
- Don’t Overwork the Dough: Handle the dough minimally to prevent gluten development, which can lead to a tough crust. A light touch is key.
- Embrace Fresh Berries: While frozen blackberries can be used in a pinch, fresh, ripe berries will give you the best flavor and texture. If using frozen, do not thaw them; add them directly to the filling mixture and be prepared for potentially slightly longer bake time.
- Balance Sweet and Tart: Blackberries inherently have a lovely balance, but the added lemon juice enhances this, preventing the dessert from being overly sweet. Adjust sugar to your berries’ ripeness.
- Parchment Paper is Your Friend: Rolling and transferring the dough can be tricky. Rolling it directly on parchment paper and then transferring the paper to your baking sheet makes the process much smoother.
- Watch for Doneness: The galette is ready when the crust is deeply golden, and the fruit filling is thick and bubbly. If the crust browns too quickly, you can loosely tent it with foil.
Blackberry Galette Crostata Recipe
A rustic and effortlessly elegant dessert, featuring a homemade buttery, flaky pie crust generously filled with a sweet and tangy blackberry mixture. Perfect for summer gatherings or a cozy night in.
Yields: 12 servings
Prep time: 20 minutes
Cook time: 40-44 minutes
Total time: Approximately 1 hour 5 minutes (plus chilling time)
Ingredients
For the Buttery Pie Crust:
- 1/2 cup (1 stick) unsalted butter, ice-cold and sliced into small pieces
- 1 1/4 cups all-purpose flour
- 1/2 teaspoon salt
- 2-4 Tablespoons ice-cold water (or buttermilk, or a mixture of milk and 1/2 tsp vinegar)
- 1/2 teaspoon white vinegar (if not using a milk/vinegar mixture)
For the Blackberry Filling:
- 2 pints fresh blackberries (about 4 cups)
- 1/4 cup all-purpose flour
- 3/4 cup granulated sugar (plus extra for sprinkling the crust)
- 2 teaspoons fresh lemon juice
For Assembly and Serving:
- 1 large egg, beaten (for egg wash)
- Vanilla bean ice cream, for serving (optional, but highly recommended)
Instructions
- Prepare the Pie Crust: In a large bowl or a food processor, combine the flour and salt. Add the very cold butter slices. If using a food processor, pulse until the mixture resembles coarse meal with some pea-sized butter pieces remaining. If mixing by hand, use a pastry blender or your fingertips to cut the butter into the flour until the desired consistency is reached.
- Slowly add the ice-cold water (or buttermilk/milk-vinegar mixture), starting with 2 tablespoons and adding more as needed, 1 tablespoon at a time, until the dough just begins to come together. If using separate vinegar, add it now. Be careful not to overmix; the dough should still be slightly crumbly but able to hold its shape when pressed.
- Gather the dough into a ball and then flatten it into a disc. Wrap the disc tightly in plastic wrap and refrigerate for at least 30 minutes, or ideally 2 hours, to allow the butter to firm up and the gluten to relax. This makes the dough easier to roll and contributes to a flakier crust.
- Prepare the Blackberry Filling: While the dough chills, combine the fresh blackberries, 1/4 cup flour, 3/4 cup sugar, and fresh lemon juice in a medium bowl. Gently toss the mixture until the berries are evenly coated. Set aside.
- Assemble the Galette: Preheat your oven to 375°F (190°C). Lightly flour a clean work surface (or roll directly on parchment paper). Unwrap the chilled dough and, using a rolling pin, roll it into a large circle, approximately 14 inches in diameter and about 1/8 inch thick. Do your best to maintain a circular shape, but remember, imperfections add to its rustic charm.
- Carefully transfer the rolled-out dough to a baking sheet (if not already on parchment paper, line it with parchment).
- Spoon the blackberry filling into the center of the dough, leaving a clear border of about 1 1/2 inches around the edge.
- Fold the dough border up and over the berry filling, working your way around the circle and creating rustic pleats as you go. Pinch the dough together slightly at the folds to secure it. The center of the fruit will remain exposed.
- Bake the Galette: In a small bowl, lightly beat the egg to create an egg wash. Brush the pleated edges of the galette crust with the egg wash, then generously sprinkle with extra granulated sugar.
- Bake for 40-44 minutes, or until the crust is beautifully golden brown and the blackberry filling is bubbling vigorously and looks thickened. Periodically check the underside of the crust with a spatula to ensure even browning. If the crust is browning too quickly, you can loosely tent the galette with aluminum foil.
- Once baked, remove the galette from the oven and let it cool on the baking sheet for at least 15 minutes before slicing and serving. This cooling time allows the fruit filling to set properly.
- Serve warm with a generous scoop of cold vanilla bean ice cream for a truly delightful summer treat!
Serving Suggestions & Variations
This Blackberry Galette Crostata is delightful on its own, but here are some ways to elevate your serving experience or customize the recipe:
- Ice Cream Pairings: While vanilla bean ice cream is a classic, consider other flavors like lemon sorbet for a lighter contrast, or even a scoop of homemade lavender ice cream for an unexpected floral note.
- Whipped Cream: A dollop of freshly whipped cream, perhaps infused with a hint of vanilla or almond extract, makes a lovely alternative or addition to ice cream.
- Fresh Mint: A few fresh mint leaves scattered over the top just before serving can add a refreshing aromatic touch.
- Citrus Zest: Grate a little fresh lemon or orange zest over the baked galette for an extra burst of bright flavor.
- Nutty Crust: For an added layer of flavor and texture, you can incorporate 1/4 cup of finely ground almonds or pecans into your pie crust flour mixture.
- Mixed Berries: Don’t limit yourself to just blackberries! Feel free to combine them with raspberries, blueberries, or sliced strawberries for a vibrant mixed berry galette. Adjust sugar slightly if using sweeter berries.
- Spice It Up: A pinch of cinnamon, nutmeg, or even a tiny amount of cardamom can be added to the blackberry filling for a warm, spiced variation.
Storage Tips
To enjoy your Blackberry Galette Crostata for longer, follow these simple storage guidelines:
- At Room Temperature: If you plan to eat the galette within 1-2 days, you can store it loosely covered at room temperature. The crust will be crispiest on the first day.
- Refrigeration: For longer storage, cover the galette tightly with plastic wrap or aluminum foil and refrigerate for up to 3-4 days.
- Reheating: To reheat, place individual slices or the whole galette (if refrigerated) in a preheated oven at 300°F (150°C) for about 10-15 minutes, or until warmed through and the crust is crisp again. Avoid microwaving, as it can make the crust soggy.
- Freezing: You can freeze a baked and cooled galette for up to 2-3 months. Wrap it tightly in plastic wrap and then in aluminum foil. Thaw overnight in the refrigerator, then reheat as directed above.
Happy Baking, and enjoy this delightful summer treat! xo