
The Ultimate Rustic Cherry Galette: Your Easy Homemade Summer Dessert Guide
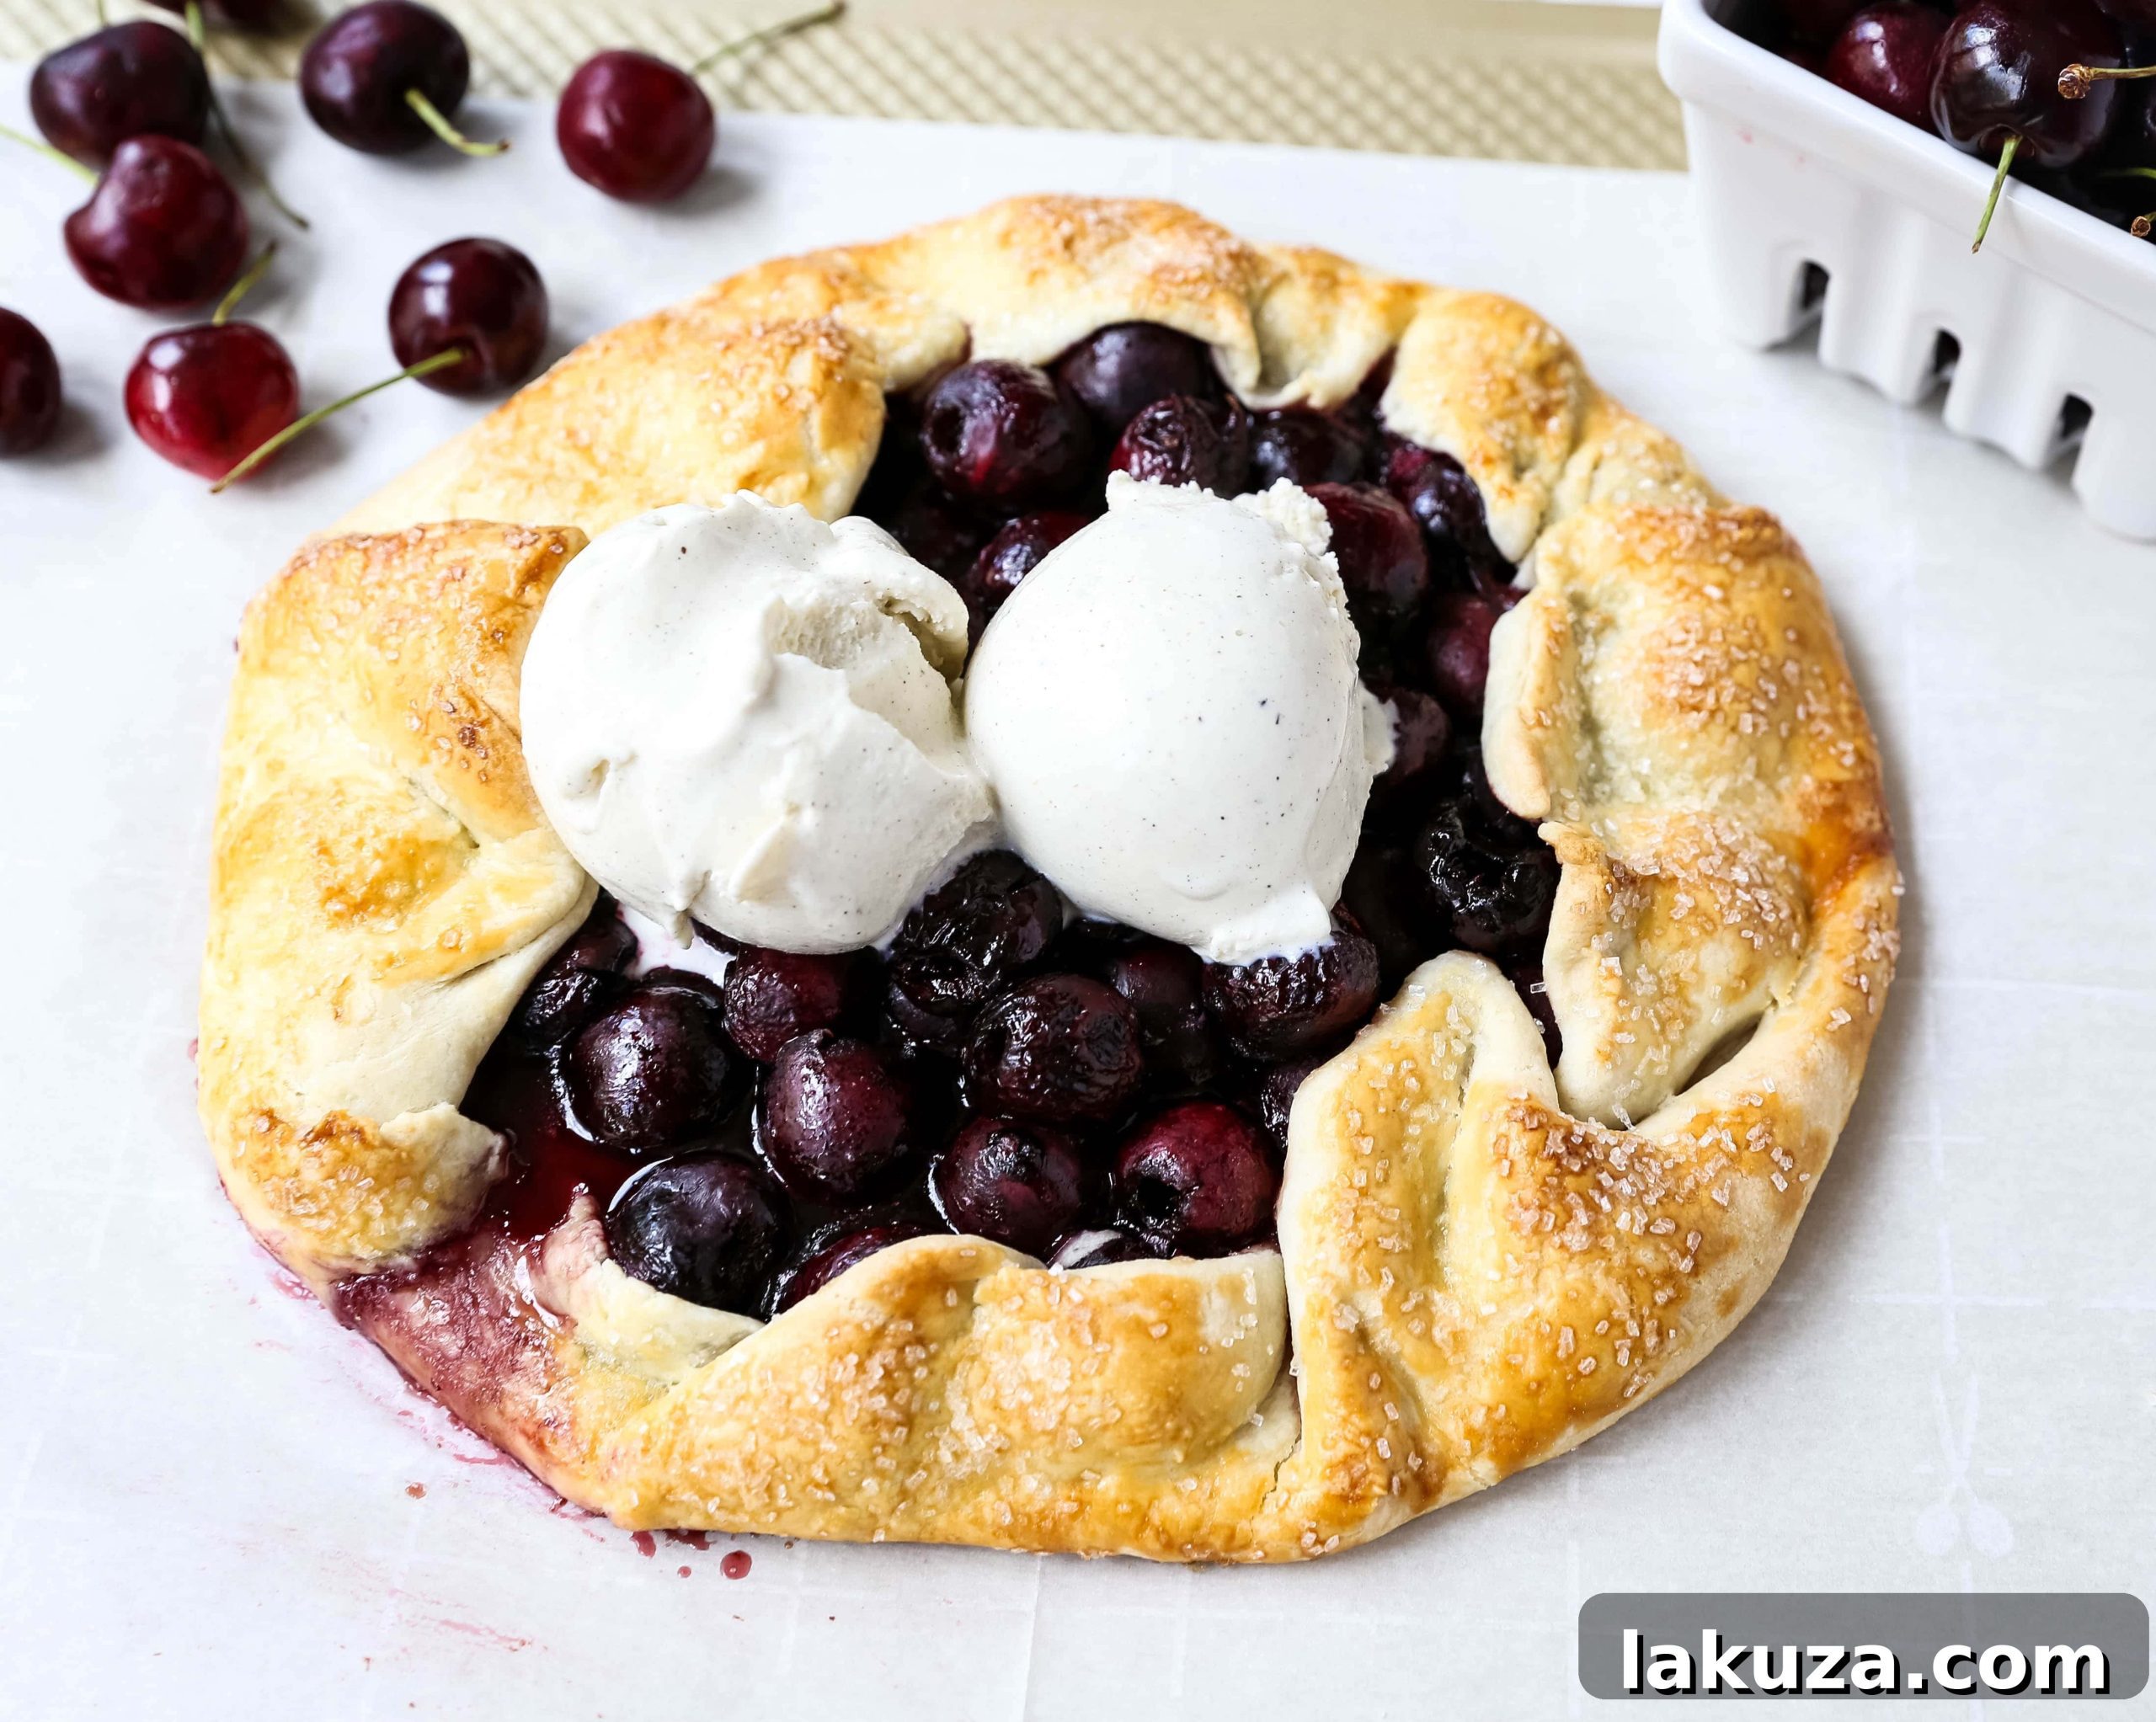
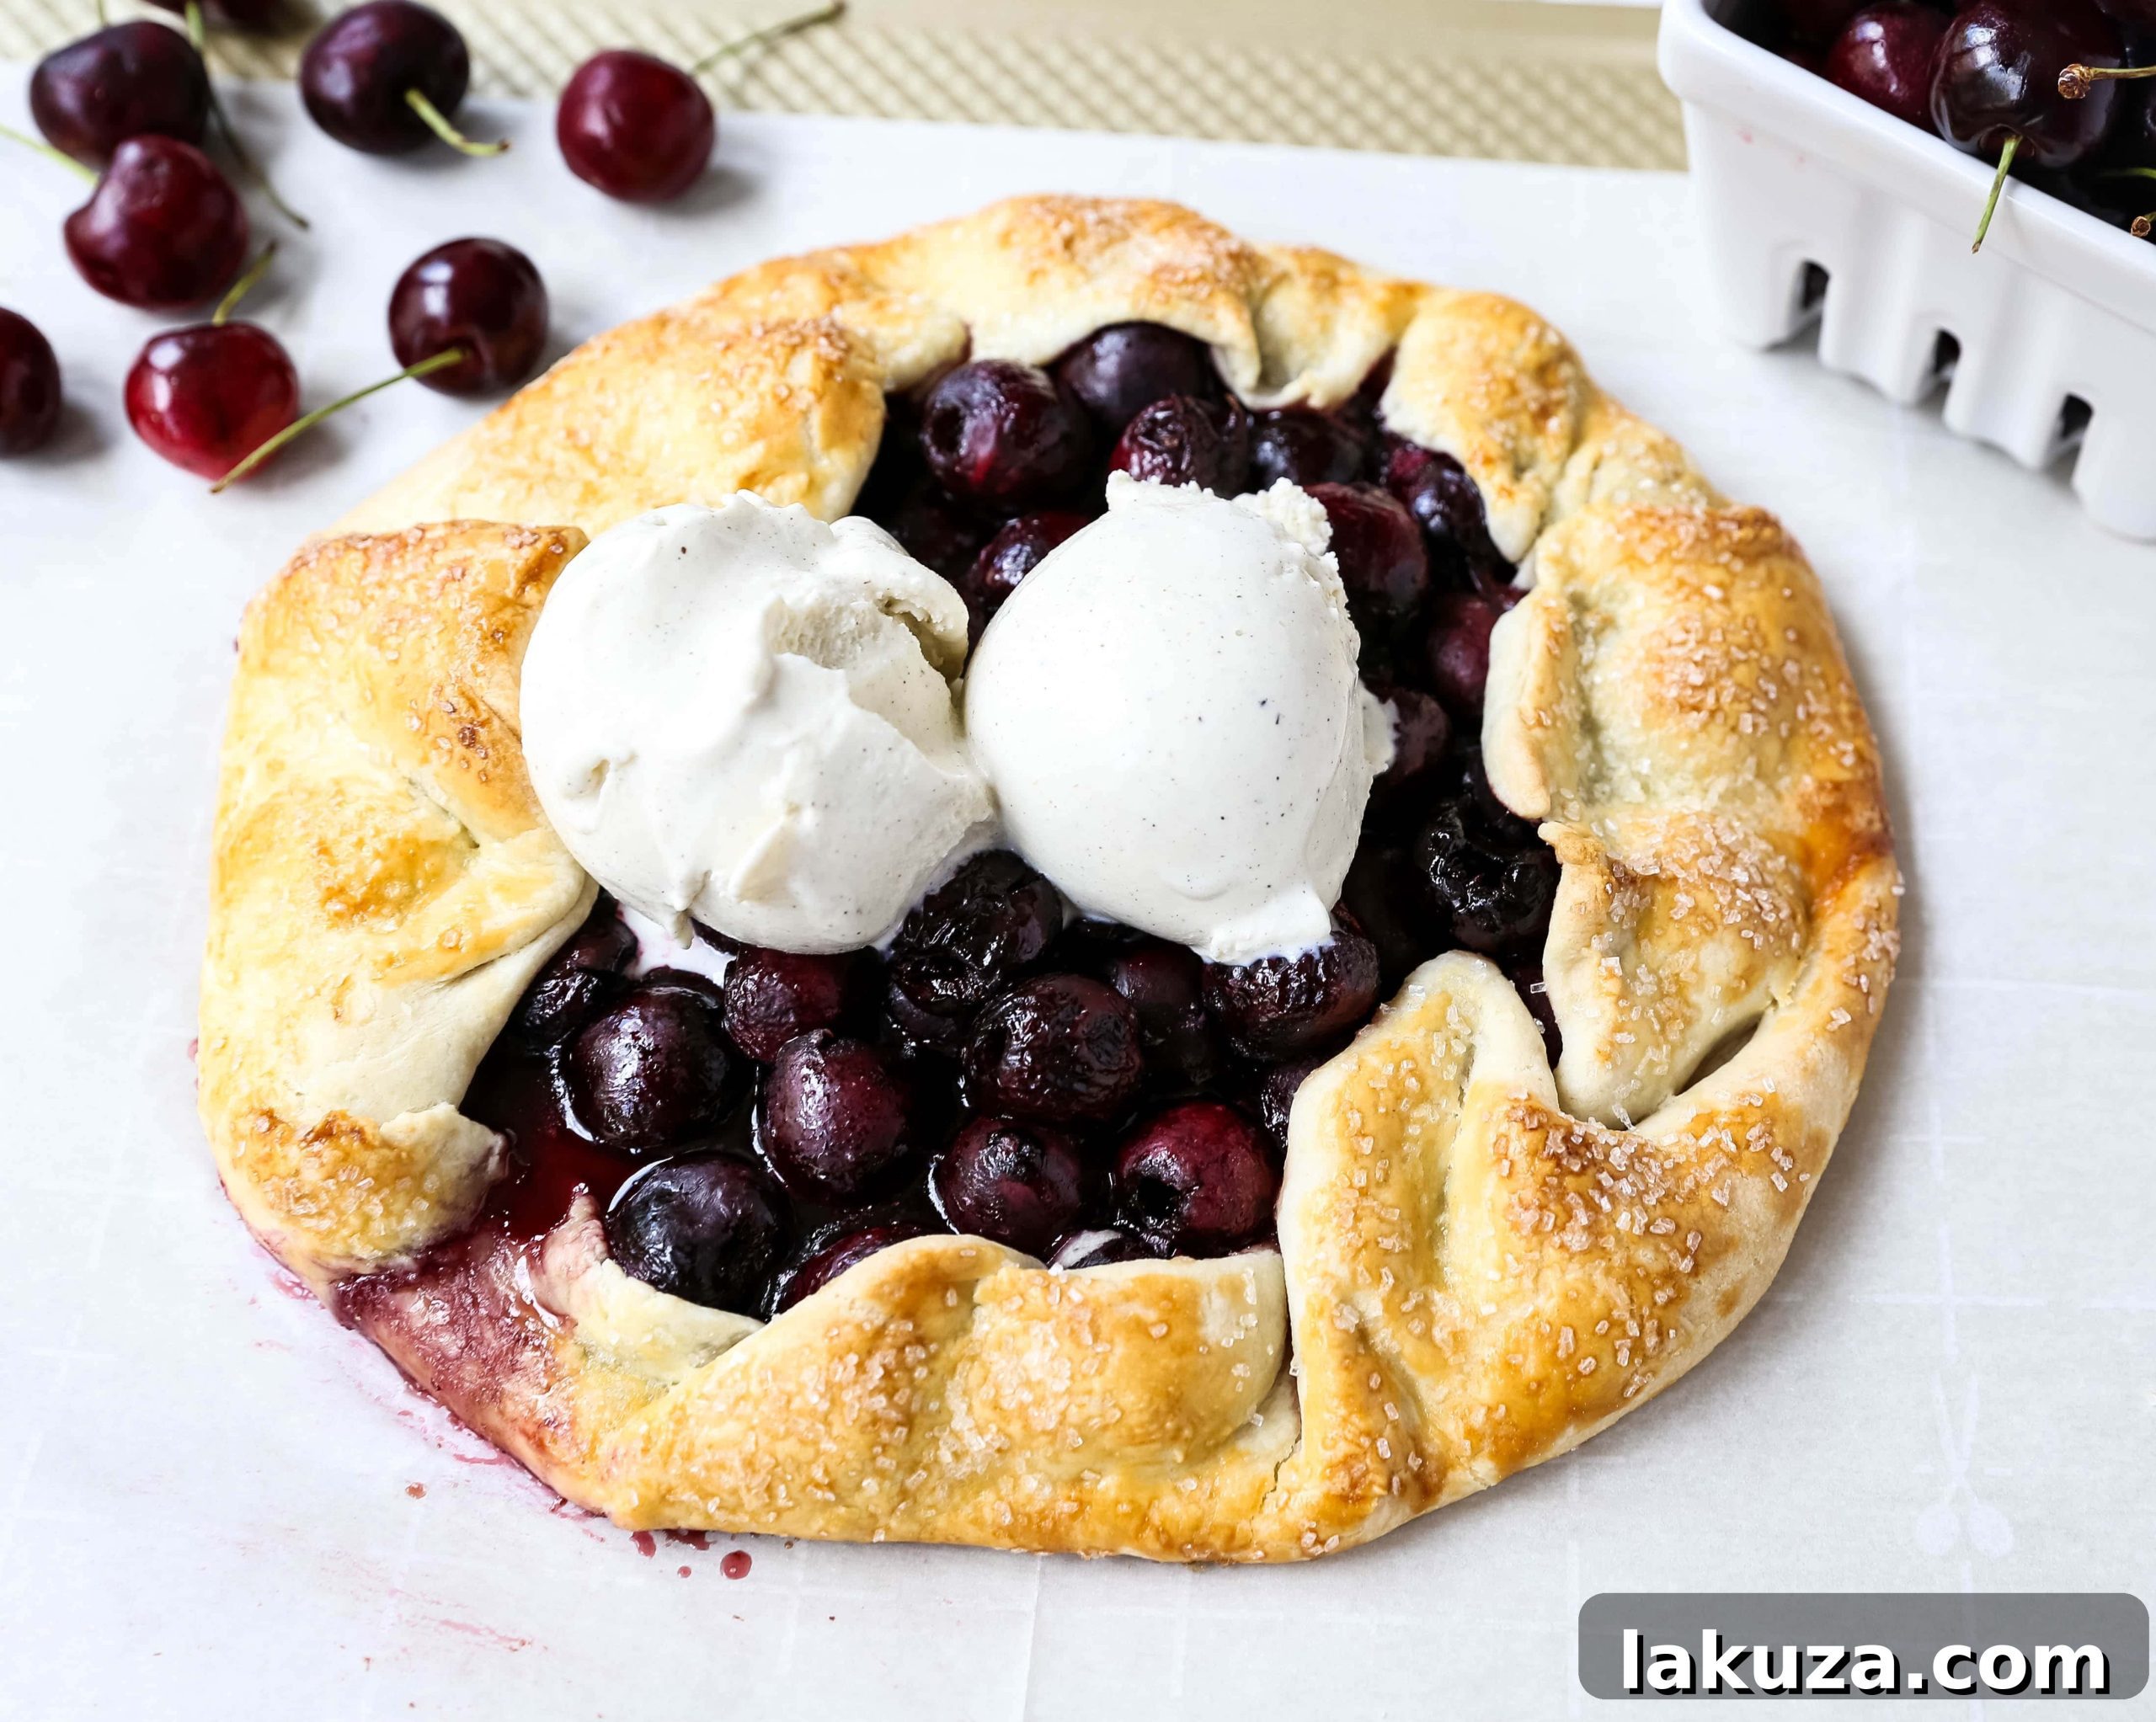
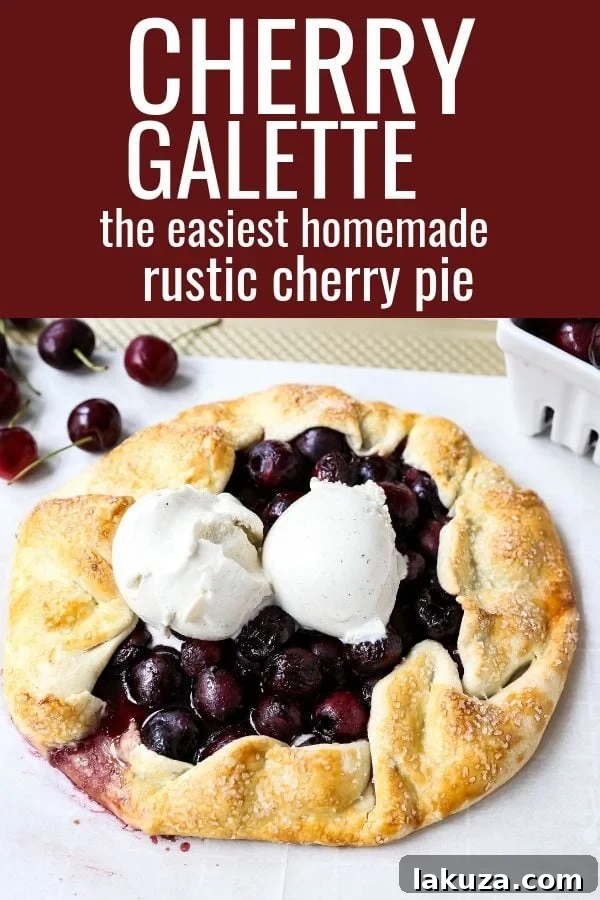
Fresh, sweet cherries baked to perfection in a homemade, flaky rustic pie crust, gloriously topped with rich vanilla bean ice cream.
Forget the intimidation of traditional pies! This Rustic Cherry Galette recipe offers all the luscious flavor of a classic cherry pie with a delightful, no-fuss approach. Perfect for bakers of all skill levels, this open-faced tart celebrates the vibrant sweetness of fresh summer cherries nestled in a beautifully flaky, buttery crust. Crowned with a scoop of creamy vanilla bean ice cream, it’s the quintessential easy homemade cherry dessert that promises pure bliss with every bite. If you’re looking for a simple yet elegant way to enjoy the season’s bounty, this cherry crostata is your ultimate answer for a memorable summer treat.
Embracing Cherry Season: Nature’s Sweetest Gift
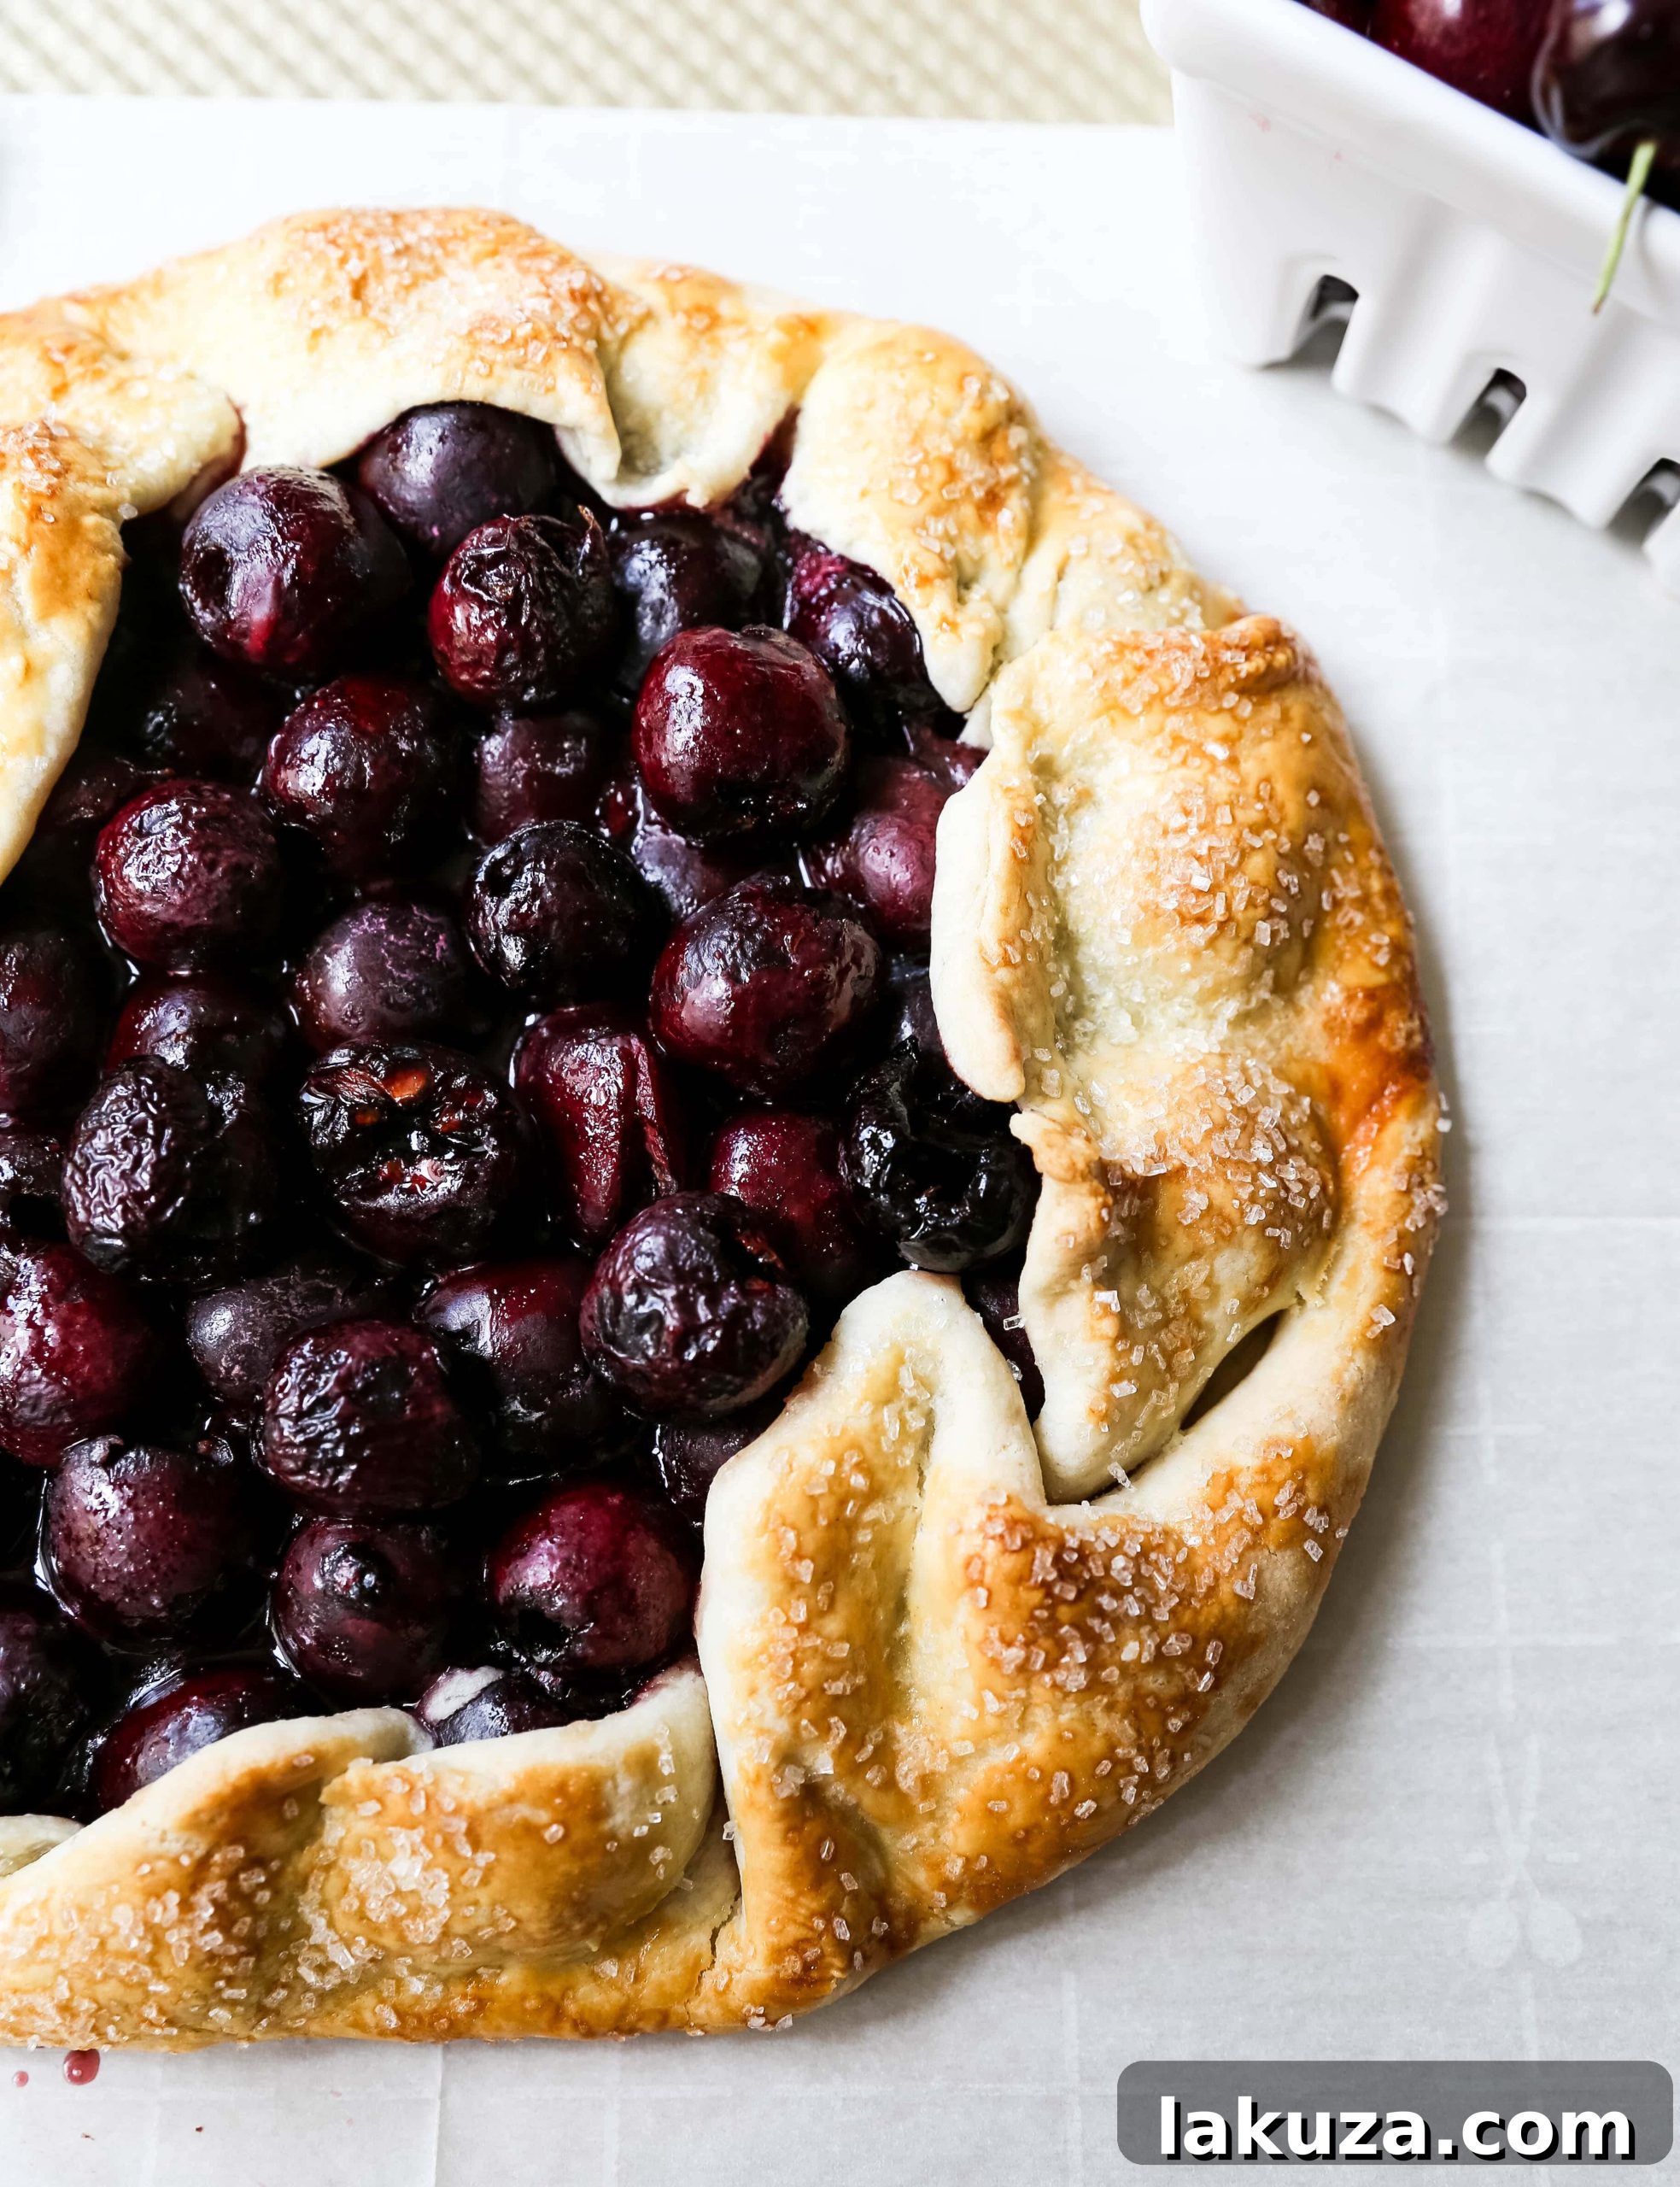
There’s truly nothing quite like peak cherry season. As summer unfurls its warm embrace, farmers’ markets and grocery stores burst with these ruby-red gems, offering them at their freshest and most affordable prices. Sweet cherries, with their firm flesh and juicy burst of flavor, are a highlight of the season. They’re not just incredibly delicious; they’re also packed with antioxidants and offer a delightful balance of sweetness with a hint of tartness that makes them incredibly versatile in baking. We often find ourselves with bags upon bags of these beautiful fruits, and while snacking on them fresh is always a treat, transforming them into a rustic cherry galette is an unparalleled experience. It’s the perfect way to capture the essence of summer in a simple, satisfying dessert that truly highlights the fruit’s natural splendor.
What is a Galette (or Crostata)? The Art of Rustic Baking
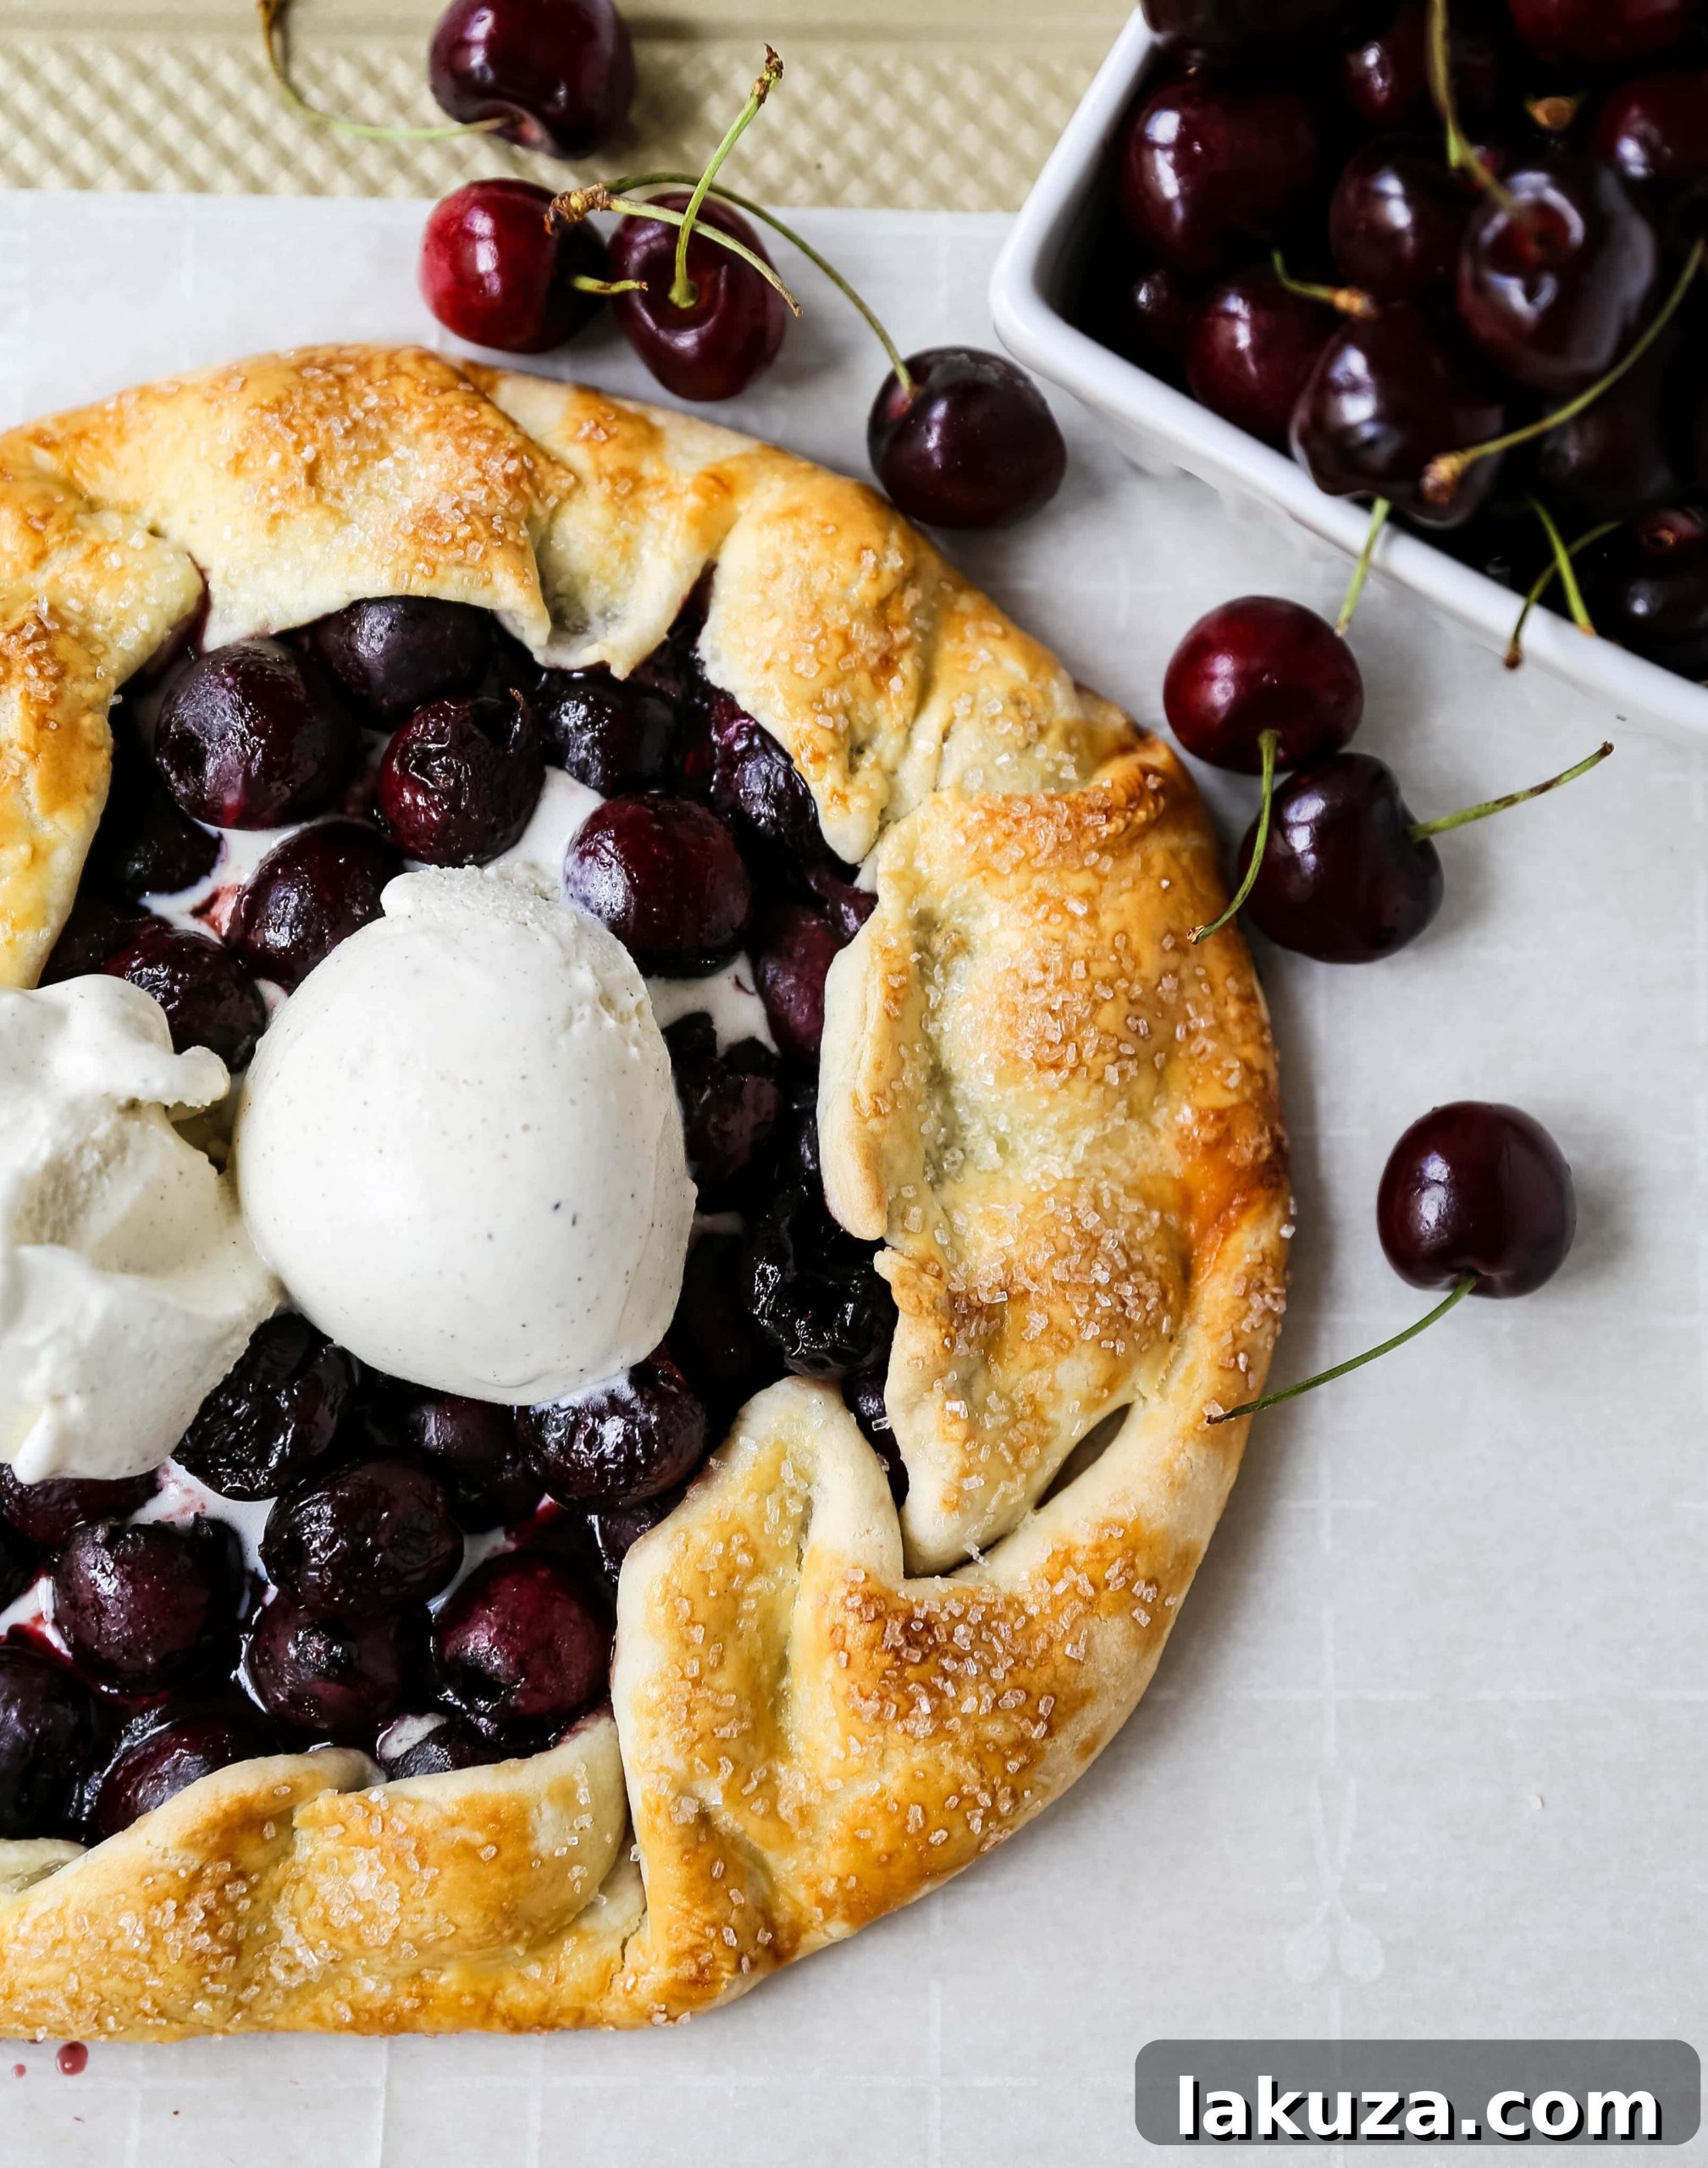
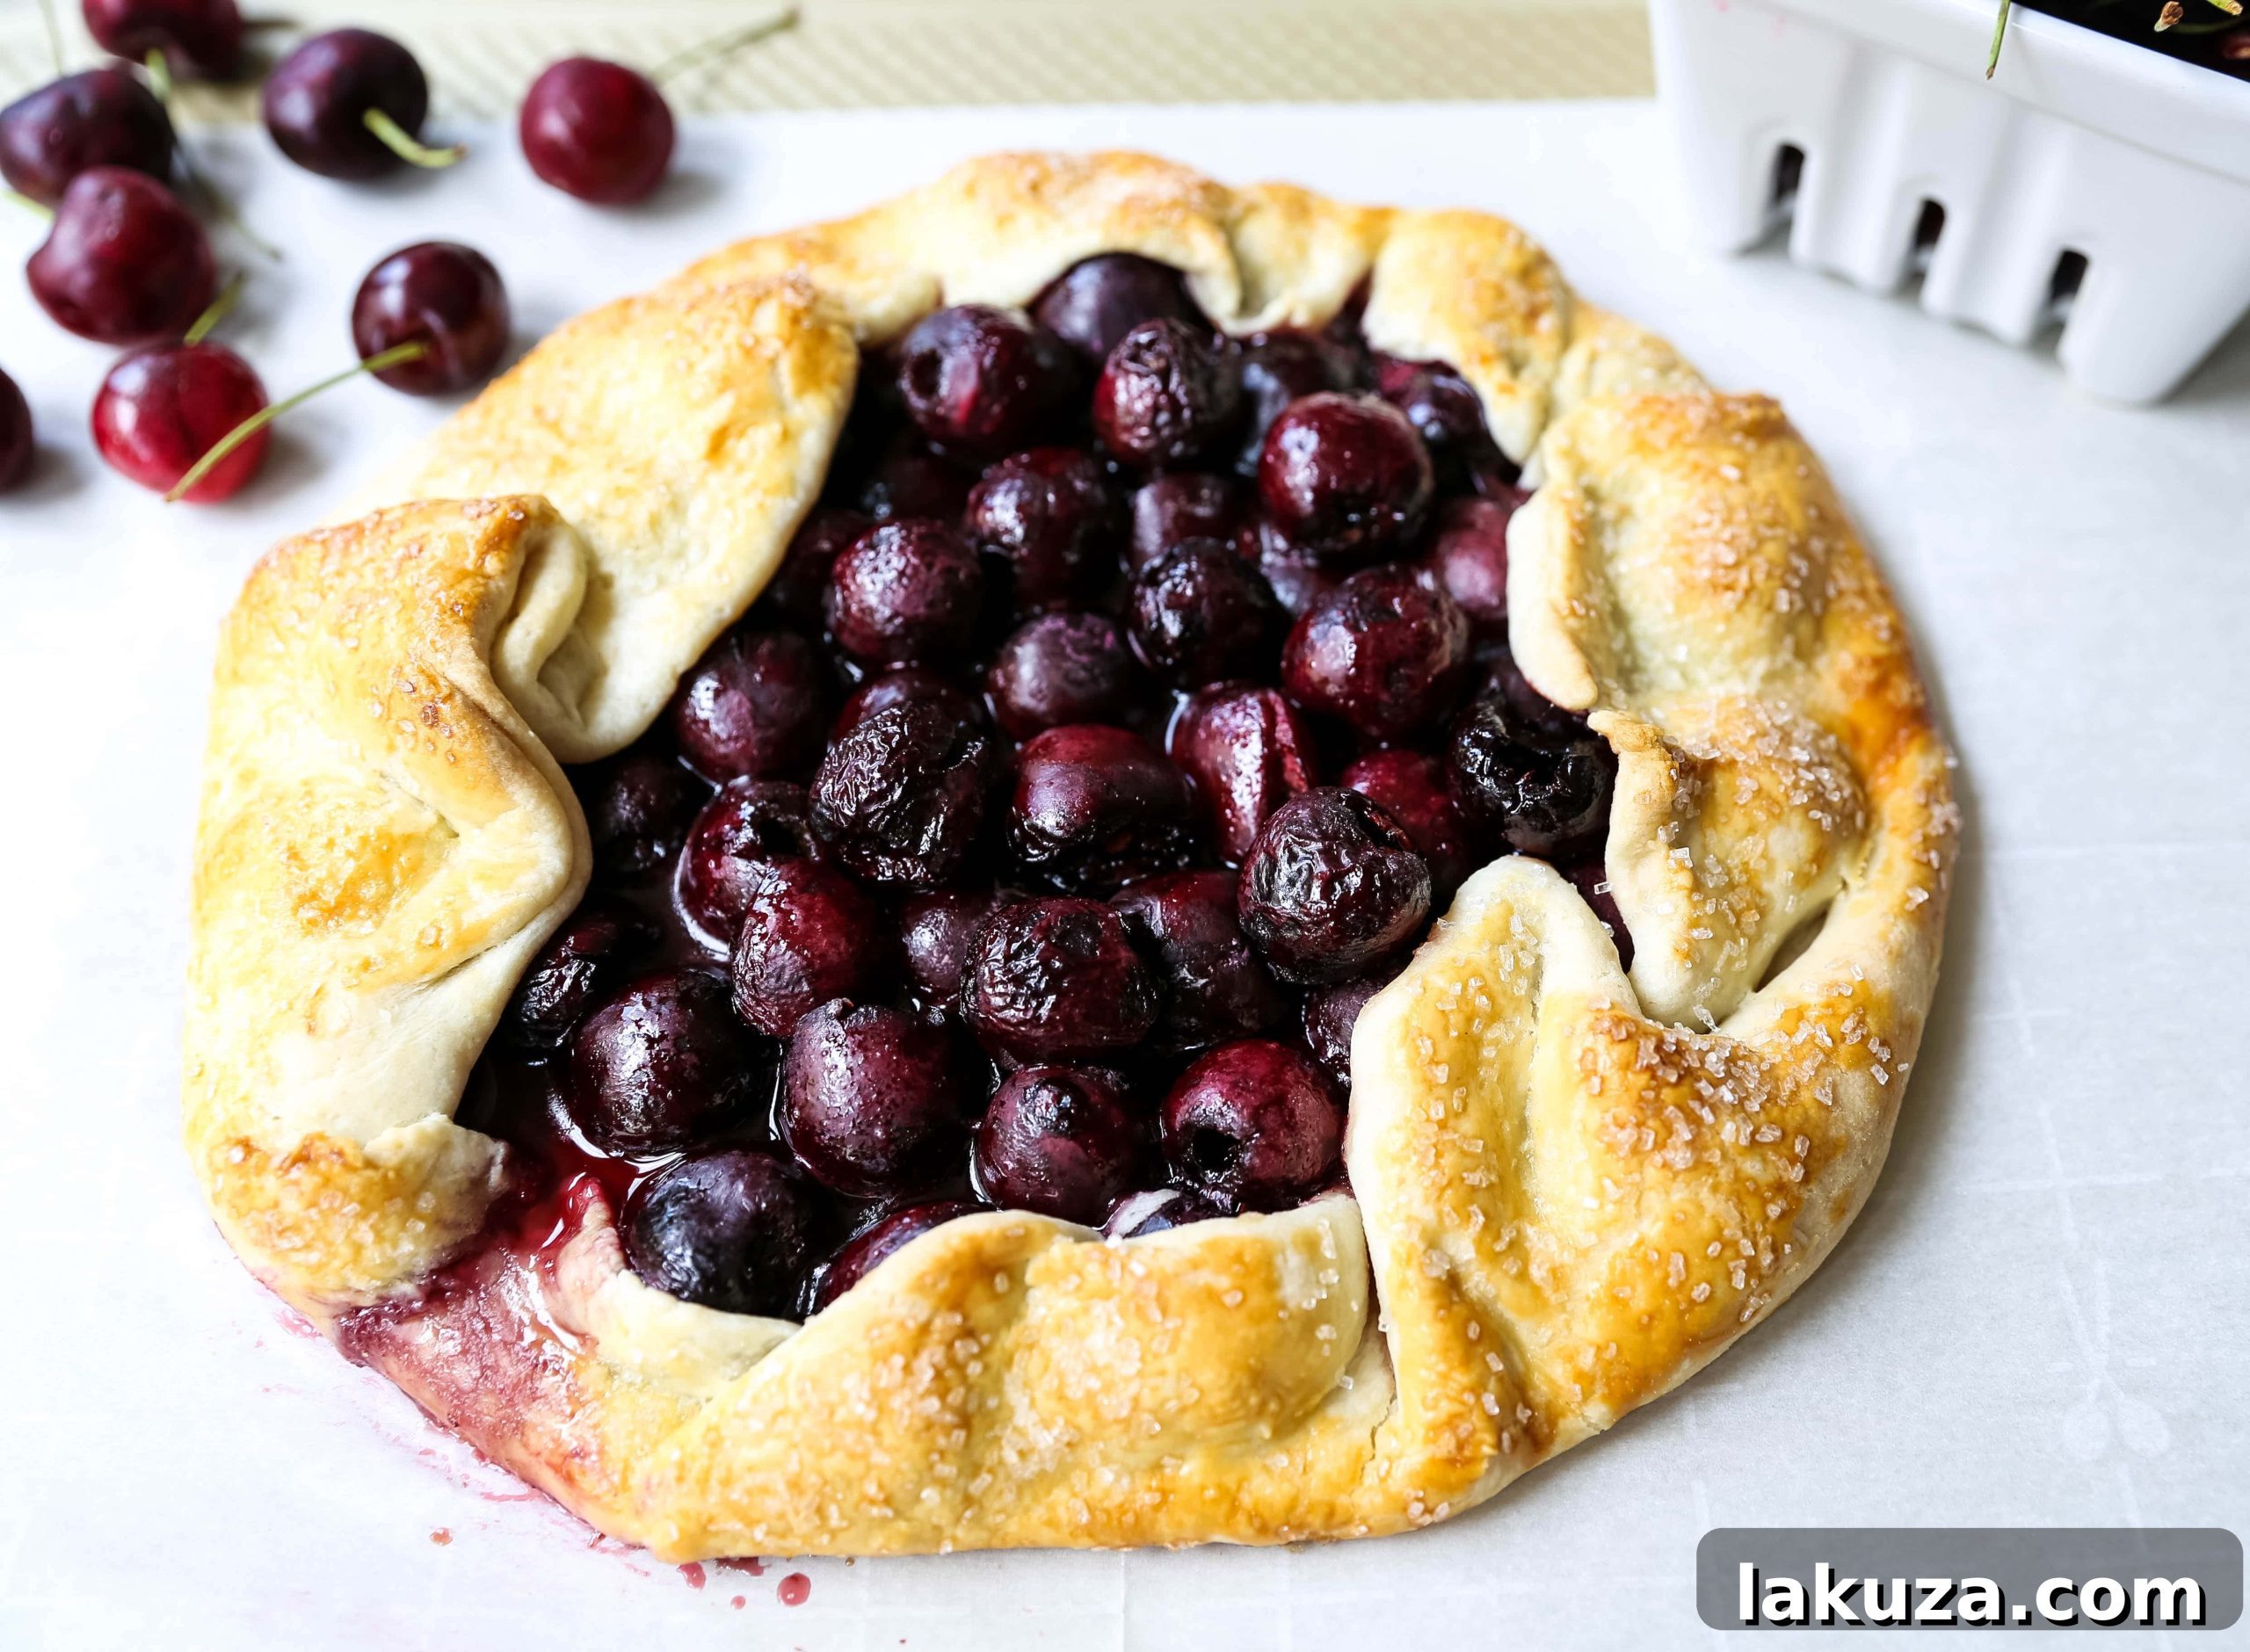
At its heart, a galette (often referred to as a crostata in Italian cuisine) is essentially a free-form pie or tart. Unlike its more structured cousin, the traditional pie, a galette requires no fancy pie plate or intricate crimping techniques. It’s wonderfully imperfect, embracing a charmingly rustic aesthetic that makes it feel both approachable and gourmet. The beauty of this easy cherry pie recipe lies in its simplicity: you simply roll out your homemade pie dough into a general circular shape, mound your delectable fruit filling in the center, and then fold the edges of the dough casually over a portion of the fruit, leaving the center exposed. This ‘open-faced’ style not only simplifies the baking process but also allows the vibrant cherry filling to shine, caramelizing beautifully as it bakes. It’s the ultimate no-fuss dessert for when you crave homemade goodness without the stress and precision often associated with pastry making.
Crafting the Best Cherry Galette: Key Elements for Success
What makes a cherry galette truly exceptional? It all comes down to two main components: the vibrant cherry filling and the tender, flaky crust that cradles it. Each element plays a crucial role in creating a harmonious and utterly delicious dessert.
The Irresistible Cherry Filling
Creating the best cherry galette starts with an irresistible filling that bursts with flavor. We begin with fresh, ripe sweet cherries – the undisputed star of the show. While tart cherries can also be used, sweet cherries offer a delightful natural sweetness that requires less added sugar. To enhance their natural flavor and create that perfect syrupy consistency, they’re gently tossed with granulated sugar. A generous squeeze of fresh lemon juice is crucial here; it cuts through the sweetness, brightens the fruit, and adds a zesty counterpoint that makes the cherry flavor truly pop. But perhaps the secret ingredient that elevates this filling to extraordinary is a touch of pure almond extract. Cherries and almonds are a match made in culinary heaven; the almond notes beautifully complement the cherries, adding a depth of flavor that is simply sublime. Finally, a little cornstarch acts as our thickening agent, ensuring the filling sets beautifully without becoming overly runny, preventing a soggy bottom and creating that desirable glossy texture that signals a perfectly baked fruit tart.
The Perfectly Flaky Homemade Pie Crust
While the filling is paramount, a truly exceptional cherry galette demands an equally exceptional crust. Forget store-bought shortcuts; a homemade pie crust is surprisingly simple to achieve and makes all the difference in taste and texture. Our preferred method utilizes an all-butter pie crust recipe, renowned for its incredible flavor and unparalleled flakiness. The key to success lies in using very cold ingredients – cold butter, cut into small cubes, and ice-cold water or buttermilk. This ensures that when the butter melts in the oven, it releases steam, creating those signature flaky layers that are the hallmark of a great pie crust. A food processor makes quick work of this, bringing the dough together in mere minutes, minimizing handling and keeping the butter cold. After a brief but essential chill, the dough is ready to be rolled out into a rustic circle, providing the perfect golden, tender vessel for our sweet cherry treasure.
How to Craft Your Perfect Rustic Cherry Galette (Crostata): A Step-by-Step Guide
- Prepare the Pie Dough: Begin by preparing your homemade pie crust. In a food processor, combine the all-purpose flour and salt. Add the very cold, cubed unsalted butter and pulse until the mixture resembles coarse meal with pea-sized bits of butter. Gradually add ice-cold water or cold buttermilk, 1-2 tablespoons at a time, pulsing just until the dough comes together. Be careful not to overmix; stop as soon as the dough forms a shaggy ball. Form the dough into a disc, wrap it tightly in plastic wrap, and refrigerate for at least 30 minutes (or up to 2 days). This chilling time is essential for developing flavor and making the dough easier to handle and less sticky.
- Roll Out the Crust: Once chilled, unwrap the dough and place it on a lightly floured work surface. Using a rolling pin, roll the dough into a large circle, approximately 13-14 inches in diameter and about 1/8-inch thick. Don’t worry about achieving a perfectly round circle; the rustic charm of a galette embraces imperfections! Carefully transfer the rolled-out dough to a baking sheet generously lined with parchment paper. This step makes cleanup easy and prevents sticking.
- Craft the Cherry Filling: While the dough chills, prepare the luscious cherry filling. In a large bowl, combine the pitted fresh sweet cherries, granulated sugar, cornstarch, fresh lemon juice, and pure almond extract. Gently toss all the ingredients together until the cherries are evenly coated. The cornstarch will ensure the juices thicken beautifully as the galette bakes, preventing a watery filling.
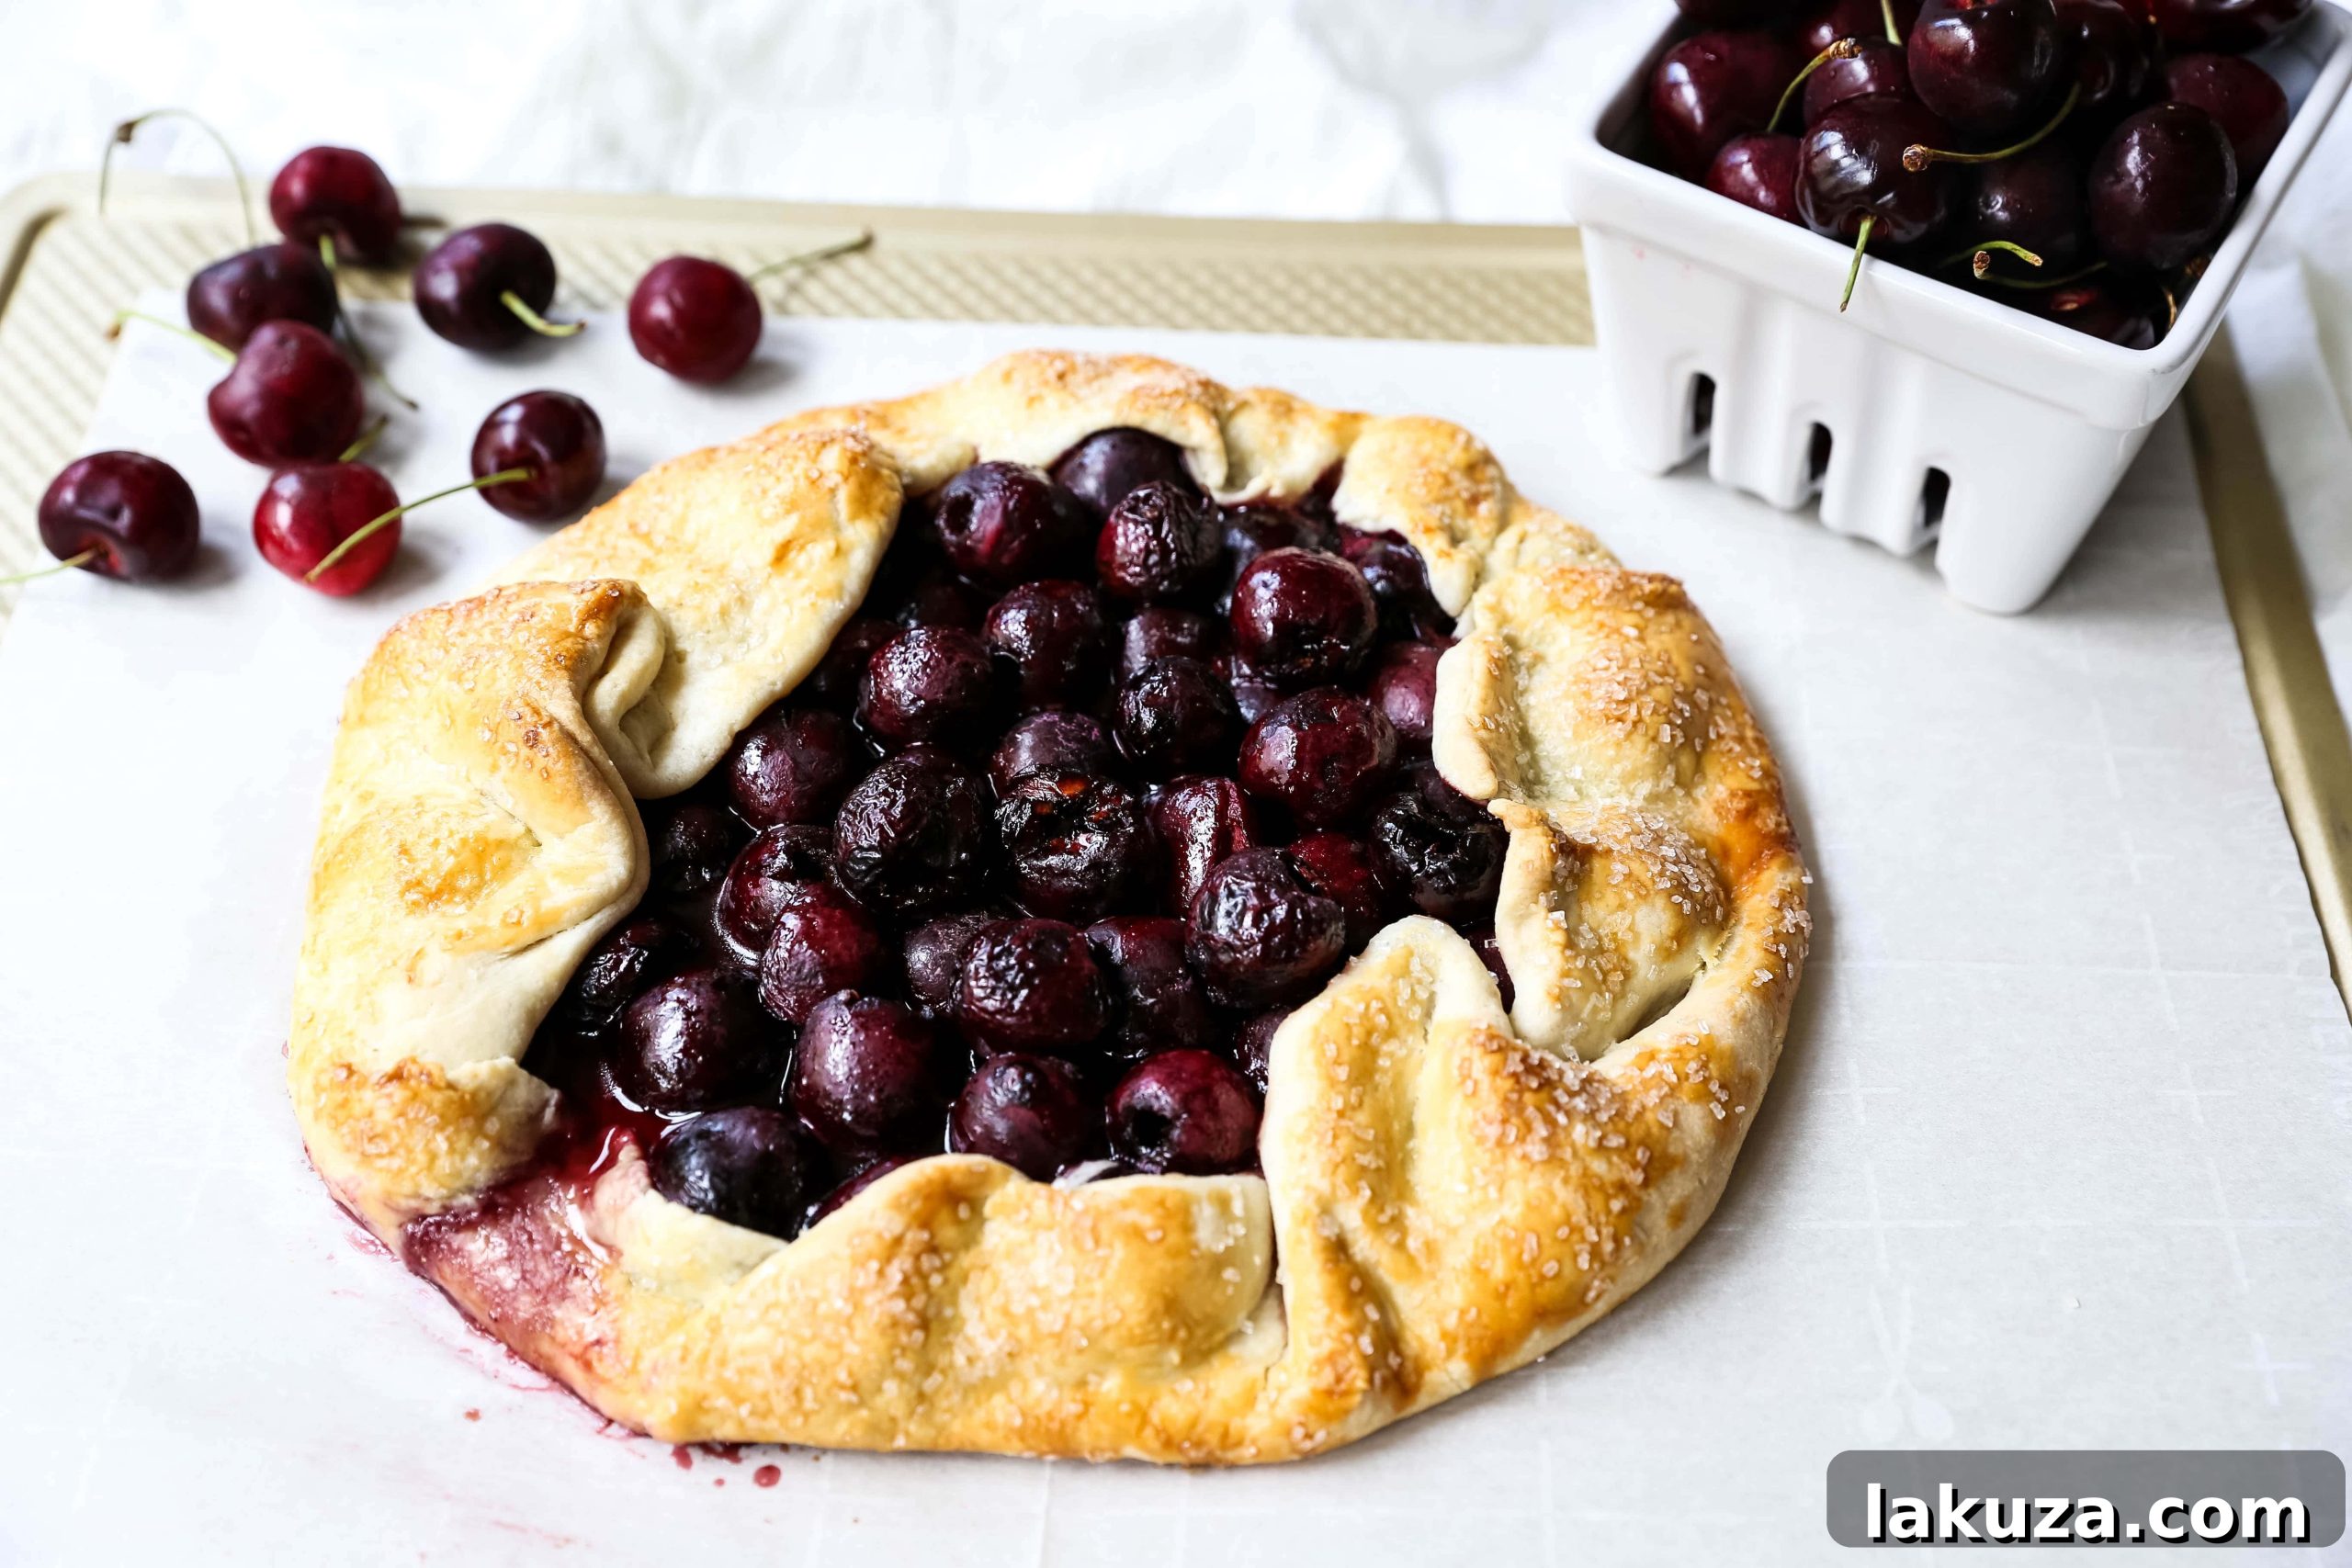
- Assemble the Galette: Spoon the prepared cherry filling onto the center of the rolled-out pie crust, leaving a generous 1.5 to 2-inch border around the edges. Carefully fold the edges of the dough up and over the cherry filling, pleating the dough as you go. The rustic folds will create a beautiful, free-form tart. Ensure the edges overlap slightly to hold the fruit in place.
- Apply Egg Wash and Garnish: In a small bowl, whisk one large egg with a fork to create an egg wash. Lightly brush the folded crust with the egg wash. For an extra touch of sparkle, crunch, and a golden finish, sprinkle sparkling sugar evenly over the brushed crust (this step is optional but highly recommended for both appearance and texture).
- Bake to Perfection: Preheat your oven to 375°F (190°C). Place the baking sheet with the assembled cherry galette into the preheated oven and bake for 40-50 minutes, or until the crust is deeply golden brown and the cherry filling is visibly bubbly and thick. Keep an eye on it to prevent over-browning; if the crust edges brown too quickly, you can loosely tent them with aluminum foil. You can gently lift the galette with a spatula to check the underside of the crust for a beautiful golden hue, indicating doneness. Let the galette cool on the baking sheet for at least 15-20 minutes before serving. This crucial cooling time allows the filling to set properly, preventing it from being too runny when sliced.
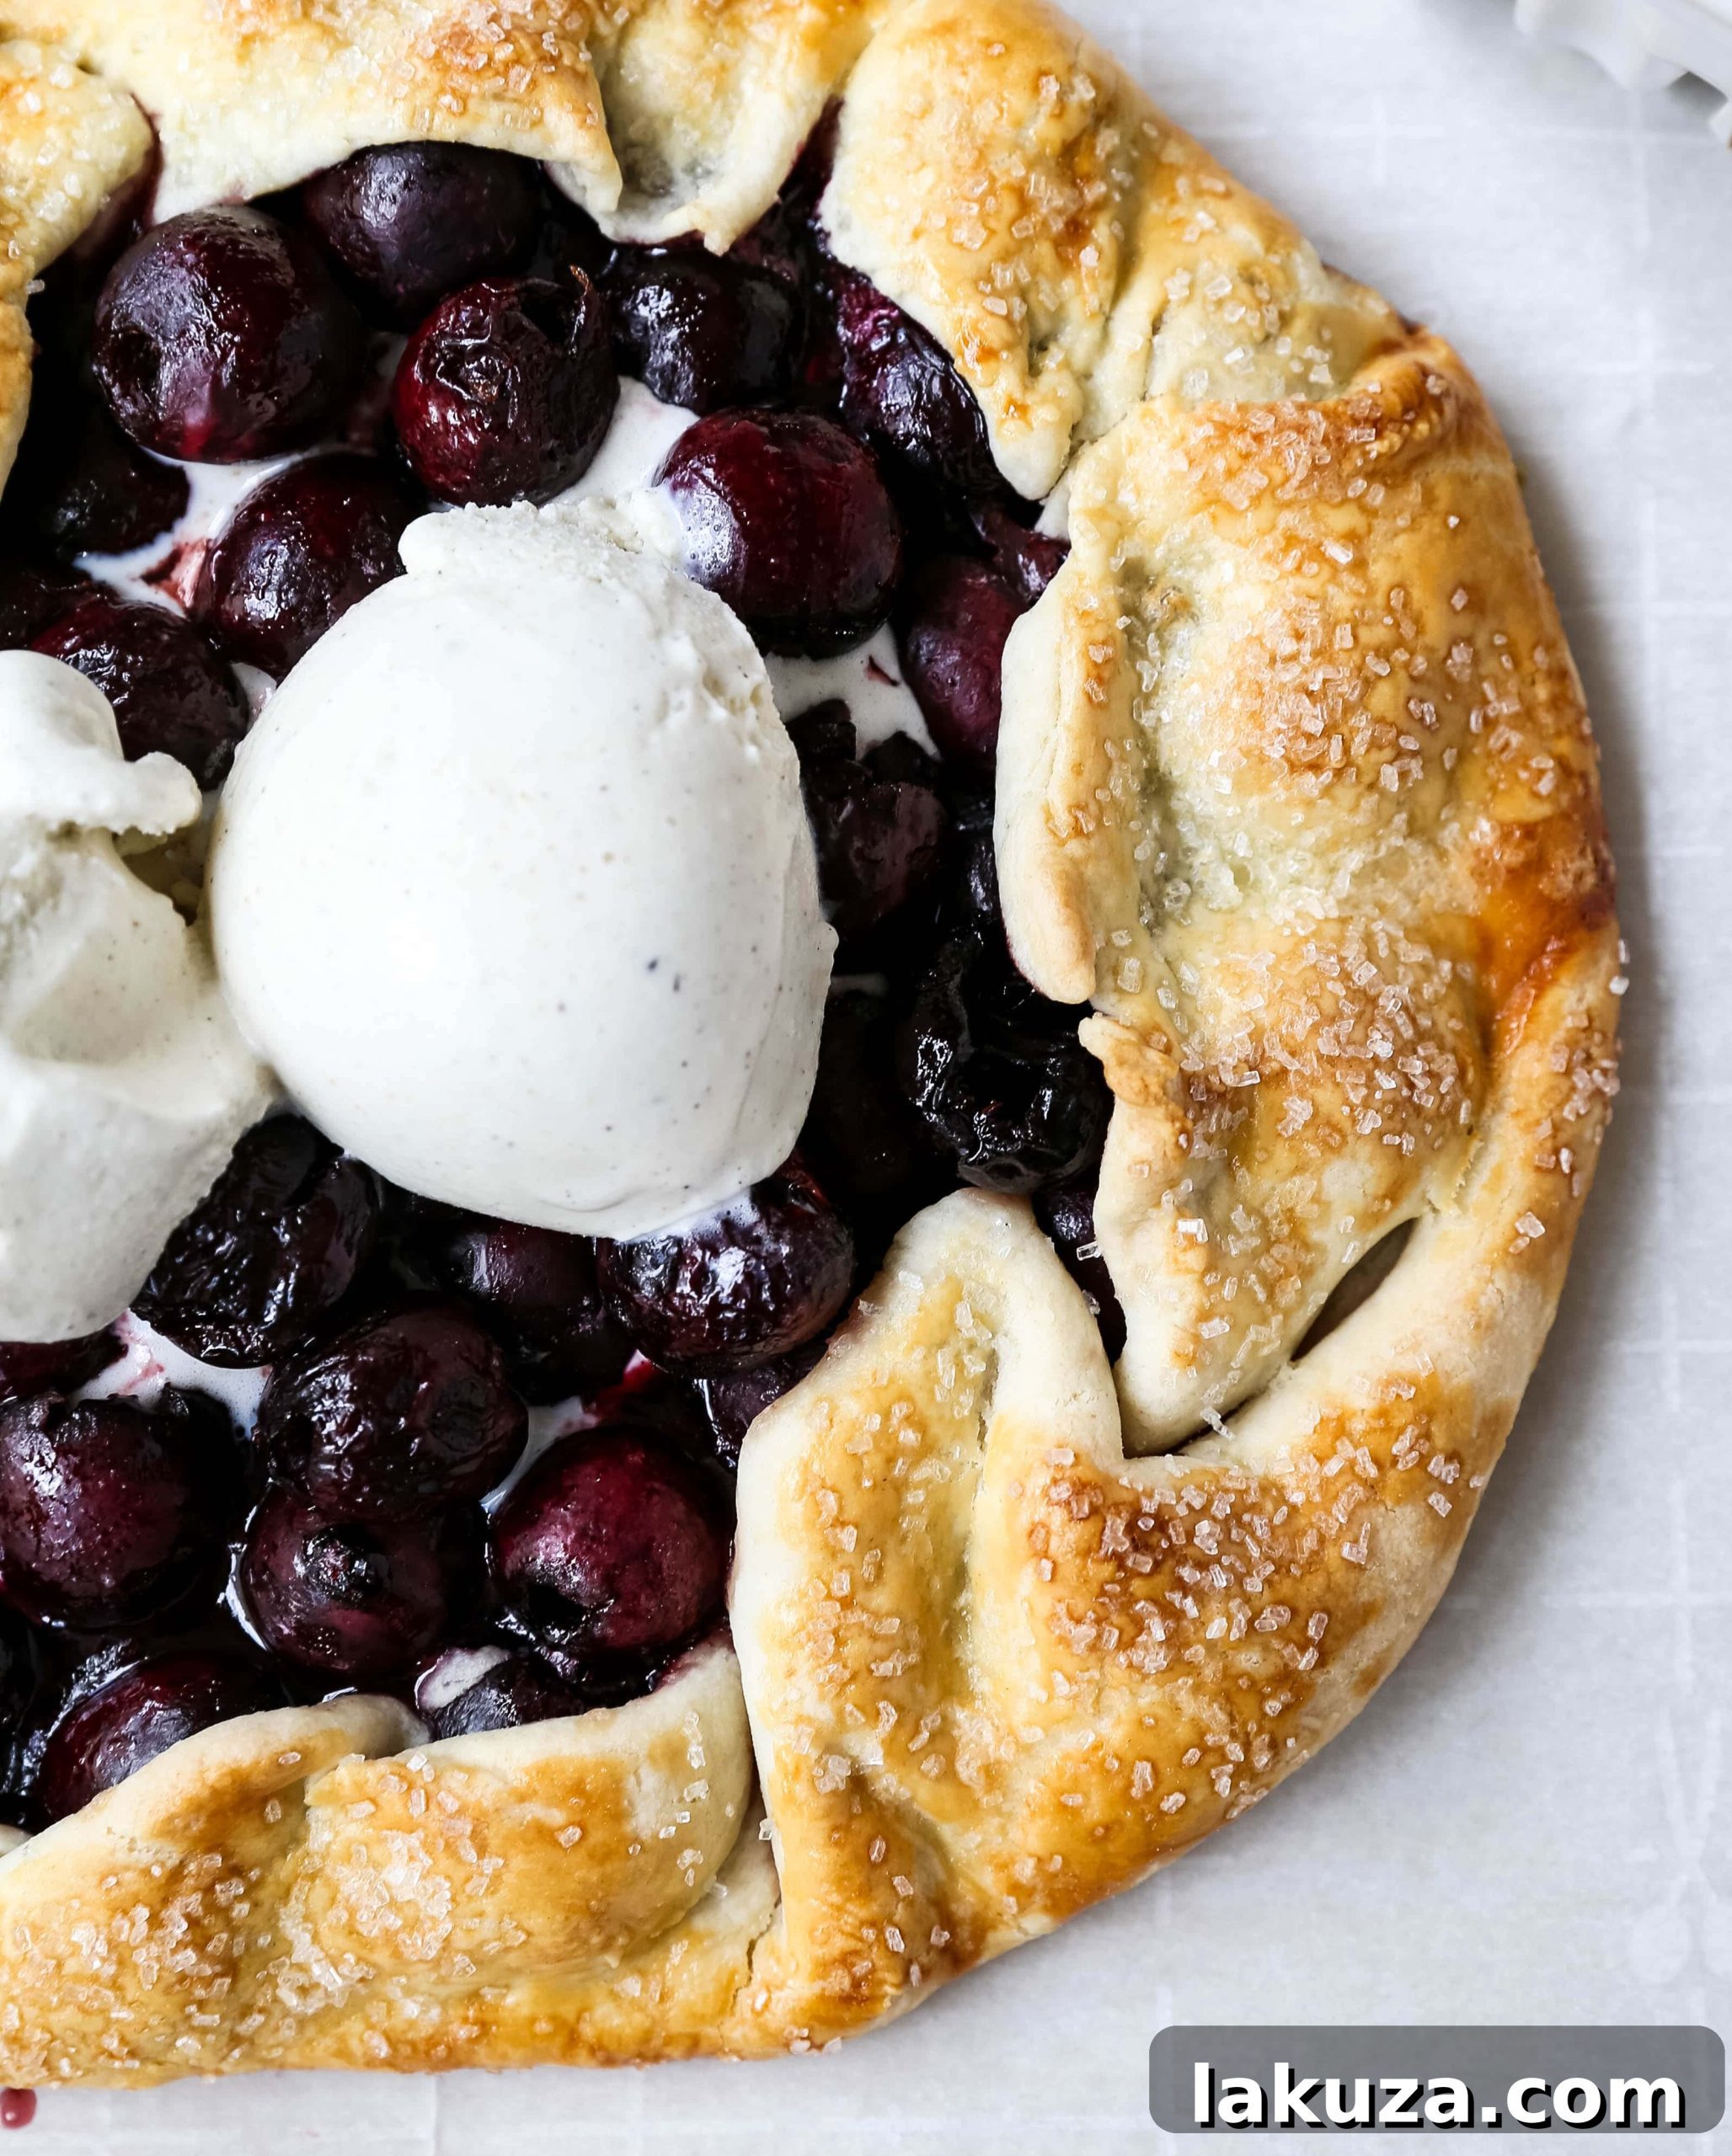
- Serve and Enjoy: For the ultimate indulgence, serve warm slices of your homemade cherry galette with a generous scoop of creamy vanilla bean ice cream. The delightful contrast of cold, melting ice cream against the warm, fruity tart is simply divine. A dollop of freshly whipped cream or a dusting of powdered sugar would also be delightful additions, elevating this easy homemade cherry dessert to a true culinary masterpiece.
Essential Baking Tools for Your Cherry Galette:
Cherry Pitter
Light-Colored Baking Sheets
Parchment Paper Sheets
Rolling Pin
Nielsen-Massey Almond Extract
Just Here for Dessert Pie Server
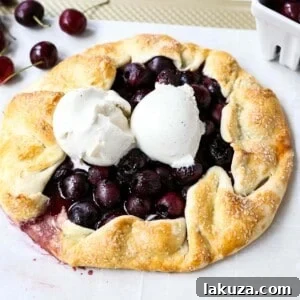
Cherry Galette
Equipment
-
food processor
-
marble rolling pin
-
baking sheet
-
parchment paper baking sheets
-
mixing bowl set
-
measuring cups and spoons
Ingredients
Butter Pie Crust:
- 3/4 cup Cold Butter (cut into cubes)
- 1 3/4 cup + 1 Tablespoon Flour
- 1/2 teaspoon Salt (if using unsalted butter, if using salted butter, reduce salt to 1/4 teaspoon)
- 1/4 cup Ice Cold Water or Cold Buttermilk
Cherry Pie Filling:
- 3 1/4 cups Fresh Cherries (pitted)
- 1/2 cup Sugar
- 3 1/2 Tablespoons Cornstarch
- 2 teaspoons Fresh Lemon Juice
- 1/2 teaspoon Pure Almond Extract
Egg Wash:
- 1 large Egg (whisked)
- Sparkling Sugar (optional)
Instructions
Butter Pie Crust:
-
Stir together flour and salt. Slice cold butter into tiny shreds (you can store your butter in the freezer for easier grating) and add to a bowl or food processor. Use a pastry cutter or fork to combine, or if using a food processor, pulse until a coarse meal or small pea-sized crumbles form.
-
Slowly add ice cold water or cold buttermilk, 1-2 tablespoons at a time, to the butter-flour mixture. Stir or pulse gently until the dough just starts to come together.
-
Press the dough into a cohesive ball. Pat each ball into a disk, tightly wrap in plastic wrap (Saran Wrap), and let it chill and rest in the refrigerator for at least 30 minutes.
-
Unwrap the dough, turn it onto a lightly floured work surface, and roll it out using a rolling pin. Do not overwork the dough. The key is to work quickly to keep the dough as cold as possible. Roll it to at least a 13-inch diameter circle. Place the rolled dough on a parchment paper lined (or lightly sprayed with non-stick cooking spray) baking sheet or round pizza pan.
Cherry Pie Filling:
-
In a large bowl, combine pitted cherries, sugar, lemon juice, almond extract, and cornstarch, and toss gently to completely coat the cherries. Once coated, pour the cherry mixture onto the center of the prepared pie crust, leaving an ample border.
-
Mound the fruit in the center of the dough, leaving a 1 1/2 to 2-inch border. Fold the dough up and around the mound of fruit, gently pinching together to create a pleat. Brush the top of the pleated dough with the beaten egg wash and sprinkle generously with sparkling sugar, if desired.
-
Heat oven to 375 degrees Fahrenheit (190°C). Bake the crostata until the crust is golden brown and the fruit is bubbling thickly, about 40 – 44 minutes. Check often and use a spatula to carefully lift the crostata and check the underside of the crust for golden color. Let cool for at least 15 minutes before slicing. Serve with creamy vanilla bean ice cream for the ultimate experience.
Nutrition information is automatically calculated, so should only be used as an approximation.
Additional Info
Tips for Success: Ensuring Your Galette is Perfect Every Time
Achieving galette perfection is simpler than you might think, especially with a few helpful tips to guide you through the process:
- Keep Ingredients Cold: This cannot be stressed enough for making the pie crust. Cold butter creates steam pockets as it bakes, which is fundamental to achieving that desirable flaky, tender texture. Warm butter will result in a tough, crumbly crust.
- Don’t Overwork the Dough: Handle the dough as little as possible to prevent the gluten from developing too much, which can make the crust tough. Quick, decisive movements are best when mixing and rolling.
- Invest in a Cherry Pitter: If you plan on making cherry desserts frequently, a cherry pitter is a worthwhile investment. It makes the pitting process much faster and significantly less messy. If you don’t have one, a sturdy straw or a piping tip can also do the trick in a pinch.
- Prevent a Soggy Bottom: To avoid a dreaded soggy crust, ensure your cornstarch is evenly distributed throughout the cherry filling. Also, make sure to bake the galette until the juices are visibly bubbling and thickened, and the bottom of the crust is golden brown. A hot oven helps crisp the bottom quickly.
- Embrace the Rustic Charm: Remember, the beauty of a galette lies in its free-form, artisanal appearance. Don’t strive for absolute perfection in shape or folding; let its natural, homemade charm shine through. The slightly irregular edges are part of what makes it so appealing.
Storage & Reheating Your Delicious Cherry Galette
Should you find yourself with any delightful leftover cherry galette, proper storage will help maintain its deliciousness. It can be stored at room temperature for up to 2 days, loosely covered with plastic wrap or foil. For longer storage, place it in an airtight container in the refrigerator, where it will keep well for up to 4 days. To reheat, warm individual slices in a preheated oven at 300°F (150°C) for about 10-15 minutes, or until warmed through. This gentle reheating helps to re-crisp the crust and bring out the fresh flavors of the filling, making it feel almost as good as freshly baked.
Conclusion: A Taste of Summer, Made Simple
This Rustic Cherry Galette is more than just a dessert; it’s a celebration of summer’s bounty and the joy of simple, homemade baking. Whether you’re a seasoned baker looking for a quick yet impressive recipe, or just starting your culinary journey, this no-fuss recipe will become a cherished favorite in your kitchen. The combination of sweet, juicy cherries and a tender, flaky crust, all crowned with creamy vanilla ice cream, creates an unforgettable flavor experience that truly captures the essence of the season. So, gather those fresh cherries, whip up a buttery crust, and prepare to delight your taste buds with this easy homemade cherry dessert. Happy baking, and enjoy every exquisite bite!