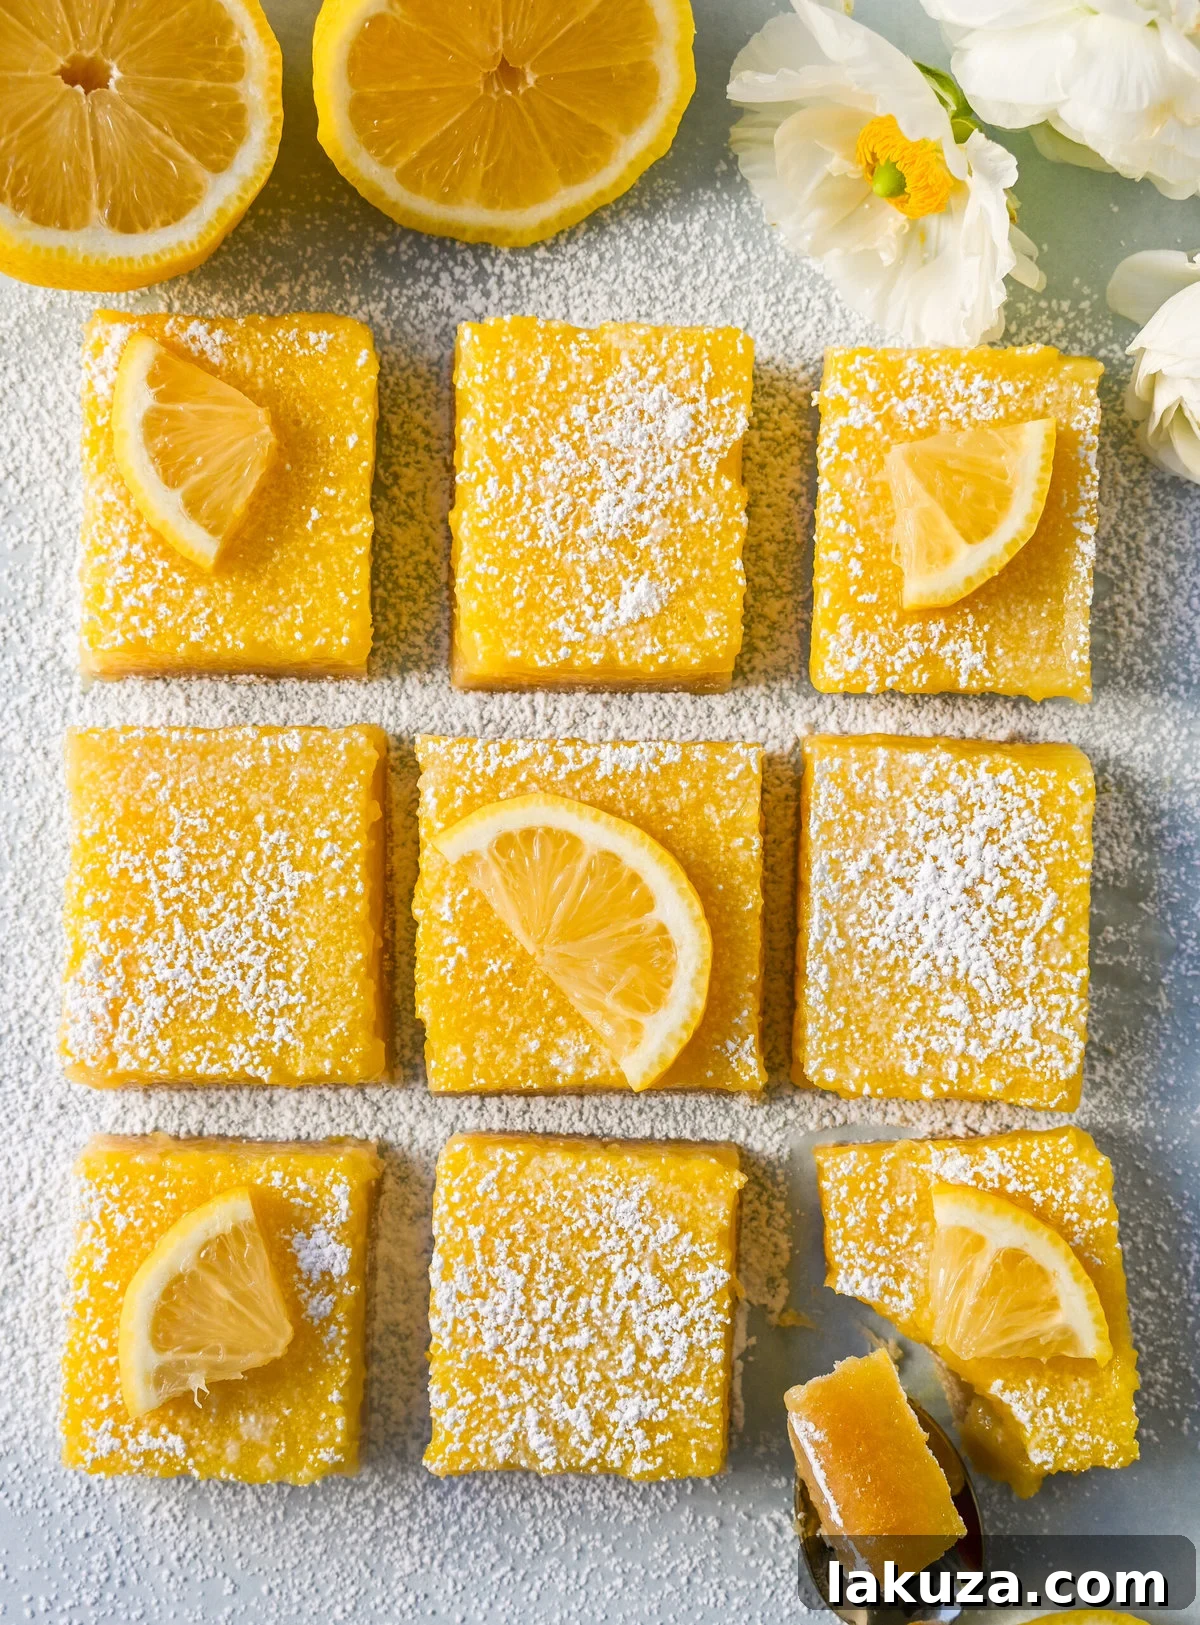
Indulge in the bright, refreshing taste of these classic lemon bars, featuring a vibrant, tangy lemon curd perfectly balanced with a rich, buttery shortbread crust. If you’re a connoisseur of lemon desserts, this exceptional recipe promises to be your new favorite. Discover the secrets to crafting the ultimate lemon bar, a delightful treat that captures the essence of sunshine in every bite.
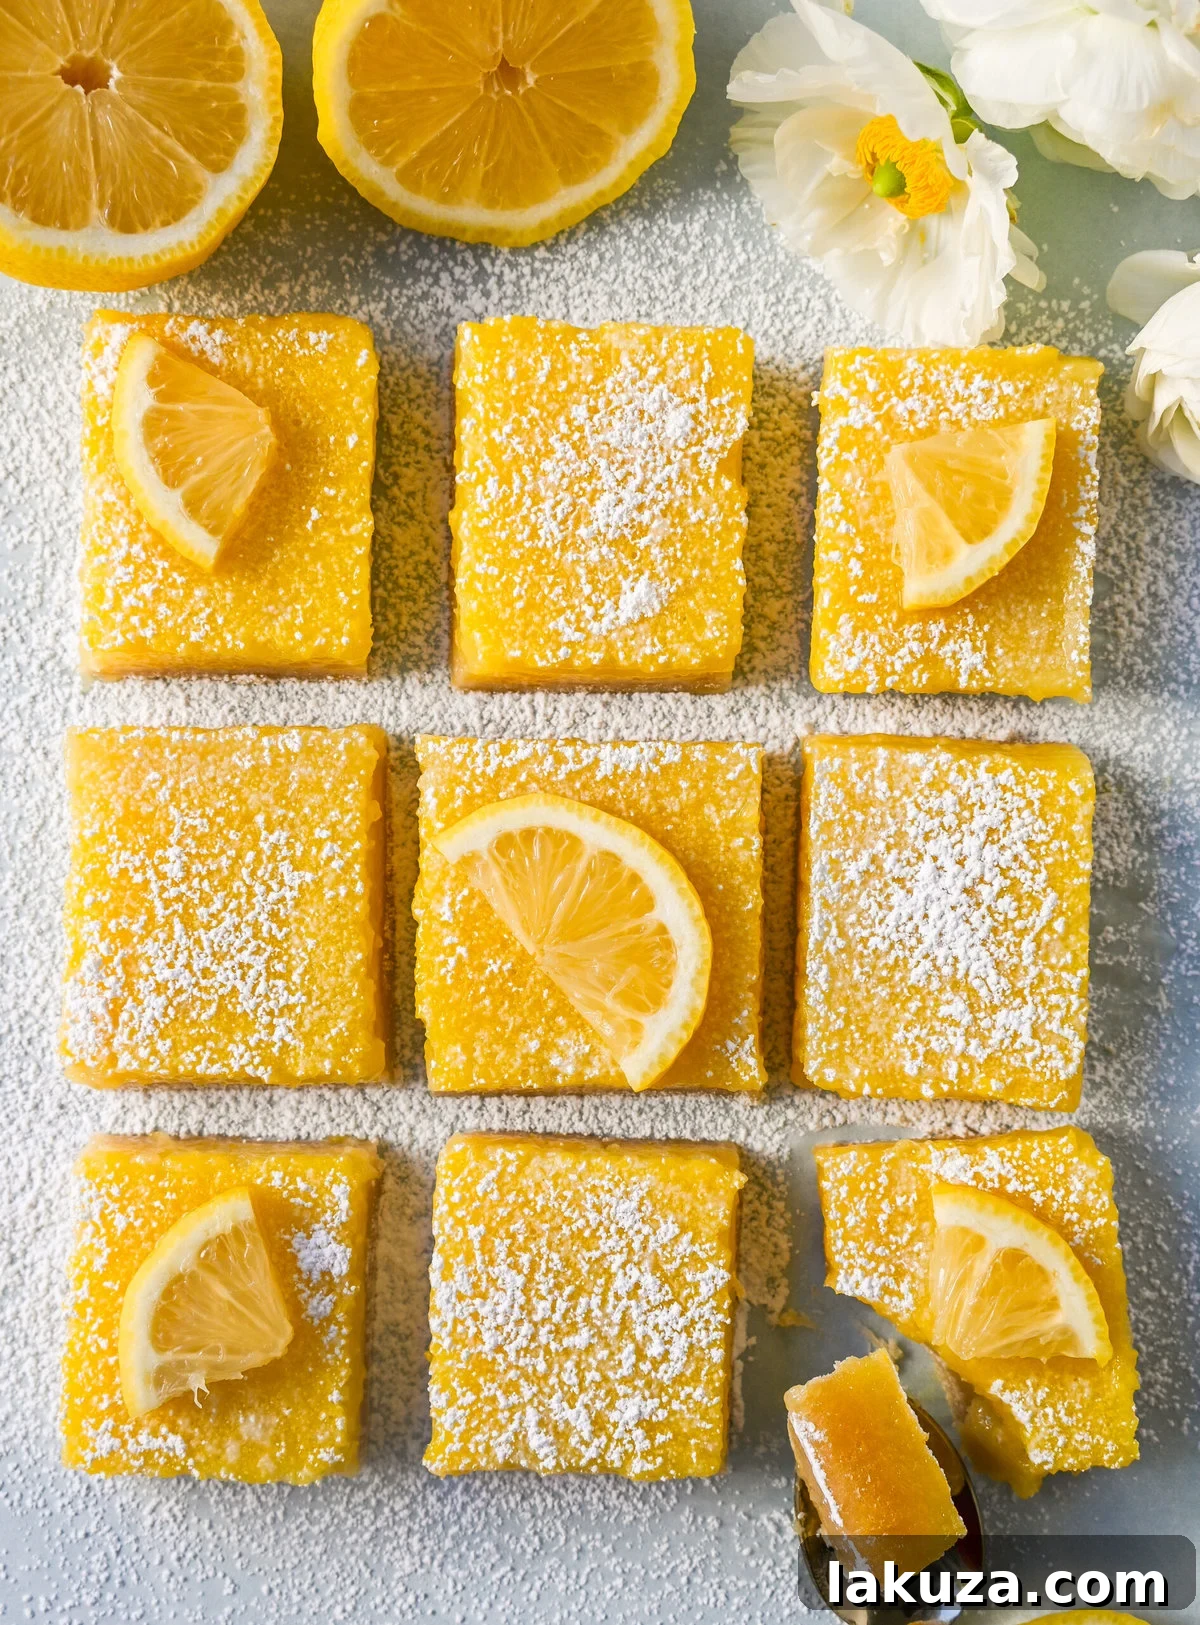
Lemon squares, affectionately known as lemon bars, have been a cherished staple in my kitchen for as long as I can recall. Growing up with a mother who adored lemon desserts meant our home was a constant testing ground for all manner of citrusy delights. Among them, lemon bars always reigned supreme, offering a perfect harmony of sweet and tart that captivated our taste buds.
Our culinary journey with lemons took a personal turn several years ago when we planted a lemon tree in our backyard. The anticipation of its first harvest felt like an eternity, but this year, our patience was richly rewarded. We celebrated a truly bountiful crop, and there’s immense joy in stepping outside to pick plump, juicy lemons straight from our own tree, knowing they’ll soon transform into something extraordinary.
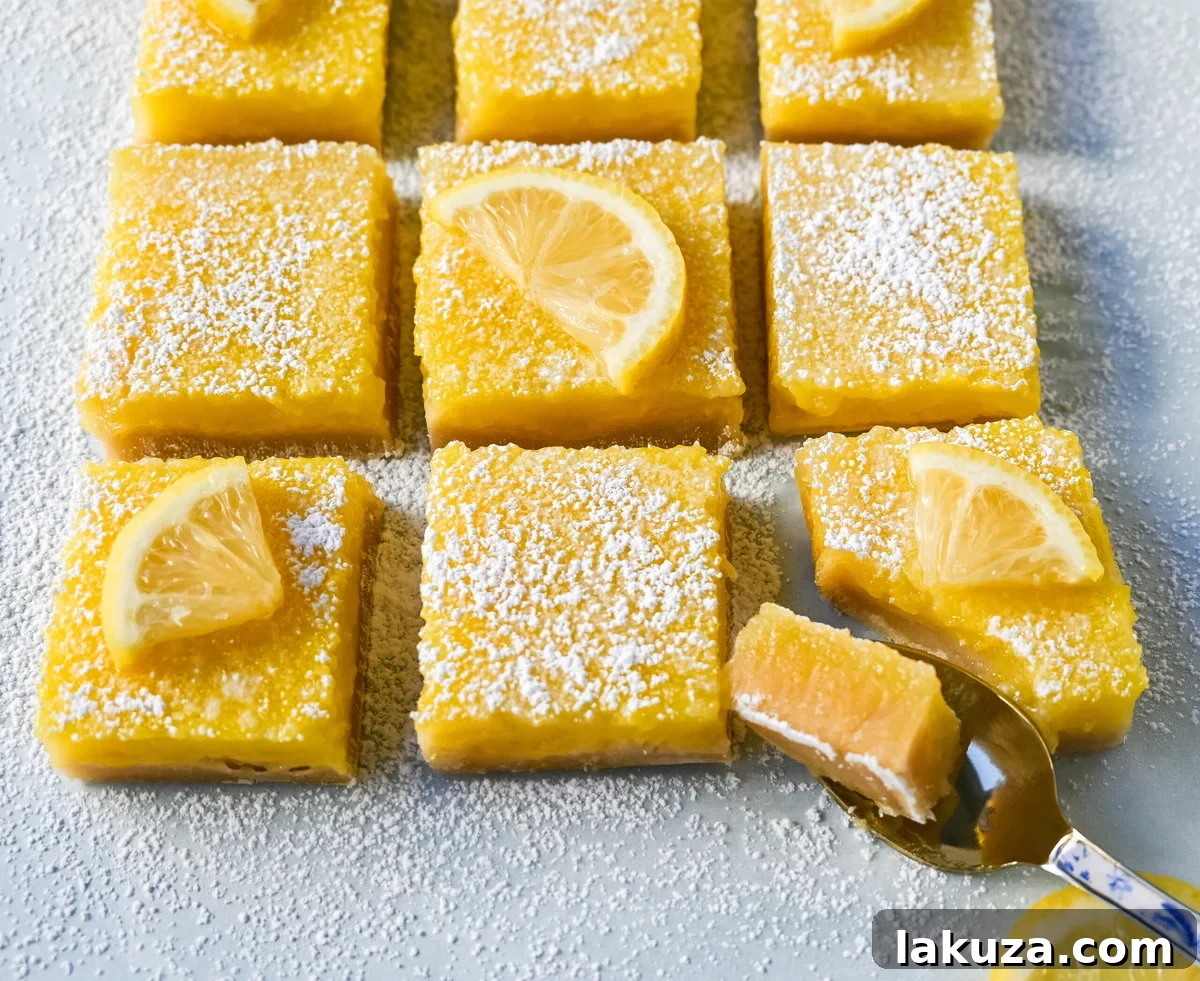
Why These Homemade Lemon Bars Will Become Your Go-To Dessert
For anyone who appreciates the bright, invigorating flavor of lemon, these easy lemon bars with their distinct shortbread crust are an absolute must-try. They offer a simple yet sophisticated dessert experience that truly highlights the magic of fresh lemons.
The cornerstone of truly exceptional lemon bars lies in their intensely fresh and tangy lemon flavor. This is precisely why the homemade lemon curd filling in this recipe is paramount to its success. I’ve sampled countless lemon bar recipes over the years, only to be disappointed by fillings that offer merely a hint of lemon. Our recipe ensures a vibrant, zesty burst that truly shines, making it unforgettable.
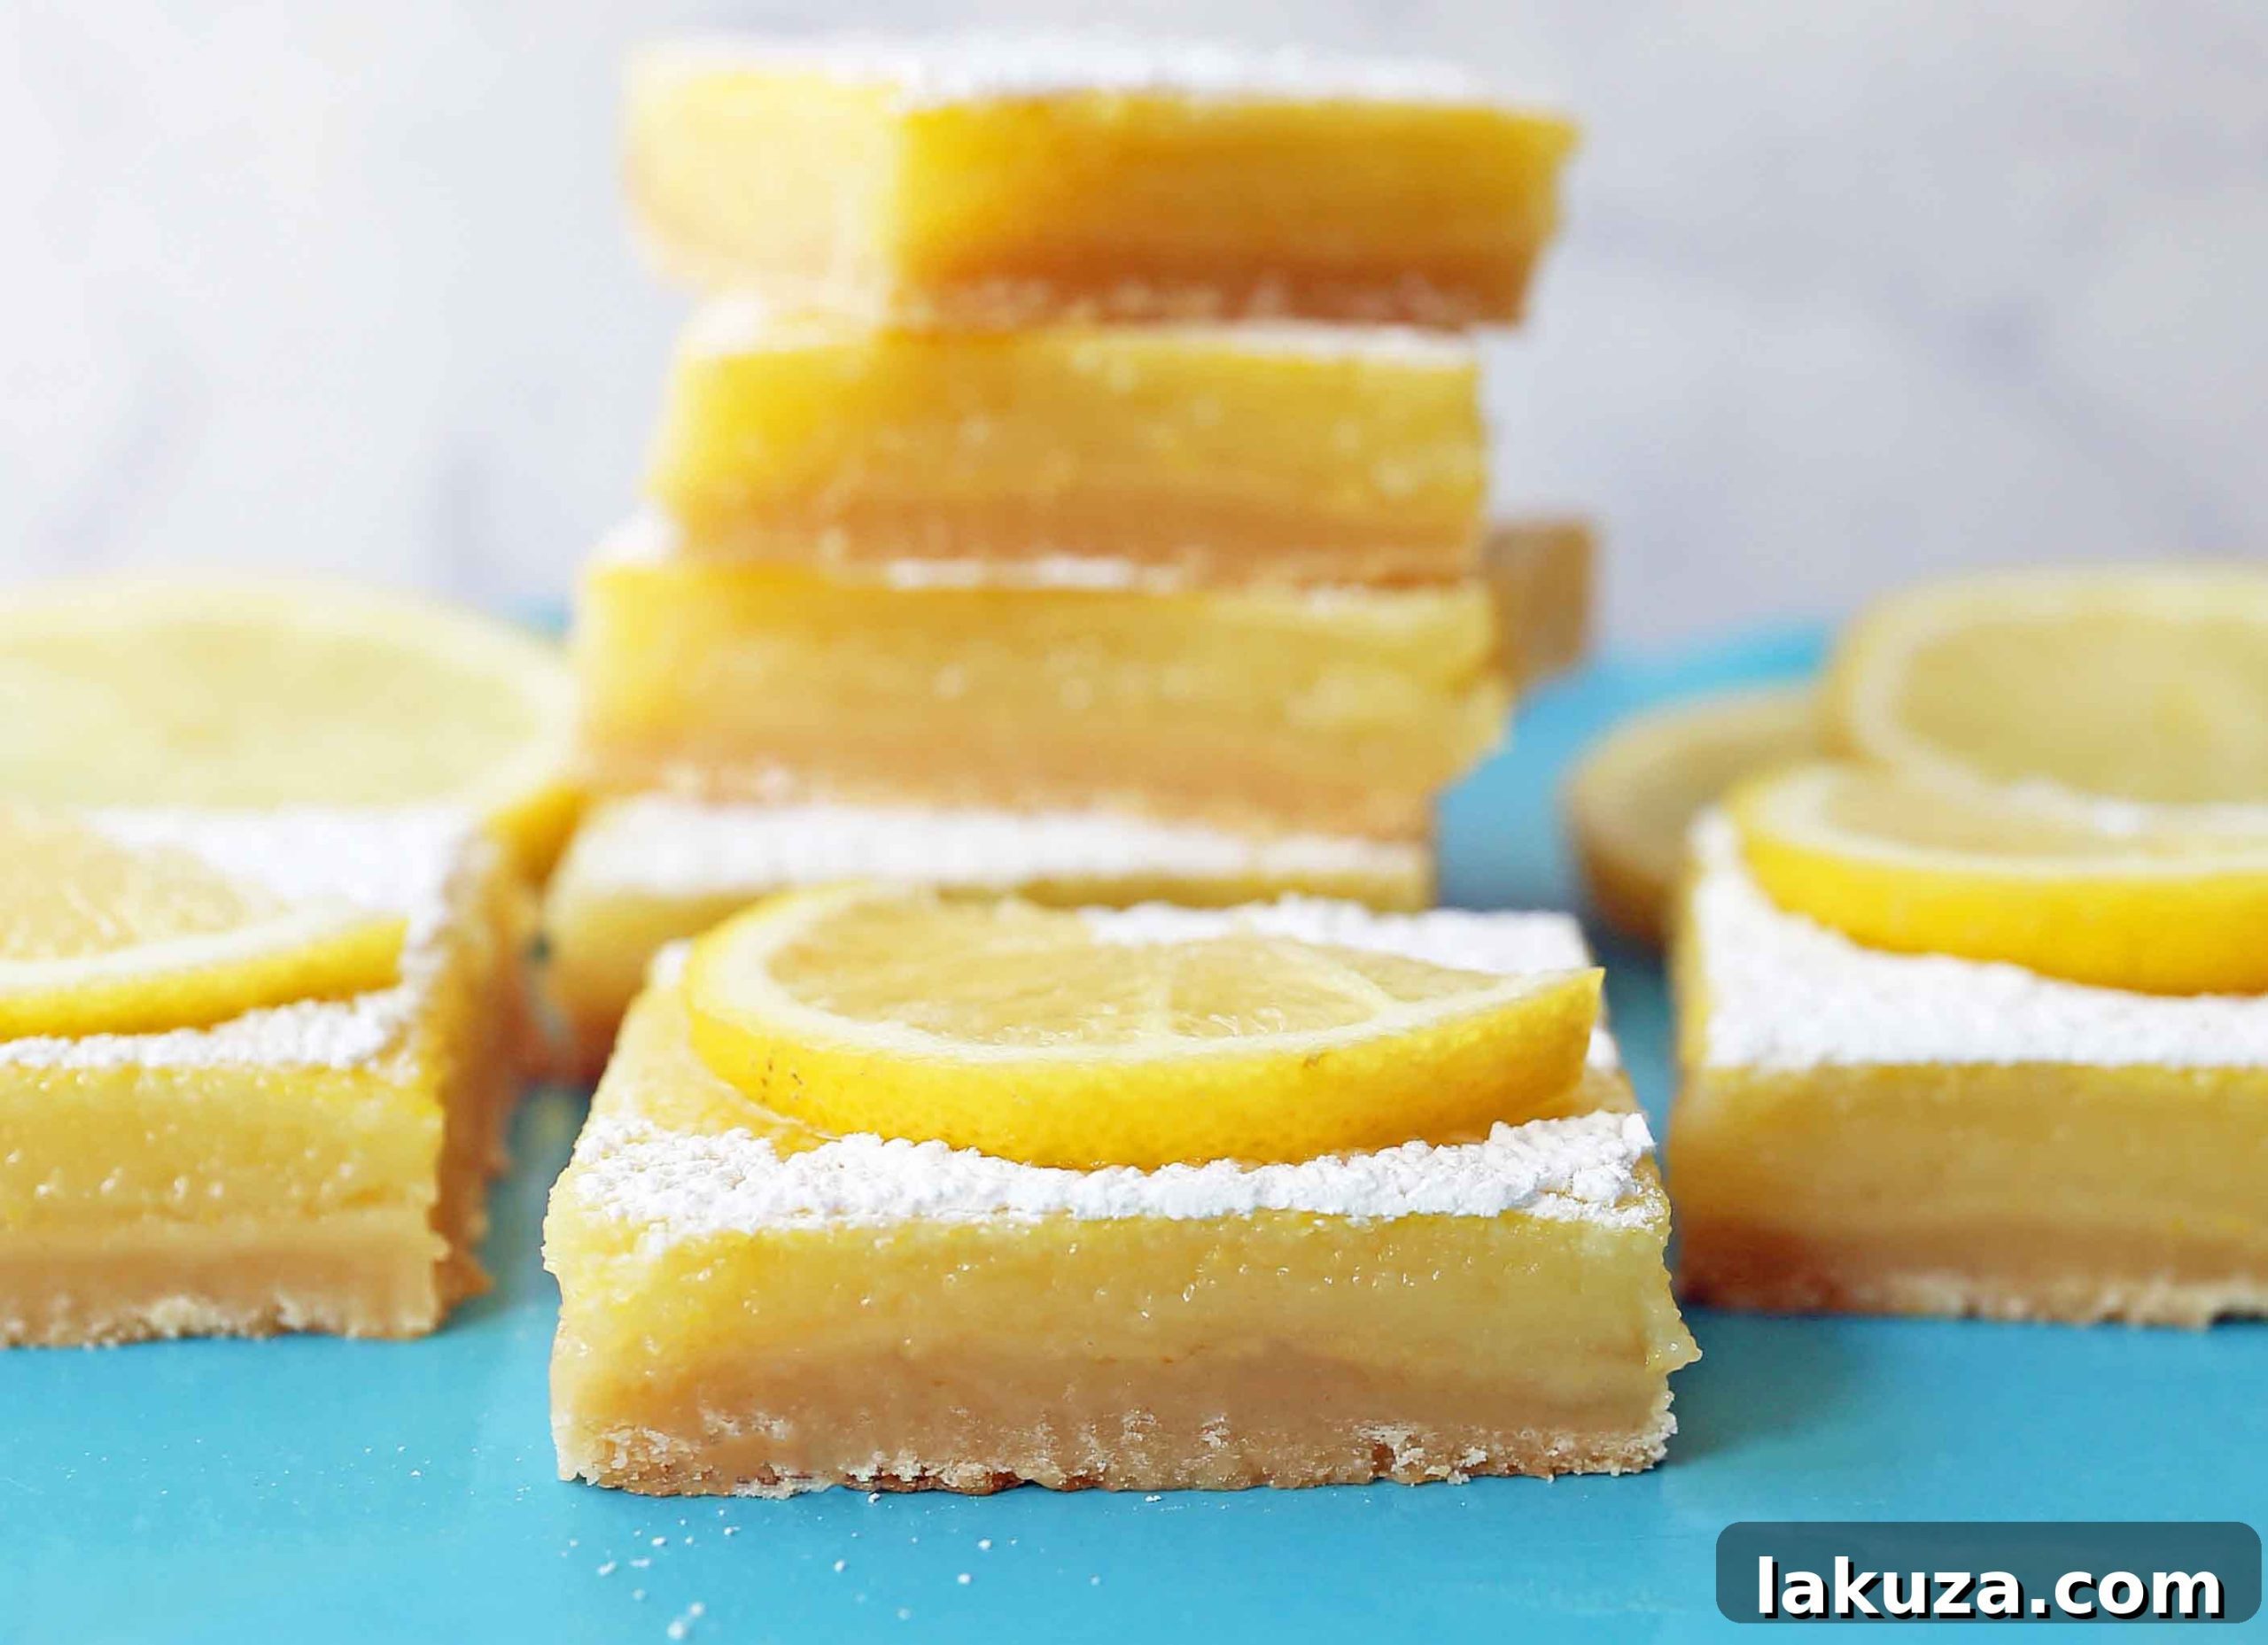
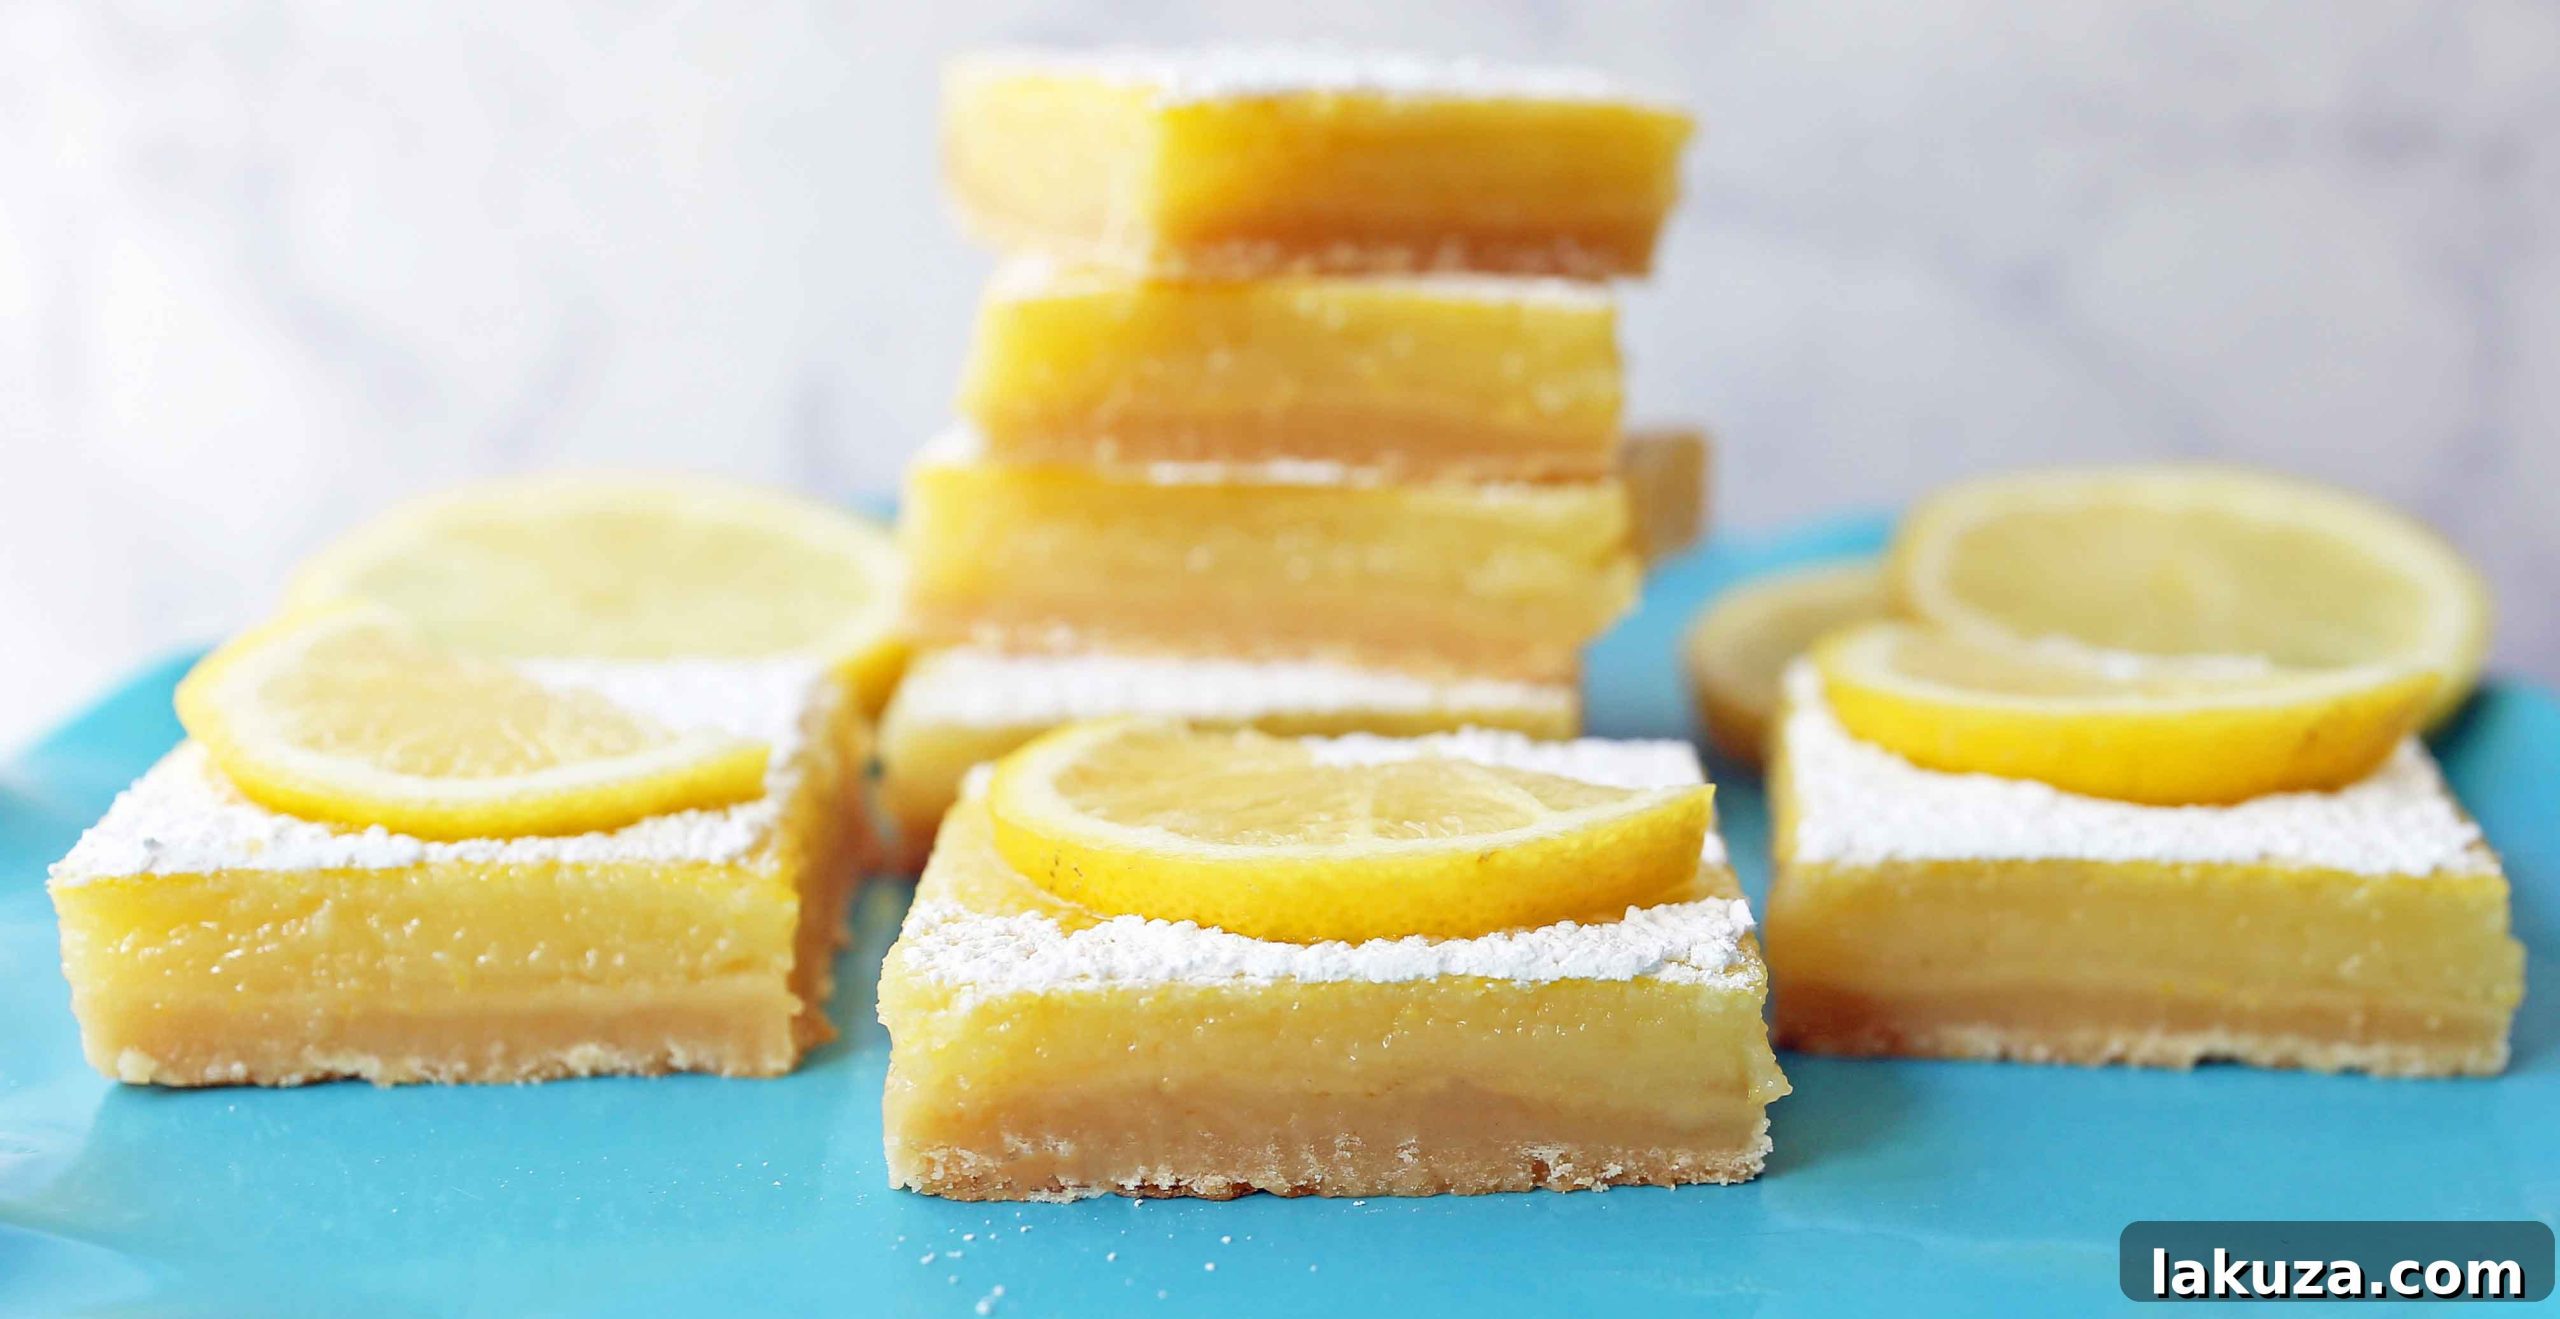
Equally important to the classic lemon bar experience is the foundation: the shortbread crust. It must be rich, impeccably buttery, and possess enough structure to hold its shape while providing a tender crumb. The delicate balance of butter and flour creates a crust that is both sturdy and flaky, forming a divine counterpoint to the luscious, tart lemon filling. This textural and flavor contrast is what elevates these lemon bars from good to truly magnificent.
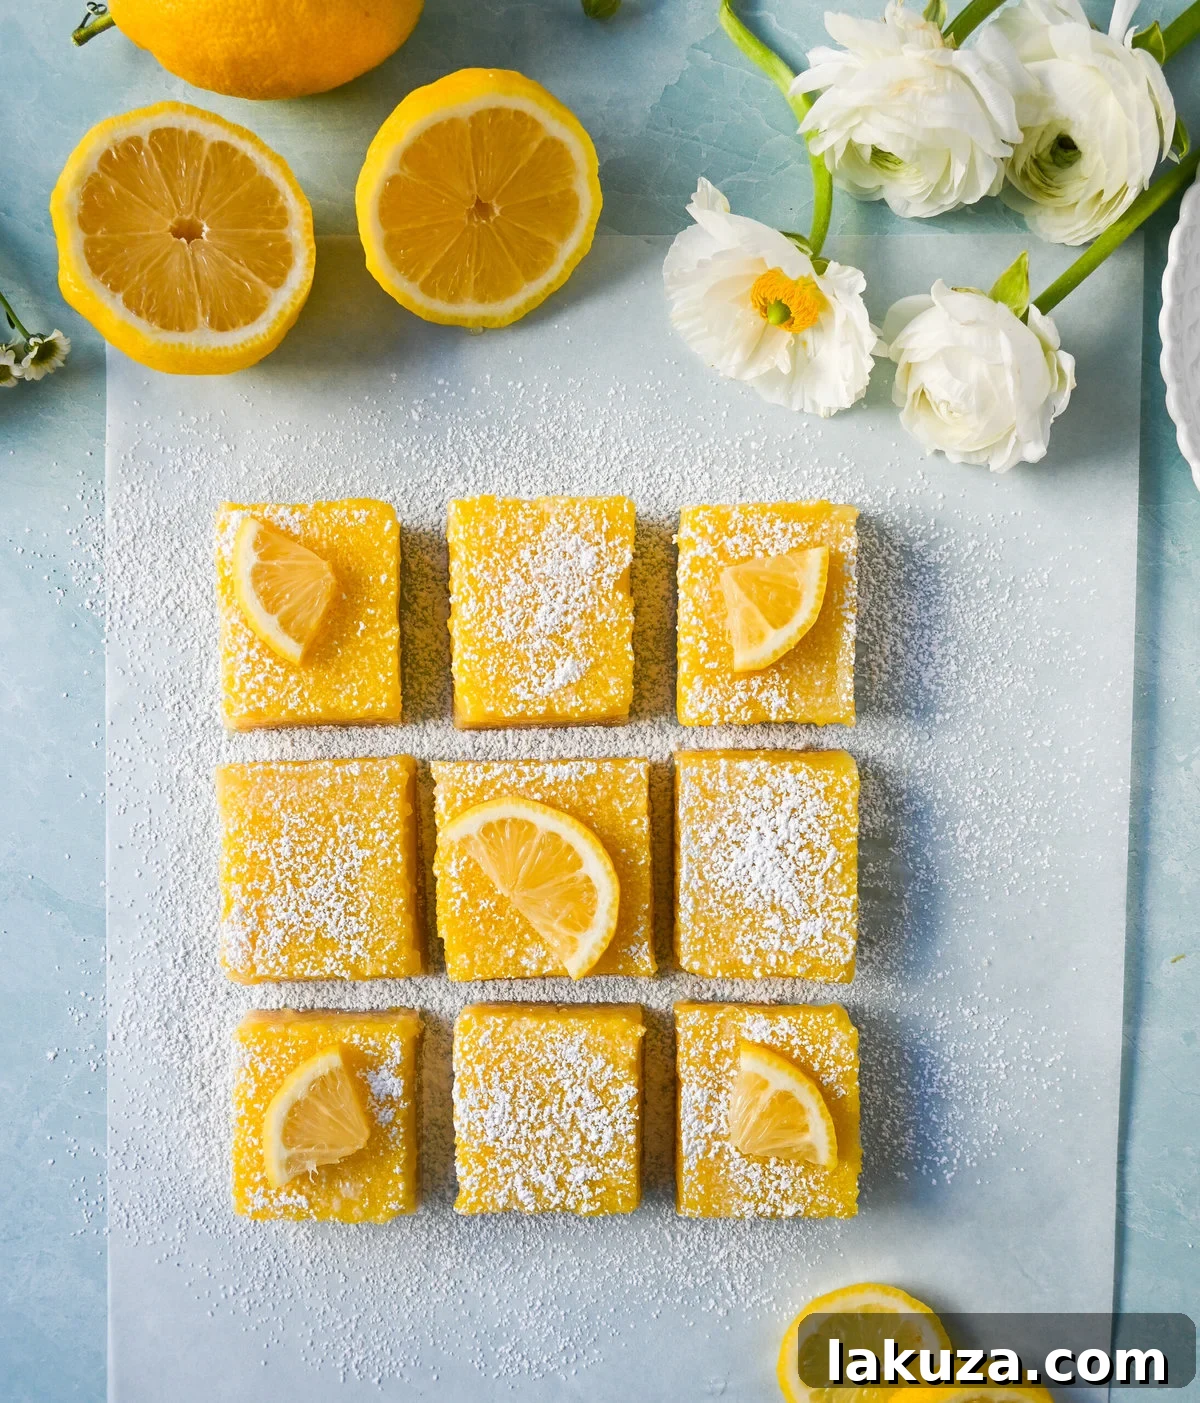
Essential Ingredients for Perfect Lemon Bars
Crafting these delectable lemon bars requires two distinct but equally important components: the buttery shortbread crust and the vibrant lemon curd filling. Each component relies on a handful of simple, high-quality ingredients to achieve its perfect texture and flavor profile.
For the Buttery Shortbread Crust:
Our classic shortbread crust is built on a foundation of just five key ingredients: butter, sugar, flour, salt, and a touch of vanilla. The secret to its melt-in-your-mouth texture lies in the precise ratio of butter to flour. Too little butter, and the crust becomes dry and overly crumbly; too much, and it might be greasy. We aim for a balance that yields a rich, tender, and subtly flaky crust that holds its shape beautifully.
- Butter: For the finest flavor and texture, I highly recommend using a good-quality unsalted butter. If you opt for salted butter, remember to reduce the amount of added salt to ¼ teaspoon to maintain the desired flavor balance.
- Flour: Standard all-purpose flour is ideal for this recipe, providing the necessary structure without making the crust tough.
- Granulated Sugar: Sweetens the crust and contributes to its crisp texture.
- Salt: A crucial ingredient that enhances all other flavors, preventing the crust from tasting bland.
- Vanilla Extract: Adds a warm, aromatic depth that complements the buttery notes of the shortbread. For an adventurous twist, almond or lemon extract can also be used.
For the Zesty Lemon Curd Filling:
The star of our lemon bars is undoubtedly the homemade lemon curd filling, which remarkably requires only four ingredients: freshly squeezed lemon juice, eggs, sugar, and a hint of flour for perfect thickening. This recipe generously calls for a significant amount of lemon juice, ensuring that the filling delivers an unmistakably bright and tangy punch. Given that lemons are the headline ingredient, using fresh lemon juice is not just recommended, it’s absolutely essential for an unparalleled flavor.
- Fresh Lemon Juice: This is non-negotiable! Freshly squeezed lemon juice is paramount. It provides an incomparable vibrant, zesty, and authentically citrusy taste that bottled juices simply cannot replicate. Aim for about 4-5 medium lemons to get the required amount.
- Granulated Sugar: Balances the intense tartness of the lemon juice, creating a perfectly sweet-tart profile.
- Eggs: Act as the primary thickener and emulsifier for the curd, giving it its signature smooth, creamy texture.
- All-Purpose Flour: A small amount of flour helps to stabilize and thicken the curd, ensuring it sets properly without being rubbery.

How to Make the Best Lemon Bars: A Step-by-Step Guide
Creating these exquisite lemon bars is a straightforward process, broken down into a few simple stages. Follow these instructions carefully to ensure a truly spectacular dessert every time.
- Prepare the Shortbread Crust: Begin by preheating your oven to 325°F (160°C). Line a 9×13 inch baking pan with parchment paper, allowing it to overhang slightly on the sides. This simple step is crucial for easy removal of the finished bars. In a medium bowl, combine the melted butter, granulated sugar, all-purpose flour, vanilla extract (or your preferred extract), and salt. Stir until a soft dough forms. Press this dough evenly into the bottom of the prepared pan. Bake for 18-20 minutes, or until the edges are lightly golden.
- Whip Up the Tangy Lemon Filling: While your crust is par-baking, prepare the lemon curd filling. In a separate medium bowl, whisk together the large eggs, granulated sugar, fresh lemon juice, and the small amount of flour until the mixture is completely smooth and free of lumps. For an extra velvety smooth filling, you can briefly blend the mixture in a blender. Once the shortbread crust has finished its initial bake, carefully pour the lemon filling evenly over the hot crust in the pan.
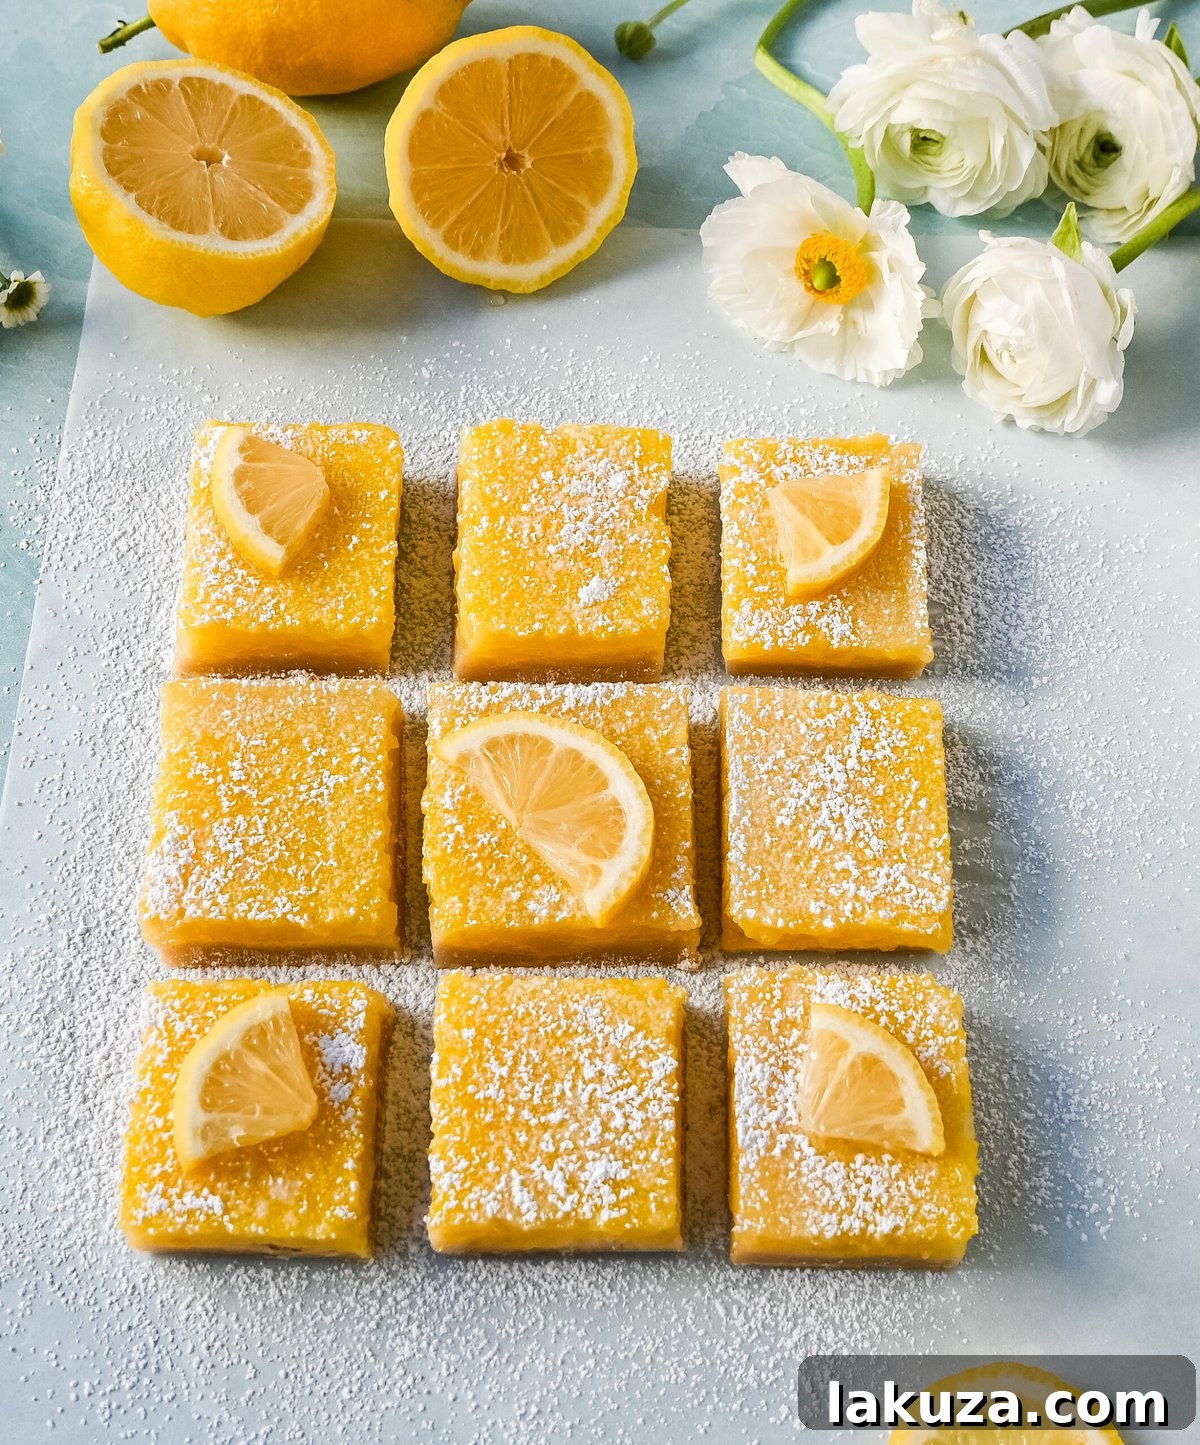
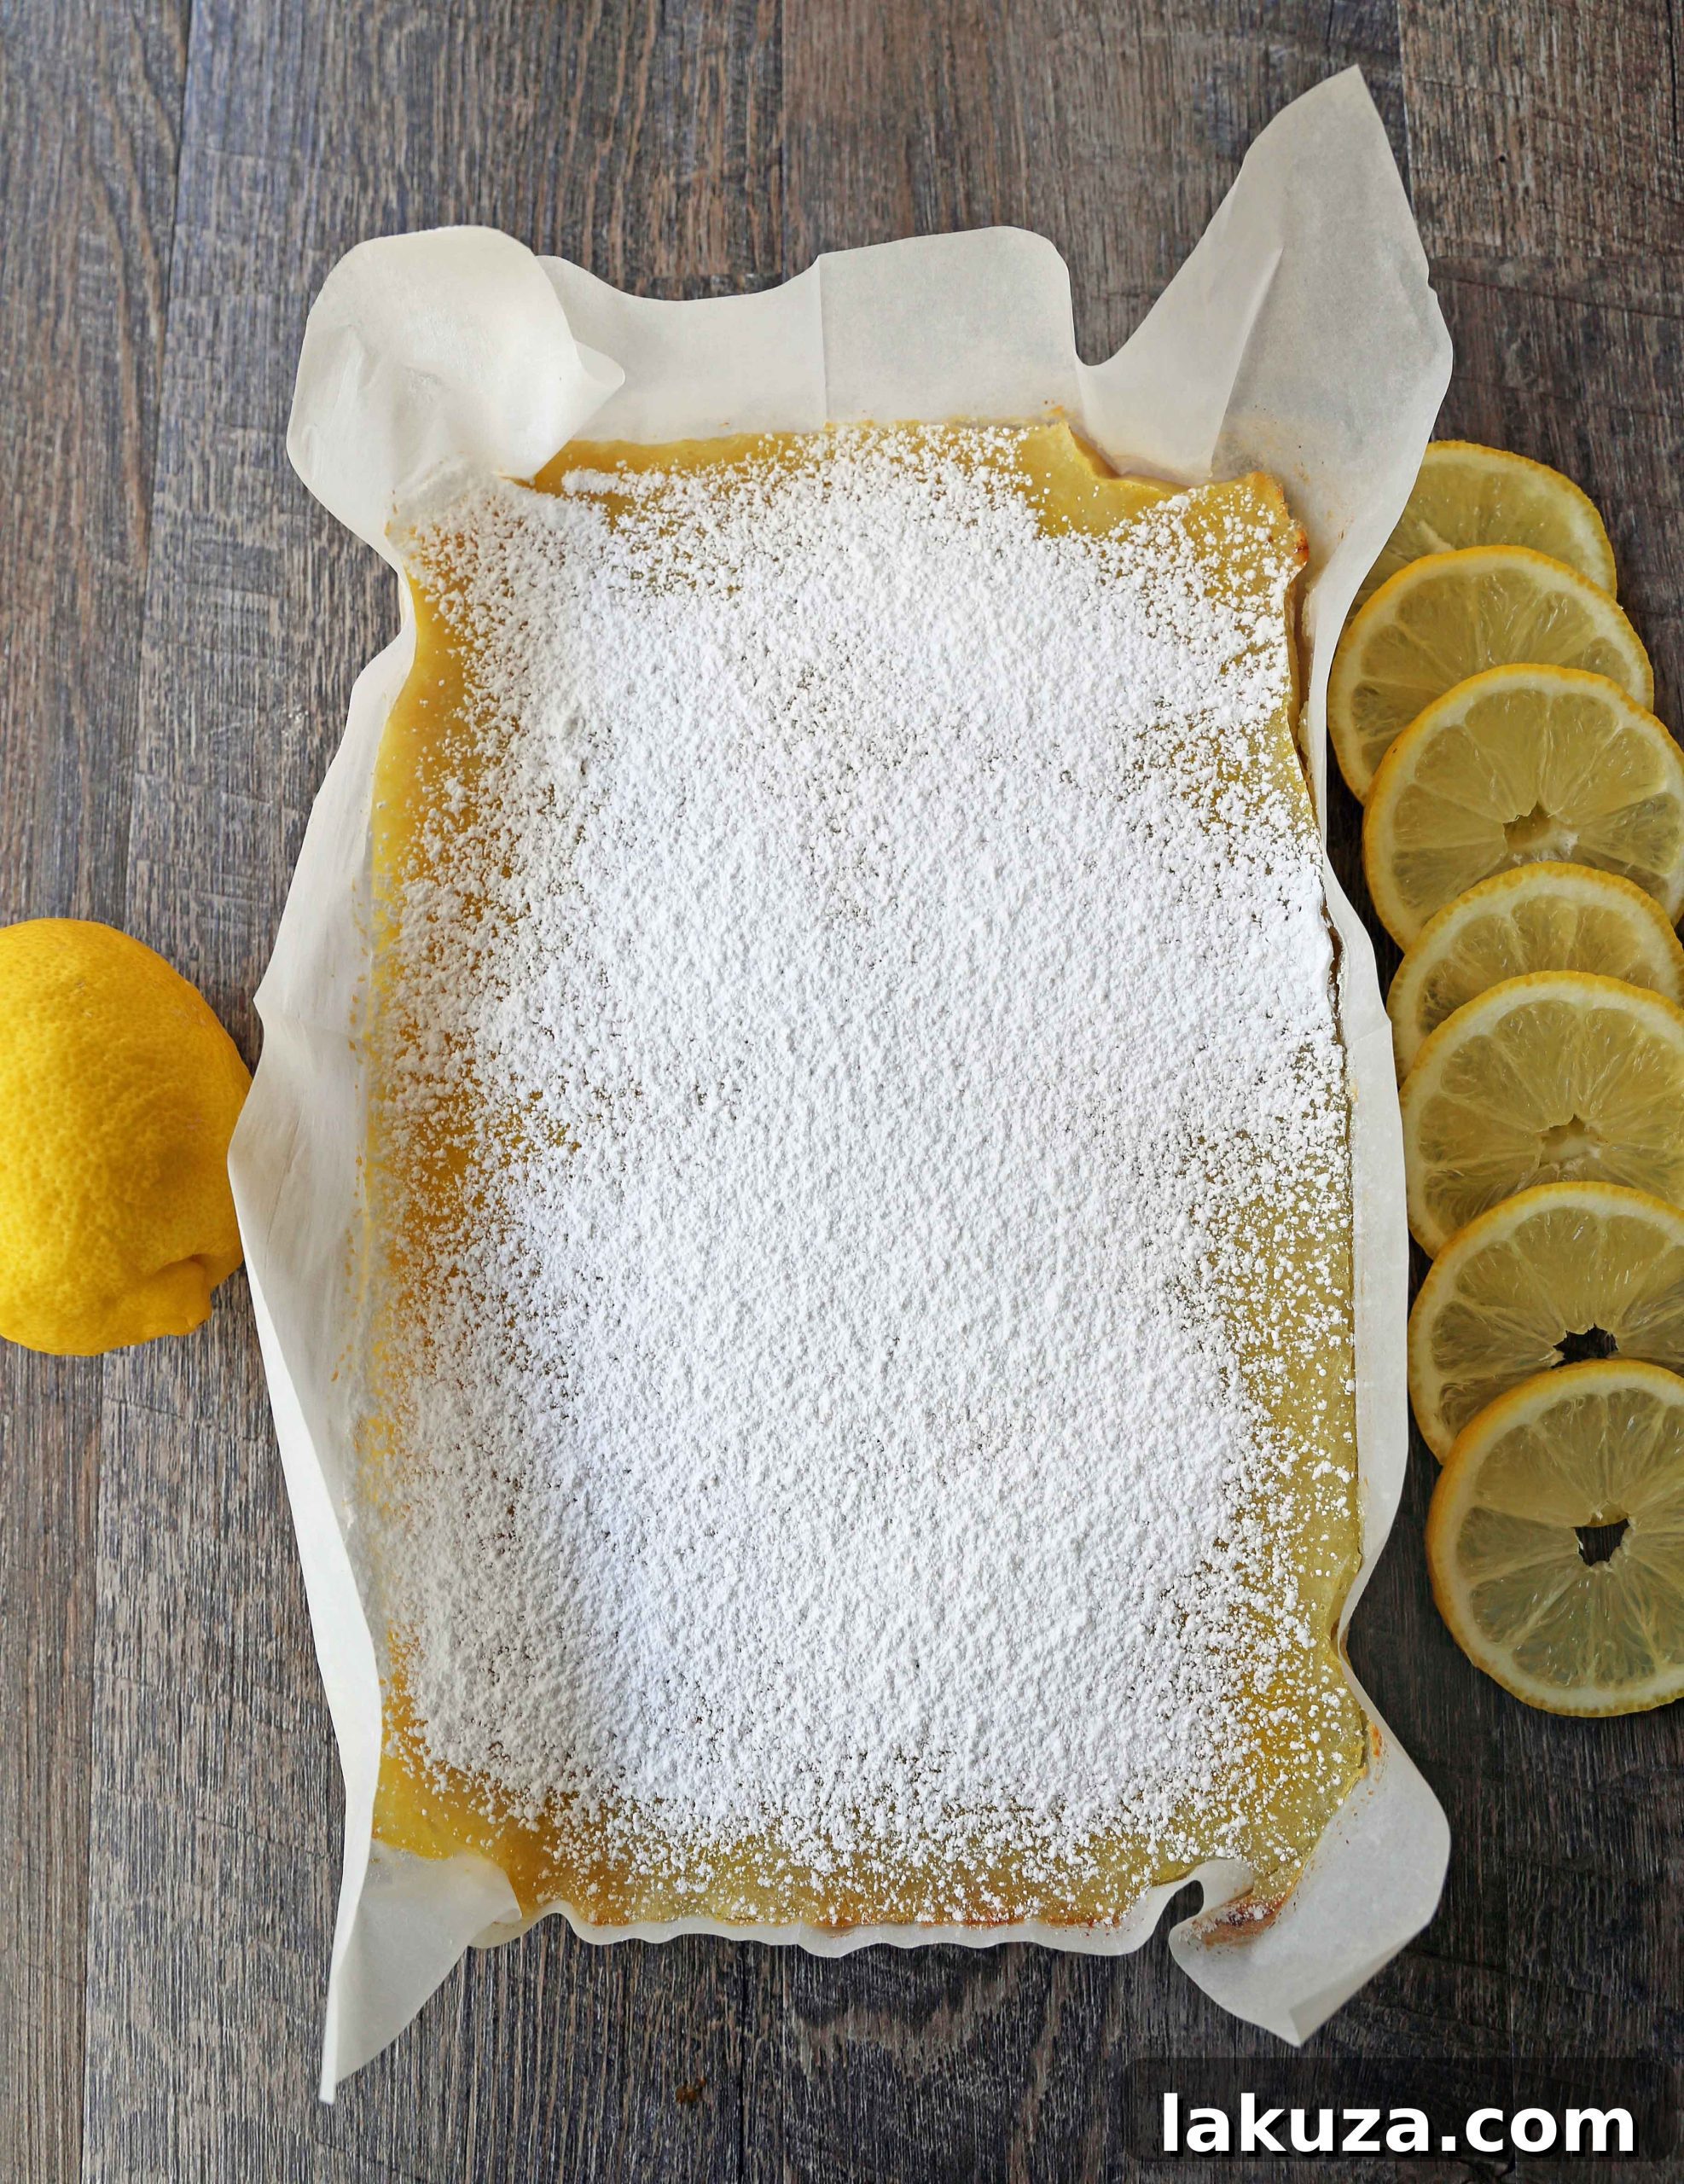
- Bake and Chill to Perfection: Return the pan to the oven and bake for an additional 20-24 minutes. It’s important not to overbake the lemon bars; the center should still have a slight jiggle when gently shaken, as it will continue to set as it cools. Once baked, remove the pan from the oven and allow the bars to cool completely to room temperature on a wire rack. This cooling period is vital. After reaching room temperature, transfer the pan to the refrigerator and chill for at least 2-3 hours, or preferably overnight. Chilling is essential for the filling to fully set and for the flavors to meld beautifully. Once thoroughly chilled, use the parchment paper overhangs to lift the entire slab of lemon bars from the pan. Sprinkle generously with powdered sugar for a lovely finish and then cut into neat squares using a sharp knife.
Expert Tips for Lemon Bar Success
Achieving the perfect lemon bar is simple with a few insider tips. Here’s how to ensure your bars are consistently delicious:
Choosing Your Lemons Wisely
The quality of your lemons directly impacts the flavor of your bars. Opt for ripe, firm lemons that feel heavy for their size, indicating they are full of juice. Roll the lemons on the counter before juicing to maximize yield, and consider using a fine grater to incorporate some lemon zest into the filling for an even more intense citrus aroma and flavor.
Achieving the Ideal Crust Texture
While the recipe calls for melted butter, ensure it’s not scorching hot when mixing, as this can affect the flour. Press the shortbread dough firmly and evenly into the pan to create a dense, stable crust that won’t crumble excessively when sliced. Par-baking the crust is crucial; it helps prevent a soggy bottom and gives it that perfect crispness.
Preventing a Runny Filling
Precision in measurement, especially for the flour and eggs, is key. Ensure your eggs are large, as discrepancies can impact the setting. Do not overmix the filling once the flour is added; just combine until smooth. The baking time is also critical – a slight jiggle in the center is good, but if it’s too liquid, it needs more time. The chilling process is equally important for setting.
The Art of Cooling and Slicing
Patience is a virtue when it comes to lemon bars. Allowing them to cool completely at room temperature before refrigerating helps the filling solidify gradually. Rushing this can lead to a less stable, softer set. Once thoroughly chilled, a sharp, warm knife (wiped clean between cuts) will help you achieve perfectly clean, professional-looking squares.
Common Questions About Lemon Bars (FAQs)
Are lemon squares best served chilled?
Absolutely! For optimal flavor and a beautifully firm texture, lemon bars are best served chilled. Since this recipe features a luscious lemon curd, refrigeration allows the filling to fully set and develop its intense, refreshing taste.
Can I use bottled lemon juice instead of fresh?
While bottled lemon juice can be used in a pinch, fresh lemon juice is unequivocally recommended for the best flavor. Bottled varieties often lack the bright, vibrant, and complex citrus notes that only freshly squeezed lemons can provide, making a significant difference in the final taste of your bars.
How to add extra sweetness and enhance presentation to lemon squares?
A simple yet elegant way to add a touch of extra sweetness and enhance the visual appeal of your lemon squares is to generously sprinkle them with powdered sugar just before serving. For a delicate, even coating, I highly recommend using a sifter, fine sieve, or strainer. This creates a beautiful, snow-dusted finish that hints at the delightful treat beneath.
Why is my lemon filling too runny?
A runny lemon filling can be disappointing, but it’s usually easily fixable. Ensure you’ve followed the ingredient measurements, especially for eggs and flour, accurately. The most common reasons are underbaking or insufficient chilling time. The filling should have a slight wobble when it comes out of the oven, but it will fully set during the crucial cooling and chilling process in the refrigerator. Make sure to allow several hours, or even overnight, for proper setting.
Can I Make Lemon Bars Ahead of Time?
Absolutely! Lemon bars are an excellent make-ahead dessert. In fact, their flavor often deepens and their texture becomes even more appealing after a day or two in the refrigerator. Prepare them a day in advance for effortless entertaining or a convenient treat. Store them covered in the refrigerator until ready to serve.
Freezing Lemon Bars for Later Enjoyment
Lemon bars can be frozen for longer storage. Once fully chilled and cut into squares, place them in a single layer on a baking sheet and freeze until firm (about 1-2 hours). Then, transfer the frozen bars to an airtight container, separating layers with parchment paper to prevent sticking. They can be stored in the freezer for up to 2-3 months. Thaw them in the refrigerator overnight before serving.
Storage: Keeping Your Lemon Bars Fresh
Given that these delightful lemon bars are made with a fresh, egg-based lemon curd filling, proper storage is essential to maintain their quality and safety. Always store them covered tightly in an airtight container in the refrigerator. They will remain fresh and delicious for up to 3-5 days. For the best taste and texture, serve them directly from the fridge.
We cherish hearing from you! If you decide to make this recipe, please share your thoughts by leaving a comment and rating the recipe below. Don’t forget to sign up for my newsletter so you never miss out on new delicious recipes. Thank you for following along on this culinary journey!
FOLLOW ME ON: INSTAGRAM — FACEBOOK — PINTEREST
More Irresistible Lemon Dessert Recipes:
Lemon Cream Pie
Best Lemon Loaf Bread
Frosted Lemon Cookies
Lemon Raspberry Cake


Print Recipe
The Best Classic Lemon Bars
15 minutes
40 minutes
55 minutes
24 bars
Equipment
-
9 x 13 baking pan
-
Mixing Bowl Set
-
Measuring Cups and Spoons
-
Spatula Set
Ingredients
Shortbread Crust:
- 1 cup Butter (melted)
- 1/2 cup Granulated Sugar
- 2 1/4 cups + 1 Tablespoon All-Purpose Flour
- 1-2 teaspoons Vanilla, Almond, or Lemon Extract
- 1/2 teaspoon Salt
Lemon Filling:
- 5 large Eggs
- 2 cups Granulated Sugar
- 3/4 cup Fresh Lemon Juice (about 4-5 lemons)
- 1/3 cup All-Purpose Flour
Instructions
-
Preheat oven to 325°F (160°C). Line the bottom and sides of a 9 x 13 inch pan with parchment paper, letting it overhang slightly for easy removal.
-
In a small bowl, stir together melted butter, granulated sugar, all-purpose flour, vanilla extract (or chosen extract), and salt until combined. Press evenly into the prepared pan. Bake for 18-20 minutes, or until lightly golden.
-
While the crust bakes, prepare the lemon filling. In a medium bowl, whisk together large eggs, granulated sugar, fresh lemon juice, and all-purpose flour until completely smooth. Once the crust is par-baked, carefully pour the lemon filling over the hot crust and return to the oven.
-
Bake for 20-24 minutes. Avoid overbaking; the center should still have a slight jiggle. Let cool completely to room temperature. Then, chill thoroughly in the refrigerator for at least 2-3 hours, or overnight, for the best texture and flavor. The lemon bars taste best when perfectly chilled. Sprinkle generously with powdered sugar before cutting into squares and serving.
Notes
For more frequently asked questions and detailed notes, please refer to the main recipe post above.
Nutrition Information (per serving)
Carbohydrates: 40g
Protein: 4g
Fat: 9g
Saturated Fat: 5g
Polyunsaturated Fat: 1g
Monounsaturated Fat: 2g
Trans Fat: 0.3g
Cholesterol: 59mg
Sodium: 125mg
Potassium: 51mg
Fiber: 1g
Sugar: 21g
Vitamin A: 293IU
Vitamin C: 3mg
Calcium: 12mg
Iron: 1mg
Nutrition information is automatically calculated and should only be used as an approximation.
Additional Info
Dessert
American
24 servings
254
lemon bars, lemon dessert, shortbread crust
Enjoyed this recipe? Share your thoughts below!
Jump to Comments