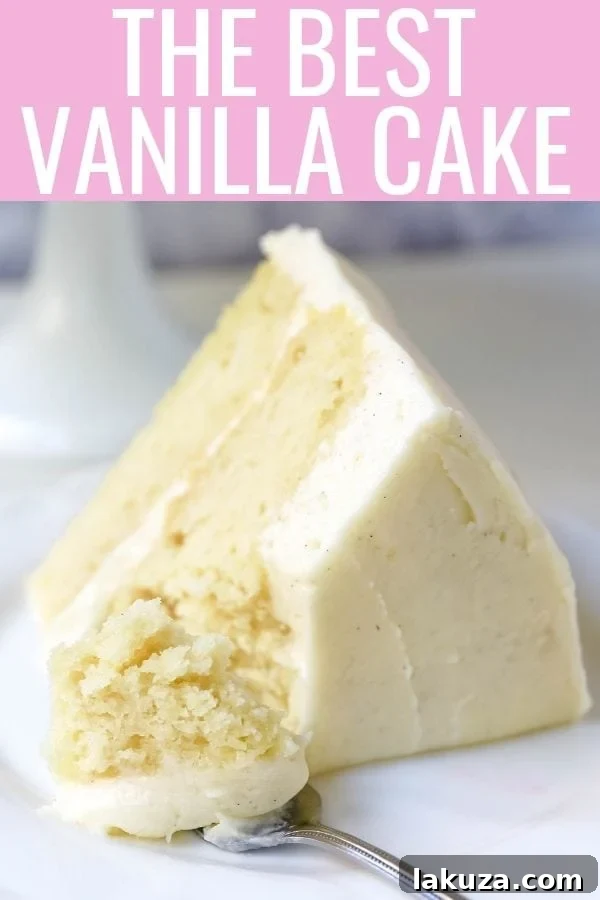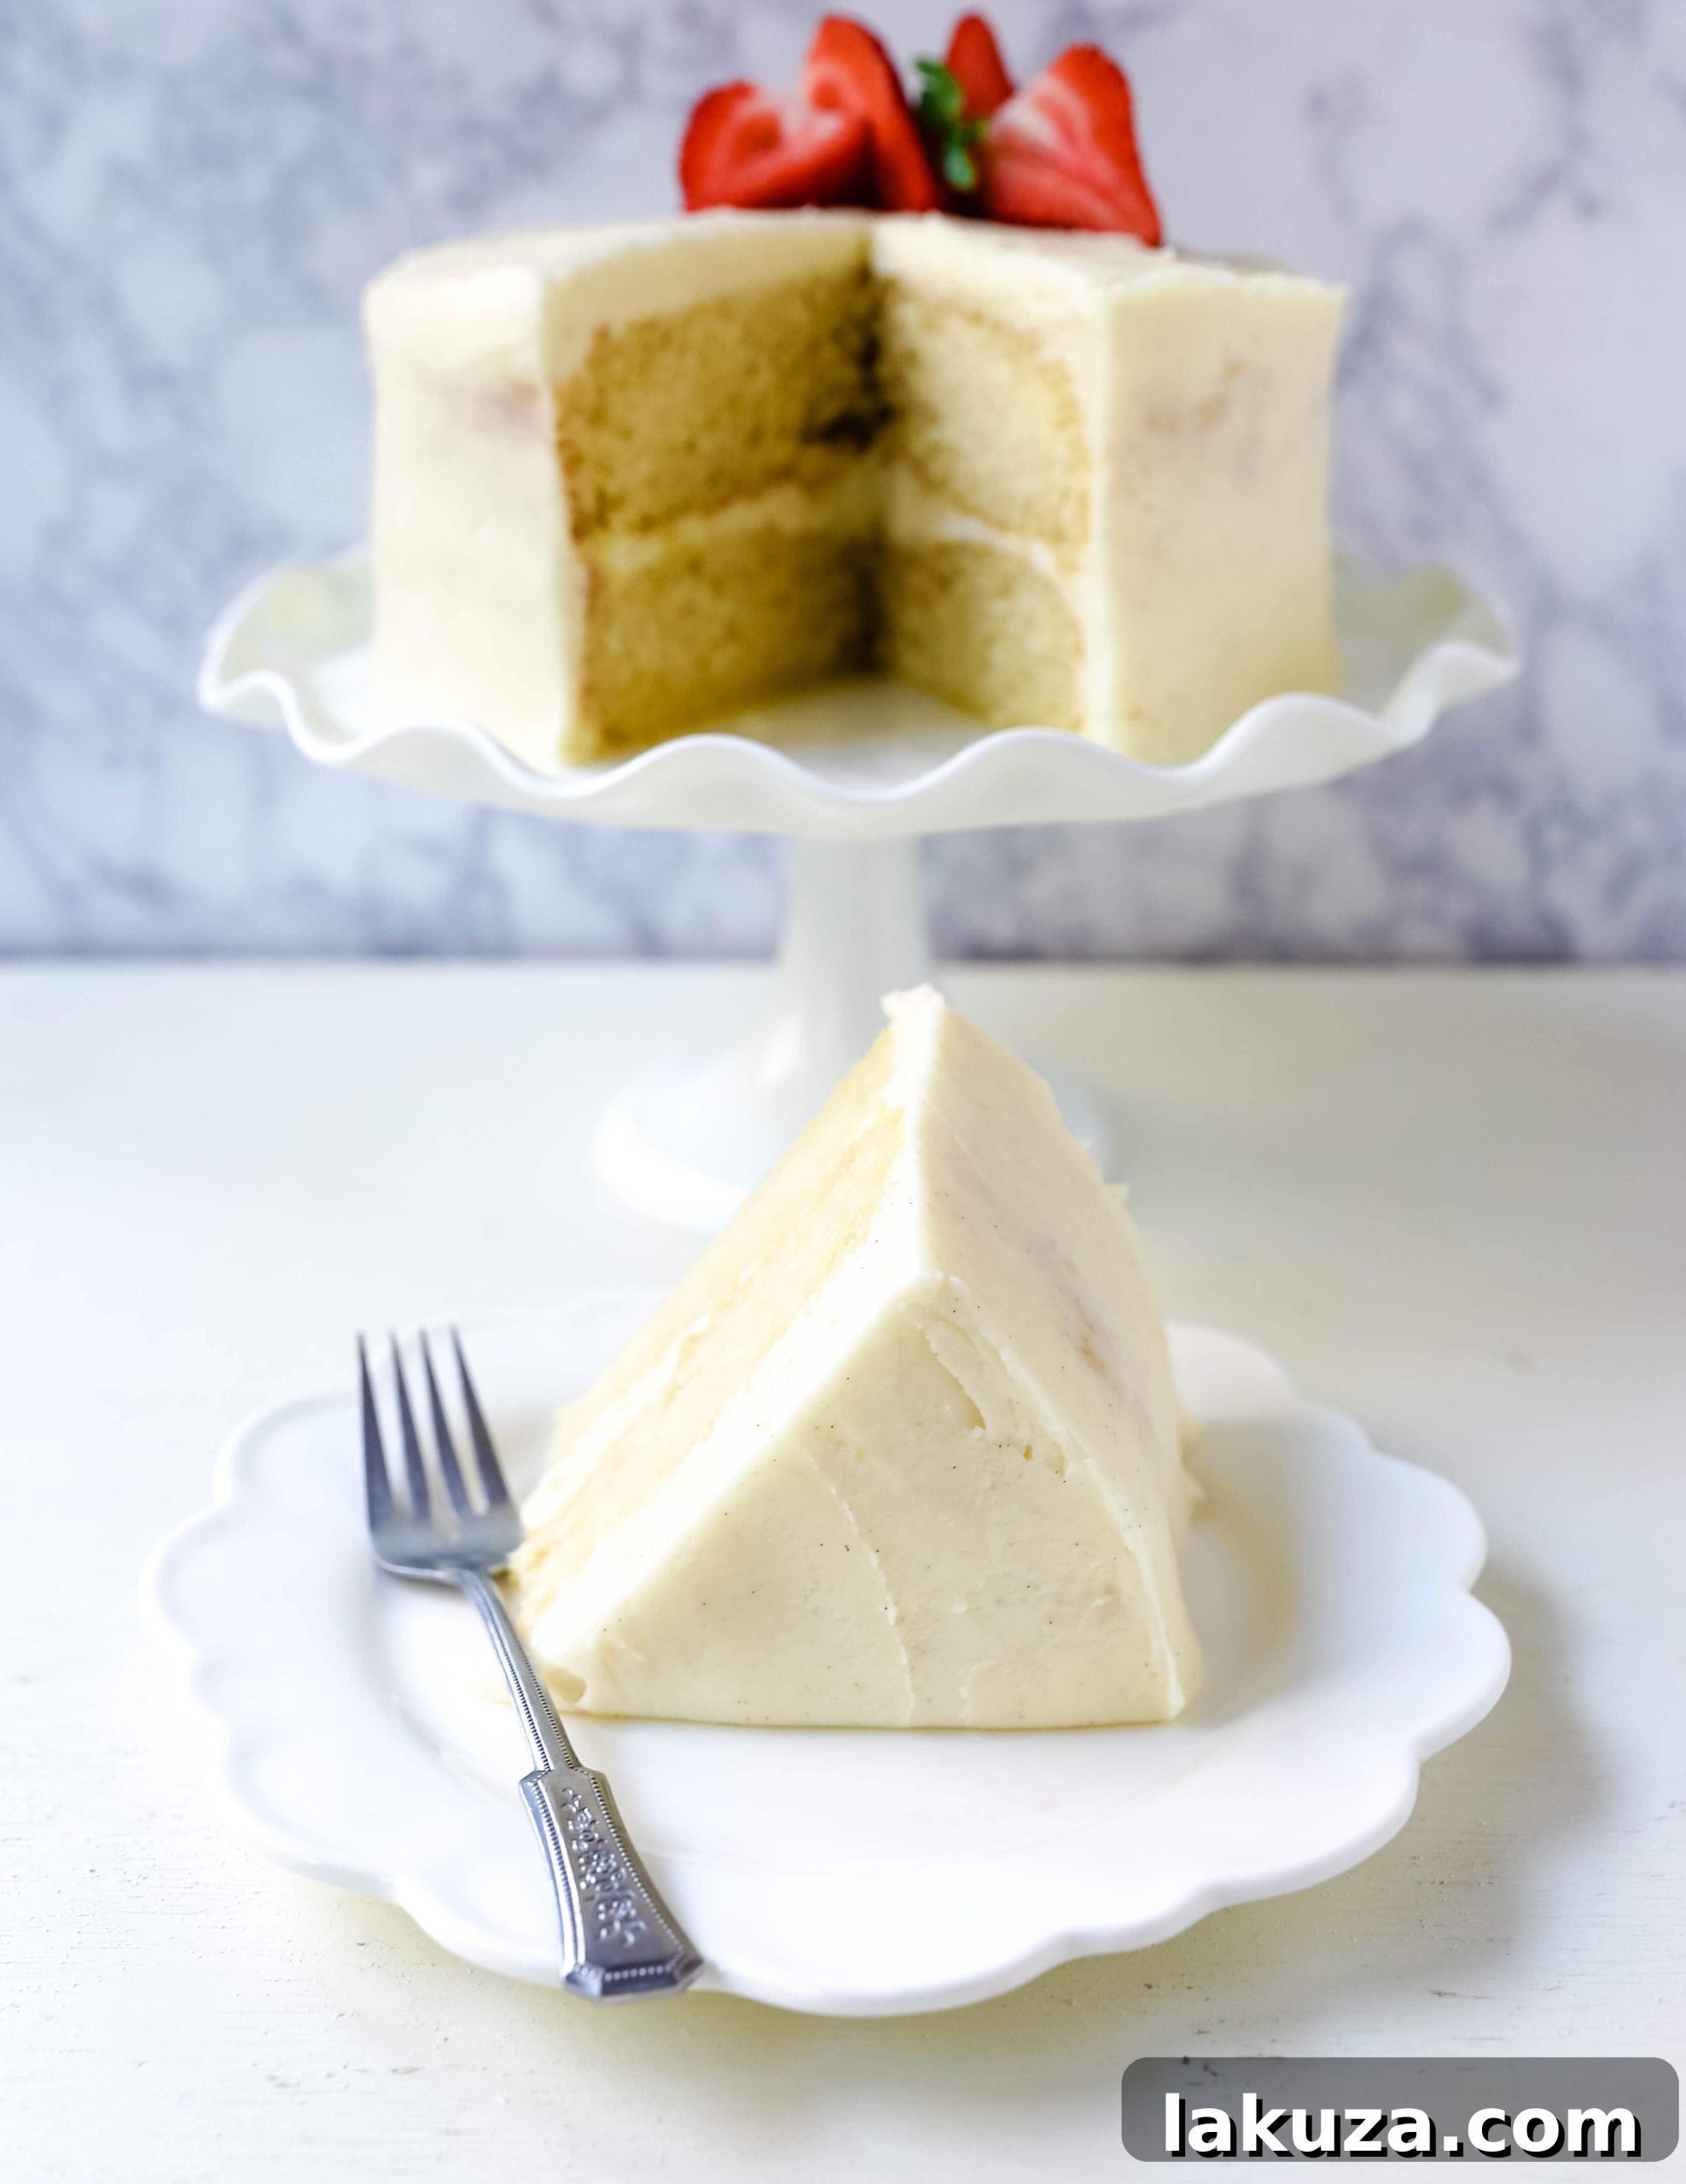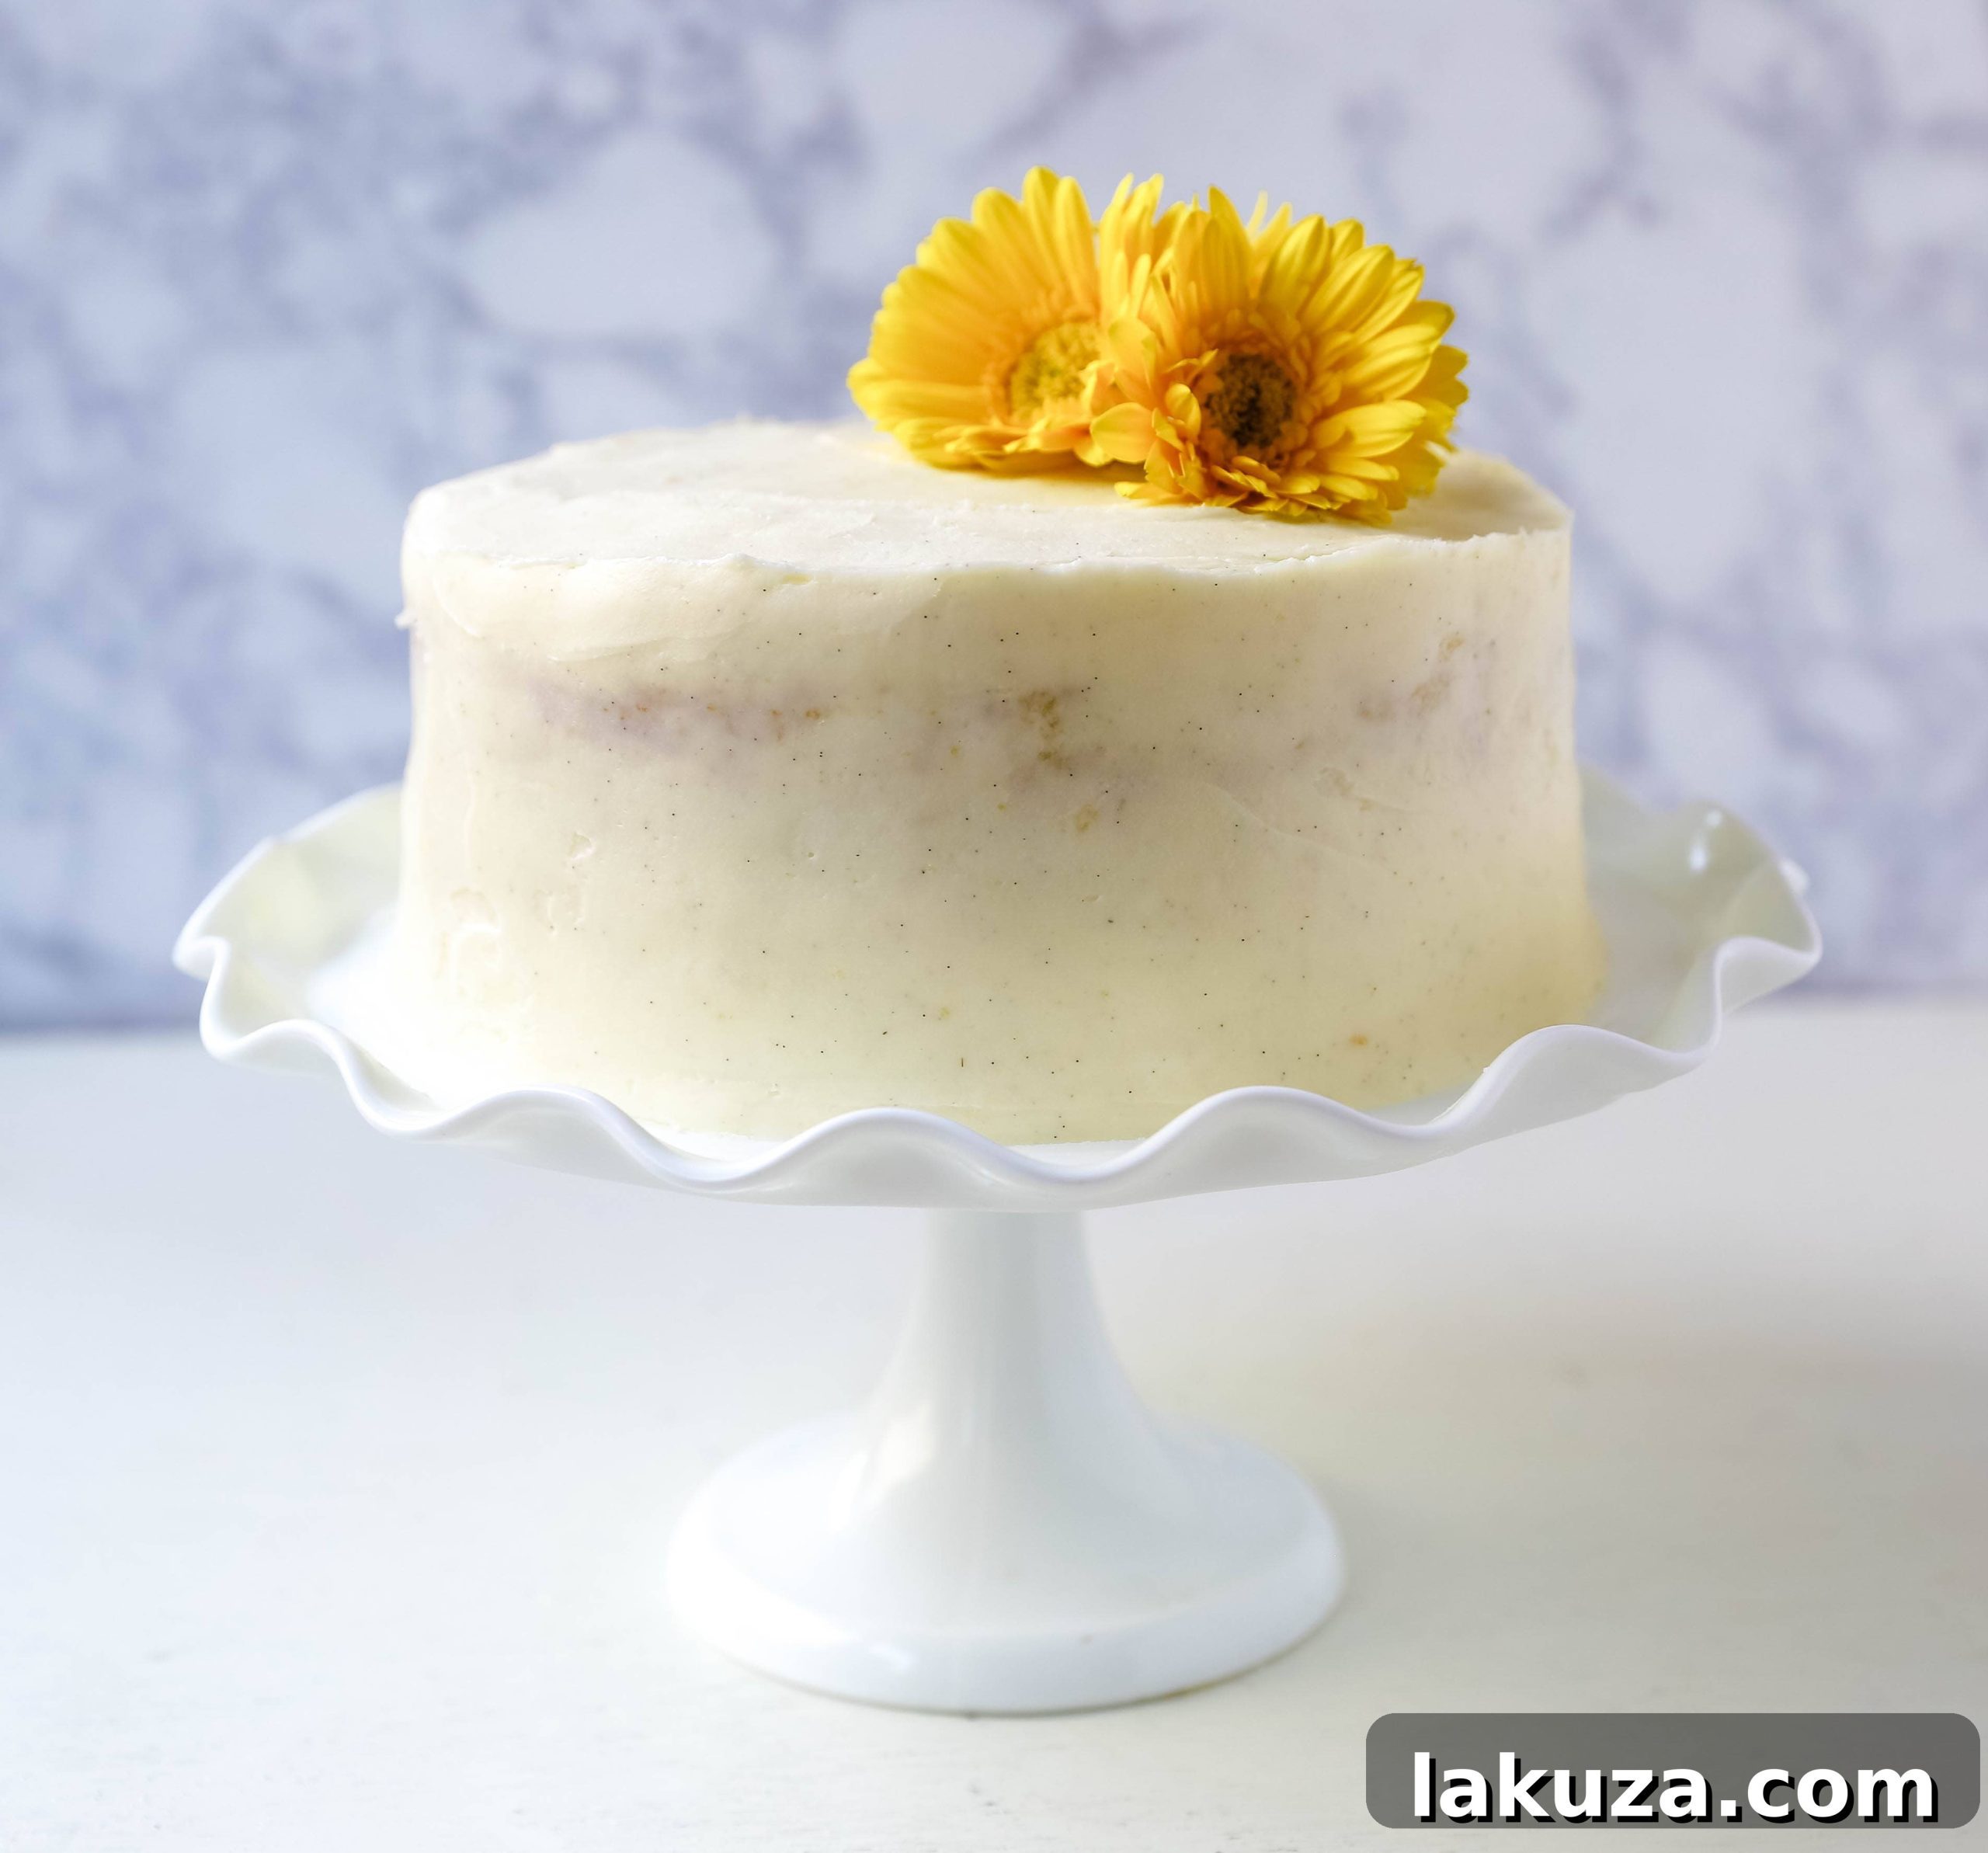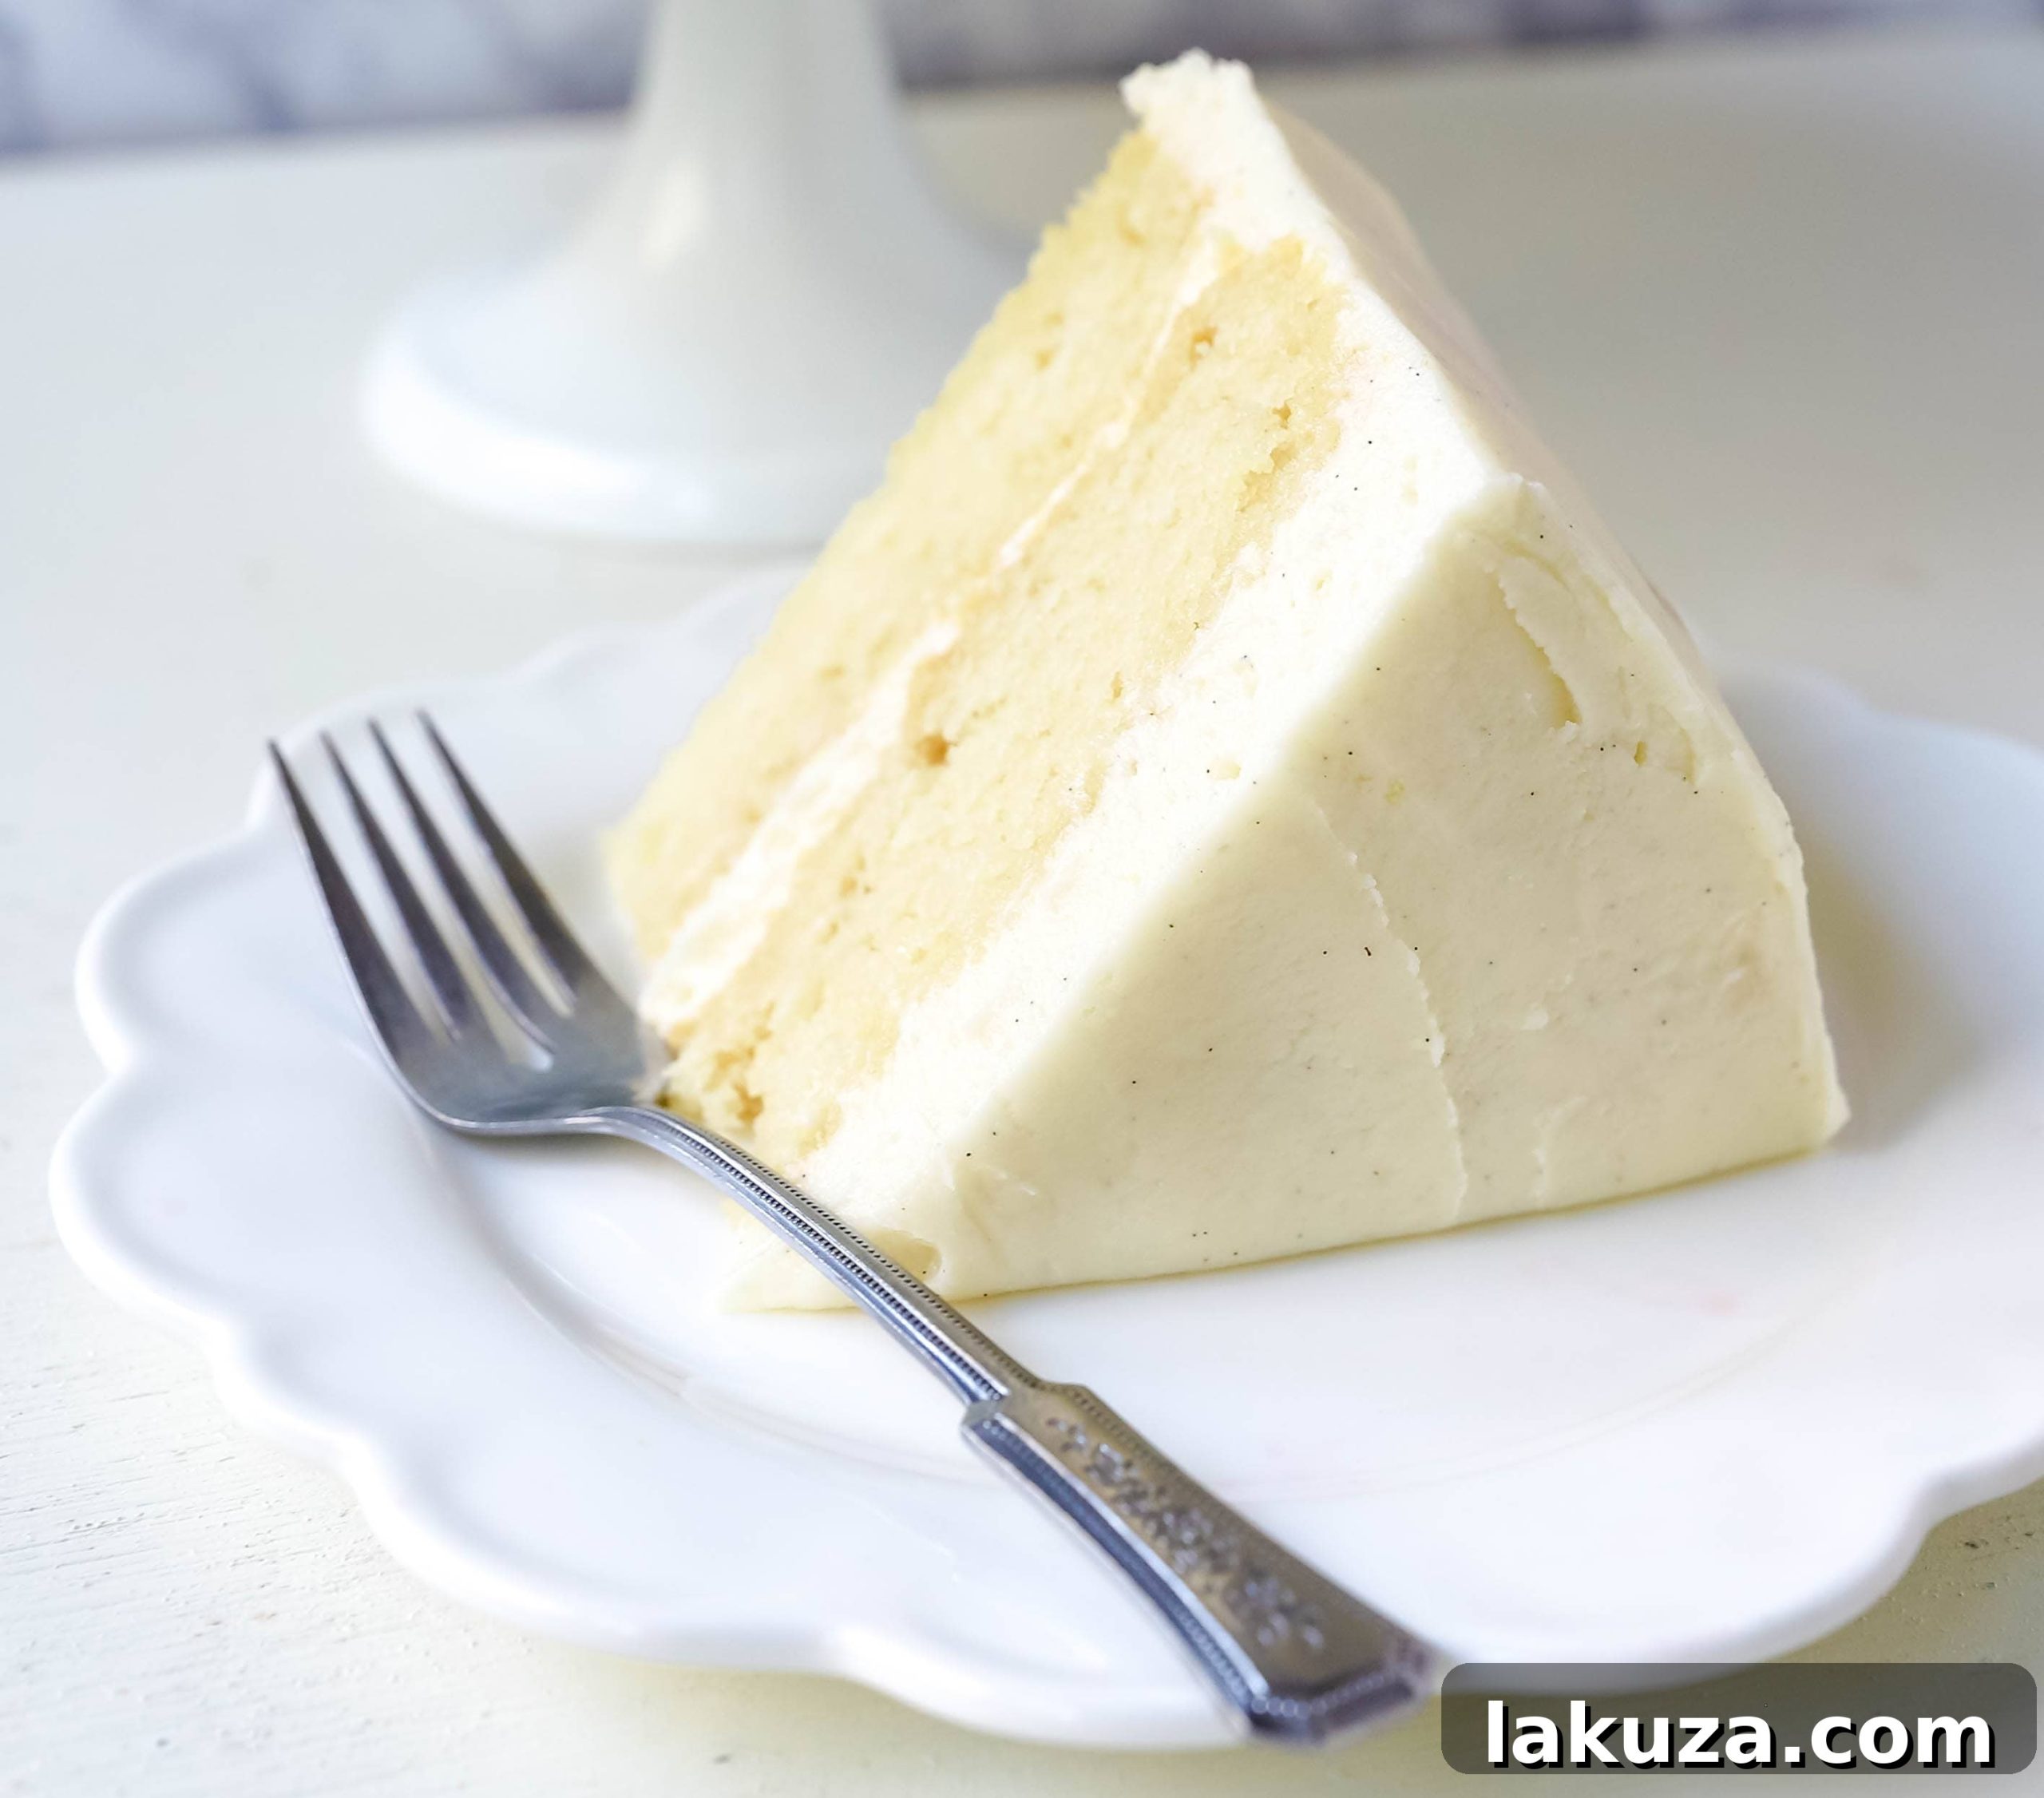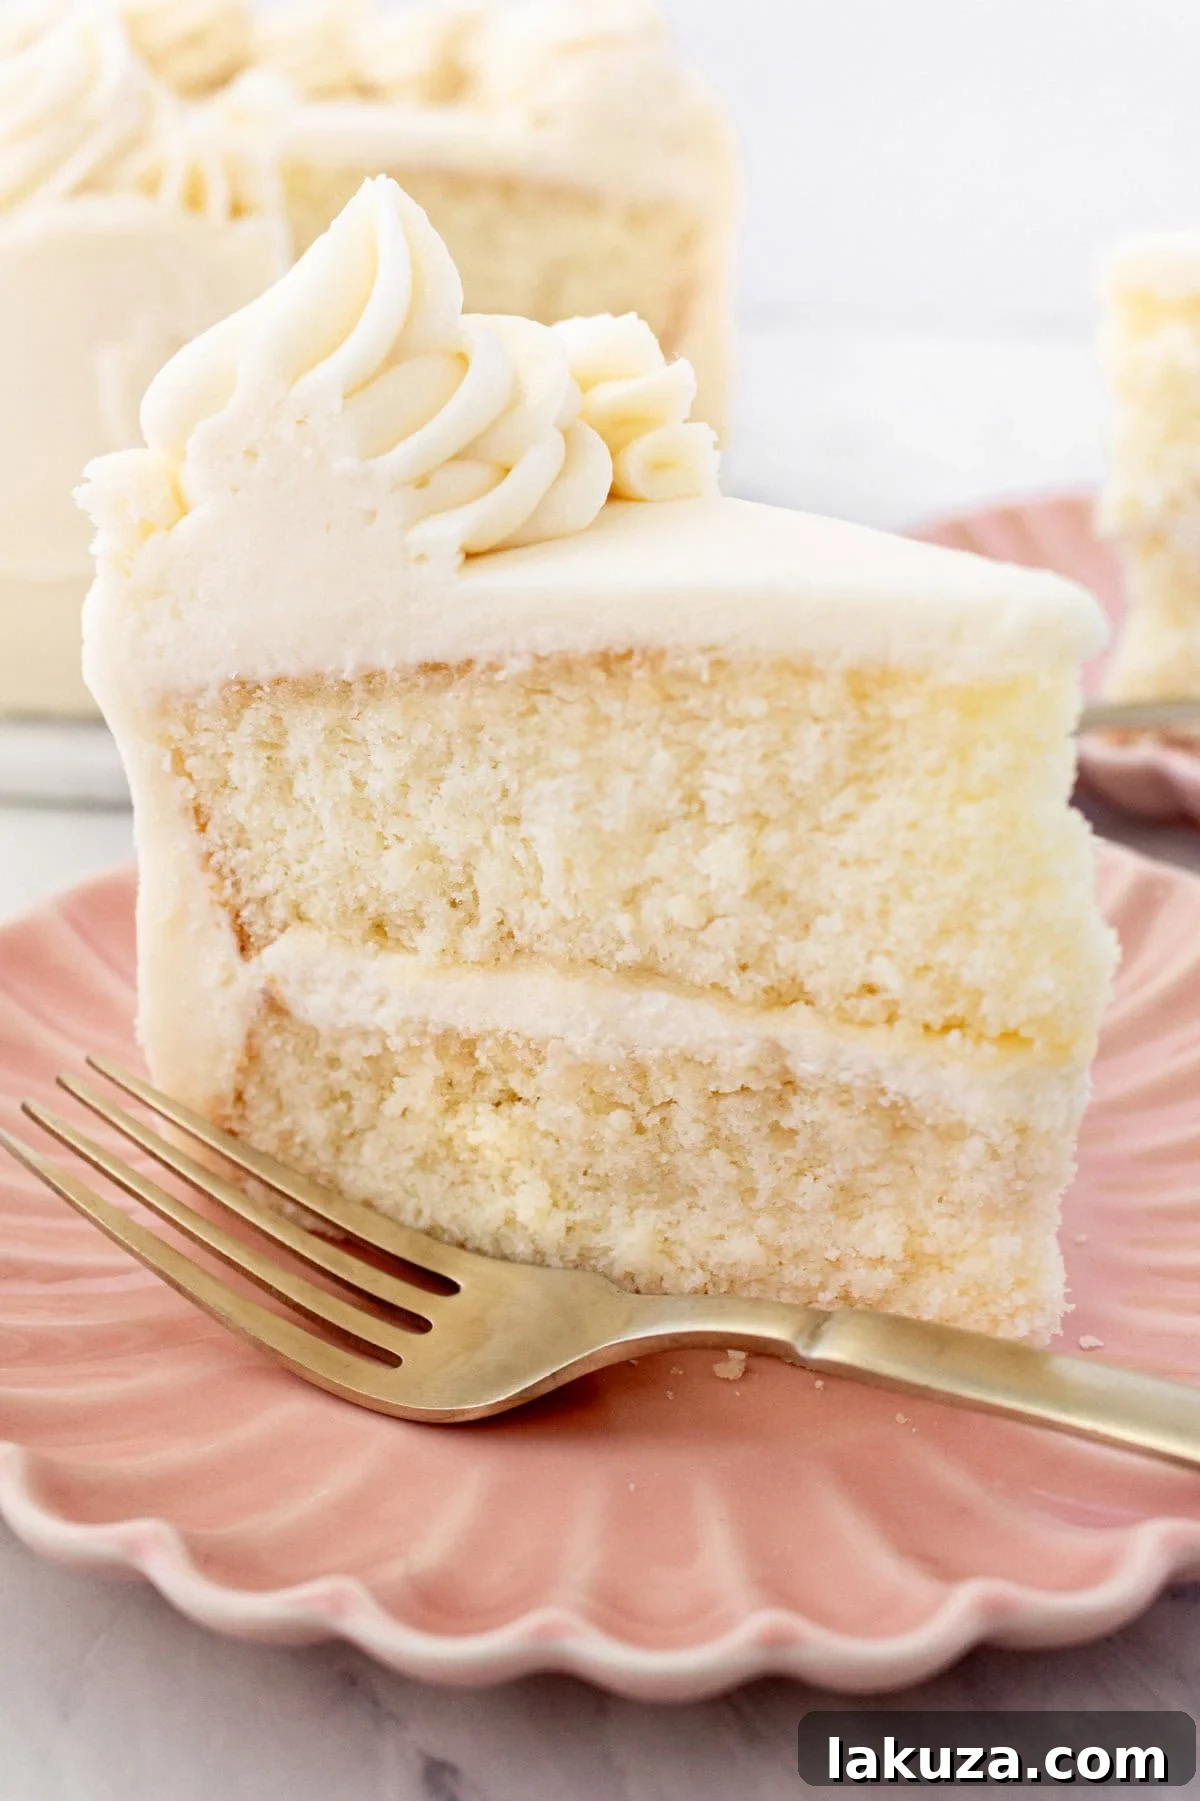
The Ultimate Homemade Vanilla Cake with Luxurious Vanilla Bean Buttercream Frosting.
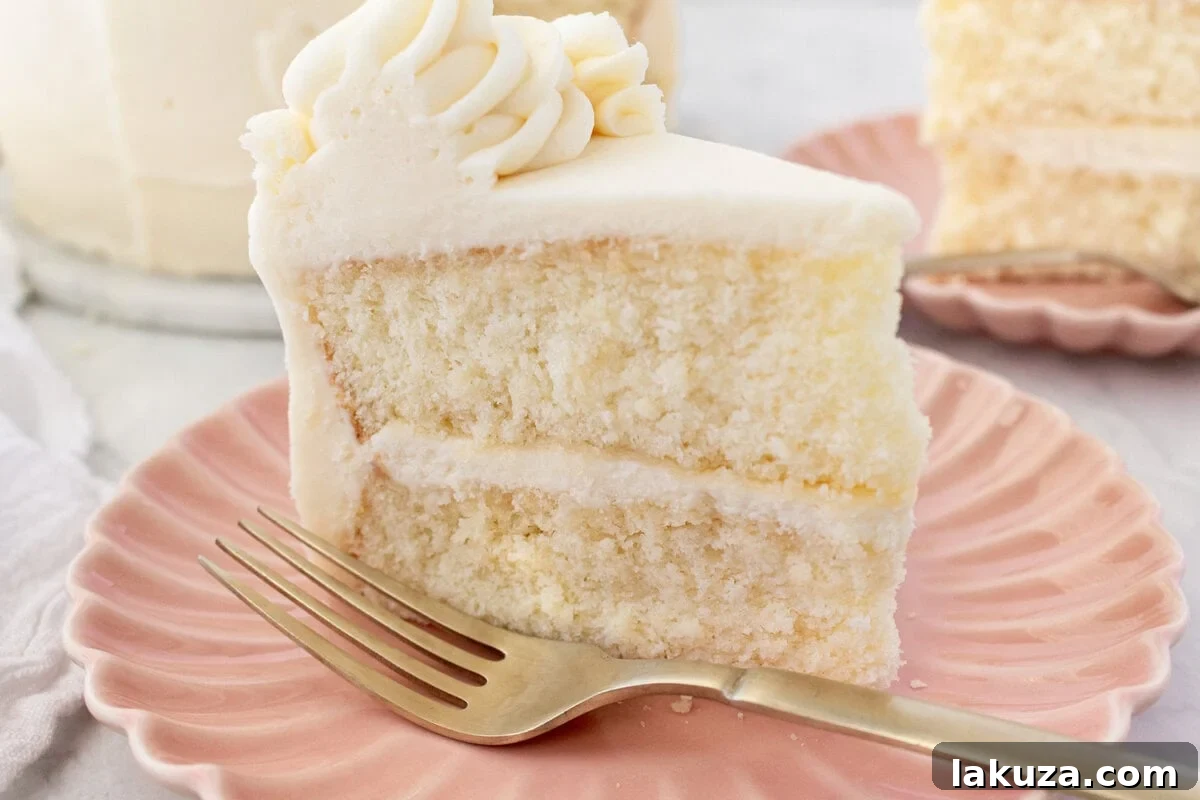
If you’re searching for the truly perfect homemade vanilla cake recipe, your quest ends here. This isn’t just any cake; it’s a masterpiece of moist, fluffy texture and rich vanilla flavor, surprisingly easy to bake from scratch using simple, wholesome ingredients. Ideal for any celebration, from festive birthdays to elegant gatherings, this white cake recipe boasts an incredibly light, airy crumb and the most tender consistency that will impress even the most discerning palates. Prepare yourself for a dessert that’s undeniably bakery-worthy, crafted right in your own kitchen.
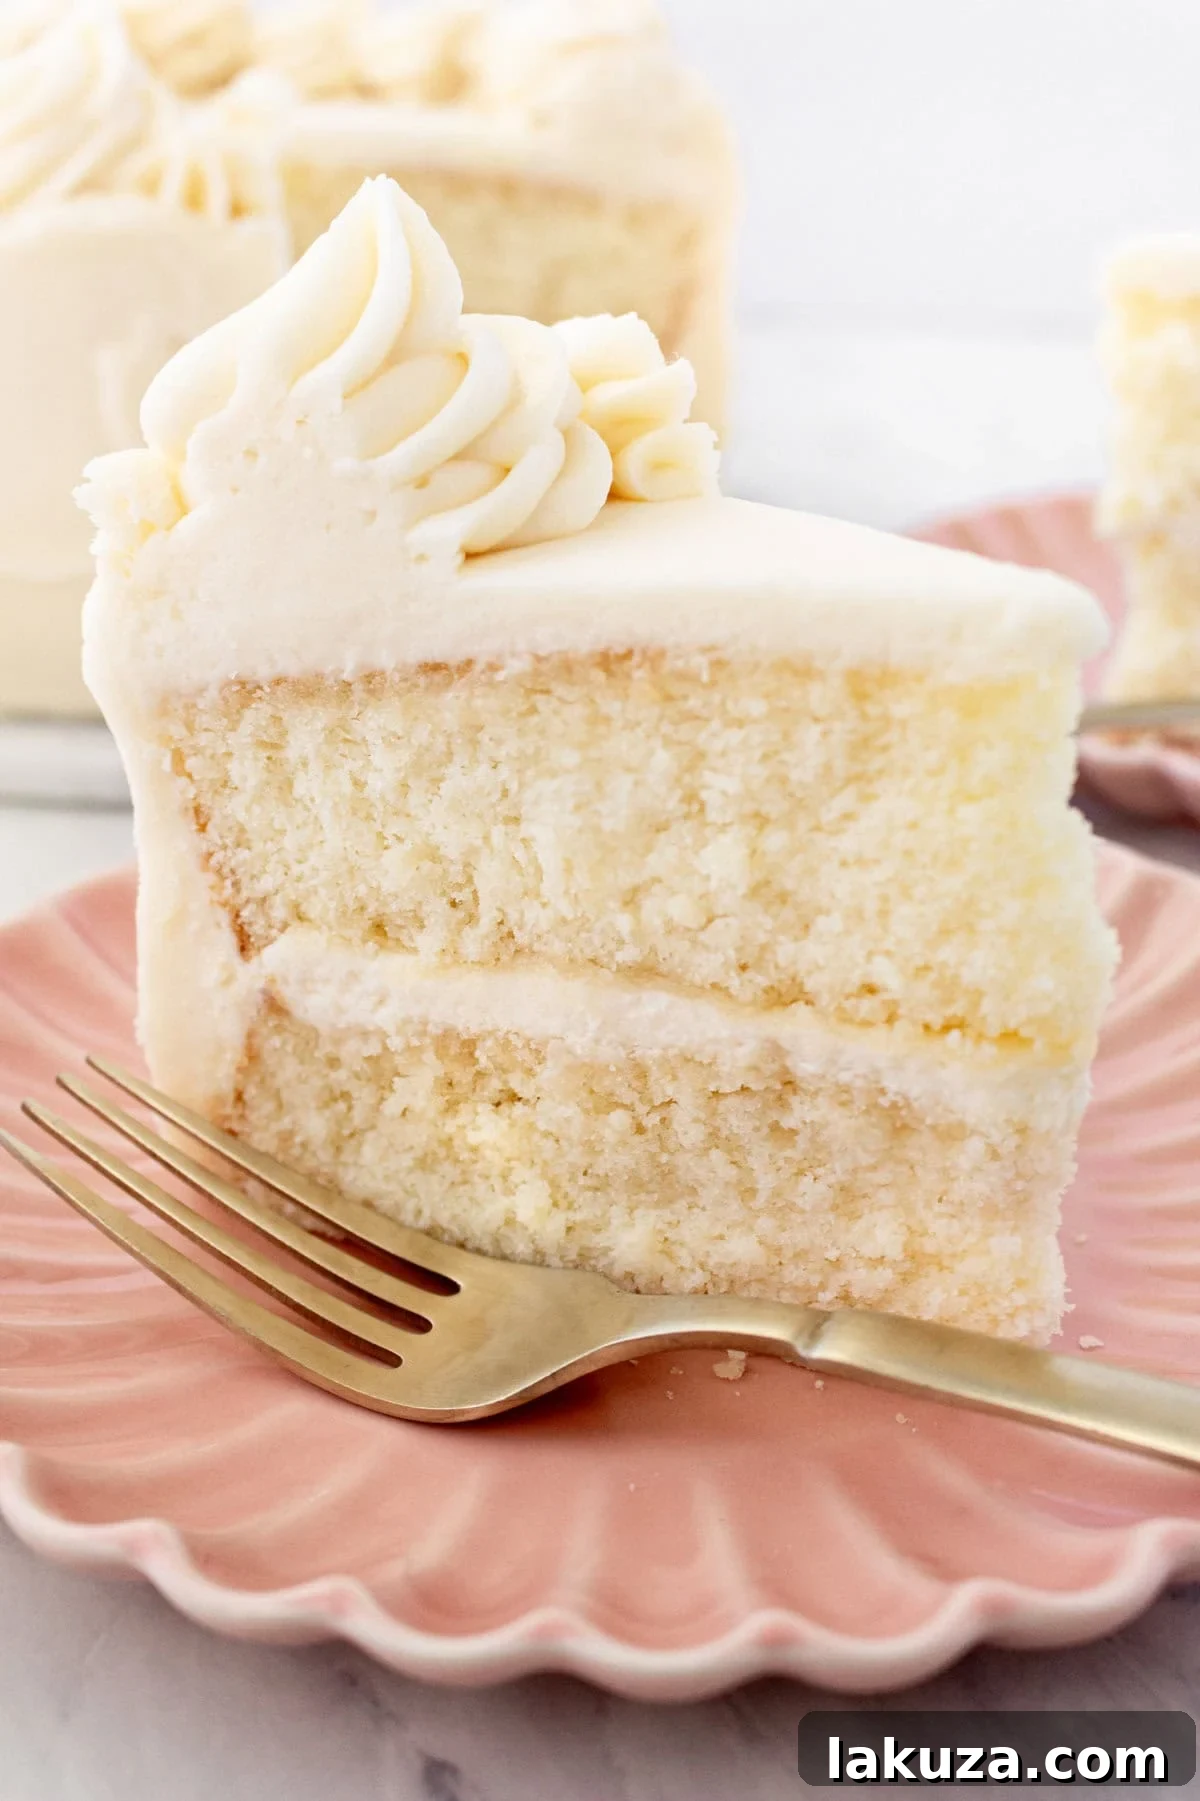
Crafting the Perfect Vanilla Cake from Scratch
It’s hard to believe that this beloved vanilla cake recipe, a true classic, hasn’t graced our pages until now. Vanilla cake, often underestimated and sometimes unfairly labeled as “plain” or “boring,” is, in fact, the epitome of timeless dessert perfection when executed correctly. Many have experienced dry, flavorless vanilla cakes, which is why I was determined to create a recipe that guarantees a moist, flavorful, and unforgettable experience every single time.
The secret to this cake’s unparalleled moisture and depth of flavor lies in a thoughtful combination of fats and a special ingredient: buttermilk. We use both butter and a touch of neutral oil. Butter is paramount for its rich, unmistakable flavor, enhancing the overall taste profile of the cake. The oil, on the other hand, contributes to an incredibly moist crumb that stays tender for days. Buttermilk is the true game-changer, lending a subtle tang that beautifully balances the sweetness, while its acidity works wonders to tenderize the cake, resulting in an exceptionally soft and delicate texture. This trio ensures a cake that is anything but ordinary.
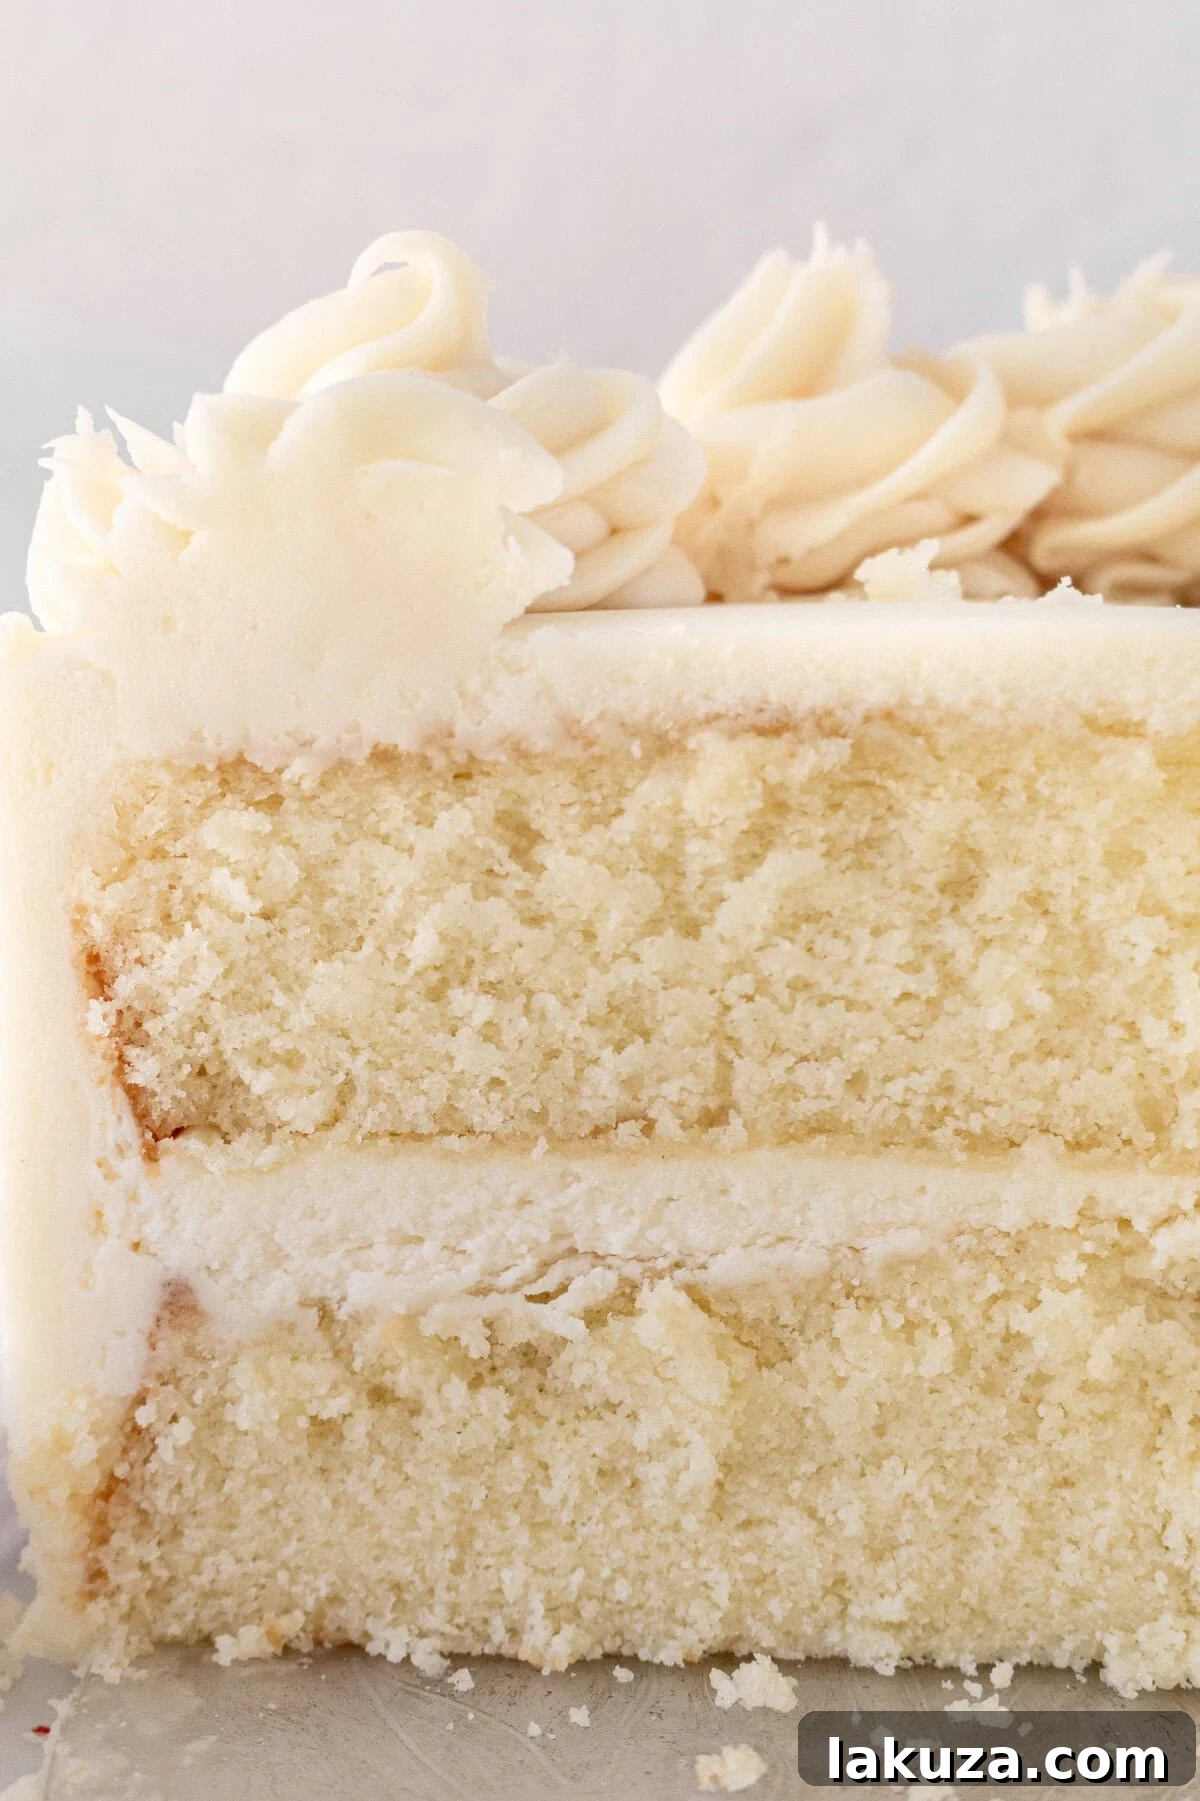
Another crucial element in achieving this cake’s signature tender texture is the use of cake flour. Unlike all-purpose flour, cake flour has a lower protein content, which means less gluten development. This reduced gluten leads to a softer, more delicate crumb that melts in your mouth, elevating this homemade vanilla cake to professional bakery standards. The difference is subtle yet significant, creating a truly superior texture.
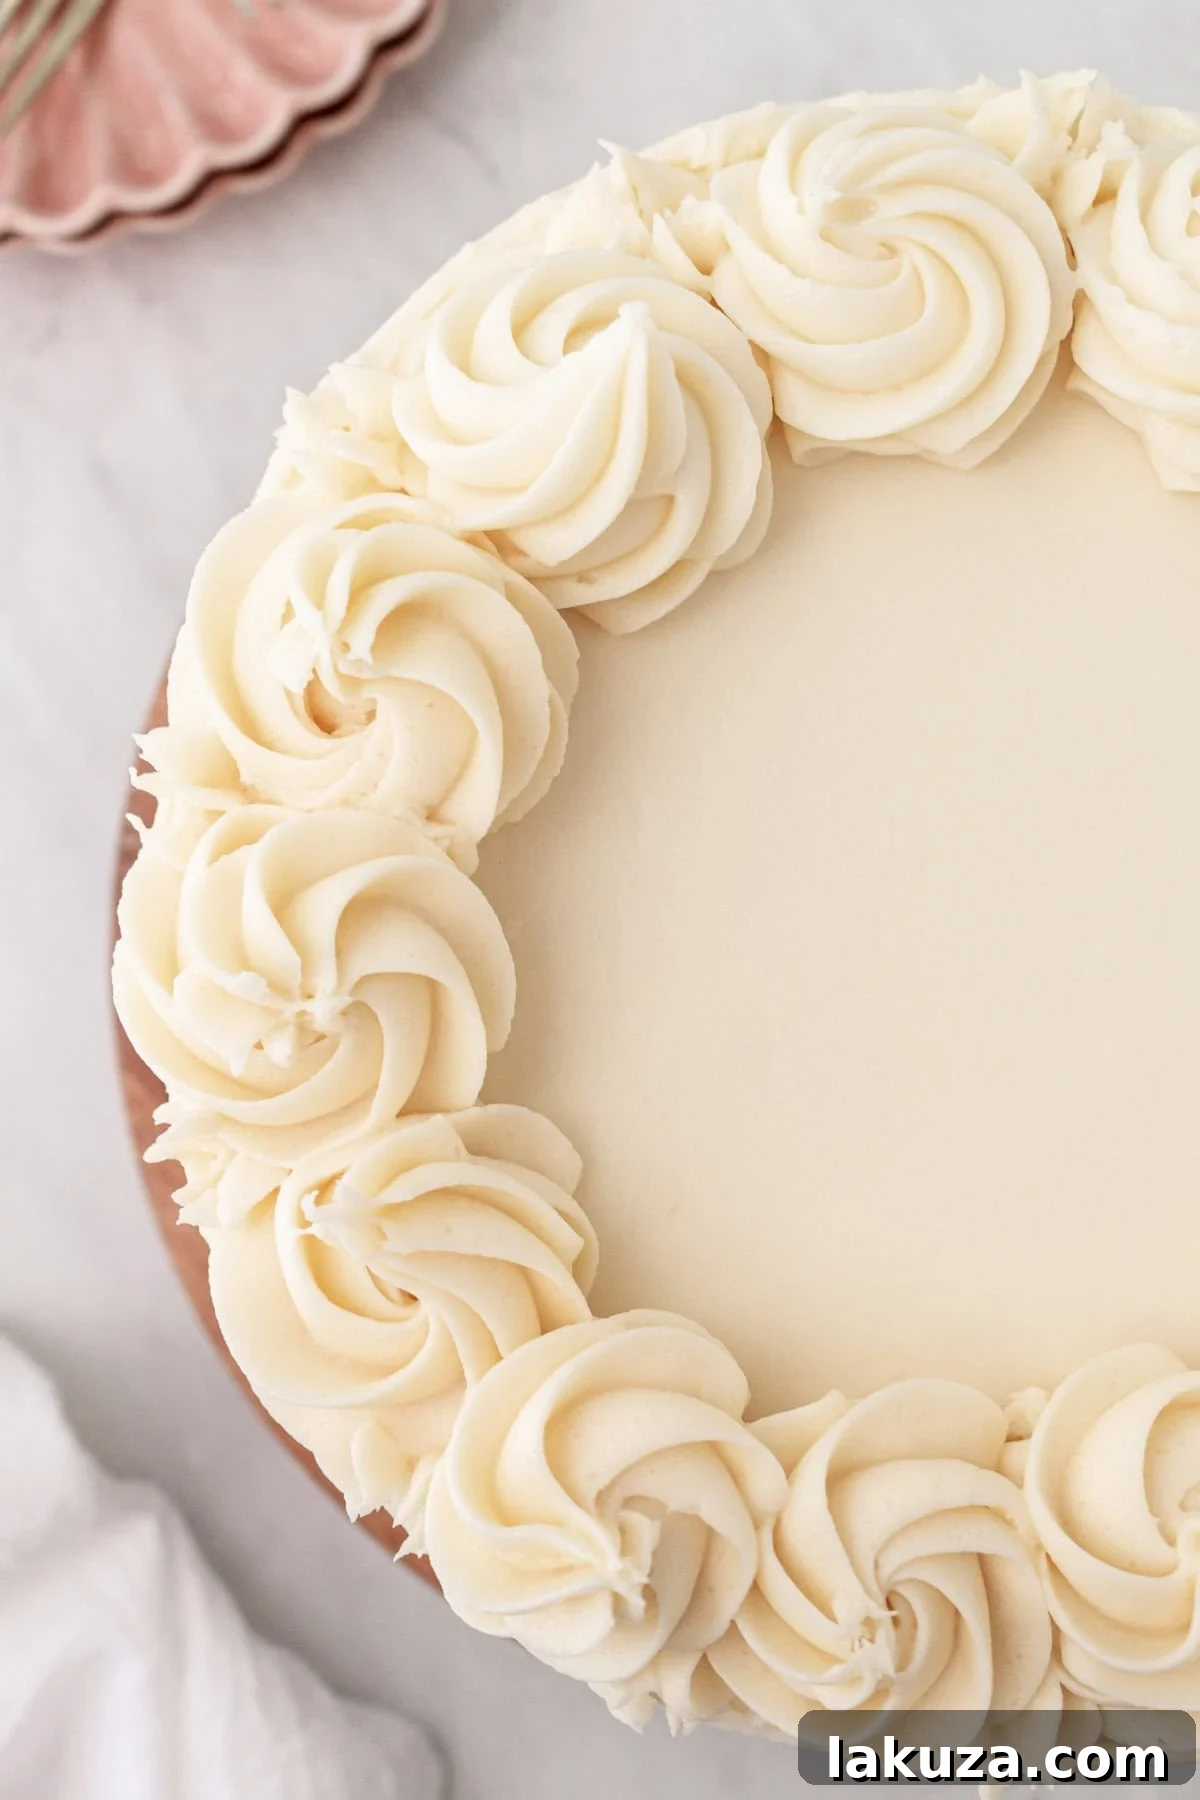
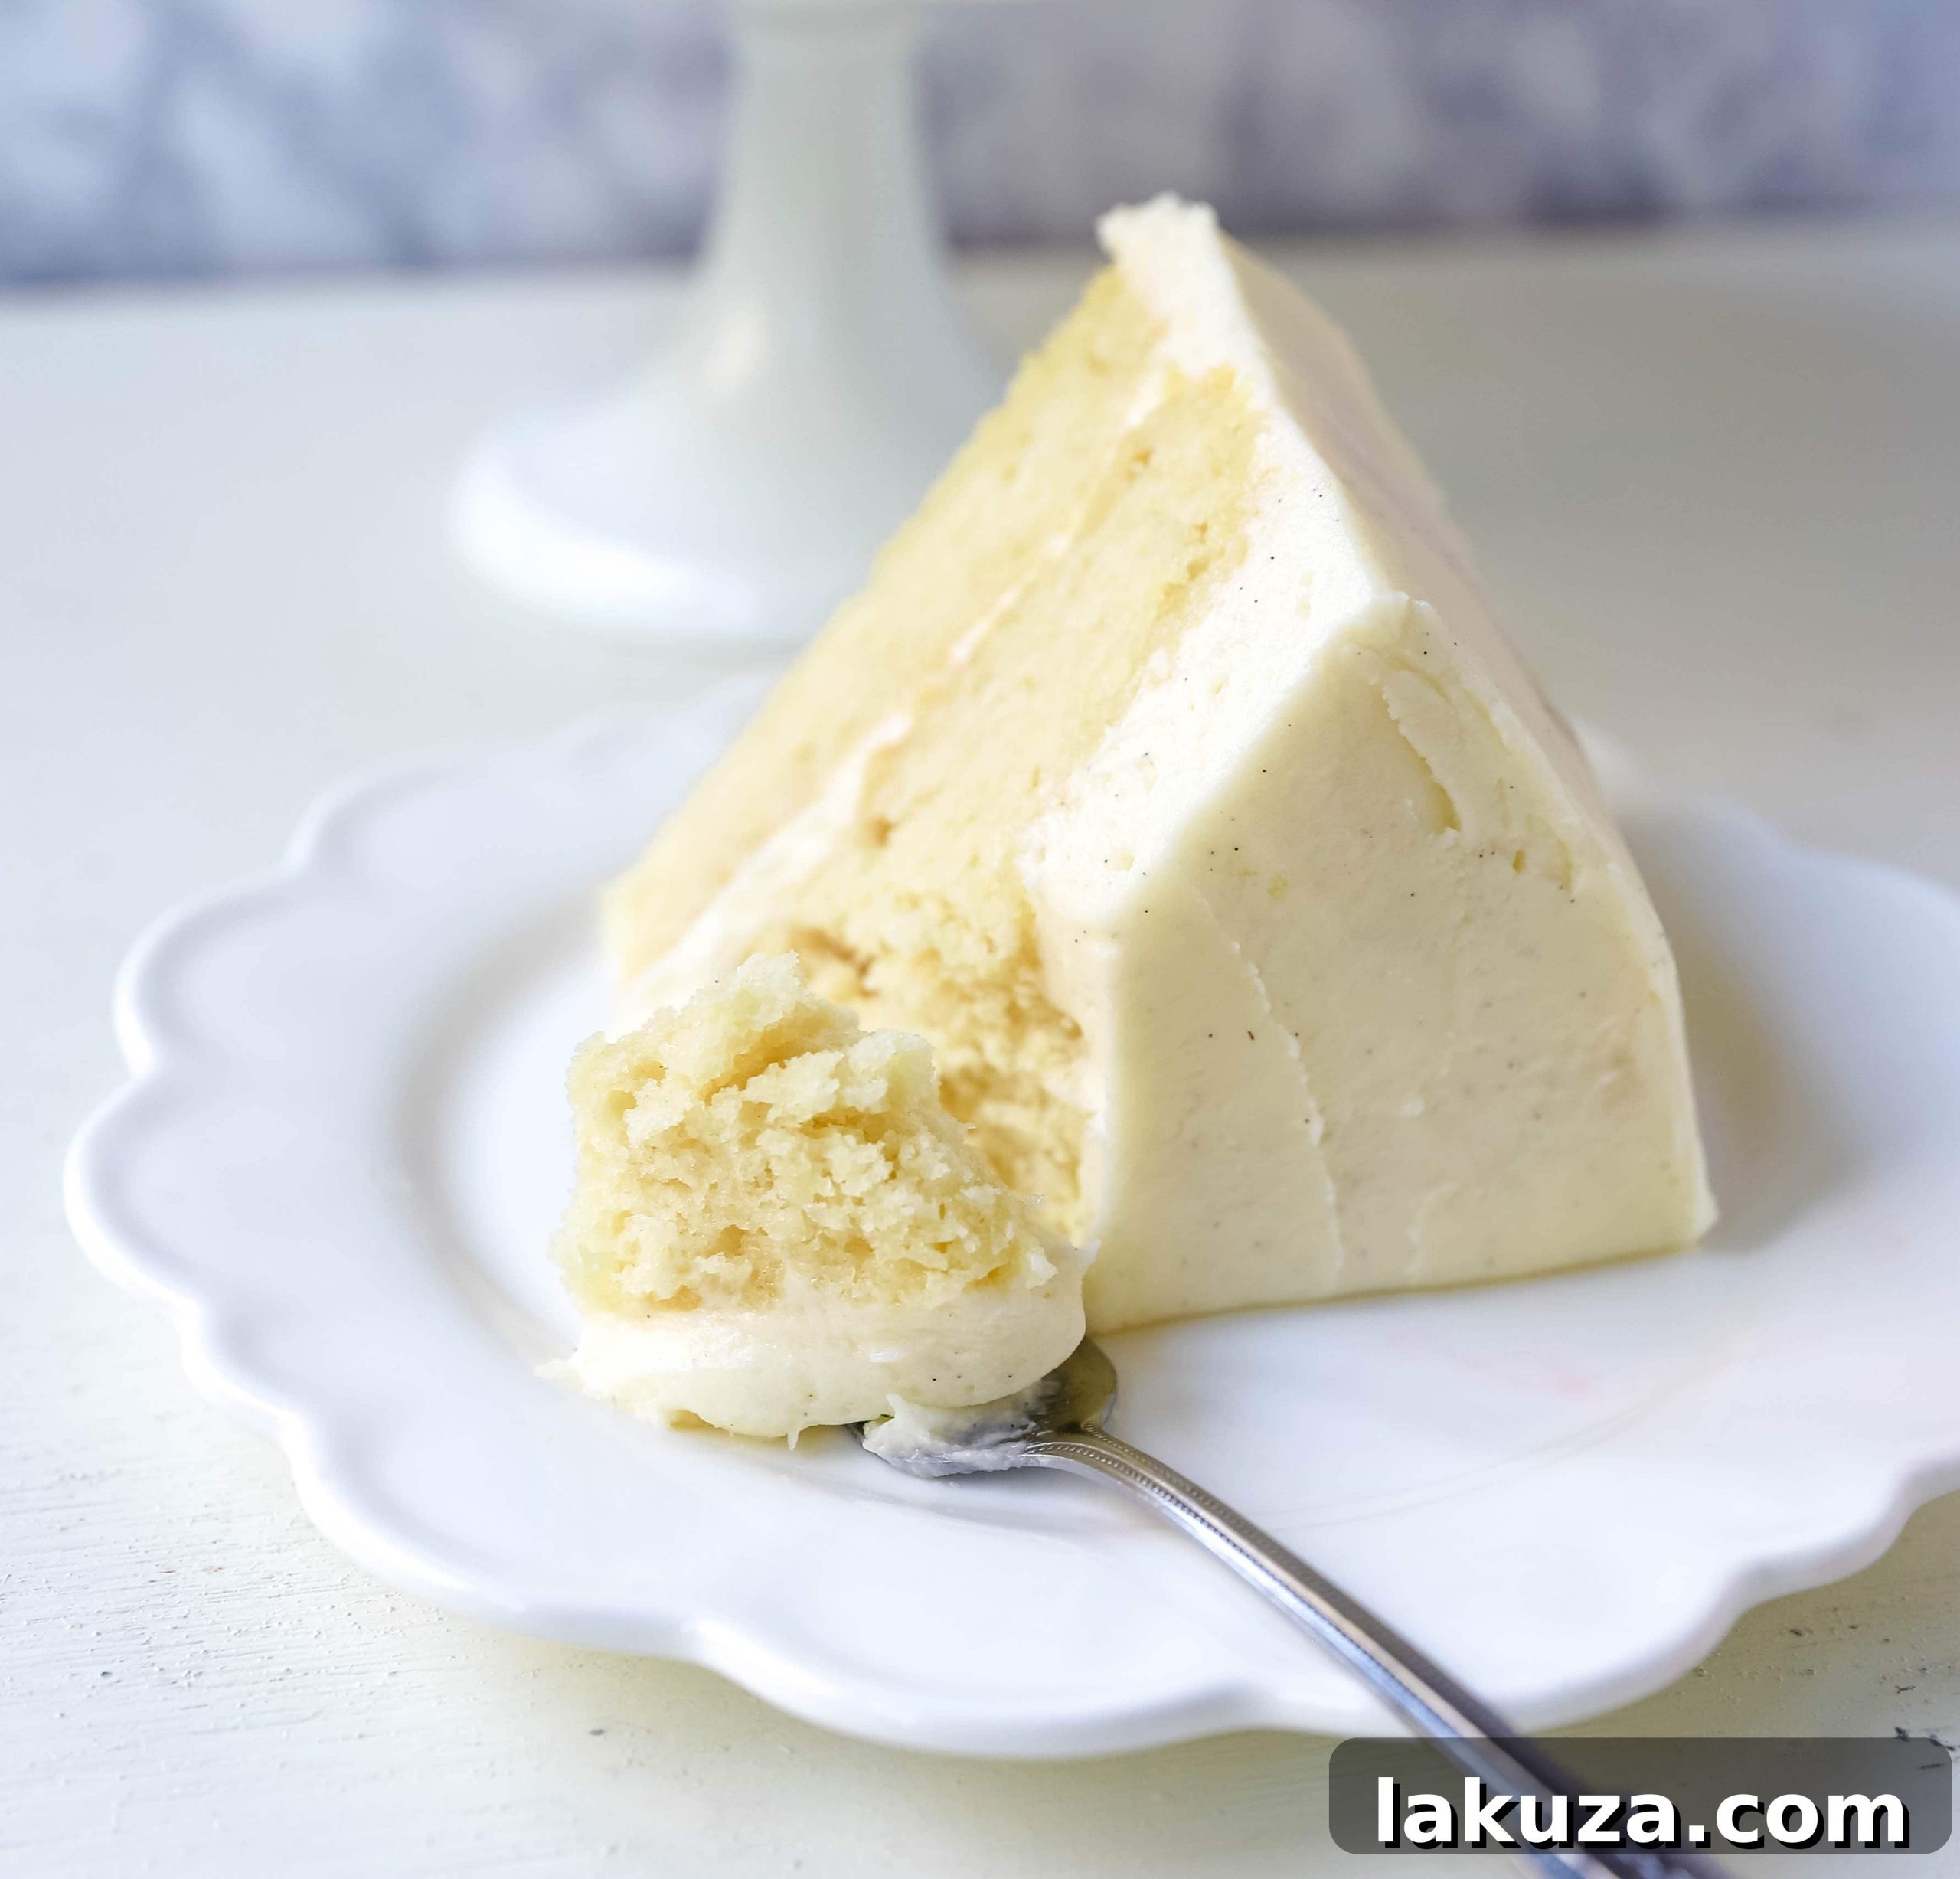
No perfect vanilla cake is complete without an equally perfect frosting. Our homemade vanilla buttercream frosting is a luxurious blend of softened butter, a hint of cream cheese for a touch of tang and stability, and a generous amount of powdered sugar. The star of the frosting, however, is vanilla bean paste. I specifically recommend vanilla bean paste because it delivers an intense, deep vanilla flavor, complete with those beautiful, visible flecks of vanilla bean that add an artisanal touch and enhance the visual appeal of your cake. This frosting is not just a topping; it’s an integral part of the overall sensory experience, complementing the cake’s delicate flavor and texture perfectly.
Throughout this guide, I will share all my essential tips and tricks, honed over years of baking, to ensure you can confidently create the most exquisite vanilla cake. From ingredient selection to baking techniques and frosting application, every detail is covered to help you achieve a flawless dessert that will be the highlight of any occasion.
Essential Ingredients for Your Masterpiece Vanilla Cake
To embark on your journey to creating the ultimate vanilla cake, you’ll need a carefully selected list of ingredients. This recipe hinges on the quality and balance of each component, ensuring a light, fluffy cake crowned with a rich, velvety vanilla frosting. Below is a detailed breakdown of what you’ll need for both the cake and the irresistible vanilla buttercream.
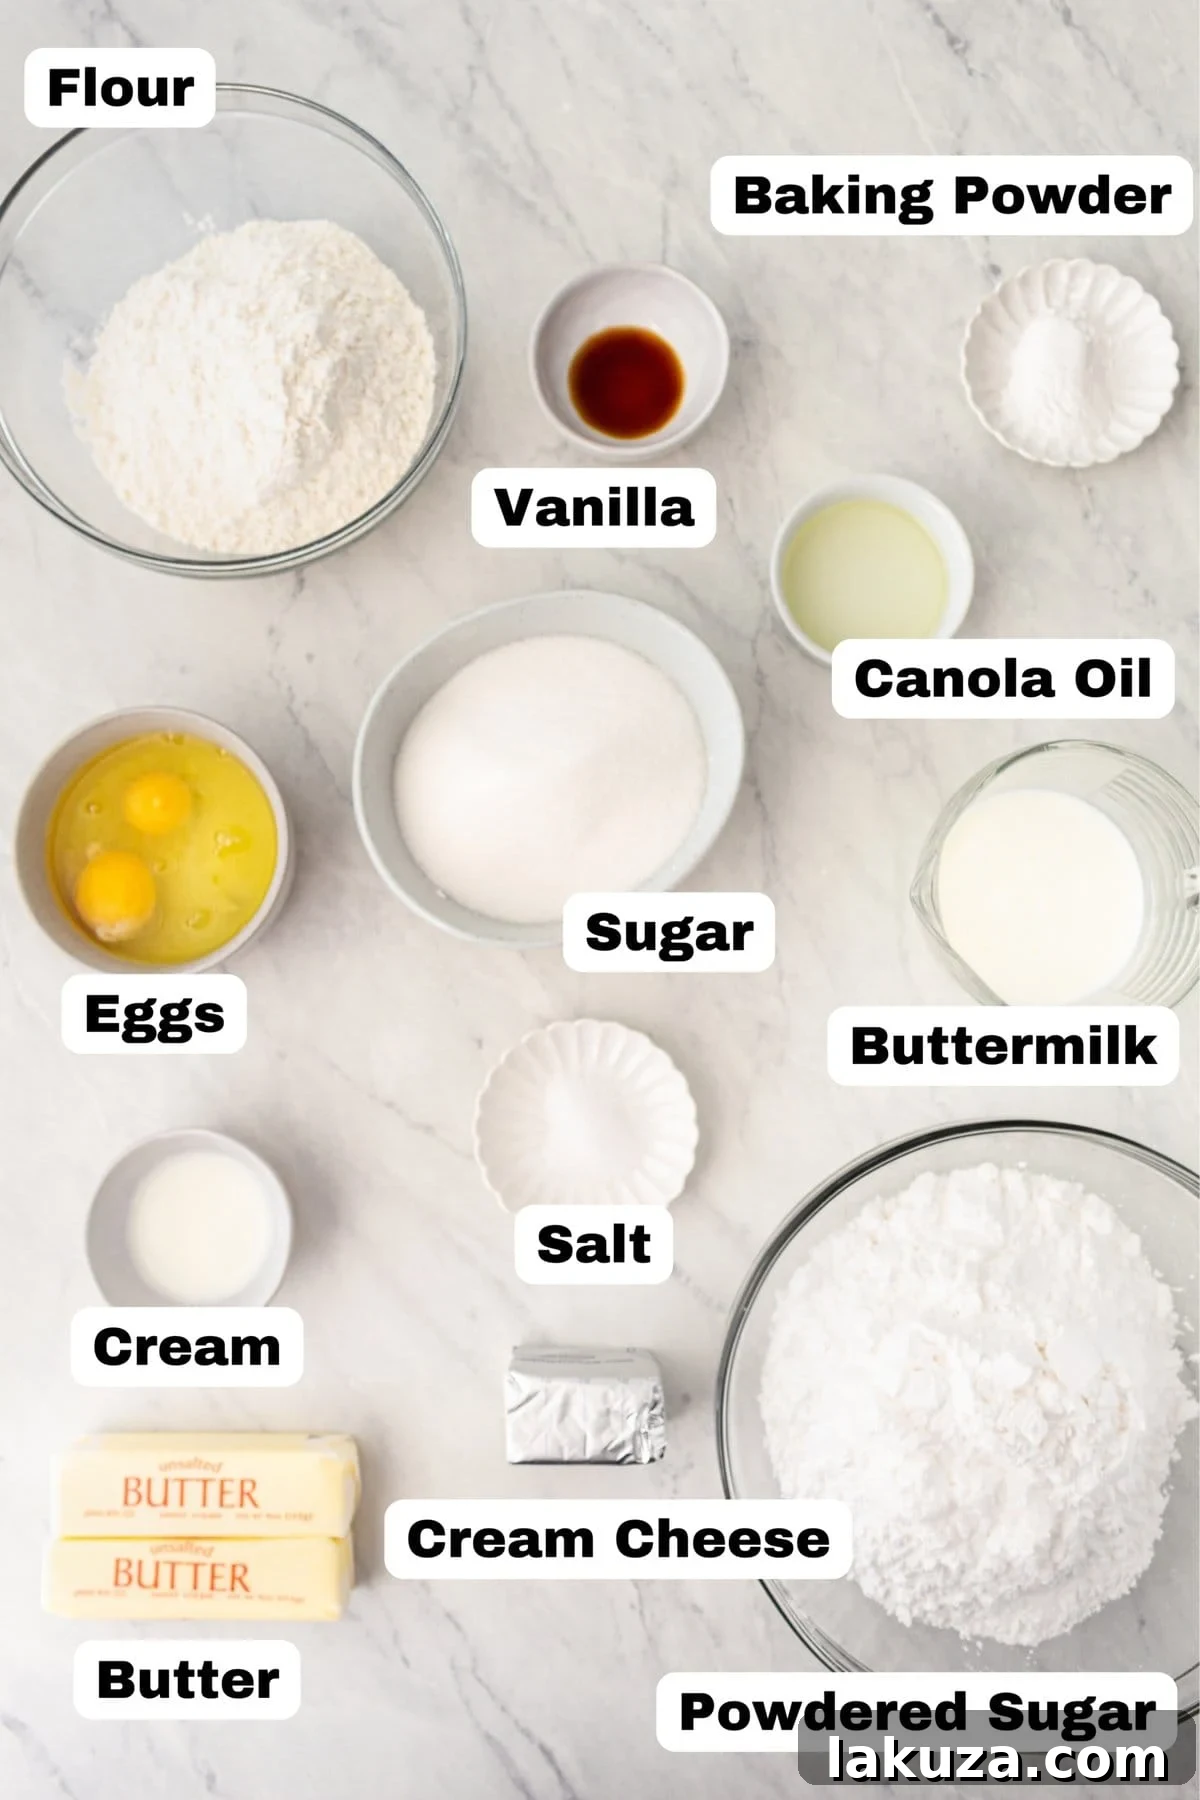
VANILLA CAKE INGREDIENTS:
- Eggs: Provide structure and richness to the cake. Using them at room temperature ensures they incorporate smoothly into the batter.
- Egg Whites: Whipped egg whites are key to achieving that fine, airy crumb and impressive volume, contributing significantly to the cake’s light and fluffy texture. This is particularly important for a classic “white” cake appearance.
- Buttermilk: A star ingredient that introduces a pleasant tangy note, balancing the cake’s sweetness. Its natural acidity tenderizes the gluten in the flour, resulting in an exceptionally soft and moist cake.
- Oil: Opt for a neutral-flavored oil like canola or vegetable oil. Oil helps to maintain the cake layers’ moisture over time, ensuring a consistently tender texture even days after baking.
- Vanilla: The soul of our cake! A high-quality vanilla extract is essential for that warm, aromatic, and classic vanilla flavor that defines this dessert.
- Sugar: Provides sweetness and helps in moisture retention, contributing to a soft crumb. Granulated sugar is used for the cake itself.
- Cake Flour: This specialized flour contains a lower protein content than all-purpose flour, leading to reduced gluten formation. The result is a lighter, more delicate, and supremely tender cake crumb.
- Baking Powder: Our primary leavening agent, baking powder ensures the cake rises beautifully, creating its characteristic loft and airy texture.
- Salt: A pinch of salt enhances all the other flavors, making the vanilla taste even more vibrant and preventing the cake from being overly sweet.
- Unsalted Butter (softened and cut into cubes): Butter is indispensable for its rich, creamy flavor and its role in creating a tender crumb through the creaming method. Ensure it’s perfectly softened to room temperature for optimal incorporation.
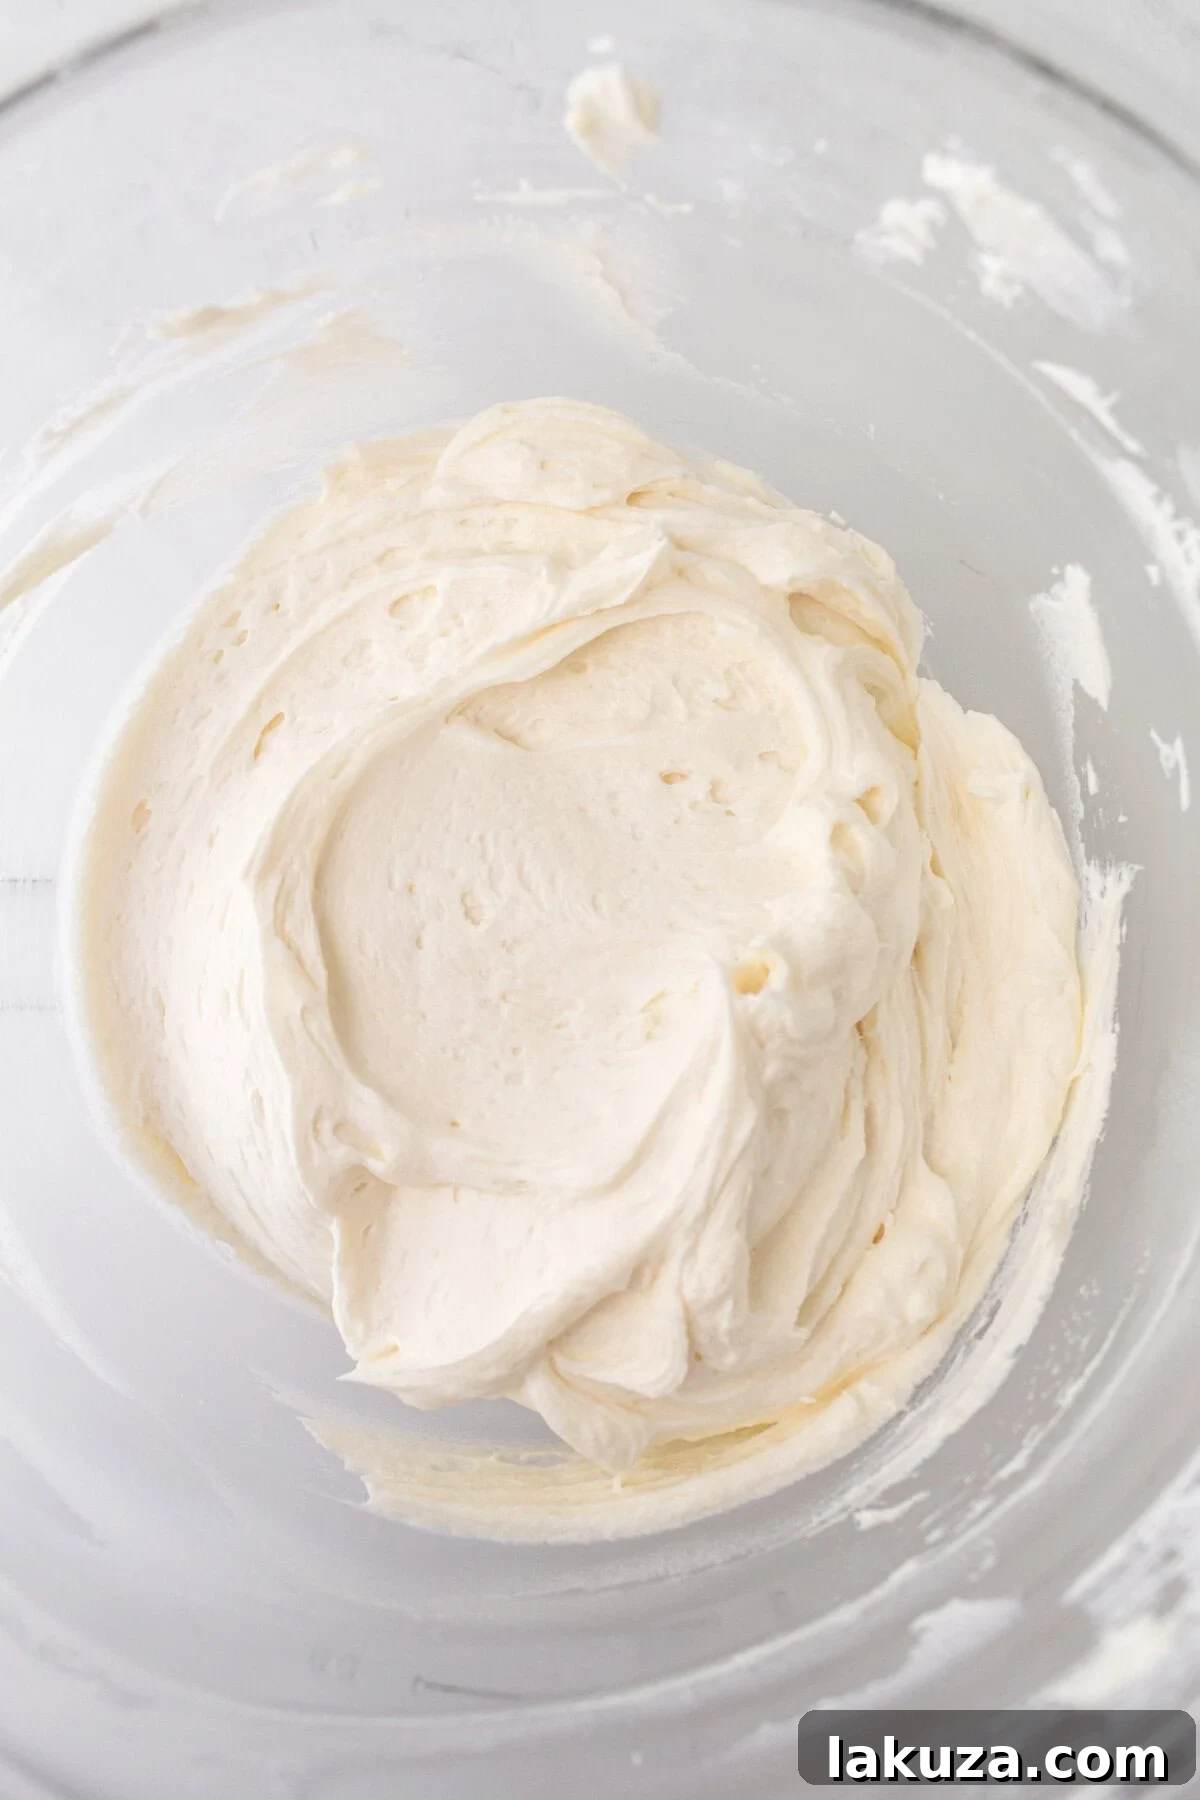
Vanilla Buttercream Frosting:
- Butter (softened): The base of our creamy buttercream. Like for the cake, room temperature butter is crucial for a smooth, homogenous frosting.
- Cream Cheese (softened): Adds a delightful tanginess and richness, complementing the vanilla and providing a slight firmness to the frosting.
- Powdered Sugar: Also known as confectioners’ sugar, this finely milled sugar dissolves perfectly into the butter and cream cheese, creating a smooth, non-gritty frosting.
- Vanilla or Vanilla Bean Paste: The flavoring agent for the frosting. Vanilla bean paste is highly recommended for its intense flavor and visible vanilla specks.
- Cream or Milk (optional): A tablespoon or two can be added to adjust the frosting’s consistency, making it thinner and more spreadable if desired.
Choosing Your Vanilla: Extract, Paste, or Fresh Beans?
The type of vanilla you choose significantly impacts the flavor profile and visual appeal of your cake and frosting. Understanding the differences can elevate your baking.
Vanilla Extract: This is the most common and accessible form of vanilla. A good-quality pure vanilla extract, such as a rich Mexican vanilla or renowned brands like Nielsen-Massey, offers a warm, familiar vanilla flavor. It’s versatile and works well in most recipes, providing a consistent taste.
Vanilla Bean Paste: My personal favorite for this recipe, vanilla bean paste strikes a wonderful balance. It often contains the tiny, beautiful specks from actual vanilla beans, offering a more concentrated and complex flavor profile than extract, along with a visually appealing gourmet touch. Nielsen-Massey is an excellent choice for paste, providing exceptional quality and flavor.
Fresh Vanilla Beans (Scraped Pods): For the purest, most intense, and complex vanilla aroma, fresh vanilla beans are unmatched. Scrape the seeds directly from a split pod for an incredible depth of flavor and elegant visible seeds, which look particularly stunning in a white frosting. While it requires a bit more effort and is often more expensive, the result is a truly extraordinary vanilla experience.
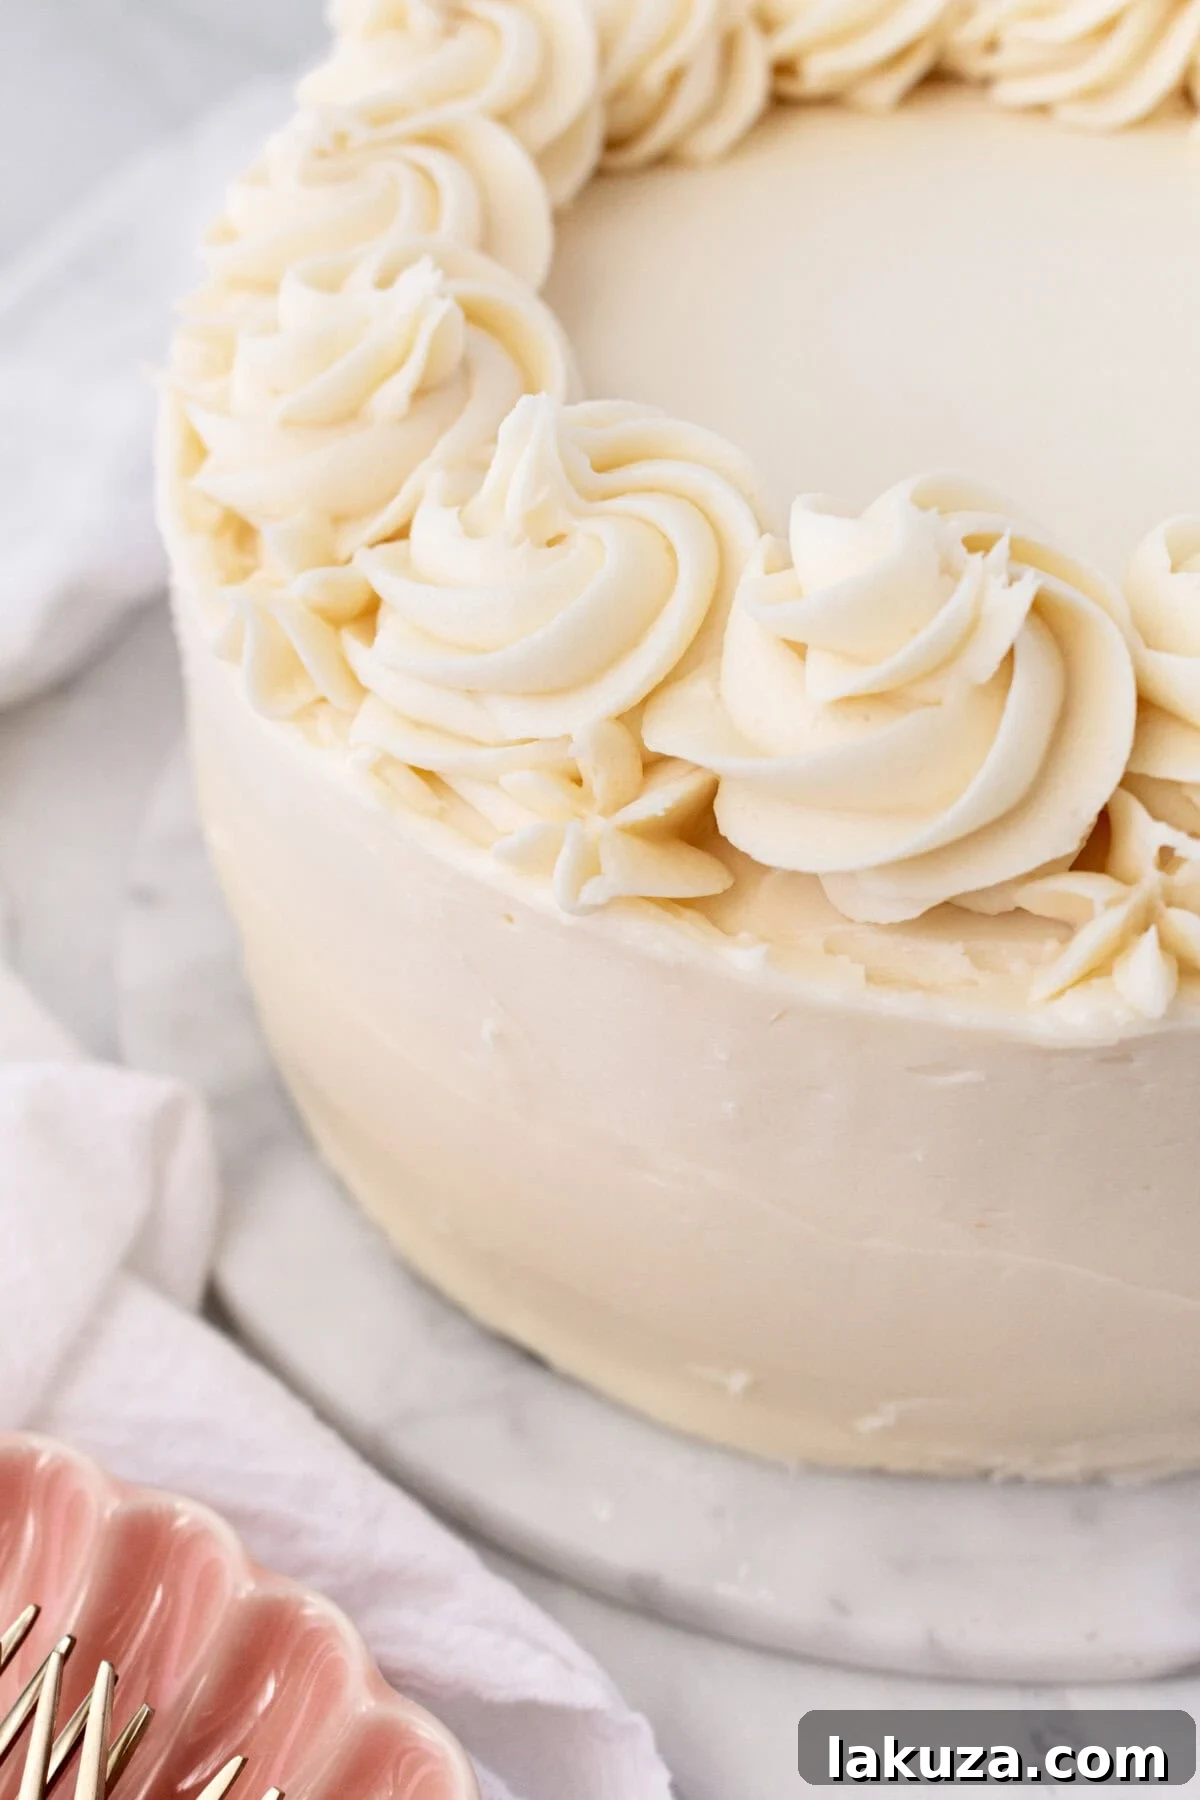
White Cake vs. Vanilla Cake: Understanding the Subtle Differences
While often used interchangeably, the terms “white cake” and “vanilla cake” possess subtle distinctions, primarily in their color and the use of egg components. Understanding these differences can help you appreciate the nuances of each type and why this particular recipe leans towards a “vanilla cake” with characteristics of both.
- White Cake typically aims for a pristine, snowy white color. To achieve this, recipes for white cake almost exclusively use only egg whites, deliberately omitting egg yolks, which would otherwise impart a yellowish tint. The flavor profile is usually clean and simple, deriving its taste predominantly from vanilla extract and sometimes almond extract, without other dominant flavors.
- Vanilla Cake, on the other hand, can be very similar to a white cake in flavor, as vanilla is often the primary flavoring. However, vanilla cakes may include a small amount of egg yolk in addition to egg whites. The inclusion of yolks contributes a richer flavor and a slightly more golden hue to the crumb, along with additional moisture and tenderness. Many “white cakes” inherently taste like vanilla, blurring the lines between the two categories.
- In practical terms, the biggest difference often boils down to color and the presence of egg yolks. This recipe, while achieving a beautifully light crumb reminiscent of a white cake, incorporates both whole eggs and egg whites, ensuring a supremely moist and flavorful result that embodies the best of both worlds. Therefore, the terms are frequently used somewhat interchangeably, especially when the goal is a delicious, vanilla-flavored layer cake.
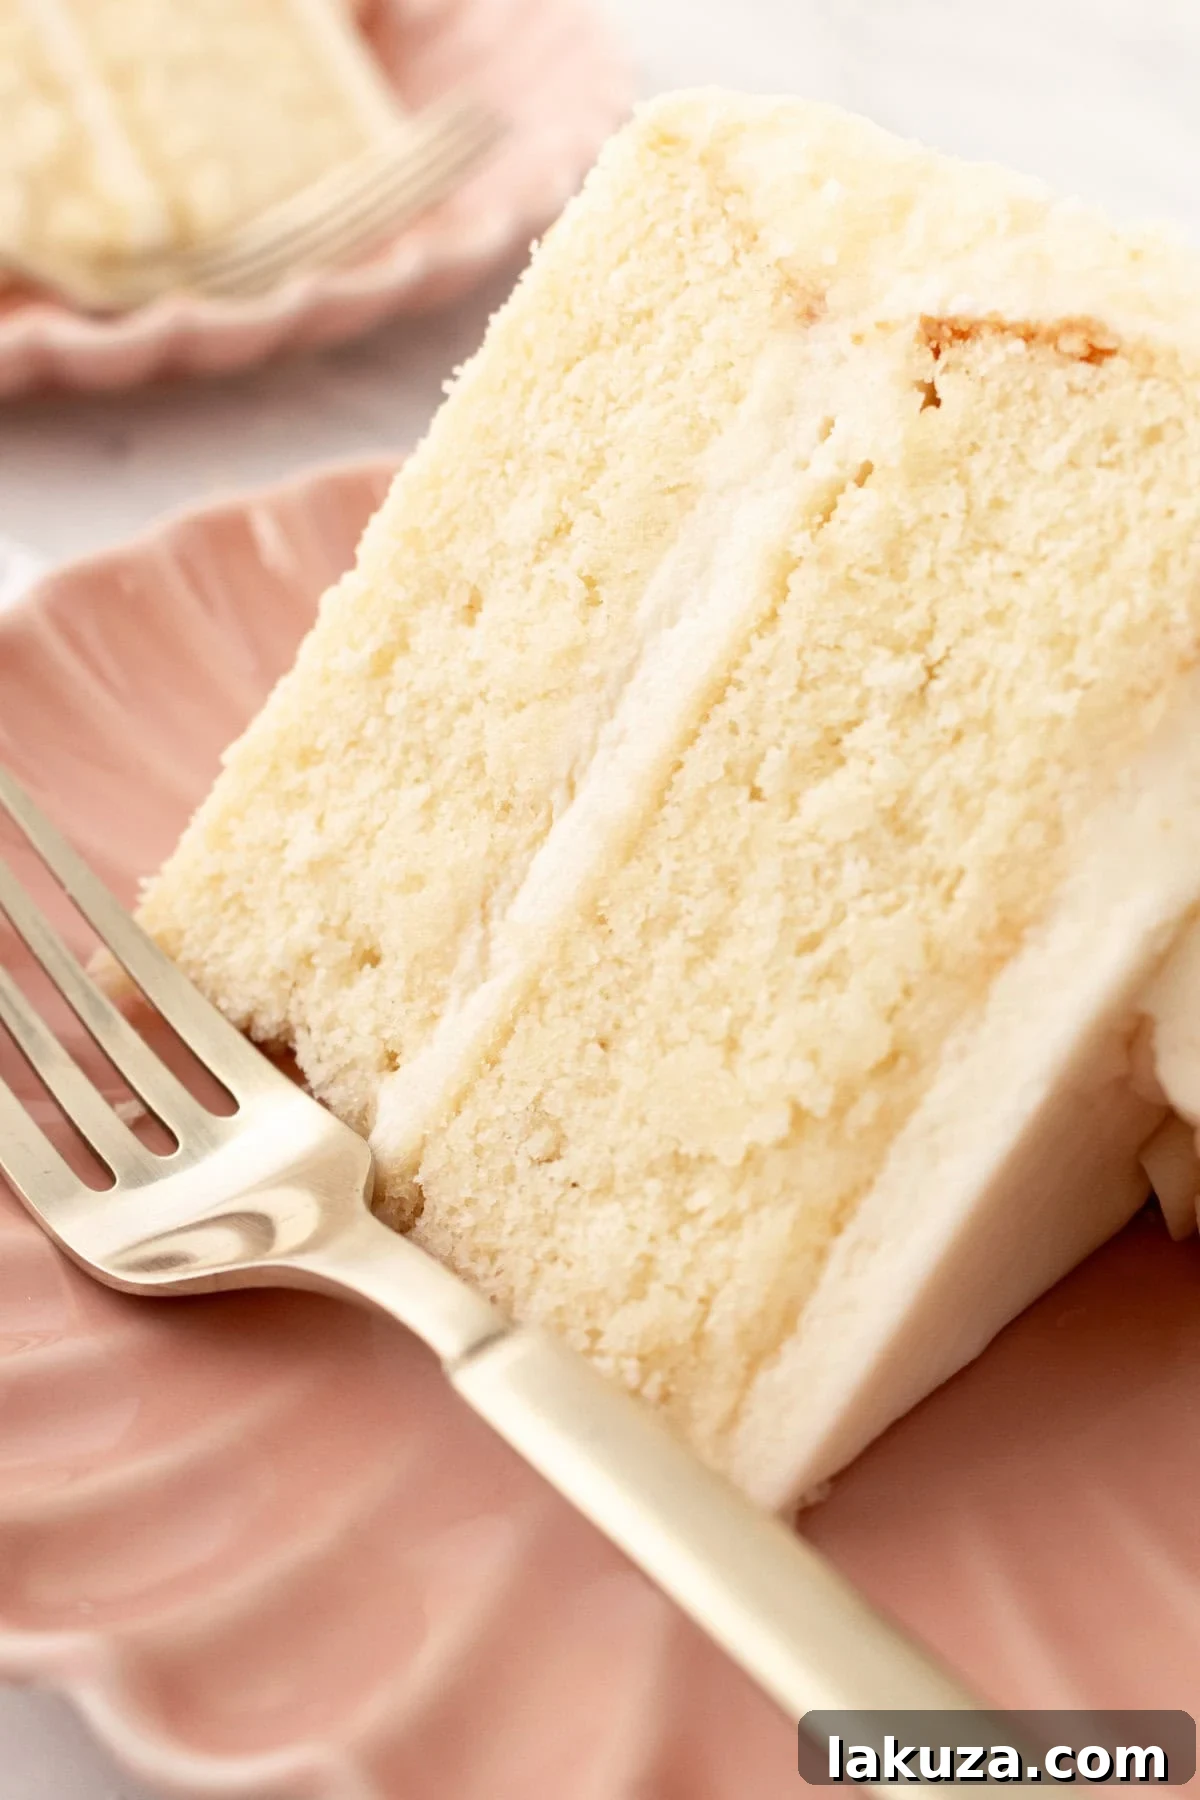
Step-by-Step: How to Make the Best Vanilla Cake
Creating this magnificent vanilla cake is a straightforward process when you follow these steps. Precision in baking leads to perfection, so gather your ingredients and let’s begin!
- Preparation is Key: Begin by preheating your oven to 350 degrees Fahrenheit (175 degrees Celsius). This ensures the oven is at the correct temperature when your batter is ready to bake, which is crucial for even rising.
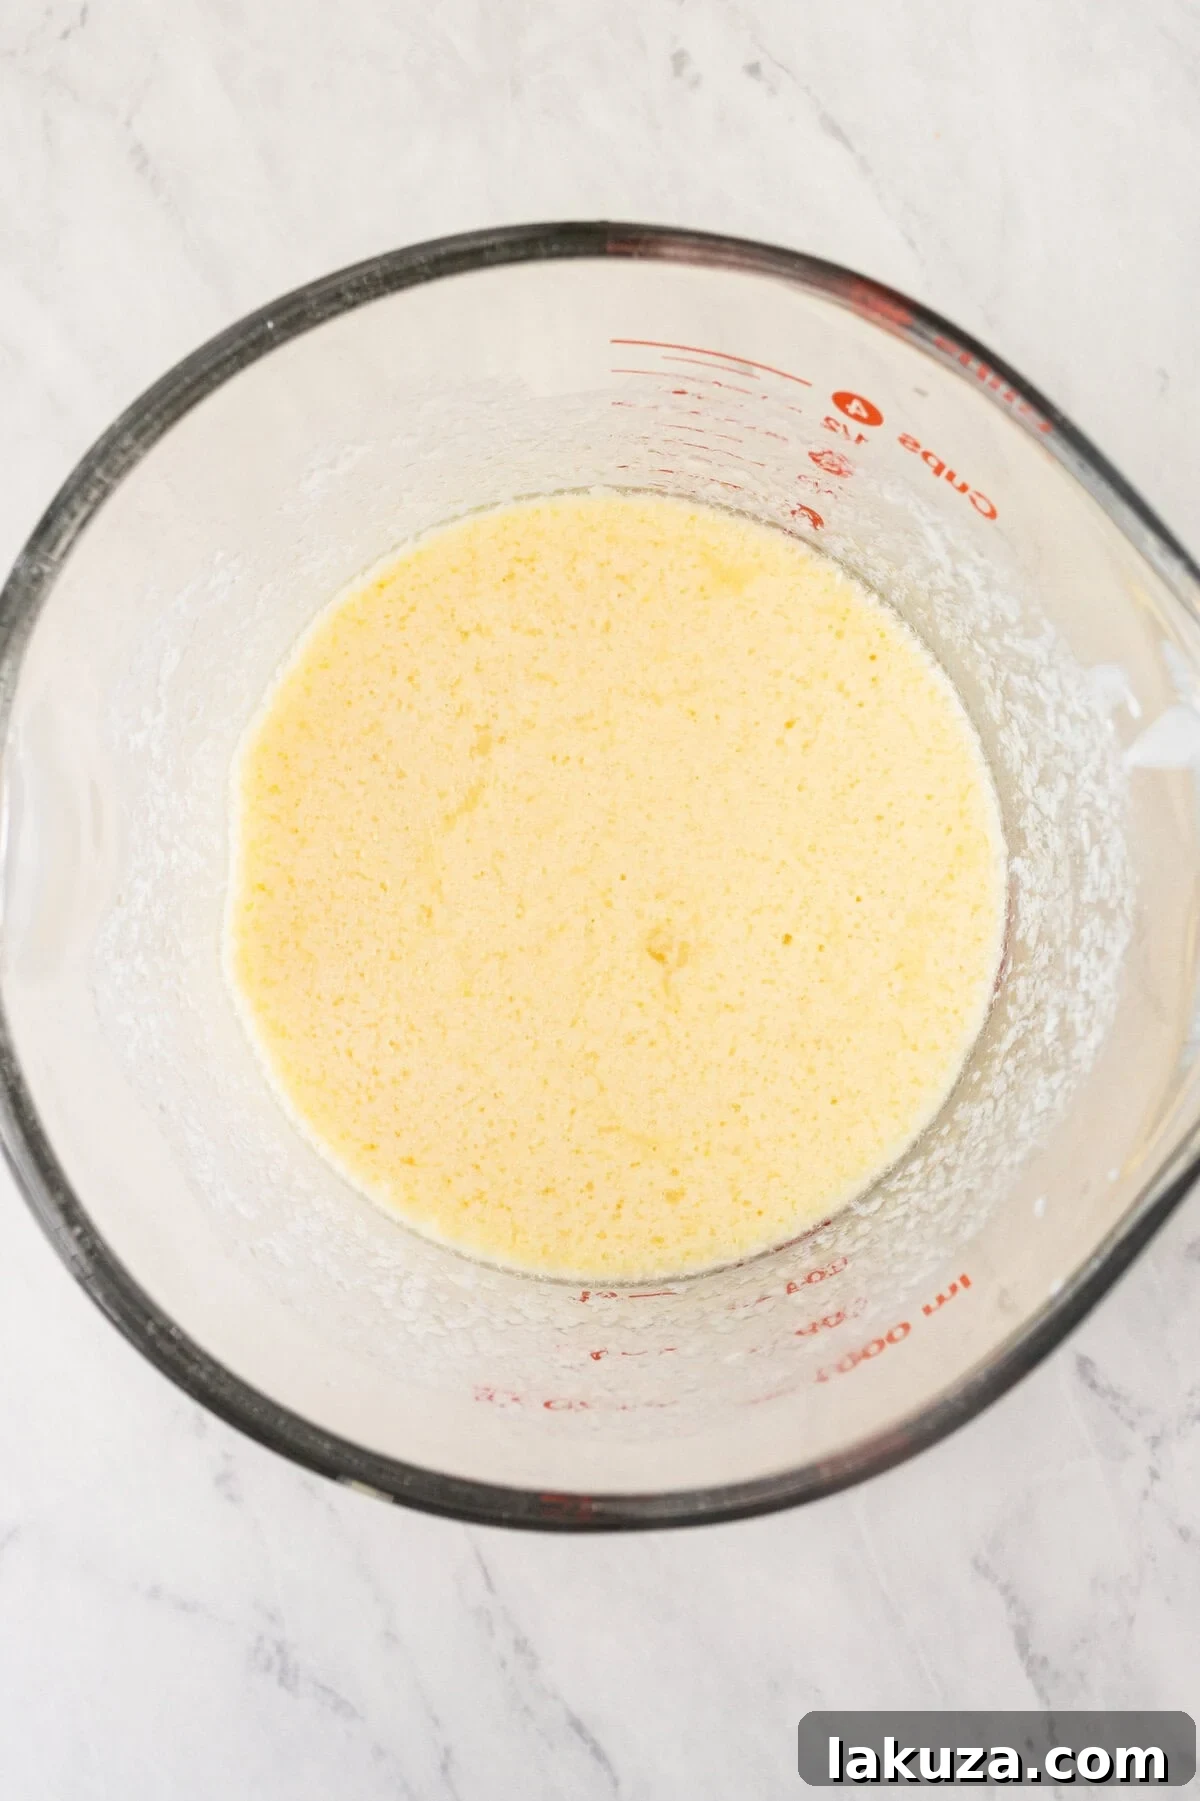
- Whisk the Wet Ingredients: In a medium bowl, combine the eggs, buttermilk, oil, and vanilla extract. Whisk these ingredients together until they are well combined and uniform. Set this mixture aside. This ensures all the liquid components are thoroughly mixed before integrating them into the dry ingredients.
- Combine the Dry Ingredients: In the bowl of a stand mixer fitted with the paddle attachment, or a large mixing bowl if using a hand mixer, stir together the cake flour, granulated sugar, baking powder, and salt. Make sure these dry ingredients are thoroughly combined to ensure even distribution of leavening agents and flavor.
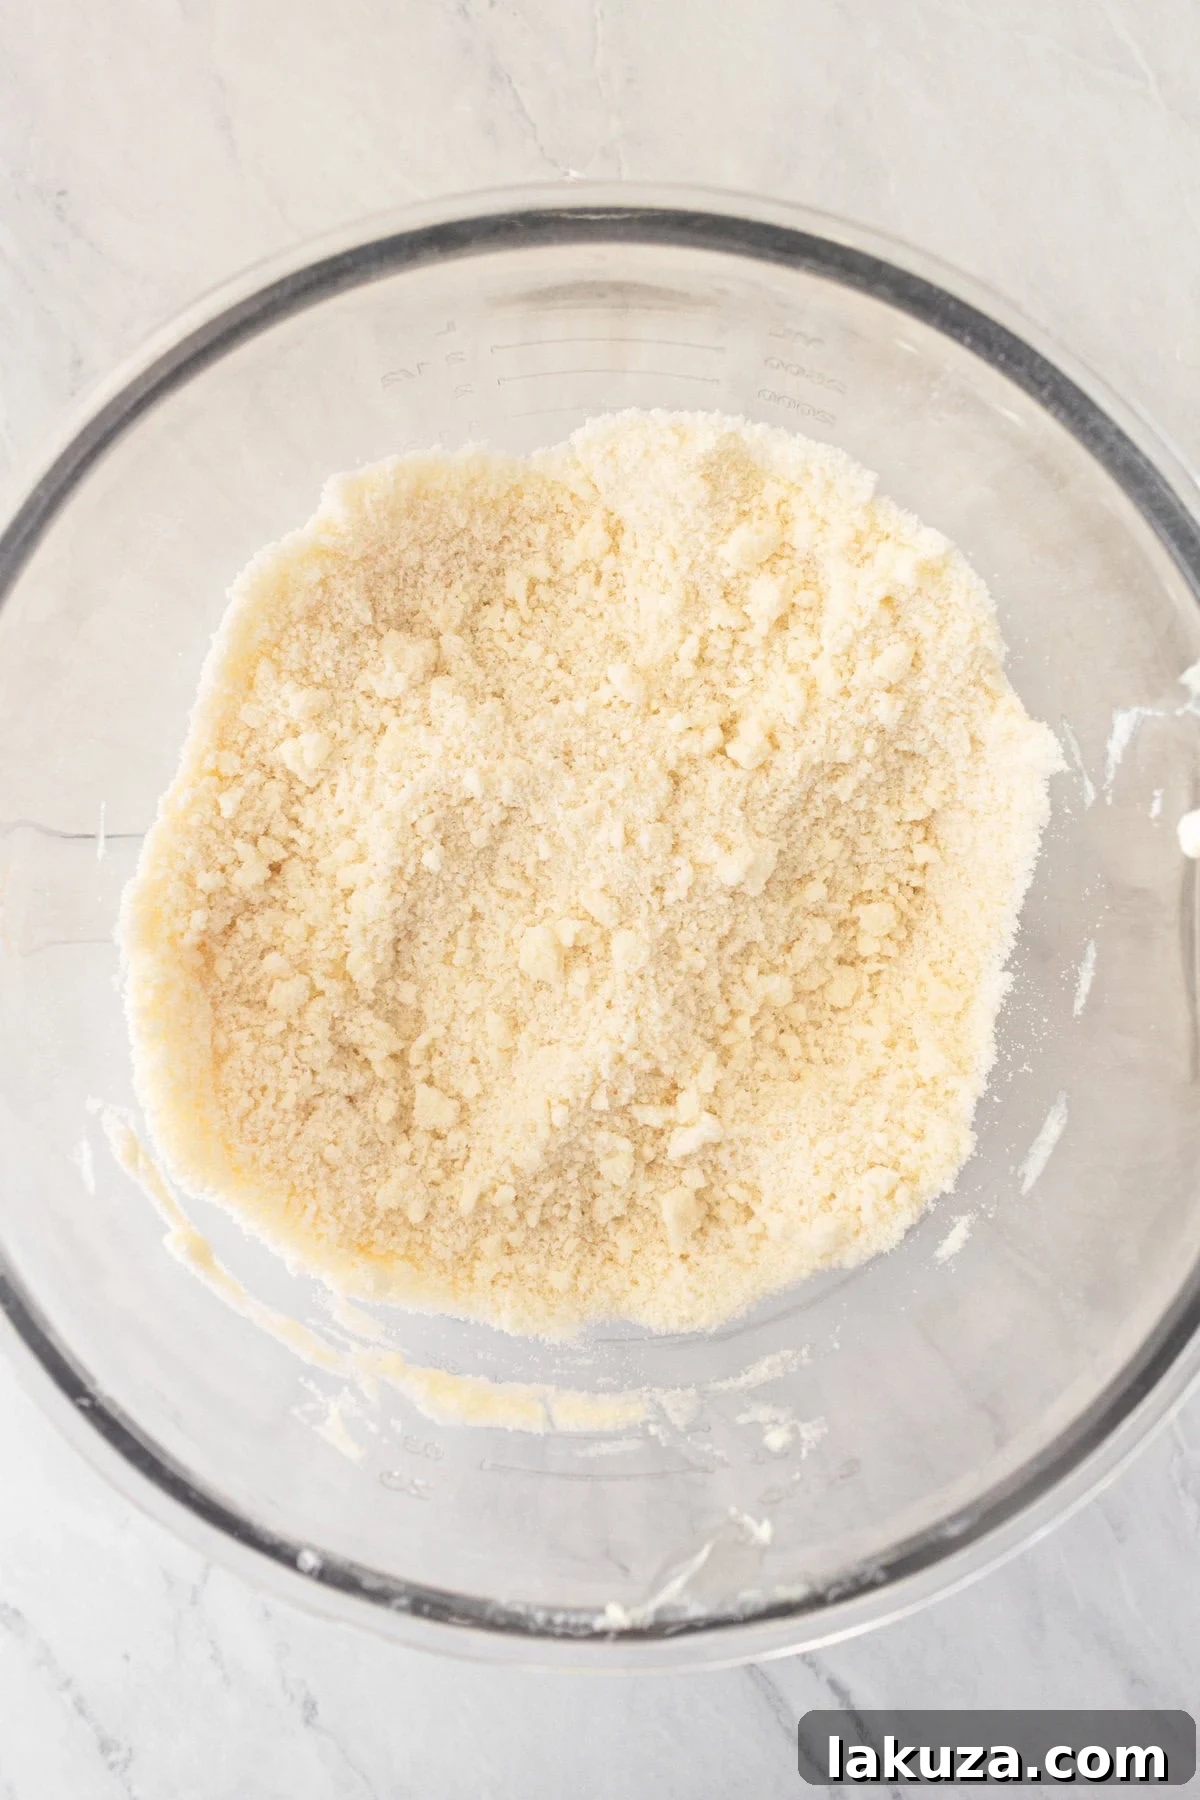
- Incorporate the Butter: Add the softened unsalted butter, one cube at a time, to the flour mixture in the stand mixer. Begin beating on low speed, gradually increasing to medium, until the butter is fully incorporated and the mixture resembles coarse crumbs, similar to wet sand. This method, often called the reverse creaming method, helps to coat the flour particles in fat, which inhibits gluten development and results in a wonderfully tender cake.
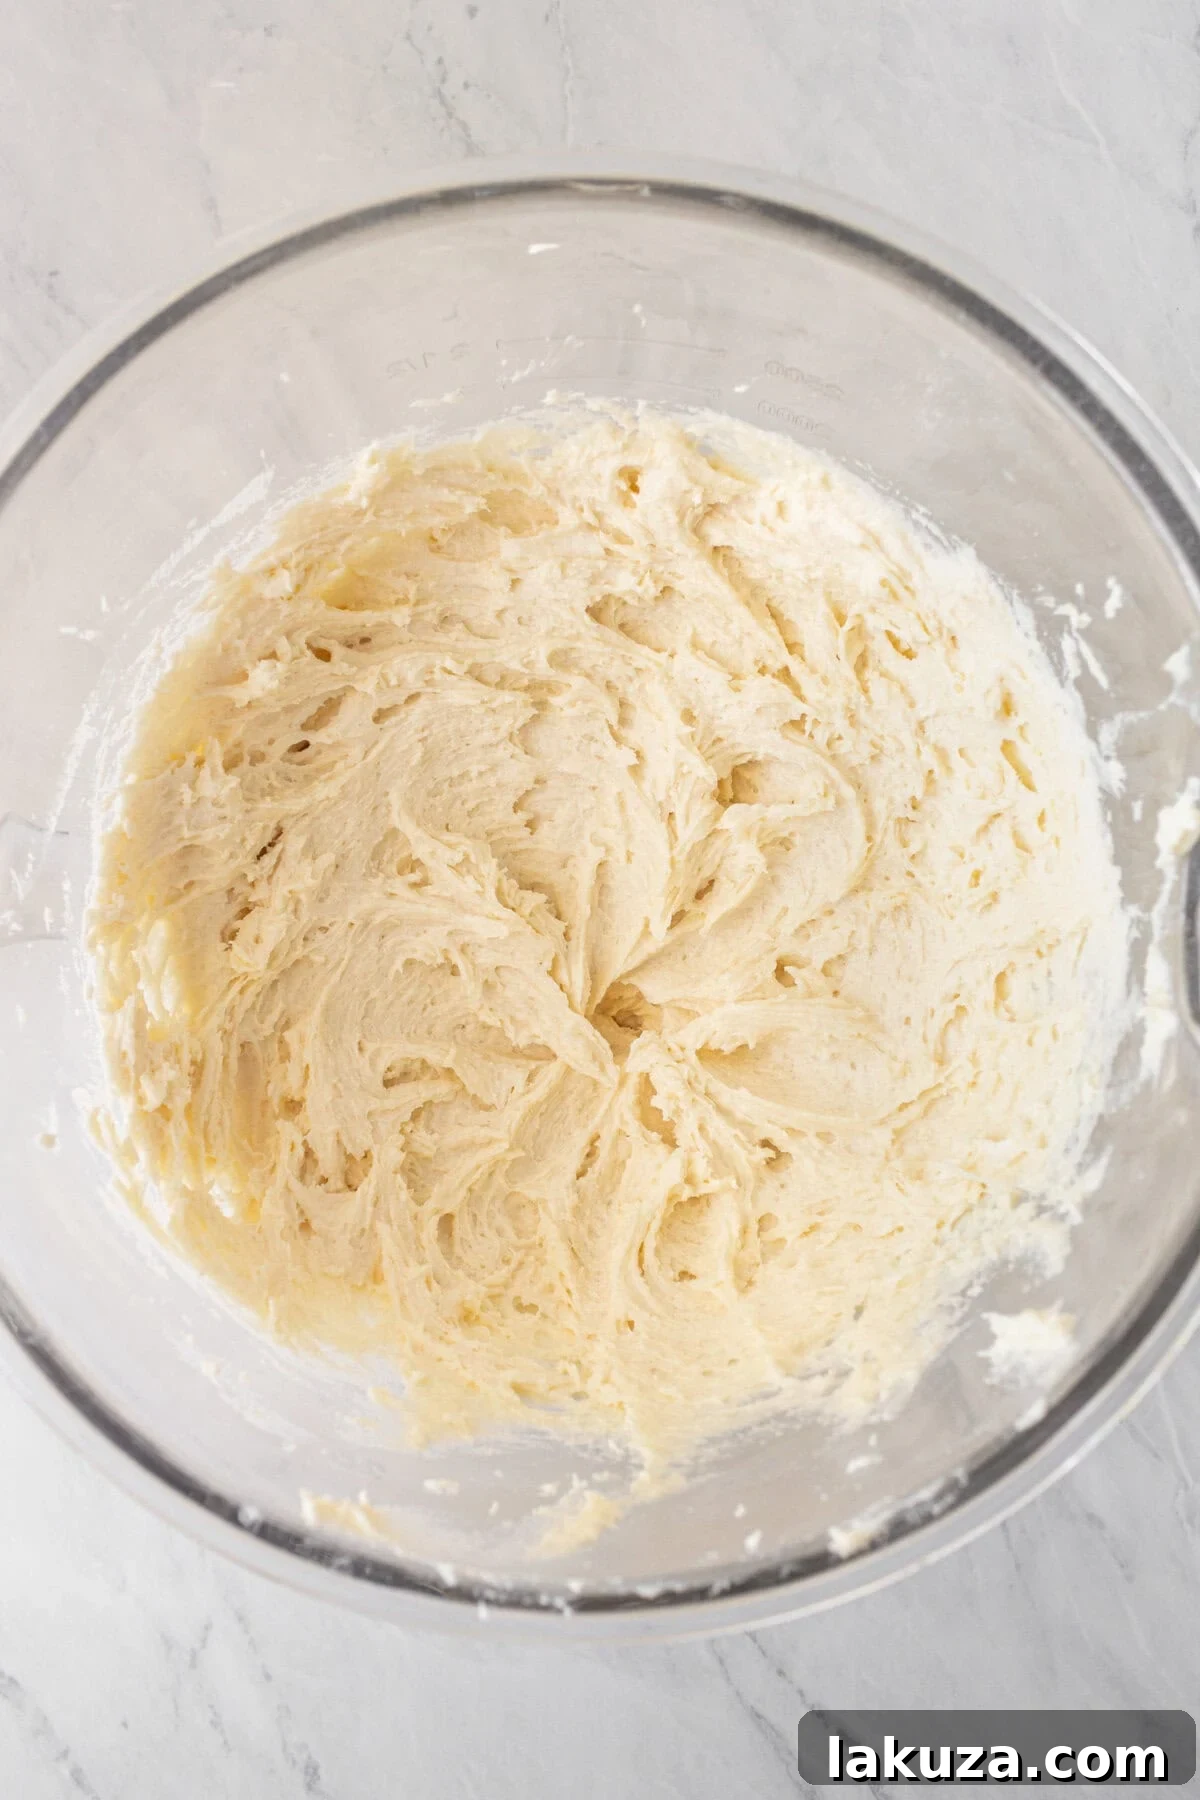
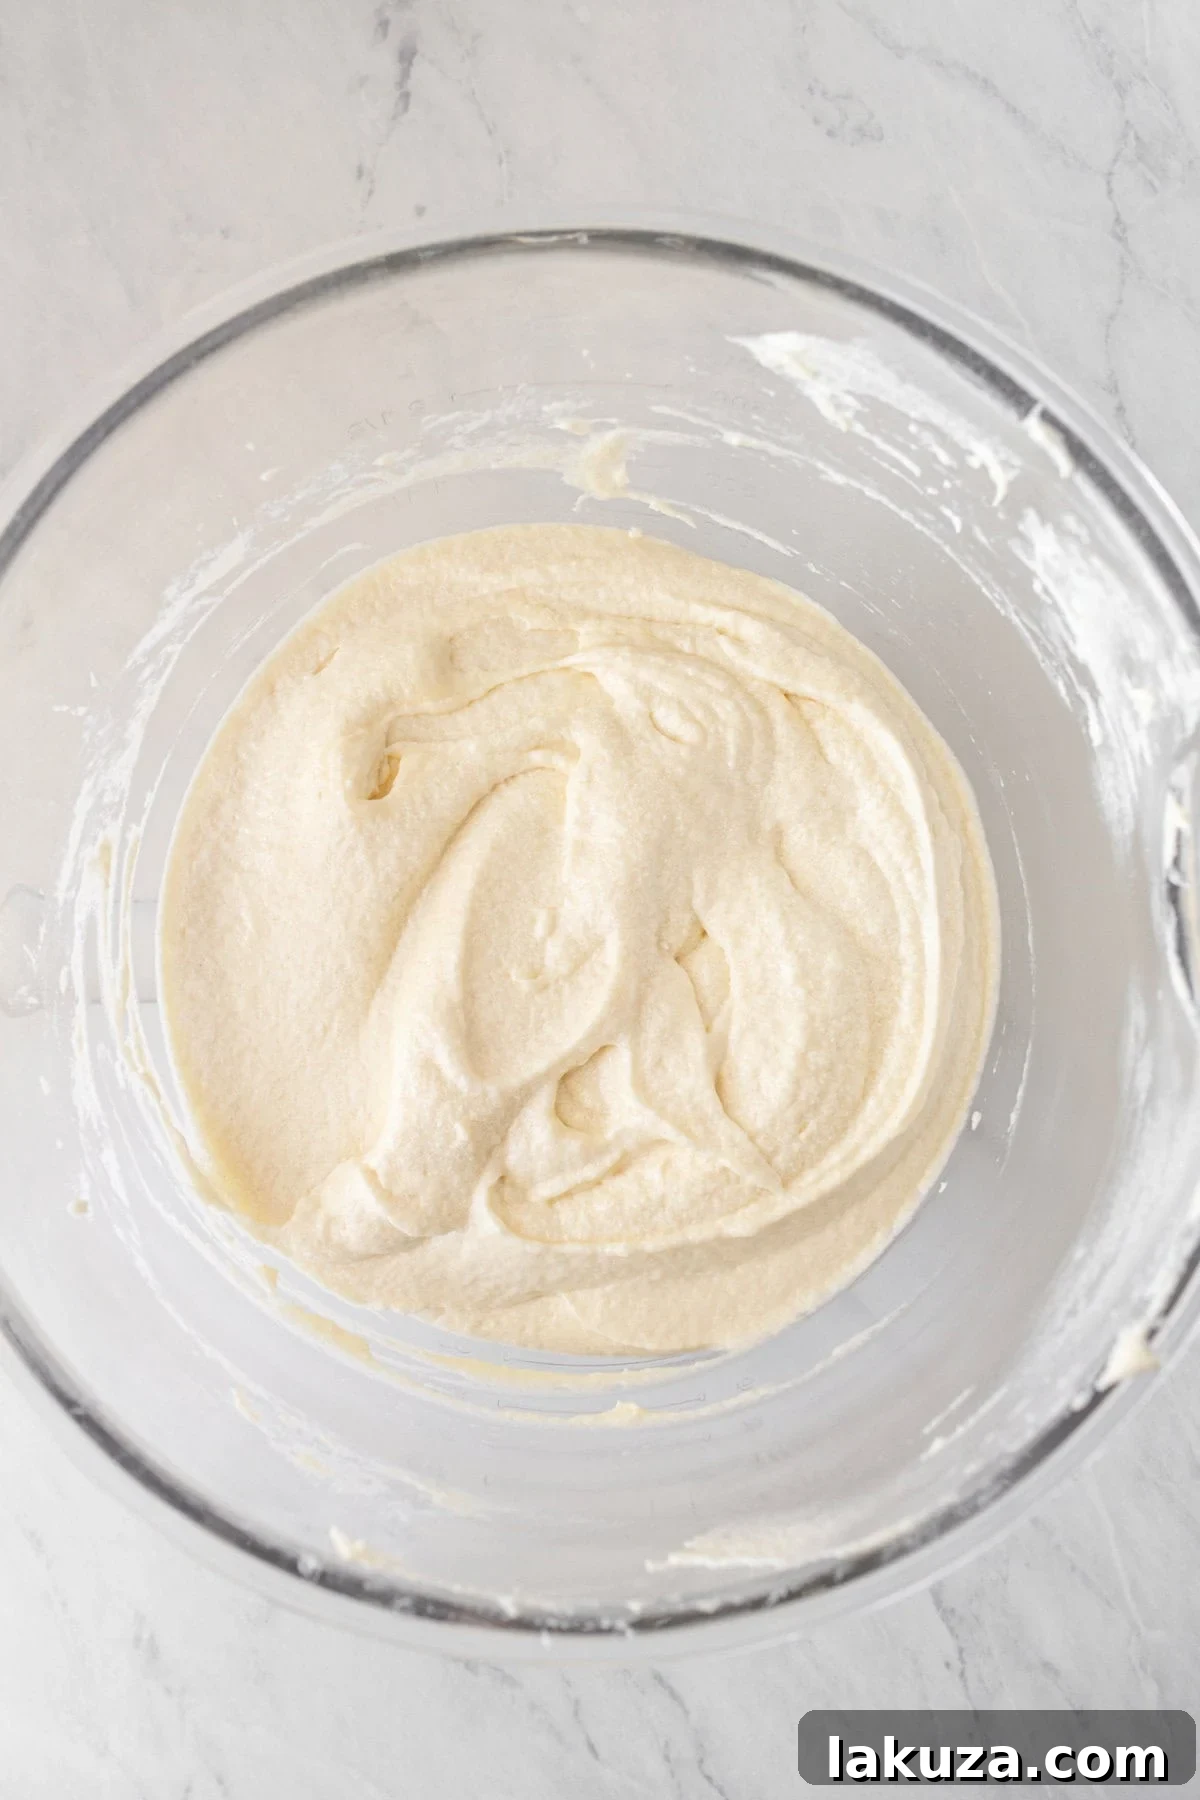
- Gradually Add Wet to Dry: With the mixer on low speed, slowly add half of the whisked egg-buttermilk mixture to the coarse crumb mixture. Increase the speed to medium and beat until the batter is light, fluffy, and smooth, scraping down the sides of the bowl as needed. This step develops the cake’s structure. Then, add the remaining egg-buttermilk mixture and mix just until combined. Be careful not to overmix at this stage, as overmixing can lead to a tough cake.
- Bake to Perfection: Generously spray two 8-inch or 9-inch round cake pans with non-stick cooking spray, or prepare them as described in our “Tips on how to grease cake pans” section below. Divide the batter evenly between the prepared cake pans. Bake for 20-24 minutes. The exact baking time will depend on the depth of your cake pans and your oven. The cakes are done when a toothpick or cake tester inserted into the center comes out clean or with a few moist crumbs attached. Once baked, remove the cakes from the oven and let them cool in the pans on a wire rack for about 10-15 minutes before inverting them onto the rack to cool completely. It’s essential that the cakes are fully cooled before frosting to prevent the buttercream from melting.
TO MAKE Frosting:
- In a separate mixing bowl, using the paddle attachment of your stand mixer (or a hand mixer), cream together the softened butter and cream cheese for about 4 minutes on medium-high speed until light, fluffy, and smooth.
- Gradually add the powdered sugar, one cup at a time, beating well after each addition until fully incorporated. Continue to beat for another 2 minutes until the frosting is light and airy.
- Finally, add the vanilla or vanilla bean paste. If the frosting is too thick, add cream or milk one tablespoon at a time until you reach your desired spreadable consistency.
- Once the cake layers have completely cooled, proceed to frost them with this luscious vanilla buttercream frosting.
Perfecting Your Vanilla Cake Frosting
The buttercream frosting is the crowning glory of this vanilla cake, providing a rich, creamy contrast to the tender crumb. Achieving the perfect frosting requires attention to detail, especially when it comes to ingredients and technique.
The key to making the best frosting for a vanilla cake is threefold: ensuring your ingredients are at the correct temperature, whipping them thoroughly to incorporate air, and using high-quality vanilla for an authentic flavor. Make sure your butter and cream cheese are perfectly at room temperature. This isn’t just a suggestion; it’s vital for a smooth, lump-free frosting. Cold ingredients will result in a stiff, curdled mixture, while overly warm butter can make the frosting greasy. Room temperature ingredients cream together beautifully, creating a silky base.
Whipping the butter and cream cheese for several minutes before adding sugar, and then again after, is crucial. This process incorporates air, making the frosting incredibly light and fluffy, rather than dense and heavy. The added cream cheese is a brilliant touch, as it not only lends a subtle tanginess that perfectly complements the vanilla but also helps the frosting hold its shape, making it easier to spread and pipe.
- Cream the Fats: In a clean mixing bowl, using either a stand mixer with the paddle attachment or a hand mixer, cream together the softened butter and softened cream cheese on medium-high speed for a full 4 minutes. This extended creaming time is essential for creating an incredibly light and airy base for your frosting, ensuring no lumps remain.
- Gradually Add Sugar and Flavor: With the mixer on low speed, slowly add the powdered sugar, one cup at a time, allowing it to fully incorporate before adding more. Once all the sugar is in, increase the speed to medium-high and beat for another 2 minutes. This step creates a wonderfully smooth and fluffy texture. Finally, mix in the vanilla or vanilla bean paste. If the frosting appears too thick or stiff, add cream or milk, one tablespoon at a time, until it reaches a perfectly spreadable consistency.
- Frost Your Cooled Cake: Once your cake layers have cooled completely to room temperature – this is critical to prevent the frosting from melting – use an offset spatula or knife to generously frost your vanilla cake with this delectable vanilla buttercream.
Mastering the Art of Frosting a Layered Cake
Transforming your freshly baked layers into a show-stopping cake is a delightful process. With a few simple techniques, you can achieve a professional-looking finish with your vanilla buttercream frosting.
- Level the Layers: After your cake layers have completely cooled, inspect their tops. If any layers have domed significantly in the center, use a long, serrated knife to carefully trim them flat. This creates an even surface for stacking and ensures a stable, level cake. However, homemade cake recipes, especially this one, often bake more evenly and may not dome as much as boxed mixes, so you might be able to skip this step.
- Apply a Crumb Coat: This is a secret to a pristine finish. Spread a very thin layer of frosting over the entire cake – sides and top. This “crumb coat” acts as a glue, trapping any loose crumbs and preventing them from showing up in your final layer of frosting. Once applied, chill the cake in the refrigerator for about 15-20 minutes until the crumb coat is set.
- Apply the Final Frosting Layer: Once the crumb coat is firm, apply a thicker, generous coat of your vanilla buttercream frosting to the top and sides of the cake. Use an offset spatula or a bench scraper to smooth the frosting evenly. Take your time, aiming for a consistent layer.
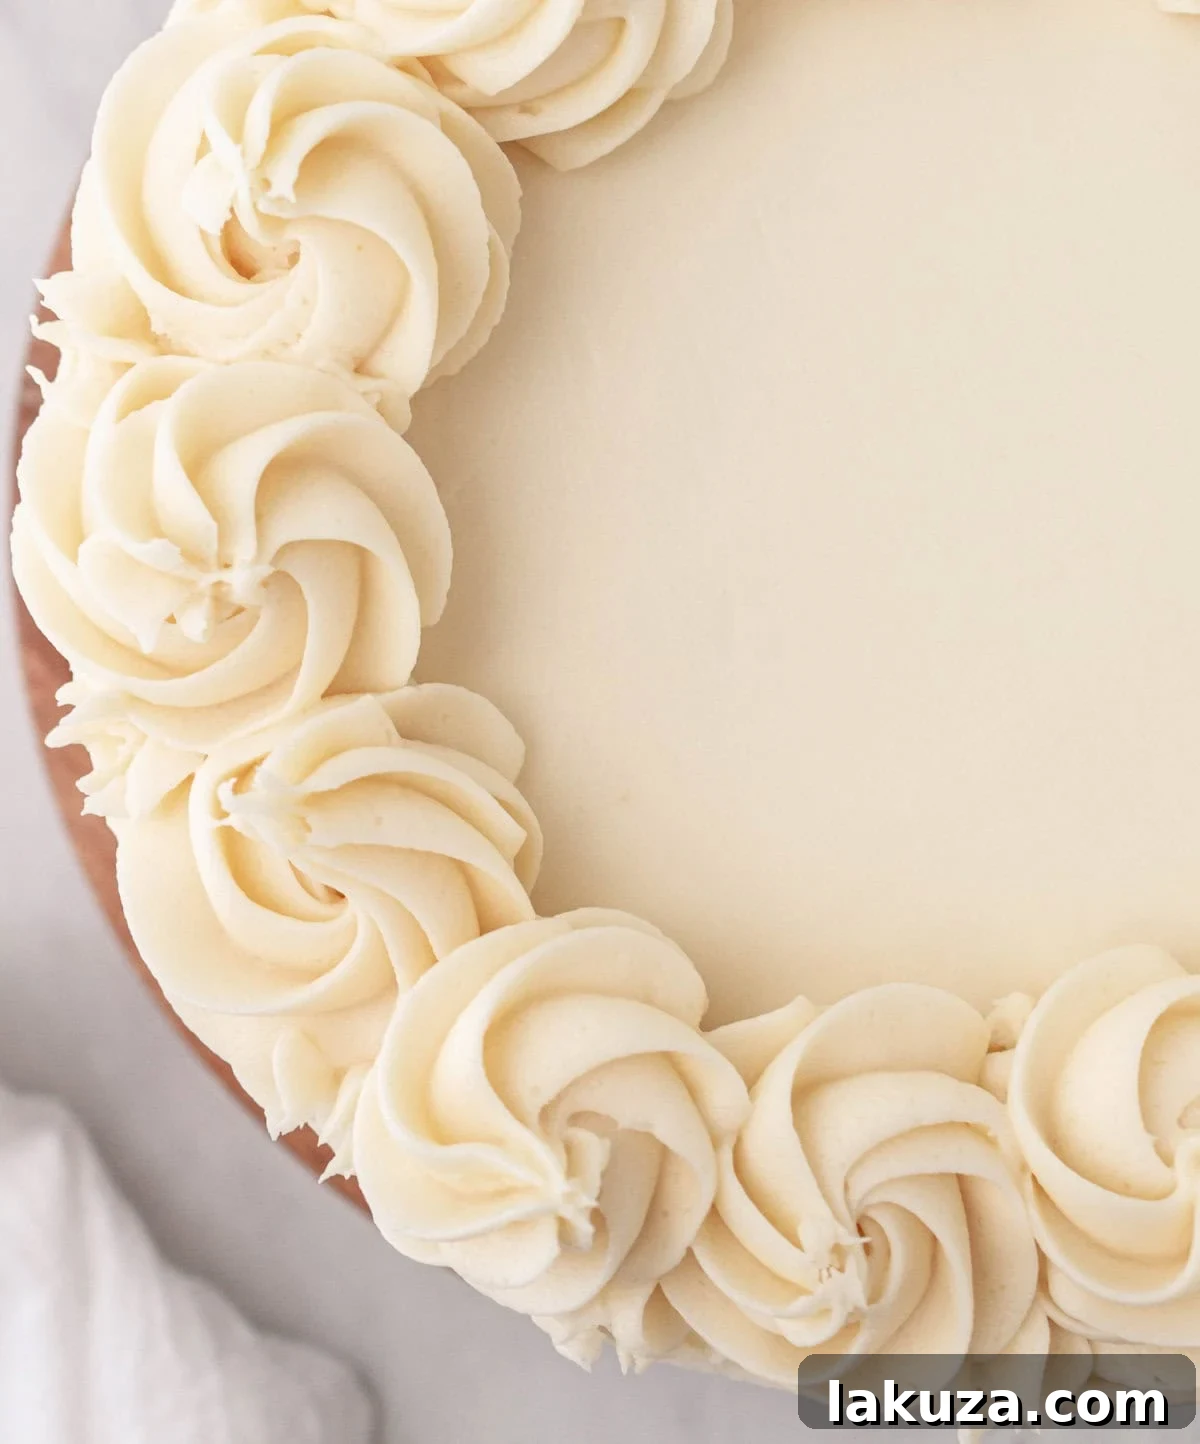
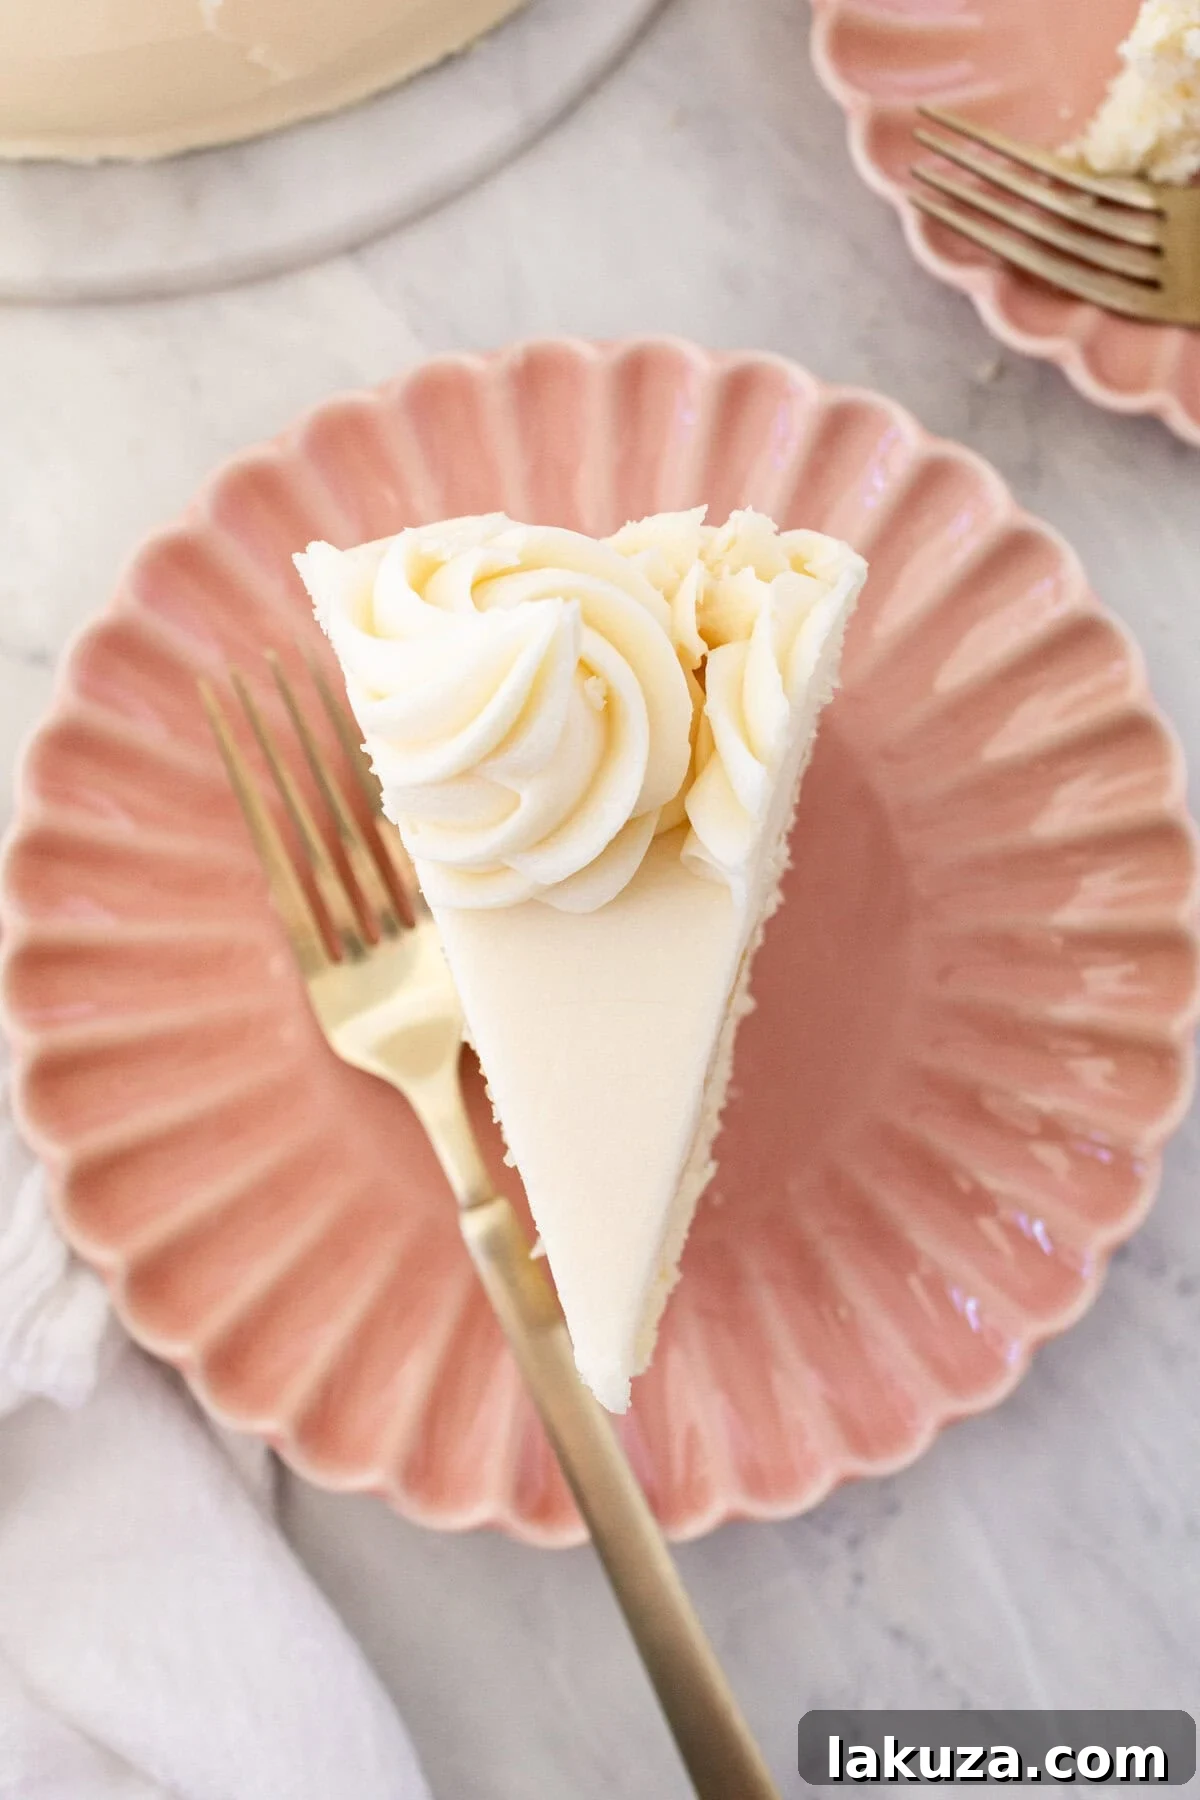
- Decorate and Personalize: This is where your creativity shines! For a classic look, simply smooth the frosting. For a fancier presentation, pipe rosettes or decorative borders using a pastry bag and tip. You can also add sprinkles, fresh berries, chocolate shavings, or edible flowers to complement your occasion.
Expert Tips for Baking the Best Vanilla Cake
Achieving a truly outstanding vanilla cake involves more than just following a recipe; it’s about understanding the nuances of each step. Here are my top tips to ensure your homemade vanilla cake is nothing short of spectacular:
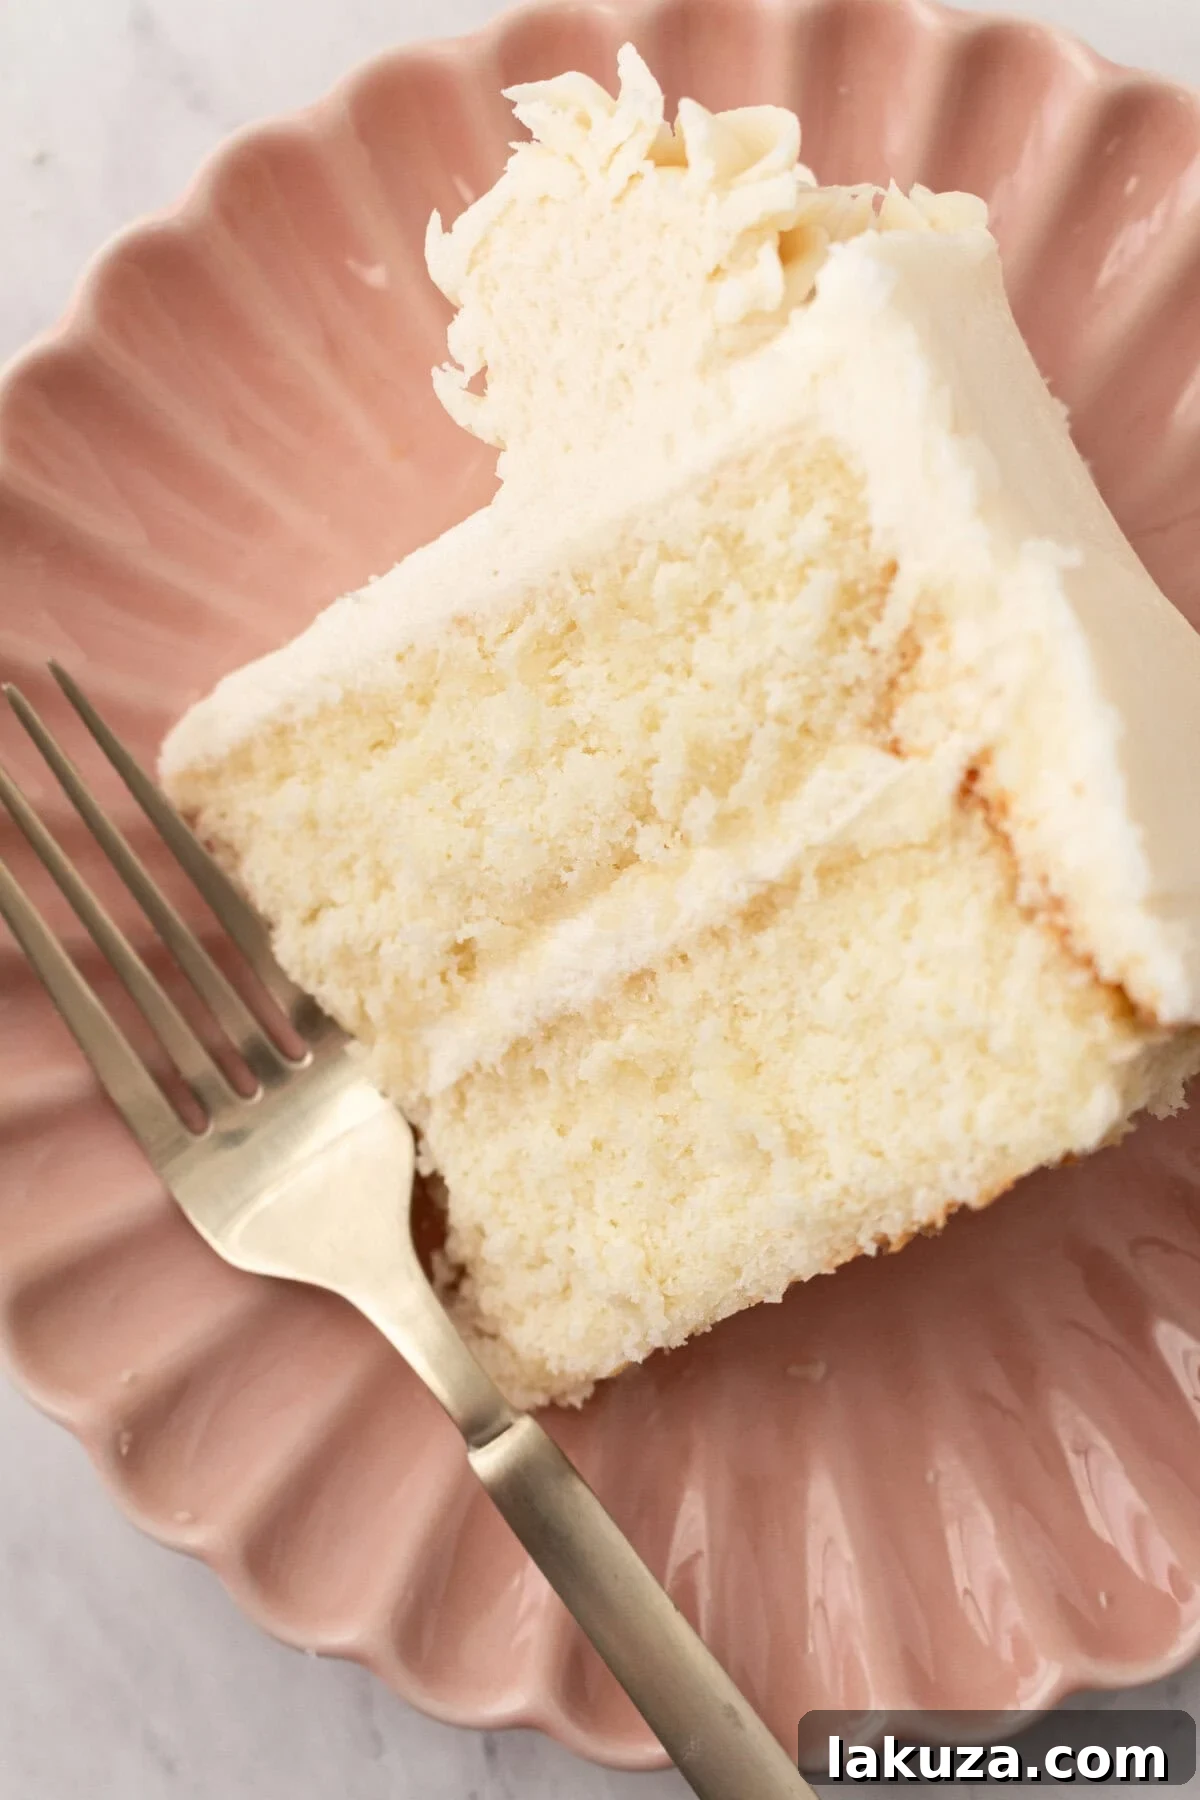
- The Power Duo: Egg Whites and Whole Eggs. This recipe intentionally calls for both whole eggs and additional egg whites. This combination is crucial for creating the perfect balance of richness and fluffiness. While using only egg whites would yield a texture akin to angel food cake—very light but potentially lacking in moisture and depth—the inclusion of one egg yolk adds just the right amount of fat. This extra fat contributes significantly to the cake’s tender crumb and overall moistness, without compromising the airy texture provided by the whipped egg whites.
- Always Use Cake Flour. Do not underestimate the importance of cake flour. With a gluten content of typically 7-8%, it is significantly lower than that of all-purpose flour (10-12%). This lower gluten means less gluten development when mixing, resulting in a cake with an incredibly delicate, soft, and tender texture that truly melts in your mouth. Substituting with all-purpose flour will still yield a good cake, but it will be noticeably denser.
- Baking Powder for Loft. Since this cake’s primary flavor is vanilla and it doesn’t rely on acidic ingredients for leavening, we use a generous amount of baking powder. Baking powder is a chemical leavener that reacts with moisture and heat to produce carbon dioxide gas, which creates air bubbles and helps the cake to rise beautifully, giving it that desirable lift and airy structure.
- The Reverse Creaming Method: Adding Butter to Flour. This recipe deviates from the traditional method of creaming butter and sugar together first. Instead, softened butter cubes are beaten into the dry mixture of flour, baking powder, sugar, and salt. Continue mixing just until the butter is evenly distributed and the mixture resembles coarse crumbs. This technique coats the flour particles in fat, which minimizes gluten development and ensures a finer, more tender crumb.
- Buttermilk for Unbeatable Moisture and Tenderness. Buttermilk is truly a magic ingredient in this recipe. Its acidity reacts with the baking powder, promoting a softer crumb and contributing to the cake’s lift. More importantly, the lactic acid in buttermilk helps to break down gluten, resulting in a perfectly moist and exceptionally tender texture that stays fresh longer.
- Don’t Overbake: Test for Doneness. Overbaking is the quickest way to a dry cake. Always use a cake tester or a thin wooden skewer/toothpick to check for doneness. Insert it into the center of the cake; if it comes out clean or with a few moist crumbs attached, the cake is ready. If it’s wet, bake for a few more minutes. The cooking time will vary depending on the depth of your pans (e.g., two 9-inch pans or three 8-inch pans), so trust your tester!
Tips for Greasing Cake Pans and Effortless Removal
Ensuring your cake layers release cleanly from the pans is essential for a beautiful presentation. Here are the most effective methods:
Grease the Pan Thoroughly: Start by using softened butter, shortening, or a good quality non-stick cooking spray (like Baker’s Joy, which includes flour) to generously coat the entire inside surface of your cake pans—sides, corners, and bottom. Ensure every crevice is covered.
Flour or Parchment for Extra Insurance:
- Flouring Method: After greasing, dust the inside of the pans with a thin layer of all-purpose flour. Tilt and rotate the pan to ensure the flour adheres to all greased surfaces, then tap out any excess flour. This creates a non-stick barrier.
- Parchment Paper Method: For even greater assurance, especially with delicate cakes, cut a circle of parchment paper to fit the bottom of your cake pan. After greasing the pan, place the parchment circle on the bottom, then grease and flour the parchment and sides of the pan. The parchment creates an incredibly reliable release.
Removing Baked Layers Successfully:
- After baking, let the cakes cool in their pans on a wire rack for 10-15 minutes. This cooling period allows the cake’s structure to set and firm up slightly, making it less prone to breaking.
- Carefully run a thin, flexible knife or an offset spatula around the edges of each cake layer to loosen it from the pan.
- Place a wire cooling rack over the top of a cake pan, then invert the pan and rack together. Gently lift the pan away from the cake. If you used parchment paper, carefully peel it off the bottom of the cake layer.
- Allow the cake layers to cool completely on the wire rack before attempting to frost them. Warm cake will melt your buttercream.
Frequently Asked Questions (FAQs) About Vanilla Cake
Here are answers to some common questions that arise when baking the perfect vanilla cake:
Why Whip Egg Whites in a White Cake or Vanilla Cake?
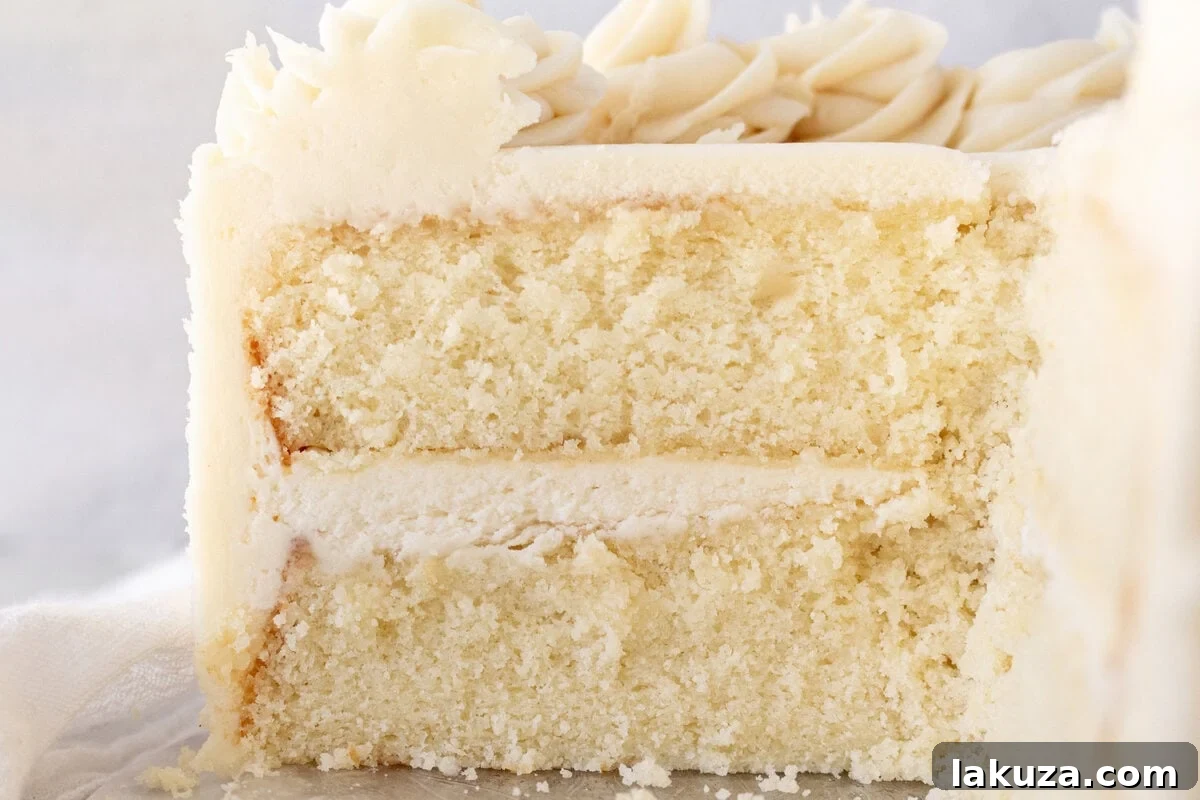
Whipping egg whites is a crucial step that contributes significantly to a light and fluffy cake texture. When egg whites are beaten, air is incorporated, creating a stable foam. This foam, when folded into the batter, lightens it considerably and helps to create that desired airy, bakery-style crumb. Without whipped egg whites, the cake would be denser and heavier, lacking the delicate lift that makes this recipe so special. It adds volume without adding extra density from yolks, which can sometimes make a cake richer but less ethereal.
Can I Use All-Purpose Flour Instead of Cake Flour?
Yes, you can substitute all-purpose flour for cake flour, but be aware that the cake’s texture will be slightly different. As mentioned, cake flour has a lower gluten content, which results in a more tender and delicate crumb. If using all-purpose flour, your cake might be a bit denser. To achieve a texture closer to cake flour, you can try this trick: for every cup of all-purpose flour, remove 2 tablespoons and replace it with 2 tablespoons of cornstarch, then sift it together multiple times. This helps to reduce the protein content.
How Do I Prevent a Dry Cake?
Preventing a dry cake is primarily about two things: proper measurement and avoiding overbaking. Ensure you measure your flour correctly, preferably by weight (using a kitchen scale) or by the “spoon and level” method (spoon flour into a measuring cup, then level off with a straight edge) rather than scooping directly, which compacts the flour. Always check your cake a few minutes before the suggested baking time using the toothpick test. If it comes out clean, take it out! For an extra layer of moisture, you can brush each cooled cake layer with a simple syrup. To make simple syrup, combine 1/2 cup sugar and 1/2 cup water in a small saucepan, heat over medium heat until the sugar is dissolved, then let it cool completely before gently brushing it over your cake layers. This not only adds moisture but also a subtle touch of sweetness.
What if I Don’t Have Buttermilk?
No buttermilk on hand? No problem! You can easily make a quick substitute. For every 1 cup of buttermilk required, simply pour 1 tablespoon of white vinegar or lemon juice into a measuring cup, then fill the rest of the cup with regular milk (whole or 2% works best). Stir gently and let it sit for at least 5 minutes. The milk will curdle slightly, and you’ll have a perfectly good buttermilk substitute ready to use, providing similar acidity and tenderizing properties.
How Do I Store Homemade Cake to Keep It Fresh?
To maintain optimal freshness, store your frosted vanilla cake at room temperature, covered tightly with a cake dome or plastic wrap, for up to 2 days. If you need to keep it longer, or if your kitchen is particularly warm, refrigerate the cake for up to 4 days, again ensuring it’s well-covered to prevent drying out. Before serving, allow refrigerated cake to come to room temperature for the best flavor and texture. For longer storage, unfrosted cake layers can be wrapped tightly in plastic wrap and then aluminum foil and frozen in freezer-safe containers for up to 2-3 months. Thaw them in the refrigerator overnight before frosting.
Is White Cake Always the Same as Vanilla Cake?
While often used interchangeably due to their similar flavor profiles, there is a subtle distinction. A “white cake” typically prioritizes a very light, almost pure white crumb, achieved by using only egg whites and often a clear vanilla extract. A “vanilla cake,” while also featuring vanilla as its main flavor, can include whole eggs (yolks and whites), which might give it a slightly richer, more golden hue and a bit more richness from the fat in the yolks. This recipe incorporates characteristics of both to deliver the best possible outcome. Many people use these two cake terms interchangeably because the primary flavor of both is undeniably vanilla.
More Irresistible Homemade Cake Recipes:
If you’ve fallen in love with this vanilla cake, you’ll surely enjoy exploring these other delightful homemade cake recipes:
Yellow Cake with Milk Chocolate Frosting
Love at First Sight Chocolate Cake
Lemon Olive Oil Cake
Coconut Cake
Popular Cake Recipes:
Funfetti Cake
Key Lime Cake
Best Orange Cake
The Best Carrot Cake Recipe
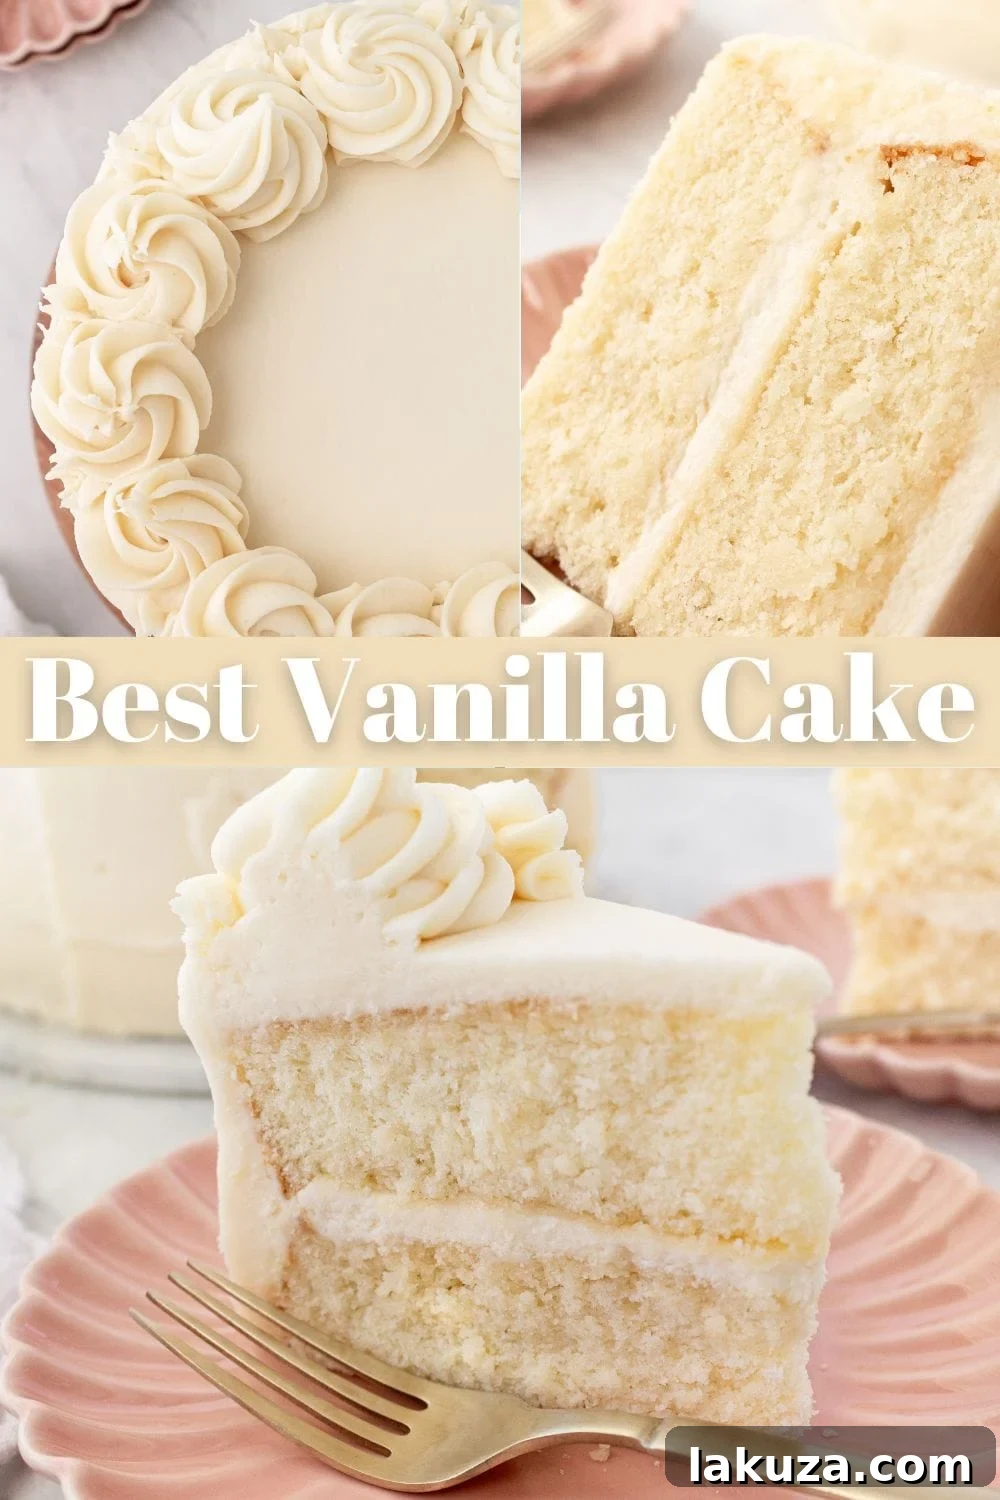
If you’ve enjoyed baking and tasting this homemade vanilla cake with vanilla frosting, I would absolutely love to hear from you! Please consider leaving a comment below to let me know how it turned out. Your feedback means the world. And don’t forget to pin the image below on Pinterest to save this fantastic recipe for later!
Vanilla Cake Recipe
Equipment
-
KitchenAid Mixer
-
Mixing Bowl Set
-
Measuring Cups and Spoons
-
Spatula Set
-
8-inch Round Cake Pan
-
9-inch Round Cake Pans
Ingredients
- 2 large Eggs
- 3 large Egg Whites
- 1 cup Buttermilk
- 3 Tablespoons Oil
- 2 teaspoons Vanilla
- 1 1/2 cups Sugar
- 2 1/4 cups Cake Flour
- 1 Tablespoon Baking Powder
- 3/4 teaspoon Salt
- 1 cup Unsalted Butter (softened and cut into cubes)
Vanilla Buttercream Frosting:
- 1 cup Butter (softened)
- 4 ounces Cream Cheese (softened)
- 4 cups Powdered Sugar
- 2 teaspoons Vanilla or Vanilla Bean Paste
- 1 Tablespoon Cream or Milk (optional)
Instructions
-
Preheat oven to 350 degrees F (175 C).
-
In a small bowl, whisk together eggs, buttermilk, oil, and vanilla until well combined.
-
In a stand mixer (or large bowl), stir together cake flour, sugar, baking powder, and salt.
-
Add the softened butter, one cube at a time, to the flour mixture. Beat on low speed until the mixture resembles coarse crumbs.
-
Add half of the egg-buttermilk mixture and beat until the batter is light and fluffy. Then, add the remaining egg-buttermilk mixture and mix just until combined. Do not overmix.
-
Generously spray two 8-inch or 9-inch round cake pans with non-stick cooking spray (or grease and flour). Pour batter evenly into the pans. Bake for 20-24 minutes, or until a toothpick inserted into the center comes out clean. Let cool in pans for 10-15 minutes before inverting onto a wire rack to cool completely.
Vanilla Buttercream Frosting:
-
In a mixing bowl, cream together the softened butter and cream cheese on medium-high speed for 4 minutes until light and fluffy.
-
Gradually add the powdered sugar, beating for 2 more minutes until smooth and airy. Stir in vanilla or vanilla bean paste. If needed, add cream or milk one tablespoon at a time for desired consistency.
-
Once the cake layers have completely cooled, frost with the vanilla buttercream frosting.
Nutrition
Nutrition information is automatically calculated, so should only be used as an approximation.
Additional Info