
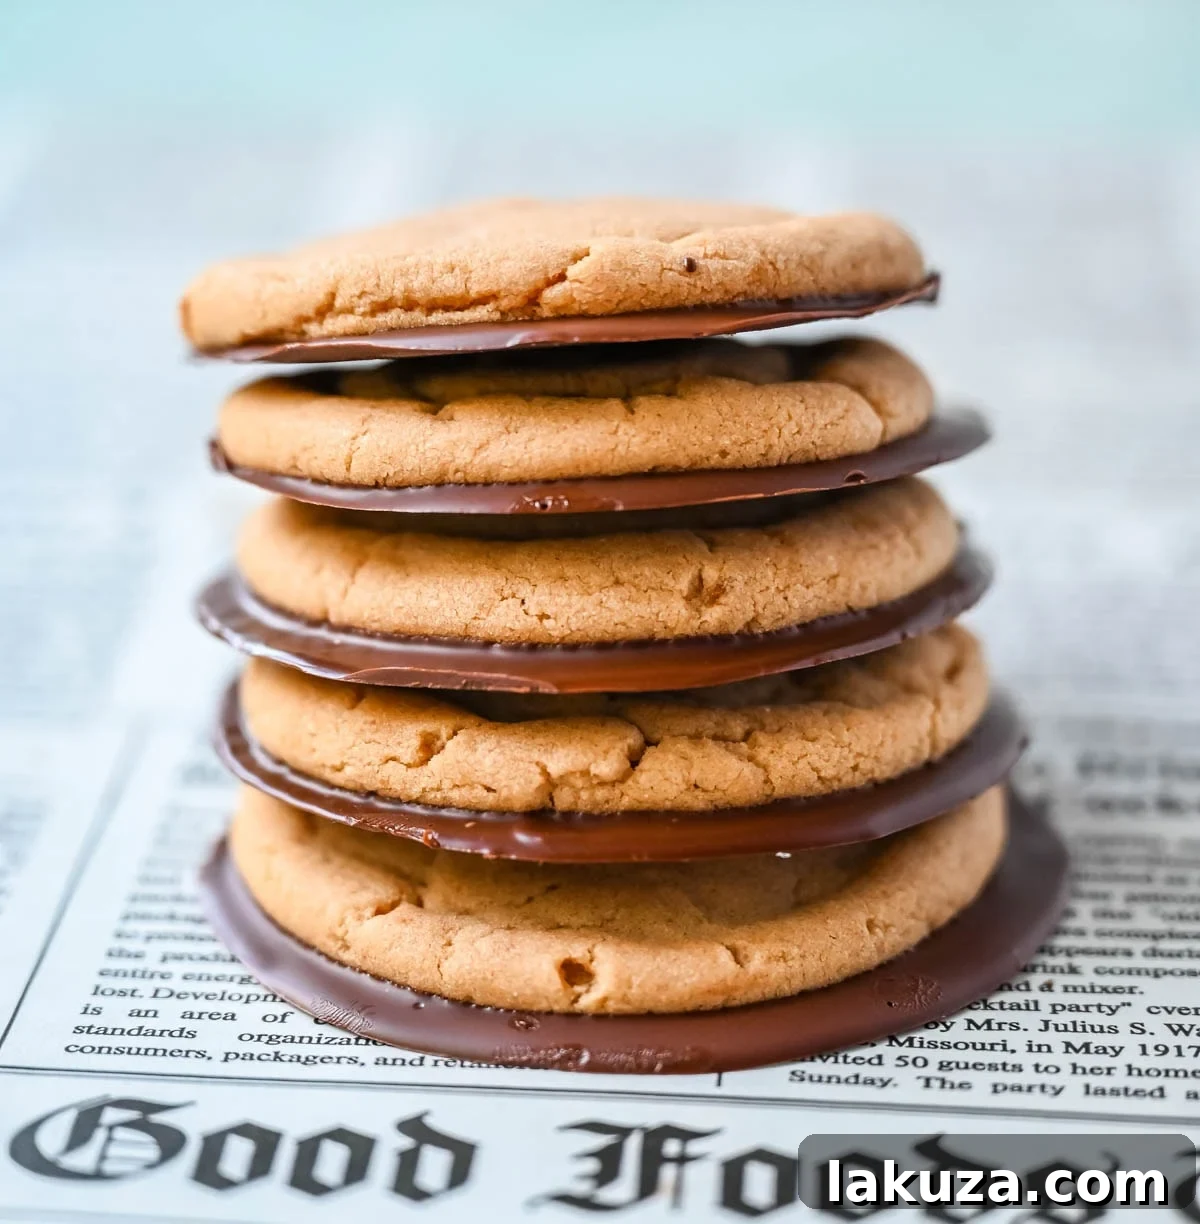
If you love the timeless combination of rich peanut butter and delectable chocolate, then get ready to discover your new obsession: Chocolate Bottom Peanut Butter Cookies. These aren’t just any peanut butter cookies; they are a delightful upgrade, featuring tender, chewy centers and perfectly crisp edges, all beautifully finished with a smooth, luxurious layer of milk chocolate on the bottom. Each bite delivers a harmonious blend of nutty sweetness and creamy chocolate, making them an irresistible treat for any occasion.
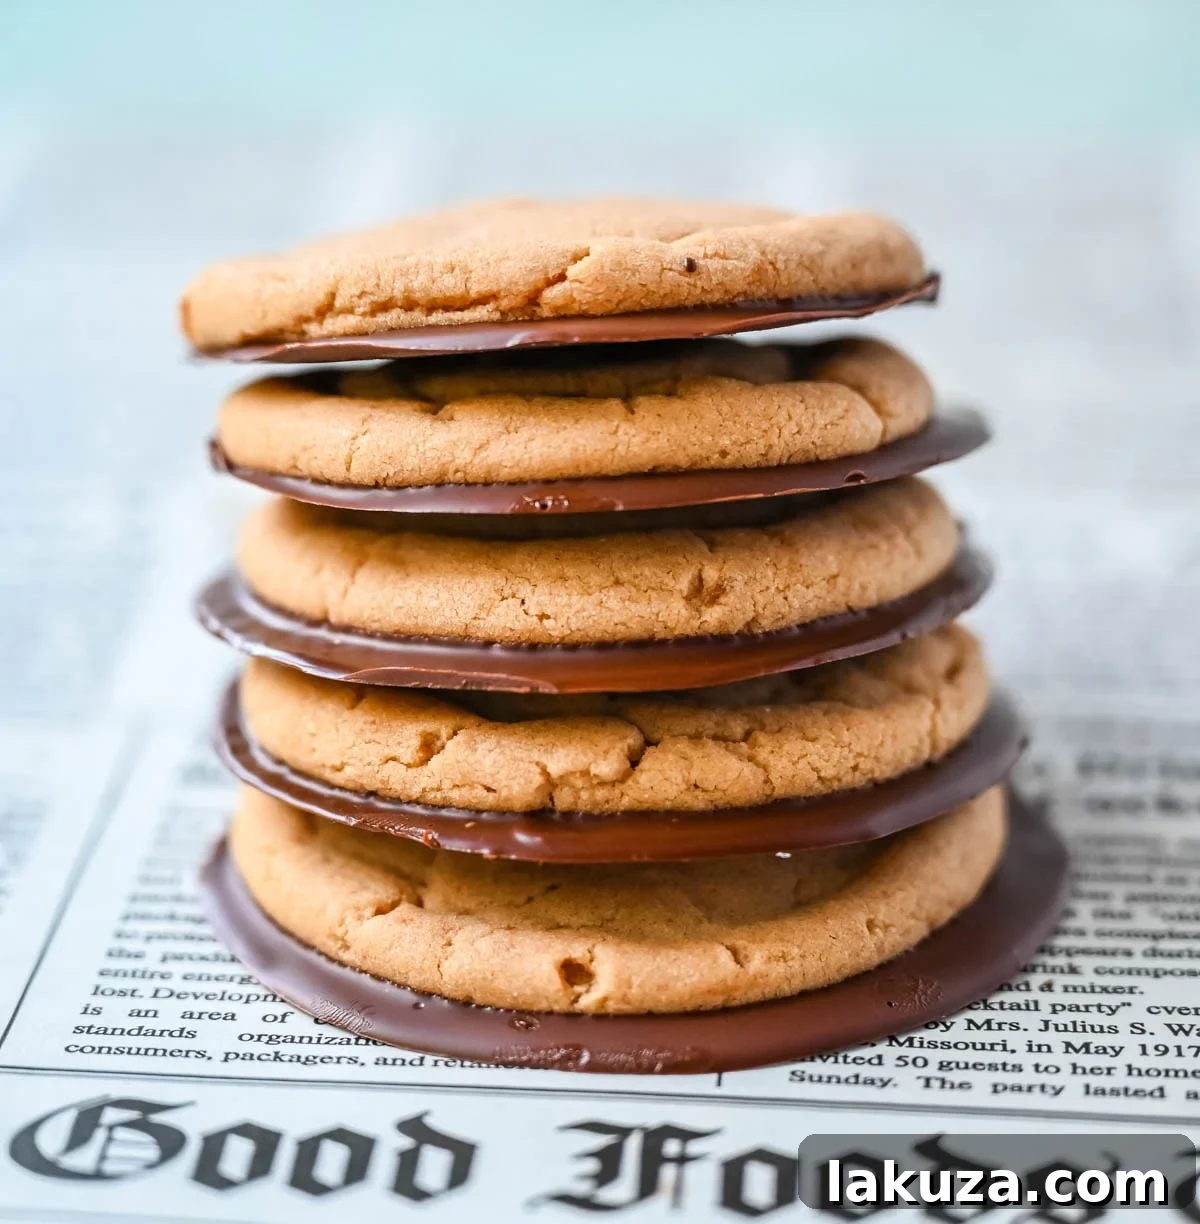
Calling all peanut butter and chocolate enthusiasts! Prepare yourselves for a recipe that will elevate your dessert game and quickly become a cherished favorite. These Chocolate Bottom Peanut Butter Cookies take a classic flavor pairing and infuse it with a touch of gourmet elegance that’s surprisingly simple to achieve. Imagine a soft, rich peanut butter cookie, boasting that signature melt-in-your-mouth texture, crowned with a perfectly smooth, solid milk chocolate base. It’s a simple yet ingenious twist on the traditional peanut butter cookie, transforming it into something truly extraordinary in both appearance and taste.
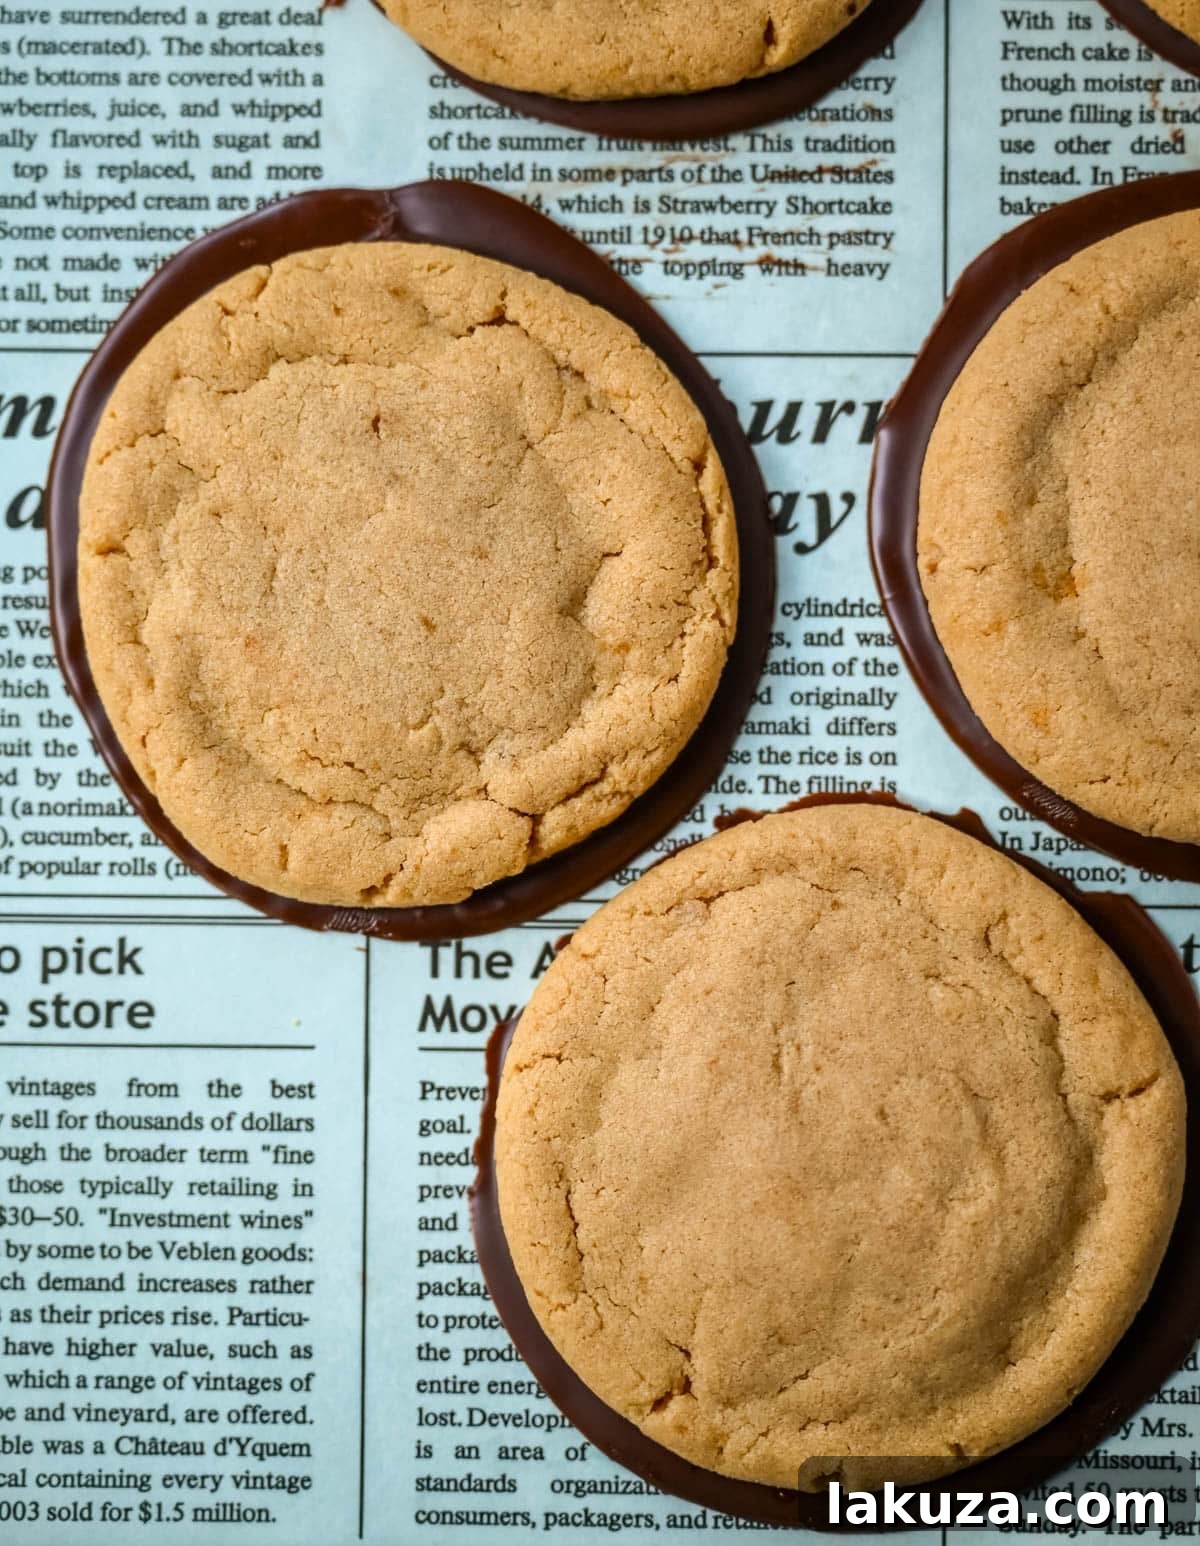
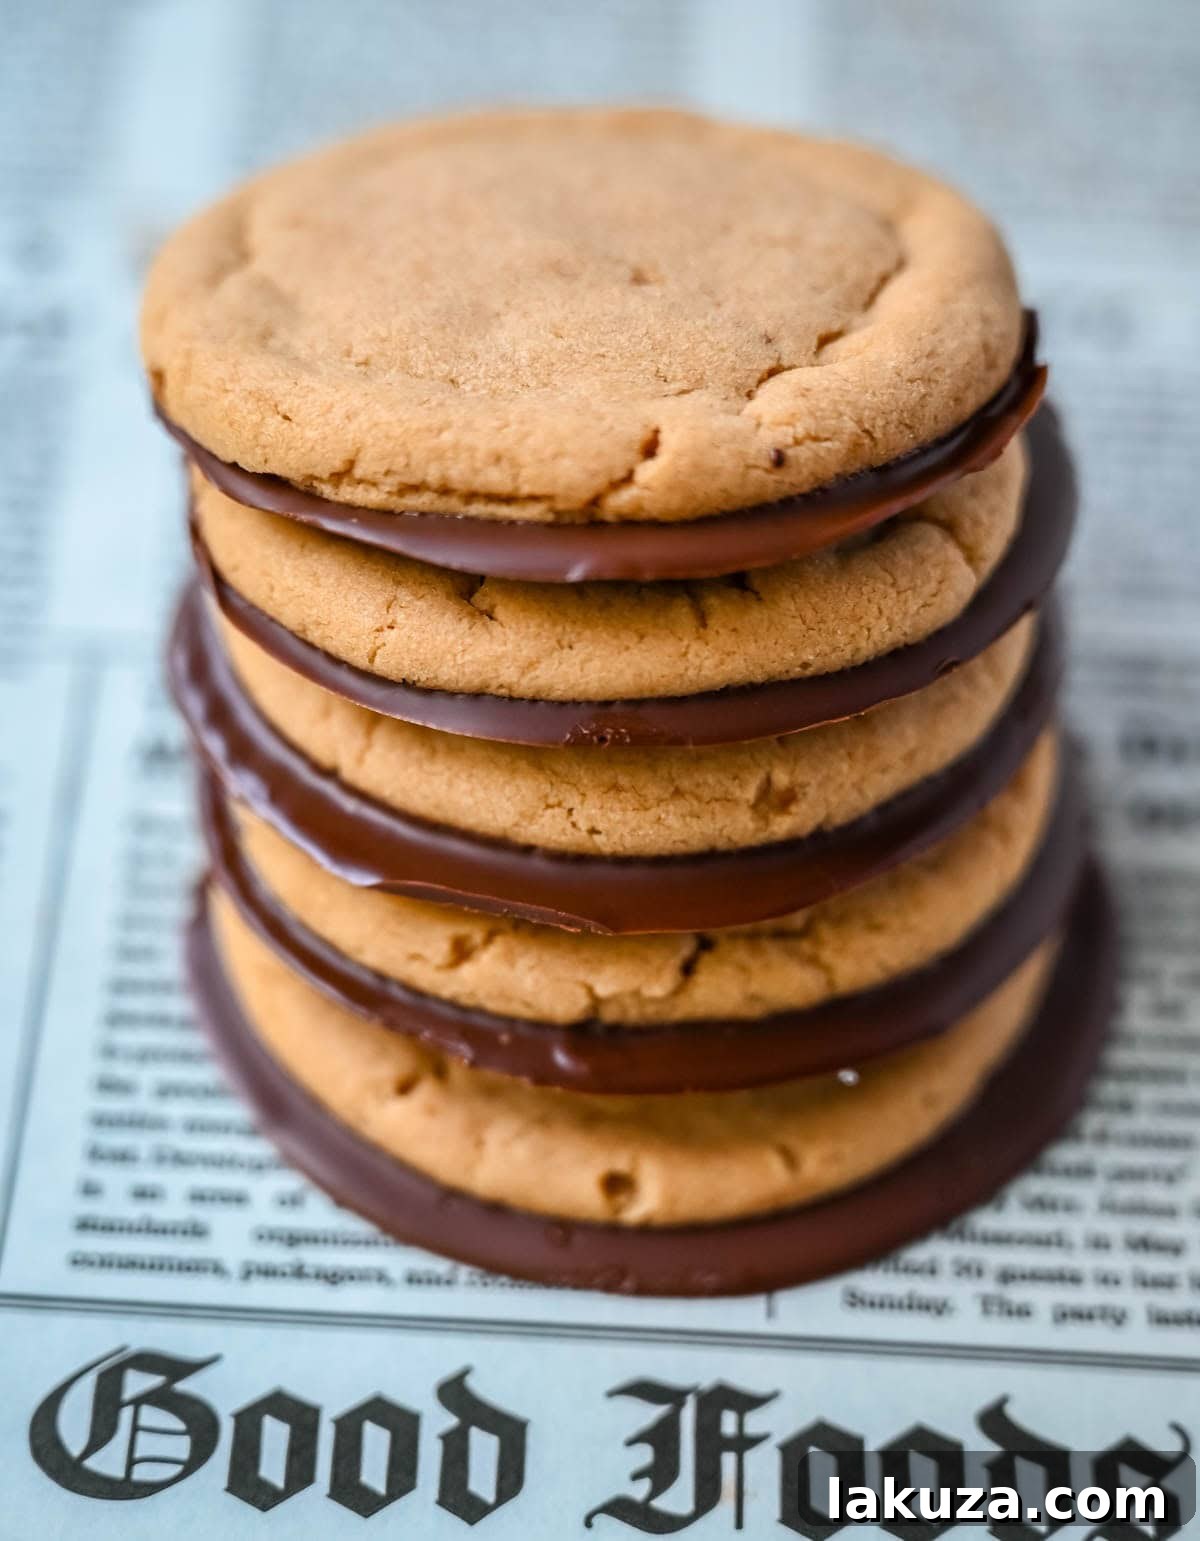
Unlike typical chocolate-dipped cookies, where the chocolate might drip or create an uneven coating, this recipe employs a unique method. Each warm, freshly baked cookie is gently pressed into a small, luscious puddle of melted milk chocolate. This technique ensures a perfectly smooth, flat chocolate bottom that sets beautifully, offering a consistent and satisfying chocolate layer in every bite. Once the chocolate solidifies, you’re left with the best of both worlds: a wonderfully tender and flavorful peanut butter cookie perfectly complemented by a rich, firm chocolate foundation. This stunning presentation makes them look far more intricate than they are to make, perfect for impressing guests or simply treating yourself to a sophisticated homemade dessert.
Why These Chocolate Bottom Peanut Butter Cookies Will Become Your Go-To:
- Irresistible Texture & Flavor: Each cookie is a masterpiece of texture – soft, wonderfully chewy, with just the right amount of crispness at the edges, all bursting with intense, nutty peanut butter flavor. This recipe is a dream come true for anyone who adores the peanut butter chocolate combination.
- Decadent Chocolate Finish: The smooth, creamy milk chocolate bottom isn’t just a garnish; it’s an integral part of the experience, providing a sweet, luxurious finish that perfectly balances the savory notes of the peanut butter.
- Effortlessly Elegant: Achieving that impressive chocolate base is surprisingly easy. A simple press into melted chocolate is all it takes to create a professional-looking treat that will garner compliments.
- Accessible for All Bakers: Crafted with common pantry staples and straightforward steps, this recipe is perfect for bakers of all skill levels, from beginners to seasoned pros.
- Guaranteed Softness: My peanut butter cookie recipes are renowned for their consistent softness and moistness, never turning out dry or crumbly. If you’ve enjoyed other reader favorites like my Monster Cookies or Soft & Chewy Peanut Butter Cookies, you’ll adore these! For those who love a full chocolate dip, I also have a Chocolate Dipped Peanut Butter Cookie Recipe that’s equally divine.
Key Ingredients for Perfect Cookies:
Crafting these extraordinary cookies requires a handful of simple, high-quality ingredients. Each plays a vital role in achieving the perfect balance of flavor and texture:
- Butter: Essential for richness and flavor, softened butter also contributes significantly to the tender, melt-in-your-mouth texture of the cookies. Using good quality butter makes a difference.
- Peanut Butter: The star of the show! It provides the iconic nutty flavor and helps create that wonderfully soft, chewy consistency that defines a great peanut butter cookie.
- Brown Sugar: This adds crucial moisture, ensuring the cookies stay soft and tender. Its molasses content also contributes a subtle caramel note, enhancing the overall depth of flavor.
- Granulated Sugar: Works in tandem with brown sugar, providing sweetness and aiding in the development of those delightful, slightly crisp edges.
- Egg: Acts as a binder, holding the ingredients together and providing structure to the cookies, preventing them from crumbling.
- Vanilla Extract: A flavor enhancer that beautifully complements both the peanut butter and chocolate, adding a warm, aromatic dimension.
- All-Purpose Flour: Forms the structural foundation of the cookie, ensuring they hold their shape while remaining wonderfully tender. Measuring flour correctly is key to avoiding dry cookies.
- Baking Soda and Baking Powder: These leavening agents work together to give the cookies their ideal lift and a perfectly soft, slightly chewy texture. They help achieve that characteristic crinkled top.
- Milk Chocolate Melting Wafers: My top recommendation for the chocolate bottom. Melting wafers, especially brands like Ghirardelli, melt incredibly smoothly and set with a beautiful sheen, creating a professional-looking finish.
Choosing the Right Peanut Butter
For optimal results and a consistent cookie texture, it is highly recommended to use a creamy, no-stir commercial peanut butter. Brands such as:
- Jif
- Skippy
- Peter Pan
These types of peanut butter contain stabilizers that prevent oil separation, ensuring the dough bakes evenly and the cookies maintain their desired softness and structure.
Natural peanut butter is generally not recommended for this particular recipe. Its tendency for oil separation can lead to a greasier dough and cause the cookies to spread excessively thin while baking, altering their intended texture.
Selecting the Perfect Chocolate
Milk chocolate melting wafers are ideal for achieving the perfectly smooth and glossy chocolate bottoms. I personally favor using Ghirardelli milk chocolate melting wafers because of their superior melting properties and the beautiful, firm set they provide.
However, if you prefer to use standard chocolate chips, that is absolutely an option! To ensure your chocolate chips melt smoothly and create a perfect coating, simply add 1 teaspoon of coconut oil (or a neutral oil like vegetable oil) for every cup of chocolate chips when melting. This small addition helps thin the chocolate, making it easier to spread and ensuring a flawless finish on your cookie bottoms.
For those who appreciate a less sweet contrast, semi-sweet chocolate can also be used. It offers a slightly darker, more intense chocolate flavor that beautifully complements the sweet peanut butter cookie.

How to Craft the Best Chocolate Bottom Peanut Butter Cookies:
Follow these detailed steps to create perfectly soft, chewy, and chocolate-kissed peanut butter cookies:
- Prepare Your Workspace: Begin by preheating your oven to 350°F (175°C). Line two large baking sheets with parchment paper or silicone baking mats. This ensures even baking and prevents sticking.
- Cream Wet Ingredients: In a spacious mixing bowl, combine the softened butter, creamy peanut butter, granulated sugar, and brown sugar. Beat these ingredients together using an electric mixer on medium speed for about 3 to 4 minutes, or until the mixture becomes wonderfully light, fluffy, and creamy. This creaming process incorporates air, which contributes to the cookies’ soft texture.
- Add Egg and Vanilla: Scrape down the sides of the bowl. Incorporate the large egg and vanilla extract into the creamed mixture. Continue mixing until everything is thoroughly smooth and well combined, ensuring the egg is fully integrated.
- Combine Dry Ingredients: In a separate medium bowl, whisk together the all-purpose flour, baking soda, baking powder, and a pinch of salt. Gradually add these dry ingredients to the wet mixture, mixing on low speed only until just combined. Be careful not to overmix the dough, as overmixing can lead to tough cookies.
- Scoop and Shape: Using a cookie scoop (approximately 1½ tablespoons of dough per cookie), scoop out uniform balls of dough. Place them about 2 inches apart on your prepared baking sheets. For that classic peanut butter cookie look and to encourage even spreading, gently flatten each dough ball with the palm of your hand or the back of a spoon.
- Bake to Perfection: Transfer the baking sheets to the preheated oven. Bake for approximately 9–11 minutes. You’ll know they’re done when the edges appear set and lightly golden, and the tops show faint cracks, while the centers still look slightly soft. The key to chewy cookies is to avoid overbaking, so remove them promptly.
- Cooling is Crucial: Allow the baked cookies to cool on the baking sheet for about 5 minutes. This helps them firm up slightly before you move them. Then, carefully transfer them to a wire rack to cool completely. It’s essential that the cookies are fully cooled before adding the chocolate, otherwise, the chocolate will melt and spread uncontrollably.
- Prepare the Chocolate Bottoms: Once the cookies are entirely cool, it’s time for the chocolate magic. Place milk chocolate melting wafers in a microwave-safe bowl. Melt the chocolate in 20–30 second intervals, stirring well after each interval until the chocolate is smooth and glossy. If you’re using chocolate chips instead of wafers, remember to stir in about 1 teaspoon of coconut oil per cup of chips to achieve that desirable smooth, dippable consistency.
- Create the Chocolate Base: Line a fresh baking sheet with parchment paper. Spoon small, even dollops of the melted chocolate onto the parchment paper, using approximately 1 tablespoon of chocolate for each cookie. Work quickly before the chocolate sets.
- Press and Set: Gently take each cooled peanut butter cookie and press its bottom into a dollop of melted chocolate, allowing the chocolate to spread slightly and form a perfect, smooth base underneath the cookie. Lift the cookie carefully and place it back on the parchment-lined baking sheet, chocolate-side down.
- Allow Chocolate to Set: Let the cookies sit at room temperature for 30–60 minutes to allow the chocolate to fully firm up. The exact time may vary depending on your kitchen’s temperature and humidity. For a faster setting process, you can place the baking sheet in the refrigerator for 10–15 minutes. Once the chocolate is completely firm and non-tacky, your delicious Chocolate Bottom Peanut Butter Cookies are ready to be served and enjoyed!
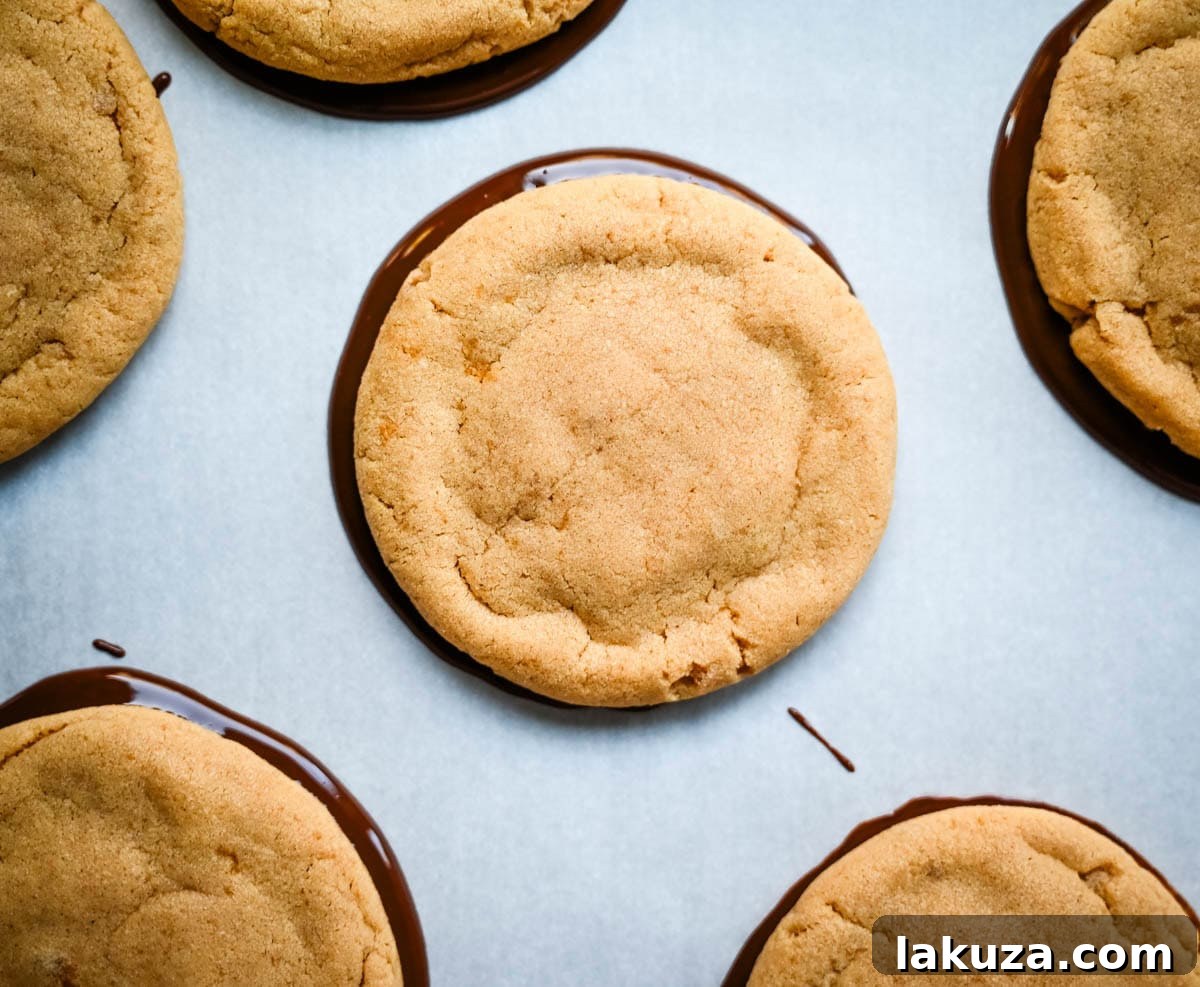
Simple Steps for Creating the Perfect Chocolate Bottoms:
Once your peanut butter cookies have completely cooled to room temperature, creating the chocolate bottoms is a quick and satisfying process:
- Line a baking sheet with parchment paper to prevent sticking.
- Spoon a modest dollop of melted milk chocolate (approximately 1 tablespoon per cookie) onto the parchment paper.
- Gently press the bottom of each cooled cookie into the center of a chocolate dollop, allowing it to spread into a neat circle.
- Carefully lift and place the cookie back on the parchment, then let the cookies sit undisturbed until the chocolate has fully firmed up.
How Long Does the Chocolate Take to Set?
The time it takes for the chocolate to set will depend on the ambient temperature of your kitchen. At typical room temperature, the chocolate should firm up completely within approximately 30–60 minutes.
If you’re in a hurry or working in a warmer environment, you can significantly speed up the setting process by placing the baking sheet with the chocolate-bottomed cookies into the refrigerator. There, the chocolate will firm up nicely in just 10–15 minutes.
Once the chocolate has set, it will remain firm and stable at room temperature, meaning refrigeration is not required for storage unless your kitchen is exceptionally warm.
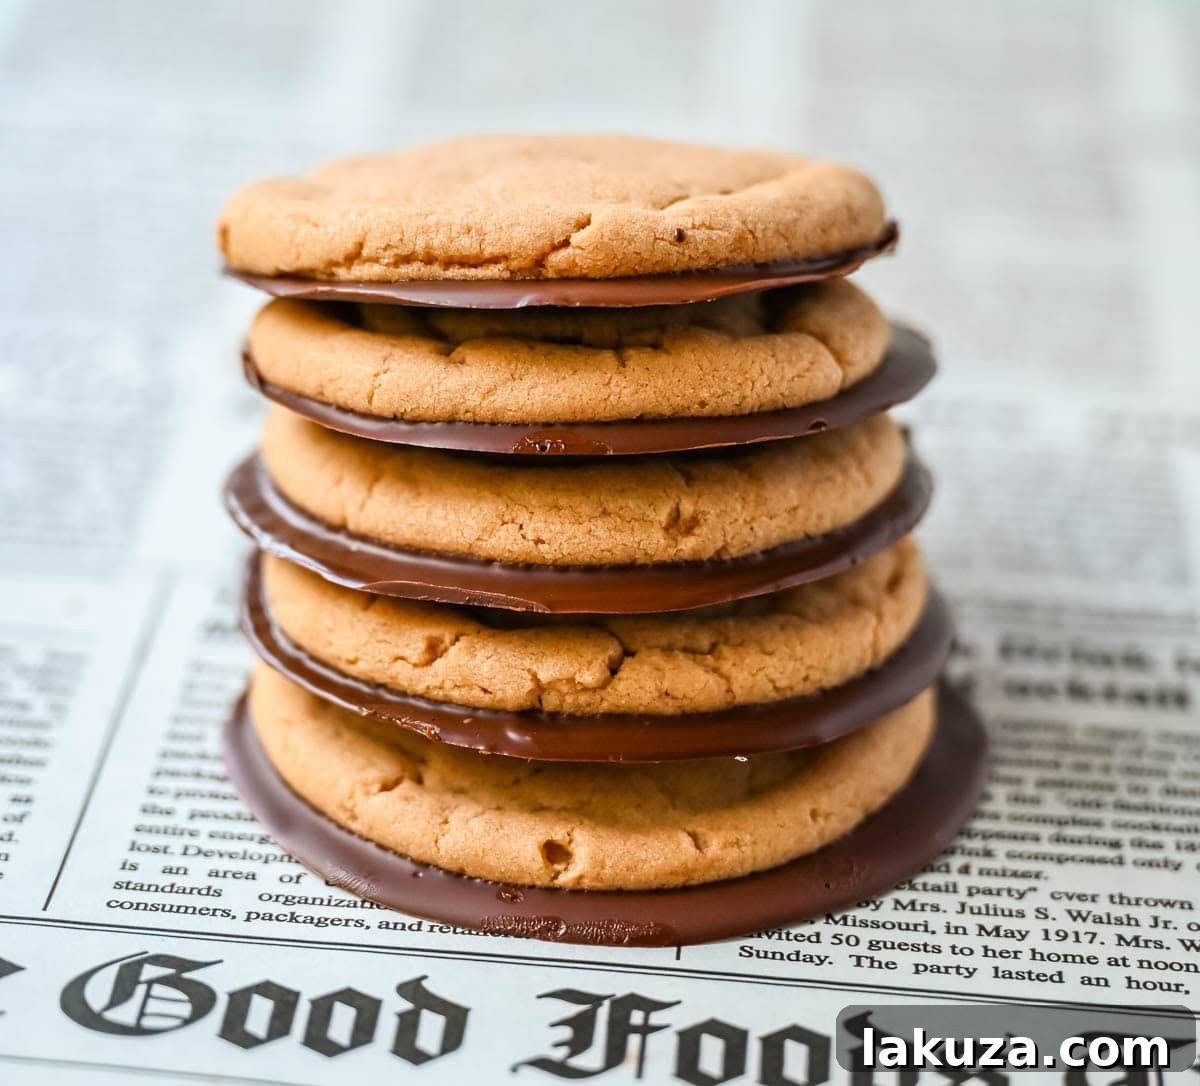
Frequently Asked Questions:
- Can I use natural peanut butter for this recipe?
For the best texture and consistent results, it’s highly recommended to use a regular, creamy, no-stir peanut butter (such as Jif or Skippy). Natural peanut butter tends to separate its oils, which can make the cookie dough too greasy and cause the cookies to spread excessively while baking, resulting in a less desirable texture. - Is it possible to use chocolate chips instead of melting wafers?
Absolutely! While melting wafers are ideal for their smooth finish, chocolate chips work well too. To ensure they melt into a smooth, dippable consistency, simply add a small amount of coconut oil or butter (about 1 teaspoon per cup of chocolate chips) when melting. This helps thin the chocolate for a cleaner coating. - Can I prepare the cookie dough in advance?
Yes, you can! The prepared cookie dough can be refrigerated in an airtight container for up to 24 hours before you plan to bake. This is a great way to prep ahead for fresh-baked cookies when you need them. Allow the dough to come to room temperature slightly before scooping and baking for best results. - What if my cookies spread too much during baking?
If your cookies are spreading more than desired, a few factors could be at play. Ensure your butter isn’t too soft (it should be softened but still hold its shape), your oven temperature is accurate (an oven thermometer can help), and you’re using creamy, stabilized peanut butter. Chilling the dough for 20-30 minutes before baking can also help prevent excessive spreading. - Can I freeze the baked cookies?
Yes, these cookies freeze beautifully! Once the chocolate bottoms are fully set, place the cookies in a single layer on a baking sheet and freeze until solid (about 1-2 hours). Then, transfer them to an airtight freezer-safe container or bag. They can be frozen for up to 3 months. Thaw at room temperature before serving.
Essential Baking Tips for Perfect Chocolate Bottom Peanut Butter Cookies:
Achieve bakery-quality results every time with these expert tips:
1. Avoid Overbaking: Peanut butter cookies can quickly transition from perfectly soft to disappointingly dry. Remove them from the oven when the edges are just set and lightly golden, but the centers still appear slightly soft and puffy. They will continue to set as they cool on the baking sheet.
2. Room Temperature Ingredients: Ensure your butter and eggs are at room temperature. This is crucial for a smooth, homogenous dough that mixes easily and bakes evenly, resulting in a superior cookie texture.
3. Cool Cookies Completely: Patience is key! It’s absolutely vital that your cookies are fully cooled to room temperature before attempting to add the chocolate. If they are even slightly warm, the chocolate will melt, smear, and fail to form a neat, firm bottom.
4. Utilize Parchment Paper: Always line your baking sheets with parchment paper. This simple step prevents sticking, ensures easy cleanup, and, most importantly, makes it effortless to lift the cookies once the chocolate has set without damaging the delicate chocolate bottom.
5. Mind the Chocolate Puddle Size: For a clean, defined chocolate bottom, aim for about 1 tablespoon of melted chocolate per cookie. Spooning larger puddles can cause the chocolate to spread too far beyond the cookie’s circumference, creating an untidy finish.
More Decadent Peanut Butter Desserts You’ll Love:
Easy Peanut Butter Blossoms
Peanut Butter Chocolate Chip Cookies
Chocolate Peanut Butter Pie
Chocolate Peanut Butter Cookie Bars
Storage and Freezing Instructions:
To keep your Chocolate Bottom Peanut Butter Cookies fresh and delicious, follow these simple storage guidelines:
- Room Temperature: Once the chocolate is fully set, store the cookies in an airtight container at room temperature for up to 4 days. Ensure they are placed in a single layer or separated by parchment paper to prevent the chocolate bottoms from sticking together.
- Refrigeration: If your kitchen is particularly warm or humid, you may refrigerate the cookies in an airtight container for up to one week. This will help maintain the firmness of the chocolate.
- Freezing for Longer Storage: These cookies freeze exceptionally well! After the chocolate has completely set, arrange the cookies in a single layer on a baking sheet and flash freeze them for about 1-2 hours until solid. Then, transfer the frozen cookies to an airtight freezer-safe container or a heavy-duty freezer bag. They can be stored in the freezer for up to 3 months. When ready to enjoy, simply let them thaw at room temperature for an hour or two before serving.


Chocolate Bottom Peanut Butter Cookies
Ingredients
- 1/2 cup Salted Butter (softened)
- 1/2 cup Peanut Butter (creamy, like Jif or Skippy)
- 3/4 cup Brown Sugar
- 3/4 cup Granulated Sugar
- 1 large Egg
- 1 teaspoon Vanilla Extract
- 1 1/2 cups All-Purpose Flour
- 1/2 teaspoon Baking Soda
- 1/2 teaspoon Baking Powder
- 2 cups Milk Chocolate Melting Wafers (or chocolate chips with 2 tsp coconut oil)
Instructions
-
Preheat your oven to 350°F (175°C) and line two baking sheets with parchment paper or silicone baking mats.
-
In a large mixing bowl, beat together the softened butter, creamy peanut butter, granulated sugar, and brown sugar until the mixture is light and creamy, about 3–4 minutes. Add the egg and vanilla extract, mixing until everything is smooth and well combined.
-
Add the flour, baking soda, and baking powder and mix just until combined.
-
Scoop the dough into balls using a cookie scoop or about 1½ tablespoons of dough per cookie, placing them about 2 inches apart on the prepared baking sheets. Slightly flatten them with the palm of your hand or the back of a spoon.
-
Bake the cookies for 9–11 minutes, or until the edges are set and the tops look slightly cracked while the centers remain soft. Be careful not to overbake to keep the cookies tender and chewy. Let the cookies cool on the baking sheet for about 5 minutes, then transfer them to a wire rack to cool completely before adding the chocolate.
-
To make the chocolate bottoms, melt milk chocolate melting wafers in a microwave-safe bowl in 20–30 second intervals, stirring between each until smooth. If using chocolate chips instead of wafers, stir in about 1 teaspoon of coconut oil per cup of chips to help the chocolate melt smoothly.
-
Line a baking sheet with parchment paper and spoon small dollops of melted chocolate onto the parchment, using about 1 tablespoon of chocolate for each cookie. Gently press the bottom of each cooled cookie into the melted chocolate, allowing it to spread slightly underneath the cookie to form the chocolate base.
-
Let the cookies sit at room temperature for 30–60 minutes until the chocolate is fully set. To speed up the process, place the baking sheet in the refrigerator for 10–15 minutes. Once the chocolate has firmed up, the cookies are ready to serve and enjoy.
Notes
Can I use natural peanut butter?
It’s best to use regular creamy peanut butter (similar to Jif or Skippy) for this recipe. Natural peanut butter can make the cookies too oily and affect the texture.
Nutrition
Nutrition information is automatically calculated, so should only be used as an approximation.