
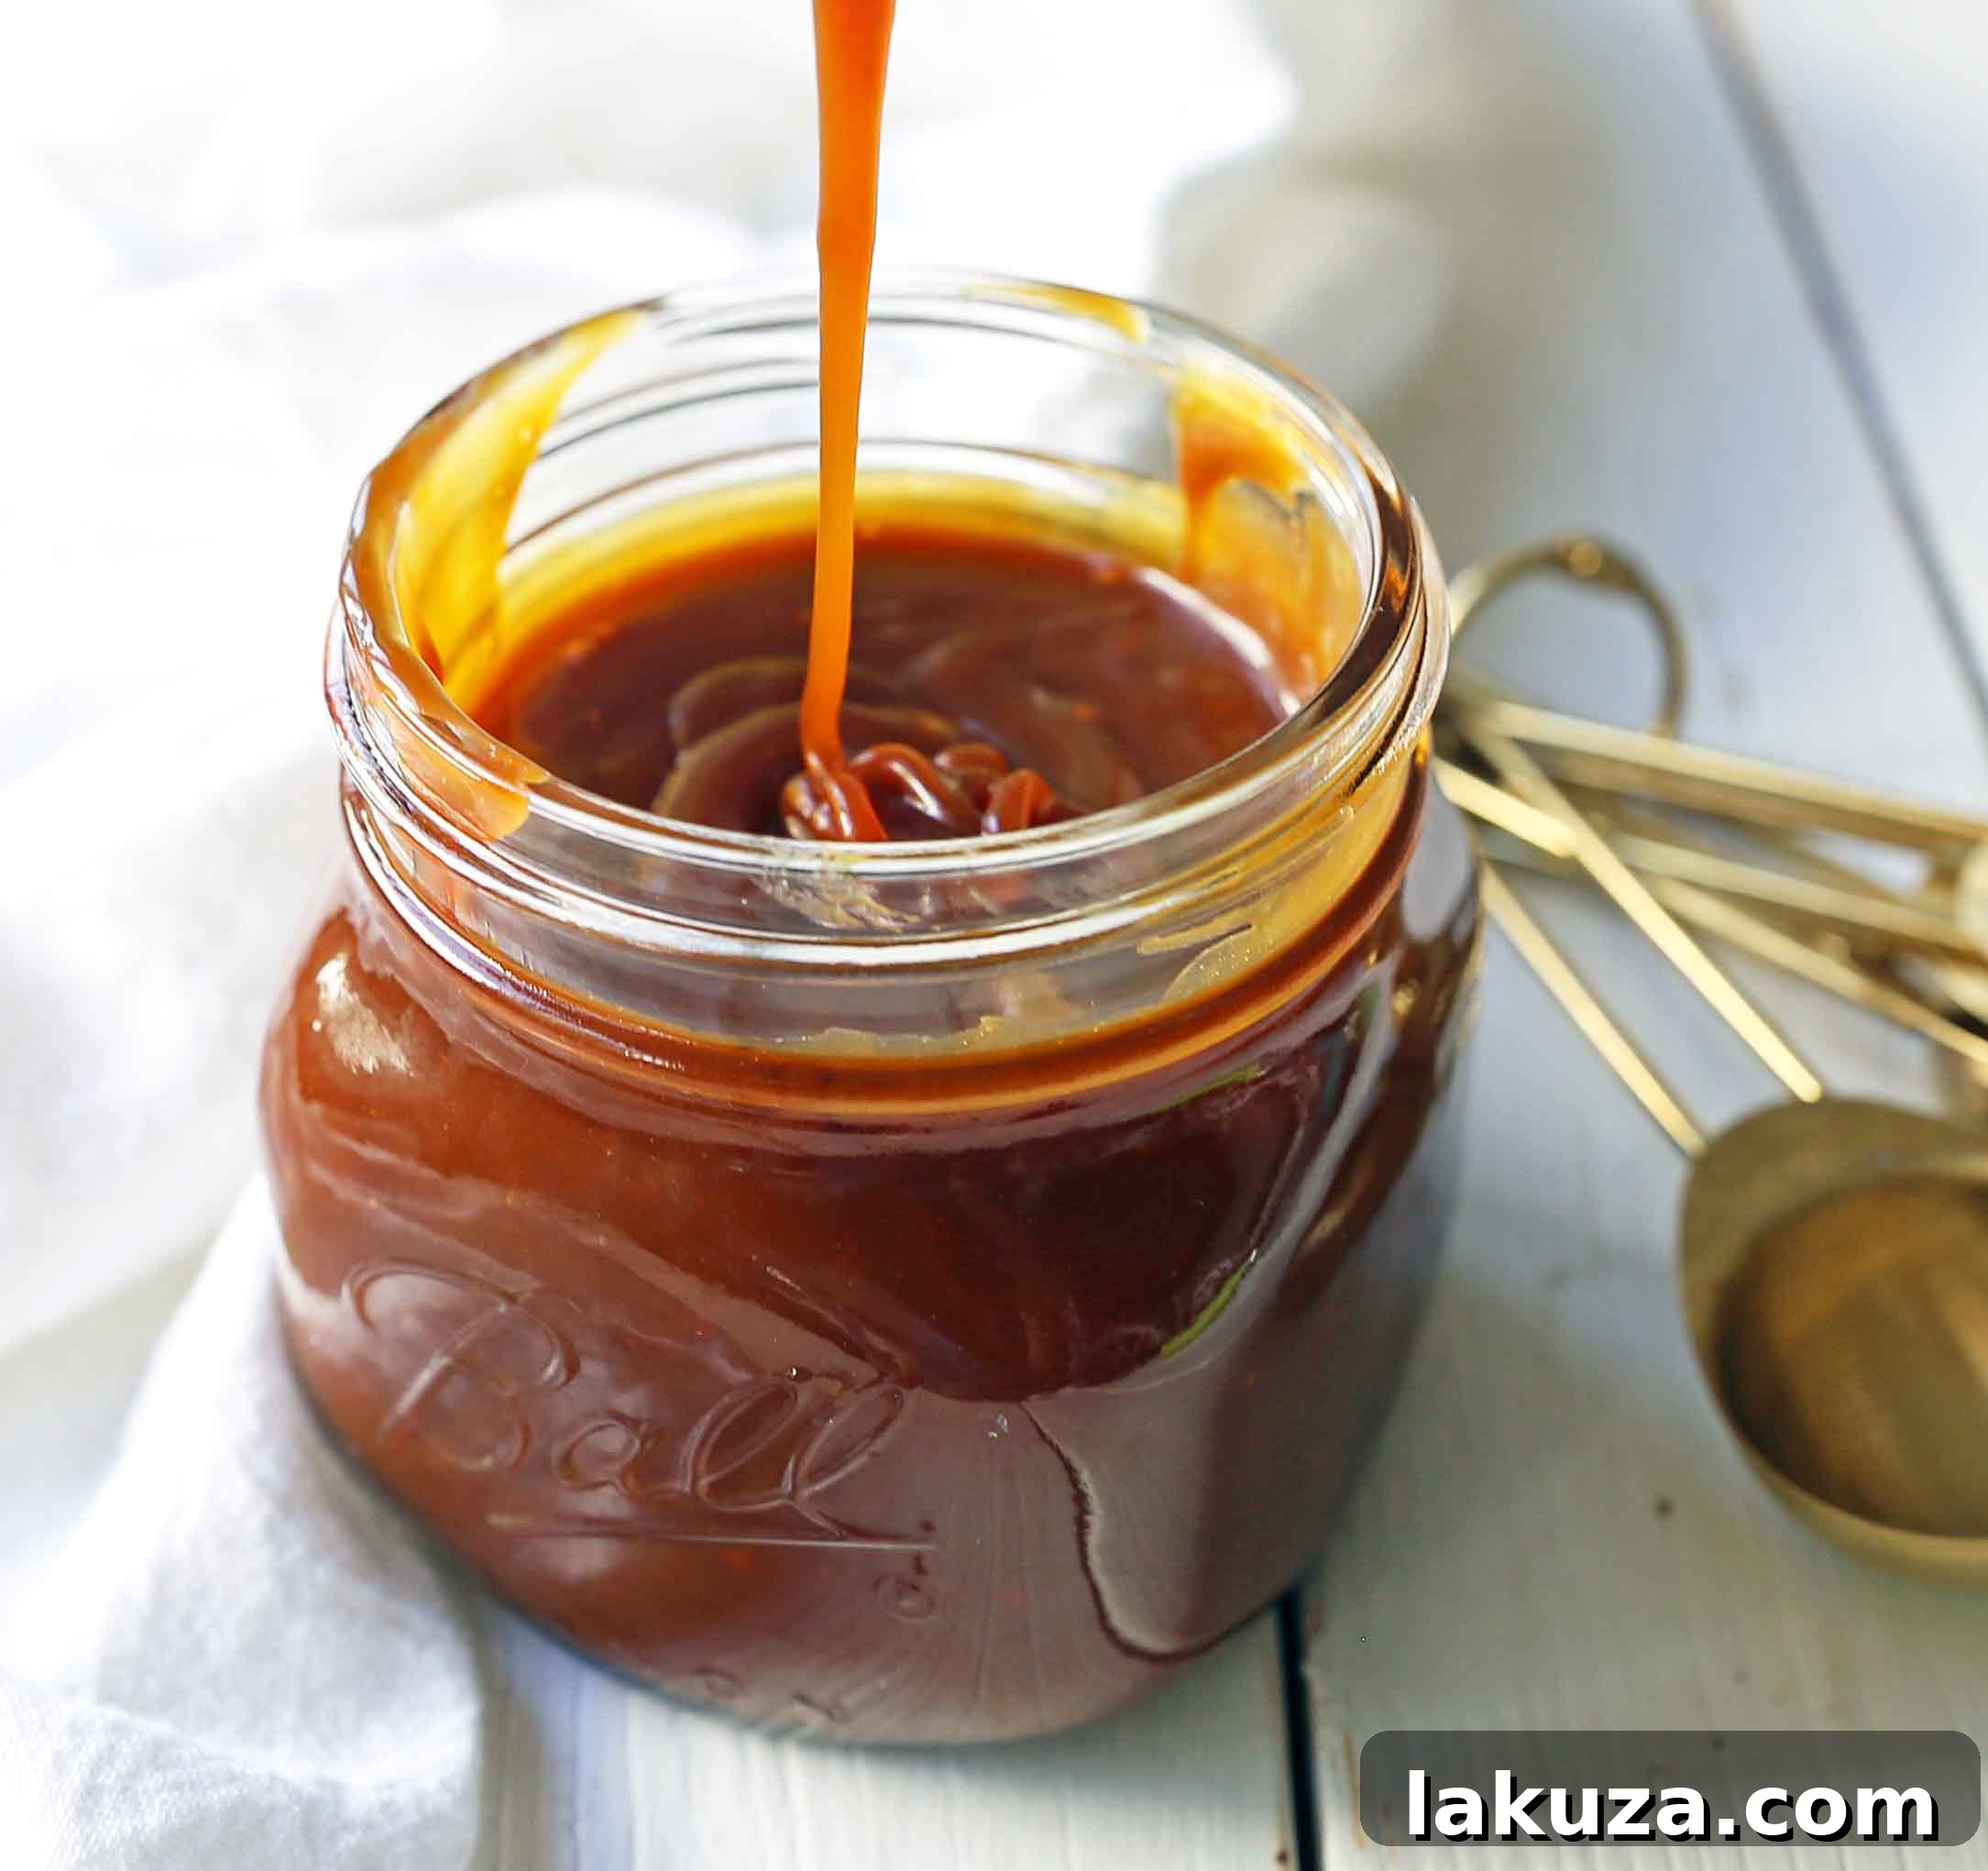
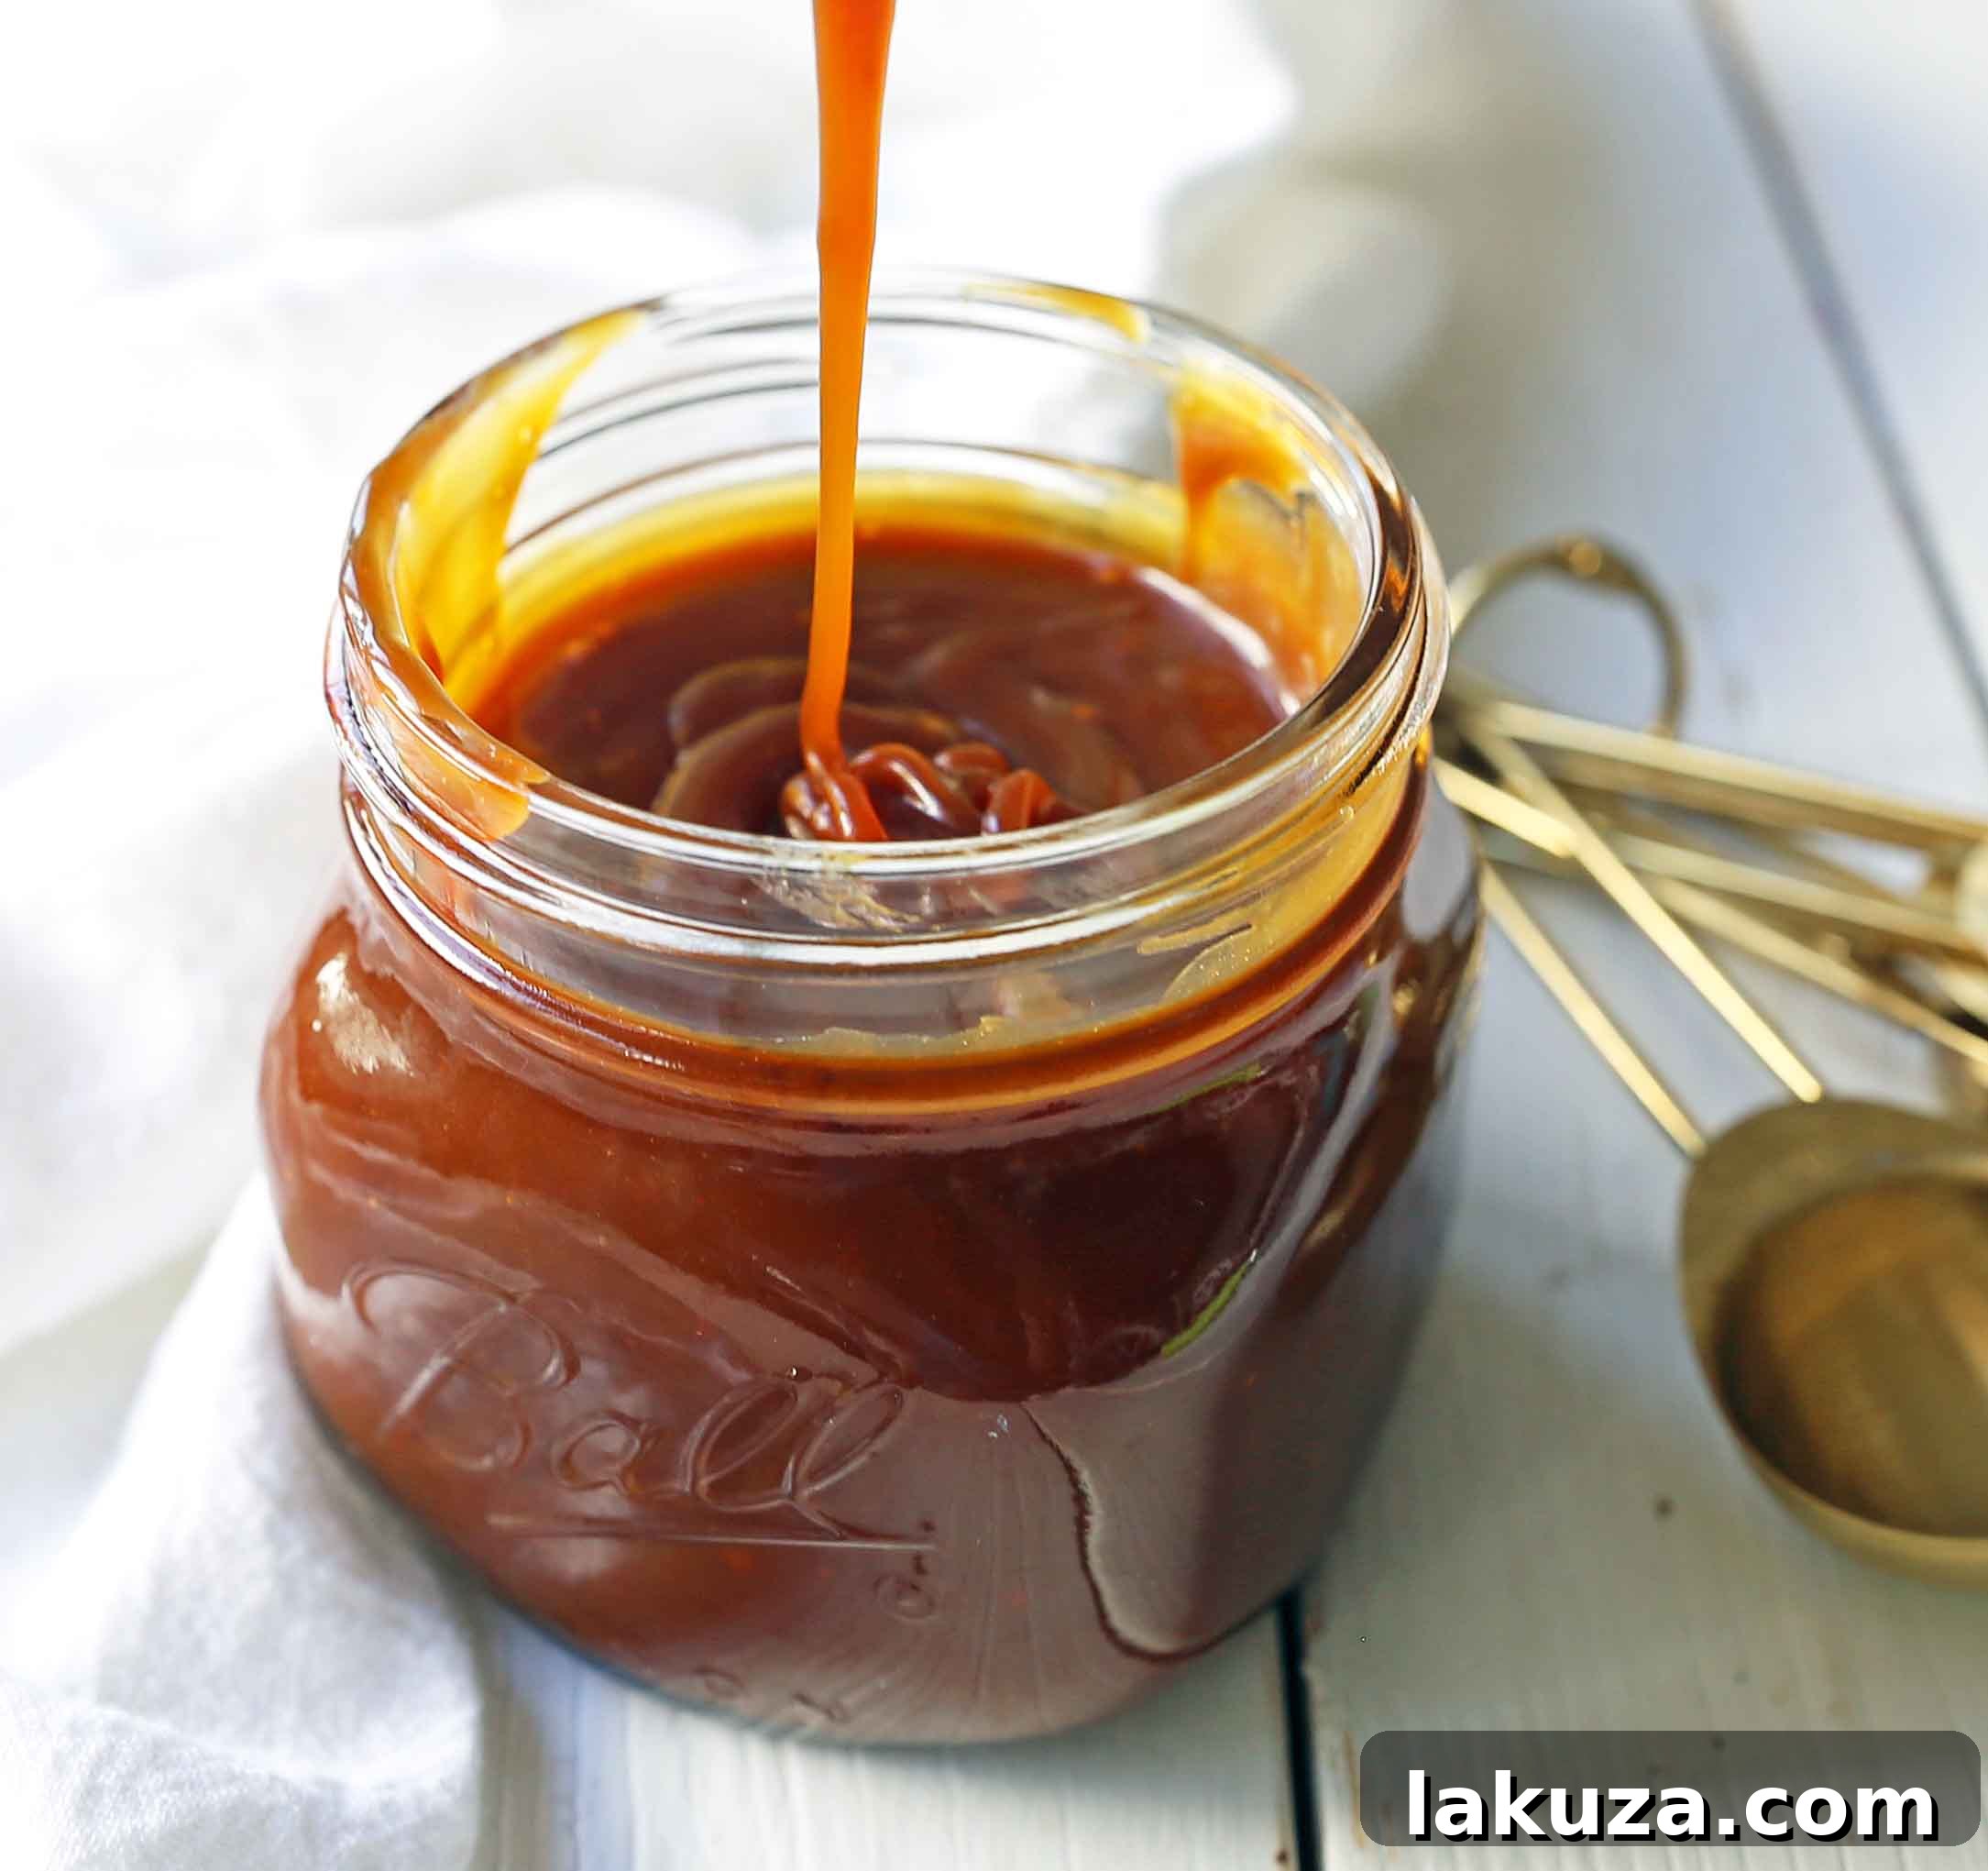
The Ultimate Guide to Homemade Salted Caramel Sauce
Uncover the secret to creating the most delectable, buttery, and smooth salted caramel sauce right in your kitchen.
There’s something truly magical about the deep, complex flavor of perfectly crafted salted caramel. It’s a versatile culinary delight that elevates any dessert from good to absolutely unforgettable. While grocery store shelves are stocked with countless caramel options, many fall short, offering artificial flavors and unpronounceable ingredients that simply don’t compare to the real thing. If you’ve ever felt disappointed by a store-bought caramel, you’re not alone. It’s time to embark on a sweet journey to master the art of homemade salted caramel sauce, a skill that promises to transform your dessert game forever. We’re going to dive deep into the process, demystifying each step, so you can achieve that luxurious, velvety texture and irresistible sweet-and-salty balance every single time.
Making caramel might seem intimidating, often associated with precise temperatures and a delicate touch. However, I’m here to tell you it’s much simpler than you might imagine. The beauty of homemade caramel lies in its minimal, wholesome ingredients – primarily sugar, butter, and cream – combined with a methodical approach. This guide will equip you with all the knowledge and confidence you need to create a truly exceptional salted caramel sauce at home. Forget the artificial aftertaste; prepare for a symphony of rich, buttery, and utterly smooth goodness that will have everyone asking for your secret recipe.
Why Homemade Salted Caramel Sauce Reigns Supreme
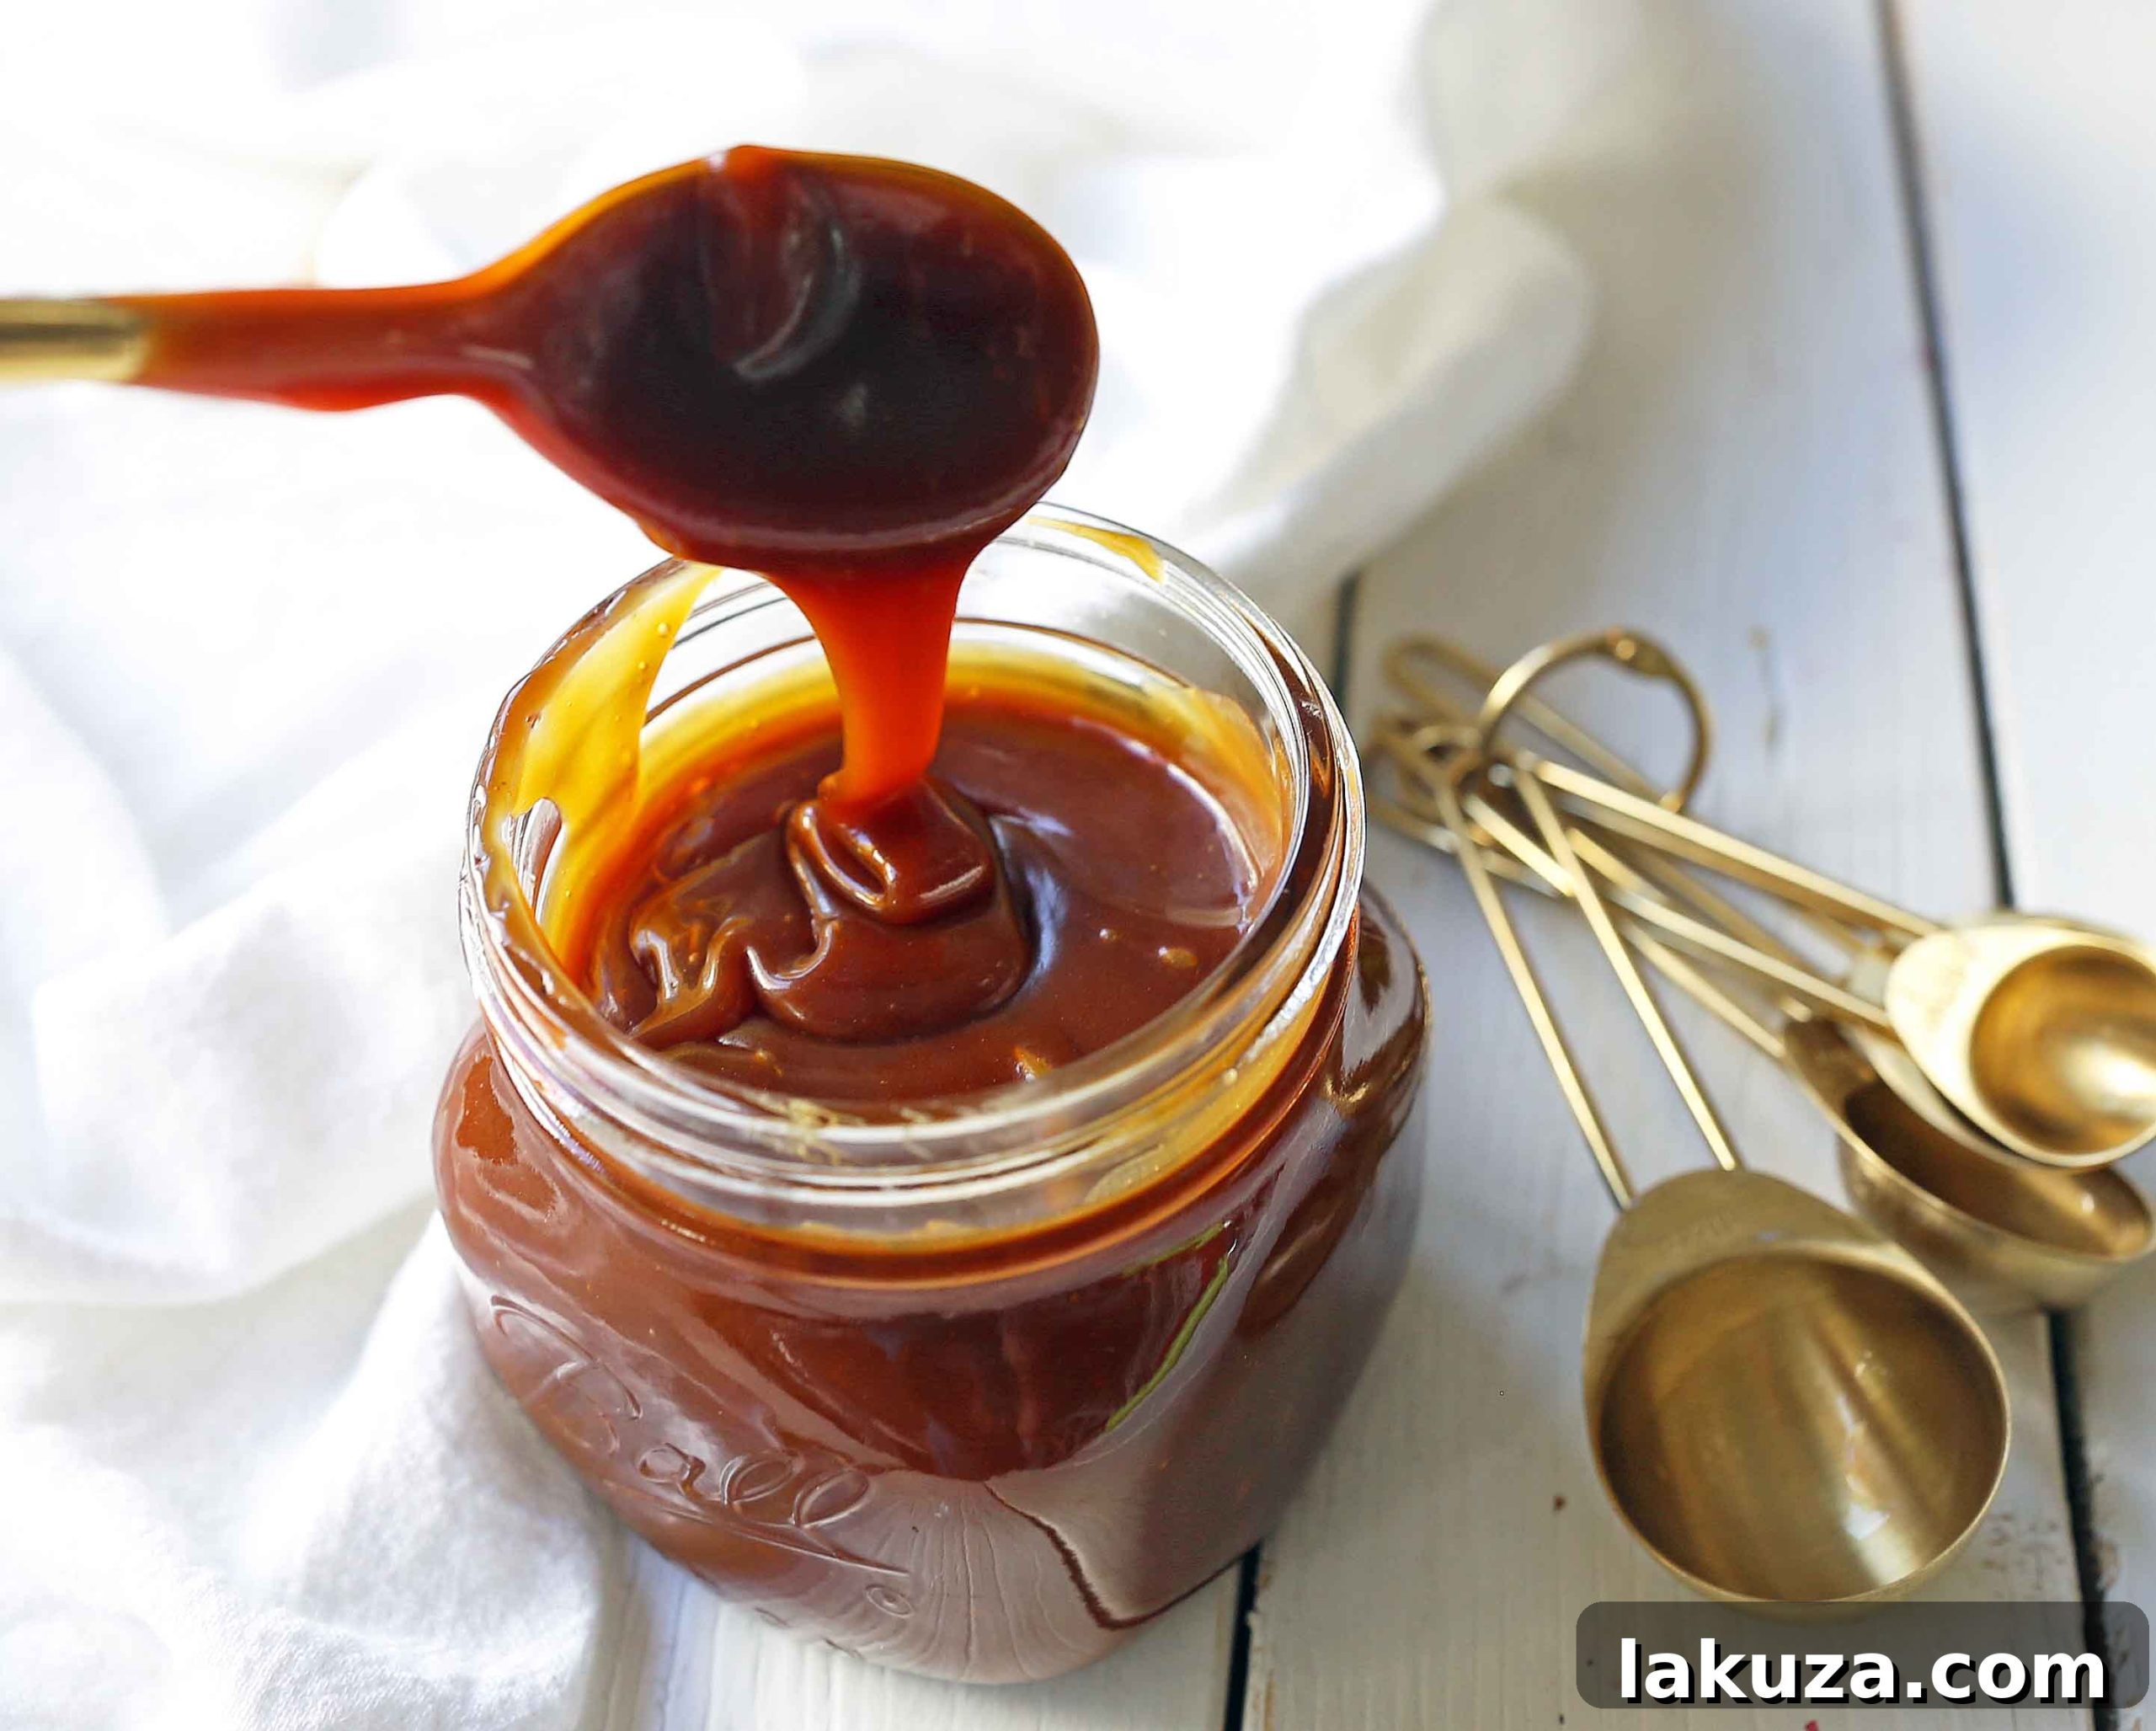
The distinction between homemade and mass-produced caramel is stark. Commercial varieties often rely on corn syrup and other additives to prevent crystallization and extend shelf life, compromising the authentic flavor and texture. Homemade salted caramel, on the other hand, boasts a depth of flavor that only real butter, sugar, and cream can provide. The simple elegance of these core ingredients, when transformed through careful heating, results in a rich, nuanced taste that is both incredibly satisfying and wonderfully pure. You control the quality of each component, ensuring a superior product free from unnecessary preservatives or artificial flavors.
Beyond taste, the texture of homemade caramel is unparalleled. It’s smooth, luscious, and flows beautifully, whether drizzled warm over a dessert or allowed to cool into a thicker, spreadable consistency. This homemade version offers a truly decadent experience, enhancing everything it touches with its golden sheen and irresistible aroma. Once you taste the difference, you’ll understand why making it from scratch is not just a cooking process, but an act of culinary love.
The Endless Possibilities: How to Enjoy Your Homemade Caramel
This exquisite salted caramel sauce is incredibly versatile, making it the ultimate accompaniment for nearly any sweet treat. Its rich, sweet, and slightly salty profile pairs perfectly with a vast array of desserts. Imagine it cascading over a scoop of vanilla bean ice cream, creating a delightful contrast of warm and cold. Drizzle it generously over a warm brownie sundae, allowing its buttery notes to meld with the chocolate. Or, for a more sophisticated touch, swirl it into a creamy cheesecake batter or spoon it over a slice of apple pie.
But the uses don’t stop there! This sauce is fantastic as a dip for fresh apple slices, adding a gourmet twist to a simple snack. Stir it into your morning coffee or hot chocolate for a barista-worthy beverage at home. Use it as a filling for tarts, cakes, or even macarons. Blend it into a milkshake for an extra layer of indulgence, or toss it with freshly popped popcorn for a sweet and salty cinematic snack. Honestly, you might find yourself wanting to eat it straight from the pan with a spoon – and there’s absolutely no judgment here! The sky truly is the limit when it comes to enjoying this liquid gold.
The Science and Art of Perfect Caramel Sauce
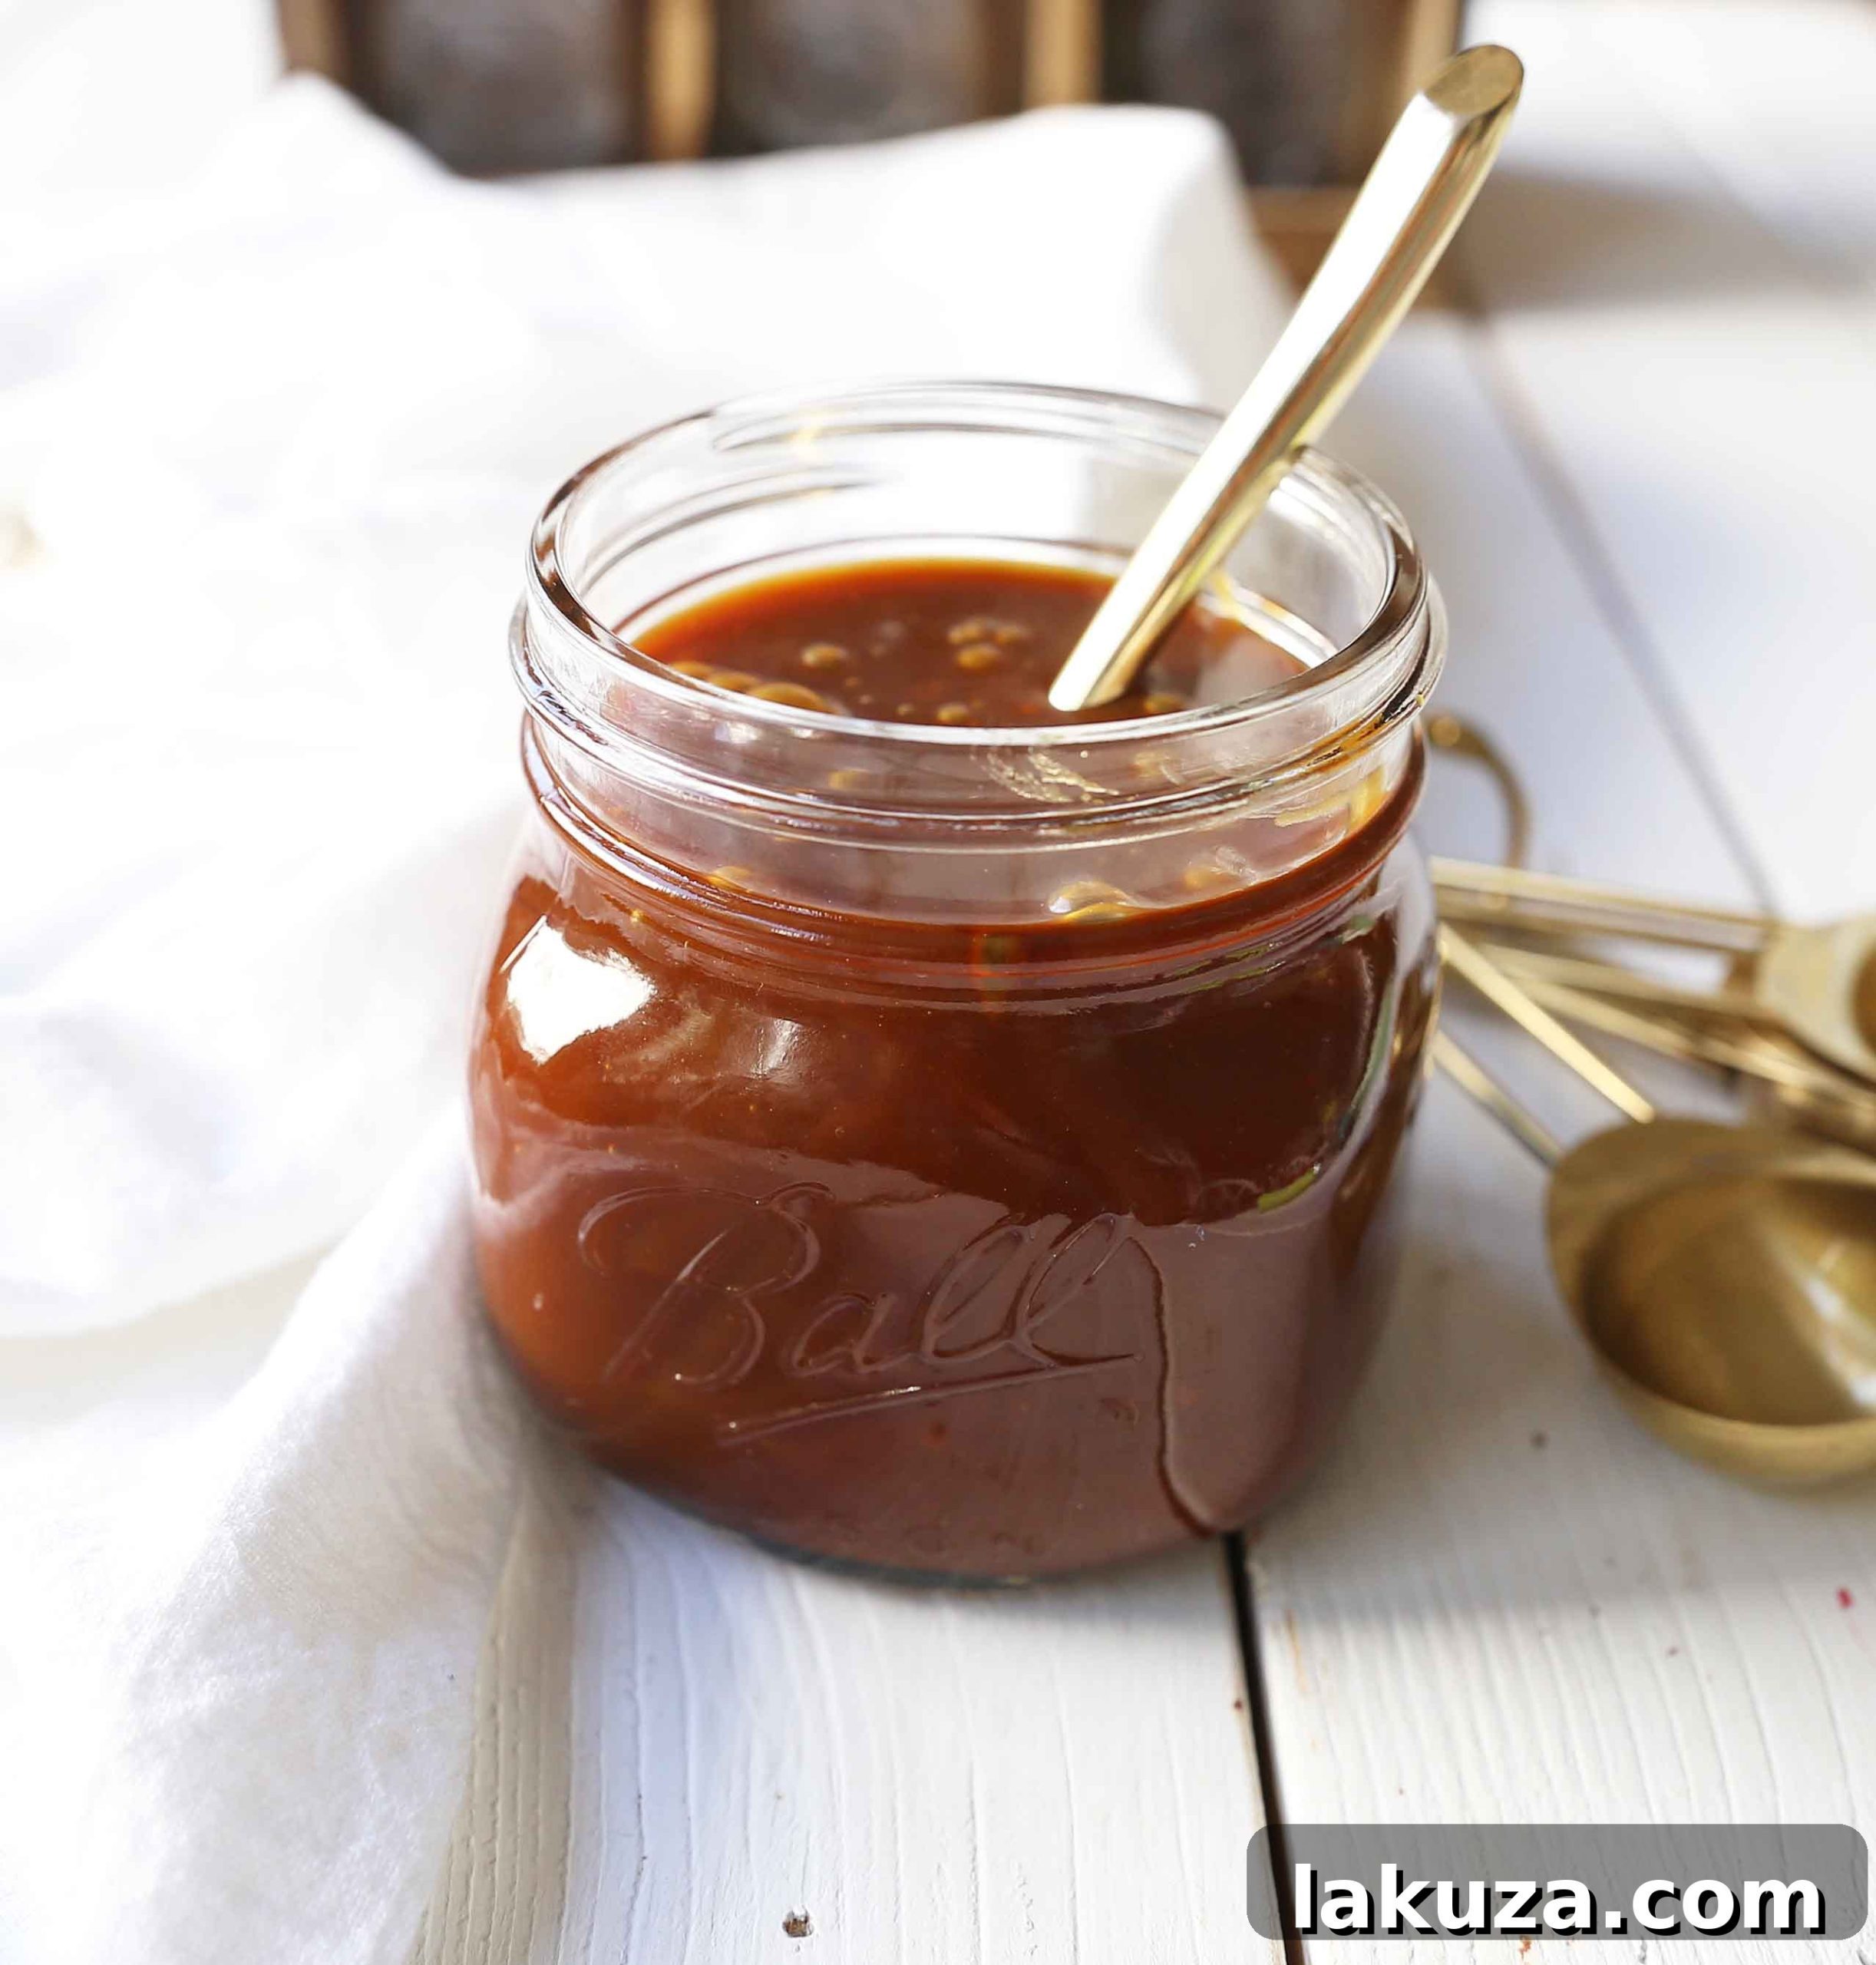
Creating caramel is fundamentally a controlled chemical reaction. The key lies in understanding how sugar transforms under heat. As sugar melts and cooks, its molecules break down and reassemble, leading to the characteristic amber color and complex flavor we adore. The process requires patience and attention, but it’s far from impossible. The most critical element is monitoring the temperature, which is why a reliable candy thermometer is your best friend in this endeavor. While some experienced cooks can gauge the caramelization by sight, achieving the ideal amber color and consistency is made infinitely easier and more precise with a thermometer.
One common pitfall in caramel making is over-stirring. While occasional, gentle stirs with a wooden spoon are acceptable to ensure even melting, constant agitation can introduce air bubbles and potentially lead to crystallization. The goal is to let the sugar melt and caramelize undisturbed for the most part, allowing it to reach the perfect stage. Having all your ingredients pre-measured and at room temperature is another crucial tip. Adding cold butter or cream to hot sugar can cause it to seize up or splatter violently, posing a safety risk and affecting the final texture. Preparation is key to a smooth and successful caramel-making experience.
Mastering the Craft: Step-by-Step Instructions for the Best Salted Caramel
Follow these detailed steps to create a show-stopping homemade salted caramel sauce:
- Prepare Your Workspace and Ingredients: Before you begin, gather all your ingredients and equipment. Have your sugar, room temperature unsalted butter (cut into pieces), room temperature heavy cream, vanilla extract or vanilla bean, and sea salt ready and within reach. Also, ensure you have a heavy-bottomed saucepan, a whisk, a wooden spoon, and most importantly, your candy thermometer. This mise en place will ensure a smooth process once the sugar starts heating.
- Melt the Sugar: Place the granulated sugar into your heavy-bottomed saucepan. Over medium-high heat, allow the sugar to slowly melt and dissolve. Stir occasionally with a wooden spoon to prevent burning on the bottom and to encourage even melting. Resist the urge to stir constantly; gentle nudges are sufficient. This stage takes patience; do not rush it.
- Monitor the Temperature and Color: This is the most crucial step. Keep a close eye on the sugar as it melts and begins to change color. It will first become clear and bubbly, then gradually turn a beautiful amber hue. Use your candy thermometer to track the temperature precisely. The ideal range is between 325-330 degrees F (163-165 degrees C). The color should resemble a rich, dark amber, similar to an old penny. If it gets too dark, it will taste burnt.
- Incorporate the Butter: Once the sugar reaches the perfect temperature and color, immediately remove the pan from the heat. Carefully add the room temperature butter pieces to the hot caramel. It will bubble up vigorously, so be cautious. Use a whisk to slowly and thoroughly incorporate the butter until it is completely melted and the mixture is smooth.
- Whisk in the Heavy Cream: Still off the heat, slowly and carefully pour in the room temperature heavy cream while continuously whisking. Again, the mixture will bubble and steam intensely. Continue whisking until the cream is fully incorporated and the caramel is smooth and uniform. Using room temperature cream helps prevent the mixture from seizing.
- Add Salt and Vanilla: Finally, whisk in the sea salt and vanilla beans (scraped seeds) or vanilla extract. The salt enhances the rich caramel flavor and balances the sweetness. Stir until everything is well combined.
- Cool and Store: Allow the caramel sauce to cool slightly before serving. It will thicken considerably as it cools. Serve warm for a thinner drizzle, or at room temperature for a thicker consistency. Store any leftover caramel in an airtight container in the refrigerator for up to one month. Gently reheat in the microwave or a saucepan over low heat to restore its drizzly texture.
Troubleshooting Common Caramel Challenges
- Crystallization: If your sugar mixture turns grainy or hardens, it’s likely due to sugar crystals adhering to the sides of the pan or being introduced during the melting process. To prevent this, ensure your saucepan is impeccably clean, and avoid stirring vigorously. If crystals form on the sides, you can brush them down with a wet pastry brush during the early stages of melting. If it’s too far gone, you might need to start over.
- Burnt Taste: Caramel can go from perfectly golden to burnt in a matter of seconds. Keep a watchful eye and remove it from the heat as soon as it reaches the desired amber color and temperature. Don’t be afraid to take it off the stove just before it looks “perfect,” as it will continue to cook for a moment from residual heat.
- Too Thin/Too Thick: If your cooled caramel is too thin, it might not have cooked long enough. If it’s too thick, it might have cooked a bit too long or cooled too much. A slightly thinner caramel can be simmered gently for a few more minutes (very carefully!). A very thick caramel can be thinned with a tablespoon or two of warm heavy cream, whisked in off the heat.
Pin this Recipe for Later!
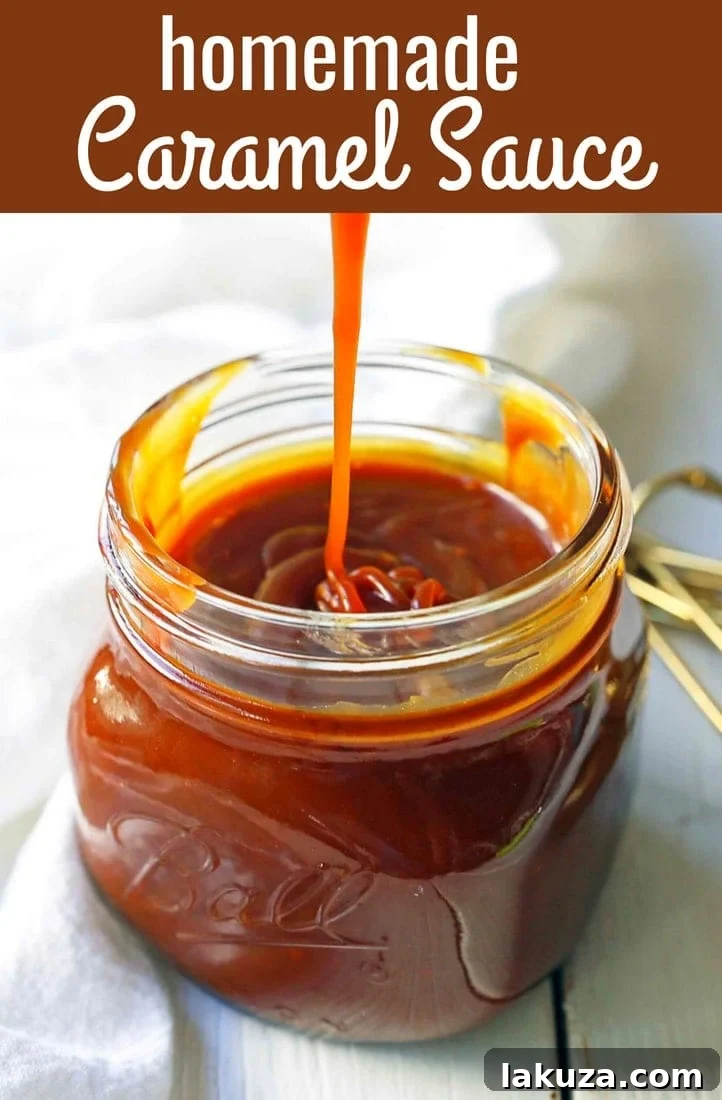
Homemade Salted Caramel Sauce
Equipment
- Heavy-bottomed saucepan
- Whisk
- Wooden spoon
- Candy thermometer
Ingredients
- 2 cups Granulated Sugar
- 1/4 cup Unsalted Butter, room temperature, cut into pieces
- 1 1/4 cups Heavy Cream, room temperature
- 1 Vanilla Bean (seeds scraped) or 2 teaspoons Vanilla Extract
- 1/4 teaspoon Sea Salt (flaky sea salt recommended)
Instructions
- Place sugar into a heavy-bottomed saucepan. Slowly melt and dissolve the sugar over medium-high heat, stirring occasionally with a wooden spoon to ensure even melting and prevent sticking.
- Keep a close watch and use a candy thermometer. The sugar needs to completely dissolve and turn a rich amber color, typically taking about 11-14 minutes. The ideal temperature is 325-330 degrees F (163-165 C). Do not exceed this temperature to prevent burning.
- Once the sugar reaches the correct temperature and has fully dissolved into a beautiful amber liquid, carefully remove the pan from the heat. Gradually add the room temperature butter pieces, whisking continuously until the butter is completely melted and smoothly incorporated into the caramel. Be cautious as the mixture will bubble vigorously.
- While still off the heat, slowly pour in the room temperature heavy cream, whisking constantly until it is fully blended and the caramel is smooth and uniform. The mixture will steam and bubble intensely at this stage.
- Finally, stir in the sea salt and the scraped vanilla bean seeds or vanilla extract. Mix until thoroughly combined.
- Serve the salted caramel sauce warm or at room temperature. It will naturally thicken as it cools. Store any unused sauce in an airtight container in the refrigerator for up to one month. Reheat gently to achieve a drizzly consistency.
Additional Information
I genuinely hope you cherish this homemade salted caramel sauce as much as I do. It’s more than just a recipe; it’s an invitation to elevate your everyday desserts into extraordinary experiences. Thank you for visiting and happy caramel making!