
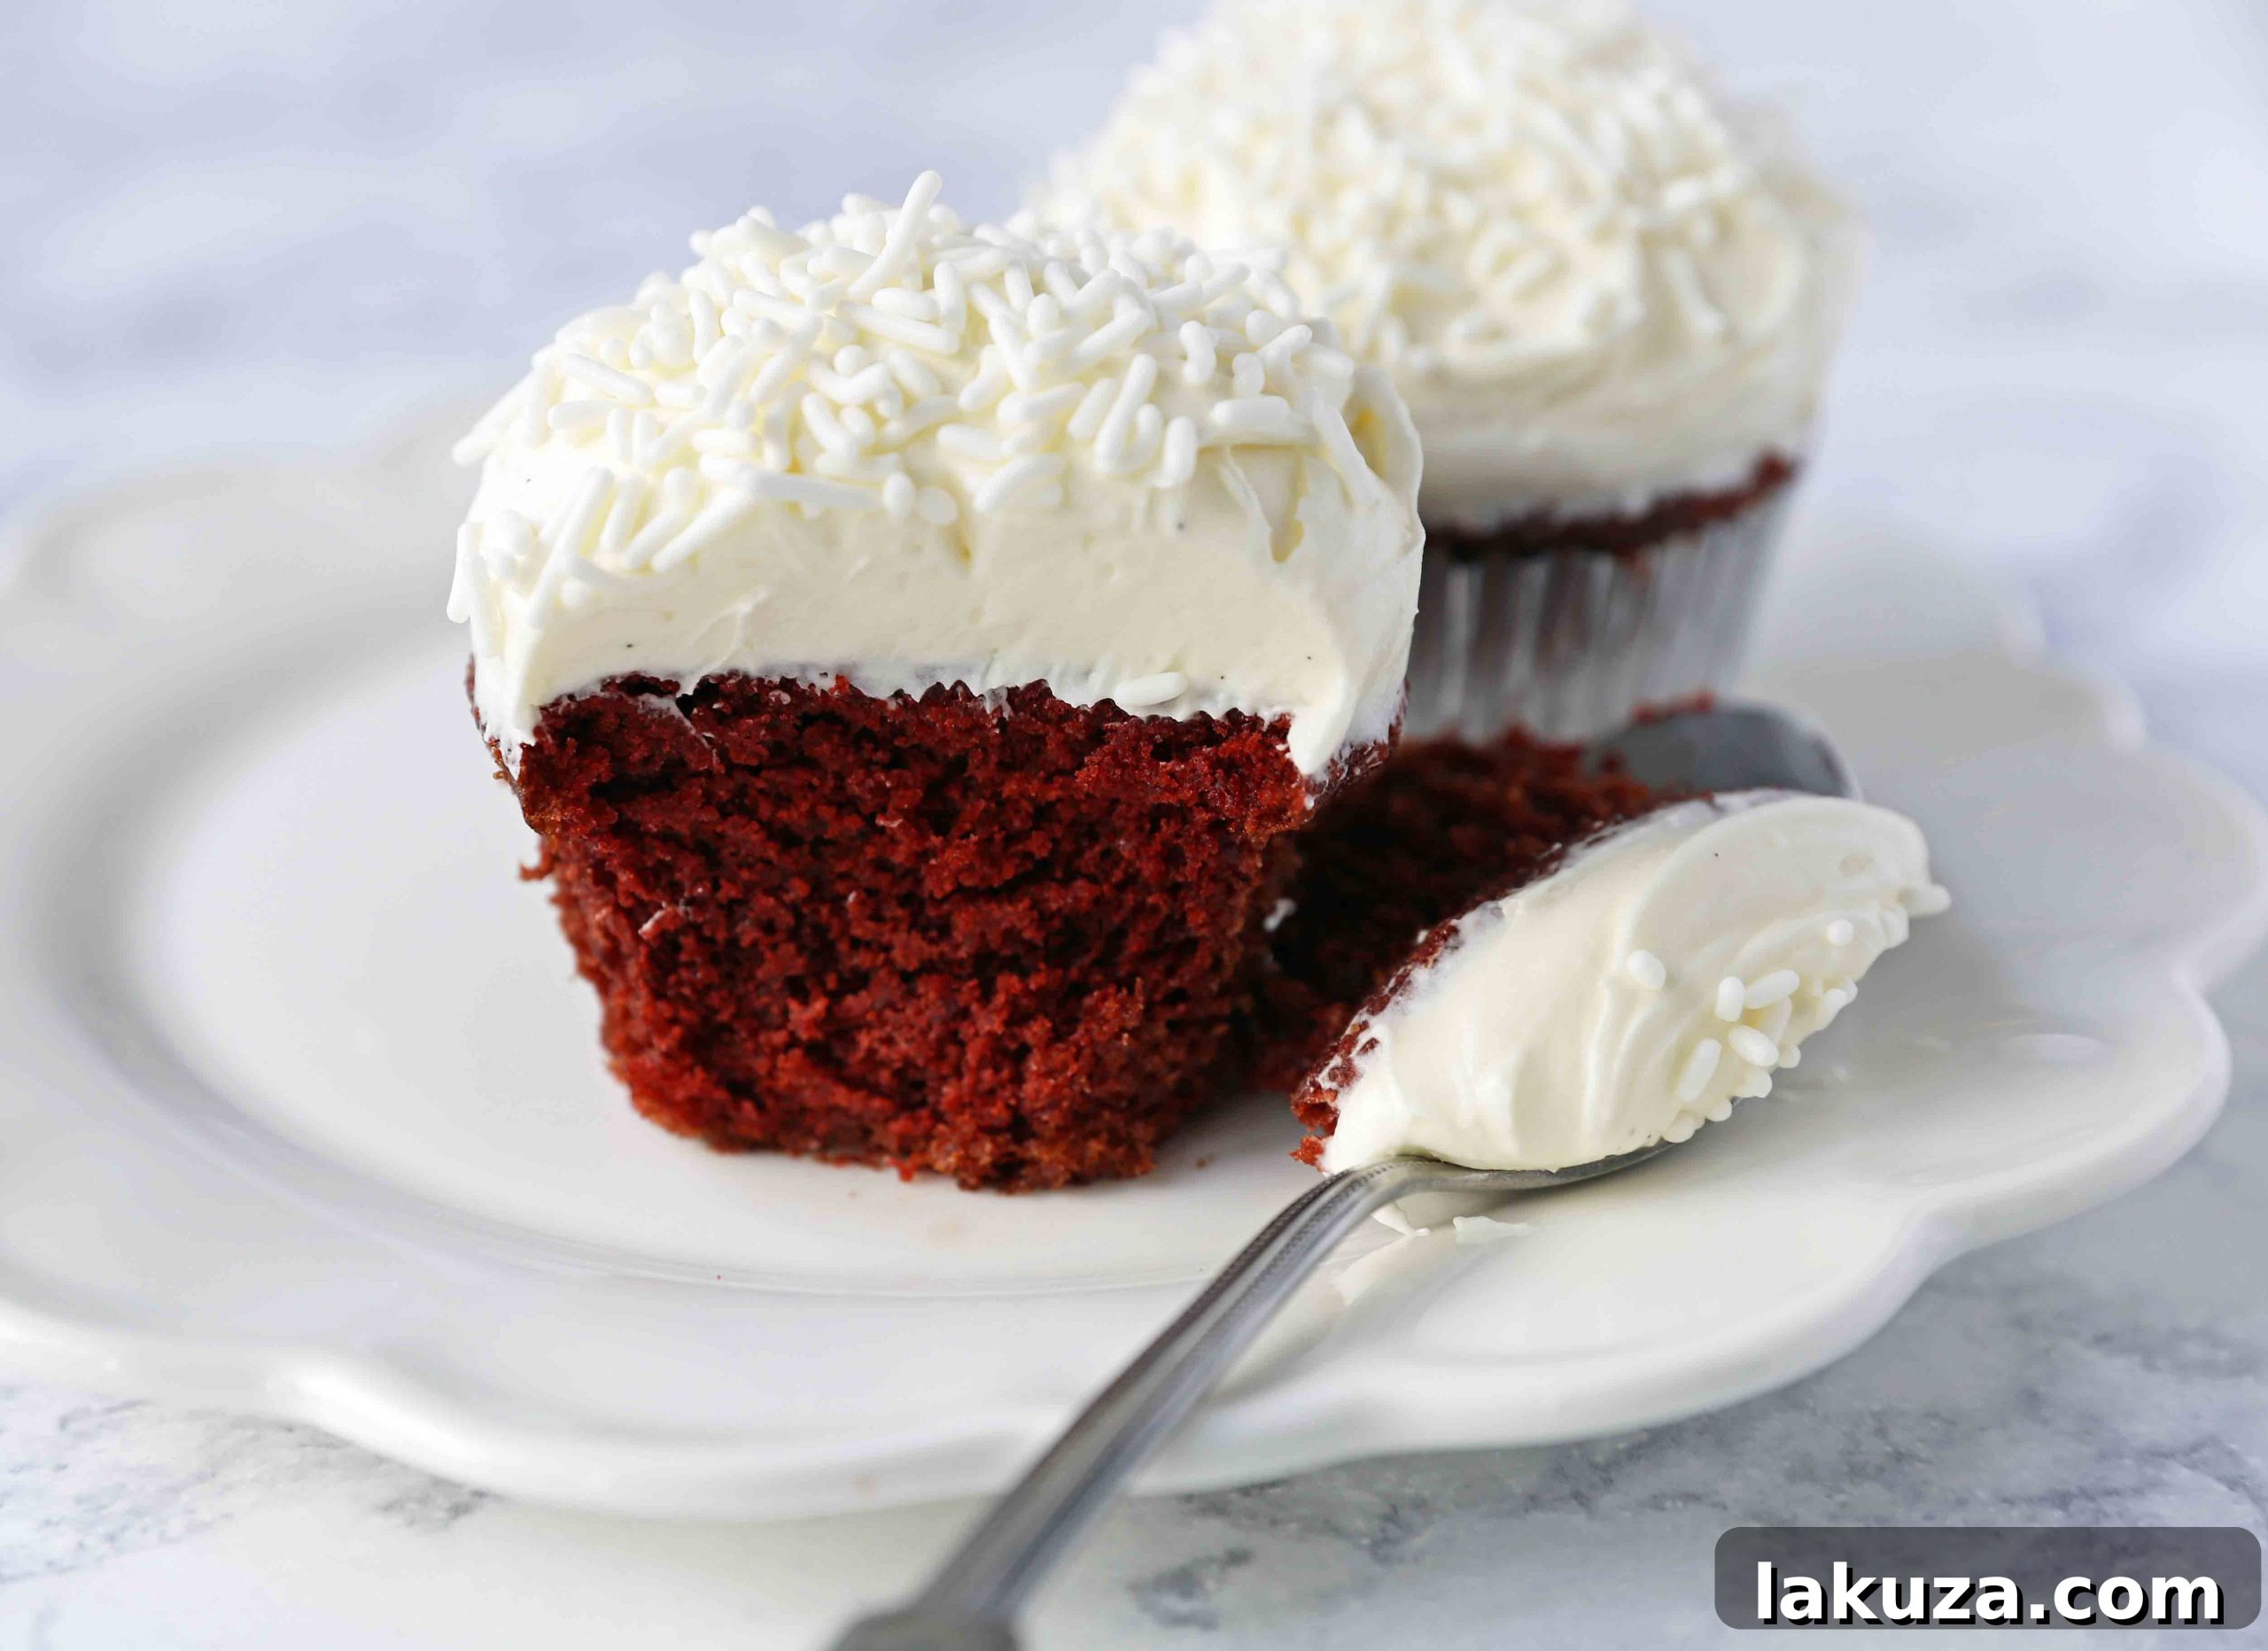
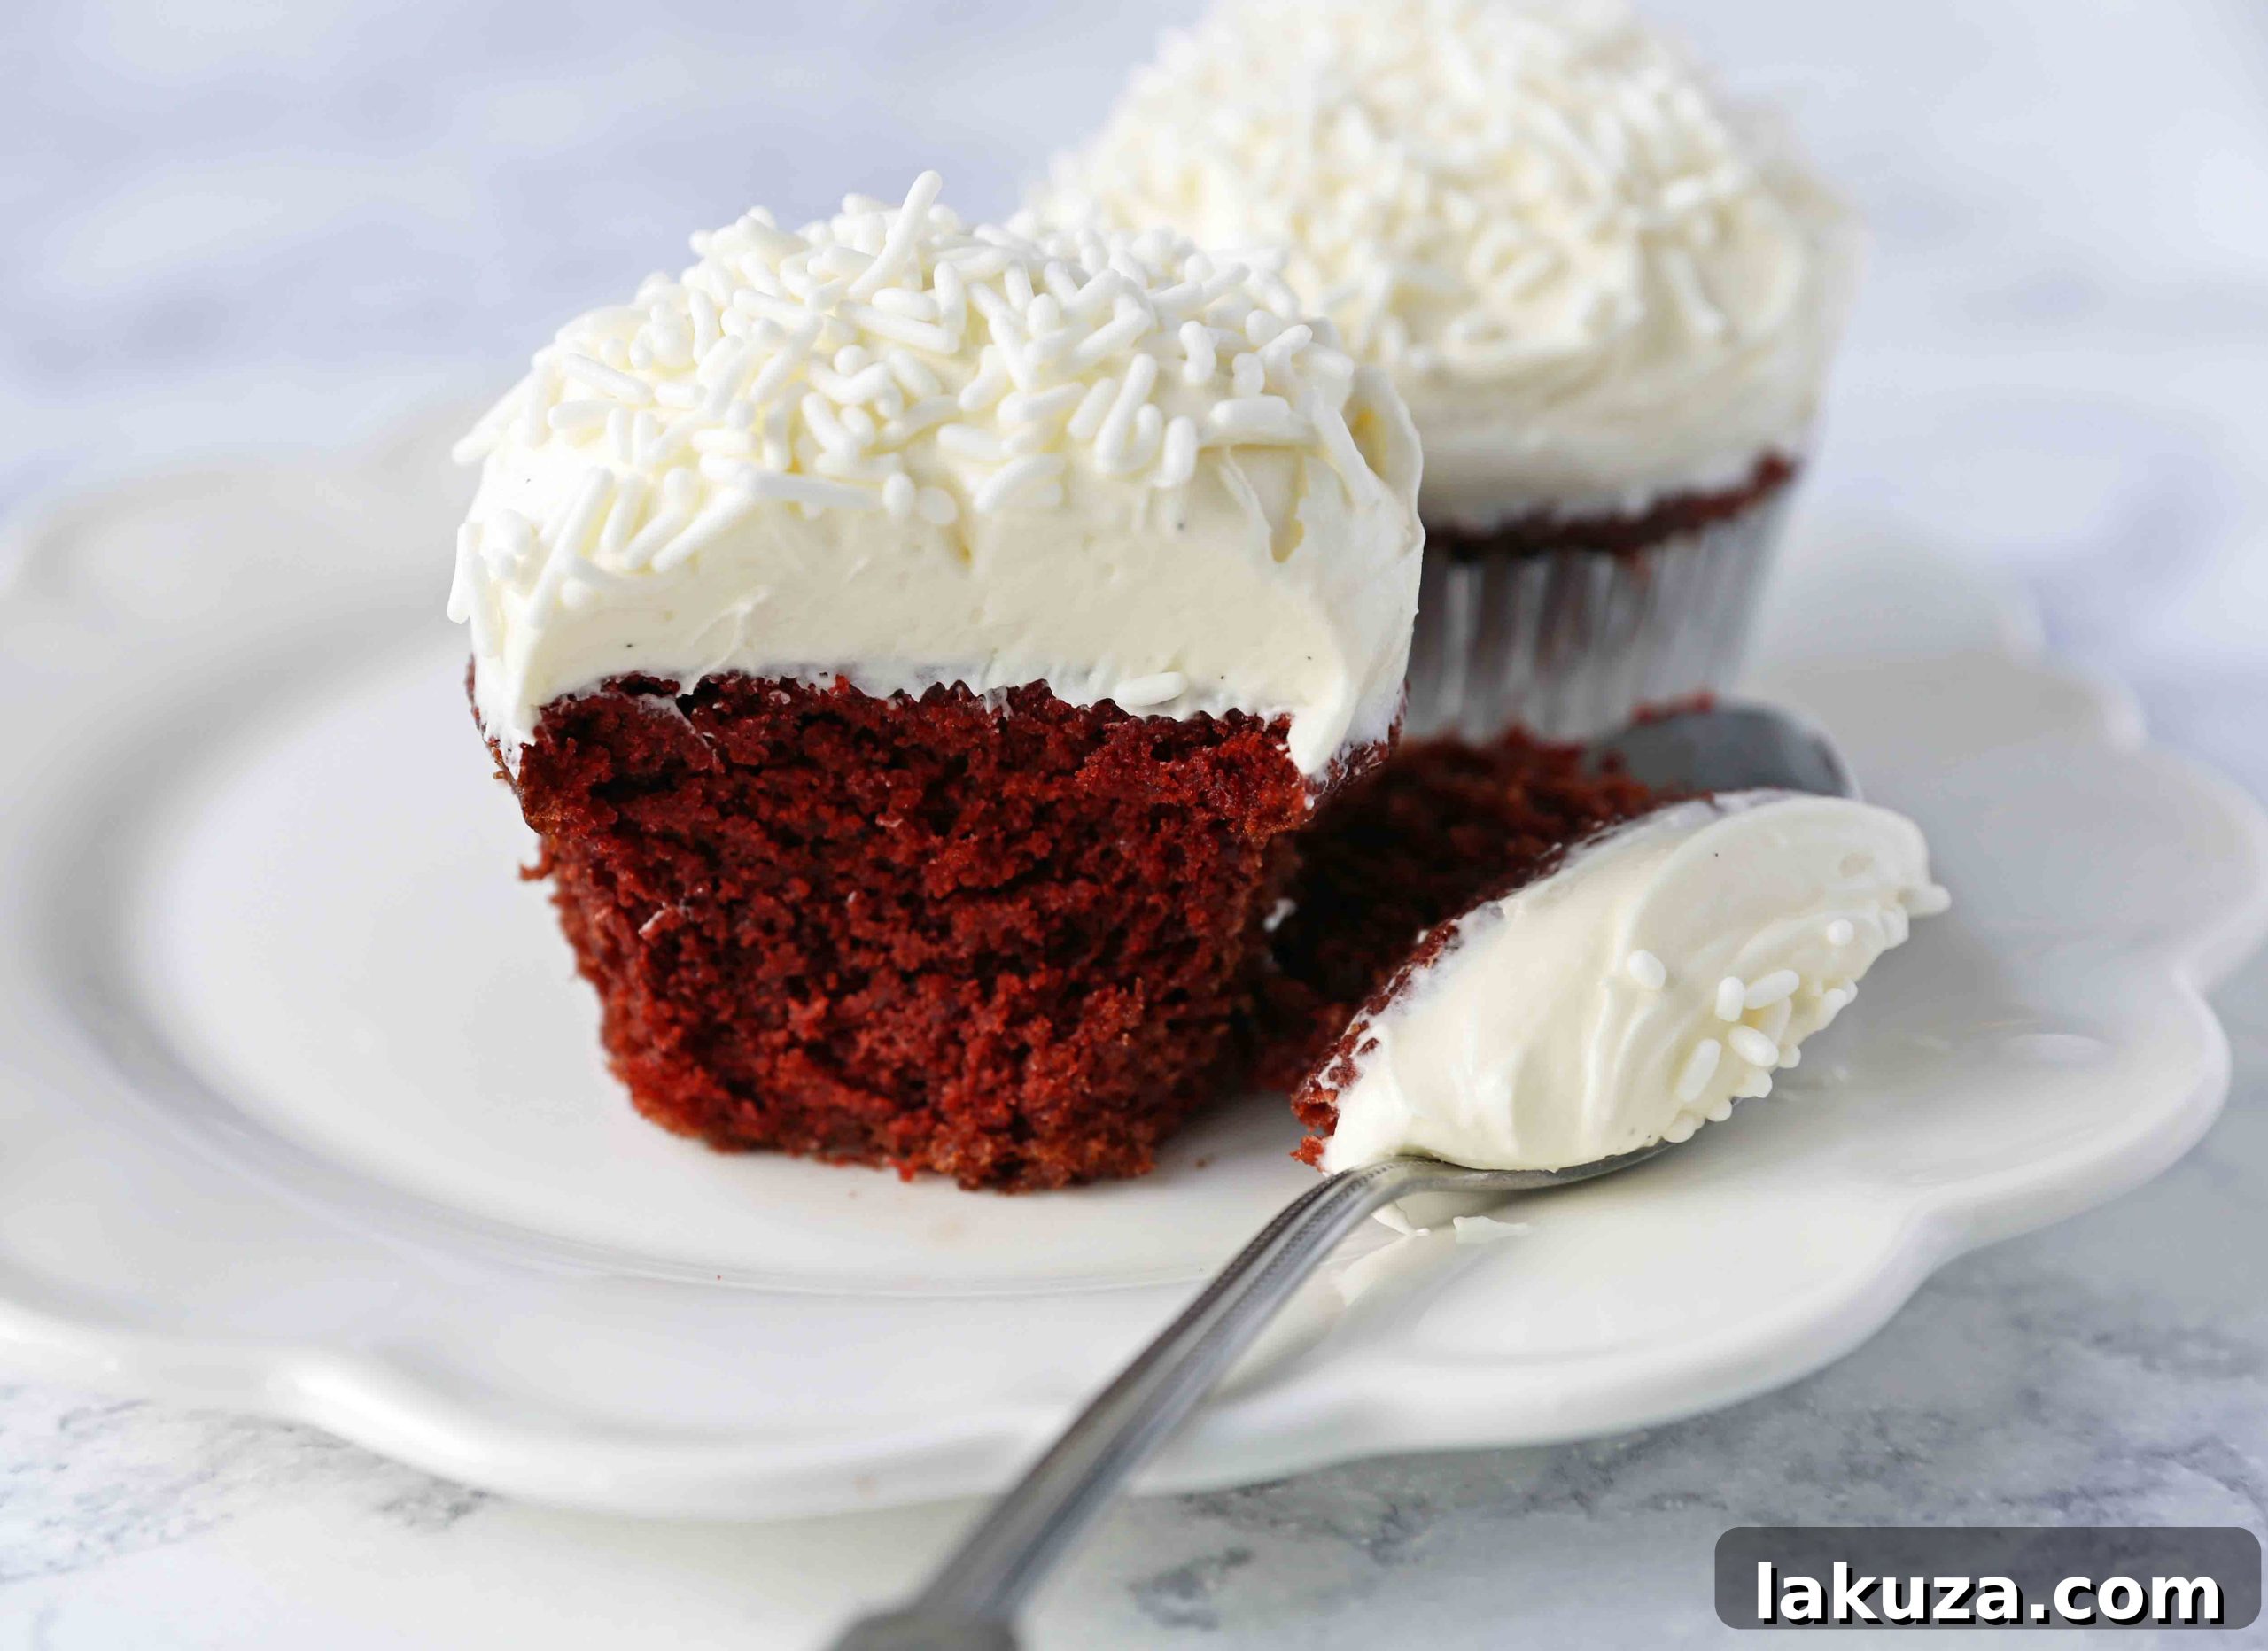
The Ultimate Guide to Baking Perfect Red Velvet Cupcakes
Unlock the secrets to the best red velvet cupcake recipe, complete with a luscious, tangy cream cheese frosting. Master the art of baking these classic Southern delights every single time!
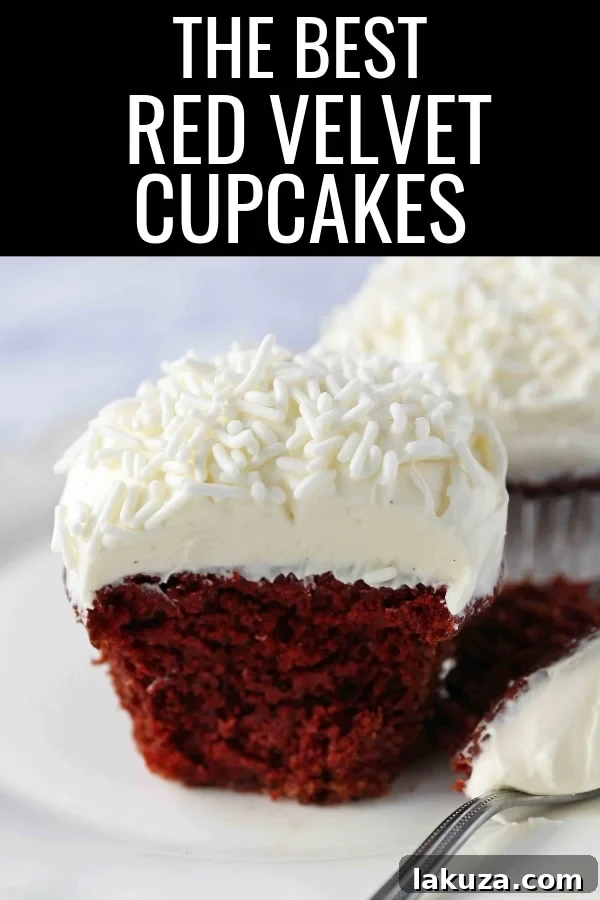
There’s a reason Red Velvet Cupcakes have captured hearts for generations. These iconic treats, with their striking crimson hue, delicate crumb, and signature cream cheese frosting, offer a symphony of flavors and textures that is truly irresistible. While often associated with celebratory occasions like Christmas Eve or Valentine’s Day, their timeless appeal makes them a perfect indulgence any time of year. This isn’t just a recipe; it’s a comprehensive guide to crafting the most exquisite Red Velvet Cupcakes you’ll ever taste, ensuring they are moist, flavorful, and beautifully vibrant.
Many home bakers find red velvet to be a bit of a mystery. Is it chocolate? Is it vanilla? What gives it that distinct taste and color? We’re diving deep into the science and art behind this Southern classic, building on years of testing and refining to bring you a recipe that consistently delivers. Forget dry, crumbly cupcakes or frosting that’s too sweet. We’re aiming for bakery-quality perfection right in your home kitchen. Prepare to impress everyone with these truly exceptional homemade red velvet cupcakes.
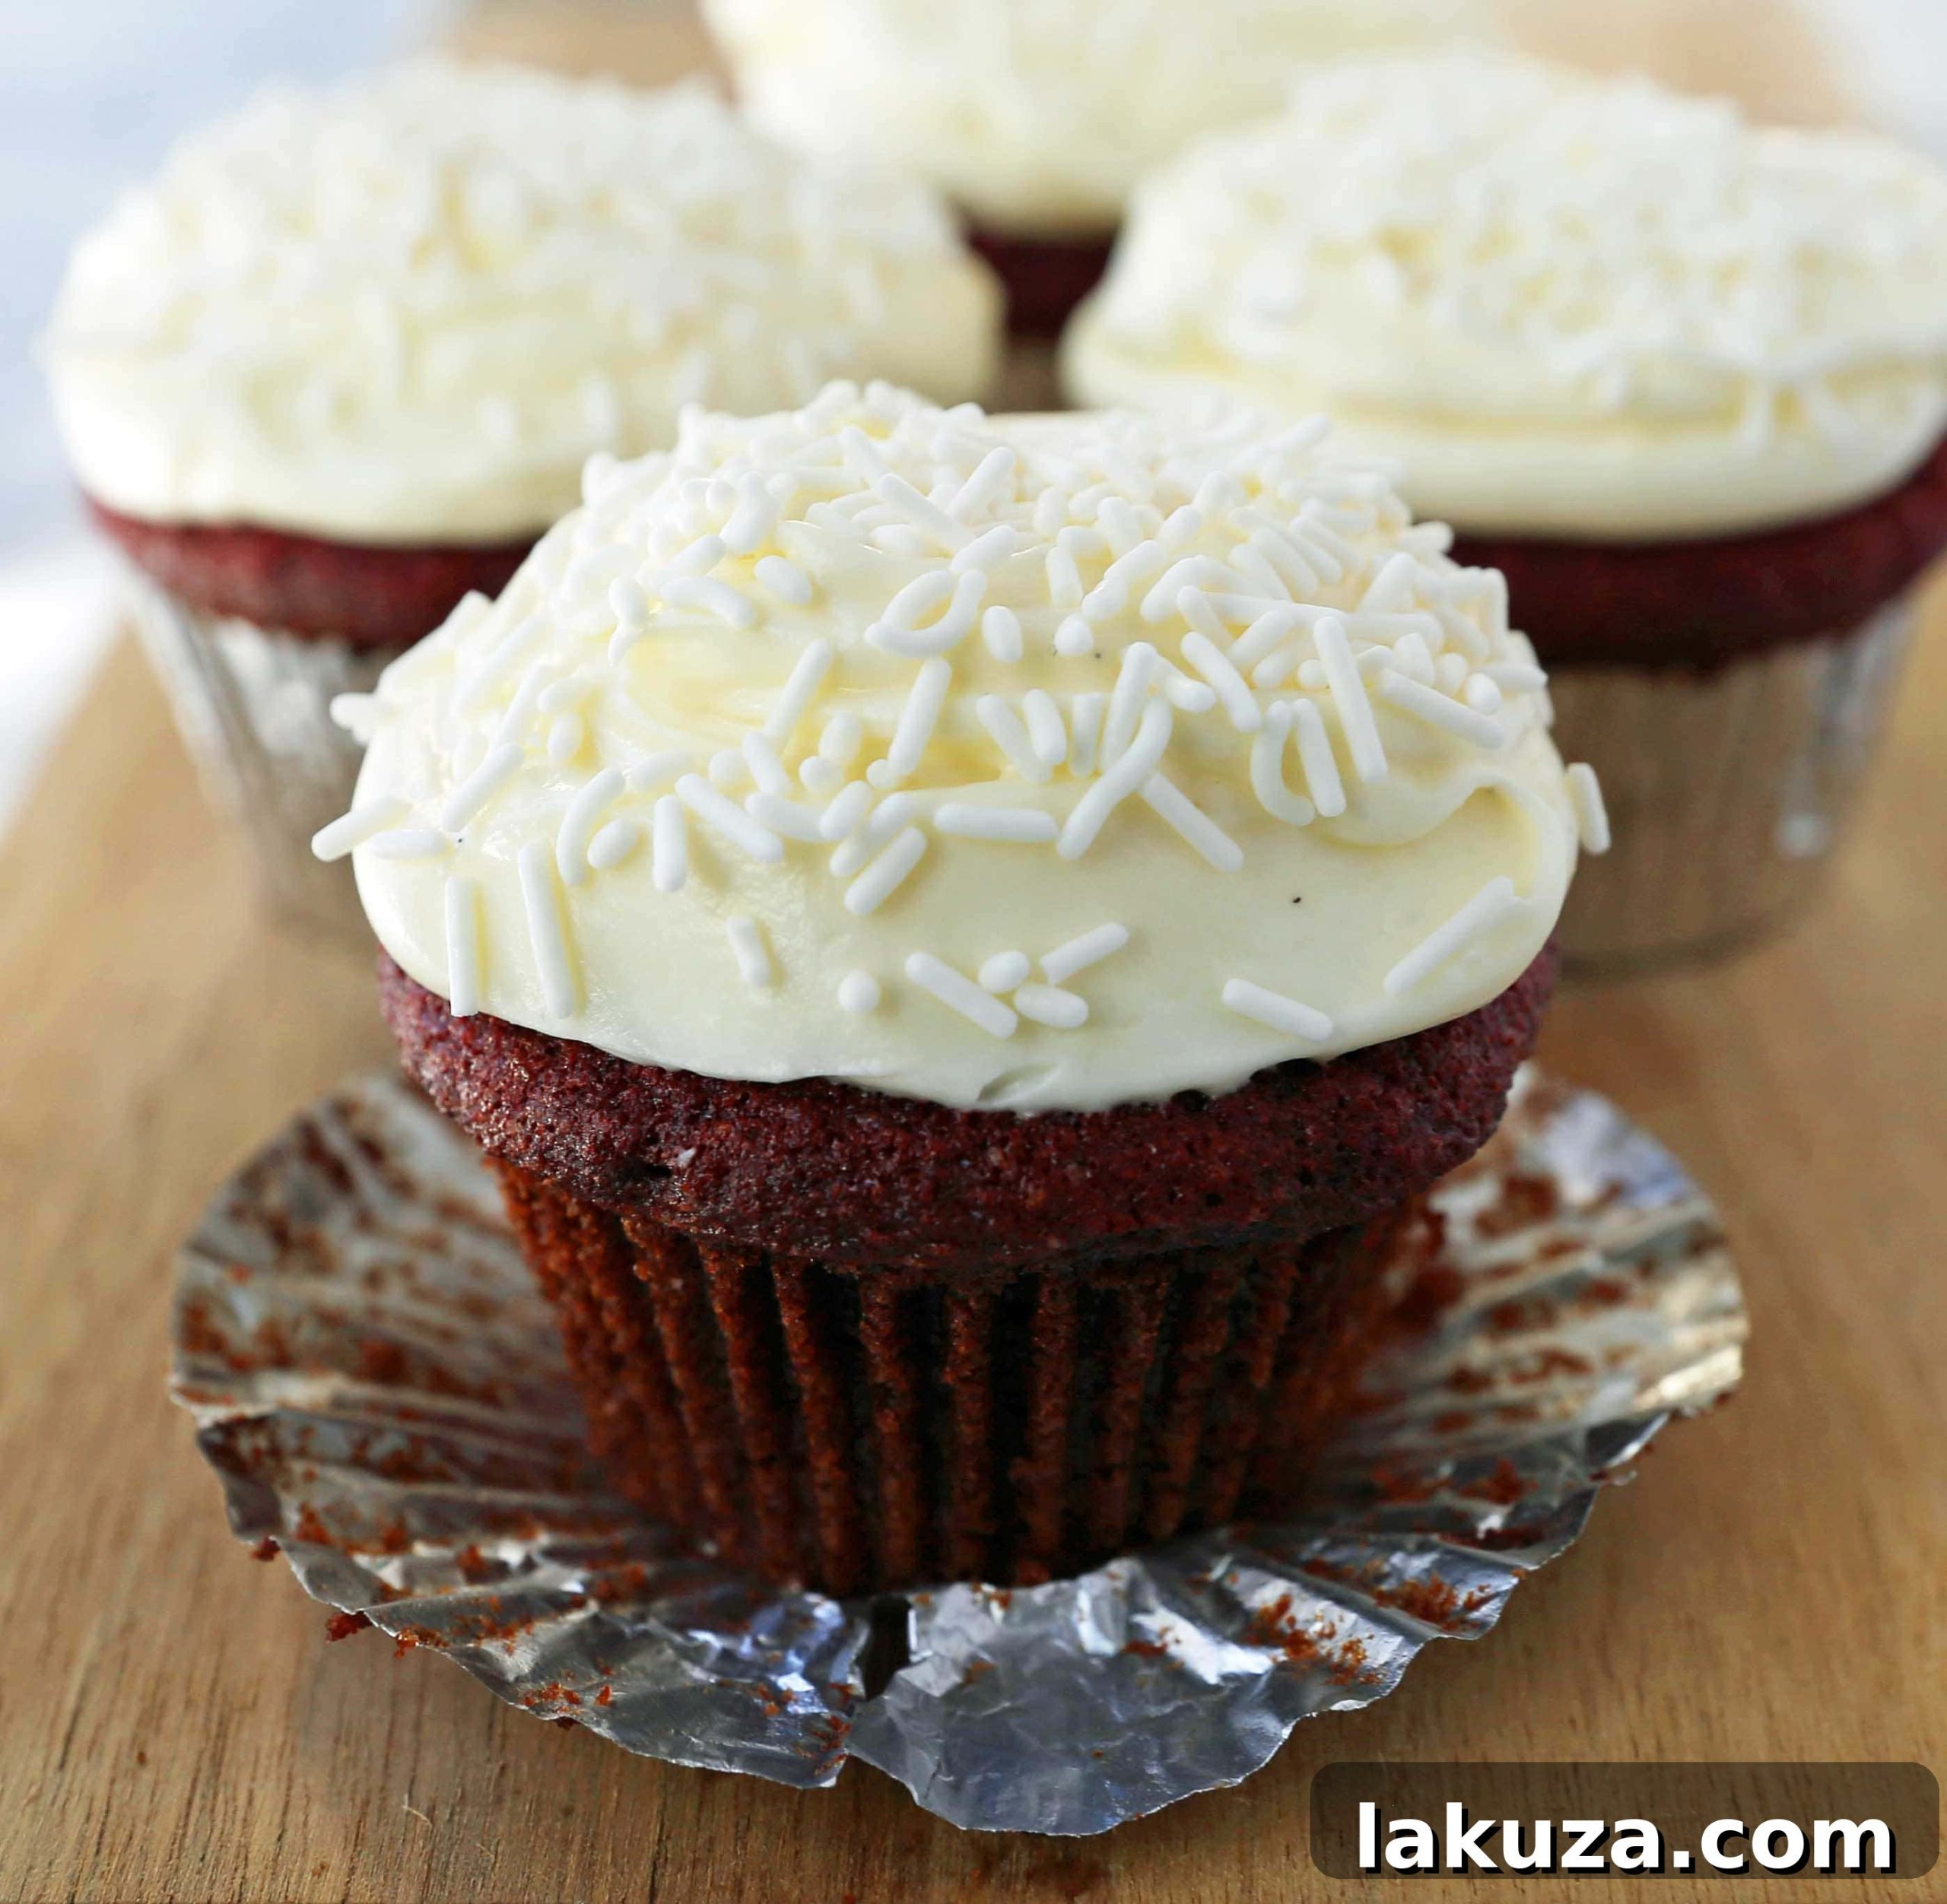
What Makes the Best Red Velvet Cupcakes?
Achieving the perfect red velvet cupcake isn’t just about mixing ingredients; it’s about understanding the subtle interplay of flavors and textures. My journey to creating this recipe involved countless trials, a fair bit of flour, and perhaps an extra pants size (all for you, dear bakers!). The result is a killer red velvet cupcake recipe that stands out from the crowd.
The Delicate Balance of Chocolate Flavor
One of the defining characteristics of red velvet is its nuanced chocolate presence. It shouldn’t be overpoweringly chocolatey like a standard chocolate cake, nor should it be so faint that it’s unnoticeable. The goal is a gentle, sophisticated whisper of cocoa that complements the other flavors without dominating. Through extensive testing, I found that **3 tablespoons of unsweetened cocoa powder** strikes this perfect balance. This amount provides enough chocolate depth to be intriguing, contributing to the rich flavor profile and adding a subtle richness that makes red velvet truly unique, all while allowing the classic tang and vanilla notes to shine.
Unlocking Unparalleled Moisture: Butter and Oil Combination
Dry cupcakes are a baker’s worst nightmare, especially when it comes to something as luxurious as red velvet. The secret to an incredibly moist, tender, and flavorful crumb lies in using a combination of both butter and oil. Butter is indispensable for its rich, creamy flavor, which infuses the cupcakes with that irresistible bakery taste. However, oil is the unsung hero for moisture. Unlike butter, oil remains liquid at room temperature, contributing to a significantly softer, more tender, and moist crumb that stays fresh longer. This dynamic duo ensures your red velvet cupcakes are consistently succulent and melt-in-your-mouth delicious.
The Magic of Buttermilk and Vinegar
Buttermilk is a true game-changer in baking, and it’s absolutely essential for authentic red velvet cupcakes. Its mild acidity reacts with the baking soda, leading to a lighter, airier texture and a wonderfully tender crumb. Beyond texture, buttermilk imparts a subtle tang that is crucial to the distinctive red velvet flavor profile. If you don’t have buttermilk on hand, don’t fret! You can easily make your own by adding 1 tablespoon of white vinegar or lemon juice to a measuring cup, then filling the rest with regular milk until it reaches 1 cup. Let it sit for 5-10 minutes until it slightly curdles. While buttermilk is low in fat, it works wonders in baking, performing similar functions to heavy cream in terms of tenderizing and enriching the batter.
White vinegar works in tandem with the buttermilk and baking soda to create the perfect acidic environment, enhancing the red color and ensuring the cupcakes rise beautifully. It’s a small addition that makes a big difference in both texture and appearance.
Achieving the Iconic Red Hue
The visual appeal of red velvet cupcakes is undeniable. To achieve that signature vibrant red, **red gel food coloring** is highly recommended over liquid food coloring. Gel coloring is much more concentrated, meaning you’ll need less of it to achieve a deep, rich color without adding excess moisture to your batter. Start with the recommended amount and adjust based on your desired intensity. A truly gorgeous red velvet cupcake is as much a feast for the eyes as it is for the palate.
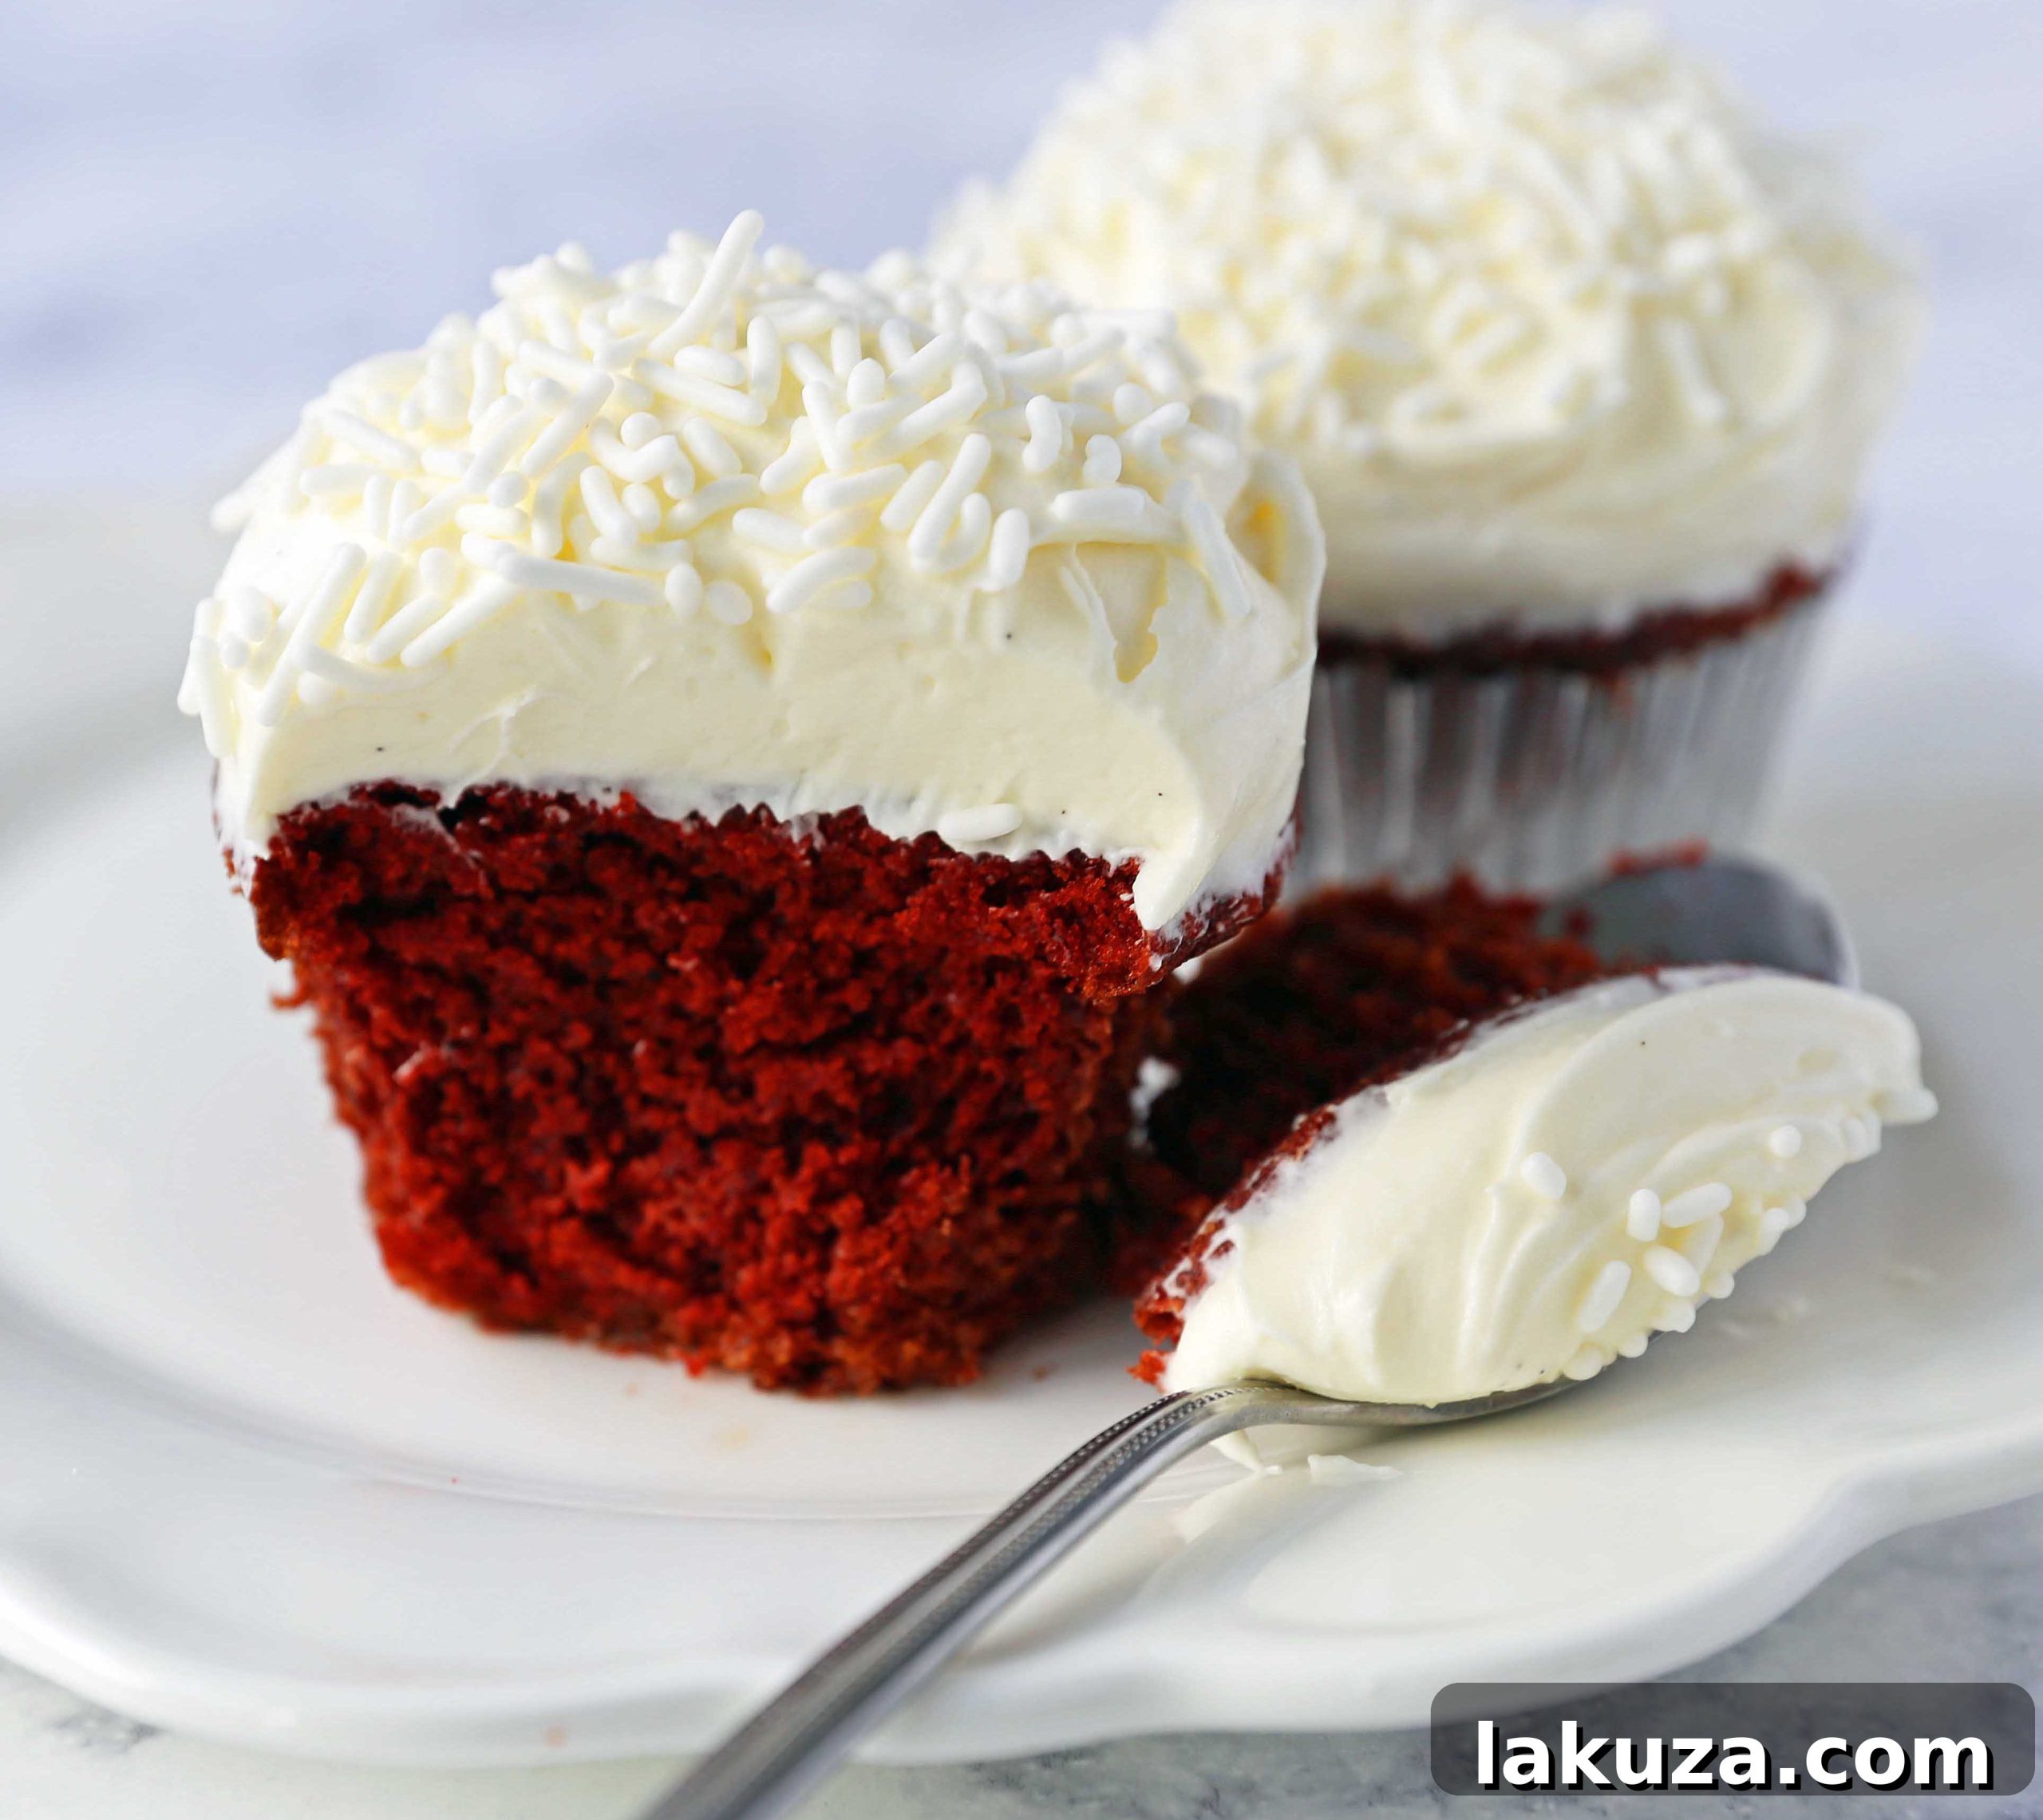
Mastering the Art: Step-by-Step Red Velvet Cupcake Baking
Baking perfect red velvet cupcakes is a joyful process, especially when you follow these clear, detailed steps:
- Prepare Your Dry Ingredients: Begin by sifting or whisking together the flour (all-purpose or cake flour works well for a tender crumb), unsweetened cocoa powder, baking soda, and salt in a medium bowl. This crucial step ensures all ingredients are evenly distributed and eliminates any lumps, leading to a smooth batter and consistent texture in your finished cupcakes.
- Combine Wet Ingredients for Flavor and Color: In a separate bowl, whisk together the buttermilk, white vinegar, vanilla extract, and red gel food coloring. The vinegar and buttermilk are vital for activating the baking soda and enhancing the red hue, while vanilla adds an extra layer of warmth and flavor. Ensure the color is evenly distributed for a consistent red throughout your batter.
- Cream Butter and Sugar for Lightness: In a large mixing bowl (preferably with an electric mixer), beat the softened unsalted butter and granulated sugar together on medium-high speed for at least 4 minutes, or until the mixture is visibly light, fluffy, and pale in color. This process incorporates air, which is essential for a tender cupcake. Scrape down the sides of the bowl. Then, add the oil and cream for another 2 minutes until fully combined. Introduce the large eggs one at a time, beating for 1-2 minutes after each addition, ensuring they are fully incorporated before adding the next. This creates a stable emulsion that holds air.
- Alternating Wet and Dry for Perfect Consistency: Gradually add half of the dry ingredient mixture to the wet butter-sugar mixture, mixing on low speed until just combined. Next, pour in half of the buttermilk mixture and mix until smooth. Repeat with the remaining dry ingredients, followed by the remaining buttermilk mixture. Mix only until the ingredients are just incorporated. Overmixing can develop the gluten in the flour, resulting in tough, dense cupcakes. A few small lumps are perfectly fine.
- Bake to Perfection (Avoid Overbaking!): Line a 12-cup muffin tin with cupcake liners. Fill each liner about two-thirds full with batter. Bake in a preheated oven at 350°F (175°C) for approximately 16-19 minutes. Baking times can vary depending on your oven, so start checking at 16 minutes. The cupcakes are ready when a wooden toothpick inserted into the center comes out clean or with a few moist crumbs attached. The most important tip here is: DO NOT OVERBAKE! Overbaking is the primary cause of dry cupcakes. Once baked, remove the cupcakes from the oven and let them cool in the muffin tin for 5 minutes before transferring them to a wire rack to cool completely.
- Whip Up the Dreamy Cream Cheese Frosting: While your cupcakes cool, prepare the star of the show – the cream cheese frosting. In a mixing bowl, whip together softened unsalted butter and softened cream cheese until light and fluffy. This ensures a smooth, lump-free frosting. Gradually add the powdered sugar, one cup at a time, beating on low speed until combined, then increase to medium-high until smooth and fluffy. Finally, beat in the vanilla extract. If the frosting is too thick, add a tiny splash of milk or cream. If it’s too thin, add more powdered sugar. Once your cupcakes are completely cool, frost them generously.
Tips for Success and Common Mistakes to Avoid
Even with the best recipe, a few common pitfalls can hinder your baking success. Here are some pro tips to ensure your red velvet cupcakes turn out perfectly every single time:
- Room Temperature Ingredients are Key: Ensure your butter, cream cheese, and eggs are at room temperature. This allows them to cream together properly, creating a smooth, emulsified batter that traps air for a light texture. Cold ingredients can lead to a lumpy batter and a denser cupcake.
- Measure Accurately: Baking is a science, and precise measurements are crucial. Use a kitchen scale for flour if possible, or use the “spoon and level” method: spoon flour into your measuring cup, then level off the excess with a straight edge. Don’t pack the flour!
- Do Not Overmix: After adding the dry and wet ingredients alternately, mix only until just combined. Overmixing develops gluten, which can result in tough, chewy cupcakes rather than soft and tender ones.
- Avoid Overbaking at All Costs: This is probably the most common mistake. Keep a close eye on your cupcakes towards the end of the baking time. As soon as a toothpick comes out clean, take them out. Even a minute or two too long can turn moist cupcakes dry.
- Cool Completely Before Frosting: Resist the urge to frost warm cupcakes! Warm cupcakes will melt the cream cheese frosting, leading to a runny, messy disaster. Allow them to cool completely on a wire rack before applying your glorious frosting.
- Gel Food Coloring for Vibrant Color: As mentioned, gel food coloring provides a much richer, more concentrated color than liquid food coloring, requiring less product and yielding a more intense red without affecting the batter consistency.
Variations and Serving Suggestions
While classic red velvet cupcakes are perfect on their own, there are many ways to customize and enjoy them:
- Garnish with Flair: A sprinkle of red velvet crumbs (from a leftover cupcake or a small amount of baked batter), chocolate shavings, or even festive sprinkles can elevate the visual appeal of your frosted cupcakes. A fresh raspberry or a mint leaf also adds a touch of elegance.
- Make it a Cake: This recipe can easily be adapted for a red velvet cake. Simply adjust baking times for 8-inch or 9-inch round cake pans (typically 25-30 minutes), and you’ll have a stunning layer cake.
- Mini Red Velvet Cupcakes: For bite-sized delights, use mini cupcake liners and a mini muffin tin. Reduce baking time to about 10-12 minutes. These are perfect for parties or when you want a smaller treat.
- Occasion Ready: Red velvet cupcakes are perfect for any celebration – birthdays, holidays, anniversaries, or just a special weeknight dessert. Their rich color makes them particularly popular for Christmas, Valentine’s Day, and Fourth of July gatherings.
Essential Equipment for Effortless Baking
Having the right tools can make your baking experience much smoother and more enjoyable:
- 12-Cup Cupcake Pan: A sturdy muffin tin is indispensable for uniform baking. Invest in a good quality, non-stick pan for easy removal.
- Cupcake Liners: While optional, cupcake liners make serving easy and help prevent sticking. Opt for festive colors or simple white, depending on your occasion.
- Electric Mixer (Stand or Handheld): Essential for creaming butter and sugar, as well as whipping up fluffy cream cheese frosting. A stand mixer makes the process almost effortless.
- Measuring Cups and Spoons: Accurate measurements are crucial in baking, so a reliable set of measuring tools is a must-have.
- Rubber Spatula: Perfect for scraping down the sides of your mixing bowl, ensuring all ingredients are incorporated without overmixing.
- Stainless Steel Cake Tester or Toothpicks: The simplest tool for checking doneness, ensuring your cupcakes are baked through but not dry.
- Wire Cooling Rack: Allows air circulation around the cupcakes, ensuring they cool evenly and preventing sogginess.
Pin
Red Velvet Cupcakes
Equipment
-
1 muffin tin
-
1 kitchenaid mixer
-
1 measuring cups and spoons
-
1 spatula set
Ingredients
Red Velvet Cupcakes:
- 1 1/2 cups Flour (may use all-purpose or cake flour)
- 3 Tablespoons Unsweetened Cocoa Powder
- 1 teaspoon Baking Soda
- 1 teaspoon Salt
- 2/3 cup Buttermilk
- 1 1/2 teaspoons White Vinegar
- 2 teaspoons Vanilla Extract
- 1 teaspoon Red Gel Food Coloring (if using liquid red food coloring, you may want to add more for vibrant color)
- 1/2 cup Unsalted Butter (softened)
- 1/4 cup Vegetable Oil
- 1 cup Granulated Sugar
- 2 large Eggs
Cream Cheese Frosting:
- 1/2 cup Unsalted Butter (softened)
- 8 ounces Cream Cheese (softened, full-fat is best for consistency)
- 3 1/2 cups Powdered Sugar (sifted for best results)
- 1 teaspoon Vanilla Extract
Instructions
-
Preheat your oven to 350°F (175°C). Line a 12-cup muffin tin with paper liners. In a medium bowl, whisk together the flour, cocoa powder, baking soda, and salt. Set aside.
-
In a separate small bowl, whisk together the buttermilk, white vinegar, and red gel food coloring until the color is uniform. Set aside.
-
In a large mixing bowl, using an electric mixer, beat the softened butter and granulated sugar together for 4 minutes on medium-high speed, until the mixture is light and fluffy. Scrape down the sides of the bowl. Add the vegetable oil and beat for another 2 minutes. Add the eggs one at a time, beating well for 1 minute after each addition. Finally, mix in the vanilla extract until just combined.
-
With the mixer on low speed, gradually add half of the dry ingredients to the butter mixture, mixing until just combined. Then, add half of the buttermilk mixture and mix until smooth. Repeat with the remaining dry ingredients and the remaining buttermilk mixture, mixing only until the batter is just combined and no streaks of flour remain. Be careful not to overmix.
-
Divide the batter evenly among the 12 prepared cupcake liners, filling each about two-thirds full. Bake for 16-19 minutes, or until a wooden toothpick inserted into the center of a cupcake comes out clean. Do not overbake! Allow the cupcakes to cool in the muffin tin for 5 minutes before transferring them to a wire rack to cool completely before frosting.
-
For the Cream Cheese Frosting: In a clean mixing bowl, whip together the softened butter and softened cream cheese until light, smooth, and fluffy. Gradually add the powdered sugar, one cup at a time, mixing on low speed until combined, then beat on medium-high until the frosting is smooth and creamy. Stir in the vanilla extract. If the frosting is too thick, add a teaspoon of milk or cream until desired consistency is reached. Frost the completely cooled cupcakes generously.
Nutrition information is automatically calculated, so should only be used as an approximation.
Additional Info
I genuinely hope you cherish these homemade red velvet cupcakes as much as I do. Each bite, from the moist, tender crumb to the rich, tangy cream cheese frosting, is a testament to the joy of baking. Whether you’re sharing them with loved ones or savoring one all to yourself, these classic treats are sure to bring a smile. Happy Baking, my friends!
I love hearing from you! If you make this recipe, please be sure to leave a comment and give it a rating. If you make any of my recipes, tag me on Instagram @modern_honey so I can see your beautiful creations. It’s one of my favorite things to see you making these recipes in your own kitchen. Sign up for my newsletter below so you never miss a new recipe. Thank you for following along and being the greatest readers! FOLLOW ME ON: INSTAGRAM — FACEBOOK — PINTEREST