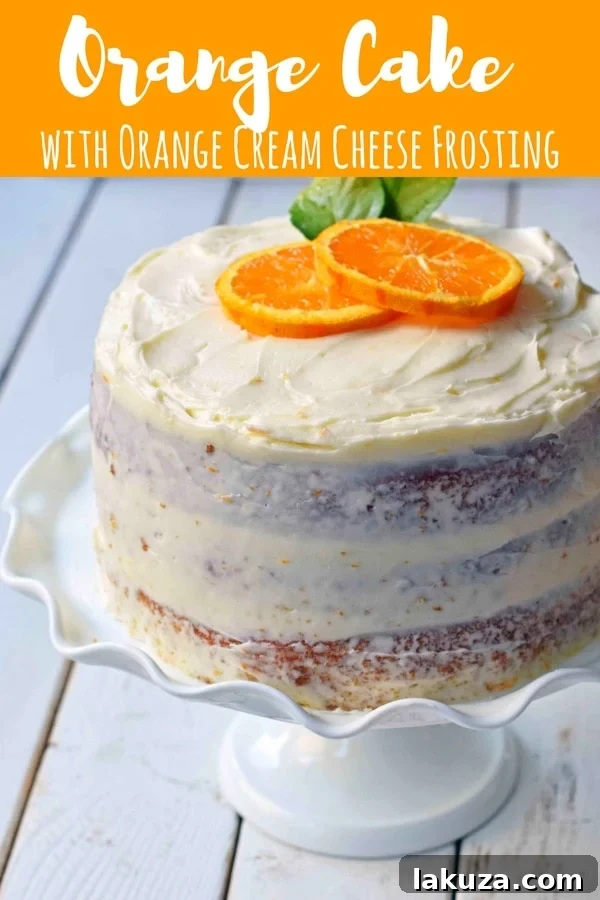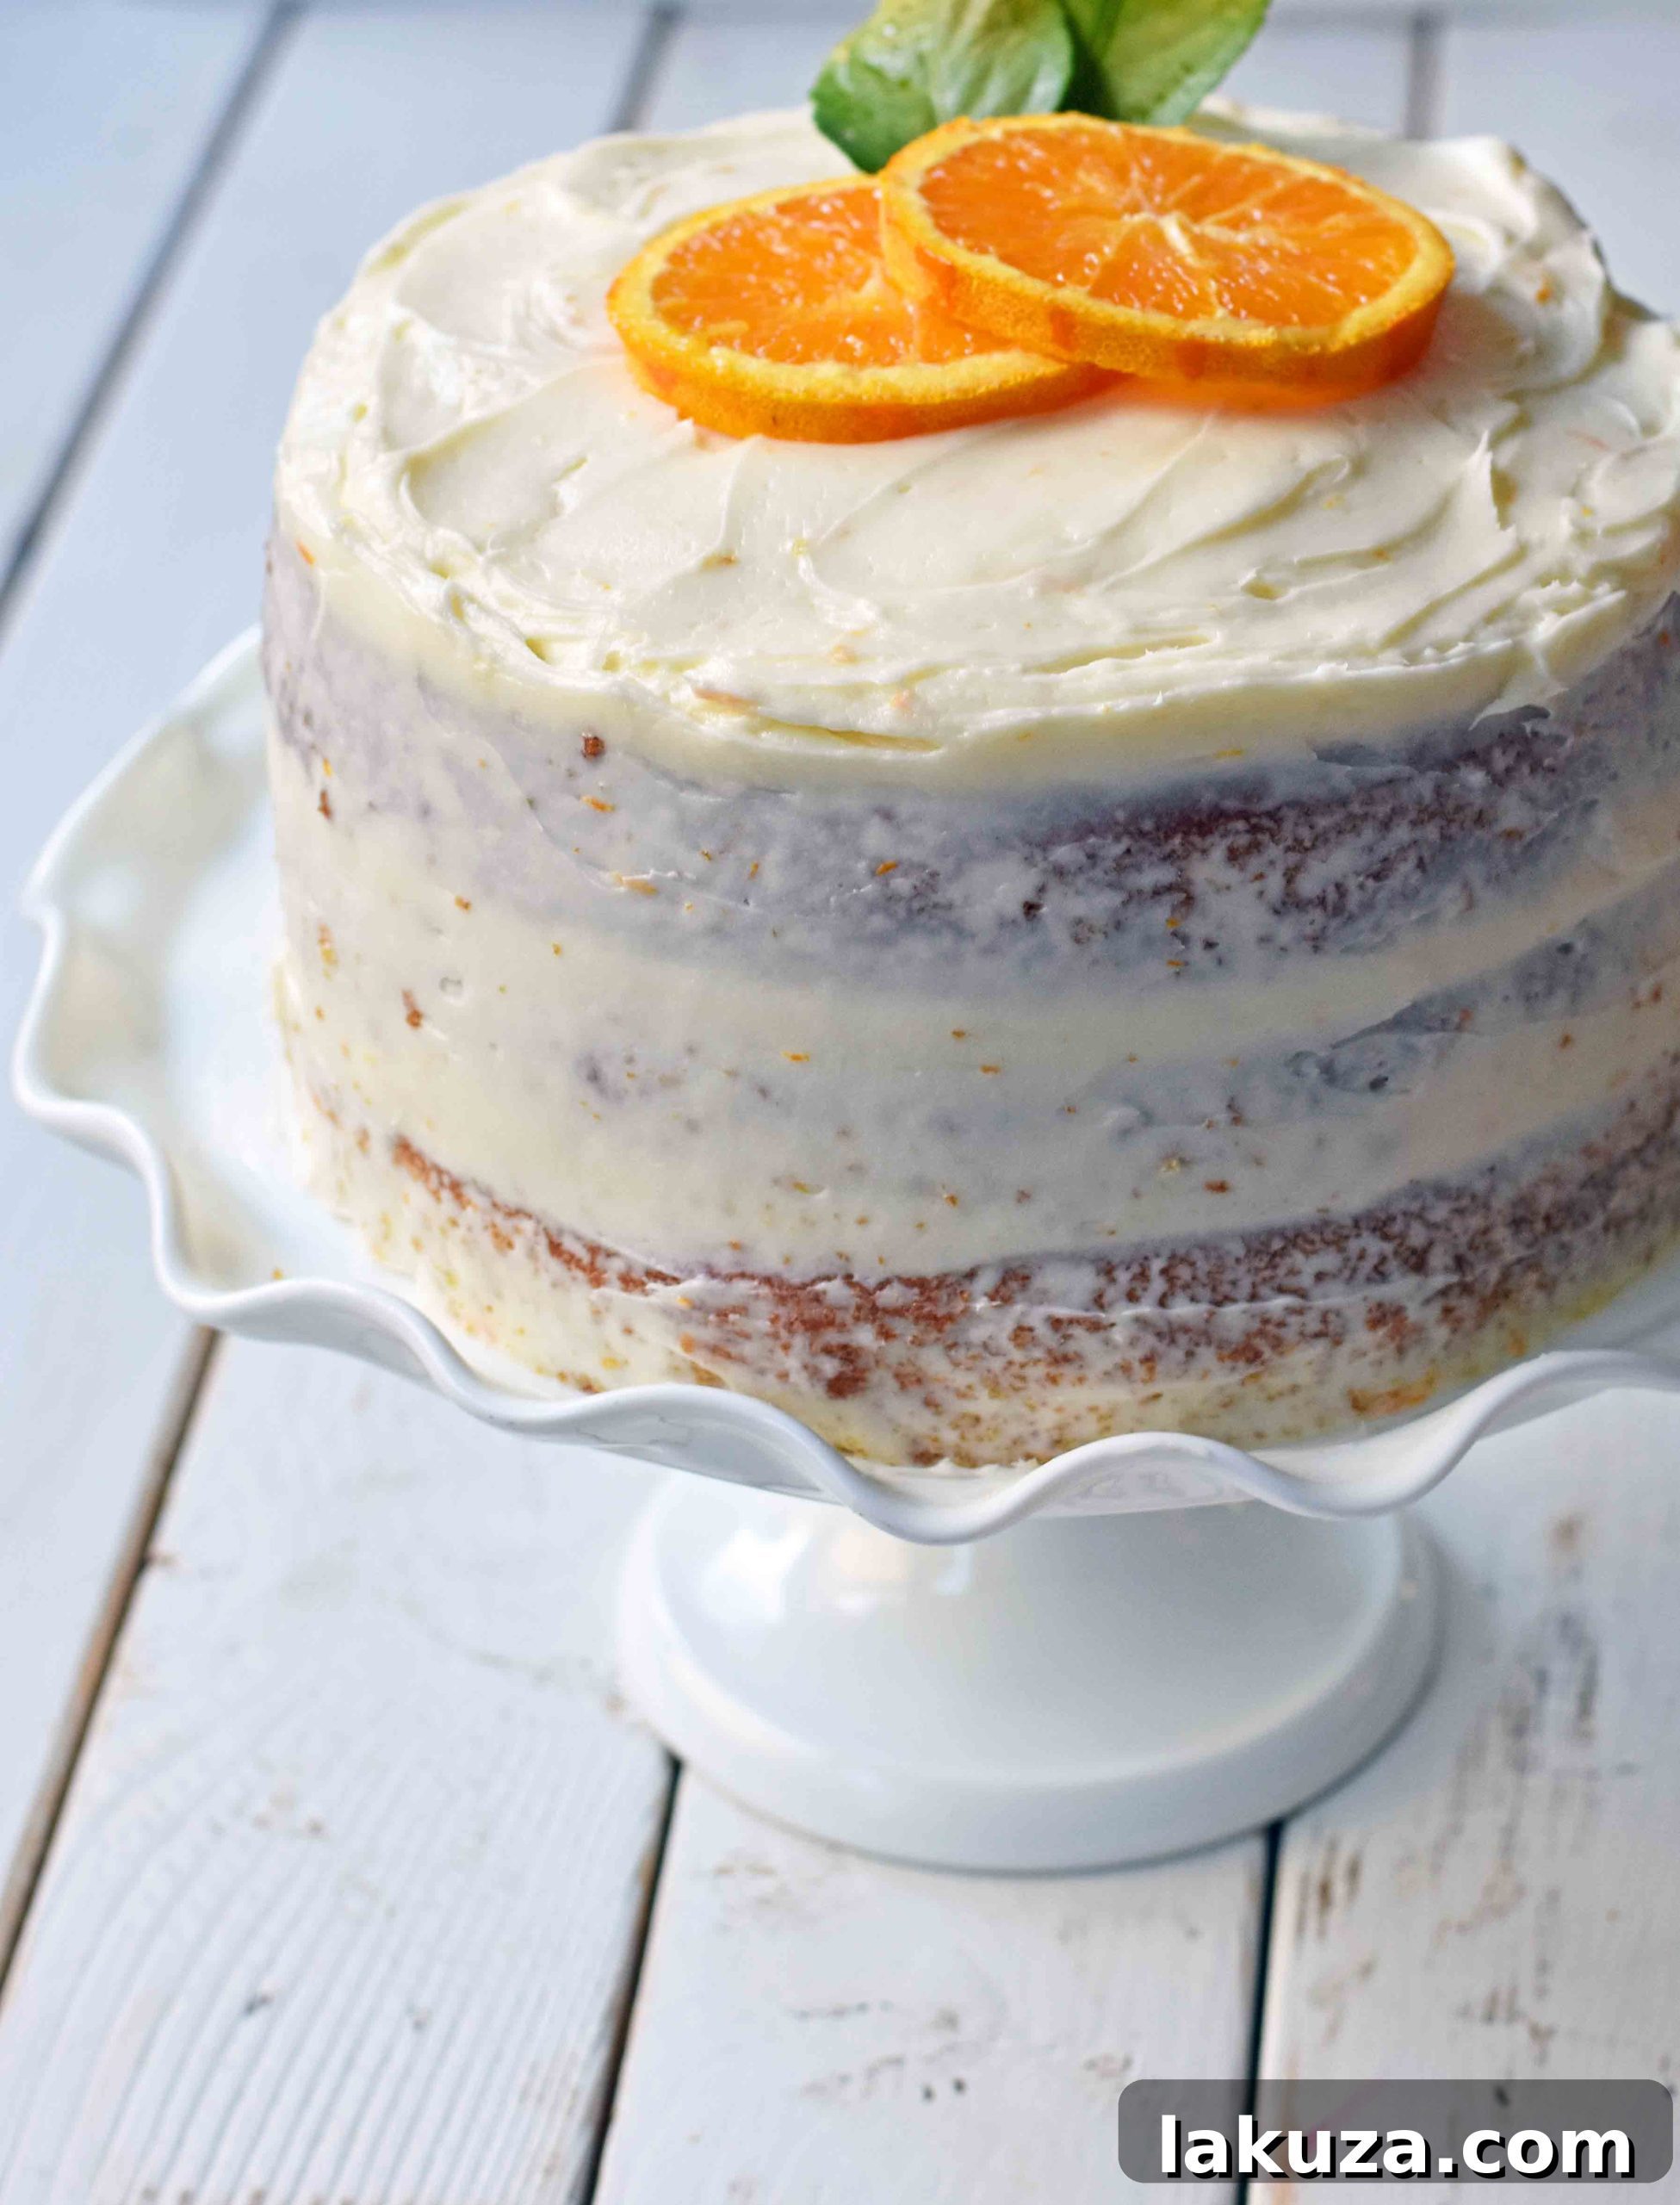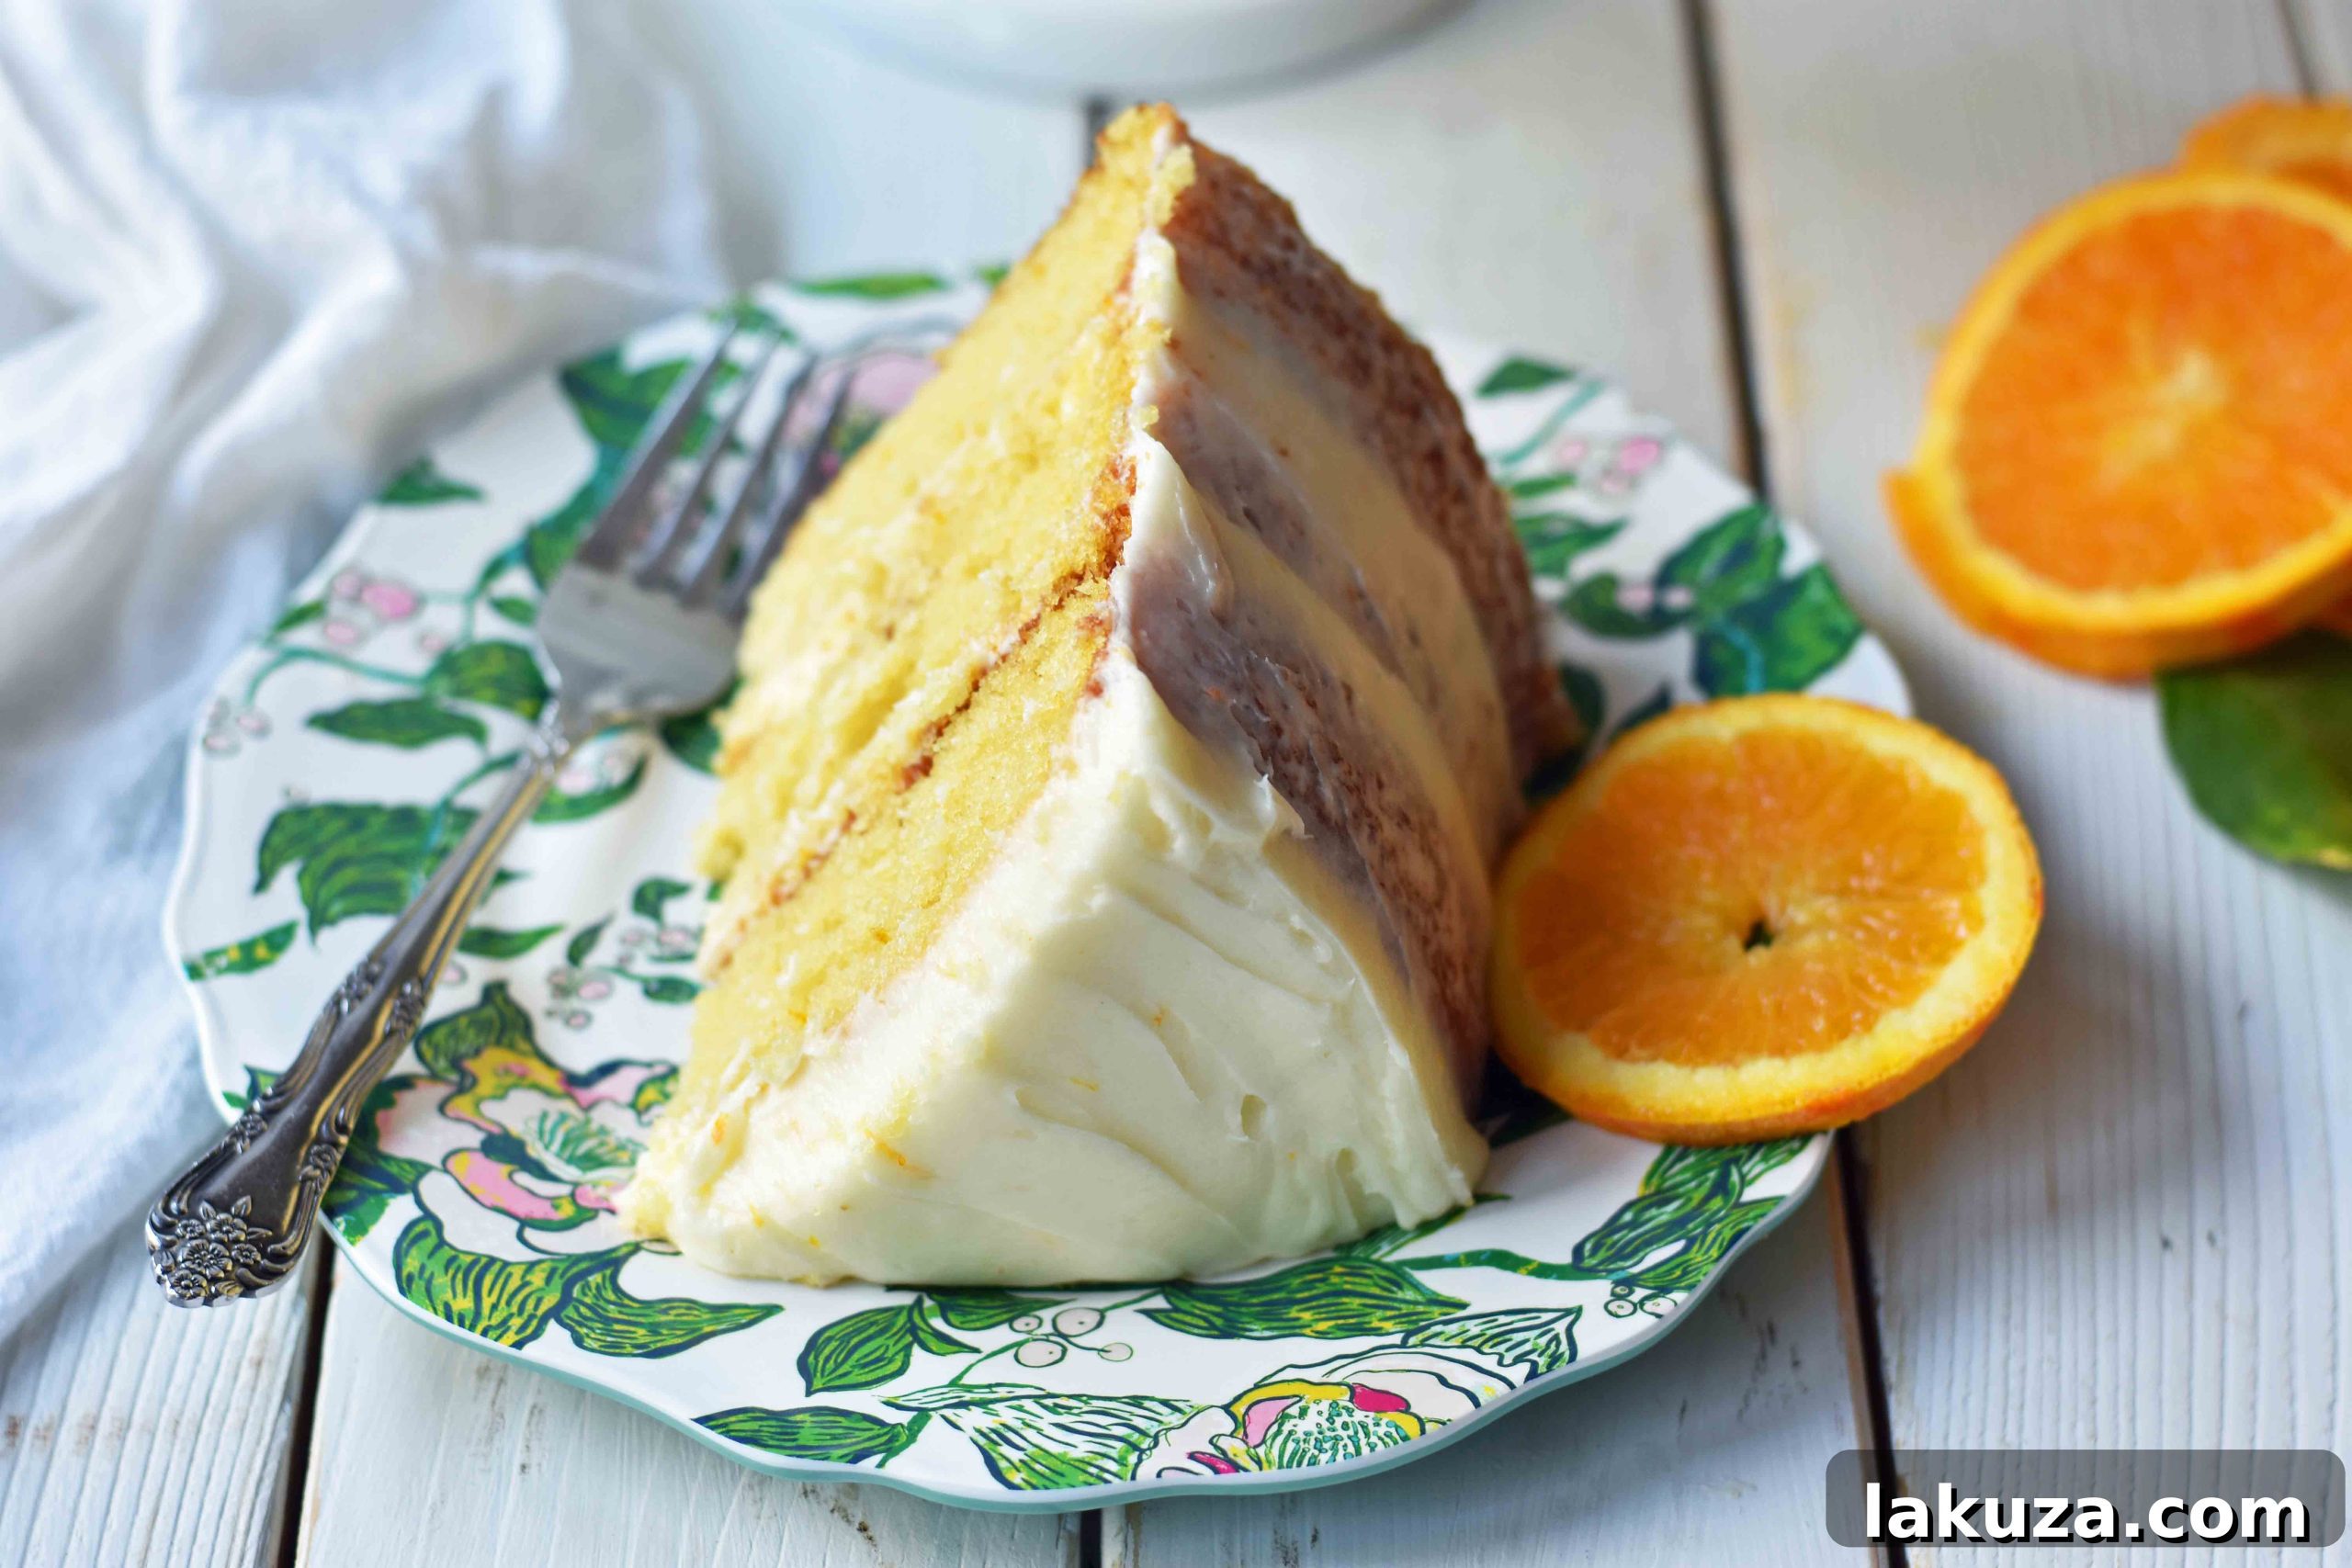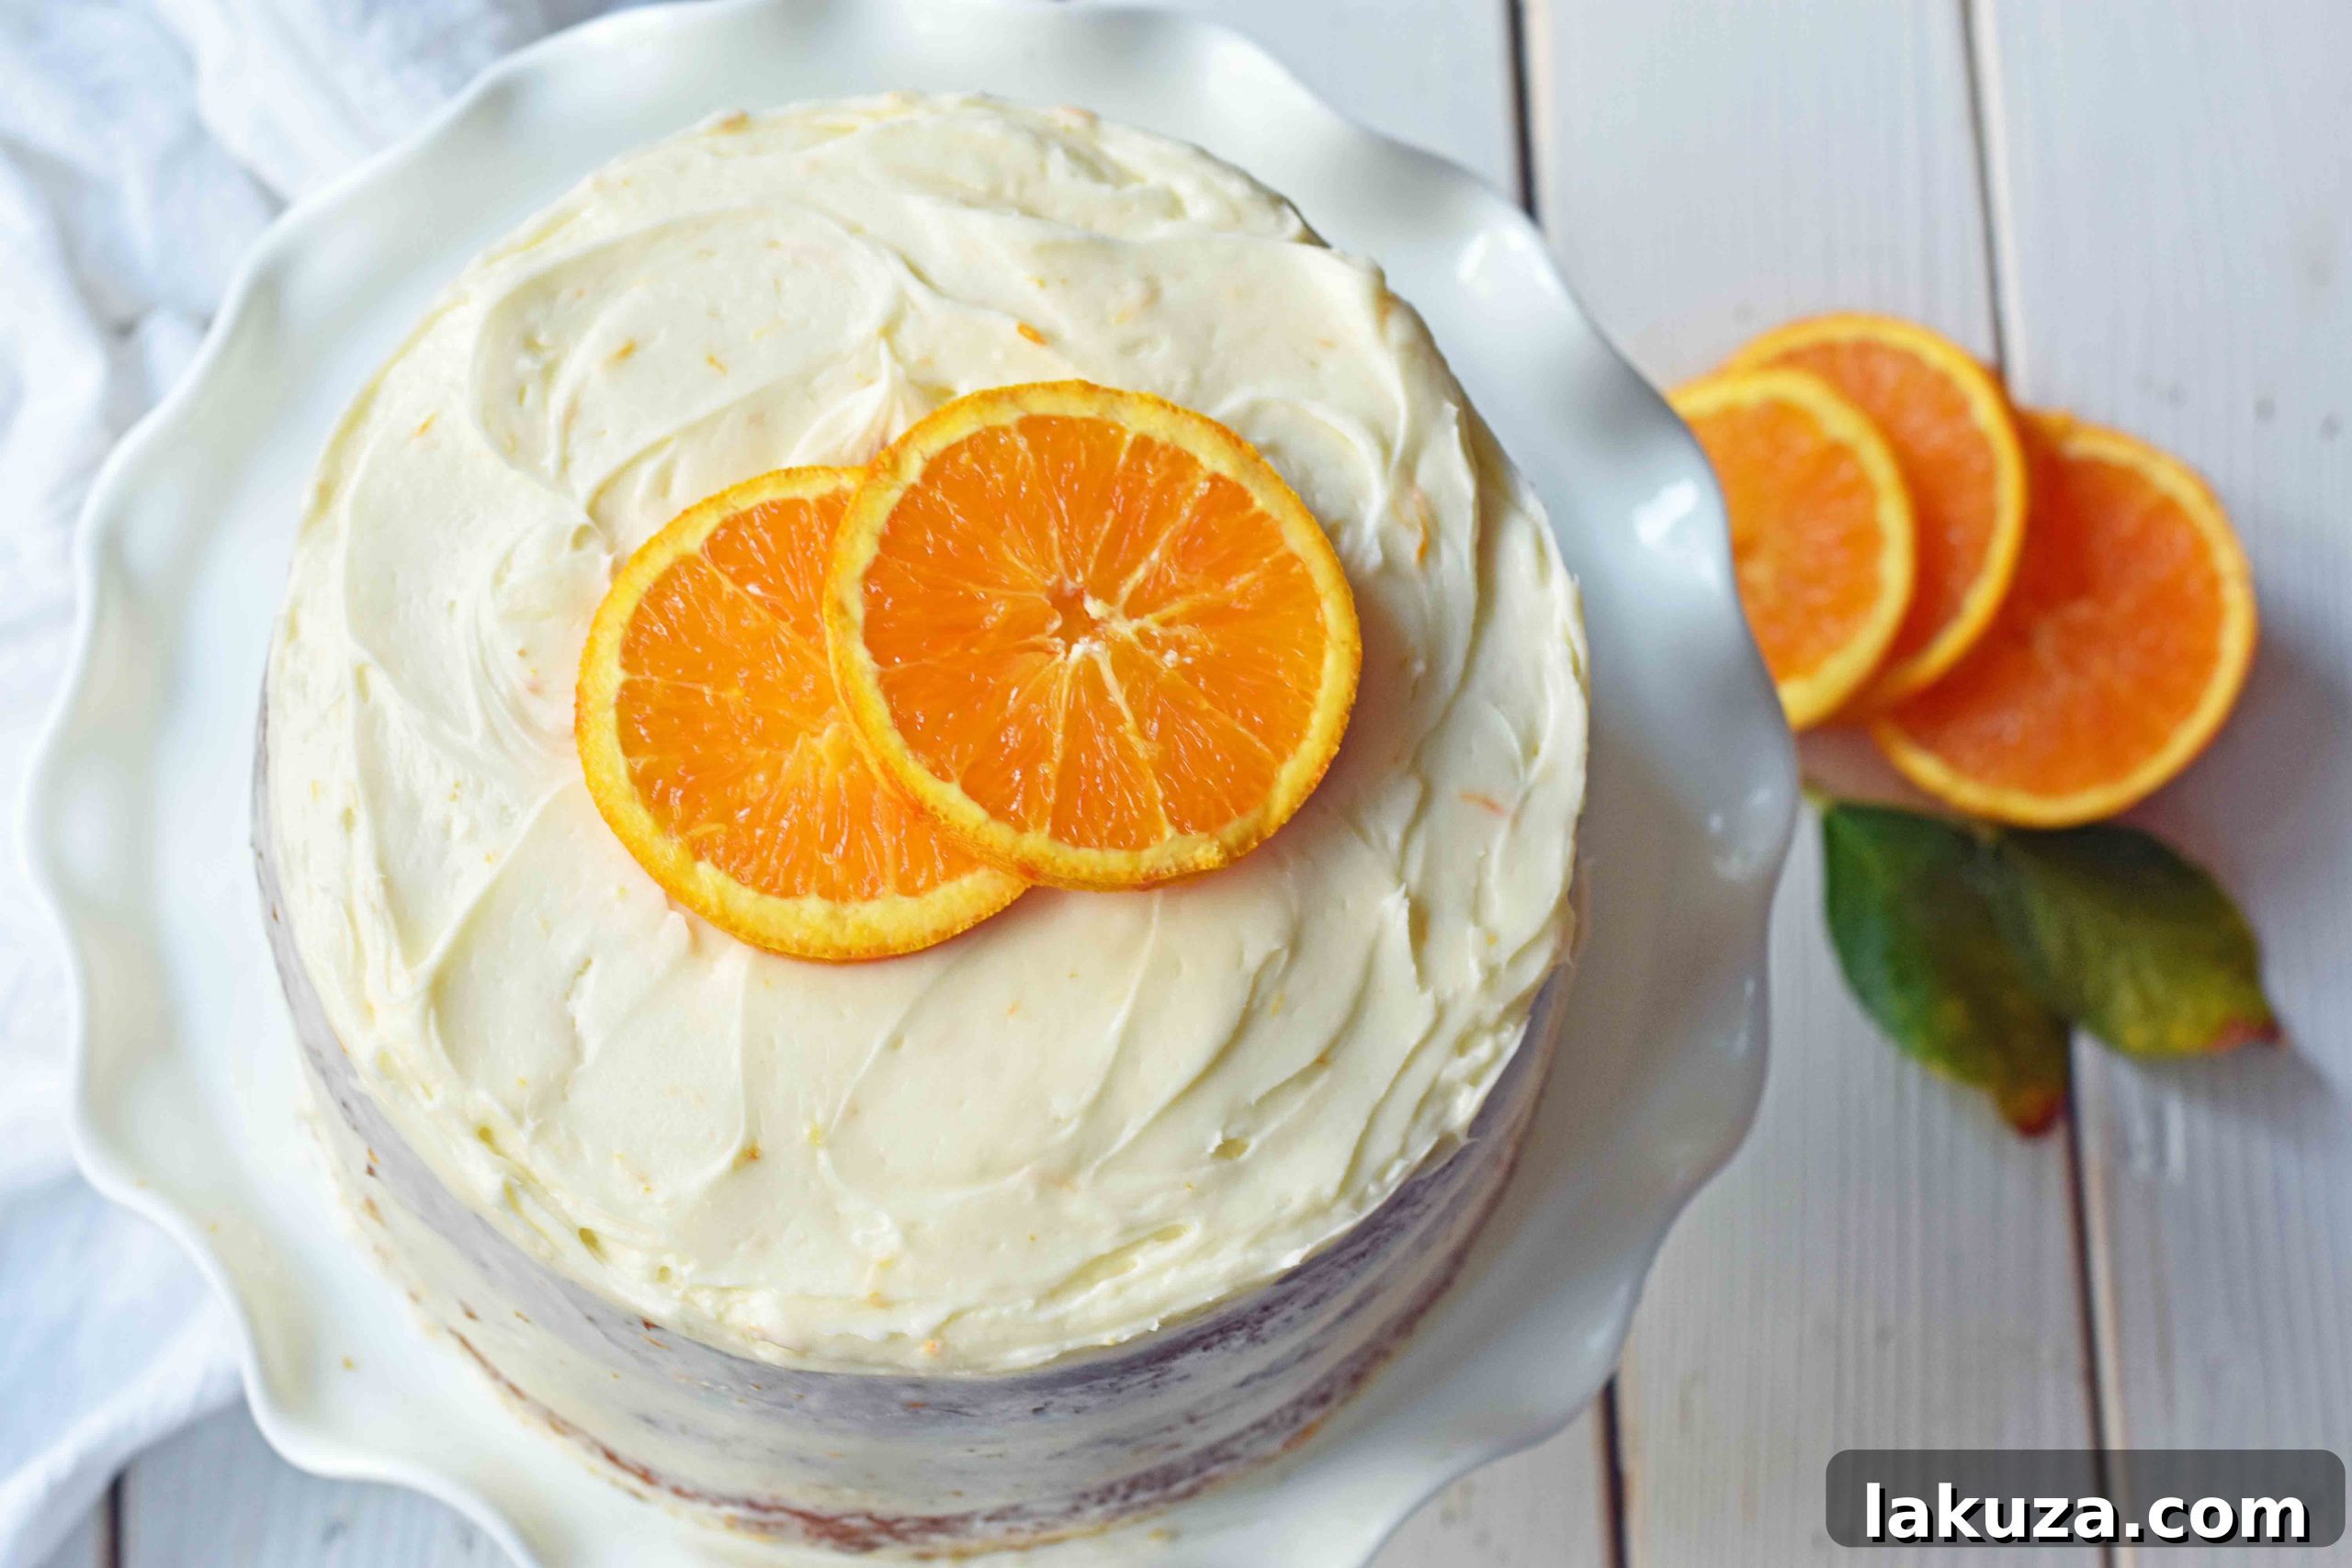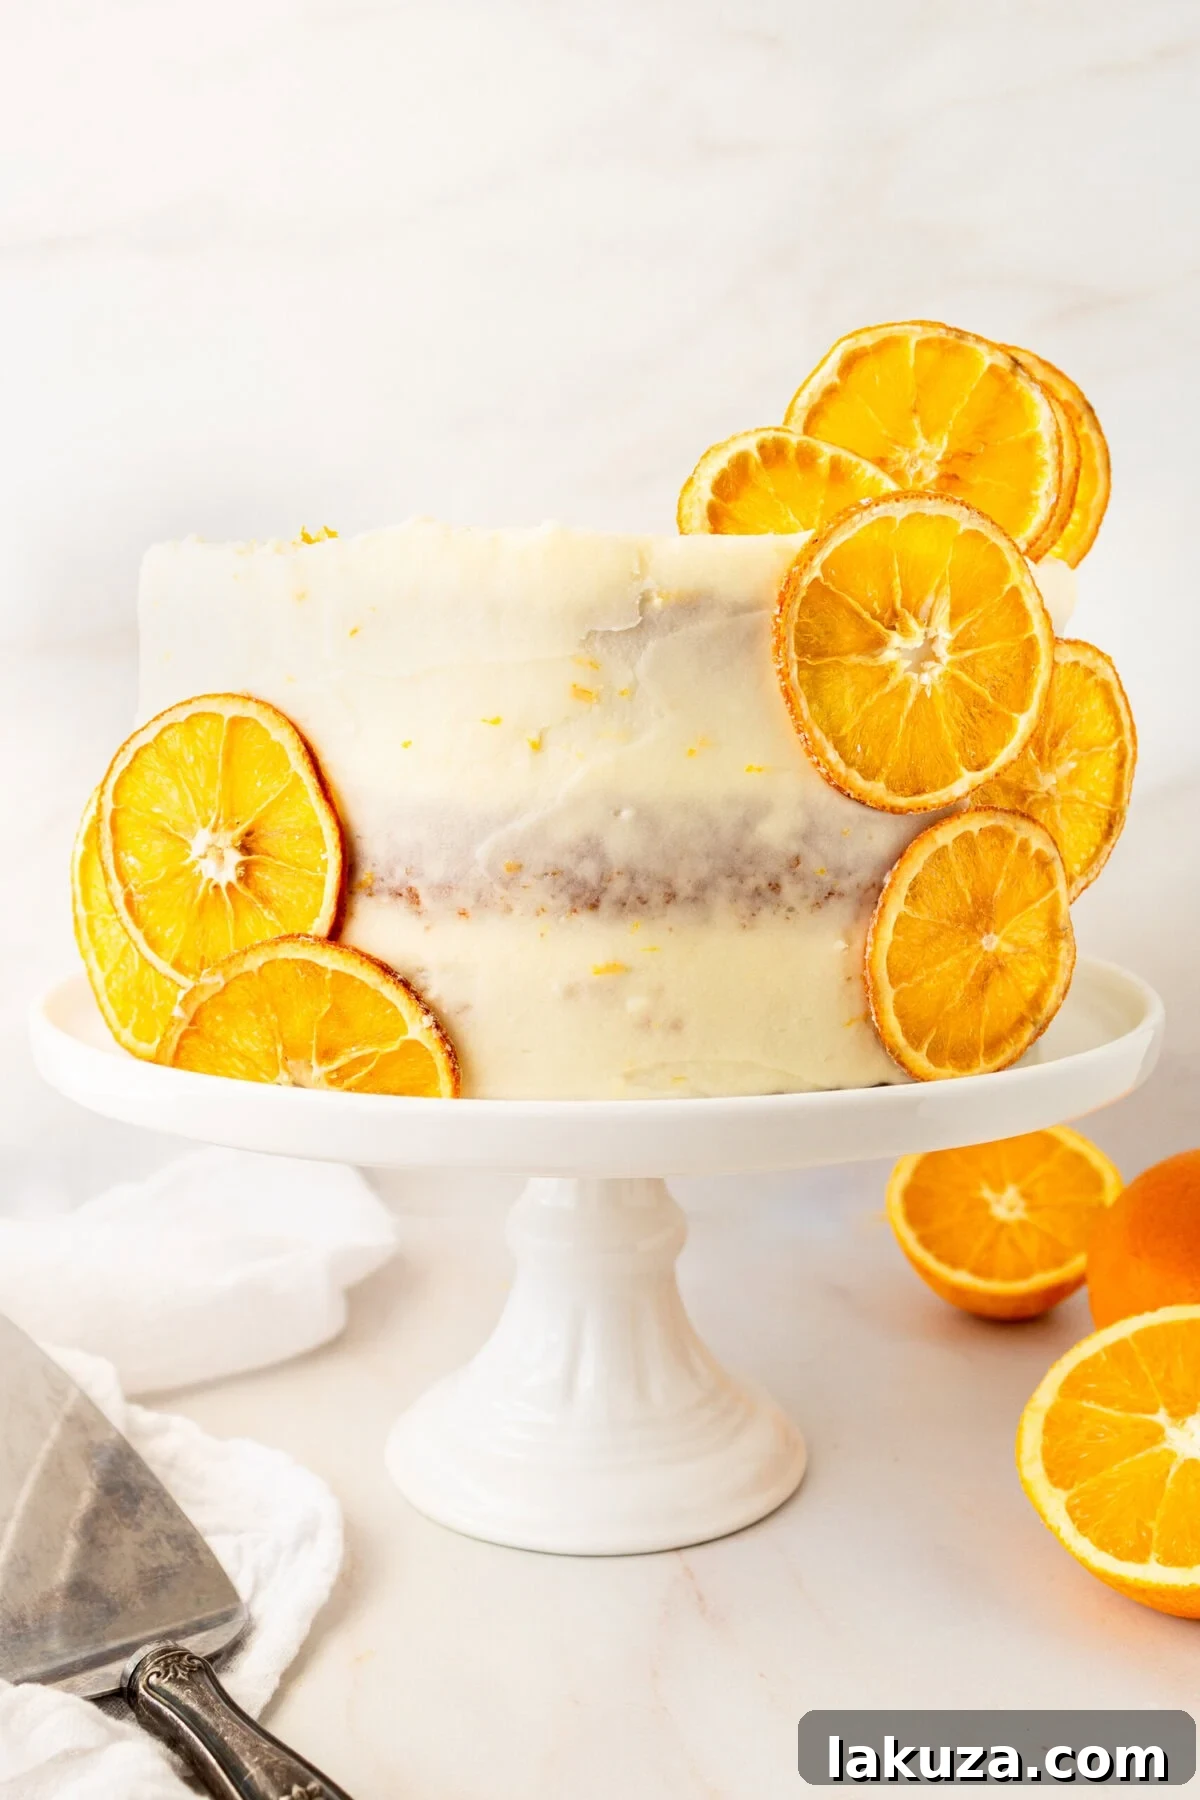
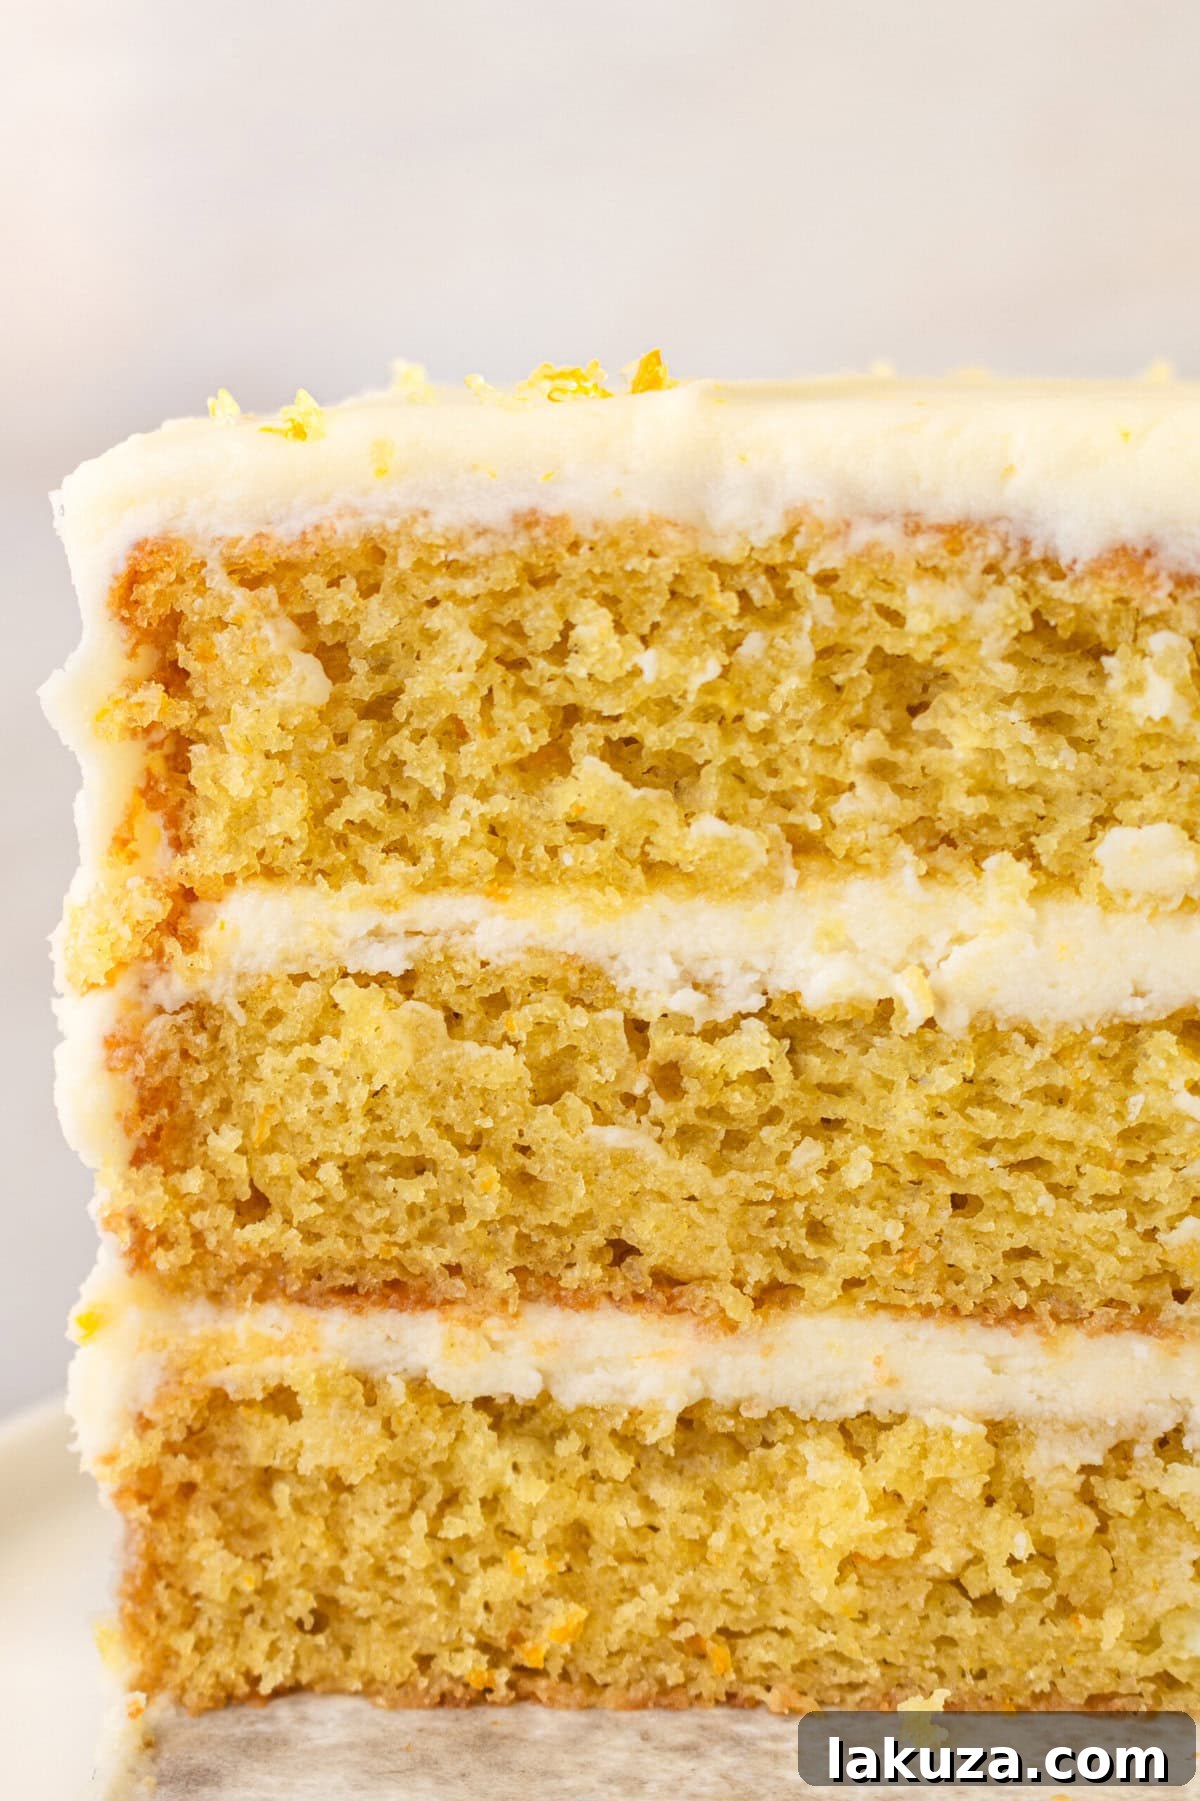
Experience the vibrant taste of sunshine with our Moist & Tender Homemade Orange Cake, perfectly paired with a sweet Orange Cream Cheese Frosting.
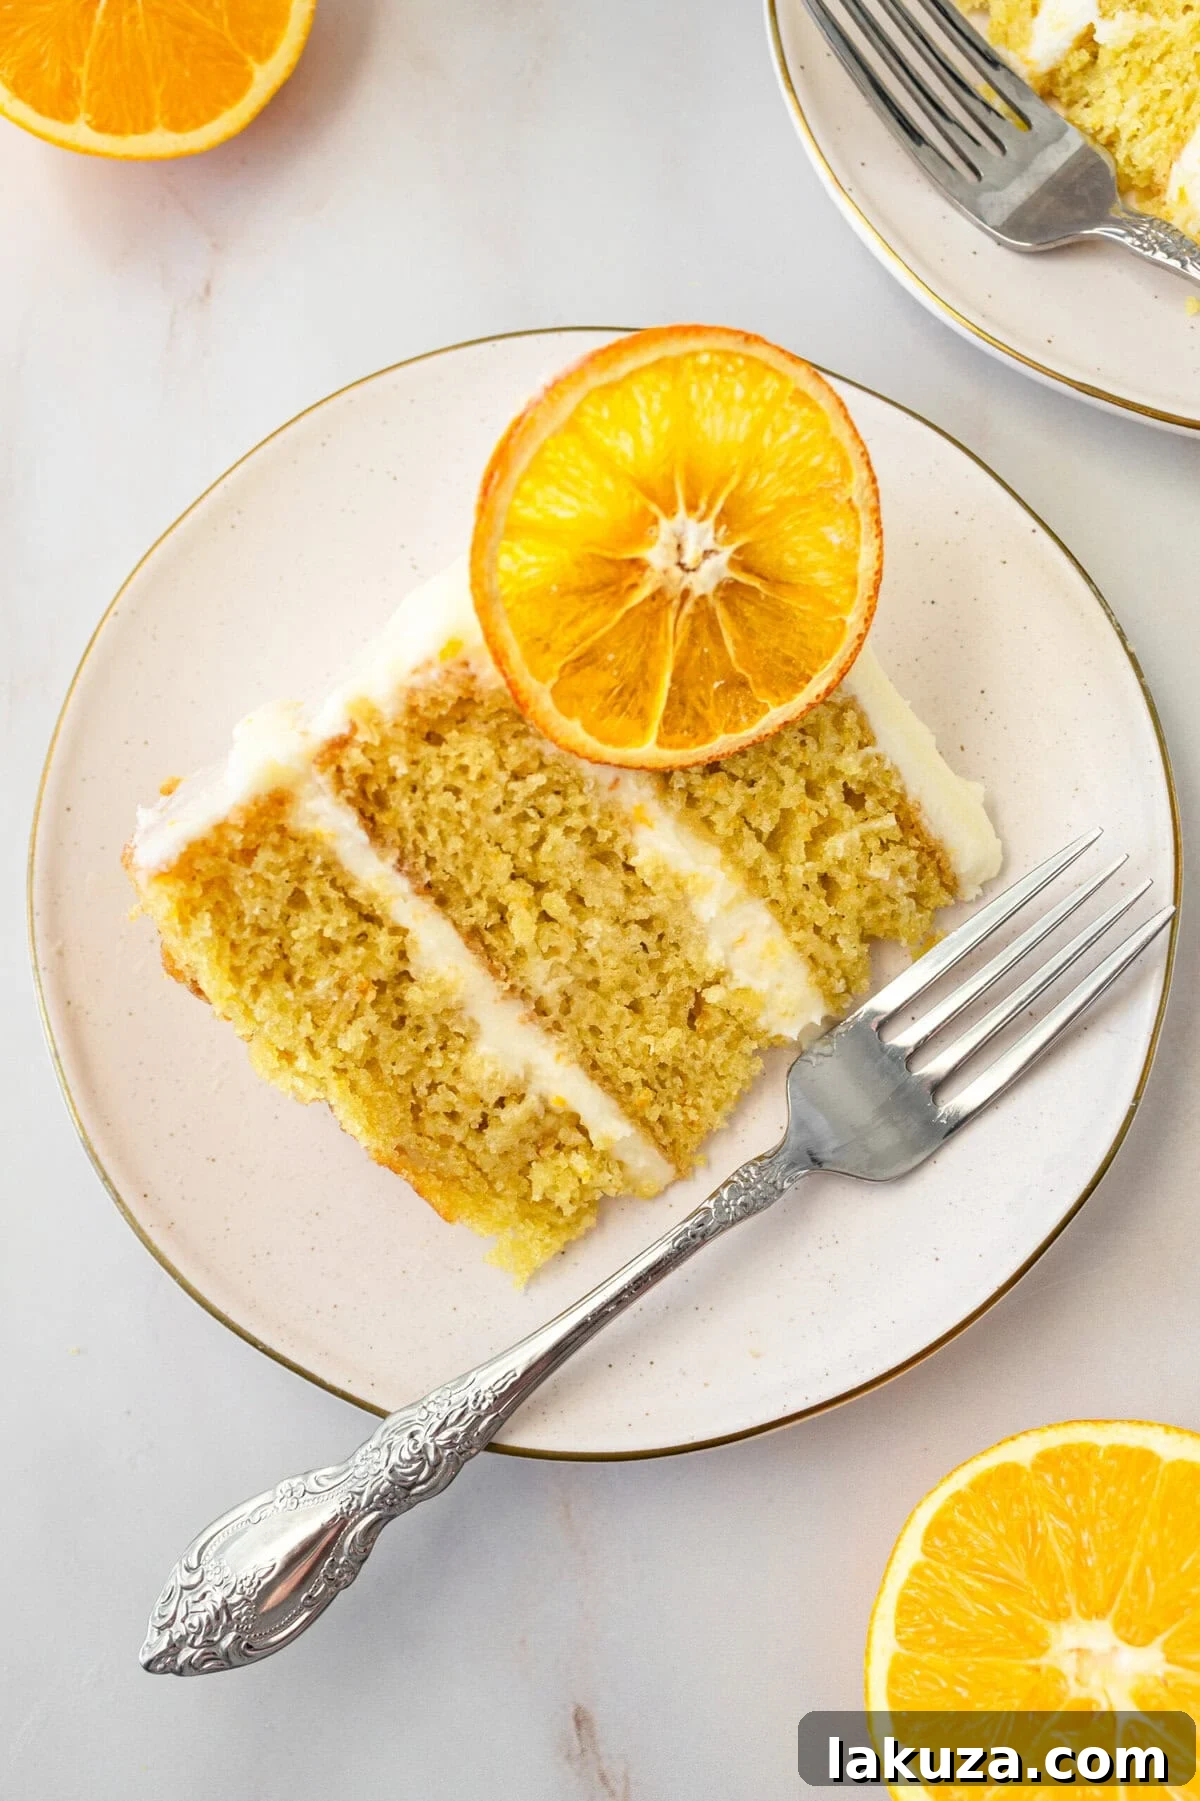
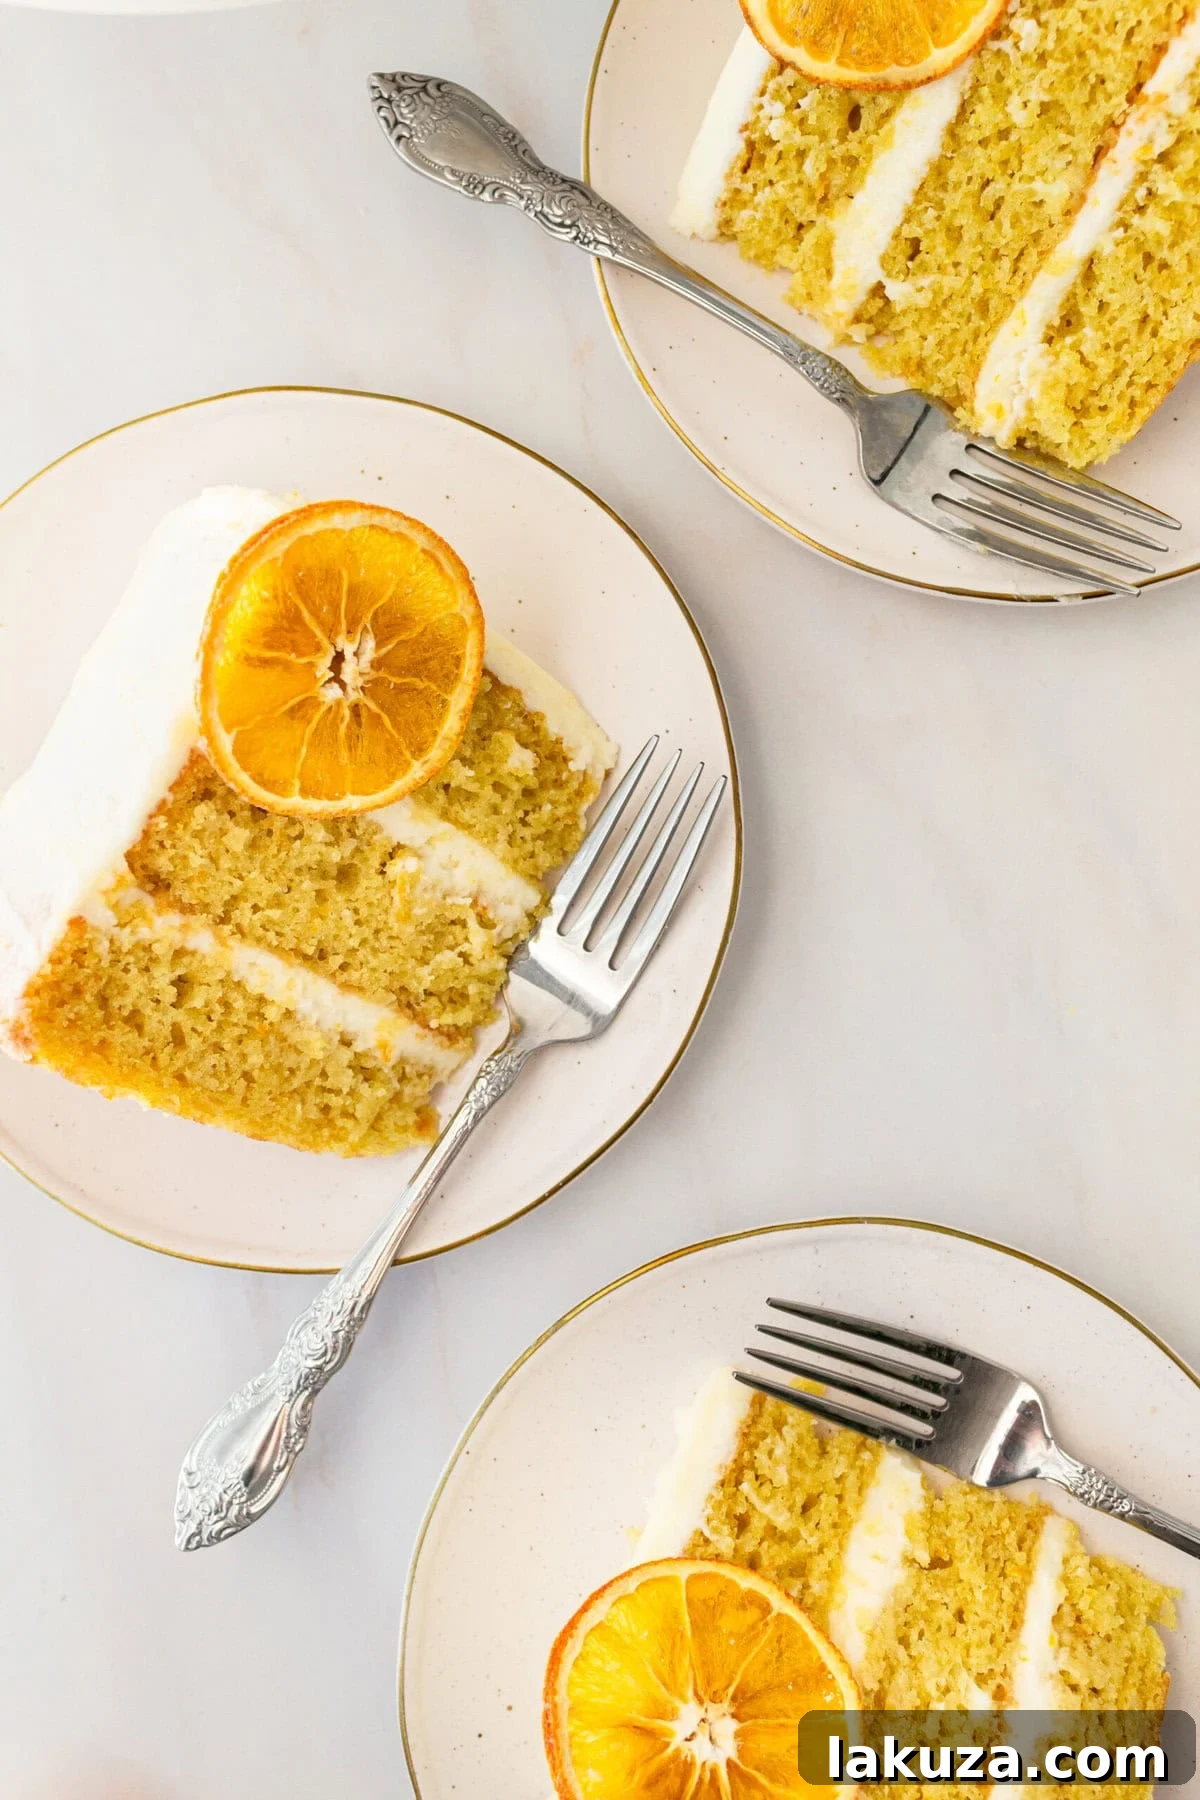
Every bite of this cake is a burst of bright citrus flavor, making it an unforgettable dessert. Each layer is incredibly moist, wonderfully fluffy, and beautifully complemented by our signature orange cream cheese frosting. The secret to its intensely fresh flavor lies in the generous use of real orange juice and zest.
Ready to bake? Here are all the essential tips for crafting your perfect frosted orange cake!
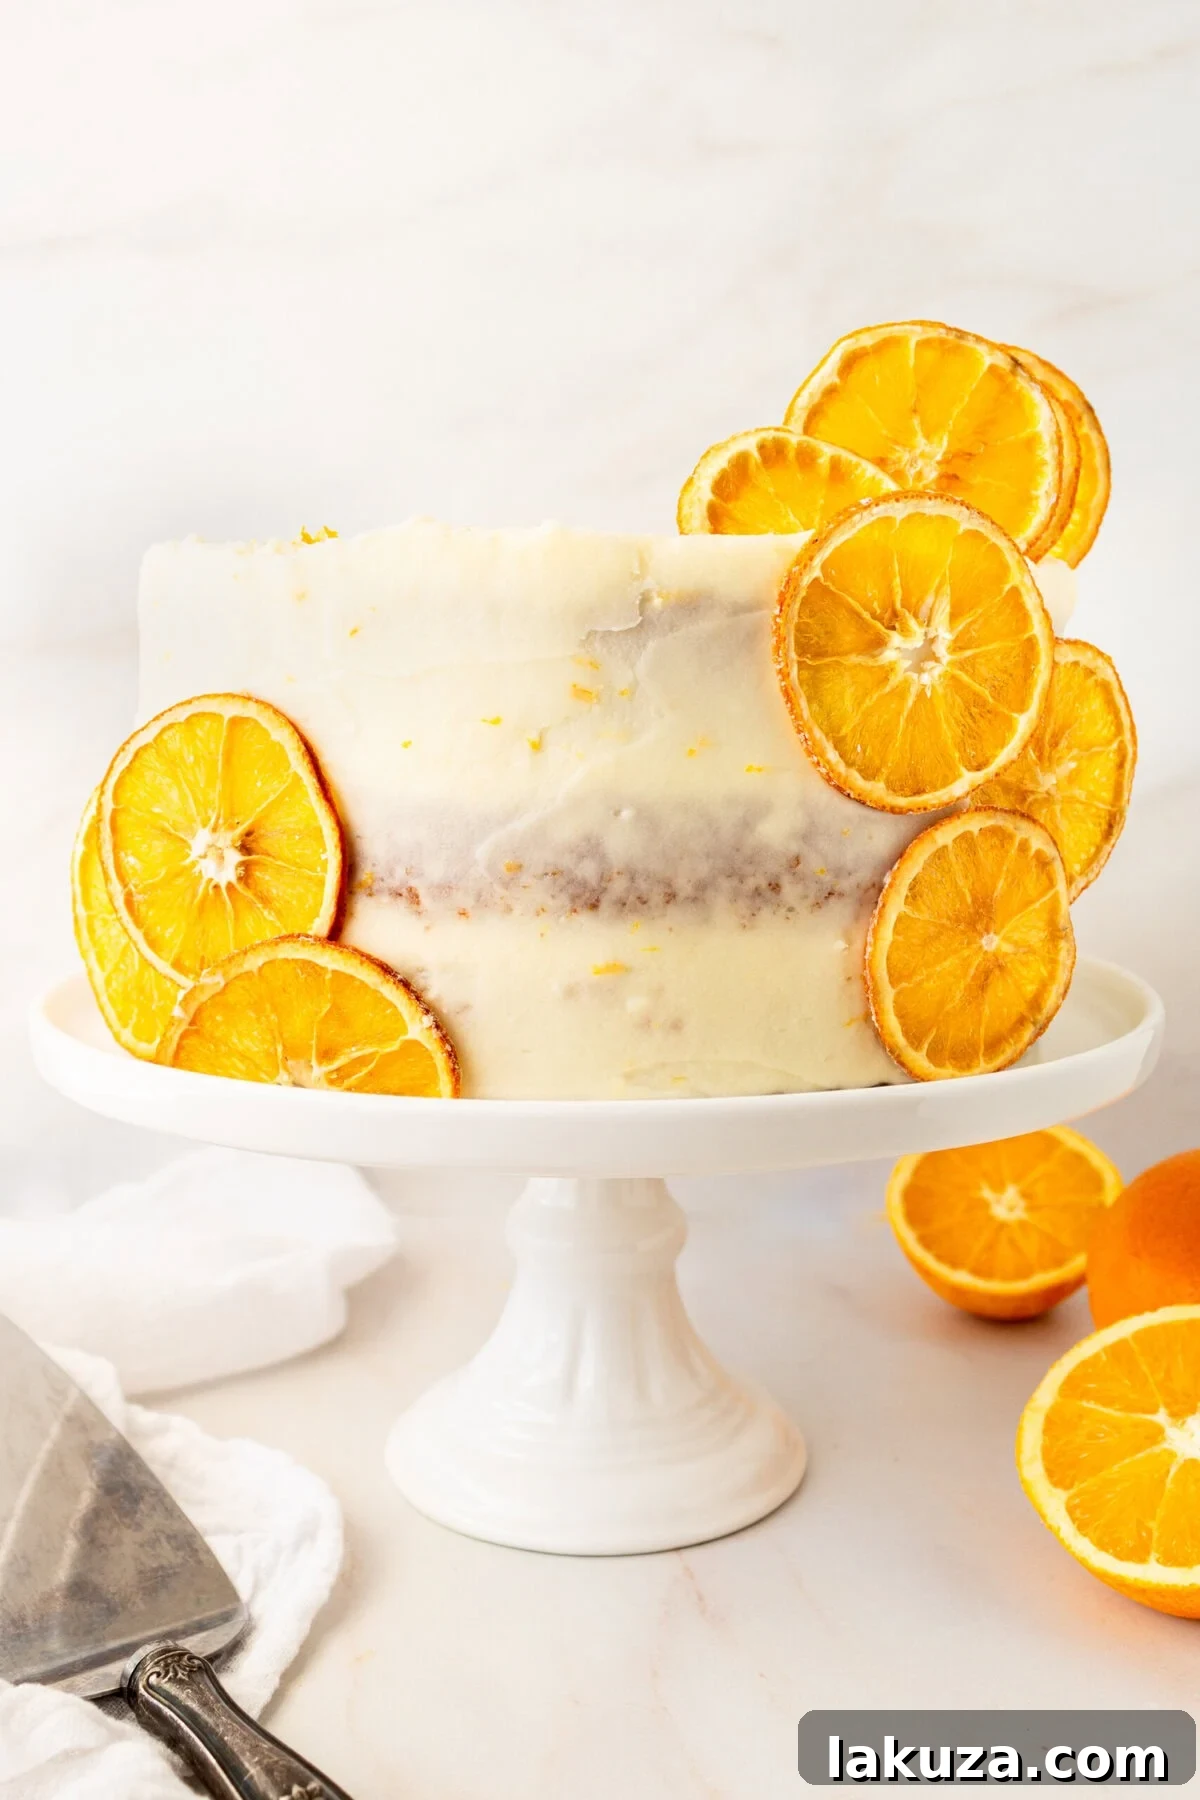
The Ultimate Homemade Orange Cake Recipe
There’s a special joy in baking, especially when it comes to cakes. For years, my children have loved choosing their ultimate cake flavor for their birthdays. Their ideas are always so imaginative and unique! My daughter, in particular, has always had a soft spot for anything fruit-flavored, consistently asking for a fresh fruit cake.
When she turned 10, her request was clear: a homemade orange cake with orange cream cheese frosting. This specific recipe comes from my sister-in-law, an extraordinary baker. She generously shared her original recipe, which I’ve lovingly refined over the years to perfect its moisture, flavor, and texture. The result is truly the best orange cake recipe I’ve ever encountered.
Living in Arizona during winter means our orange trees are overflowing with ripe, juicy fruit. There’s nothing quite like baking this fresh orange cake using oranges picked straight from our garden. This ensures the freshest, most vibrant, and intensely bright orange flavor in every single slice, elevating a simple dessert into a truly seasonal delight.
Essential Ingredients for Your Homemade Orange Cake
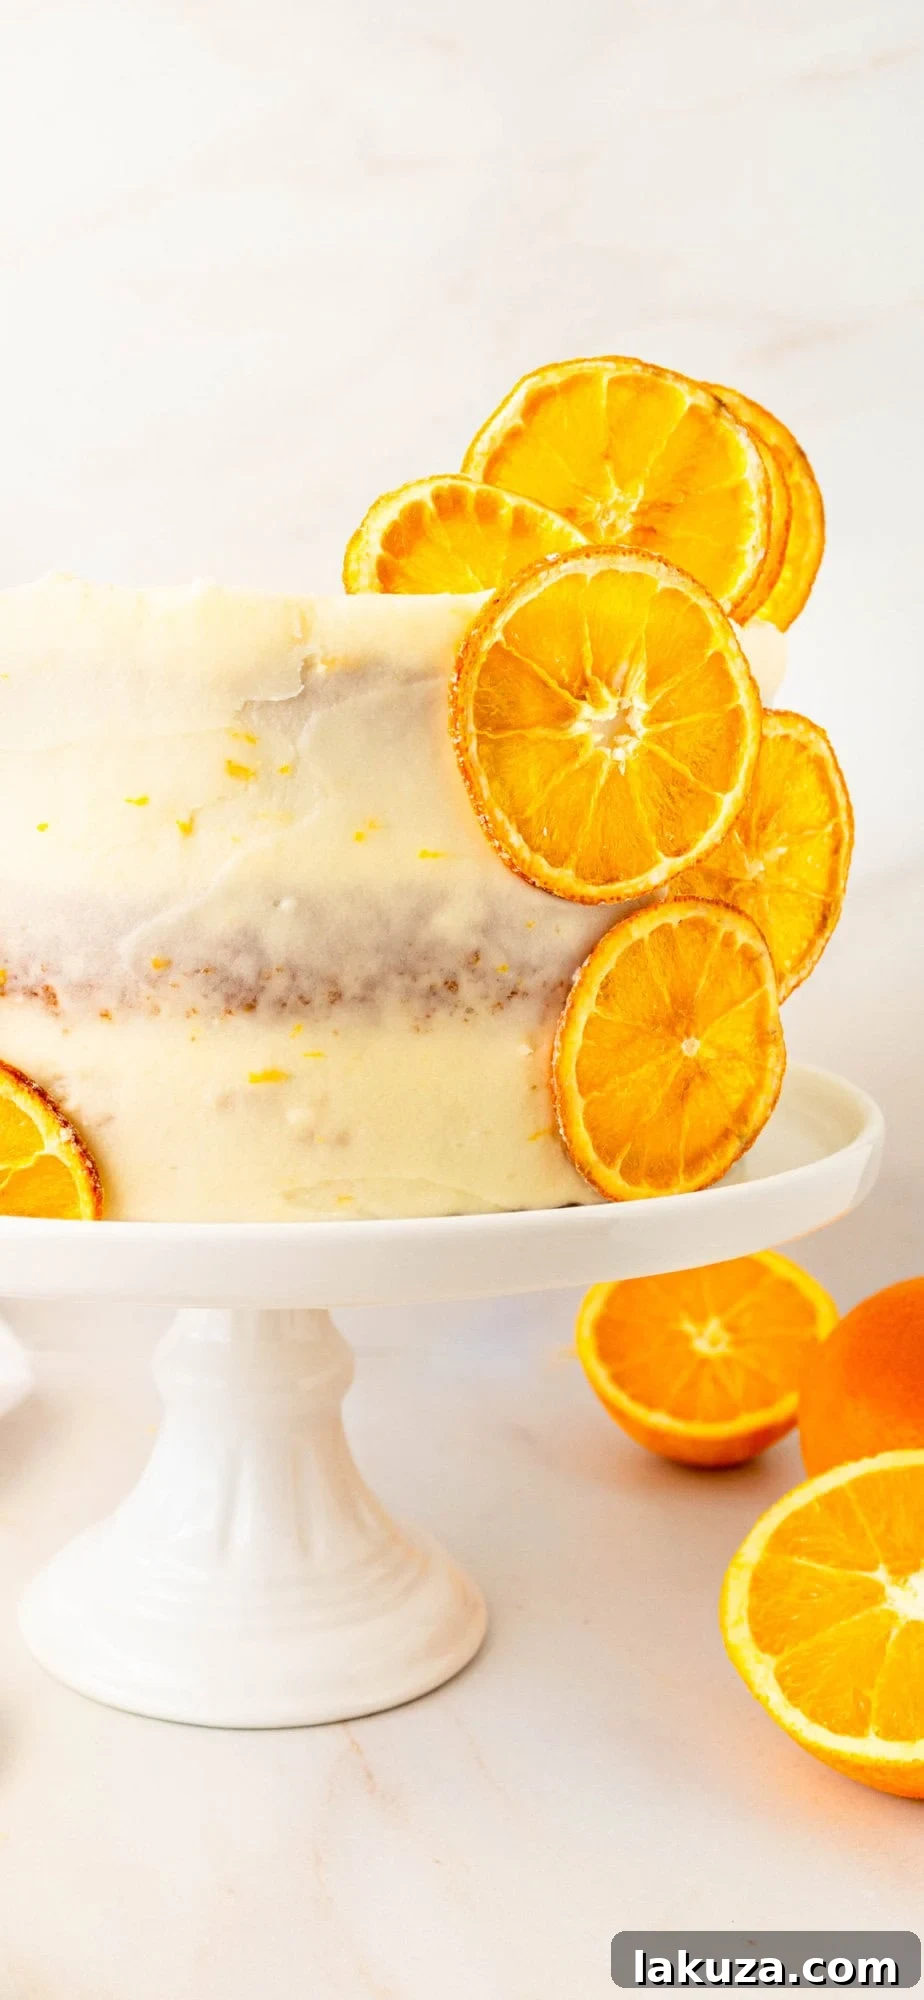
This fluffy orange cake owes its delightful orange flavor to the incorporation of both fresh orange juice and fragrant orange zest directly into the batter. The crowning glory, our creamy orange frosting, is a harmonious blend of softened sweet cream butter, rich cream cheese, powdered sugar for sweetness, and additional orange zest to boost that citrus punch. Whether you prefer a classic, fully frosted cake or admire the rustic elegance of a naked cake, this recipe is incredibly versatile. For a naked cake, simply apply a light “crumb coat” to the exterior, allowing the beautiful layers to peek through, creating a stunning visual effect.
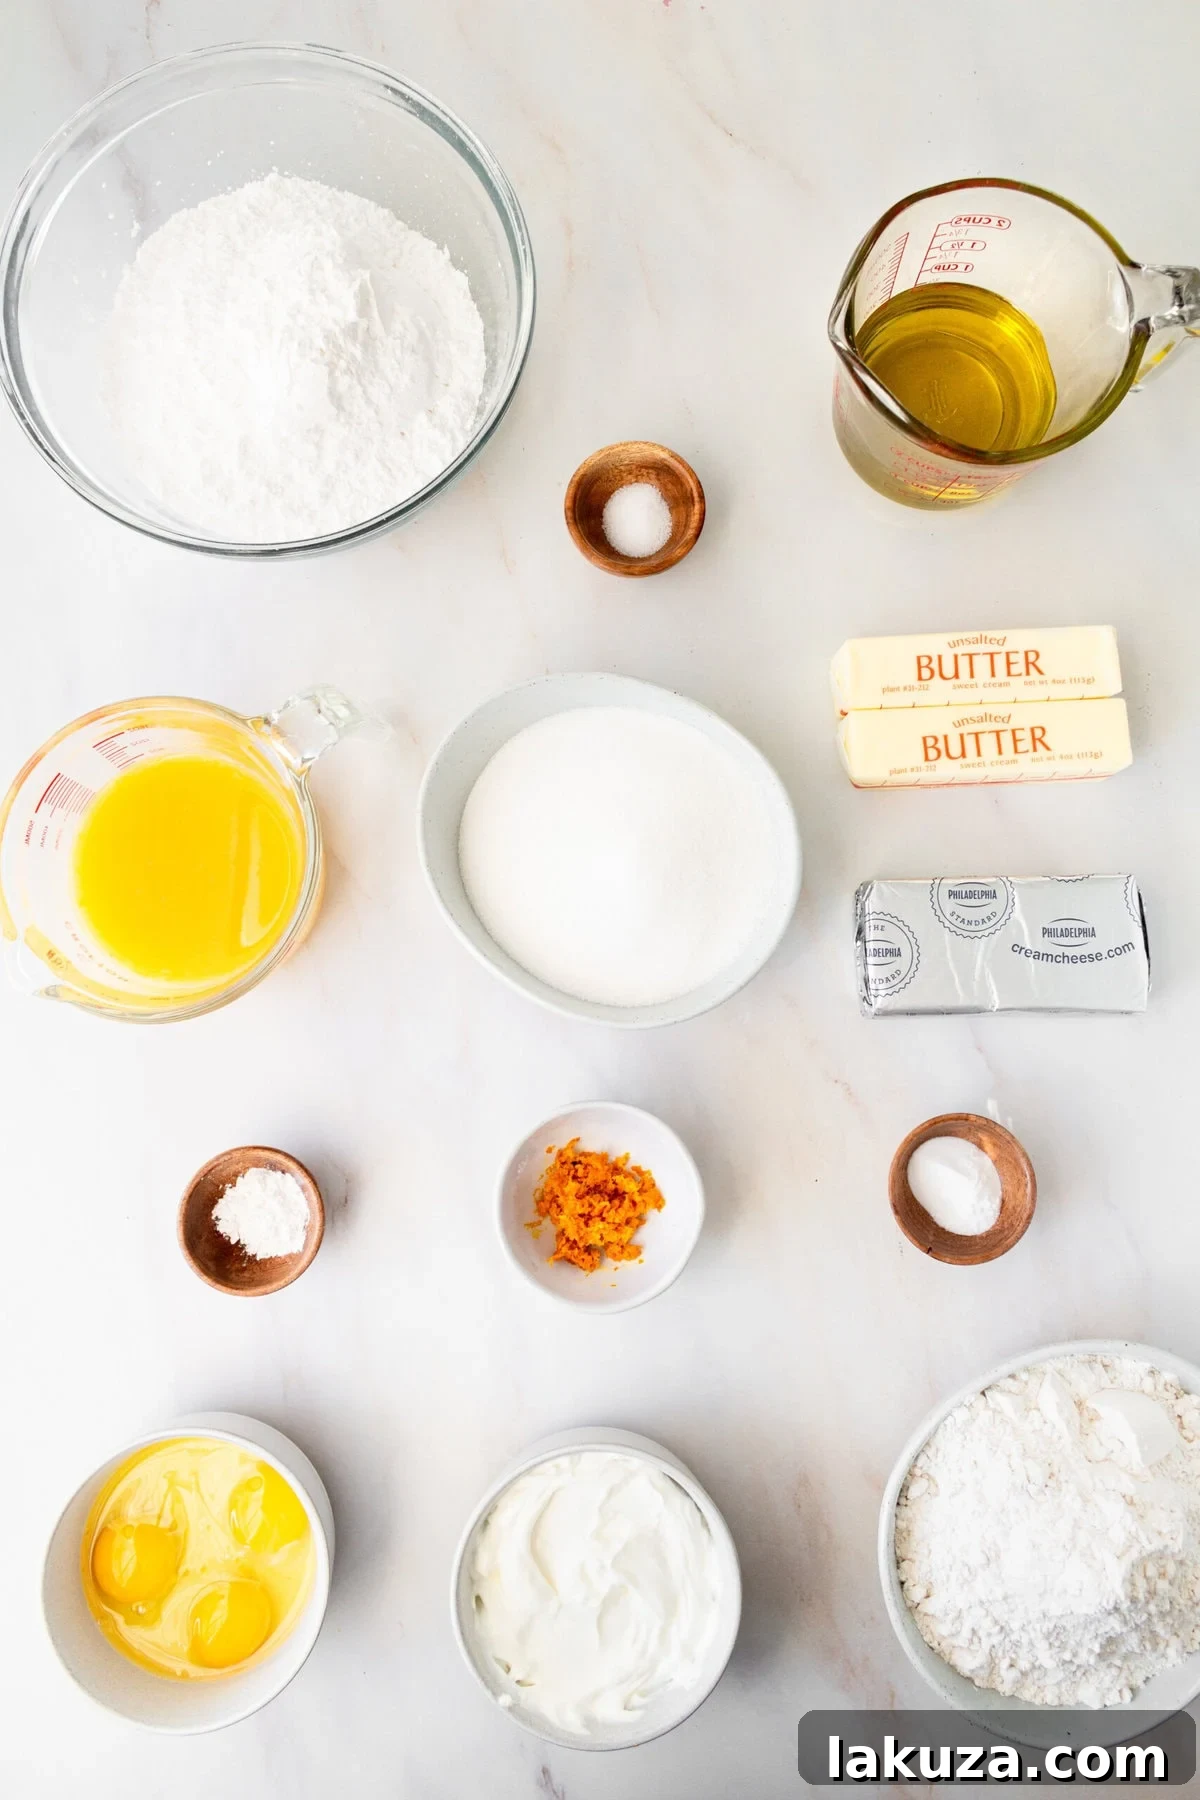
Key Ingredients for the Moist Orange Cake Layers:
- All-Purpose or Cake Flour: The foundation of your cake, providing essential structure. For an even more tender crumb, consider using cake flour.
- Oil: A crucial ingredient that adds incredible moisture without making the cake feel heavy. Oil-based cakes are known for staying fresh and moist longer than those made with butter. Feel free to use your preferred mild-flavored oil, such as canola, vegetable, or a light olive oil.
- Fresh Orange Juice & Zest: These are the stars that deliver the vibrant, authentic citrus flavor. Using both the juice and the finely grated zest ensures a pronounced and balanced orange essence throughout the cake.
- Sour Cream: Contributes a pleasant tanginess and helps create an exceptionally tender and moist crumb, ensuring the cake remains luscious.
- Granulated Sugar: Not only sweetens the cake but also plays a vital role in keeping its texture soft and tender.
- Baking Powder & Baking Soda: These leavening agents work in tandem to give the cake a beautiful rise. The acidity from the sour cream and orange juice effectively activates the baking soda.
- Eggs: Act as a binder for the ingredients and add richness, contributing to the cake’s overall structure and flavor.
- Salt: An indispensable ingredient in baking that balances the sweetness and enhances all the other flavors.
Ingredients for the Dreamy Orange Cream Cheese Frosting:
- Unsalted Butter (softened): The base of the frosting, providing richness and a creamy texture.
- Cream Cheese (softened): Adds a delightful tang and velvety smoothness, characteristic of a classic cream cheese frosting.
- Powdered Sugar (Confectioners’ Sugar): Sweetens the frosting and gives it its smooth, pipeable consistency.
- Fresh Orange Zest and Orange Juice: Infuse the frosting with bright, fresh orange flavor, perfectly complementing the cake layers.
Step-by-Step Guide: Making Your Orange Cake with Orange Cream Cheese Frosting
Creating this delicious orange cake is a straightforward process, even for novice bakers. Follow these simple steps for a perfect result:
- Prepare Your Oven & Dry Ingredients: Begin by preheating your oven to 350°F (175°C). In a large mixing bowl, thoroughly whisk together the flour, granulated sugar, baking soda, baking powder, and salt. This ensures even distribution of the leavening agents.
- Combine Wet Ingredients: In a separate mixing bowl, combine the oil, fresh orange juice, eggs, sour cream, and orange zest. Cream these ingredients together until they are completely smooth and well-incorporated.
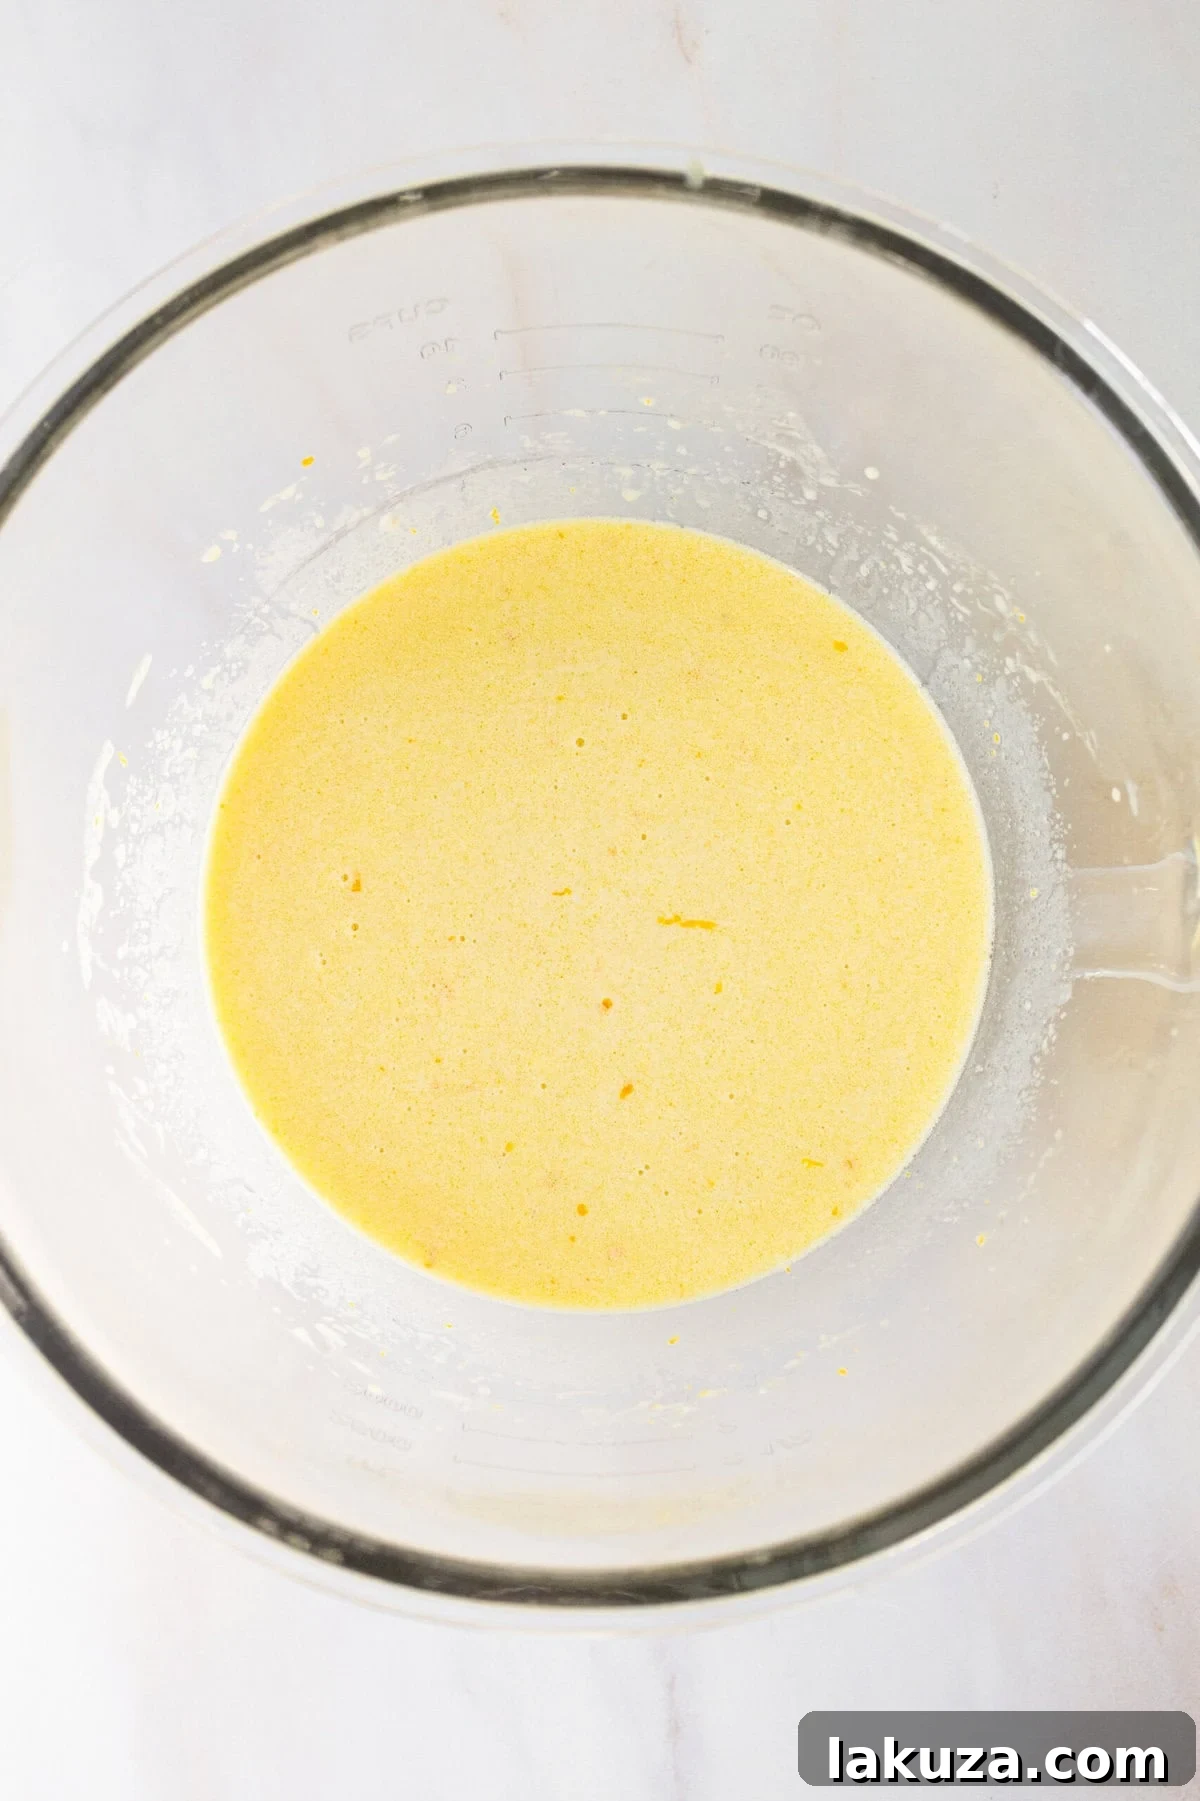
- Gently Combine Wet & Dry: Gradually fold the wet ingredients into the dry ingredients. Mix just until everything is combined and no streaks of dry flour remain. Be careful not to overmix, as this can lead to a tough cake.
- Prepare Cake Pans: Generously grease your non-stick cake pans. You can use a non-stick cooking spray, or grease them with butter and then dust lightly with flour. Pour the cake batter evenly into either three 8-inch round cake pans or two 9-inch round cake pans.
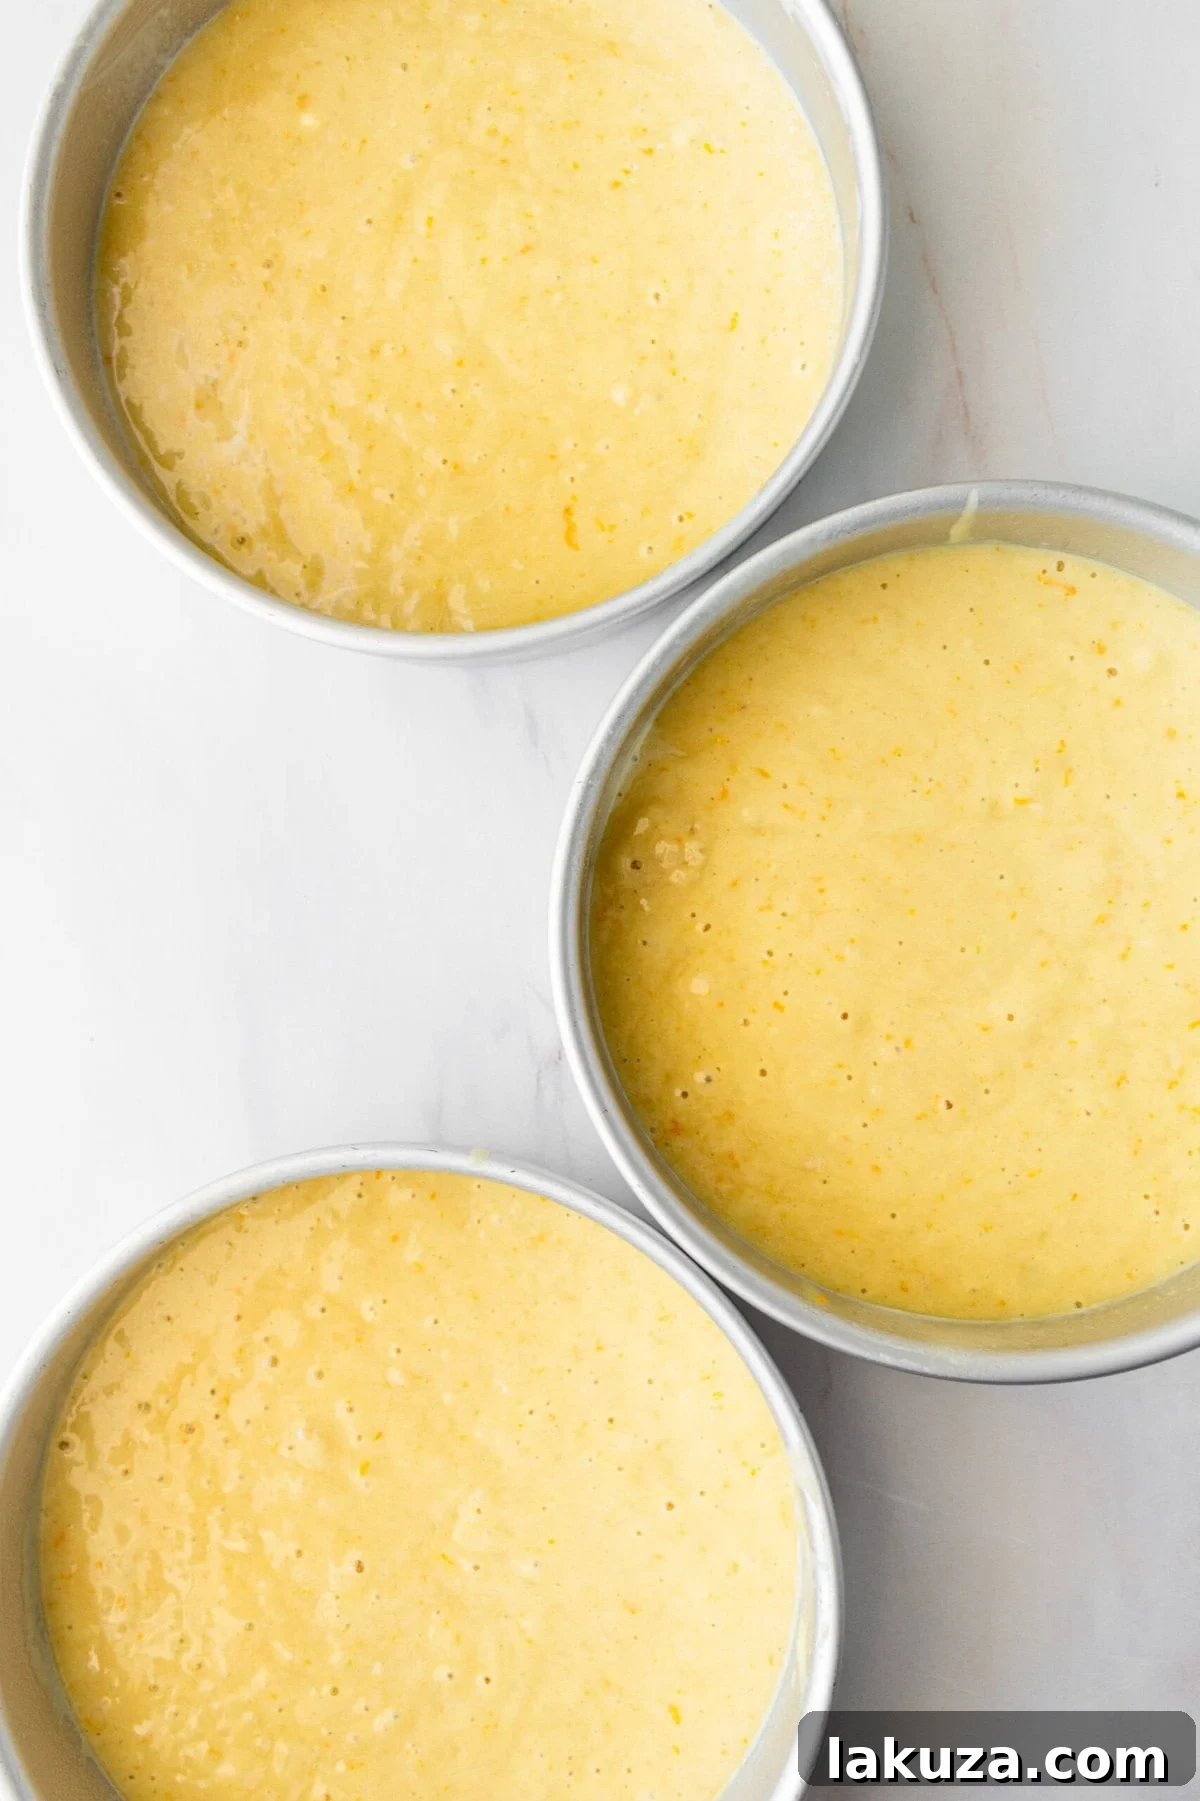
- Bake to Perfection: Bake the cakes for approximately 19-21 minutes, adjusting the time based on the size of your pans and your oven. To check for doneness, insert a toothpick into the center of a cake layer. If it comes out clean, your cakes are ready. Allow them to cool in the pans for about 15 minutes before gently inverting them onto a wire rack to cool completely.
Crafting the Velvety Orange Cream Cheese Frosting:
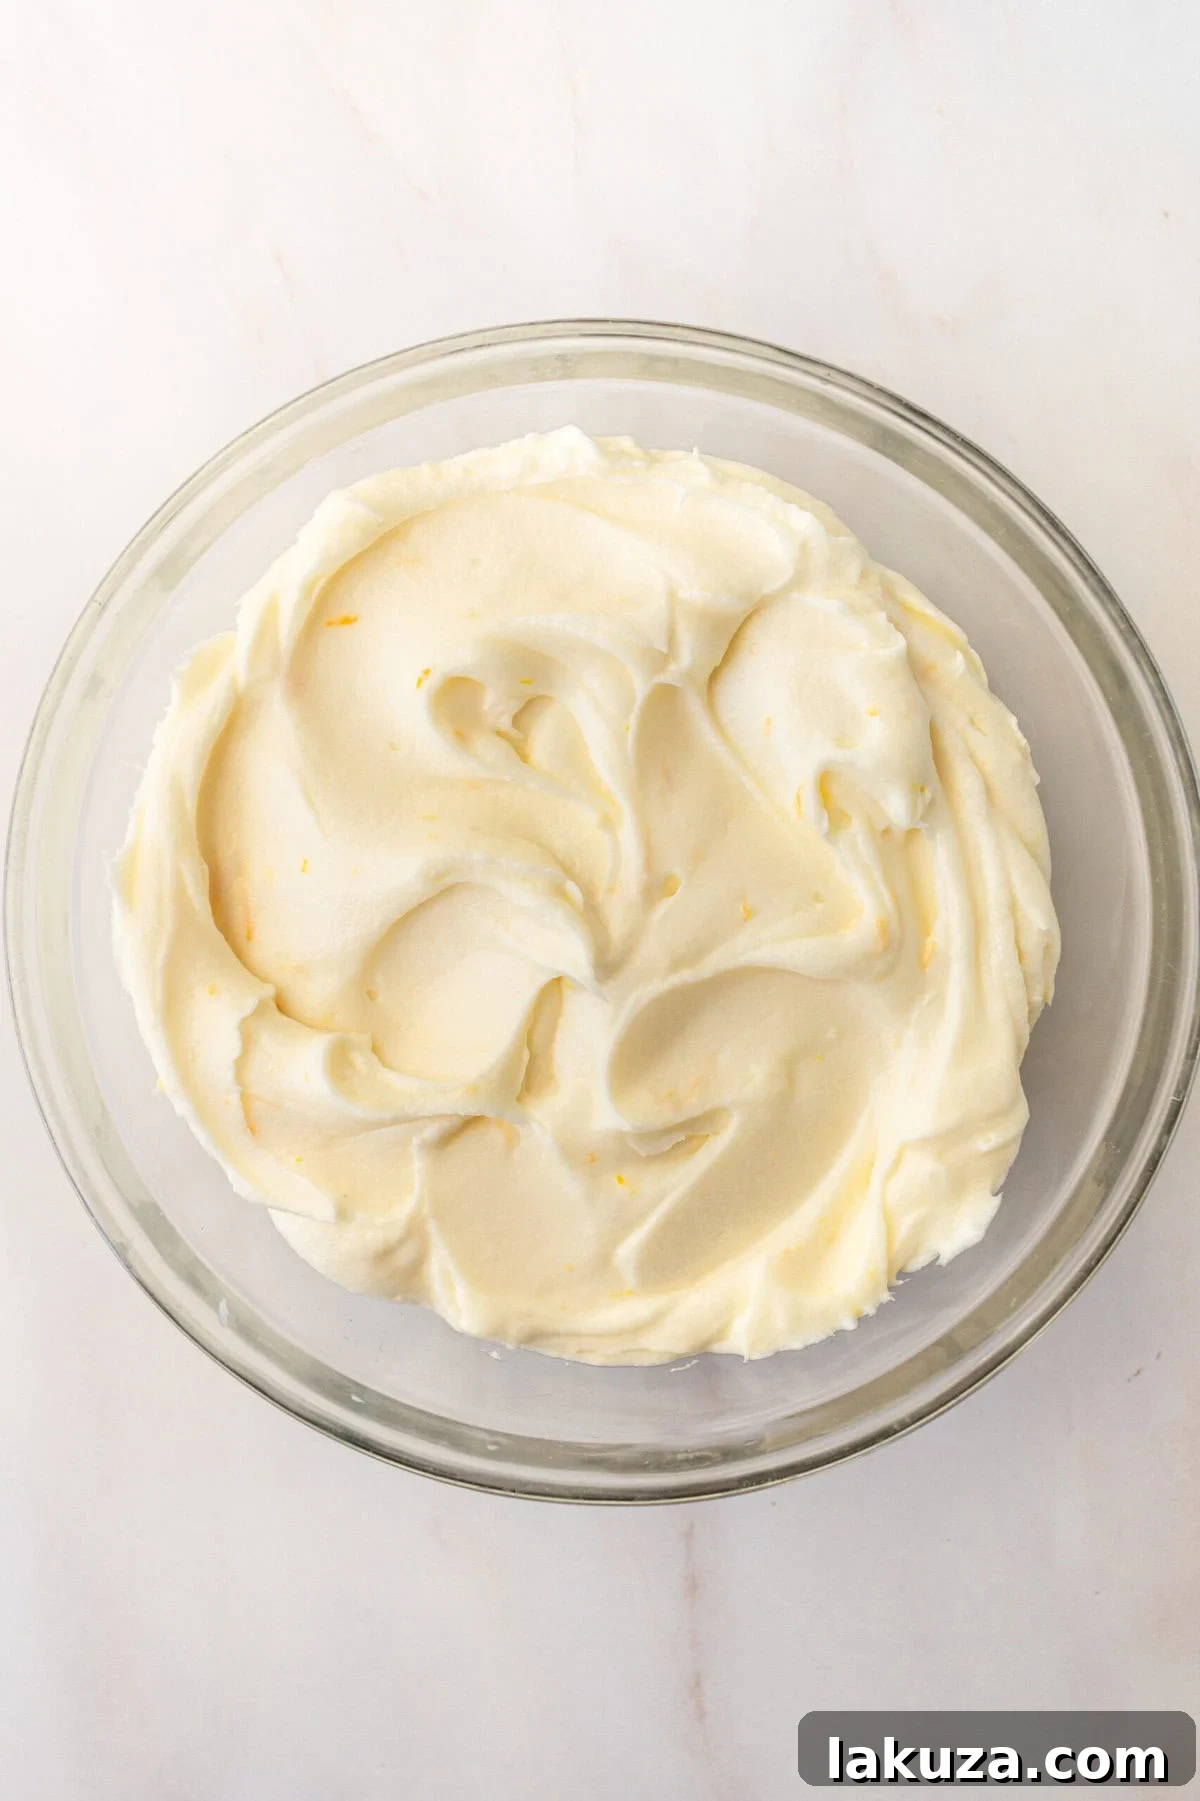
- Whip Butter and Cream Cheese: In a large mixing bowl, cream together the softened butter and softened cream cheese for at least 4 minutes, until the mixture is exceptionally light, fluffy, and smooth. Stop halfway through to scrape down the sides of the bowl to ensure everything is evenly incorporated.
- Add Remaining Frosting Ingredients: Gradually beat in the powdered sugar until fully combined and smooth. Then, stir in the fresh orange zest and orange juice. Mix until the frosting is wonderfully creamy and has a vibrant orange flavor.
- Frost Your Cooled Cake: Once your cake layers have completely cooled to room temperature, it’s time to assemble and frost! Apply the luscious orange cream cheese frosting generously between layers and over the top and sides of the cake.
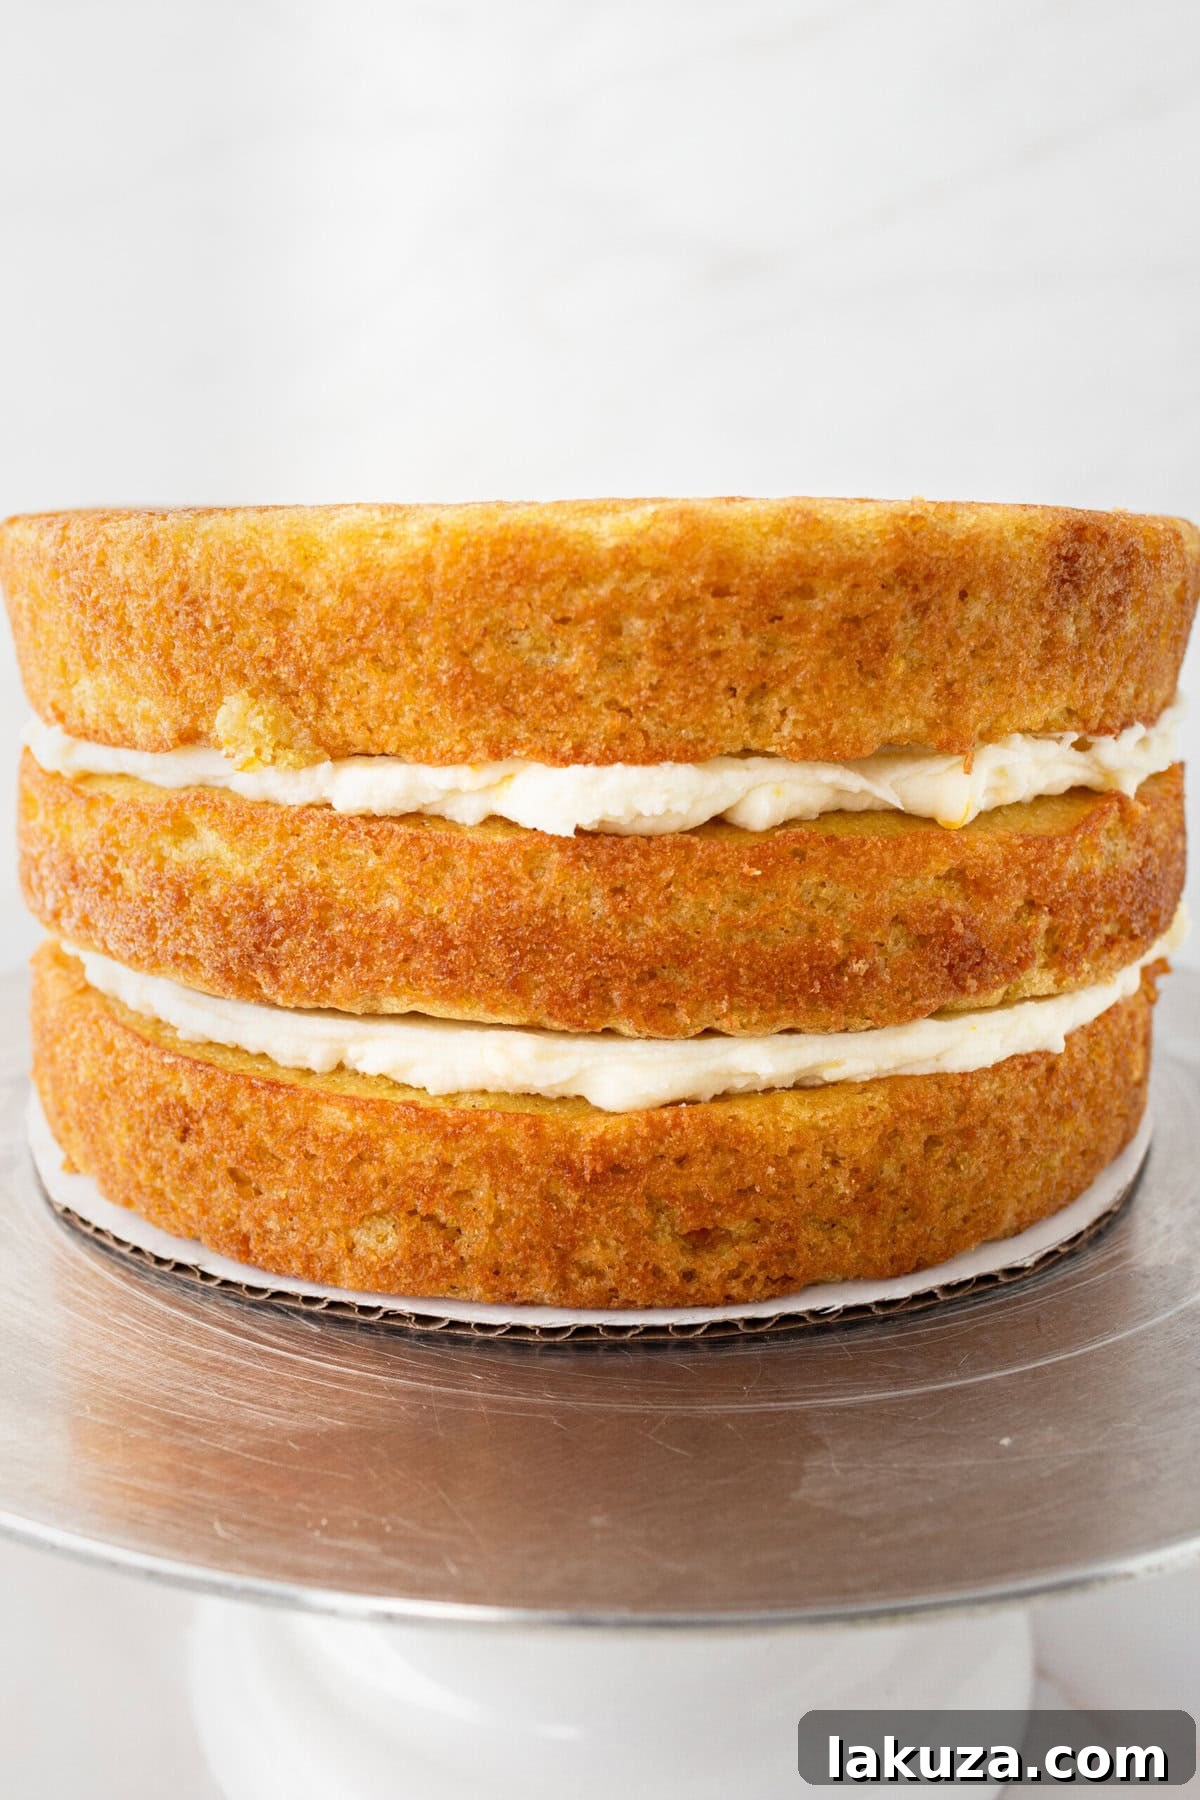
What Exactly is a Naked Cake?
A “naked cake” is a popular cake decorating trend where the sides of the cake are intentionally left partially exposed, or only very thinly frosted, allowing the beautiful cake layers and filling to be visible. This style creates a charmingly rustic, modern, or minimalist aesthetic, perfect for those who appreciate understated elegance and want the natural beauty of the cake to shine through.
Mastering the Art of Frosting a Naked Orange Cake
A naked cake is as much about technique as it is about taste. Follow these steps to achieve that perfect, subtly frosted look for your orange cake:
1. Bake and Cool Your Layers Thoroughly: For best results, use three 8-inch or two 9-inch cake layers. Ensure your cake layers are completely cooled before you begin assembly. Slightly chilled layers are often firmer and easier to handle, preventing crumbs and tears.
2. Level the Layers (Optional but Recommended): If your cake tops have domed during baking, use a sharp serrated knife or a cake leveling tool to trim them flat. This step is crucial for creating even, stable layers that stack neatly and look professionally done.
3. Prepare Your Frosting to Perfection: Whip up your orange cream cheese frosting. For naked cakes, a slightly thicker consistency works best, as it helps prevent the frosting from dripping excessively. If your frosting seems too thin, you can gradually add more powdered sugar until it reaches the desired thickness.
4. Stack and Fill with Care: Place your first leveled cake layer onto your chosen cake stand or serving plate. Spread a moderate, even layer of frosting on top. Carefully place the second layer on top, pressing gently to secure it. Repeat with any remaining layers, ensuring they are centered.
5. Apply the Signature Thin Side Layer (Crumb Coat): Using an offset spatula or a small palette knife, spread a very thin layer of frosting over the entire sides of the cake. Rotate your cake stand as you go to ensure even coverage. The key is to scrape off any excess frosting to achieve that characteristic “semi-exposed” or “barely frosted” look, where the cake layers are clearly visible.
6. Top It Off Beautifully: Spread any remaining frosting on the very top of the cake. You can leave it smooth or swirl it gently with your spatula for an artistic touch. Remember to maintain a balance of coverage, allowing some of the cake’s natural color to peek through.
7. Chill for a Cleaner Finish (Optional): For a truly polished naked cake, you can chill the assembled cake briefly in the refrigerator for about 20-30 minutes. This allows the thin layer of frosting to set slightly, making it easier to handle and preventing smudges.
8. Decorate Thoughtfully: Enhance your naked orange cake with simple, elegant decorations. Fresh orange slices, edible flowers, or a sprinkle of orange zest work wonderfully. For a unique touch, consider decorating with delicate, barely dried orange slices.
Pro Tip: If you desire a slightly more frosted appearance on the sides while still maintaining the “naked” look, apply another very thin pass with your spatula, ensuring that plenty of the cake’s vibrant orange color still shows through.
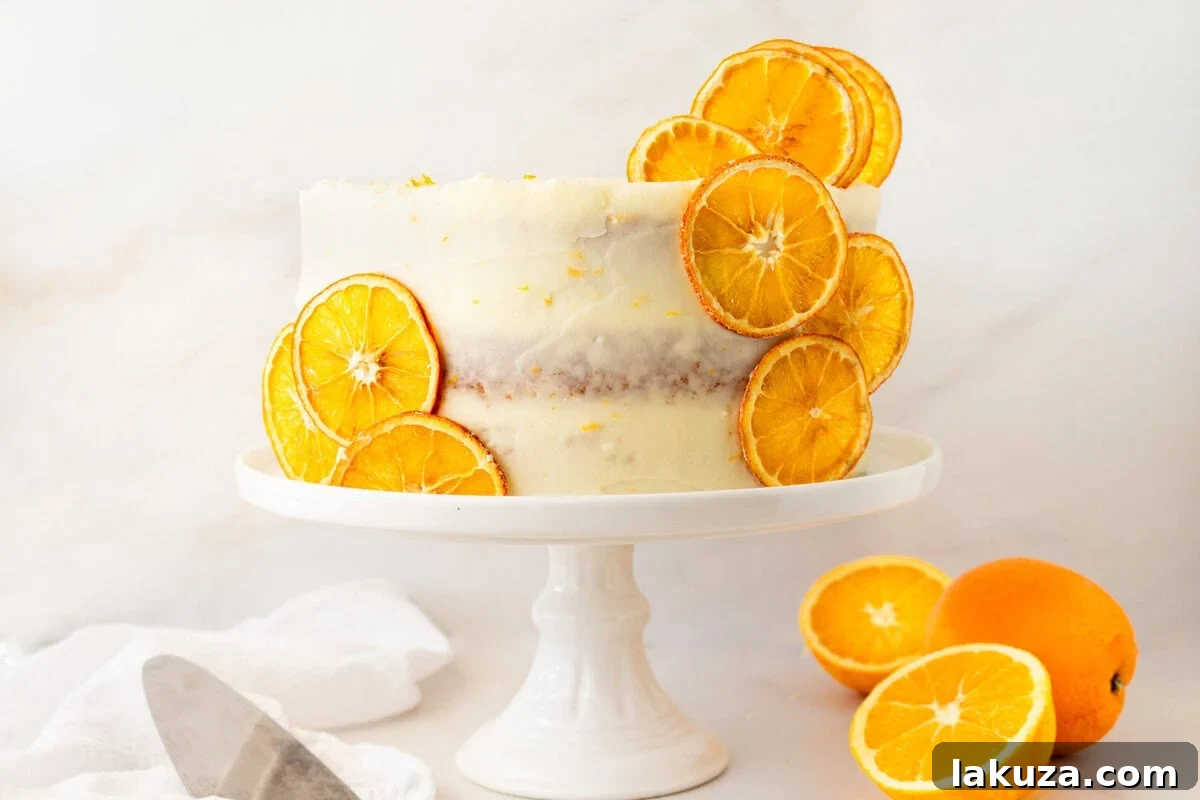
How to Make “Barely Dried” Oranges for Cake Decoration:
These elegant, slightly pliable orange slices add a beautiful, natural touch to your cake. Here’s how to prepare them:
1. Select & Slice Oranges: Choose firm, unblemished oranges. Wash and dry them thoroughly. Using a very sharp knife or a mandoline, slice the oranges as thinly as possible, aiming for about 1/8-inch thickness. Thicker slices will take significantly longer to dry and may remain too moist.
2. Pat Dry: If your slices appear excessively juicy, gently pat them with a paper towel to remove any surface moisture. This helps expedite the drying process.
3. Prepare the Baking Sheet: Line a baking sheet with parchment paper to prevent sticking. Arrange the orange slices in a single layer, ensuring that they do not overlap. Adequate space between slices promotes even drying.
4. Low-Heat Drying: Preheat your oven to a low temperature, around 200°F (95°C). Bake the slices for approximately 2 to 2.5 hours. Make sure to flip them halfway through the baking time to ensure uniform drying on both sides. Keep a close eye on them, especially towards the end, to prevent any browning or crisping.
5. Check for “Barely Dried” Texture: The goal is for the oranges to be slightly pliable and flexible, rather than fully crisp. They should feel mostly dry to the touch but still retain a little chewiness and their vibrant color. They will firm up slightly more as they cool.
6. Cool Completely: Once the desired texture is achieved, transfer the dried orange slices to a wire rack to cool completely. This prevents any condensation from forming and making them soggy on the underside.
After they are fully cooled, these beautiful barely dried orange slices are ready to adorn your freshly frosted cake.
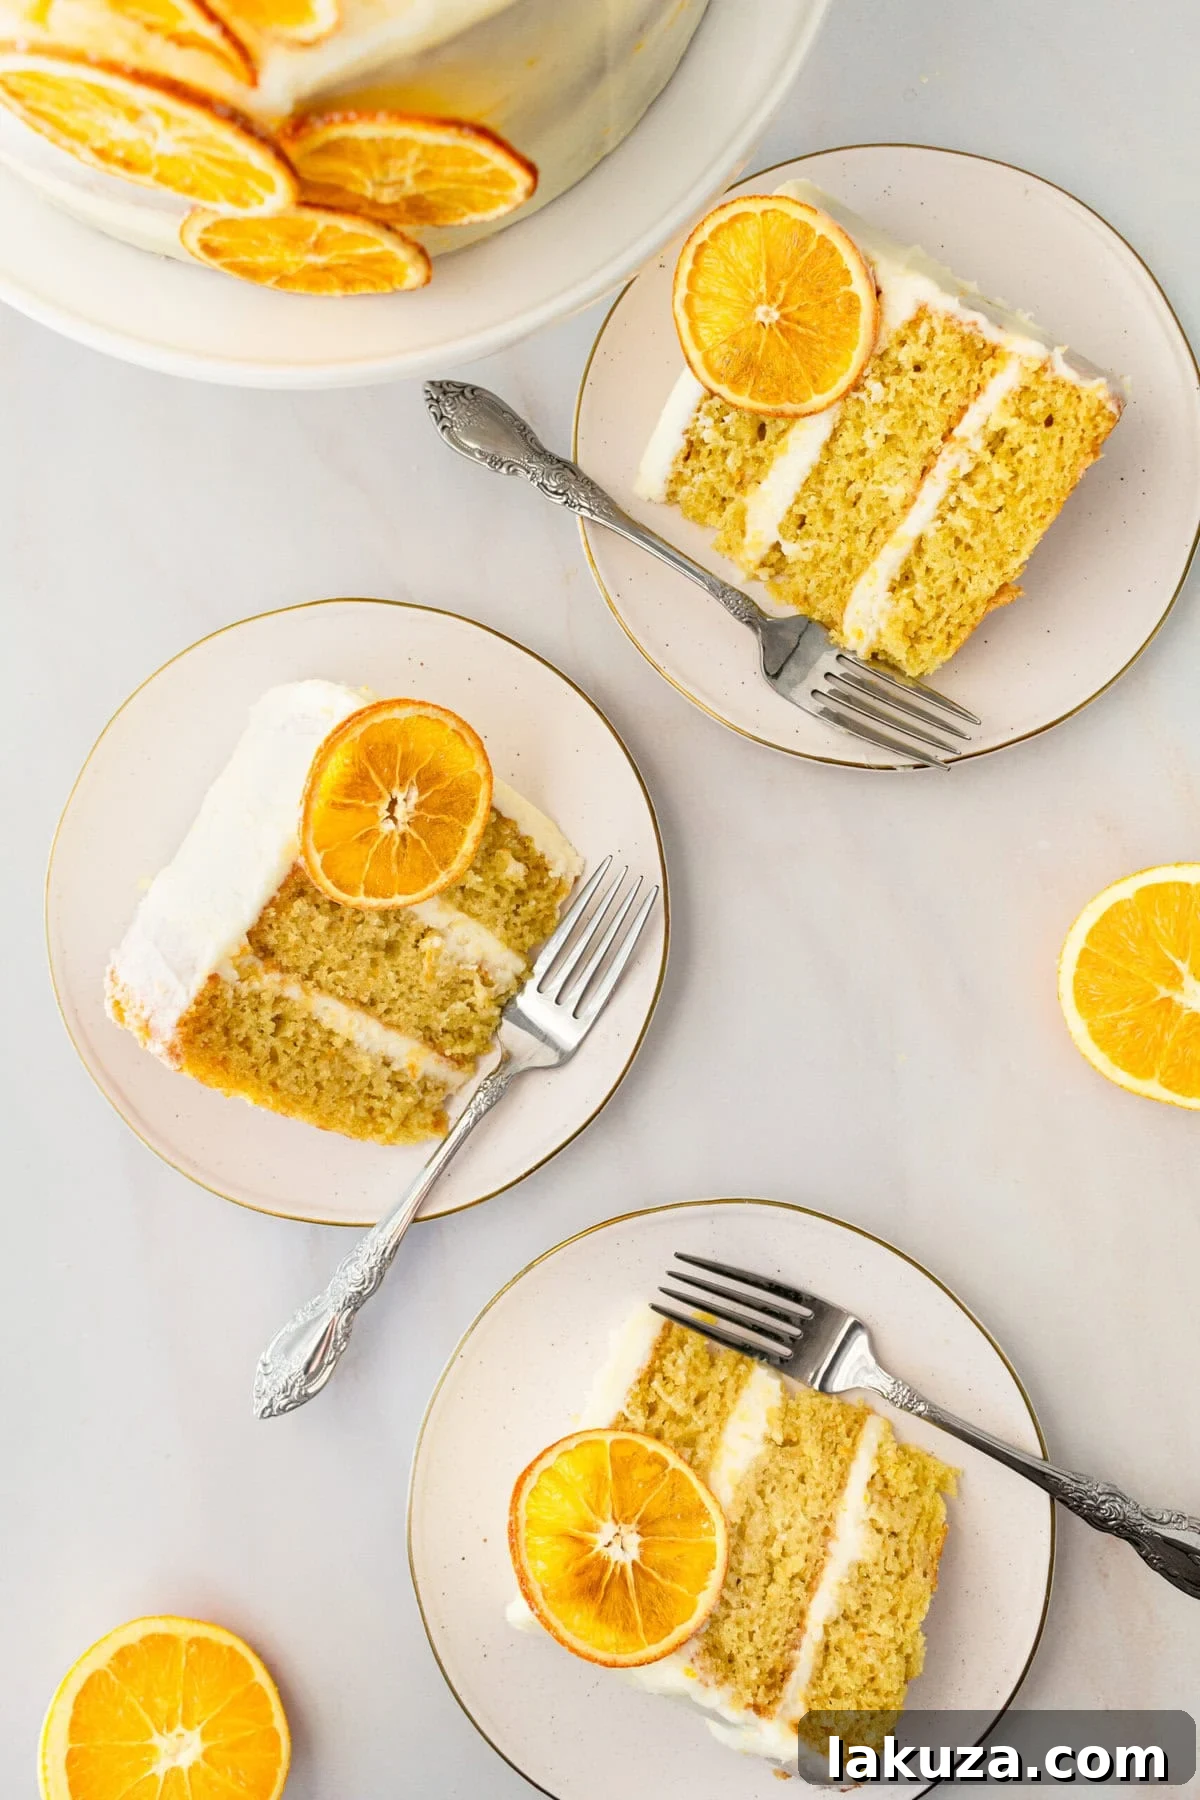
Expert Tips for Baking the Best Orange Cake:
Achieving a truly exceptional orange cake involves a few key techniques. Keep these tips in mind for a perfectly moist, flavorful, and beautifully risen cake every time:
- Begin with Dry Ingredients: Always start by thoroughly stirring together the flour, sugar, baking soda, baking powder, and salt. This crucial first step ensures that the leavening agents — both baking soda and baking powder — are evenly distributed throughout the mixture, guaranteeing a consistent and impressive rise for your cake.
- Embrace Oil for Supreme Moisture: The addition of oil is what gives this orange cake its unbelievably moist and tender crumb. Unlike butter, oil remains liquid at room temperature, contributing to a cake that stays fresh and soft for longer. You can choose from extra-virgin olive oil (opt for a mild variety), canola oil, vegetable oil, or even melted coconut oil for a subtle tropical note.
- Harness the Power of Fresh Oranges: To infuse the cake with an authentic, bright orange flavor, it’s essential to use both fresh orange juice and fresh orange zest. The zest, in particular, contains aromatic oils that deliver an intense citrus essence without adding bitterness. A quality zester is an invaluable kitchen tool here, ensuring you only get the vibrant orange peel and avoid the bitter white pith beneath.
- Sour Cream for a Tender Crumb: Incorporating sour cream (or buttermilk, if you prefer) into the batter is a fantastic way to enhance the cake’s texture. Its acidity reacts with the baking soda, while its fat content contributes to an incredibly tender, melt-in-your-mouth crumb that sets this cake apart.
- Avoid Overbaking for Ultimate Moistness: Bake the cake layers just until a toothpick inserted into the center comes out clean or with a few moist crumbs attached. Overbaking is the quickest way to dry out a cake. For an extra boost of moisture and subtle sweetness, consider brushing the cooled cake layers with a simple syrup (equal parts water and sugar, simmered until sugar dissolves) before frosting.
- Master the Homemade Orange Frosting: The homemade orange cream cheese frosting is the perfect complement to this cake. Begin by whipping softened butter and cream cheese together for a full 4 minutes until they are light, airy, and fluffy. This aeration is key to a smooth, delightful frosting. Then, gradually beat in the powdered sugar, followed by fresh orange juice and orange zest, until you achieve a creamy, flavorful, and spreadable consistency.
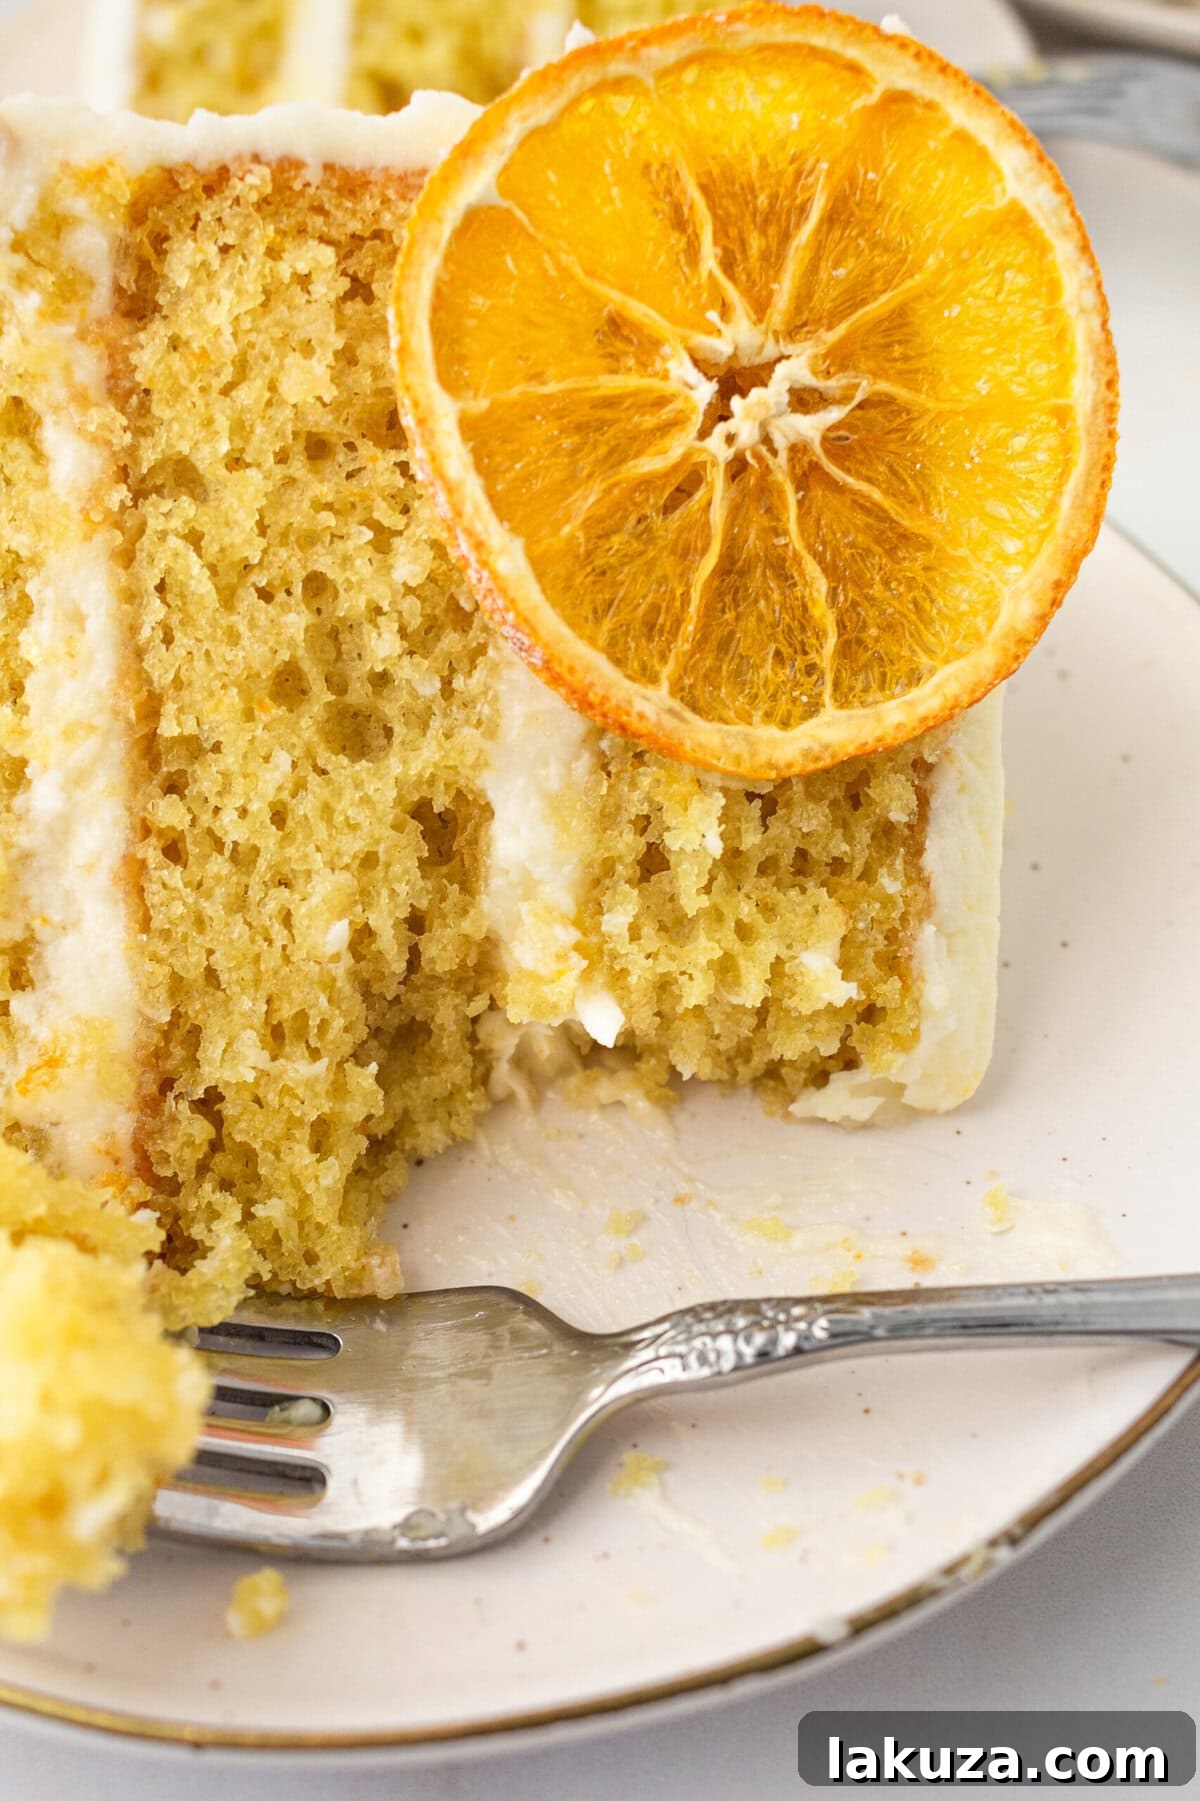
Advanced Frosting and Decoration Tips for a Show-Stopping Cake:
To elevate your orange cake from delicious to truly spectacular, consider these additional frosting and decoration techniques:
- Chill Your Cake Layers First: For significantly easier handling and reduced crumbling during frosting, place your completely cooled cake layers in the refrigerator or freezer for 20–30 minutes before you begin. Slightly firm layers are much less prone to tearing or releasing crumbs into your beautiful frosting. I personally find freezing them for a short period works wonders.
- The Essential Crumb Coat: This is a game-changer for a professional-looking finish. After stacking your cake layers, spread a very thin layer of frosting over the entire cake – top and sides. This “crumb coat” traps any loose crumbs. Chill the cake again until this layer is set (about 15-20 minutes). Once firm, you can apply your final, smooth, and crumb-free layer of frosting.
- Creative Decorating Touches:
- Simple Elegance: For a straightforward yet beautiful finish, top your cake with a sprinkle of fresh orange zest, a few artistic candied orange slices, or a delicate dusting of powdered sugar.
- Elaborate Designs: If you’re aiming for more intricate frosting decorations, such as swirls, rosettes, or piped borders, I highly recommend making 1.5 times the frosting recipe. This ensures you have plenty of frosting to work with for both covering the cake and creating decorative elements without running short.
Frequently Asked Questions (FAQ’s) About Orange Cake:
Should I use freshly squeezed orange juice in this orange cake recipe?
Absolutely! Freshly squeezed orange juice is highly recommended as it typically yields a brighter, more natural, and more intense orange flavor. Since this recipe also calls for orange zest, purchasing fresh oranges allows you to use them for both juice and zest, maximizing the fresh citrus impact. While carton juice can be used in a pinch, it may taste slightly less vibrant due to pasteurization and storage processes, which can diminish some of the delicate fresh notes.
What is the best way to grease a cake pan to prevent sticking?
For reliable non-stick results, start by evenly coating your cake pan with softened butter or a good quality cooking spray. Then, add a spoonful of flour to the pan and shake it around vigorously until all interior surfaces are lightly coated. Gently tap out any excess flour. As an extra layer of insurance, especially for delicate cakes, you can cut and place a round of parchment paper on the bottom of the pan after greasing and flouring.
How do I safely remove the cakes from their pans without damage?
Proper preparation is key. Ensure you have greased and floured your pans very well, or better yet, line the bottoms with parchment rounds. Once the cakes are out of the oven, allow them to cool in their pans for about 10 to 15 minutes. This cooling time allows the cake to firm up slightly, making it less fragile. After this initial cooling, carefully run a thin knife or a flexible offset spatula around the edges of each cake, then gently flip them onto a wire rack to cool completely.
Which type of oil is best to use in cakes?
For cakes, especially those with prominent fruit flavors like orange, I recommend using a neutral or mild-flavored oil. Canola oil, vegetable oil, or a very light and mild olive oil are ideal choices because they won’t overshadow or compete with the delicate citrus notes of the orange. If you do opt for olive oil, ensure it’s a mild variety, as robust olive oils can impart a strong flavor that might not be desirable in a sweet cake.
Explore More Popular Homemade Cake Recipes:
- LEMON Olive Oil Cake
- Classic VANILLA Cupcakes
- Nostalgic YELLOW Cake with Chocolate Frosting
- Love at First Sight CHOCOLATE Cake
- Decadent Chocolate RASPBERRY Cake
- Tropical COCONUT Cake
- Velvety RED VELVET Cake
- Jeff’s Best Ever BANANA Cake
- Authentic Southern CARAMEL Cake
- Lush BERRY Chantilly Cream Cake
Delightful Citrus Cake Recipes:
If you’re a fan of the bright and refreshing flavors of citrus, you’ll love this collection of our finest citrus cake recipes, ranging from zesty lemon olive oil cake to vibrant key lime cake, and even another take on orange olive oil cake!
Lemon Olive Oil Cake
Key Lime Cake
Orange Olive Oil Cake
Lemon Cake
Lemon Raspberry Cake
Lemon Blueberry Cake
★
★
★
★
Orange Cake
Melissa Stadler, Modern Honey
20 minutes
20 minutes
15 minutes
35 minutes
14
Equipment
-
kitchenaid mixer
-
8 inch round cake pan
-
9 inch round cake pans
-
measuring cups and spoons
-
spatula set
Ingredients
- 2 1/2 cups Flour
- 1 3/4 cups Sugar
- 1 1/2 teaspoon Baking Soda
- 1 teaspoon Baking Powder
- 3/4 teaspoon Salt
- 1 cup Oil (extra-virgin olive oil, canola, or blood orange evoo)
- 1 cup Fresh Orange Juice
- 3 Eggs
- 1 cup Sour Cream
- 1 – 2 teaspoons Orange Zest
Orange Cream Cheese Frosting:
- 1 cup Butter softened
- 1 – 8- ounce pkg. Cream Cheese softened
- 4 cups Powdered Sugar
- 1 teaspoon Orange Zest
- 2 Tablespoons Fresh Orange Juice
Instructions
-
Preheat oven to 350 degrees F (175 C).
-
In a large mixing bowl, stir together flour, sugar, baking soda, baking powder, and salt.
-
In another mixing bowl, cream together oil, orange juice, eggs, sour cream, and orange zest until completely mixed and smooth.
-
Gently fold the dry ingredients into the wet ingredients, mixing only until just combined. Be careful not to overmix.
-
Generously grease your non-stick cake pans with non-stick cooking spray or by buttering and flouring them. Pour the batter evenly into either three 8-inch round cake pans or two 9-inch round cake pans.
-
Bake for 19-21 minutes, depending on the size of the pan used. To test if the cakes are done, insert a toothpick into the center of the cake; if it comes out clean, the cakes are ready. Let the cakes cool in the pans for 15 minutes before carefully removing them onto a wire rack to cool completely.
-
To make the Orange Cream Cheese Frosting:
-
In a large mixing bowl, cream together the softened butter and softened cream cheese for 4 minutes until the mixture is light and fluffy. Scrape down the sides of the bowl halfway through mixing to ensure even blending. Stir in the powdered sugar until smooth, then add the orange zest and orange juice, mixing until fully incorporated.
-
Once the cake layers are completely cooled, assemble and frost with the prepared orange cream cheese frosting.
Nutrition
Calories:
620kcal
,
Carbohydrates:
80g
,
Protein:
4g
,
Fat:
33g
,
Saturated Fat:
11g
,
Polyunsaturated Fat:
5g
,
Monounsaturated Fat:
15g
,
Trans Fat:
1g
,
Cholesterol:
78mg
,
Sodium:
381mg
,
Potassium:
144mg
,
Fiber:
1g
,
Sugar:
60g
,
Vitamin A:
574IU
,
Vitamin C:
9mg
,
Calcium:
53mg
,
Iron:
1mg
Nutrition information is automatically calculated, so should only be used as an approximation.
Additional Info
Dessert
American
14
620
orange cake
Like this? Leave a comment below!
Jump to Comments
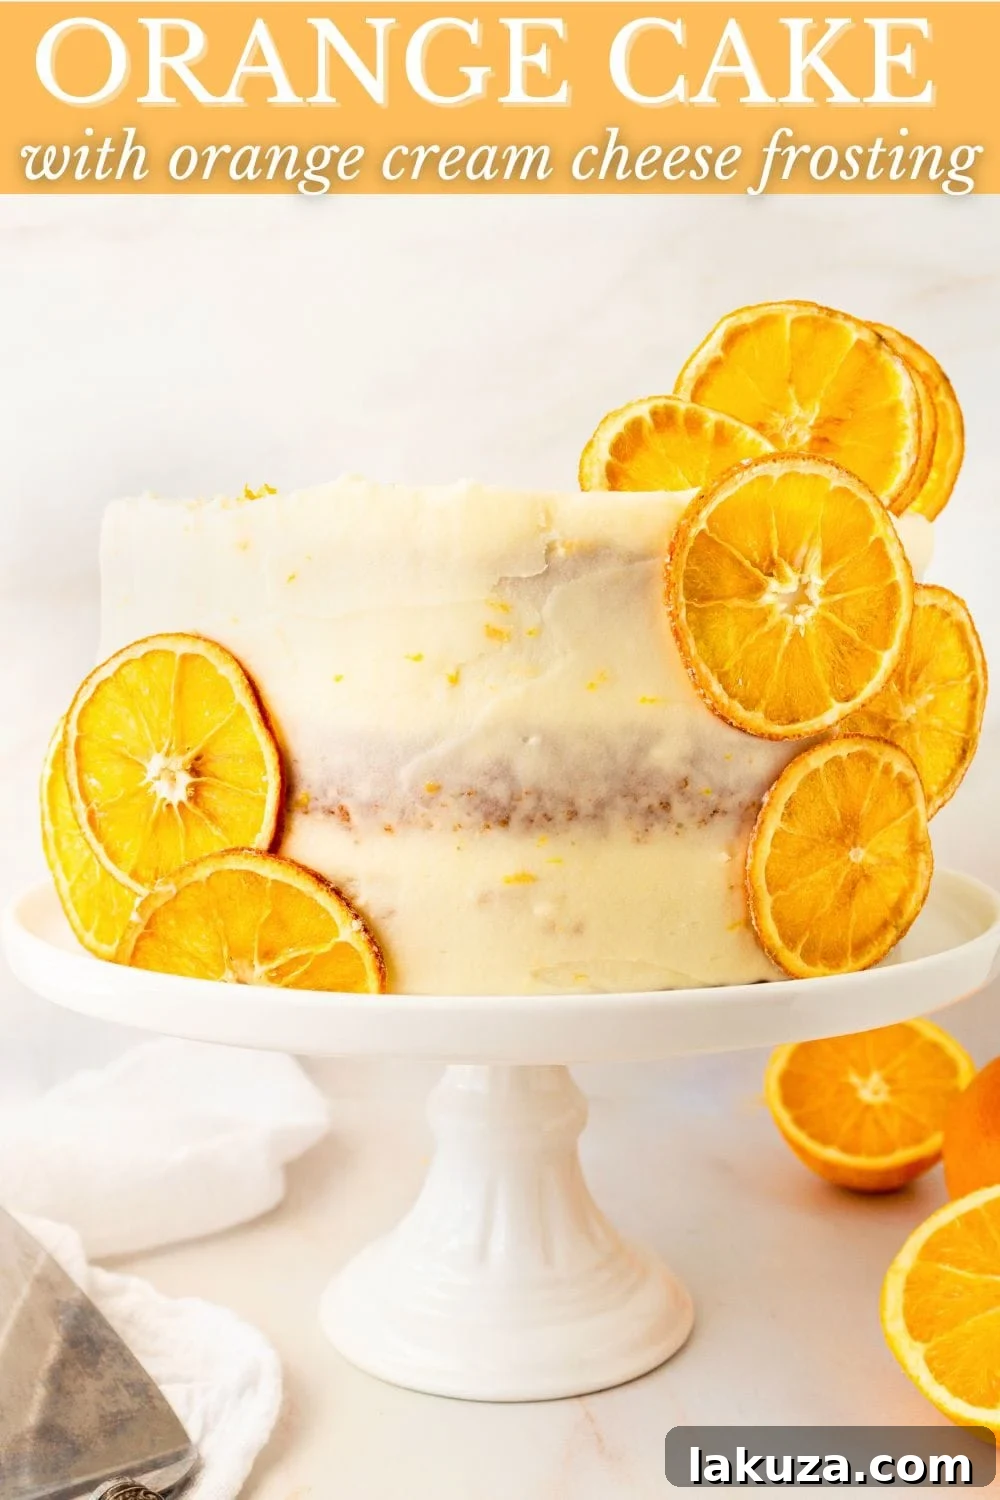
Pin this irresistible Orange Cake for later: