
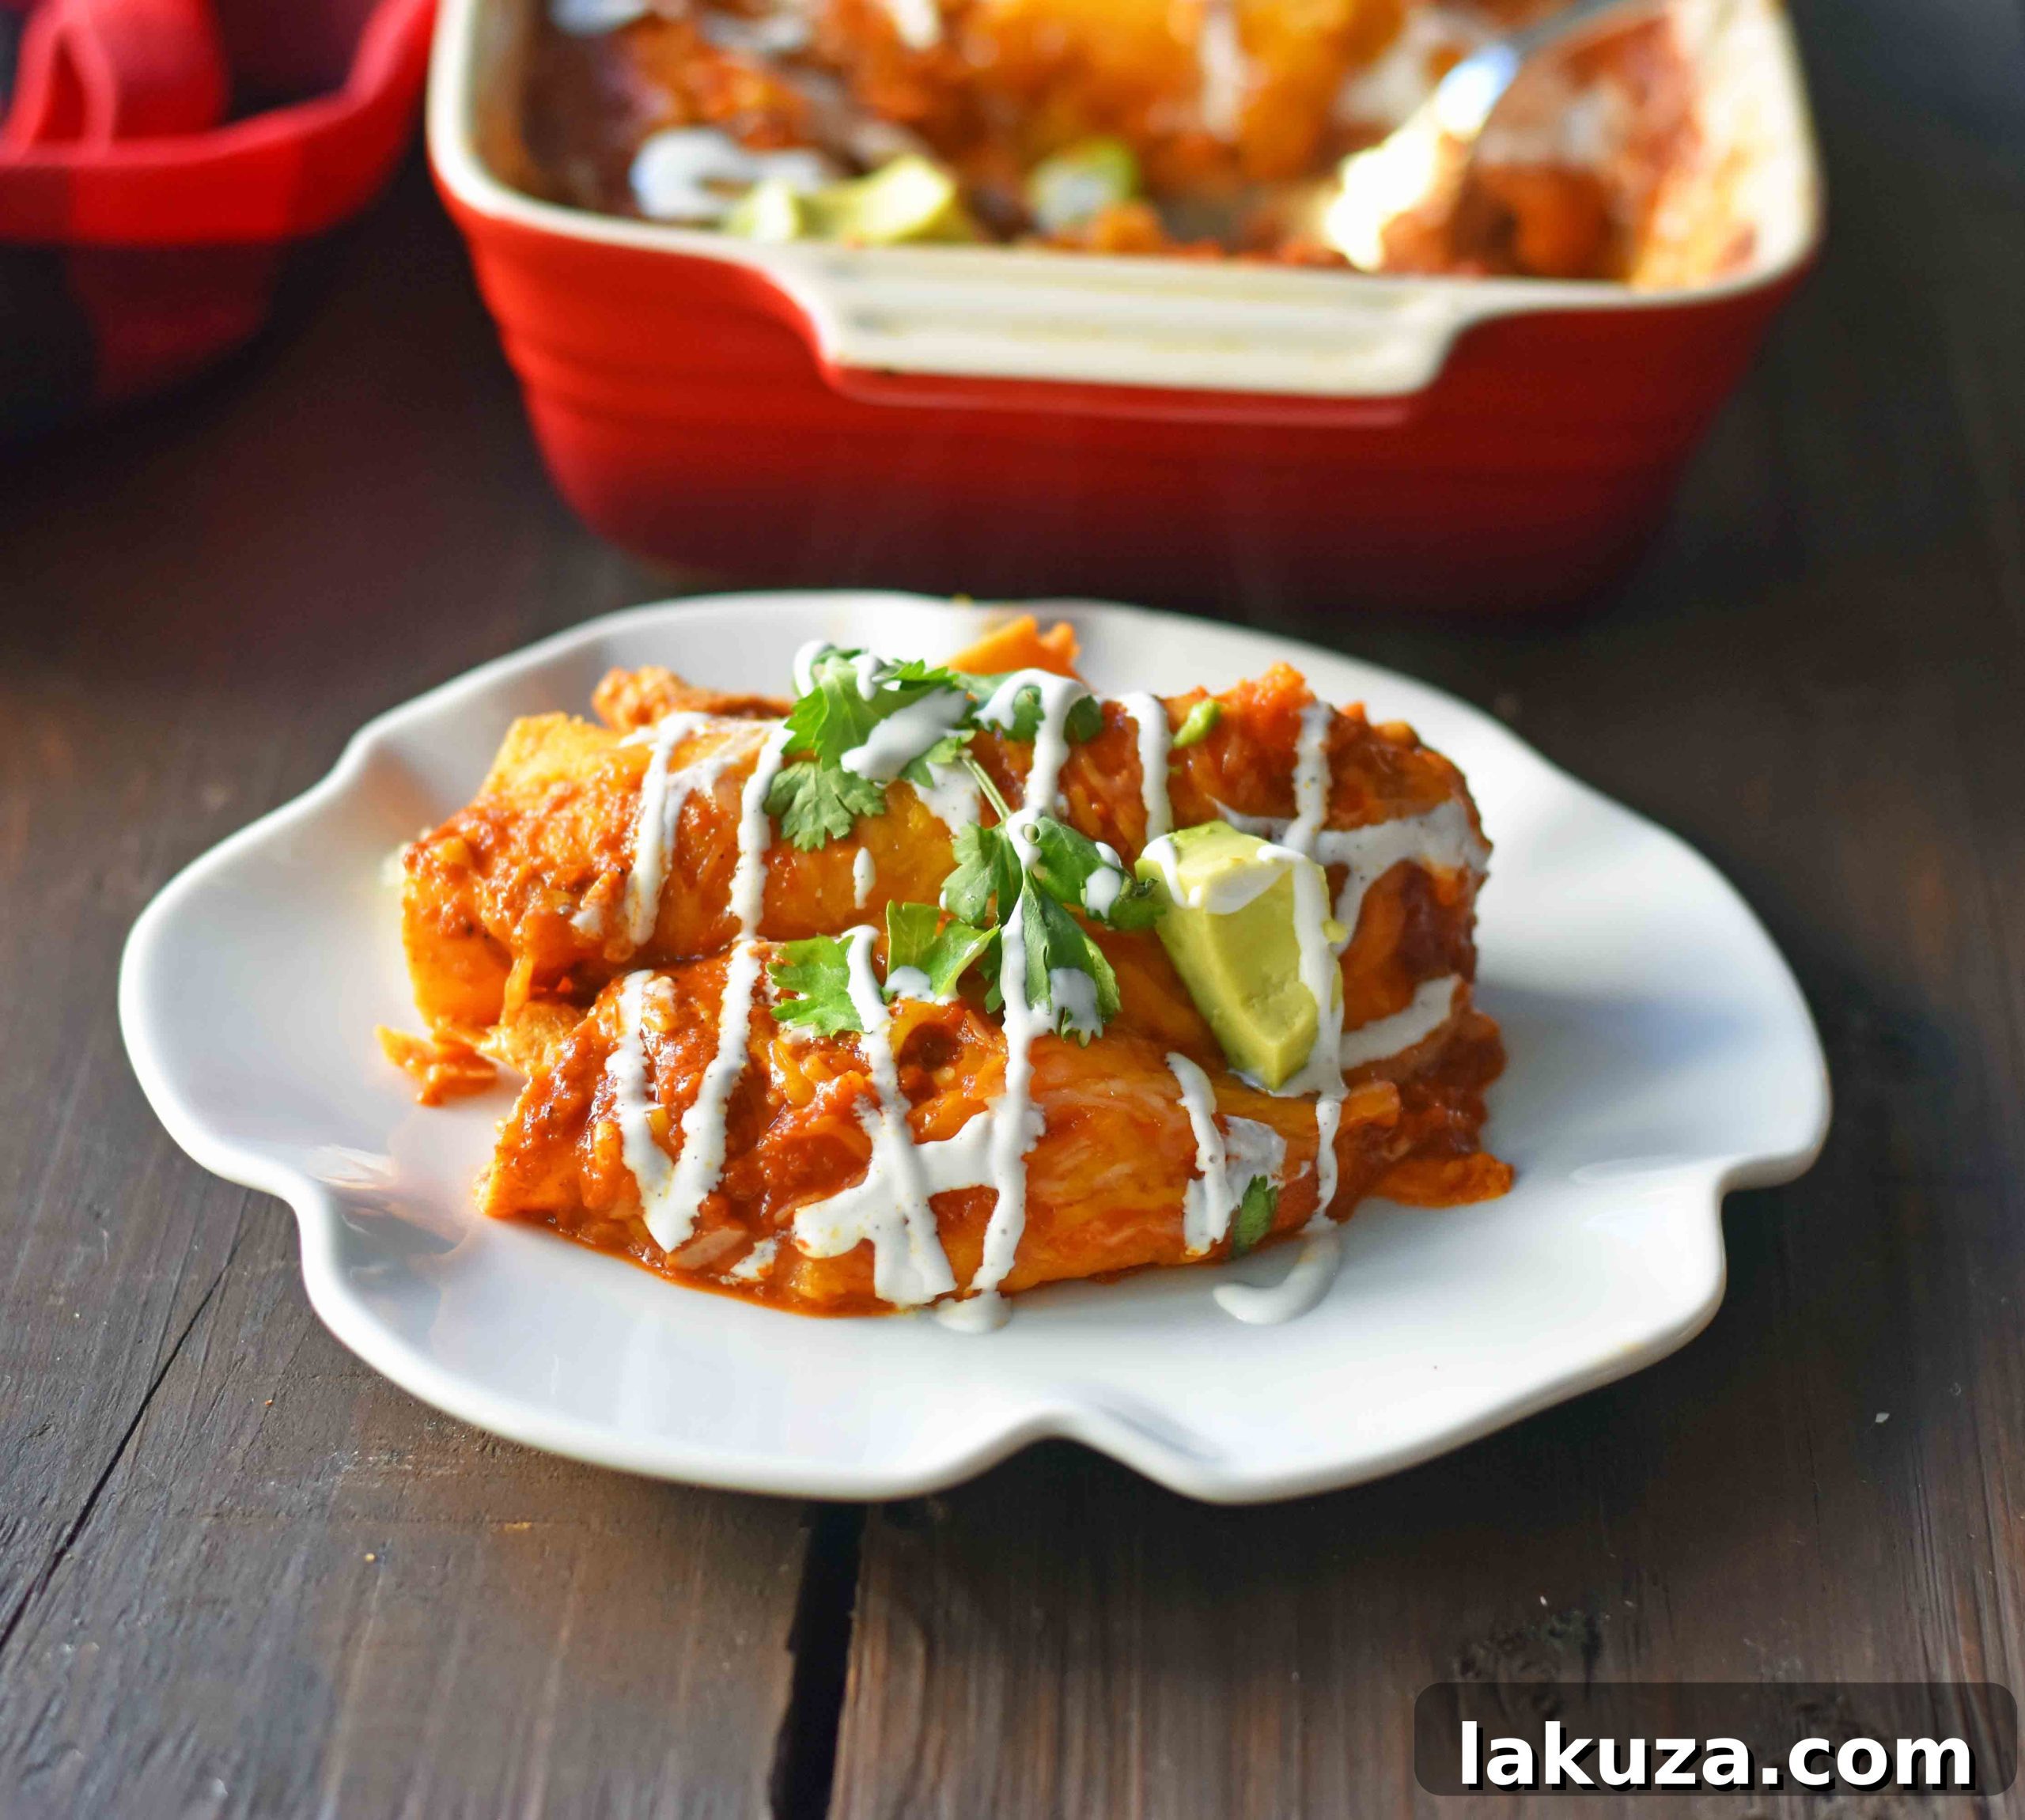
Ultimate Red Chile Chicken Enchiladas with Homemade Red Enchilada Sauce
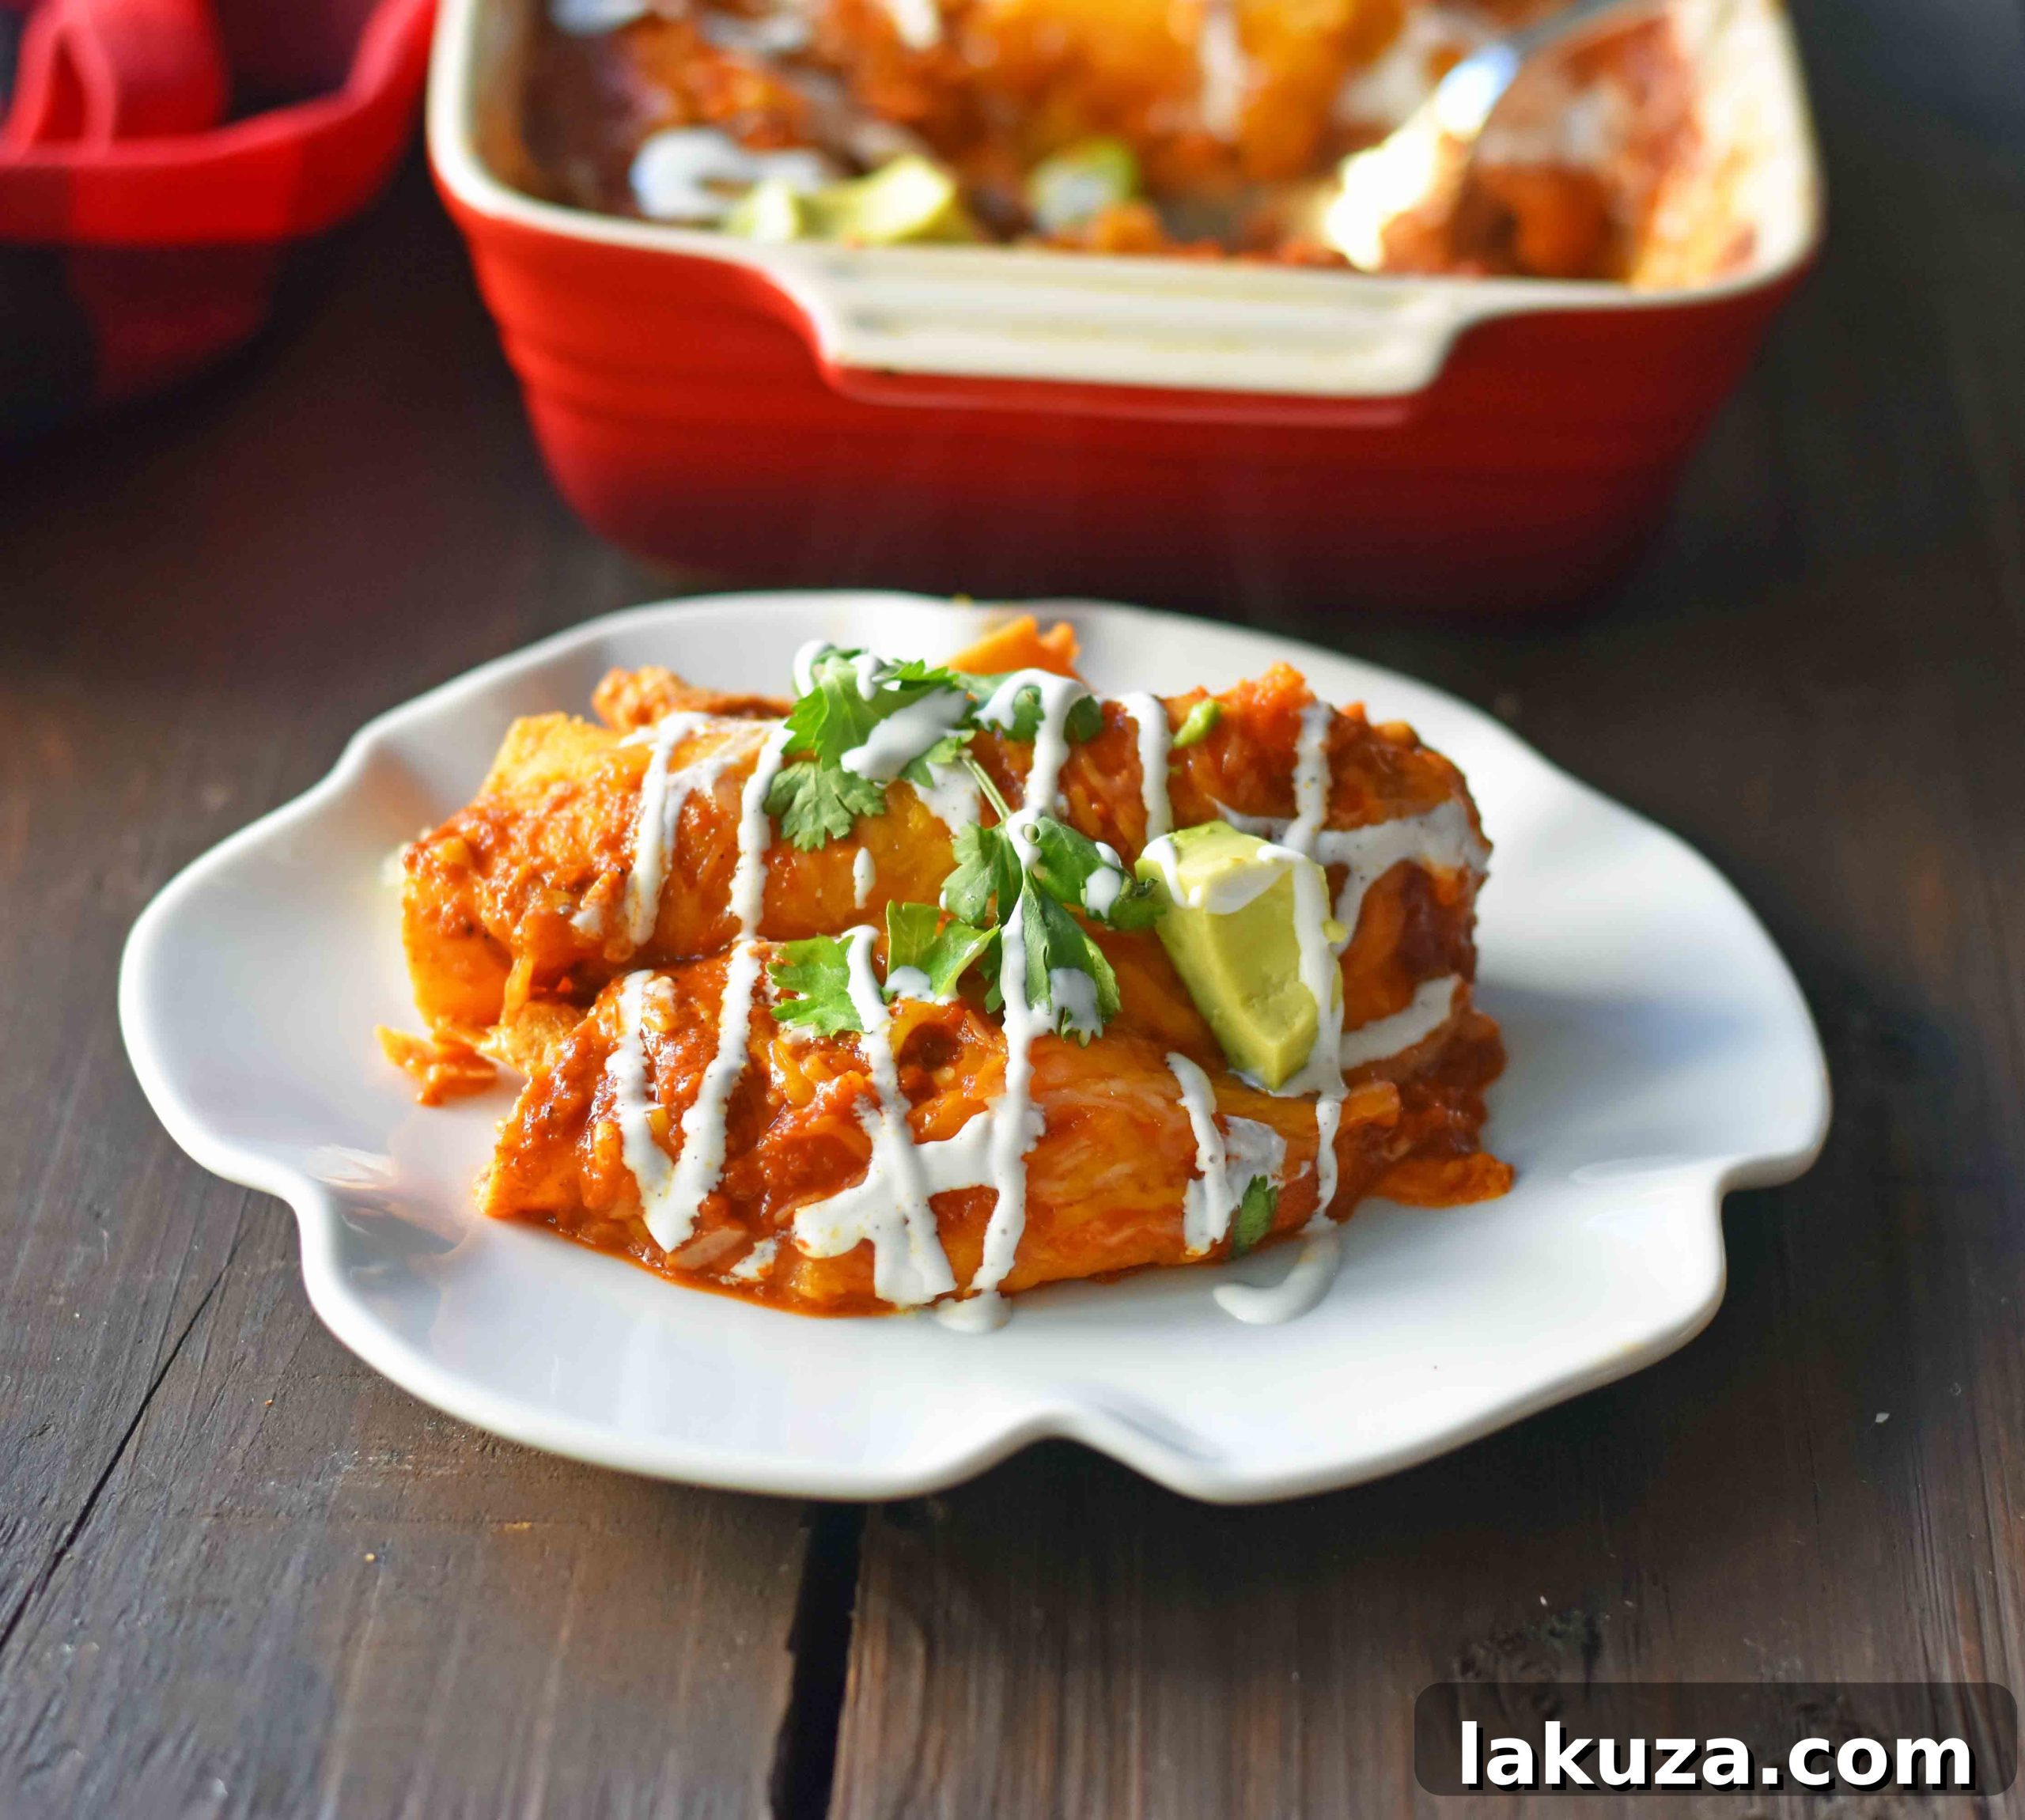
Experience the rich, authentic flavors of Red Chile Chicken Enchiladas, crafted with succulent shredded chicken, our vibrant homemade red enchilada sauce, and generously topped with a blend of Mexican cheeses, baked until perfectly bubbly and golden. This recipe brings the heart of Mexican cuisine right to your kitchen table.
The Secret to Incredible Enchiladas: The Homemade Sauce Advantage
Years ago, during a large family reunion in sunny California, I was excitedly tasked with preparing enchiladas for a hungry crowd. In our household, Mexican food isn’t just a meal; it’s a cherished tradition, a culinary cornerstone. My siblings and I could, without exaggeration, happily live on chips and salsa alone – perhaps with a generous helping of chocolate chip cookies for dessert! This meant the enchiladas had to be nothing short of extraordinary. Under the pressure of time, I made a quick dash to the store, grabbing what I thought would be a convenient solution: several cans of red enchilada sauce. I generously poured this store-bought sauce over my meticulously assembled chicken and cheese-filled tortillas, brimming with optimism.
As the enchiladas emerged from the oven, their aroma promised a feast, but a sneaky taste test quickly dashed my hopes. The canned red chile enchilada sauce was, to put it mildly, terribly disappointing. It tasted bland, lacked depth, and carried an artificial undertone that simply didn’t belong. Despite my frantic attempts to salvage the dish, those enchiladas were, sadly, a lost cause. That day, I learned a profound and unforgettable lesson: when it comes to enchiladas, relying on canned sauce is a critical misstep. The undeniable truth is that homemade red chile enchilada sauce is not just better; it’s a game-changer, elevating the entire dish from ordinary to utterly sublime.
The foundation of truly exceptional red chicken enchiladas lies squarely in the sauce. Creating red chile enchilada sauce from scratch might sound daunting, but it’s surprisingly simple and requires minimal time. The effort, however, yields a monumental difference in flavor, freshness, and authenticity. Our homemade enchilada sauce is a vibrant concoction, built on a base of pure tomato sauce, enriched with savory chicken broth, and infused with a carefully orchestrated blend of Mexican spices, sautéed onion, and aromatic garlic. Each ingredient plays a vital role, but the true artistry, and the secret to its irresistible allure, truly lies in the perfect harmony of these fresh, high-quality spices.
Crafting Your Signature Homemade Red Chile Enchilada Sauce
Elevating your enchilada experience begins with this foundational sauce. Here’s a detailed guide to building a rich, complex flavor that store-bought versions simply cannot replicate:
- Begin with Sautéed Aromatics: The first crucial step is to gently sauté a finely chopped onion in a touch of neutral oil (like vegetable or canola) over medium heat. This process is essential for coaxing out the onion’s natural sweetness and creating a fragrant, mellow base that will infuse the entire sauce. Continue sautéing until the onion pieces are translucent and tender, typically about 7 to 8 minutes. Avoid browning them too much; we’re aiming for softness and sweetness, not caramelization.
- Introduce the Smooth Tomato Base: Once the onions have reached their perfect tenderness, it’s time to incorporate the smooth, vibrant tomato sauce. For the purest flavor, it’s paramount to use an all-natural tomato sauce with no added spices. This ensures you have a clean canvas, allowing our carefully chosen seasoning blend to shine without interference from pre-existing flavors in the tomato sauce. This ingredient provides the body, rich color, and foundational acidity for your authentic red chile sauce.
- Infuse with Savory Depth: Next, pour in the chicken broth. This liquid gold is vital for adding an essential layer of savory depth, enriching the overall flavor profile, and helping to thin the sauce to the ideal consistency. If you’re looking to make this recipe vegetarian, a good quality vegetable broth can be substituted without compromising on flavor. The broth helps to tenderize the spices and distribute their flavors evenly throughout the sauce.
- Master the Authentic Spice Blend: This is arguably the most critical step, where the true character of your homemade enchilada sauce comes alive. A harmonious and balanced blend of freshly measured spices is key to achieving that deep, earthy, and slightly spicy profile:
- Chili Powder: Don’t settle for just one! I highly recommend using a dynamic mix of two different types of chili powders. Start with a foundational mild chili powder for warmth and color, then add ancho chili powder for its distinctive deep, fruity, and slightly smoky notes. For those who crave an extra layer of smoky flavor and a touch more heat, a small amount of chipotle powder can be a fantastic and authentic addition.
- Cumin Powder: This spice is a cornerstone of Mexican cuisine, delivering an earthy, warm, and slightly pungent flavor that is instantly recognizable and deeply satisfying.
- Mexican Oregano: It’s important to note that Mexican oregano is distinct from its Mediterranean counterpart. It offers brighter, more citrusy, and slightly peppery notes, which are absolutely essential for an authentic Mexican flavor profile.
- Garlic Powder: Provides a concentrated, mellow garlic flavor that seamlessly blends into the sauce, offering aromatic depth without the raw sharpness of fresh garlic in this context.
Season generously with salt to taste, remembering that flavors often mellow during cooking, so always taste and adjust as the sauce develops.
- Simmer and Puree for Velvety Perfection: Once all ingredients are combined, allow the sauce to simmer gently over low to medium heat for at least 20 minutes. This extended simmering time is crucial for allowing all the flavors to meld beautifully and for the sauce to visibly thicken and reduce slightly. After simmering, carefully transfer the warm sauce to a high-speed blender or use an immersion blender directly in the pot to puree it until it is perfectly smooth and velvety. This step is critical for achieving that desirable restaurant-quality texture that clings beautifully to the tortillas.
Choosing Your Tortillas: Corn or Flour for Your Enchiladas?
The choice of tortilla significantly influences the authenticity, texture, and overall enjoyment of your Red Chile Chicken Enchiladas. Both corn and flour tortillas offer distinct advantages:
- Corn Tortillas: Widely regarded as the more traditional and authentic choice in Mexican cuisine, corn tortillas impart a distinct, earthy flavor and a slightly chewier texture. They are also naturally gluten-free, making them an excellent and inclusive option for those with dietary restrictions. If you choose corn tortillas, it’s absolutely essential to soften them before attempting to roll them. This crucial step prevents tearing and ensures they become pliable and easy to work with. A simple and effective method is to wrap a stack of corn tortillas (about 5-6 at a time) in a damp paper towel or a clean, lightly moistened tea towel and microwave them for approximately 60 seconds. This steam-softening technique makes them flexible and less prone to cracking. Alternatively, for a more traditional and flavor-enhancing method, you can quickly dip each tortilla in warm oil or even directly into the homemade enchilada sauce itself. This not only softens them but also adds an initial layer of flavor and helps prevent them from becoming soggy during baking.
- Flour Tortillas: Offering a milder flavor profile and a softer, more bread-like texture, flour tortillas are a popular choice, particularly in Tex-Mex cuisine. They are generally more pliable by nature and tend to be easier to roll without the need for extensive pre-softening, making them a convenient option for busy cooks or those new to making enchiladas. While they might be considered less traditional by some purists, flour tortillas create a deliciously satisfying and comforting enchilada that many adore for their soft, yielding texture.
The Glorious Filling: Perfectly Shredded Chicken and Melted Cheese
No enchilada is truly complete without a generous and exquisitely flavorful filling. For these red chile chicken enchiladas, we focus on two core, complementary components:
- Perfectly Shredded Chicken: Tender, moist, and well-seasoned shredded chicken forms the heart of this comforting dish. For ultimate convenience, a store-bought rotisserie chicken is your culinary hero – simply shred the meat, and it’s ready to be incorporated. This shortcut saves significant time without sacrificing flavor. If you prefer to prepare your own chicken, poaching boneless, skinless chicken breasts or thighs yields incredibly tender and juicy results. To poach, simply place the chicken in a pot, season generously with salt and pepper, cover with about two inches of water or chicken broth, bring it to a gentle boil, then reduce the heat, cover, and simmer for 10-12 minutes or until the chicken is cooked through and no longer pink. Allow it to cool slightly before shredding with two forks. To infuse even more flavor and moisture into your filling, mix a small amount (approximately 1/2 cup) of your rich homemade red enchilada sauce directly into the shredded chicken before filling the tortillas.
- Abundant, Melty Cheese: This is where the magic of “ooey-gooey” happens! A generous amount of beautifully melted cheese is an absolute must for truly heavenly enchiladas. A blend of Mexican cheeses works wonders, providing a balanced flavor profile and superior melting properties. Sharp cheddar adds a delightful tangy kick and robust flavor, while Monterey Jack offers a creamy, mild counterpoint that melts into a luscious pool. Colby Jack or an authentic Oaxaca cheese are also fantastic choices that deliver excellent texture and taste. For the absolute best melt, creamiest texture, and freshest flavor, I consistently recommend shredding your cheese directly from a block rather than opting for pre-shredded varieties. Pre-shredded cheeses often contain anti-caking agents that can subtly affect their melting quality and texture.
Assembling Your Masterpiece: Rolling, Layering, and Baking Tips
With your vibrant homemade sauce, perfectly prepared shredded chicken, chosen tortillas, and freshly shredded cheese ready, it’s time to assemble your mouth-watering enchiladas. This step is where all the components come together to create a cohesive and delicious dish:
- Prepare Your Baking Dish: Begin by pouring about ½ cup of your rich, homemade red enchilada sauce into the bottom of a 9×13 inch baking dish. Spread it evenly across the bottom. This initial layer of sauce is crucial; it not only prevents the enchiladas from sticking but also adds moisture and flavor from the bottom up, ensuring every bite is moist and delicious.
- Fill and Roll Each Tortilla: Take one of your softened tortillas (if using corn tortillas, ensure they are pliable). Place a generous portion of the seasoned shredded chicken (already mixed with a touch of sauce for enhanced flavor) down the center of the tortilla. Over the chicken, sprinkle a handful of your chosen shredded cheese blend – the combination of Mexican cheese and cheddar works beautifully. Carefully and snugly roll the tortilla, ensuring the filling is secure within.
- Arrange in the Dish: Place the rolled enchilada seam-side down in the prepared baking dish. This helps prevent the enchiladas from unraveling during baking. Repeat this process with the remaining tortillas and fillings, arranging them snugly in a single layer in the dish. Don’t worry if they are a little tight; this close arrangement helps them maintain their shape and keeps them moist.
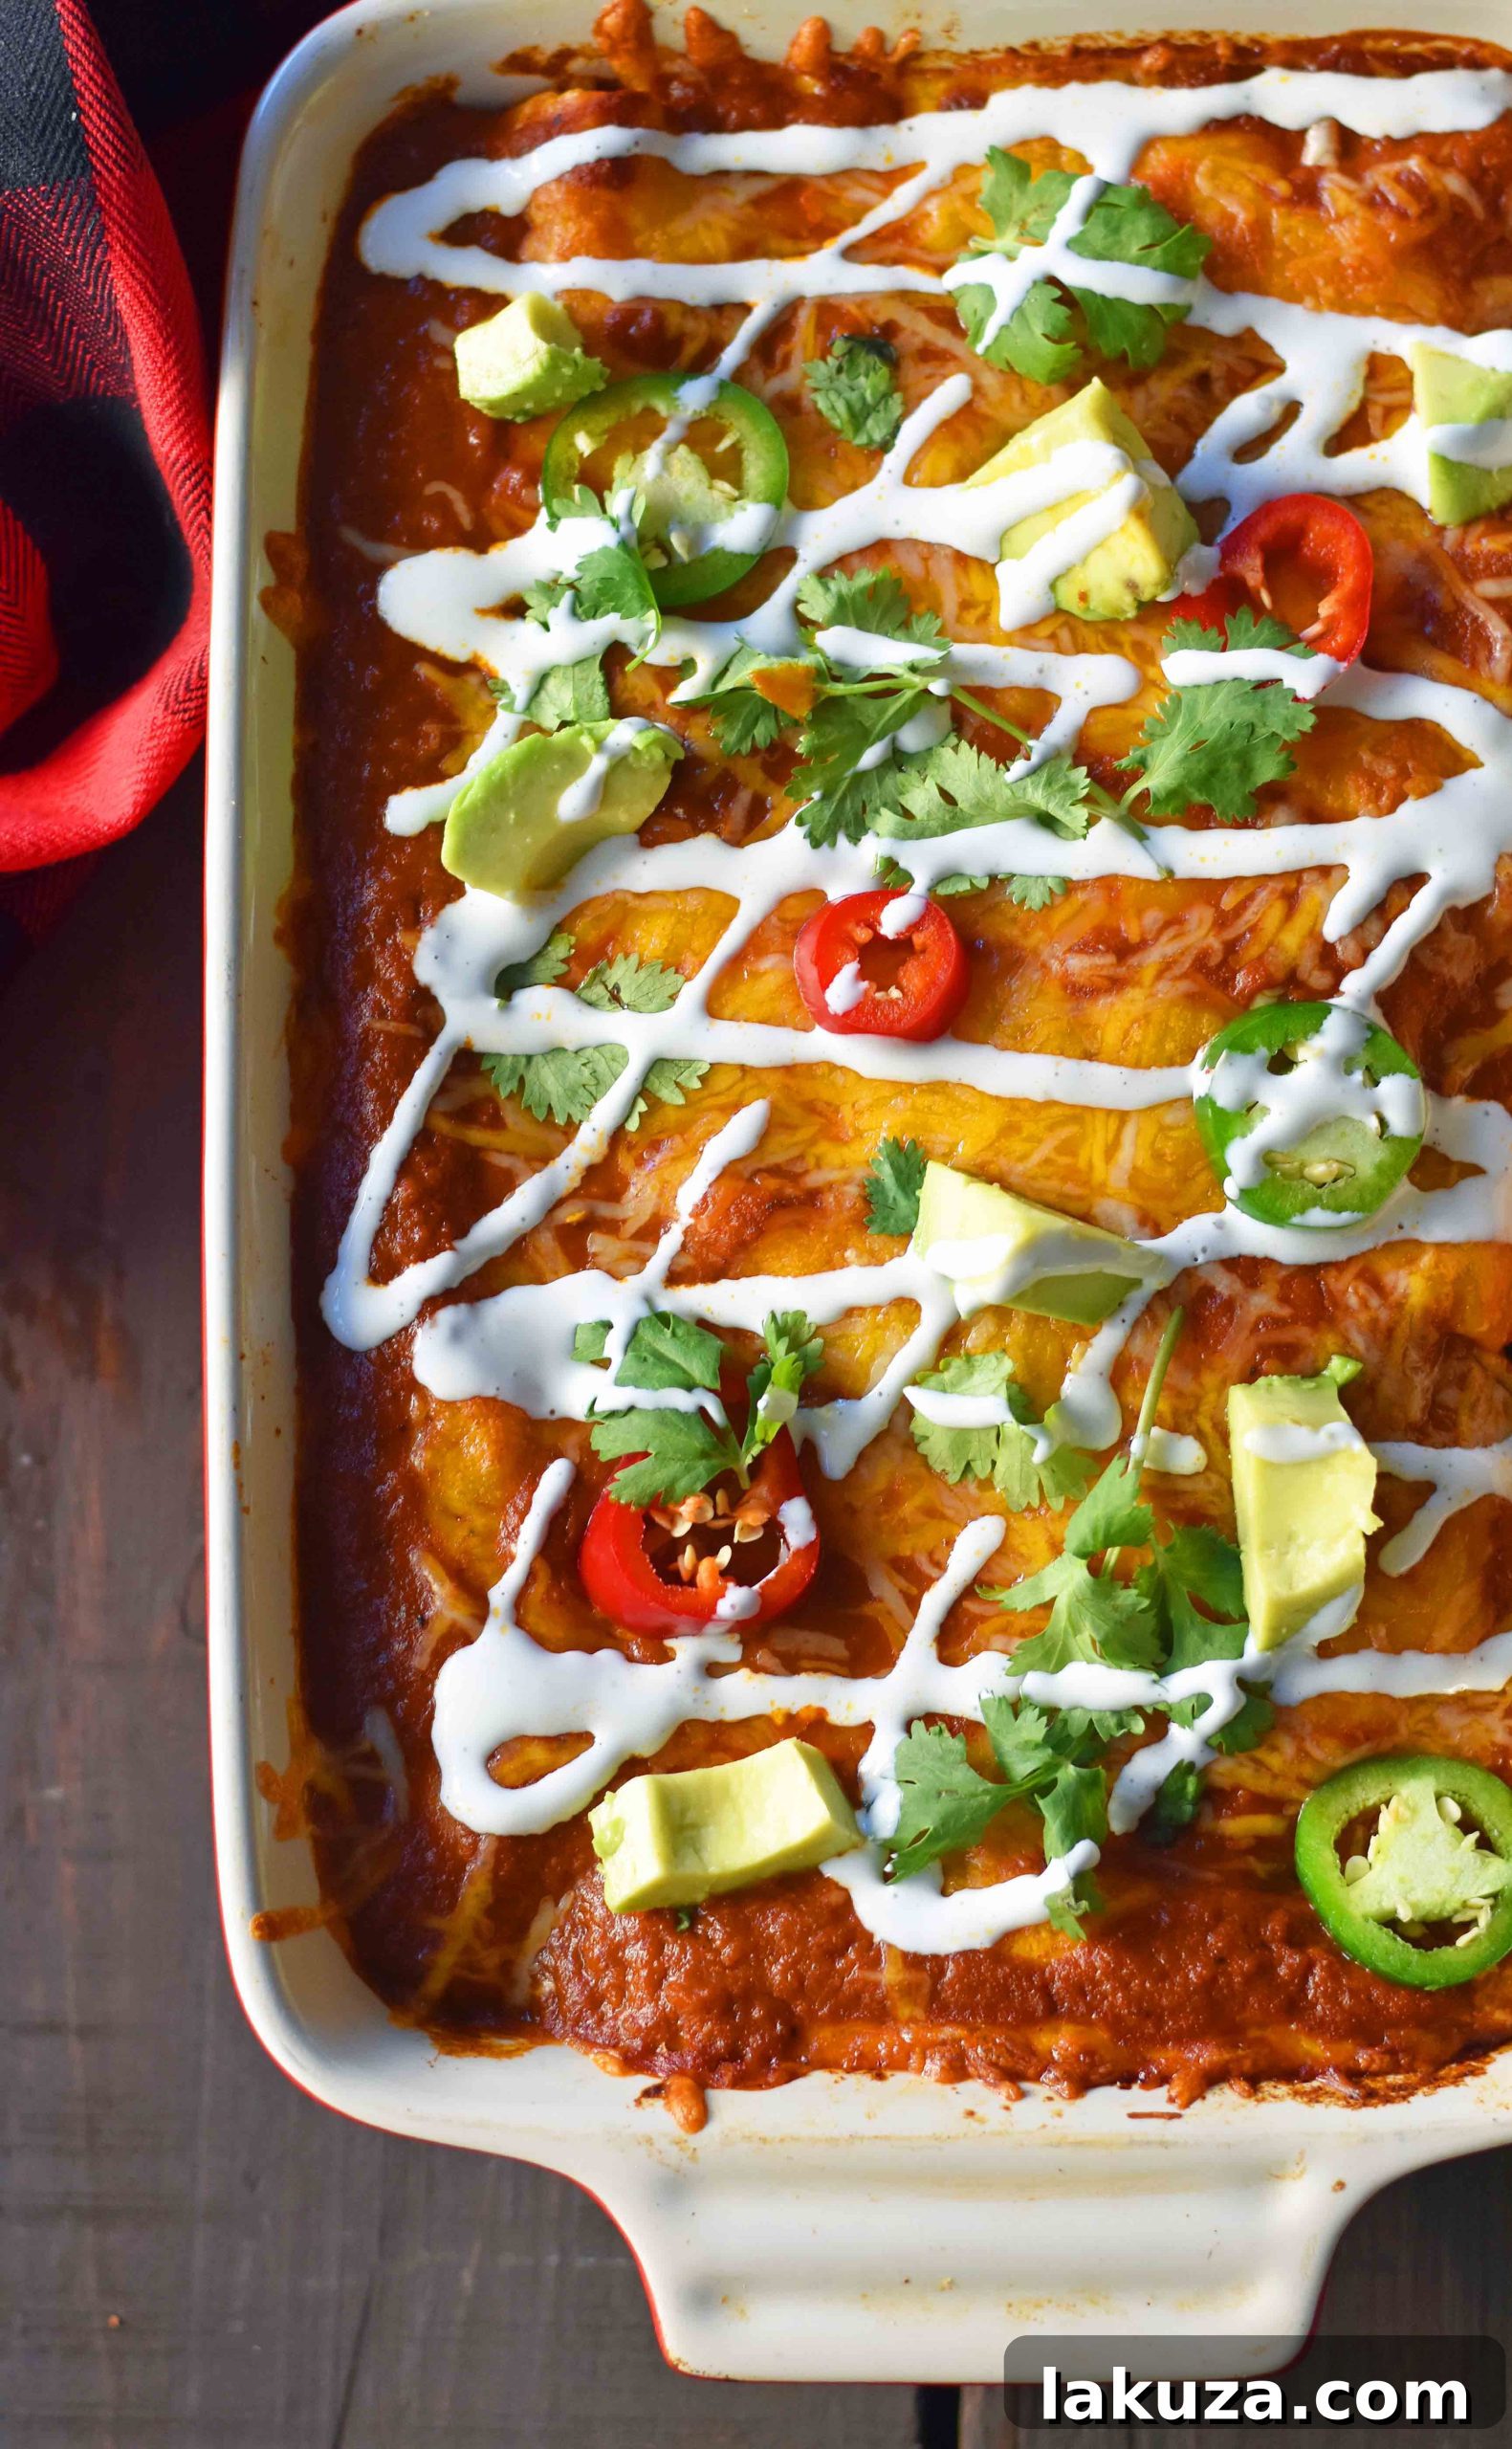
- Sauce and Cheese Finale: Once all the enchiladas are rolled and arranged in the baking dish, pour the remaining homemade red enchilada sauce generously and evenly over the top, making sure every enchilada is thoroughly coated. This ensures maximum flavor and moisture. Finally, generously sprinkle the remaining 2 cups of shredded cheese blend (the combination of Mexican blend and cheddar) over the entire dish, creating a magnificent blanket that will melt into golden, bubbly perfection.
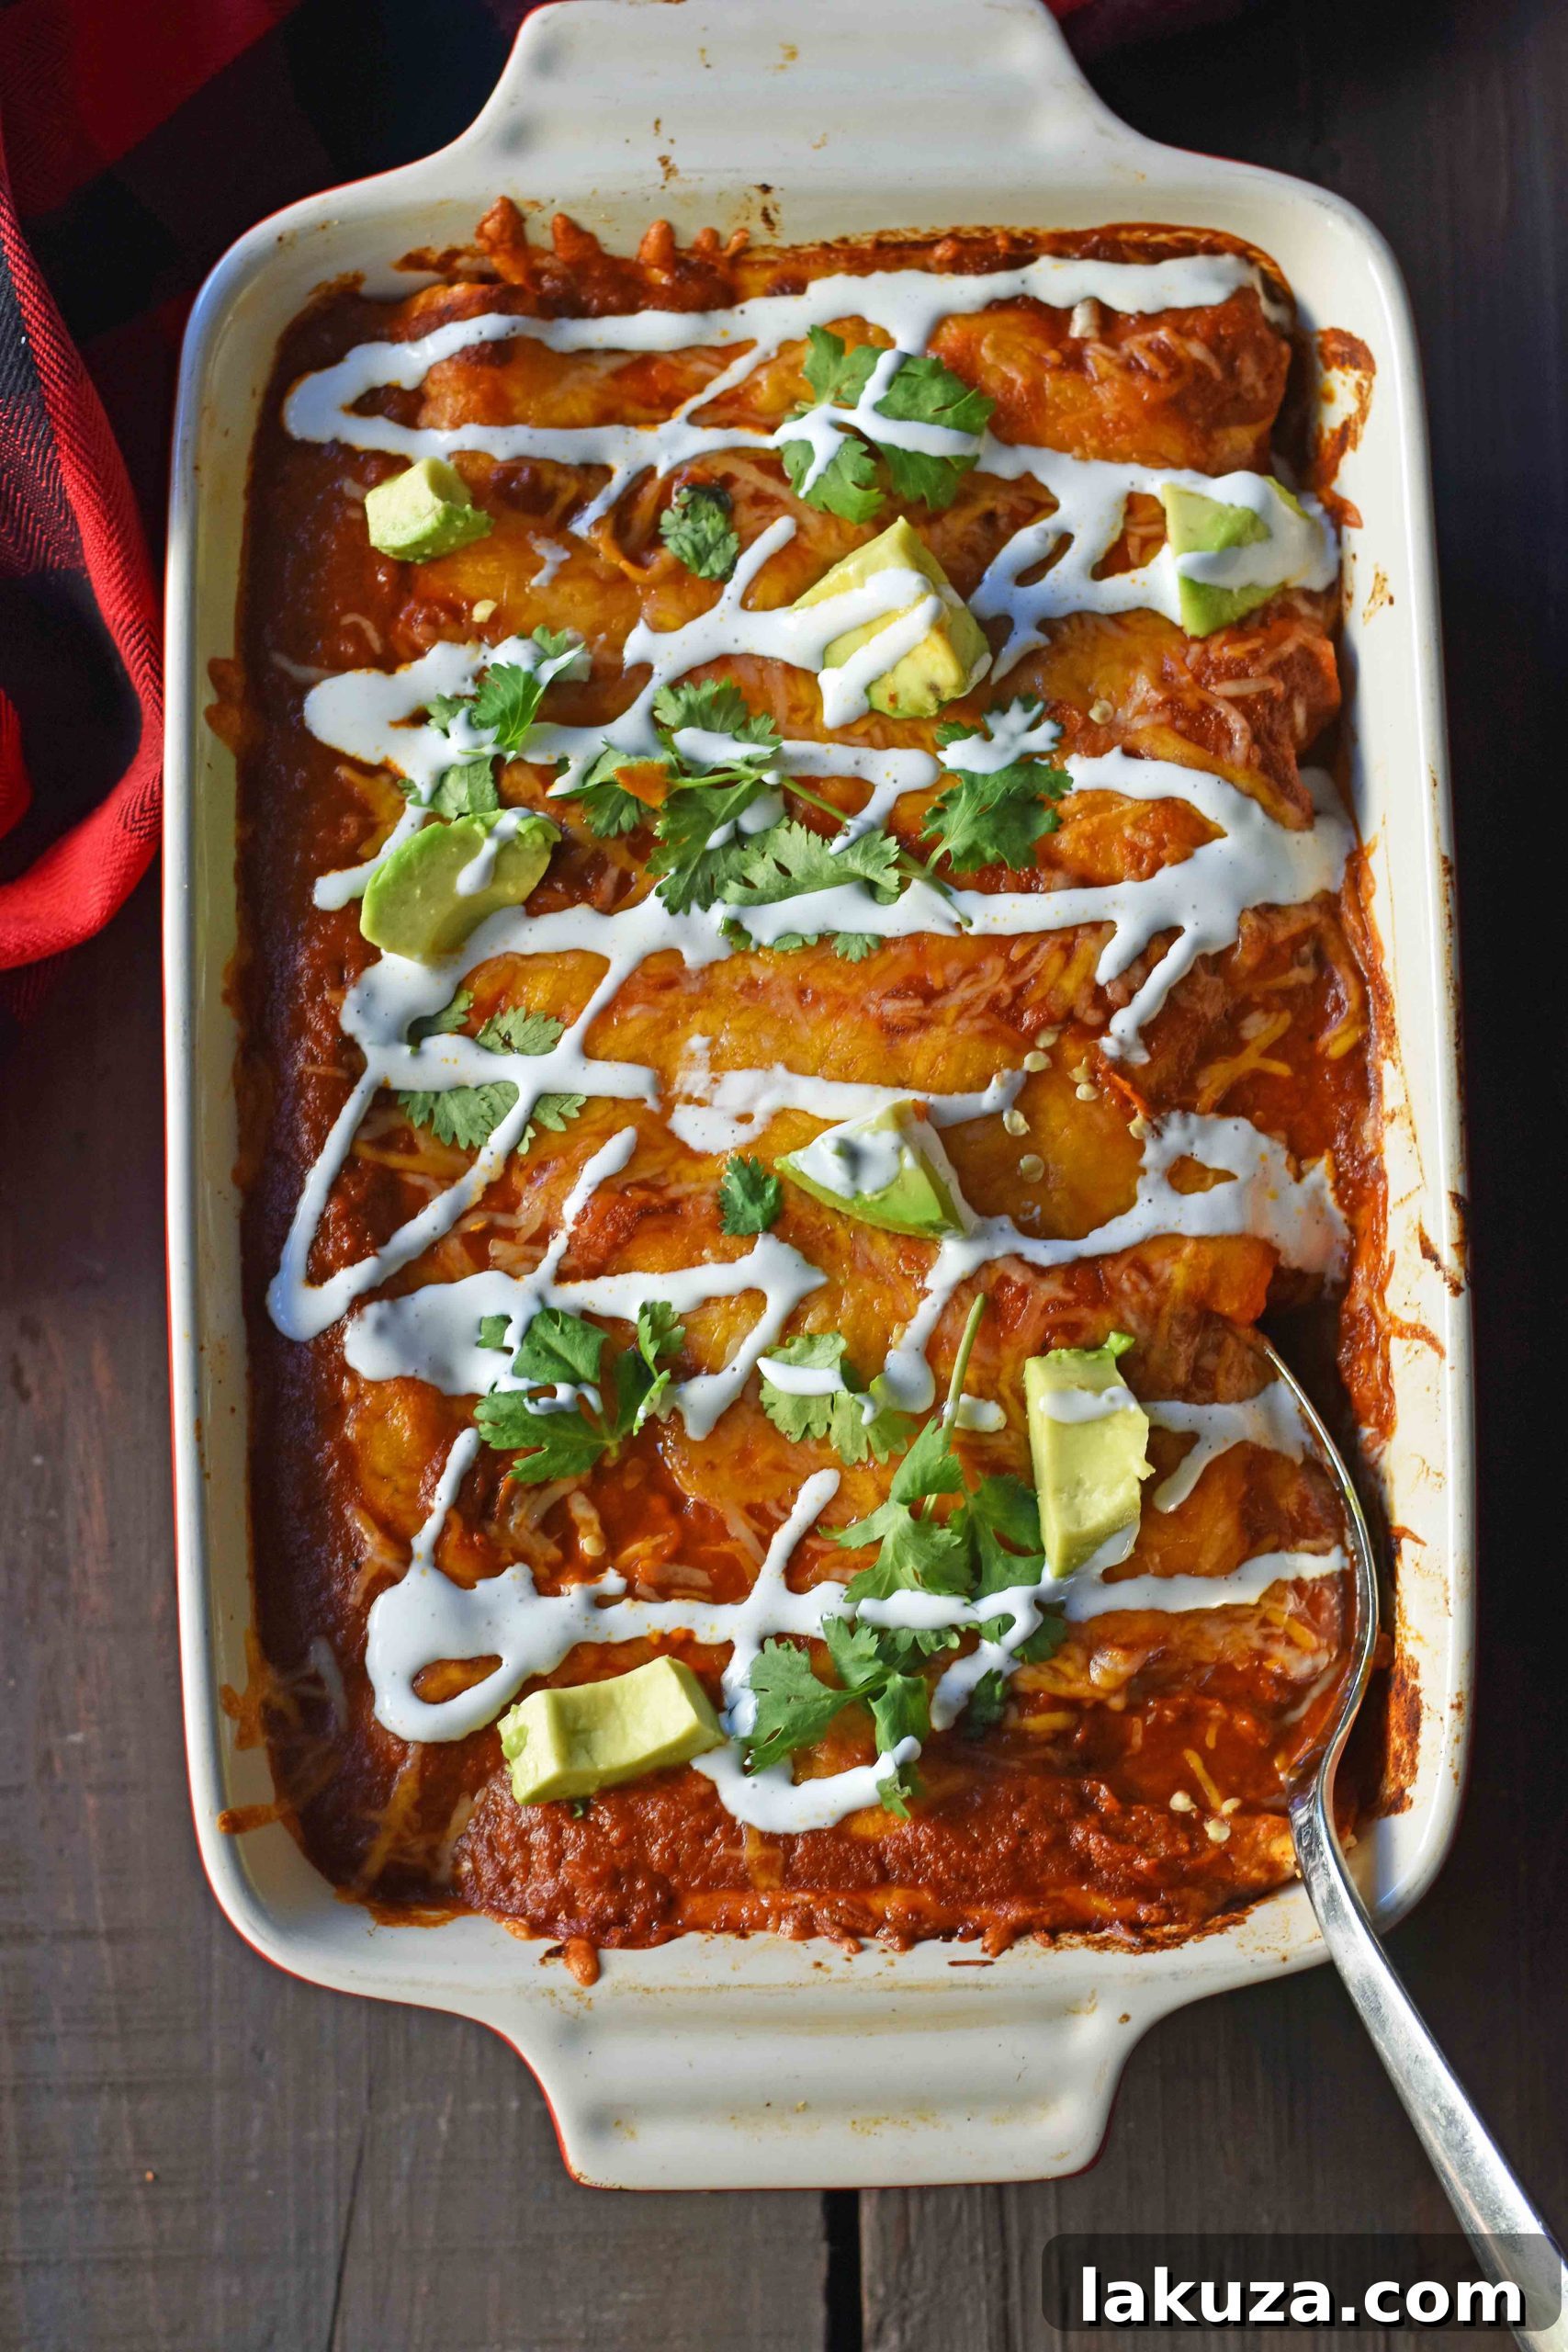
- Bake to Bubbly Perfection: Preheat your oven to 350°F (175°C). Cover the baking dish tightly with aluminum foil. This initial covering helps to steam the enchiladas, ensuring they heat through evenly and remain moist. Bake for 20 minutes. After this time, remove the foil and continue baking for another 4-5 minutes, or until the cheese is beautifully melted, gloriously bubbly, and has achieved a delightful light golden hue at the edges. This final uncovered bake adds a lovely texture to the cheese.
The Finishing Touch: Sensational Garnishes for Your Enchiladas
While these Red Chile Chicken Enchiladas are undoubtedly fantastic straight from the oven, a thoughtful selection of garnishes can elevate them to an even higher level of culinary delight. These additions introduce refreshing contrasts, vibrant colors, and an extra layer of texture and flavor, transforming a great meal into an unforgettable experience:
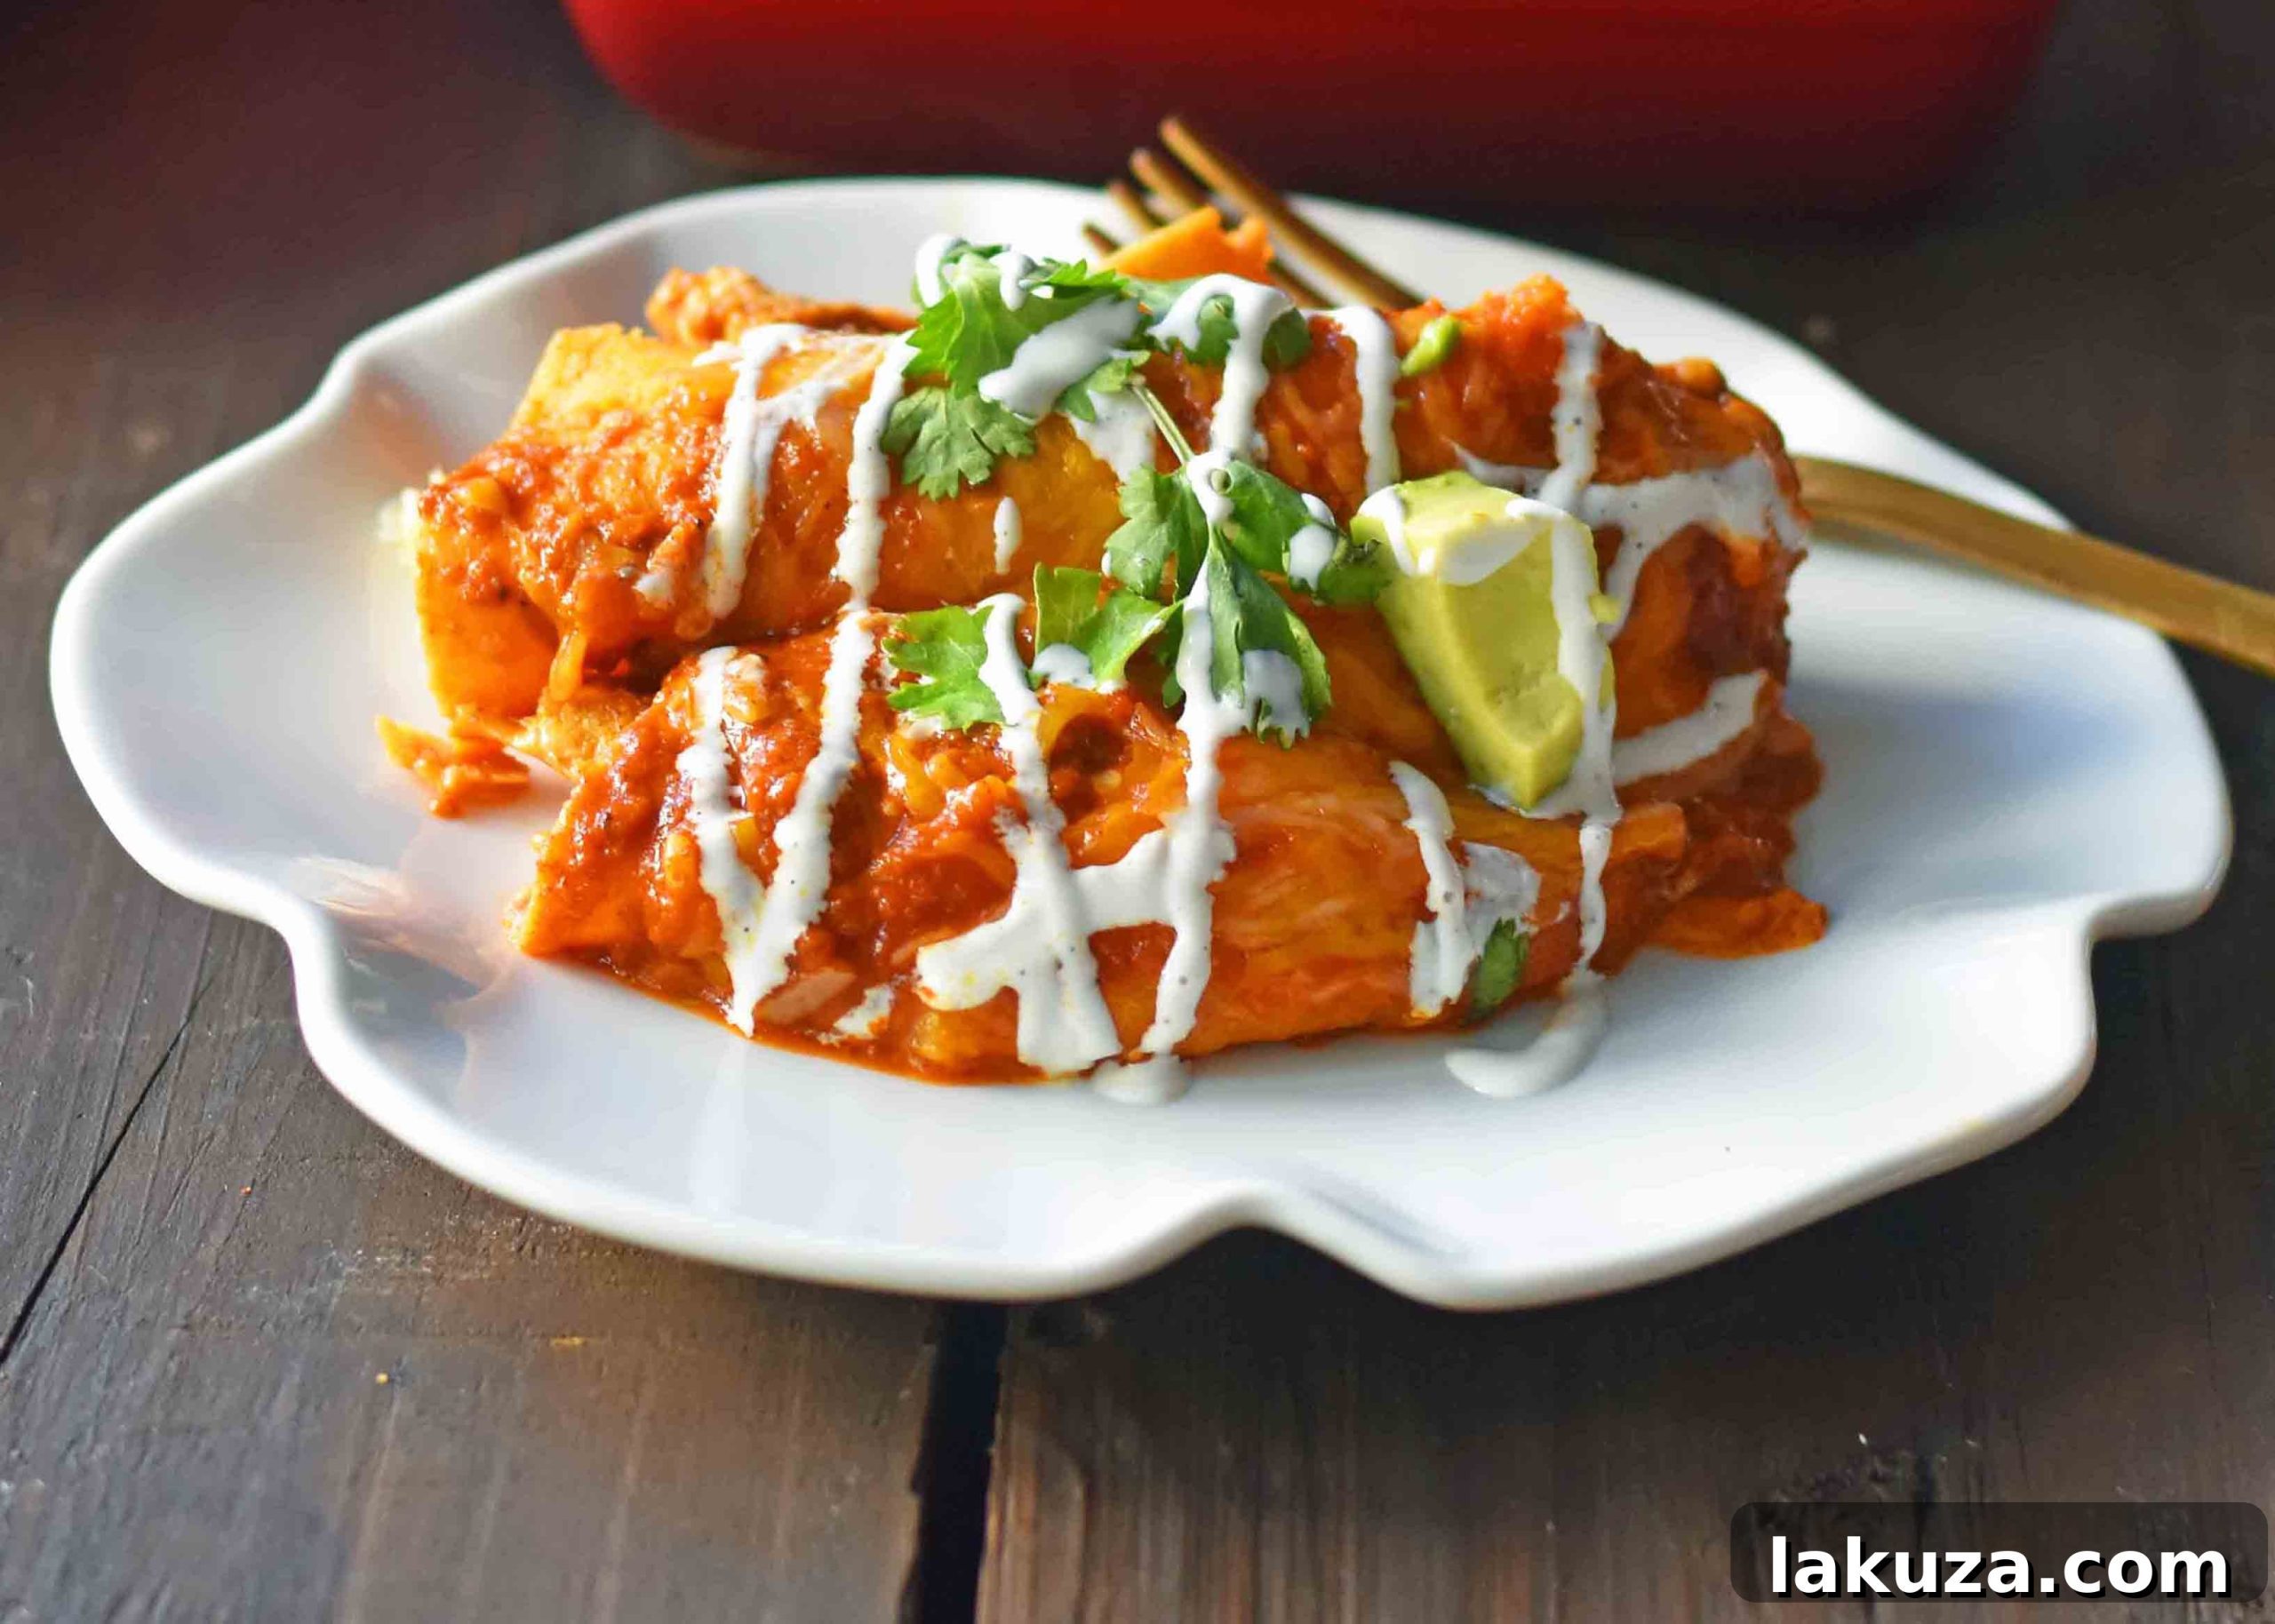
- Mexican Crema (or Sour Cream): A generous drizzle of creamy Mexican crema is a must-have. Its wonderful tang and luxurious richness beautifully contrast with the savory, spicy notes of the enchiladas, adding a cooling element and a smooth finish. If authentic Mexican crema isn’t readily available, a dollop of high-quality sour cream makes an excellent, readily accessible substitute.
- Fresh Cilantro: A liberal sprinkle of freshly chopped cilantro adds an immediate burst of vibrant green color and a refreshing, herbaceous flavor. Its clean, bright notes cut through the richness of the cheese and sauce, brightening the entire dish.
- Sliced or Diced Avocado: Creamy slices or cubes of ripe avocado offer a delightful cooling contrast to the warmth and spice of the enchiladas. Avocado adds a luxurious, velvety texture and healthy fats, making each bite more satisfying and complex.
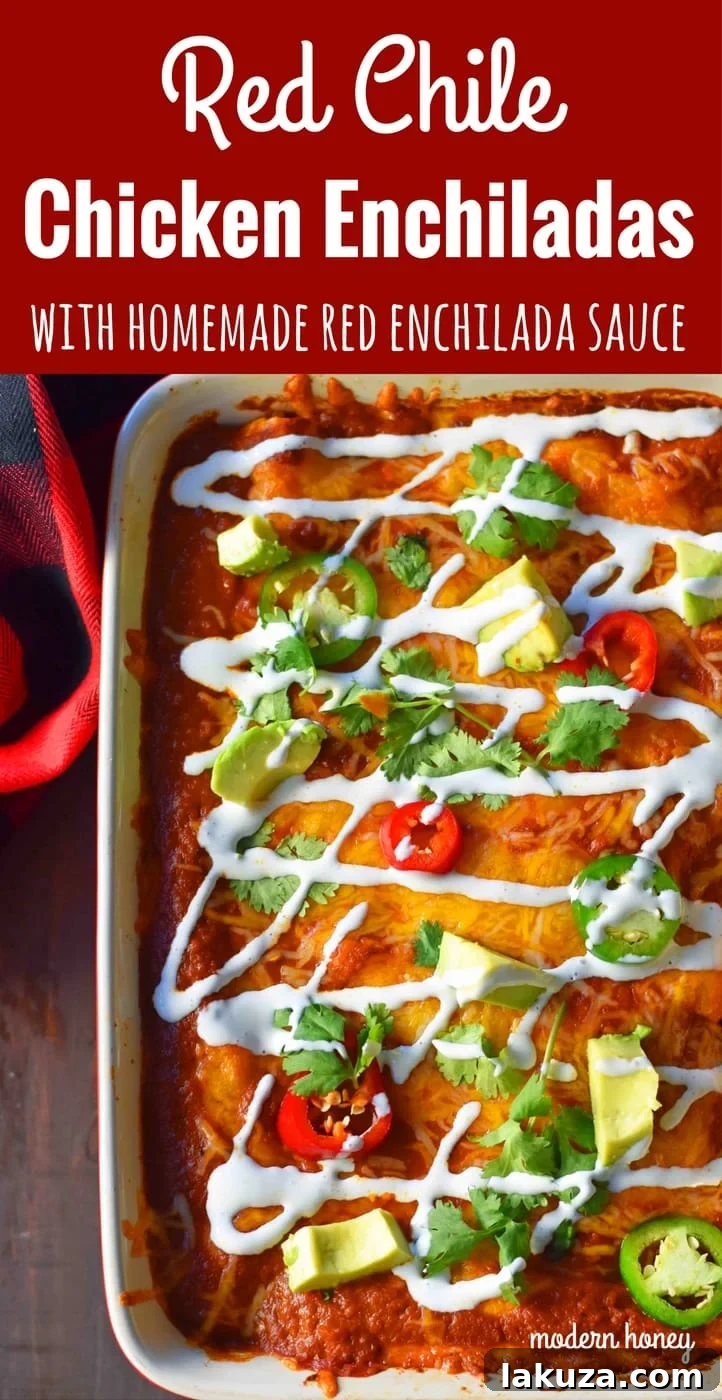
- Fresh or Pickled Jalapeños: For those who appreciate an extra kick of heat, thinly sliced fresh jalapeños provide a spicy crunch and a zesty bite. If you prefer a slightly milder heat with an added tangy punch, pickled jalapeños are an excellent choice. They bring a lively contrast to the rich flavors.
- Other Creative Ideas: Don’t hesitate to experiment further! Consider adding finely diced red onion for a sharp, pungent bite, a squeeze of fresh lime juice over the top for an invigorating zesty brightness, or even a sprinkle of crumbled cotija cheese for a salty, crumbly finish that enhances the authentic Mexican profile.
Pro Tips for Flawless Red Chile Chicken Enchiladas
To ensure your homemade Red Chile Chicken Enchiladas are always a resounding success and to make your cooking experience even smoother, keep these expert tips in mind:
- Master the Make-Ahead: Enchiladas are an ideal dish for meal preparation! You can fully assemble them (stopping just before baking) in your baking dish. Cover the dish tightly with aluminum foil and refrigerate for up to 24 hours. When you’re ready to bake, simply add an extra 10-15 minutes to the initial covered baking time to account for the chill. This is perfect for entertaining or busy weeknights.
- Freezing for Future Feasts: For longer-term storage, assemble the enchiladas in a freezer-safe baking dish. Cover them tightly first with plastic wrap, then with aluminum foil to prevent freezer burn. They can be frozen for up to 3 months. When you’re ready to enjoy them, thaw the dish overnight in the refrigerator before baking as directed. You might need to add a little extra baking time if they are still slightly frozen.
- Customizing Spice Levels: The beauty of homemade sauce is complete control. If you prefer a spicier sauce, feel free to add an extra pinch of chili powder, a dash of cayenne pepper, or more chipotle powder for smoky heat. For a milder version, stick to a single mild chili powder. Always remember to taste and adjust the seasoning before blending the sauce for the perfect balance.
- The Rotisserie Chicken Shortcut: Never underestimate the power and convenience of a good quality store-bought rotisserie chicken. It’s a fantastic time-saver that drastically cuts down on prep work without compromising the deliciousness of the shredded chicken filling.
- Invest in Quality Cheese: While any cheese will melt, using high-quality cheese and, crucially, freshly shredding it from a block makes a significant difference. Freshly shredded cheese melts more smoothly and offers a superior flavor and texture compared to pre-shredded varieties, which often contain starches to prevent clumping.
- Thoughtful Serving Suggestions: While these enchiladas are incredibly satisfying as a complete meal on their own, they also pair wonderfully with classic Mexican side dishes. Consider serving them alongside fluffy Mexican rice, creamy refried beans, or a crisp green salad tossed with a zesty lime vinaigrette for a perfectly balanced and utterly satisfying dinner experience.
Red Chile Chicken Enchiladas Recipe
Red Chile Chicken Enchiladas
These chicken enchiladas feature soft and savory corn or flour tortillas, generously filled with tender shredded chicken, drenched in our warm and flavorful red sauce made from scratch, and beautifully topped with melted Mexican cheese and a drizzle of Mexican crema. A truly authentic and comforting dish.
Prep Time: 25 minutes
Cook Time: 20 minutes
Total Time: 45 minutes
Servings: 6
By: Melissa Stadler, Modern Honey
Pin this Recipe
Equipment
- High-Speed Blender (such as Vitamix, or an immersion blender)
- 9×13 Inch Baking Dish (ceramic or glass recommended)
- Spatula Set
- Medium Pot (for sauce and optional chicken poaching)
Ingredients
For the Homemade Red Chile Enchilada Sauce:
- 2 Tablespoons Oil (vegetable or canola)
- 1 large Onion, chopped
- 1 – 15 ounce can Tomato Sauce (all-natural, no spices added)
- 1 1/4 cup Chicken Broth (or vegetable broth)
- 2 Tablespoons Chili Powder (a mix of mild and ancho chili powders is recommended)
- 2 teaspoons Cumin Powder
- 1/2 teaspoon Mexican Oregano
- 1/2 teaspoon Garlic Powder
- Salt to taste
For the Enchiladas:
- 4 cups Shredded Chicken (from a rotisserie chicken or 4 cooked and shredded chicken breasts)
- 2 cups Mexican Cheese Blend, freshly shredded
- 2 cups Cheddar Cheese, freshly shredded
- 10-12 Corn or Flour Tortillas
For Garnish (Optional):
- Mexican Crema or Sour Cream
- Fresh Cilantro, finely chopped
- Avocado, sliced or diced
- Jalapeños, thinly sliced (fresh or pickled)
- Lime wedges
Instructions
- Prepare the Homemade Red Chile Enchilada Sauce: In a medium pot, heat 2 tablespoons of oil over medium heat. Add the chopped onion and sauté until softened and translucent, about 7-8 minutes.
- Stir in the tomato sauce, chicken broth, chili powder, cumin, Mexican oregano, and garlic powder. Bring the mixture to a gentle simmer.
- Continue to cook the sauce for 20 minutes, stirring occasionally, until it begins to thicken and the flavors have fully developed and melded.
- Carefully transfer the warm sauce to a blender (or use an immersion blender directly in the pot) and puree until it is perfectly smooth and velvety. Taste the sauce and adjust salt as needed. Set aside.
- Prepare Chicken (if not using rotisserie): If cooking chicken from scratch, place chicken breasts in a pot. Season generously with salt and pepper. Add enough water or chicken broth to cover the chicken by 2 inches. Bring to a gentle boil, then reduce heat, cover, and let cook for approximately 10-12 minutes or until cooked through. Remove, let cool slightly, then shred.
- Preheat Oven and Prepare Tortillas: Preheat your oven to 350°F (175°C). If using corn tortillas, wrap a stack of 10-12 tortillas in a damp paper or tea towel and heat in the microwave for 60 seconds. This makes them pliable and easier to roll without breaking.
- Season the Chicken: In a medium bowl, mix 1/2 cup of the prepared red enchilada sauce with the shredded chicken to season it evenly and add moisture.
- Prepare Baking Dish: Pour another 1/2 cup of the enchilada sauce into the bottom of a 9×13 inch baking dish, spreading it to coat the base.
- Assemble Enchiladas: Take one tortilla, place a portion of the seasoned shredded chicken down its center, and sprinkle generously with a blend of Mexican cheese and cheddar cheese. Roll the tortilla up tightly and place it seam-side down in the prepared baking dish. Repeat this process with the remaining tortillas and fillings, arranging them snugly in a single layer.
- Top with Sauce and Cheese: Once all enchiladas are rolled and arranged, pour the remaining homemade enchilada sauce evenly over the top, ensuring all enchiladas are well-coated. Then, generously sprinkle the remaining 2 cups of shredded cheese (Mexican blend and cheddar) over the sauced enchiladas.
- Bake to Perfection: Cover the baking dish tightly with aluminum foil and bake for 20 minutes.
- Remove the foil and continue to bake for another 4-5 minutes, or until the cheese is beautifully melted, bubbly, and lightly golden at the edges.
- Serve and Garnish: Remove from oven and let rest for a few minutes. Serve hot, garnished with Mexican crema (or sour cream), fresh cilantro, avocado slices, and jalapeños, if desired.
Nutrition Information (Approximate per serving)
Calculated for 1 serving based on 6 servings per recipe. Please note that nutrition information is automatically calculated and should be used as an approximation. Actual values may vary based on ingredients and preparation methods.
- Calories: 618 kcal
- Carbohydrates: 29g
- Protein: 45g
- Fat: 36g
- Saturated Fat: 16g
- Polyunsaturated Fat: 4g
- Monounsaturated Fat: 12g
- Trans Fat: 1g
- Cholesterol: 144mg
- Sodium: 1148mg
- Potassium: 682mg
- Fiber: 5g
- Sugar: 5g
- Vitamin A: 1790 IU
- Vitamin C: 7mg
- Calcium: 591mg
- Iron: 4mg
Additional Information
- Course: Dinner
- Cuisine: Mexican, Tex-Mex
- Keyword: chicken enchiladas, red chicken enchiladas, red chile chicken enchiladas, homemade enchilada sauce, easy enchilada recipe, cheesy chicken, authentic Mexican dinner
Enjoyed making these delicious enchiladas?
We’d absolutely love to hear about your experience and see your culinary creations! Share your thoughts, tips, and photos in the comments section below. Your feedback helps our community of home cooks!
Jump to Comments and Share Your Story!
Happy Cooking, and may your kitchen be filled with delicious aromas and wonderful memories!