
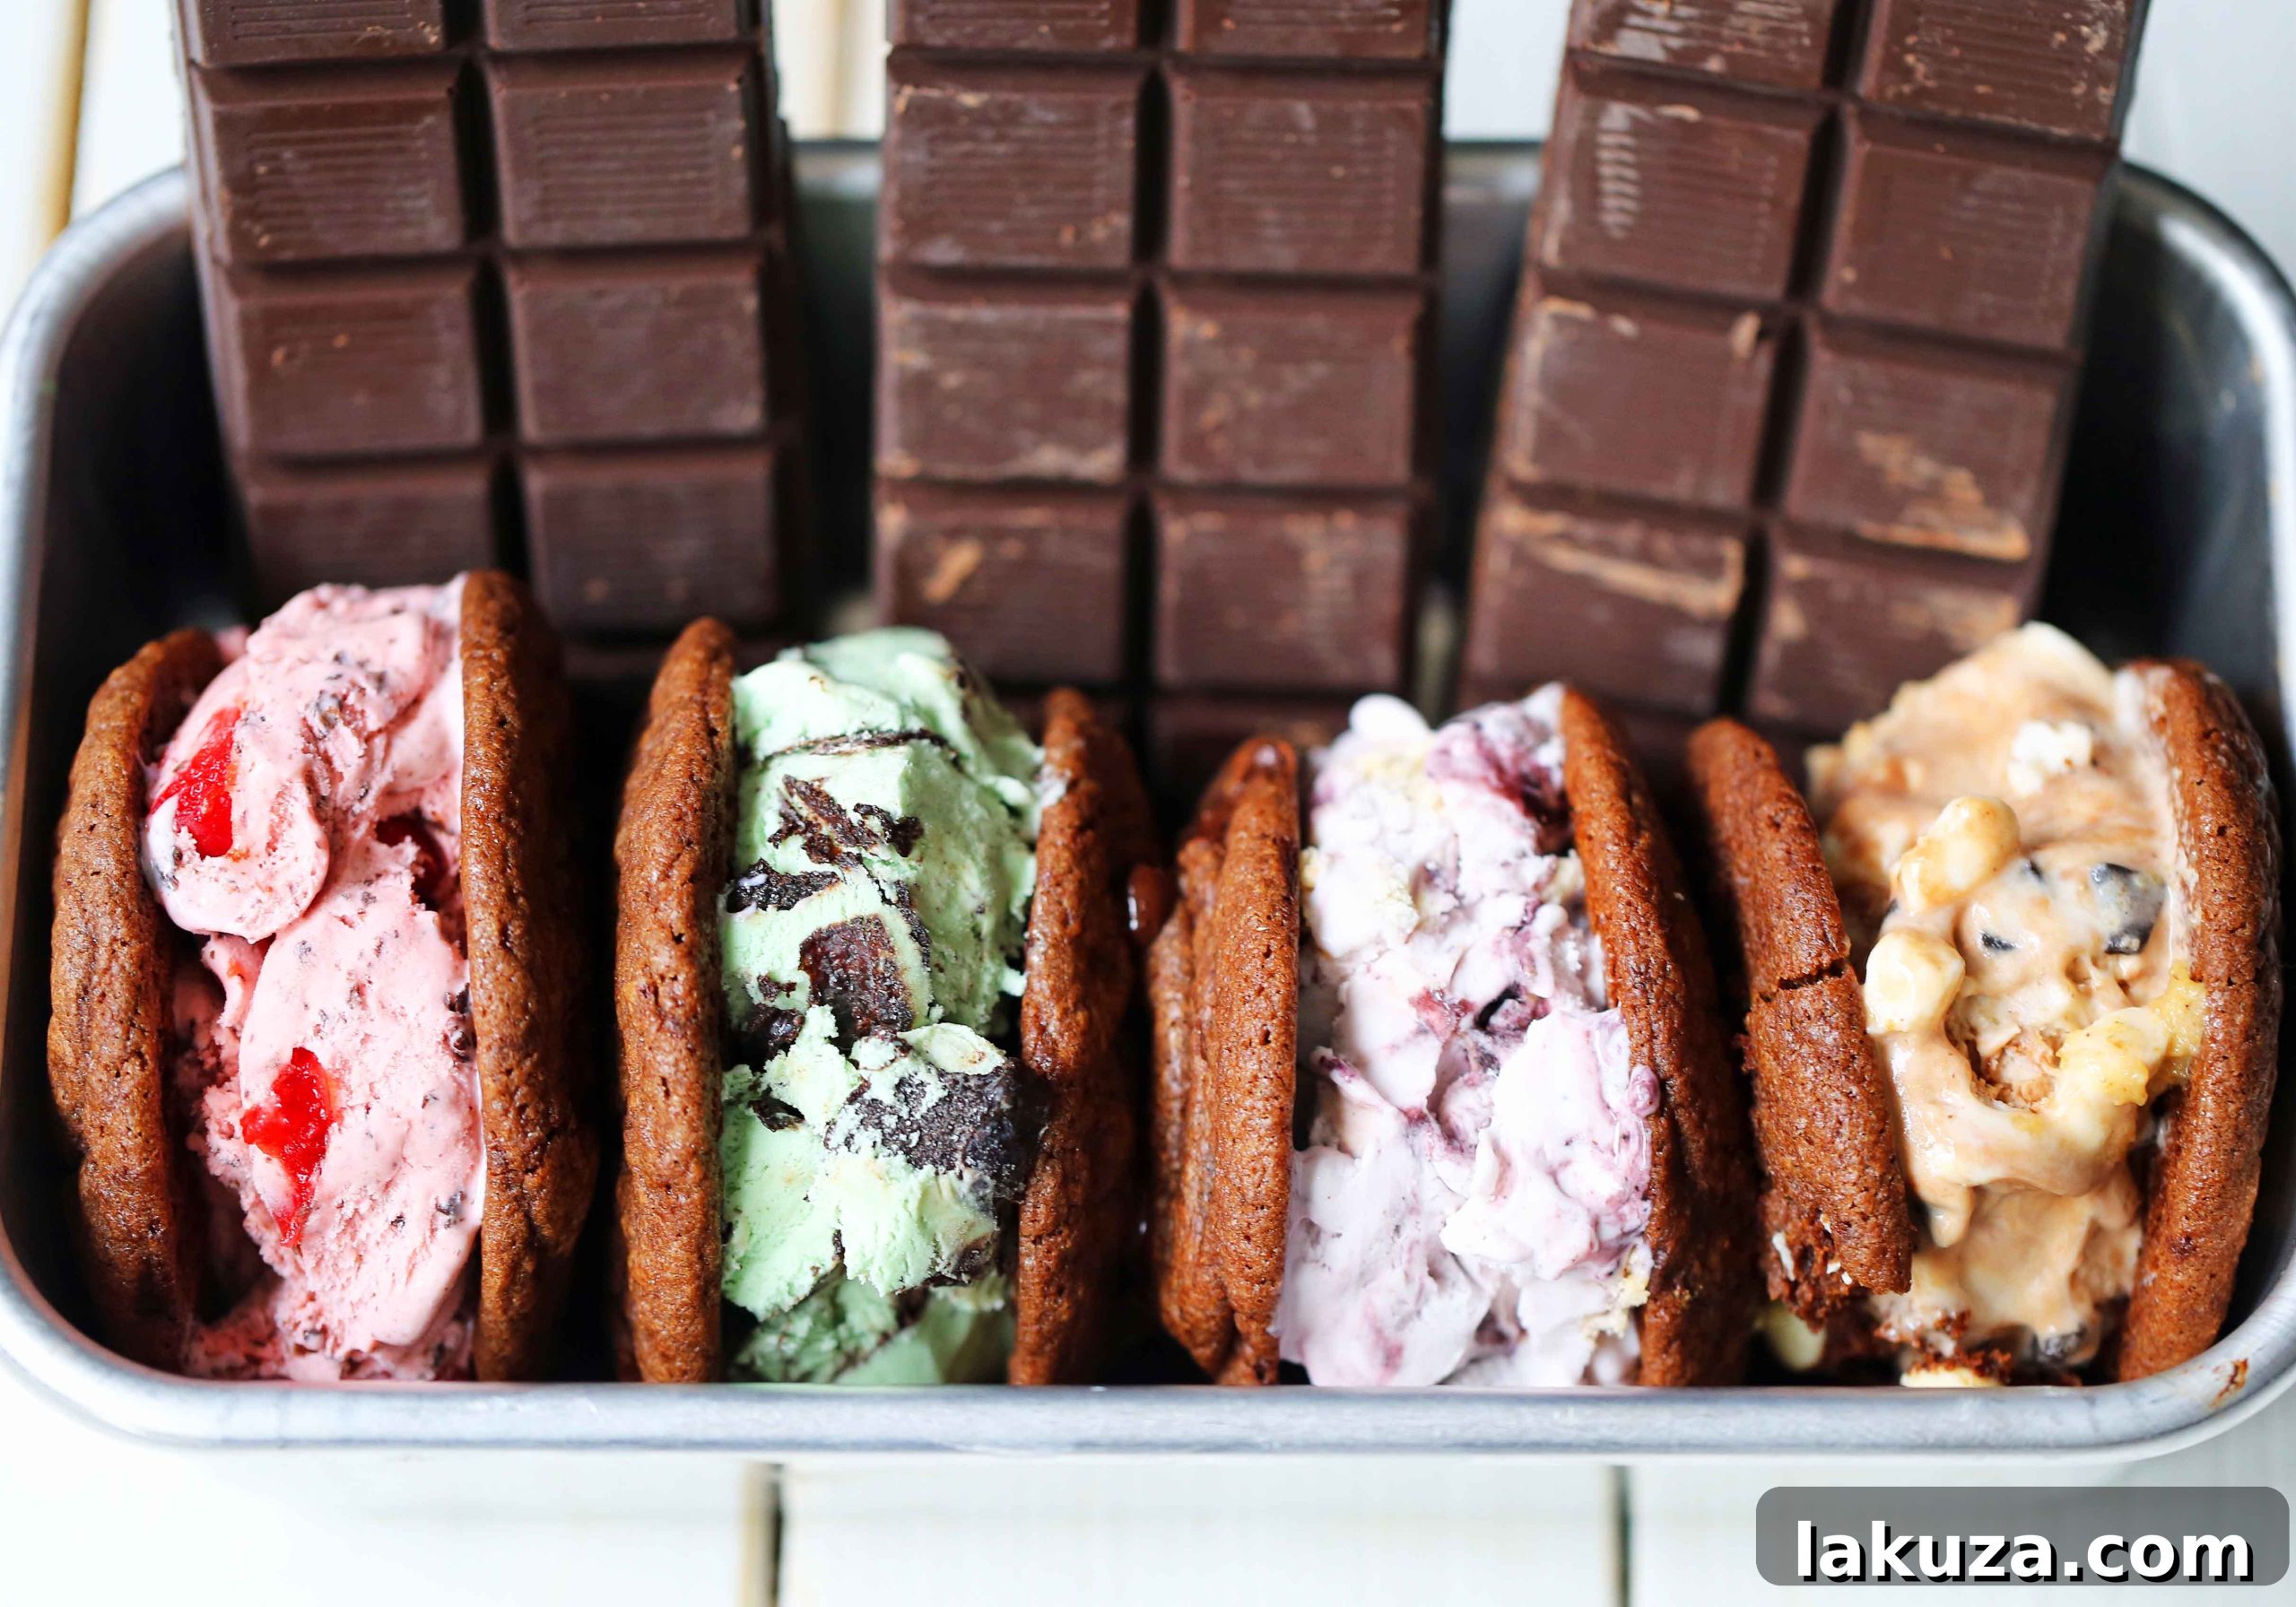
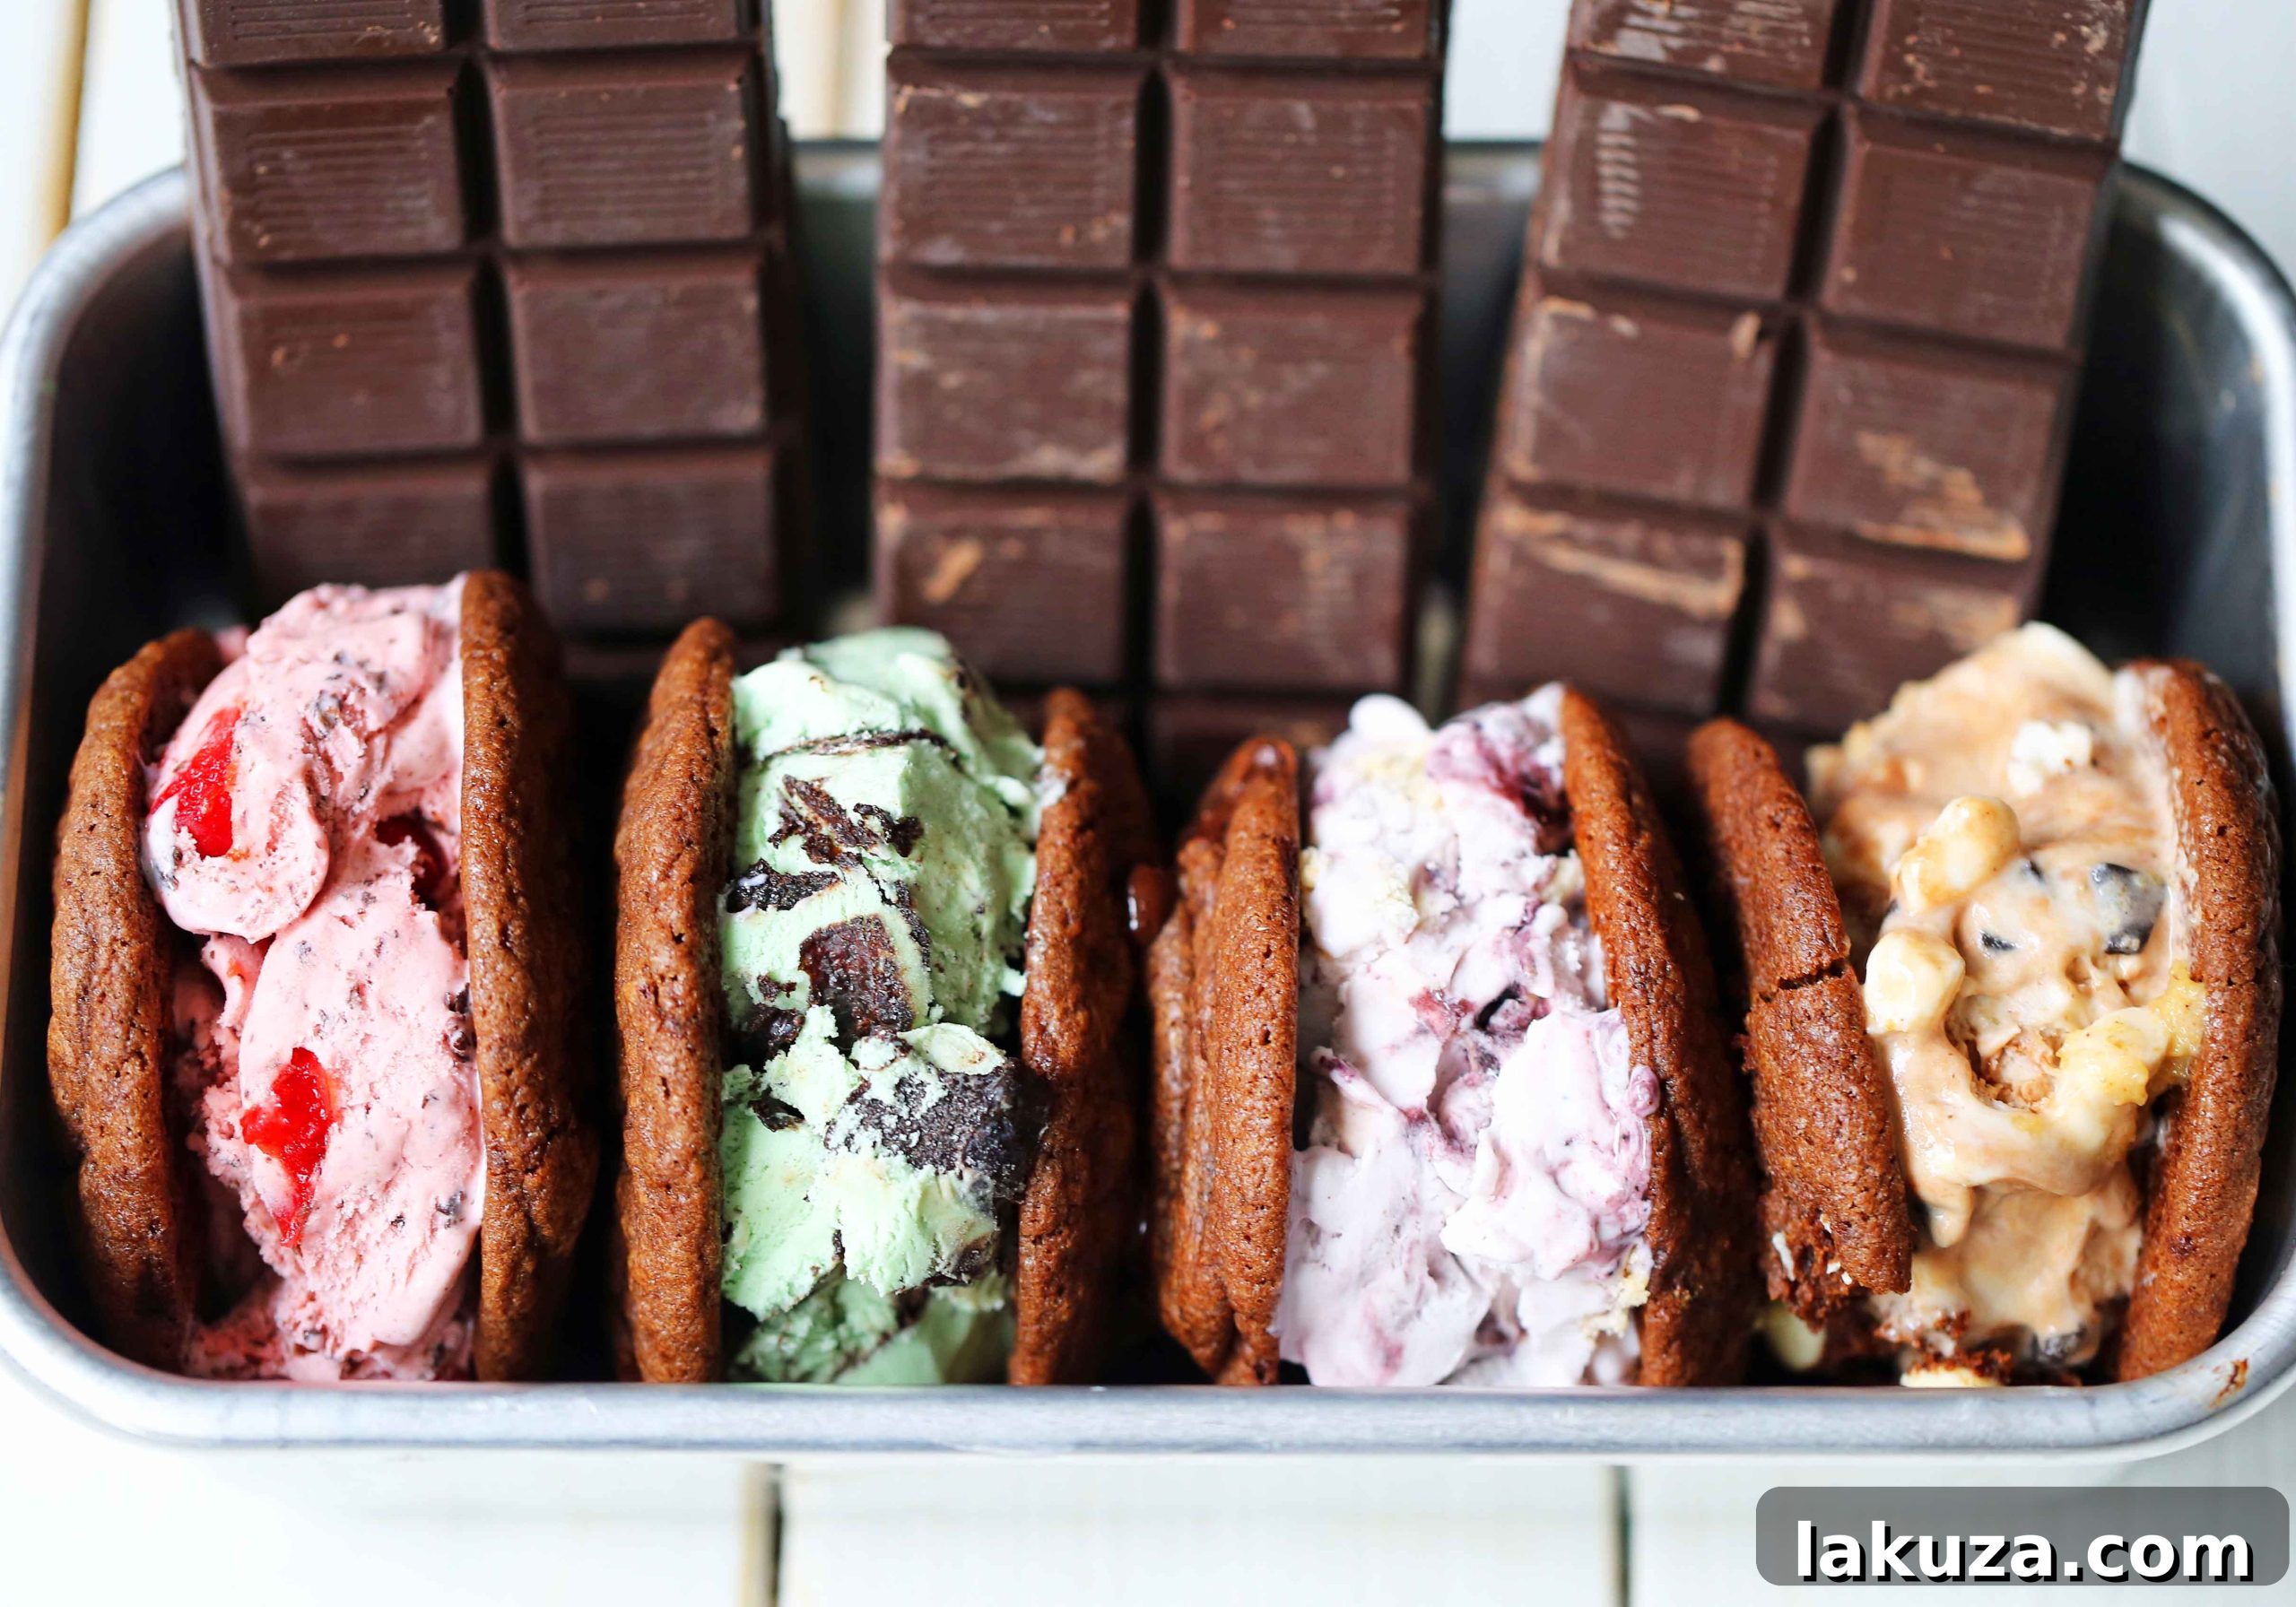
Ultimate Chocolate Cookie Ice Cream Sandwiches: A Summer Dream
Indulge in the perfect summer treat: soft, chewy, triple-chocolate cookies embracing your favorite creamy ice cream!
As the days grow longer and the sun shines brighter, there’s one dessert that perfectly captures the essence of summer: the humble yet magnificent ice cream sandwich. But forget those store-bought versions! We’re talking about a homemade masterpiece, crafted from the finest ingredients and brimming with irresistible flavor. These Chocolate Cookie Ice Cream Sandwiches are an absolute game-changer, promising a blissful escape with every delightful bite. They are incredibly easy to make, yet deliver a sophisticated taste that will impress everyone.
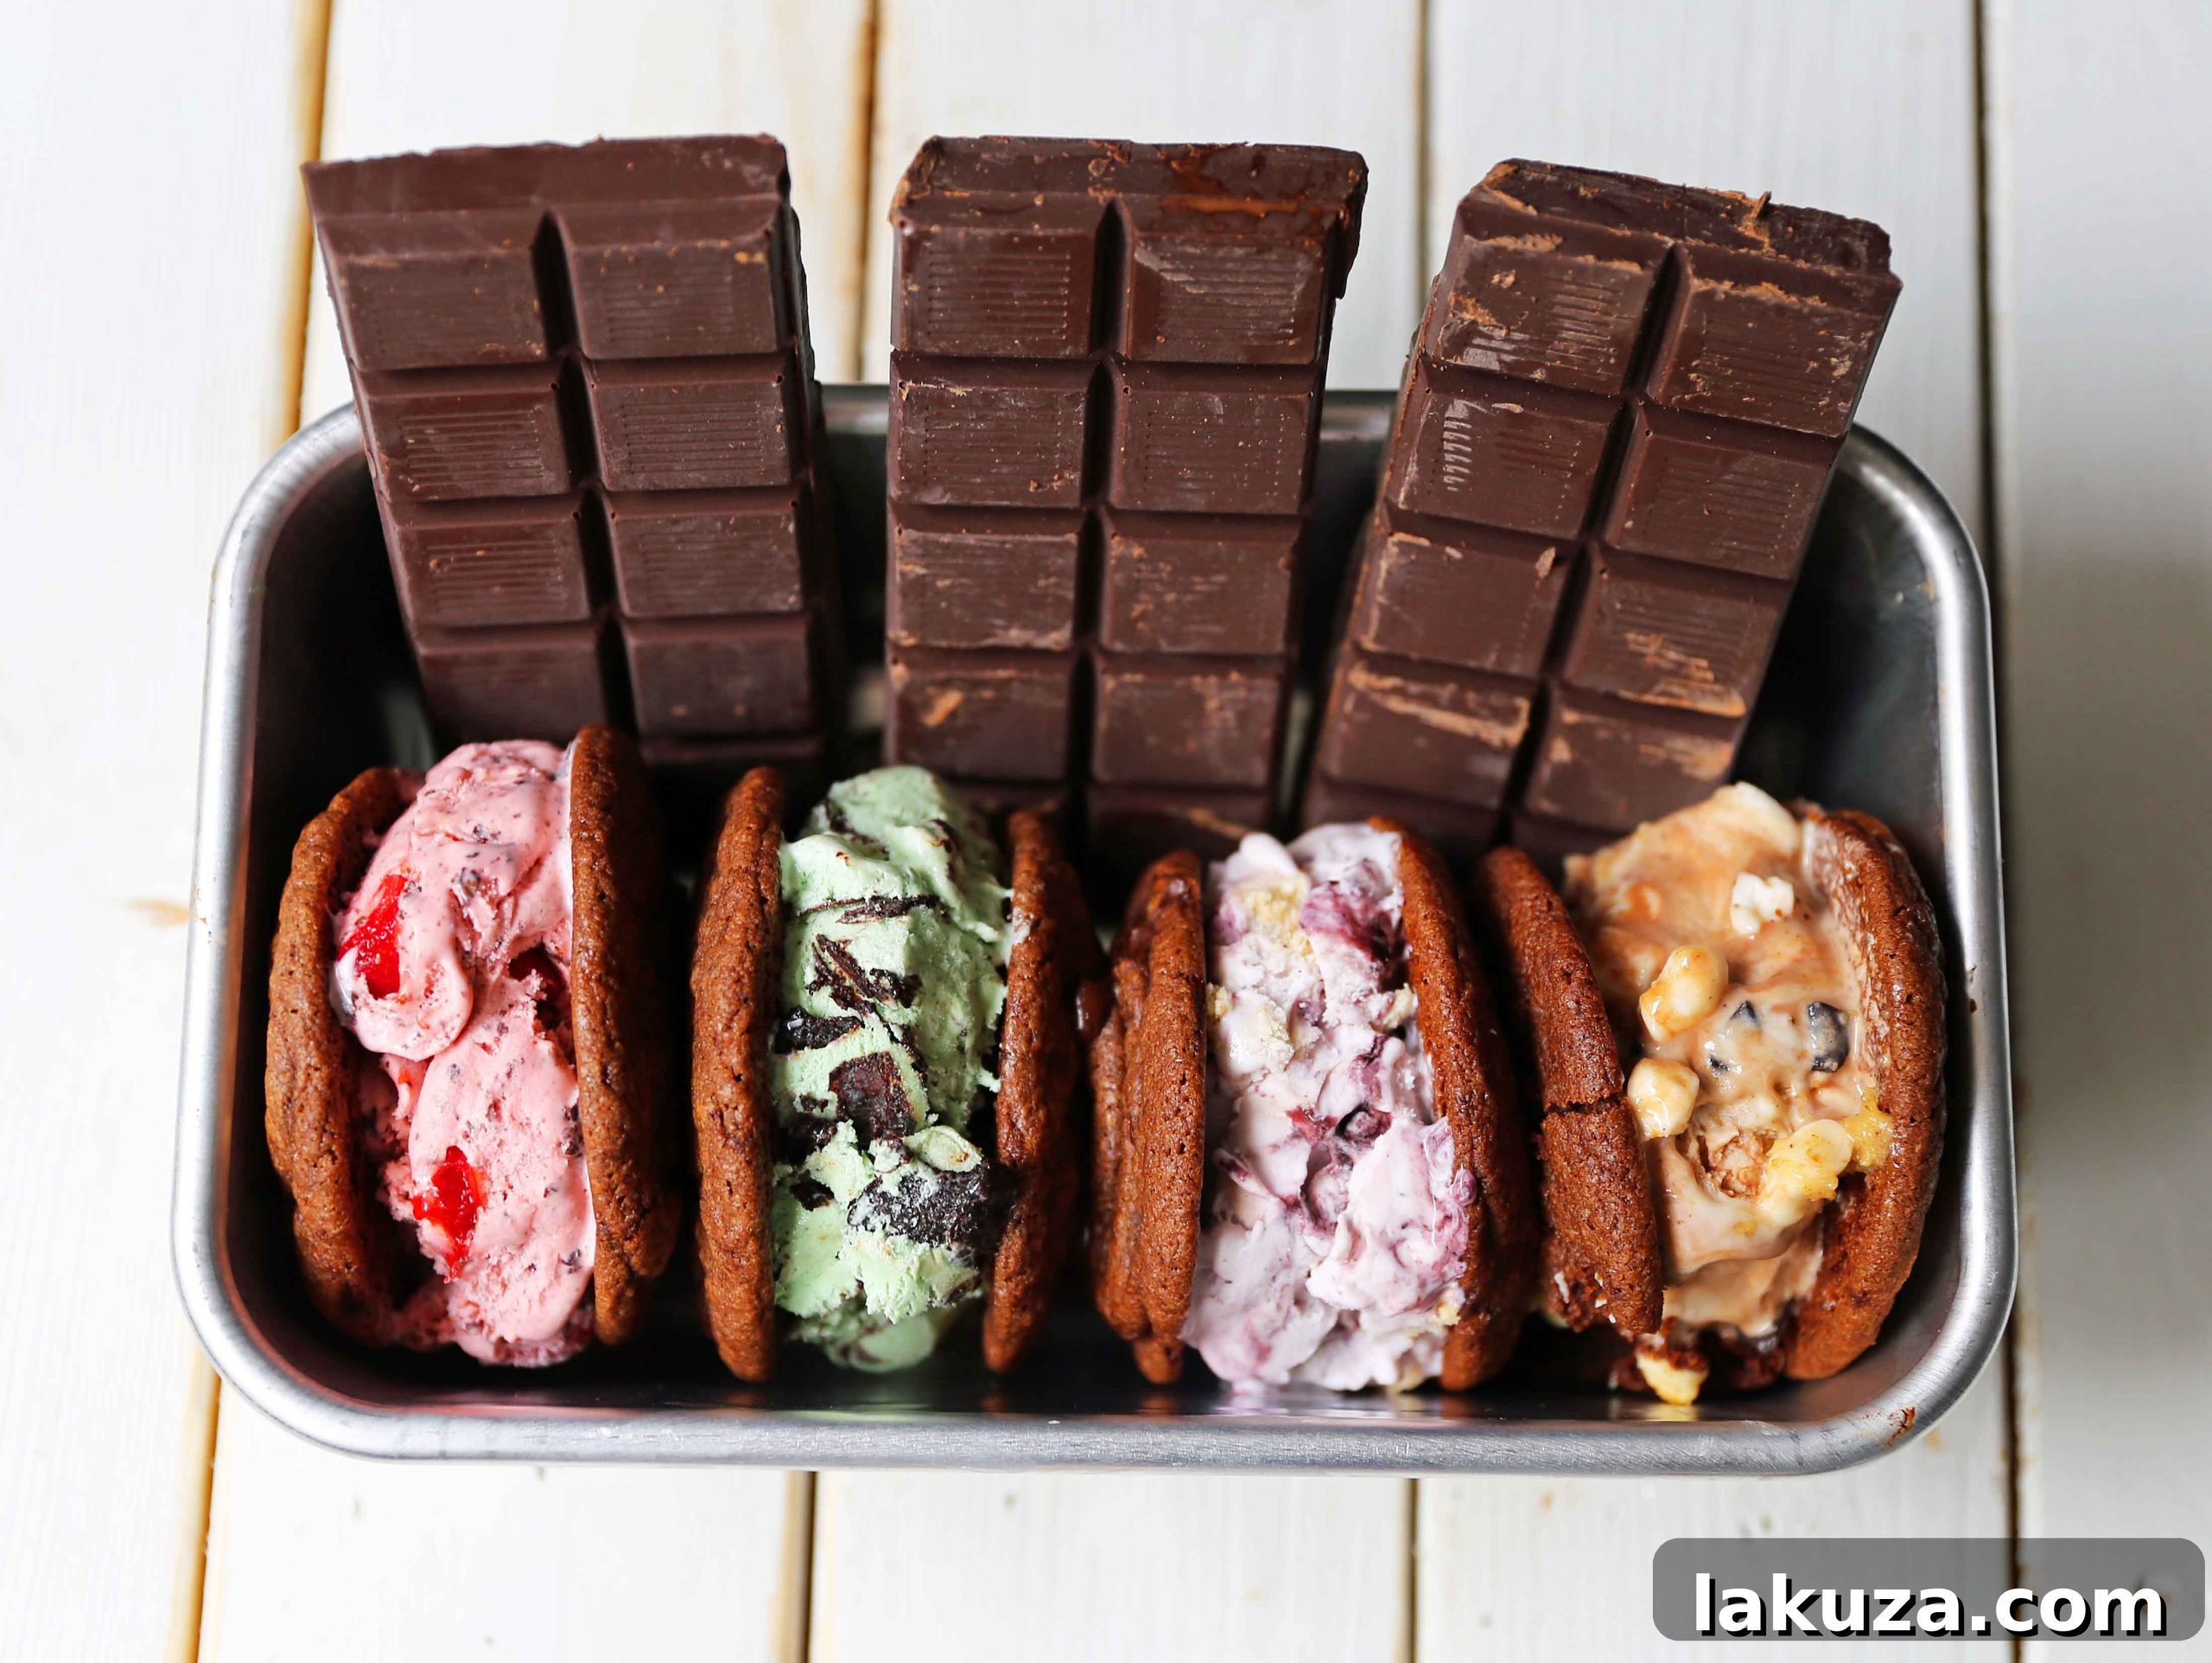
Picture this: rich, deep chocolate cookies, so soft they almost melt in your mouth, encasing a generous slab of your preferred ice cream. The contrast of the chewy cookie and the cold, smooth ice cream creates a symphony of textures and flavors that is truly unparalleled. This isn’t just a dessert; it’s a nostalgic journey back to childhood, elevated with gourmet flair. Whether you’re hosting a backyard barbecue, planning a casual picnic, or simply craving a sweet escape, these homemade ice cream sandwiches are your go-to solution. They’re not just easy; they’re a joyful experience from start to finish!
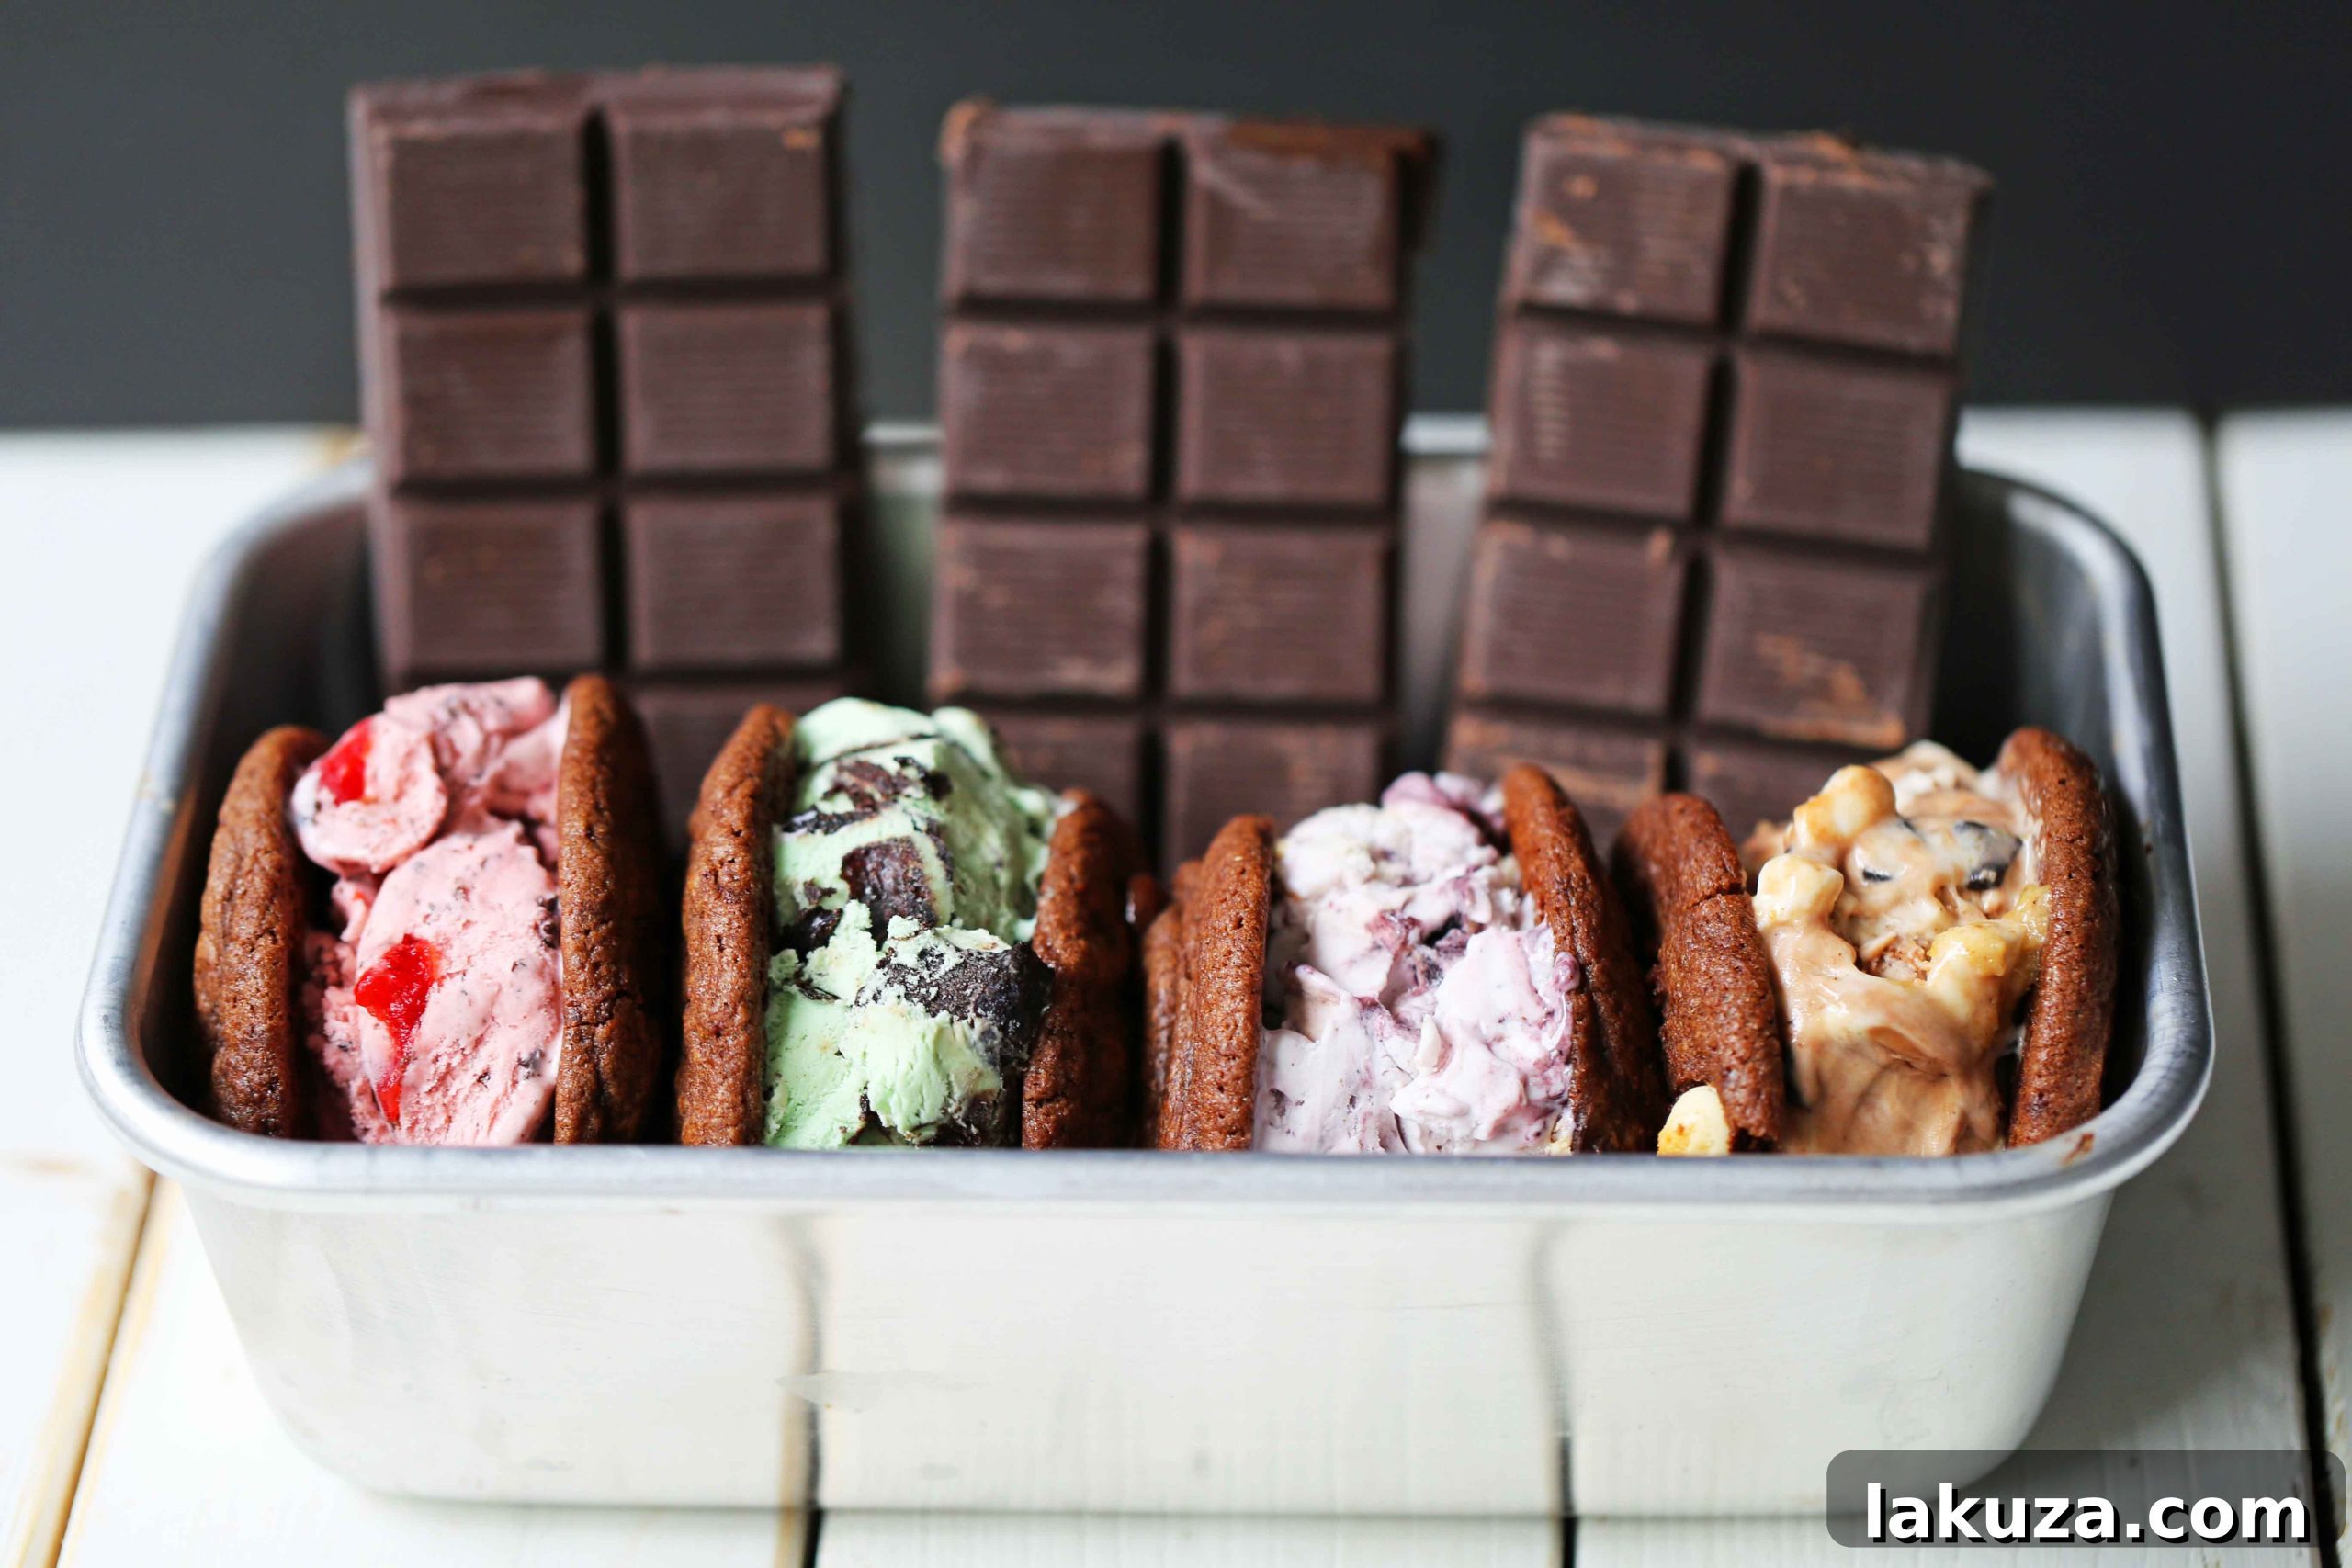
There’s something uniquely satisfying about homemade desserts, especially when they involve the magical pairing of freshly baked cookies and luscious ice cream. If you’ve ever tried my Chocolate Chip Skillet Cookie recipe topped with a scoop of vanilla bean, you already understand the profound joy I’m talking about. Forget the elaborate, fancy confections; sometimes, all you truly need is the pure, unadulterated pleasure of a warm cookie and a cold scoop of ice cream. This recipe takes that simple pleasure and elevates it into a portable, freezer-friendly delight perfect for any occasion.
The foundation of these divine Chocolate Ice Cream Cookie Sandwiches lies in my acclaimed Hunka Hunka Triple Chocolate Cookie Recipe. This isn’t just any chocolate cookie; it’s a carefully crafted masterpiece designed for optimal chewiness and rich chocolate flavor, making it the ideal partner for creamy ice cream. As someone who bakes an abundance of cookies, I can confidently say this recipe stands out as a personal favorite. It strikes that coveted perfect balance of deep cocoa notes and sweet chocolate chunks, ensuring every bite is a delightful explosion of flavor.
To prepare these exceptional cookies for their destiny as ice cream sandwich halves, there’s a crucial step: after rolling the dough into uniform balls, gently flatten them before baking. This simple technique ensures the cookies spread evenly, resulting in perfectly round, flat discs that are not only aesthetically pleasing but also perfectly shaped for embracing a scoop of ice cream. Uniformity isn’t just about looks; it’s about creating a seamless sandwich experience, where each bite delivers the perfect ratio of cookie to cream. The soft, chewy texture of these cookies also means they won’t crumble or crack when bitten into, providing a clean and enjoyable dessert experience.
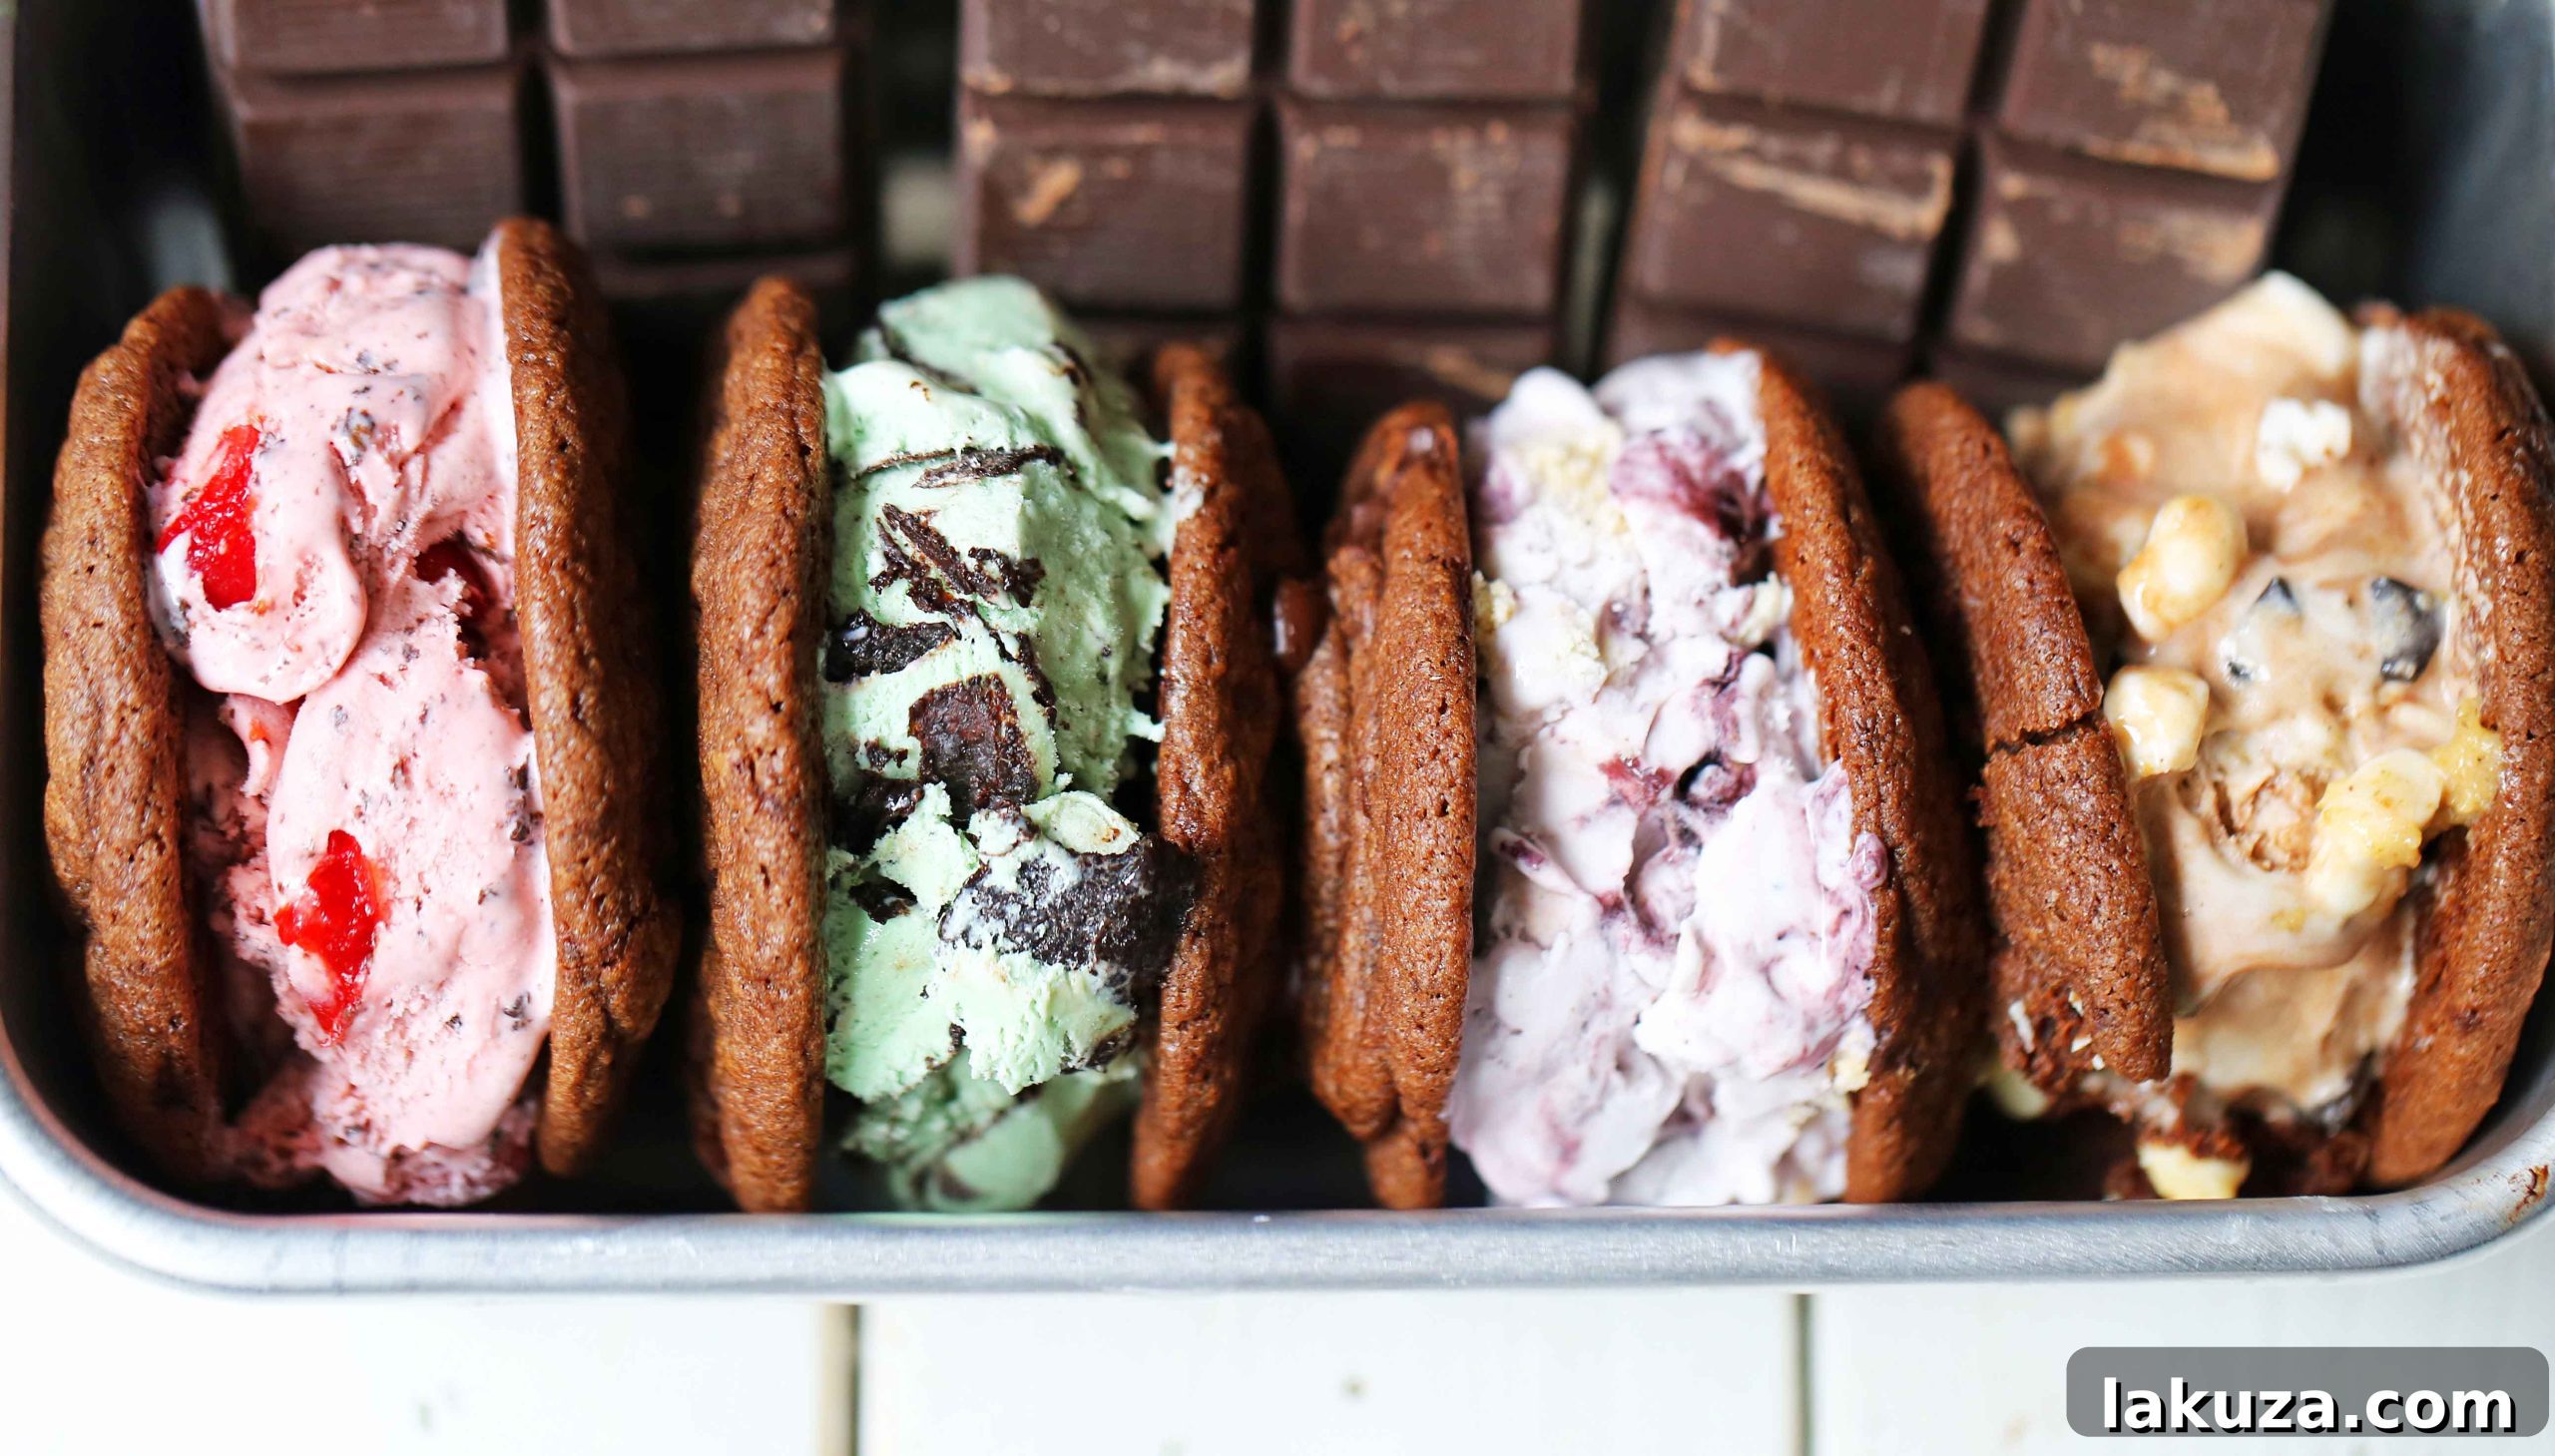
Crafting Your Perfect Chocolate Cookie Ice Cream Sandwiches: A Step-by-Step Guide
Making these decadent ice cream sandwiches is simpler than you might imagine, and the reward of biting into a homemade one is truly incomparable. Follow these steps for an effortless and delicious experience:
- Bake the Perfect Double Chocolate Cookies: Begin by preparing a batch of rich, double chocolate cookies using the specified recipe. The secret to beautifully uniform sandwiches is to roll your cookie dough into even-sized balls, then gently flatten each ball with the bottom of a glass or the palm of your hand before baking. This creates a consistent shape and thickness, perfect for sandwiching.
- Achieve Optimal Cooling and Firmness: Once baked, transfer the cookies to a wire rack and allow them to cool completely. This step is non-negotiable, as warm cookies will instantly melt your ice cream. For an even sturdier cookie base and easier assembly, place the cooled cookies in the freezer for about 20 minutes before proceeding to the next step. This brief chill helps them hold their shape and structure against the cold ice cream.
- Prepare and Assemble the Ice Cream Filling: Now for the fun part – the ice cream! You have a couple of options here for creating perfectly neat ice cream disks:
- The Pint Method: For perfectly uniform ice cream disks, take pints of your favorite ice cream flavor (still in their cardboard containers). Turn them on their sides and use a sharp serrated knife to carefully slice through the containers, creating even, round disks of ice cream. This method is fantastic for neat, professional-looking sandwiches. Place these ice cream disks on a parchment-lined baking sheet and return them to the freezer to firm up until you’re ready to assemble your sandwiches. When assembling, simply peel off the cardboard from each ice cream disk and place it between two cookies.
- The Scoop & Flatten Method: If using a larger tub of ice cream, or if you prefer a more rustic look, simply scoop softened ice cream onto the bottom of one cookie. Use the back of a spoon or a small spatula to flatten and shape the ice cream as much as possible, ensuring it fits snugly within the cookie’s perimeter. This might be a bit messier but yields equally delicious results.
Press another cookie gently on top, creating your sandwich. Don’t press too hard, or the ice cream will squish out the sides!
- Wrap and Freeze for Ultimate Enjoyment: Once assembled, individually wrap each ice cream sandwich tightly in plastic wrap or parchment paper. This prevents freezer burn and helps them maintain their shape. Place the wrapped sandwiches back into the freezer for at least 2-4 hours, or until they are firm throughout. This crucial freezing period ensures the ice cream is perfectly solid and the cookies have had a chance to meld beautifully with the filling.
These homemade chocolate cookie ice cream sandwiches are a testament to how simple ingredients and a little effort can create an extraordinary dessert. They’re perfect for meal prepping your summer treats, ensuring you always have a delightful indulgence ready whenever a craving strikes!
Tips for Perfect Ice Cream Sandwiches Every Time
- Choose Your Ice Cream Wisely: While any ice cream flavor works, consider ones that complement chocolate. Vanilla, mint chip, peanut butter, or even a rich coffee ice cream are excellent choices. Ensure your ice cream isn’t too soft when you start assembly; a slightly firm consistency is ideal.
- Don’t Rush the Freezing: Patience is key! The initial freeze of the cookies and the final freeze of the assembled sandwiches are vital for structure and enjoyment. A well-frozen sandwich is less messy and more enjoyable to eat.
- Batch Prep for Convenience: These sandwiches freeze beautifully, making them perfect for preparing ahead of time. Whip up a large batch and store them in an airtight container in the freezer for up to several weeks. This way, you’re always ready for an impromptu treat or a sudden craving.
- Cookie to Ice Cream Ratio: Aim for cookies that are about the same size and thickness as your ice cream portion. This creates a balanced bite where neither the cookie nor the ice cream overwhelms the other.
- Personalize Your Sandwiches: Feel free to roll the edges of your finished sandwiches in sprinkles, mini chocolate chips, or chopped nuts before the final freeze for an extra touch of flair and flavor.
Creating homemade chocolate cookie ice cream sandwiches offers a world of customization that store-bought versions simply can’t match. You have complete control over the quality of your ingredients, from the rich cocoa in your cookies to the creamy texture and flavor of your chosen ice cream. This means you can opt for organic ingredients, experiment with unique flavor combinations, or cater to dietary preferences with ease. The freshness of a homemade cookie, still possessing that delightful chew, combined with perfectly softened (then refrozen) ice cream, results in a superior taste experience that store-bought alternatives often lack.
There’s also an undeniable satisfaction that comes from making something delicious from scratch. The aroma of freshly baked chocolate cookies filling your kitchen, the anticipation as you assemble each sandwich, and the joy of sharing these personalized treats with loved ones – these are all part of the wonderful homemade experience. It’s more than just a dessert; it’s a labor of love that creates lasting memories and truly delicious moments. So this summer, skip the freezer aisle and dive into the delightful world of homemade chocolate cookie ice cream sandwiches!
Click below to sign up for my FREE email newsletter to receive my favorite recipes delivered straight to your inbox. Be sure to follow me on Instagram, Facebook, and Pinterest. I would love for you to come say “hi!” Thanks for following along and joining our baking community!
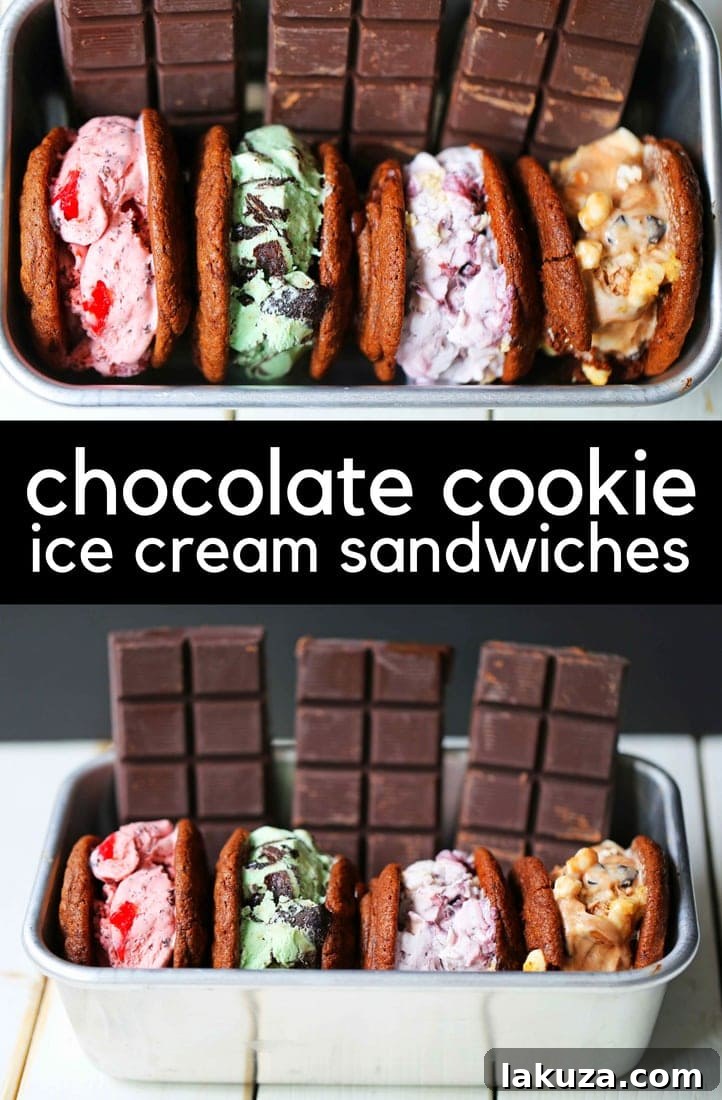
Pin this Recipe on PINTEREST:

Chocolate Cookie Ice Cream Sandwiches
Essential Equipment
-
Stand Mixer (e.g., KitchenAid) – indispensable for creaming butter and sugar until light and fluffy.
-
Baking Sheet – a sturdy, reliable pan for evenly baking your cookies.
-
Parchment Paper or Silicone Baking Mats – essential for non-stick baking and easy cleanup.
-
Measuring Cups and Spoons – for accurate ingredient measurements, crucial for perfect cookies.
-
Spatula Set – for scraping down the mixing bowl and folding in chocolate chunks.
-
Turner or Spatula – for carefully transferring warm cookies from the baking sheet.
-
Cookie Scoop – ensures uniform cookie sizes, leading to consistently shaped ice cream sandwiches.
Ingredients for the Triple Chocolate Cookies
- 1/2 cup cold Butter, cut into small cubes (this helps achieve the perfect chewy texture)
- 3/4 cup + 2 Tablespoons Granulated Sugar
- 1 large Egg
- 1 teaspoon Pure Vanilla Extract
- 1/4 cup Unsweetened Cocoa Powder **
- 1 cup + 2 Tablespoons All-Purpose Flour
- 1/2 teaspoon Baking Powder
- 1/4 teaspoon Salt
- 1 cup Chocolate Chunks (or your favorite chocolate chips)
- Your Favorite Ice Cream Flavors Choose pints for easy disk slicing, or a half-gallon for scooping.
- **Notes: For the best chocolate flavor, I recommend using a high-quality cocoa powder. Callebaut cocoa powder is excellent and can sometimes be found at a great value in bulk at stores like Winco. Trader Joe’s also offers a very nice cocoa powder. The quality of your cocoa greatly impacts the depth of flavor in your cookies.
Detailed Instructions for Assembly
-
Prepare Your Oven: Preheat your oven to 360 degrees Fahrenheit (182°C). Line a baking sheet with parchment paper or a silicone baking mat.
-
Cream Butter and Sugar: In a large mixing bowl, preferably using a stand mixer with a paddle attachment, cream together the cold butter cubes and granulated sugar for at least 4 minutes. Ensure you scrape down the sides of the bowl halfway through to incorporate all ingredients evenly. This step creates a light, airy base for your cookies.
-
Incorporate Wet Ingredients: Add the egg and vanilla extract to the creamed butter and sugar mixture. Mix until just combined, being careful not to overmix.
-
Add Dry Ingredients and Chocolate: In a separate bowl, whisk together the flour, cocoa powder, baking powder, and salt. Gradually add the dry ingredient mixture to the wet ingredients, mixing on low speed until just combined. Fold in the chocolate chunks by hand until evenly distributed throughout the dough.
-
Shape and Flatten Cookies: Using a cookie scoop, portion the dough into 12 uniform balls. Place them onto your prepared baking sheet, leaving adequate space between each. To ensure flat, even cookies perfect for sandwiches, gently flatten each cookie dough ball with the bottom of a glass or your hand.
-
Bake the Cookies: Bake for 10-14 minutes, or until the edges are set but the centers are still soft. Overbaking will result in crunchy cookies, which are less ideal for ice cream sandwiches. Remove from the oven and let them cool on the baking sheet for a few minutes before transferring to wire racks to cool completely.
-
Chill Cookies for Assembly: It is absolutely essential that the cookies are completely cool before assembling. For best results, place the cooled cookies in the freezer for about 20 minutes to firm them up. This prevents them from softening too much when they come into contact with the ice cream.
-
Assemble the Ice Cream Sandwiches (Disk Method Recommended): For neat and uniform ice cream disks, take your ice cream pints and turn them on their sides. Using a sharp serrated knife, slice through the cardboard containers, cutting the ice cream into even rounds (approximately 1 inch thick). Place these ice cream disks on a clean baking sheet lined with parchment paper and return them to the freezer to firm up until you are ready to assemble. To assemble, simply peel the cardboard from the ice cream disks and sandwich each disk between two cooled cookies.
-
Assemble the Ice Cream Sandwiches (Scoop Method Alternative): If you are using scooped ice cream from a larger container, allow the ice cream to soften slightly, then scoop a generous amount onto the bottom of one cookie. Use a spoon or small offset spatula to flatten the ice cream as much as possible, shaping it to fit the cookie’s diameter. Place another cookie on top and gently press down to form the sandwich.
-
Wrap and Freeze: Once assembled, individually wrap each ice cream sandwich tightly in plastic wrap or parchment paper. Place them back into the freezer for at least 2-4 hours, or until completely firm. This final freeze ensures the ice cream is solid and the sandwich holds its shape perfectly. Enjoy your delightful homemade treats!
Nutrition information is automatically calculated, so should only be used as an approximation. Please consult a professional nutritionist for precise dietary information.
Additional Information
I genuinely hope you fall in love with these homemade chocolate cookie ice cream sandwiches as much as I have. They are truly the perfect indulgence for warm weather, offering a blend of comforting familiarity and gourmet delight. Happy Baking, my friends – may your summers be filled with sweet, frozen treats!